

Greetings to fans of the craft, as well as the guests of the site ""! I bring to your attention my next product, which facilitates the marking of parallel lines, and it can also be used as a compass. It's about marking planers. Yes, I know that the simplest leveling can be done in just ten minutes, and I myself used this:
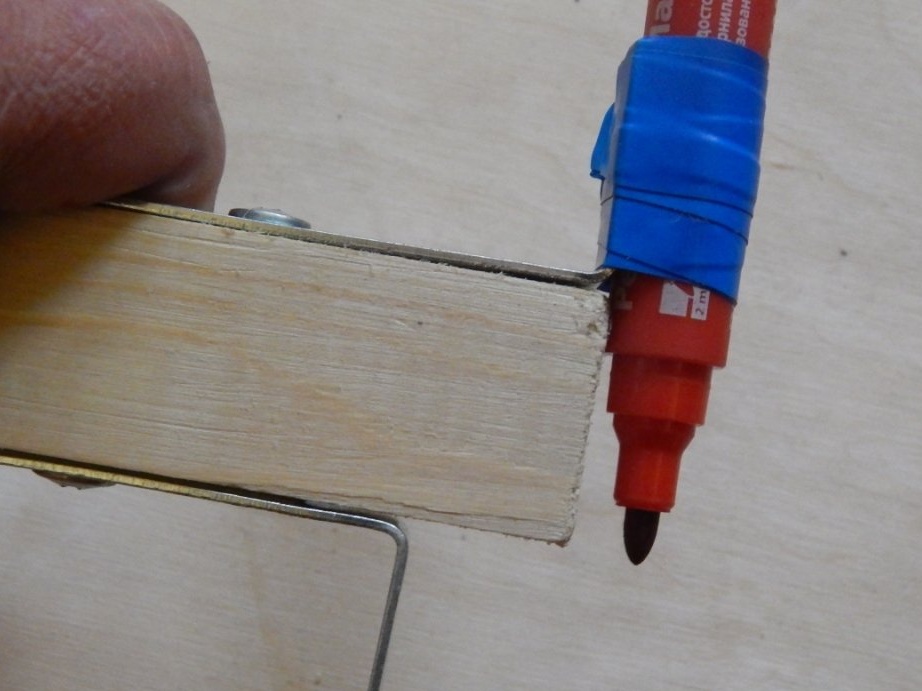
But it is good for marking one size, it takes a certain time to reconfigure it, and since there are a lot of layouts and different sizes, I decided to make myself such a marking tool. The marking is applied with a marker, but if desired, it can be replaced with a pencil or metal scriber inserted into the body of the used marker.
So, we begin to manufacture. For this we need
Materials:
1. Trimming racks 10x30, 20x30
2. Wooden rulers (length according to the desired maximum size)
3. Furniture threaded sleeve
4. Suitable for threading the “lamb” sleeve
5. Wood glue (Installation moment or PVA "Super")
6. Paraffin (candle)
7. A pair of toothpicks
Instruments:
1. Saw - a hacksaw with a small tooth (can be for metal)
2. Sandpaper
3. Twist drill ø16
4. Wood drill ø8
5. Drill (screwdriver)
6. Square
7. Clamps
We will produce the measuring rod and block simultaneously, in turn, since their dimensions are interconnected.
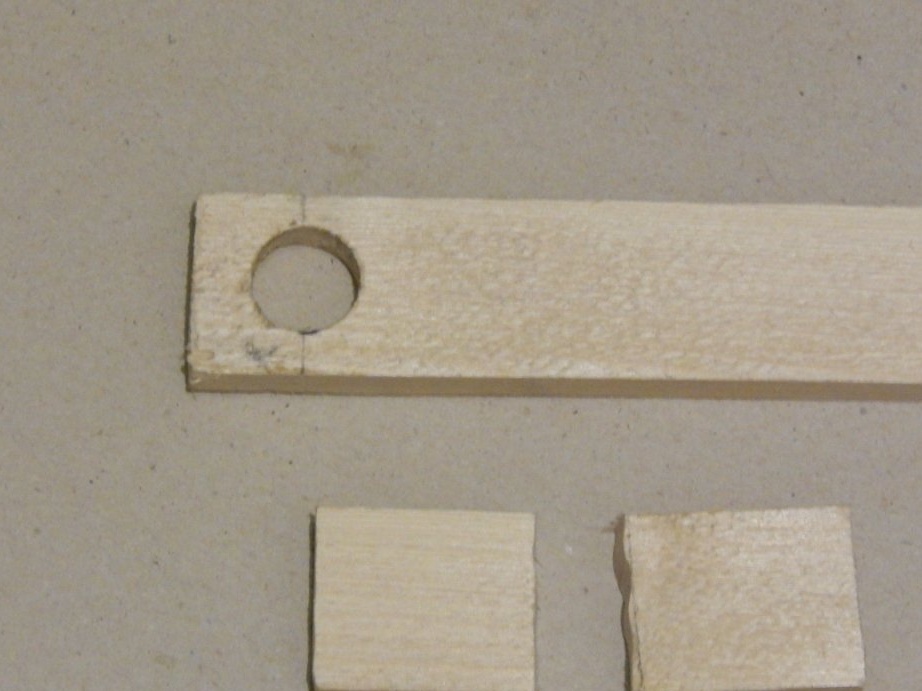
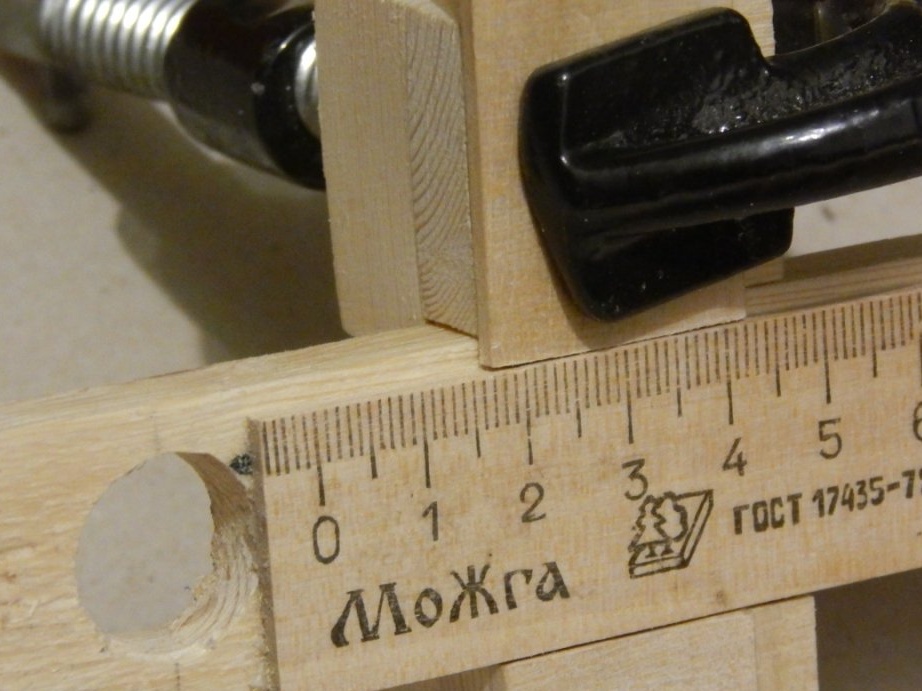
For the manufacture of the measuring rod, we use a piece of bar 10x30 5o mm longer than the length of the ruler used (with a margin, then you can cut off the excess). At one end of the bar, drill a ø16 mm hole to install the marker cap.
From the same bar we cut off two blanks for a block 35 mm long (again with a margin)
It is necessary to cut off from the same bar so that the depth of the groove of the block coincides with the height of the rod, thereby ensuring minimal gaps.
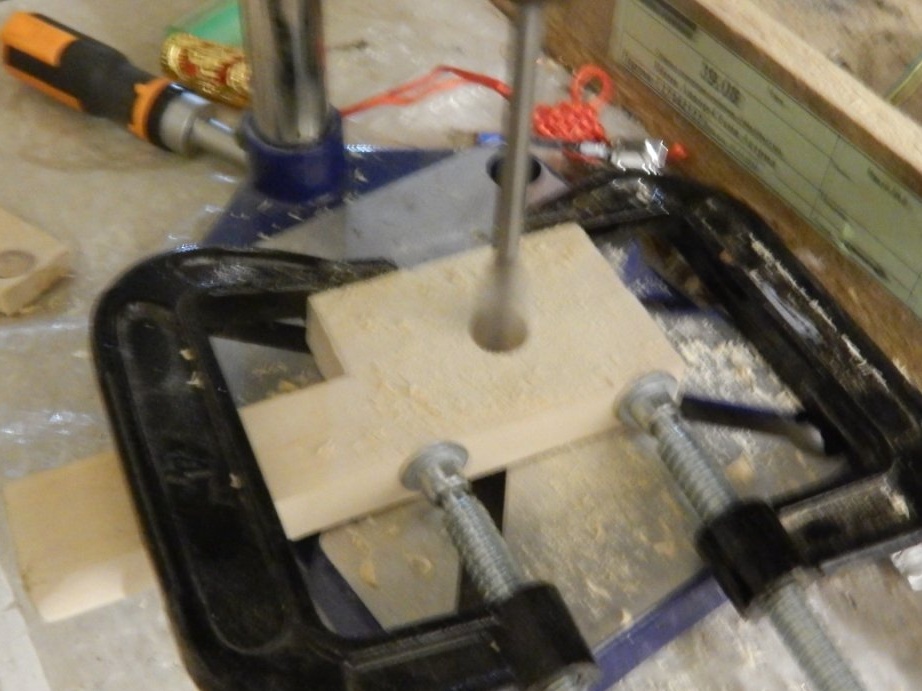
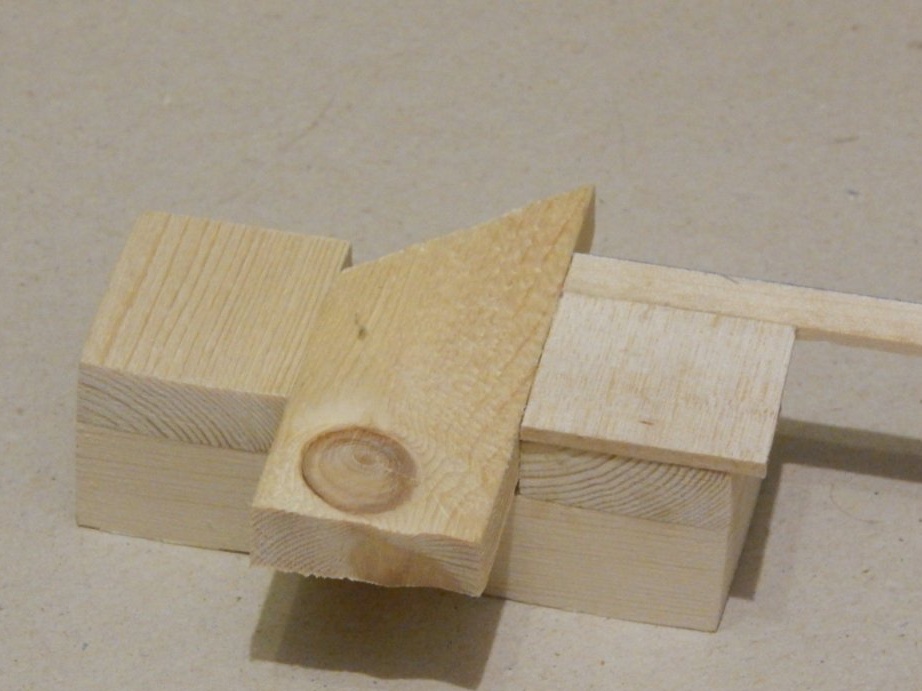
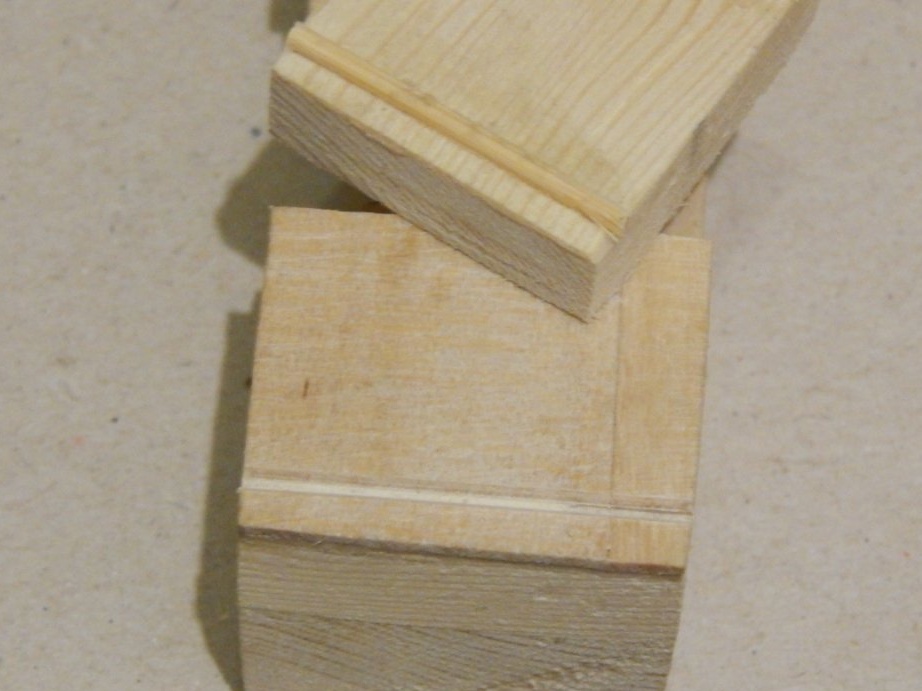
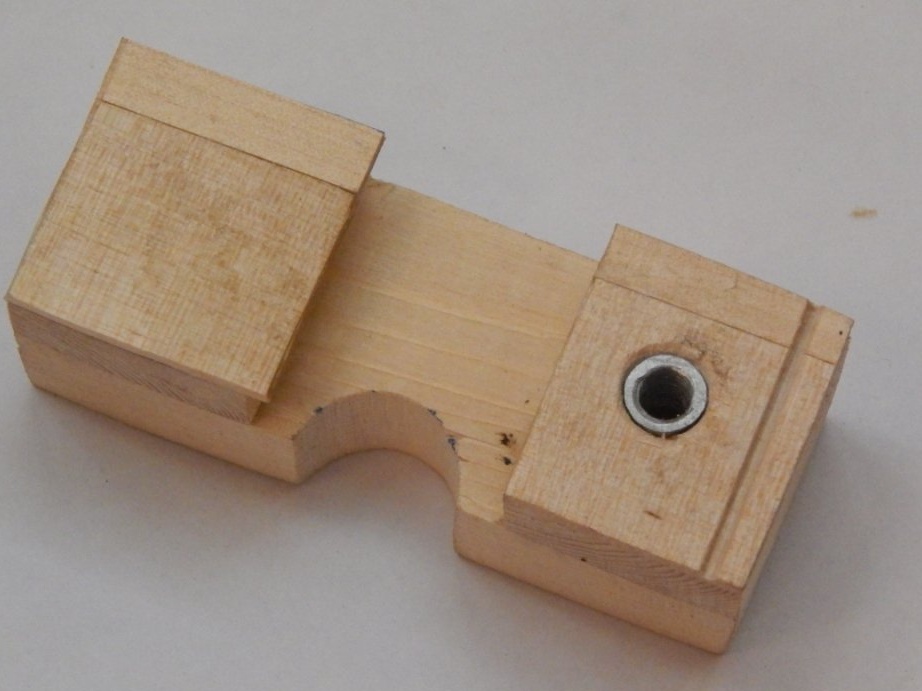
We make the base of the block from a 20x30 bar with a length of 3x30 + 5 (margin) = 95 mm. In order for the center of the writing element of the marker to coincide with the reference edge of the block, we make a “selection” by folding together two bars and drilling a ø16 mm hole at the junction of the bars.
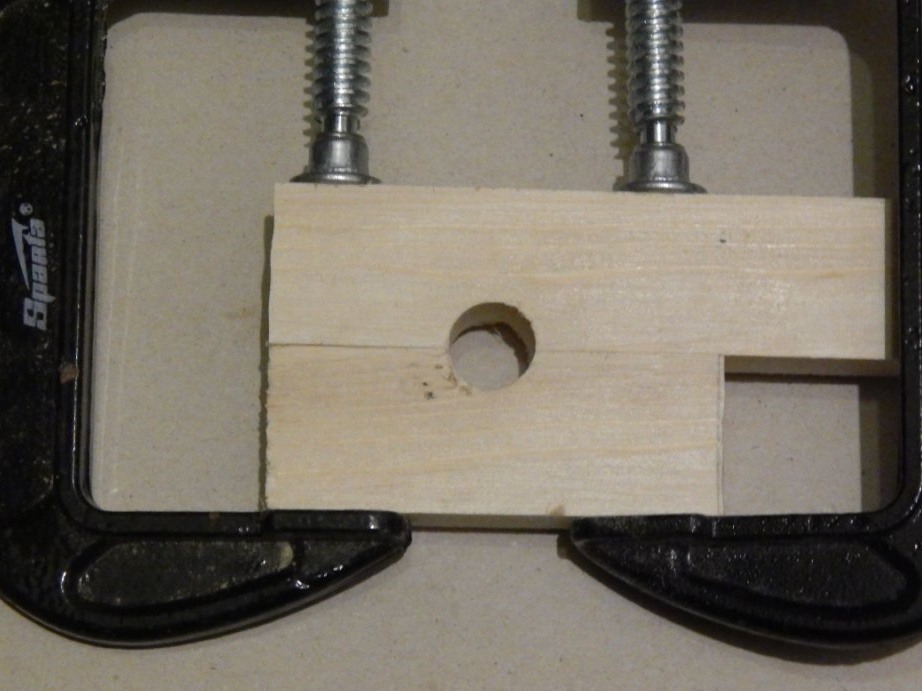
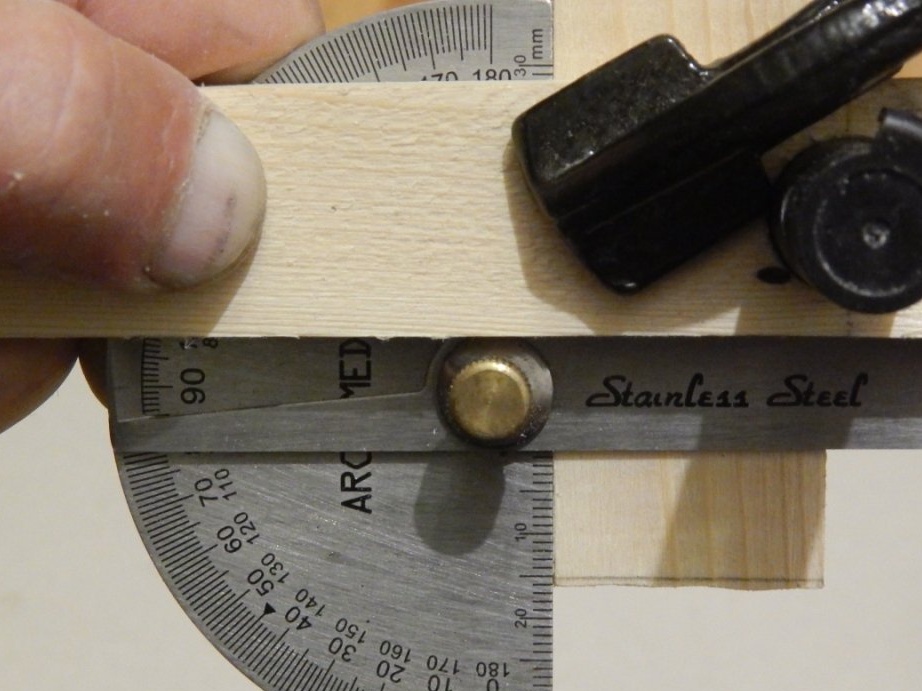
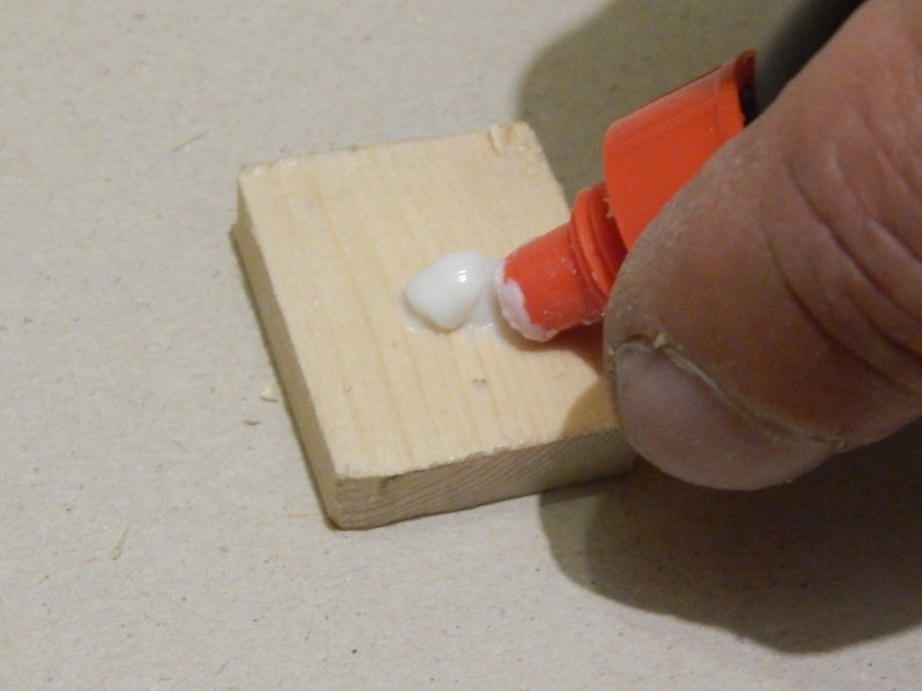
We begin gluing the pads by combining it with the bar, in which the marker cap is installed. It is necessary that the installed cap fits snugly into the recess of the block, after which the elements are fixed with a clamp, maintaining an angle of 90 ° between them.
Grease glue sticks 10x30x35
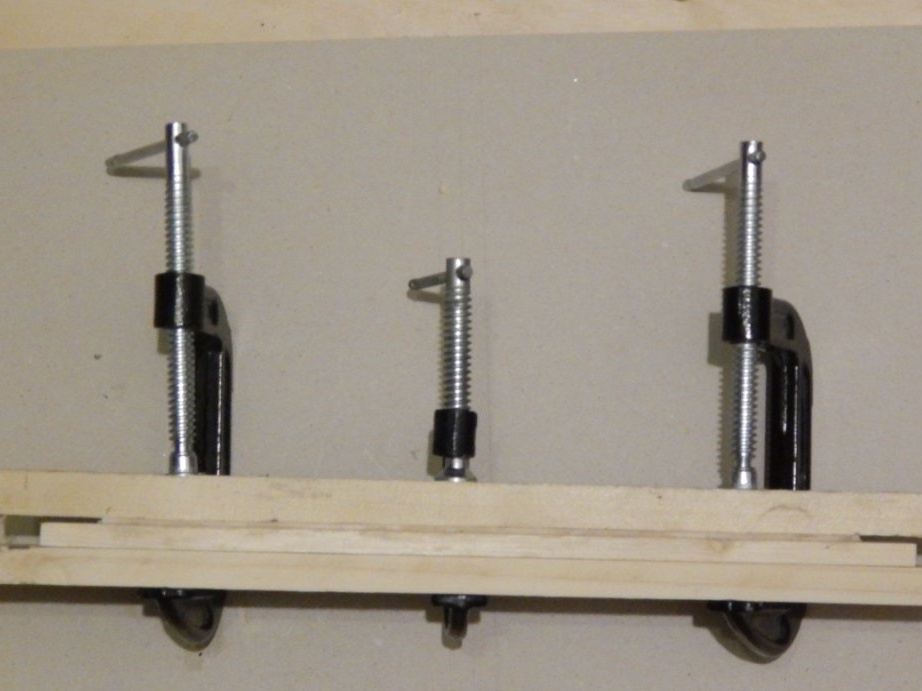
We install them on the base of the block, tightly pressing them to the bar and fixing them with clamps.
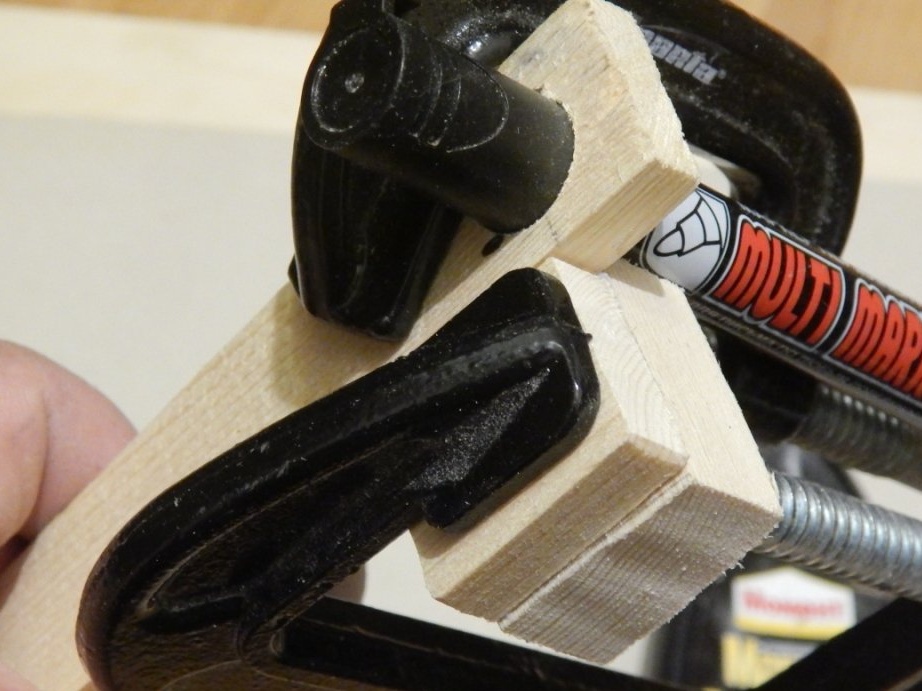
At the same time, excess glue will be squeezed out from under the bars, so until the glue is “grabbed” we shift the bar and remove the excess glue.
To increase the strength, the direction of the fibers of the bars is made mutually perpendicular, like plywood.
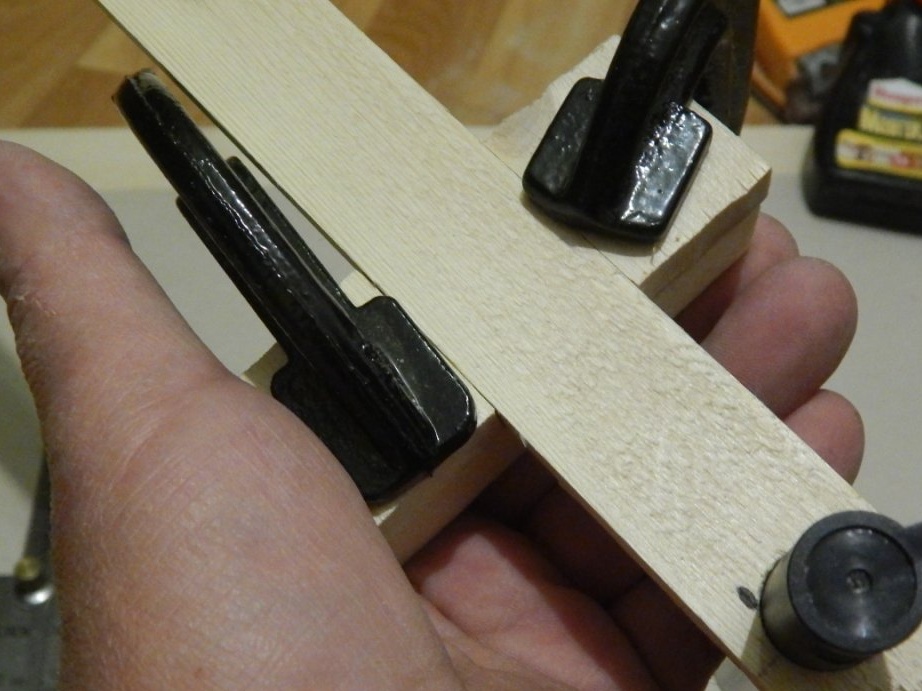
While the block is glued, go to the bar. On a 10x30 bar you need to glue a wooden ruler. We set it “in focus” to the hole under the marker (the risk of counting will be applied last). Combine the bottom edge of the ruler (which is without a scale) with the edge of the rod and fix the parts through the gaskets (so as not to make dents) using clamps.
The last step of gluing the pads is to align the dimensions of the groove and the height of the rod, taking into account the glued ruler. Align of course with line segments.
Since the width of the ruler by 5 mm is already the width of the bar bar, I had to make an inlet on the side of the scale, but even for the best, it turned out like a “lock”.
The ruler sections are also glued mutually perpendicularly. At this, the gluing of the pads is completed, it remains to cut off the protruding allowances and process the ends with sandpaper.
Now we begin to manufacture the retainer. We make the clamp from the 10x30 bar section (I still have a stub with a knot, please do not pay attention to this). To prevent the clamp from turning and increase the strength, we cut at the edges of the groove
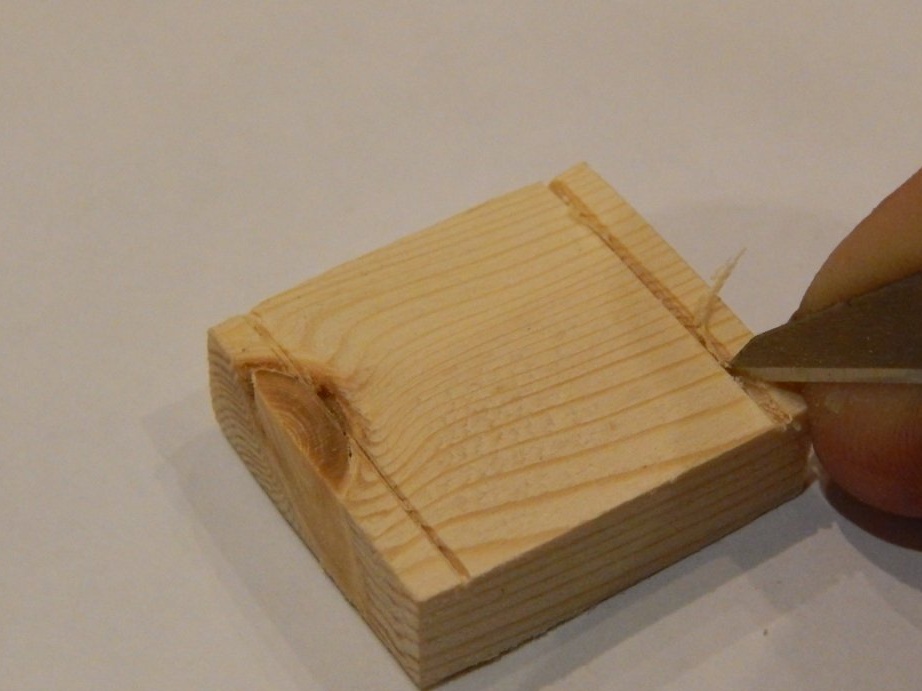
in which we paste the toothpicks.
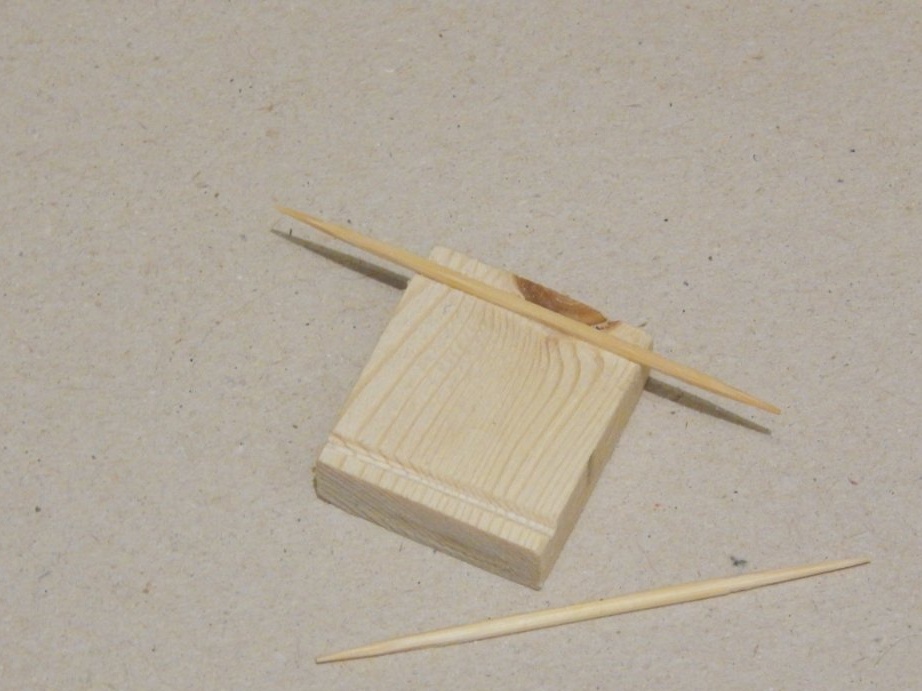
In the block, we also cut a groove into which a toothpick glued to the latch will have to fit.
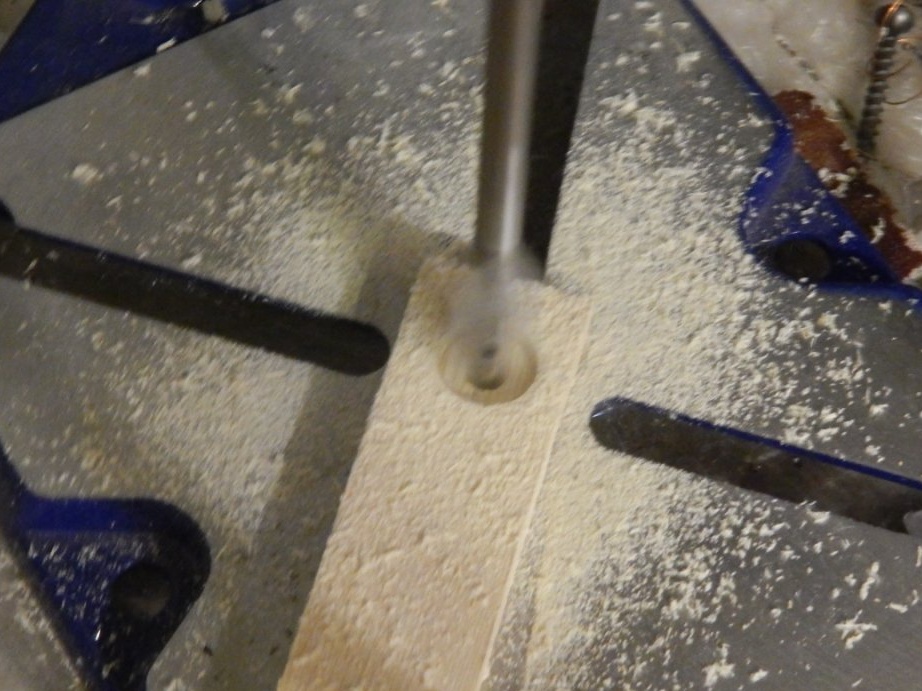
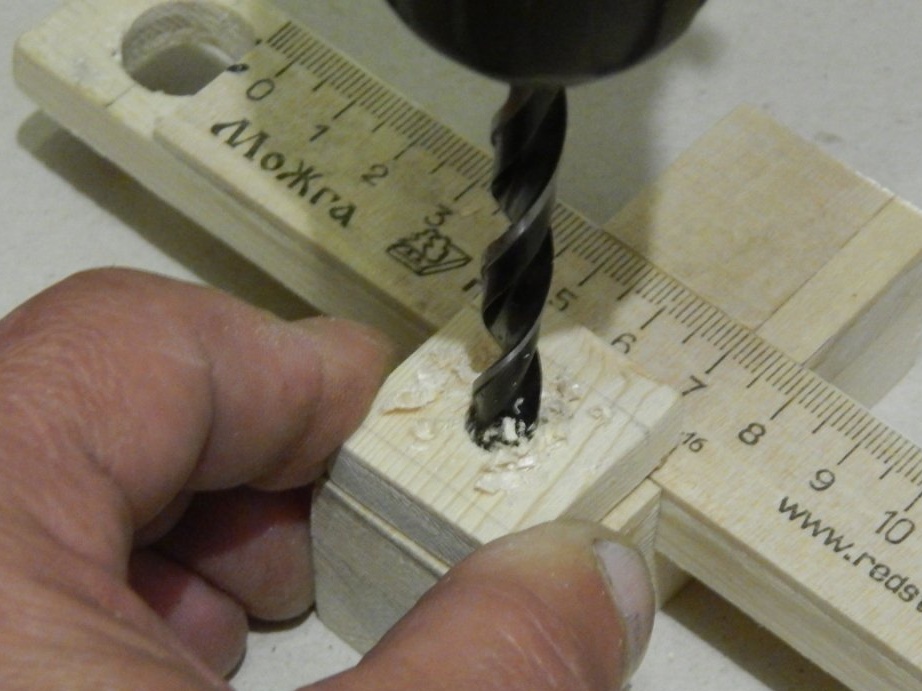
With a wood drill ø8 mm, make a through hole in the retainer and a blind hole with a depth of about 15 mm in the block for installing the threaded sleeve.
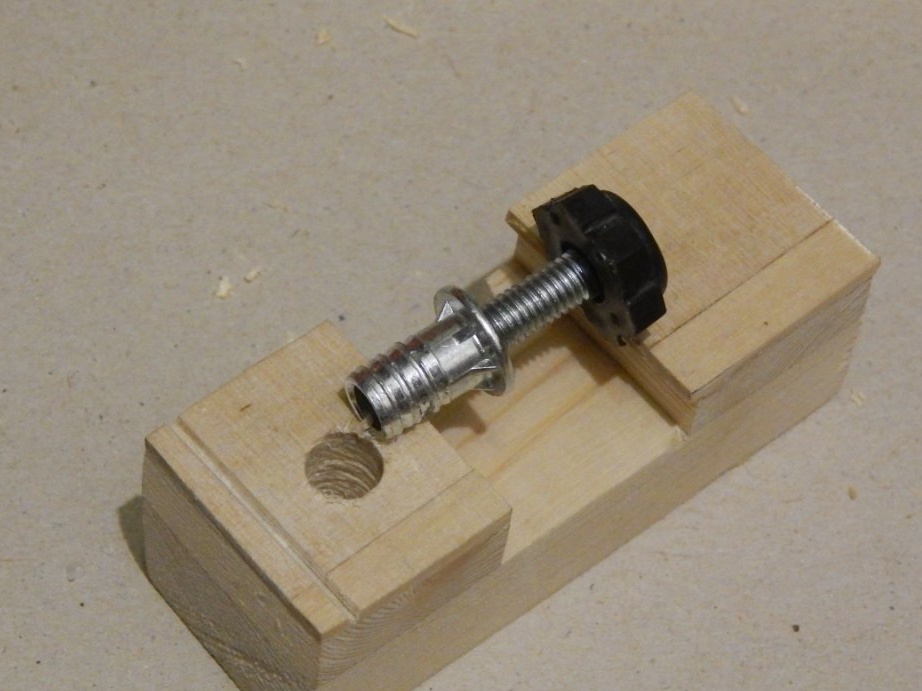
We make a screw clamp from a furniture threaded sleeve and a “lamb” screw.
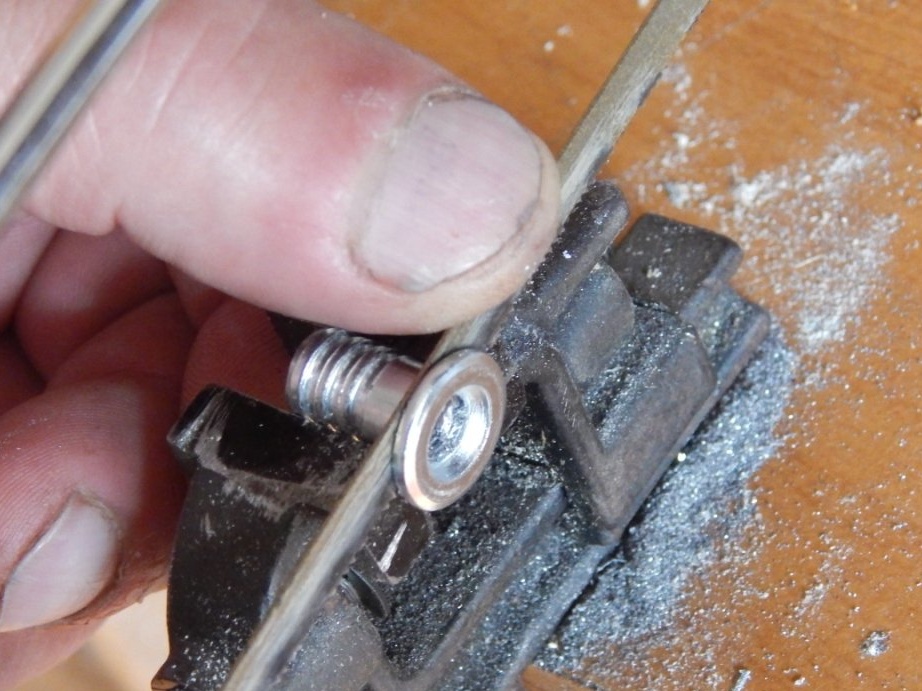
A “skirt” had to be cut off from the threaded sleeve, since it would protrude too much above the block.
Drive the plug into the hole in the block
And we use the resulting washer under the “lamb”.
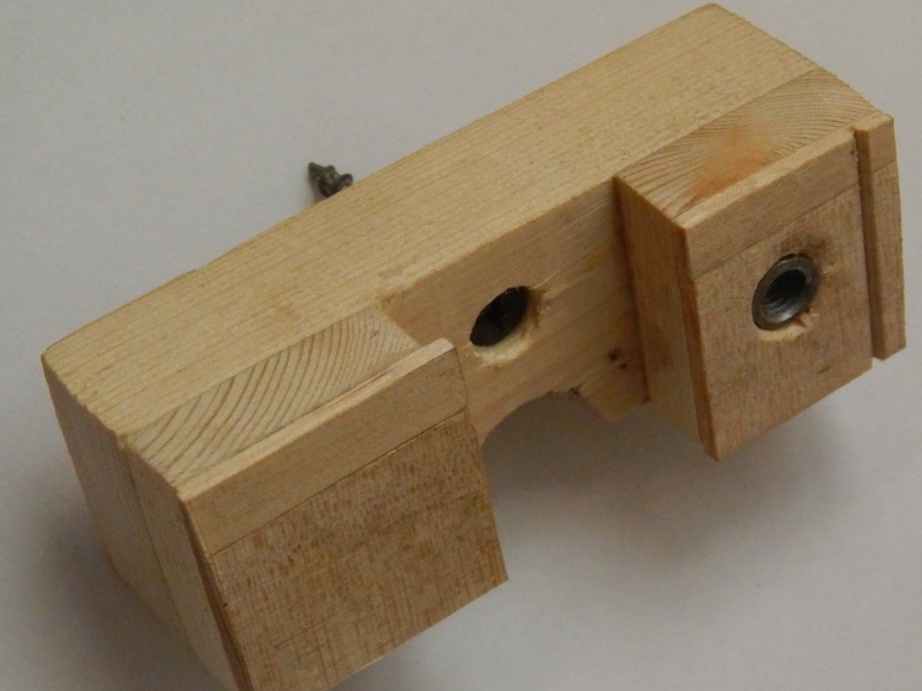
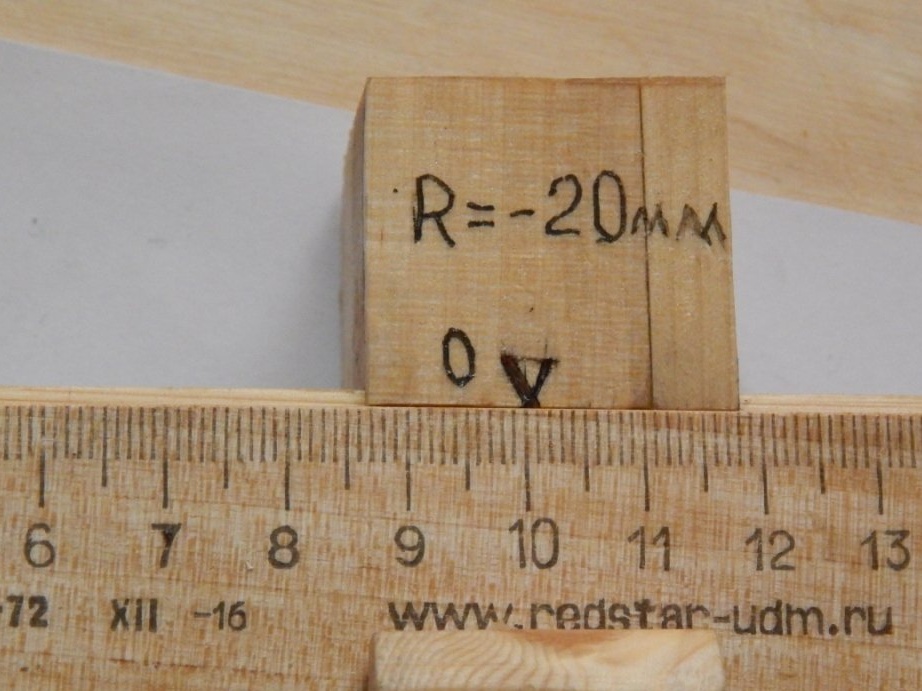
During construction fixtures the thought arose — whether or not to supplement it with a supporting needle, which would be used as a compass, which was realized. At 20 mm from the measuring edge (which coincides with the center of the marker) a hole was drilled for a self-tapping screw (this is so that it would not be "stolen").

On the inside of the block, a hole was drilled with an 8 mm drill on a tree to "drown" the head of the self-tapping screw.
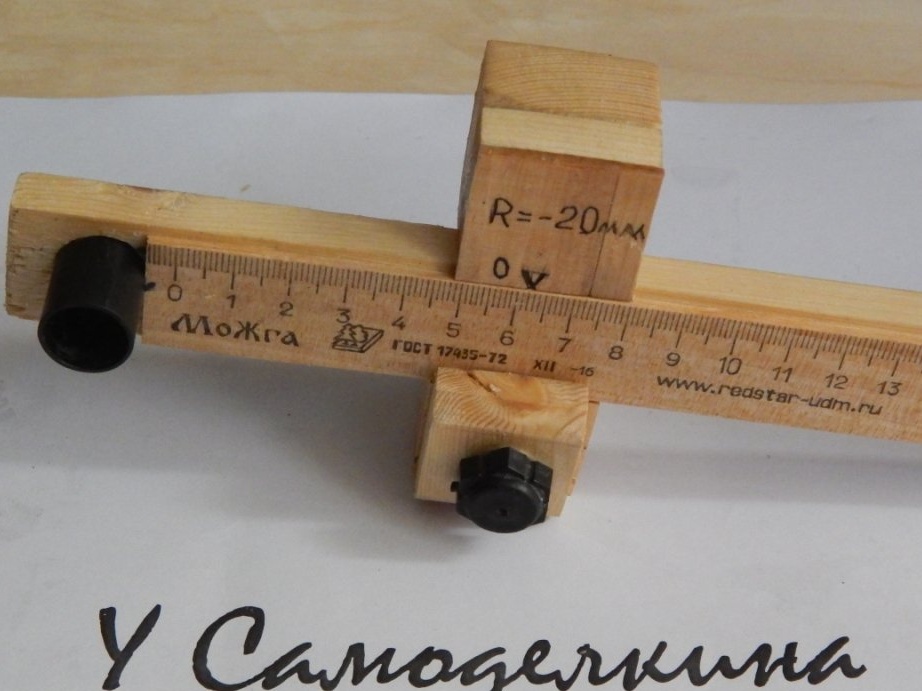
Well, that’s all, the device is ready, it remains only to put reference marks
And apply a protective coating.
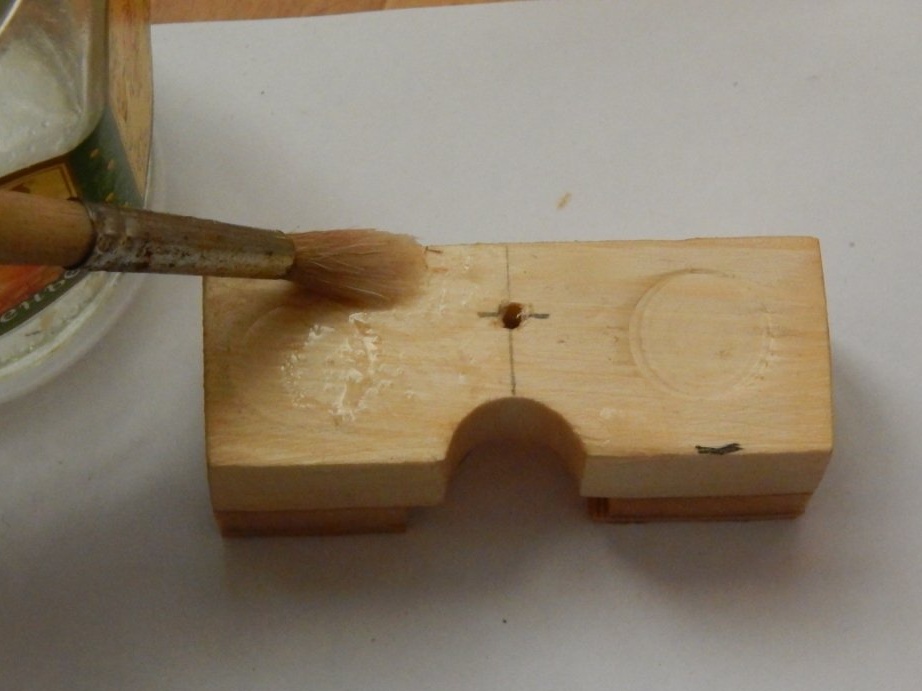
As protection, it was decided to use a solution of paraffin in white spirit. Paraffin, absorbed into the wood, has not only water-repellent properties, but also acts as a lubricant. Cutting shavings from a regular candle
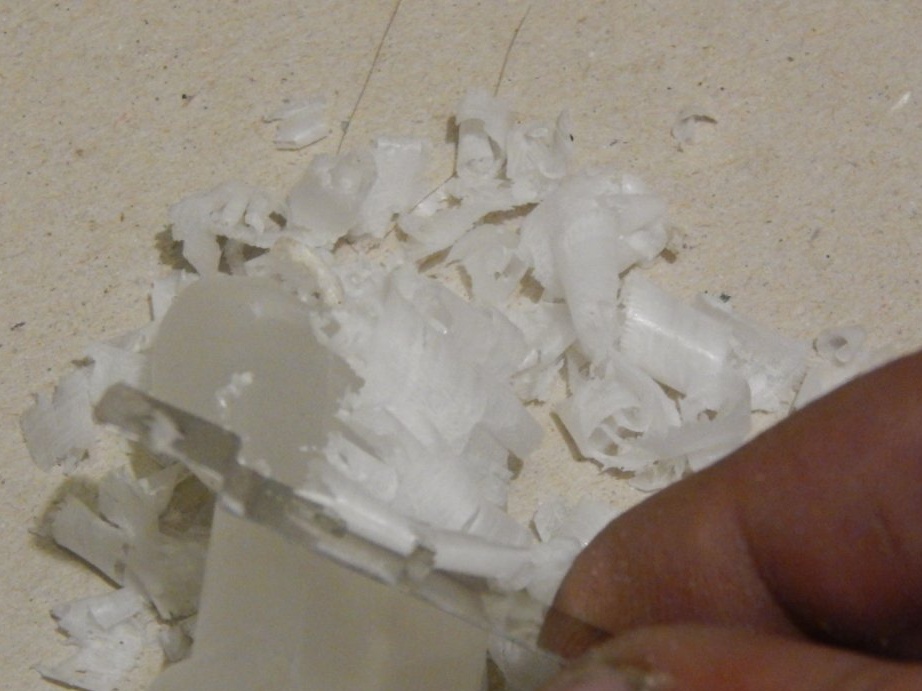
then in a water bath we dissolve it in white spirit (you can of course dissolve it in acetone too, but it evaporates too quickly and the paraffin penetrates into the wood not deep, ideally it is generally advisable to soak the parts in a hot solution) and apply the solution to the parts with an ordinary brush.
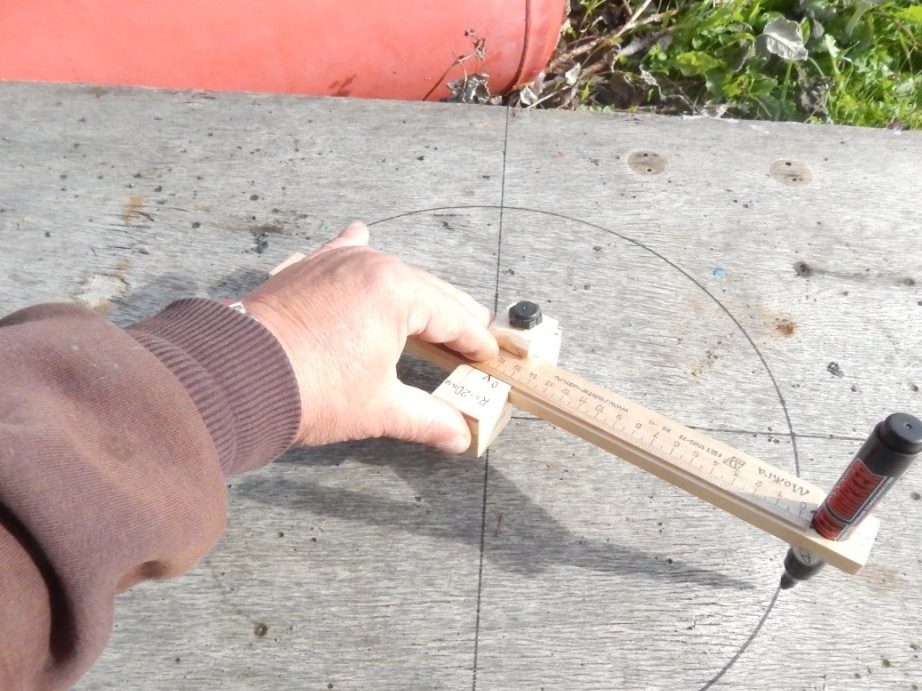
In conclusion, I want to show a couple of shots with a surface gage marking
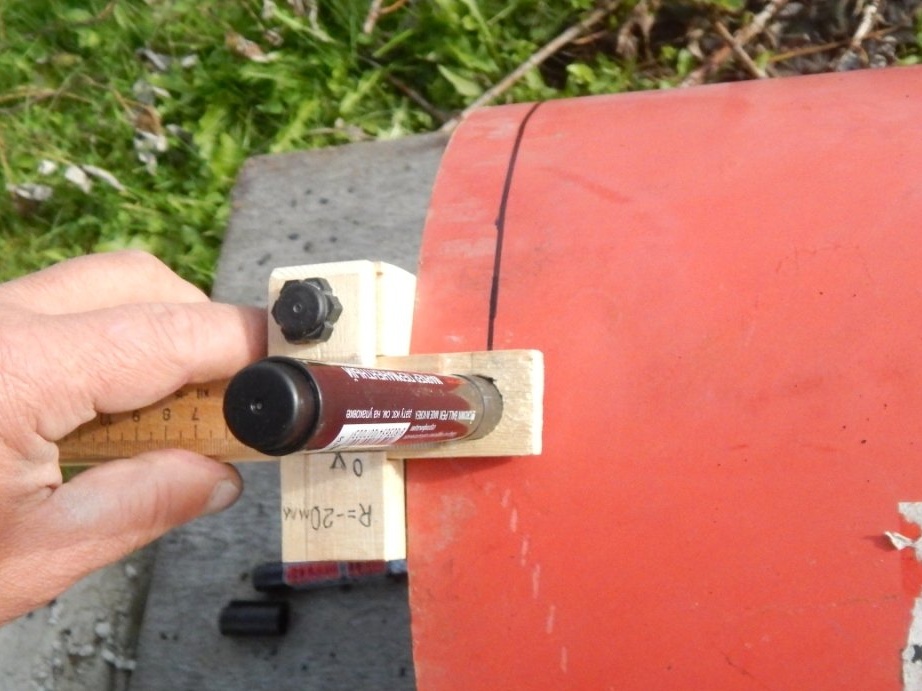
And use as a compass
I foresee comments about the accuracy of this tool, I will answer right away - I need to mark them up for subsequent cutting with the “grinder” and drawing templates for welding, where millimeter accuracy is excessive. For more accurate work, I use a caliper.
On this, let me take my leave, until we meet again.