
In this article, the author of the DIY Creators YouTube channel will tell you how to make a simple standalone alarm system that responds to opening a window or door.
- This homemade product is very easy to manufacture, and can be made even inhome conditions. Any suitable box may be used for the enclosure.
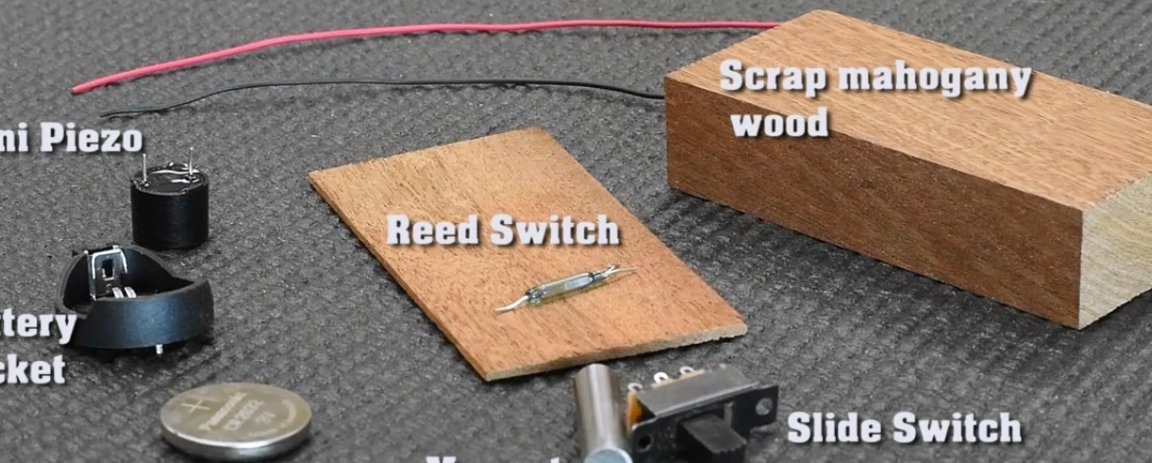
Materials
— Reed switch three-pin 2.5 * 14 mm
- Squeaker 3B
- switch
- Battery 3V, holder for it
- Neodymium magnet
- Wooden block (mahogany)
- wires
- Solder, flux
- PVA glue
- Double-sided tape, foam rubber
- Danish oil (you can cook it yourself by reading this article).
Instruments, used by the author.
—
—
—
—
—
- Belt sander
- Nippers
- Vise, chisel, ruler, knife, tweezers, pencil.
Manufacturing process.
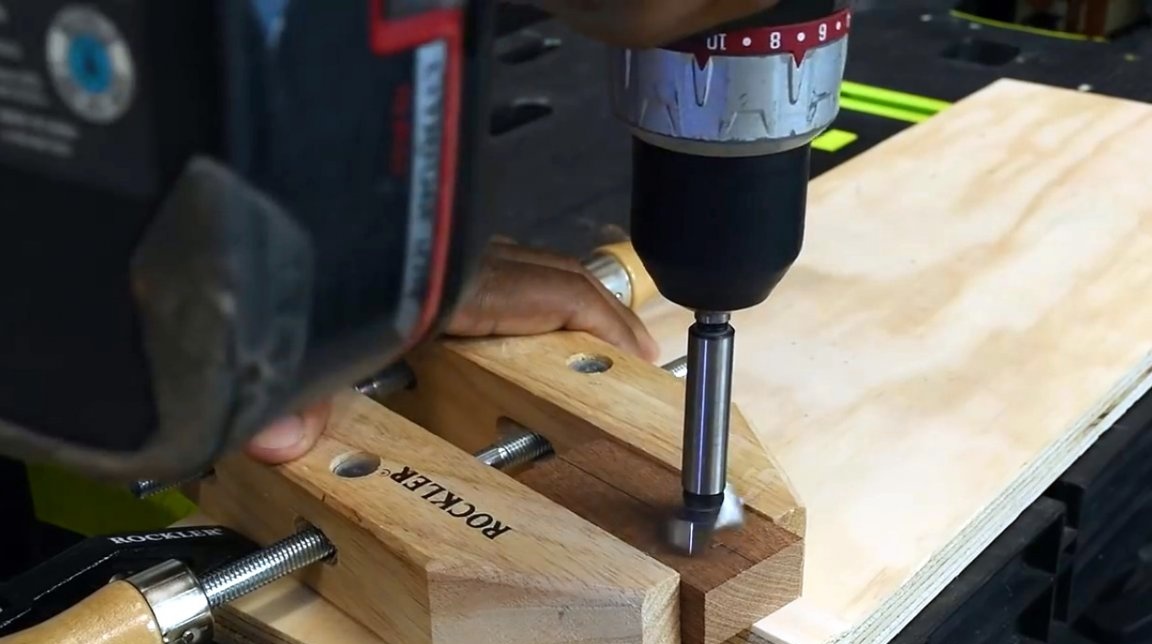
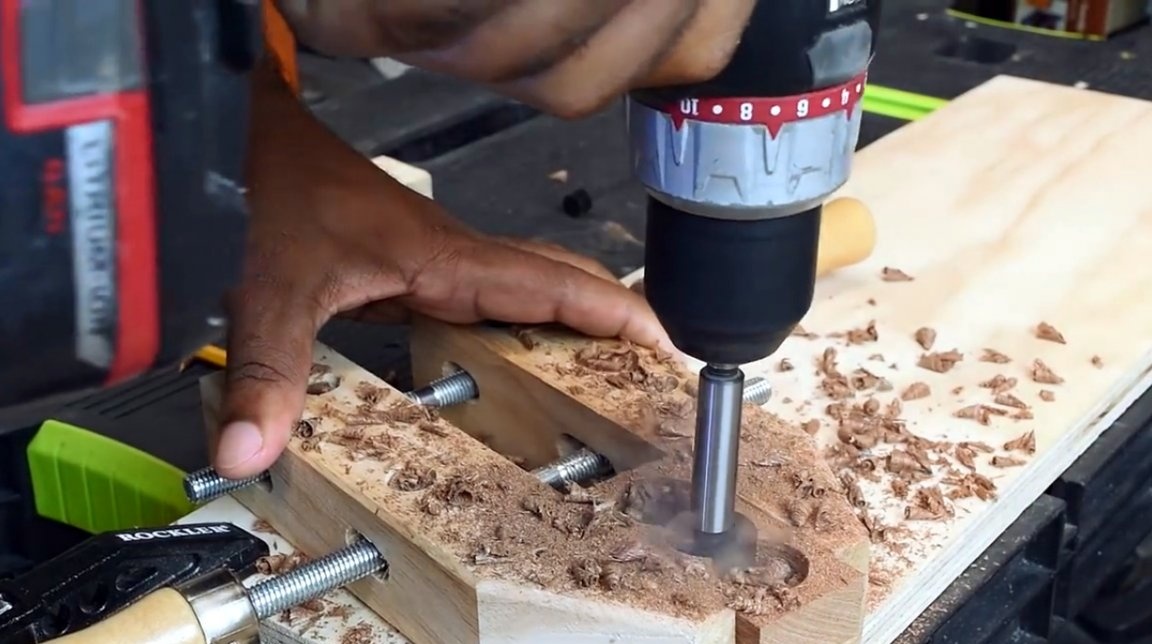
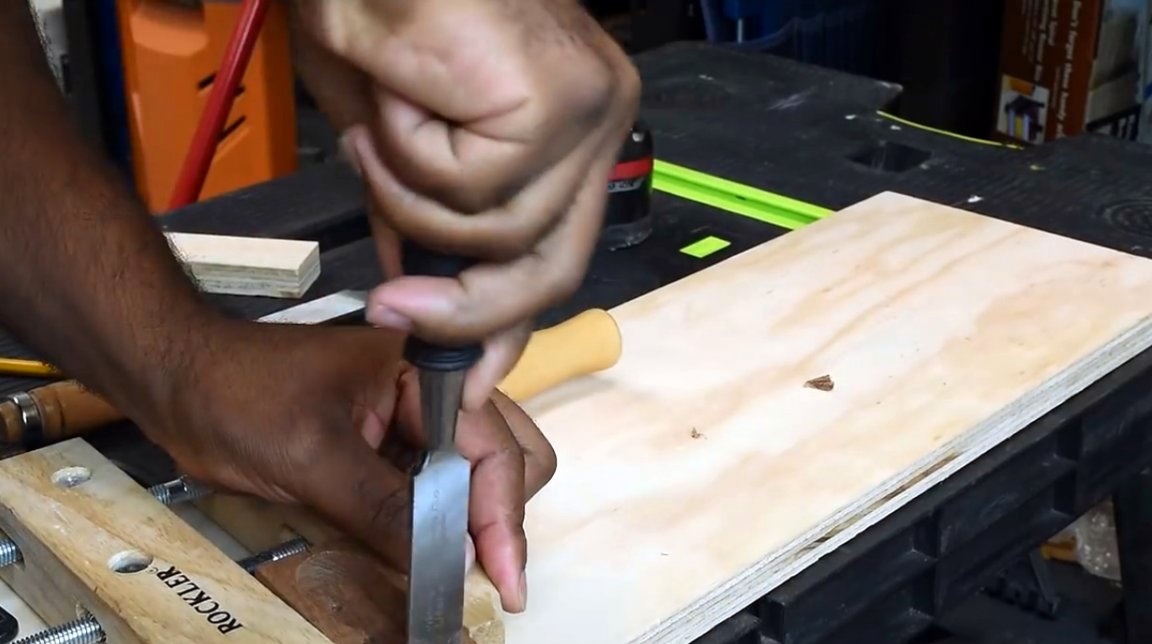
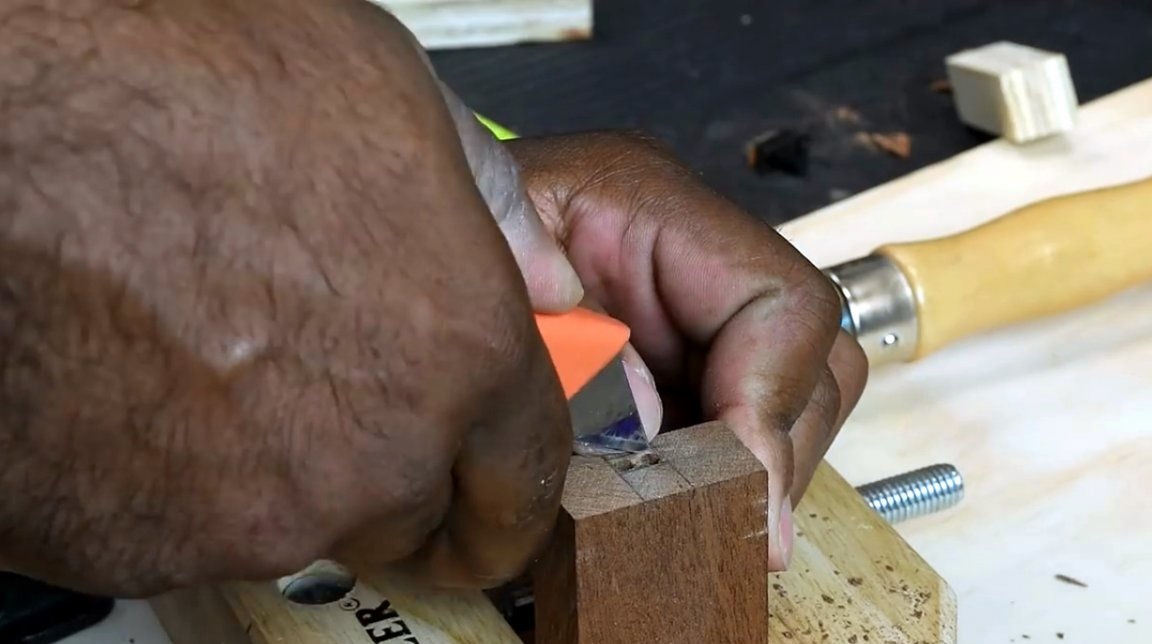
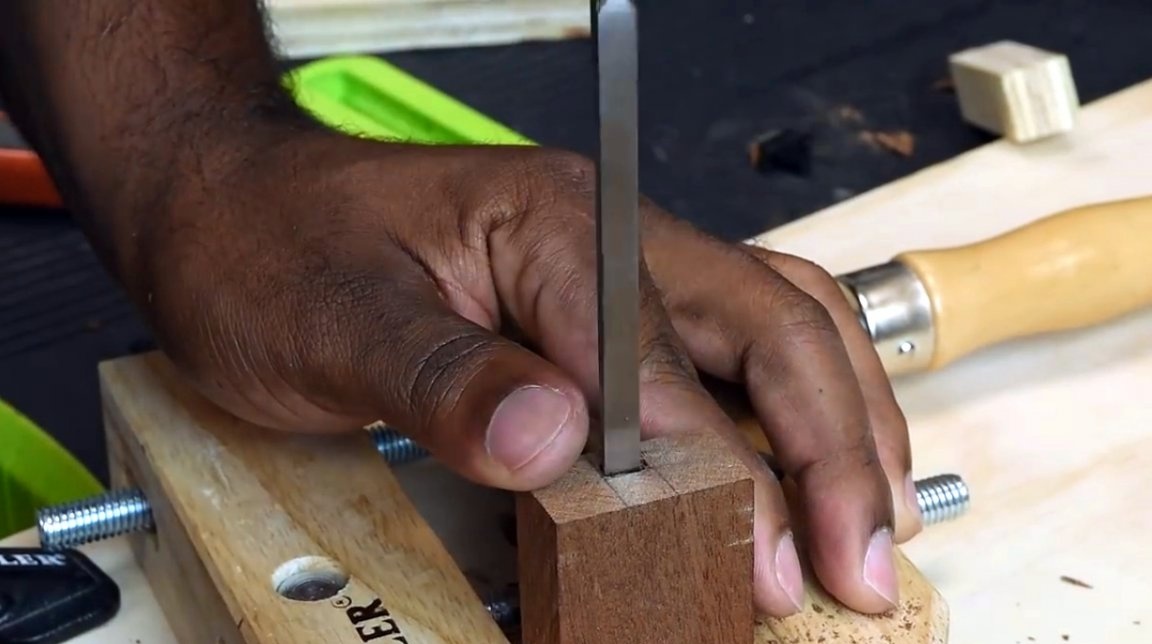
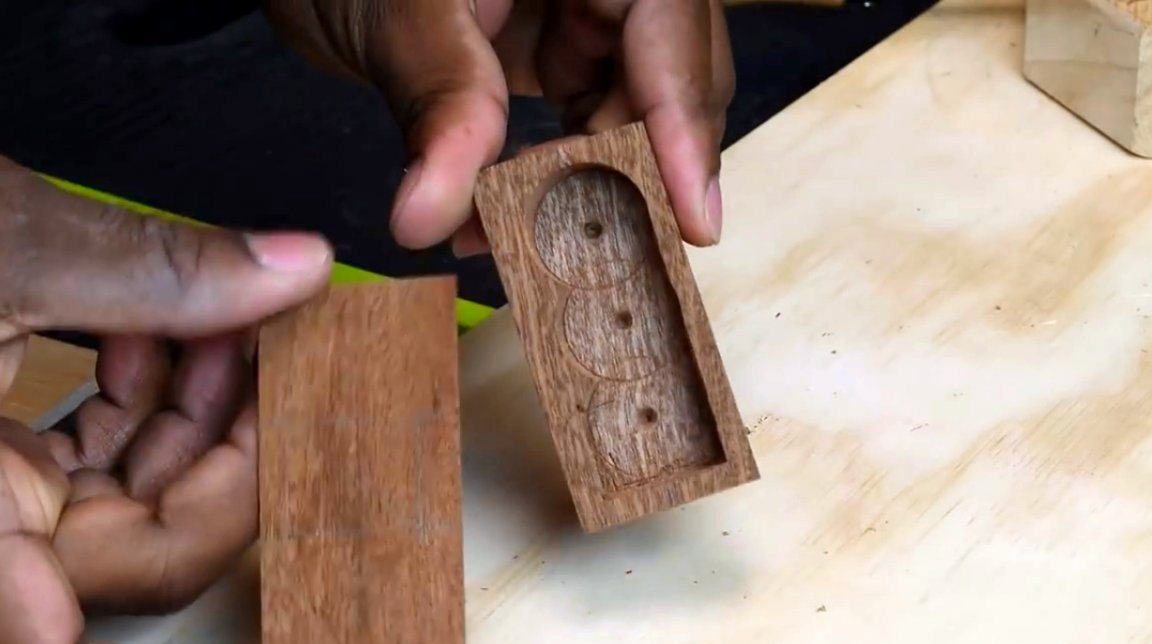
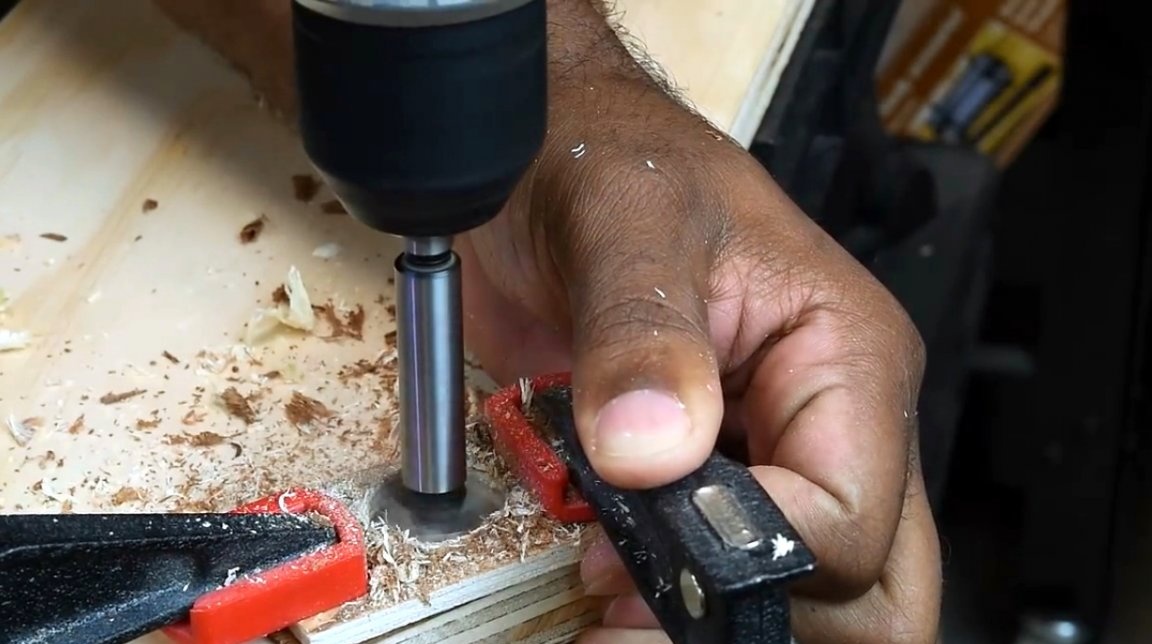
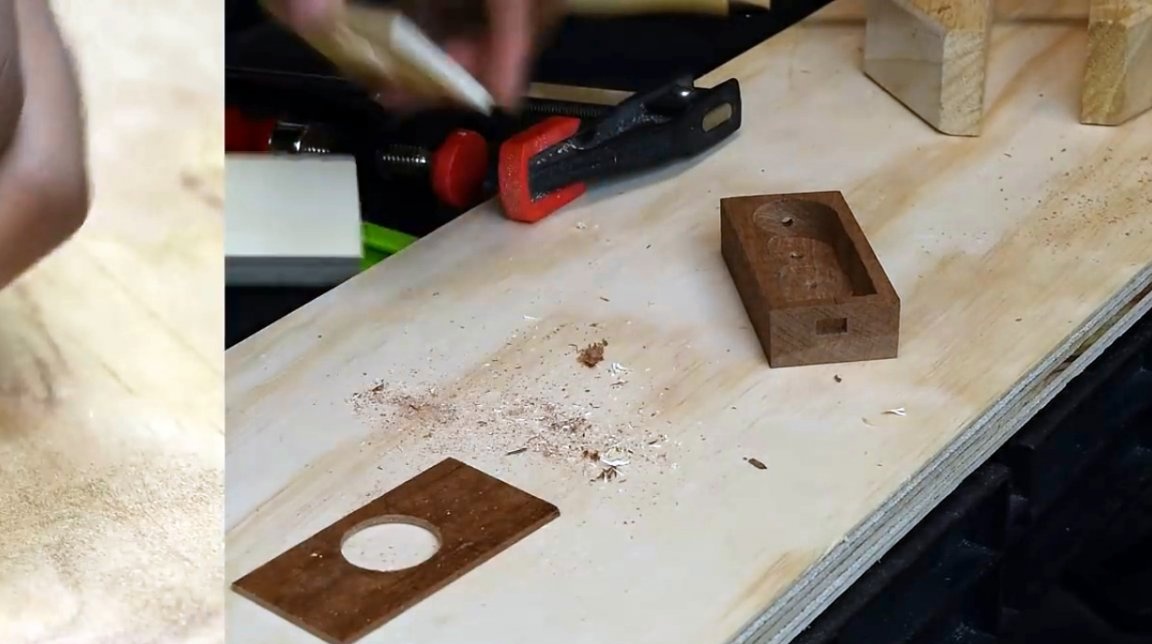
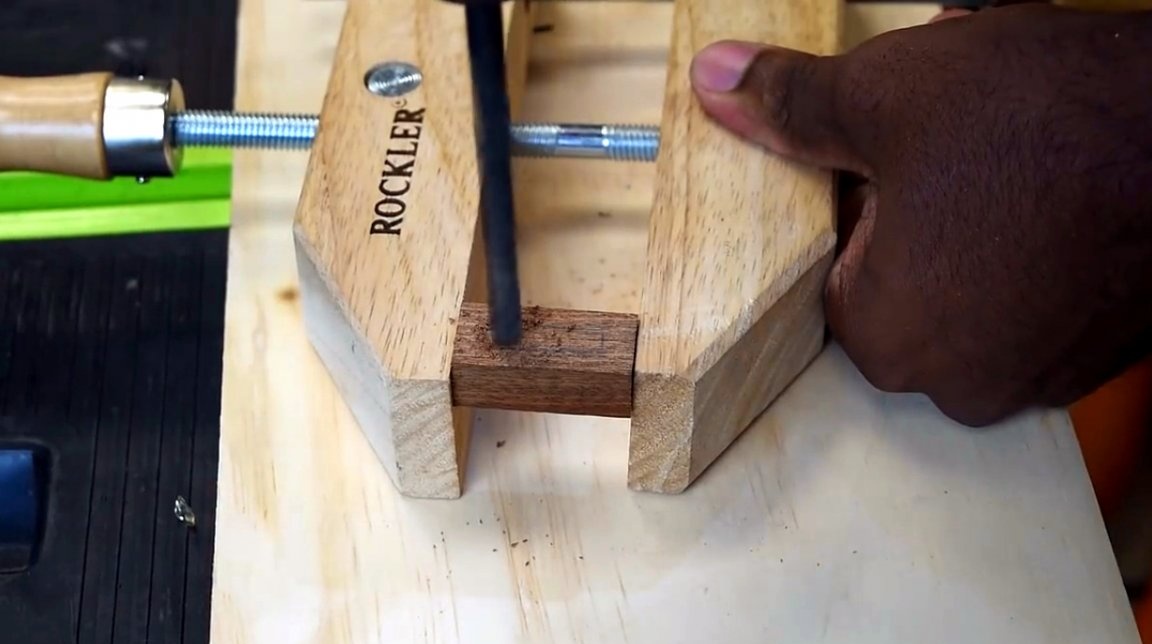
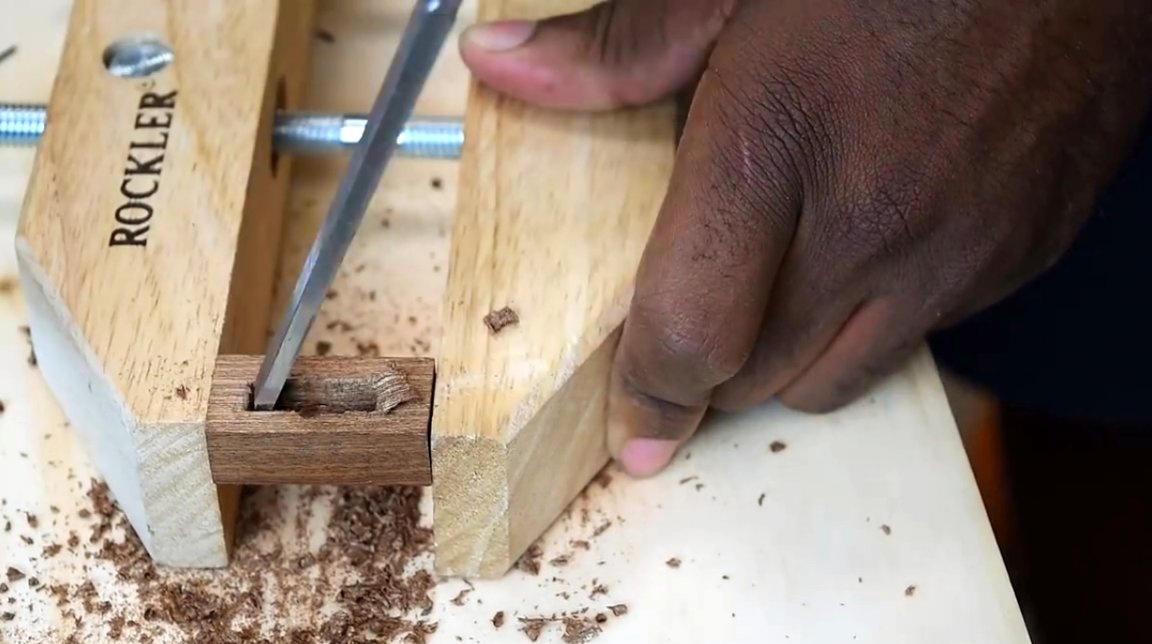
In a mahogany bar, a Forstner drill drills a recess, the remains of the material are cleaned with a chisel. One edge of the recess must be aligned.
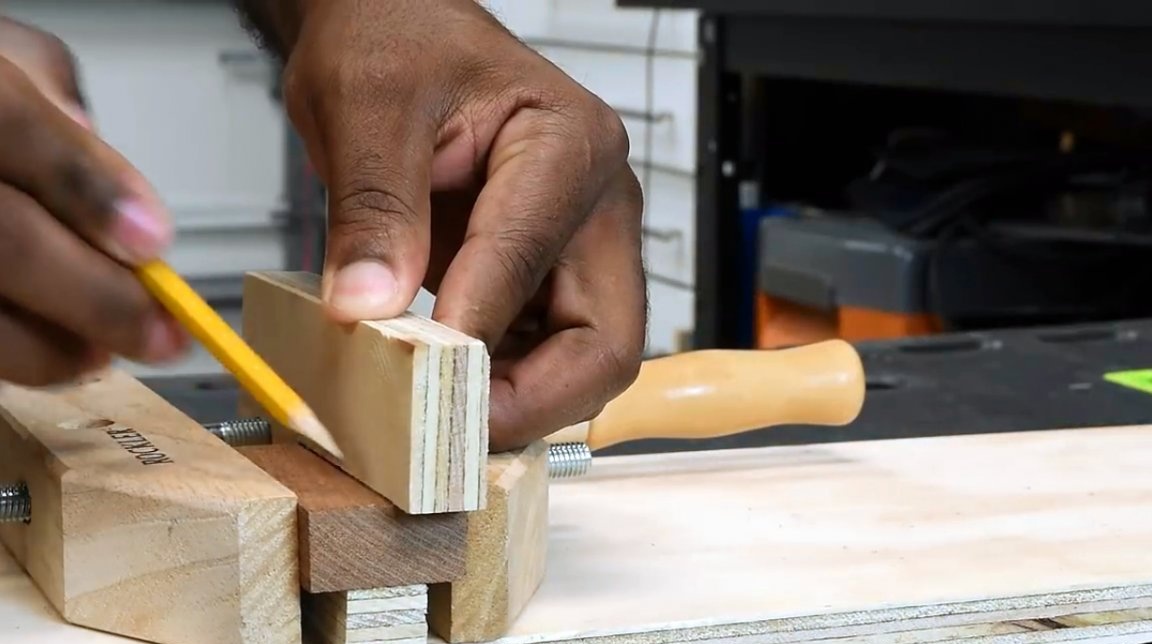

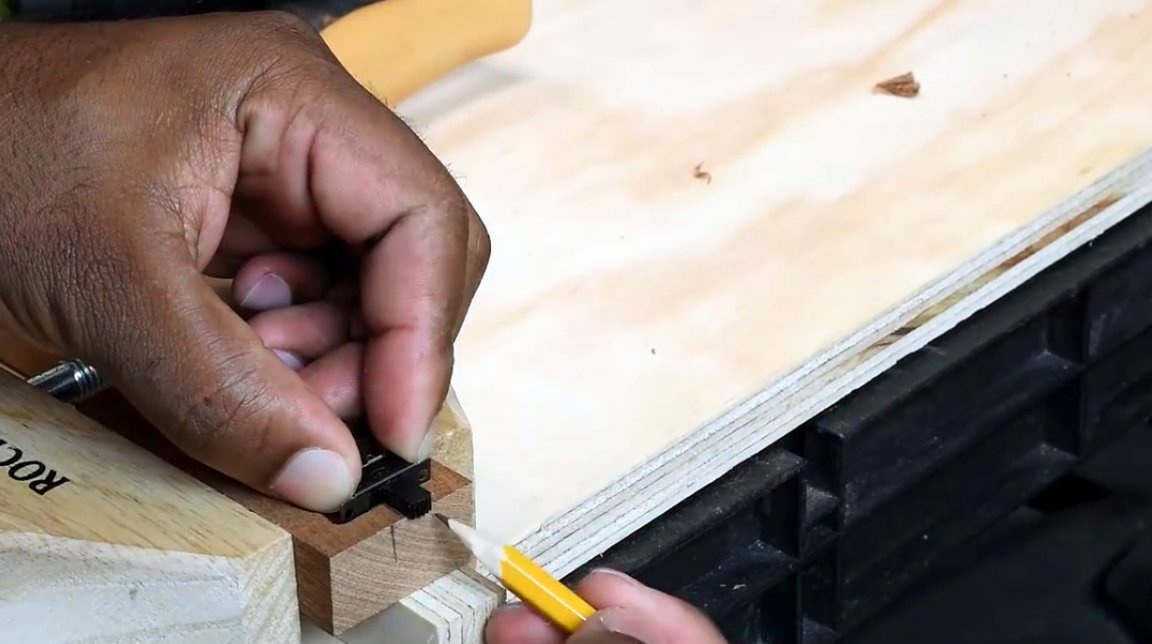
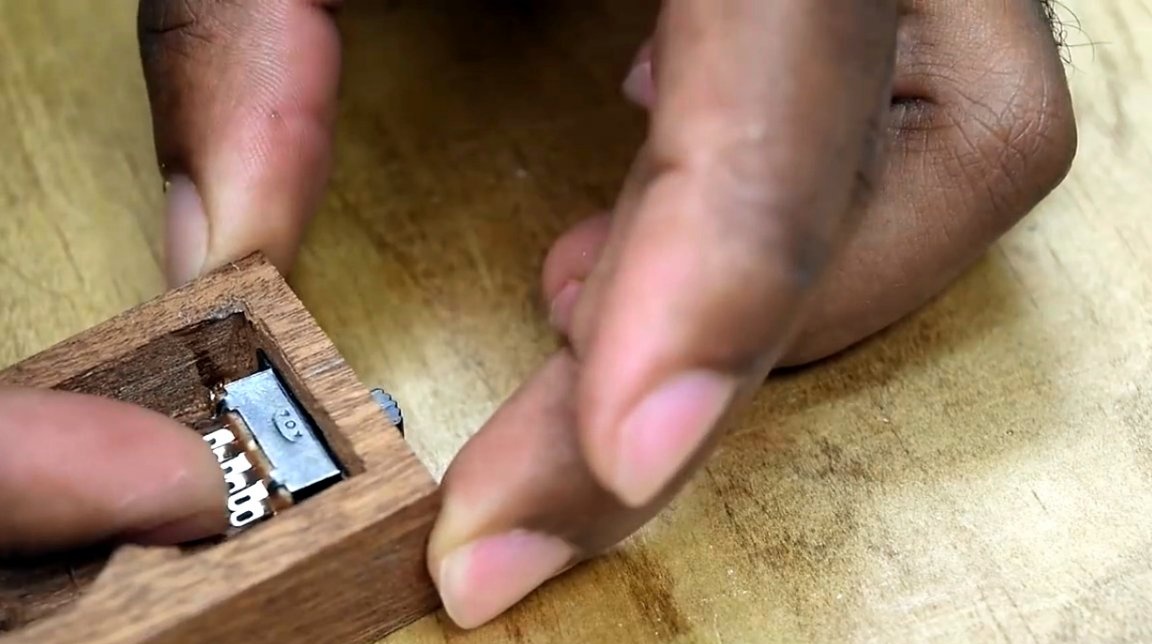
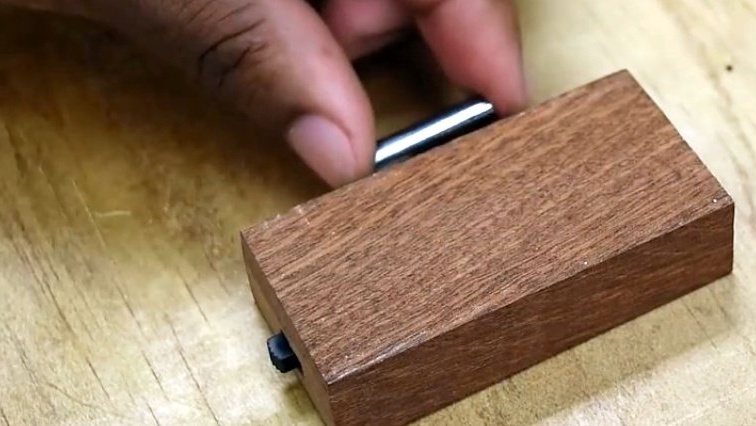
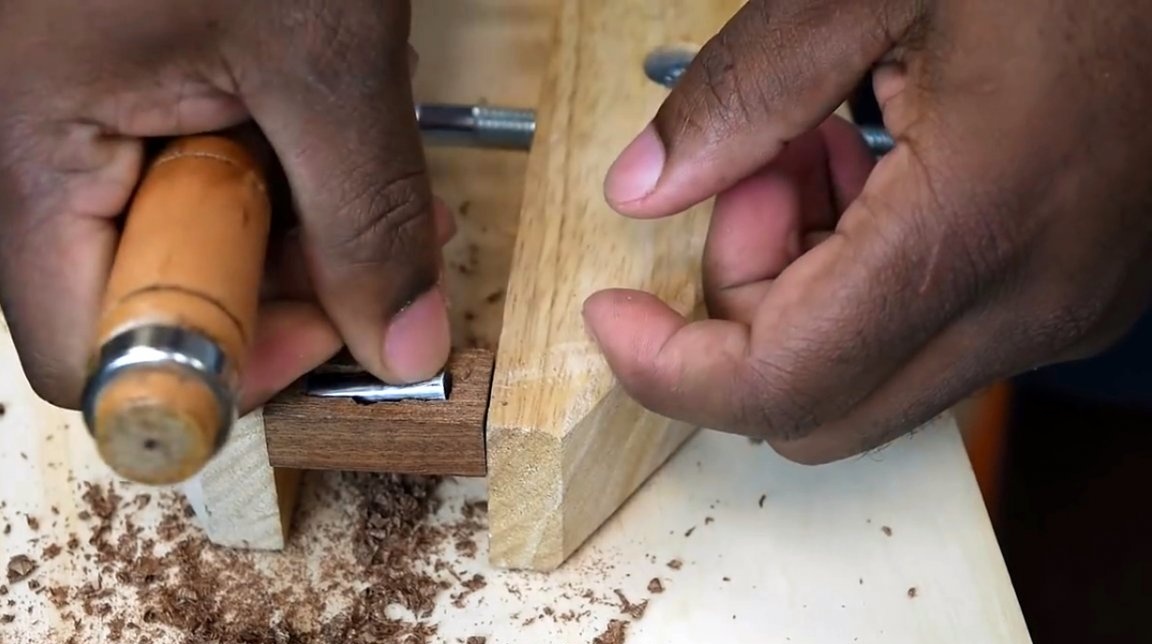
Attaches the switch to the end of the sensor housing, and marks both extreme positions of the head. First it drills and then cleans the groove. The switch head must be free to move in it.
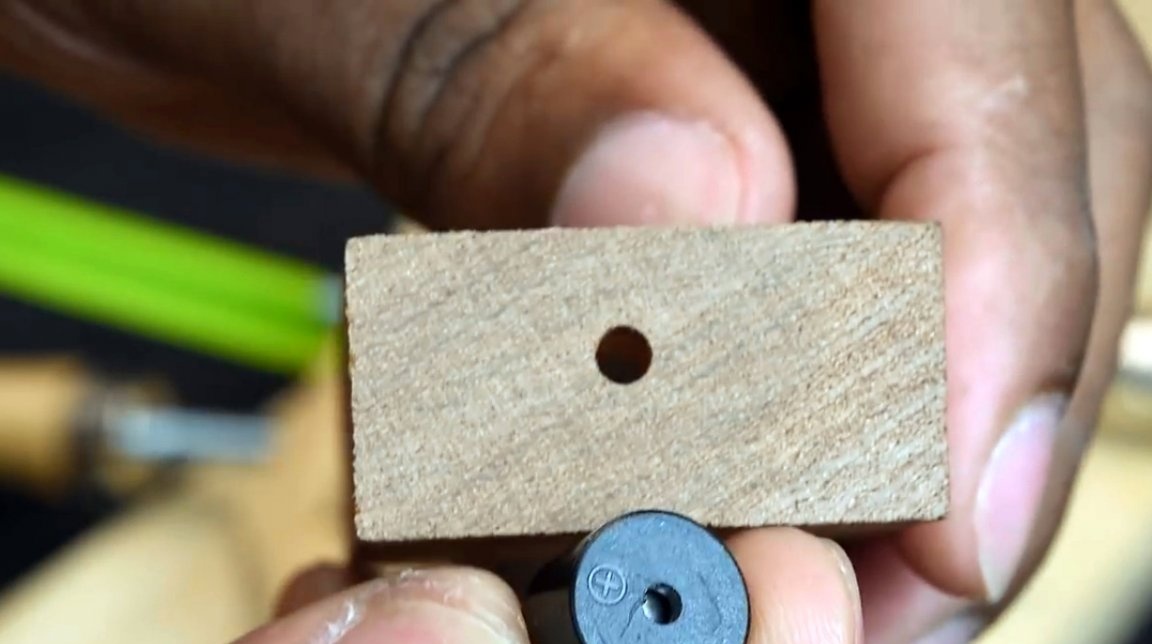
He tries on a piezo-emitter, and drills a hole so that the sound signal gets out.
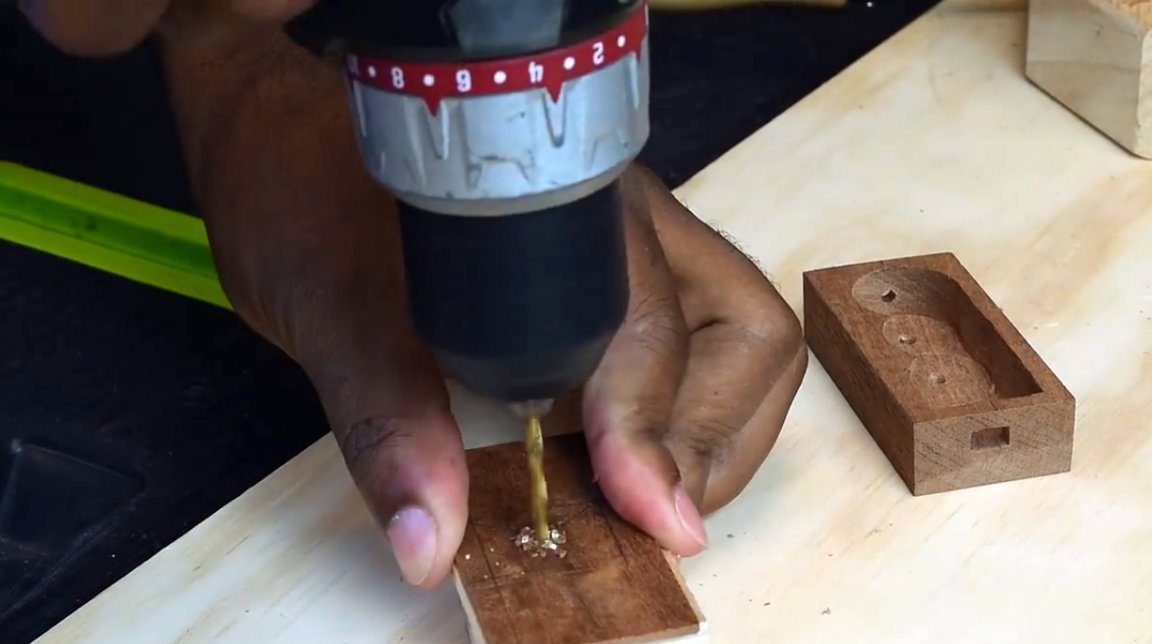
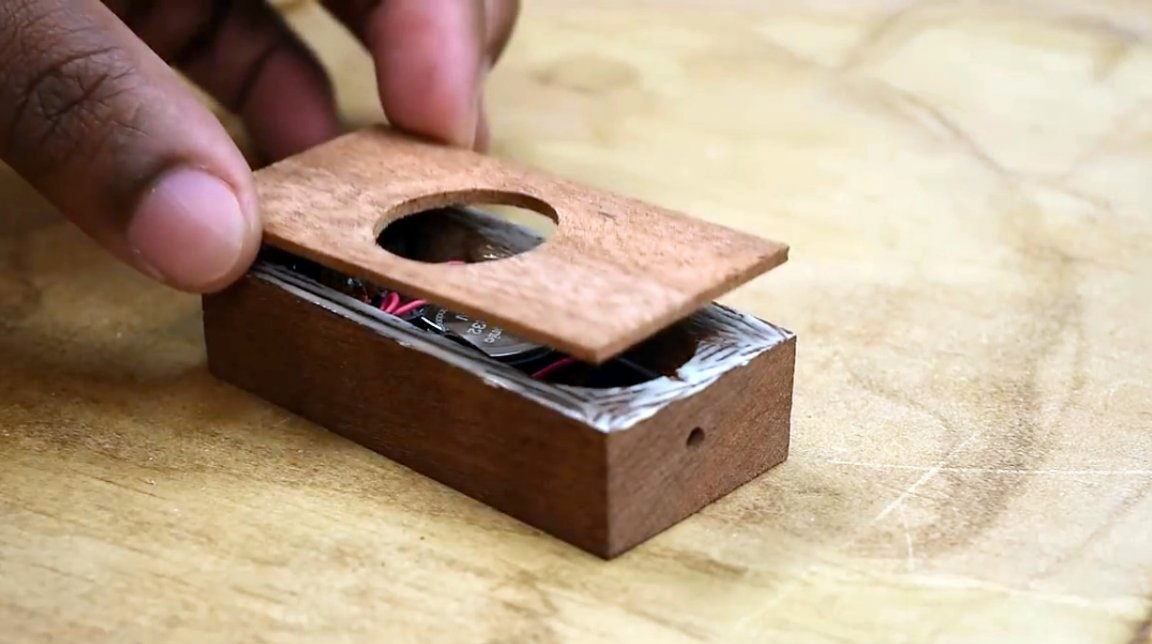
From a piece of plywood or the same solid wood, the master made a cover for the case.
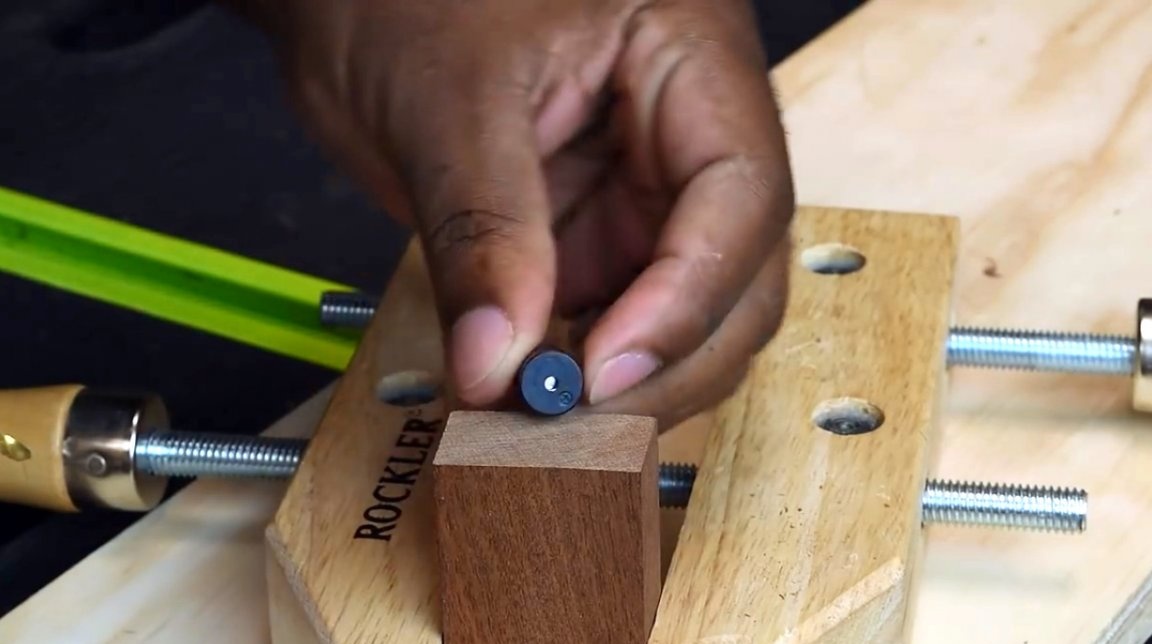
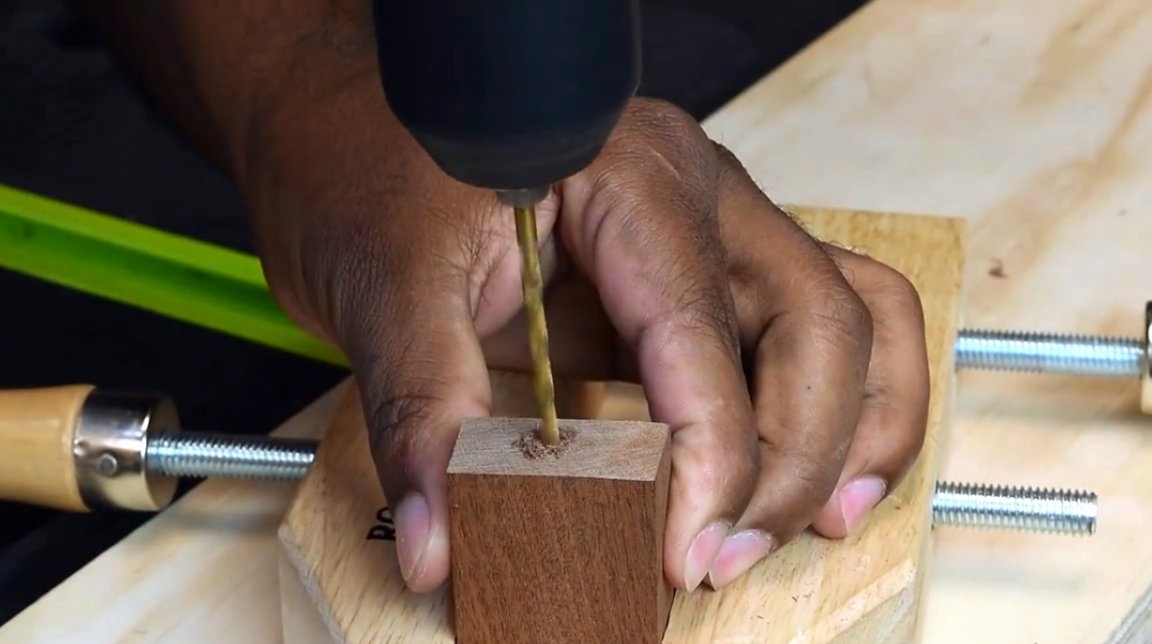
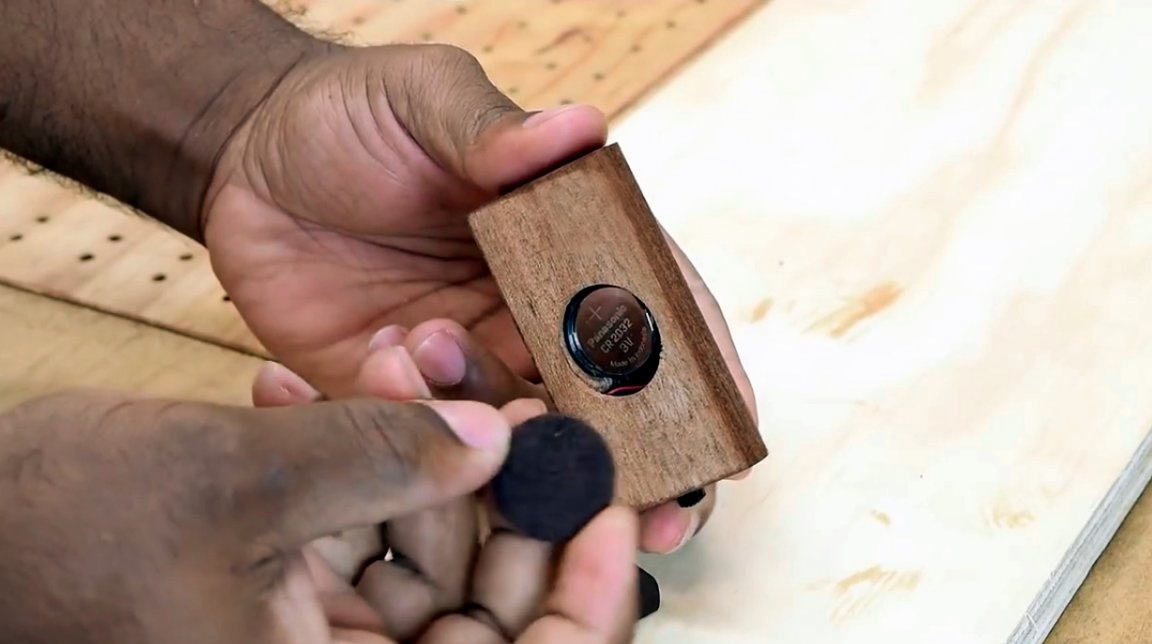
First, it drills a pilot hole in its center, and then drills it in diameter slightly larger than the size of the battery.
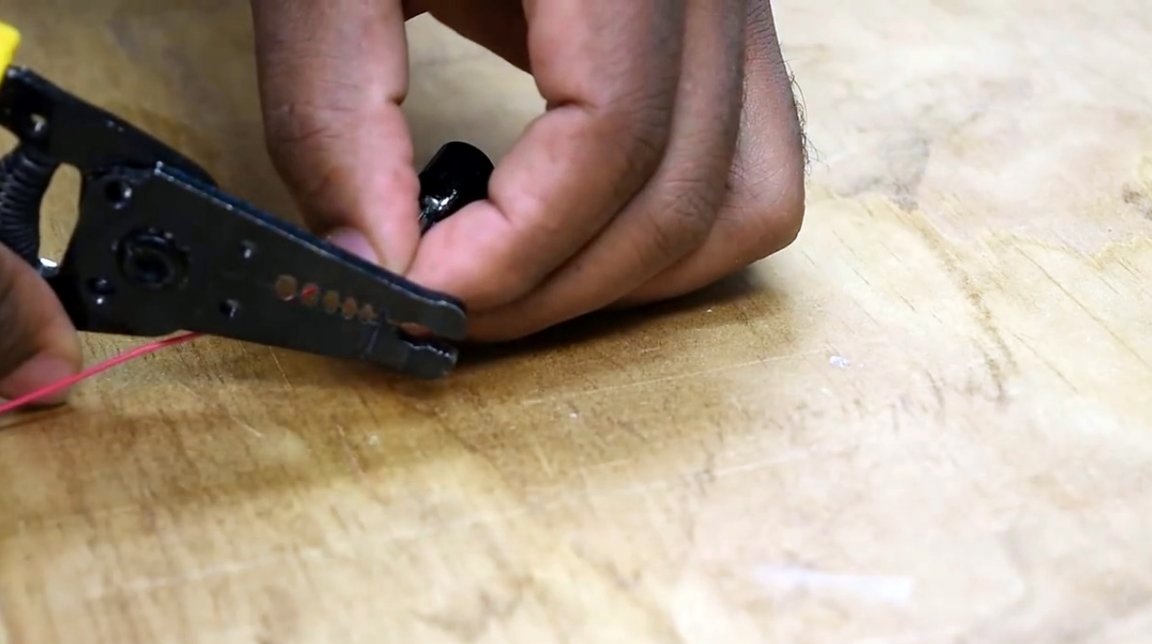
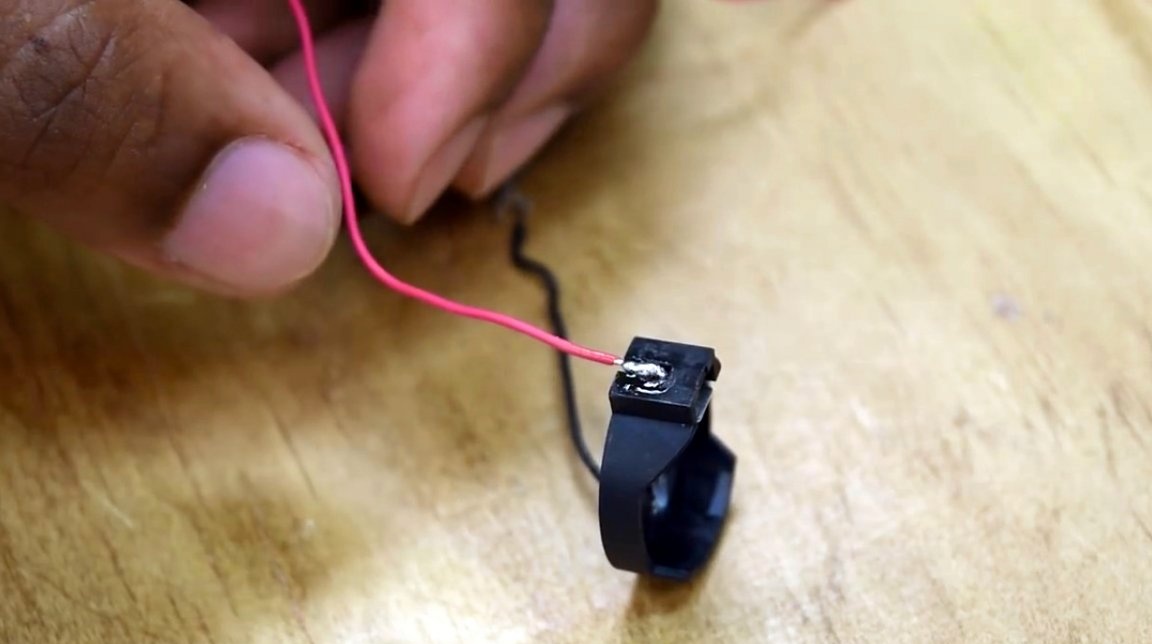
Solder and strip wires to the tweeter according to polarity.
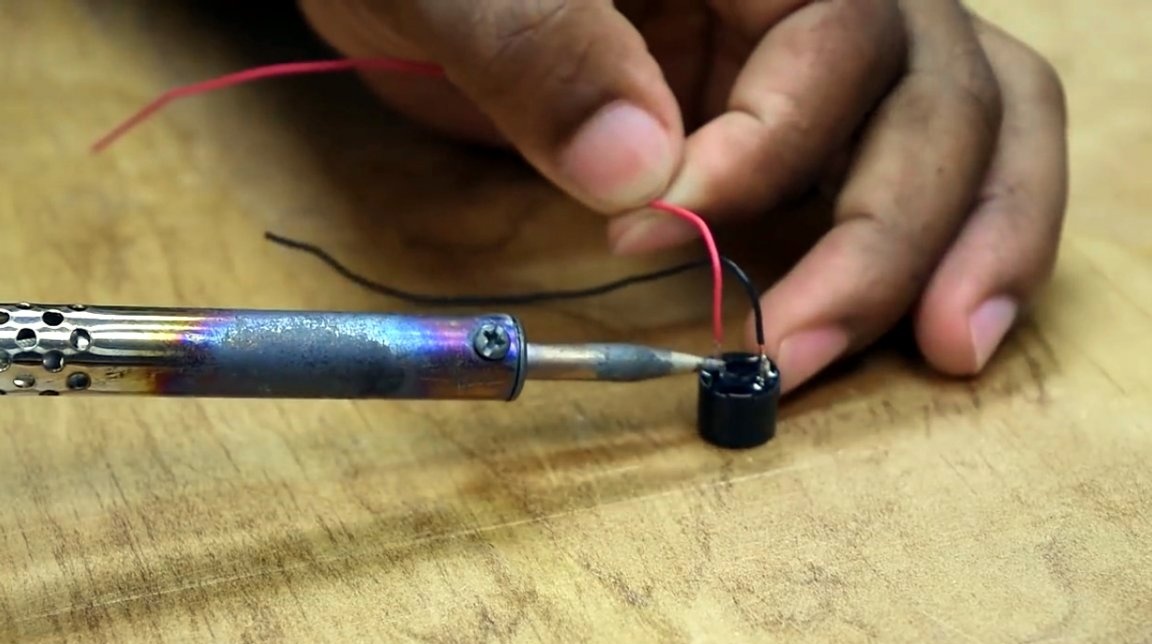
One of the wires is soldered to the common contact of the reed switch, and the second to the normally open contact of the sensor. In other words, this contact will open the circuit when holding the magnet to the sensor. Be careful not to bend the contacts near the glass case, it will simply crack.
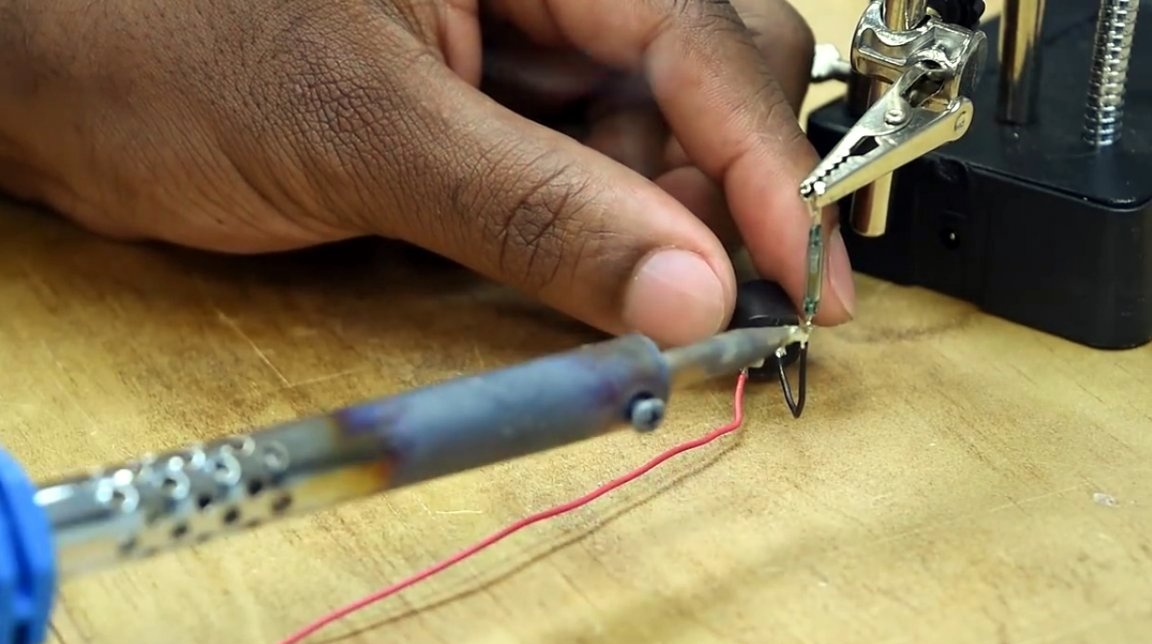
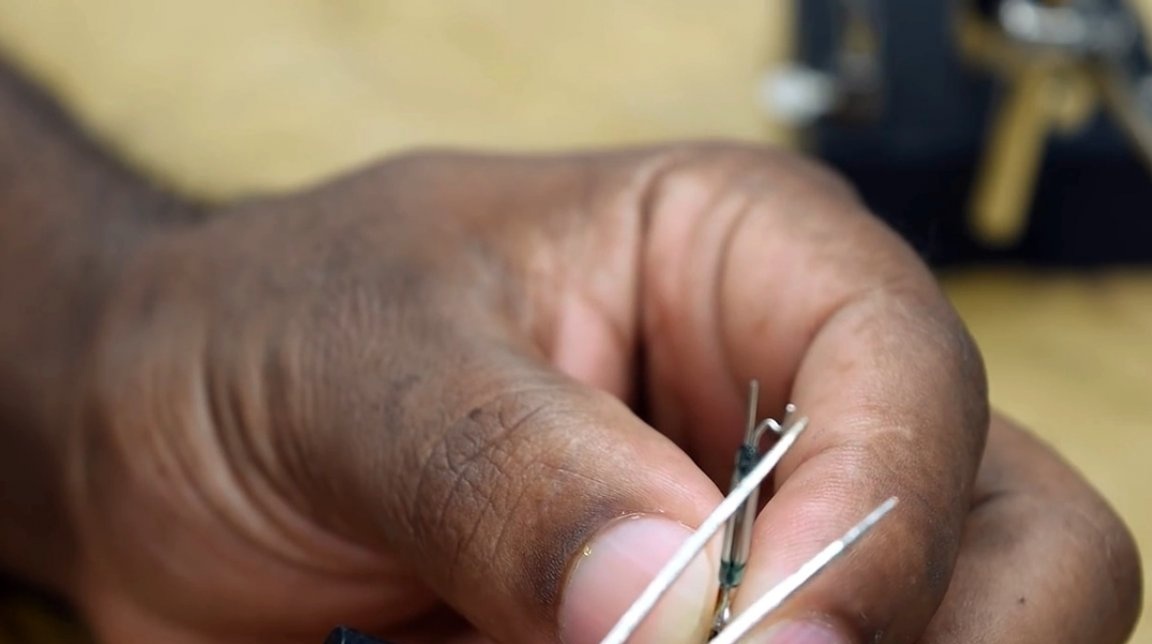

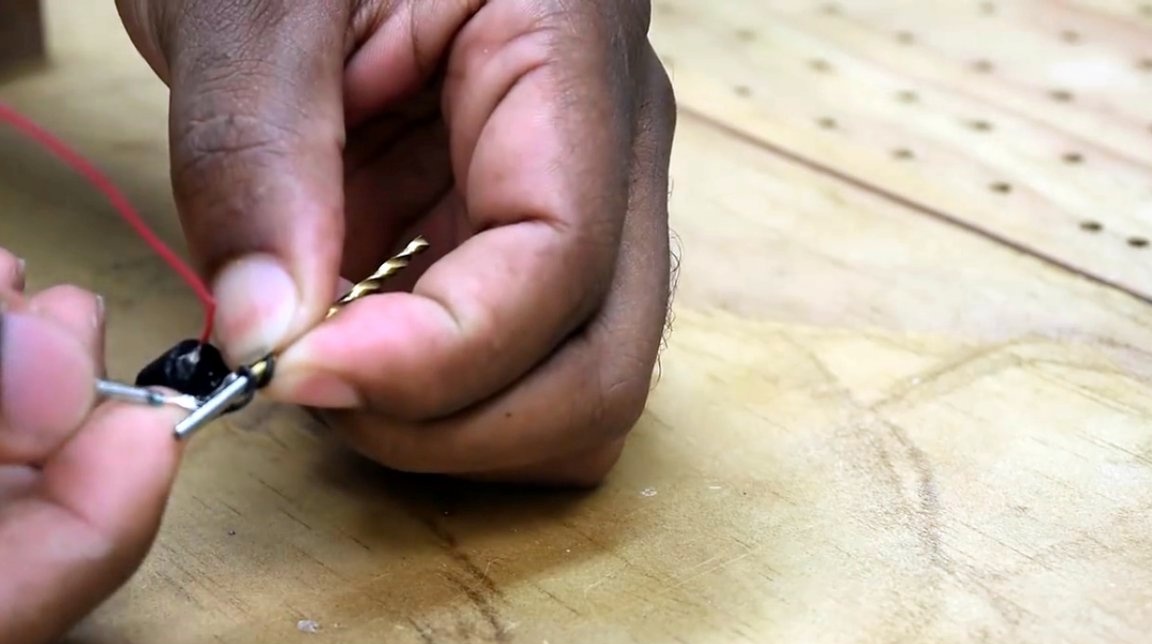
The author also wrapped wires near the reed switch on the drill, forming a pair of spirals. This will also save him from destruction.
Then you should solder the wire from the reed switch to the battery holder, and one more to its second contact.

Using hot glue, the switch is glued into place.
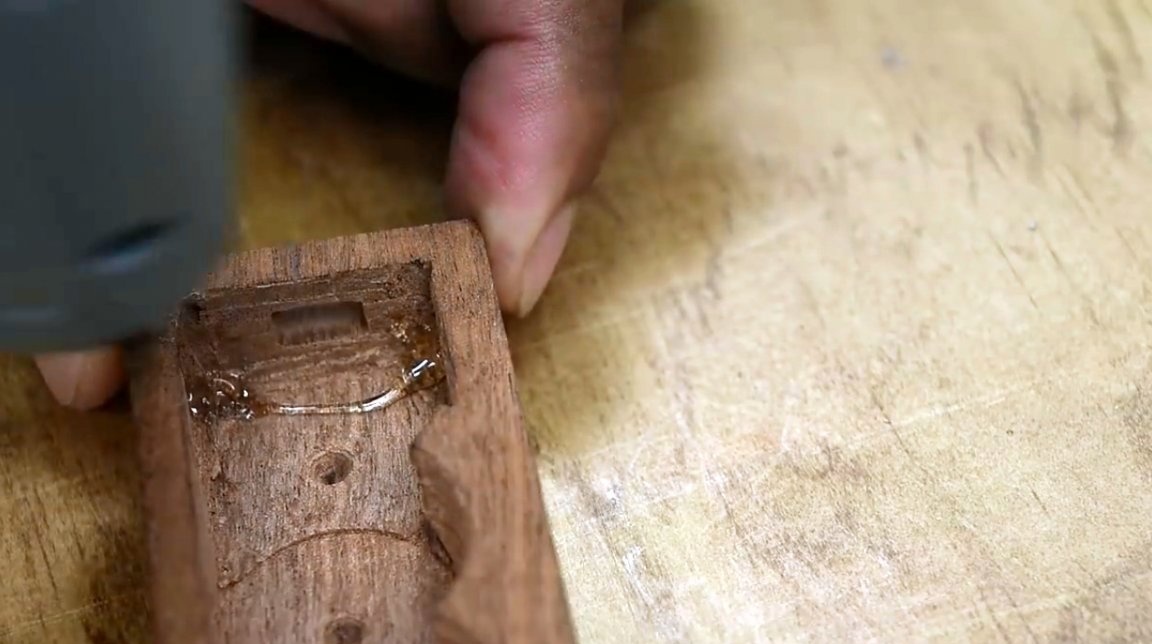
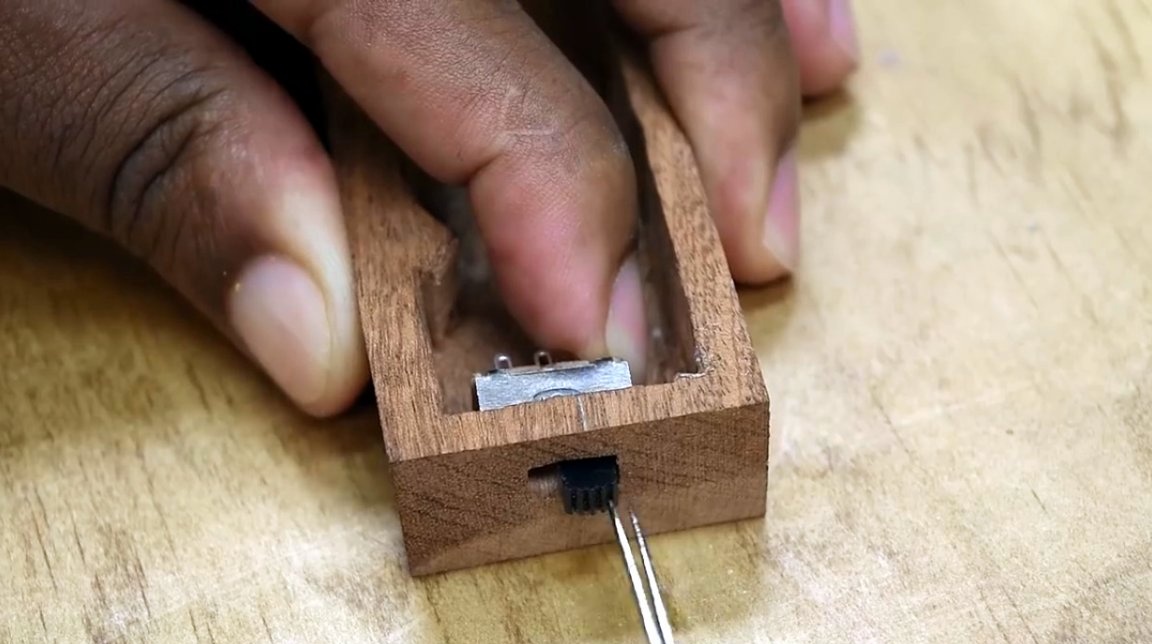
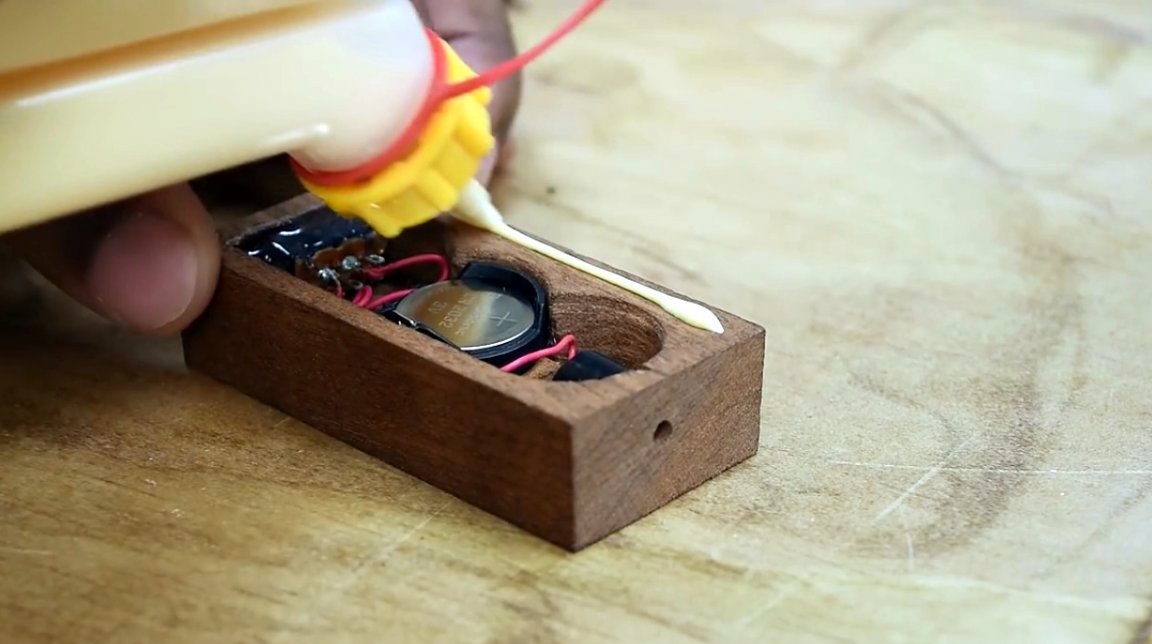
In the center of the recess, the author pasted a small lining for the battery compartment, and gently installs the reed switch near the side wall. Fixes it with hot glue.

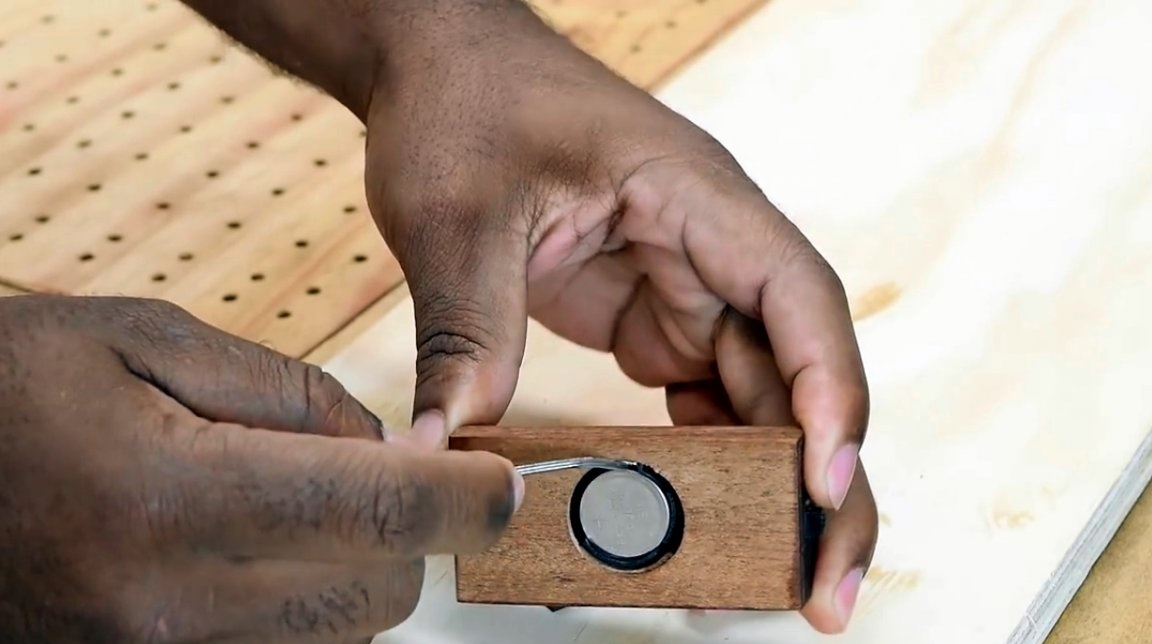
It remains to solder a pair of wires to the contacts of the switch, install the battery. It is important to remember the place where the sensor is installed.
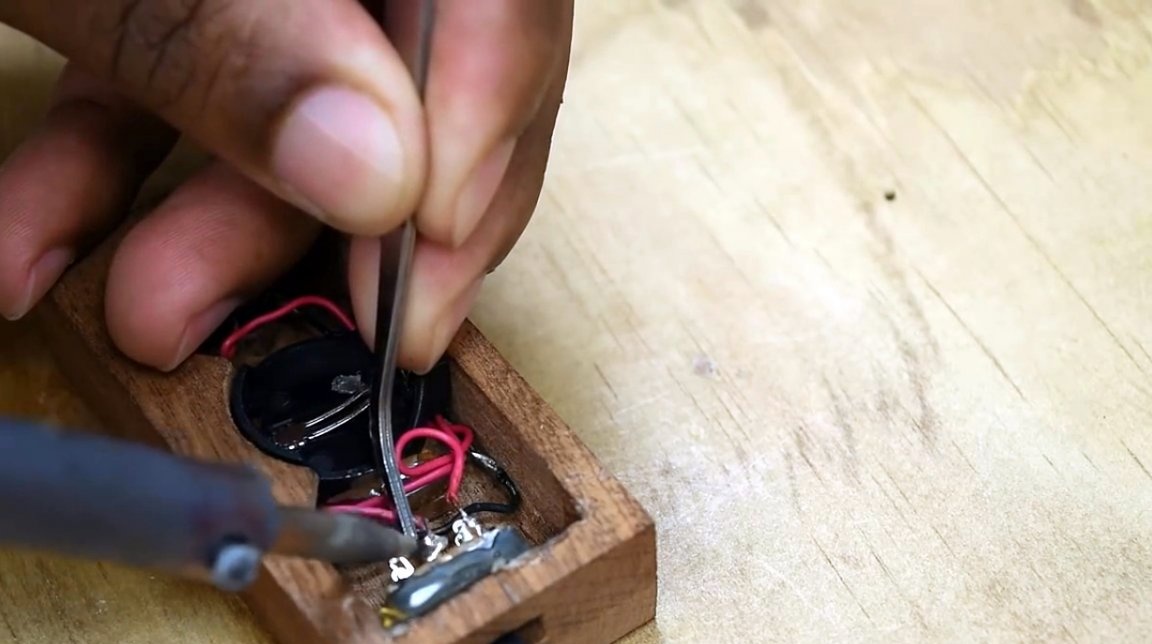
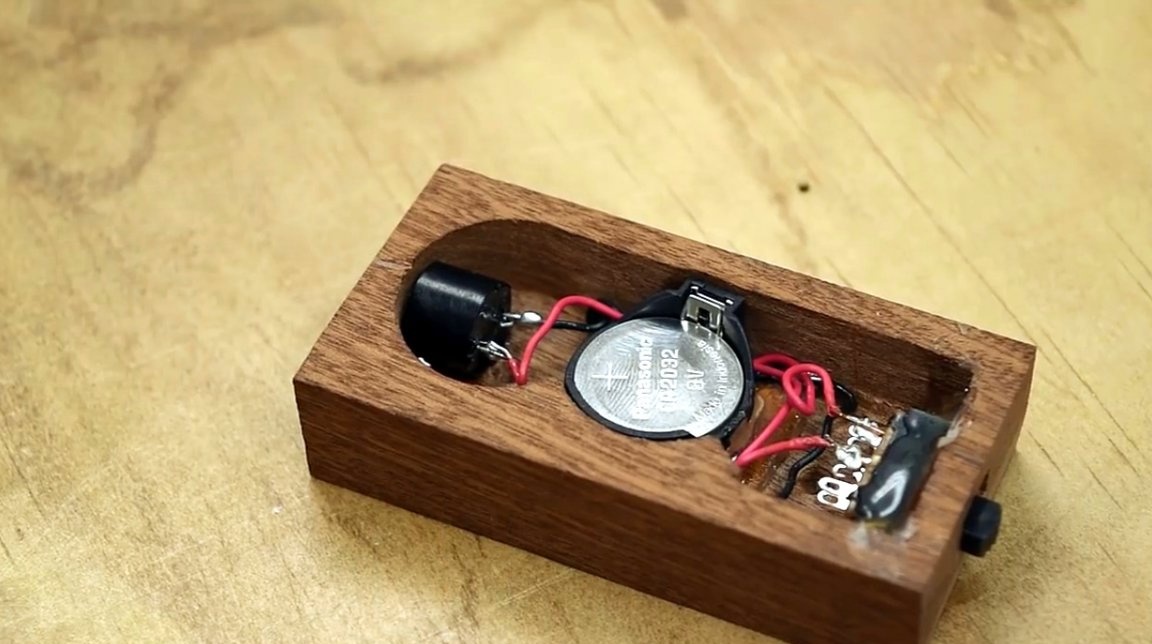
So, the electrical circuit of the device is ready, you can bring a magnet, and check the operation of the sensor.
The author decided to stick the device cover using PVA glue. And put it under the press.
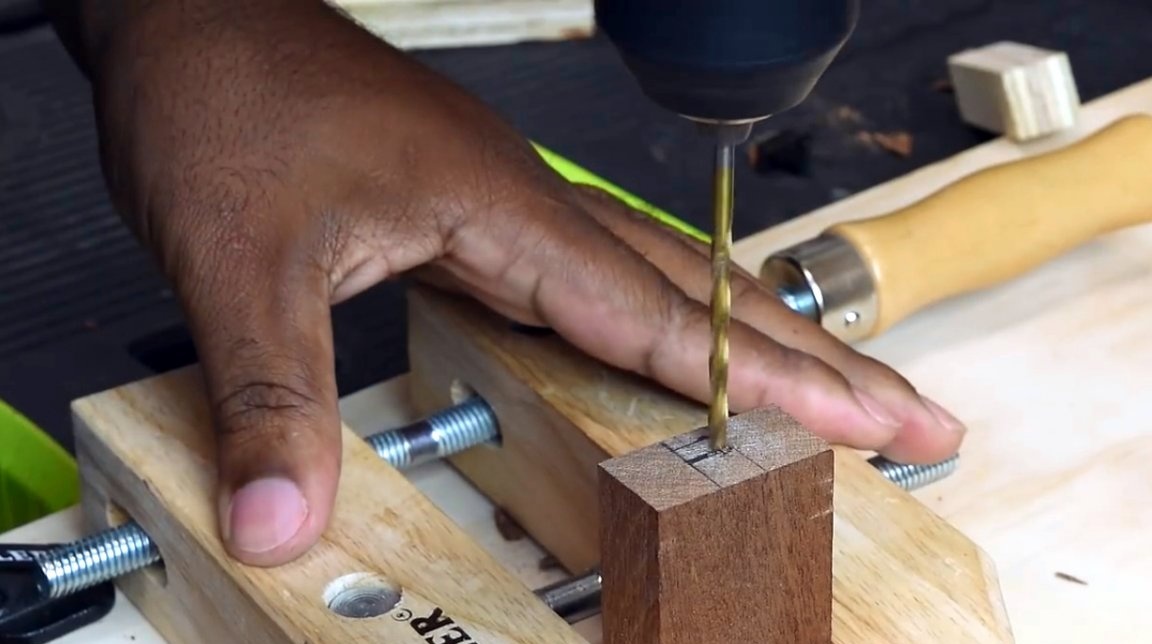
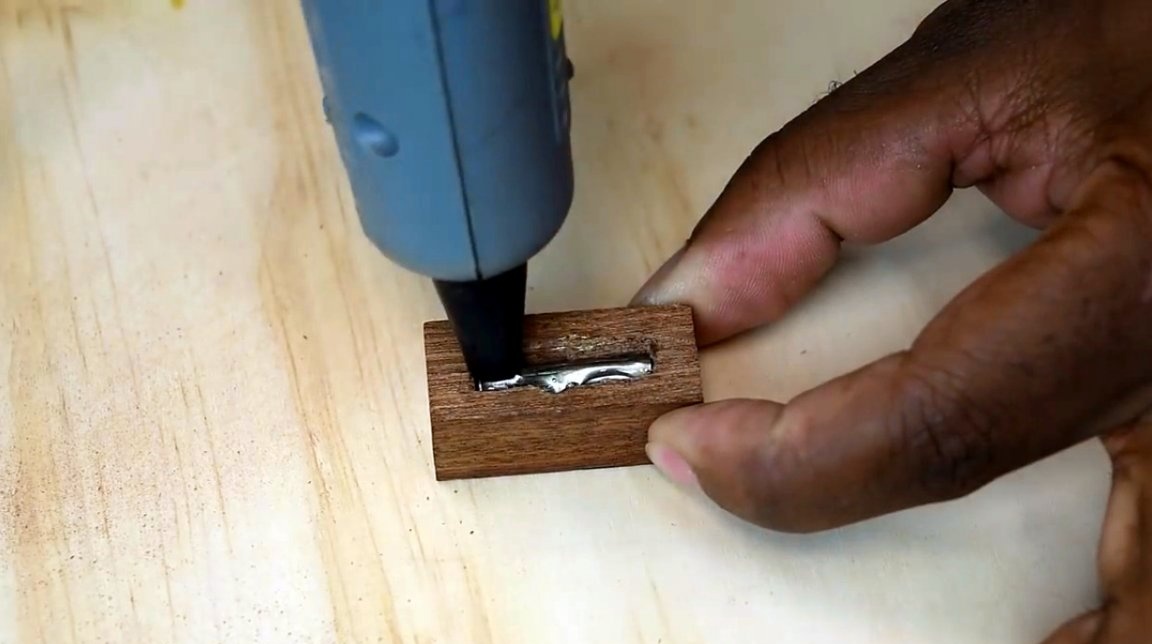
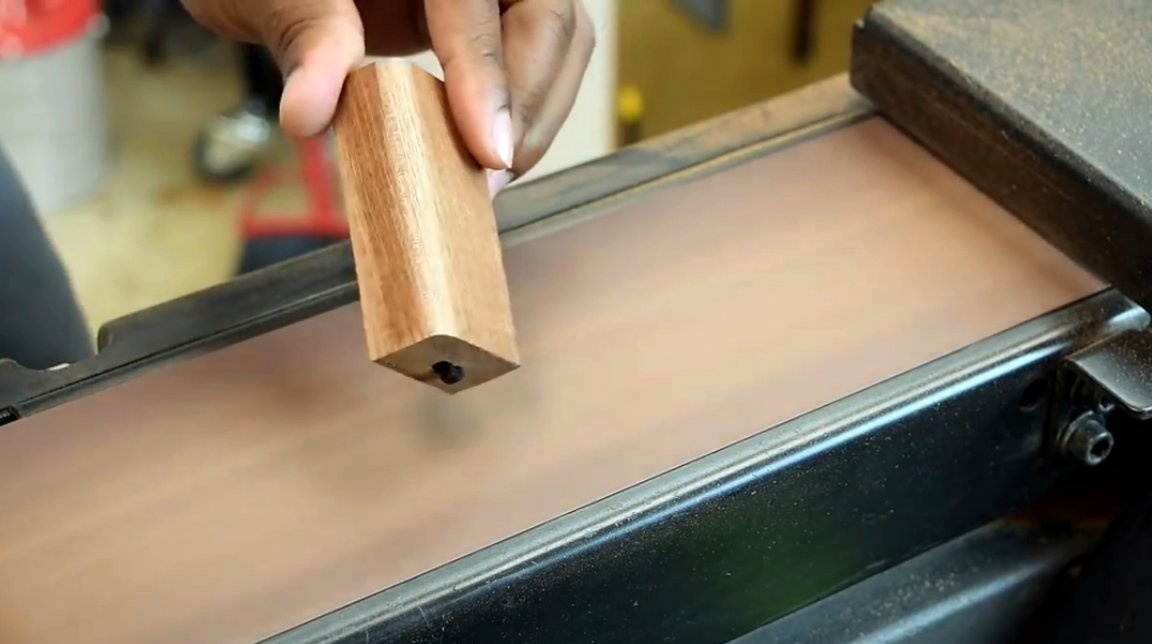
Still need to make an aesthetic body for the magnet. In a mahogany block, a groove is made for him.
A long cylindrical neodymium magnet is installed in its place and fixed with hot glue.
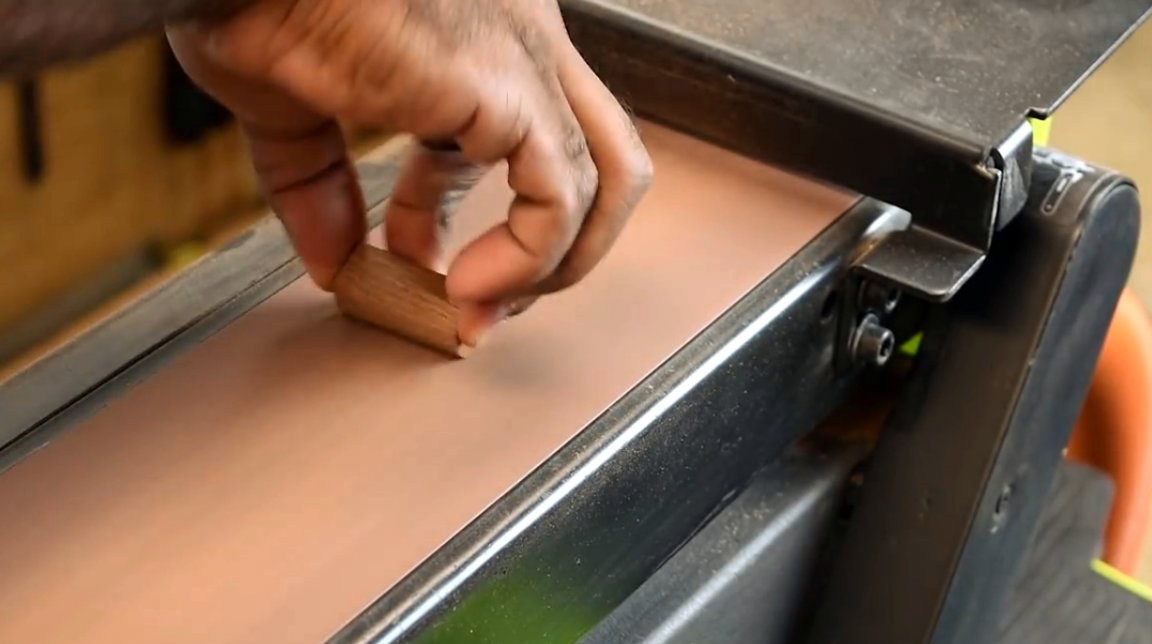
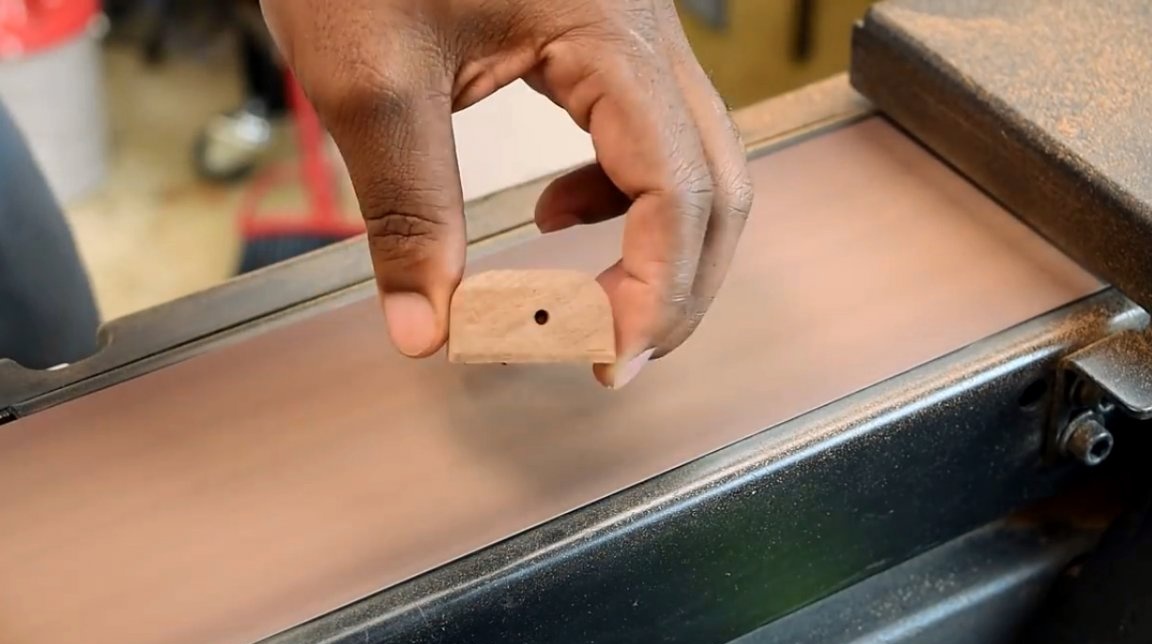
The author rounds off the edges of the body on a belt sander.
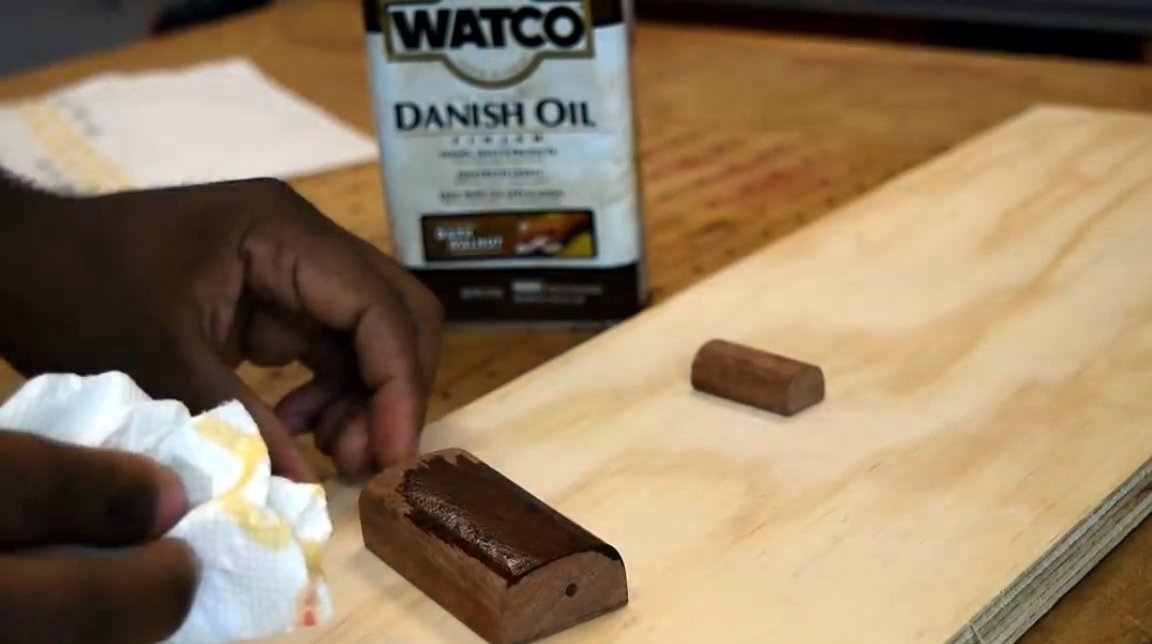
The case surface is impregnated with Danish oil.
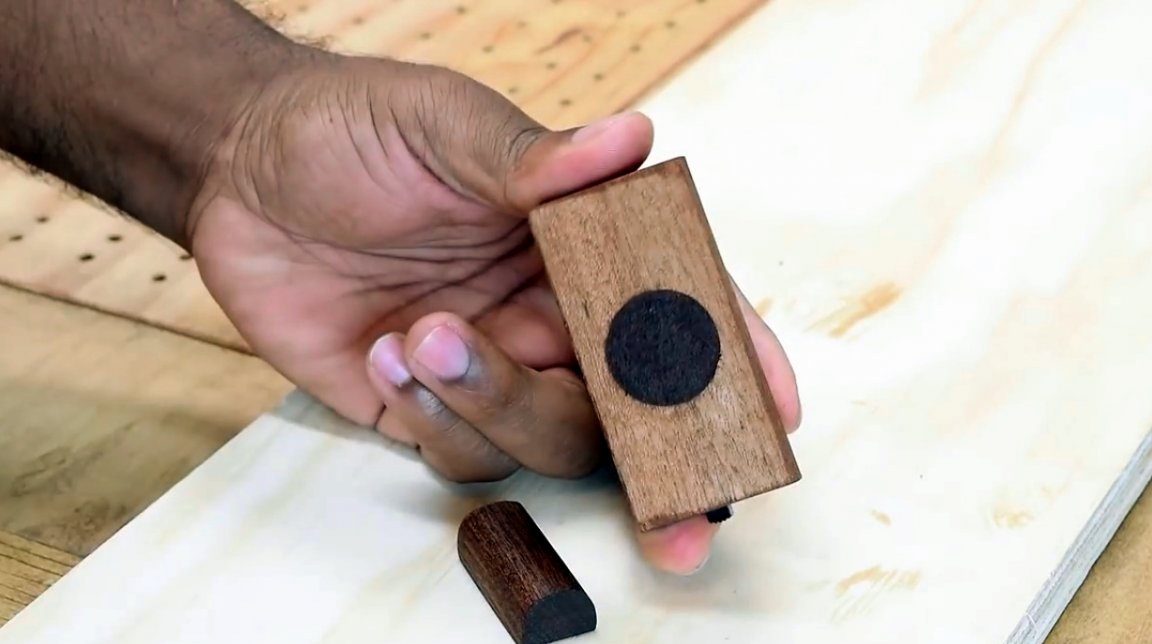
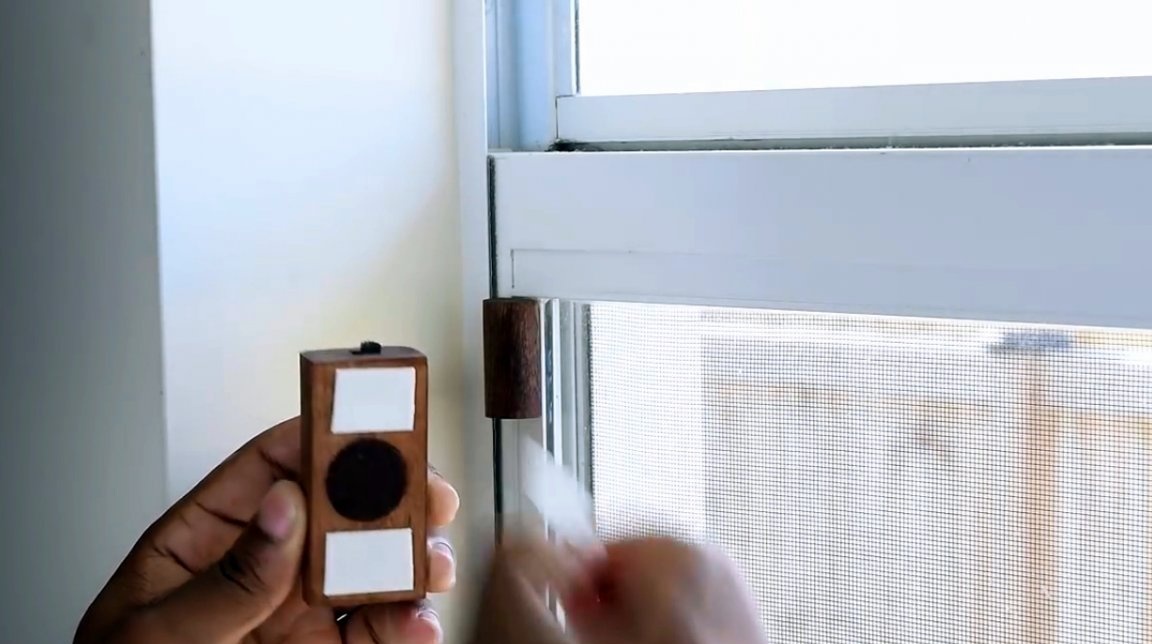
Thanks to the drilled hole in the back of the sensor, the battery is very easy to change. And you can close it just a circle of rubber or foam.
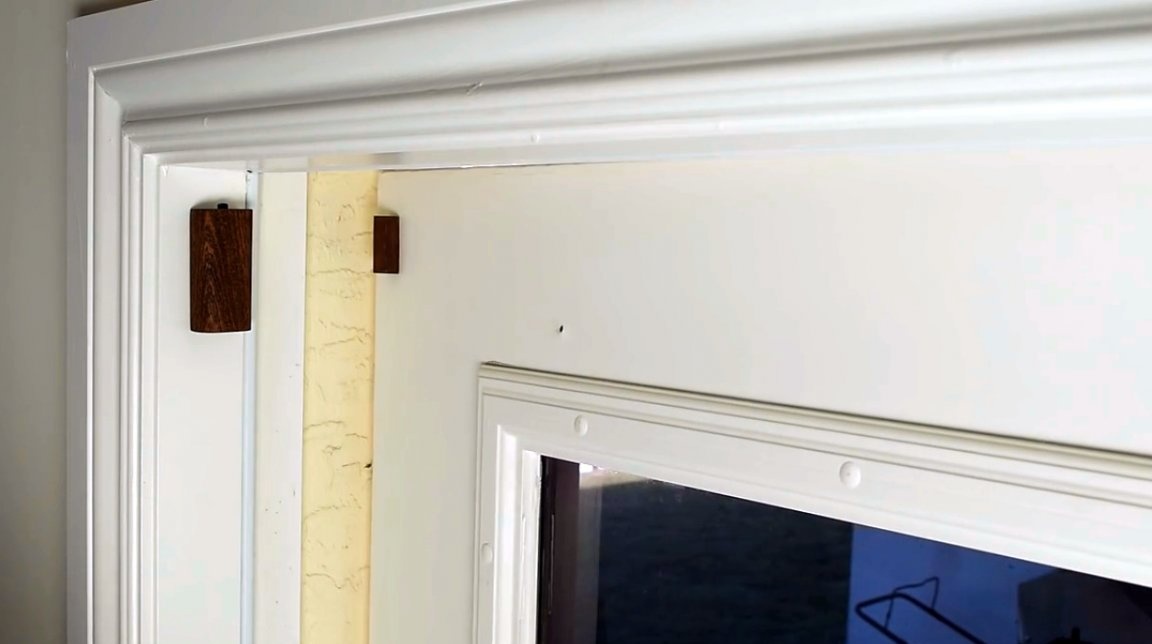
On the back of the cases glued pieces of double-sided tape.
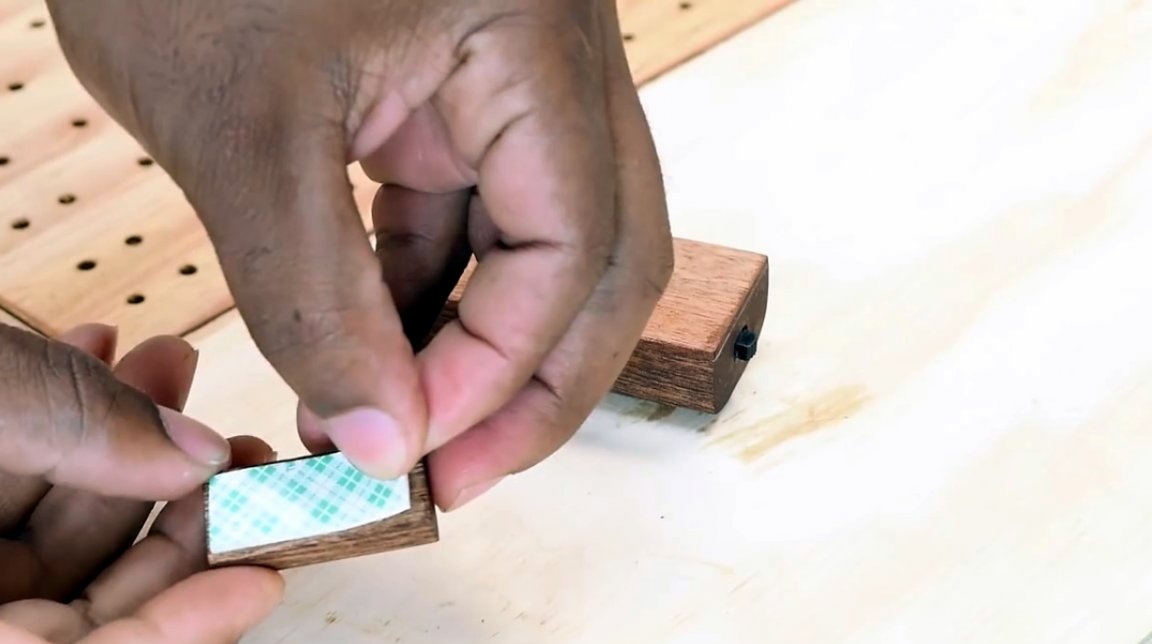

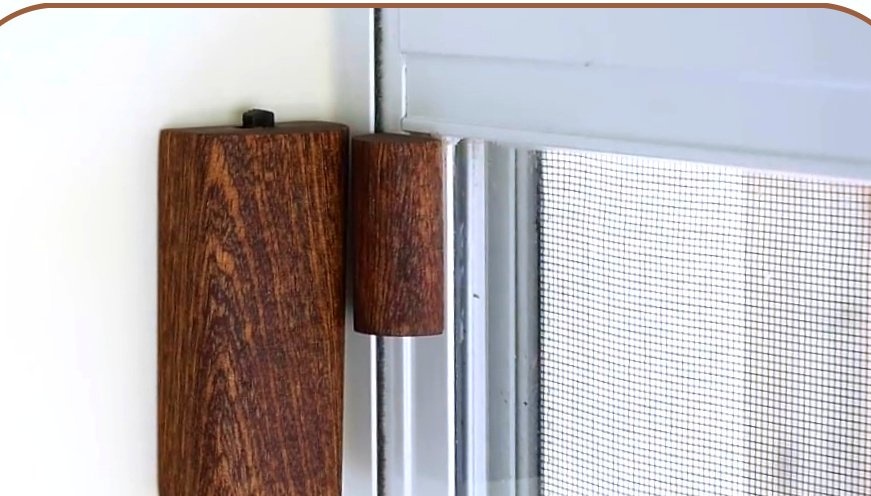
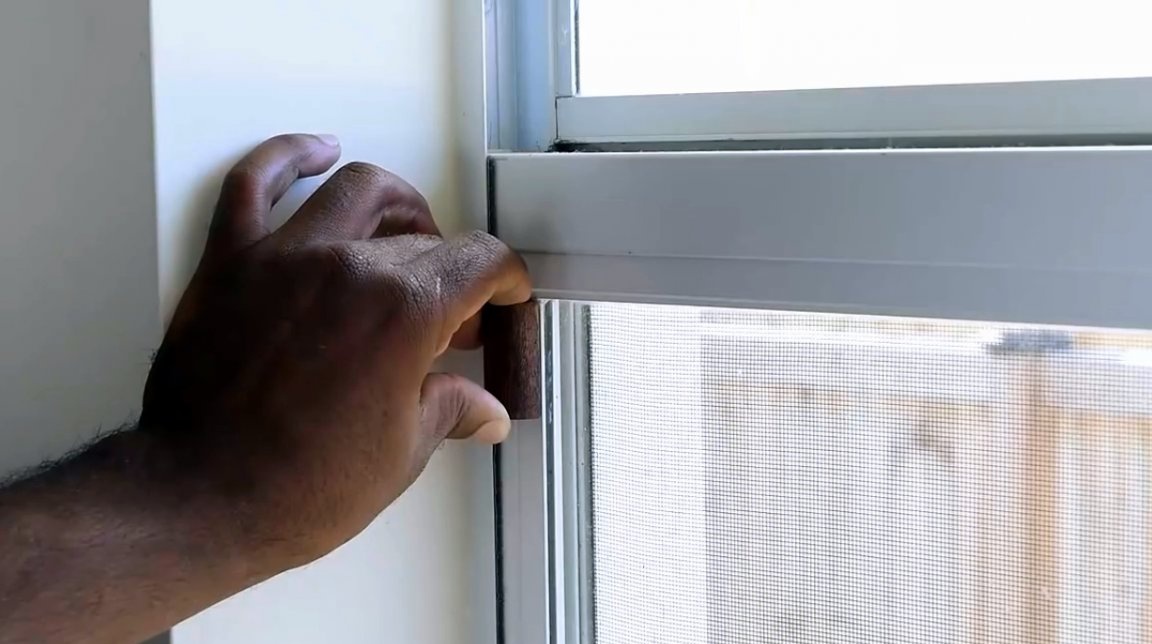
Then they are glued at a short distance from each other. Here it is important to immediately check the operation of the sensor.
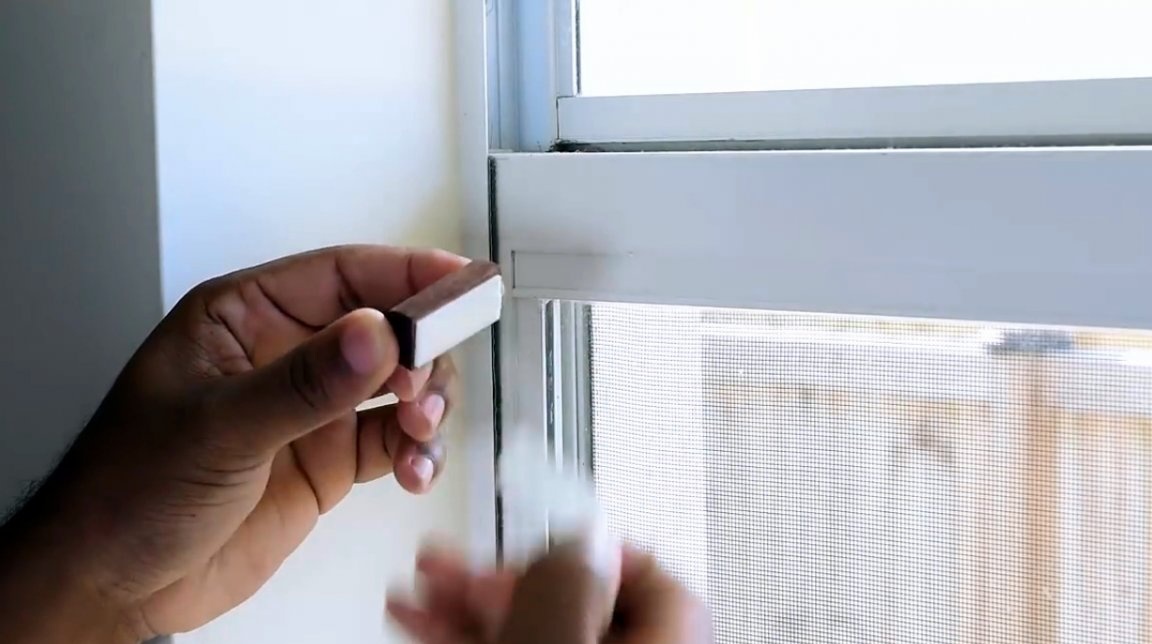
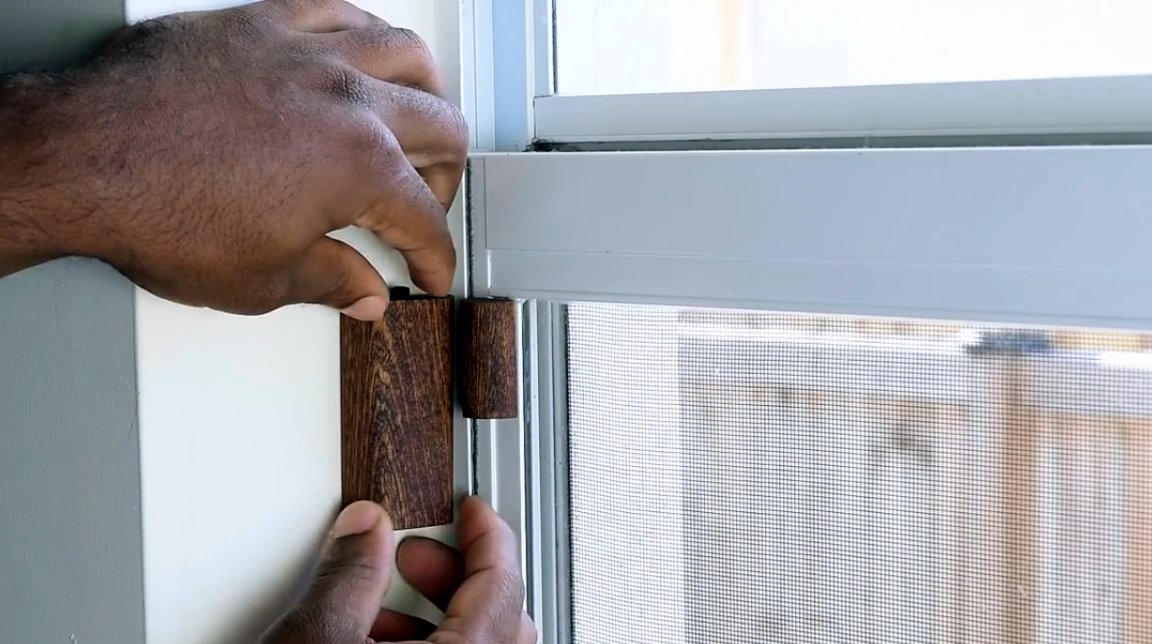
So, everything is ready, you can turn on the alarm. When you open the window, she will make a very nasty squeak, which will be heard well throughout the house.
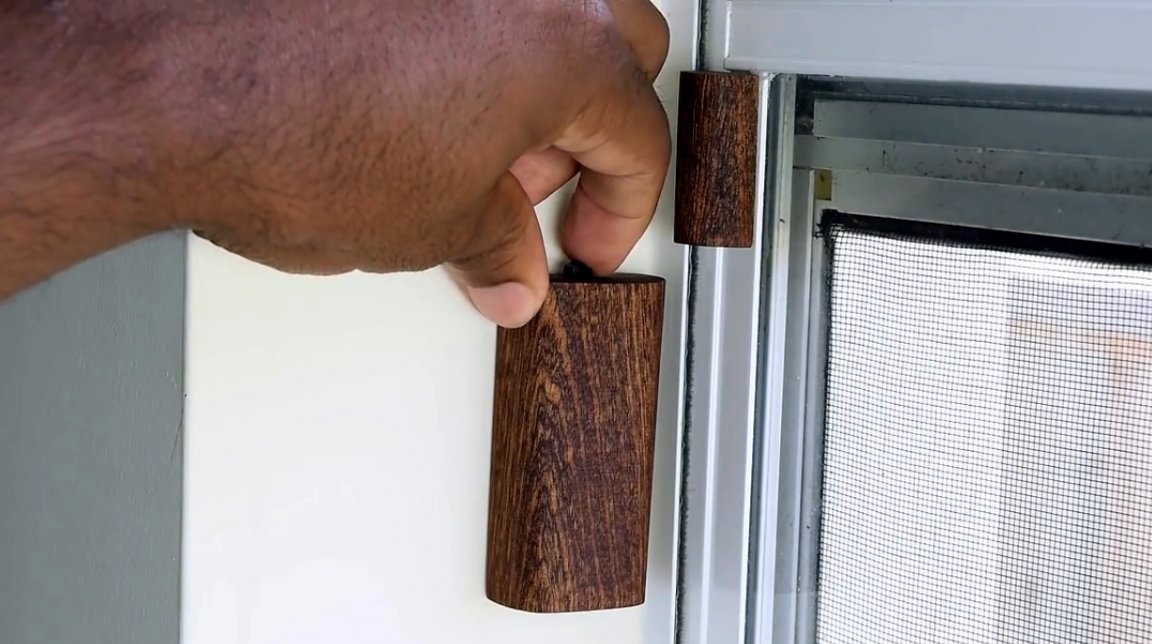
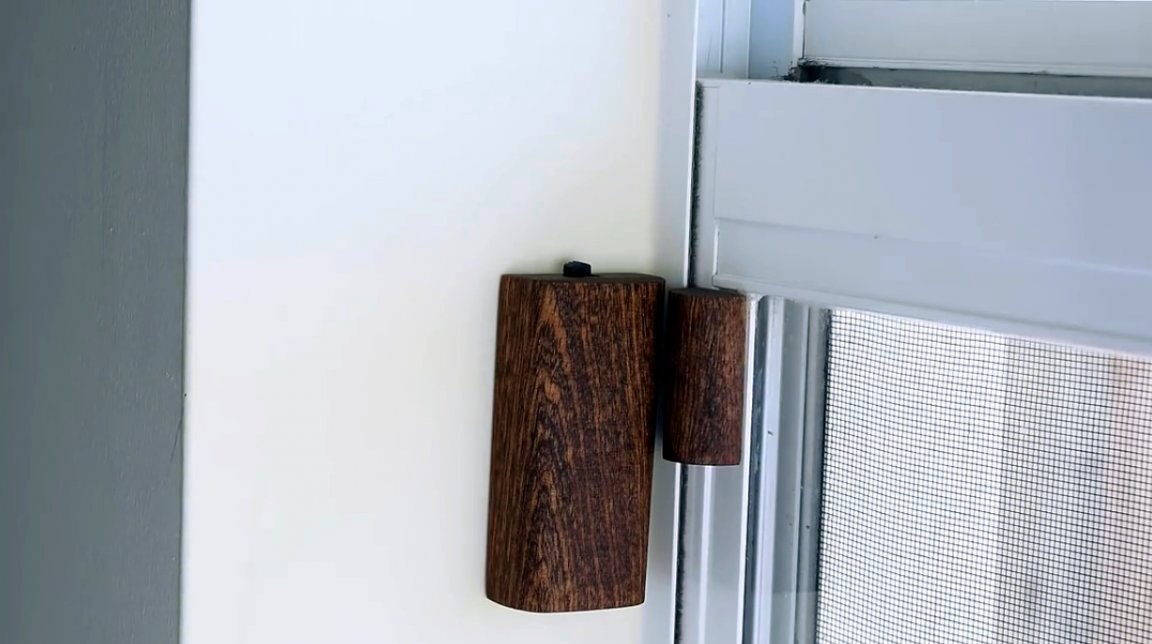
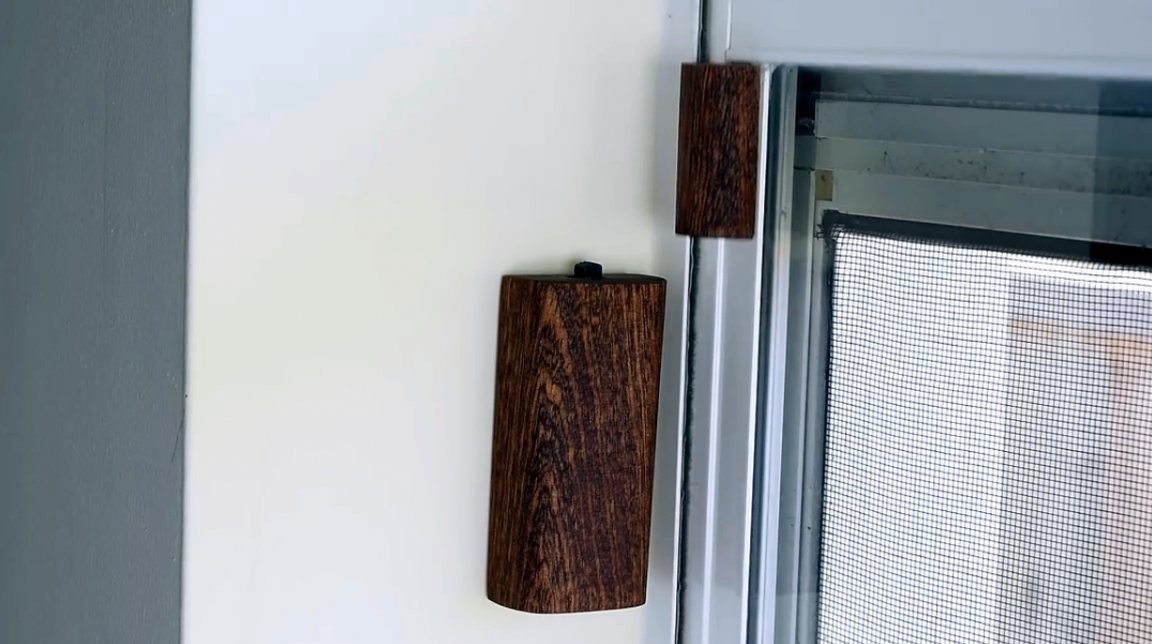
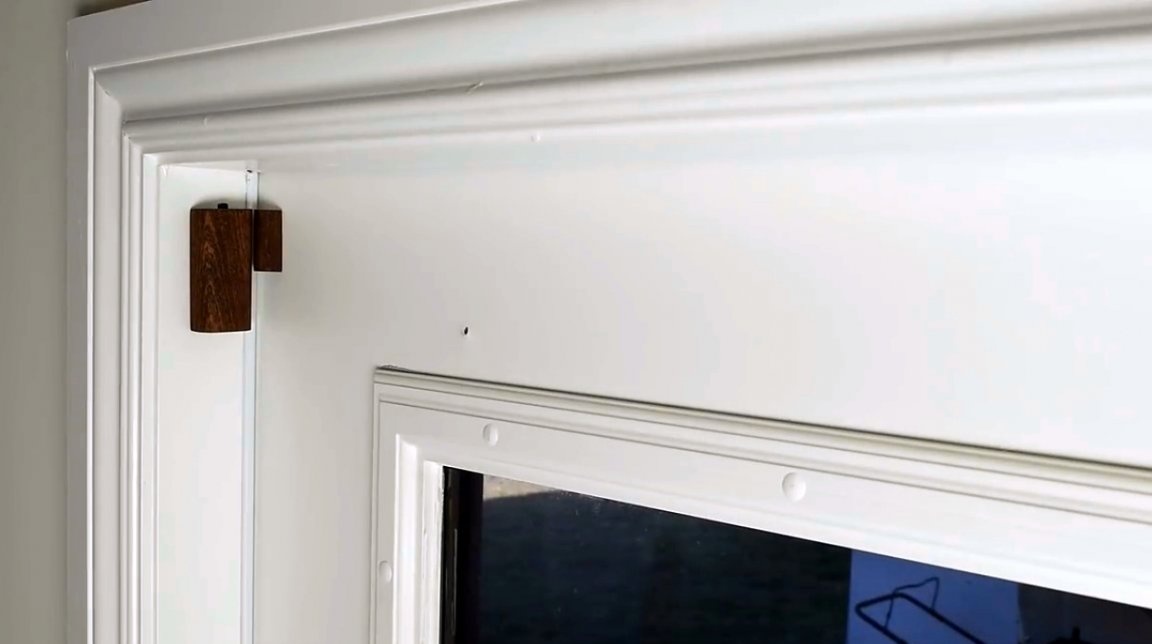
In the same way, this system is installed on any door. The sensor itself should preferably be placed on a fixed surface, not a door. This will prevent the reed switch from breaking when the door or window slams. Choose the distance between the cases, taking into account the backlash of the door or window.
Now, being at home, you don’t have to worry that someone will come through the door without knocking!
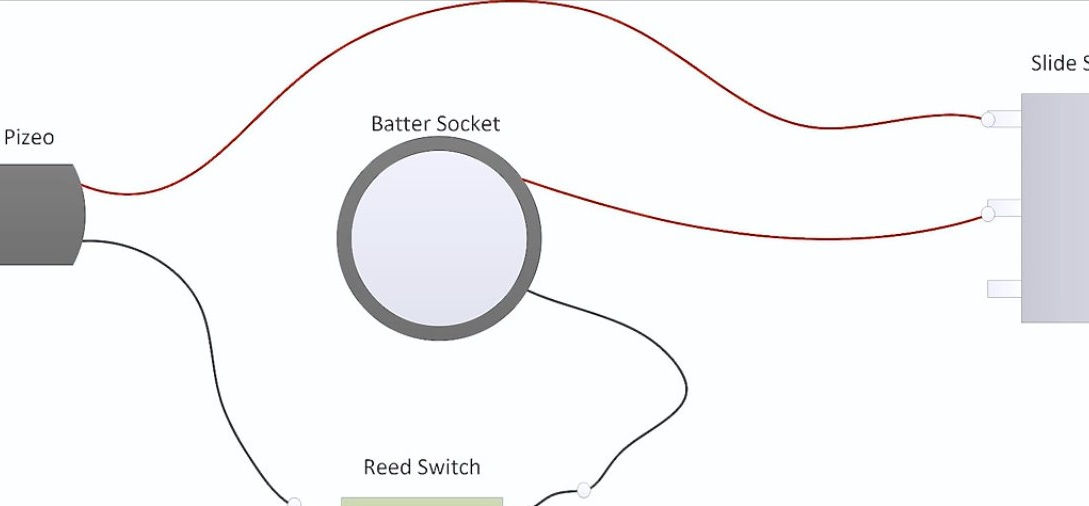
For clarification, the author proposed a simple scheme for connecting parts. Most importantly, in the off state, this sensor does not consume energy at all, and can be in this state for as long as the battery lasts. Of course, other types of batteries and piezo emitters can be used. There are tweeters with very high volume for sale.
I thank the author for the idea of a simple but useful device for the home!
All good mood, good luck, and interesting ideas!
Author video can be found here.