
Here is another embodiment of Dieter Rams’s rule "good design means as little design as possible." A craftswoman under the nickname marissa melendez talks about making a lamp on the Instructables website, which is based on two simple-form parts made of MDF. One of them is a stand, the second one imitates the silhouette of a table lamp with a lampshade.
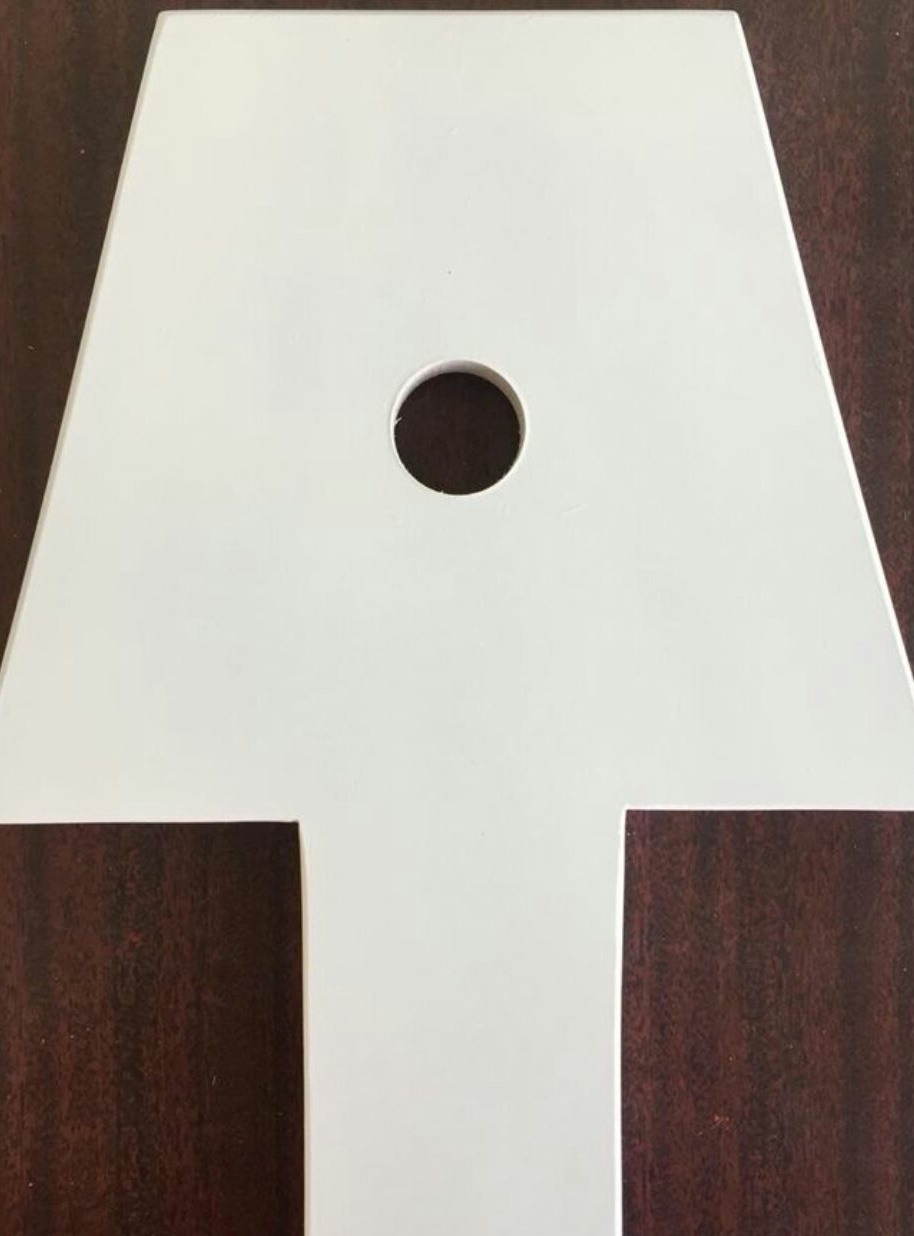
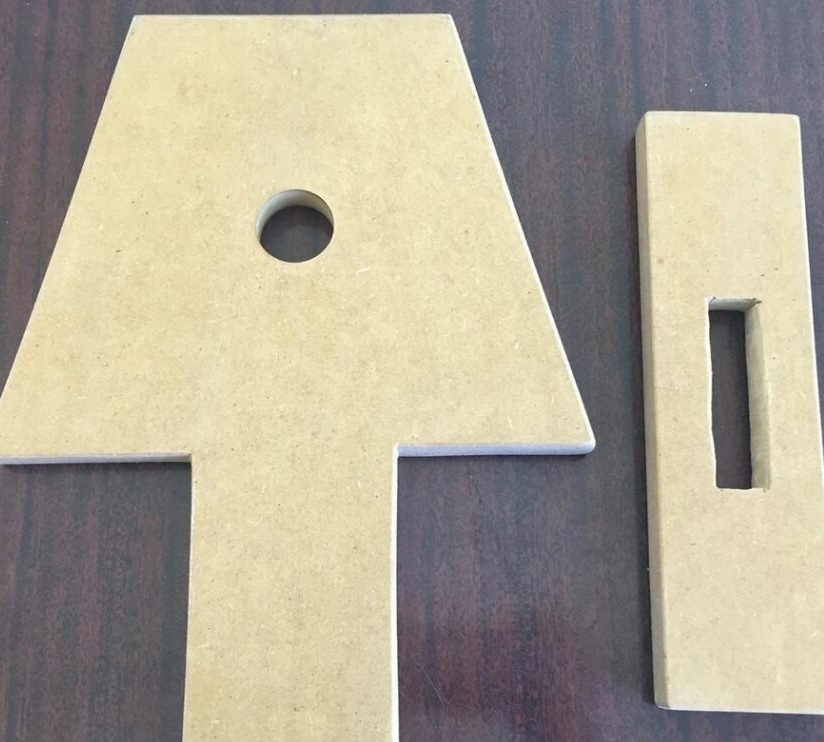
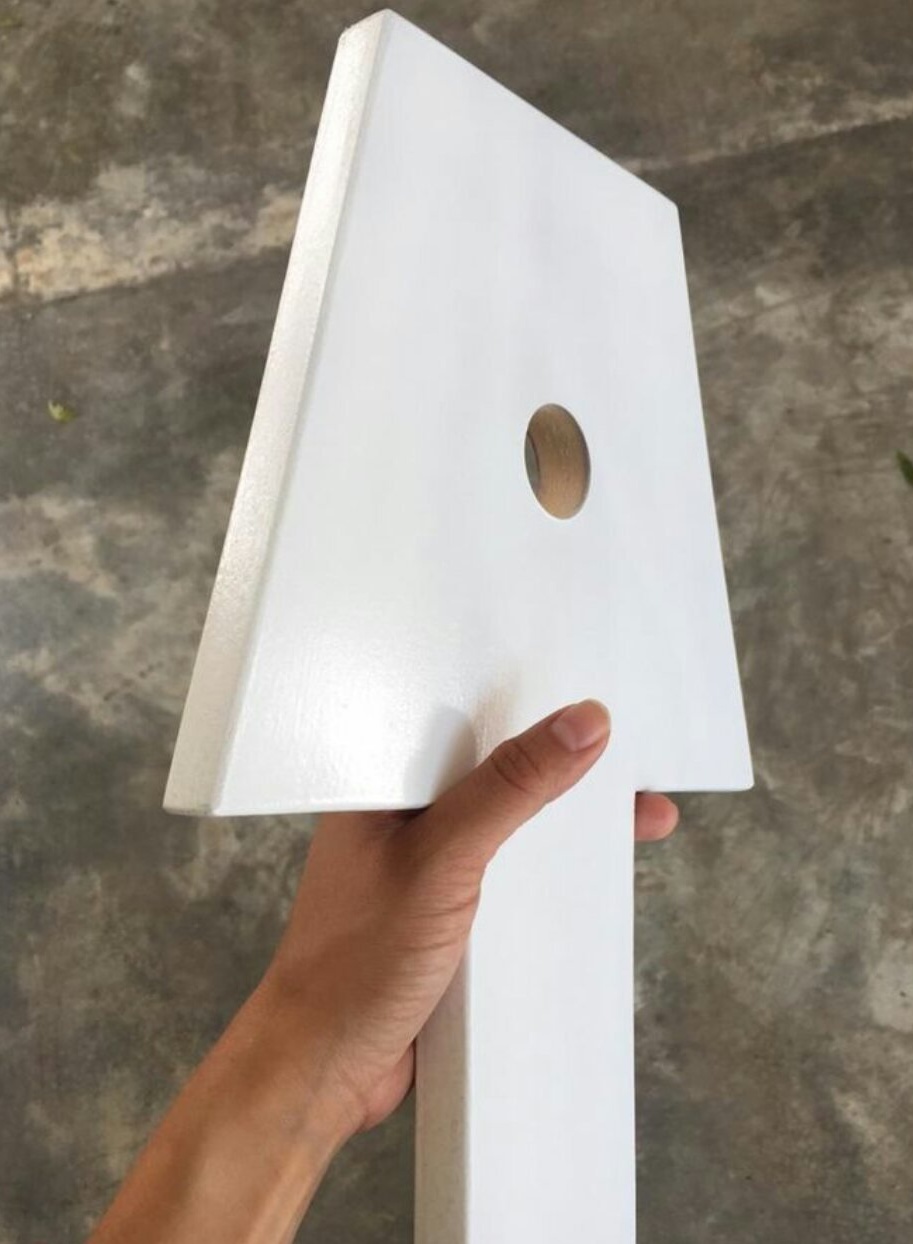
The craftswoman is glad to start the work with a lamp by cutting out a square from MDF with a side of 350 mm. On it, she draws the silhouette of a table lamp with a lampshade. Its dimensions are as follows: the height of the "lampshade" is 240 mm, the width of the top of the "lampshade" is 135 mm, the bottom is 330 mm, the "legs" are 75 mm. The height of the "lampshade" together with the "leg" is 350 mm, that is, the entire side of the square.
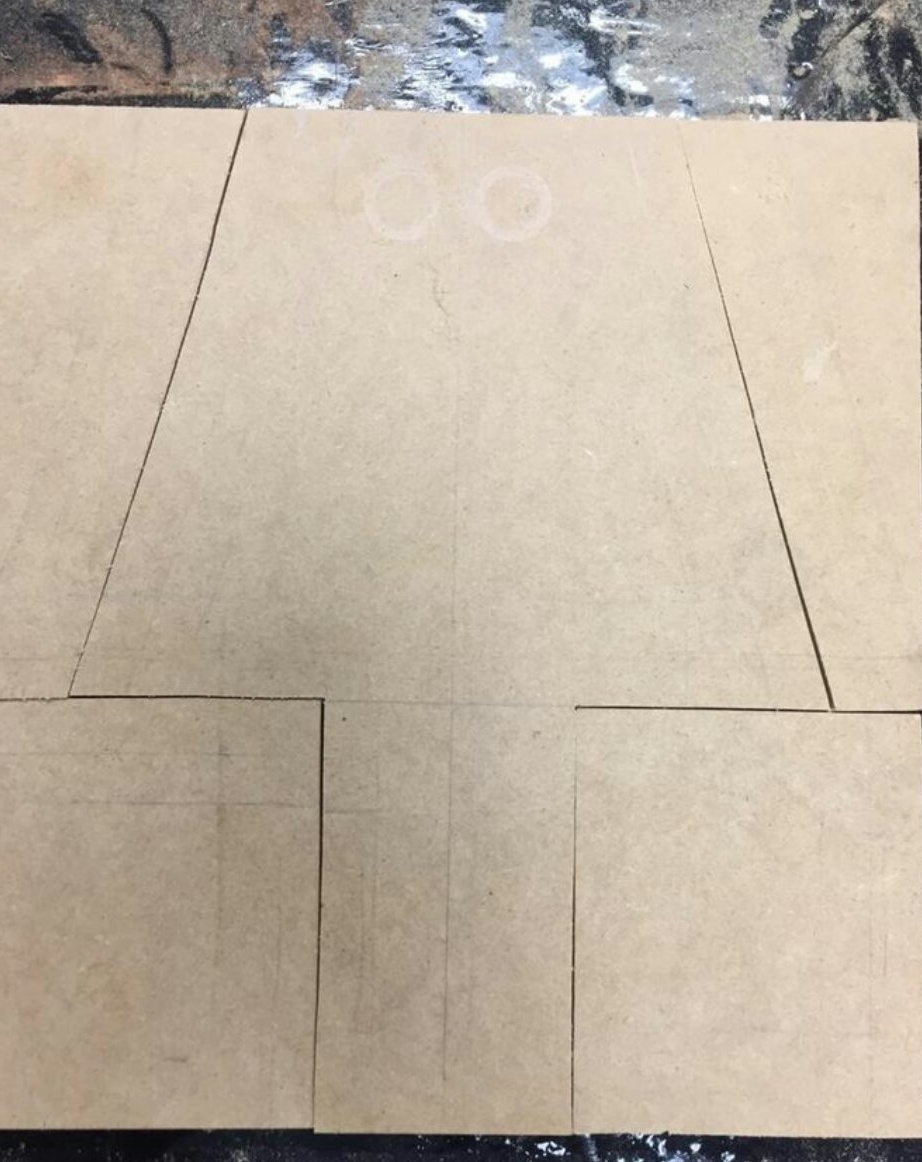
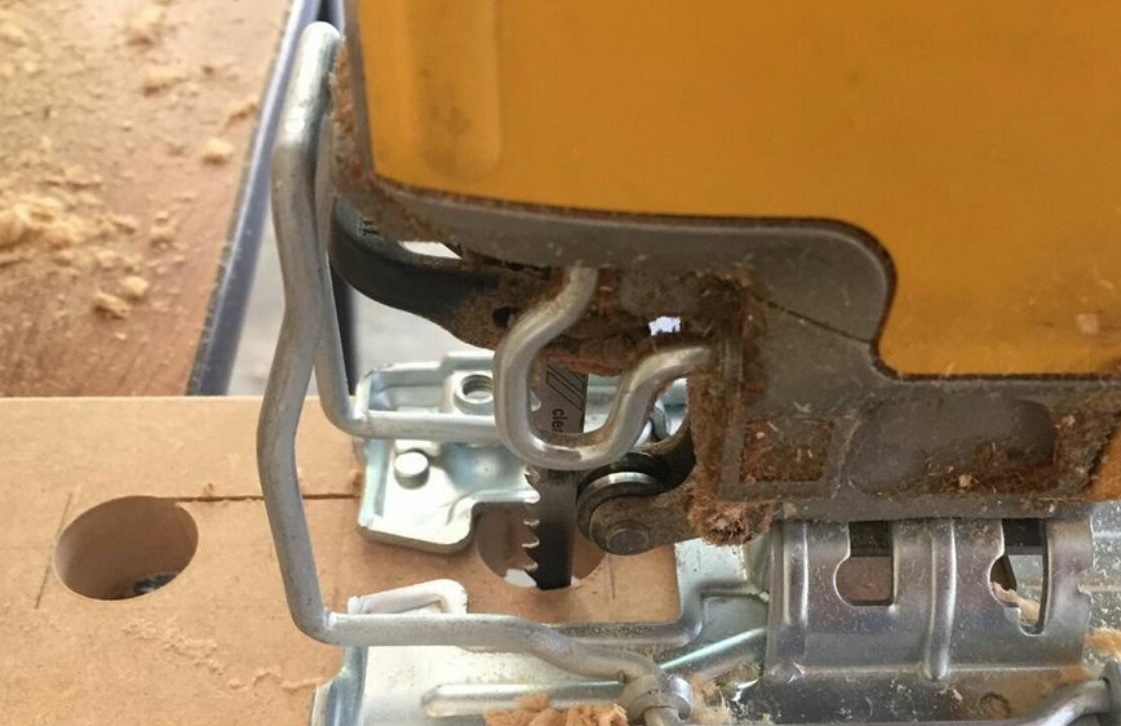
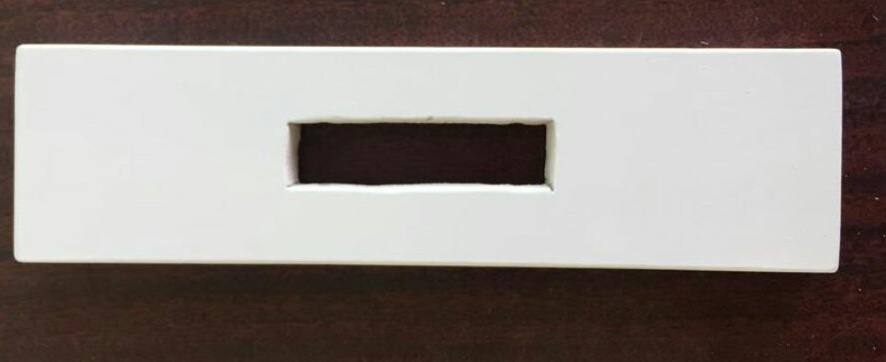
After marking, the craftswoman cuts the silhouette with a jigsaw:
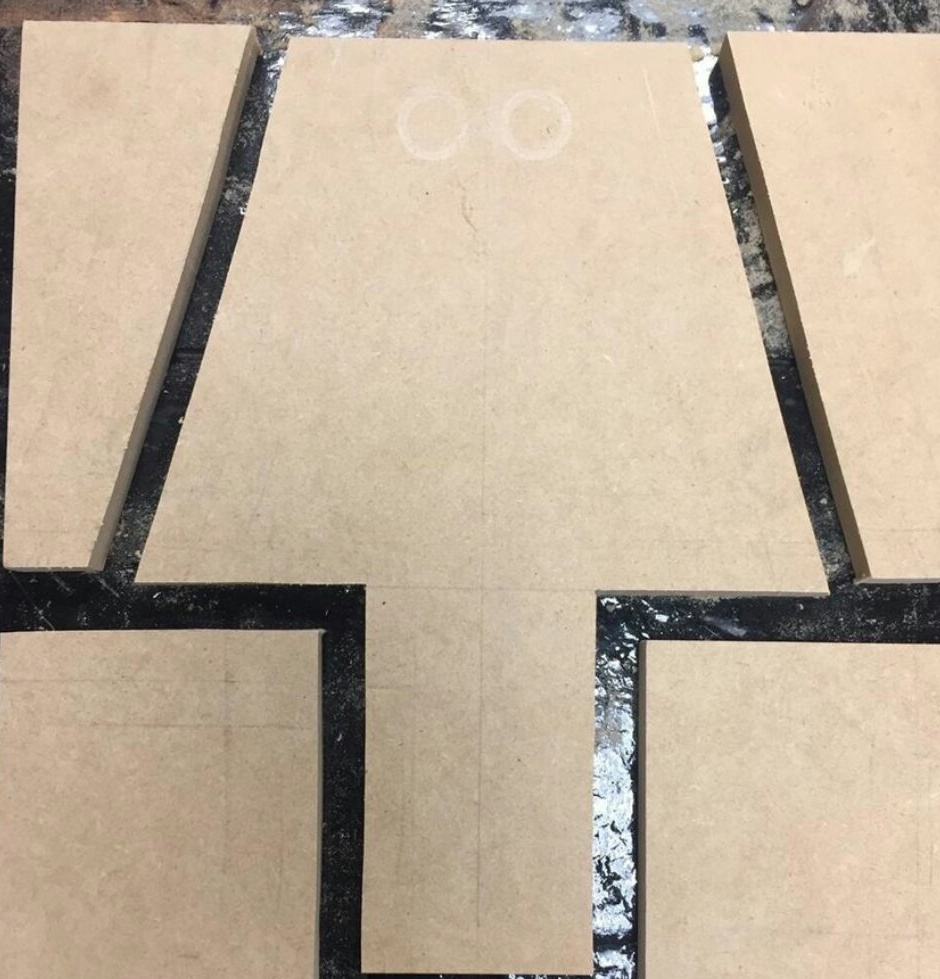
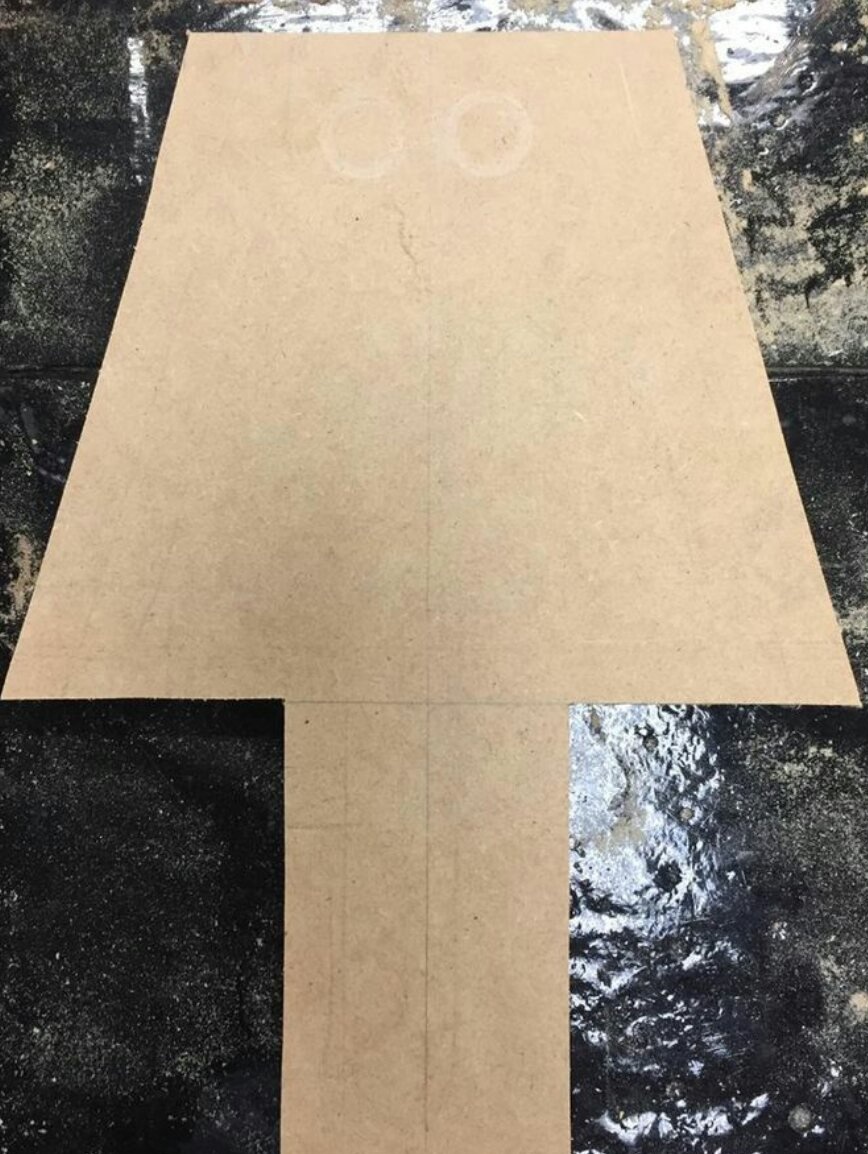
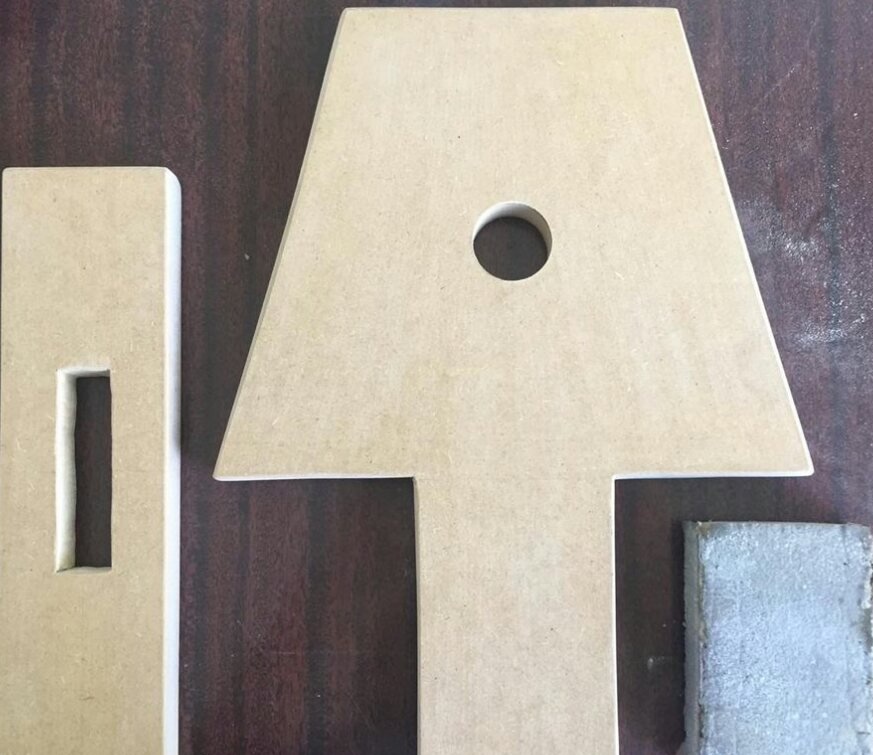
And it turns out like this:
For the stand, the craftswoman cuts out a rectangle from MDF in dimensions of 240x65 mm:
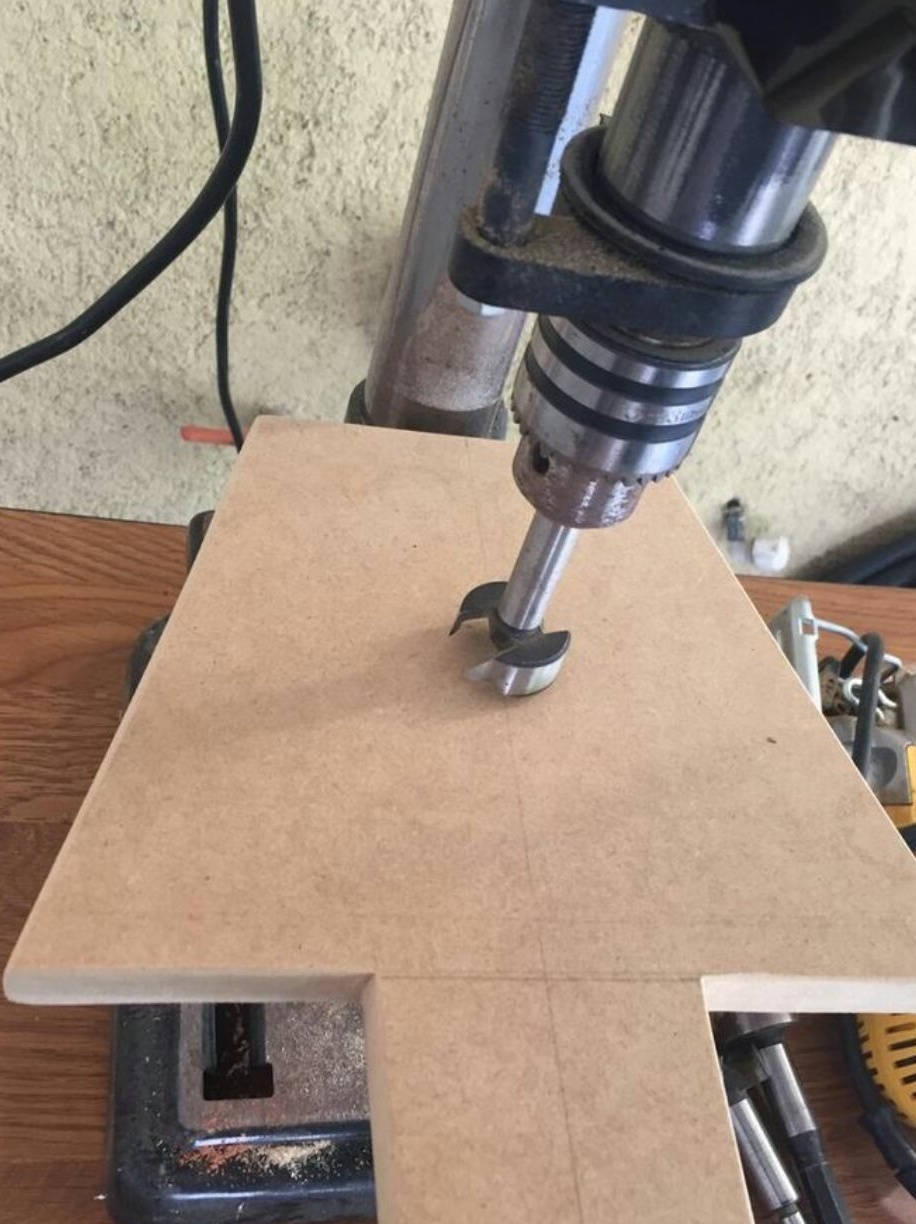
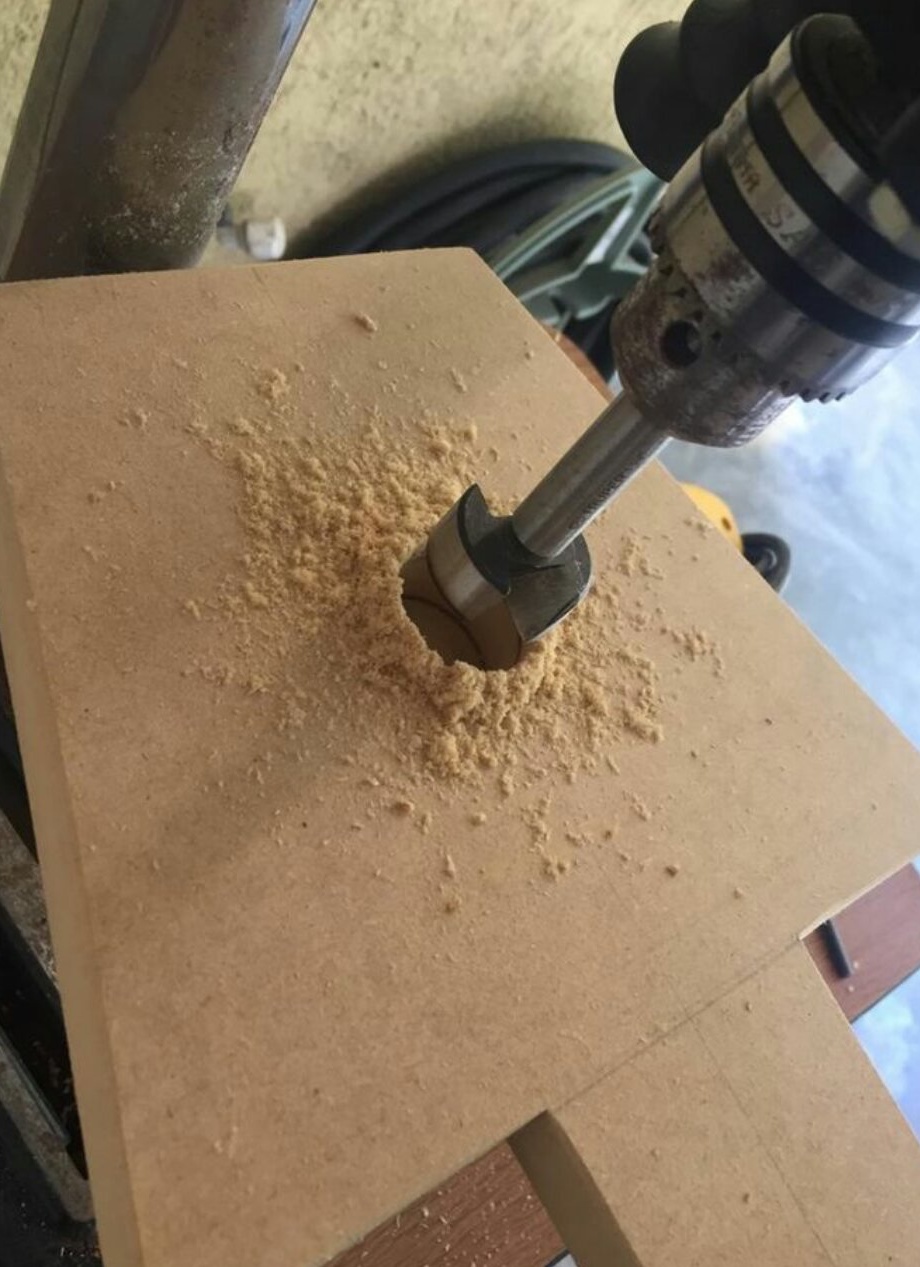
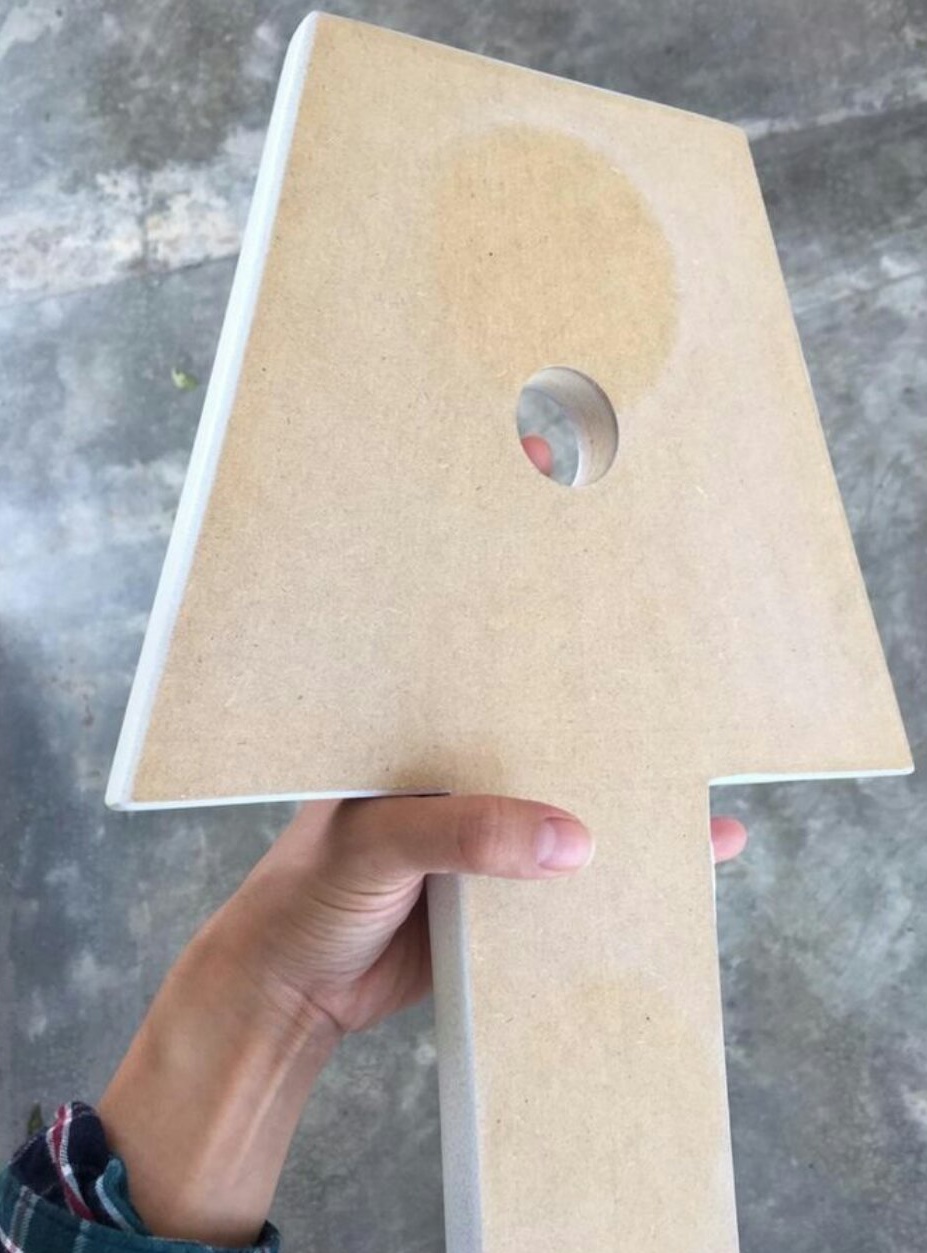
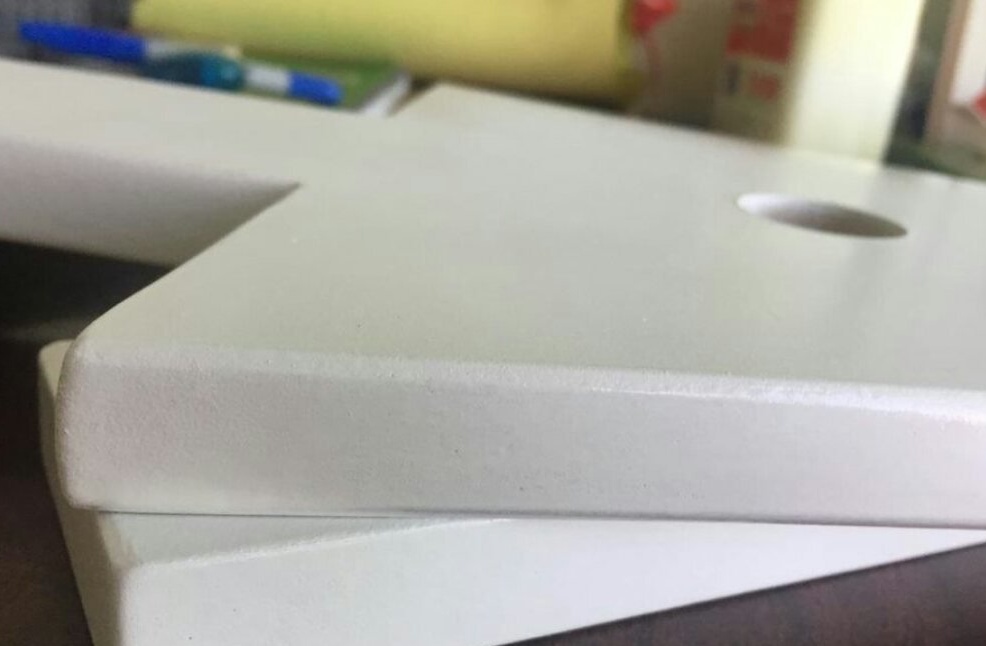
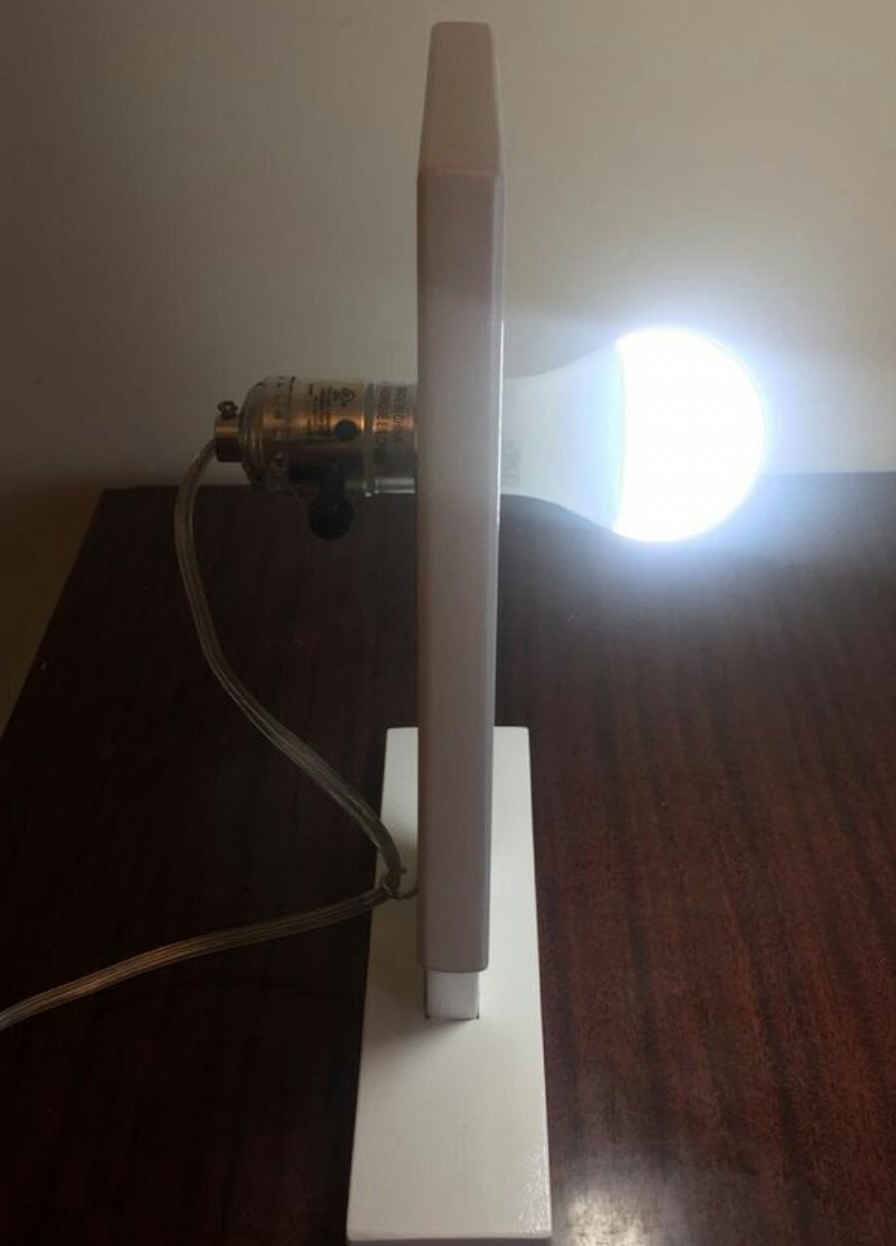
Then it returns to the part with the silhouette of a “lampshade” and drills a hole under the lamp holder in its middle. The cartridge used by it allows mounting on the back side, so the entire lamp base will pass through the MDF. Accordingly, the diameter of the hole slightly exceeds 27 mm, and where this number came from is understandable.
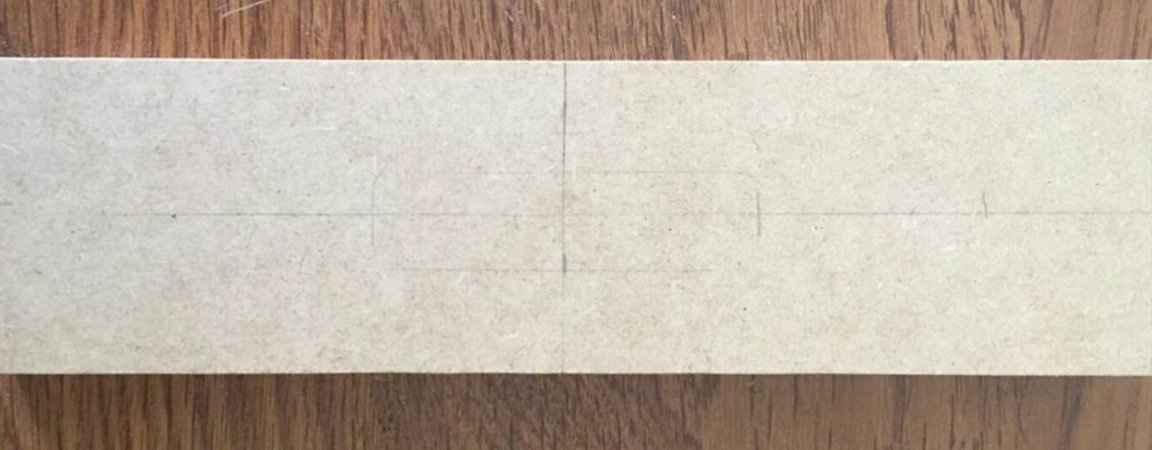
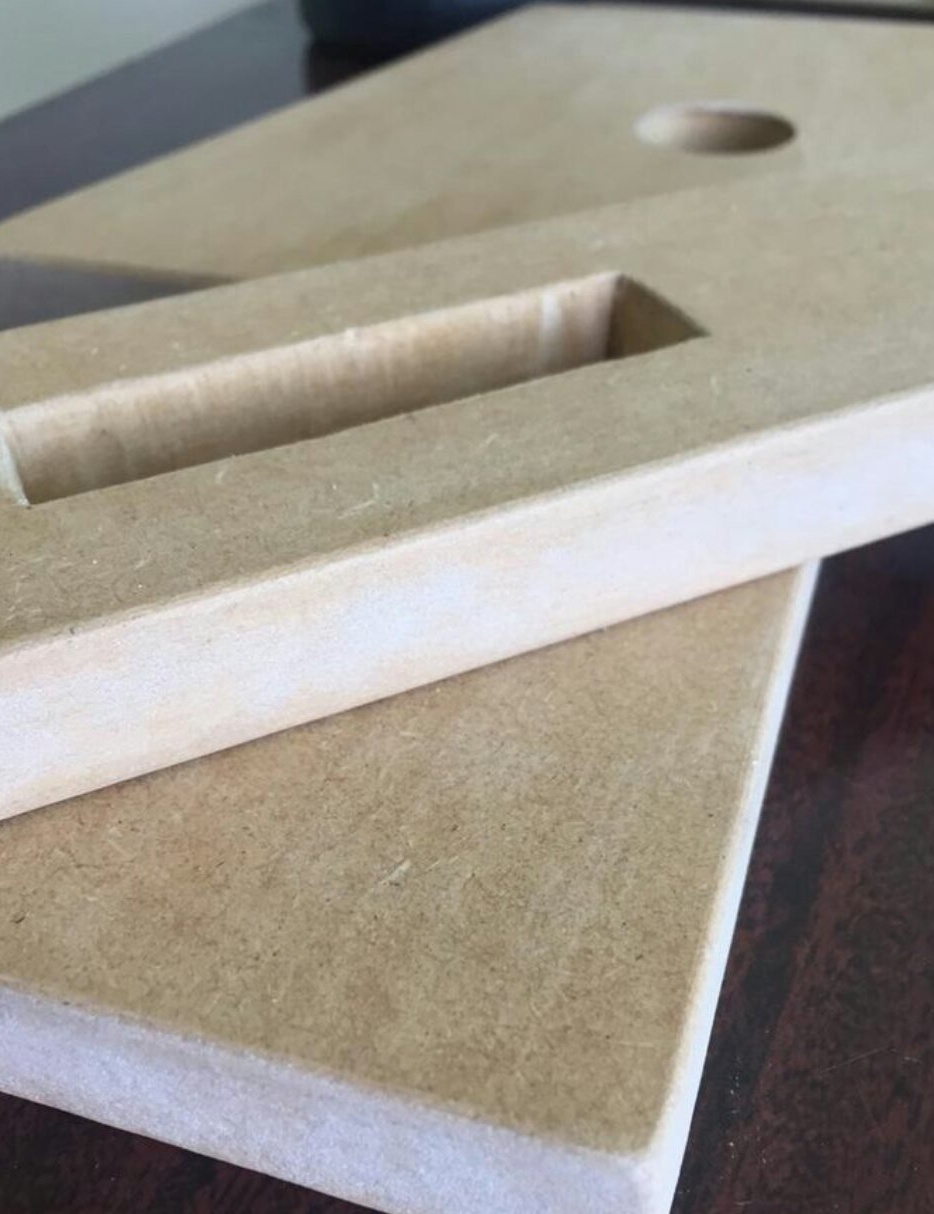
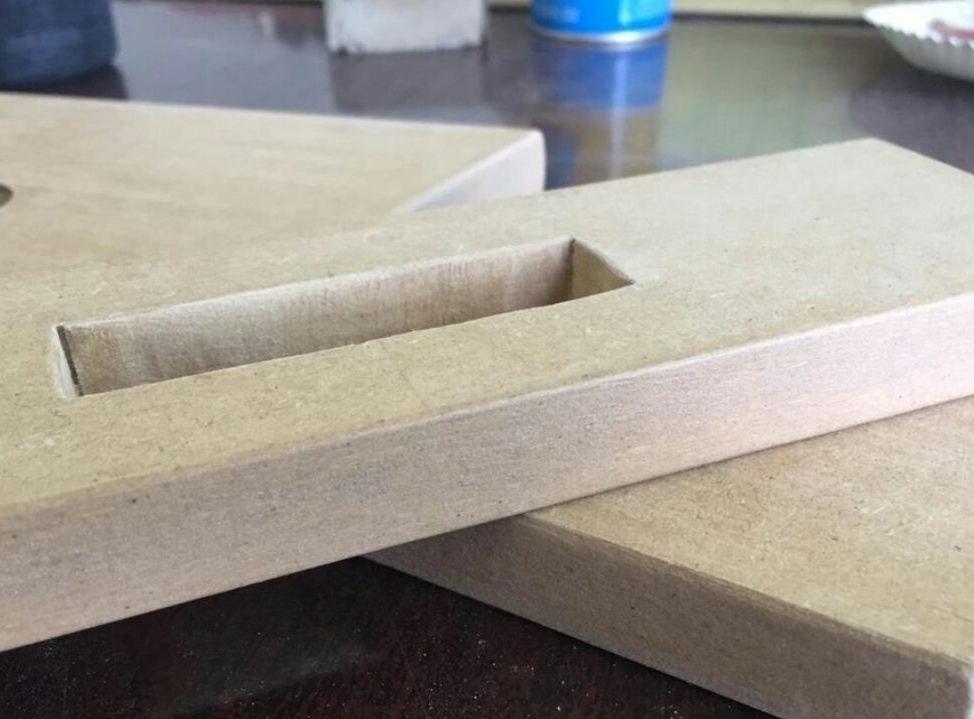
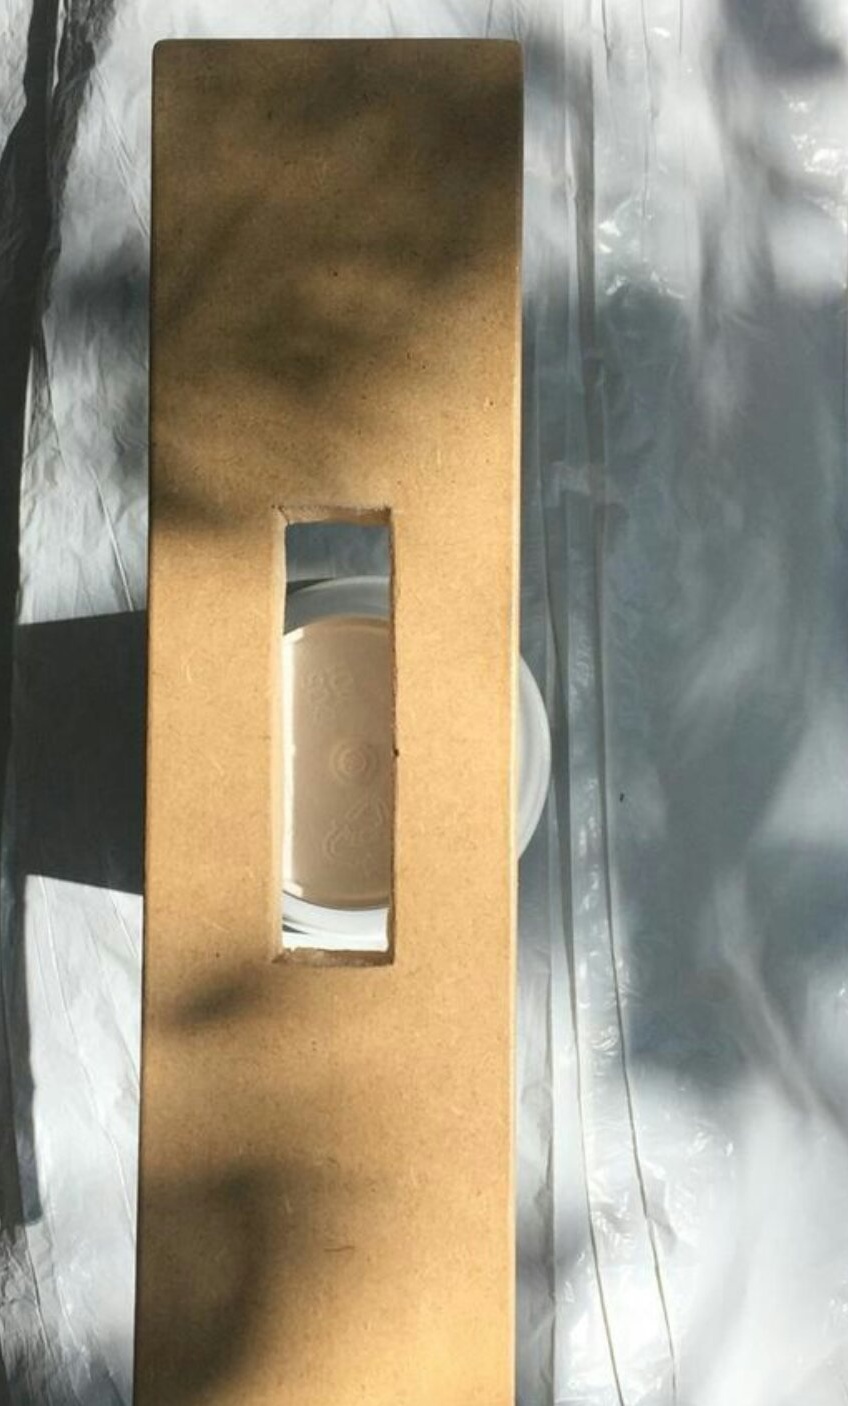
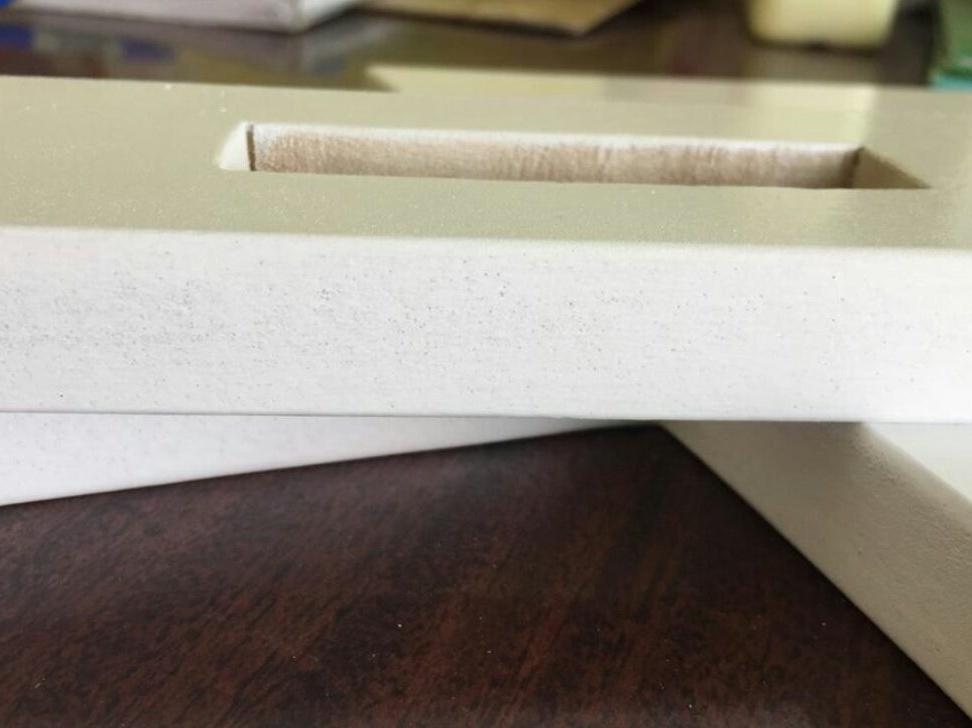
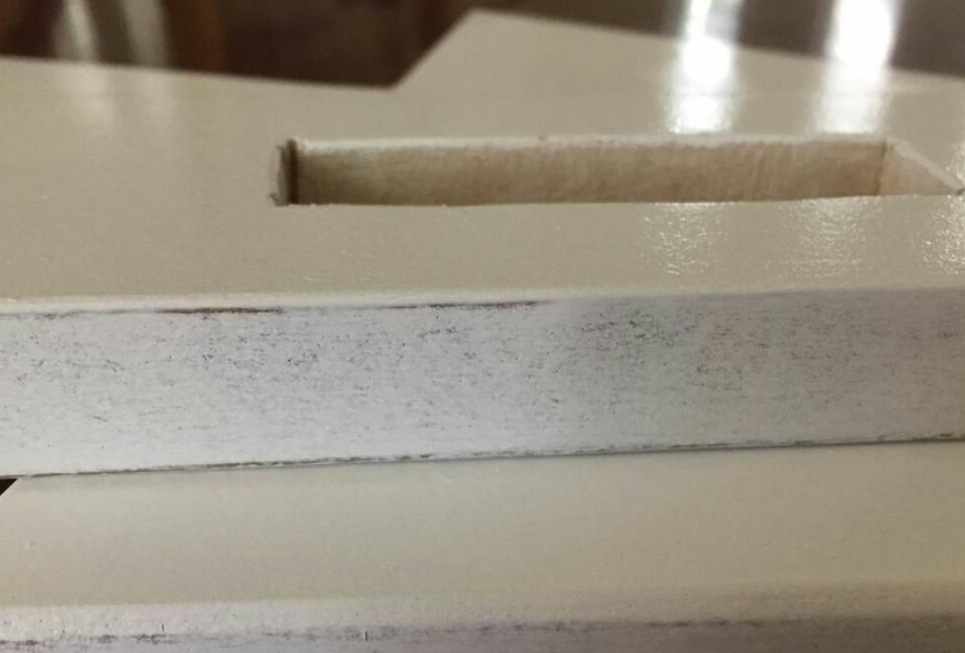
Next, the craftswoman works with a stand. Installs a drill in the drilling machine, the diameter of which slightly exceeds the thickness of the MDF. From the width of the “legs”, the diameter of the drill is subtracted, it adds a small margin and gets the center distance. Marks and drills two holes:
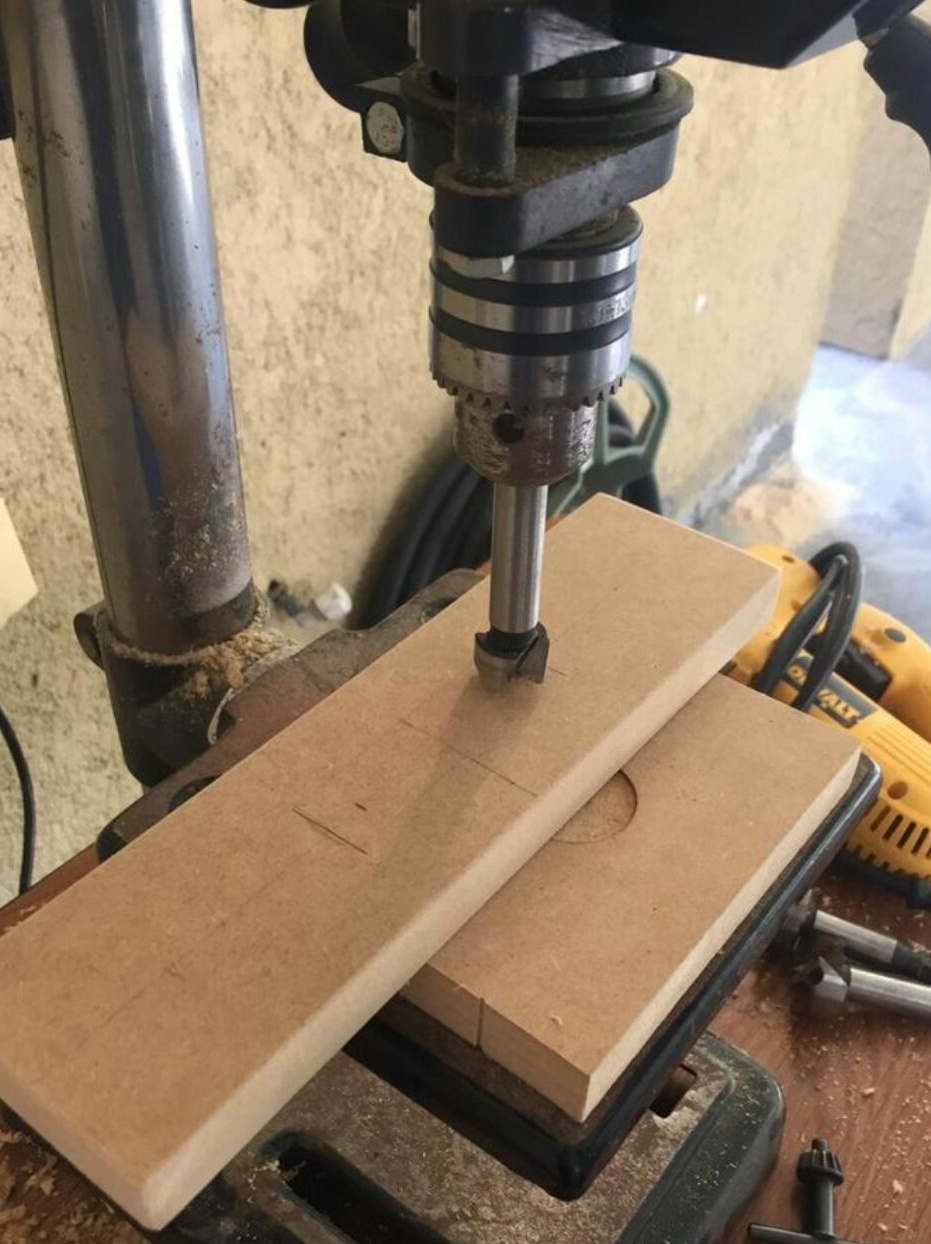
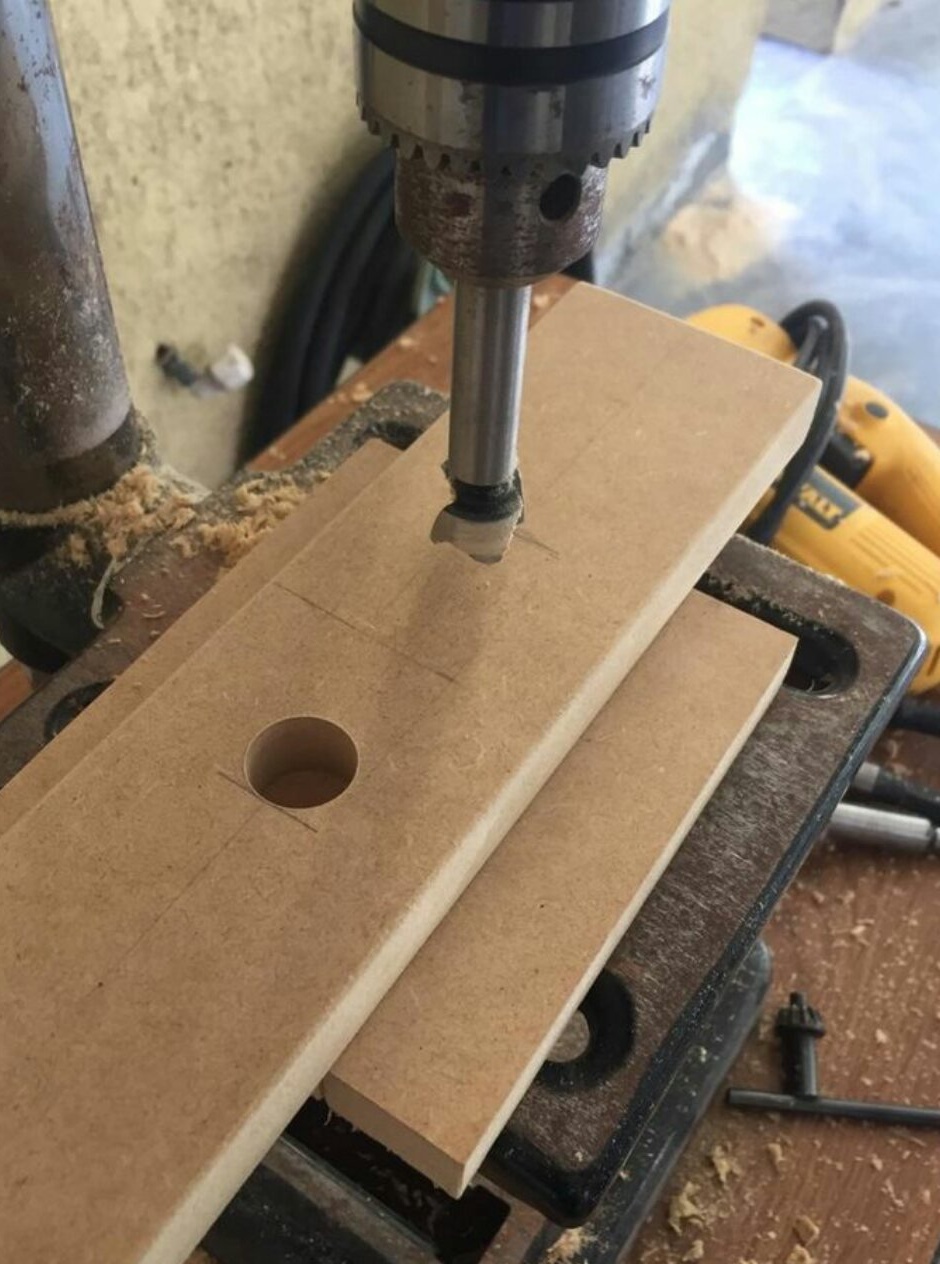
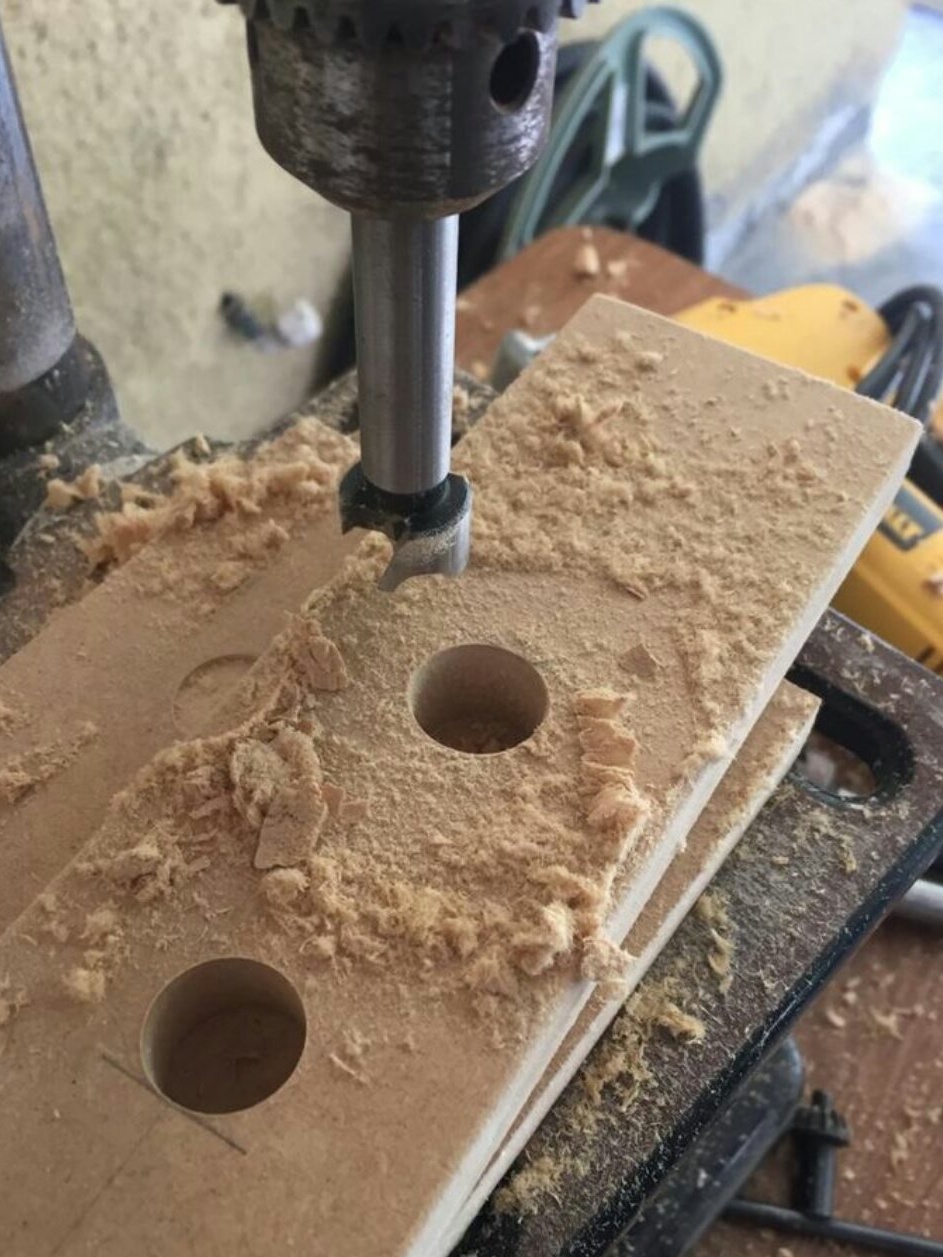
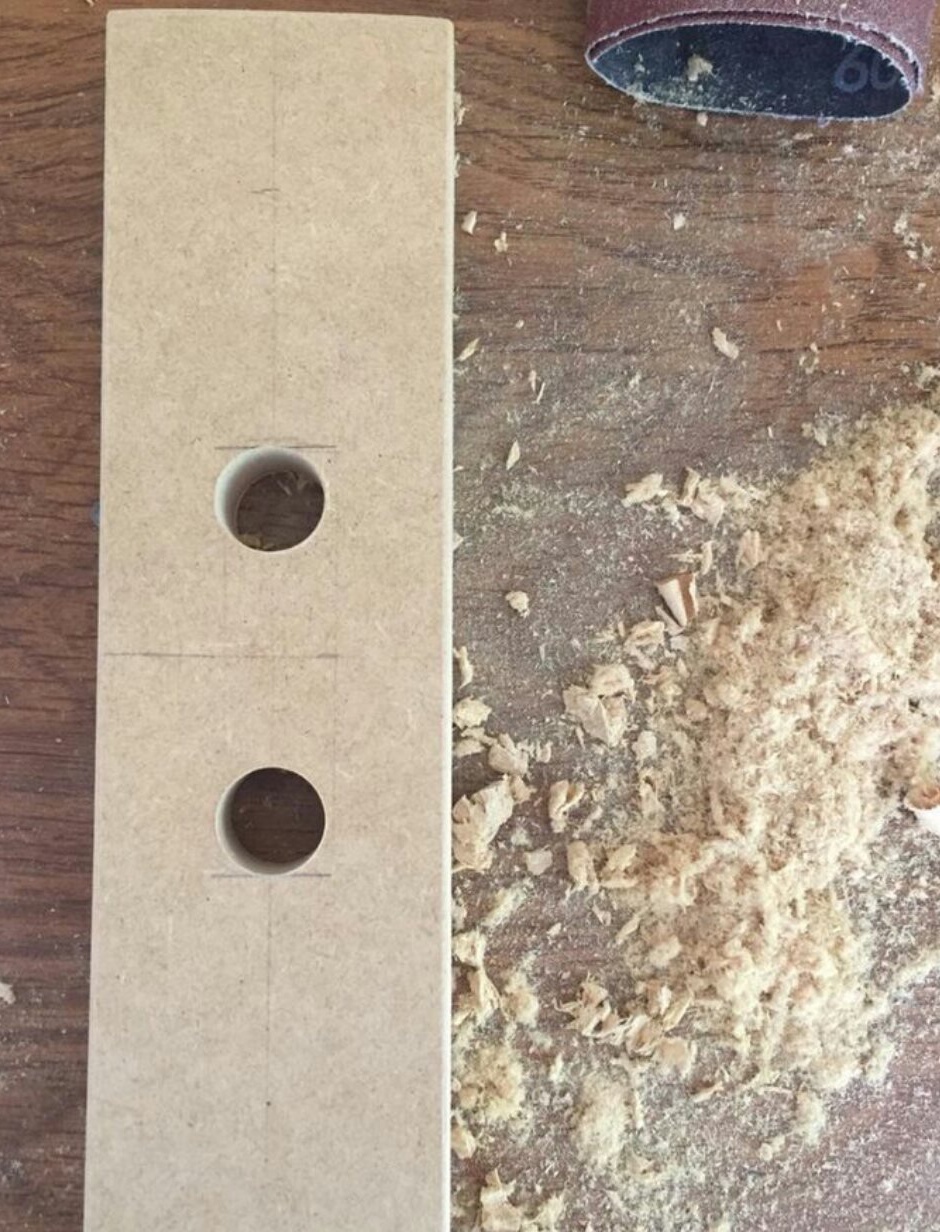
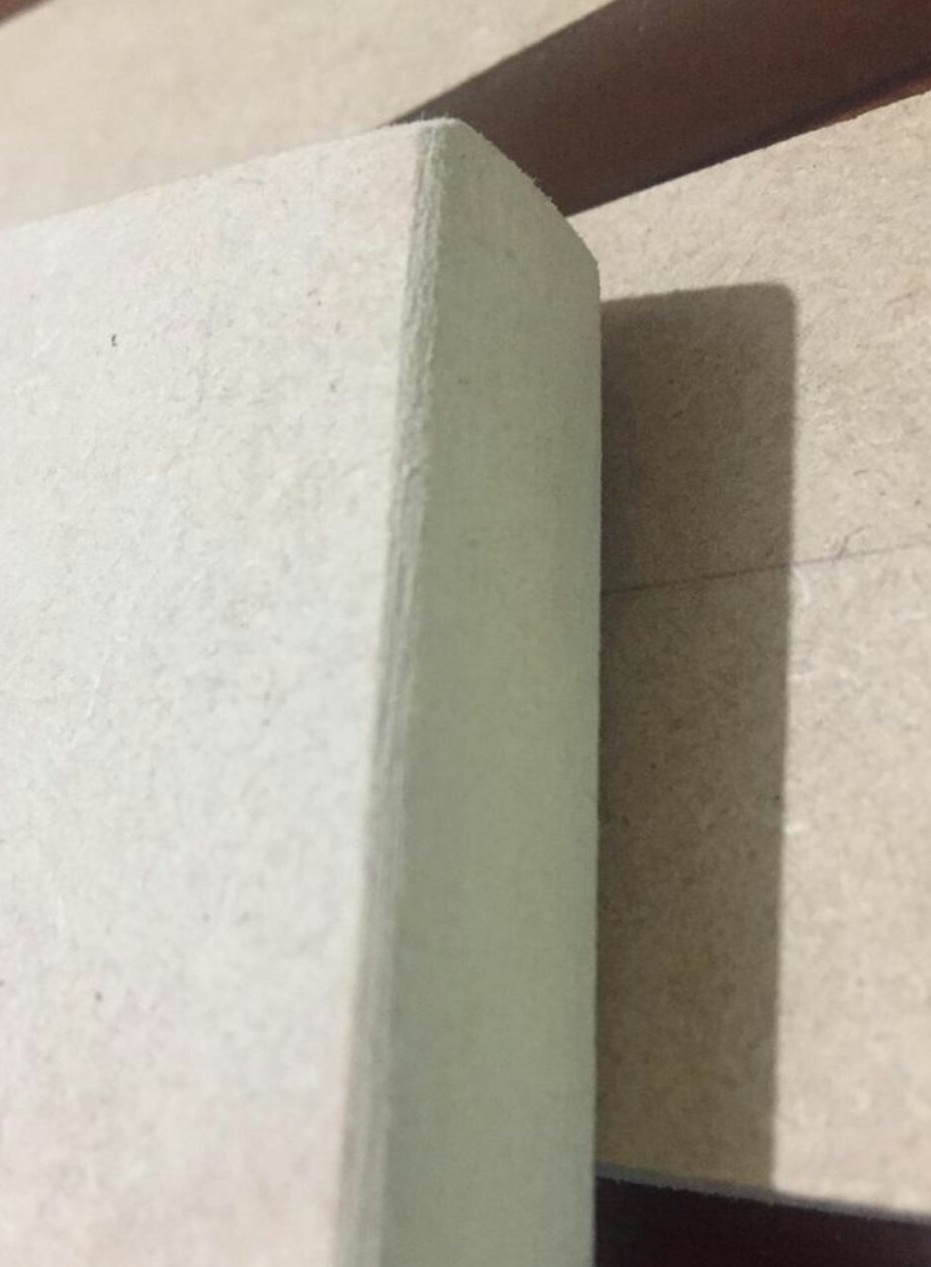
An electric jigsaw makes two slots between the holes, and then turns the semicircles into right angles:
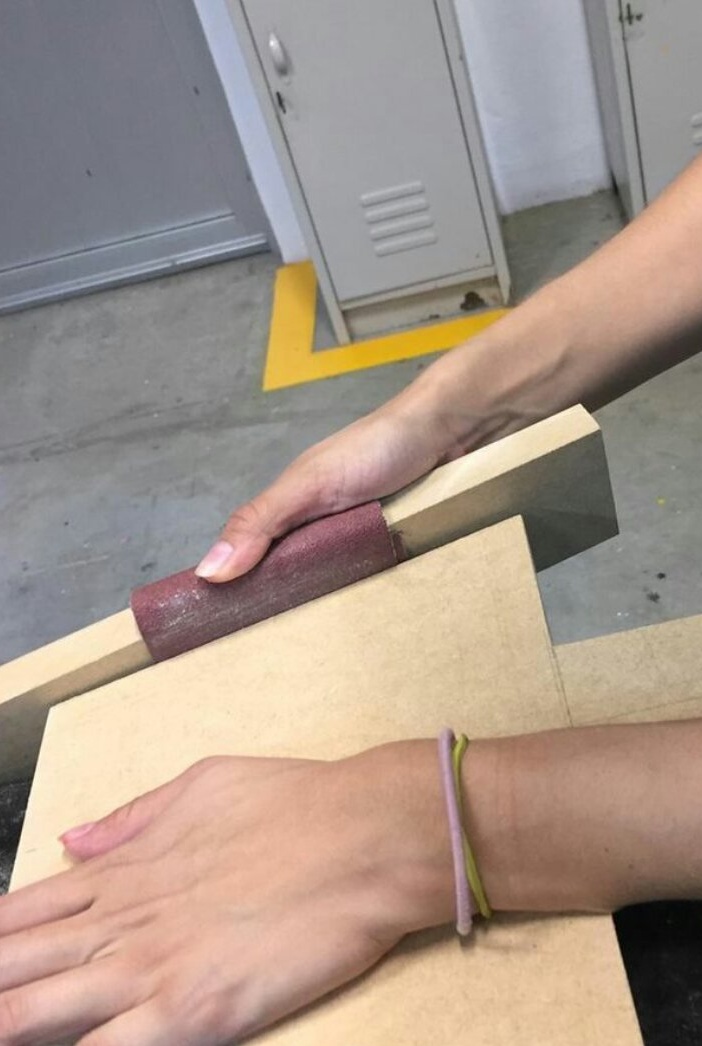
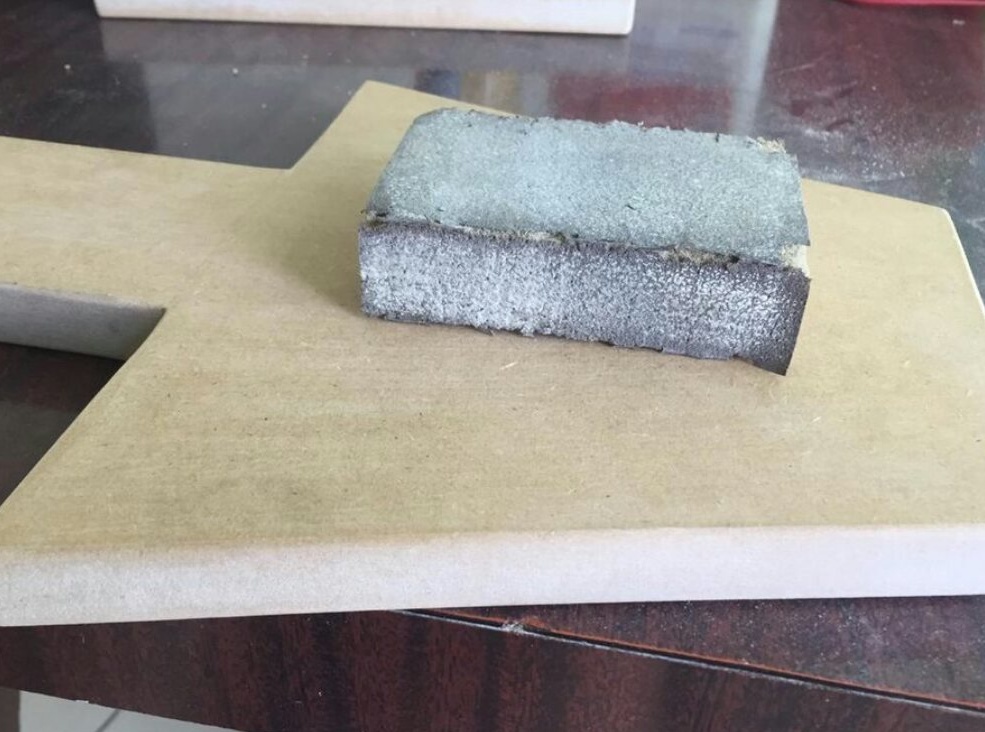
Everything is grinded manually: planes, butts, and corners.
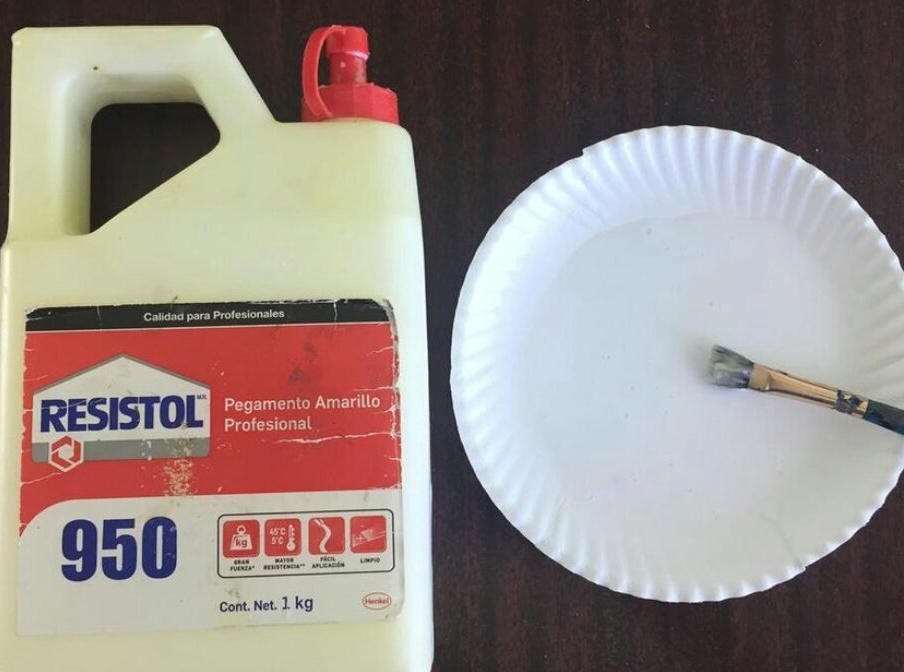
The craftswoman primers both parts with glue: the plane - in two layers, diluting the glue with water, and the ends - in one layer, without diluting the glue.
Then it is polished again so as to remove the texture left by the glue, but not to completely erase it. At the ends, it is still slightly worn away, so it applies a little more glue, this time diluted with water.
Three layers of paint are applied on top of the dried soil. Again, slightly polishes the ends and applies two more thin layers to them.


The surface as a result is not too glossy, but not too dull - this is exactly what the craftswoman needs. Therefore, she decides not to varnish the parts on top of the paint, and proceeds to assemble the lamp. Screws the hook for the cord:
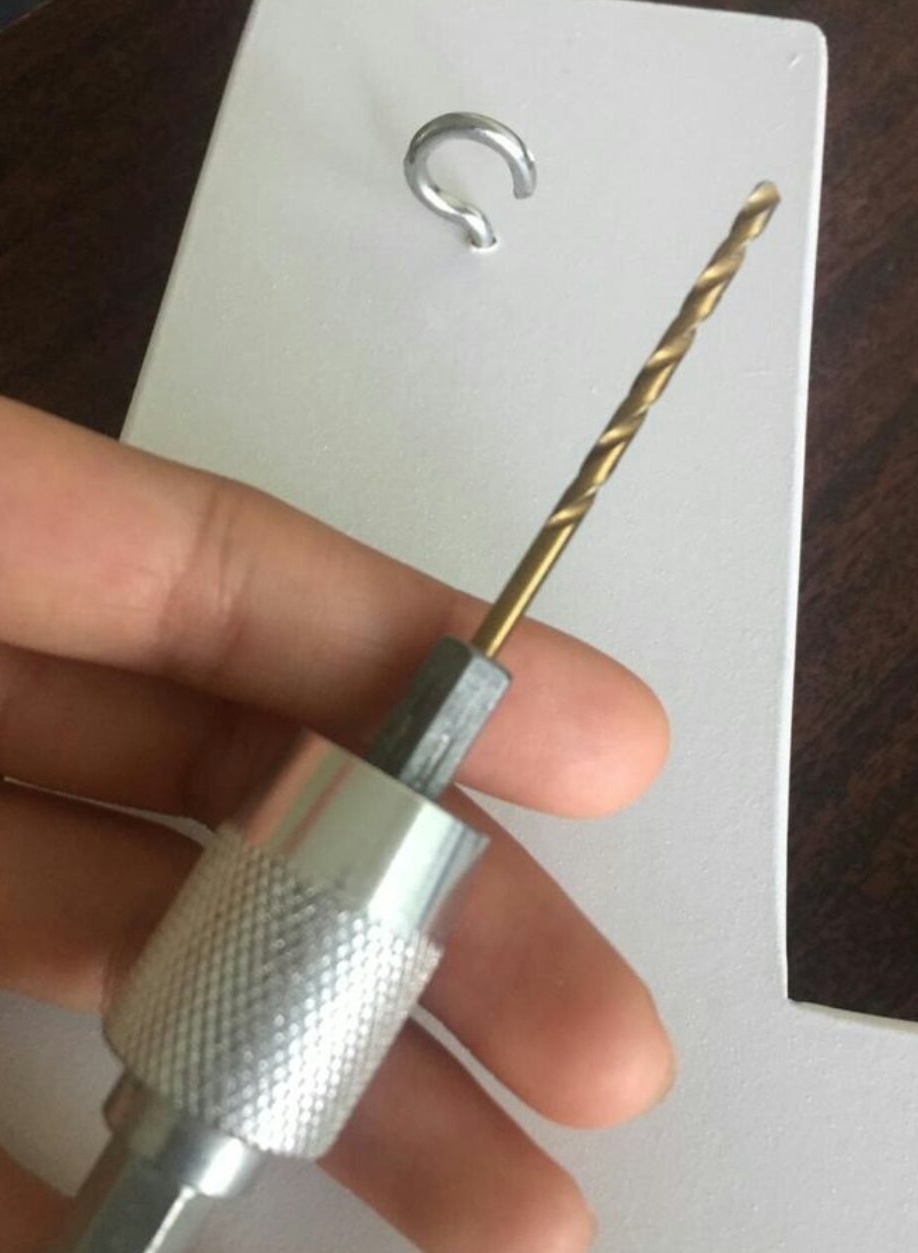
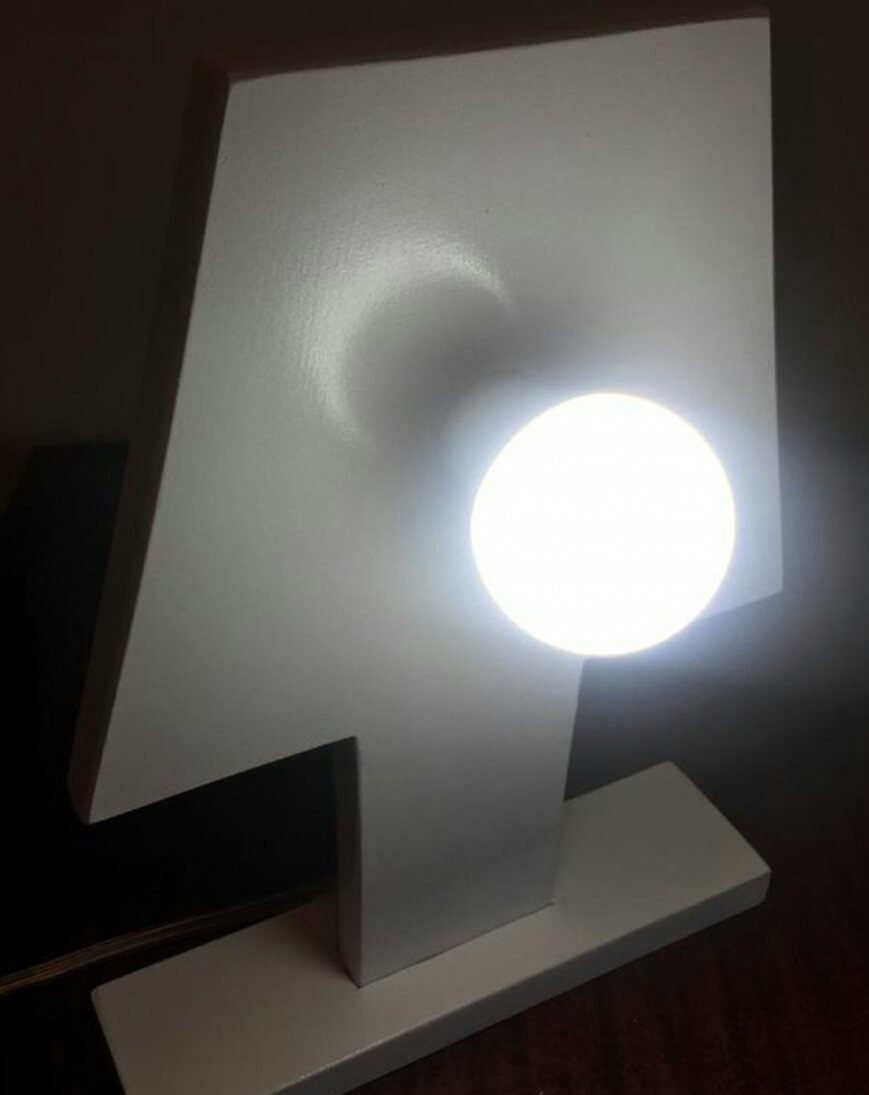
It connects and glues both MDF parts together, installs a lamp holder with a cord and plug, passes the cord through the hook:
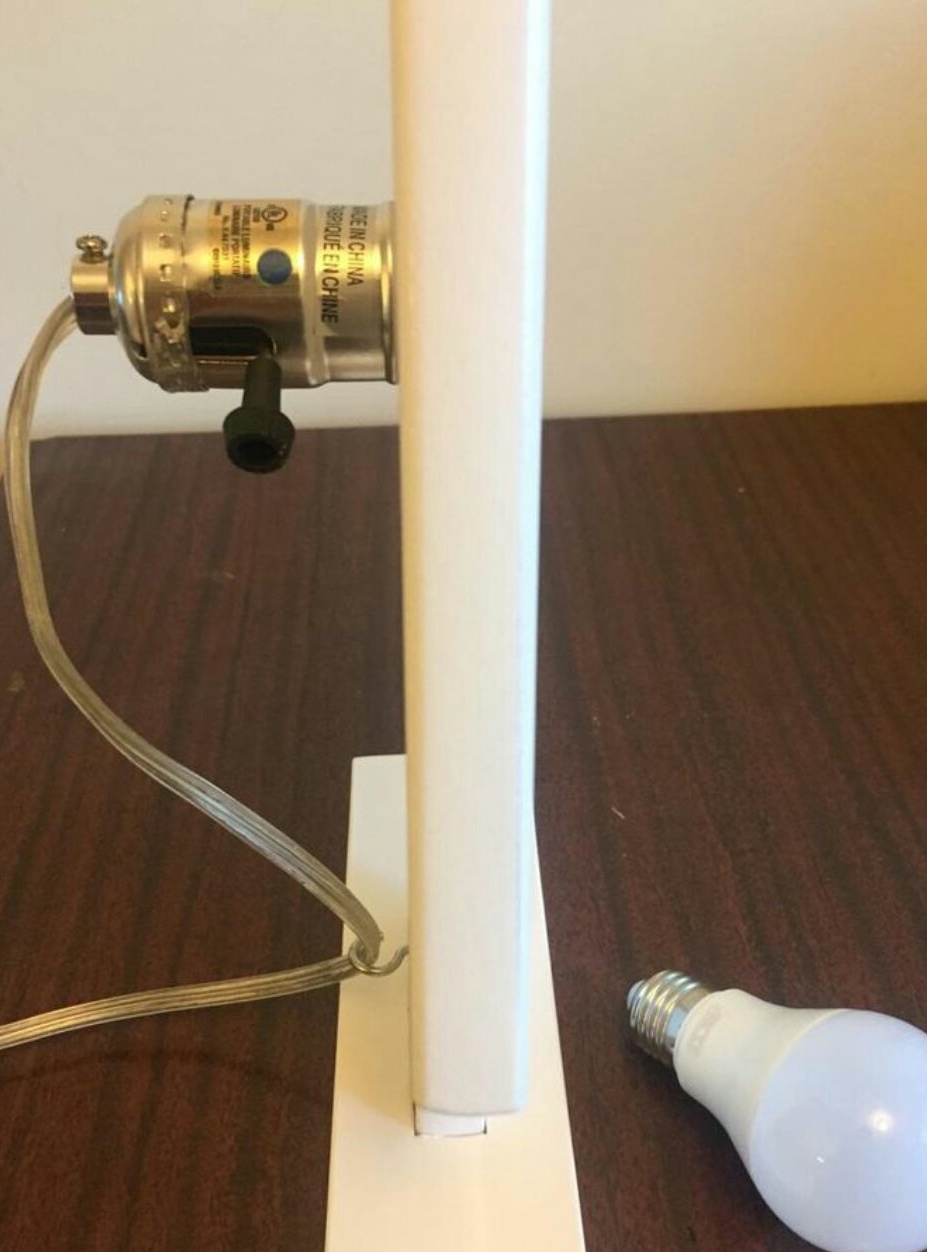
Please note again: the cartridge used in the lamp is designed for installation from the back side, and the lamp base passes through the hole in the board.The craftswoman screwed the lamp:
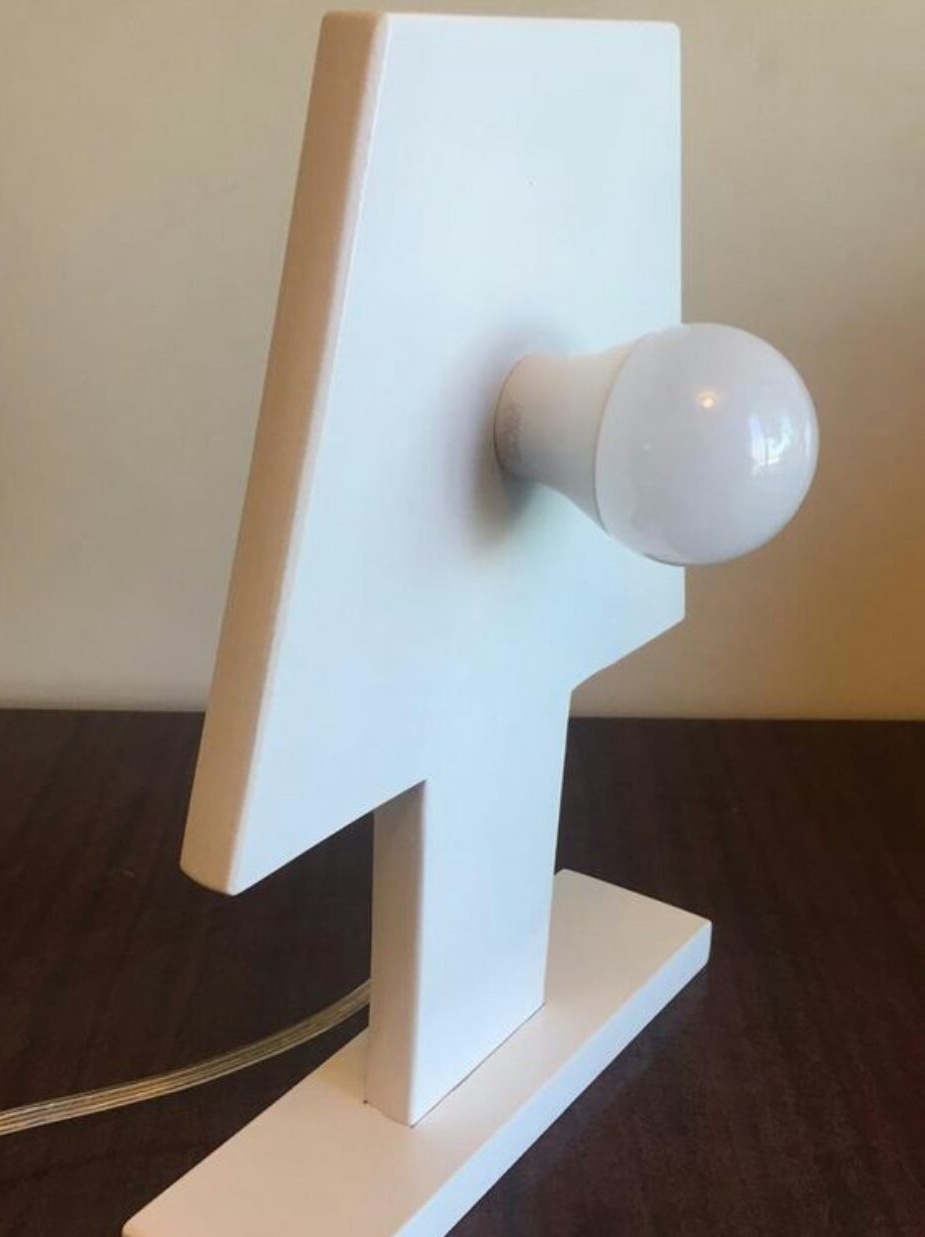
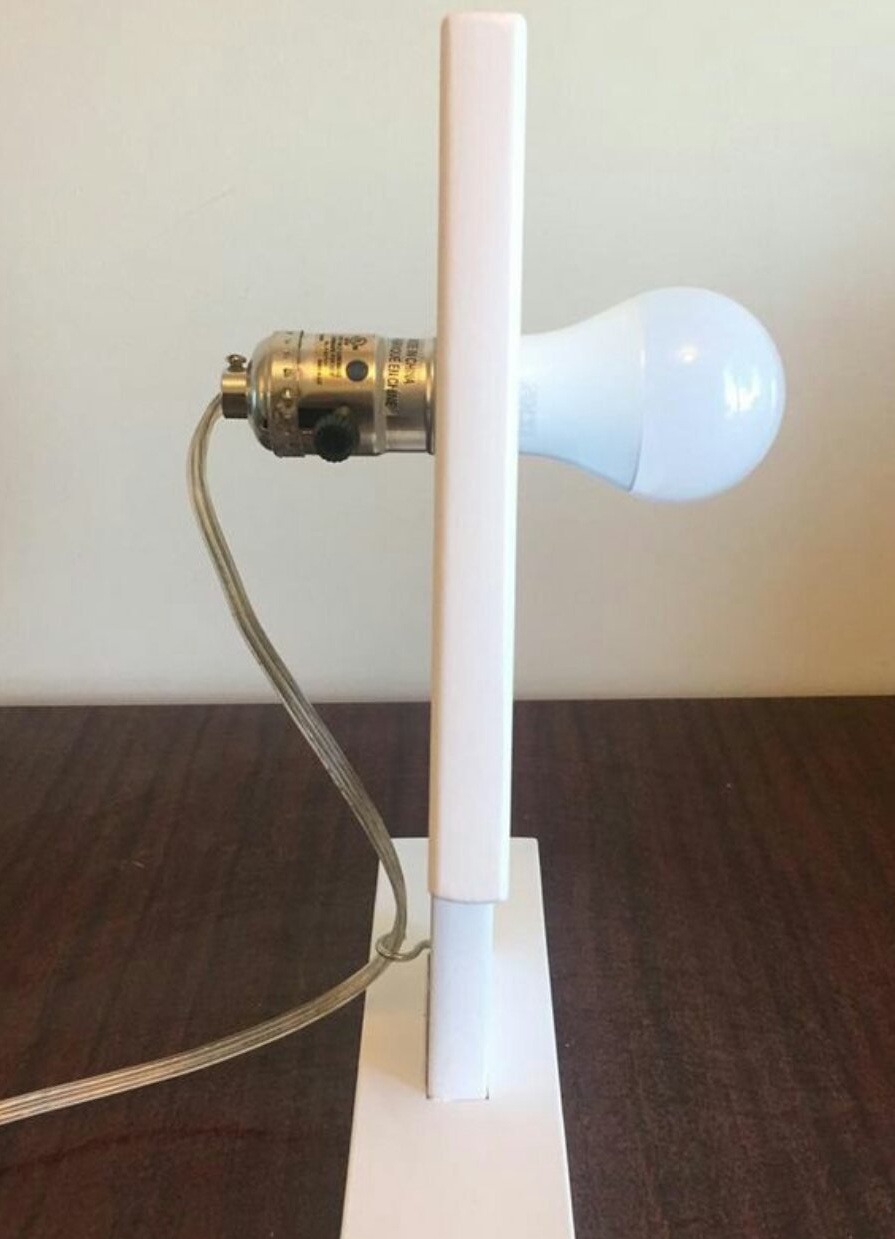
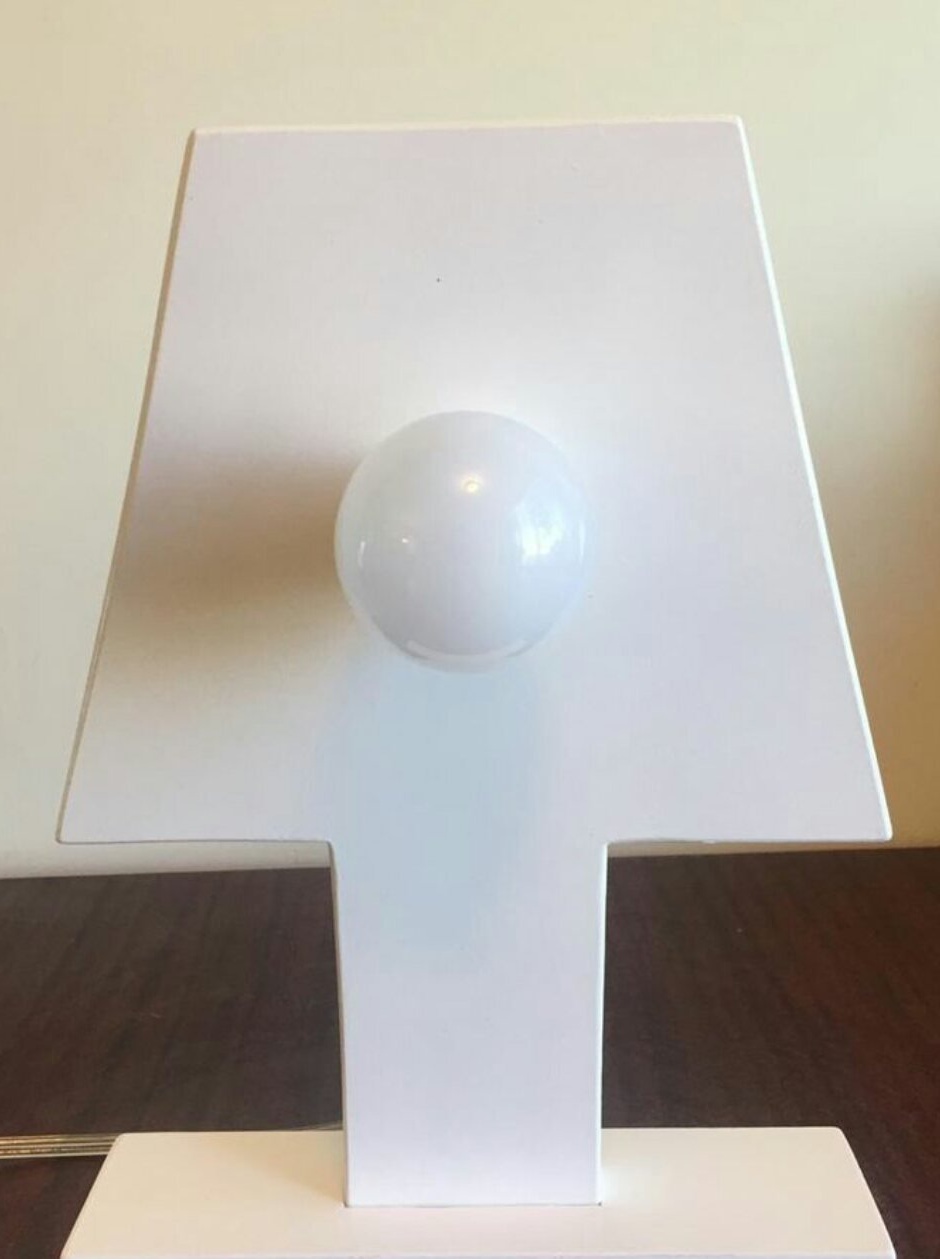
And checks the finished homemade:
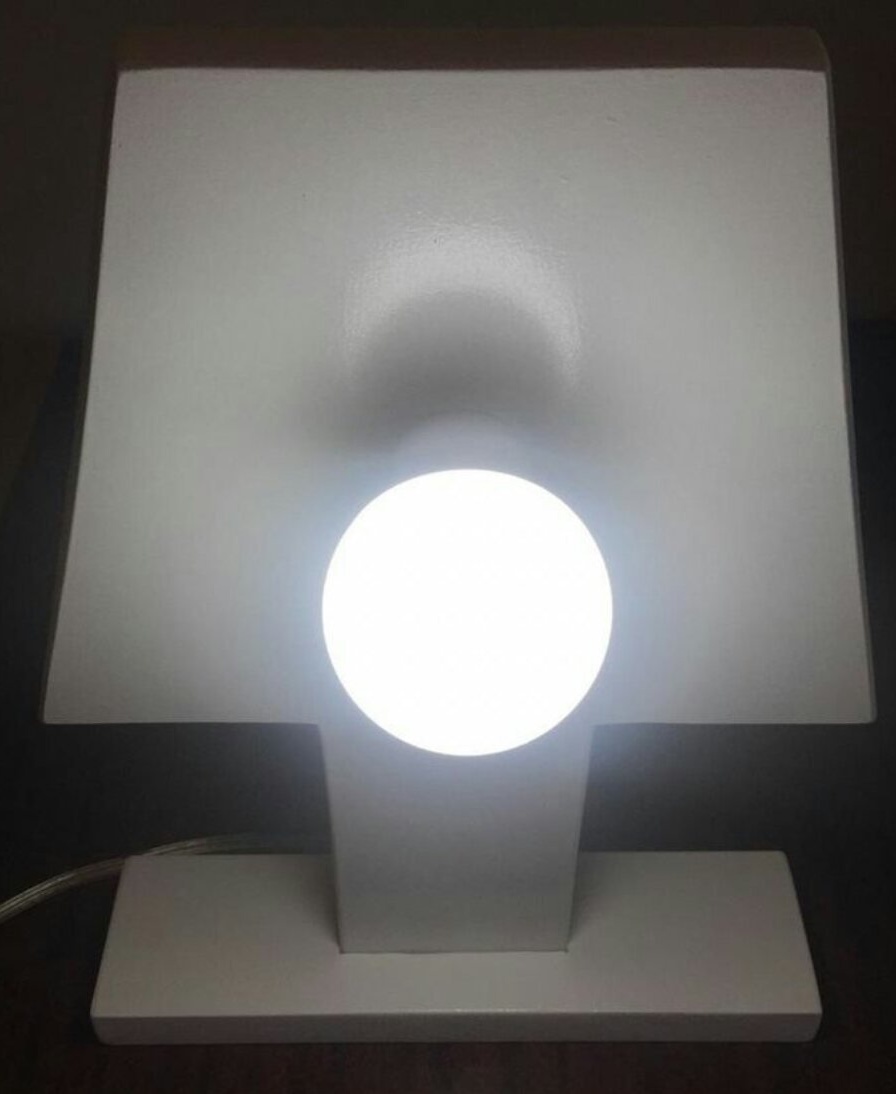
So we got a lamp, to which I do not want to add anything, it is good in this form.