Good day to all the masters!
Recently, the hard drive in my computer began to slow down very hard, and even hung up tight, but I must pay tribute to the old WD Black 160 GB drive, which lasted about 15-18 years (I don’t know exactly how old he was, I got the computer and bought with him for a long time before it came to me), and this drive survived more than one "motherboard" and he is still alive. It can be used with an external container as a flash drive.
A friend advised me to buy an SSD hard drive, which I actually did.
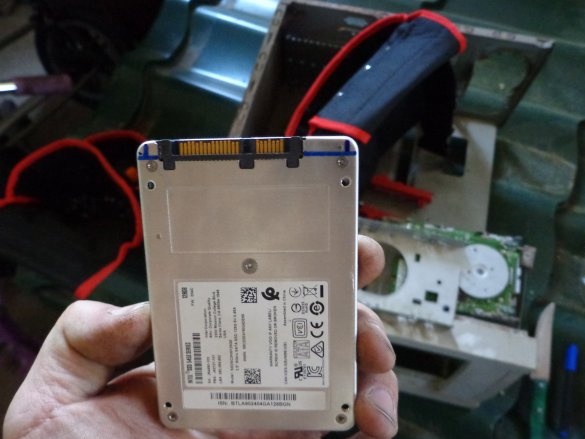
When I saw it after the purchase, I realized that it would not become a regular place for the usual HDD disks (small in width). SSD is 7 cm wide, and the old HDD is 10 cm, the difference is 3 cm.
At first I wanted to make a carriage from a sheet of galvanized sheet, but the listogib is not finished yet. After some deliberation among the trash, I immediately realized what the carriage can be made of.
What you need
- Angle grinder (grinder)
- PH1 Phillips screwdriver
- drill, screwdriver
- 4mm metal drill
- sandpaper
- old floopik
- small cogs (computer)
- marker, pencil
Step 1: Material Selection
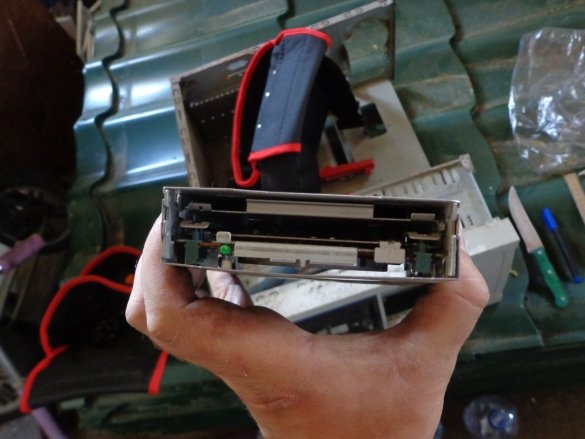
The victim was an old flupik.
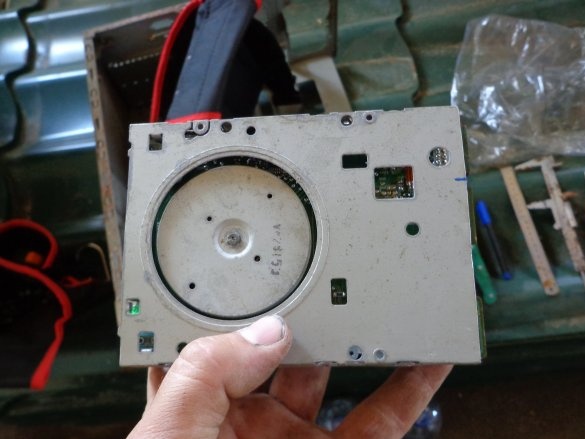
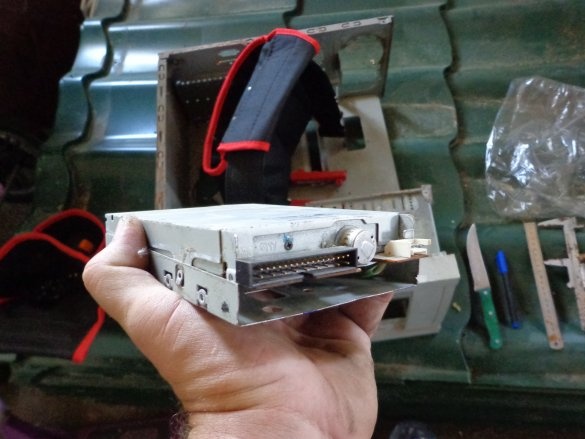
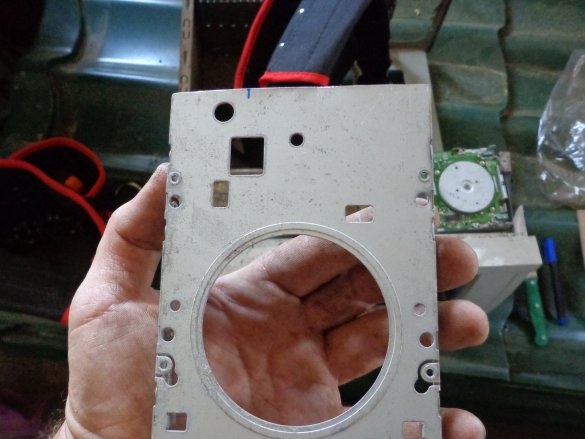
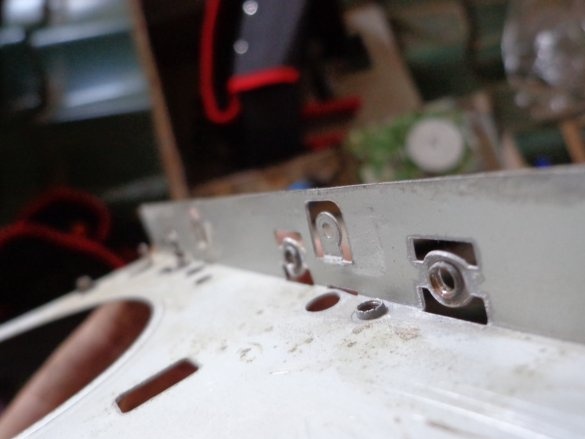
Gutting it completely left only the bottom part where the mounts of the floopik are located to the system head of the computer, i.e. bottom part.
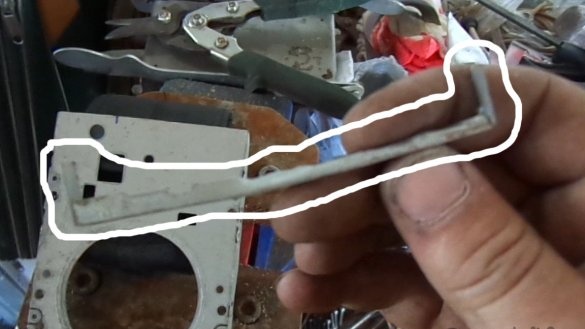
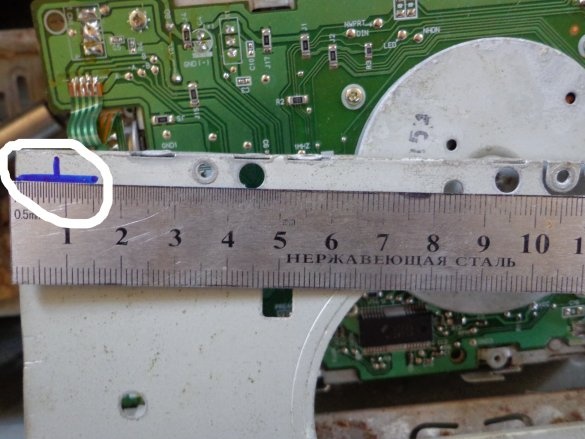
But there were difficulties in the form of a bend around the edge, trimmed 5 mm from the edge (I will further explain why it is 5 mm).
Because of it, it was not possible to install an SSD drive. When trying to bend the threshold with pliers, the whole future carriage began to bend into an arc. I cut it off with a grinder and polished it first with an emery and then with sandpaper.
It had to be done because the “hard” interface cable was L-shaped.
Step 2: Marking for mounting
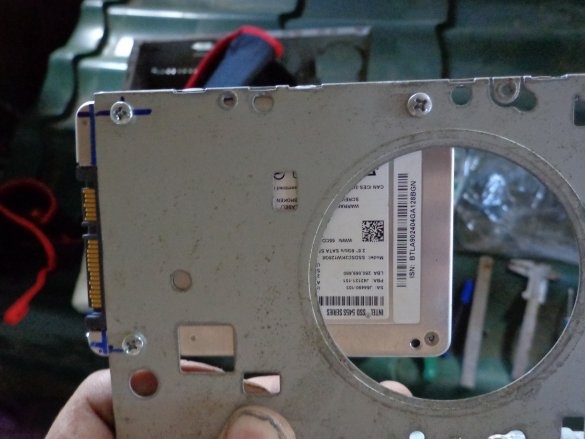
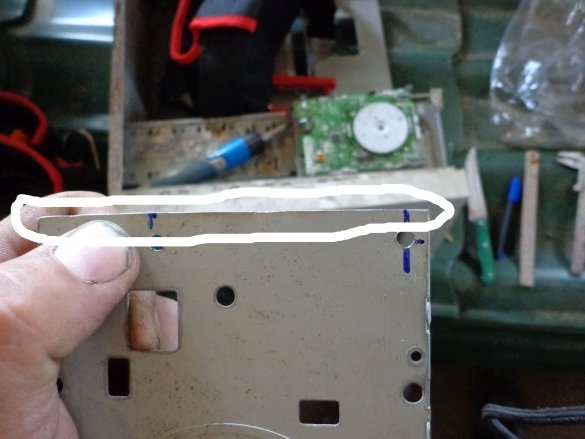
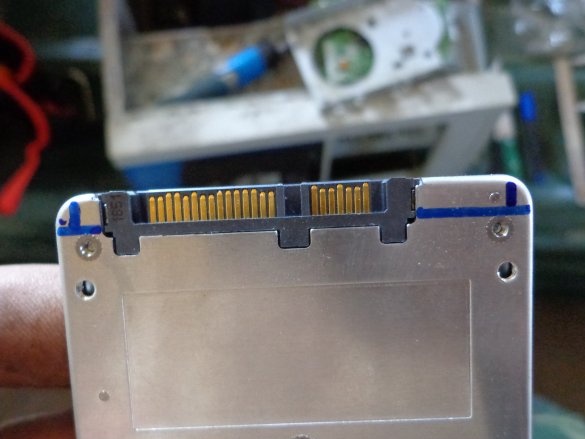
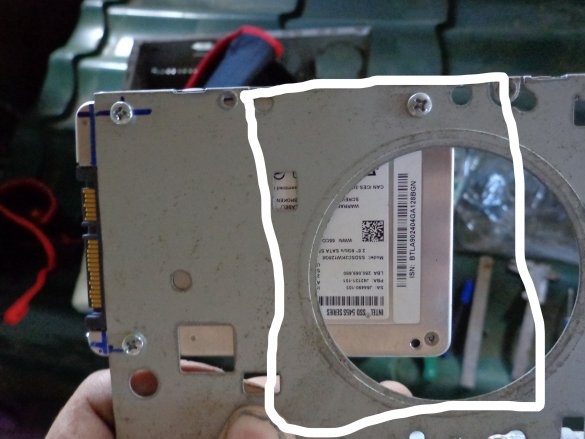
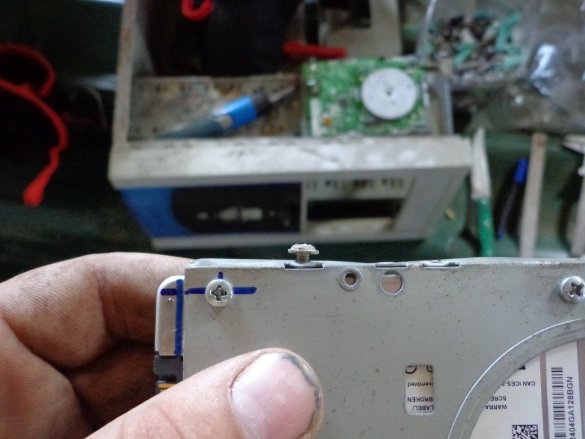
Before taking measurements between the fastener holes on the disk, you need to determine the location of the SSD on the platform and mark the edge of the carriage with a marker on the disk.
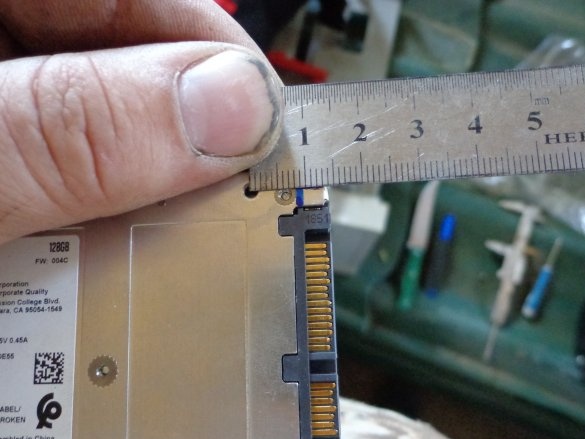
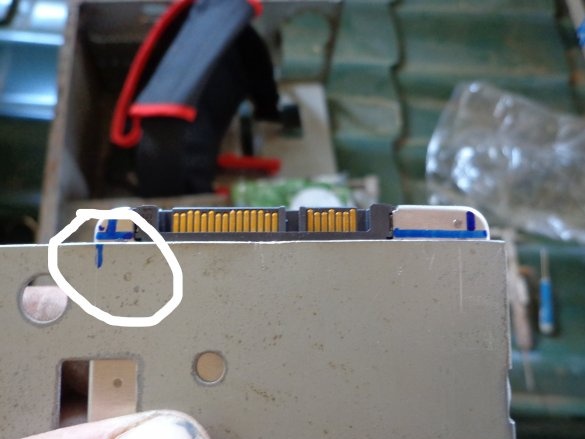
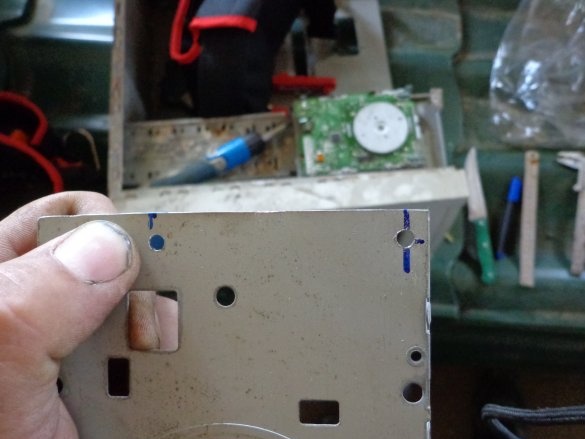
How to mark the edge, you need to put marks on the disk in front of the threaded holes so that they can then be transferred to the platform, so as not to suffer from a square measure the right angle, set the direction, so to speak. Thanks to the labels "edge of the carriage" and "opposite the holes on the disk", you can accurately mark on the platform where the holes will be made. I got 8 mm from the edge of the carriage to the place where the hole for the mounting screw will be drilled.
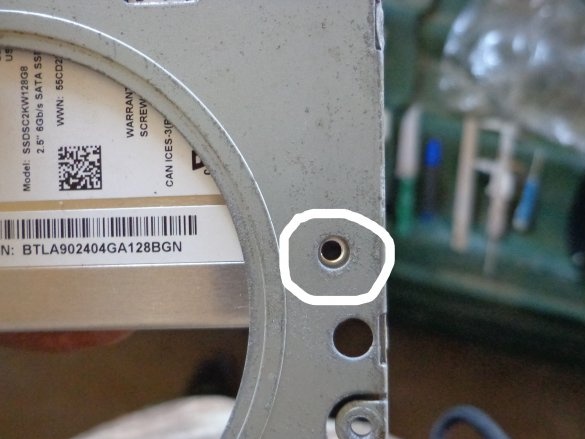
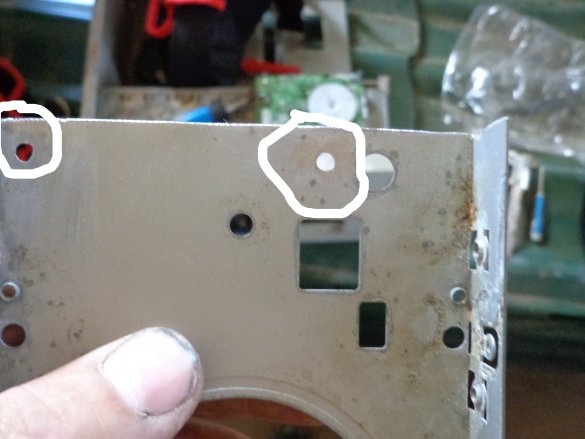
This is done so that one of the holes was originally made at the factory, it does not need to be drilled; it just coincided with the place of future drilling.
Next, we measure the distance between the holes on the disk itself and, starting from the marks, transfer them to the lower part of the platform, and since one hole was already there and the second turned out to be large, because there was a motor from the flopik there, it remained only to make two holes with a drill near the contacts.
Step 3: Drilling and Grinding
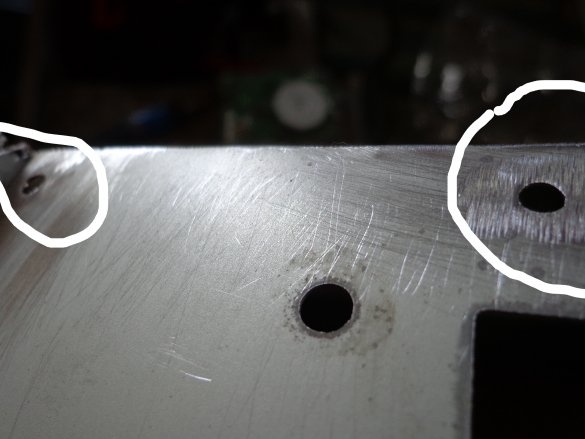
How to complete the marking manipulations, drill holes with a 4mm metal drill. The drill took a slightly larger size, let's say, hedge. If there is any deviation, it will have to be expanded with a file.
The holes are ready.
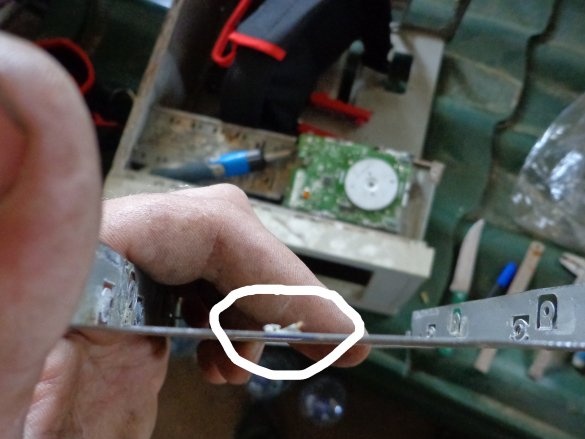
After drilling, there were burrs, they were removed by a grinder and then cleaned with sandpaper.
Actually everything ...
Step 4: Selection of screws and installation on the carriage
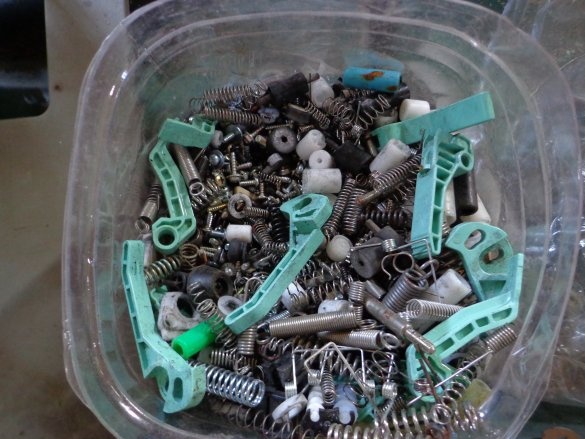
For all homemade I collect all the hardware that comes across this or that technique, computers are no exception. Gathering a can of screws from old computers, copiers, printers, etc., just come in handy for this small homemade product.
Now fasten.
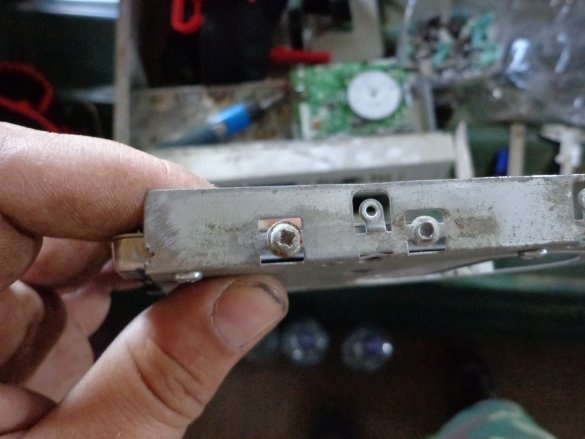
And just at the bottom of the old floopik there were places for fastening to the system unit.
Cogs are also from banks from old computers, etc.
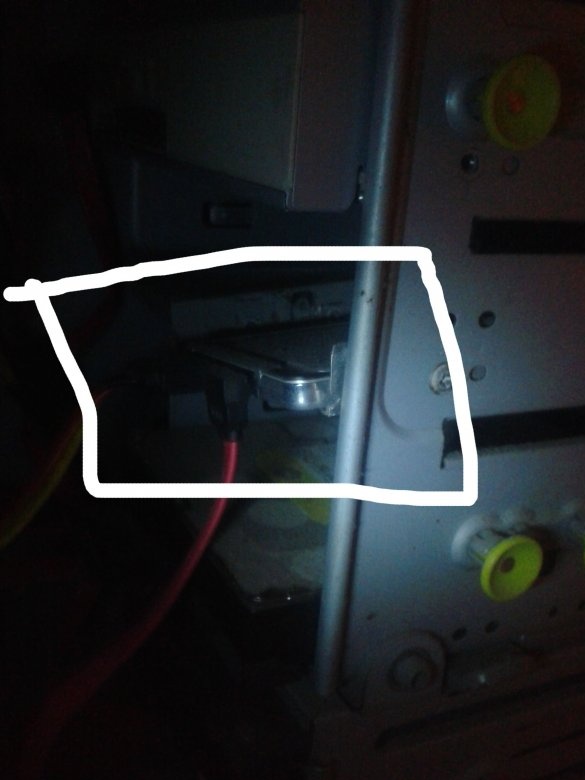
A photo with a disk installed in the system unit (sorry for the quality, I was eager to install Windows and forgot to take pictures under normal lighting). This article was written from this SSD drive :)
Thanks for attention!
It’s not always worth throwing away old things, they can always come in handy in something new :)
All success!

