
Many of you are faced with wood processing processes, but not everyone has a complete set of machines.
In this article, David, the author of YouTube channel “Make Something”, offers his readers a unique technology for leveling a curved board without a jointer, using only a circular machine and a surface gage.
Materials
- Boards
- Sandpaper
- sheet plywood
- Wax.
Instruments, used by the author.
—
—
—
- Circular saw, surface gage
—
—
- Clamps, clips, knife.
Manufacturing process.
The main purpose of the jointer is to align the lower and lateral planes of the board, which will be the base, so that then this board can be passed through the thicknesser, and align the two remaining sides.
Why is it impossible to align all sides on a thicknesser, just turning the board over? - you ask.
The fact is that if the board has the shape of a banana or a propeller, then the rollers at the base of the thicknesser that push this board will allow the blades to align it with the bottom surface, and at the exit you get a board of the same curved shape.

Another thing is the jointer - there are no clips in it. If you pass the board through the blade without even making much effort, you end up with a completely flat surface. If one of the wide sides of the board is flat, then the other can be easily aligned already on the thicknesser.
There is also an emphasis on the jointer along which the front part of the board can be driven away and an ideal right angle can be obtained on its lateral sides. This is very convenient when there is a machine itself. And if he is not?
The author offers the following technology:
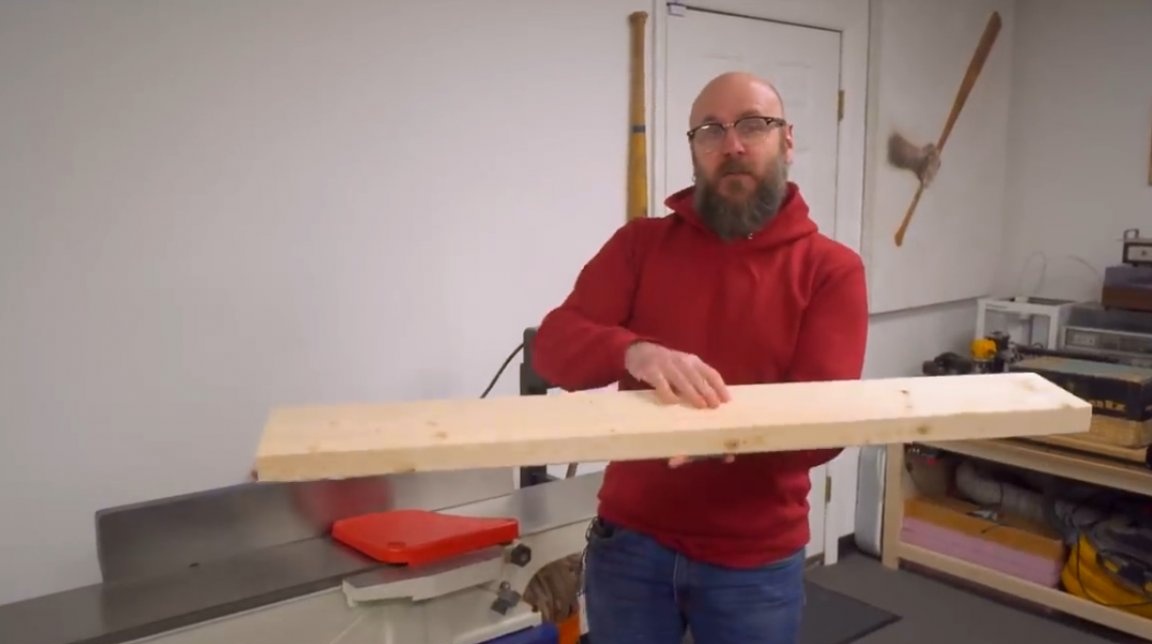
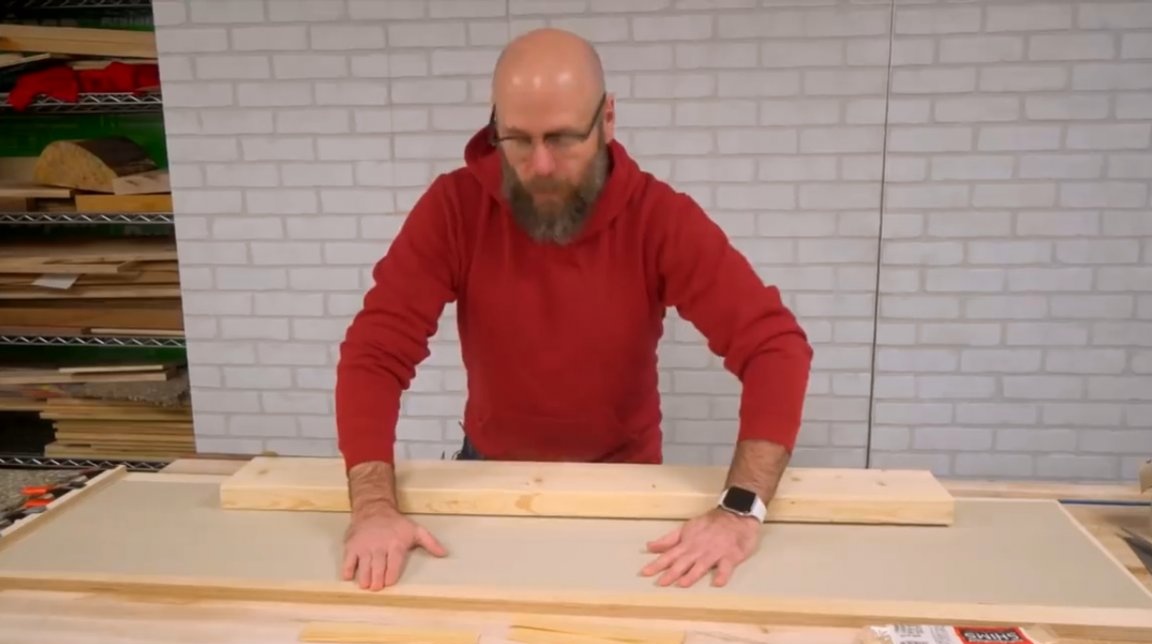
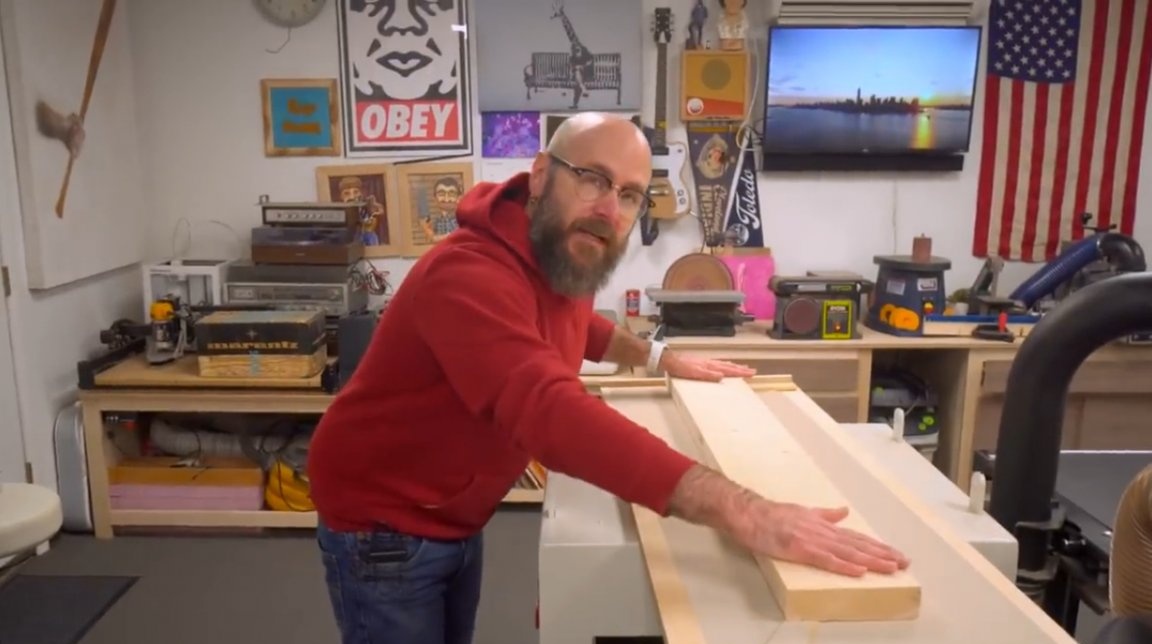
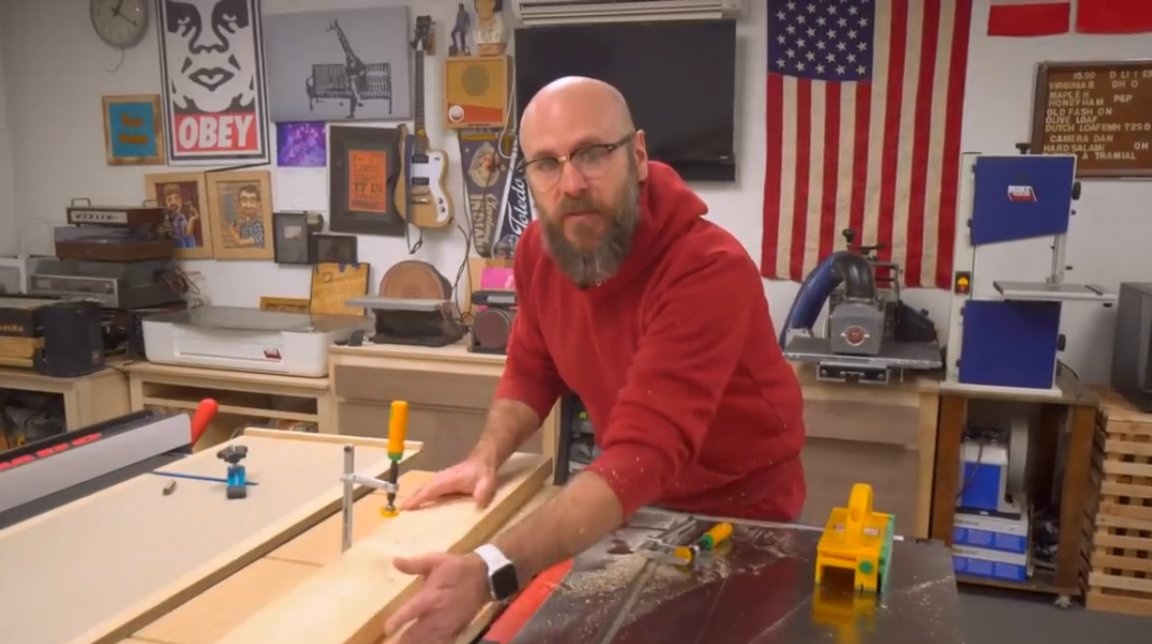
So, he has a surface gage and a circular saw with a transverse stop / carriage. But the candidate for experimental processing is a 50X150mm board with noticeable curvature, and having the shape of a “propeller”.
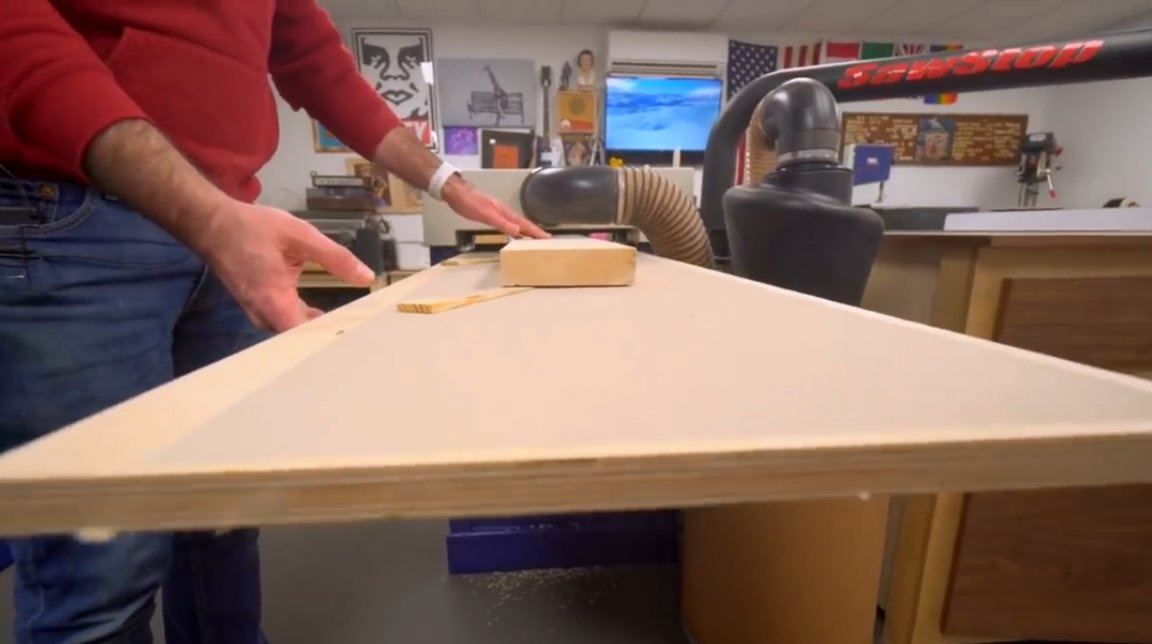
First, David cuts a piece of 20 mm plywood on a circular saw. This will be the bottom of the carriage. On one side of it, he glues a threshold into which the board could rest when it passes through the surface gage.
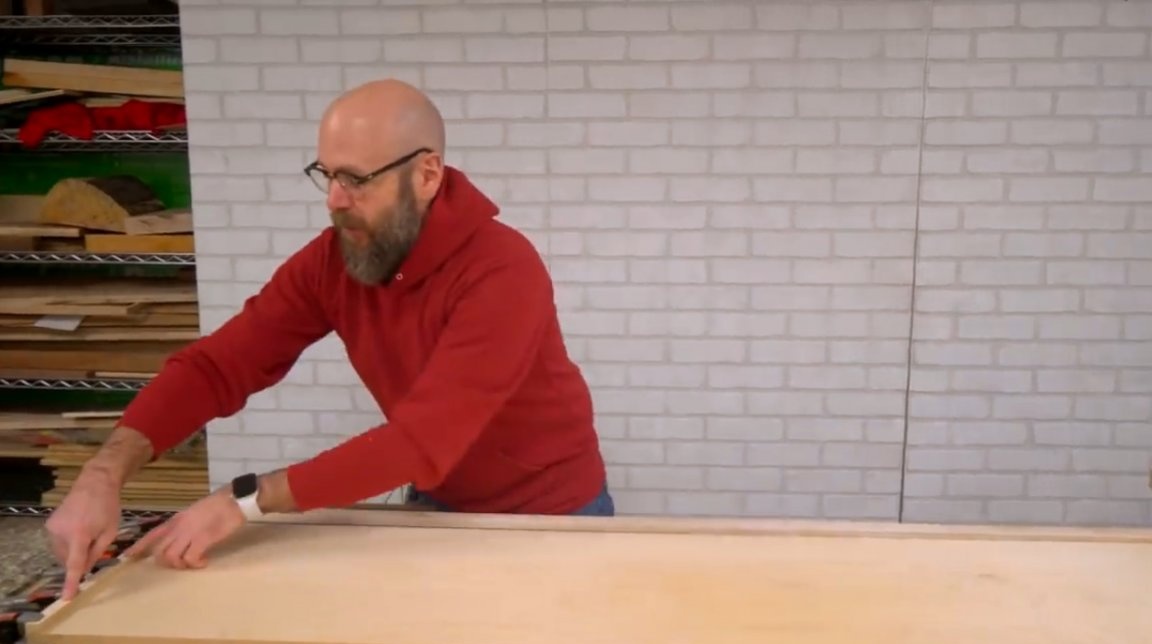
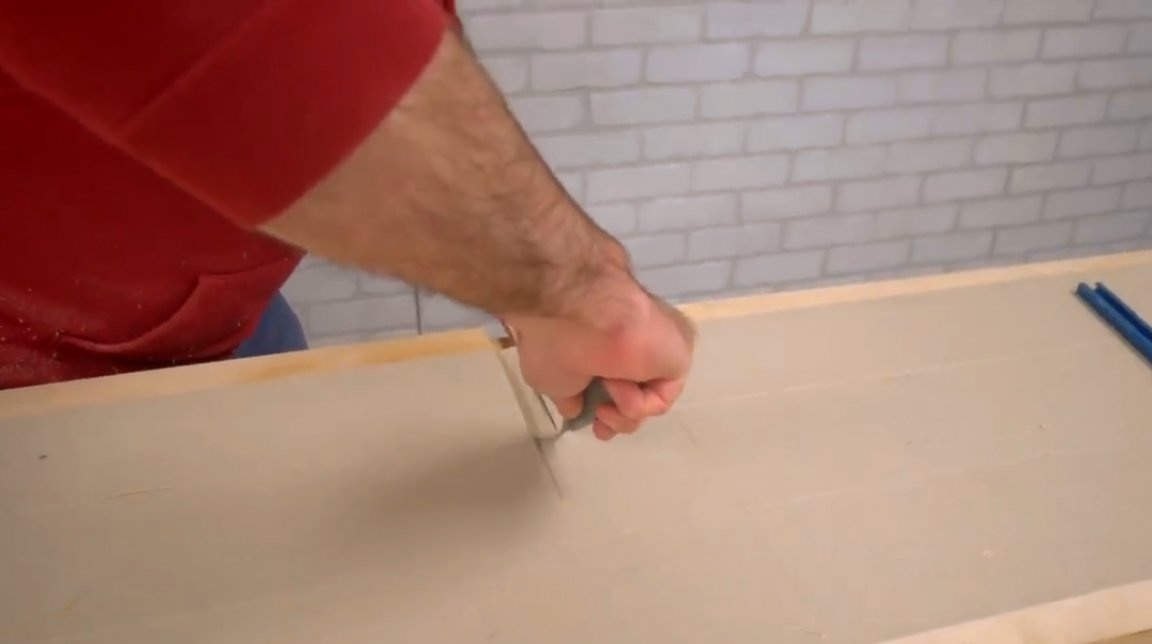
To give the surface of the future carriage a rough texture, the master glues several strips of self-adhesive sandpaper (you can use ordinary sandpaper and take it on glue). Now the board will not fidget and slide.
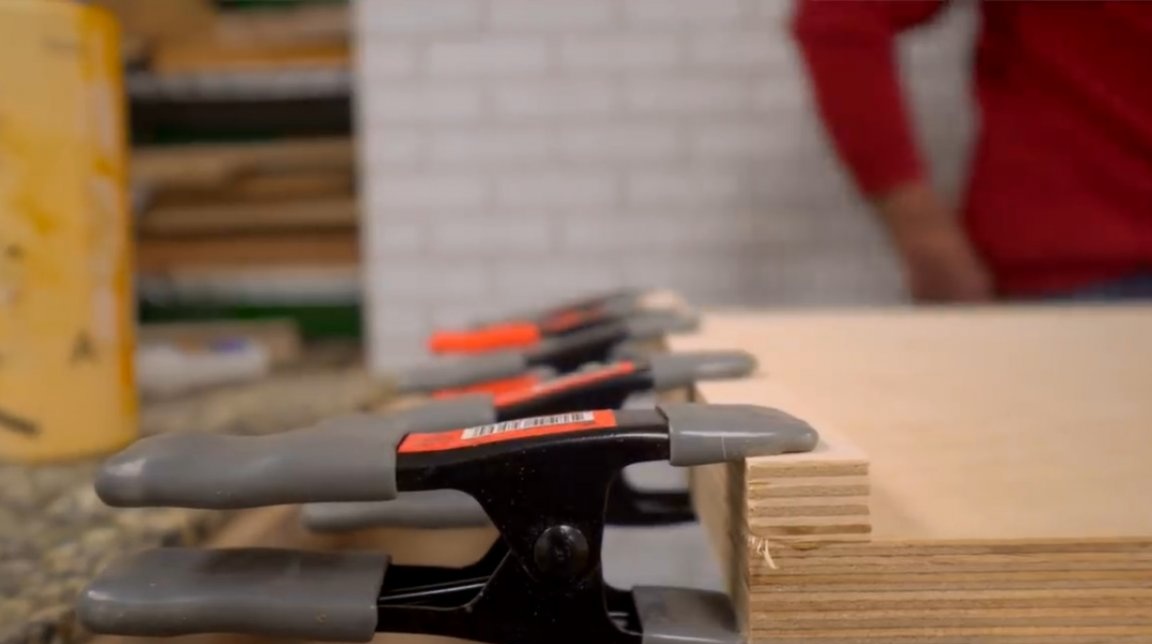
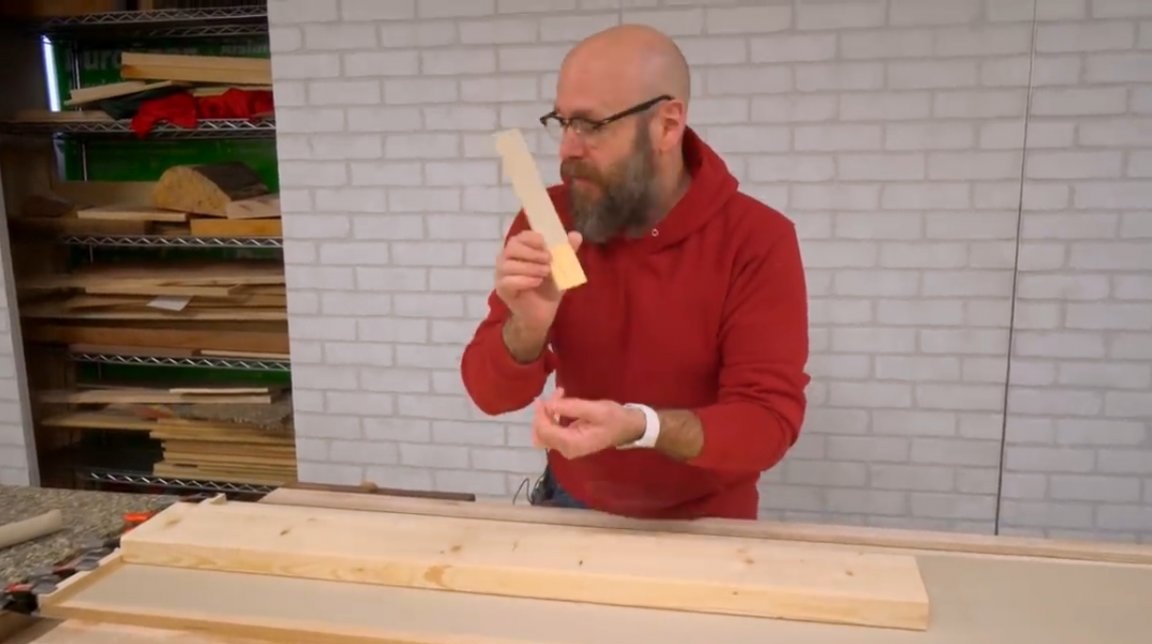
Further, the author tries to eliminate the mobility of the board.He takes such thin lining in the form of wedges to help himself. You can get them at a hardware store or make them yourself on a band saw from a piece of wood by pasting sandpaper on top. This again is necessary so that the wood does not fidget, and does not move.
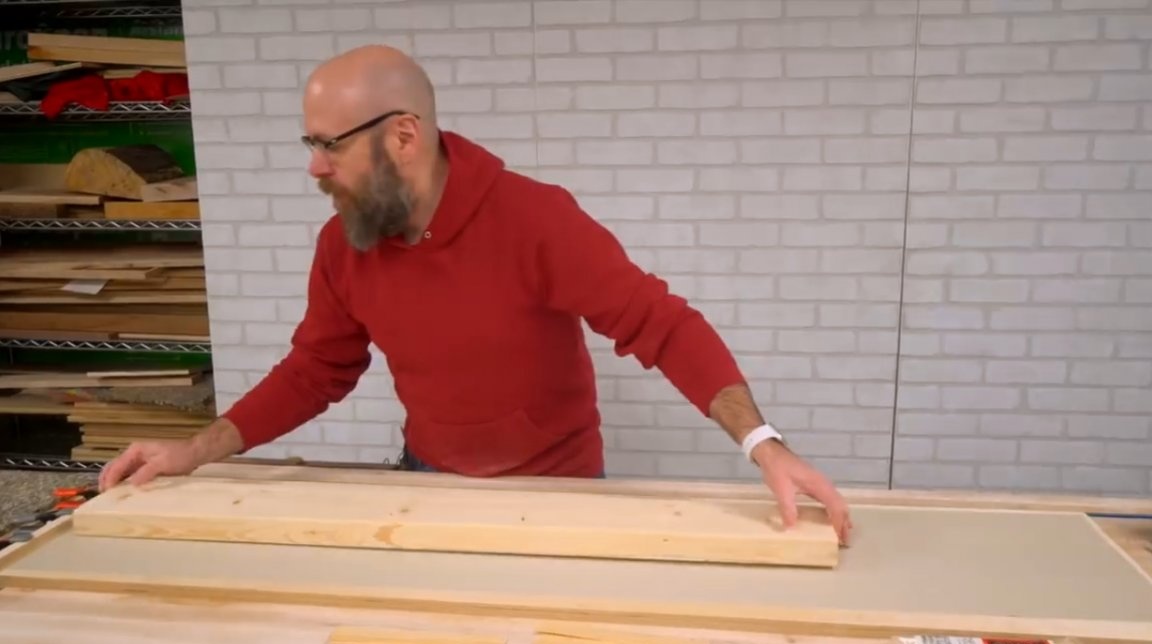
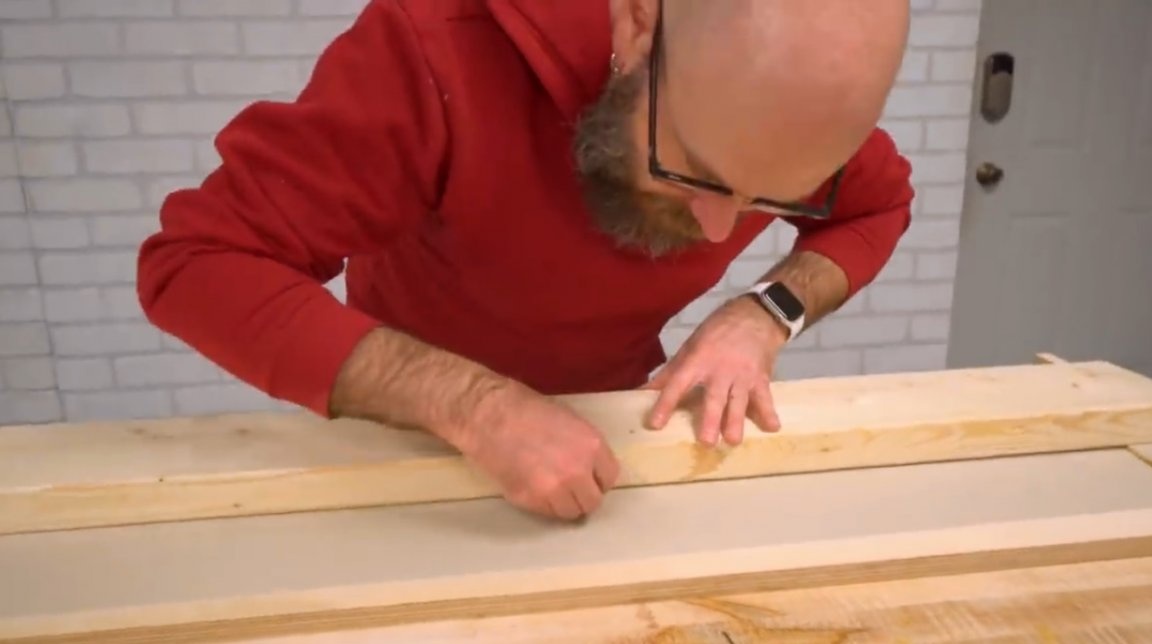
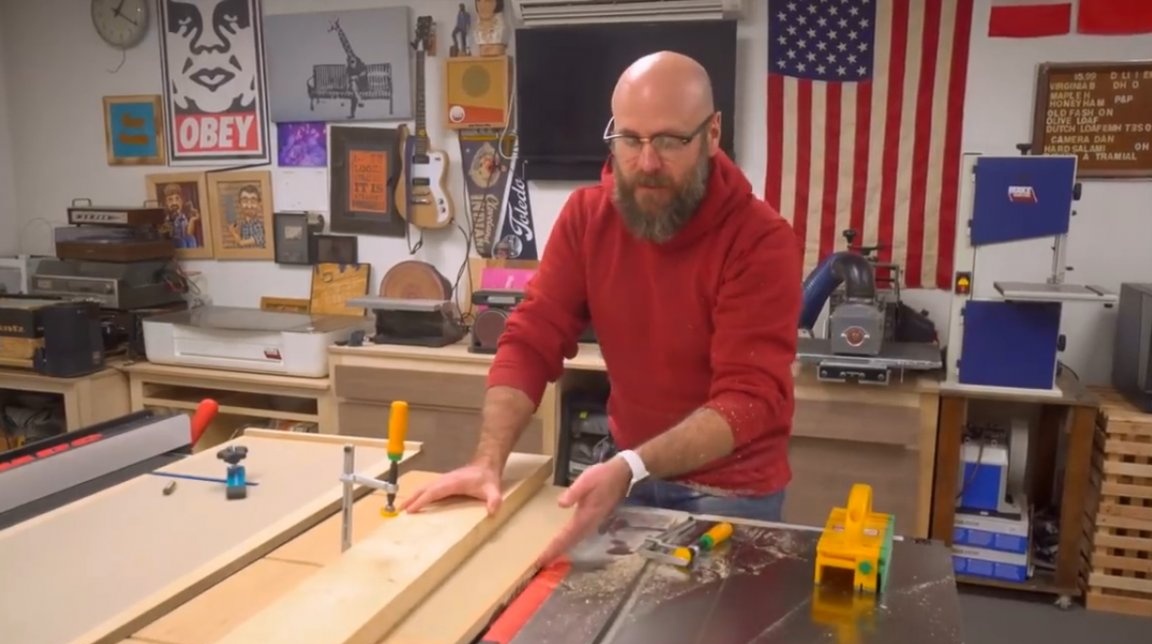
These pads are inserted under different sides so that the board stops swinging.
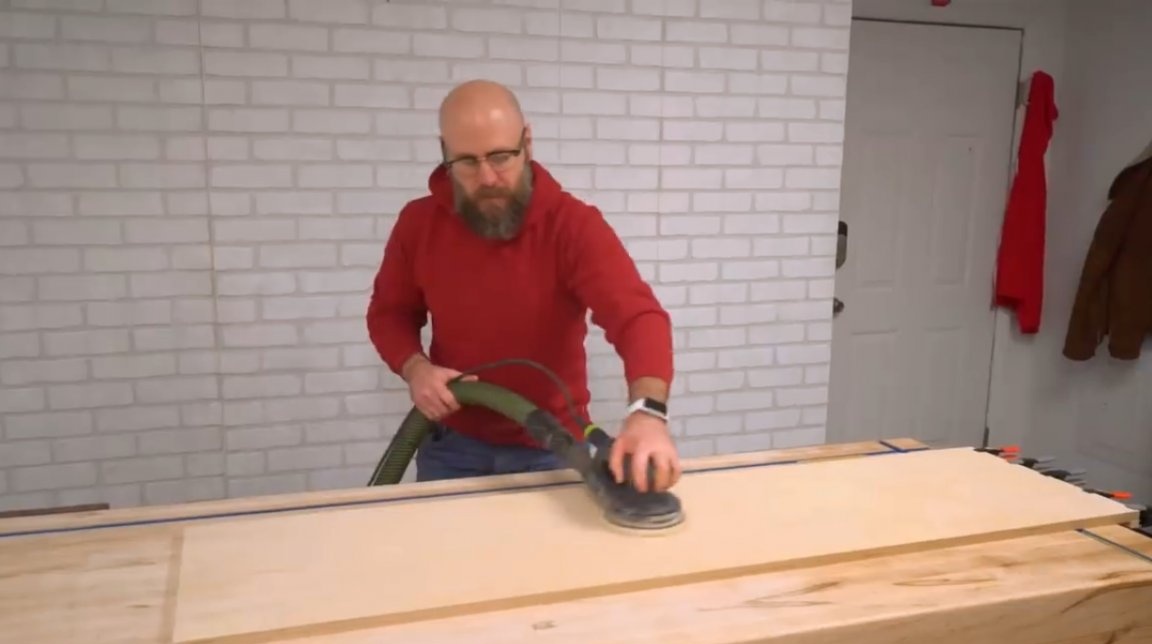
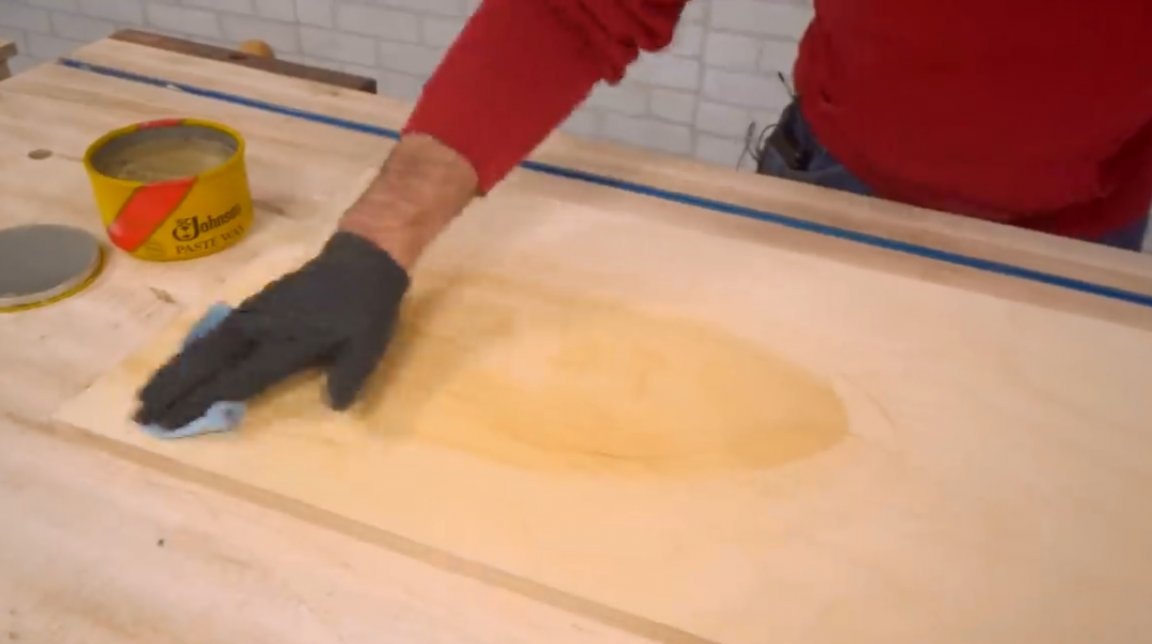
The bottom surface of the carriage is ground and waxed so that it glides better through the thicknesser.
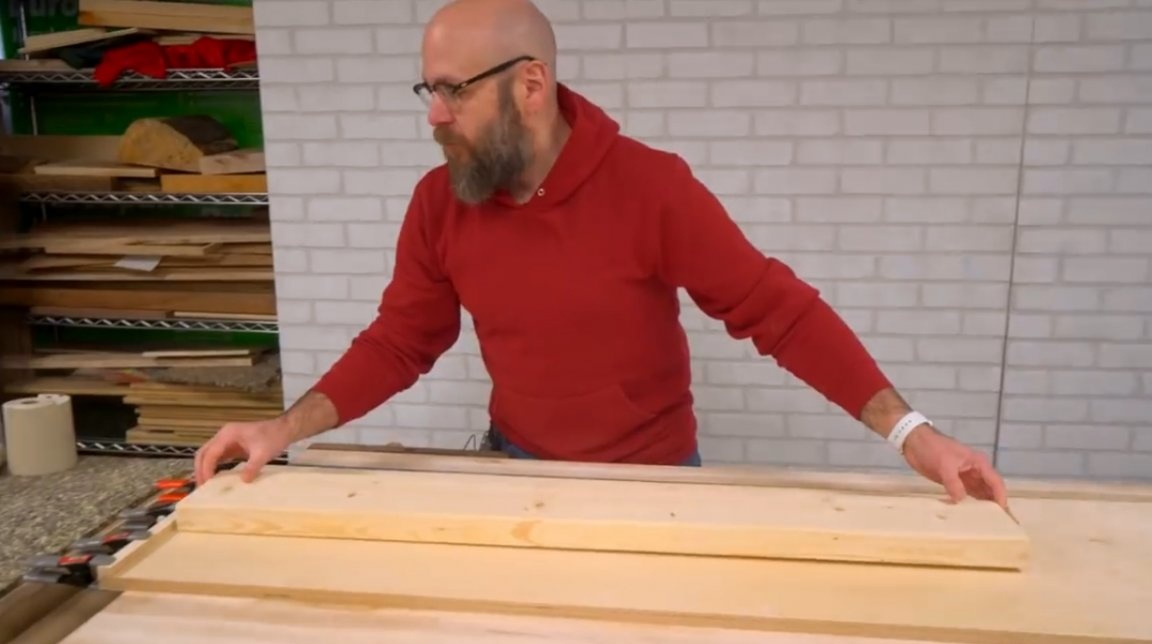
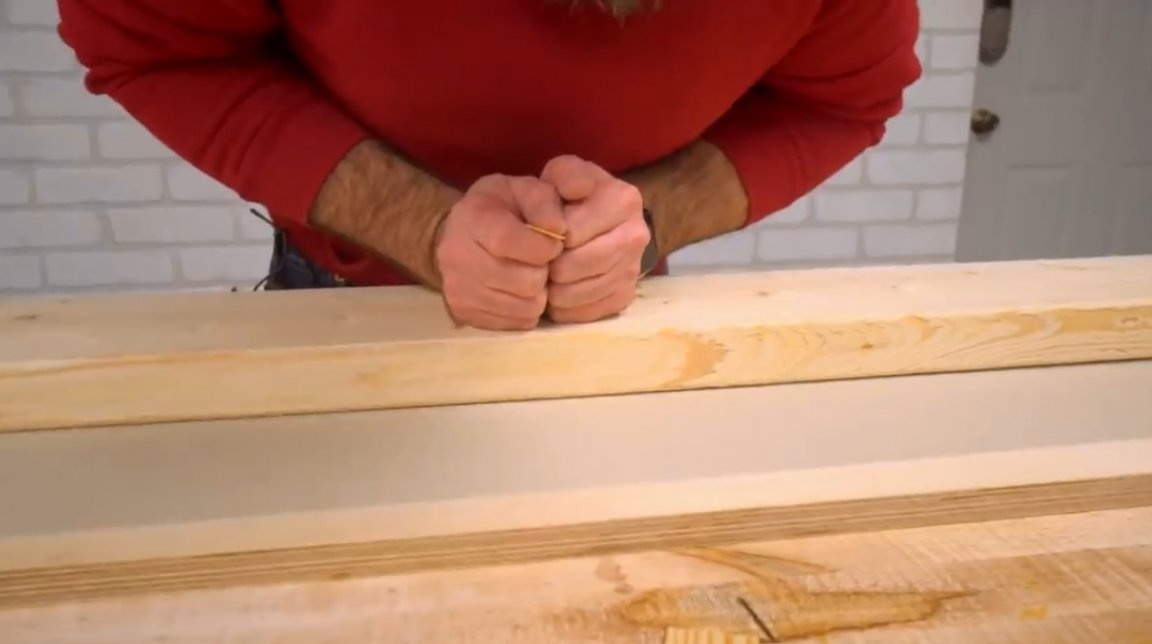
In the center of the board, the author noticed some deflection. This can not be allowed, otherwise it will be transferred to the leveling surface. And here you have to put wooden linings. If they are too long and protrude too much, they can be trimmed.
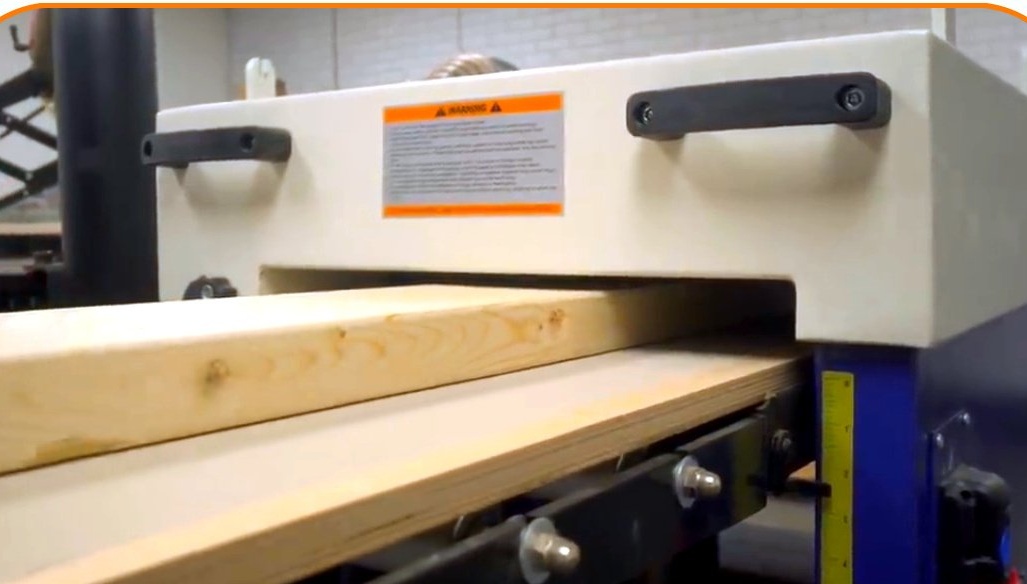
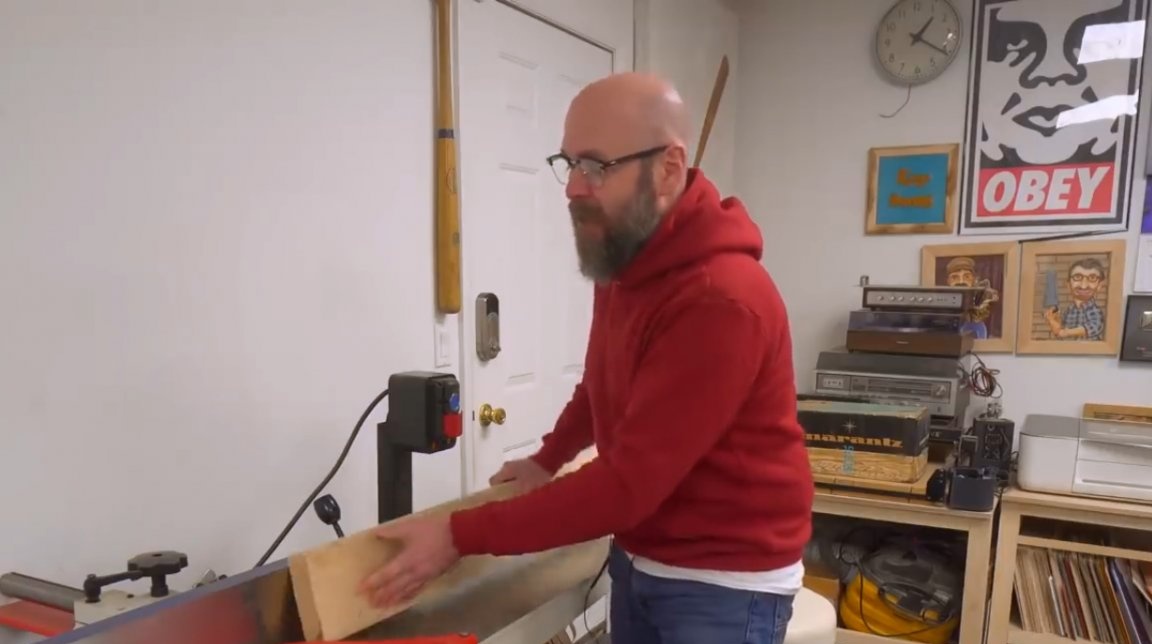
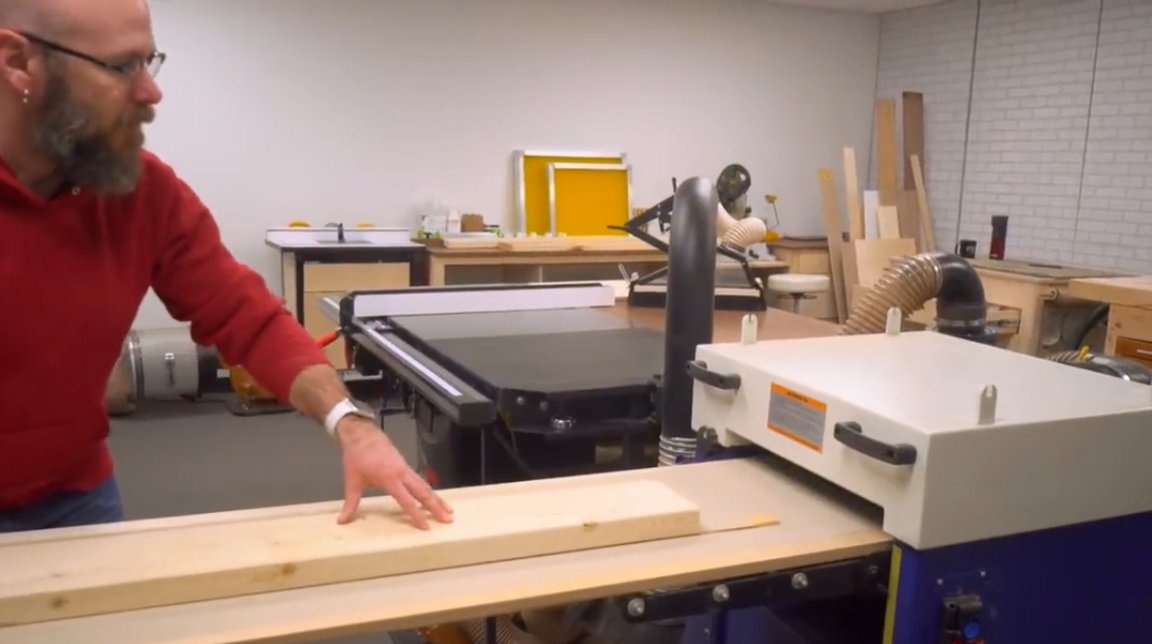
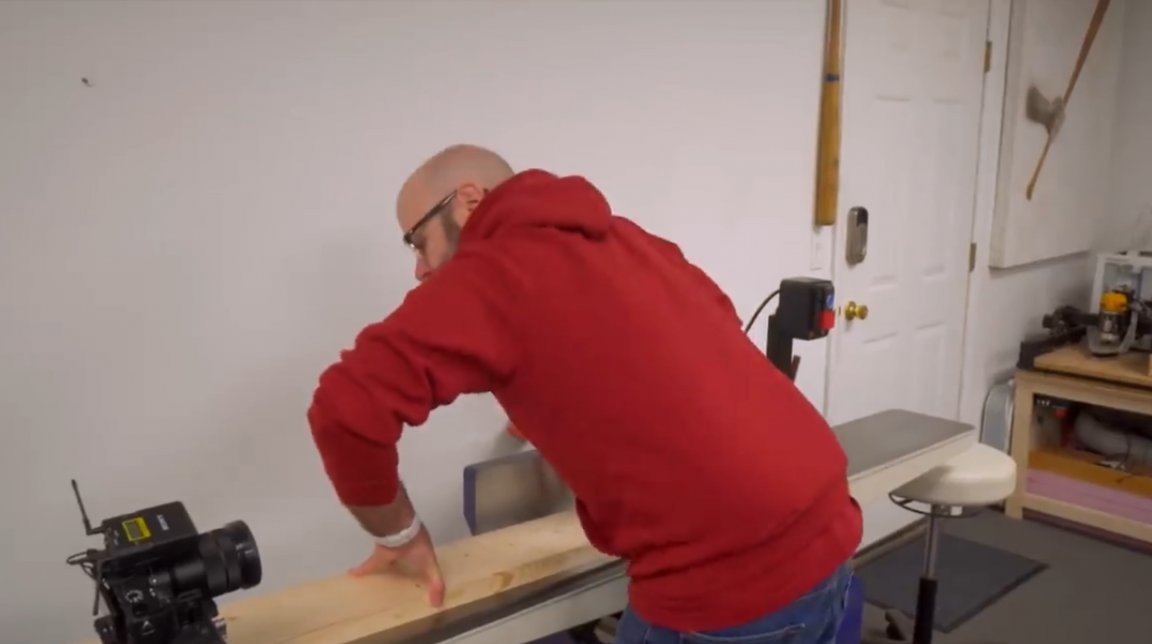
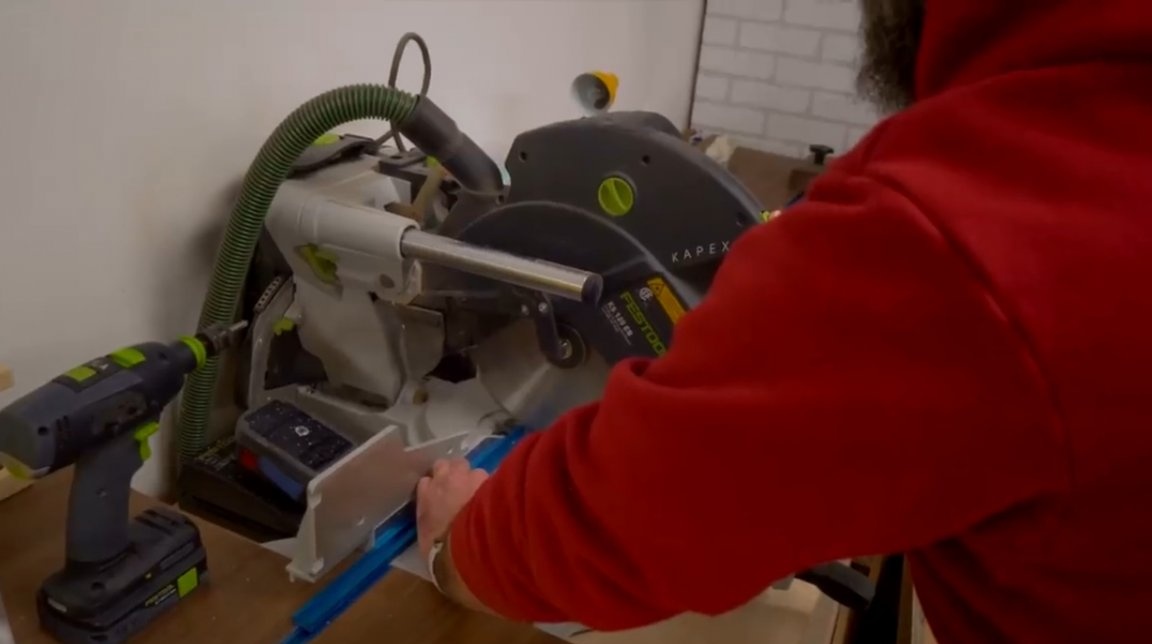
Now the board can be passed through the thicknesser. It does not have to be as huge as the author. Such device quite suitable for a conventional, portable machine.
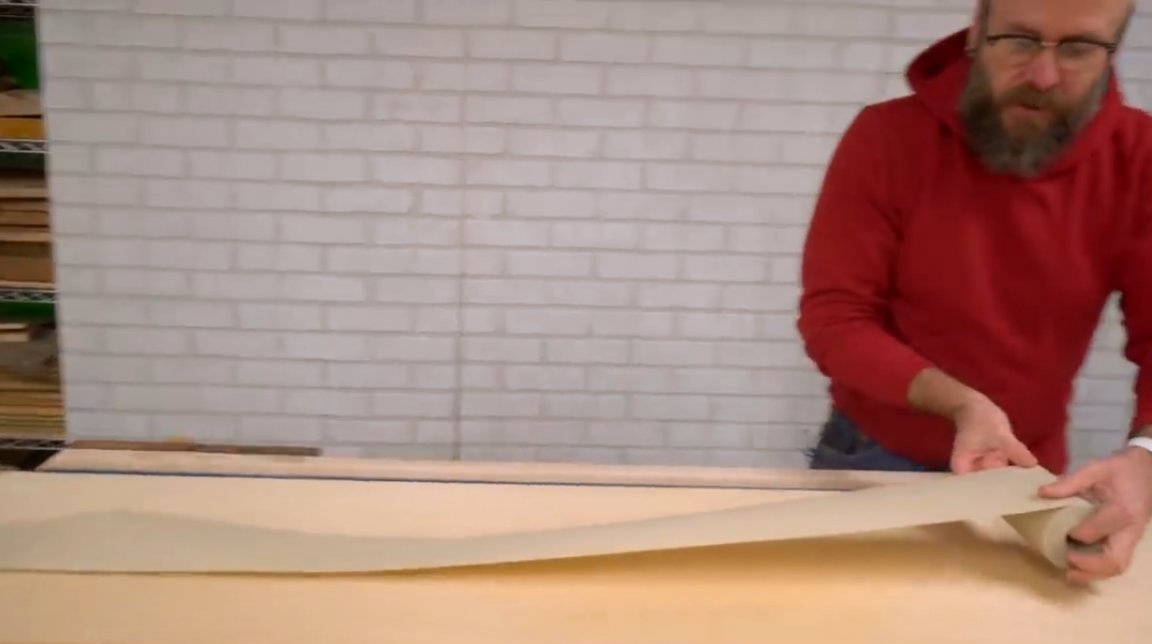
Passing the workpiece several times through the thicknesser, the master gradually, gradually removes excess material until he gets a flat surface.
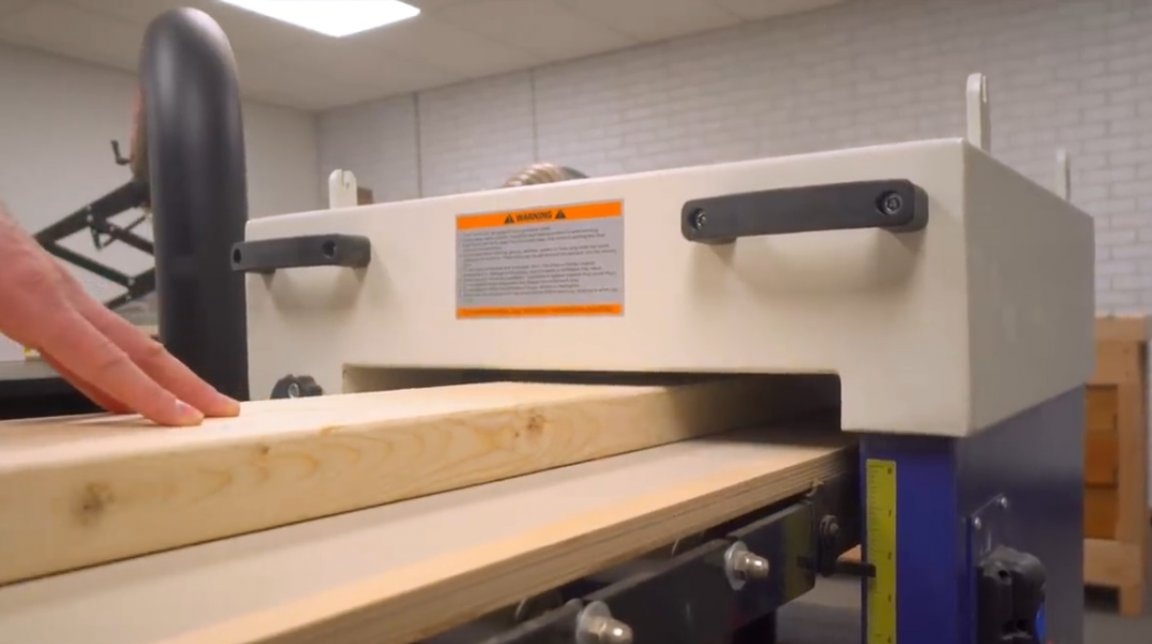
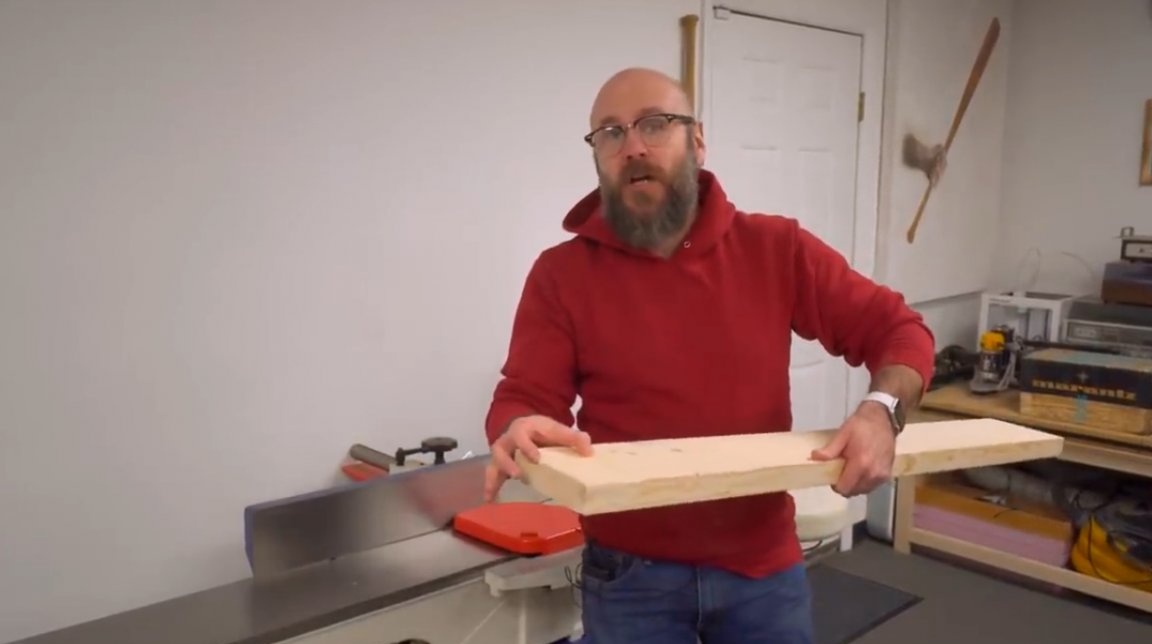
Check ... yes, the base of the board is perfectly flat!
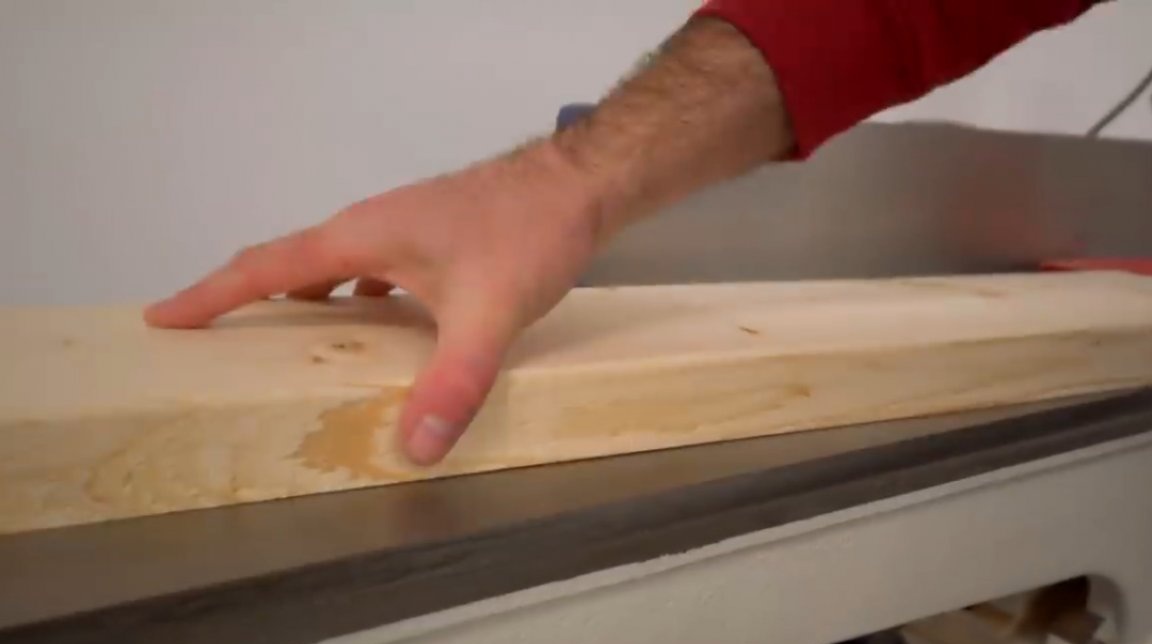
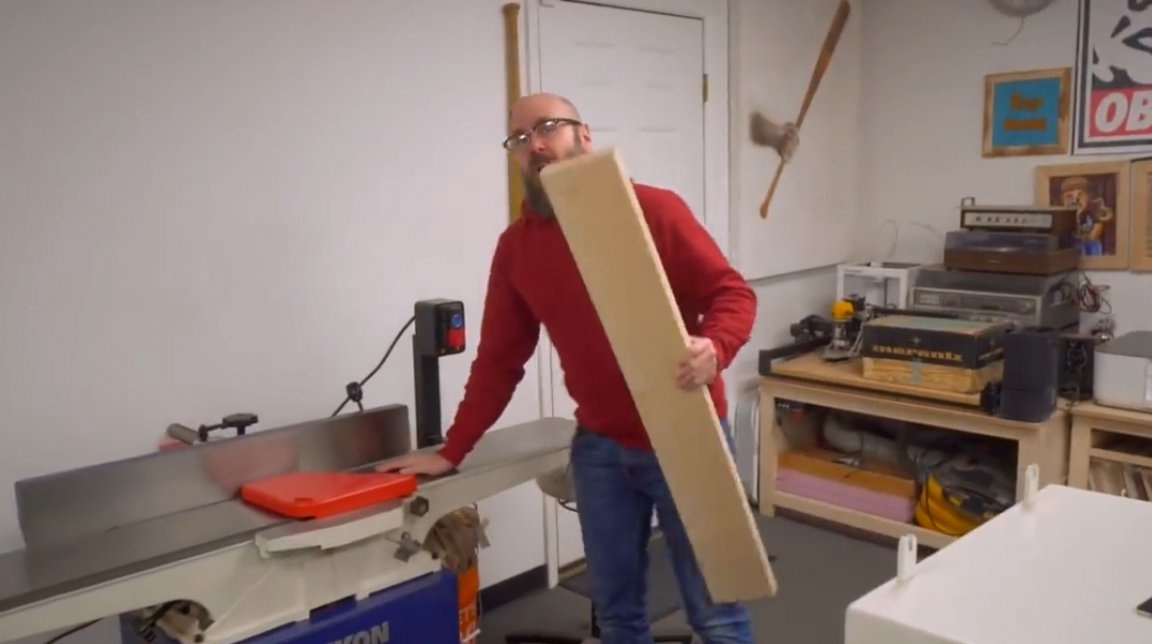
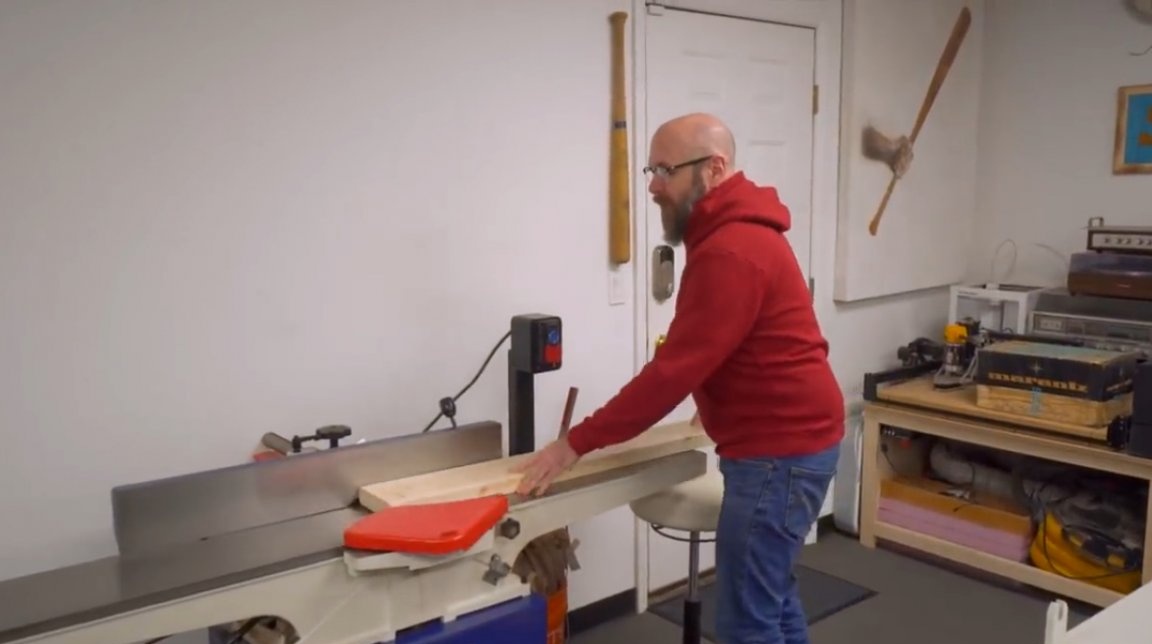
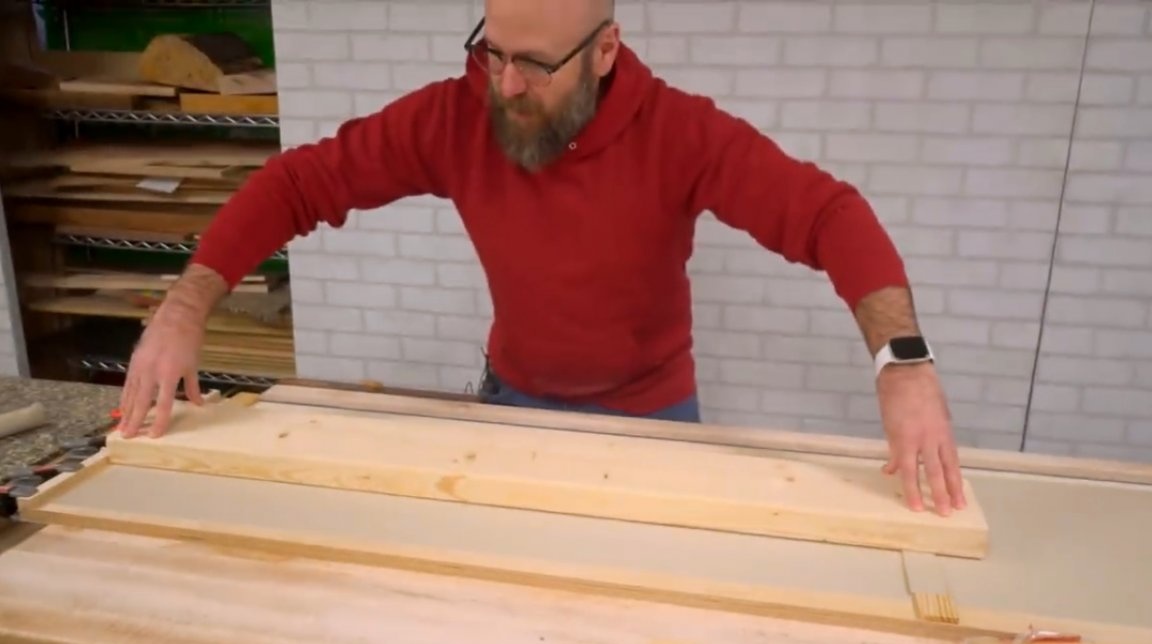
Now you can abandon the carriage and skip the back of the board through the thicknesser. So, the master gets perfectly even opposite sides of the board. Putting the board on the table of the jointer, it is very difficult to tear it away from it, as if it were sticking to it.

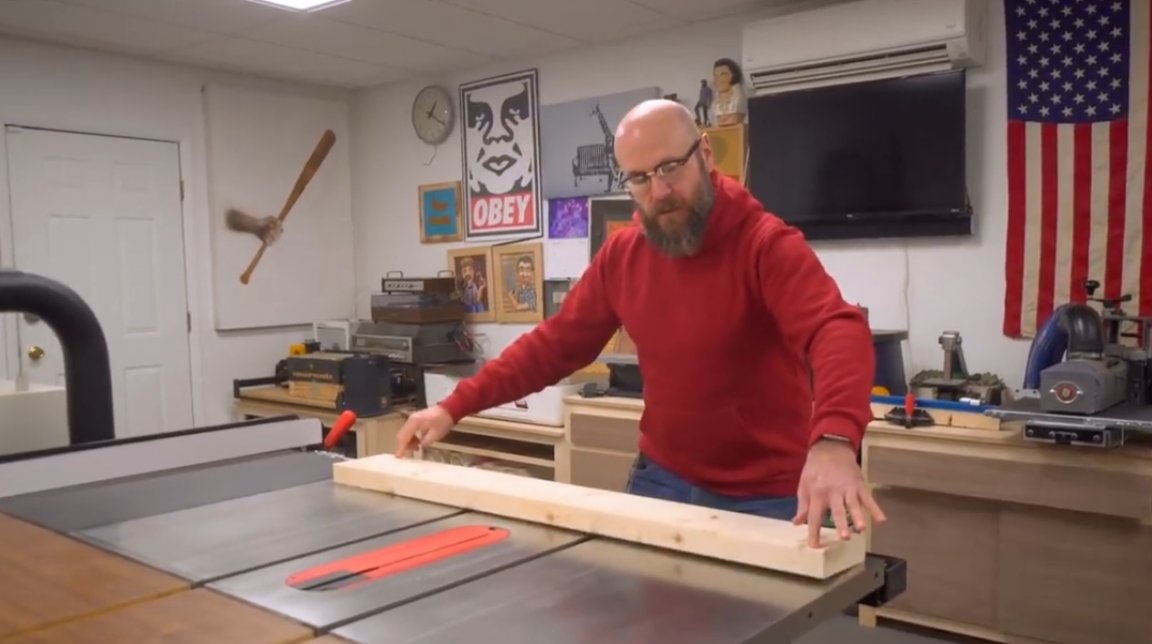
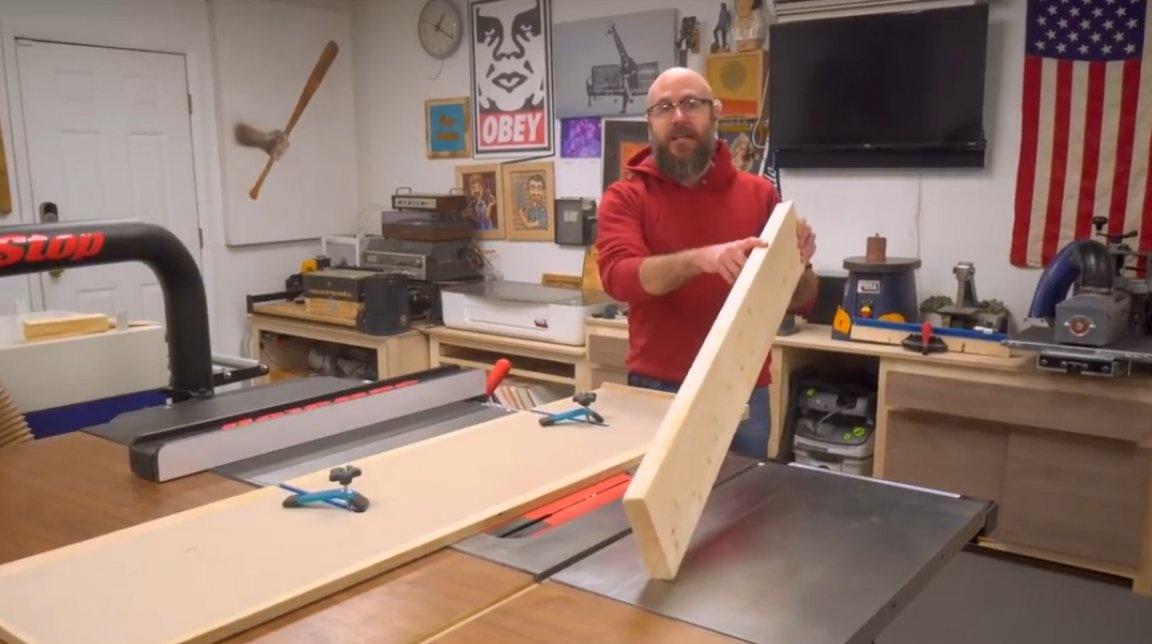
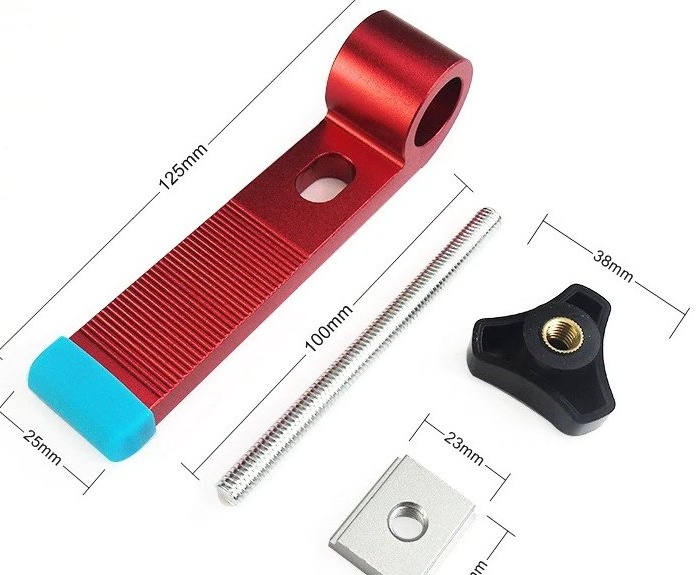
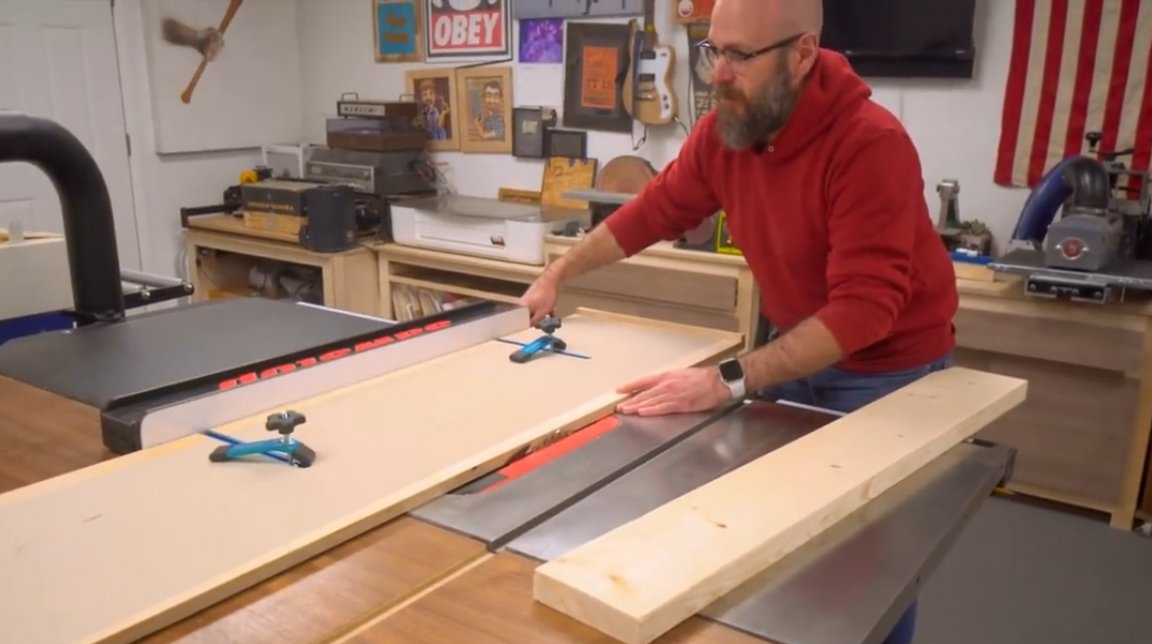
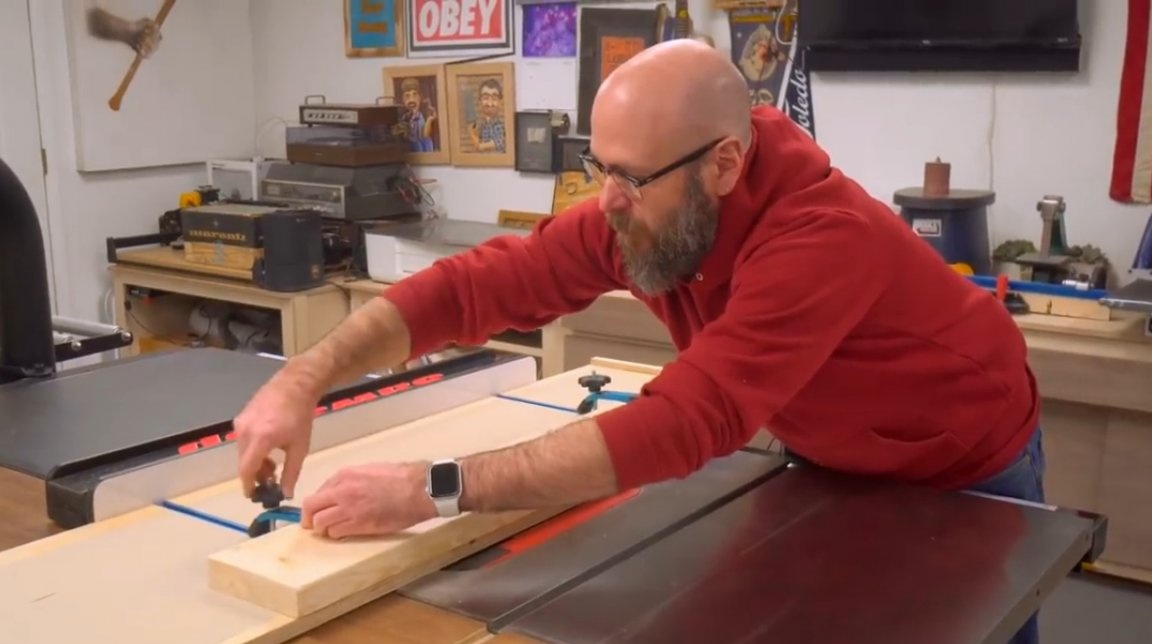
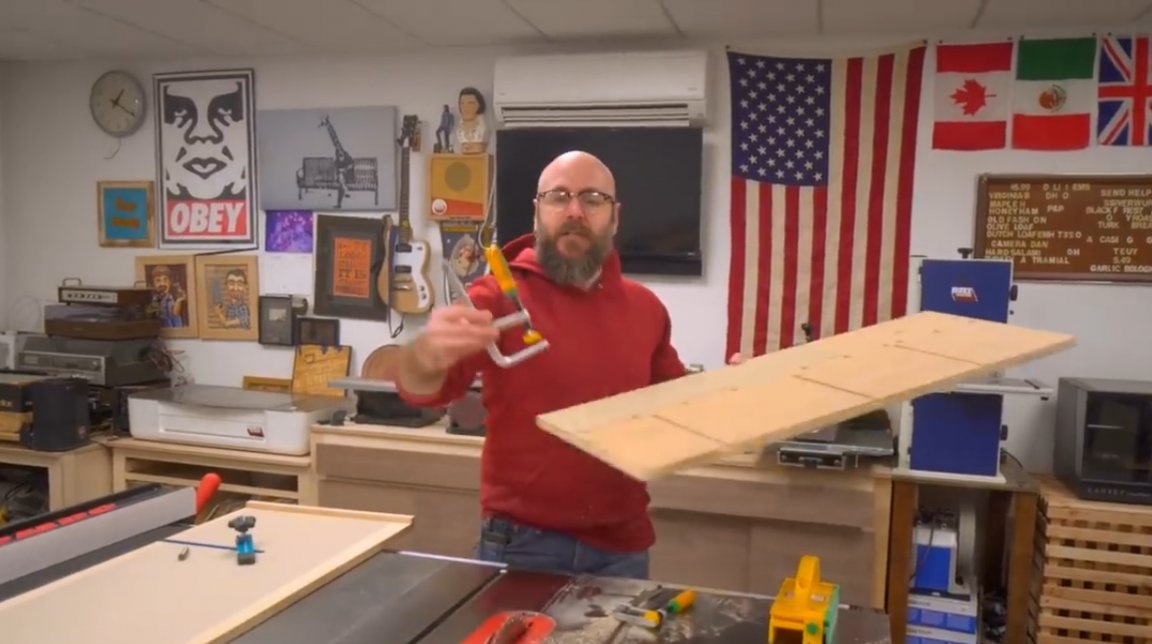
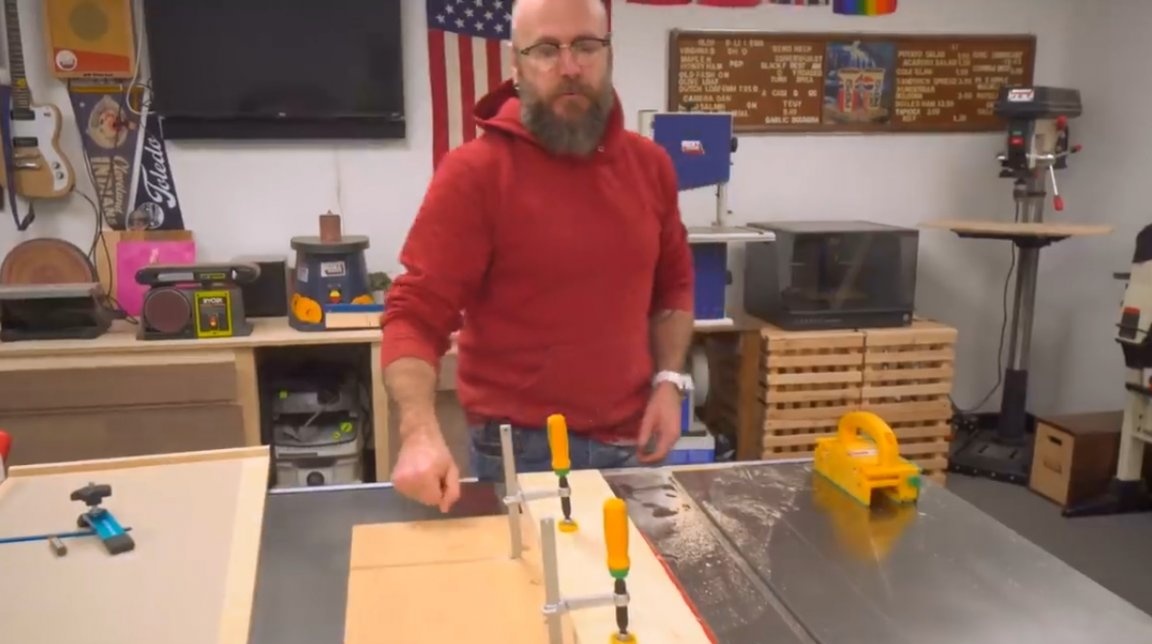
The next task is to align the narrow, side faces of the board. David also does this on a circular table using the same carriage. True, he slightly modifies it by cutting two small grooves in it and inserting T-shaped guides into them. These will be holding these clamps.
Add some information from myself. The following links can be purchased similar and.
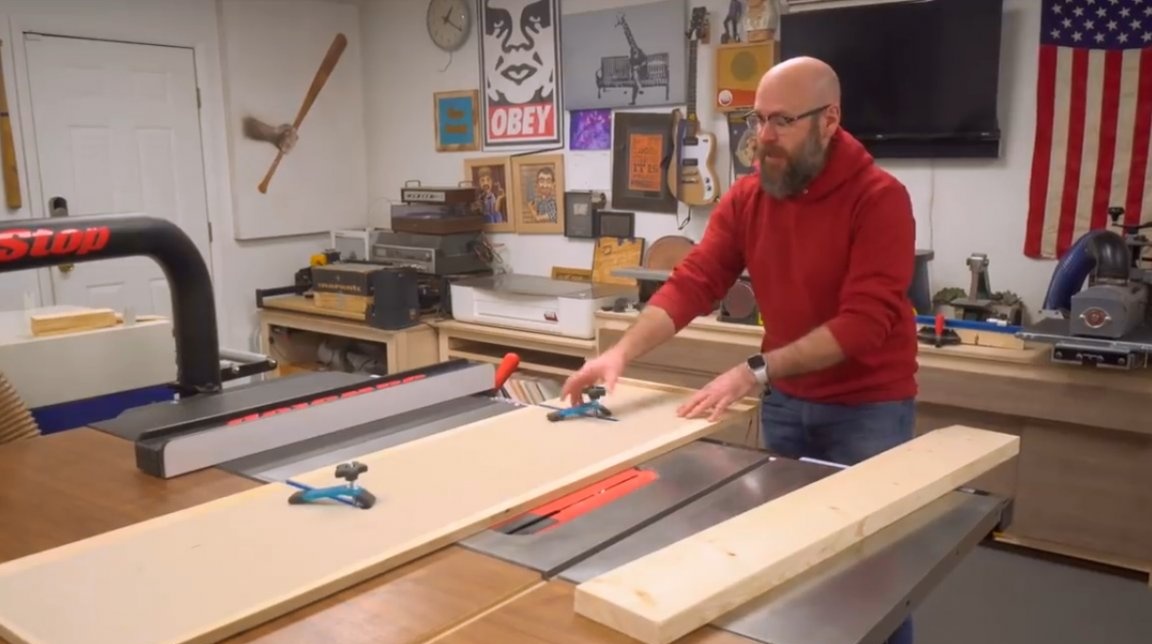
The master knows that this side of the plywood sheet is absolutely even, and it will be adjacent to the stop.
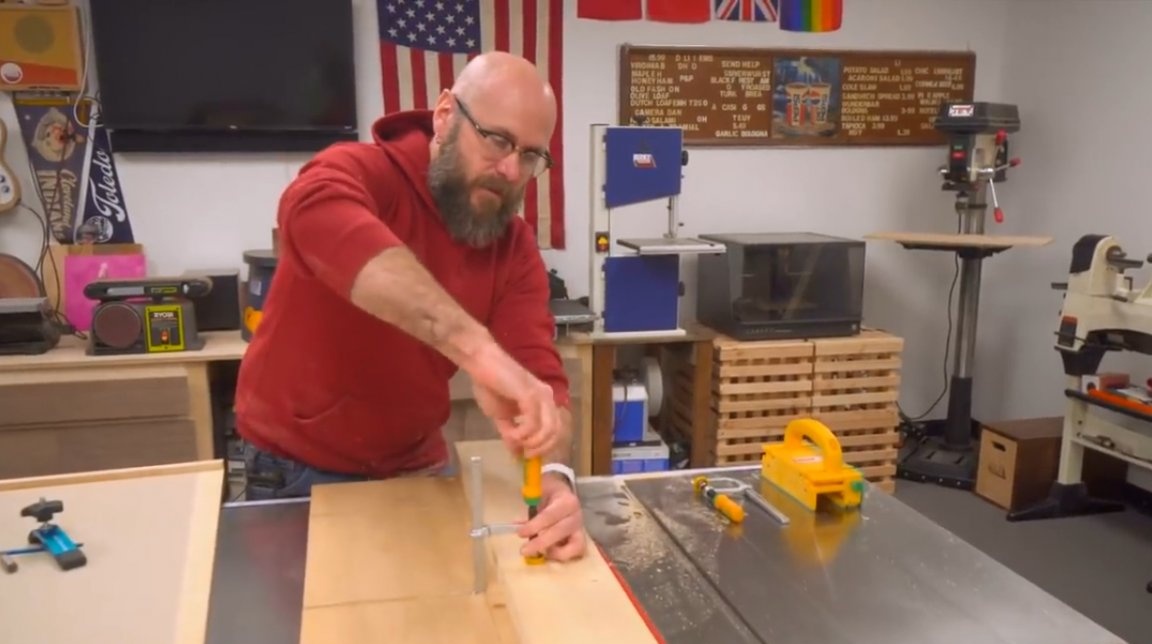
Now the author raises the saw blade, pushes the plywood sheet close, and to it - the emphasis and fixes it.
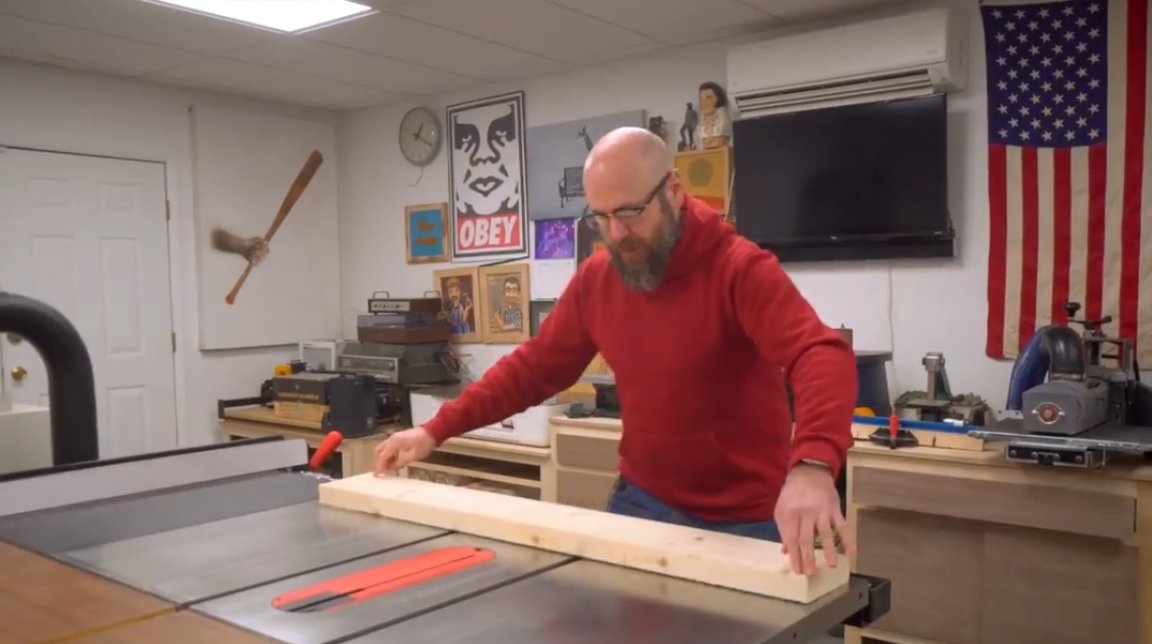
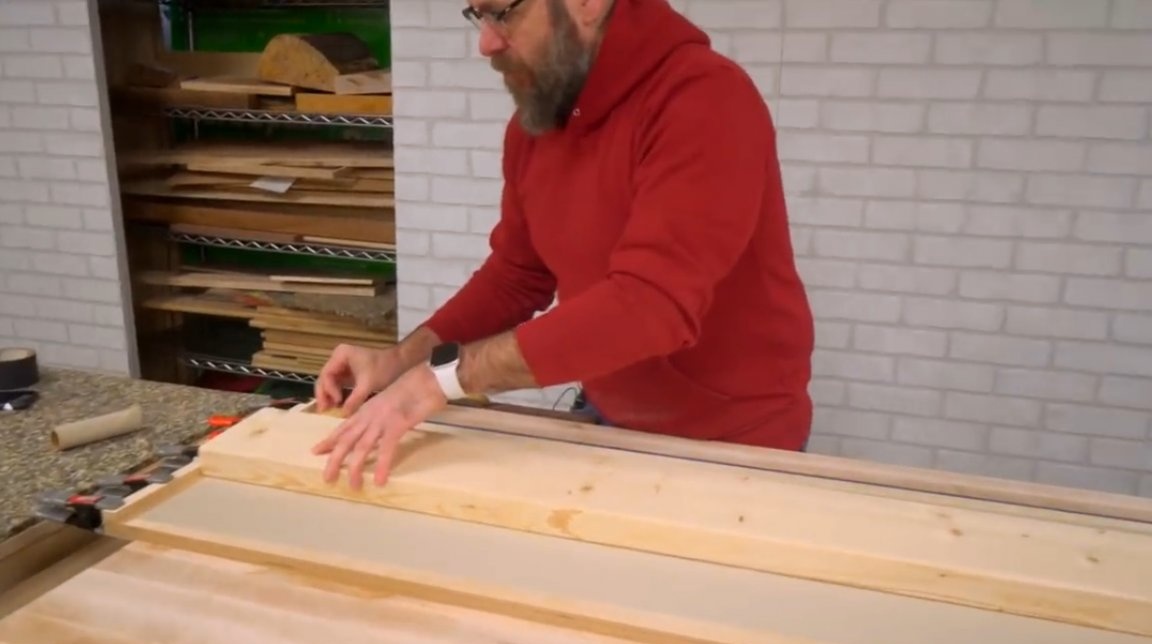
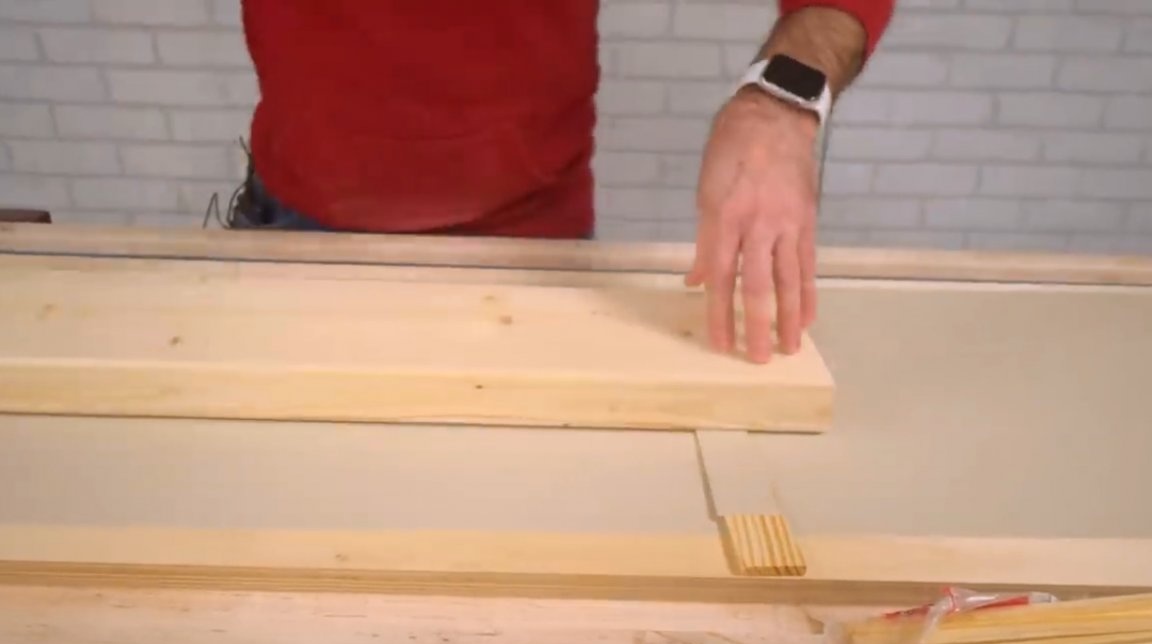
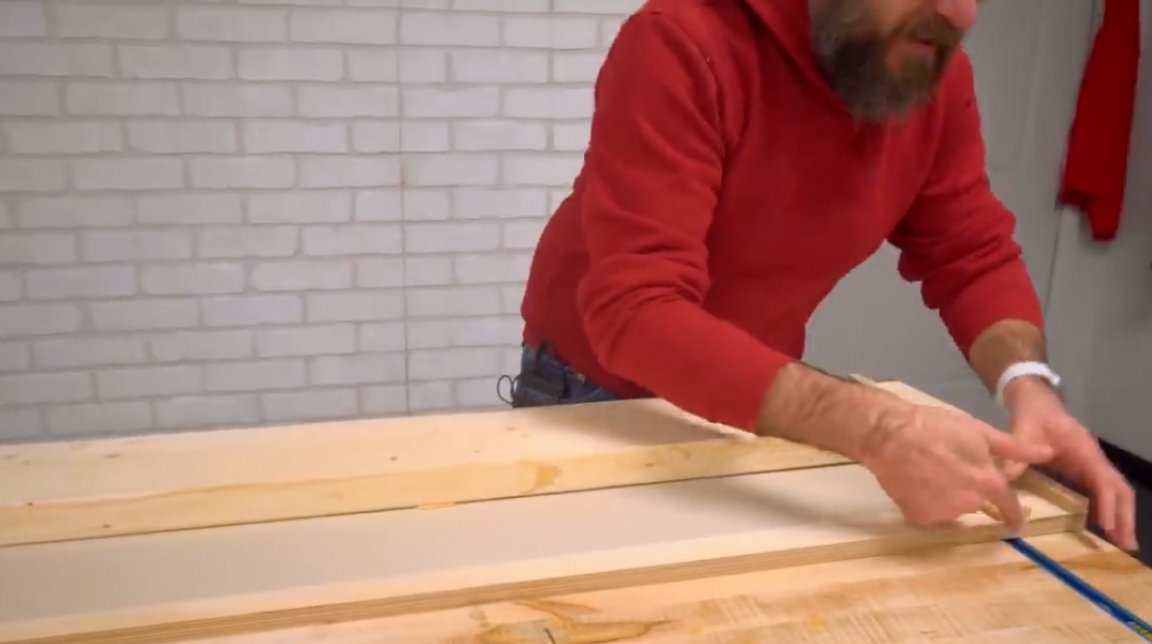
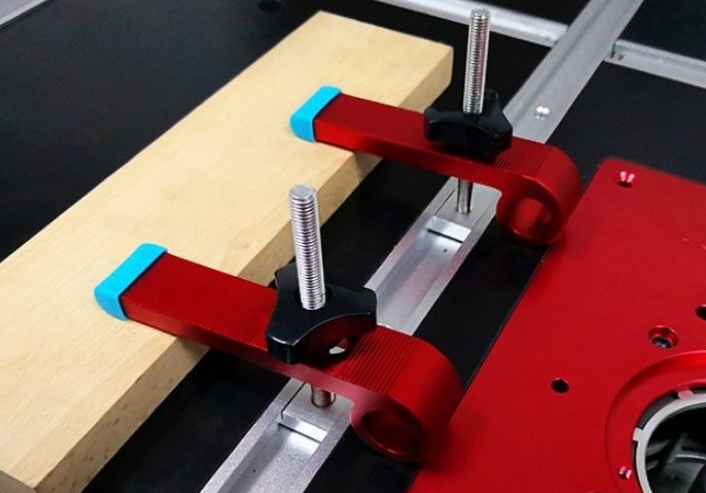
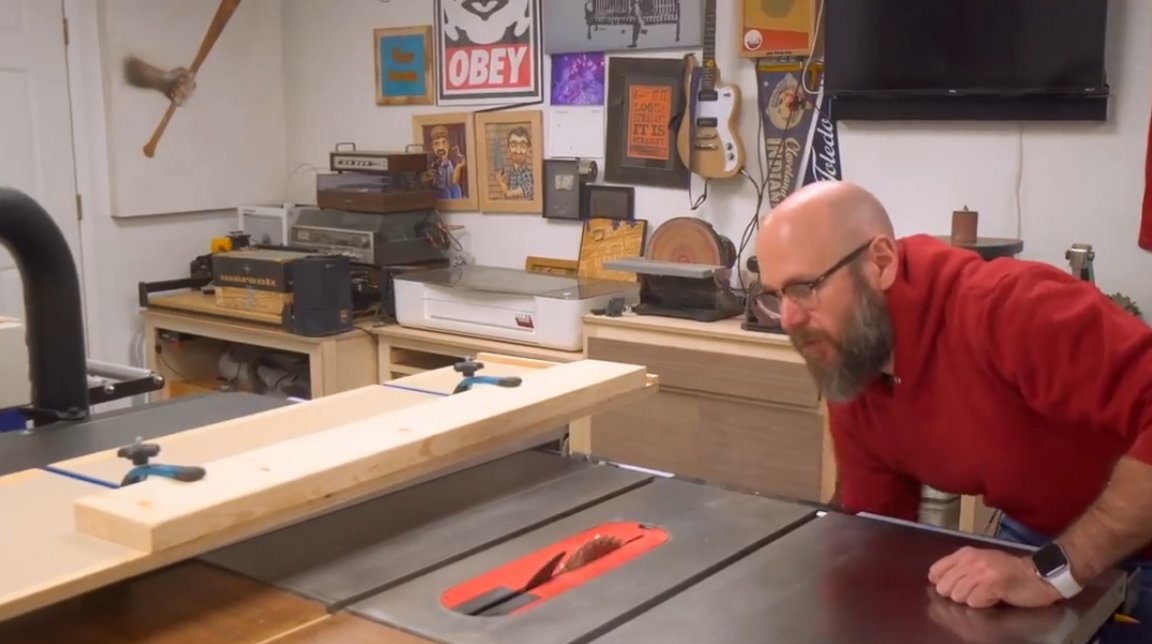
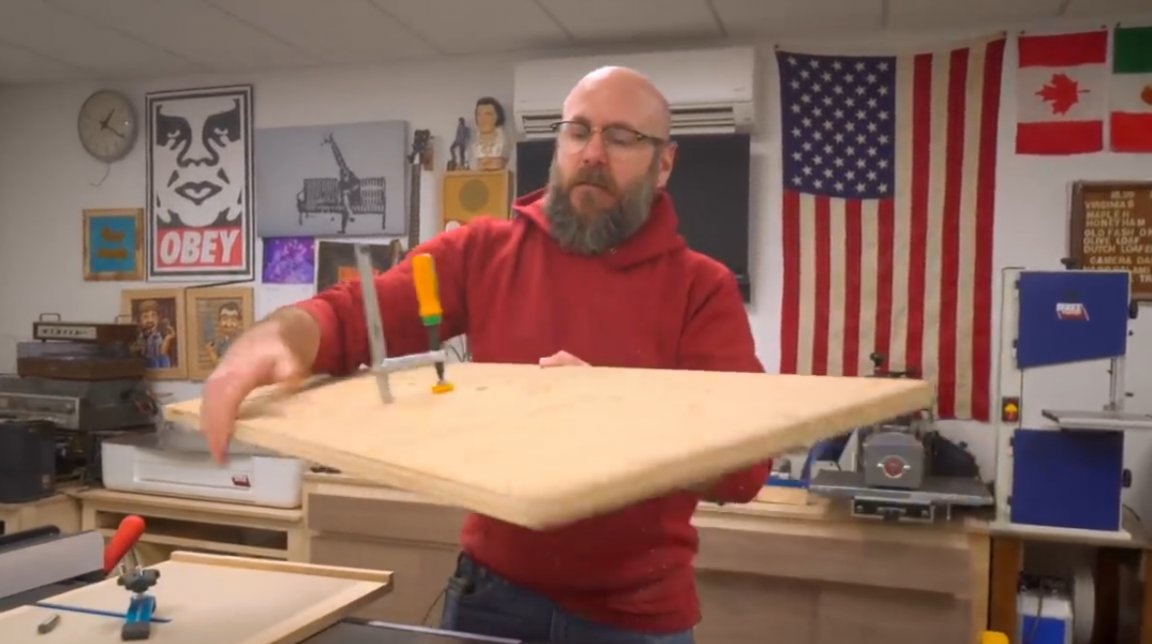
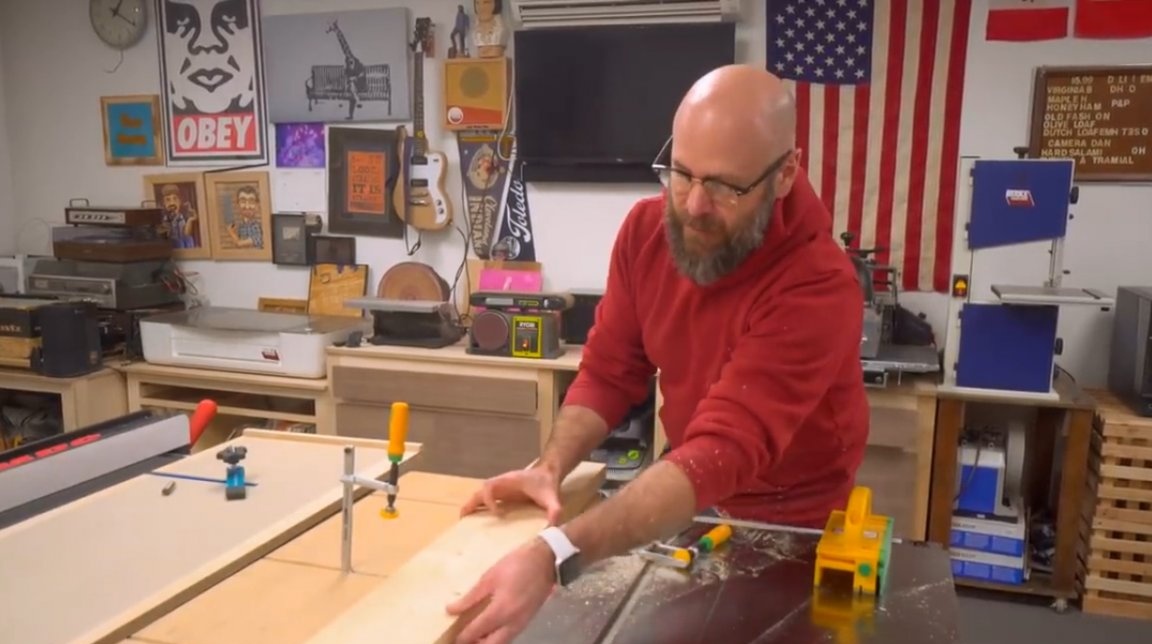
Then he puts the board on the carriage and aligns it along the edge. He feels with his fingers how far the board protrudes above the plywood base. So he determines the amount of material being cut. Now you can clamp the board with brackets.
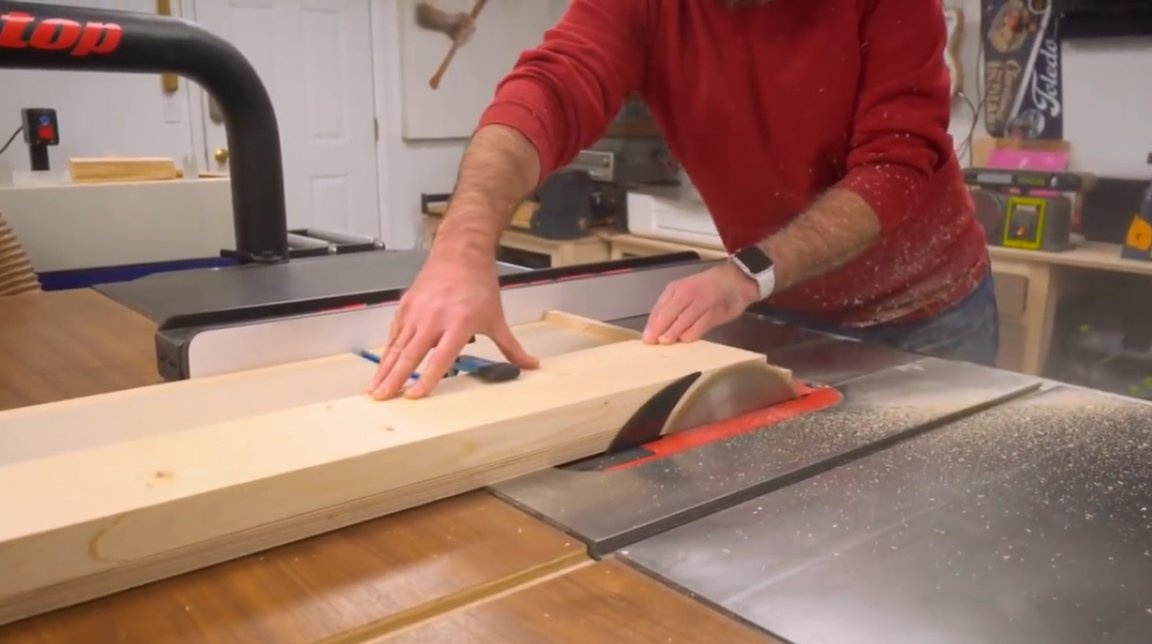
The author brings the saw blade to the desired height and cuts off the side of the board.
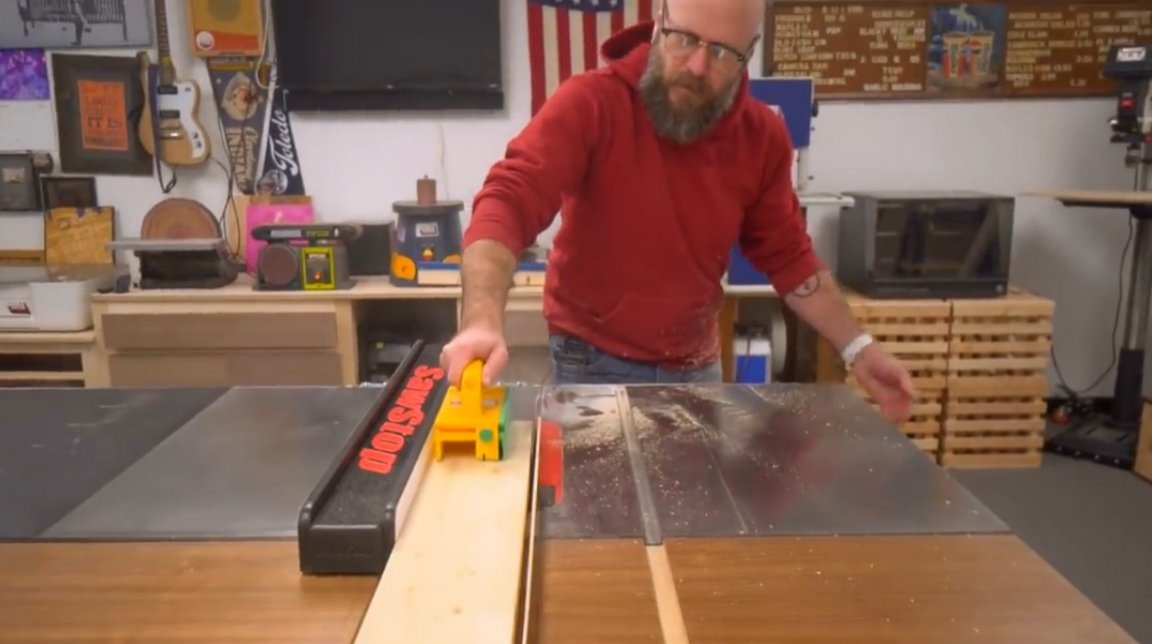
To ensure a quality cut, and safety, he uses. Then the second side is processed in exactly the same way. Thus, he gets absolutely parallel sides.

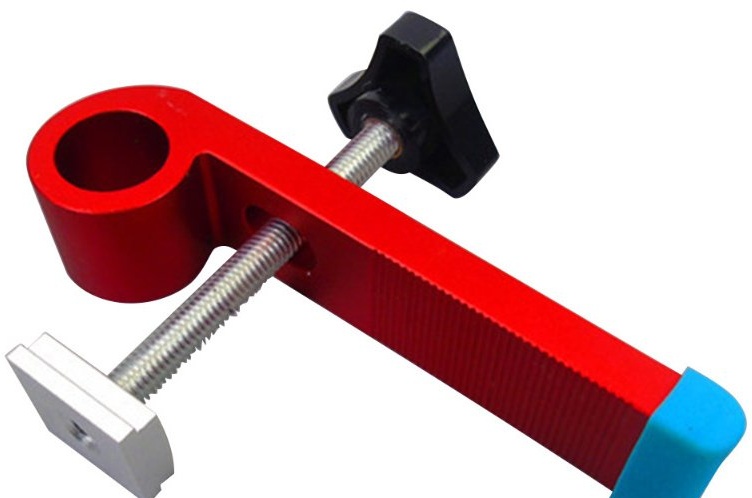
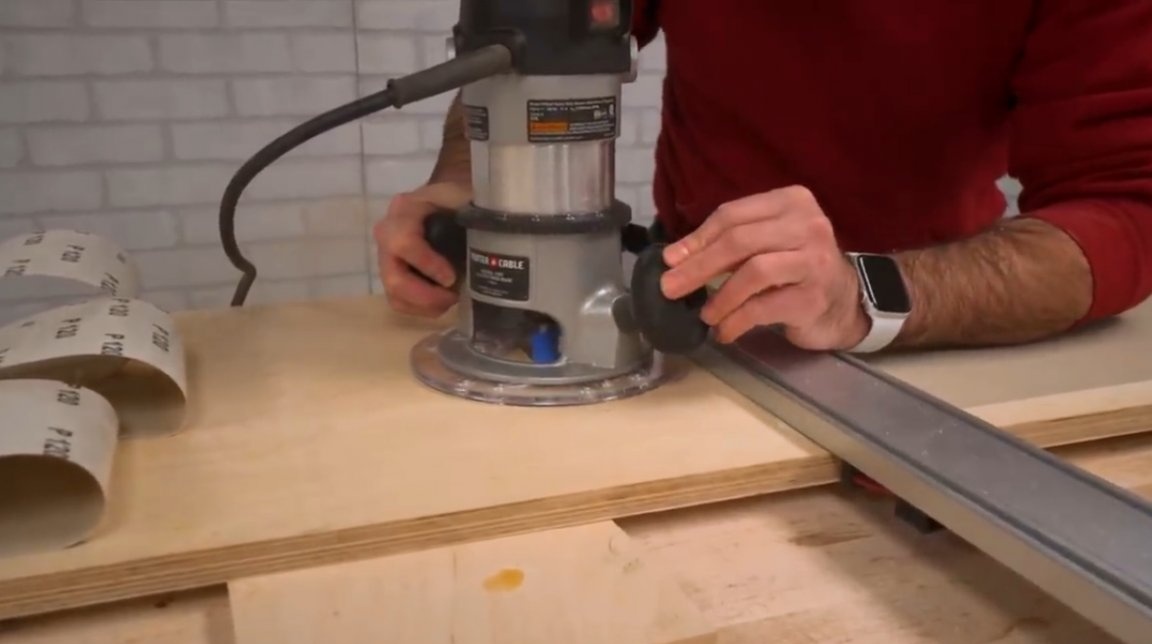
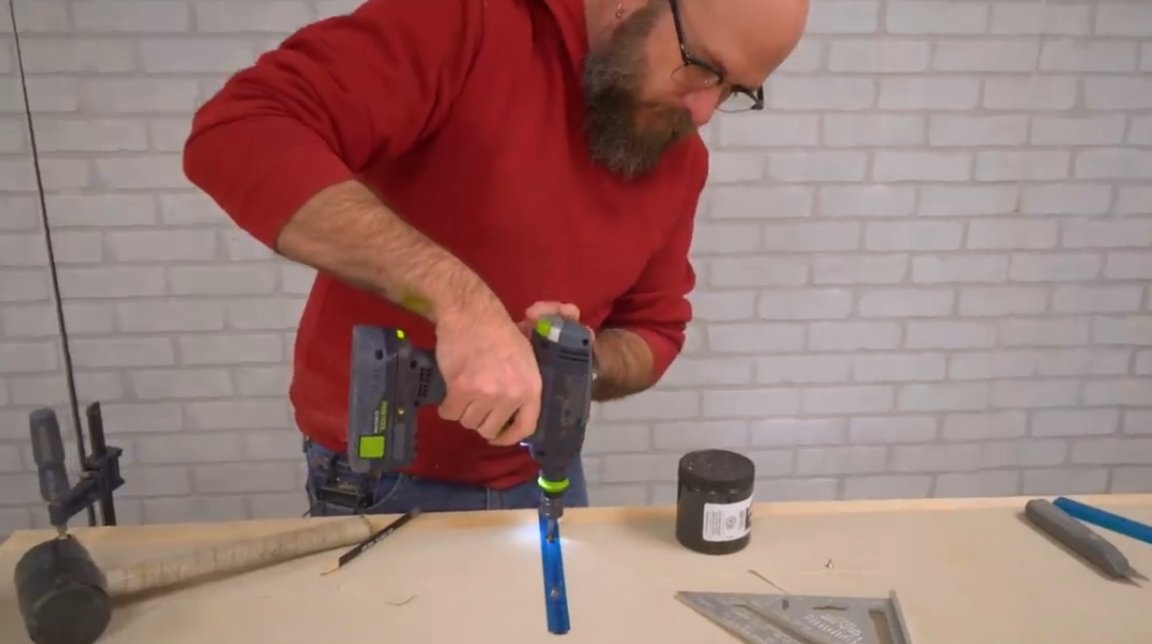
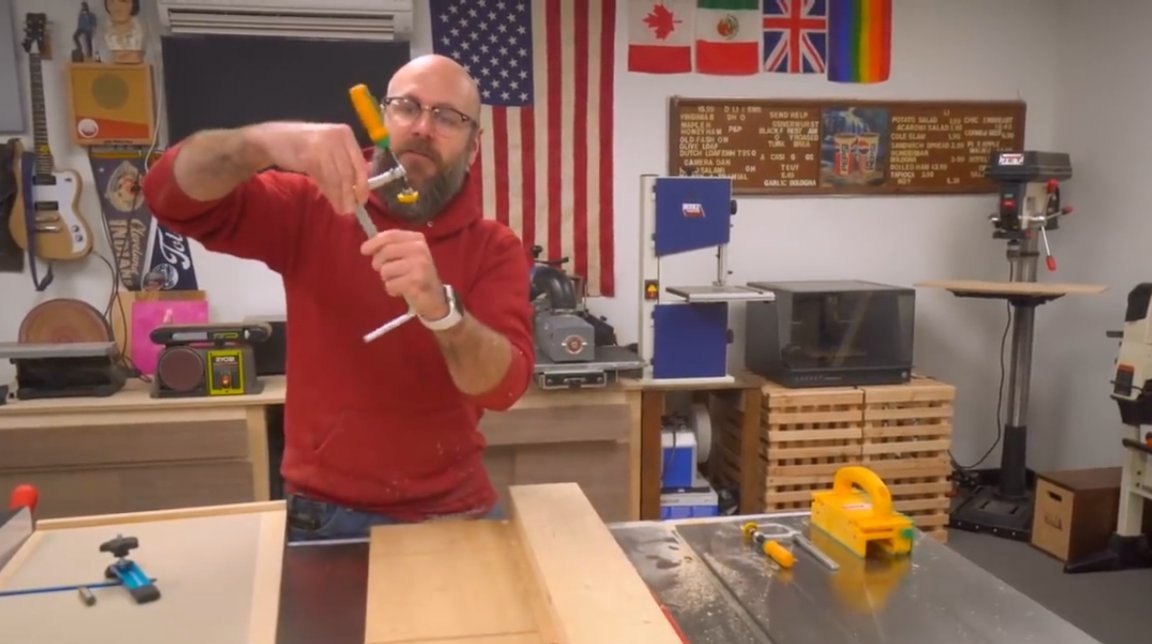
David also demonstrates other ways to fix the board to the carriage. To do this, he has at his disposal F-clamps with T cut on the head. From the edge of the board, he starts an end mill and drills with it the grooves in the form of a dovetail, which later leads the heads of the clamps.
There are special guides on the back, so the emphasis is not needed. The clamp just goes into the groove all the way.
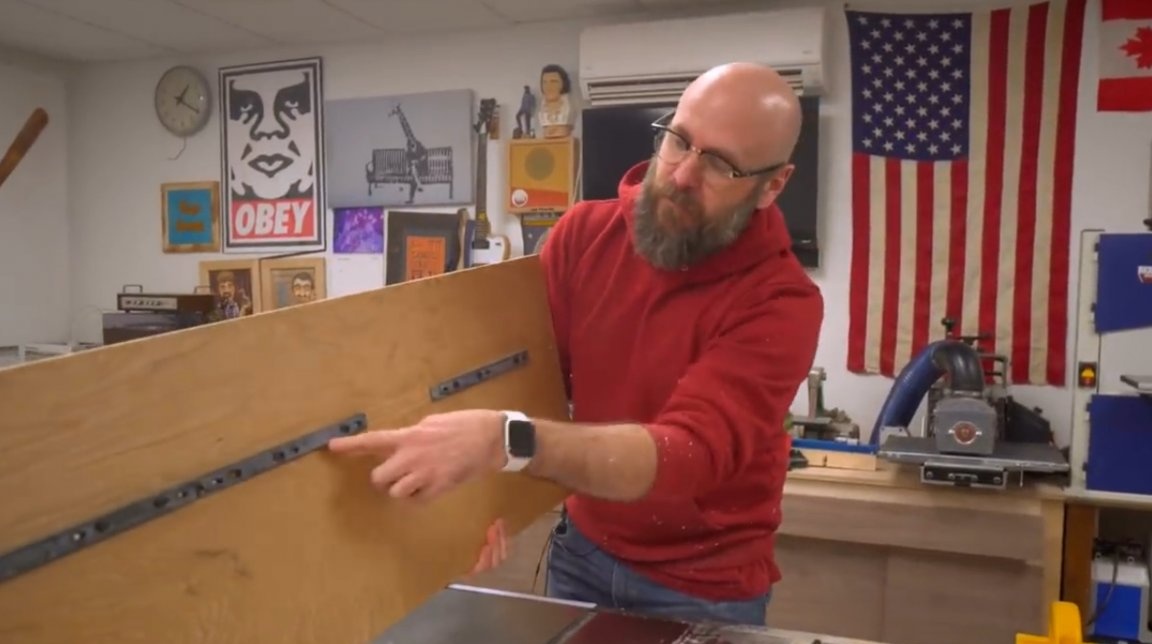
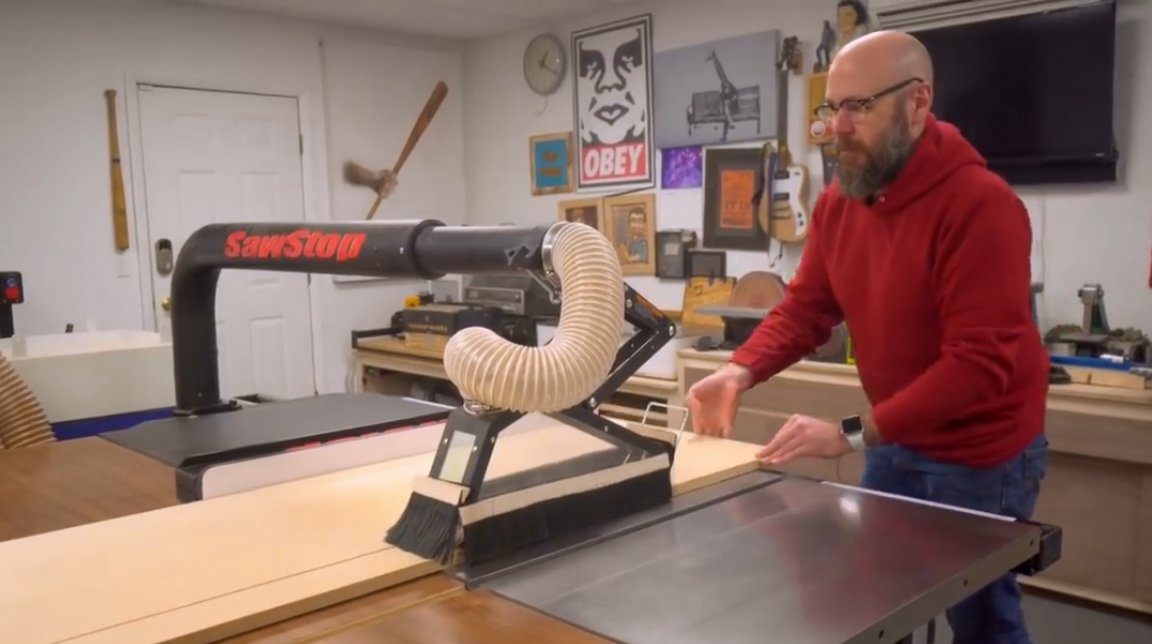
Since the author has already used this carriage before, this edge already has zero clearance to the saw blade.
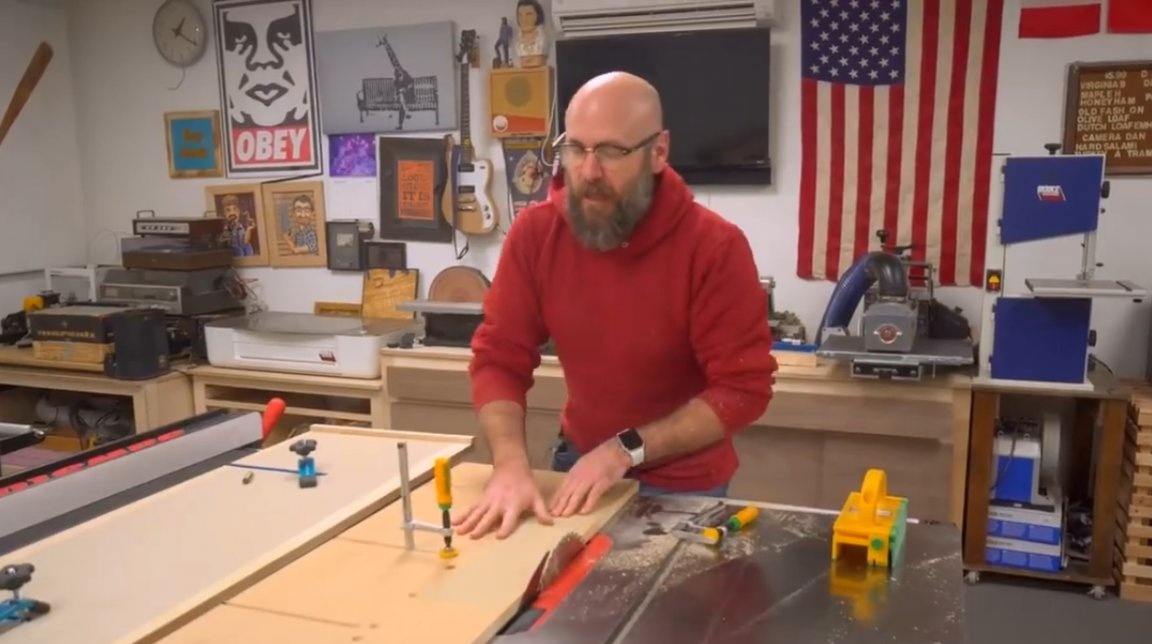
So, David puts the board in such a way that it hangs slightly from the edge of the carriage, and flips the clamp in this way. Now she gets to the board.

Everything is fixed. One pass and the edge of the board is perfectly flat!
I thank the author for very useful tips on working with carpentry machines!
All good mood, good luck, and interesting ideas!
Author video can be found here.