Many of you had to remove construction waste after repairs, or work in the workshop. Even with a powerful construction vacuum cleaner, there is a problem with clogged filters. With repeated use, they quickly fail, are expensive. In addition, the vacuum cleaner tank itself is only всего full. It has to be emptied constantly, and the filters must be cleaned of fine dust.
And if you use an ordinary household vacuum cleaner for this, then he will very quickly want to introduce you to his service center.
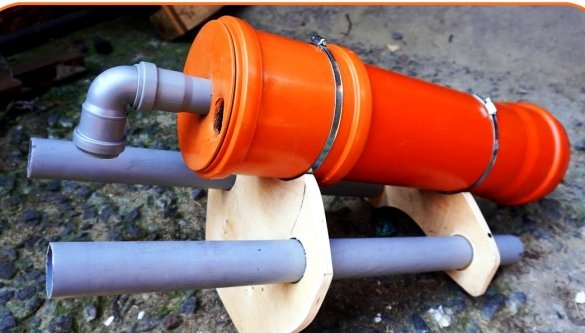
In this article, the creator of Men’s Craft’s YouTube channel will tell you how to make a cyclone type filter that retains virtually all of the dust without sacrificing the efficiency of the vacuum cleaner.
This homemade product is extremely easy to manufacture, and all materials are available at a hardware store. Having made this for yourself, you will save time on emptying the tank of the vacuum cleaner, and greatly extend the life of its regular filters.
Materials
- Sewer pipes, plugs, corners
- sheet plywood
- Steel clamps
- Masking and insulation tape
- Wood screws
- Sandpaper.
Instruments, used by the author.
—
- Cutting and cleaning wheels
-, drill
—
—
—
- Ruler, square, marker, pencil.
Manufacturing process.
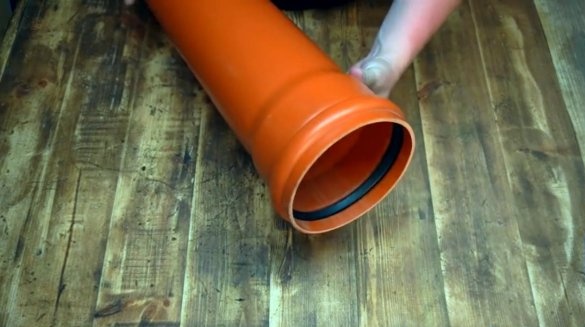
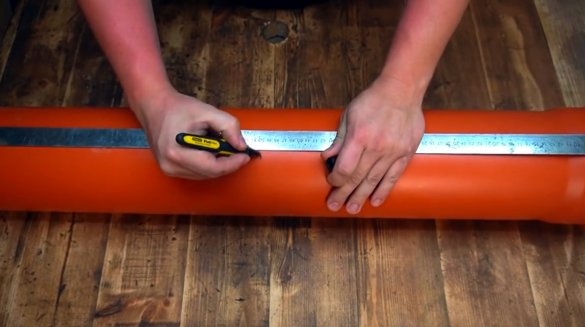
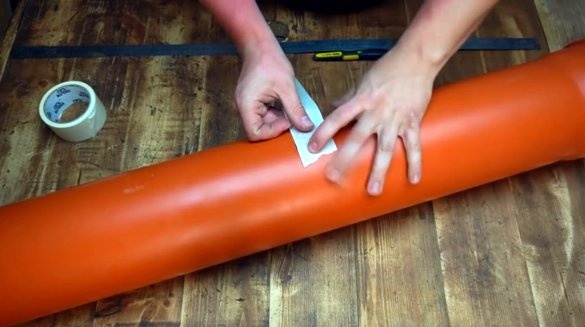
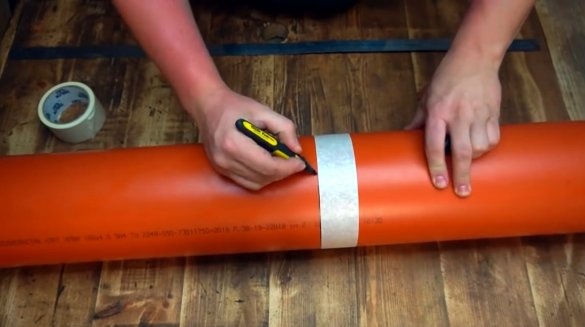
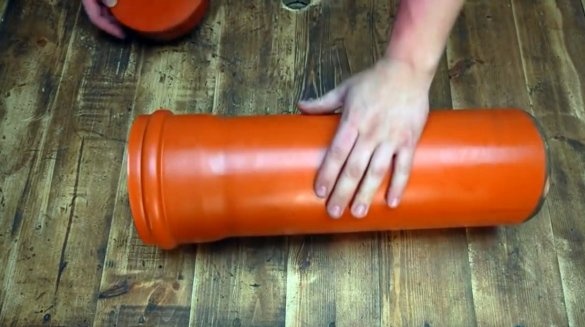
So, the master will use an orange sewer pipe with a diameter of 160 mm as the main tank. He marks a length of 500 mm and wraps masking tape around the pipe. In such a simple way, you can accurately note the desired incision.
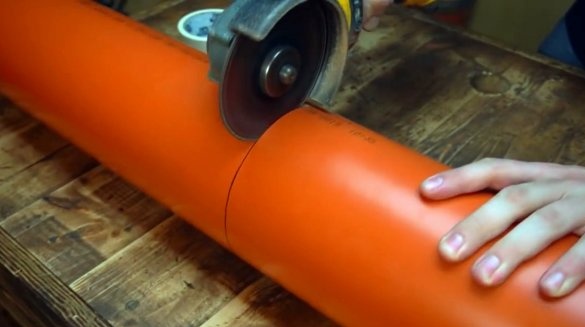
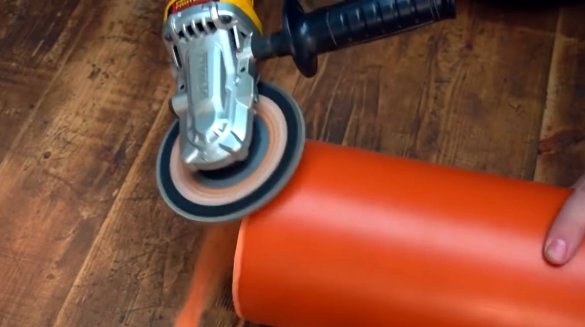
The pipe is cut according to the marking, then the chamfer is cleaned from the edge of the cut with a cleaning disk.
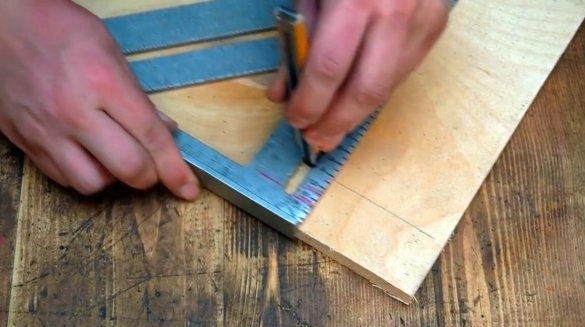
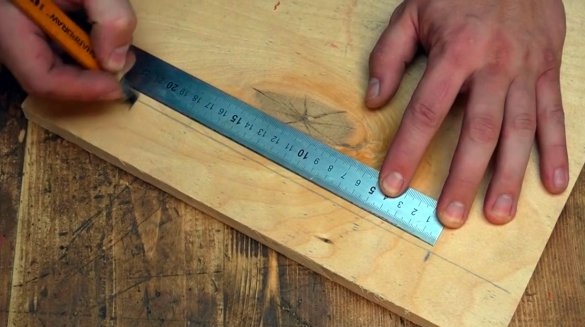
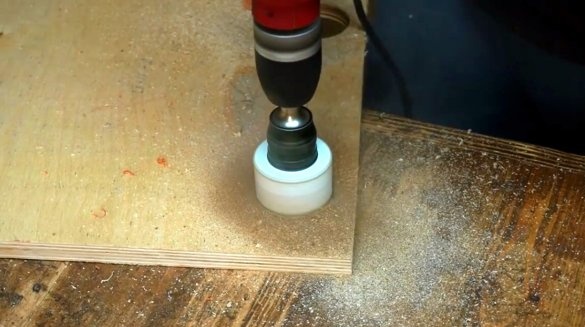
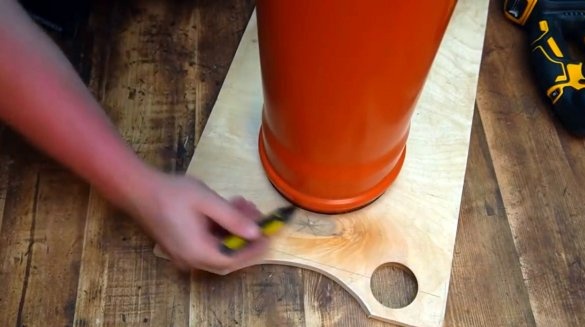
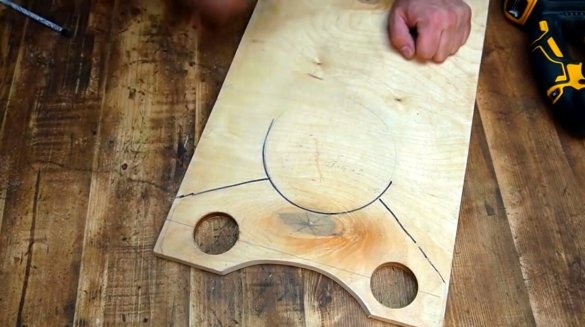
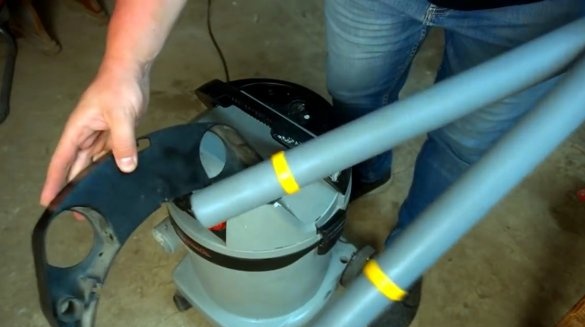
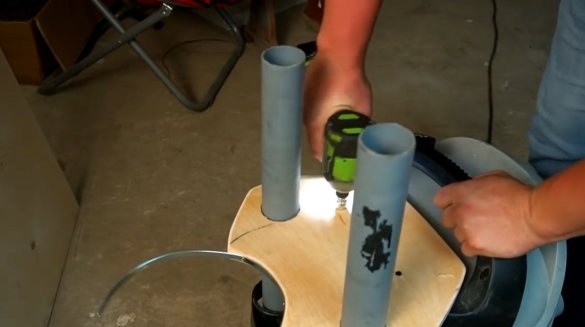
On sheet plywood, the author marks the centers for two racks. Thin pipes will perform their function. Drills a hole in the plywood for them with a crown.
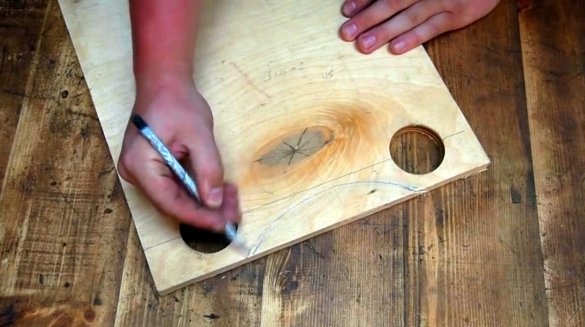
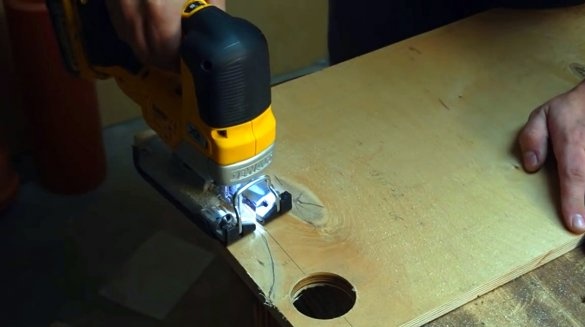
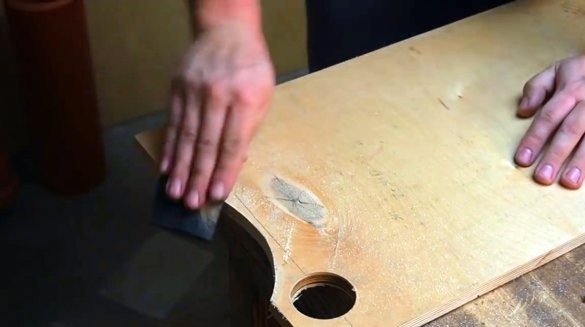
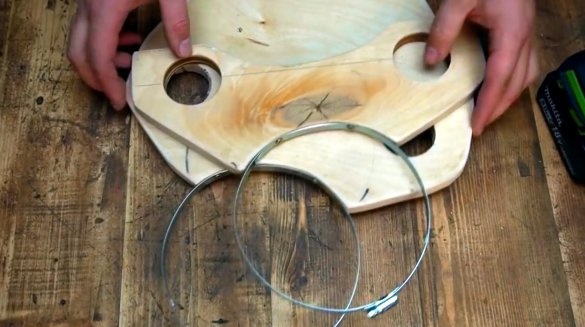
On the first blank, he marks out a slight rounding, cuts it out, and strips the edge with sandpaper.
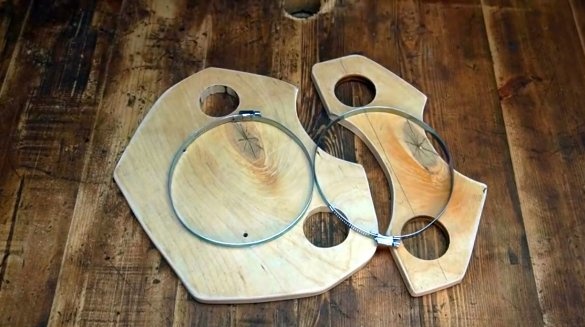
In the same way, the lower bar is made.
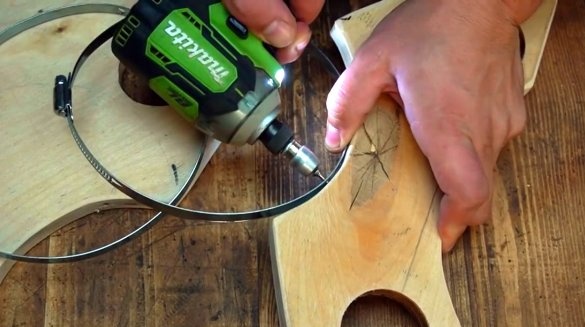
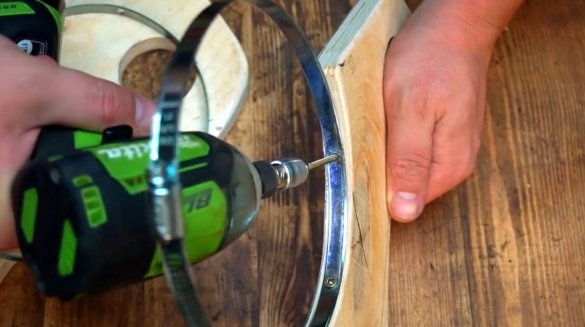
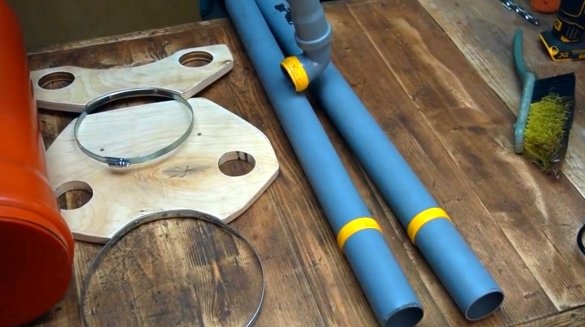
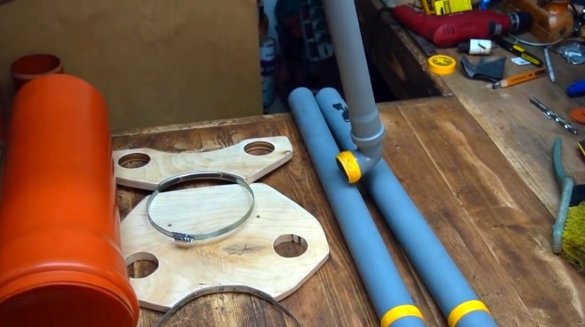
Now steel clamps are screwed to them.
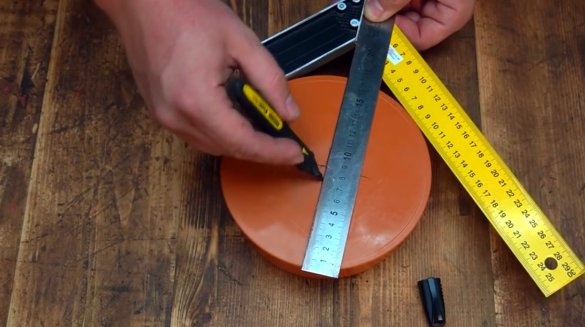
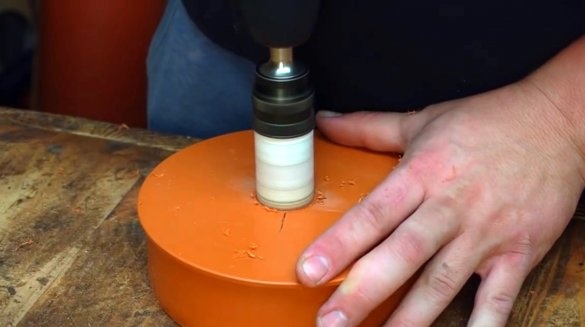
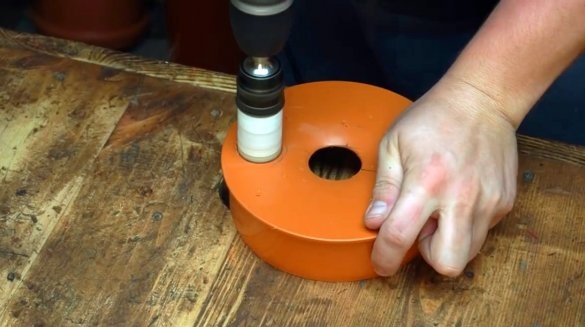
With the help of a square and a ruler, the master finds the center on the plug and drills it with a crown of a slightly smaller diameter than the pipe.
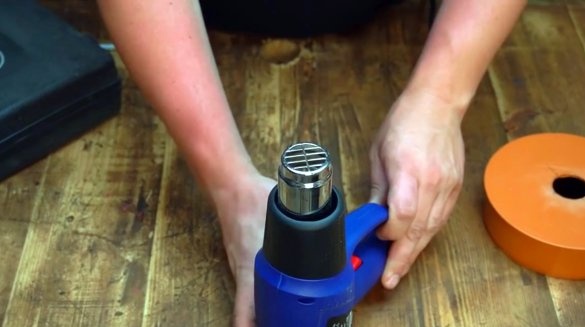
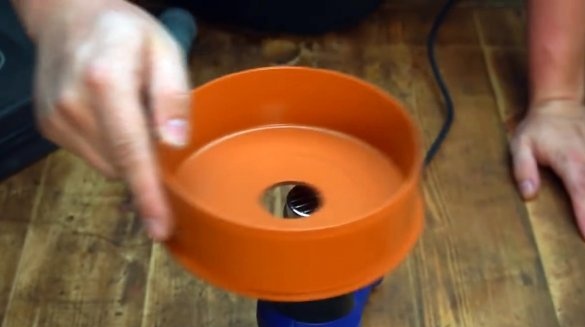
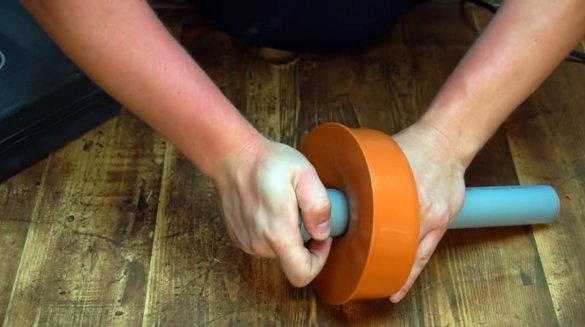
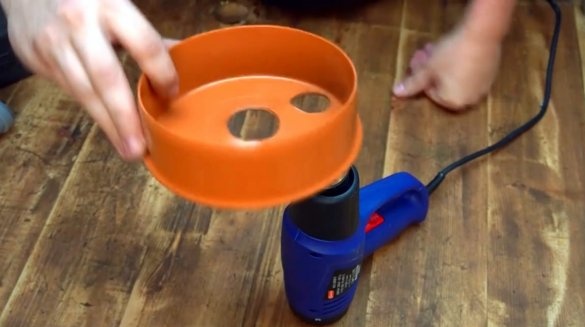
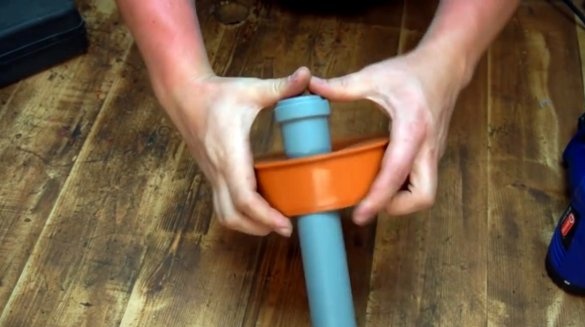
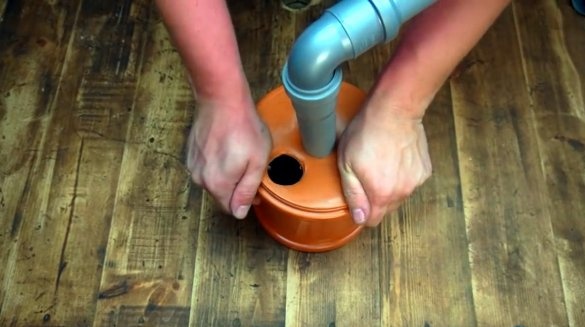
Heats the area around the hole, and presses the pipe into it.
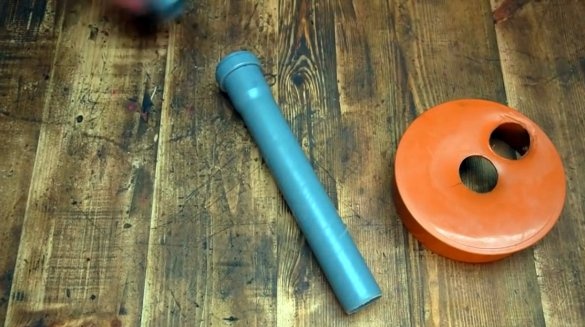
The filter inlet is made in the same way, it should be maximally offset to the edge of the plug.
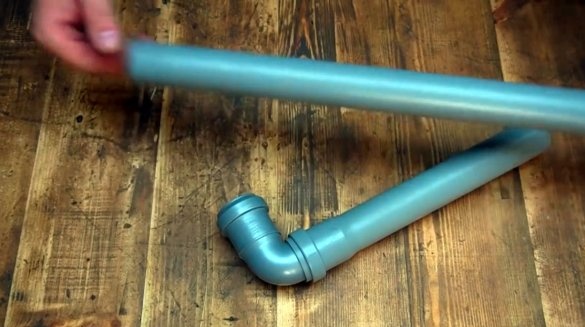
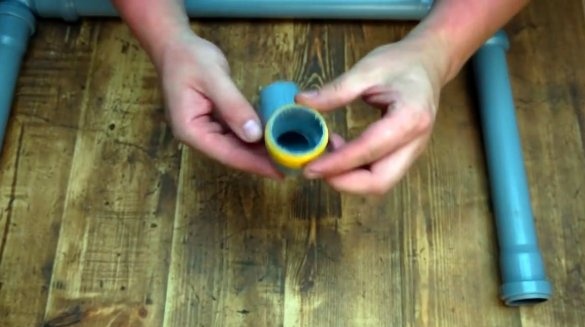
Next, the author proceeds to the assembly of the outlet from the filter to the vacuum cleaner. A small layer of electrical tape is wound around the last corner so that it fits tightly into the inlet of the vacuum cleaner.
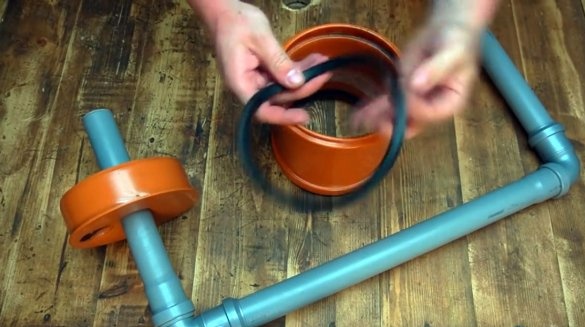
From the short connector pulls one gum. Leaves the second, and inserts the top plug with holes into the connector.
The second blank will be the bottom of the filter. On it, the hole just closes with a plug.
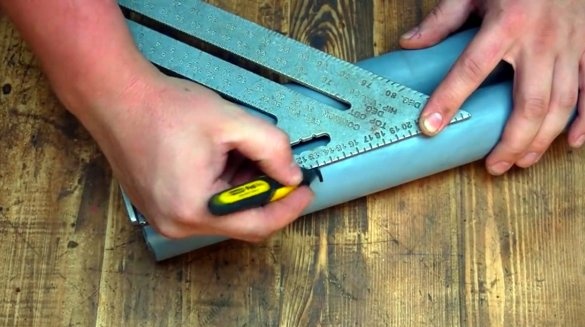
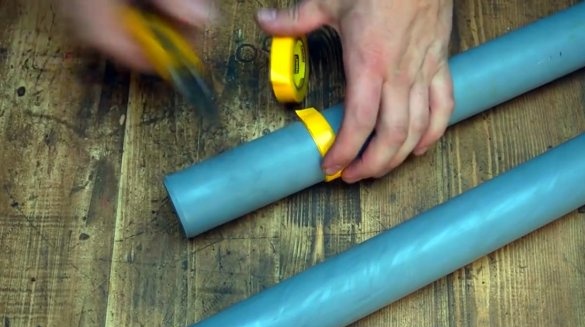
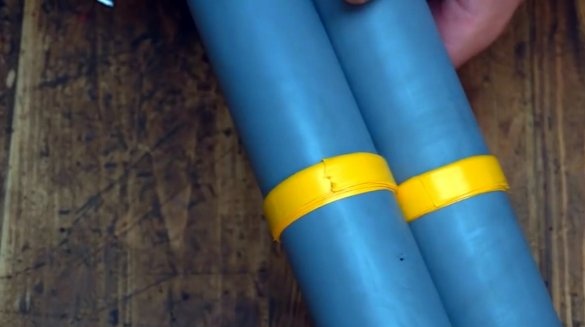
On two pipes that will serve as uprights, marks 130 mm at the bottom, and wraps a layer of electrical tape in this place.
So, all the structural elements are ready, you can start assembling. It is also very simple.
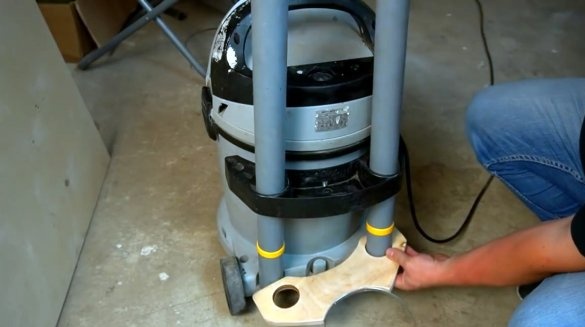
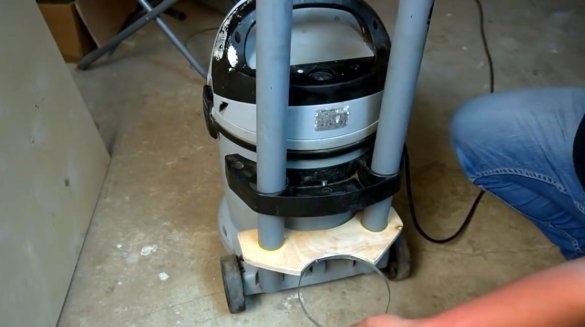
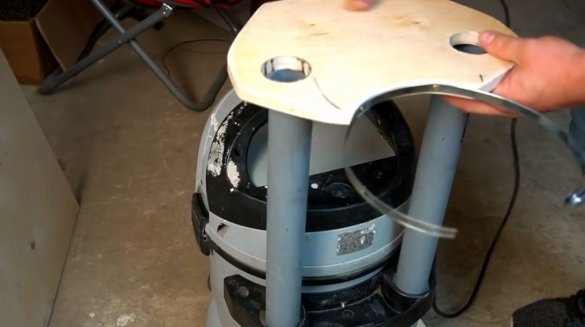
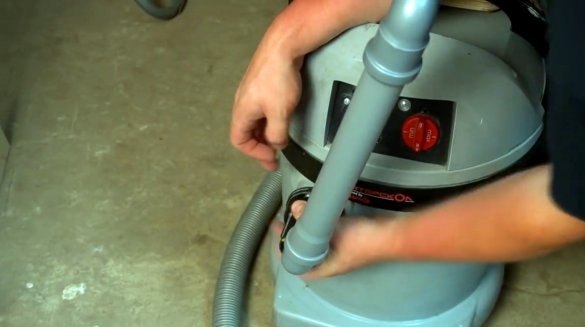
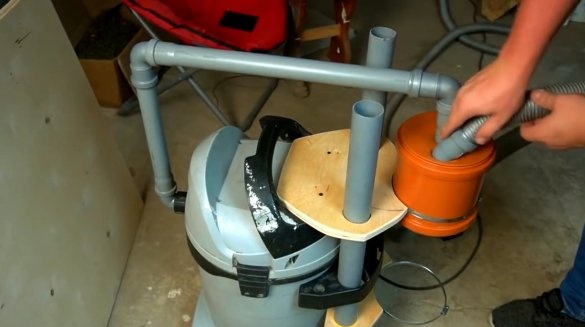
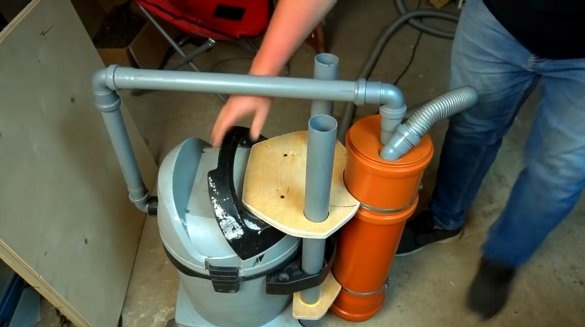
Standpipes are inserted into the standard bracket on the vacuum cleaner, and the lower bracket is installed.
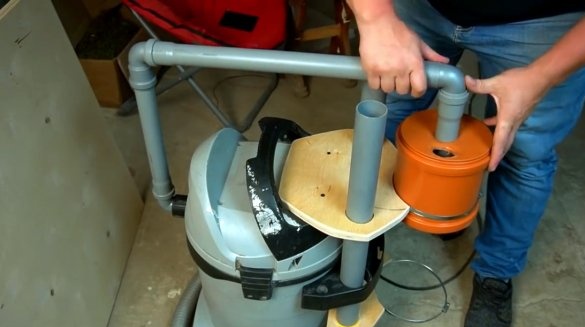
The upper bar is put on the pipes, and screwed to the vacuum cleaner cover with short screws. Do not worry, this model of the vacuum cleaner does not have electronics in the lid, it's just a plastic pad with a carrying handle.
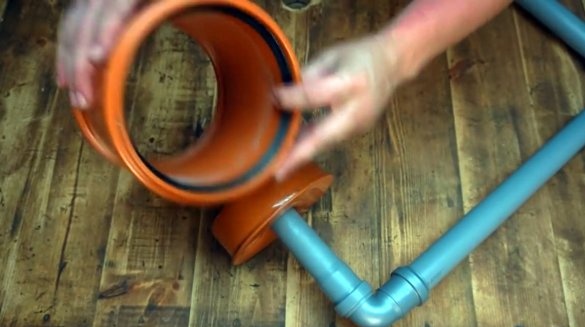
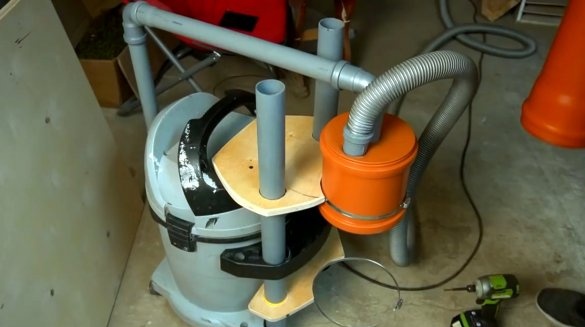
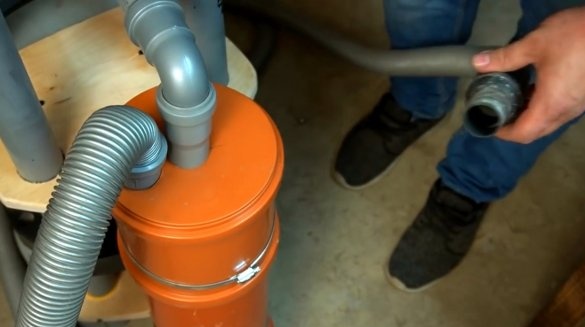
The corner is connected to the inlet of the vacuum cleaner, and is connected by pipes to the tank. The central tube should go deep into 150-200 mm. You can and should experiment with this.
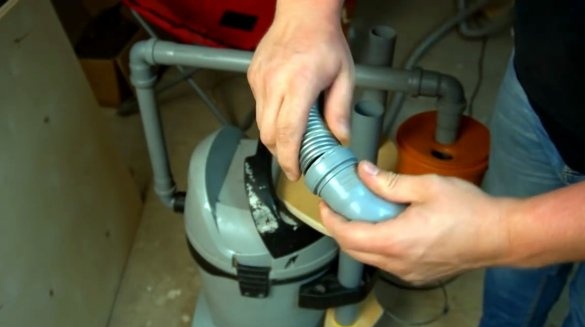
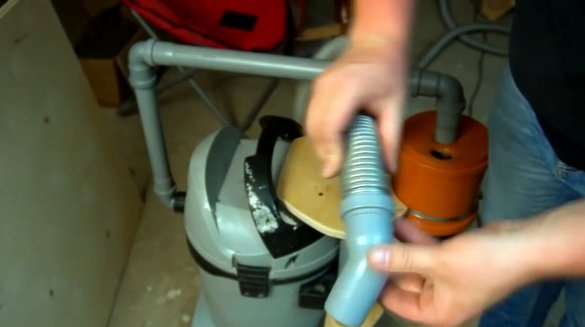
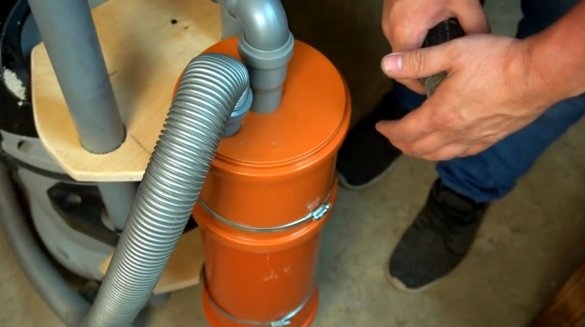
A 45 degree angle is put on the hose. Its edge must be directed tangentially to the tank wall. Thus, air with debris and dust will swirl inside the tank, and precipitate dust at its bottom.
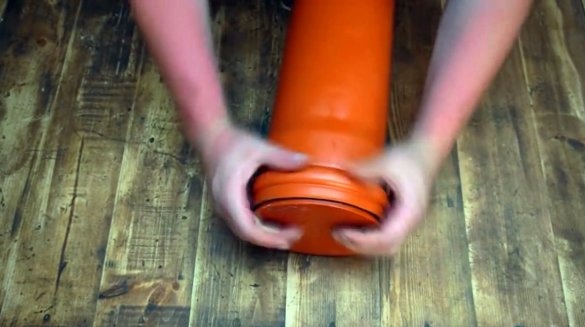
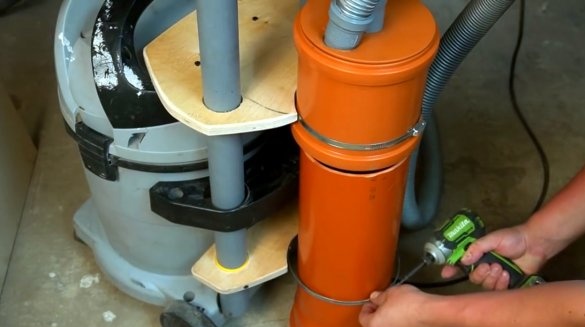
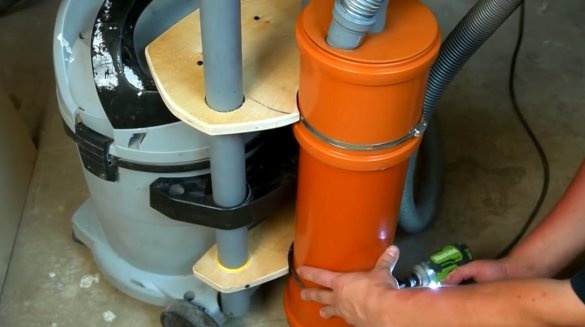
It remains to insert the lower part of the tank, and fix it with a clamp.
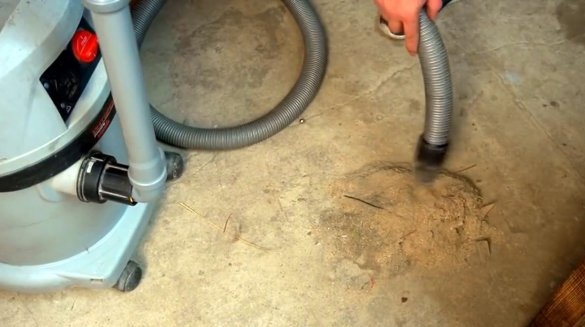
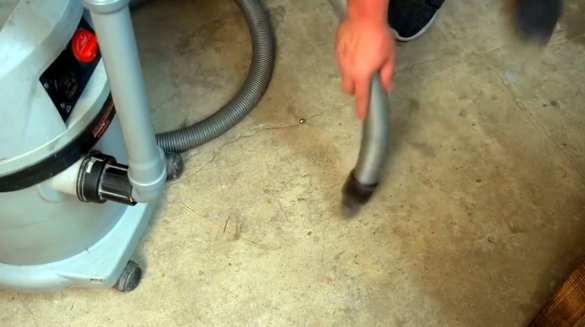
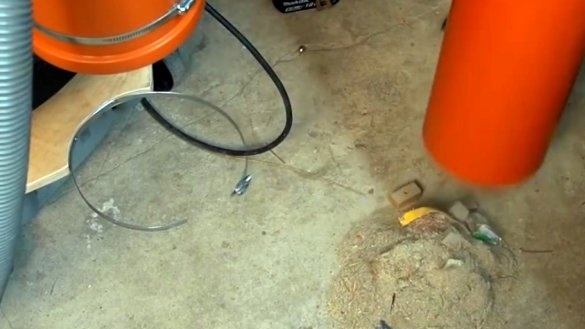
With such a pile of sawdust and heavy cement dust with scraps of boards, the vacuum cleaner managed in a few seconds.
Now about the reason for using just such a pipe, and not the standard gray PVC. The orange pipe has a much higher strength, and does not compress even when the hose is completely blocked. Some friends even made a vacuum chamber out of it.
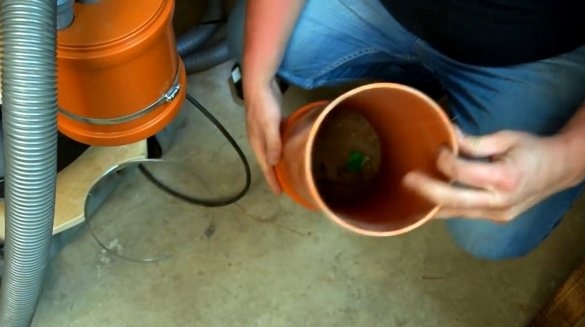
But what about dust? Yes, here she is! Now you only need to shake out the debris from the bottom of the tank.
In terms of improving the design, it is worth replacing the lower clamp with the same, but with a latch. Then you do not have to unscrew the clamping screw each time, loosening the clamp. It is also worth rigidly fixing the feed angle so that it does not change its position relative to the wall. It should be directed strictly along it. Moreover, you should not direct the air flow at an angle downward artificially. The best effect will be if it is directed strictly perpendicular to the filter axis.
I thank the author for the very simple and useful idea of the design of a cyclone filter for a vacuum cleaner!
All good mood, good luck, and interesting ideas!
Author video can be found here.

