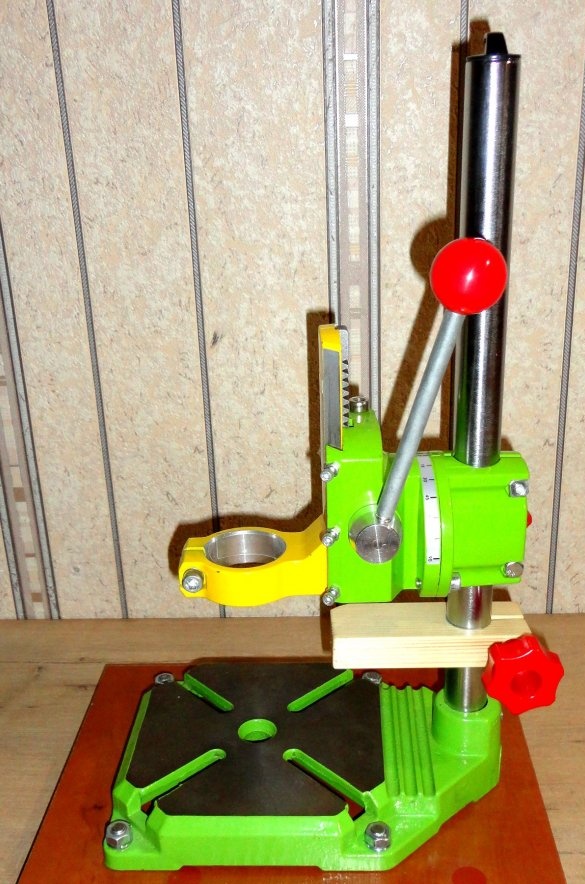
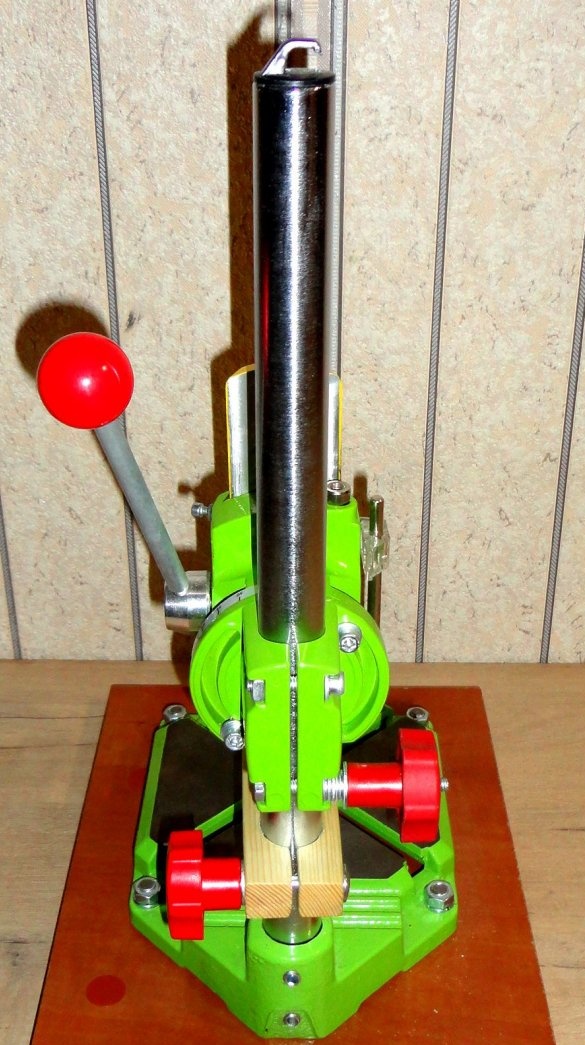
Good day to all. I bring to your attention my version of the simplest refinement of the drill stand for the Skrab 25519 drill, which significantly increases the convenience of its operation.
When choosing a rack for a drill, I settled on this model because Among similar products in a relatively inexpensive price range, it has several important advantages. This is a massive cast metal bed, a gear feeding mechanism, a reliable dovetail slide with the ability to adjust the clamping force, which completely removes the play.
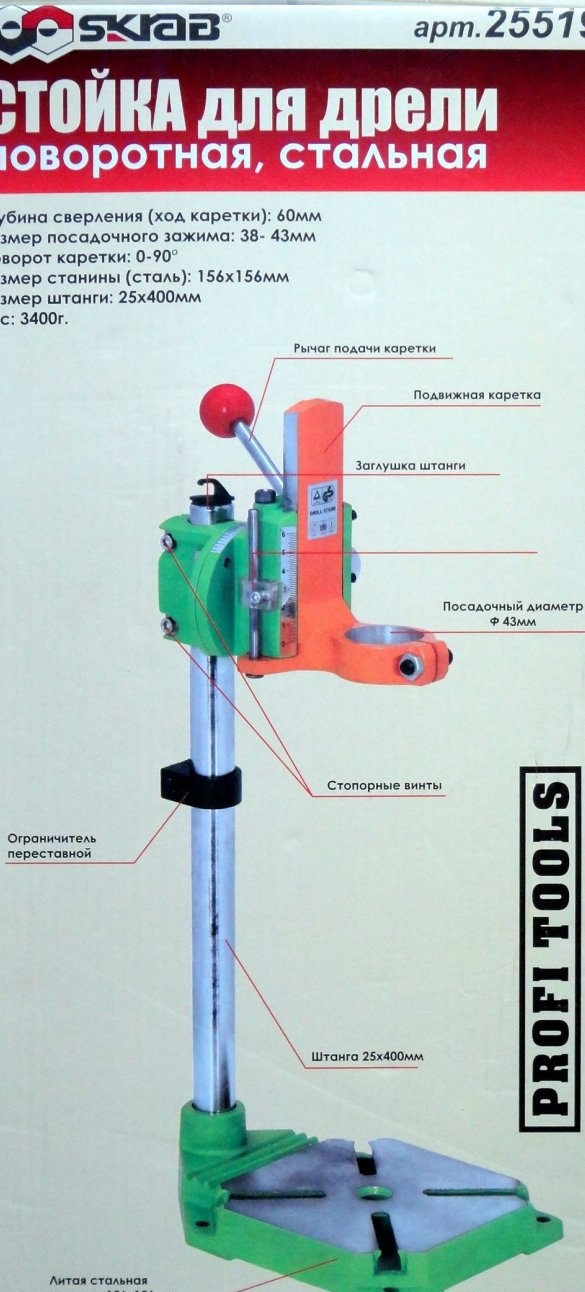
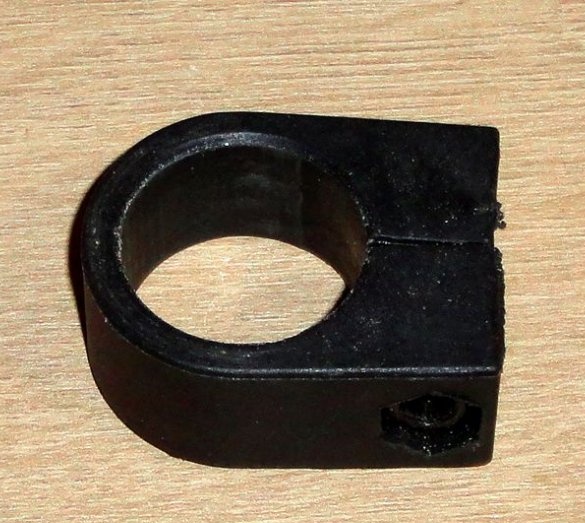
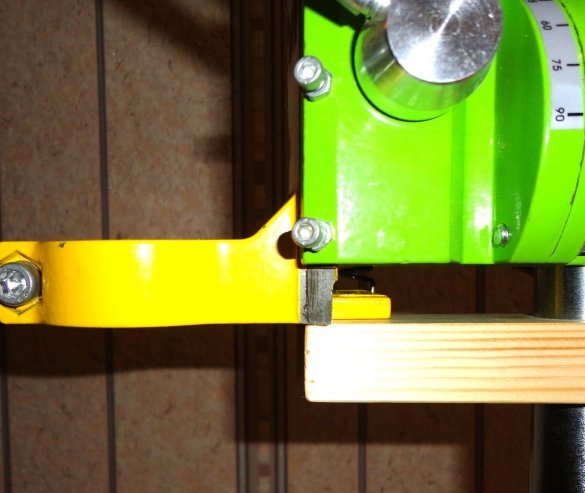
However, a very weak, brittle plastic construction is provided as a limiter for the depth of drilling.
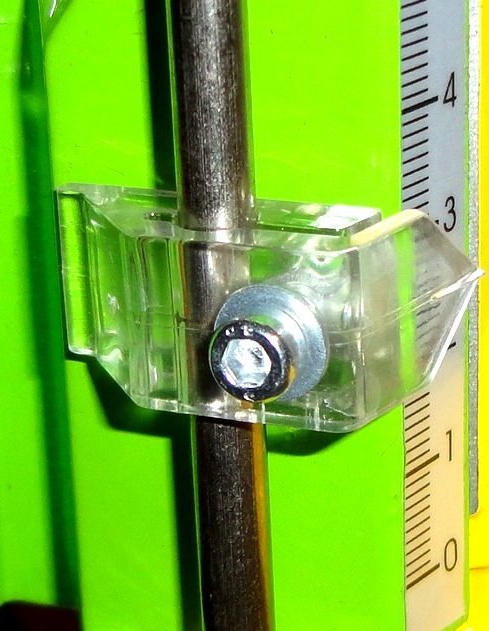
This limiter cannot be locked securely. plastic may burst.
The idea was to increase the usability of this product without mechanical intervention in its design (which is important in case of warranty service) and to use the materials and parts that I had (without unnecessary money costs).
In this design was used:
- LDSP board 230x290x16mm.
- wooden block 20x40x110mm.
- fasteners: M6, M8
- hereinafter.
Of the tools used:
- drill stand
- jigsaw,
- sandpaper,
- clamps.
Virtually useless native resident limiter.
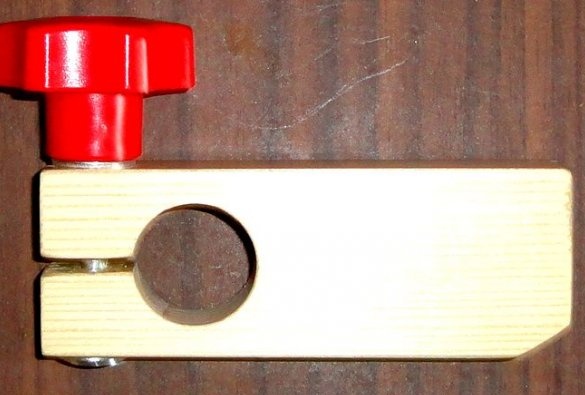
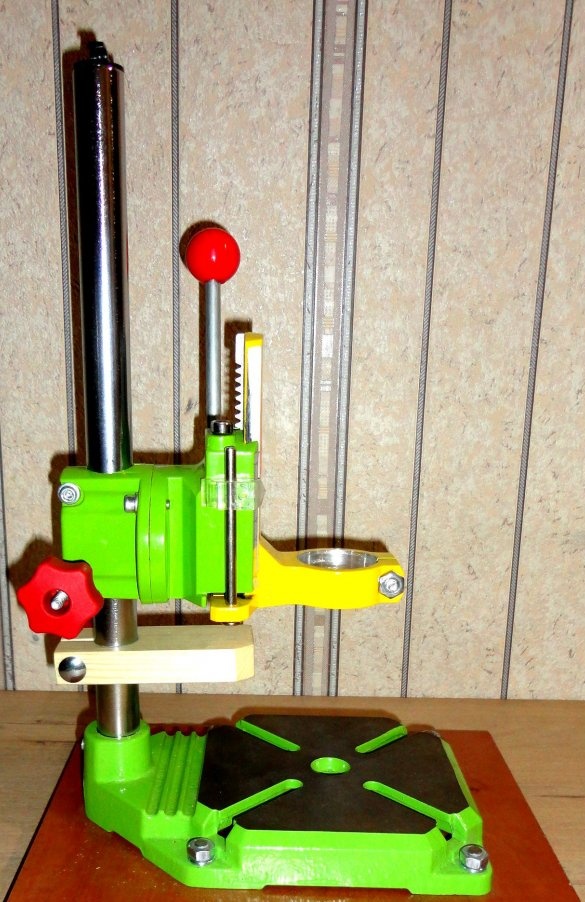
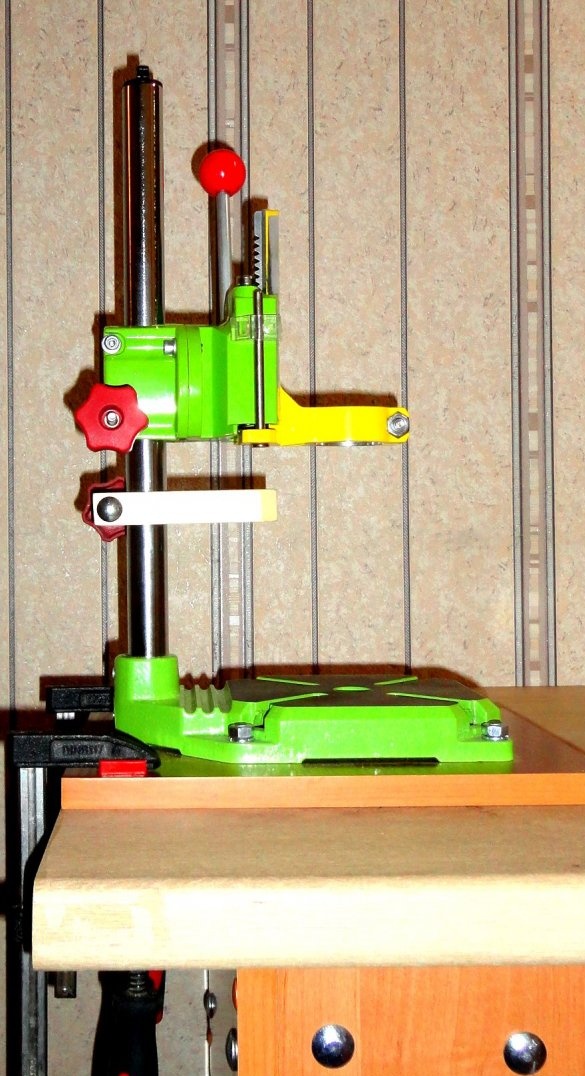
This limiter was replaced by a self-made one, which serves as the main limiter for the drilling depth as an adjustable stop for the movable carriage.
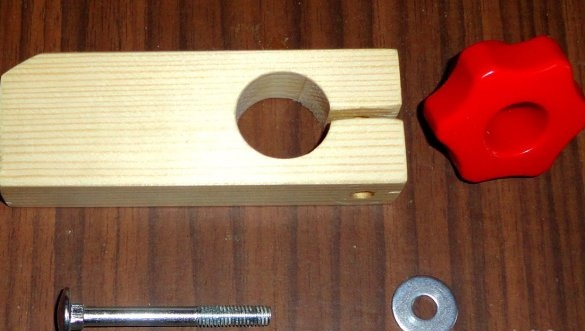
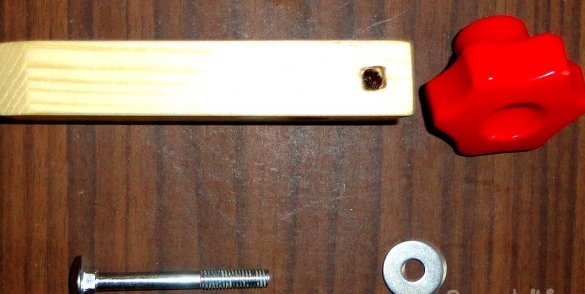
In its manufacture, a wooden block with dimensions of 20x40x110mm was used. The hole was drilled with a 25mm pen drill. Propyl about 3 mm wide. As the tightening elements were used: furniture bolt 6x55mm., A plastic “pinwheel” with a metal nut inside and a roof washer.
Thanks to the tetrahedral skirt, the furniture bolt does not rotate when tightened. The bar is treated with colorless varnish "XB-784".
Because my stand is left in a portable version (not fixed on a workbench), the bed is screwed with М8 screws to a furniture panel made of chipboard 230x290x16mm., which increases the stability of the structure as a whole and, due to sufficient fields, allows clamps to be attached to any table.
One of the locking screws of the main assembly has been replaced with an M6 bolt. As a clamping nut, a plastic “pinwheel” with a metal nut inside is also used.The second locking screw is adjusted so that the assembly can move smoothly along the rod. Therefore, for its reliable fixation on the rod, it is enough to tighten one bolt with a “turntable”. The use of “turntables” significantly increased the convenience of using the rack. There is no longer a need to constantly have “G” shaped hex keys at hand, which tend to be constantly lost.
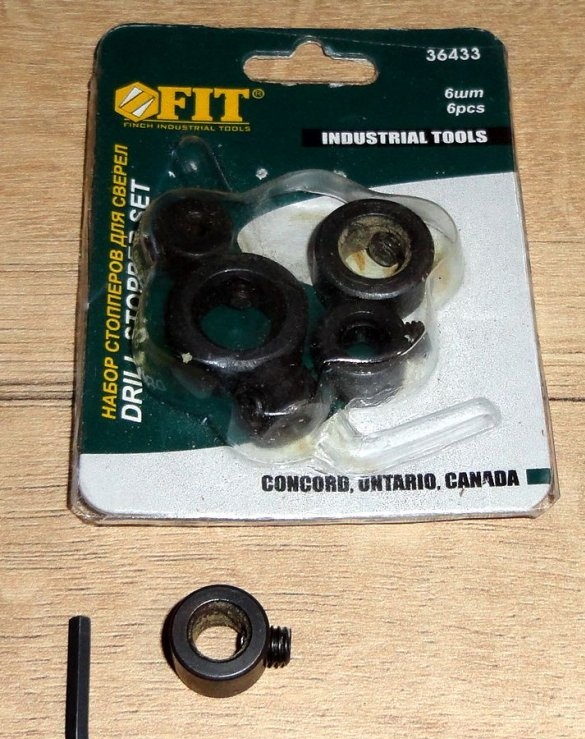
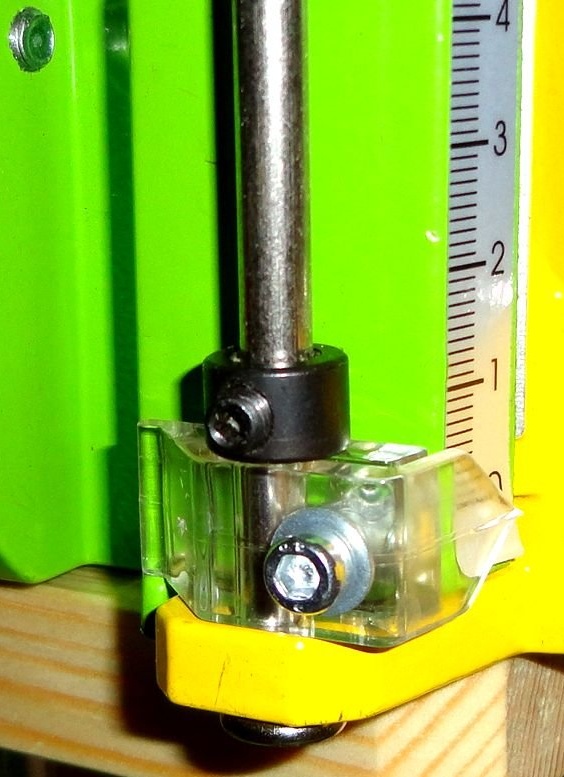
If necessary, fix the carriage in a stationary state. What I need is extremely rare (when milling, grinding, when installing the drill in a horizontal position). I use a stopper for drills from a cheap FIT kit for a 6mm drill.
Of course, the carriage can be fixedly fixed with the help of the carriage clamp adjusting screws, but then the thread for these screws will wear out. Because after each time you have to adjust the clamping device.
Also, using the stopper, you can limit the drilling depth, including when drilling at an angle when using the ability to rotate the main unit (which is extremely rare and requires the use of an additional key). Although the stopper duplicates a home-made interchangeable limiter, it is used extremely rarely.
Basically, with my constant use of the stand for vertical drilling, there are enough adjustments with the help of “turntables”, which is very convenient !!!
I apologize in advance for possible errors and inaccuracies when writing this article.
If you need additional information, write to the post office, I will try to be sure to answer.
Feedback, suggestions, tips, ideas and comments are very welcome.
September 2019

