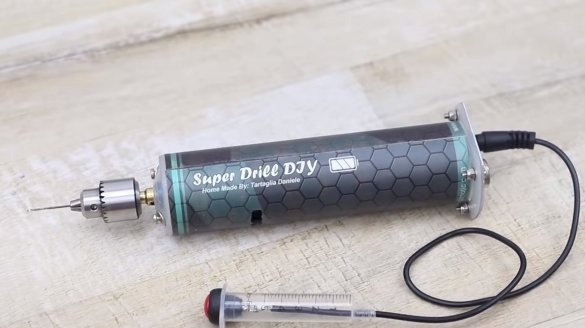
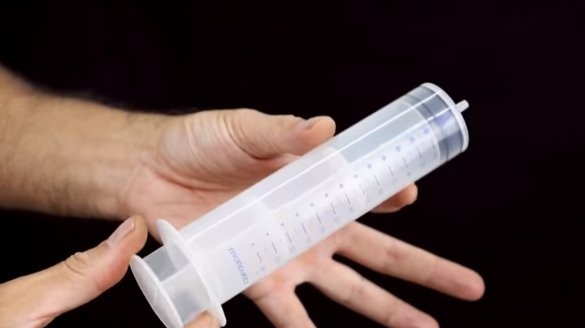
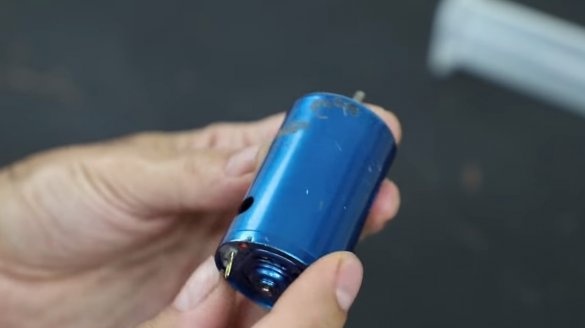
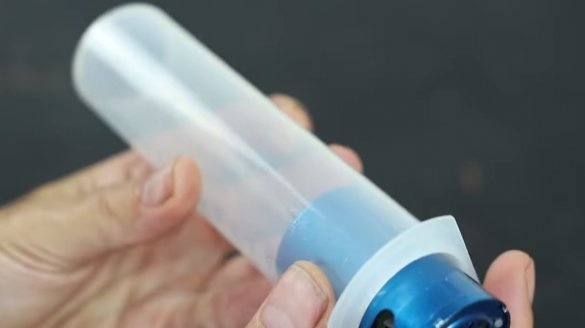
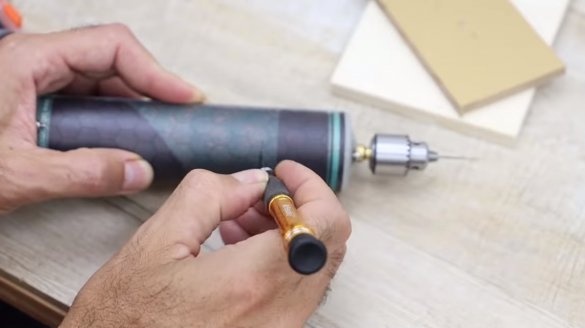
I welcome all fans to craft, today we will consider how to make a revolving drill on a battery do it yourself. The author used the motor, it is quite resourceful and produces about 6000 rpm when powered by 12V, which is not so small. If fed to a 24V motor, the machine can work as a drill, but with such maximum power it is better not to give large loads to the engine. Like the 775 motor, the 555 motor runs on ball bearings and has a forced cooling system. As a case, the author adapted a large-capacity medical syringe into which the motor tightly entered. If you are interested in the project, I propose to study it in more detail!
Materials and tools used by the author:
Material List:
- 555 engine and drill chuck with clutch;
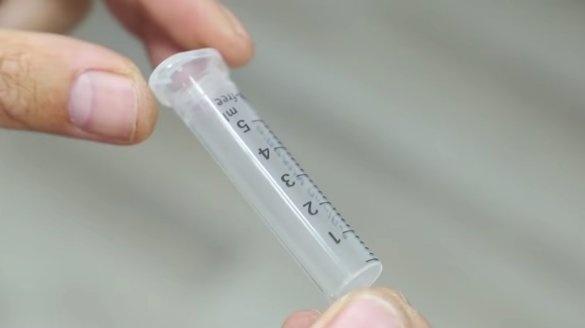
- a syringe per 100 cubes (or other material for the body);
- battery with a working voltage of 12V;
- jack and plug from the microphone;
- a socket for connecting a charger;
- plywood;
- a little sheet metal;
- wires;
- a smaller diameter syringe and a button;
- screws and nuts.
Tool List:
- stationery knife;
- a hacksaw;
- vise;
- drill;
- soldering iron;
- clamps.
Manufacturing process homemade:
Step one. Preparing the housing and installing the motor
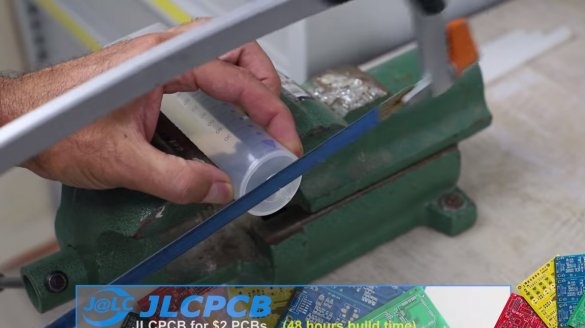
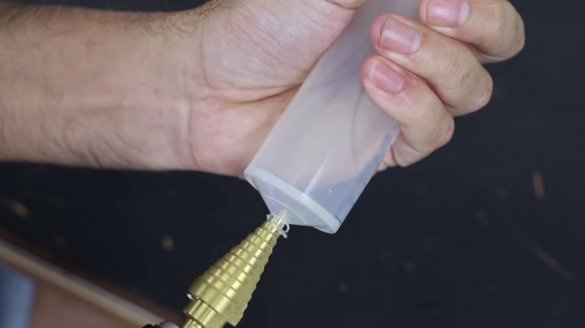
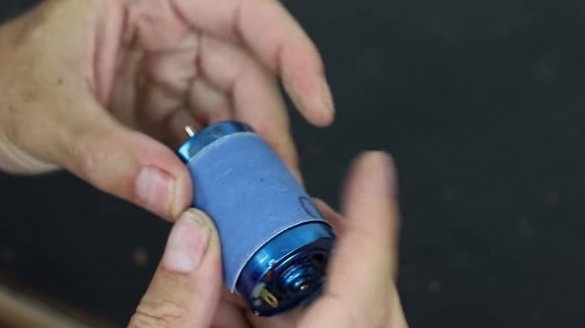
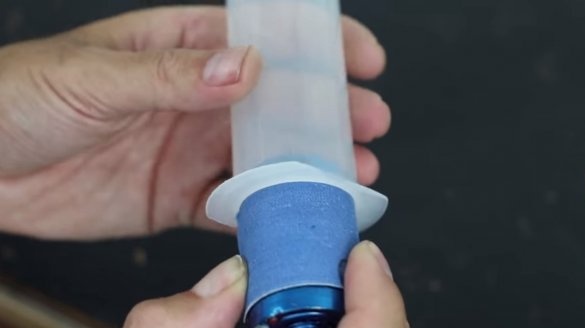
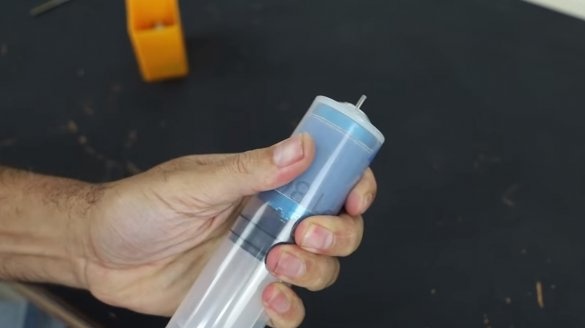
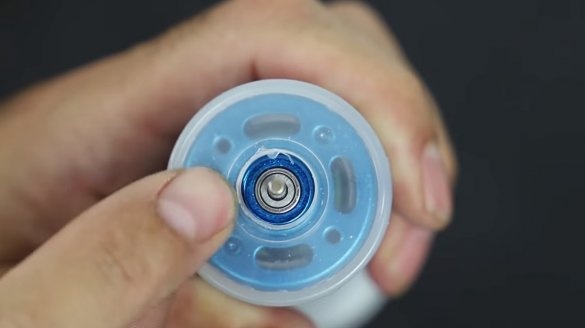
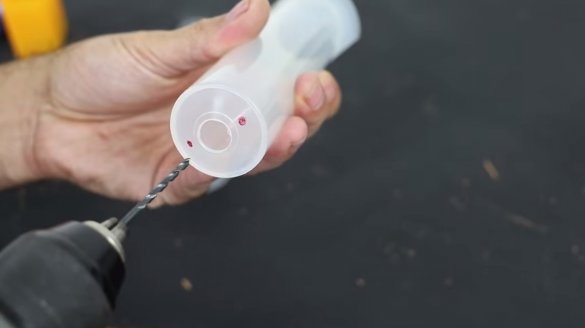
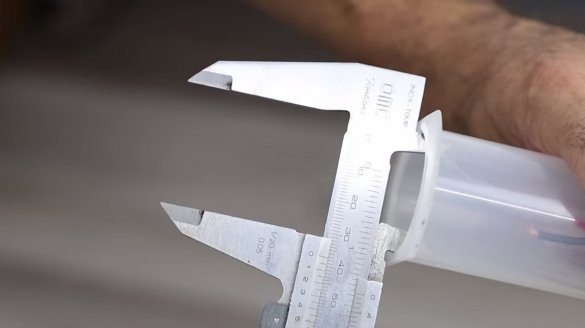
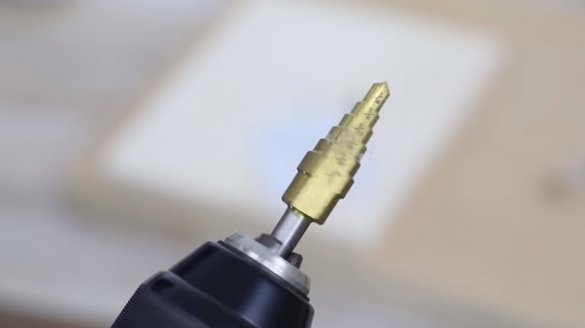
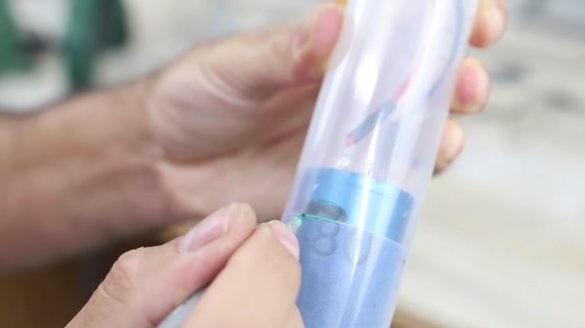
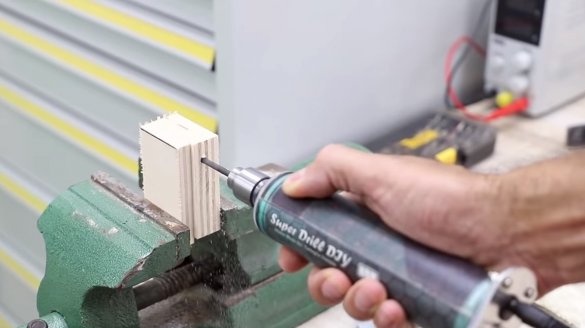
First of all, we will prepare the case, in our case it is a 100-cubic syringe, its inner diameter is such that the 555 motor is easily placed in the syringe. To center the motor inside, wrap it with sandpaper or electrical tape and insert it into the case. The author cut the nose of the syringe with a hacksaw for metal and drilled a hole under the motor shaft.
We also outline places and drill holes for mounting screws.
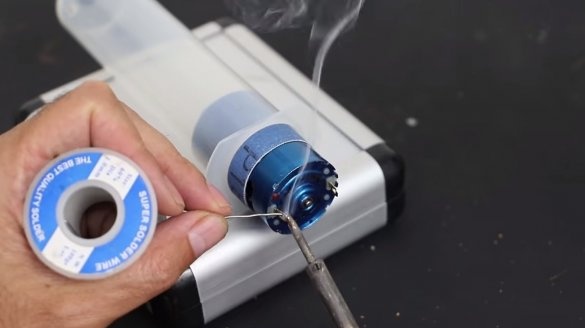
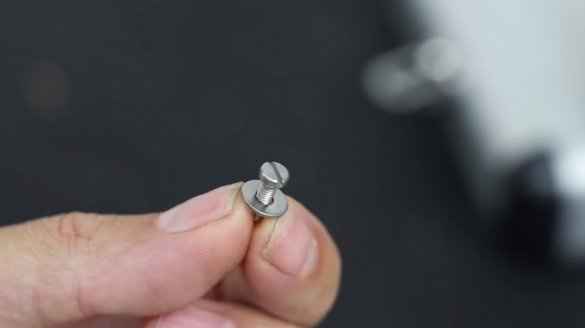
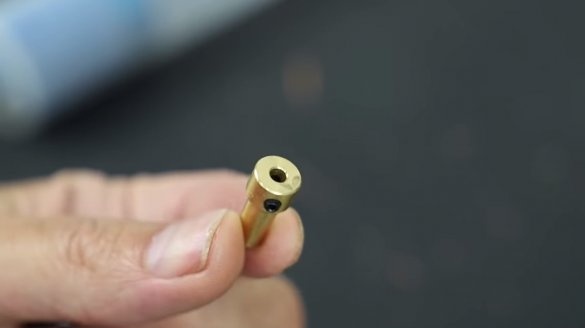
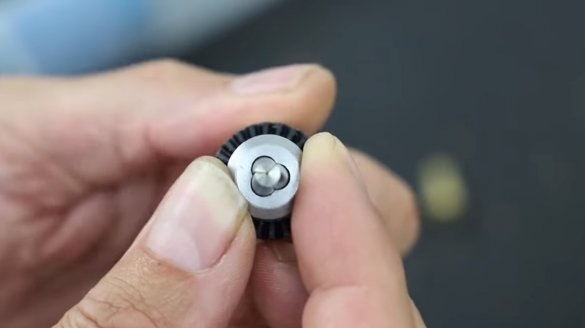
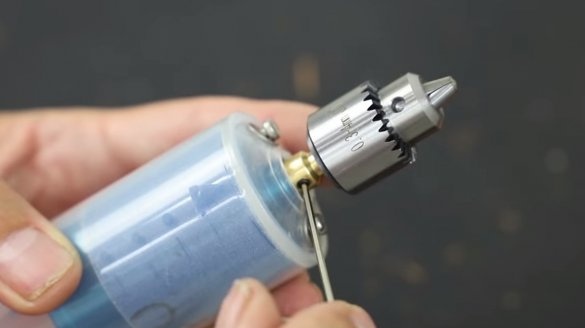
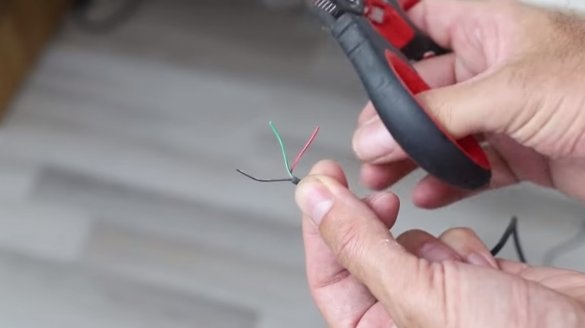
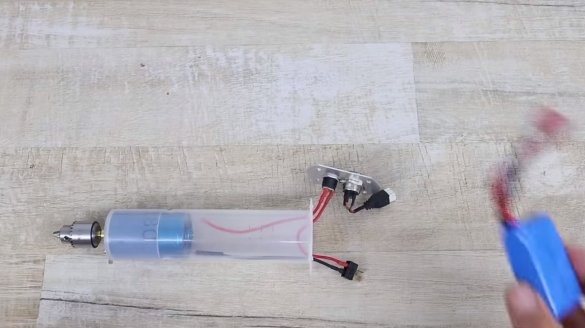
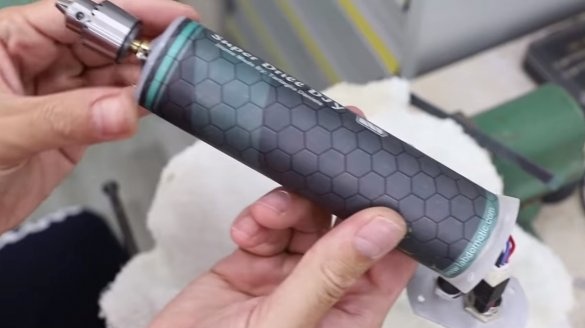
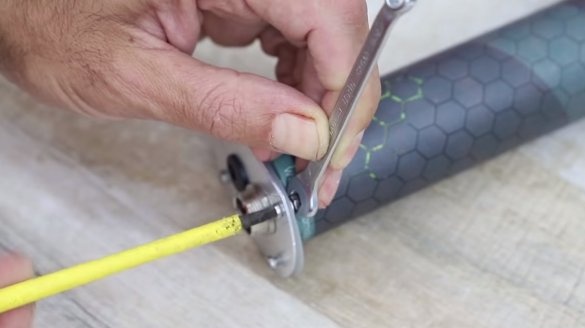
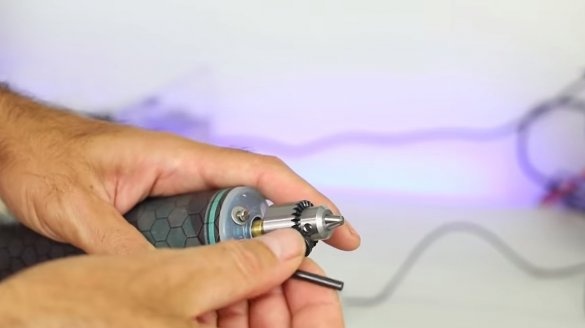
Everything is ready, you can install the motor inside the housing, for this we solder wires to the motor terminals, insert the motor into the housing and fasten it with screws. We install an adapter coupling on the motor shaft, and we already attach a drill chuck to it. That's all, the main part of the drill is assembled, it can already work from the power supply, but our version is cordless.
Step Two Back cover
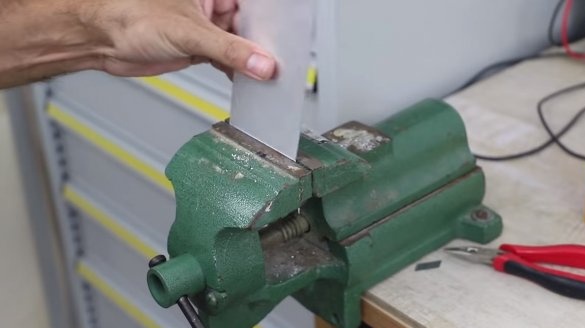
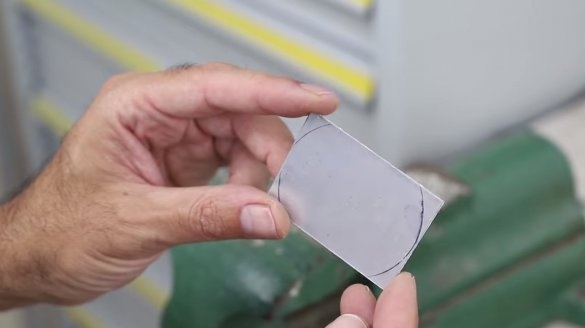
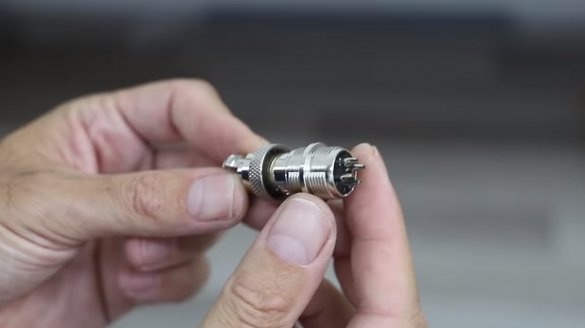
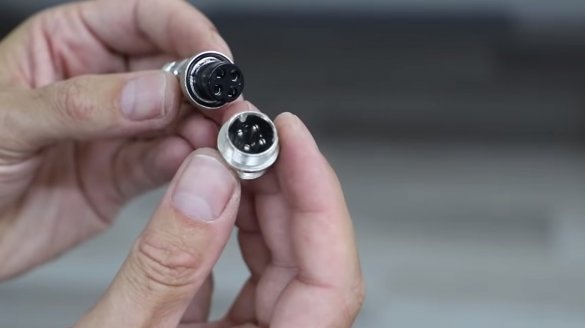
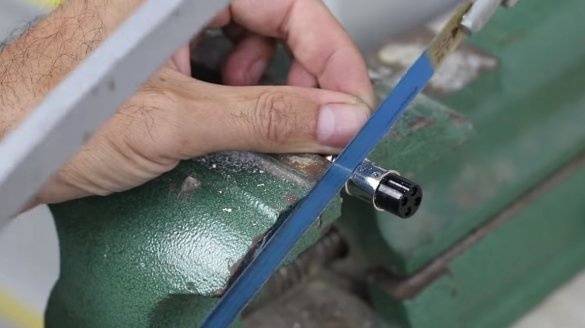
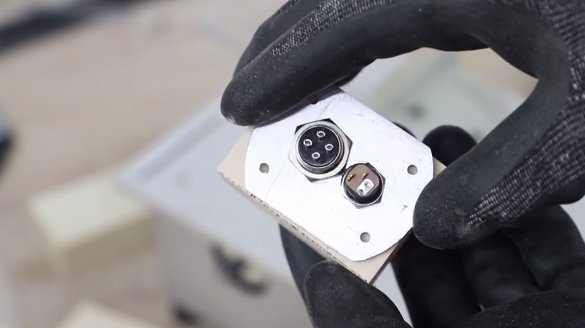
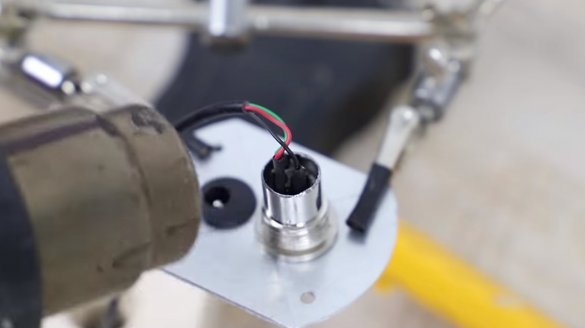
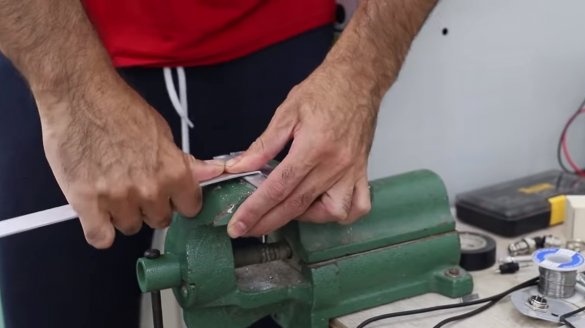
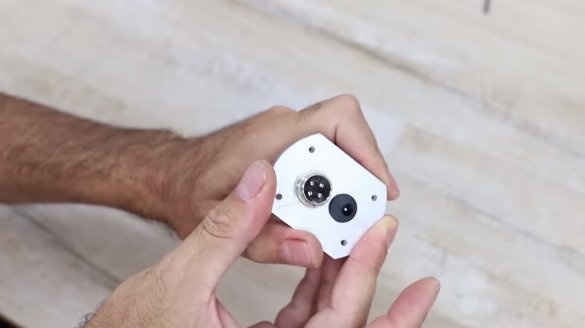
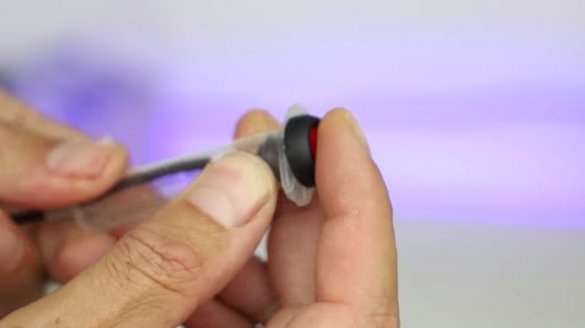
We make the back cover for the drill, for this you need a piece of sheet aluminum or even steel, you can use plastic, whoever has something. We drill at the base of the hole for the plug from the microphone, with which we will put the drill on charge. A connector for connecting the battery is soldered to the socket.
We also install a socket for connecting a power supply, the author connects a button to this socket, which is also located in the housing from a syringe. If desired, you can make an input to connect the power supply so that the drill can work from the network.
This cover will be attached to the syringe with screws and nuts, we drill corresponding holes for the screws.
Step Three Charging platform
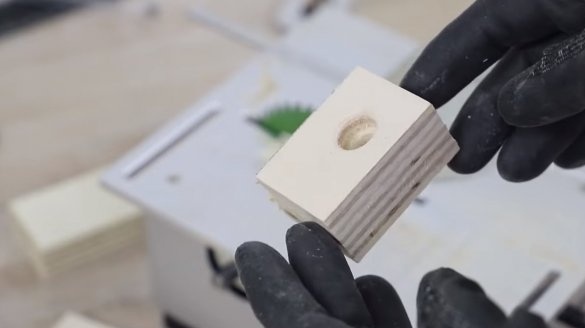
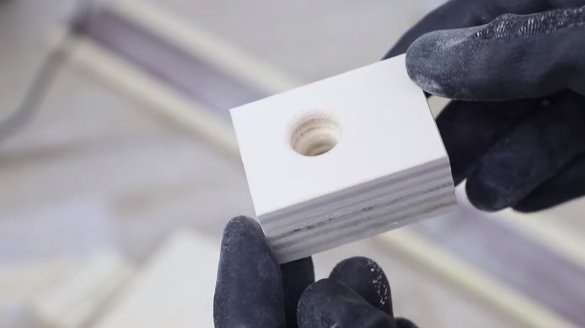
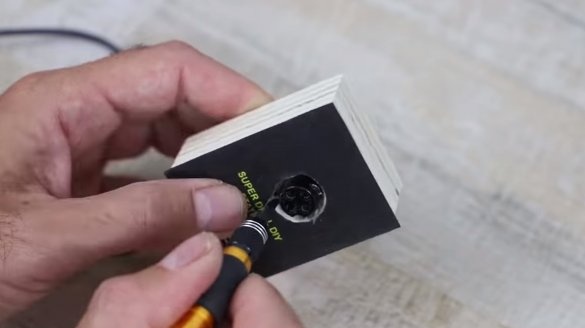
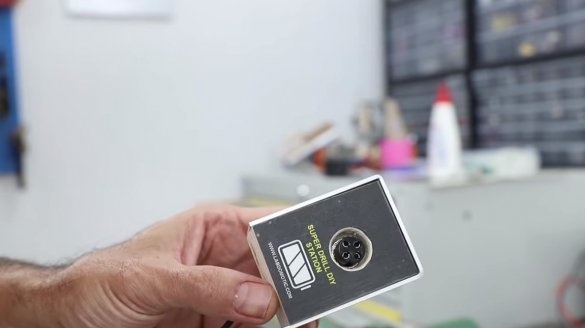
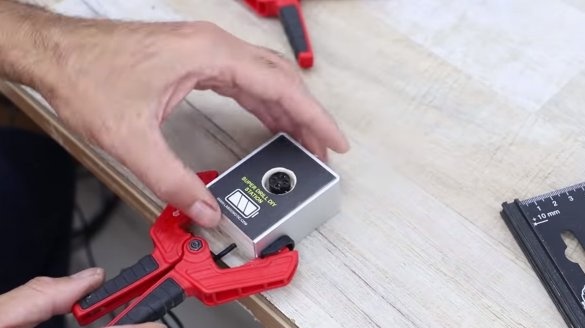
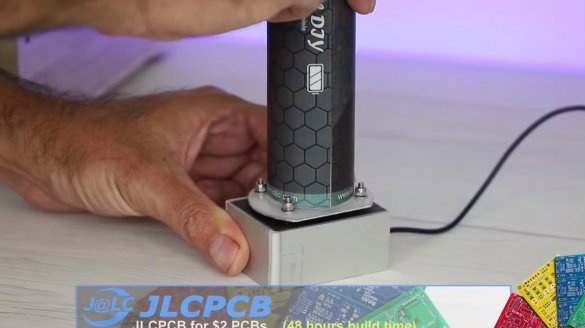
We make a charging platform on which we will put the drill to charge. We make the base of plywood and we trim it with an aluminum plate so that everything looks neat. We install a socket in the base and solder the device wires to it.
Step Four Final touches
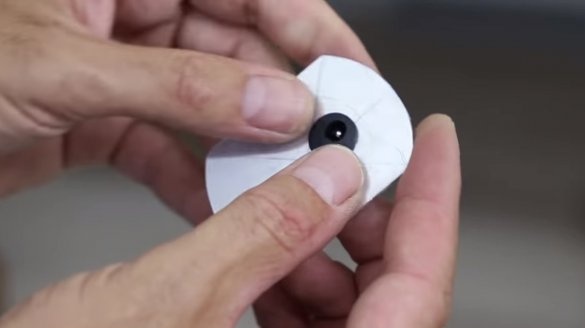
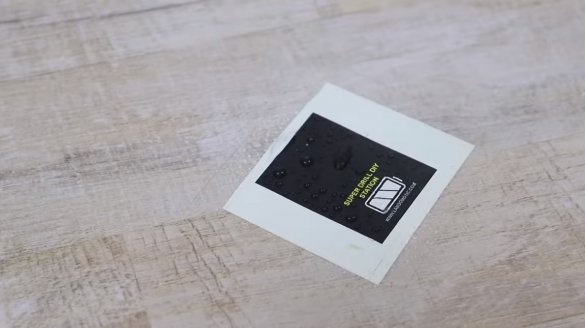
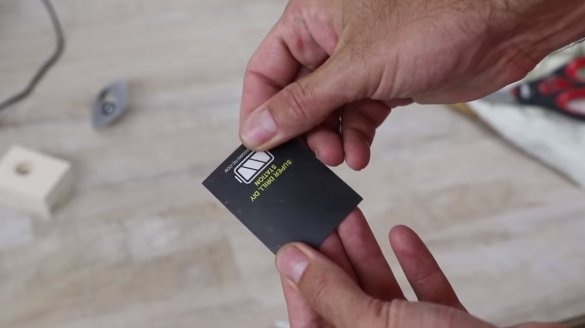
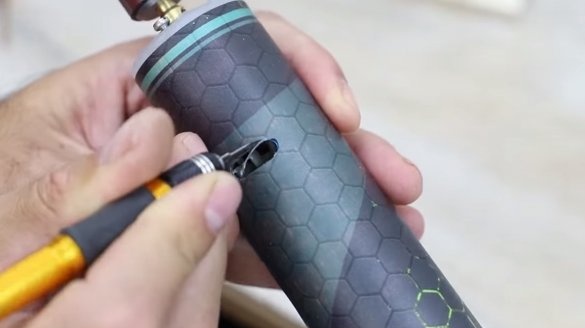
At the end, the author printed on the printer a beautiful, in his opinion, pattern and pasted paper over the drill, as well as the base.
Also, we definitely cut through the ventilation windows in the case, which will be needed to cool the motor, otherwise it will overheat. Over the horses it would be nice to install lattices from a metal mesh so that nothing gets into the brush assembly. Debris will quickly disable engine components.
That's all, now you can test the car. The author easily drills homemade holes, and also works as a disc from a drill for metal. On this project can be considered successfully completed, I hope you liked the homemade work, and you found useful thoughts for yourself. Good luck and creative inspiration, if you decide to repeat this. Do not forget to share your ideas and homemade things with us!

