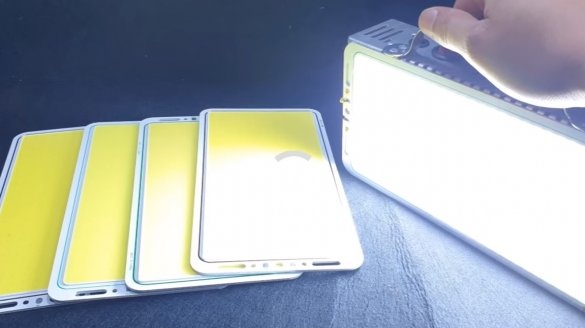
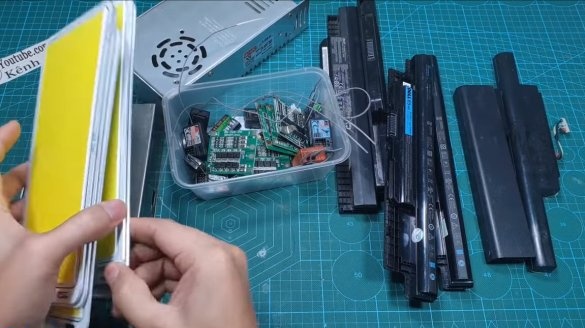
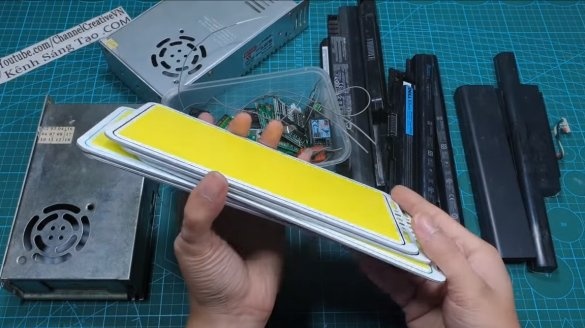
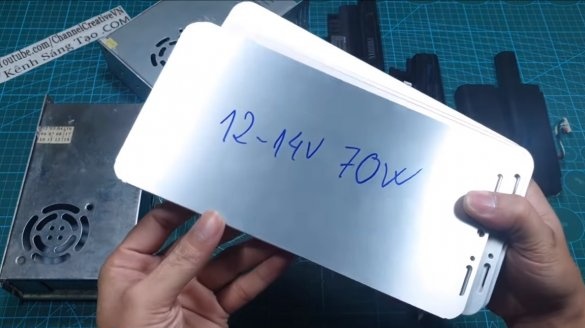
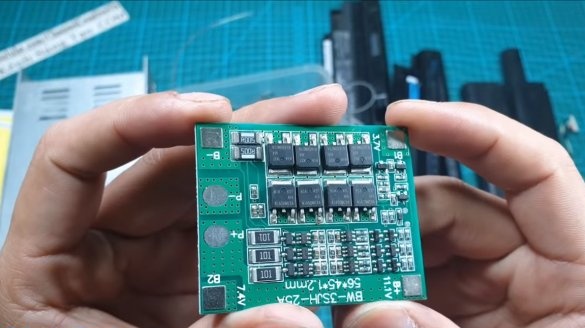
I welcome all fans to craft, today we will examine in detail how to make a powerful flashlight for camping, fishing or hunting. Homemade it shines very brightly with white light, the author used a 12V-70W LED panel as a light source. The author assembled the power source for his searchlight from old laptop batteries. To protect the battery, the author used a 3MS 11.1v BMS controller for 18650 cells. Everything is compact in an aluminum case. If you are interested in the project, I propose to study it in more detail!
Materials and tools used by the author:
Material List:
- ;
- ;
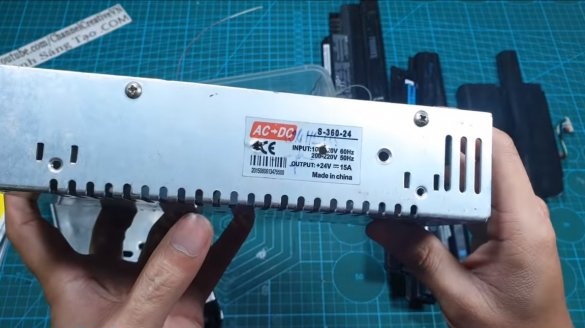
- housing from an old charger or power supply;
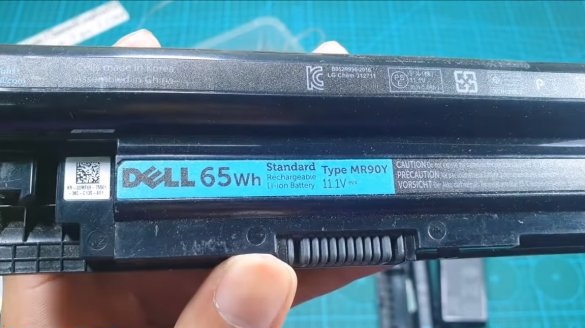
- old batteries from laptops;
- thermal grease;
- reinforcing tape or the like;
- wires.
Tool List:
- voltmeter;
- spot welding machine;
- soldering iron;
- pliers;
- drill;
- a drill.
Homemade manufacturing process:
Step one. We collect the battery
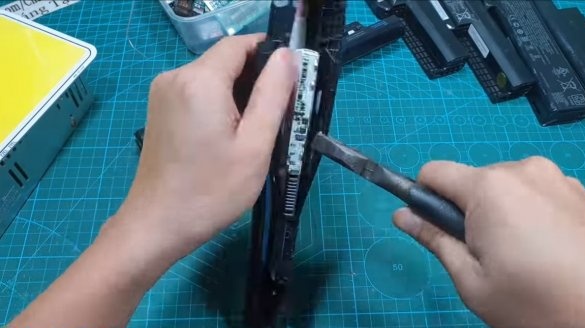
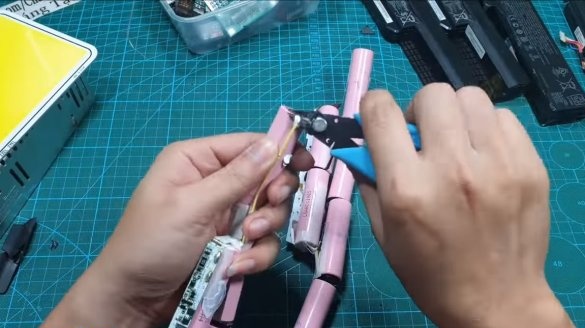
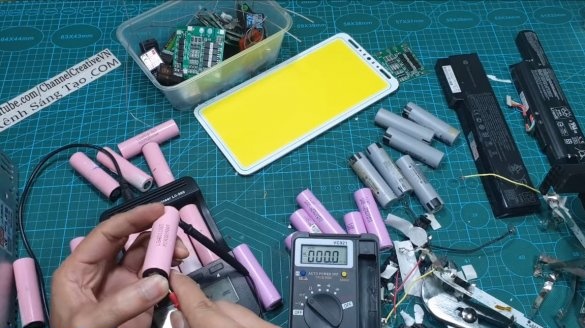
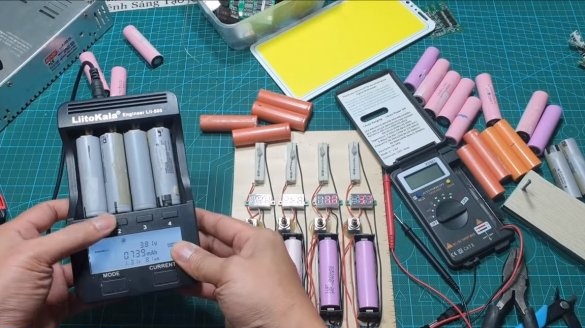
The author made the power source himself; old laptop batteries were used as material. In such batteries are 18650 batteries, when some of them fail, the entire battery stops working. Break the case and remove the cell. We check each cell with a voltmeter for voltage. If the voltage on the cells is less than 2.4V, then it is better not to use such a cell, it is already very likely damaged or has
small capacity. The higher the voltage, the livelier the cell.
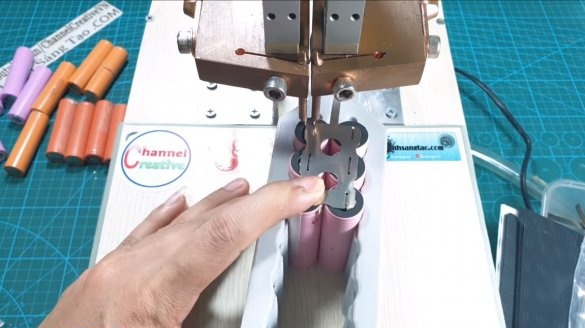
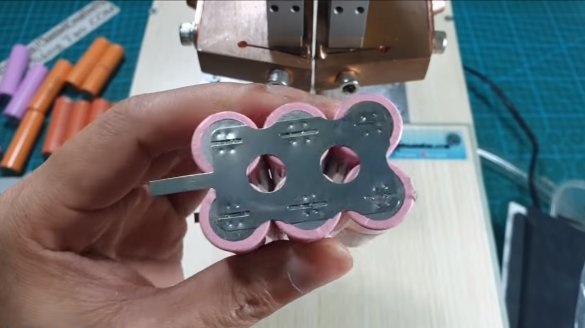
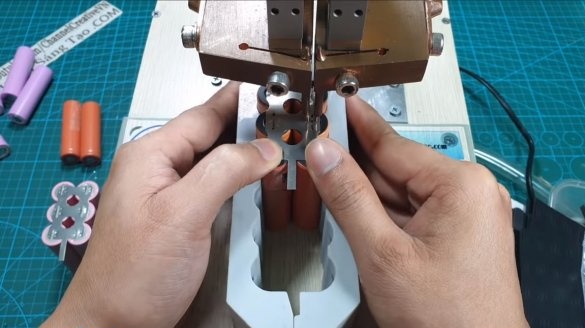
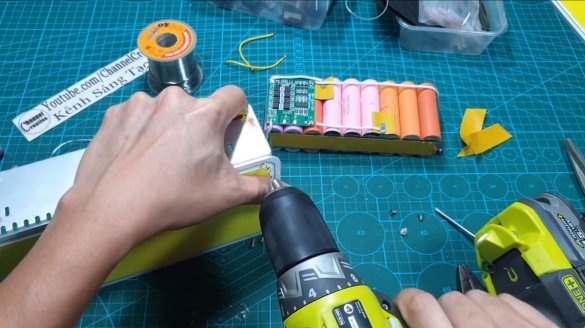
In total, the author needed to select 18 cells of 18650, he collected from them a battery. To connect the contacts, spot welding was used, so it works quickly, and the contacts do not overheat, as when working with a soldering iron.
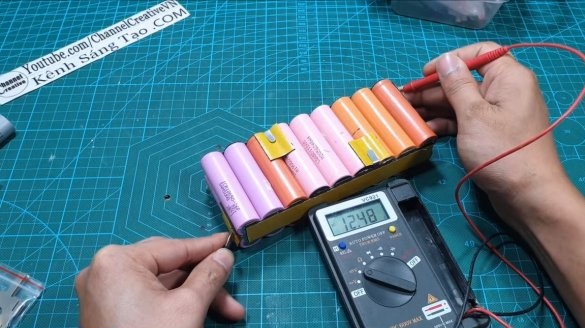
As a result, the author got a battery that produces 12.5V, of course, the voltage will drop as it discharges to the lower threshold.
If the voltage on the cell decreases to less than 2.4V, the battery already loses much in capacity. To prevent this, BMS controllers are used.
Step Two LED Panel Installation
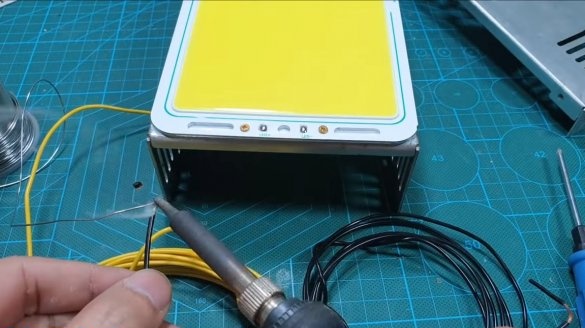
As a case, the author adapted the case from an old charger, it is made of aluminum and is suitable in size. The panel is installed directly on the wall of the housing; as a result, the housing acts as a radiator. To ensure good thermal conductivity, it necessarily uses thermal paste. The panel itself is fixed with screws to the body.
Step Three Assembly and testing
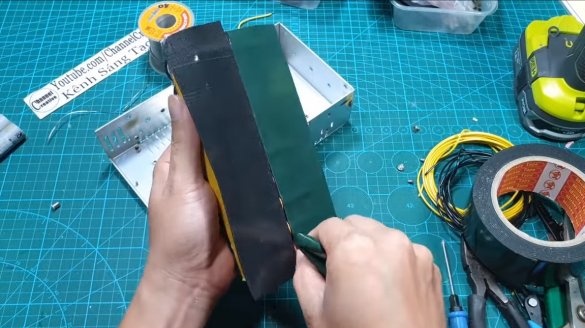
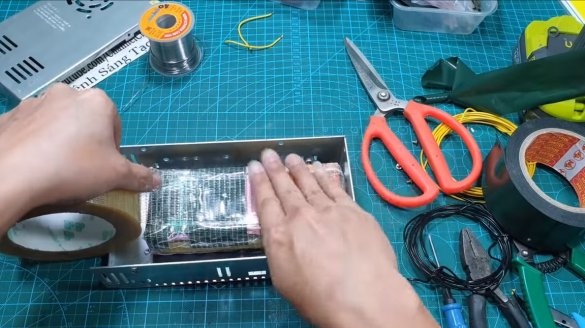
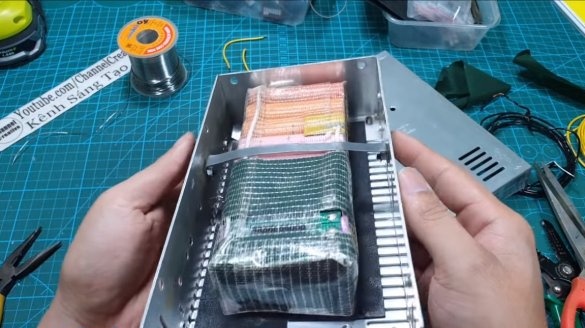
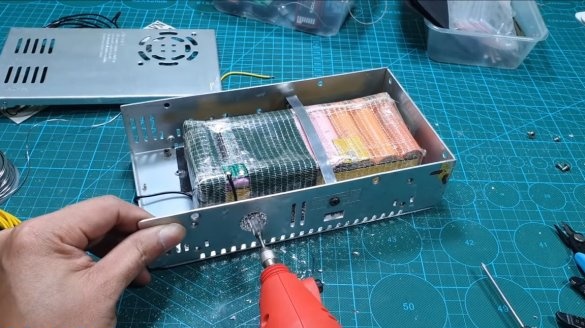
We install the battery inside the case, glue it on double-sided tape, and also wrap it with reinforcing tape and fix the battery with a plate. Since the battery is heavy, it can fly off the case when it falls, so everything needs to be fixed securely. It is also important to ensure good insulation of the contacts.
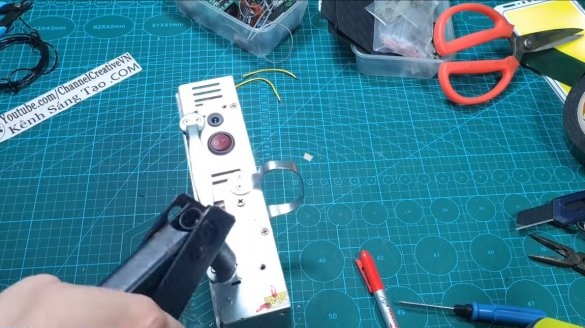
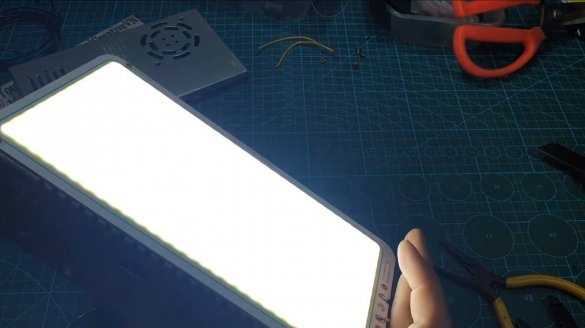
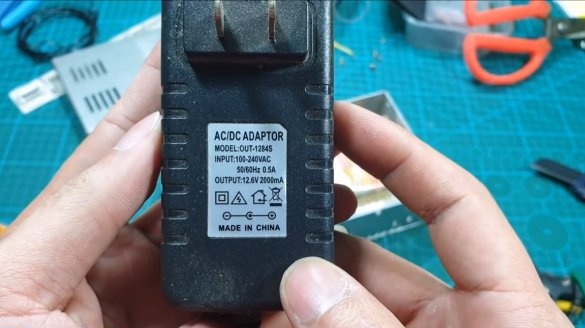
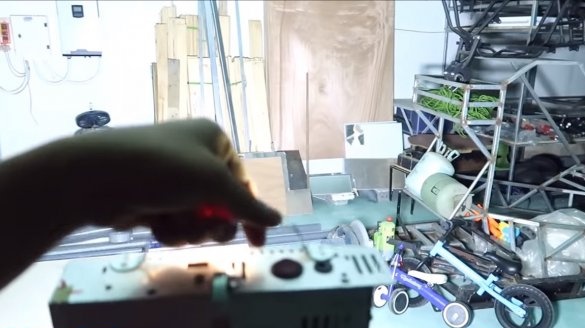
At the end, we drill holes in the housing, install the switch, as well as the socket for connecting the charge. The homemade product is ready, the author thinks charging it with a charger at 12.6V / 2A, which is quite small and the charging will last quite a long time. The lamp shines gorgeous, it turns out a large amount of bright light, which is what is needed in the night forest. On this project can be considered successfully completed, I hope you liked the homemade work, and you found useful thoughts for yourself. Good luck and creative inspiration, if you decide to repeat this, do not forget to share your ideas and homemade things with us!

