
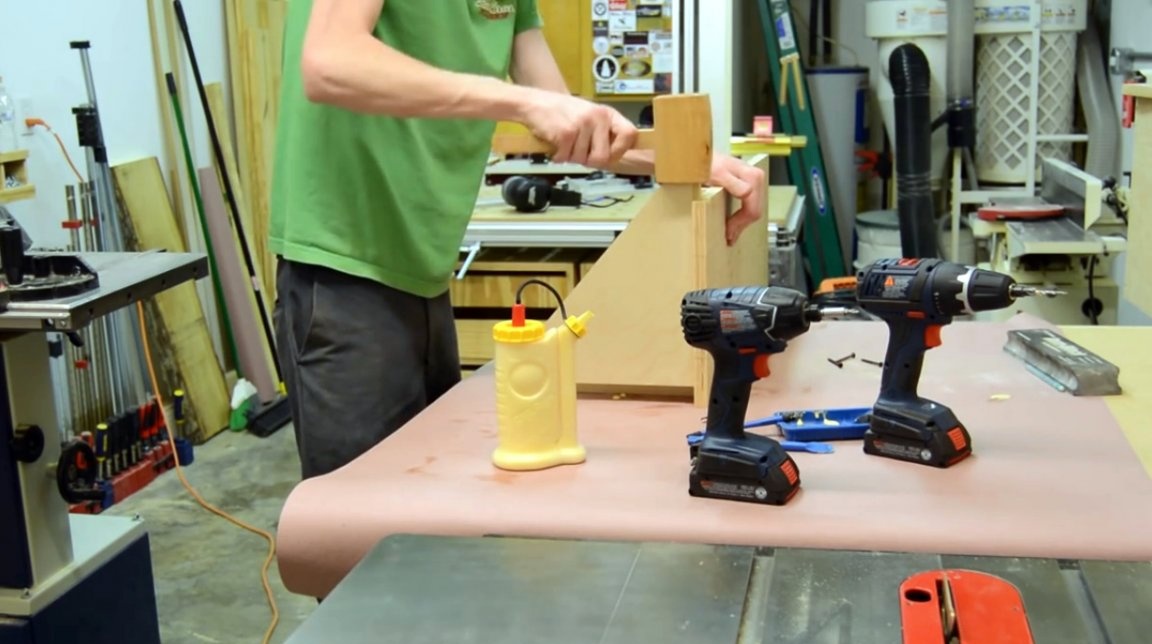
In this article, Matt, YouTube author of Matt Lane, tells you how he made an organizer shelf for clamps.
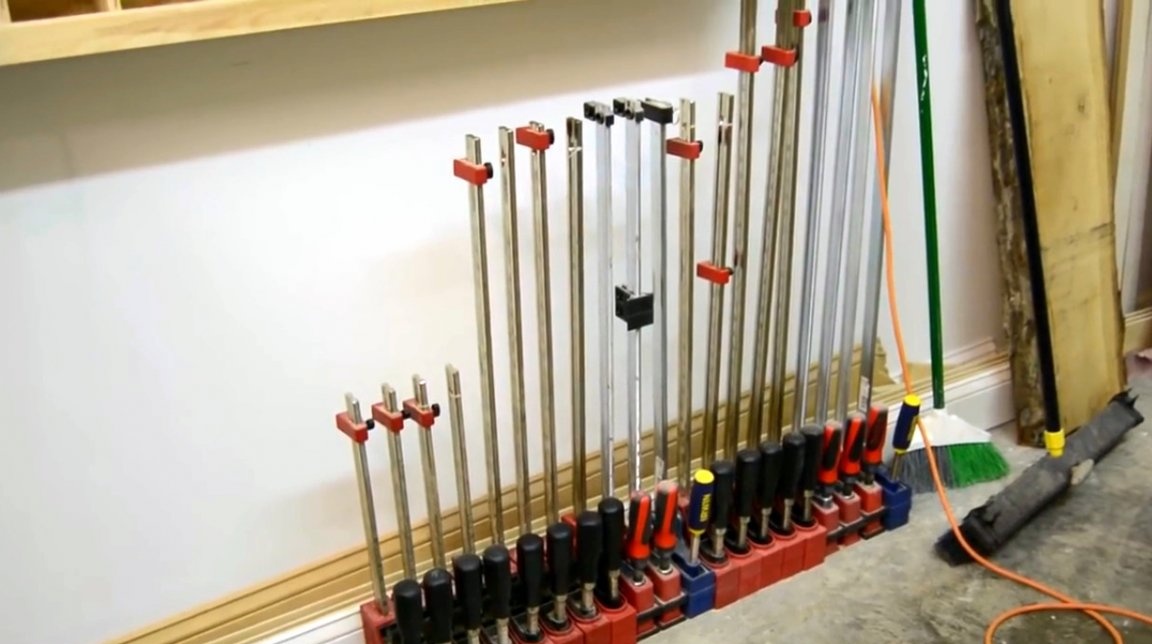
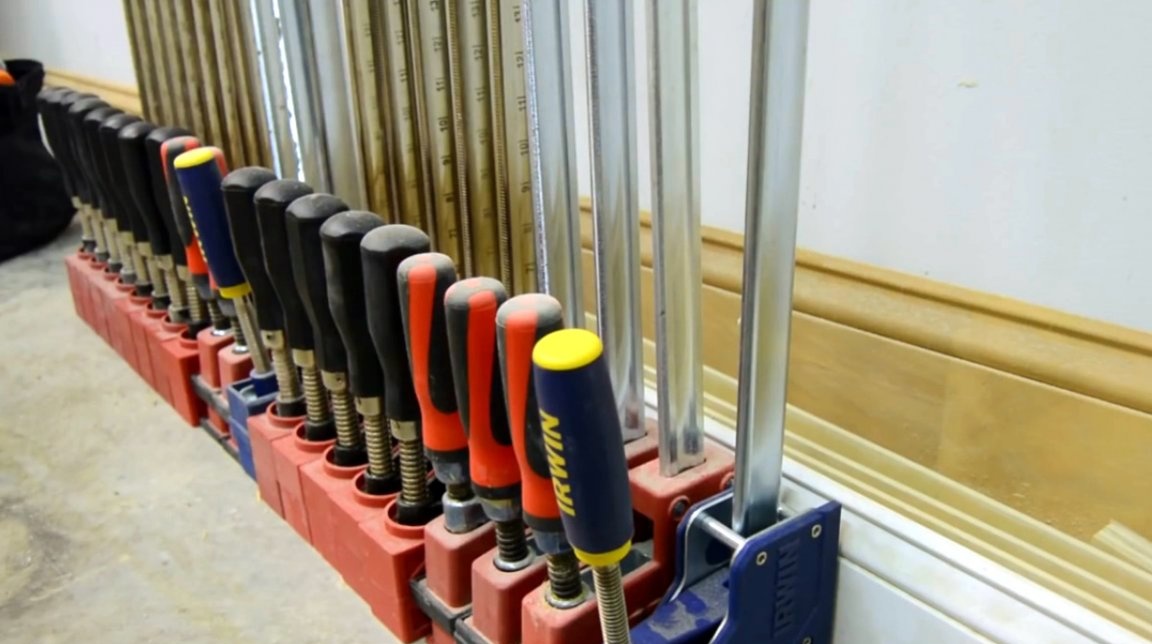
How is it humanly to put off any business all the time, which seems to us secondary. But there comes a time when it itself declares itself. Stand for clamps and clamps, how important is it for your convenience and maintaining order in your workshop? As a result, the master was tired that the clamps got in the way under his feet, and he decided to make this homemade product.
Materials
- Boards, sheet plywood
- PVA glue
- Wood screws, washers.
Instruments, used by the author.
—
—
- A circular saw
—
—
—
- Drilling machine
—
—
- Roulette, pencil, square, ruler, mallet, level.
Manufacturing process.
The author could not do without this stand. The first thing Matt does is he on the Internet chooses the right configuration for his future stance.
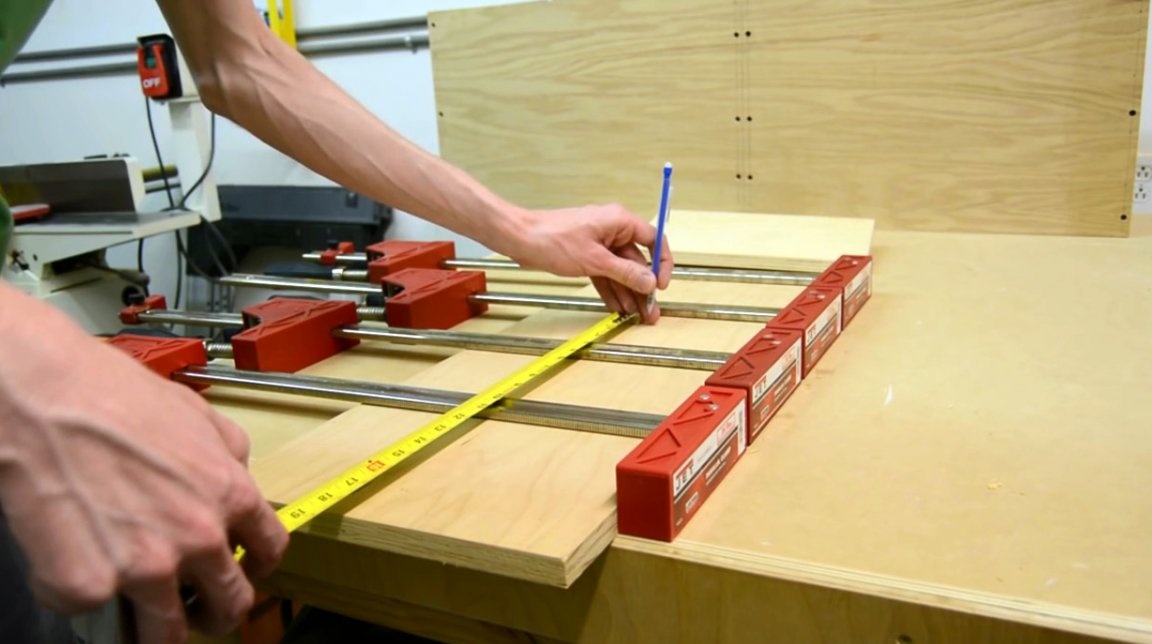
After the choice is made, the master starts to work. On the back of the stand, he immediately marks the distance between the two holes through which the stand will be attached to the wall. This distance between the marks should be 16 inches and should be centered on the board.
The author checks that he can find marks between the clamps, while the marks should be placed in those places in which vertical supports for clamps will not pass.

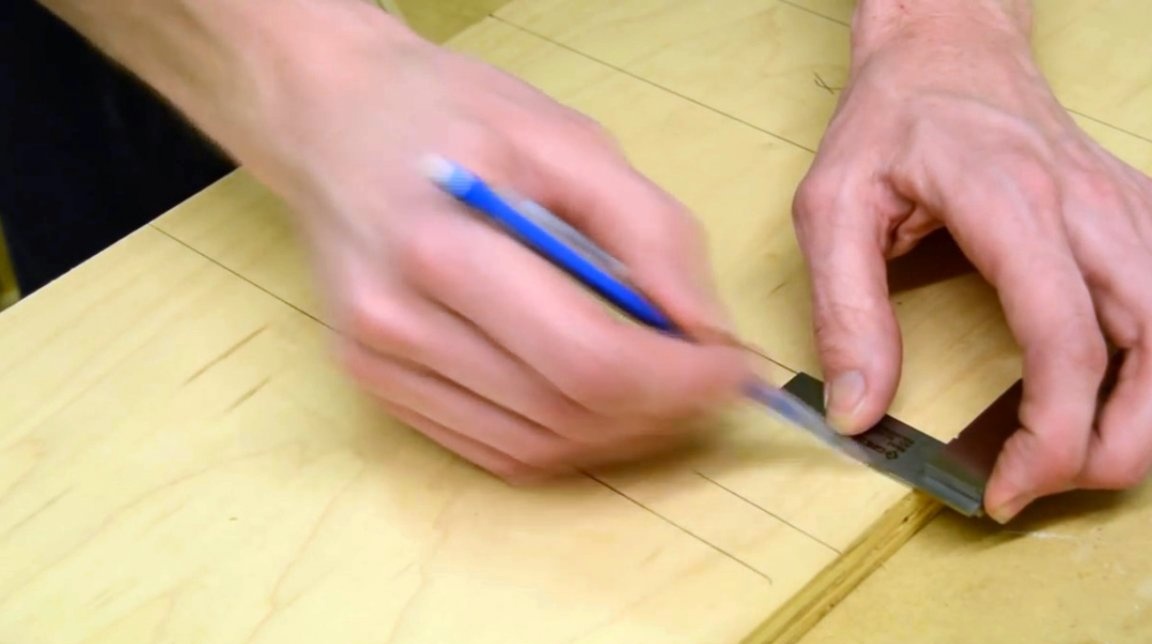
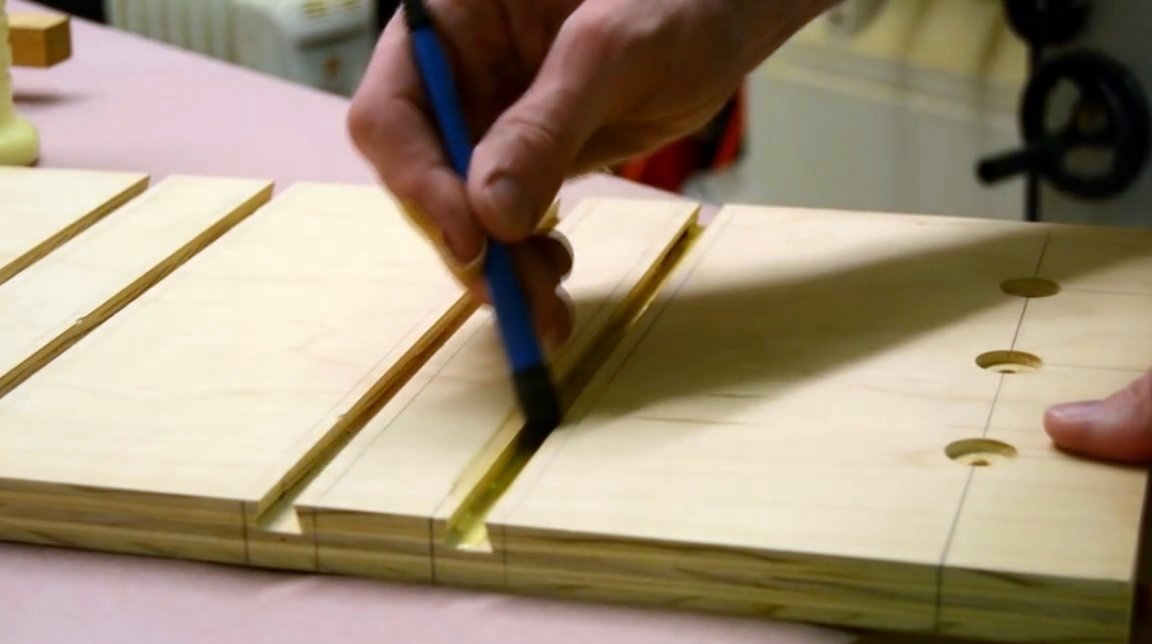
This miniature square perfectly copes with this task. Its thickness is exactly ¾ inch and allows the master to transfer the lines to the other side of the plywood sheet, where each vertical divider will be located.
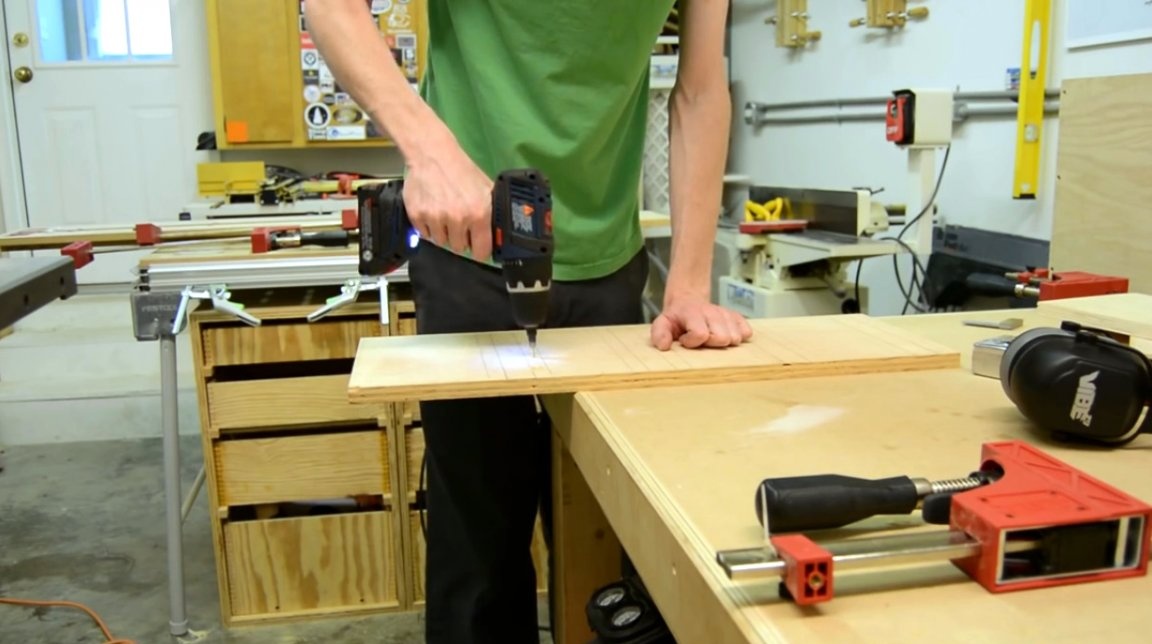
The author is going to fasten the vertical supports, which should hold the clamps at the rear of the rack. To do this, he makes a quick markup on the back of the plywood, marking the points where the screws will be screwed.
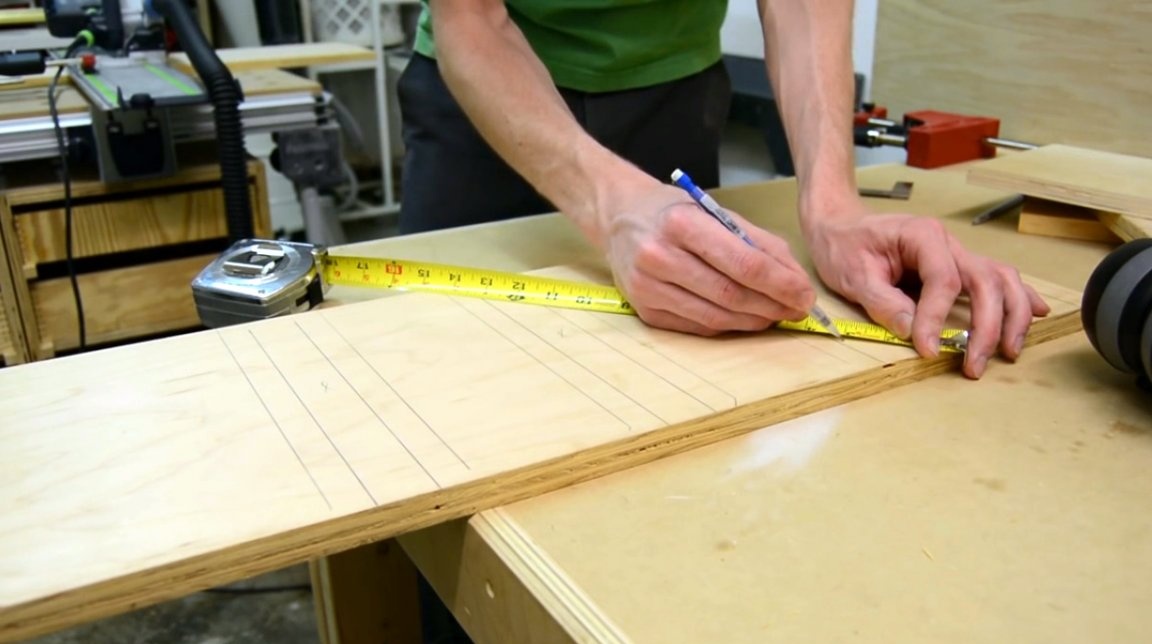
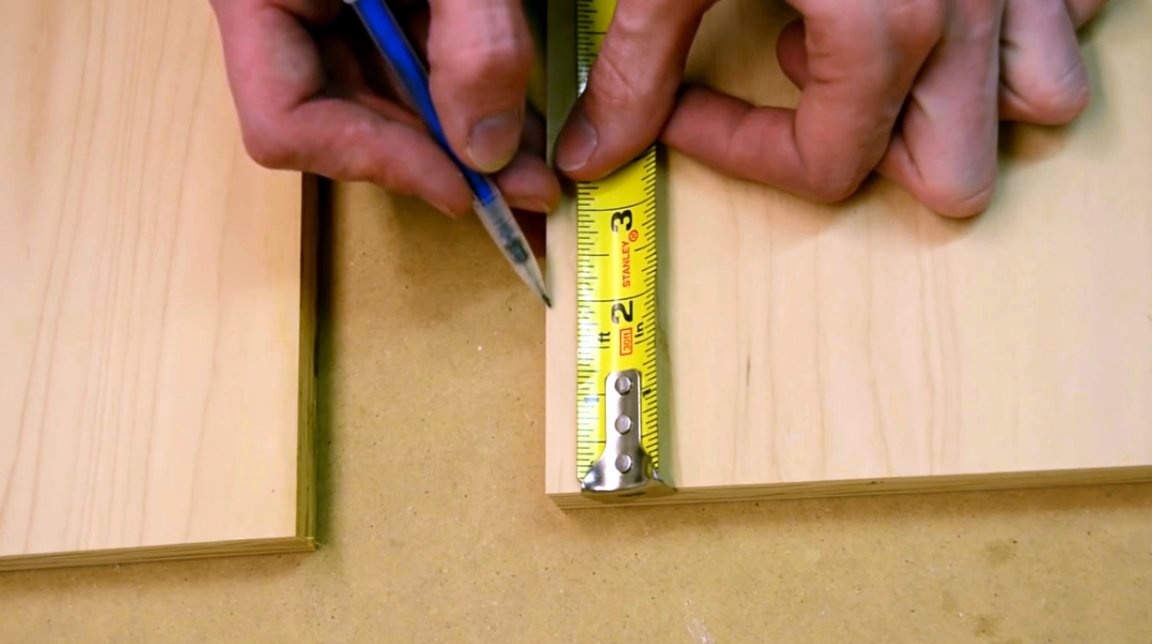
He checks with a tape measure that all four marks under the holes are equally spaced from each other. Matt picks up a number so that it is easily divisible by 5.
He moves the roulette until he reaches the desired number.
Then he transfers these four marks to the front of the plywood using a square. The layout of all vertical dividers is ready. Now it’s elementary to simply place between them four other marks - the places on which the vertical supports will be screwed.
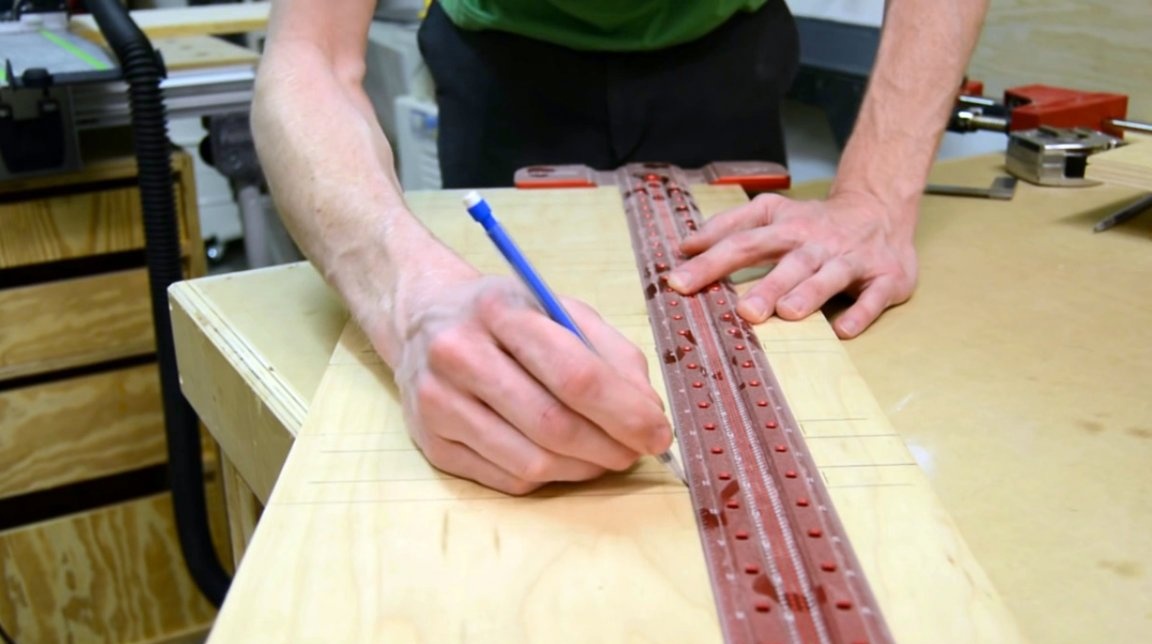
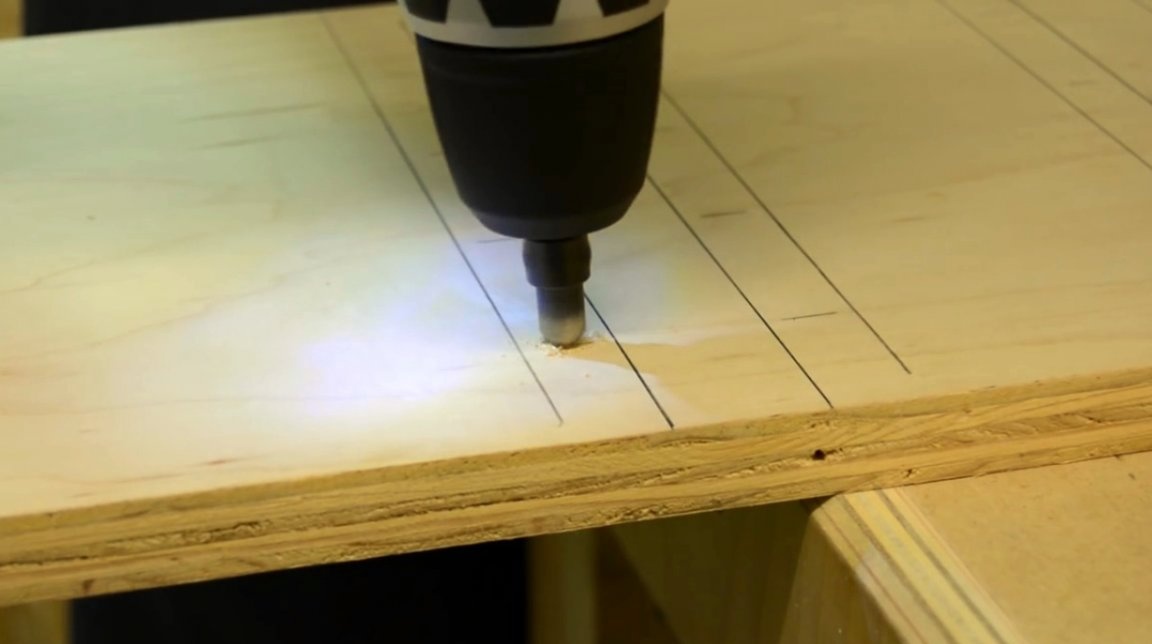
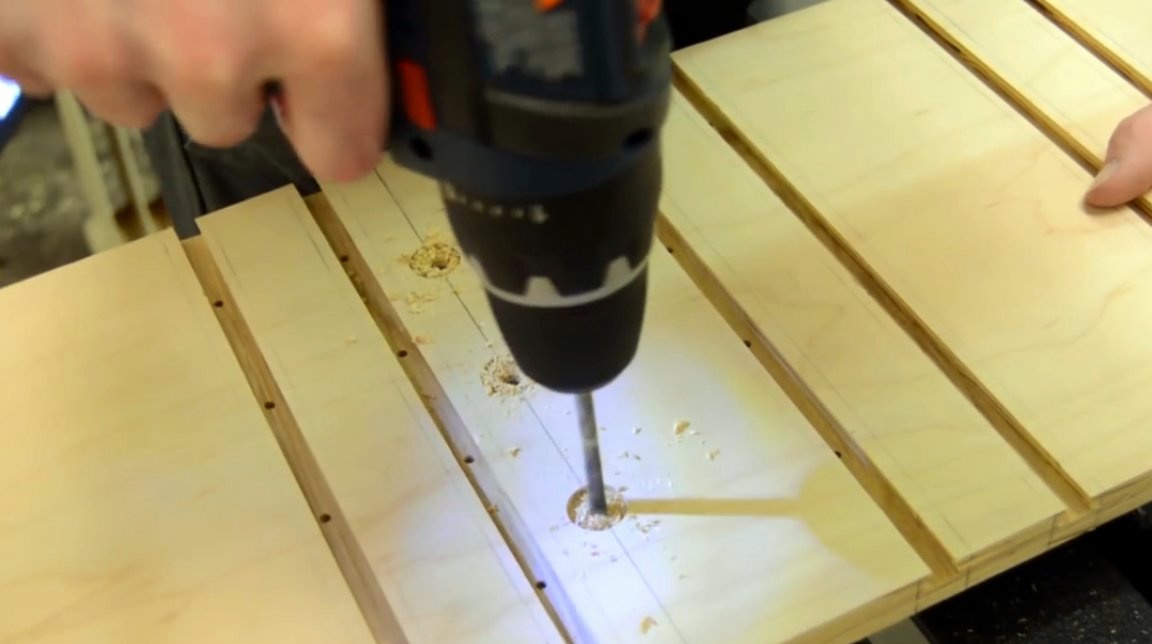
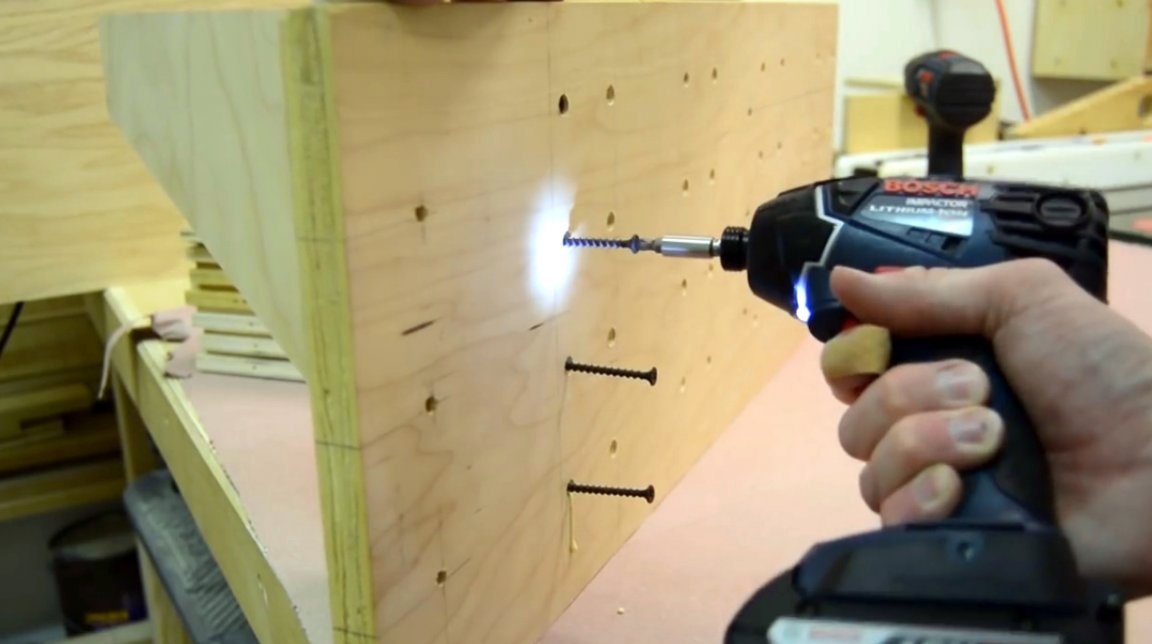
The author drills a sheet from the front side through and through with a countersink drill, placing the holes vertically at an equal distance from each other. On the reverse side, the holes are countersink. These will be the zones of attachment of the vertical supports.
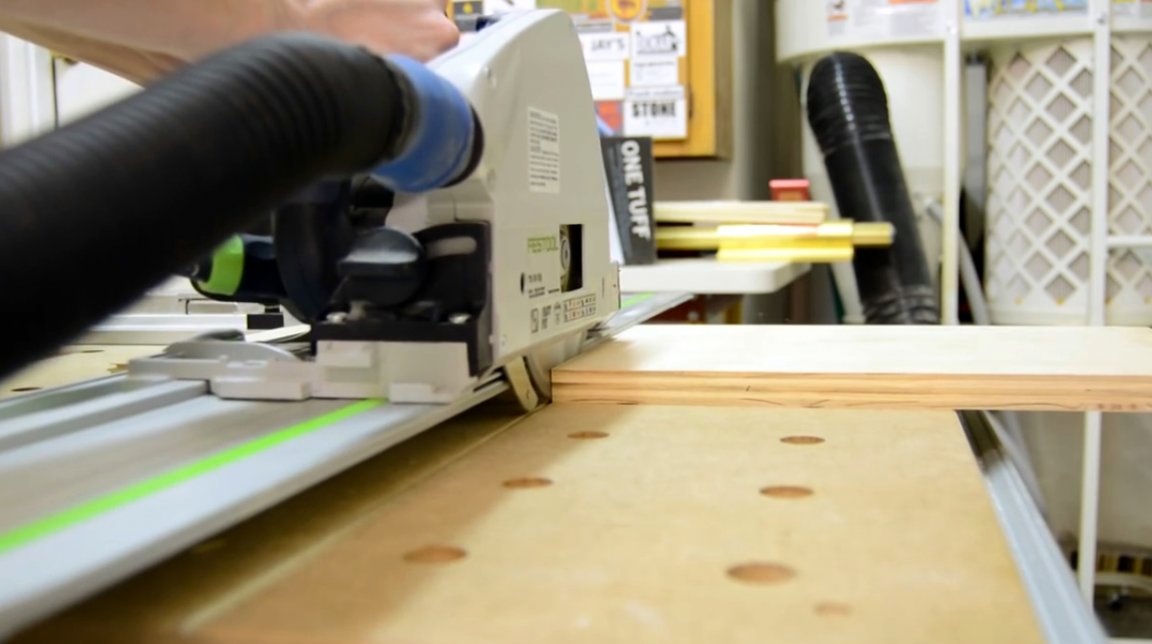
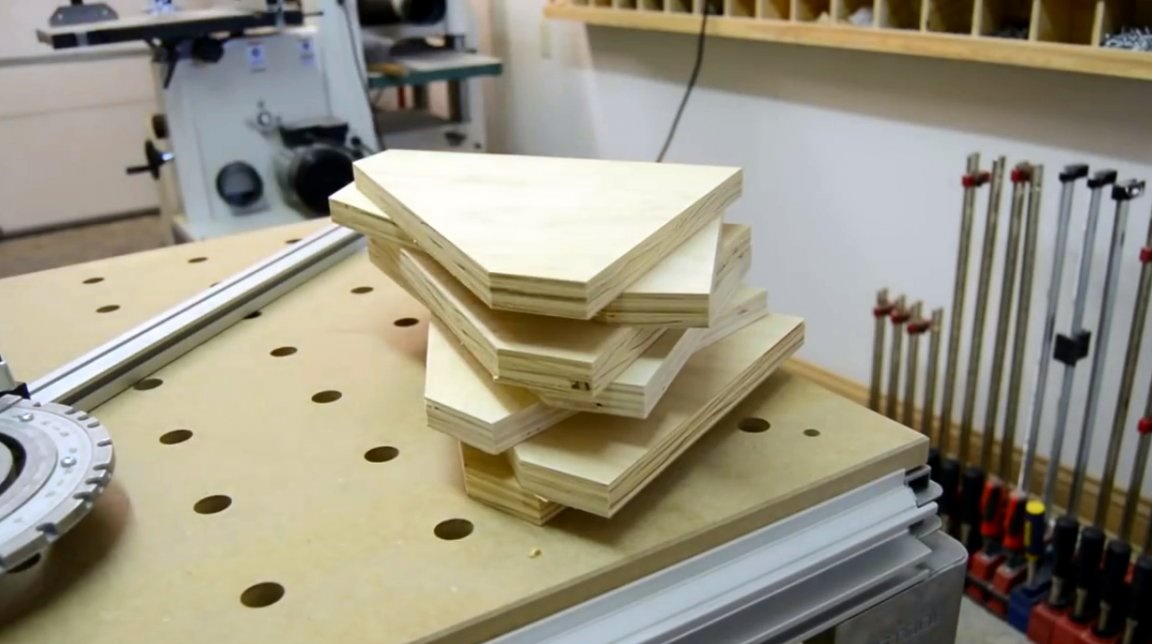
Next, Matt searches for scraps of plywood sheet in his workshop and cuts it on a circular saw to the desired segments.

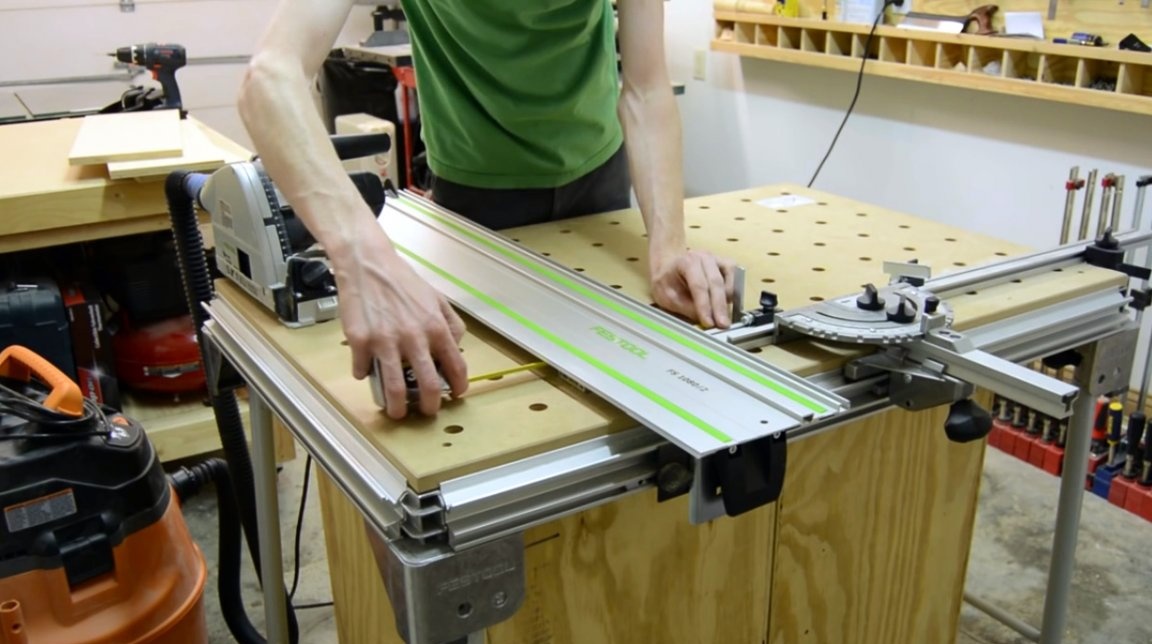
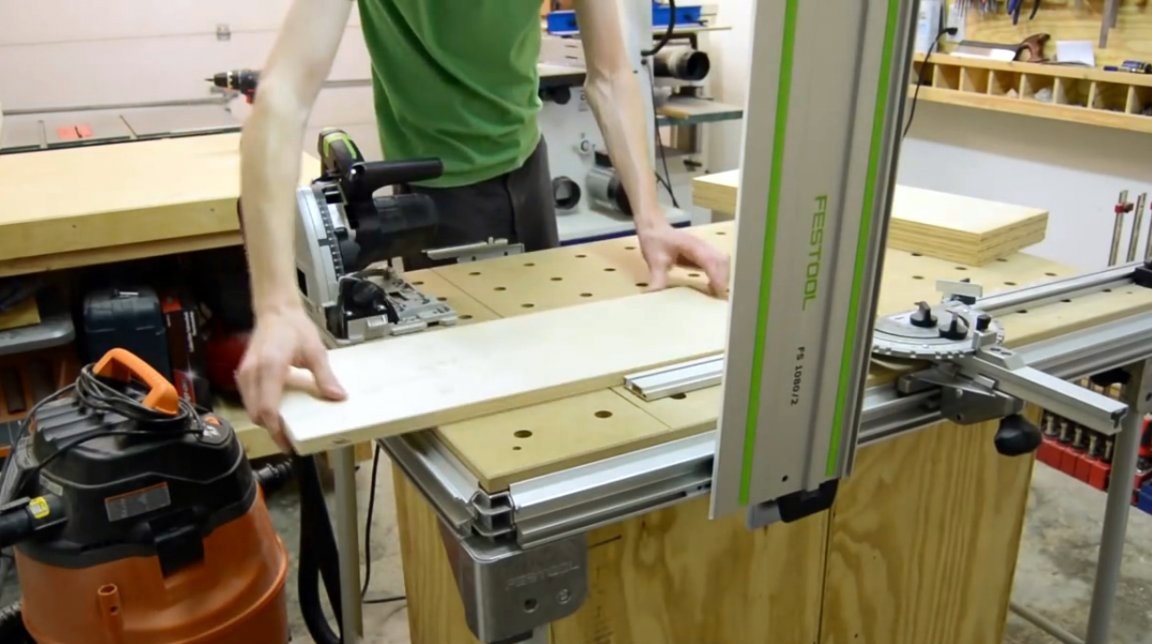
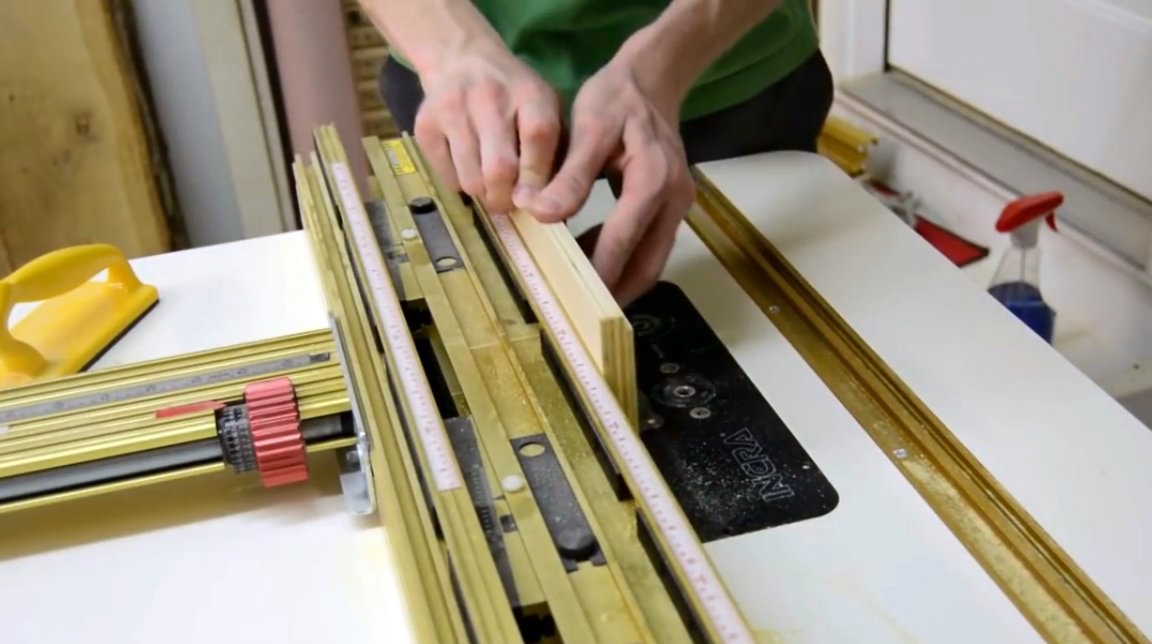
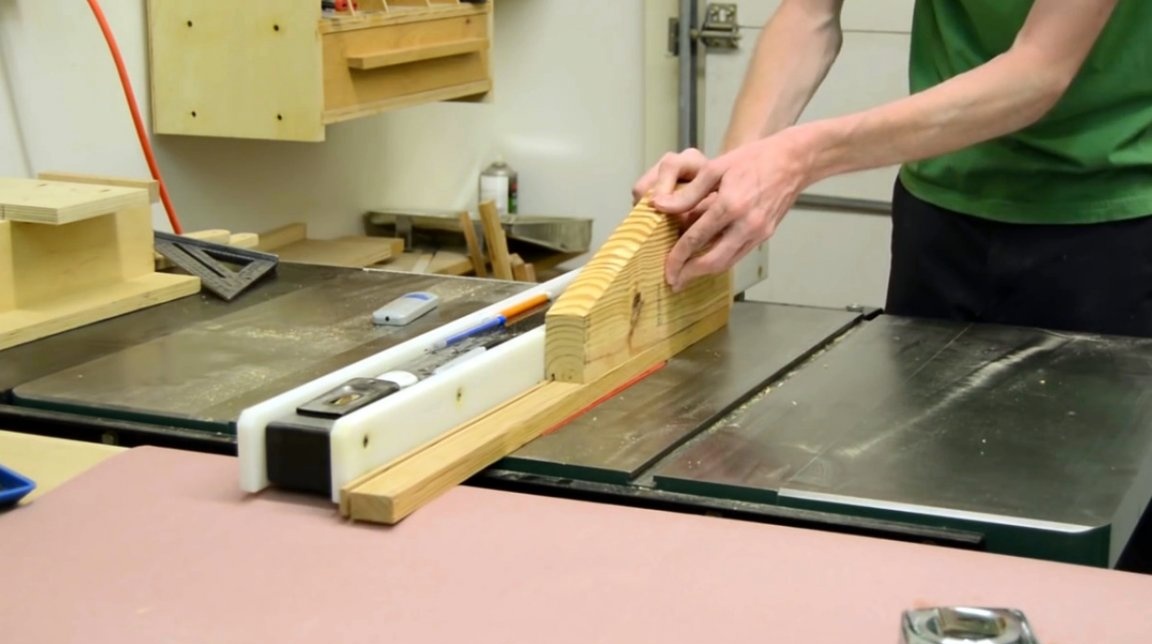
After that, he moves to the multi-functional sawing table to cut everything to the right size. One of the advantages of the MF table is the presence of so-called locks. With their help, you can arrange the measurements as required by the drawing of your project, putting each board in its place and cutting each so that they are the same length.

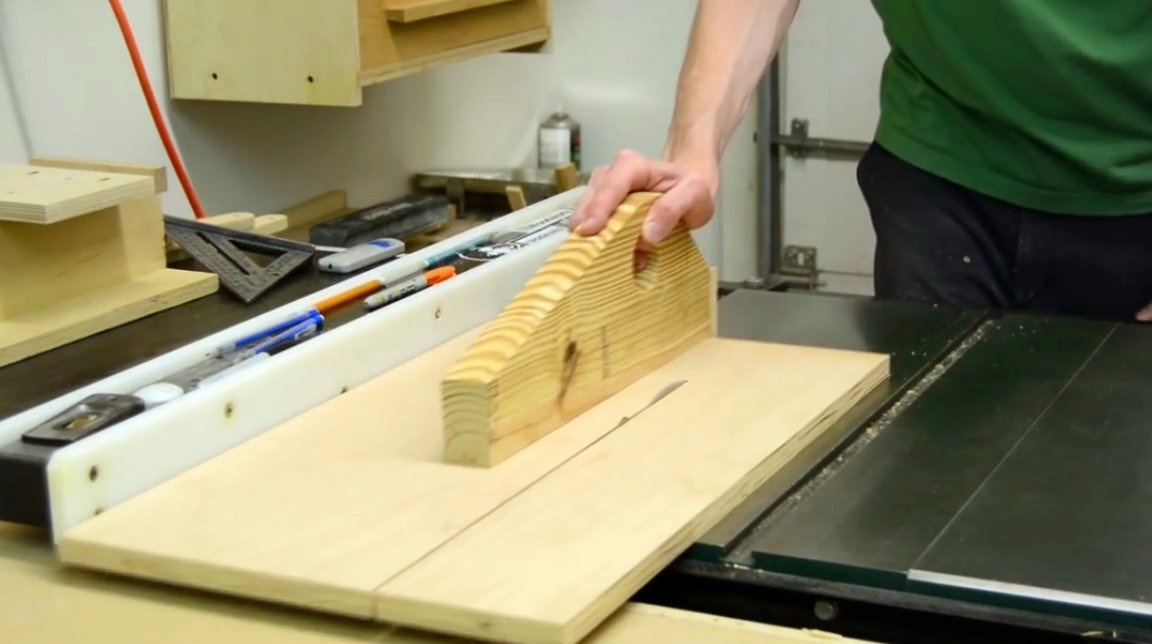
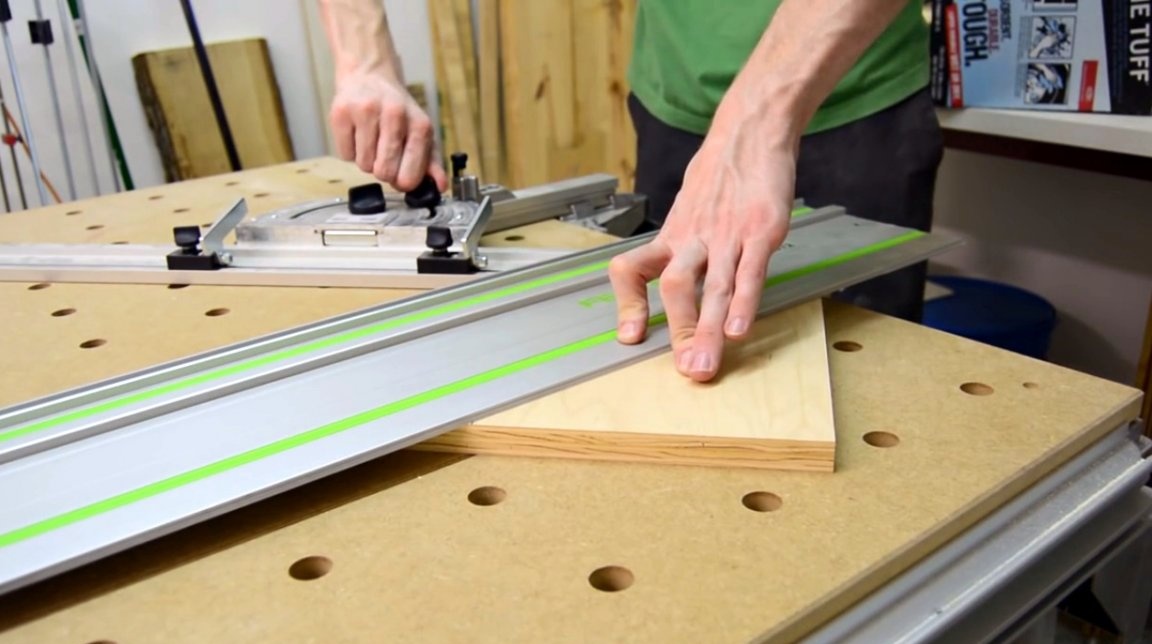
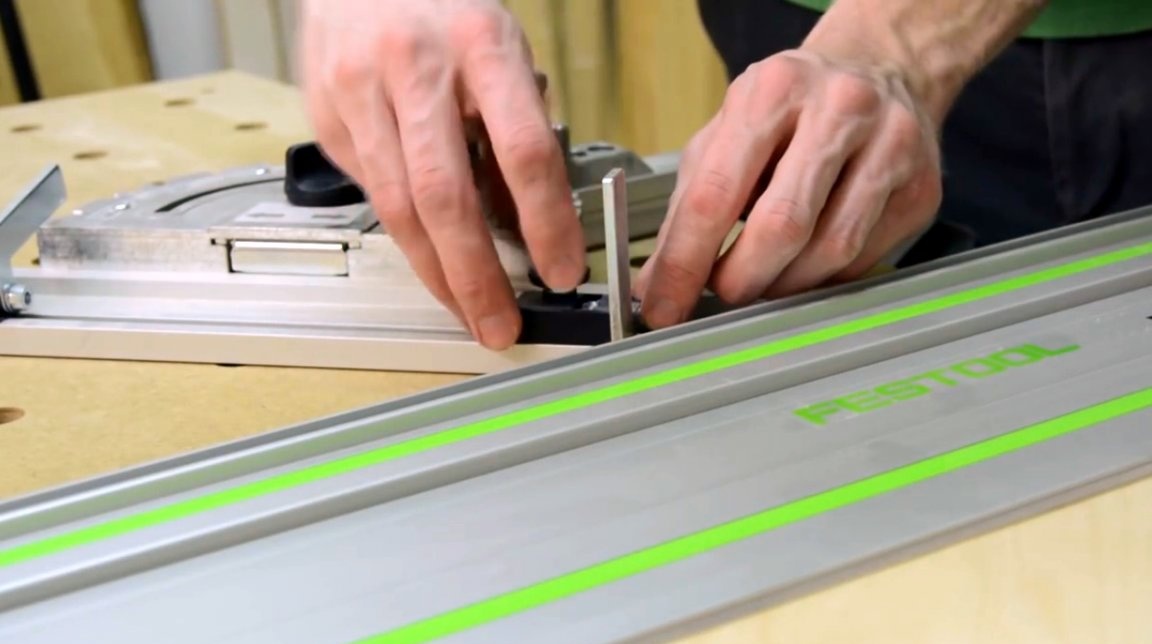
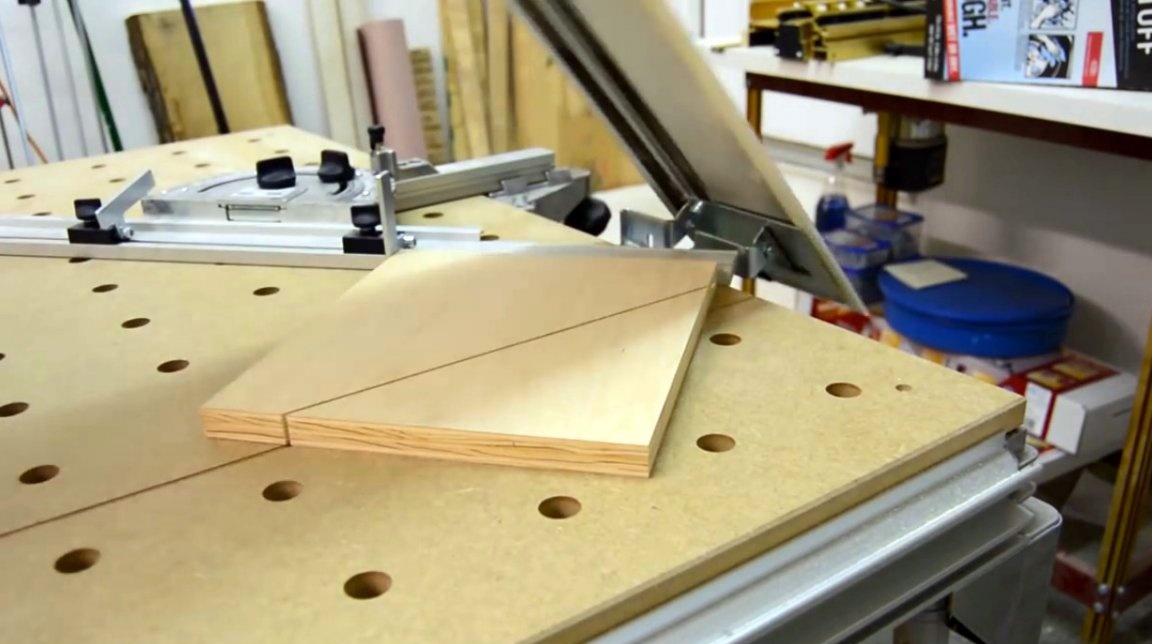
Now the master cuts the vertical racks. So they are not too bulky, Matt plays with their form. He lays two inches from the top and two inches from the back of the board and draws a line connecting the two points. Cutting blanks at an angle on the MF table is a real pleasure!
After the master drew a line with a pencil, he can move the goniometer to this line. After which all cuts will follow one after another, quickly and clearly.

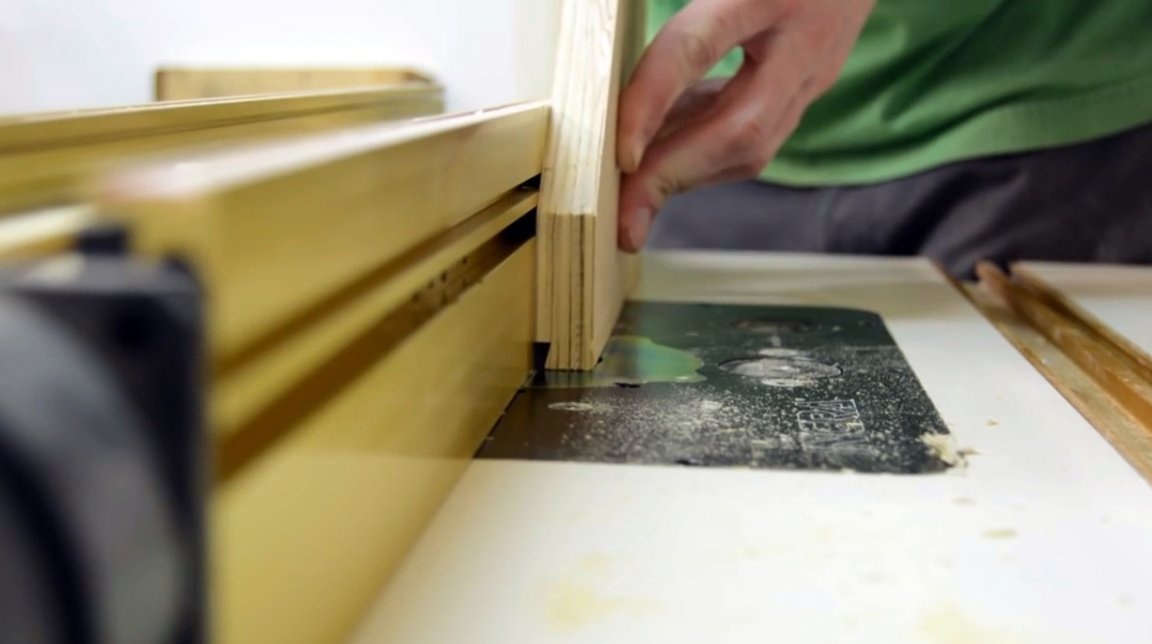
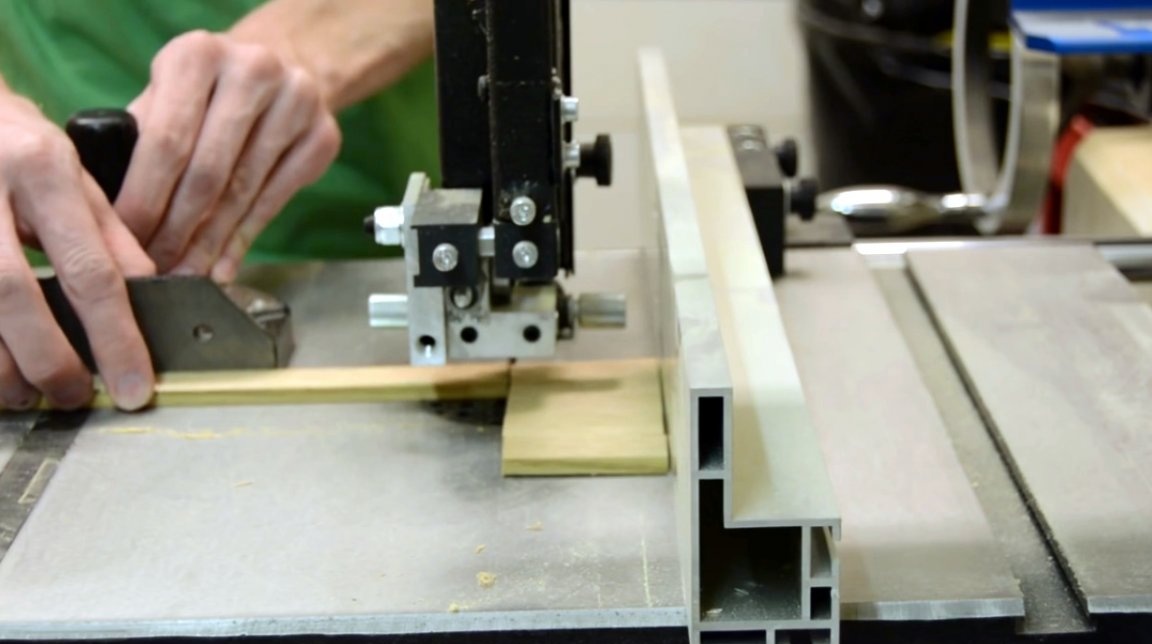
Meanwhile, the master also finds another way, how to attach these supports to the front of the plywood board. He decides to cut the dovetail-shaped grooves into which the partitions themselves can be pushed.
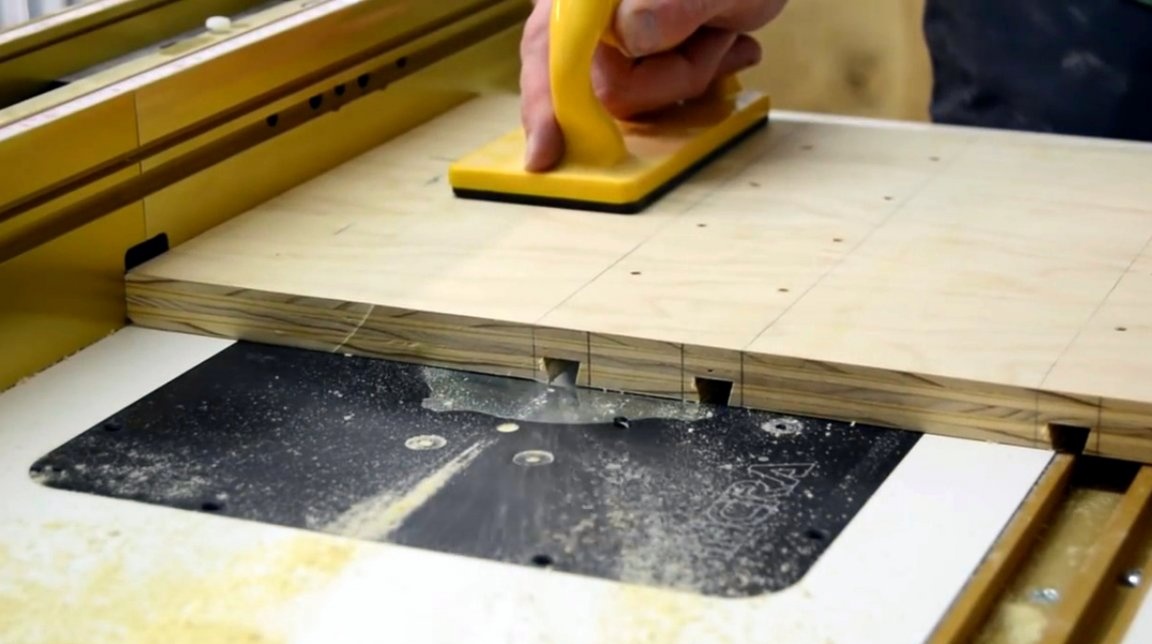
Then, at the rear end of the supports, the dovetail response profile is also cut out.
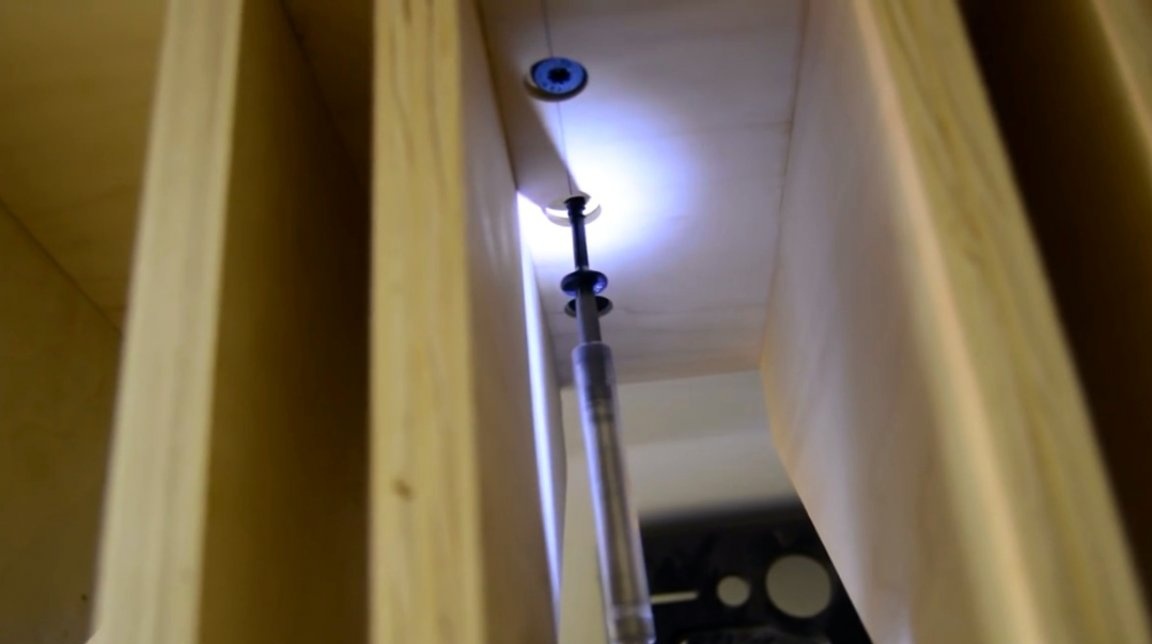
Now the author will need locking screws on the wood to screw the stand to the wall. The fastening must be reliable, because the weight of this gizmo promises to be considerable. The holes are drilled with a Forstner drill, into which the master then inserts the washers.

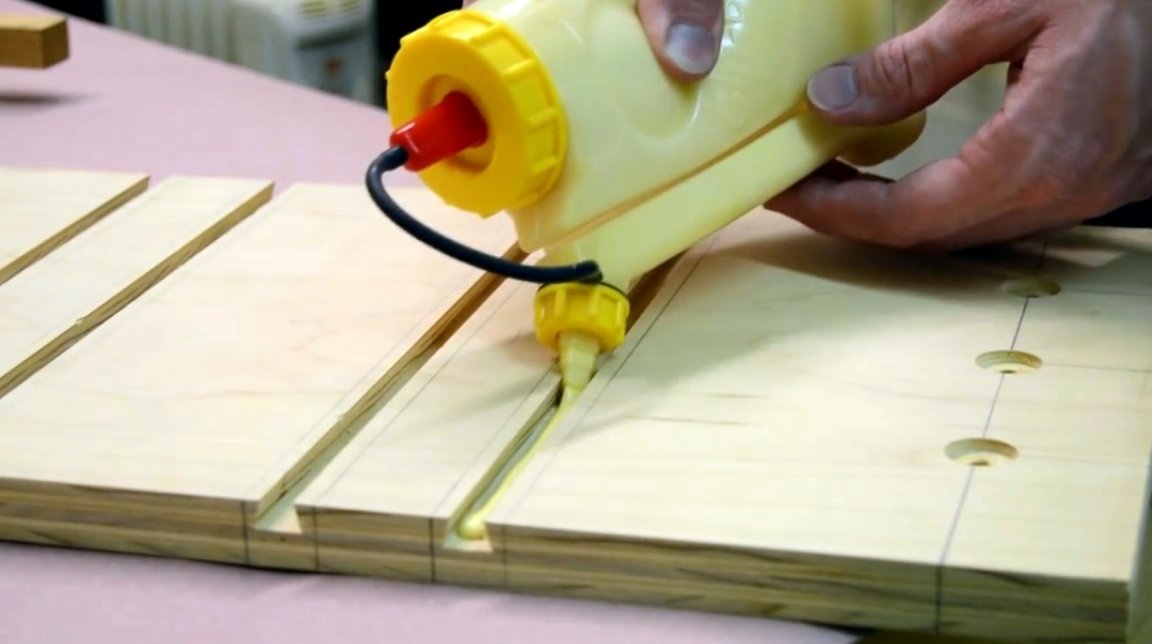
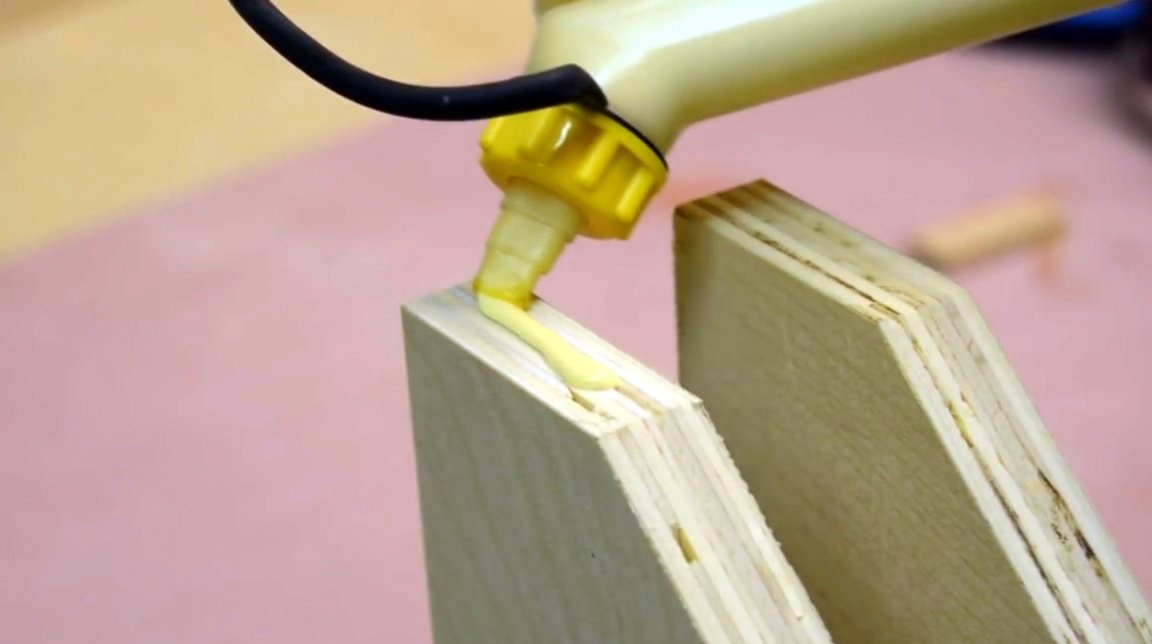
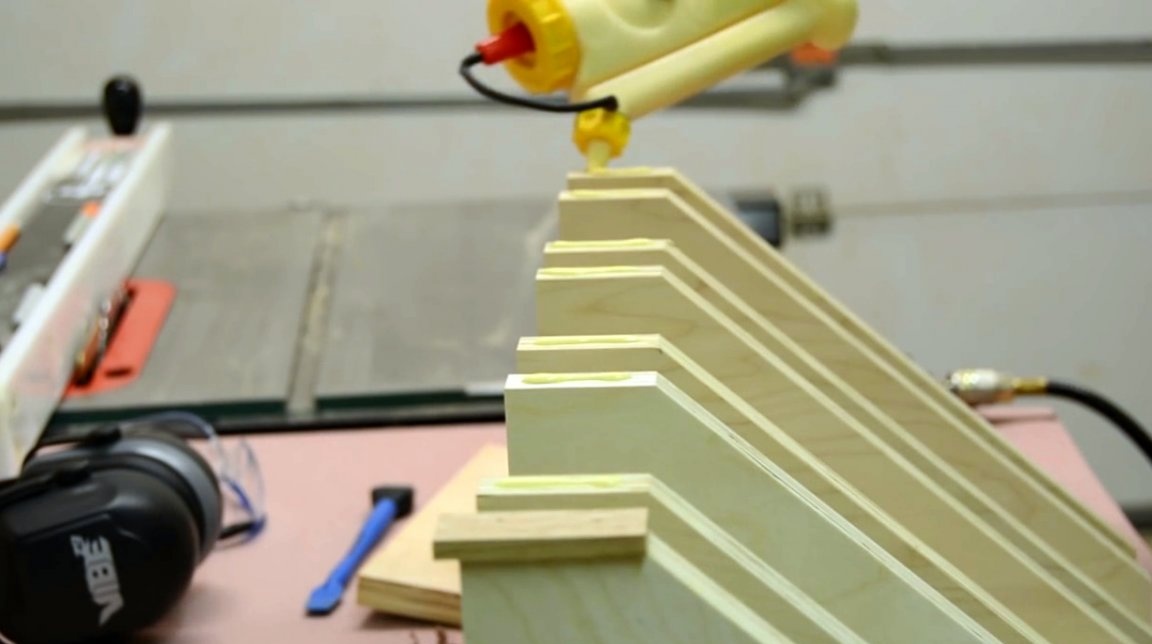
The grooves are lubricated with PVA glue, and the racks are driven into them. Additionally fixed with screws.
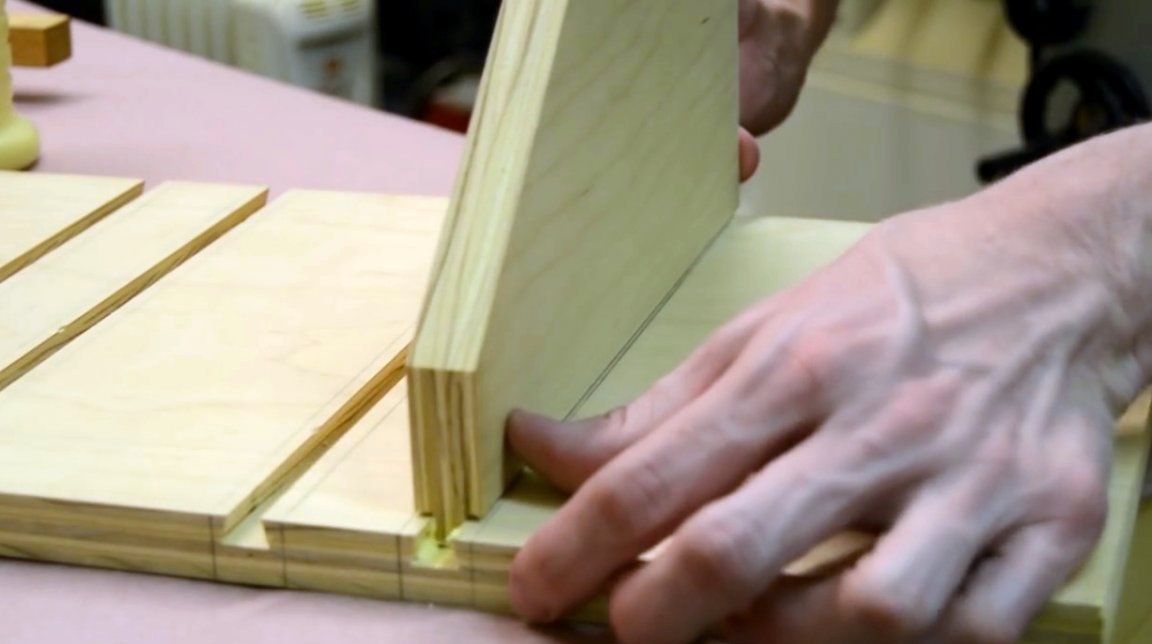
Some racks even had to be hammered with a mallet, so a tight connection turned out.
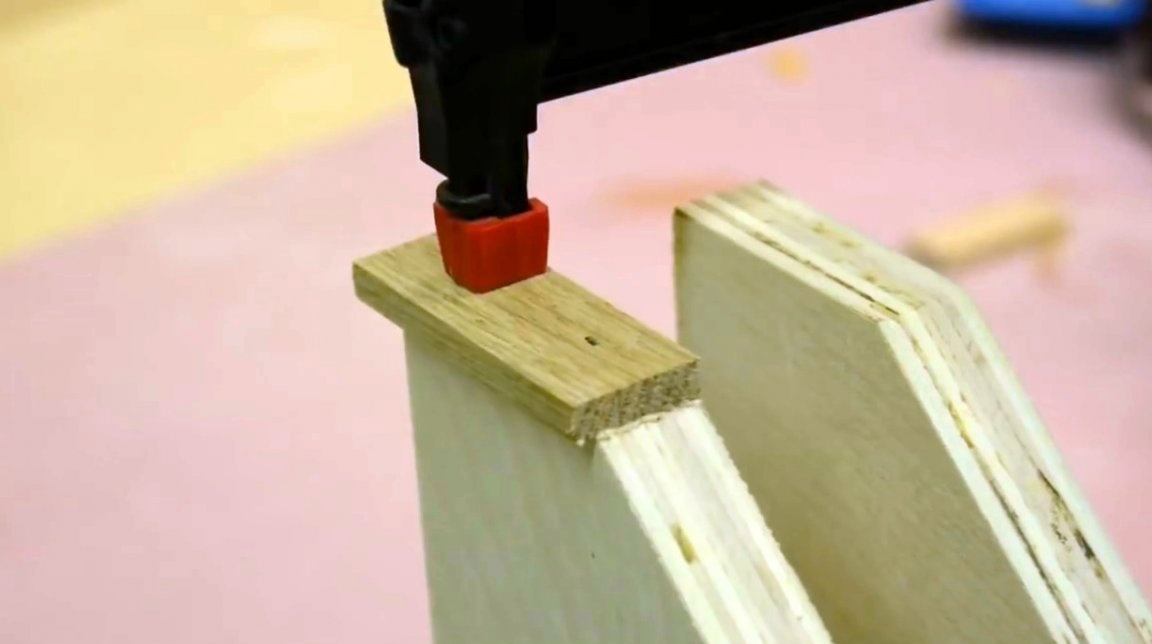
The author cuts out several rectangular blanks from the board.
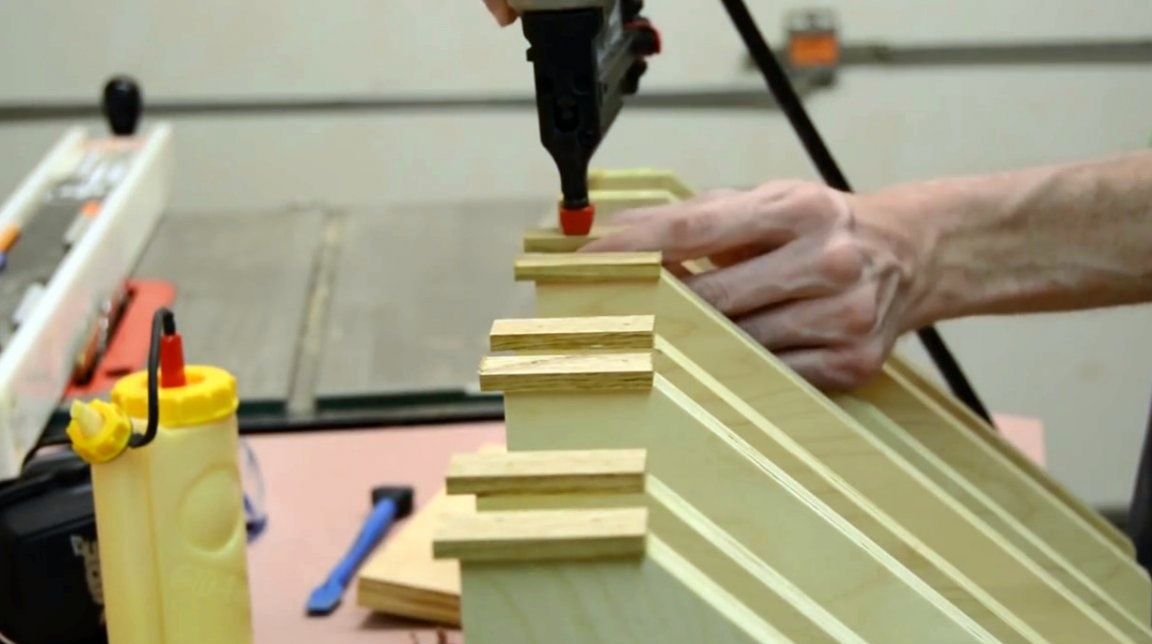
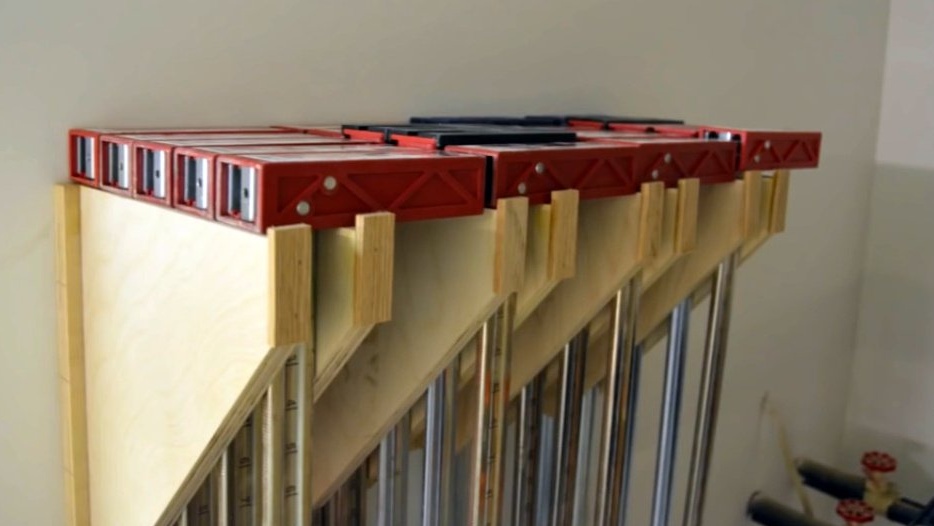
These will be the limiters that will not allow the clamps to slide off the suspensions. The author glues them to the front edges, and fixes them with a neiler.
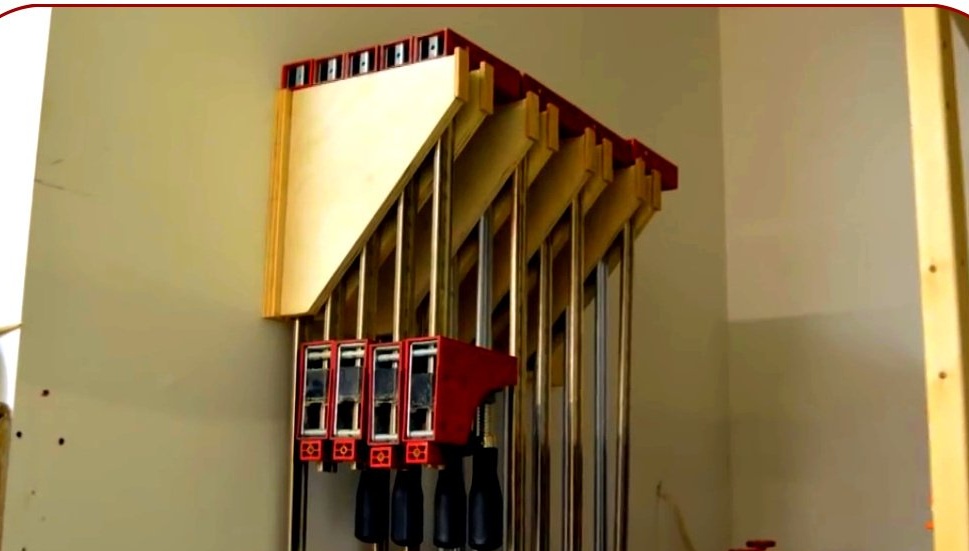
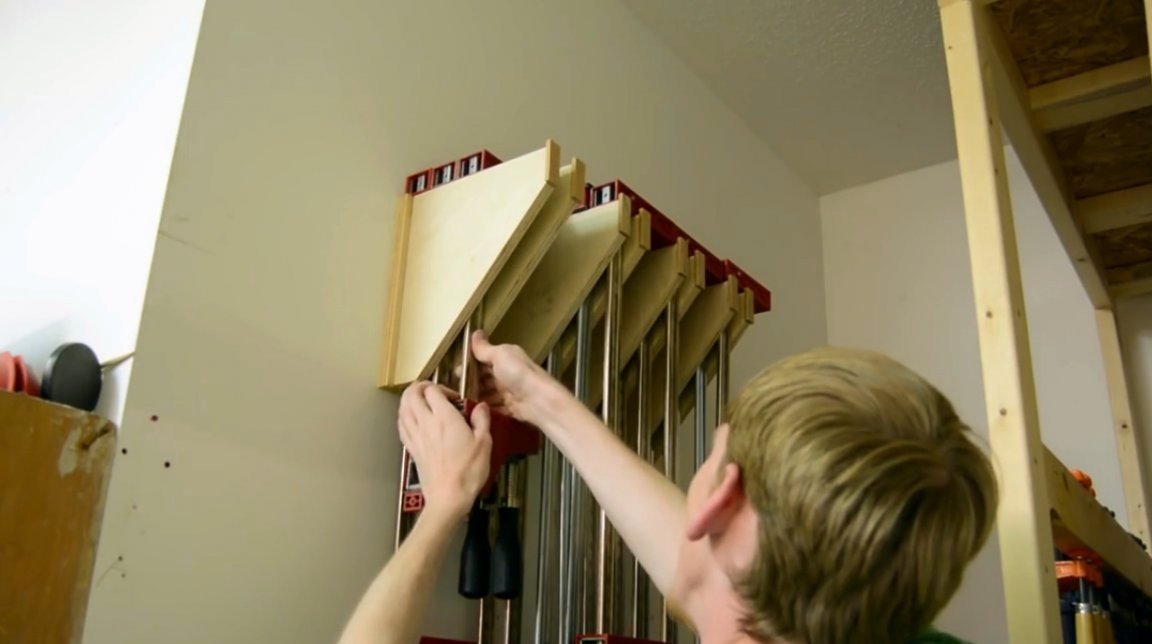
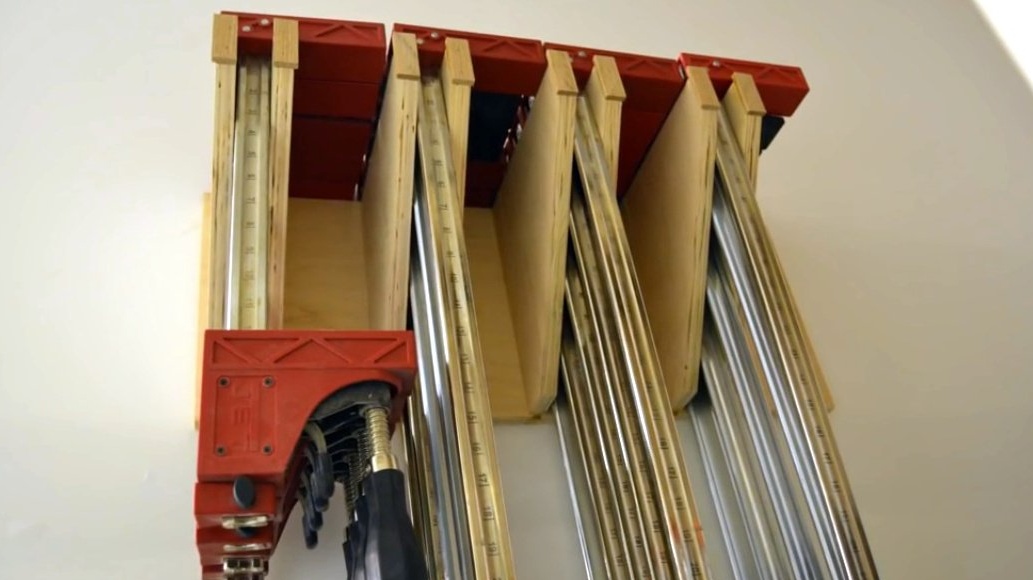
Using the construction level, level the shelf, and screw it to the wall.
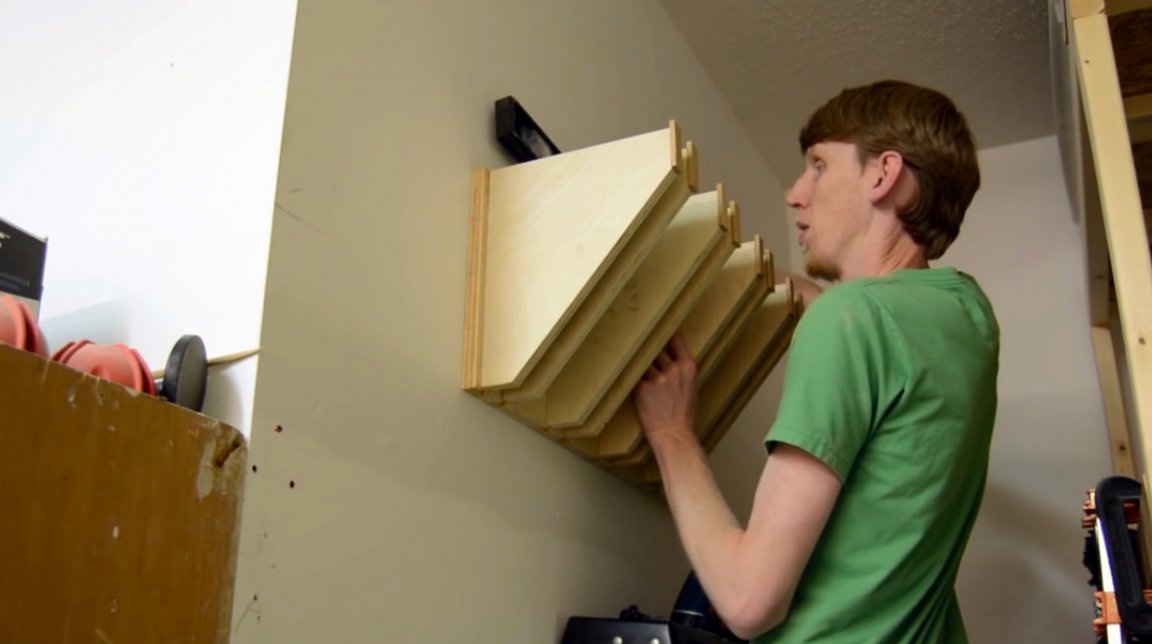
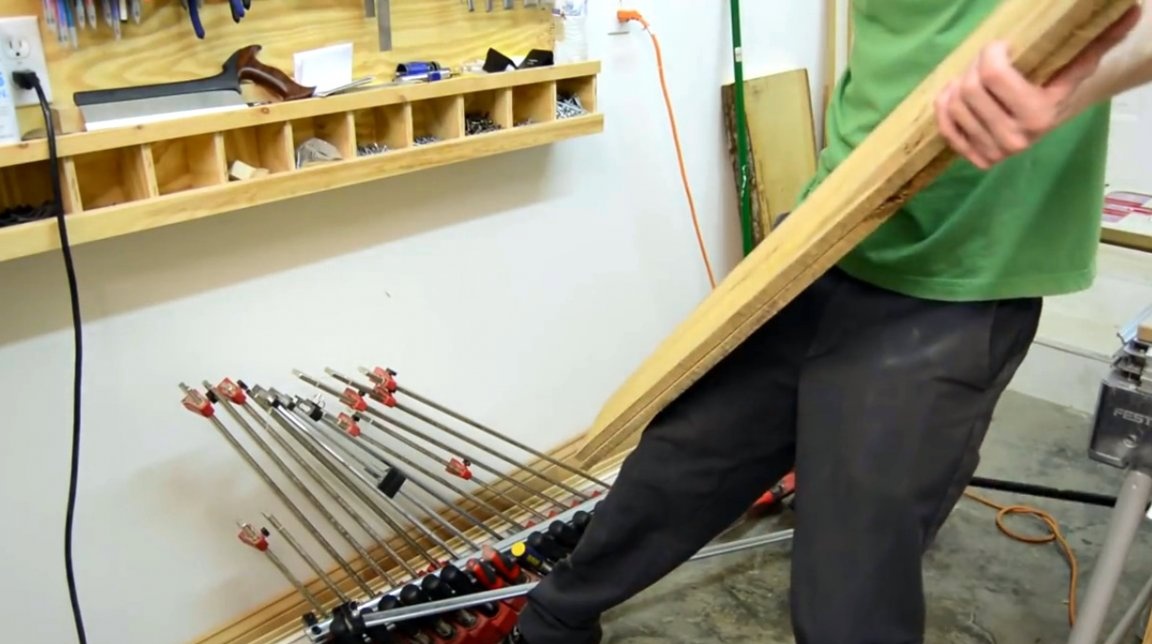
That's all ready, now you can hang up the clamps, and no longer stumble over them in the workshop.
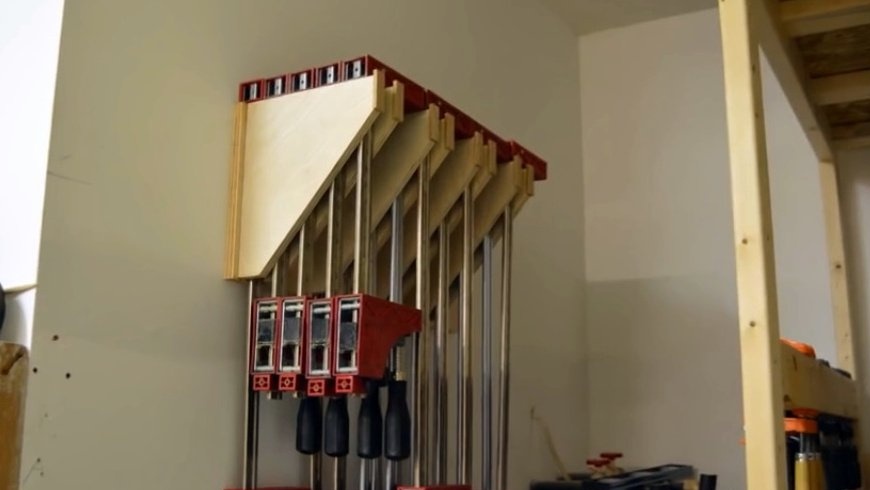
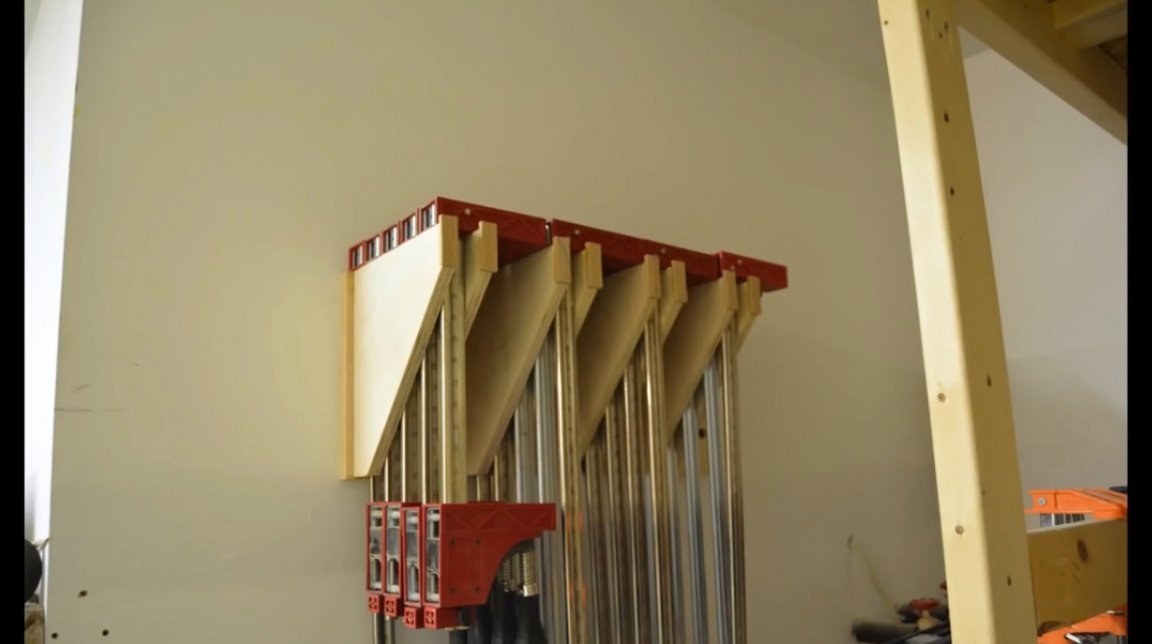
I thank the author for the simple but useful device for the workshop!
All good mood, good luck, and interesting ideas!
Author video can be found here.