Many probably saw crafts "Balancing bottle". The master decided to go further and do not do the work, but the original lamp.
Tools and materials:
-Marker;
-Gon;
-Drill;
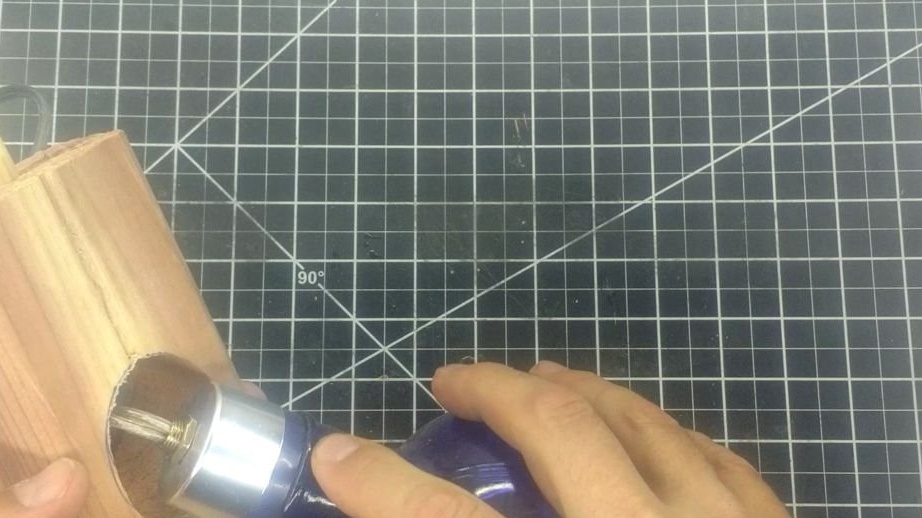
-Crown on wood;
-Drill;
- Electric jigsaw;
-Hacksaw;
- Joiner's glue;
-Clamp;
-Clips;
-Glass bottle with cork;
-Board;
- dowel;
-Electric cartridge;
-The wire;
-Light bulb;
- Bottle cutter;
-Sandpaper;
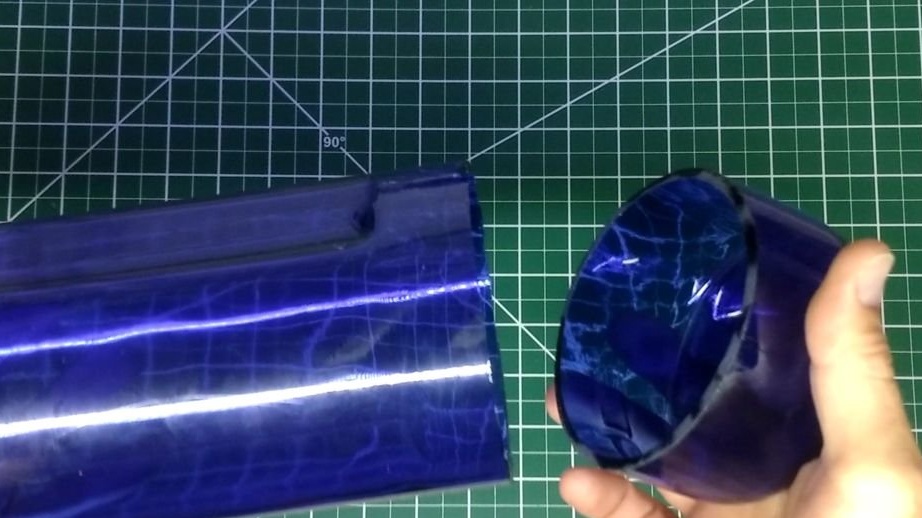
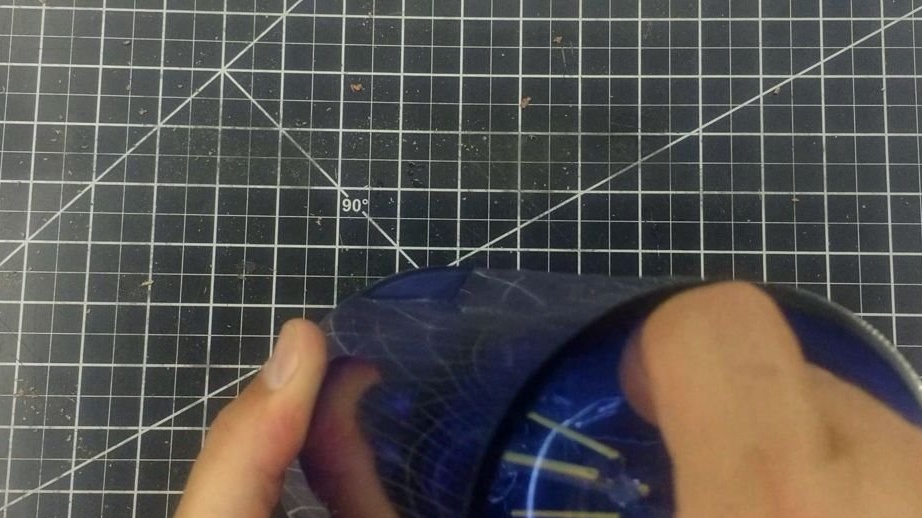
Step One: Cutting
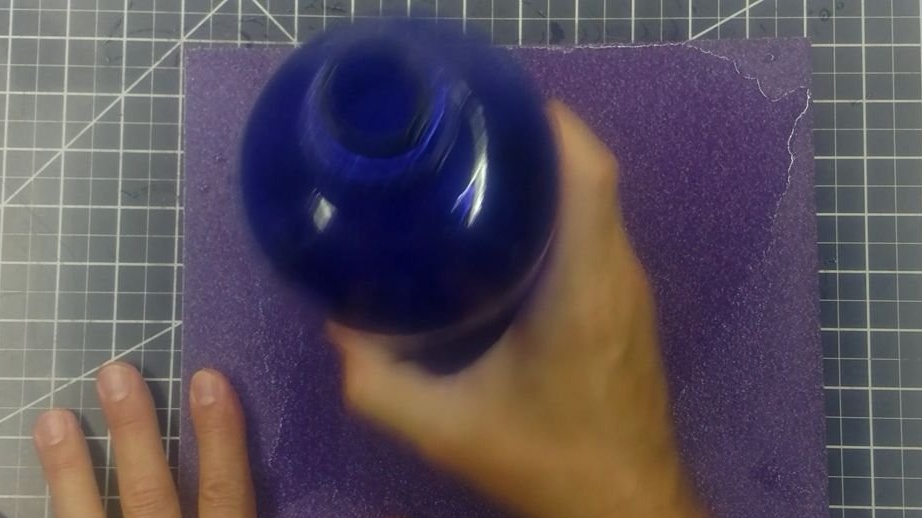
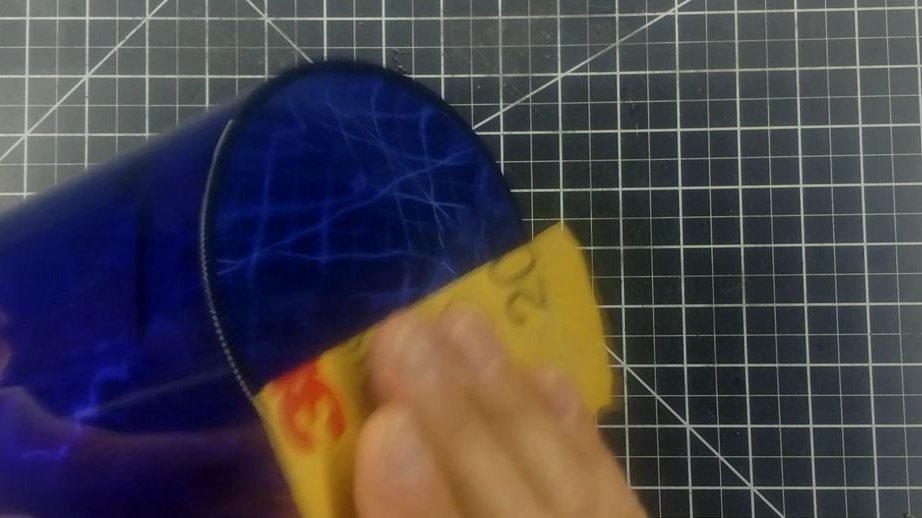
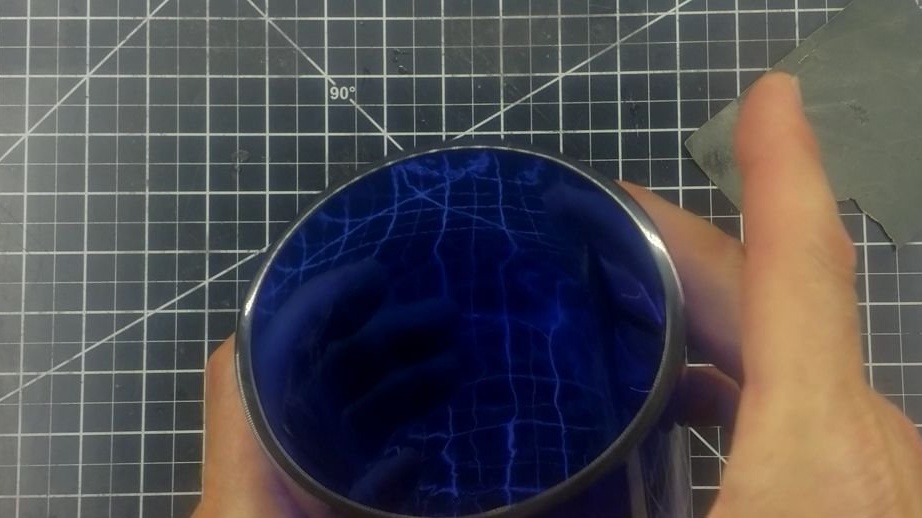
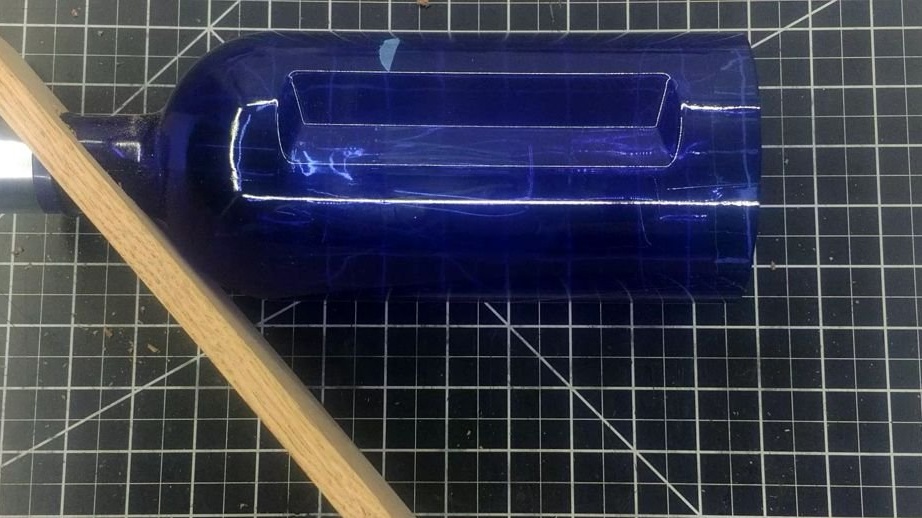
First, the master cuts off the bottom of the bottle. For the lamp you need the upper part, but it does not throw out the lower one, but makes a candlestick out of it. After cutting, the edges of the bottle are sharp and need to be sanded.
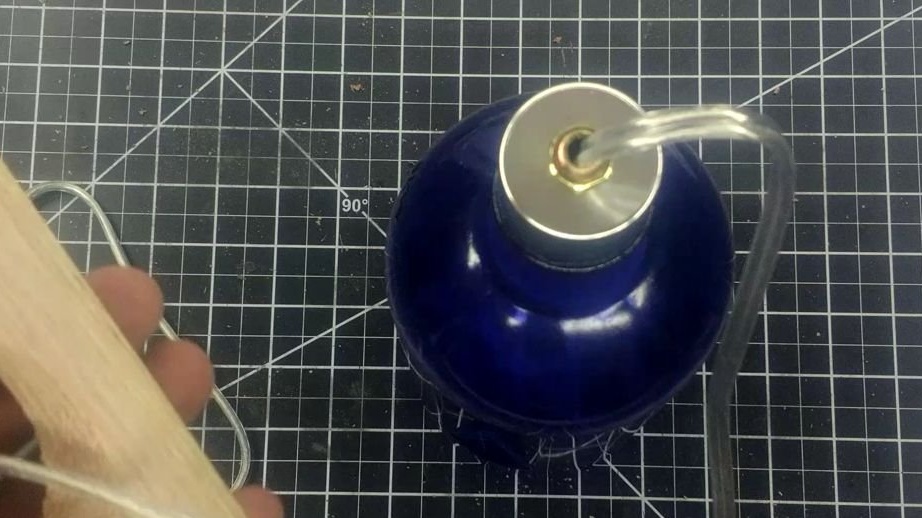
Step Two: Pre-Build
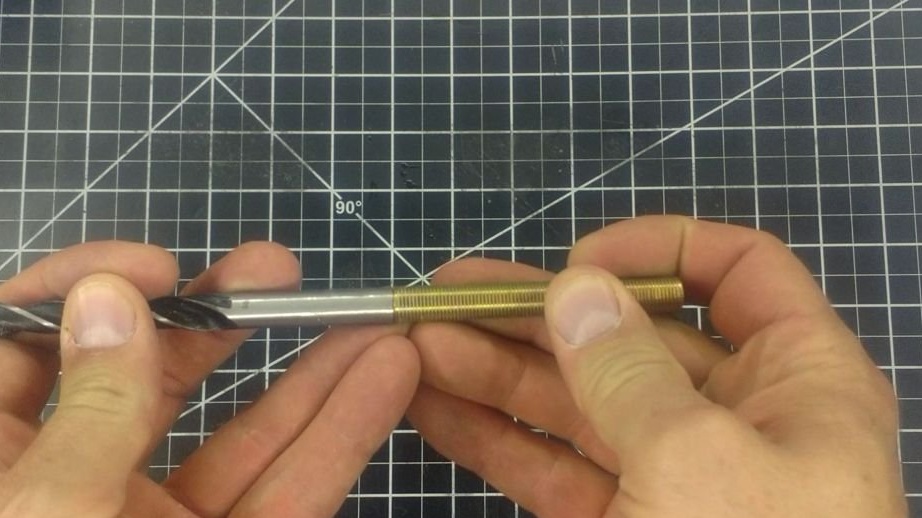
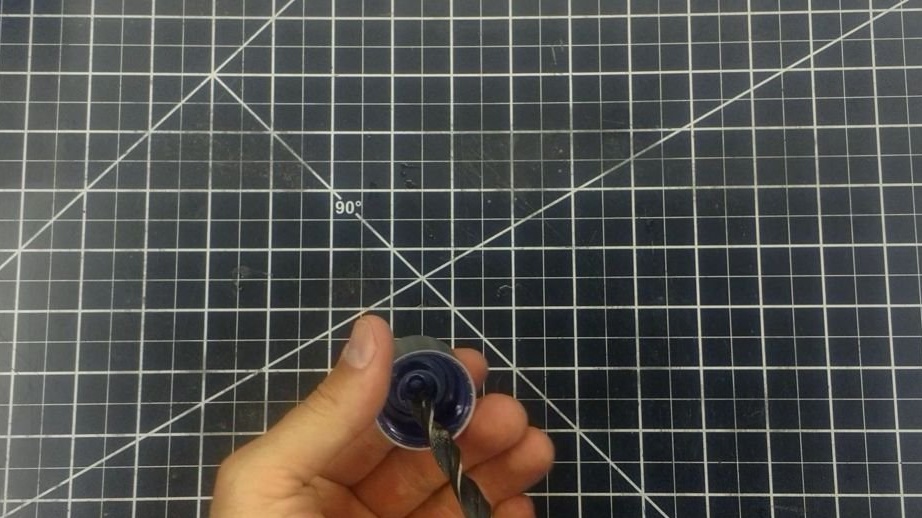
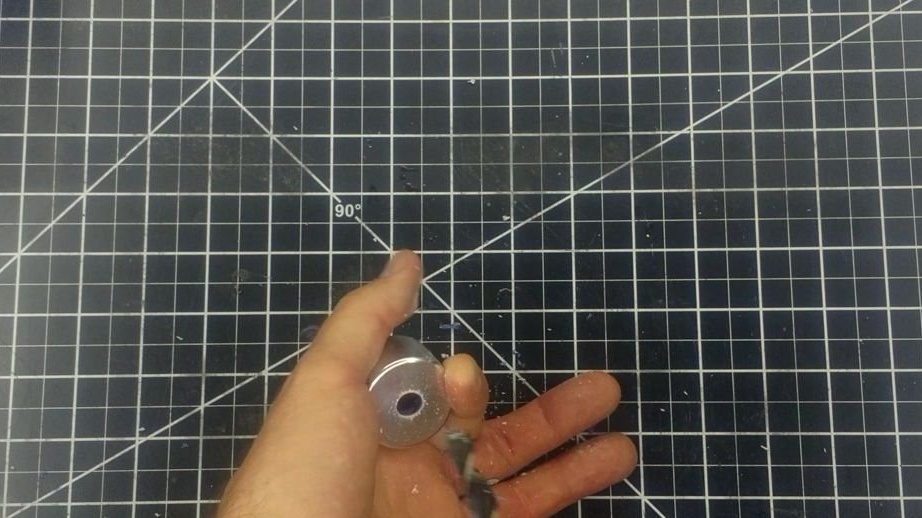
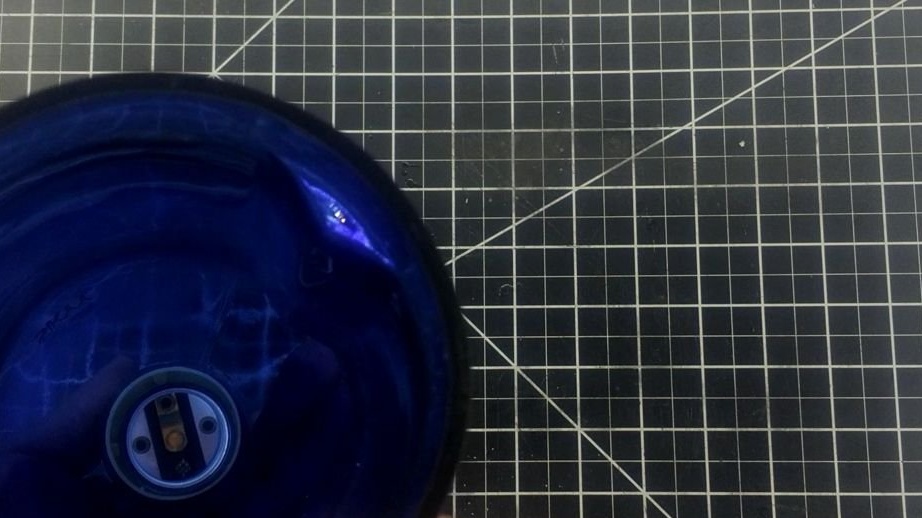
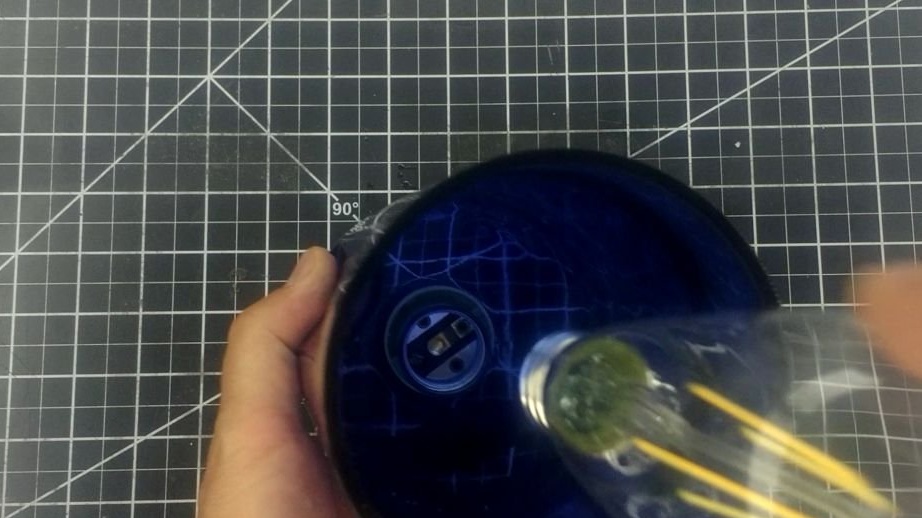
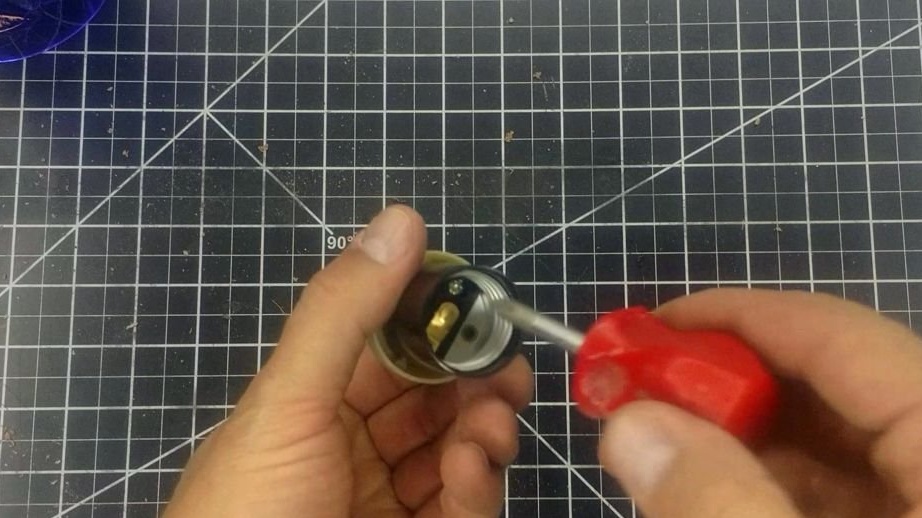
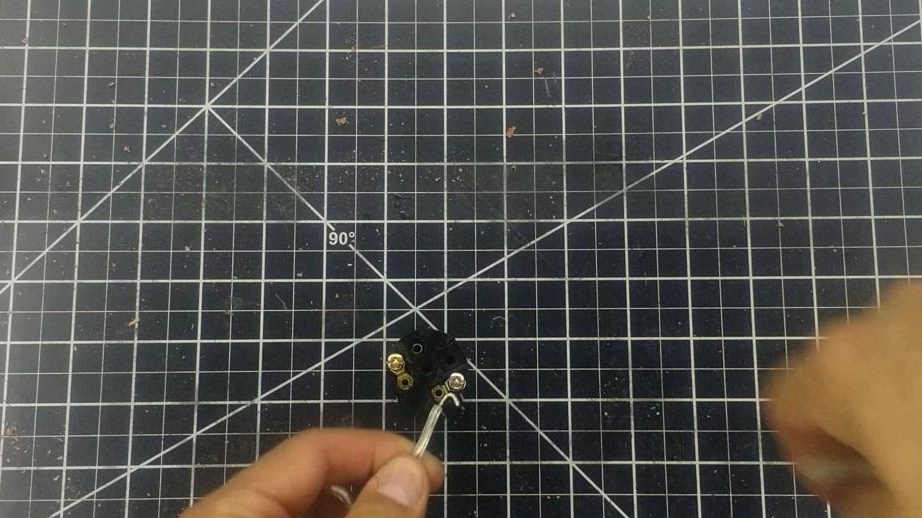
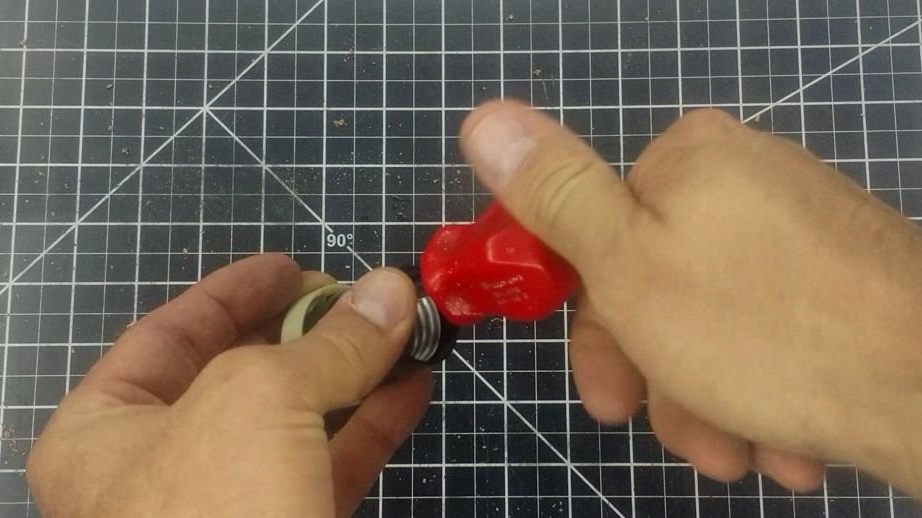
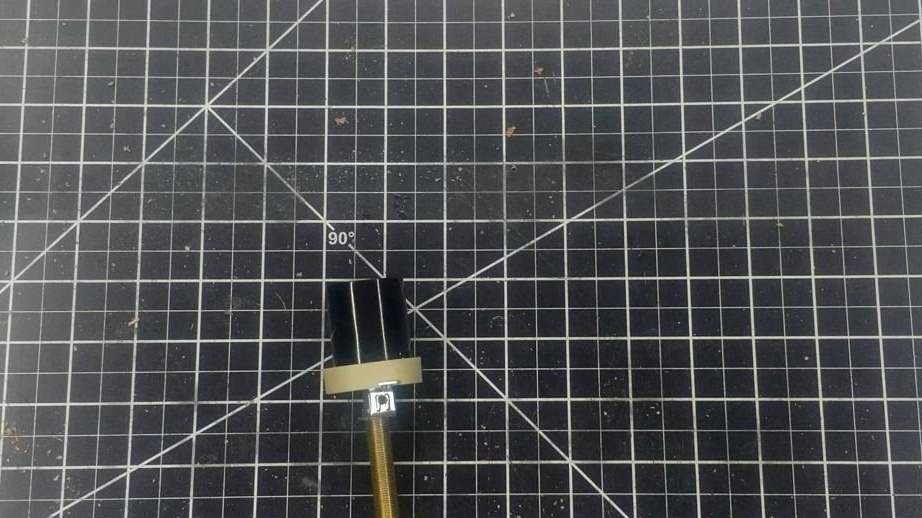
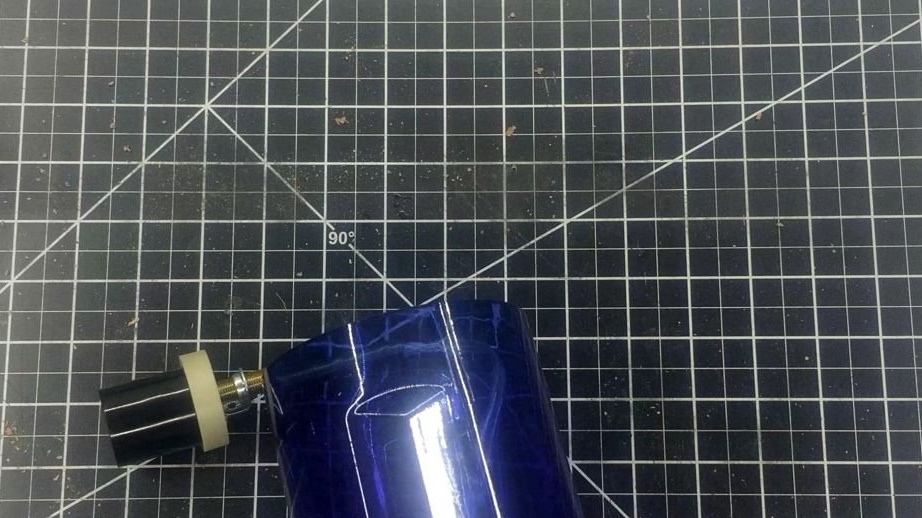
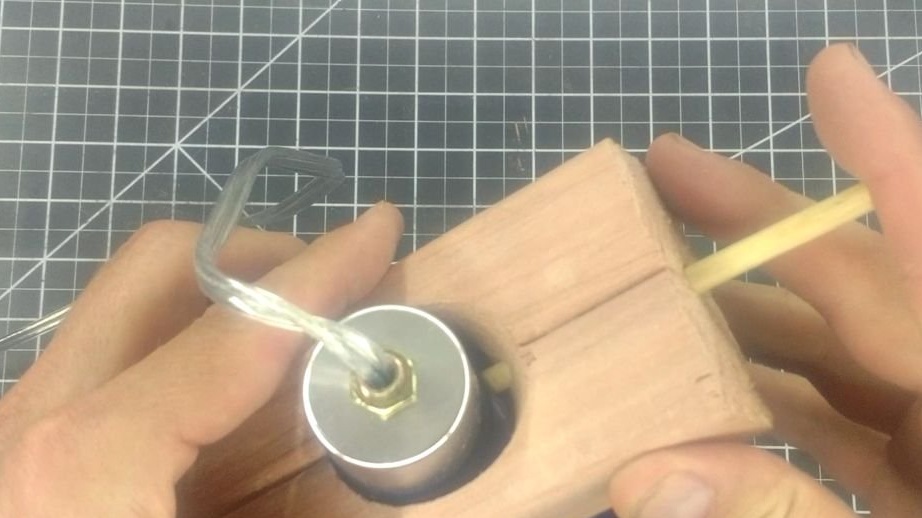
The master drills a hole in the center of the lid. Fastens a hollow tube with a thread.
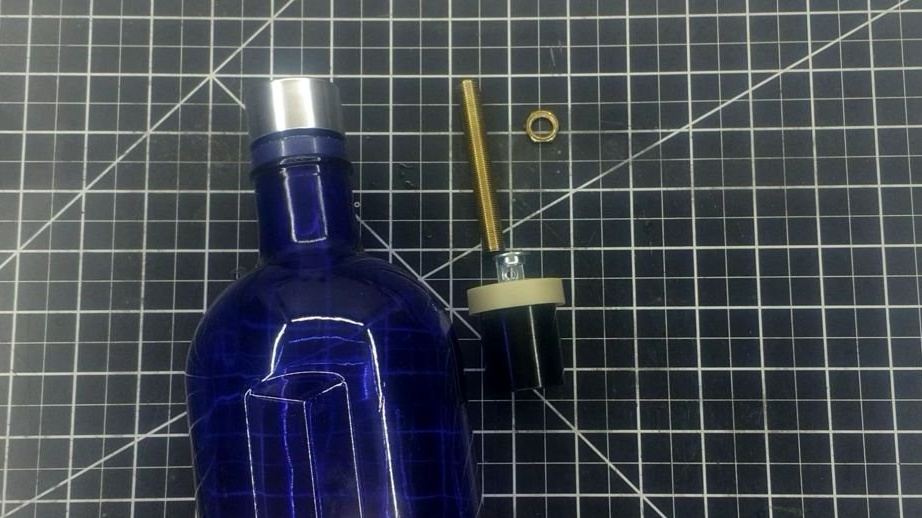

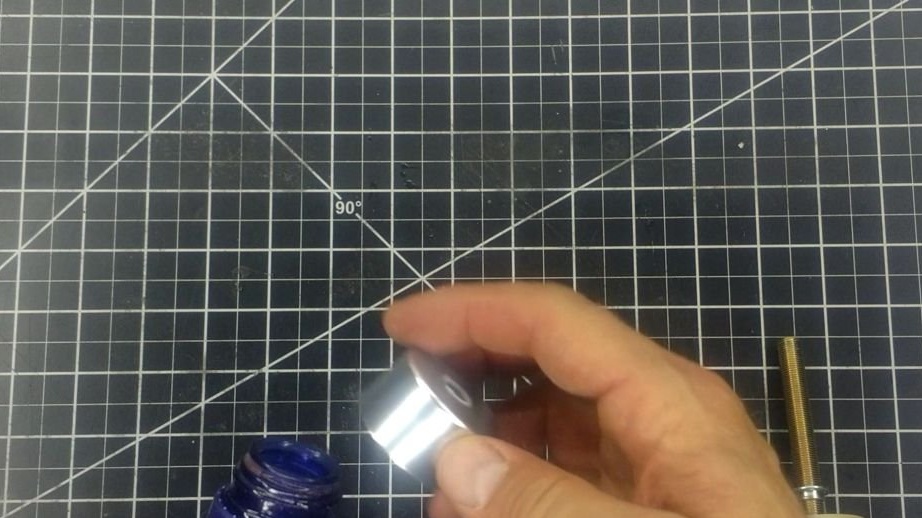
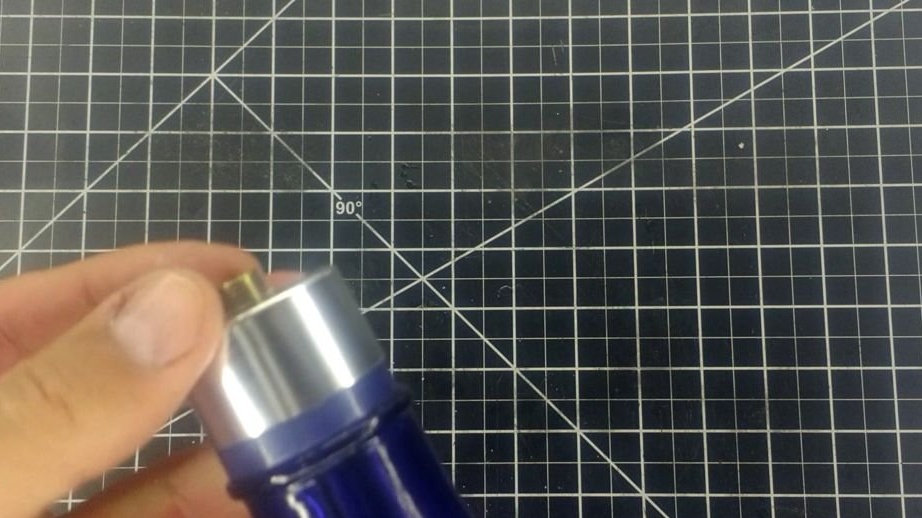
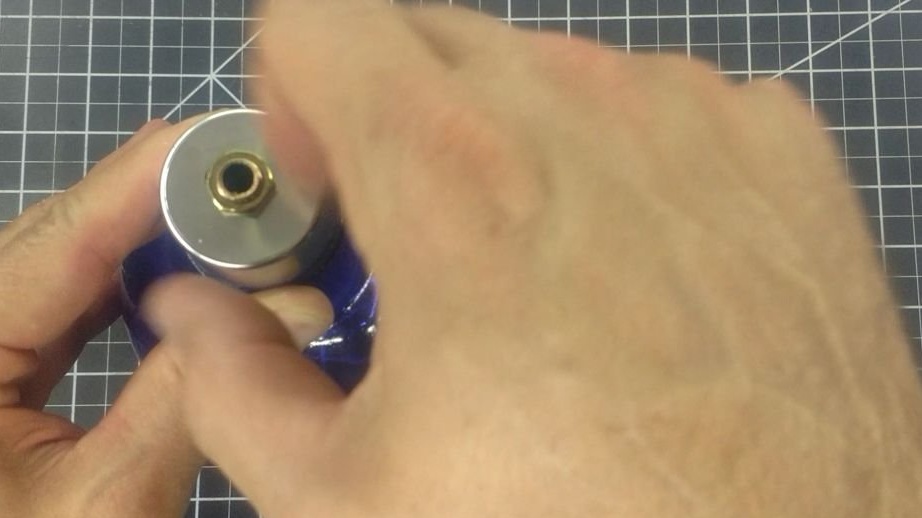
On the other side of the tube, an electric cartridge is screwed. Screws in a light bulb. This assembly is preliminary and is needed for the next step.

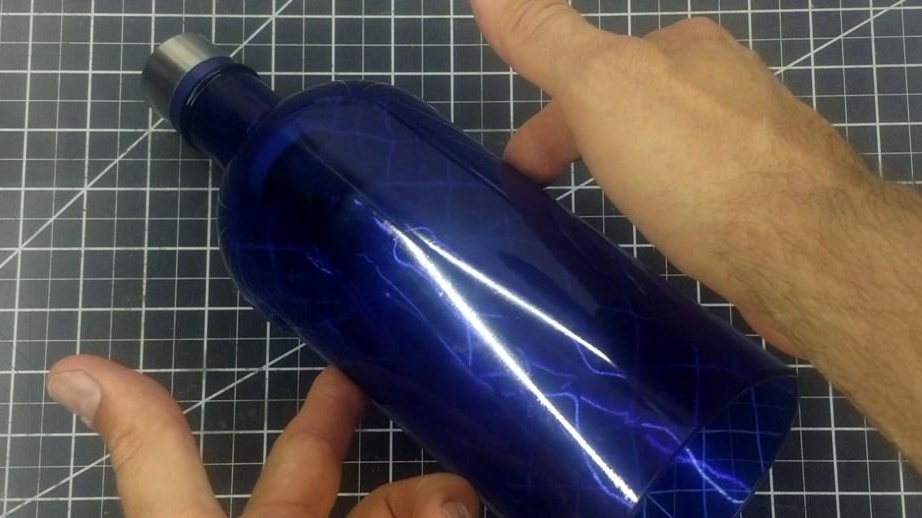
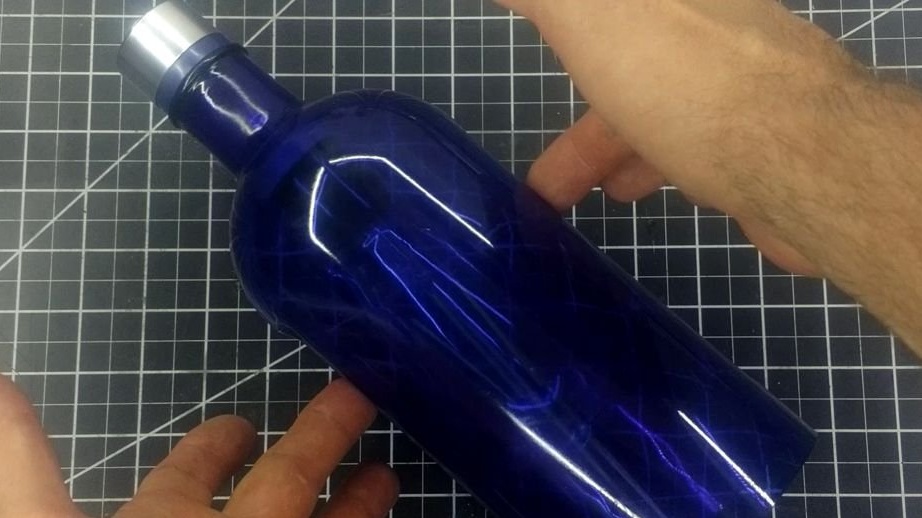
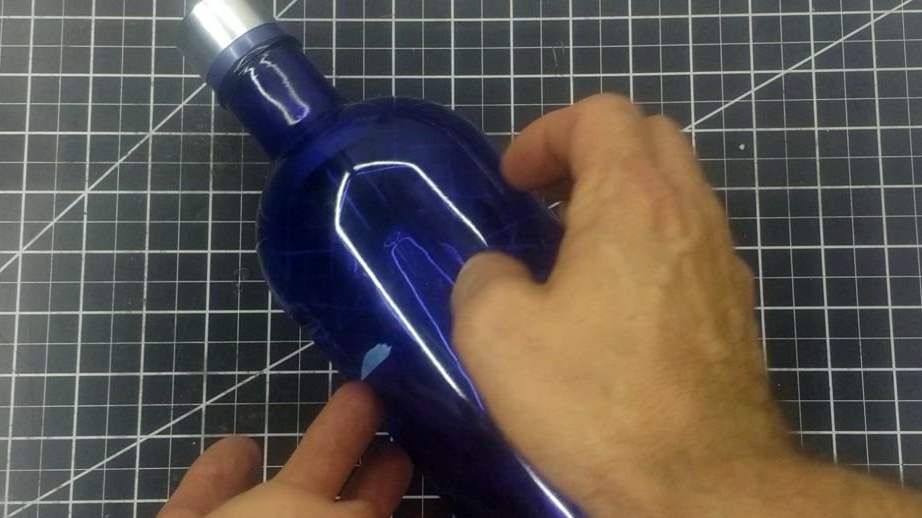
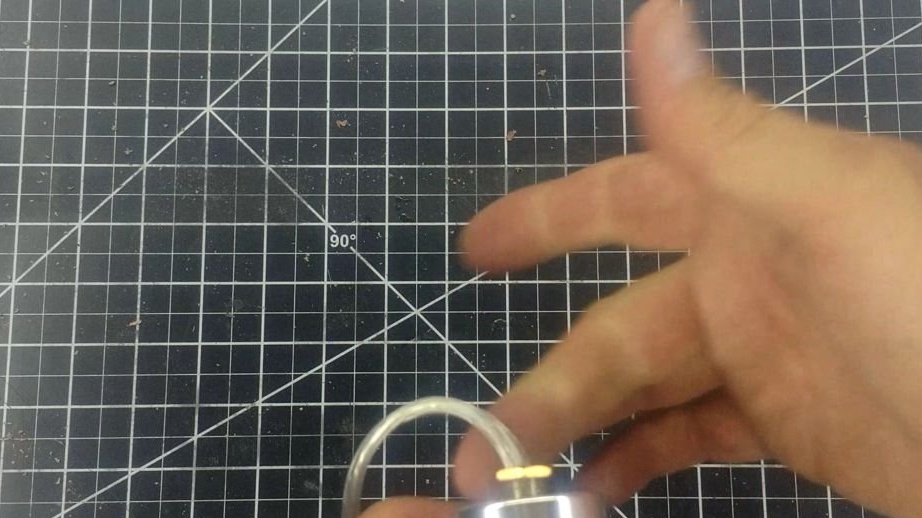
Step Three: Center of Mass
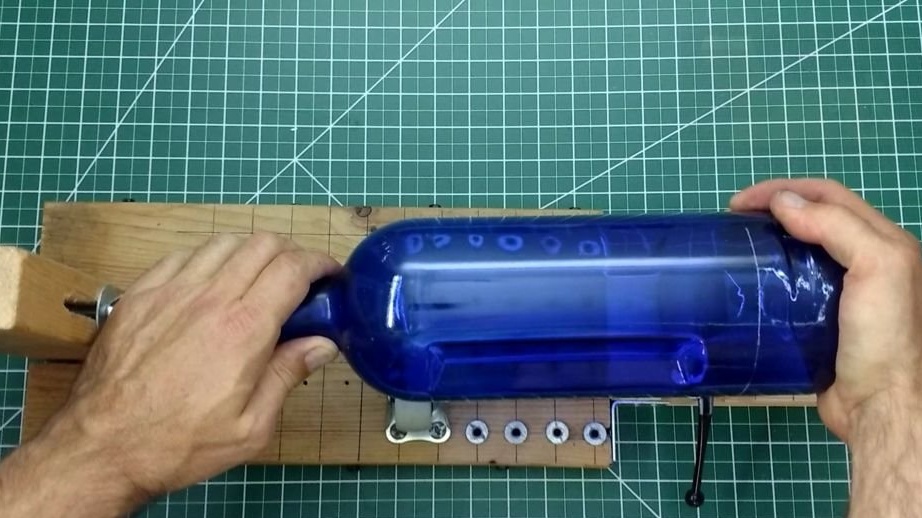
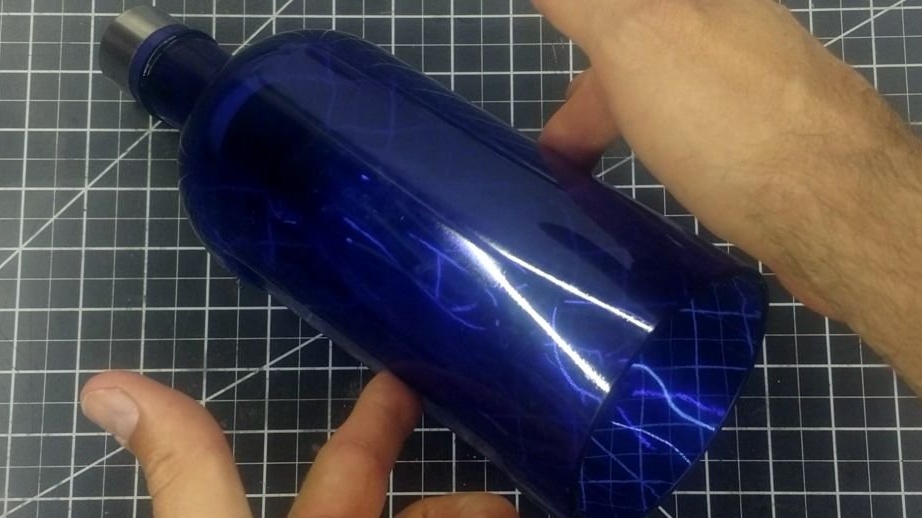
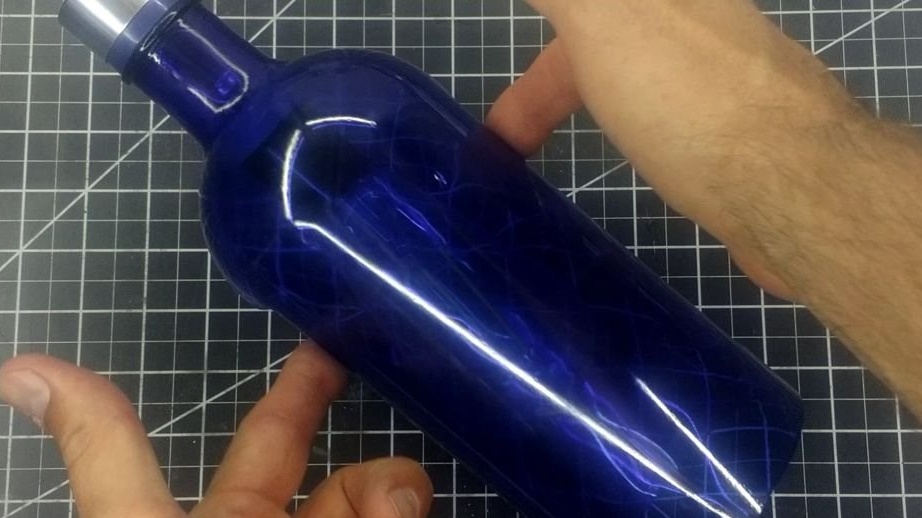
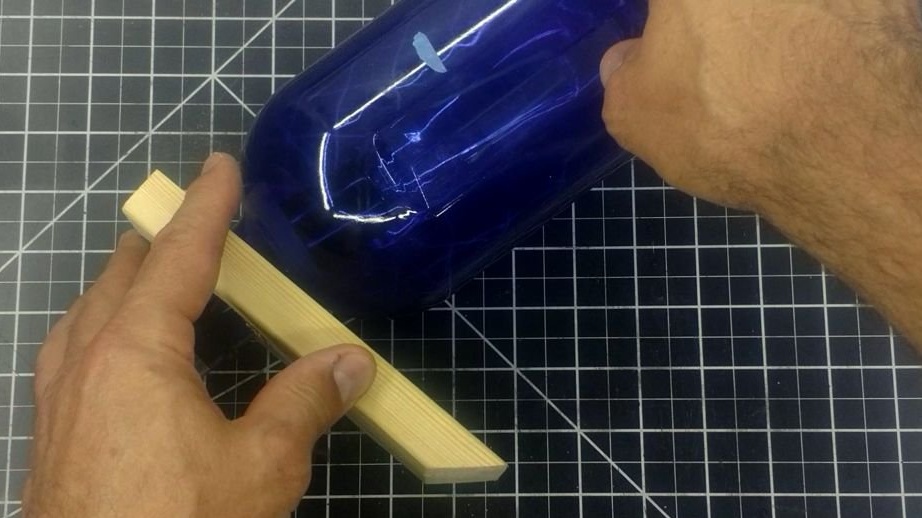
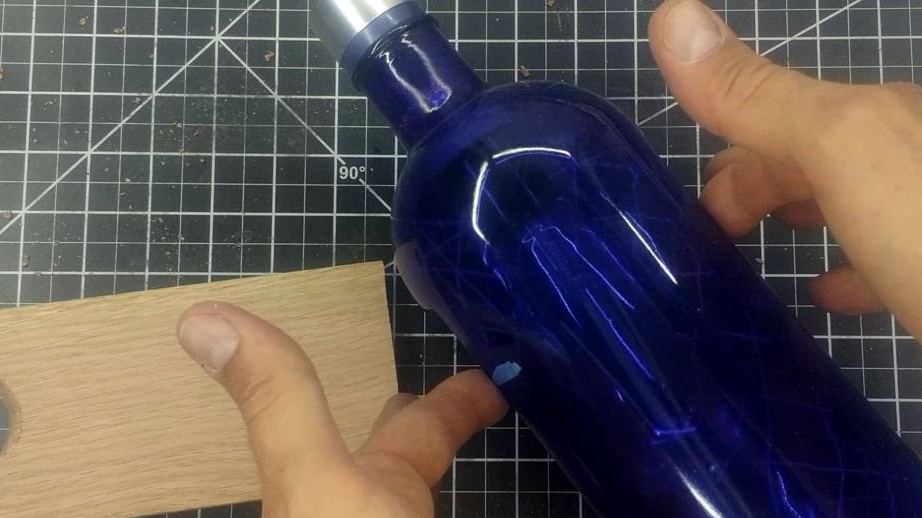
Raising the bottle with two fingers from opposite sides, the master finds the center of mass and marks it with a marker.
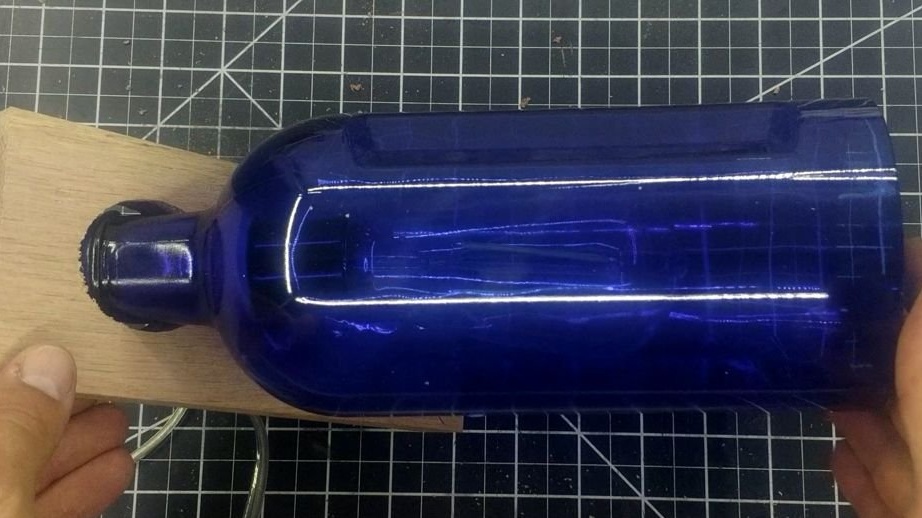
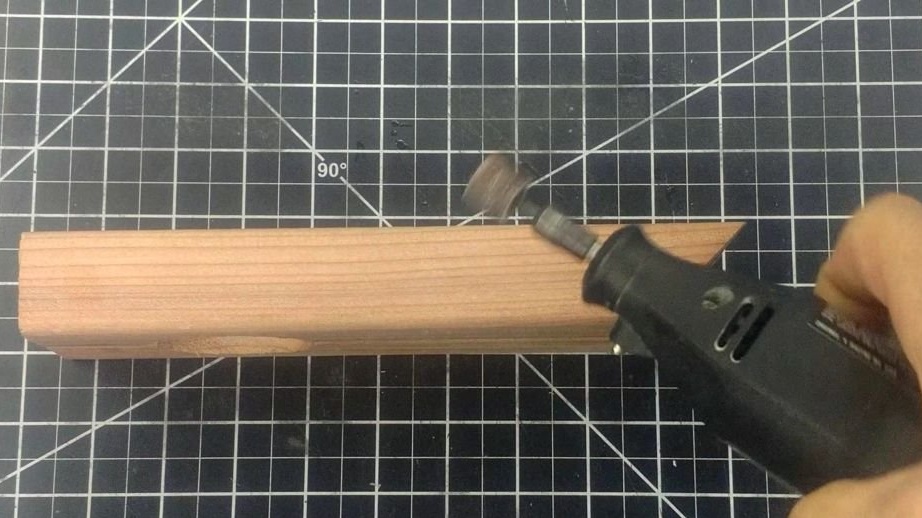
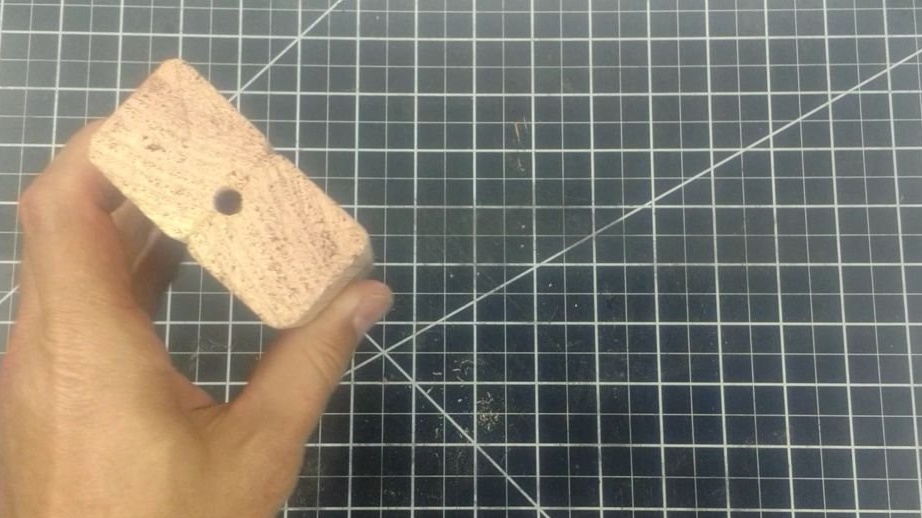
Step Four: Prop
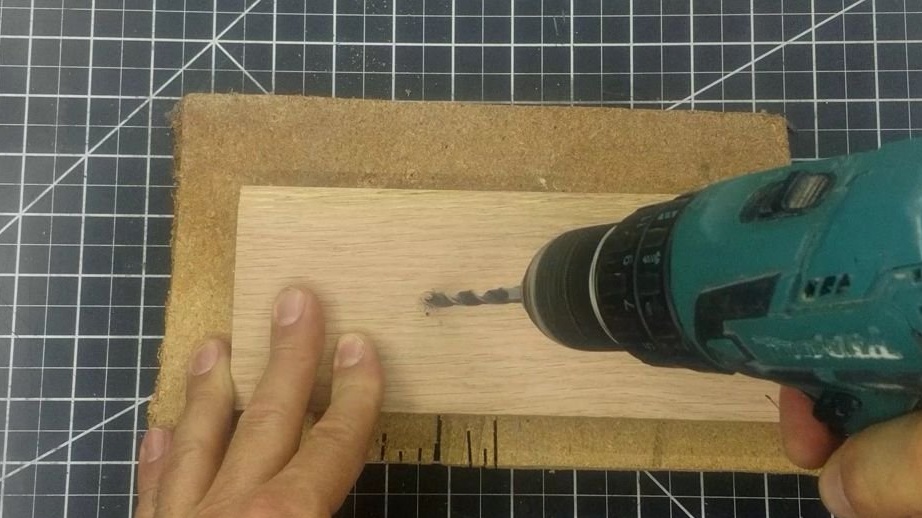
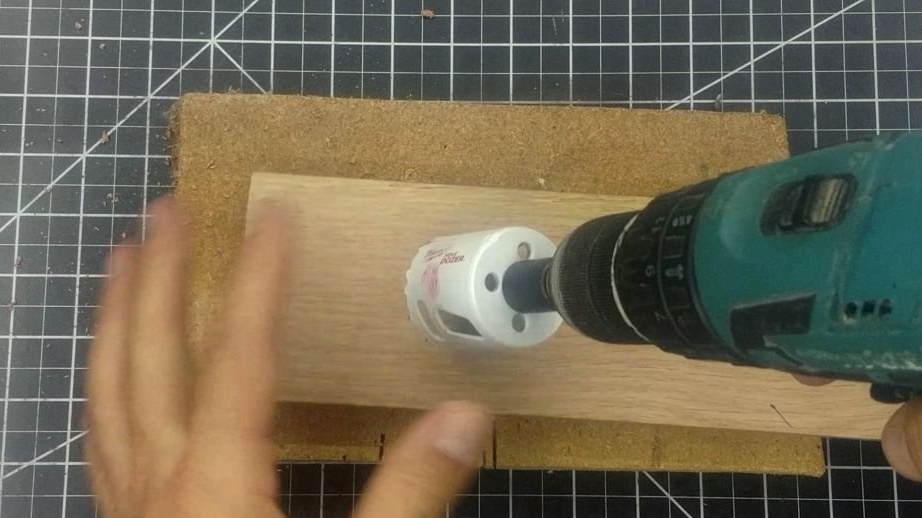
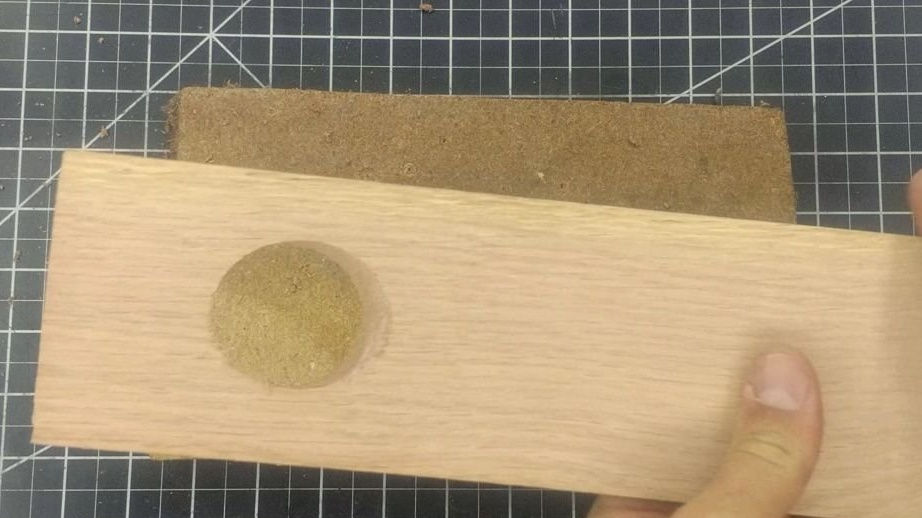
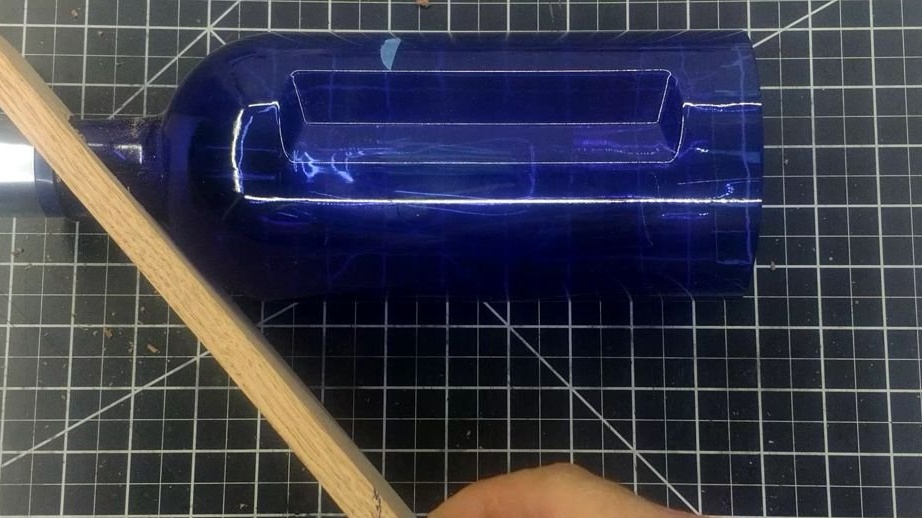
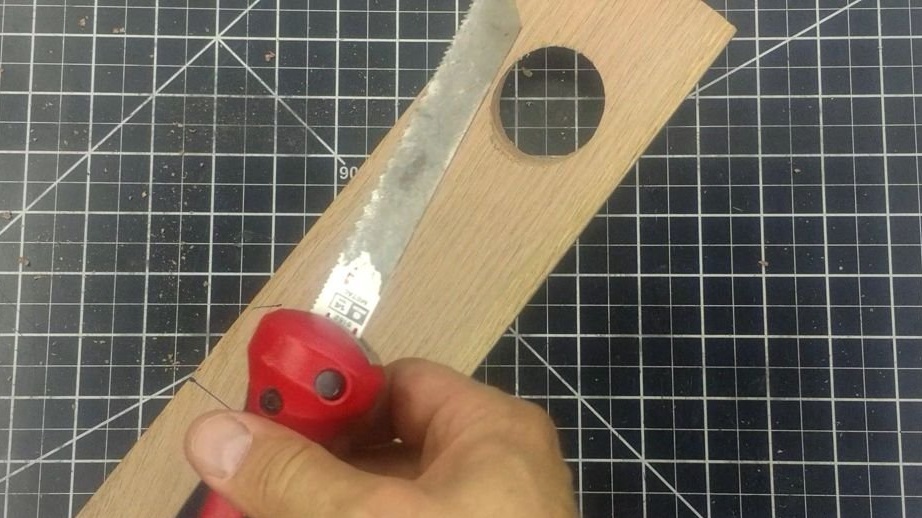
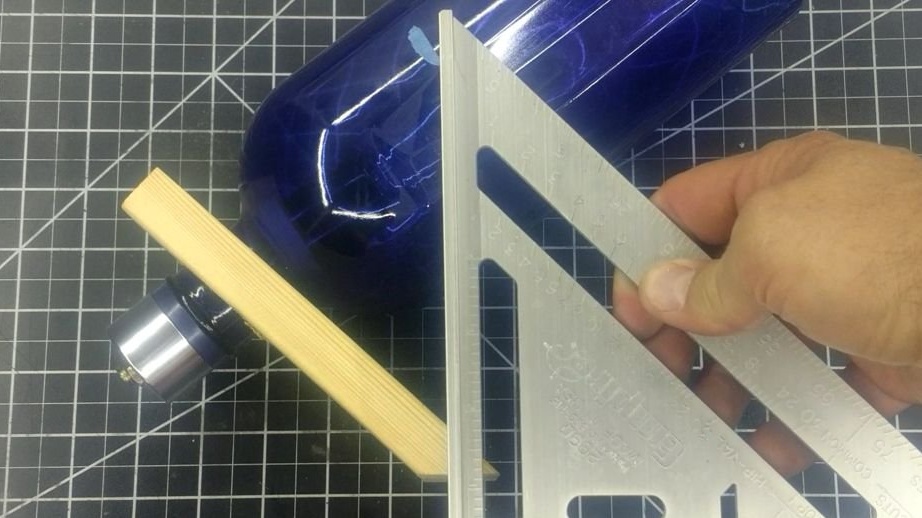
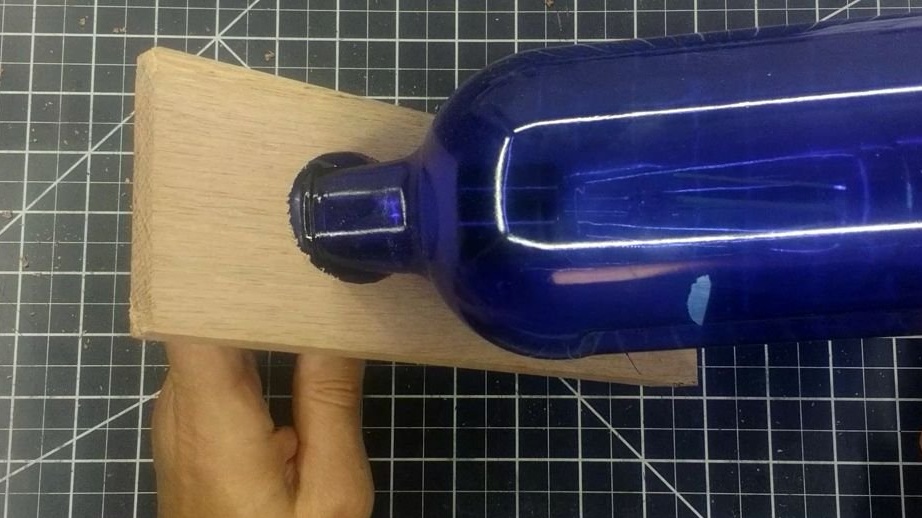
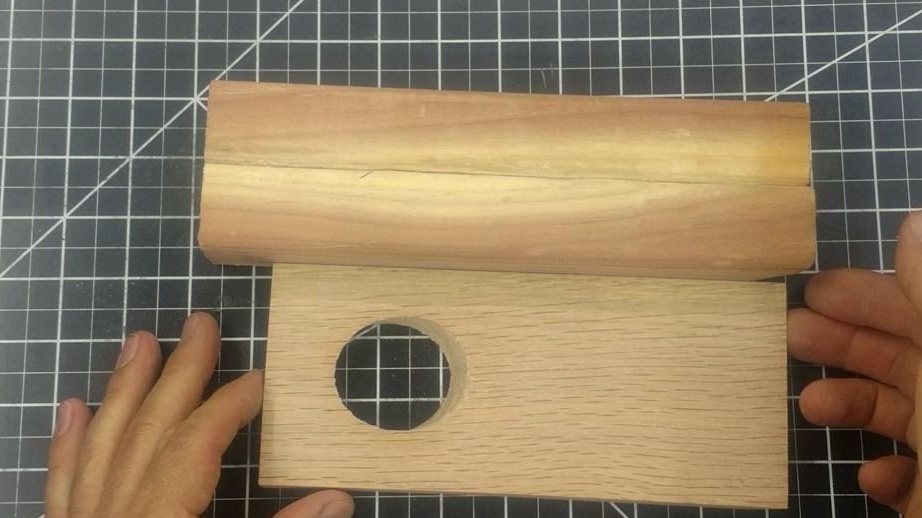
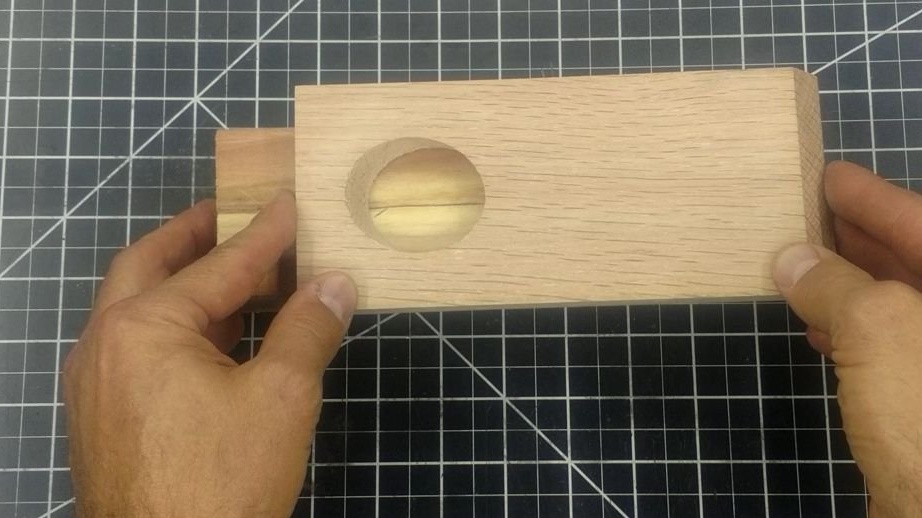
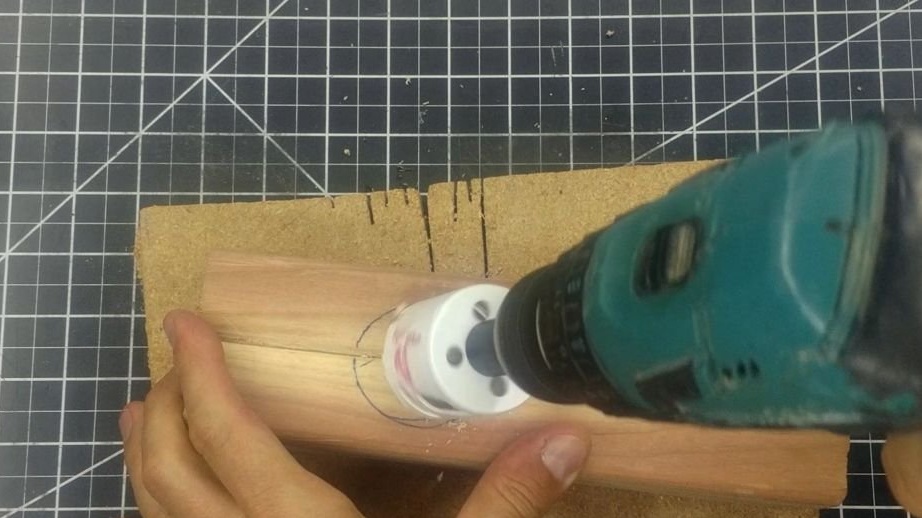
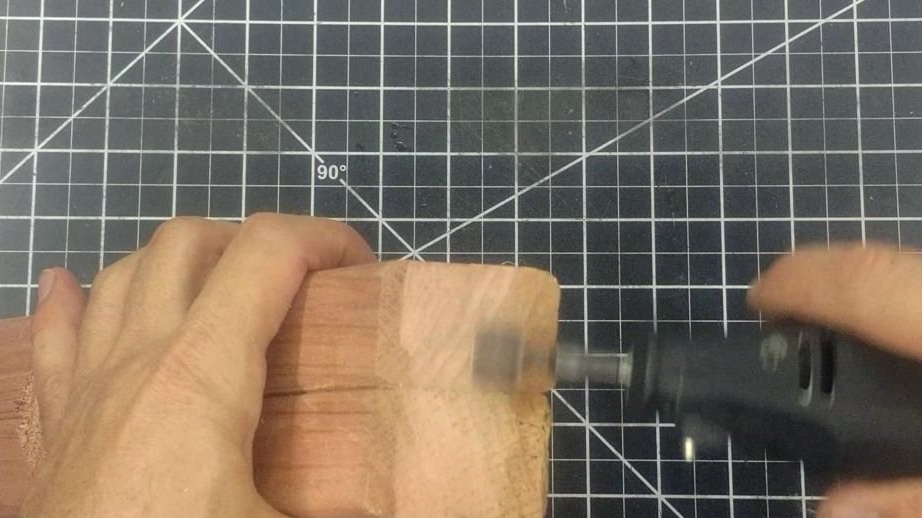
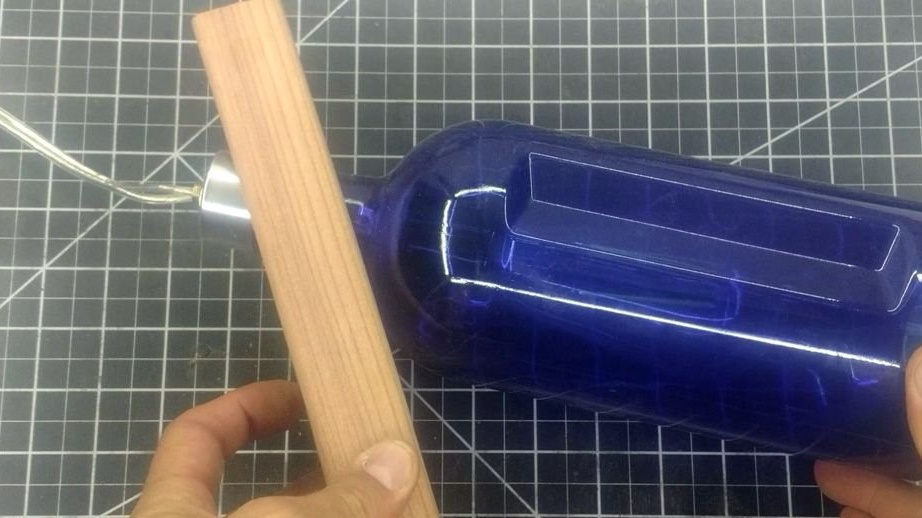
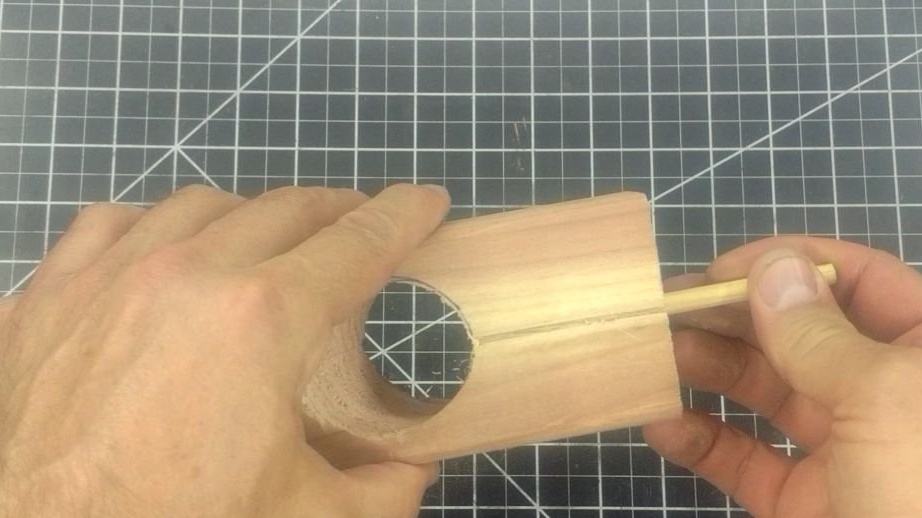
For support, the master takes a rectangular piece of a 2-centimeter board. The thicker the board, the easier it is to balance the structure and vice versa. At the top of the board, the master cuts a hole under the neck of the bottle.
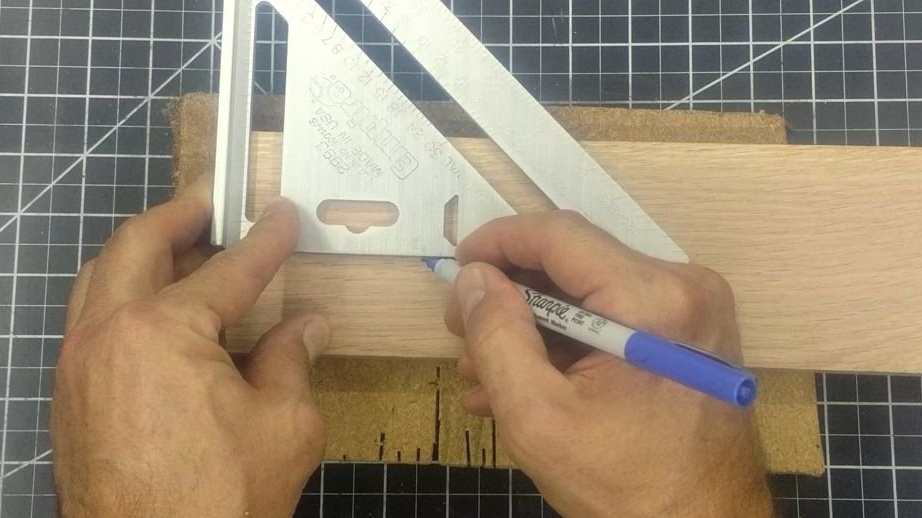

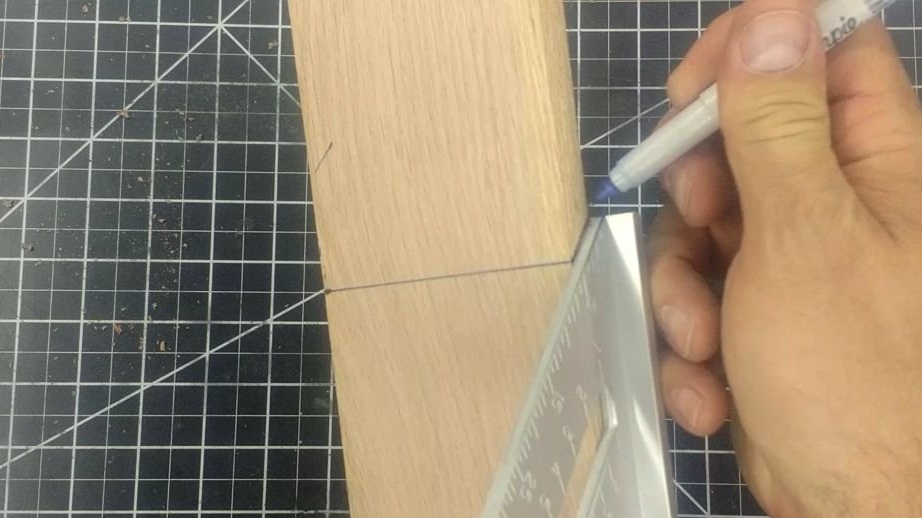
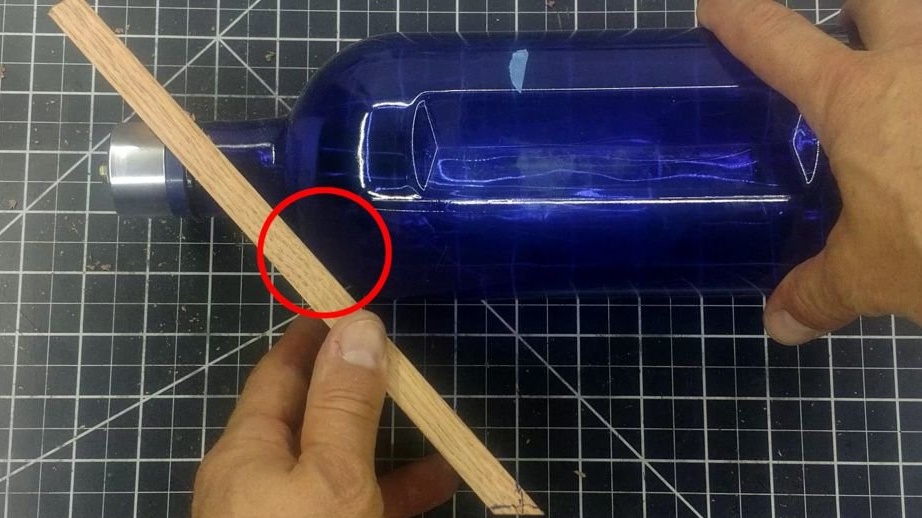
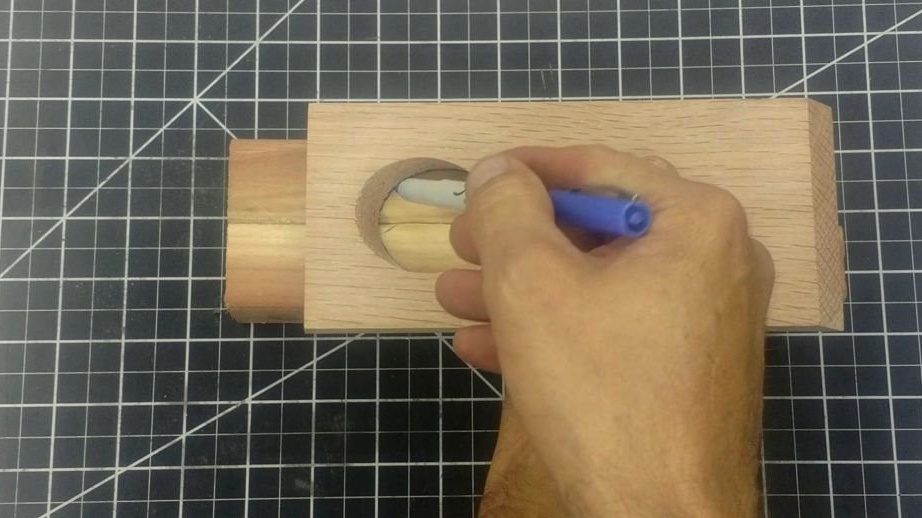
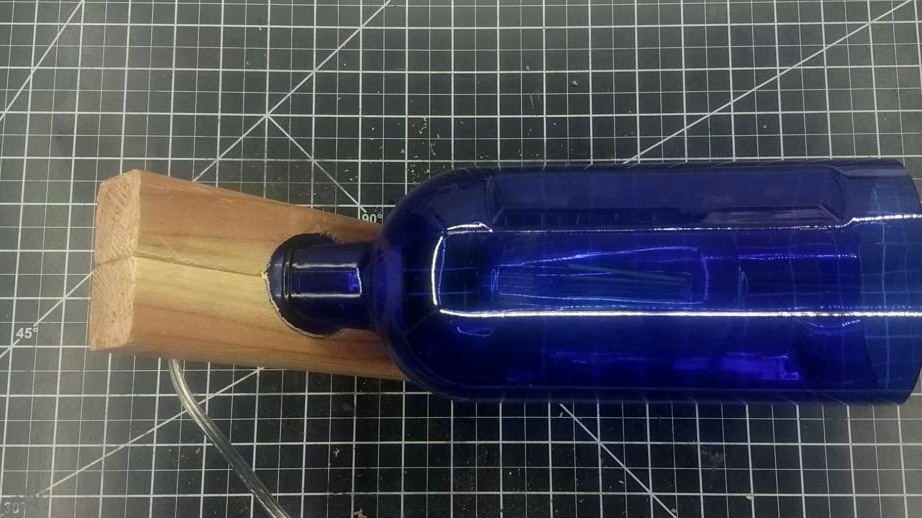
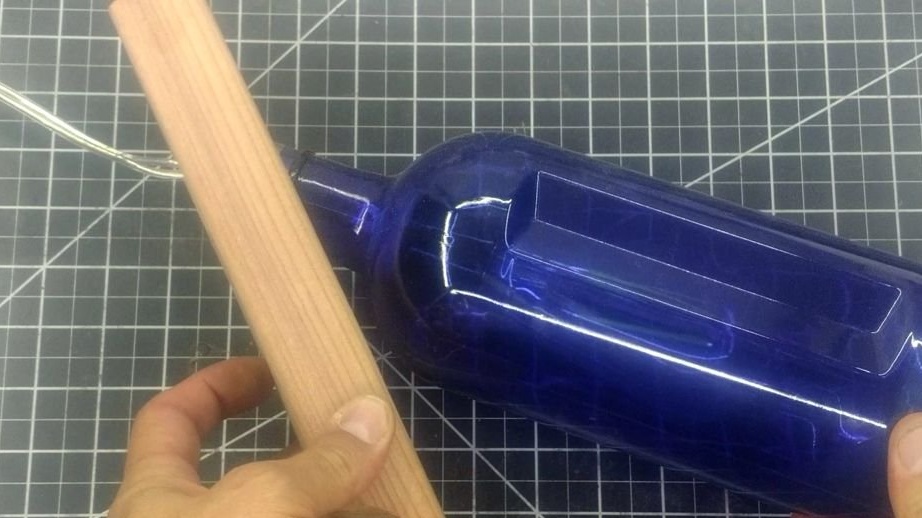
Threads the neck of the bottle into the hole in the board and tilts the board all the way towards the marked center point. Draws a line on the board, combined with the line on the bottle. In parallel, the bottle draws two lines crossing the previously drawn.
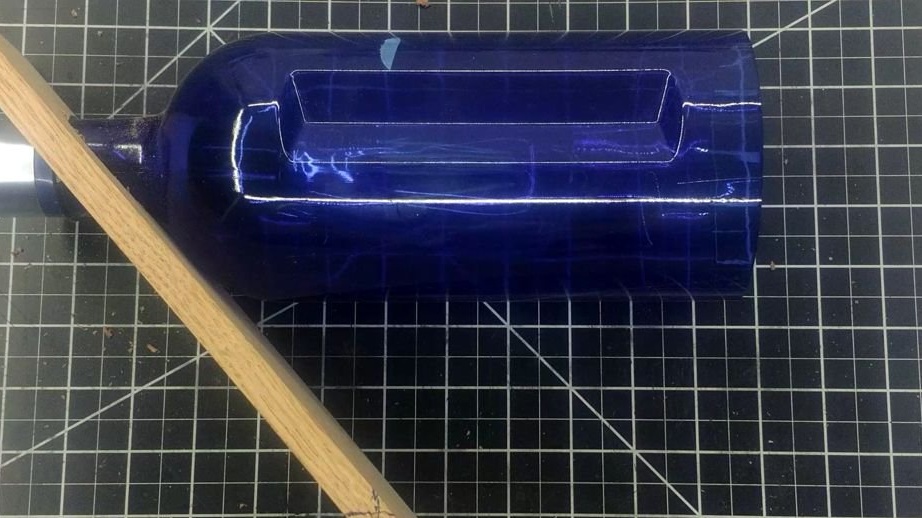
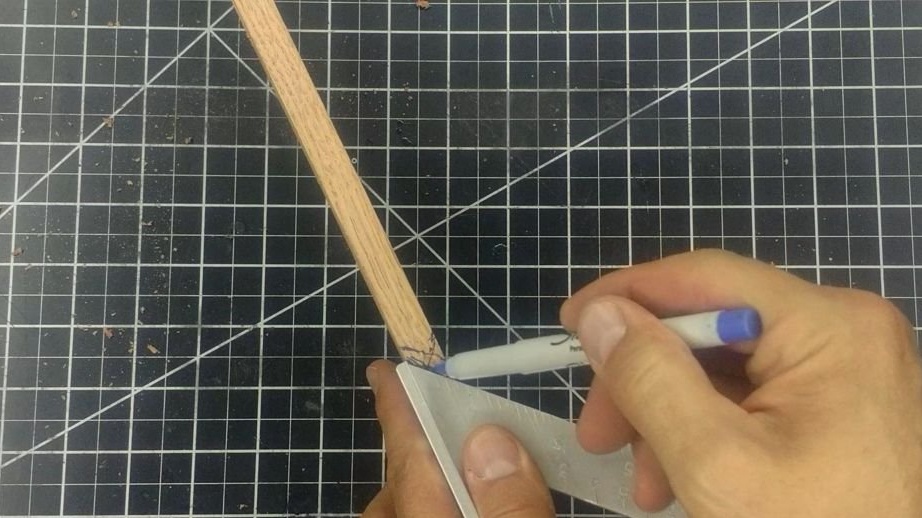
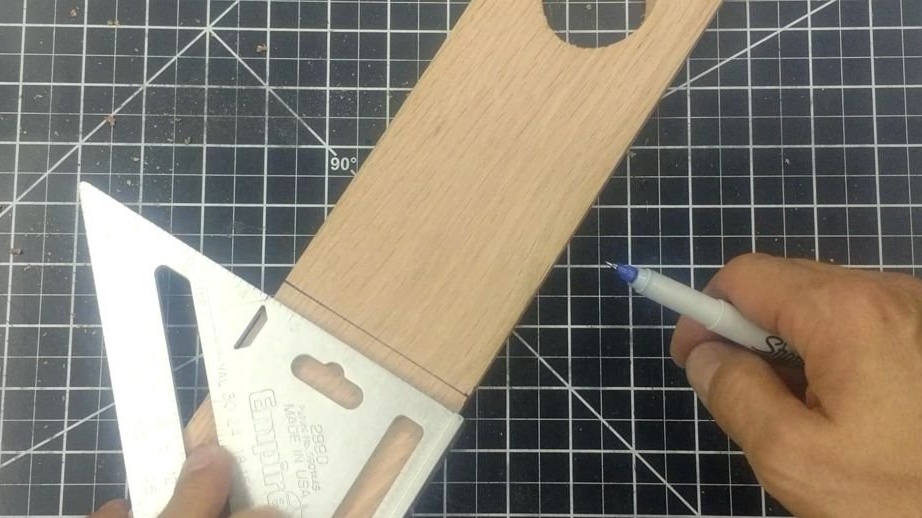
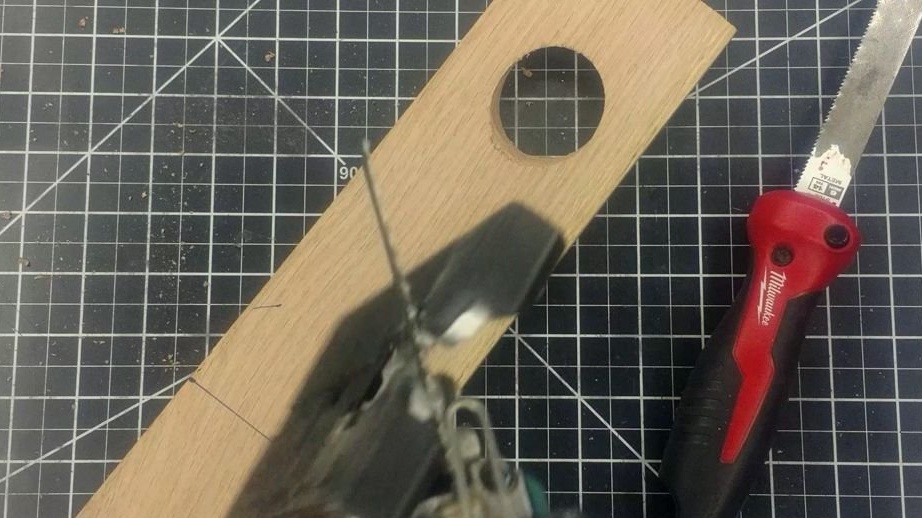
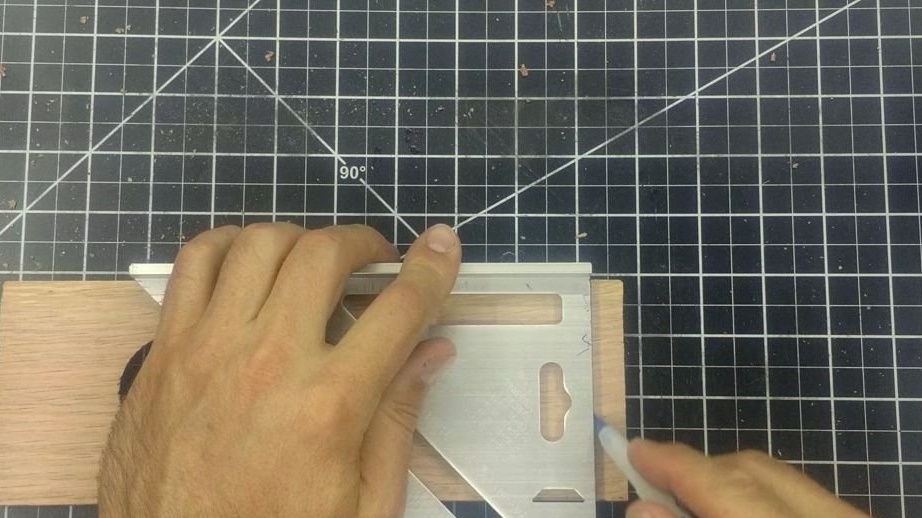
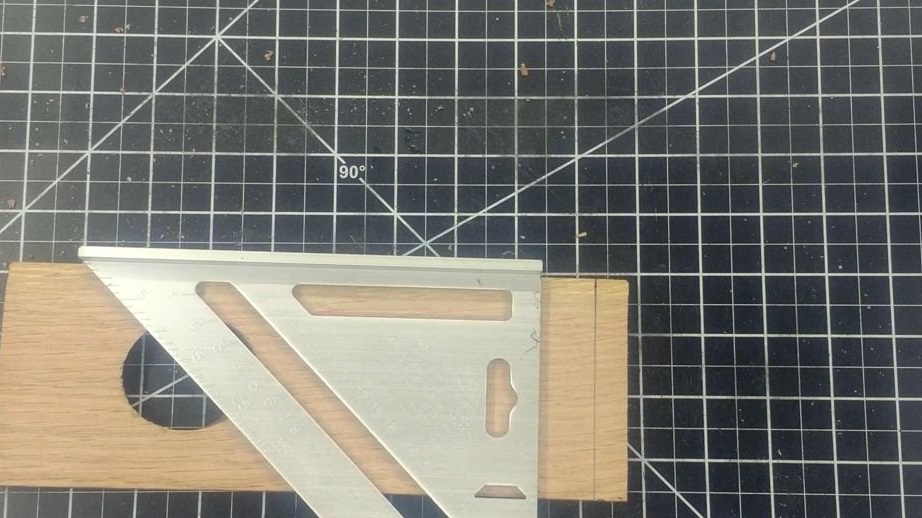
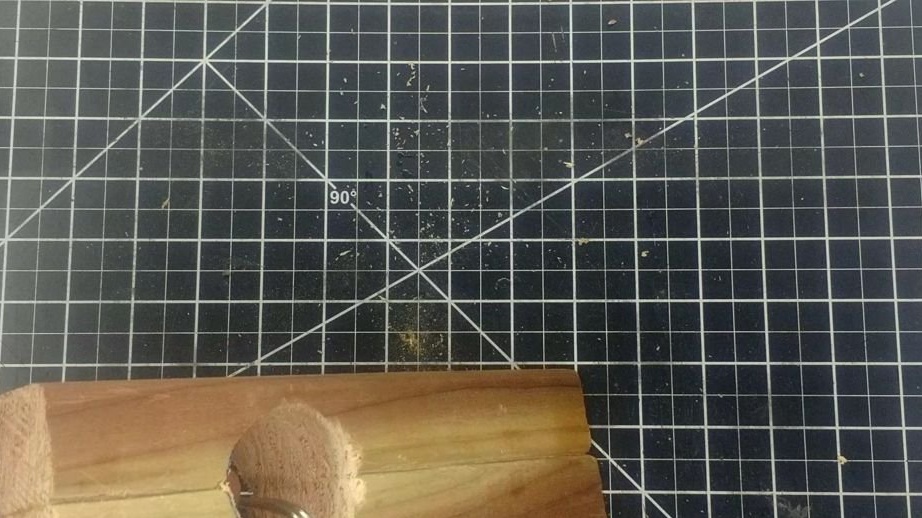
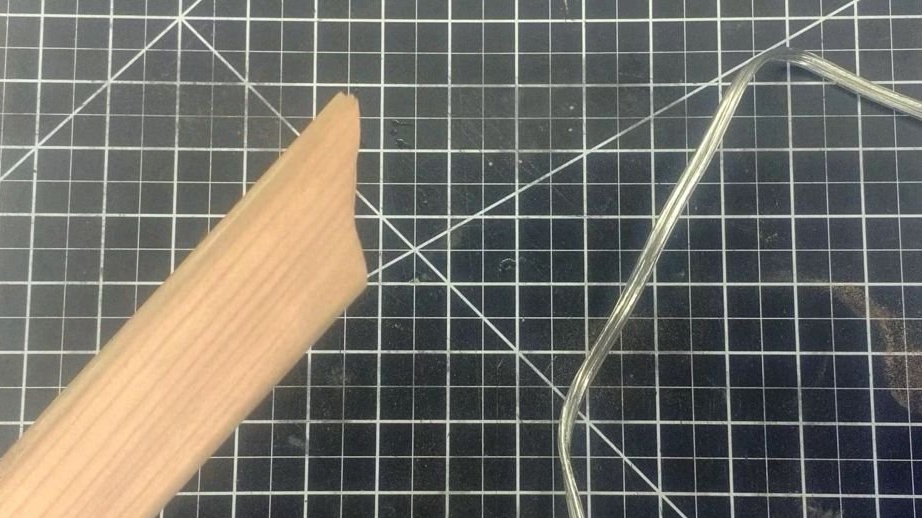
Marks on the other side and connects them with a line. Slices the board exactly to the marking.
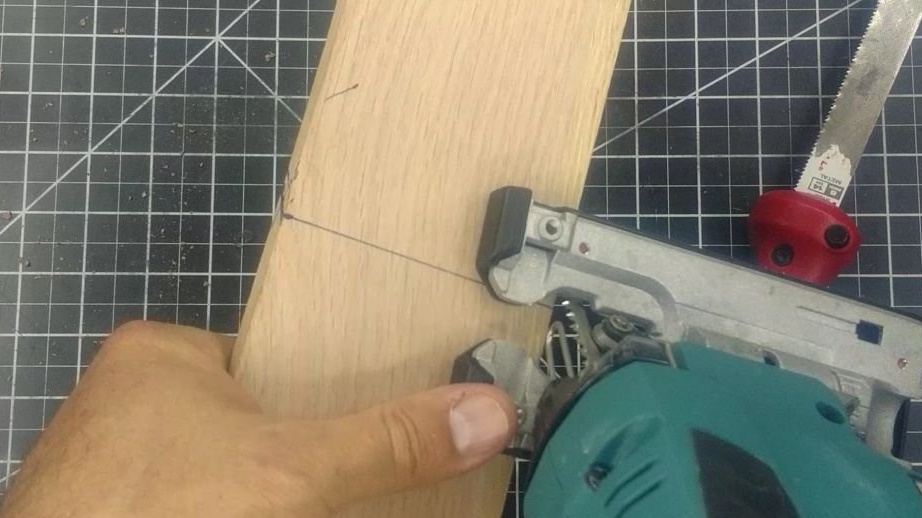
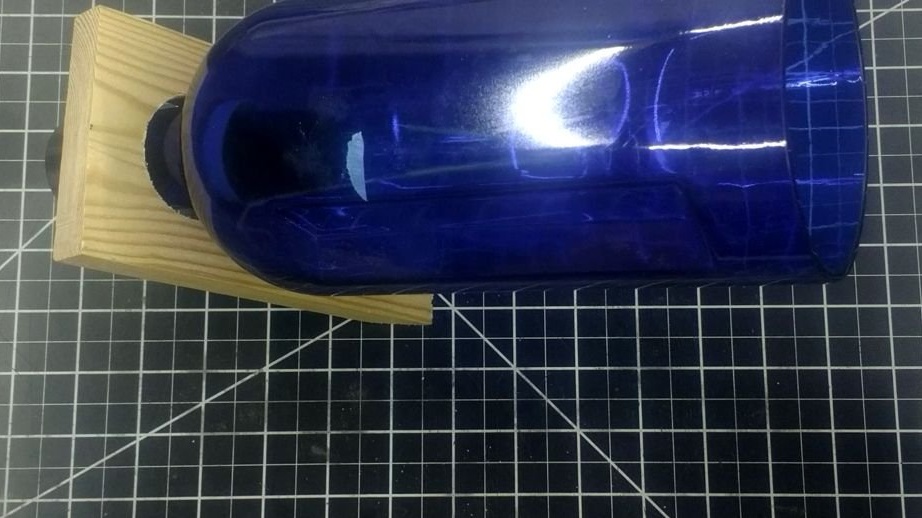
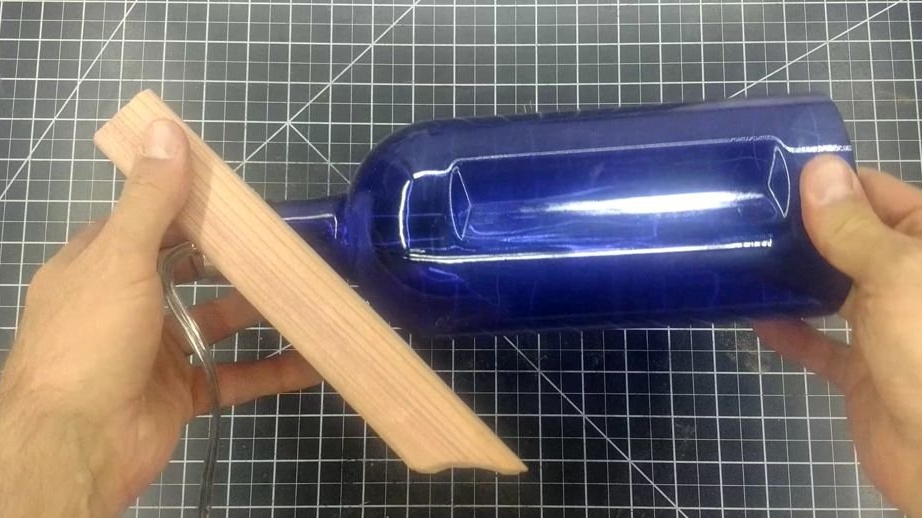
From the first time, the master did not succeed in balancing the design, all the same everything was cut off manually. But having slightly adjusted the angle and length of the board, he was successful. If you watch the video at the end of the article, you can see that the design is quite stable. The master even shakes it slightly.

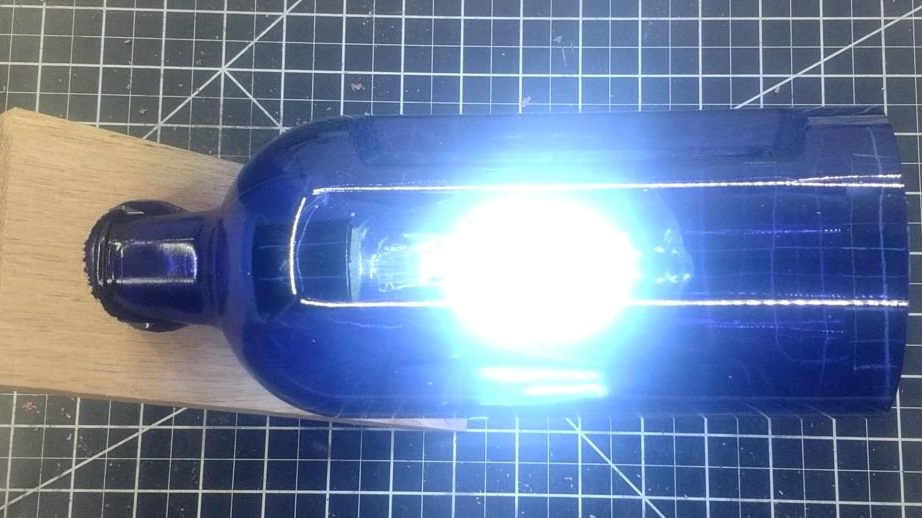
Step Five: Final Assembly
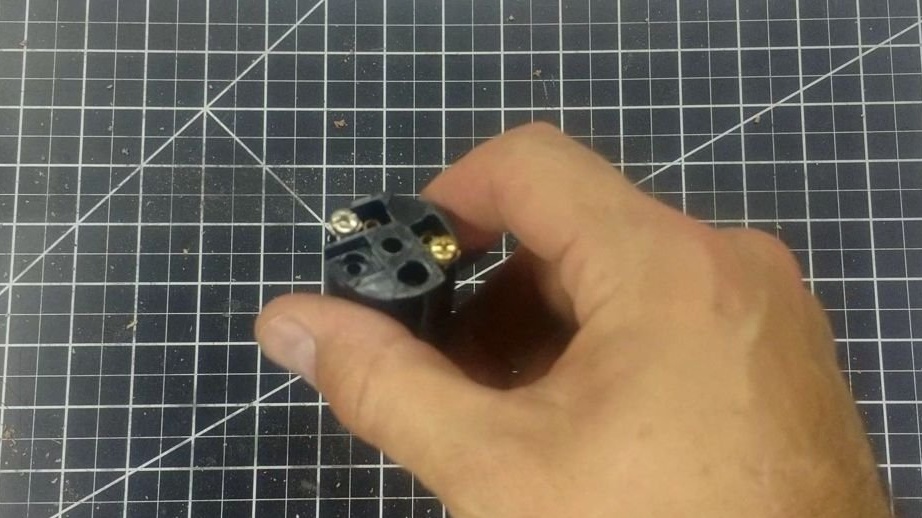
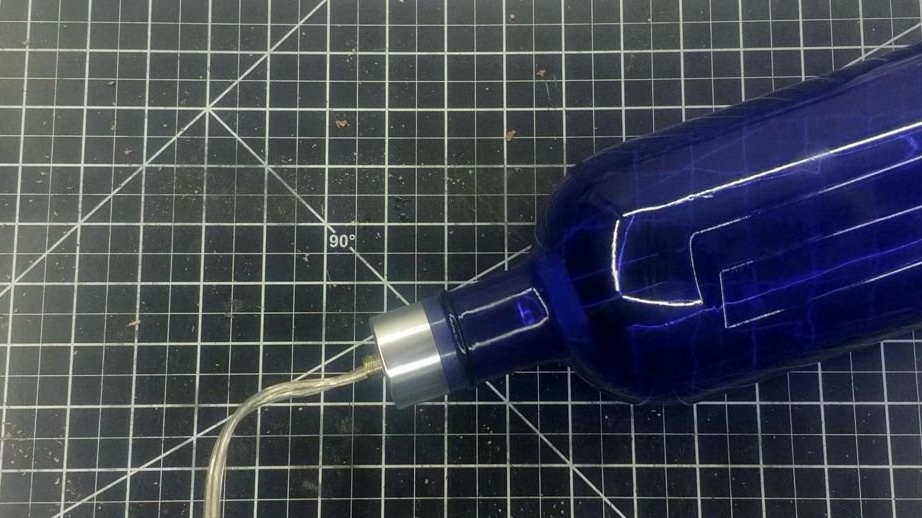
then the master disassembles the structure, unscrews the cover. Stretches the wire and connects the cartridge.

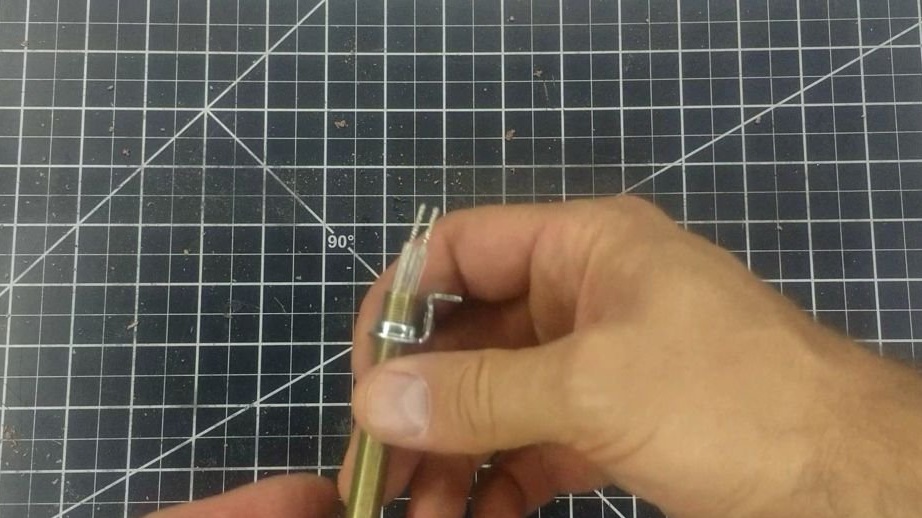
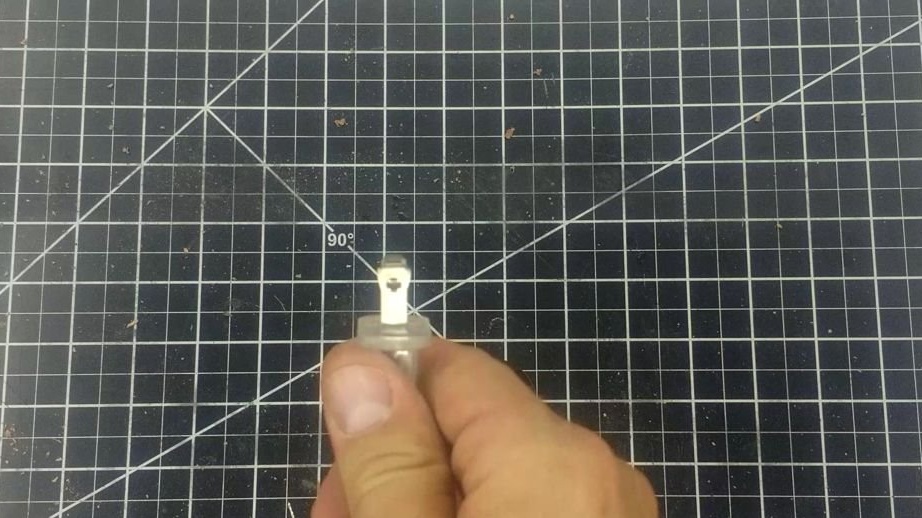
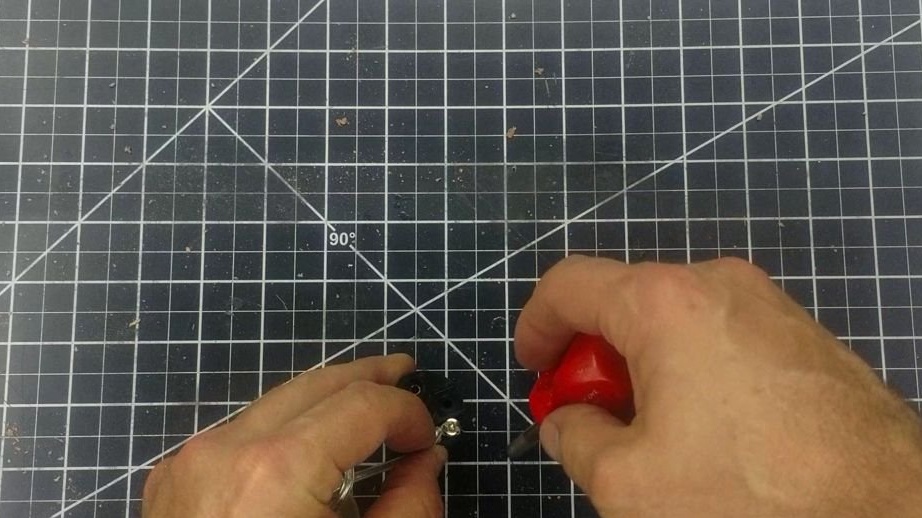
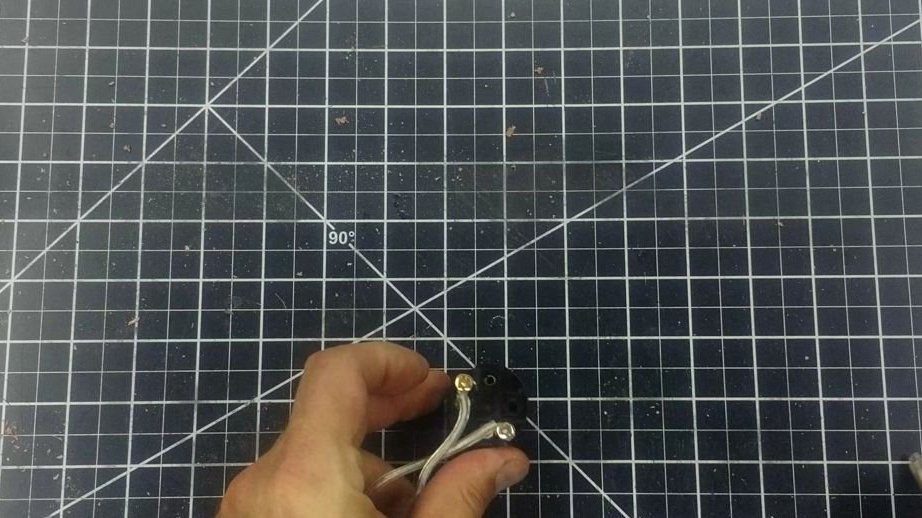
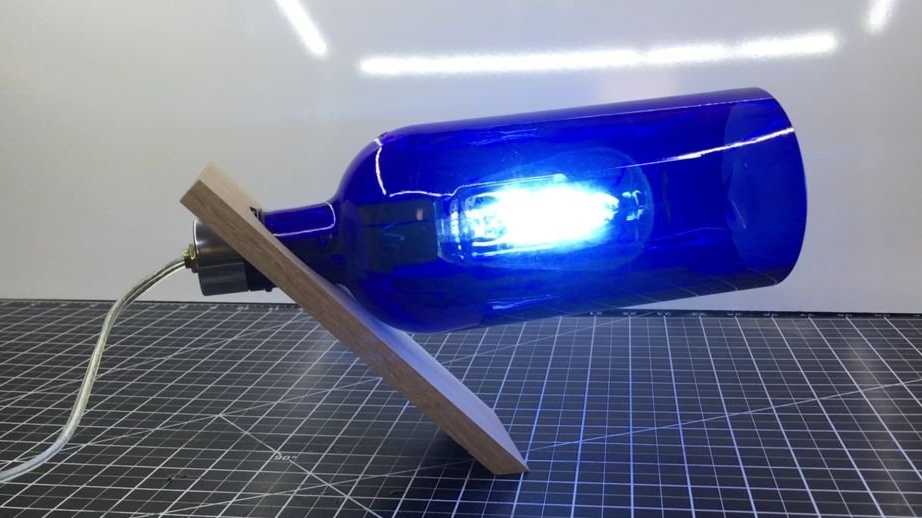
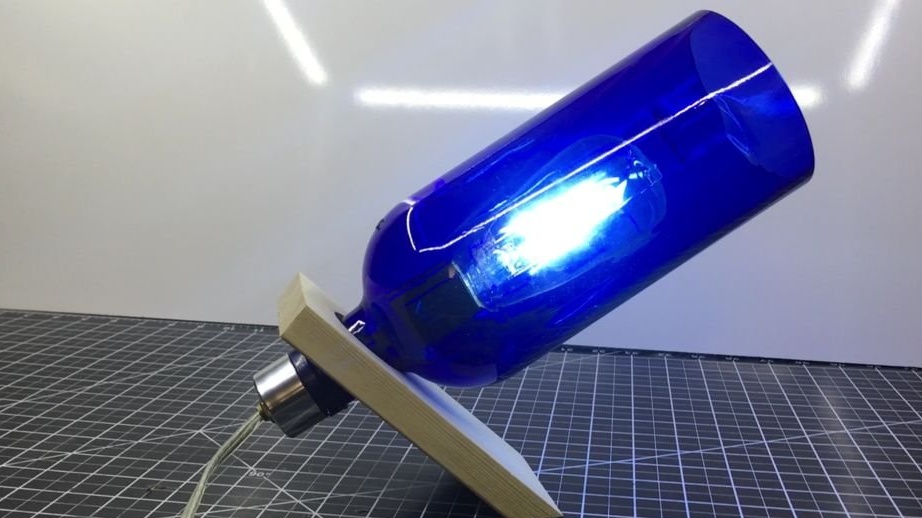
Reassembles the lamp. connects to a power source.
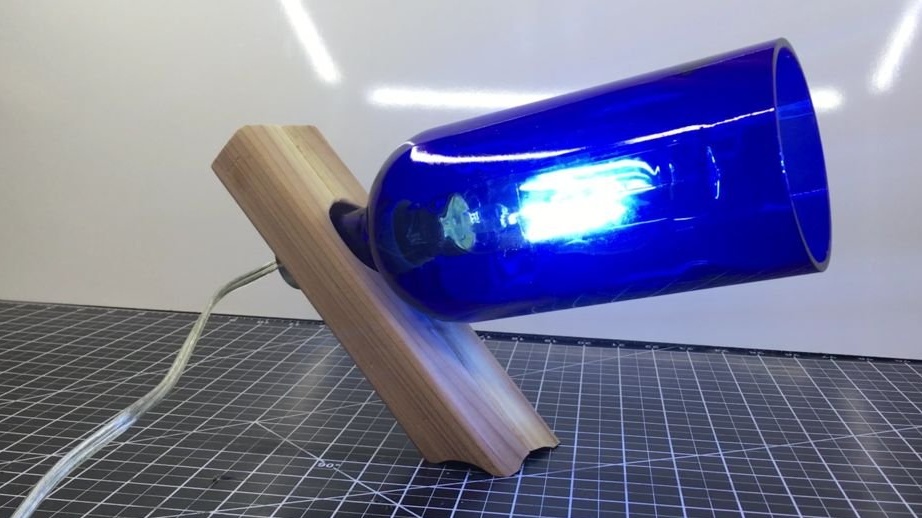
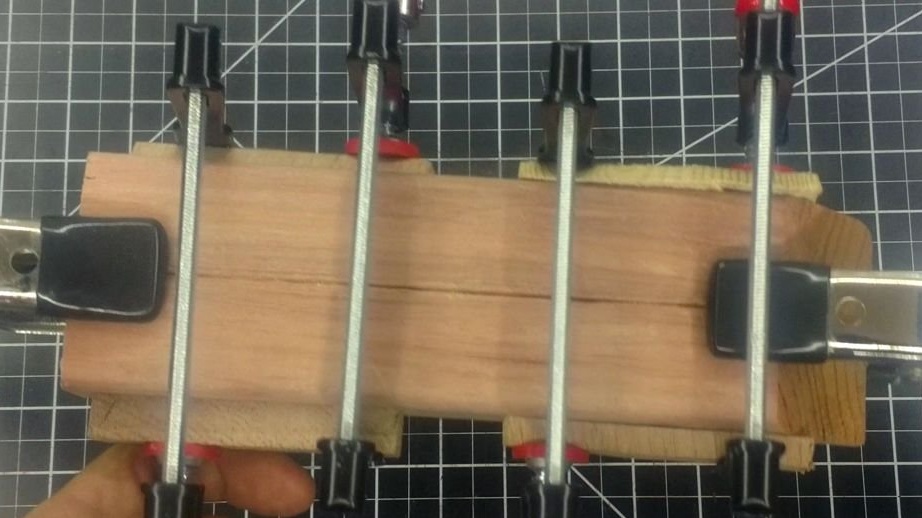
Step six: second base (revision)
The second base master glued from two boards. These boards are a little thicker than the previous one. When cutting the lower part and drilling a hole, the master used a ready-made base as a template.
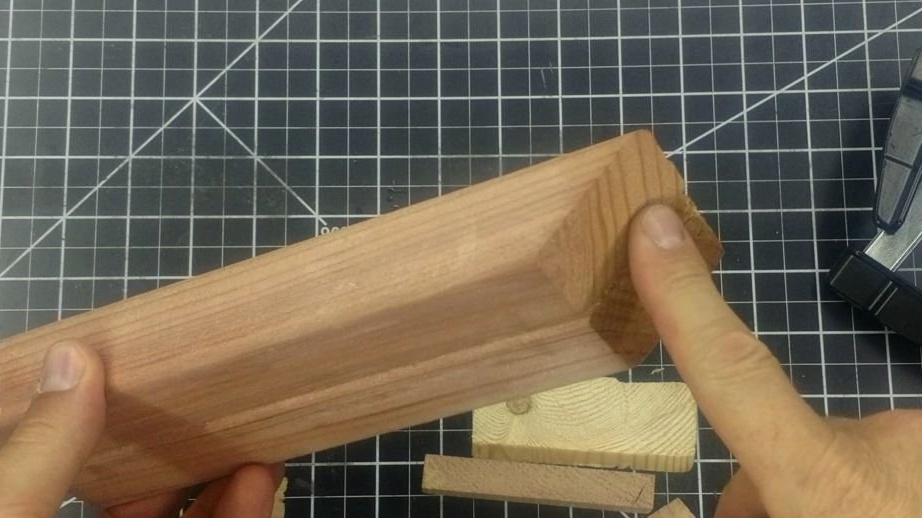
the master decided to complicate the task a little and at the cut of the board he sewed wood between two opposite sides. It turned out as if the base is on its feet.
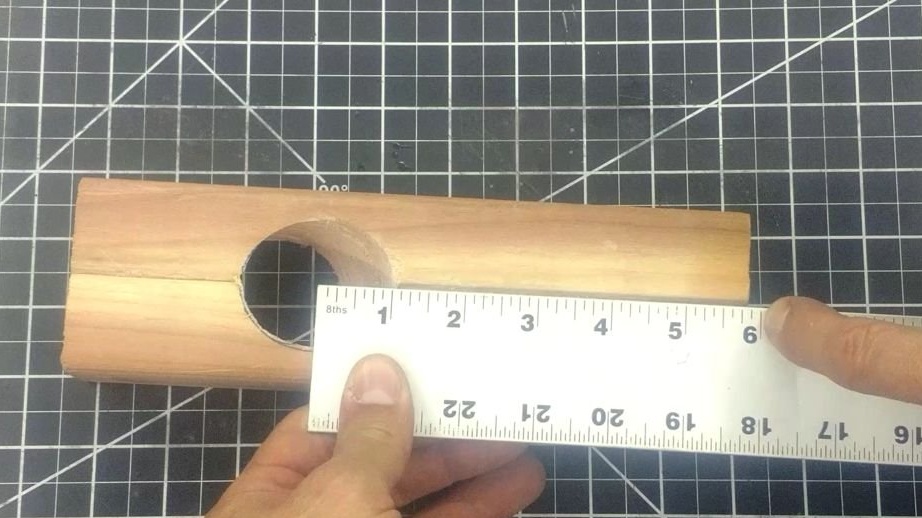
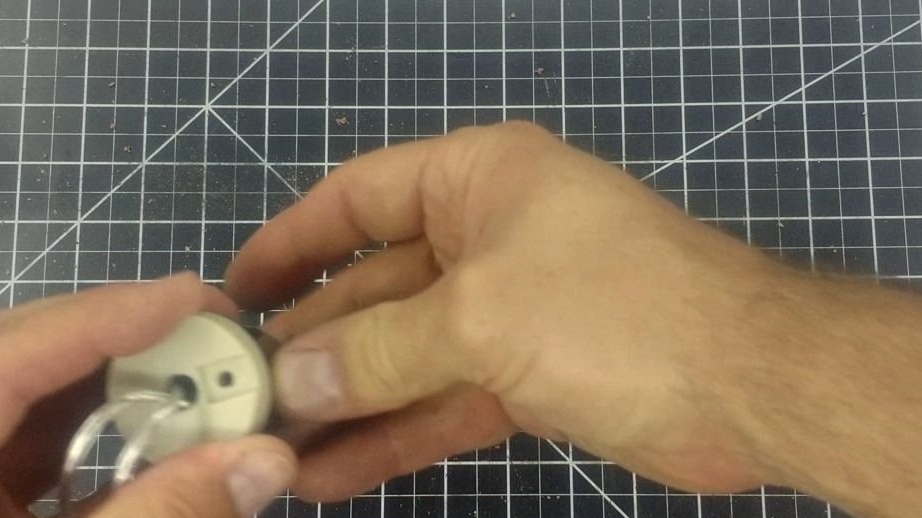
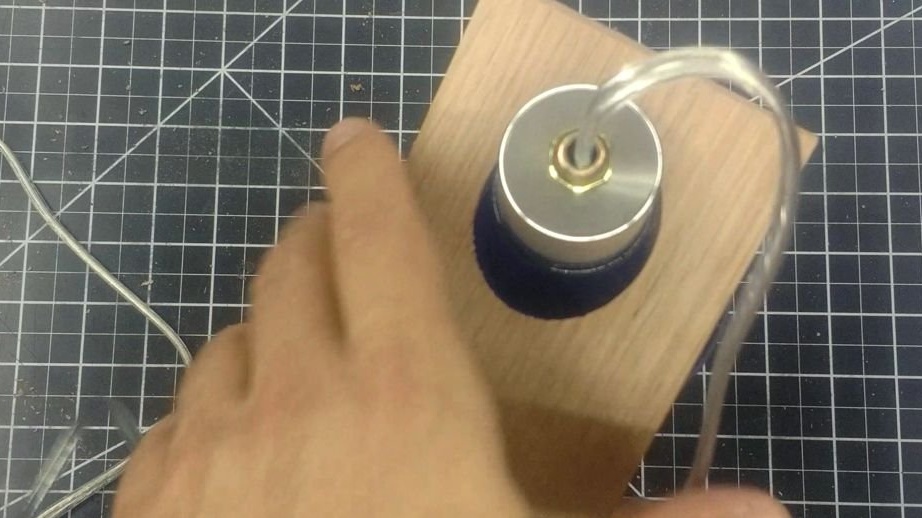
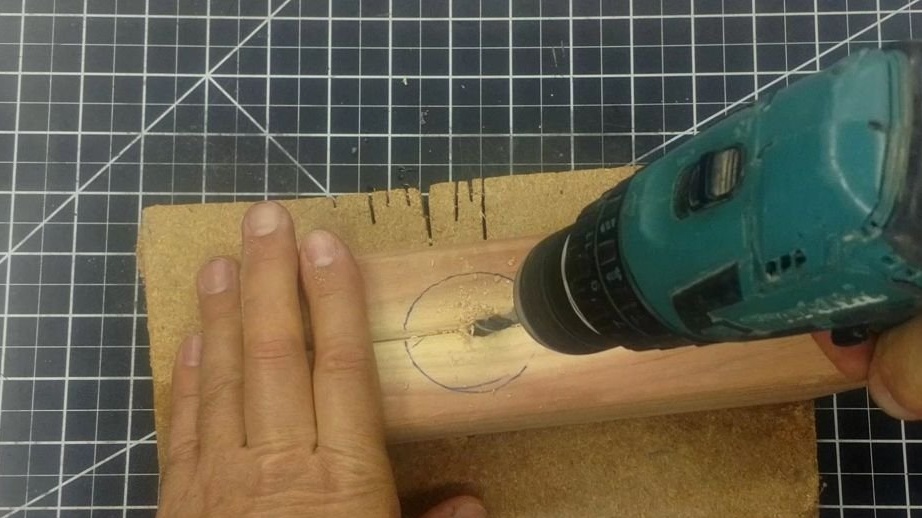
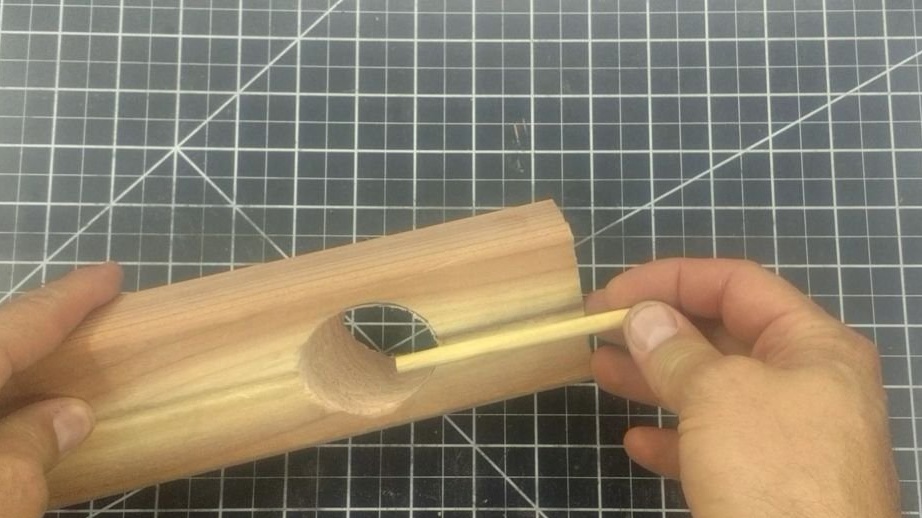
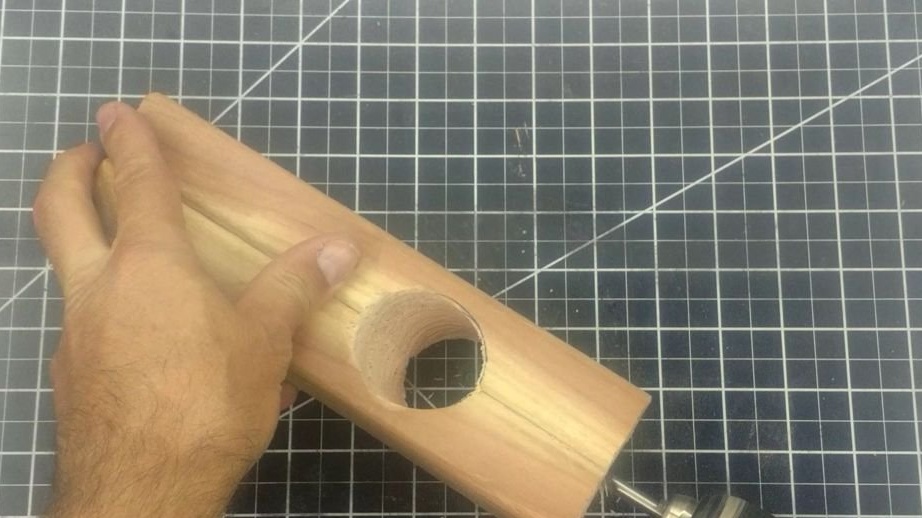
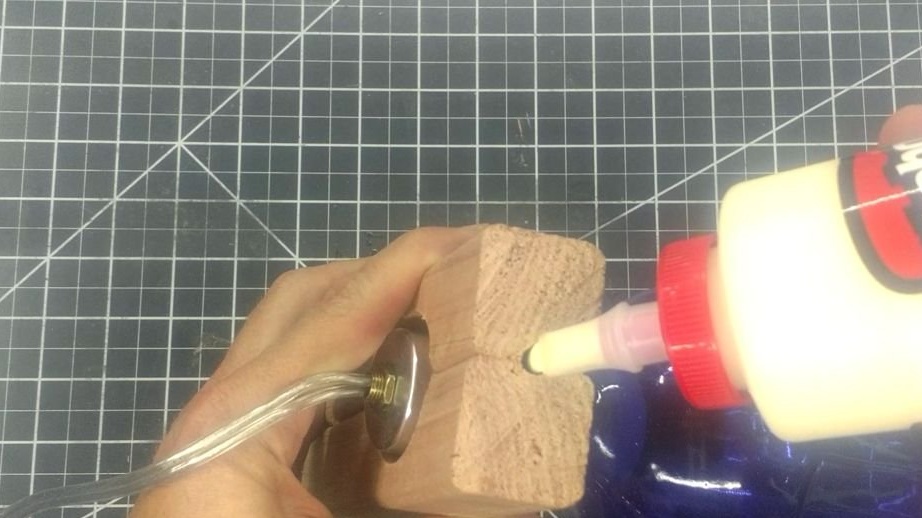
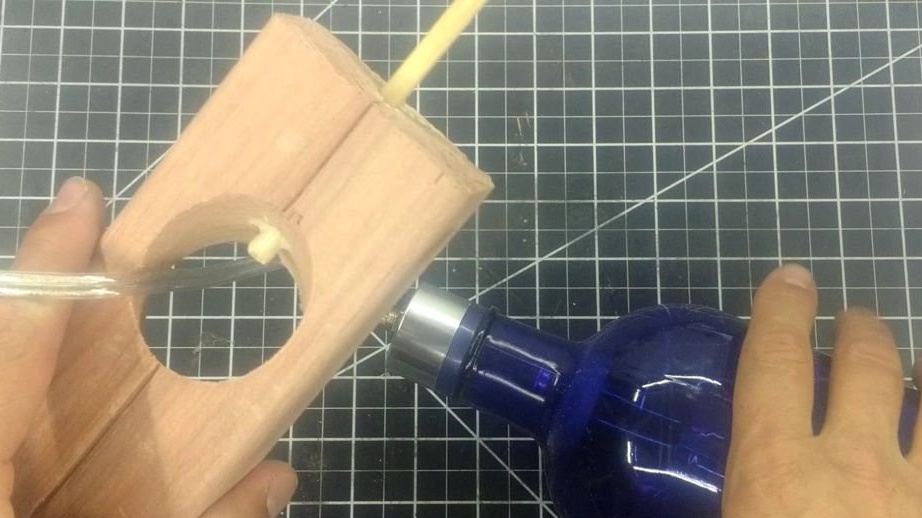
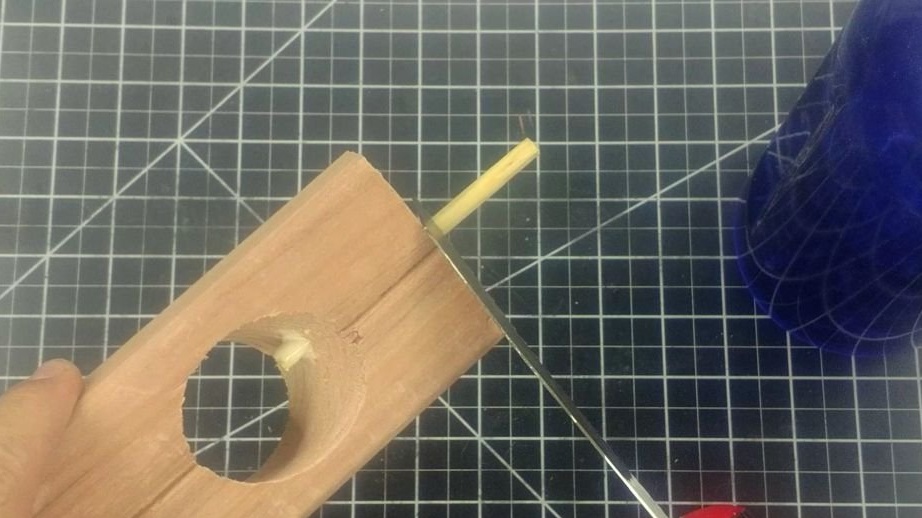
Seventh step: additional support for the thicker base bottle
If the length of the neck of the bottle is less than the width of the base, then it only clings to the cork and can pop out of the hole. To support the bottle, the master drills a hole in the hole and installs a wall plug. Now the neck will rest against the dowel.
Everything is ready, thanks to the master for an interesting idea.