I welcome all fans to craft, today we will consider useful homemade for the welder. Those who have welding know that without a table or at least some kind of metal plate, welding work is not quite comfortable. You have to work forever on the ground, then spoil the coating on the table and so on. For welding, there must be a welding table that will be convenient for you in height and near which you do not need to bend your back.
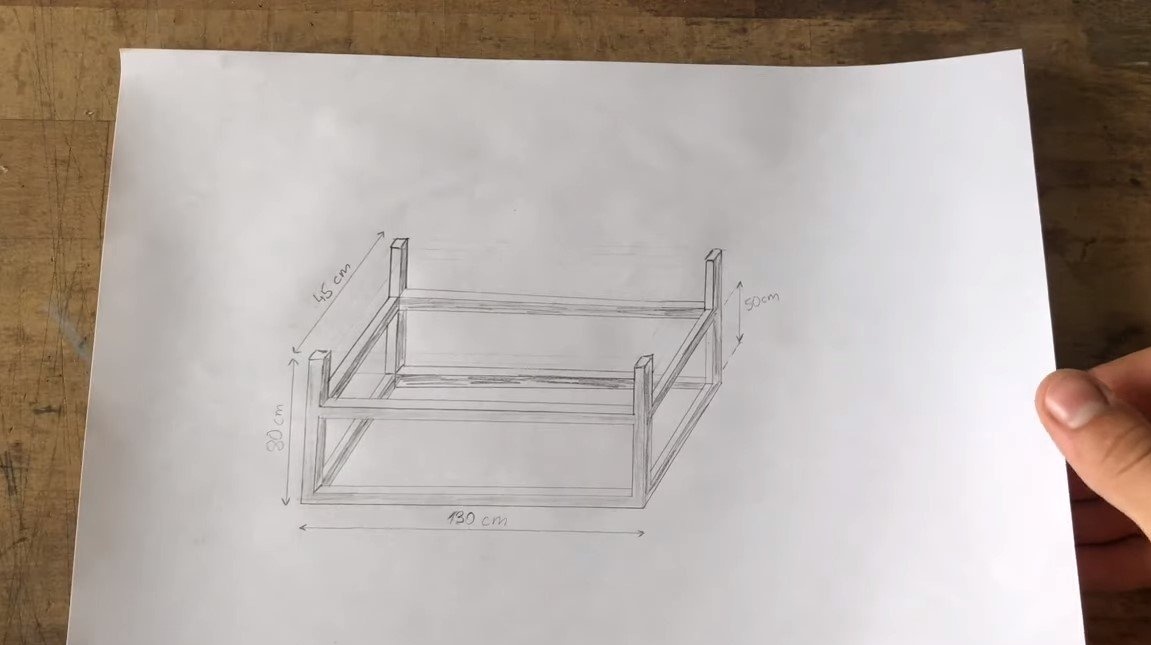
And also the advantages of the table are that you do not need to constantly sculpt a mass on the part, the wire of which usually interferes. For welding, you just need to put the product on a metal table and there will already be mass on it. The author cooked a table for himself from profile pipes. The countertop is made in the form of a grate through which debris wakes up on a removable tray. Also in the table there are shelves for the welding machine, electrodes and other tools. If you want yourself such a table, I propose to familiarize yourself with the project in more detail!
Materials and tools used by the author:
Material List:
- rectangular profile pipes;
- OSB or similar durable sheet material;
- sheet steel for the pallet;
- castors for trolleys;
- steel plates;
- paint for metal.
Tool List:
- grinder;
- welding machine;
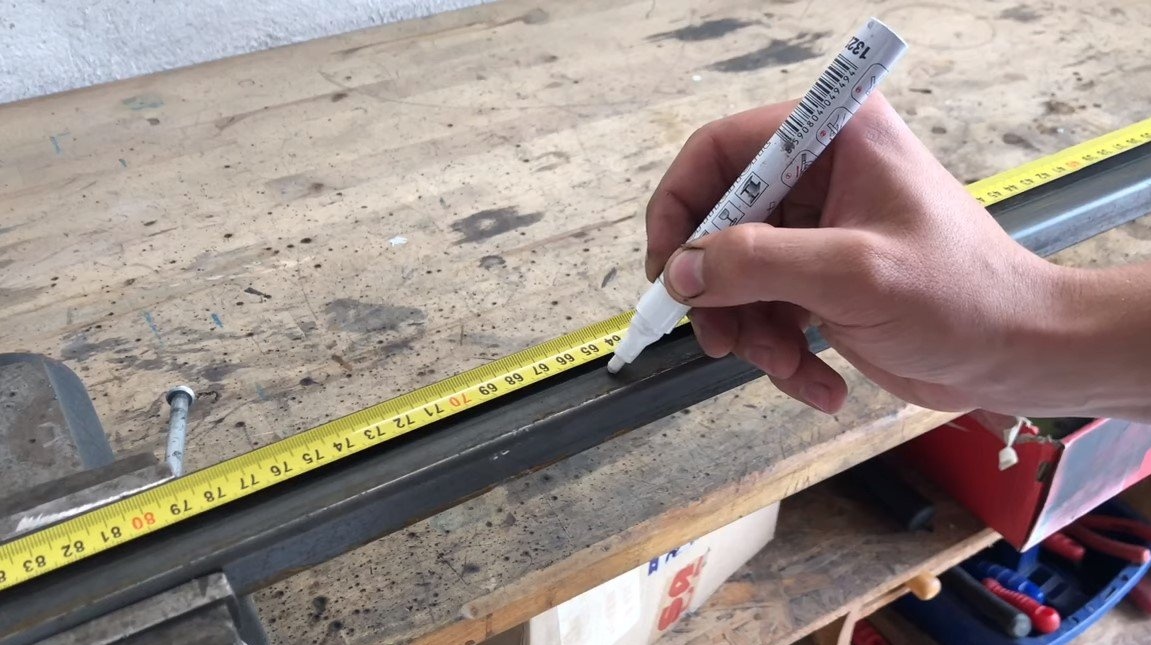
- marker;
- roulette;
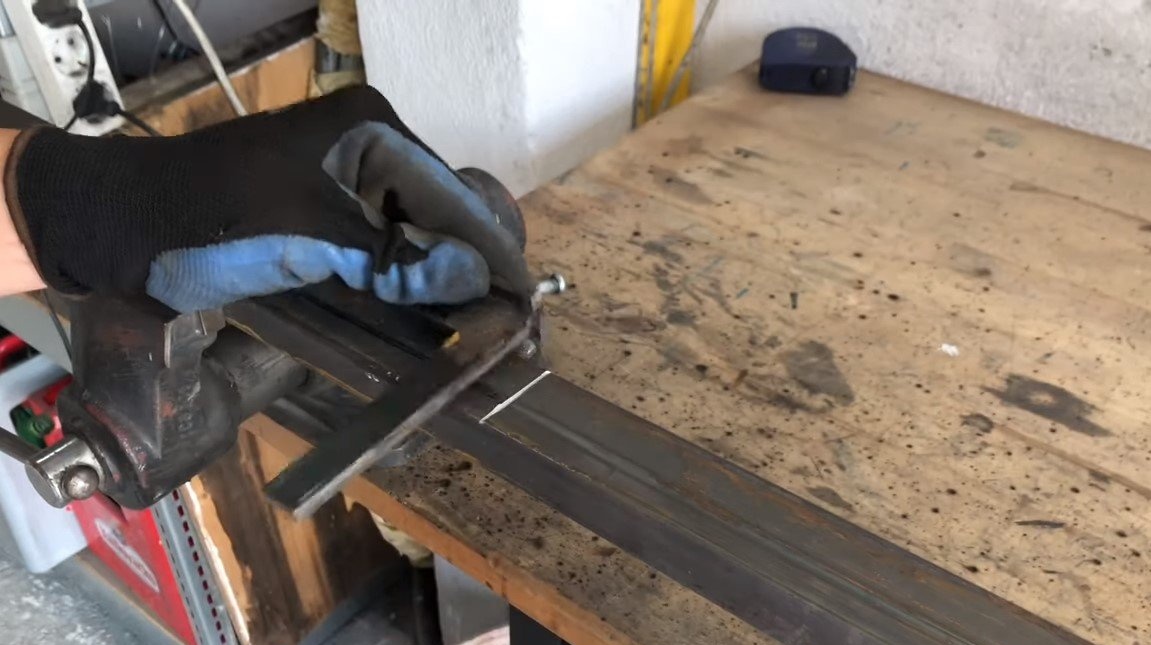
- vise;
- clamps;
- a screwdriver.
The process of making a table:
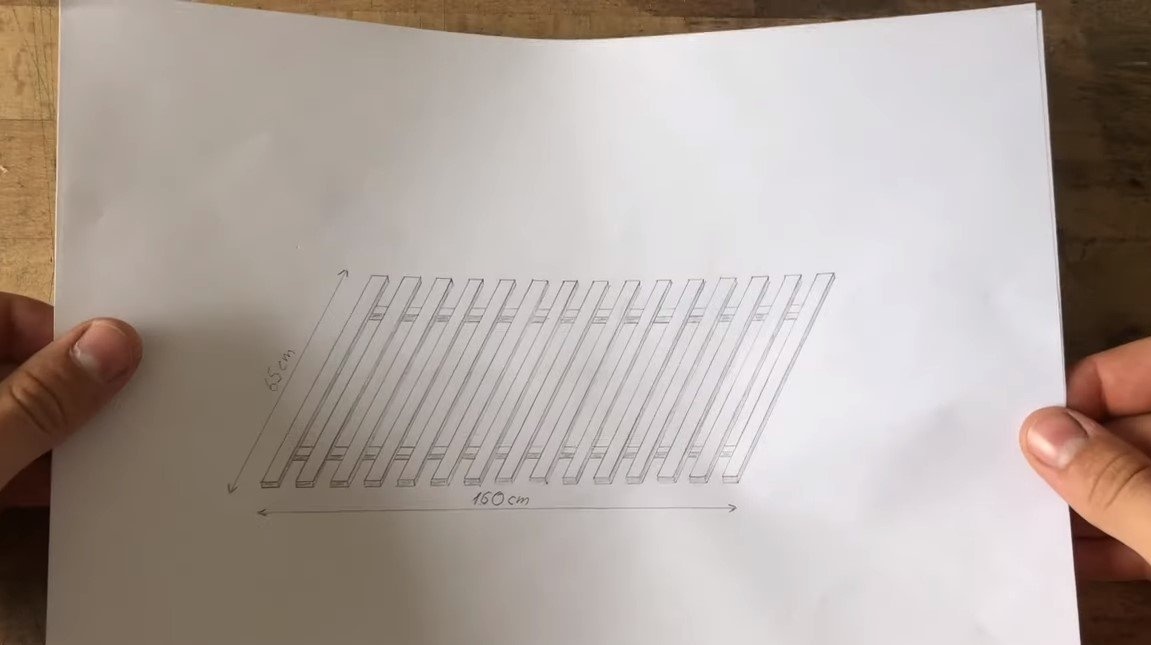
Step one. Countertop
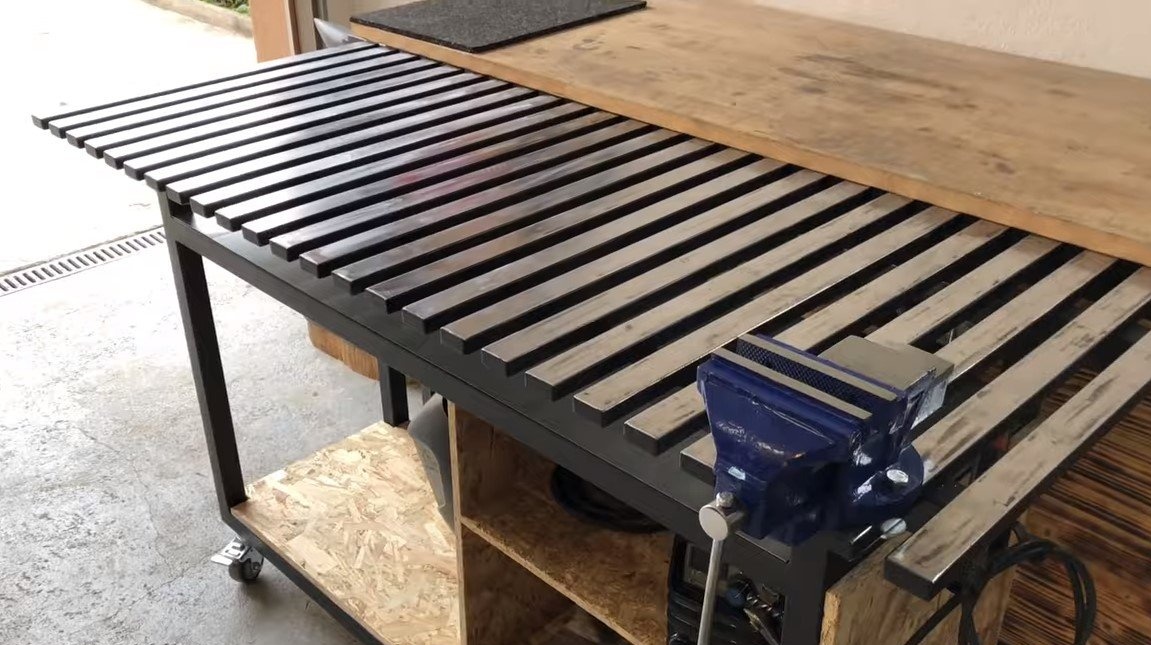
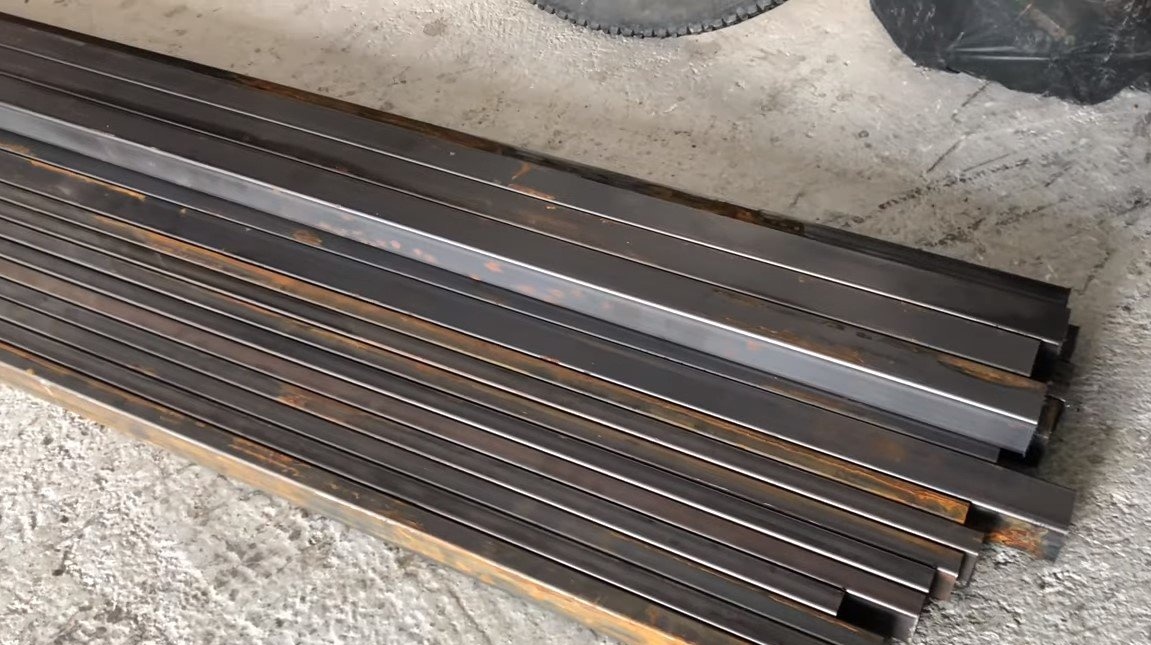
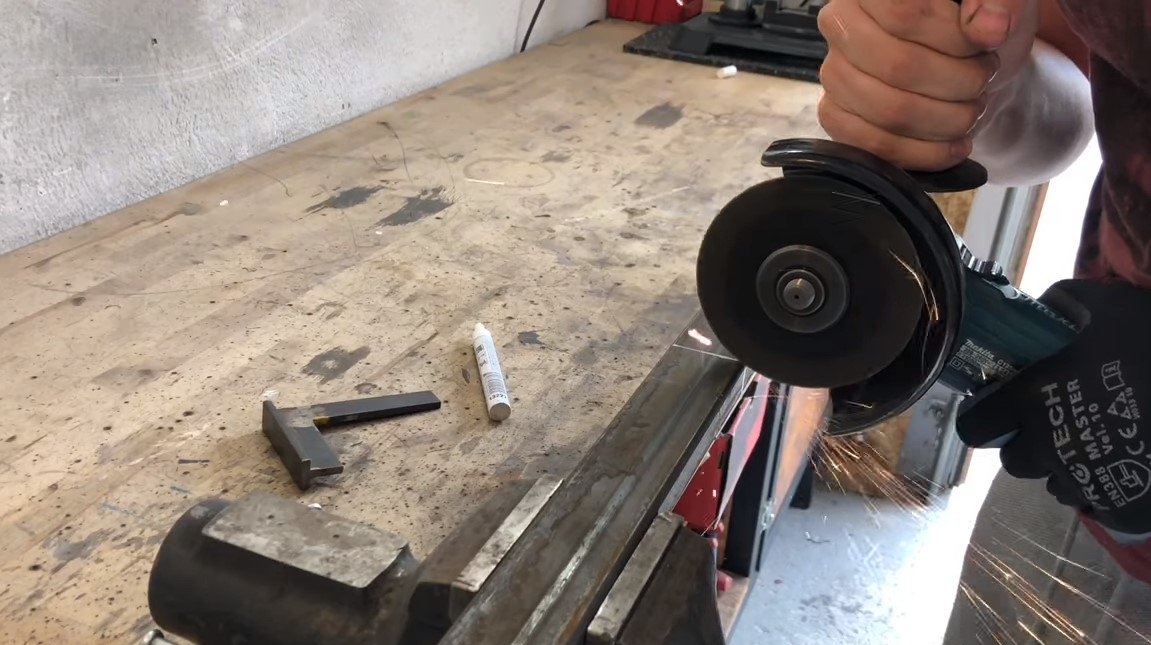
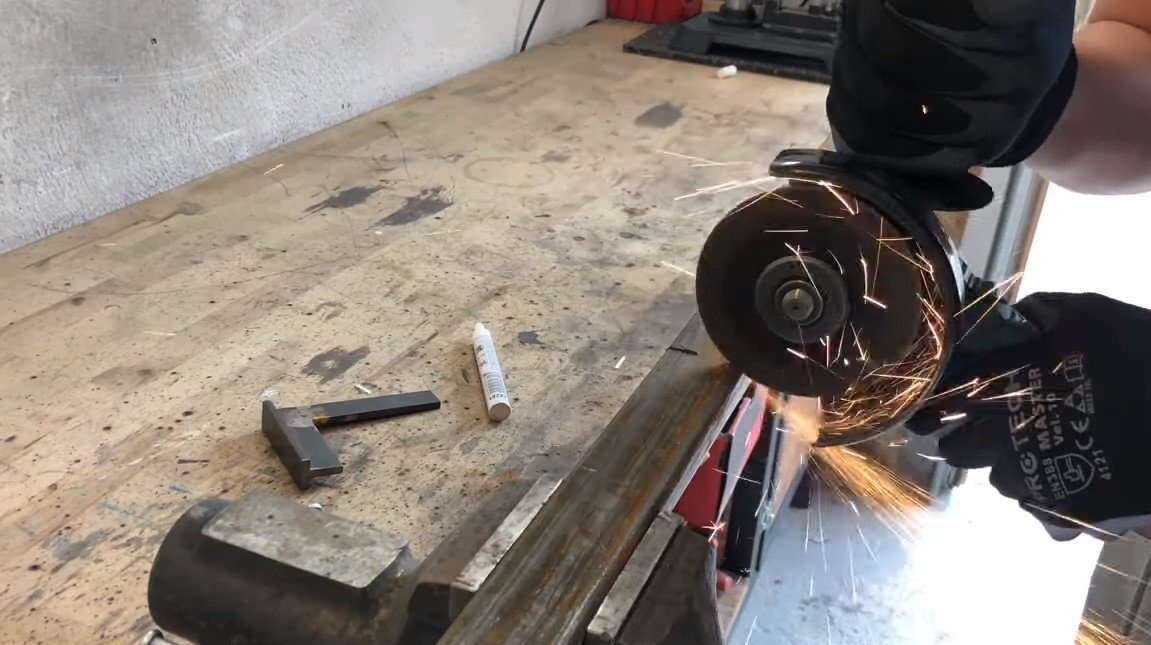
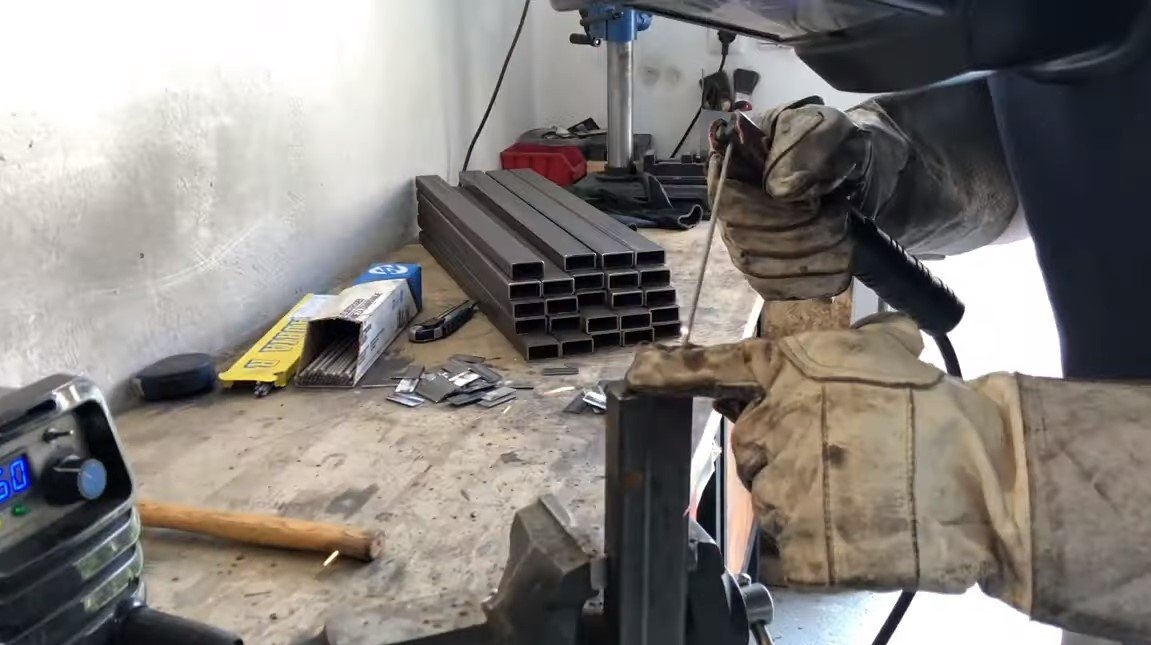
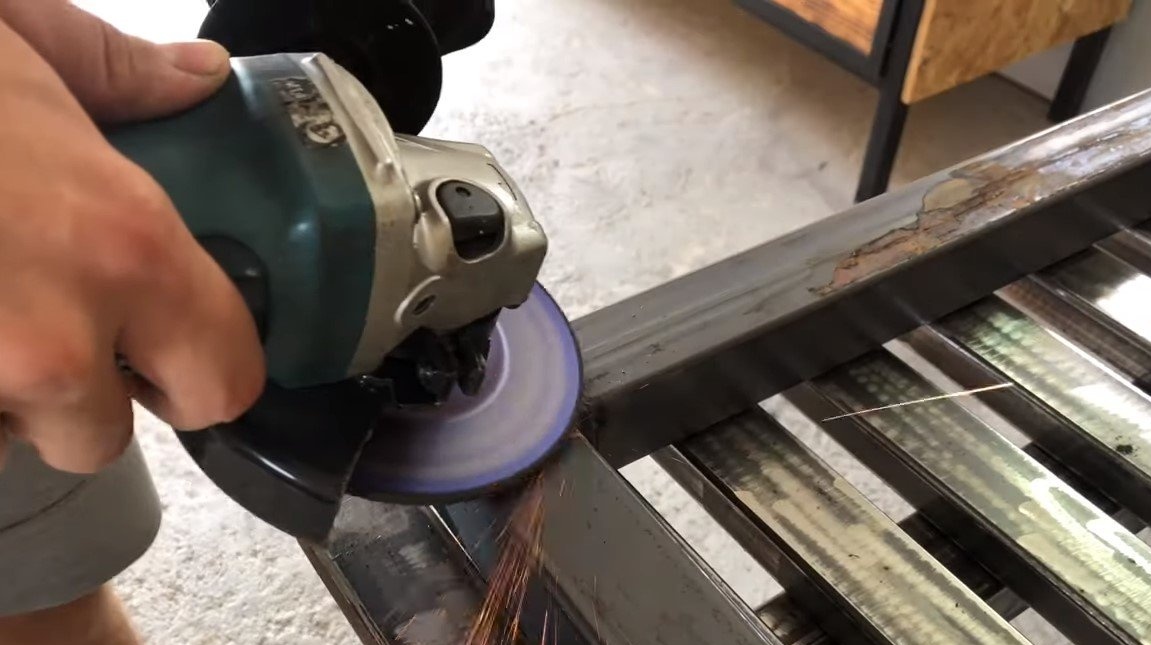
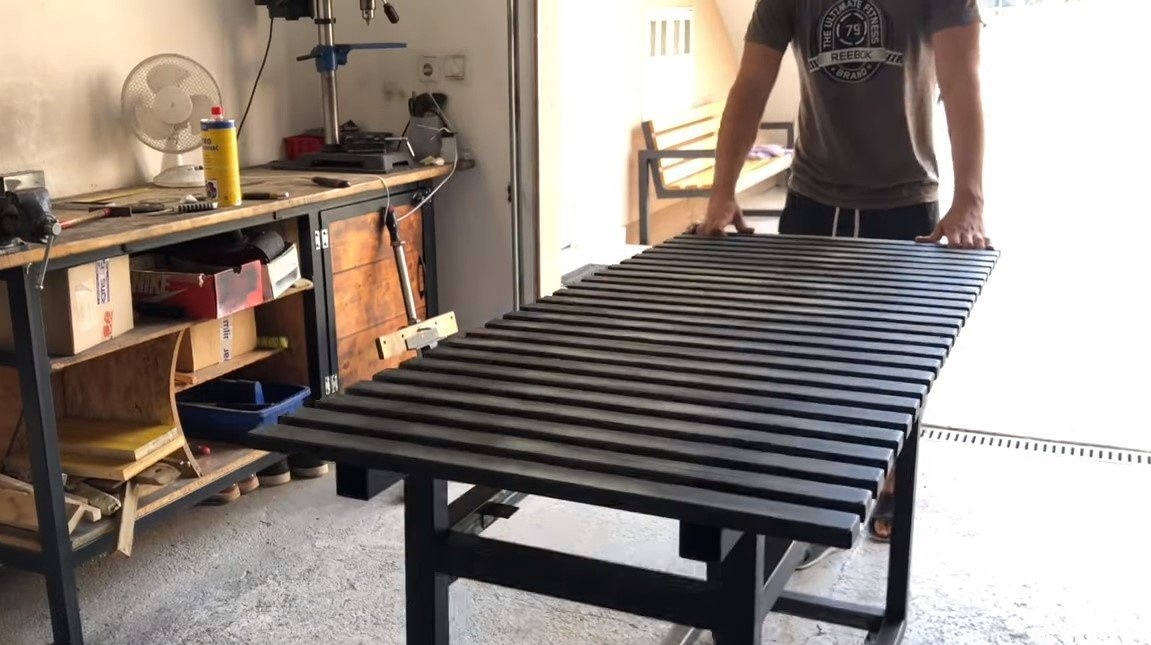
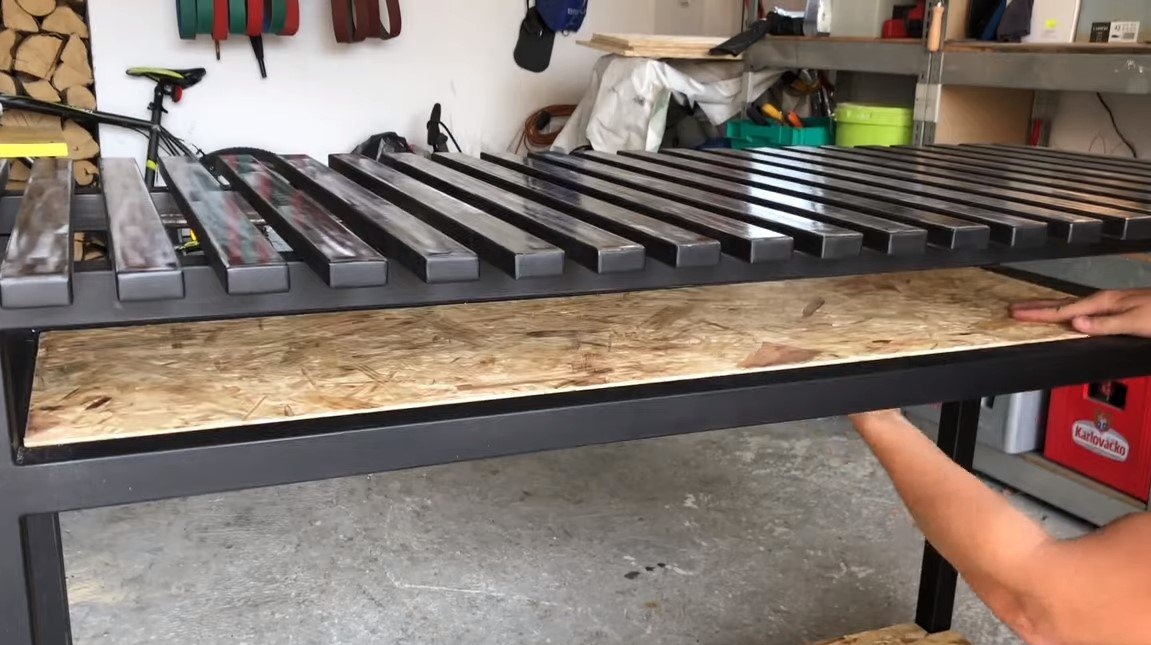
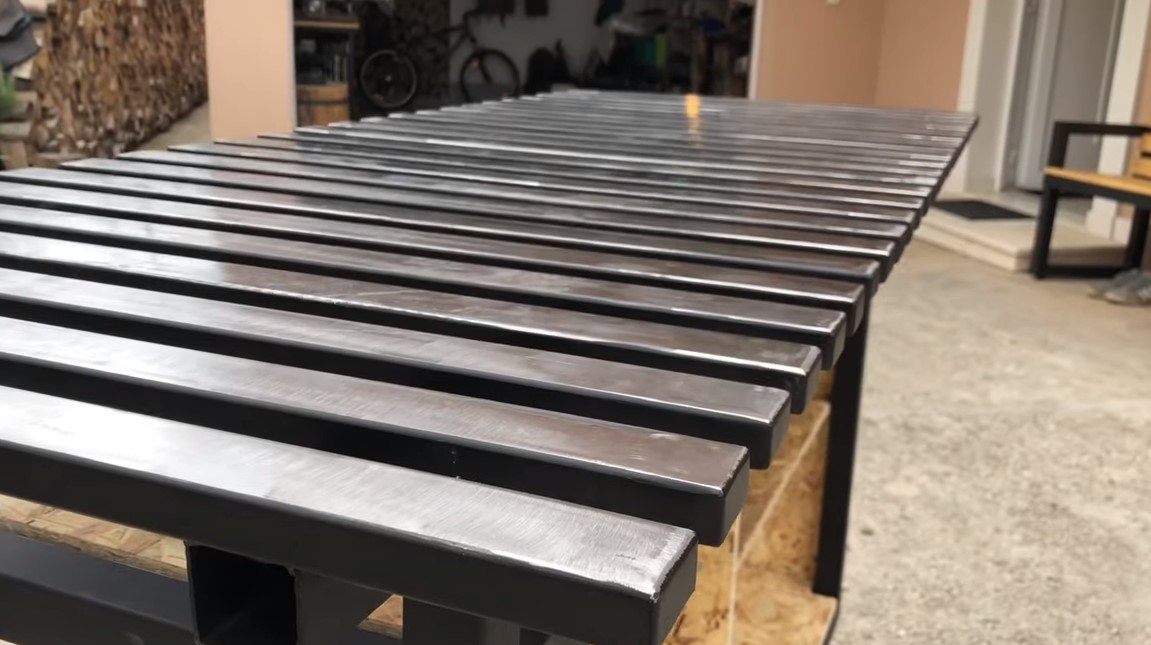
First of all, we cut the right amount of materials for the manufacture of countertops. It is made of two components, this is a lot of pipe sections directly for the trellised worktops, as well as two more pipe pieces as a base to which everything is welded. The author cuts the pipes with a grinder, it is long and inconvenient, since it is necessary to cut from two sides. It would be nice to have a miter saw or similar machine for cutting pipes.
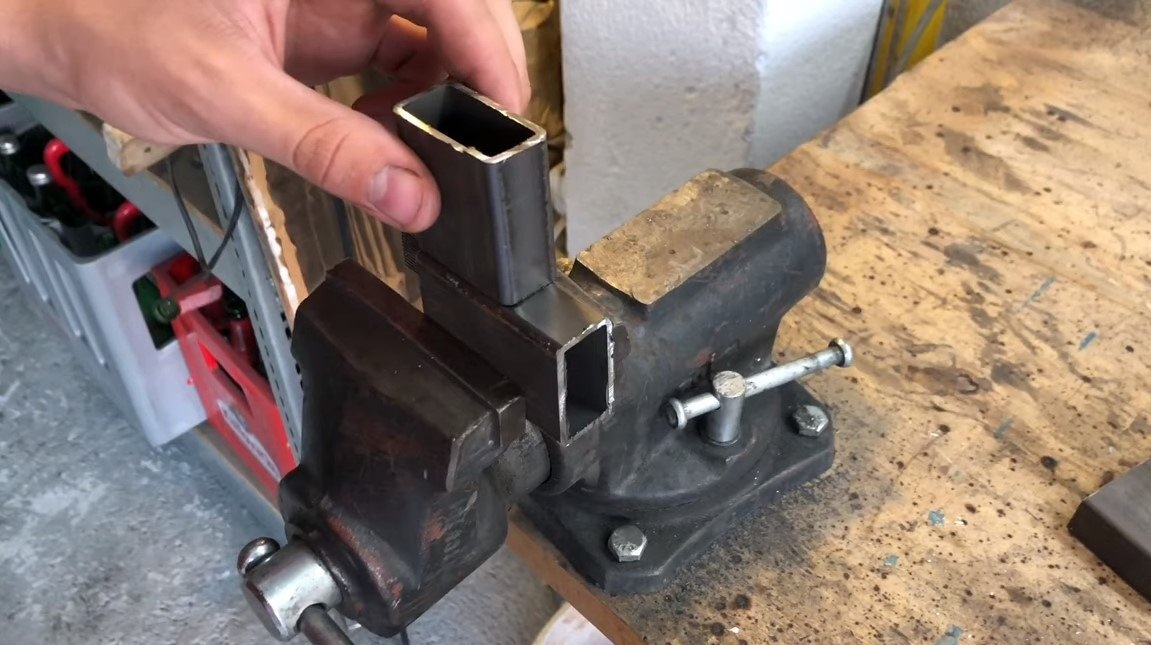
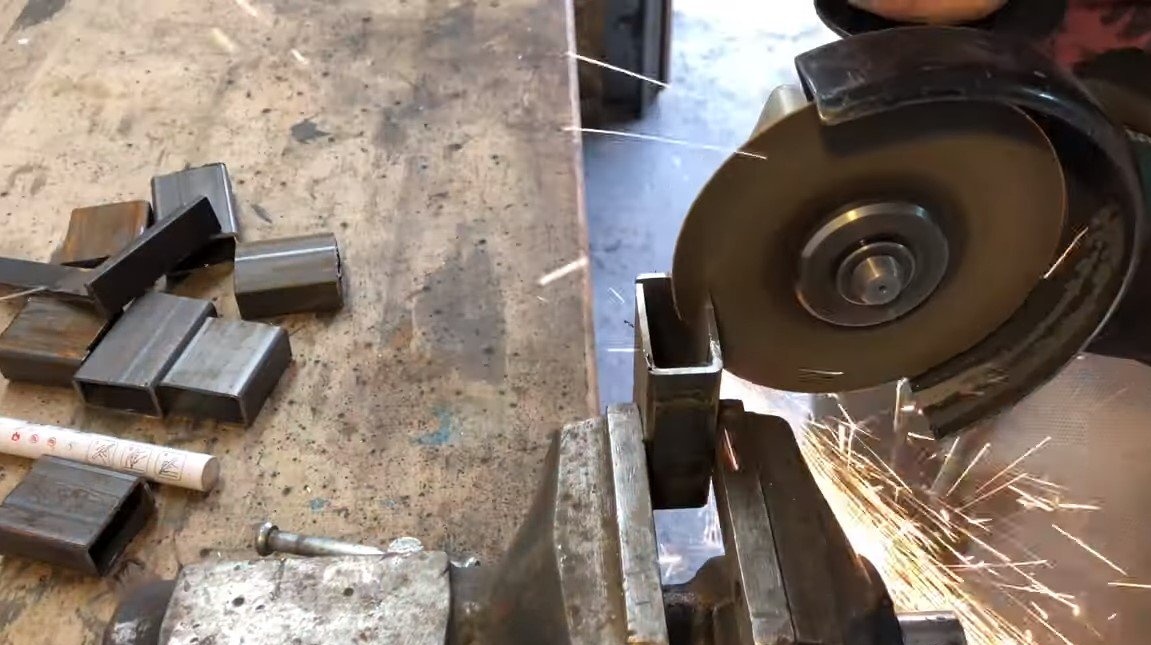

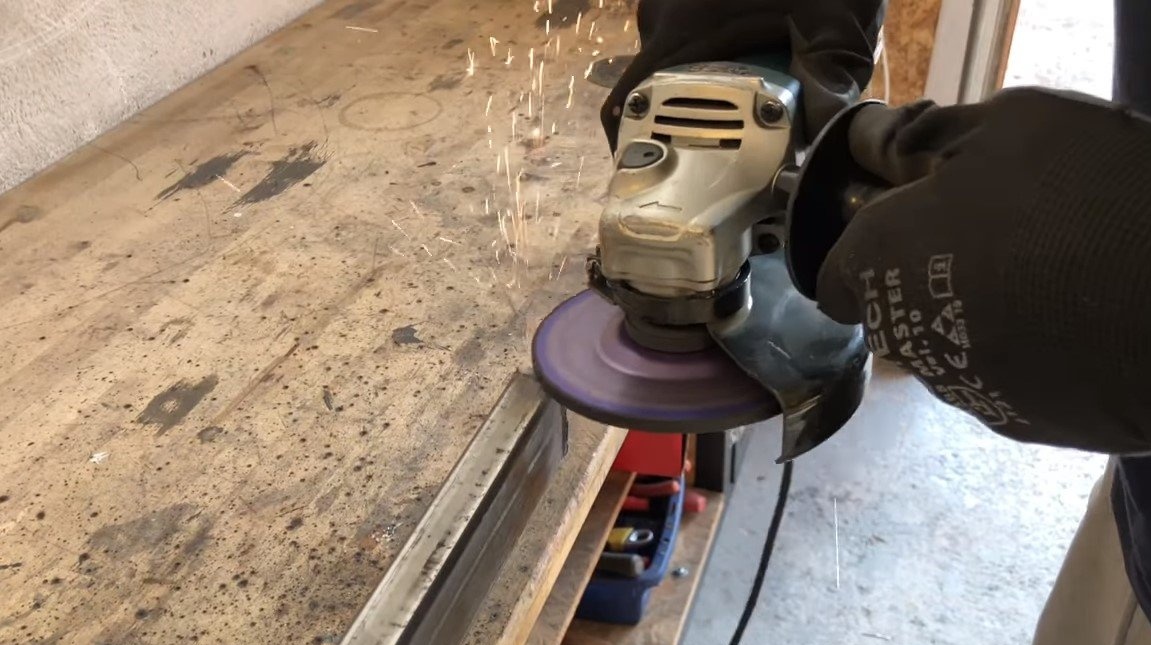
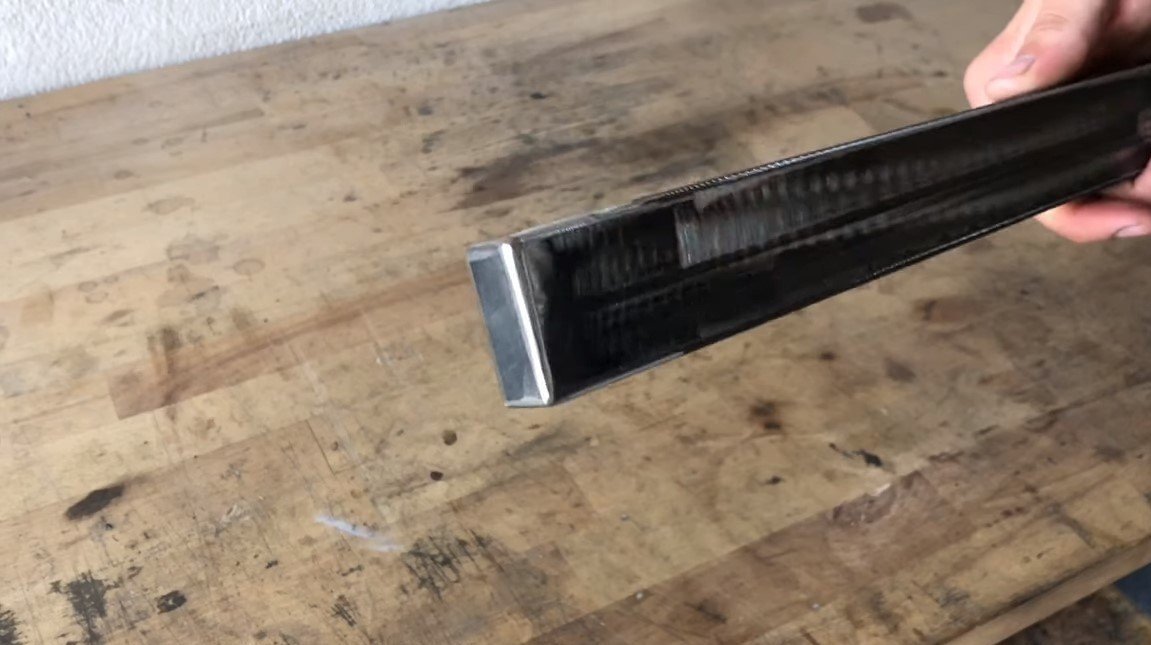
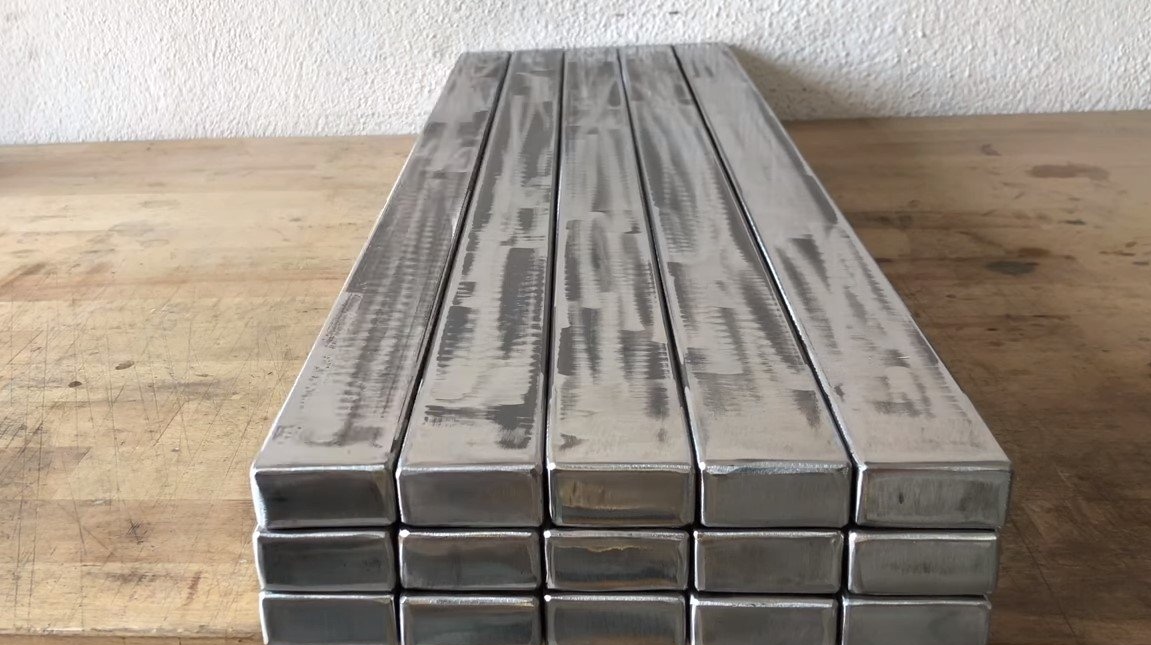
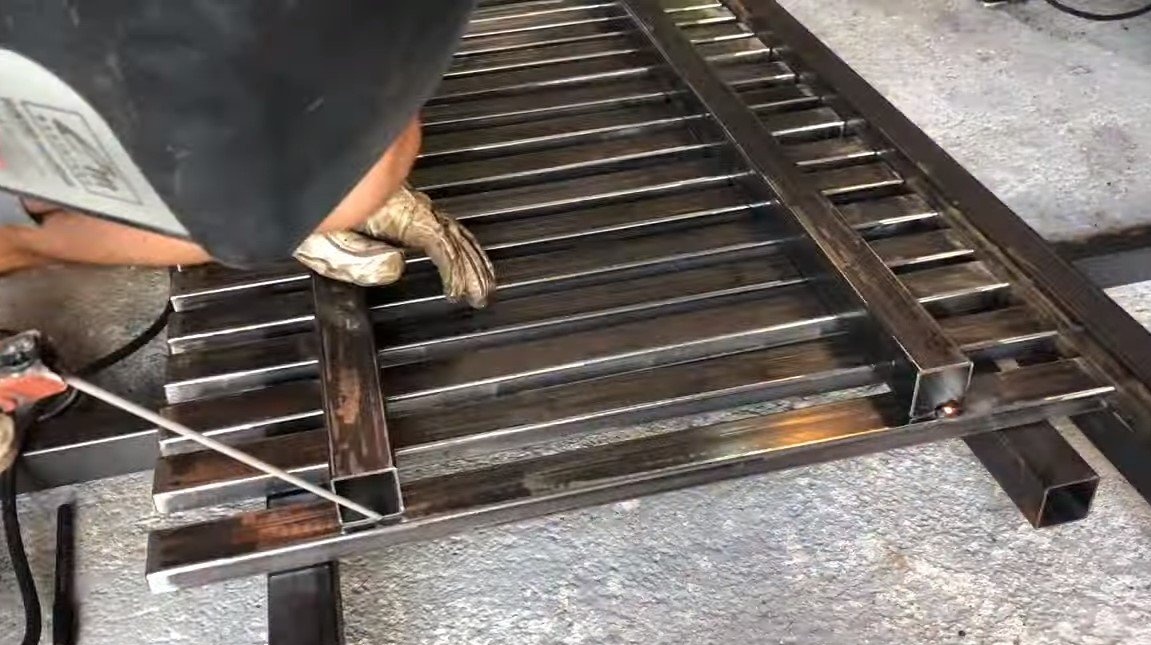
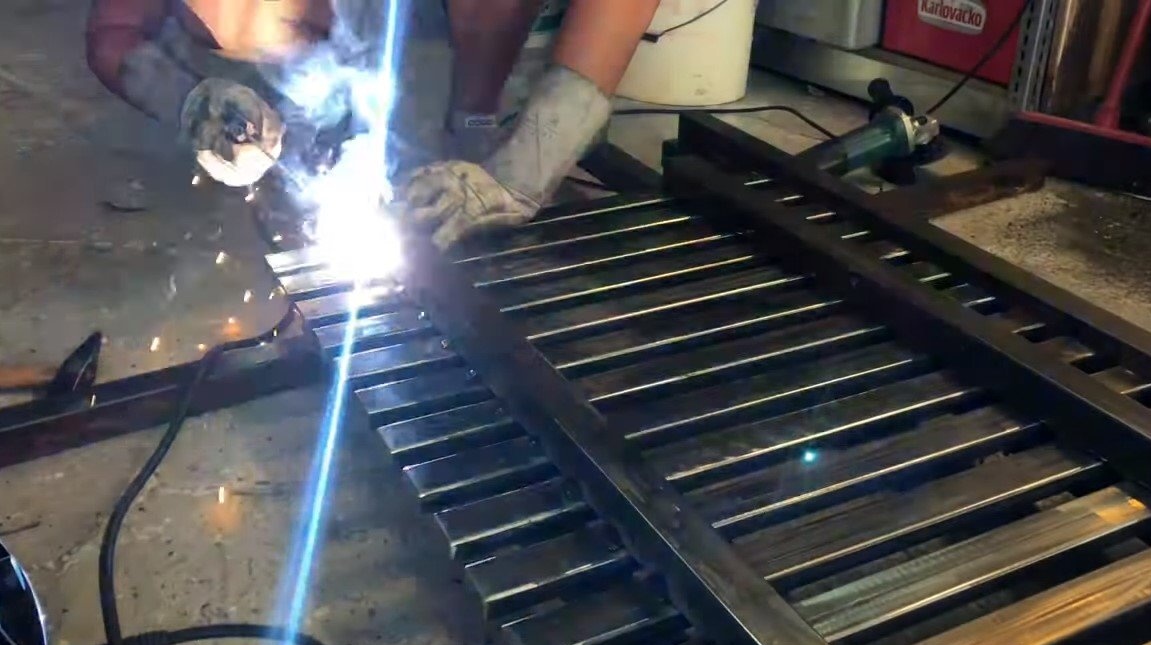
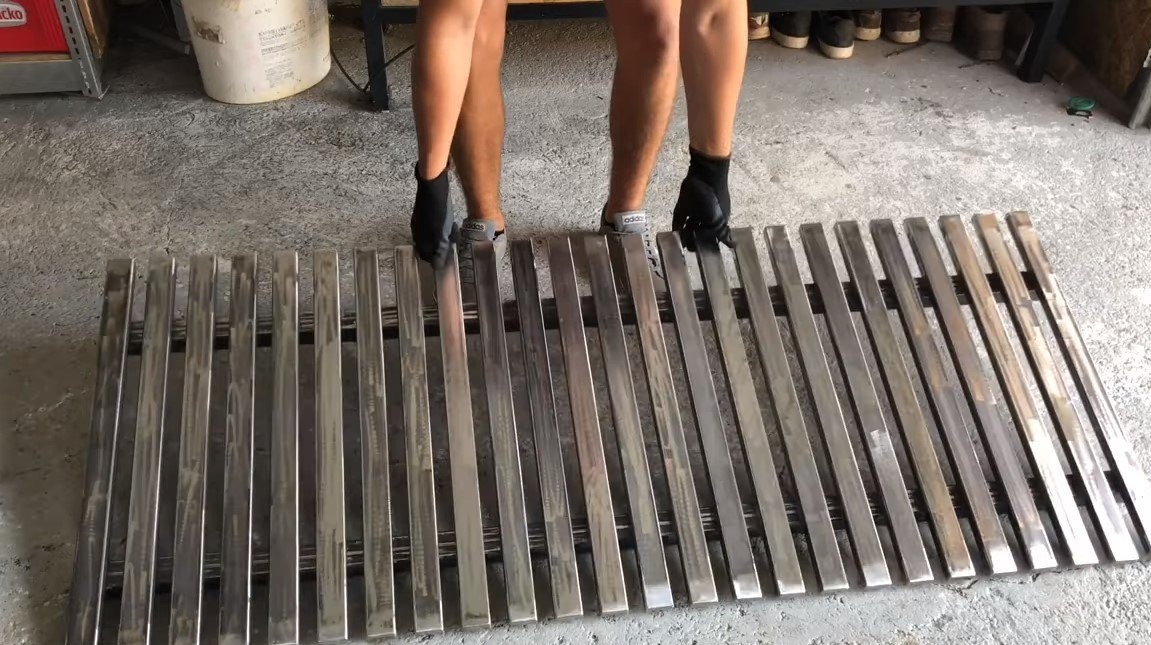
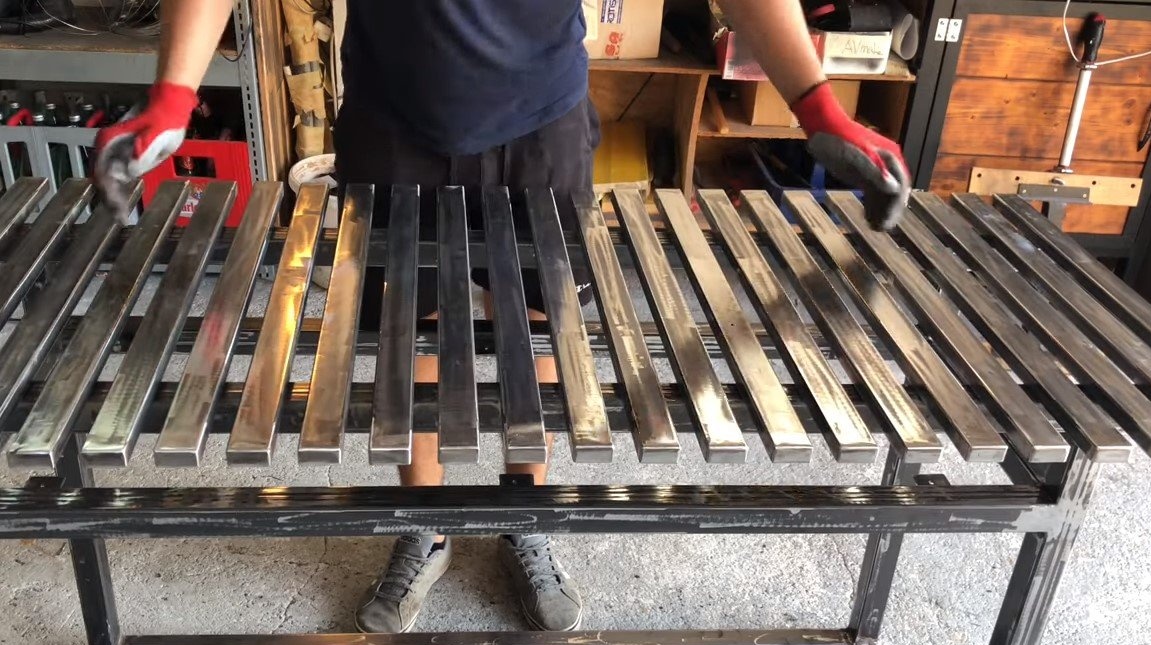
Having cut the required number of pipes, the author welded them to the ends with steel plates and thoroughly cleaned the welds with a grinder. As a result, it looked like a kind of ingots, which are actually light, since they are hollow inside. If you wish, you can simply put plastic plugs on the pipes, but everything will already look not so interesting. That's all, now from these blanks you can weld the countertop. At the end, pieces of pipes are also welded at the ends of the crossbars, as a result, the countertop receives a rectangular frame.
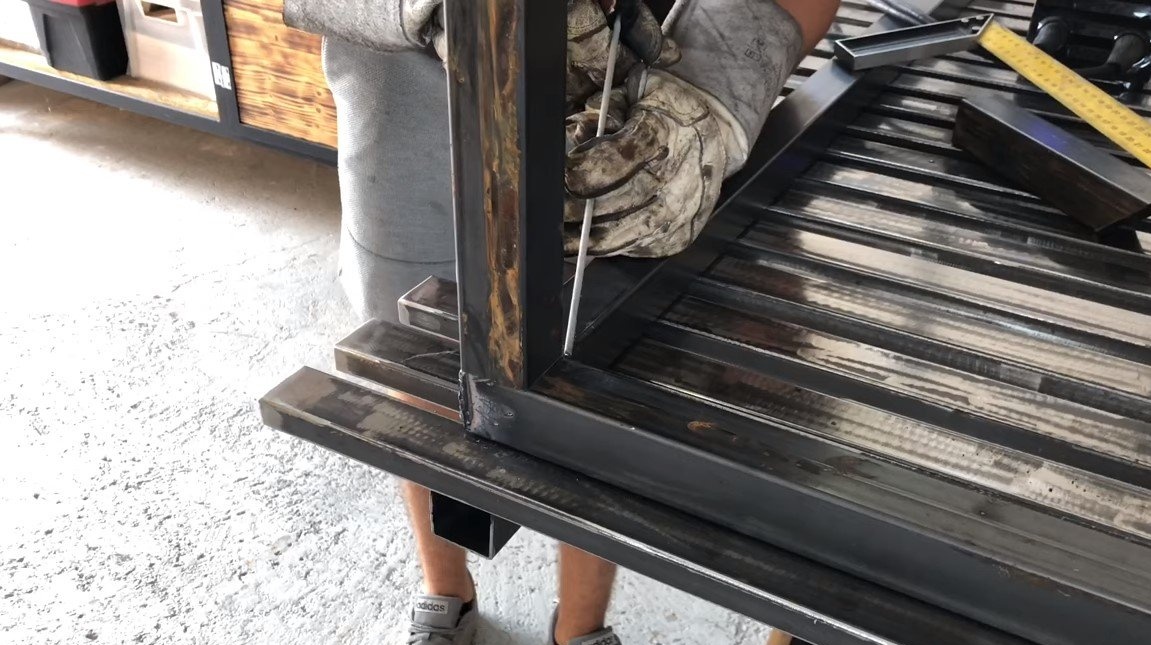
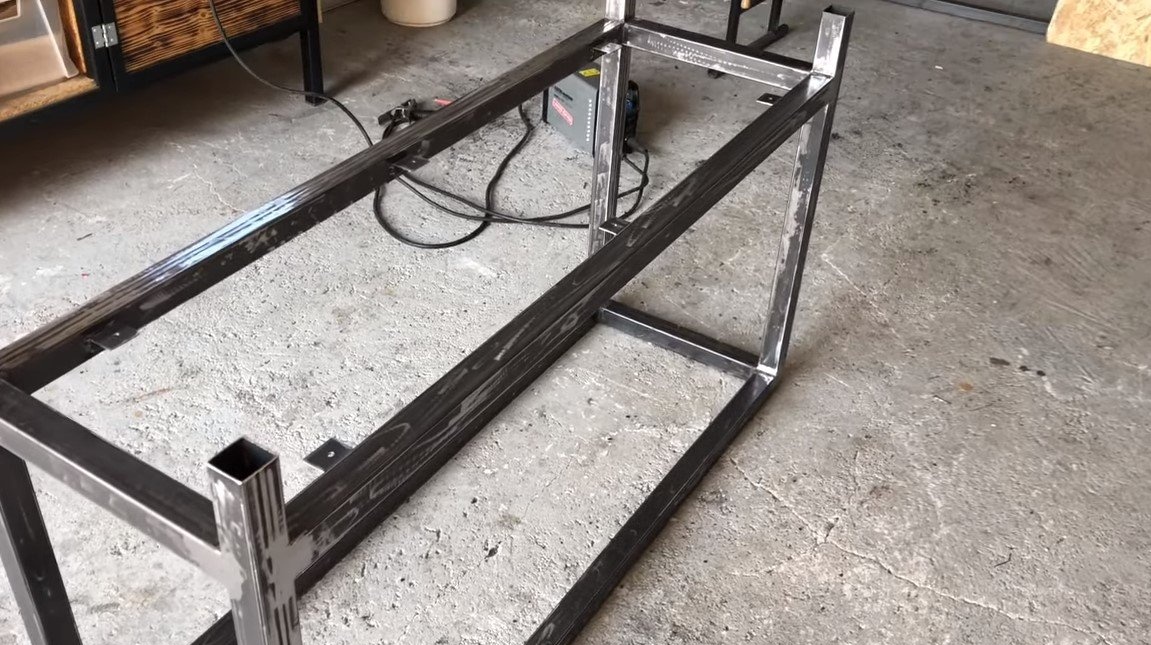
Step Two Frame manufacturing and assembly
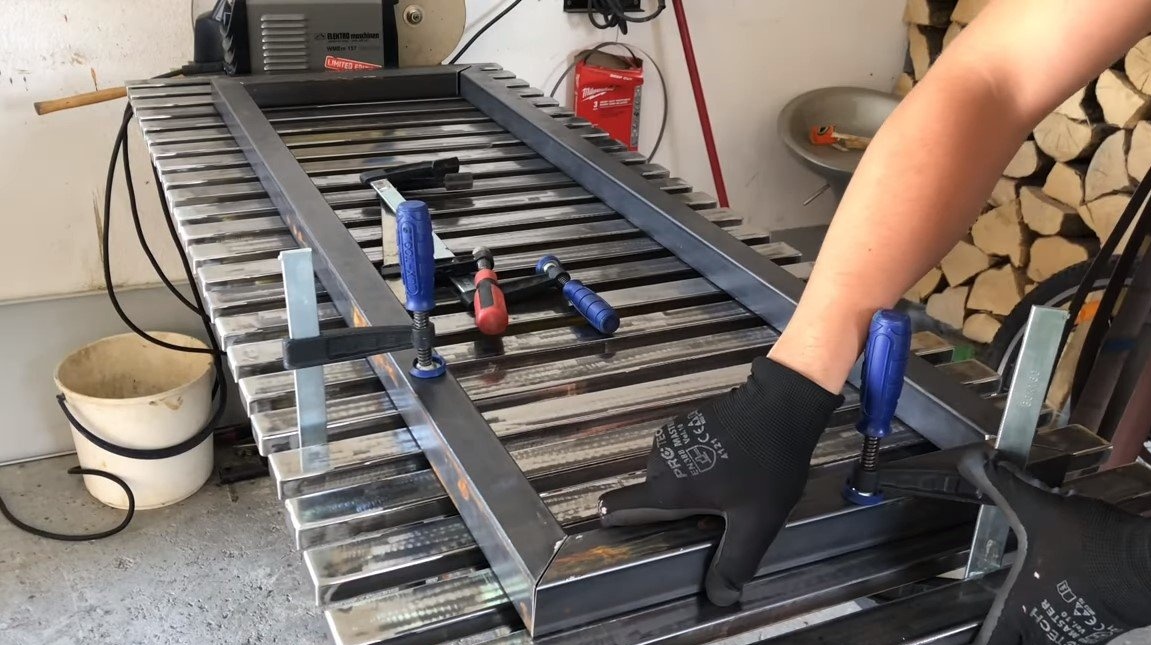
We assemble the frame for the table, here everything is already a little more complicated, since we need increased accuracy and compliance with right angles. Of course, if you have magnetic welding squares, and the material is even, it will not be difficult to weld the frame. Welds can be cleaned to make the product seem monolithic, so everything will look interesting. When the frame is ready, you can attach the countertop to it, you can simply weld it, or rather, fasten it with bolts and nuts so that the table can be disassembled in case of transportation.
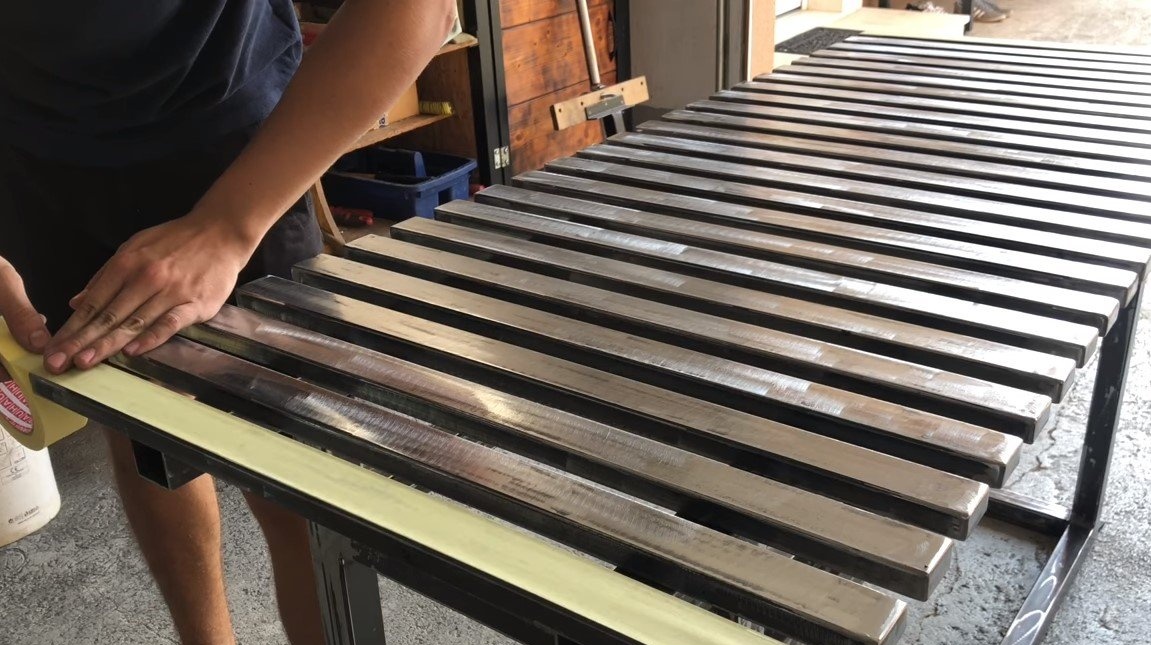
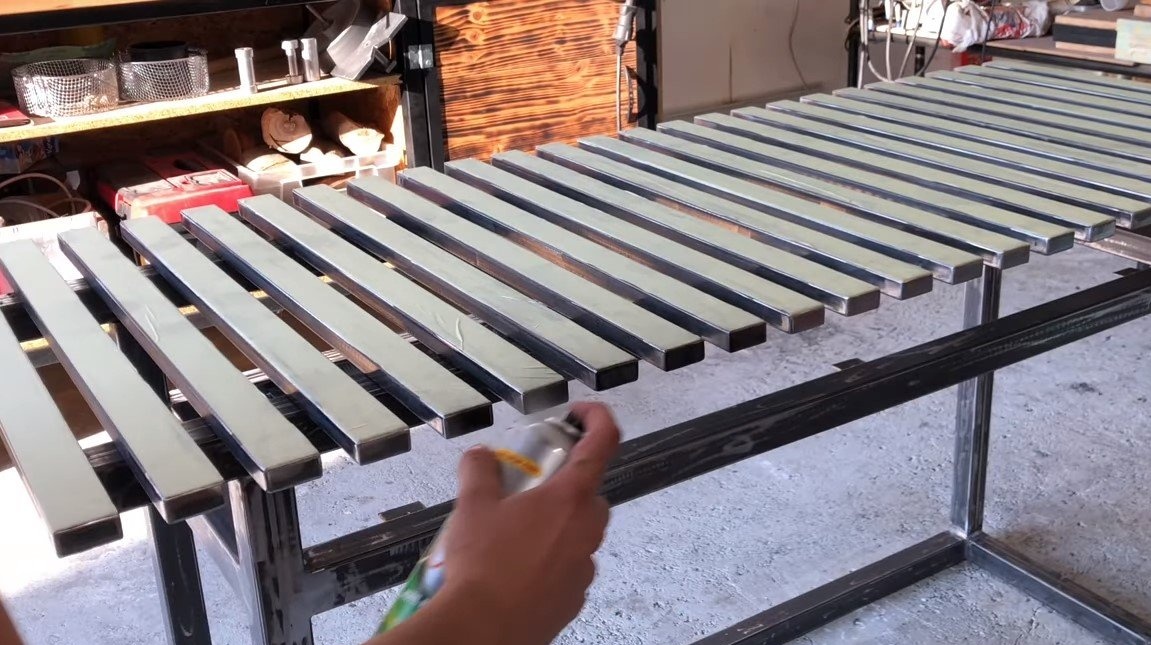
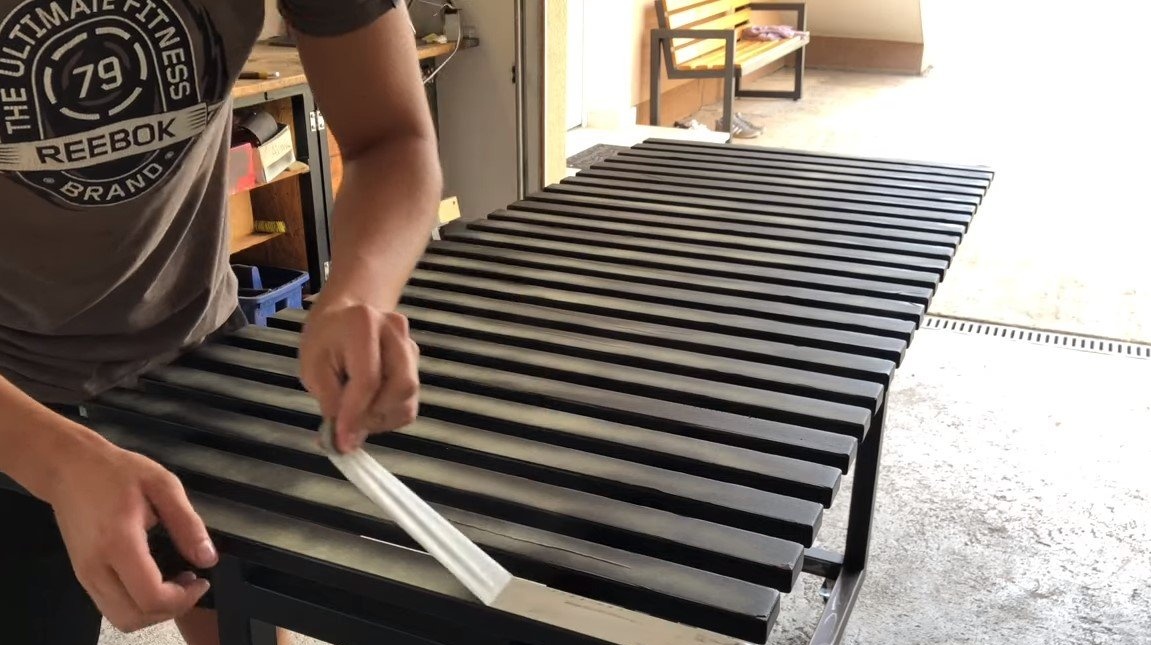
Step Three Painting
We paint the table together with the frame from the spray can, but it is important for us not to paint over the upper plane, since it must conduct electric current. The author sealed the upper part with masking tape. Of course, the steel will rust, so it would be nice to come up with a conductive coating. As an example, you can try to use a thin layer of graphite lubricant, it conducts current and does not allow steel to rust.
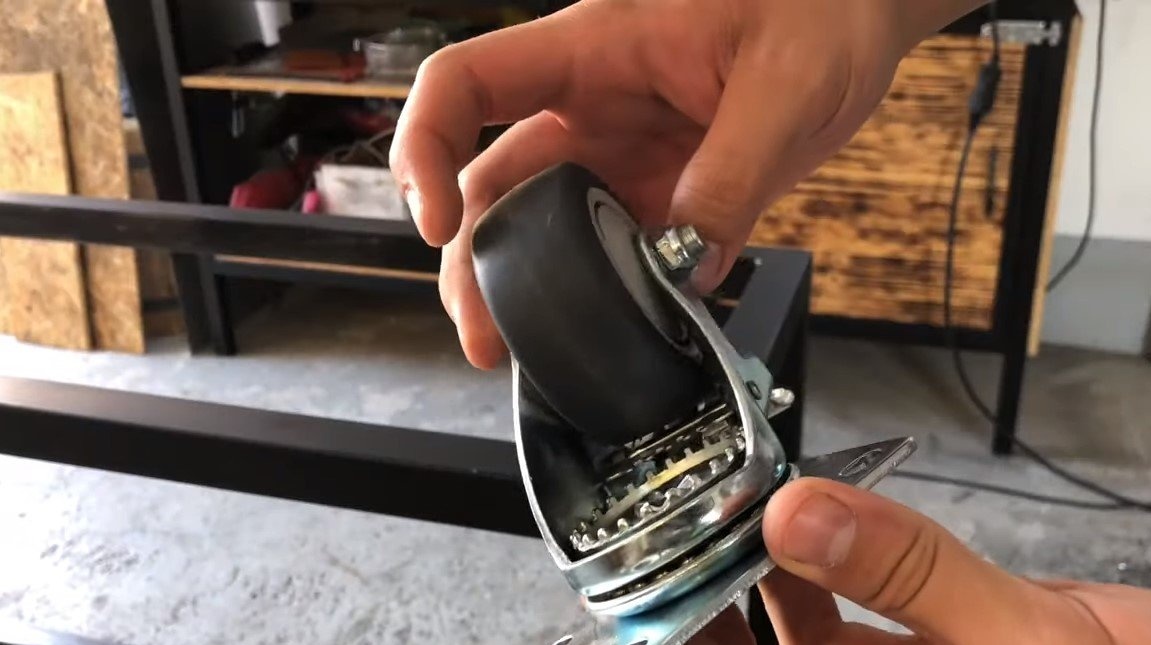
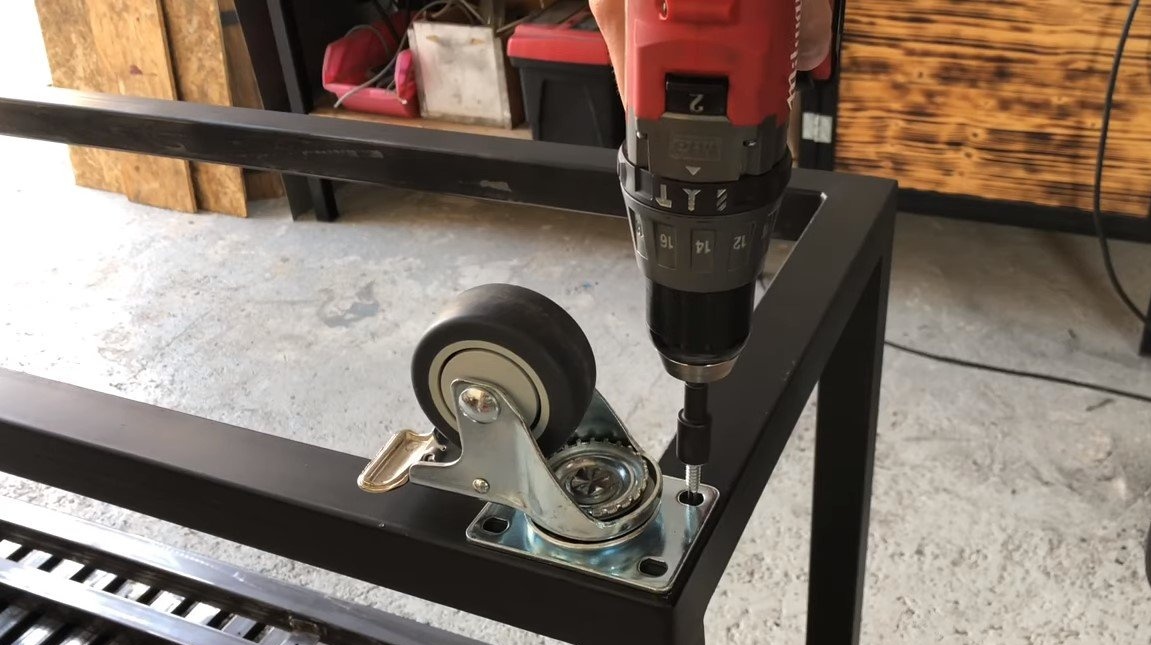
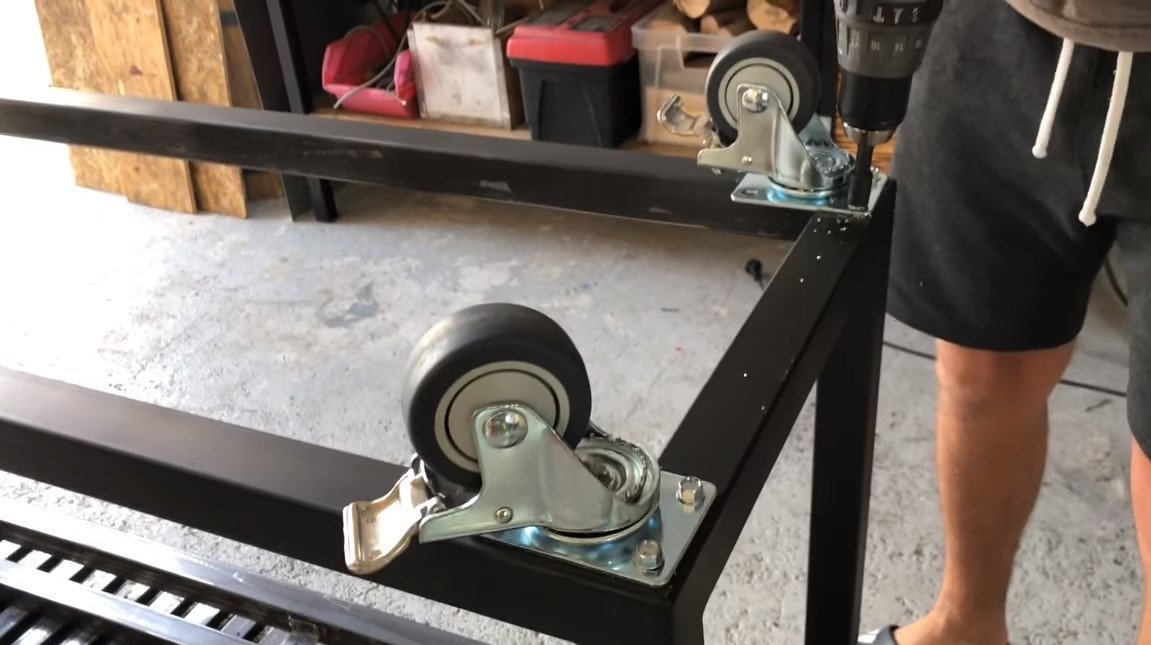
Step Four Castors
We attach the wheels from the trolleys to the frame of the table, we choose more reliable, since the weight will be considerable. Thanks to such legs, the table can be easily moved along with all the equipment and parts. The author screwed the wheels with "self-drilling" self-tapping screws.
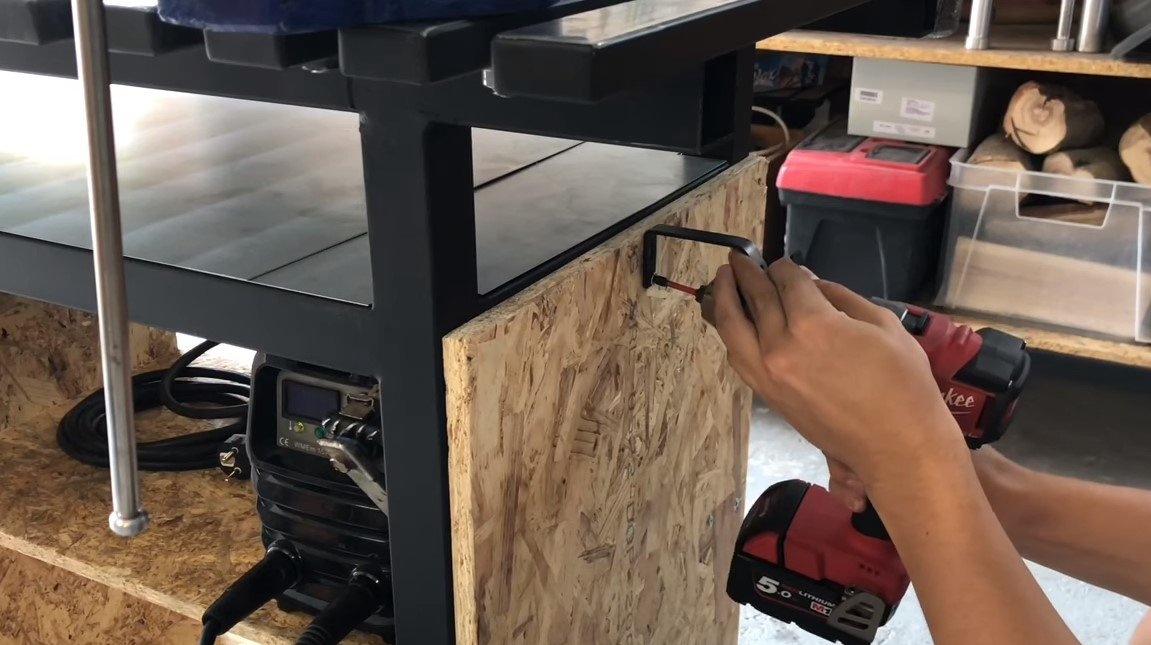
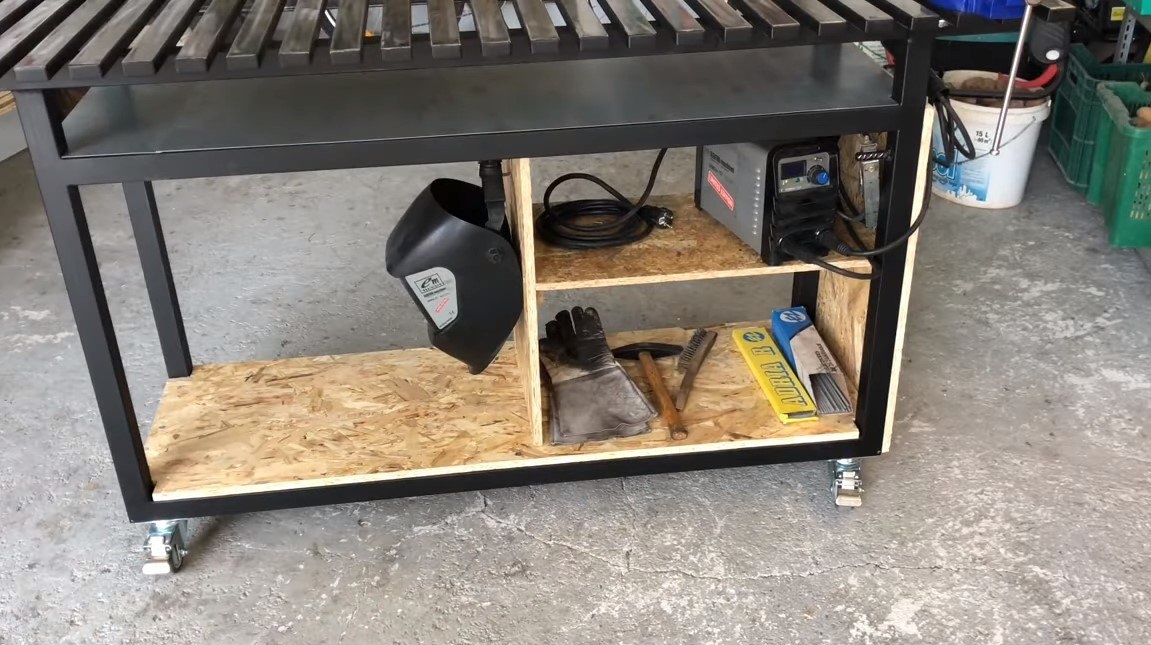
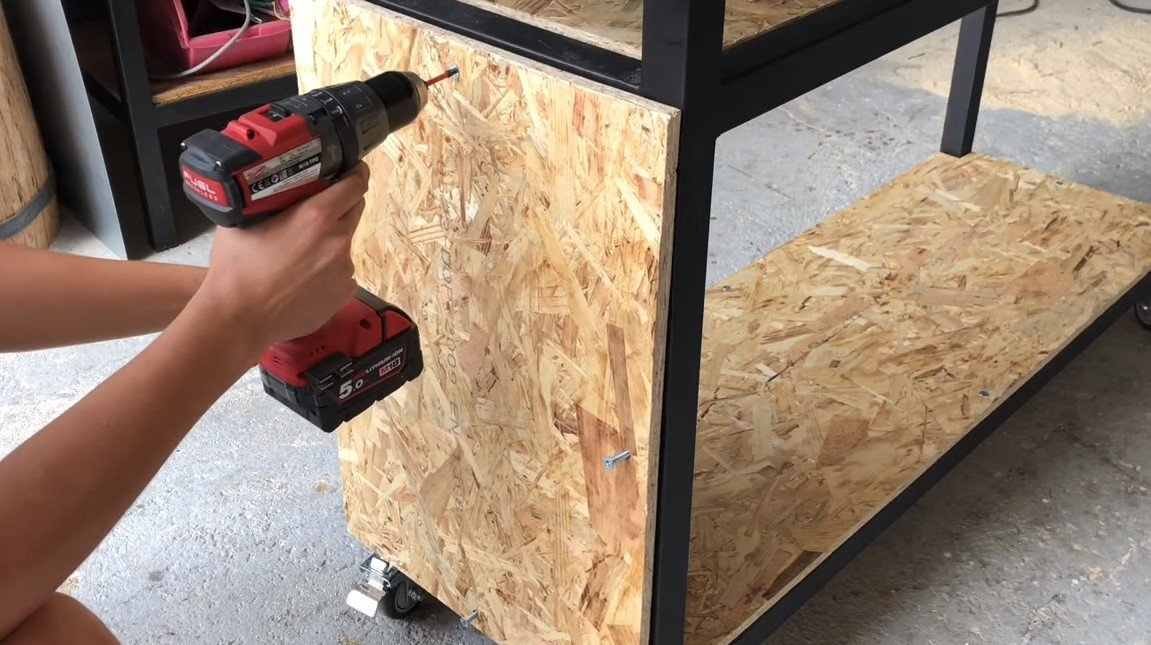
Step Five Shelves and walls
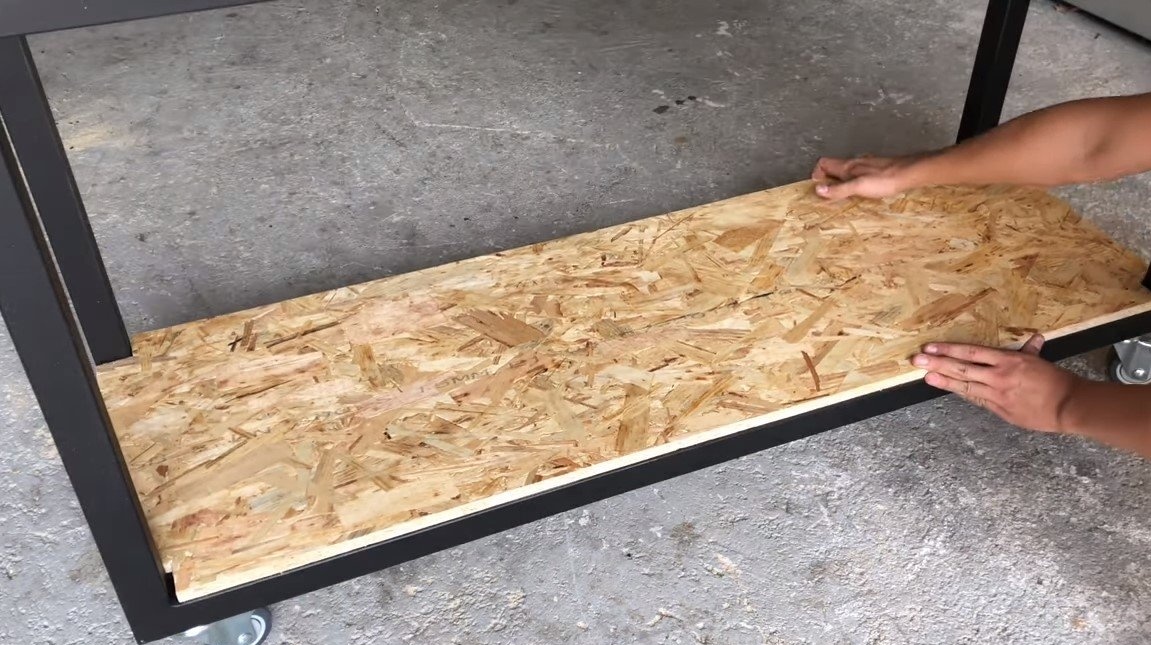
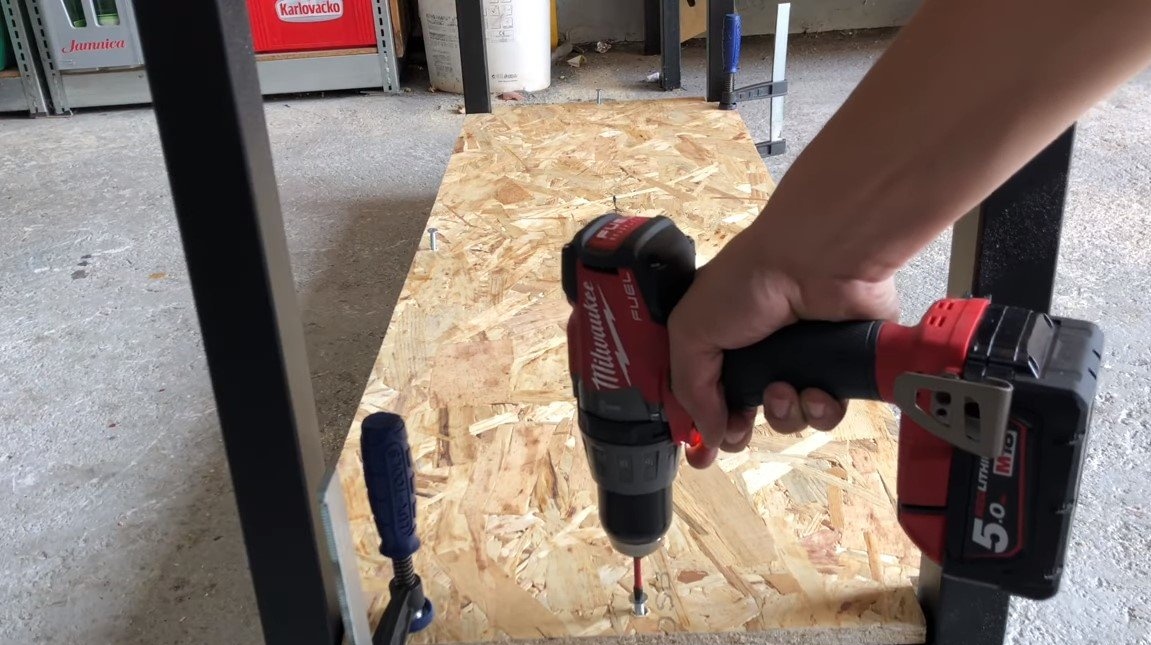
Cut into the shape of the wall and shelf for the table. The author used OSB as a material, it is relatively cheap and quite durable. We fasten the sheet material with screws for metal or self-tapping screws.
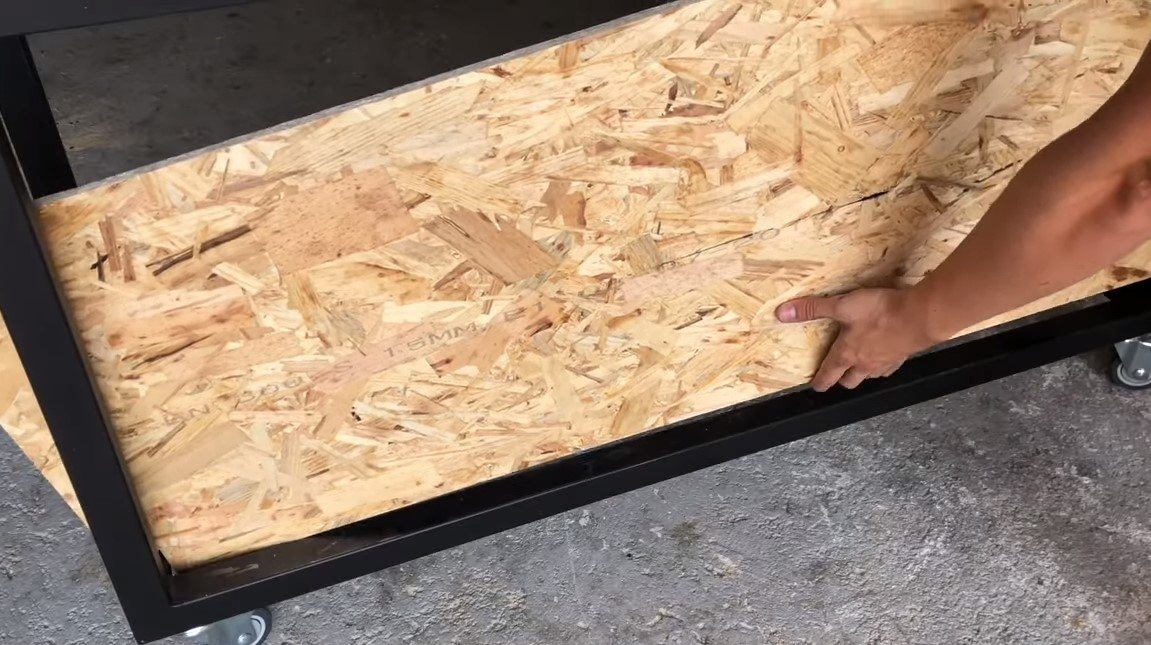
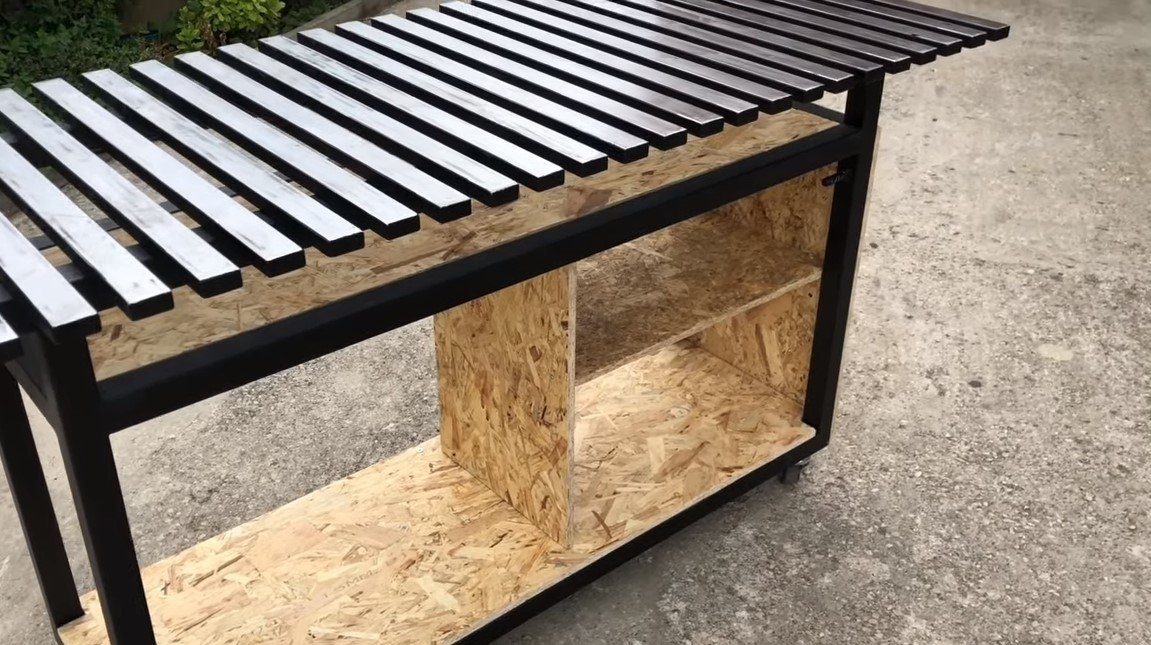
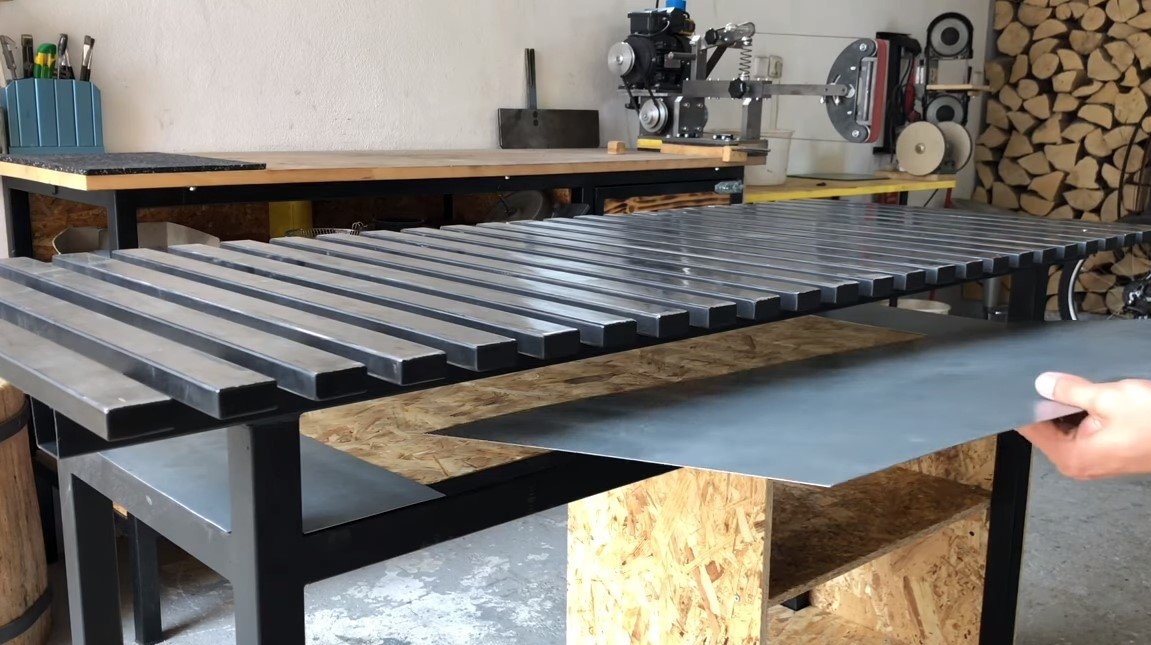
The shelf directly under the countertop is a pallet, slag, red-hot steel and so on will fall here. To prevent debris from setting fire to the tree, cut out inserts from sheet metal and put them on top. When a lot of garbage accumulates, you can simply pull out the sheet and throw out the garbage.
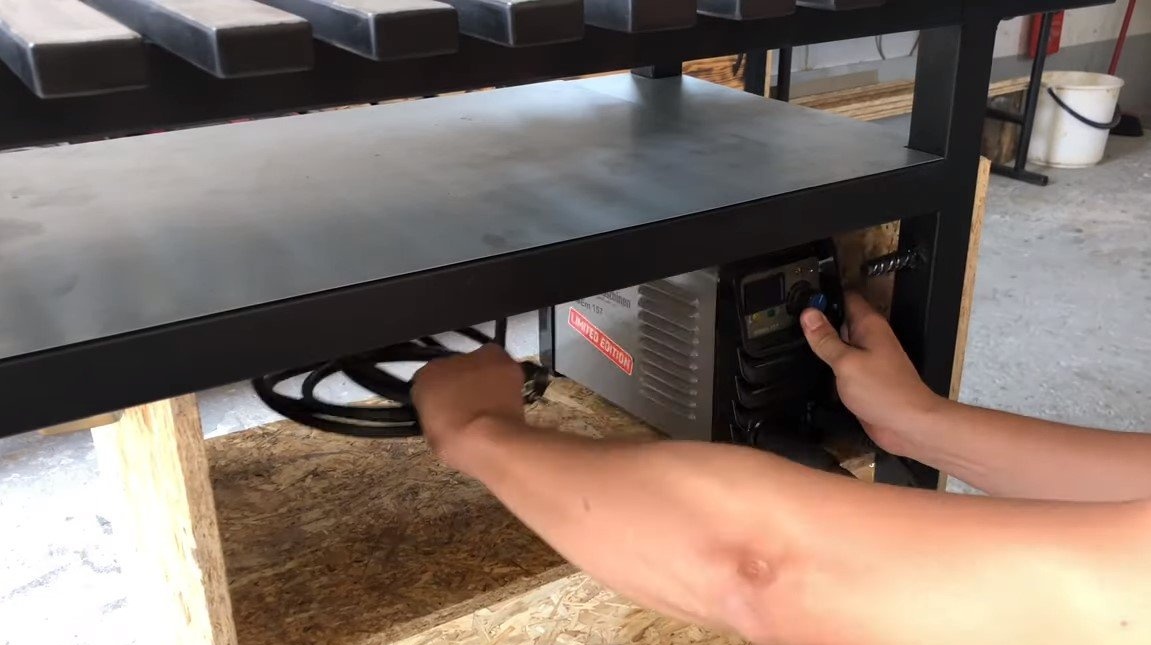
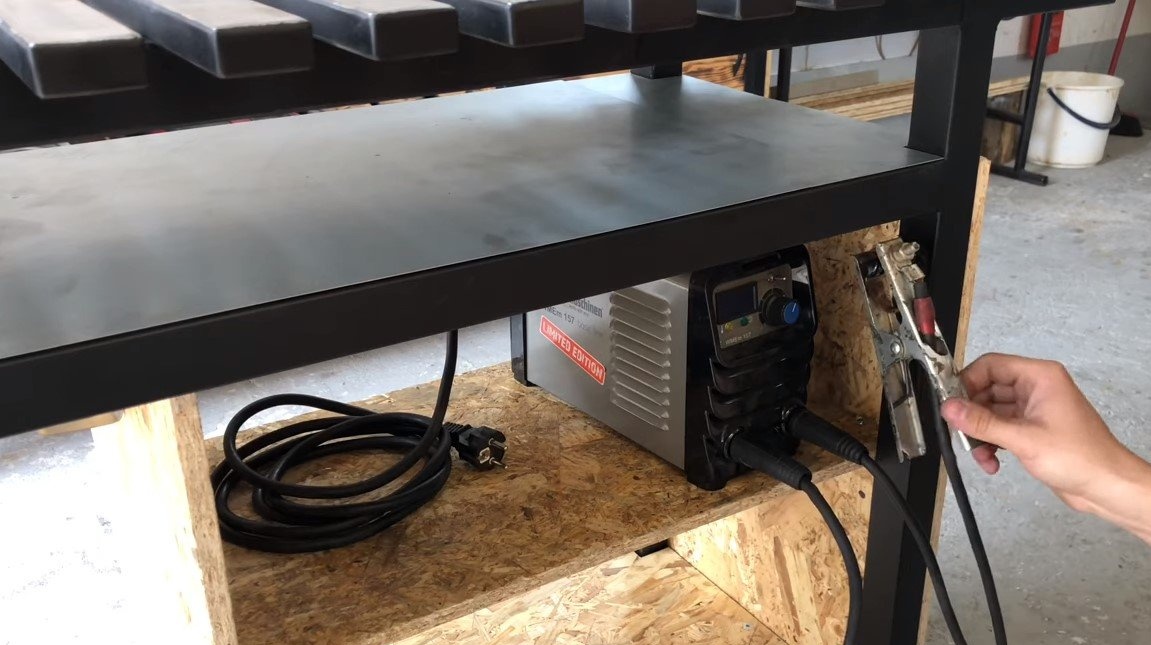
Step Six Equipment installation
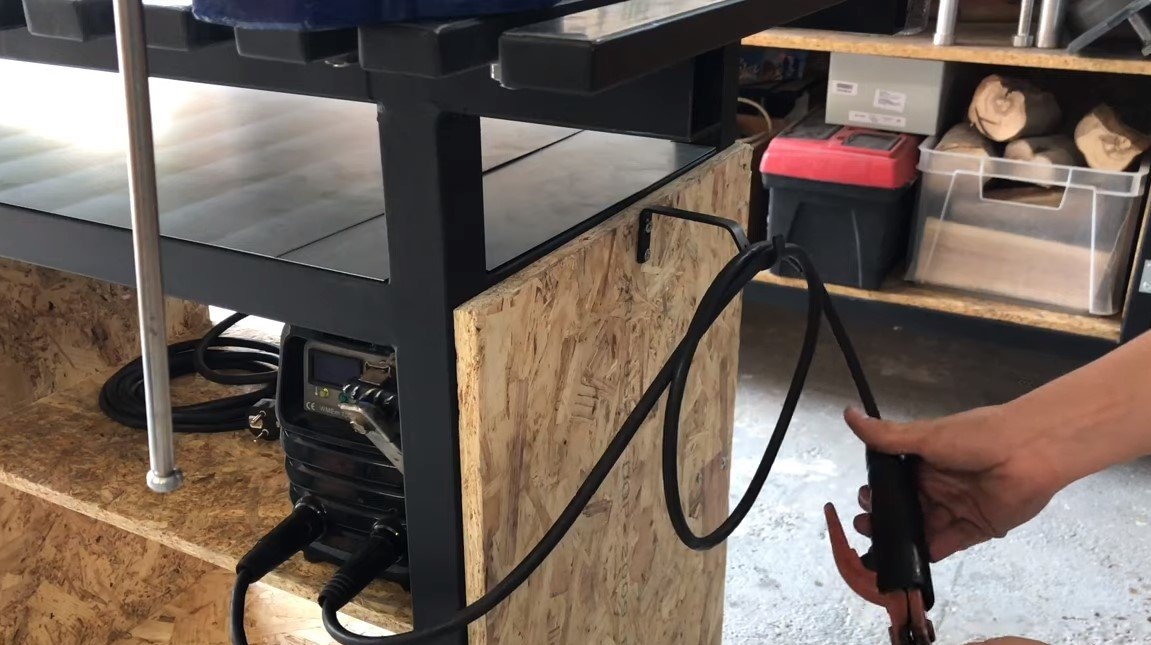
We install a welding machine in the compartment, we attach the mass to the table, the author has welded a piece of reinforcement for this. Under the “positive” wire, the author made a hook on the side, it is convenient to hang a wire with an electrode holder here.
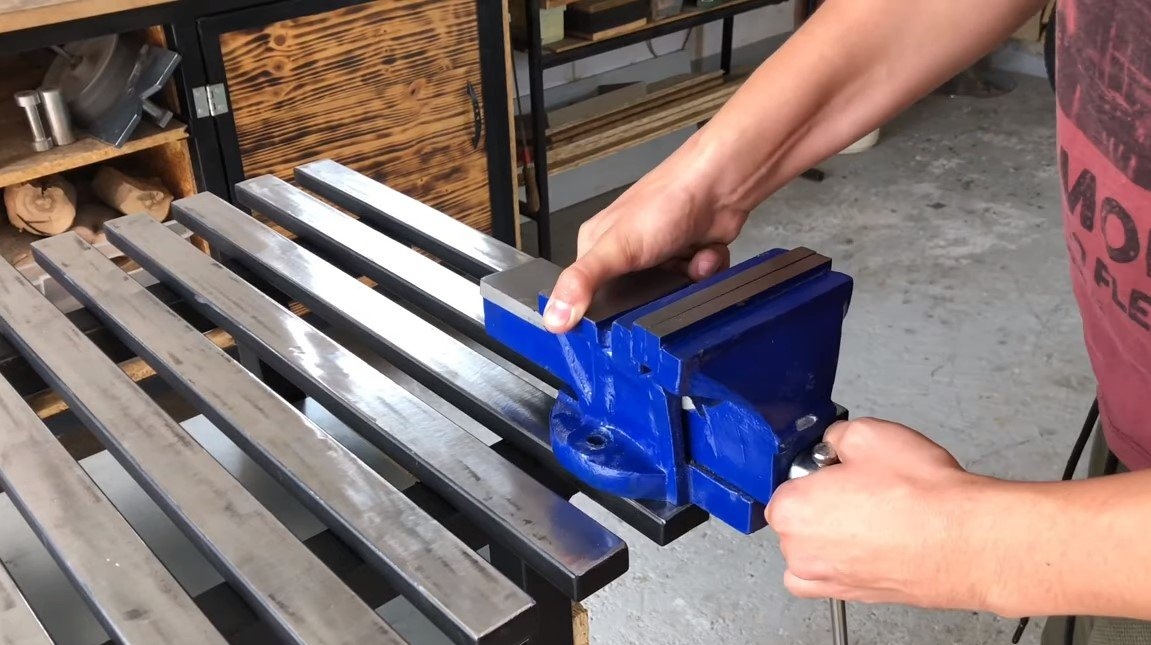
In addition, a vise, which is often needed for welding, was located on the table. Well, in the remaining compartments, you can put electrodes, a mask, as well as other equipment and even materials, there is enough space.
That's all, now the table is completely ready, the home-made turned out to be beautiful and useful. I hope you enjoyed the project and found useful thoughts for yourself. Good luck and creative inspiration, if you decide to repeat this, do not forget to share your ideas and homemade things with us!