Good day to all. Today the author of the channel "Country craftsman "will show how you can make a marking planer do it yourself. For this you need.
MATERIALS: A metal ruler, plywood, furniture nut (crab) and a bolt to it, screws.
INSTRUMENTS: Clamp, electric drill, vise, screwdriver, circular saw, square, marker and pen drill.
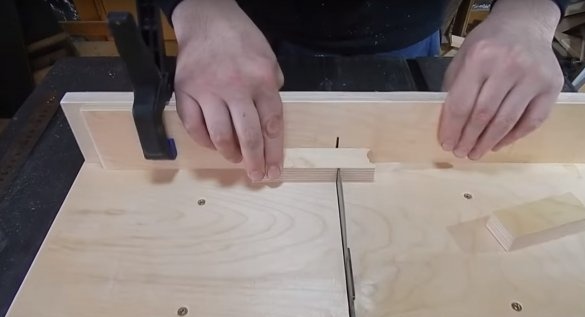
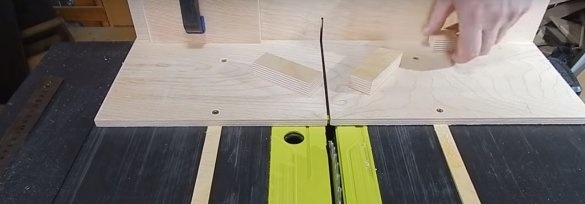
First of all, the author will cut two pieces of 18 mm plywood.
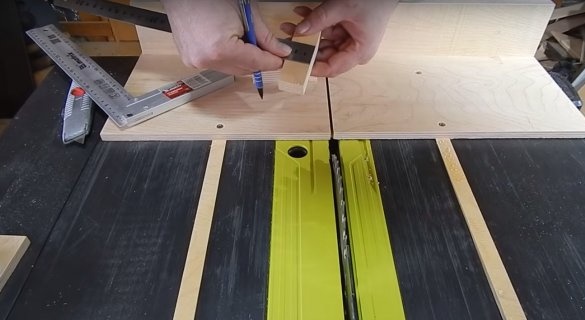
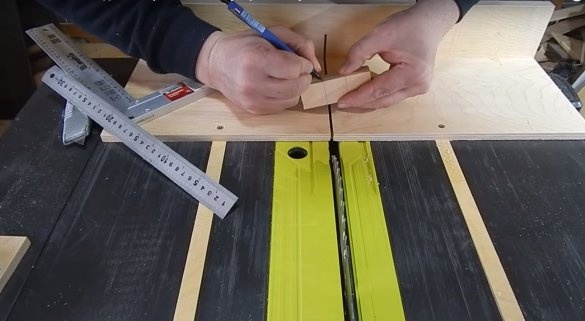
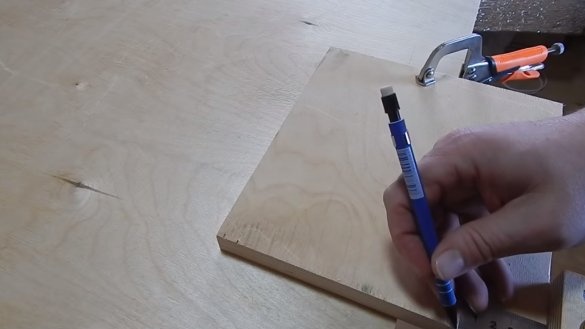
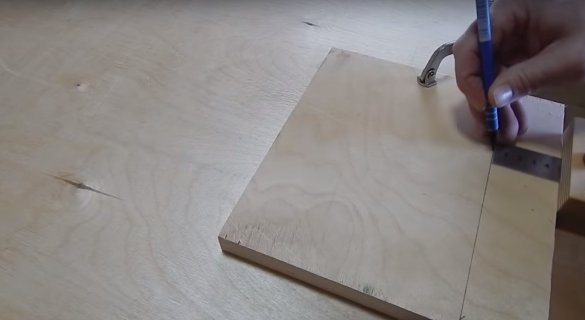
Then, on one of the blanks, he will take a measurement.
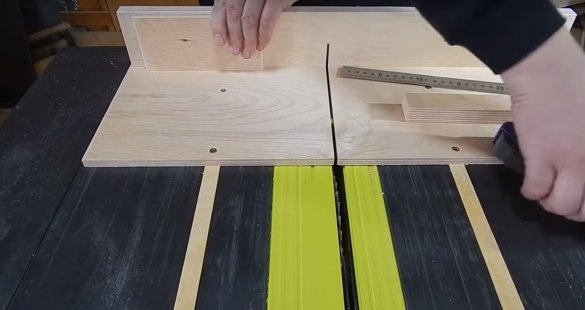
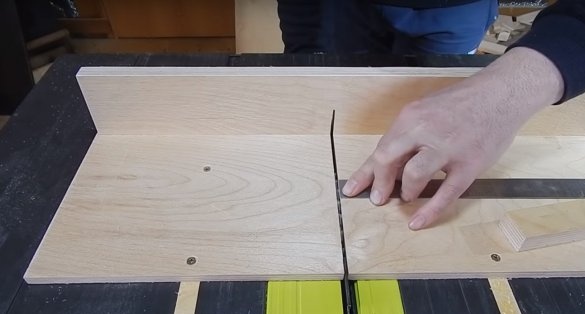
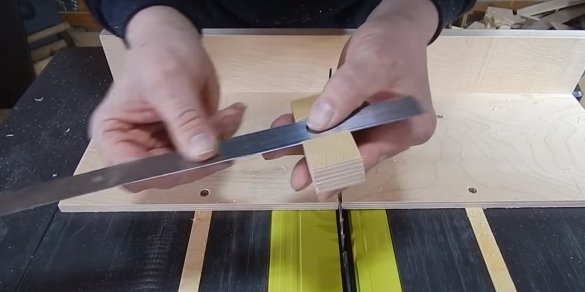
Then expose the saw blade, the thickness of the ruler.
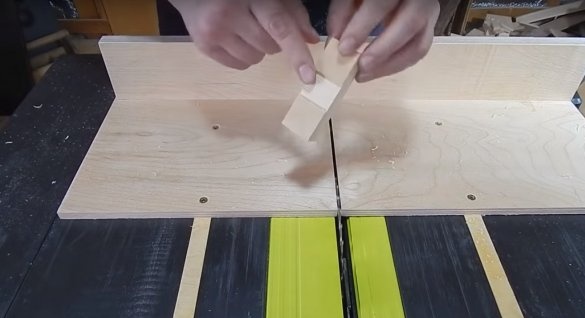
And on the workpiece will make a groove with a width equal to the width of the ruler.
Fitting.
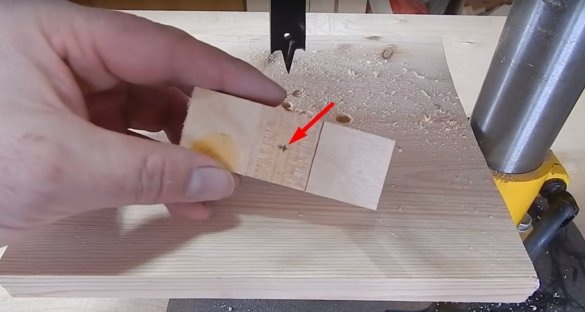
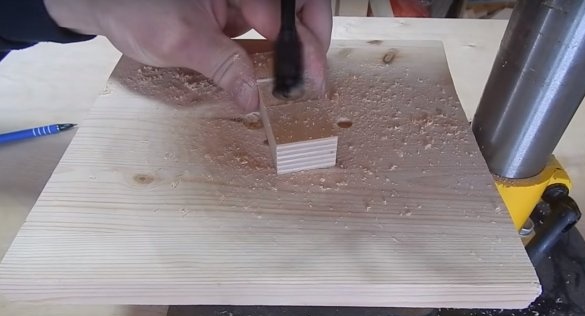
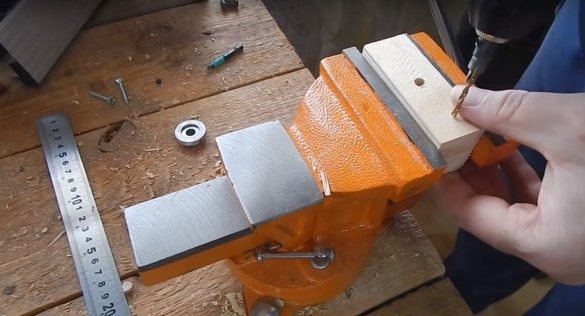
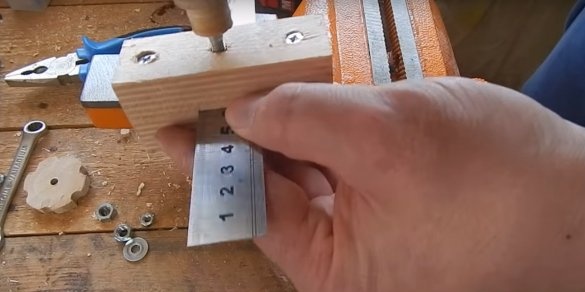
After, in the center of this groove, the author will make a hole.
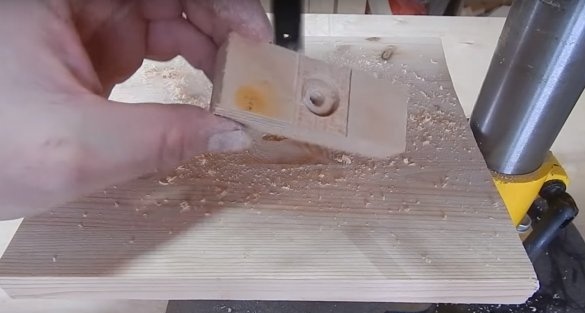
So it happened.
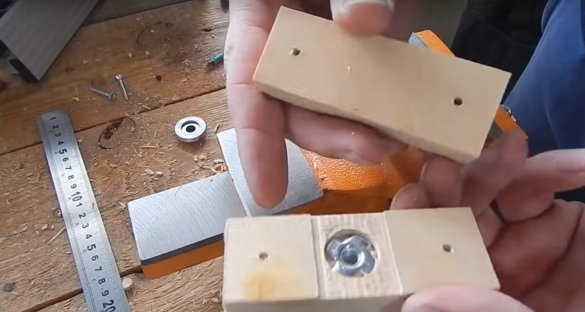
Then install the nut.
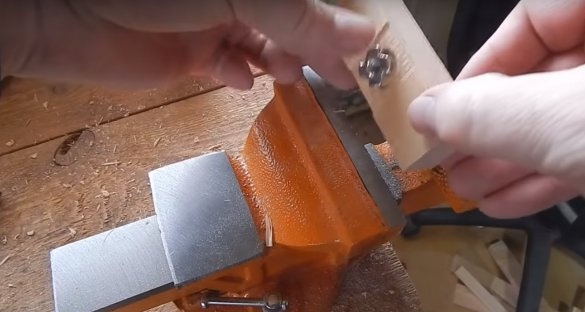
After that, using a vise and a suitable washer (which the master used instead of the substrate), press the nut well into place.
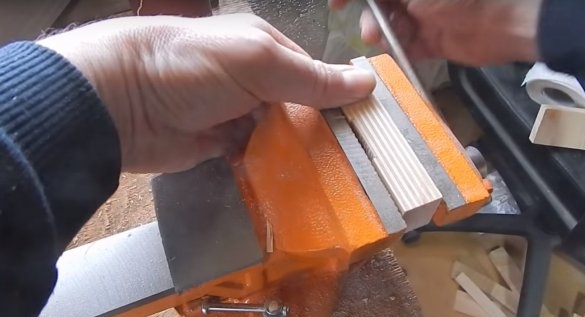
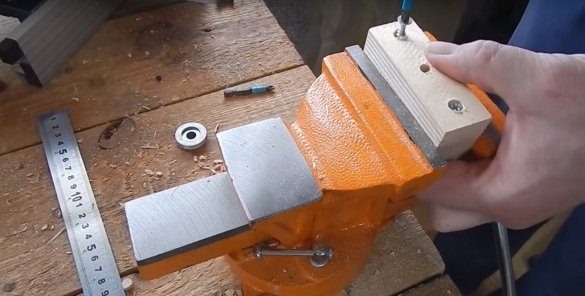
Further along the edges of the workpieces, he will make through holes.
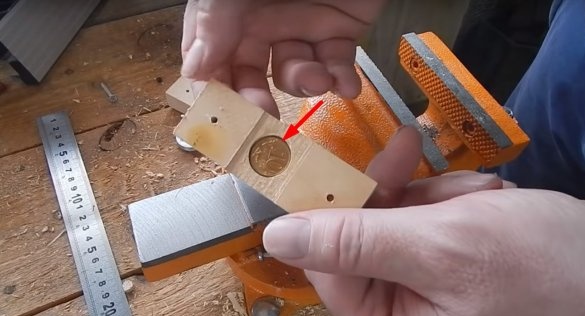
Further on the nut, the author set a coin.
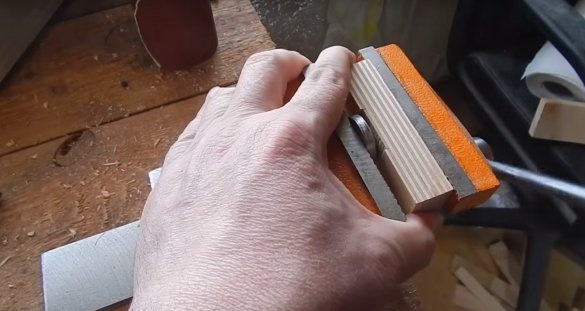
And connected the two blanks with screws.
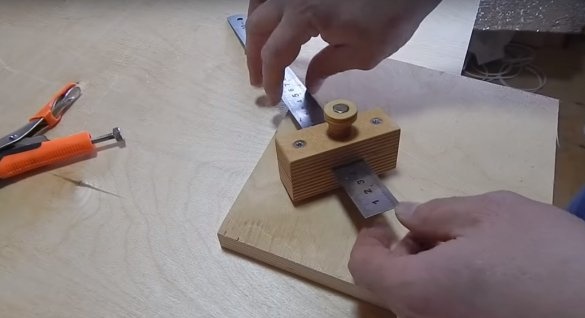
After installing the ruler in its place.
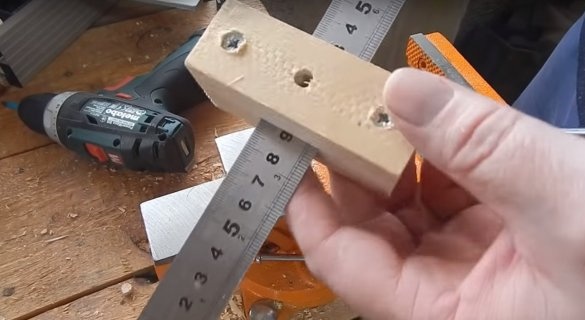
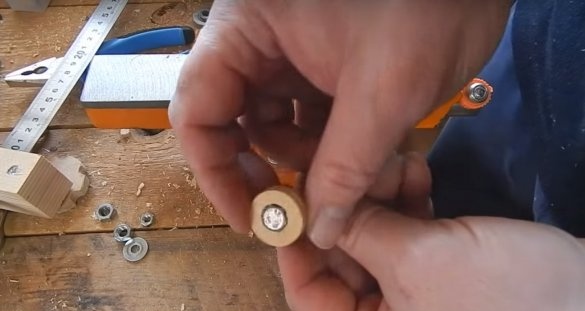
Then he made several washers from plywood and mounted them on a bolt. This bolt will fix the ruler in the desired position.
After, the bolt was installed in its place.
And all the home-made marking planer is ready.
Test finished tool.
Result: with your task homemade It does an excellent job.
Thank you very much to the author for useful homemade work.
And that’s all for me. Thank you all, and see you soon!

