I use the tablet daily - mainly to "travel" on the Internet. I check my mail, chat with friends on social networks, Instagram, Skype and YouTube. It’s not for me to explain how useful a tablet can be.
But holding it with one hand in front of you is often uncomfortable or tiring - the hand and neck quickly numb.
Having rummaged a bit on different Internet sites, I realized that buying a stand for a tablet is not difficult, but they cost a little, considering how simple they are made. So I decided that I would make the stand myself.
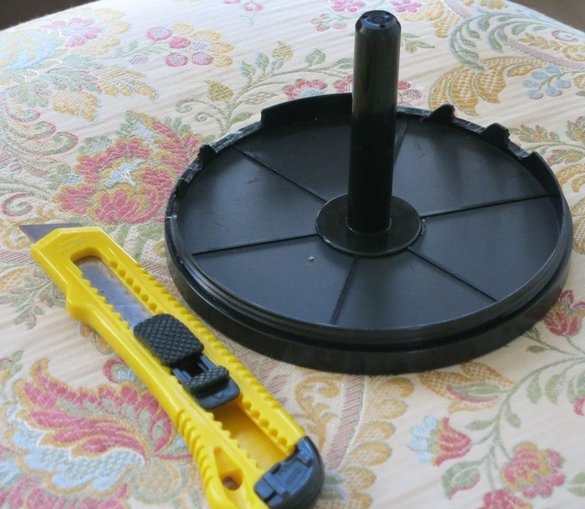
I did not want to go out of the house that day, go to the store for some materials, so I decided to build a stand out of the means at hand. I’m sure that many people have homemade CD-box - such a round plastic container with a lid and a pin in the middle where the discs are strung.
So, I took the usual six-slot cake box along the edge (see photo below). If you get tired of it like a stand for a tablet, you can always reuse it for its intended purpose. The changes that we will make with cake box will be minimal. The pin, which will support the tablet, of course, does not look very aesthetically pleasing. More savvy and less lazy readers will probably figure out how to decorate it. My boxing suits me the way it is.
Step 1: Materials
a cake box for CD / DVD discs and a knife for cutting paper (or any small sharp knife).
Step 2: First Notch
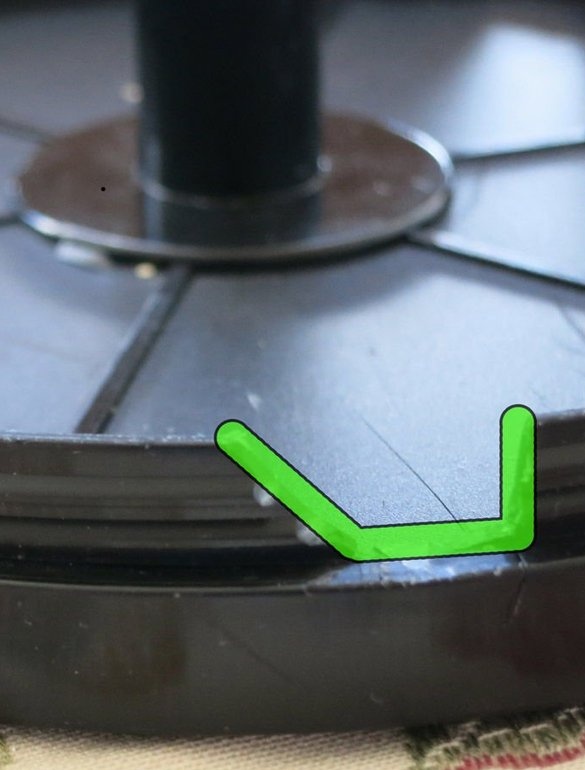
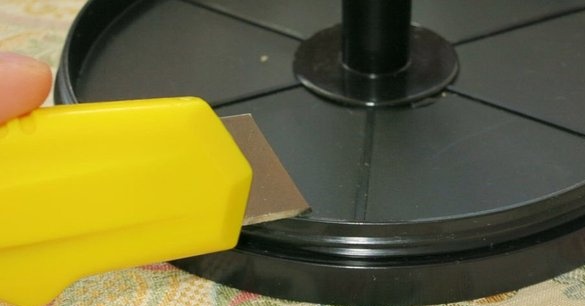
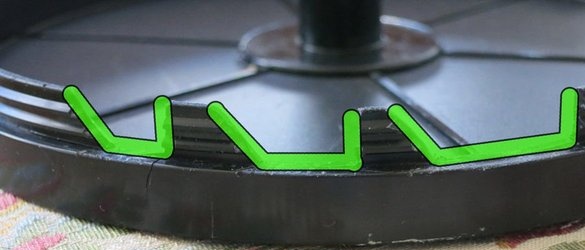
Select any point along the edge of the container and make a vertical cut. Now cut a notch of this shape - \ __ |. The cut out part should be wide enough so that your tablet fits in the recess perfectly in thickness.
The vertical part will support the tablet, and the diagonal part of the recess will provide a convenient location for the device.
Step 3: Continuing to Cut the Cake Box
Make two more such cuts and cut the same shape. Each cutout must be wider than the previous. This must be done because the container has a cylindrical shape.
Step 4: Make identical notches for the other side
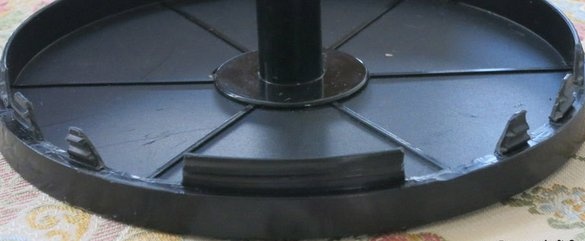
Take the tablet and insert one side into the already cut notch, place it so that it rests on the pin. Now mark on the edge of the container where to cut a notch for the other side of the tablet. Cut a notch on the other side.
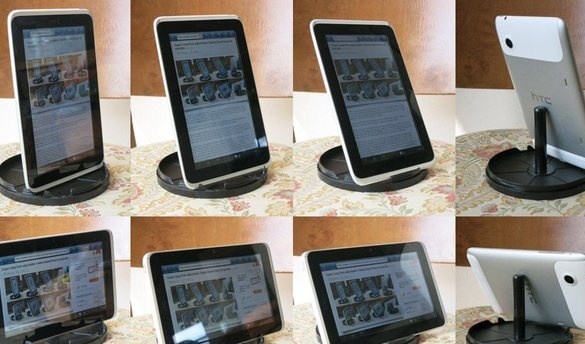
The end result should be like in my photo. If you suddenly cut a notch there, it's okay, use a different container slot.
Step 5: Done!
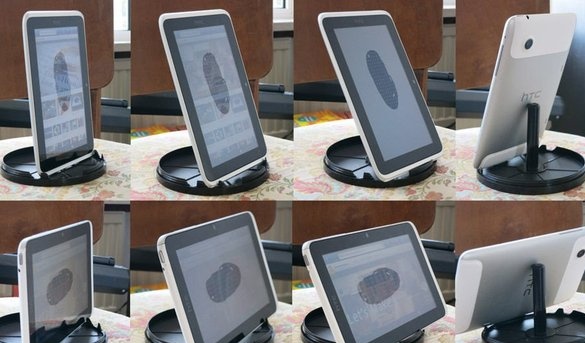
My congratulations! Now you have an ergonomic tablet stand that allows you to place it vertically or horizontally at 6 different angles.

