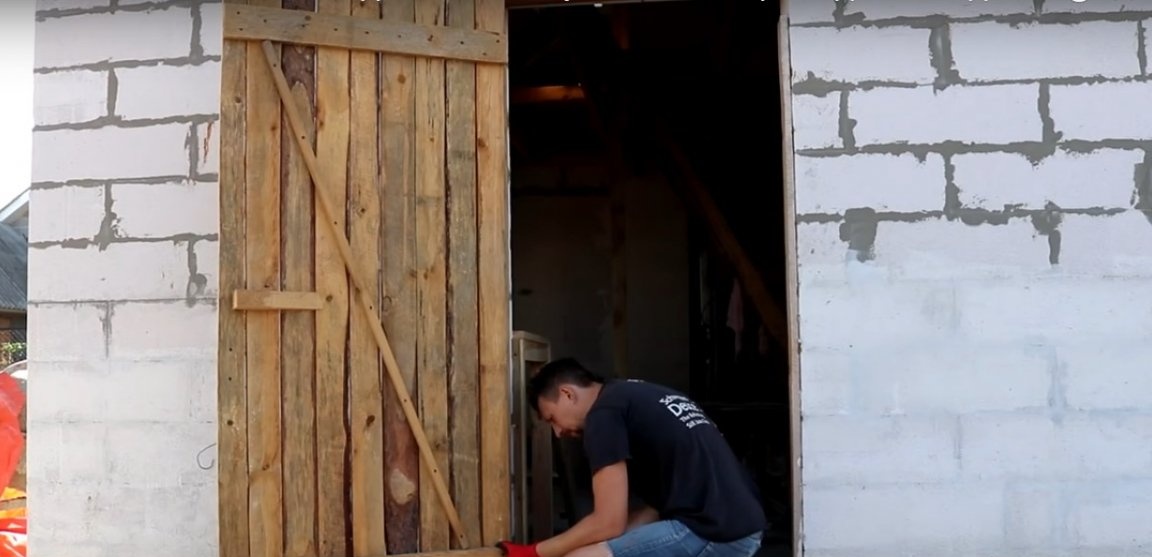
The tambour and veranda in the construction of houses of the past is not luxury and excess, but quite a functional room. And its main function is the isolation of residential premises from the cold. The fact is that the entrance doors in the old days did not differ in special heat-insulating characteristics, and in the villages they were completely wooden. Of course, people struggled with this phenomenon, sheathed the doors with synthetic winterizer and dermantine, and even old quilted jackets sometimes found their last refuge here. But it did not fully help.
Fortunately, today we live in the modern world and people who are in an active construction process can often afford to buy a good front door. However, you need to understand that the cost of a quality product is quite high. If you don’t want to buy consumer goods, and your hand doesn’t rise to buy a good door, this workshop is for you.
So, in order to make and install a warm door do it yourself you will need:
Materials:
- boards with a thickness of 35 mm for the manufacture of the door frame;
- boards with a thickness of 20 - 25 mm for lining the door frame;
- slats for the manufacture of door frames and door frames 20 x 50 mm;
- polystyrene foam (polystyrene foam, mineral wool, etc.) for door insulation;
- yacht varnish for processing the inner plane of the doors;
- primer and paint on wood for processing the outer plane of the doors;
- door hinges - 4 pcs (considering the weight of the structure);
- mortise door lock and a pair of handles in the kit;
- double-glazed window;
- a sealant for a double-glazed window and doors;
- carpentry glue;
- self-tapping screws;
- one-component wood putty;
- polyurethane foam for installation of a door.
Instruments:
- stationary or manual circular;
- an orbital sander or grinder with a Velcro nozzle for sanding paper;
- drill and drill on wood with a vertical drill;
- screwdriver;
- planer, planer or manual planer, if you use uncalibrated boards for sheathing the door frame;
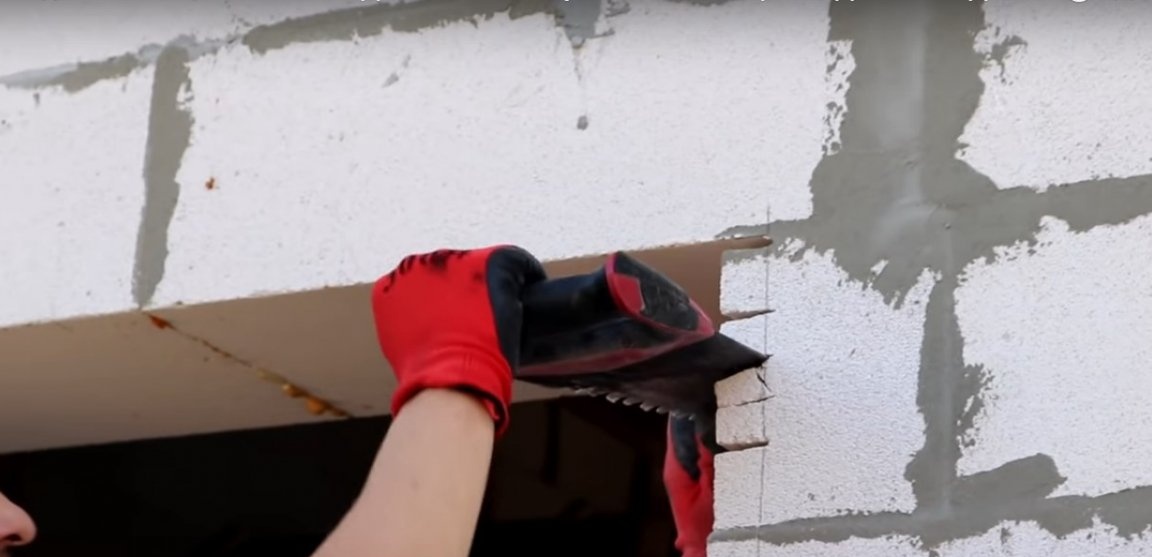
- a hacksaw for wood, a hacksaw with victorious soldering for cutting aerated concrete;
- A chisel for straightening a groove under a mortise lock;
- clamps;
- stationery knife;
- putty knife;
- painting supplies - brushes, roller;
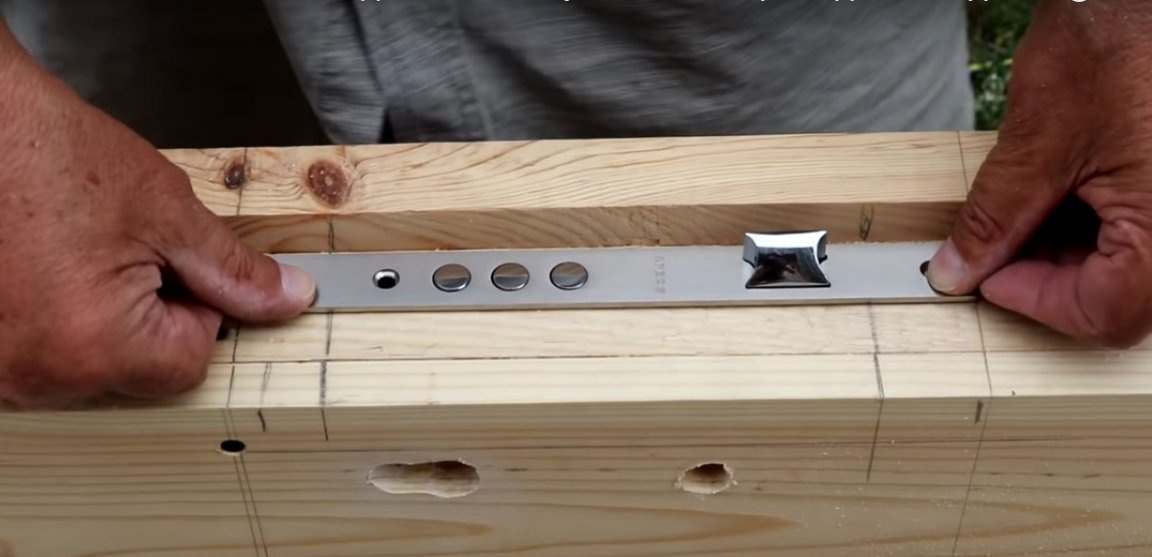
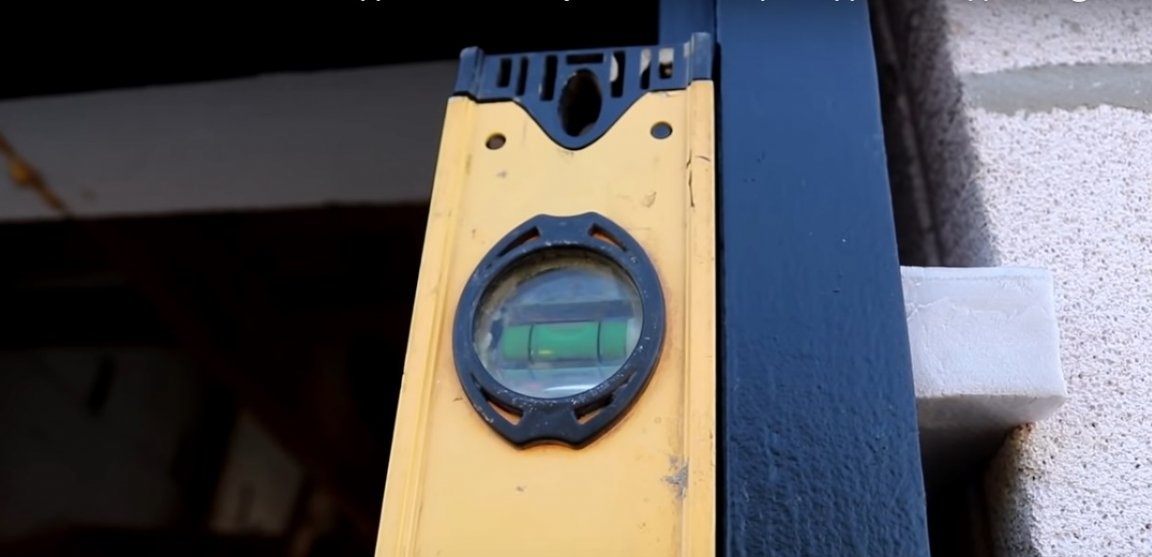
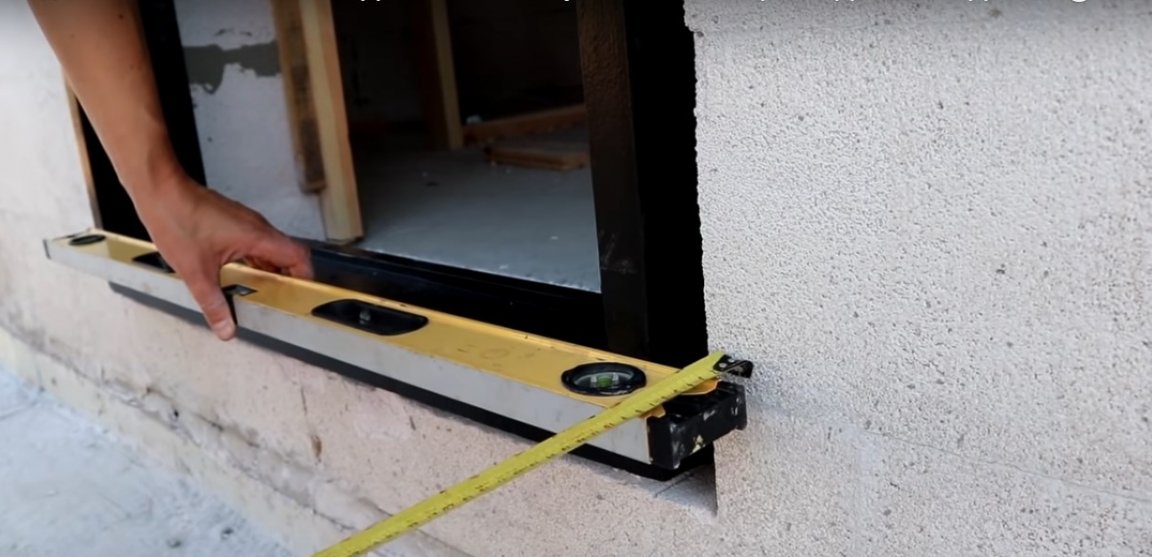
- building level;
- construction tape, ruler, square;
- a pencil.
Manufacturing process
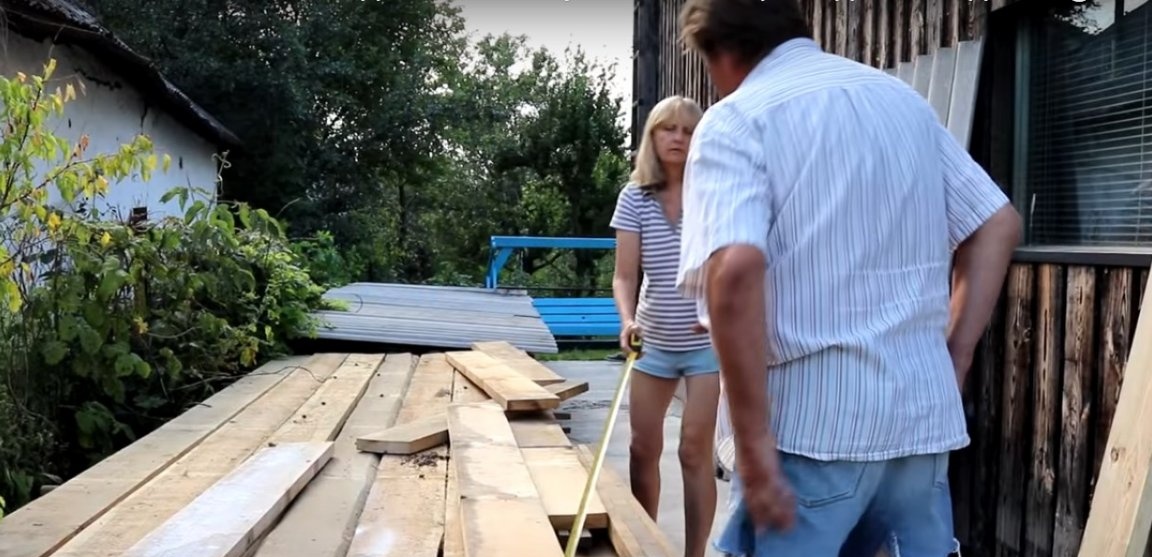
Step One: Material Selection
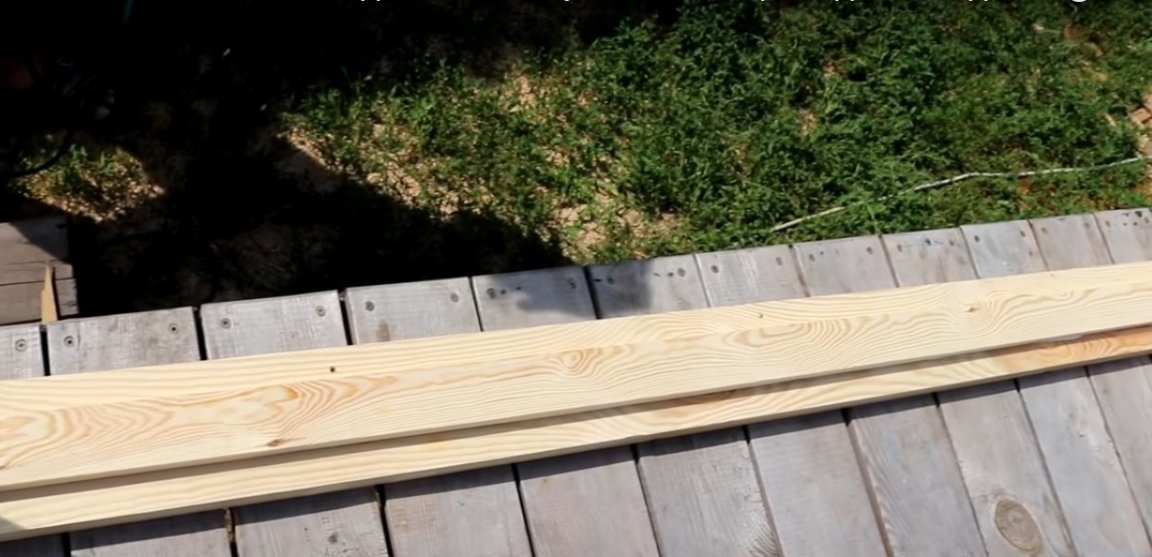
For the manufacture of doors you will need boards and slats made of hardwood - for example, ash, oak, maple. Despite the impressive density and heavy weight of the finished product, such a door will live much longer. In extreme cases, you can use pine as the most affordable material. Such types of wood as linden, poplar and the like are not at all suitable for such projects.
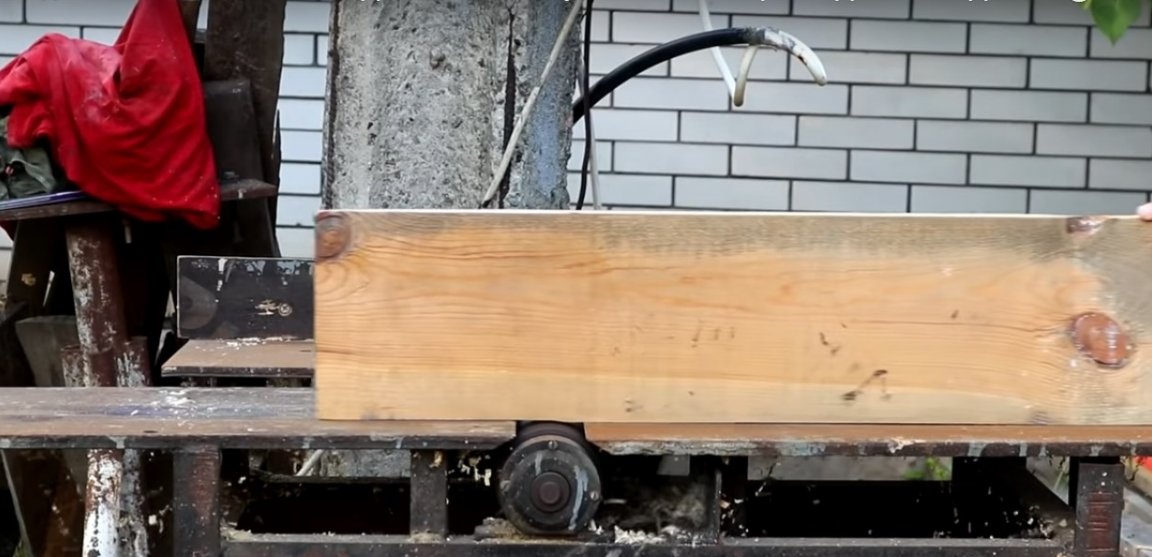
The boards used for cladding the door frame must be calibrated in thickness. Often such a characteristic is possessed by lumber passed through a thicknessing machine.

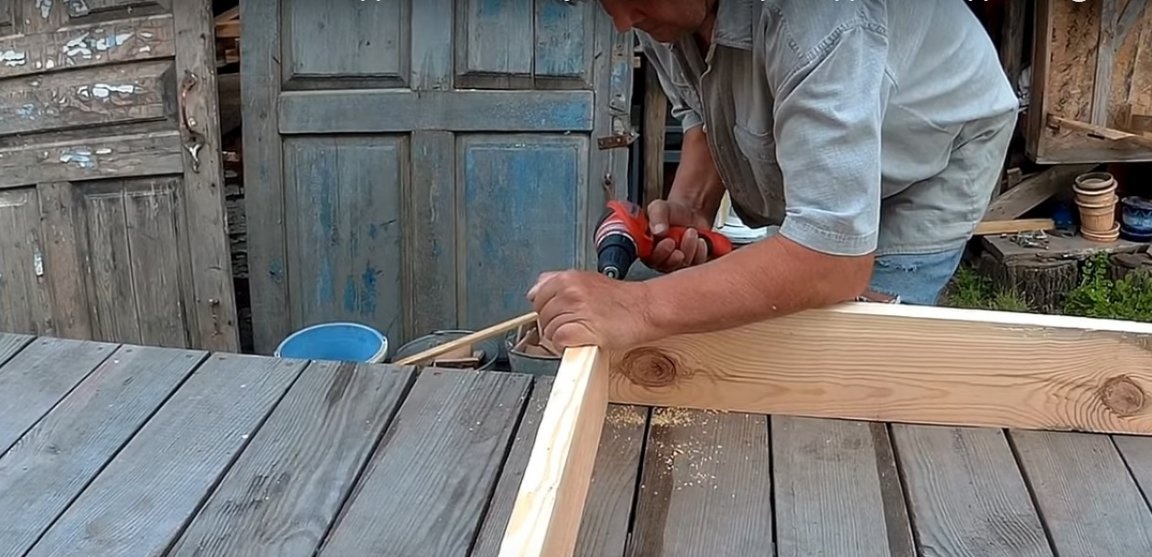
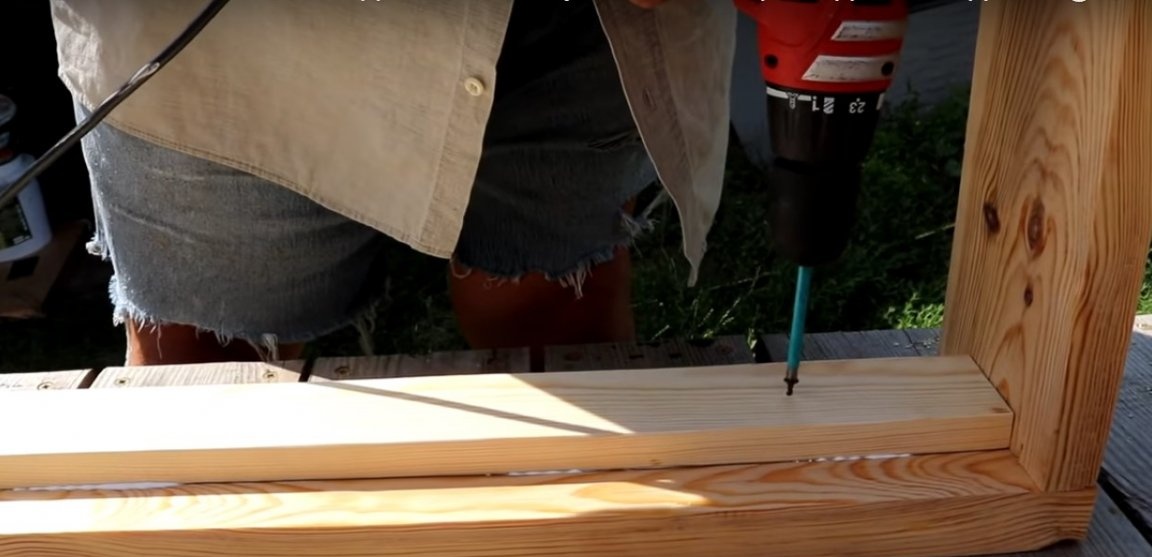
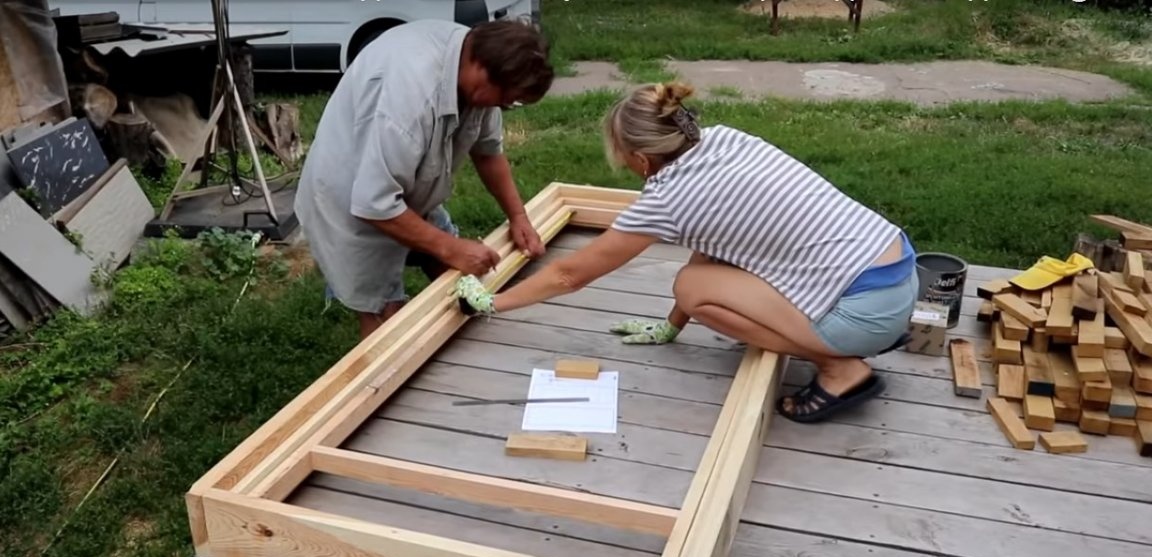
Step two: making the door frame
To make the door frame, the author used a 35 mm thick board. Box parts are joined joint by joint using glue. In extreme cases, use wooden dowels to strengthen the structure.
In the center of the box, fix the wooden rail - an emphasis for the door shield. Behind the rail, fix the wooden block protruding 20 mm above the rail. Thus, you get an emphasis for the protruding door leaf.
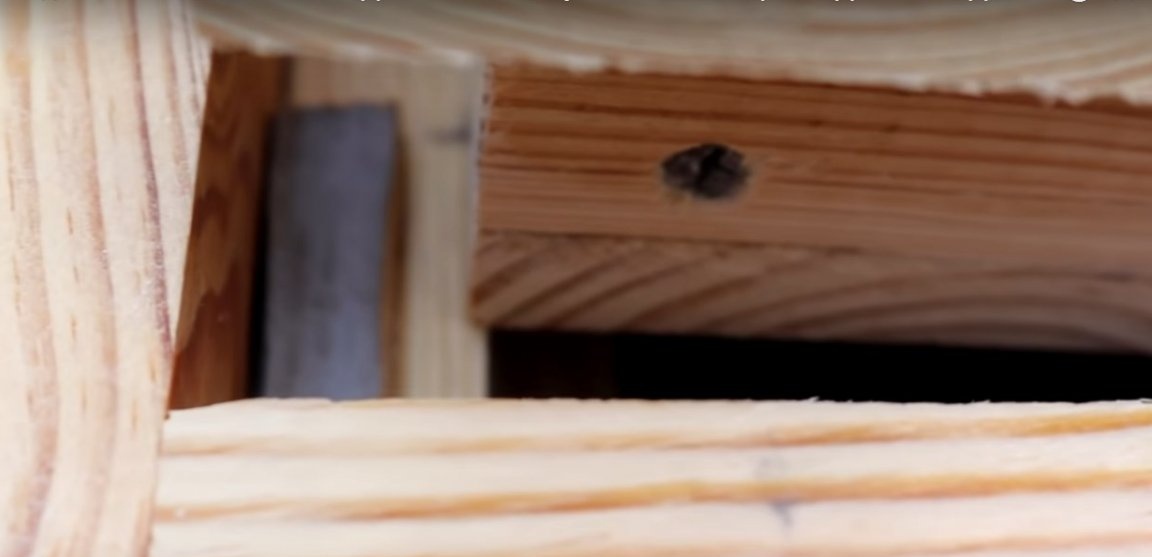
All internal elements of the box are glued. A layer of glue here prevents the formation of cracks, which means it will protect the house from drafts.

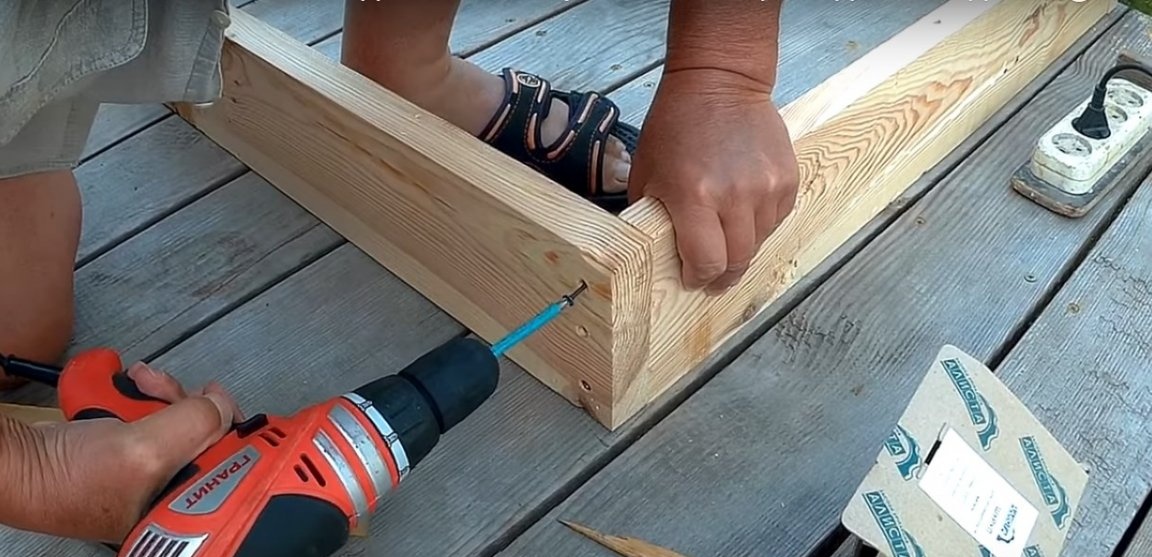
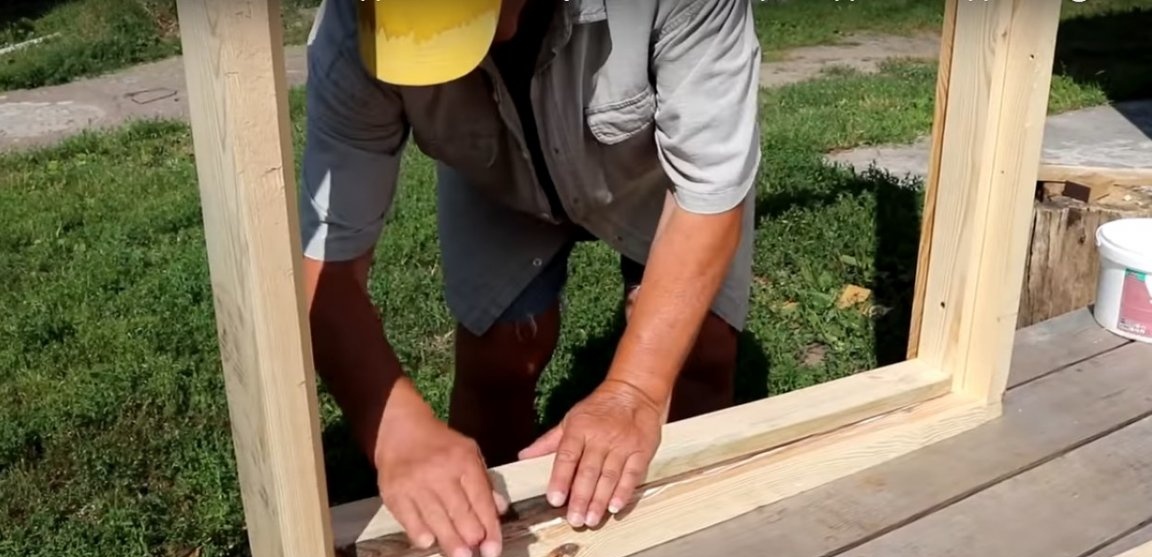
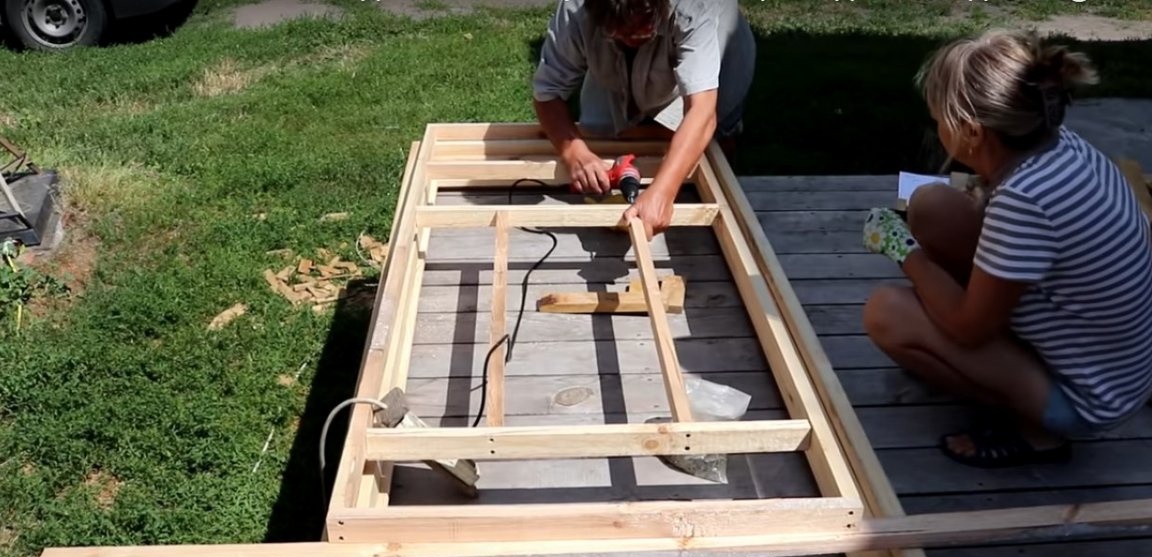
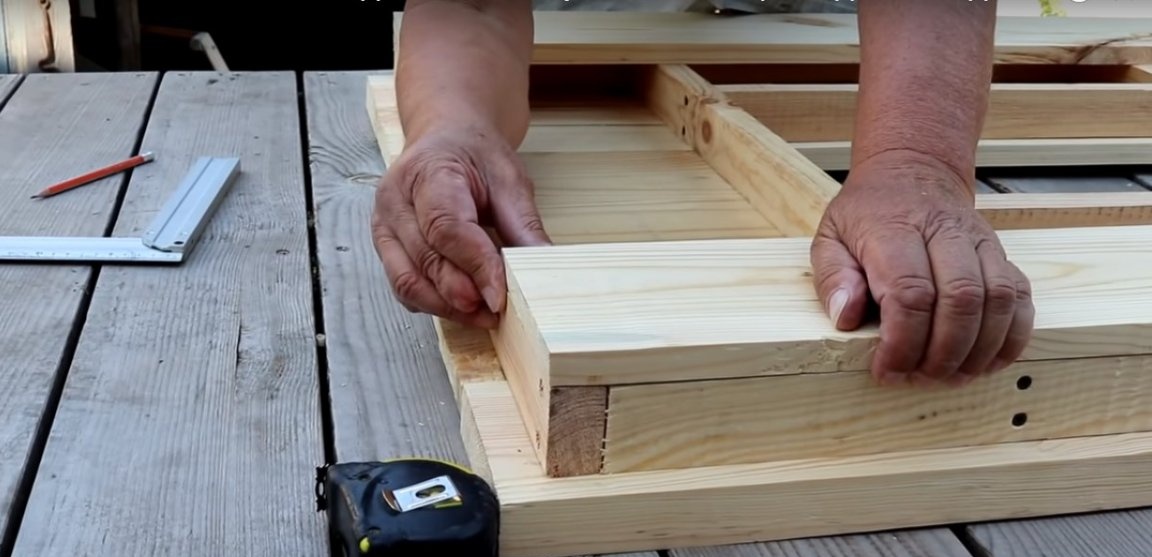
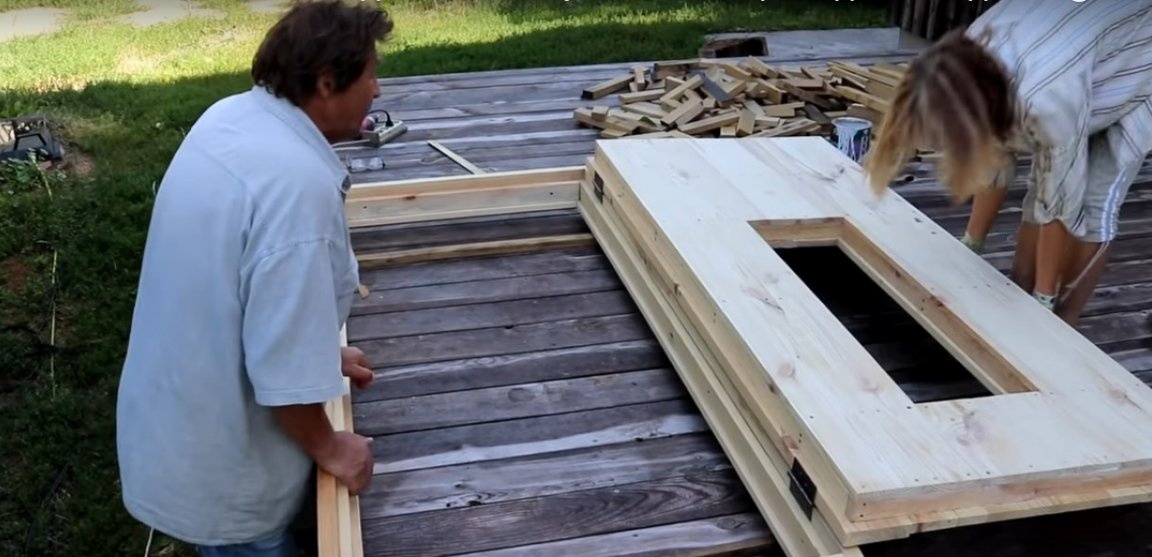
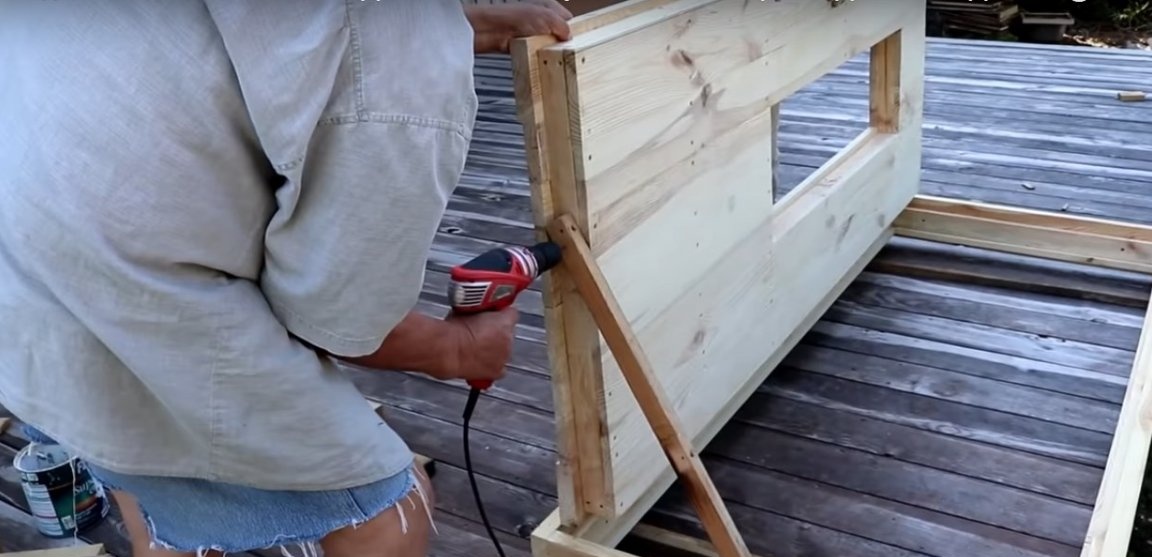
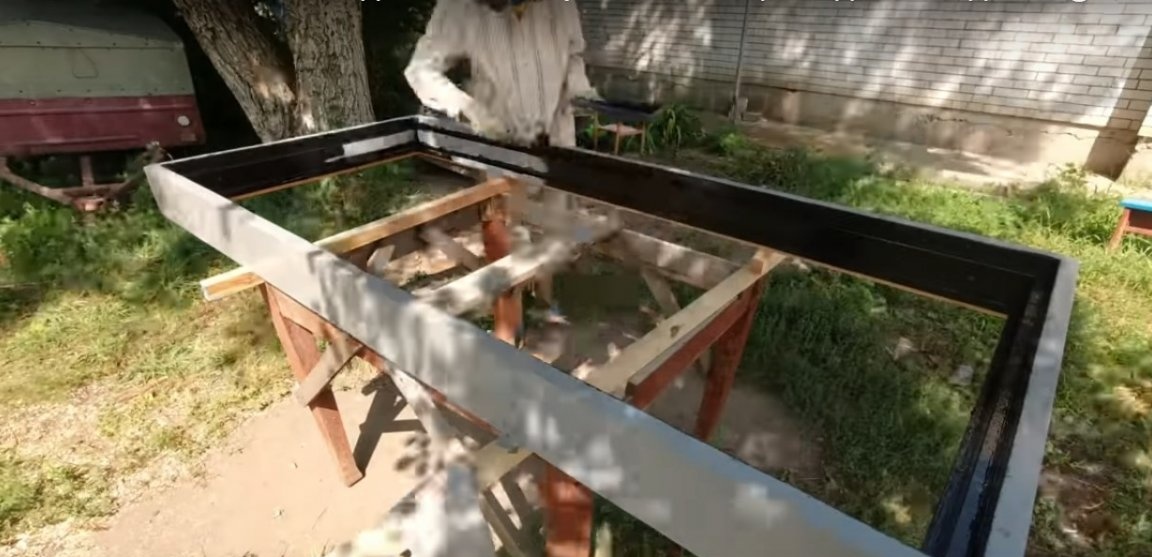
Step Three: Door Frame Fabrication
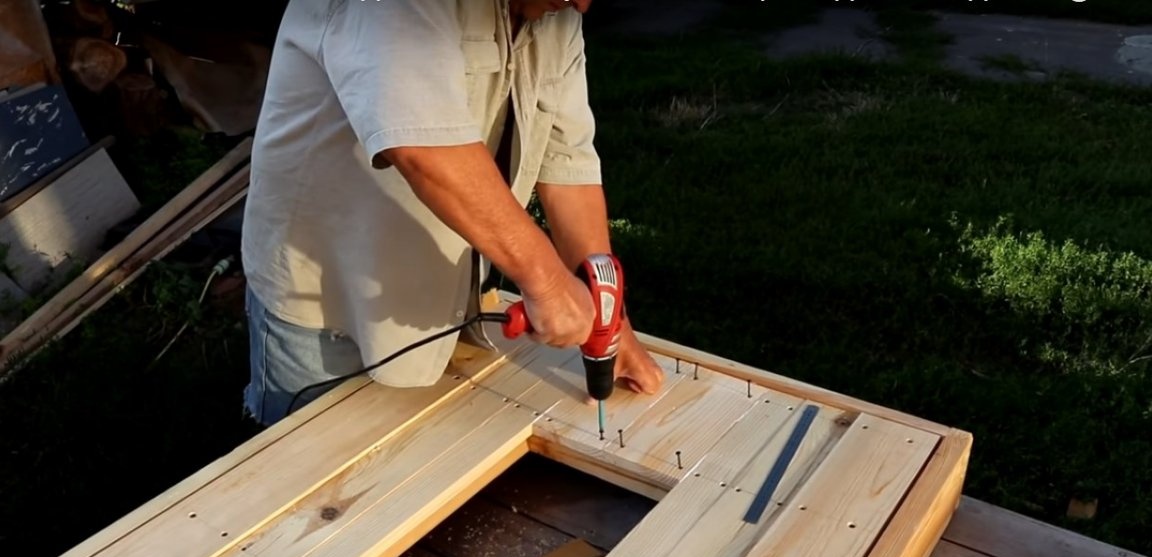
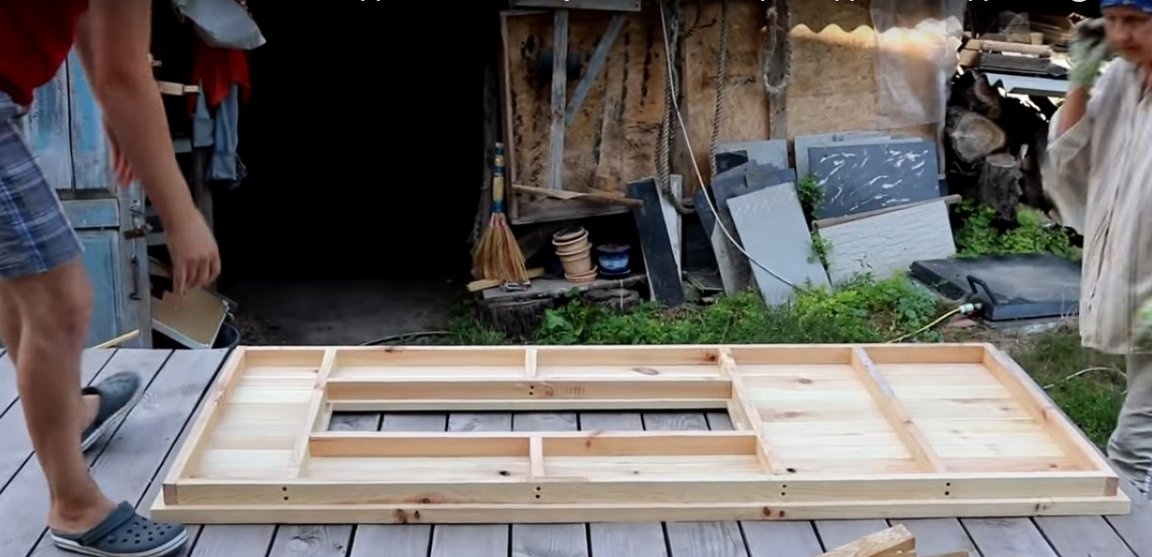
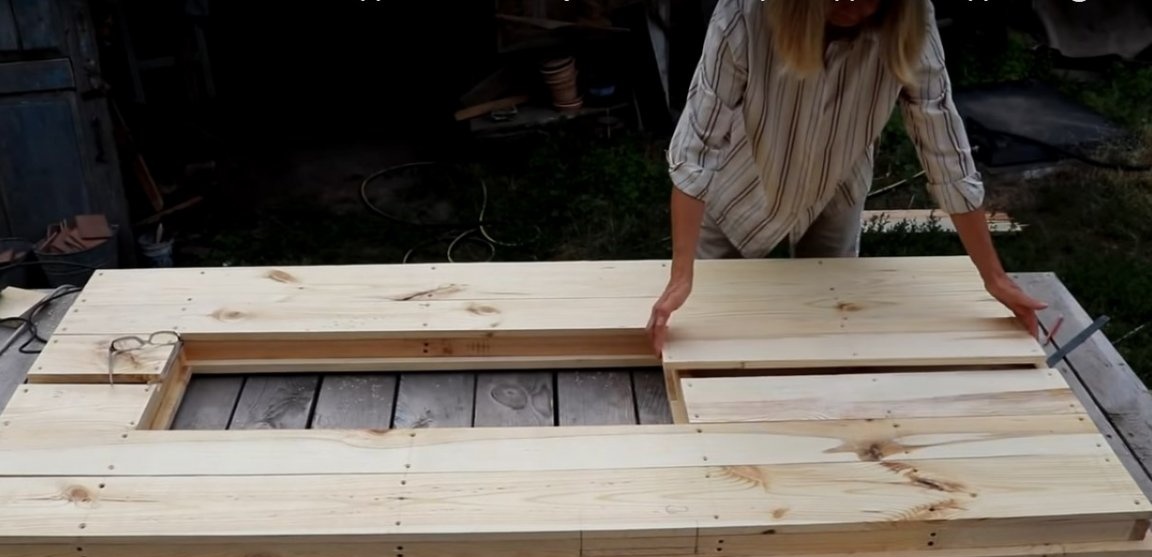
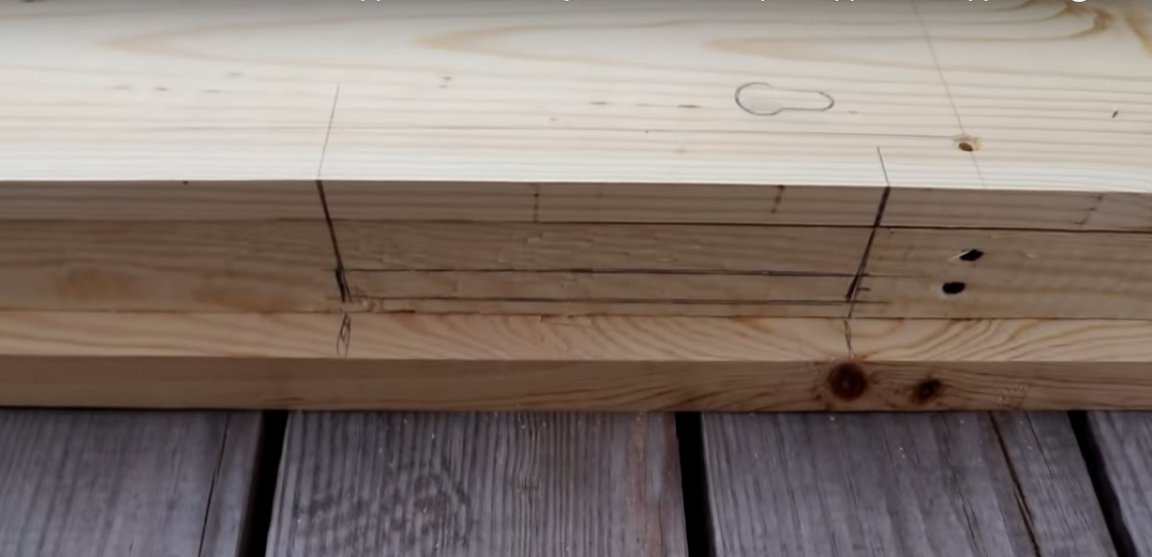
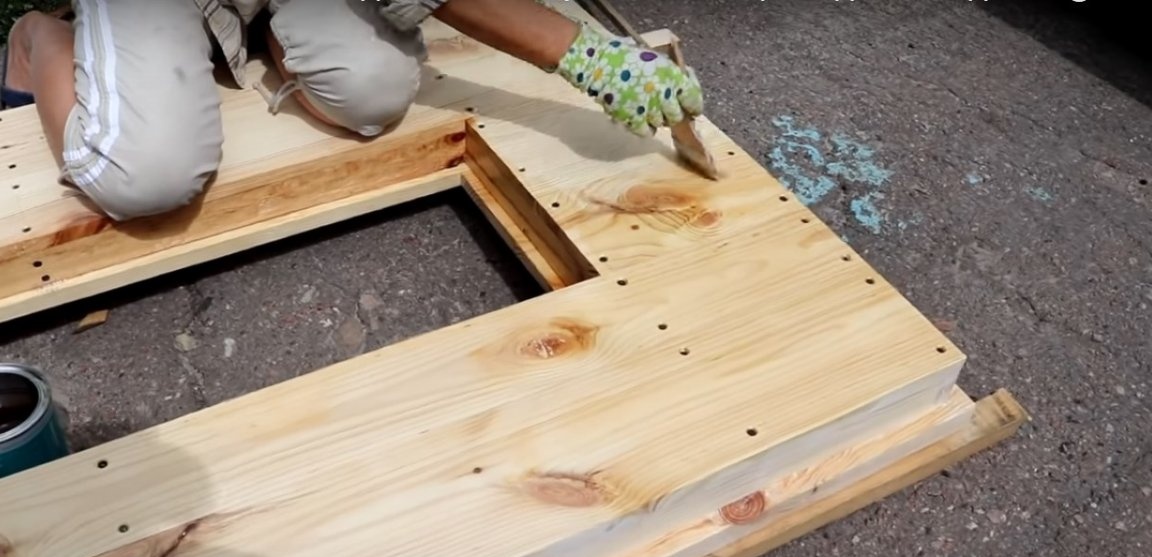
The door frame consists of a 20 x 50 mm rail. The frame is assembled inside the door frame, so that the finished door will be perfectly fitted to the frame.
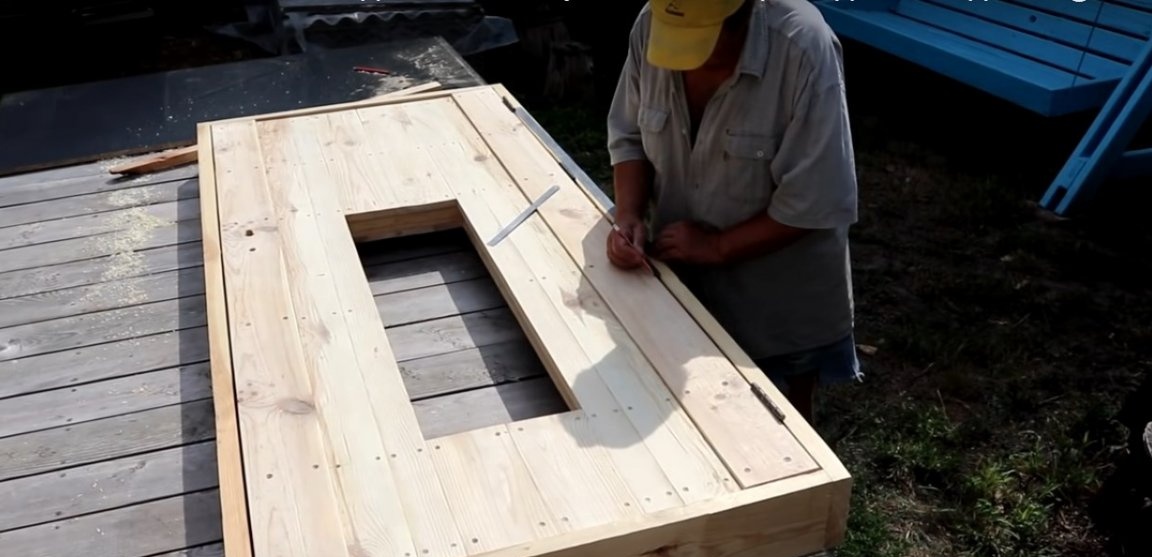
Frame parts are also fastened joint to joint using glue and screws. A hole for a double-glazed window is provided in the center.
Sheathe the upper plane of the frame with pre-prepared boards. The author left a gap between the box and the door at 4 mm around the perimeter.

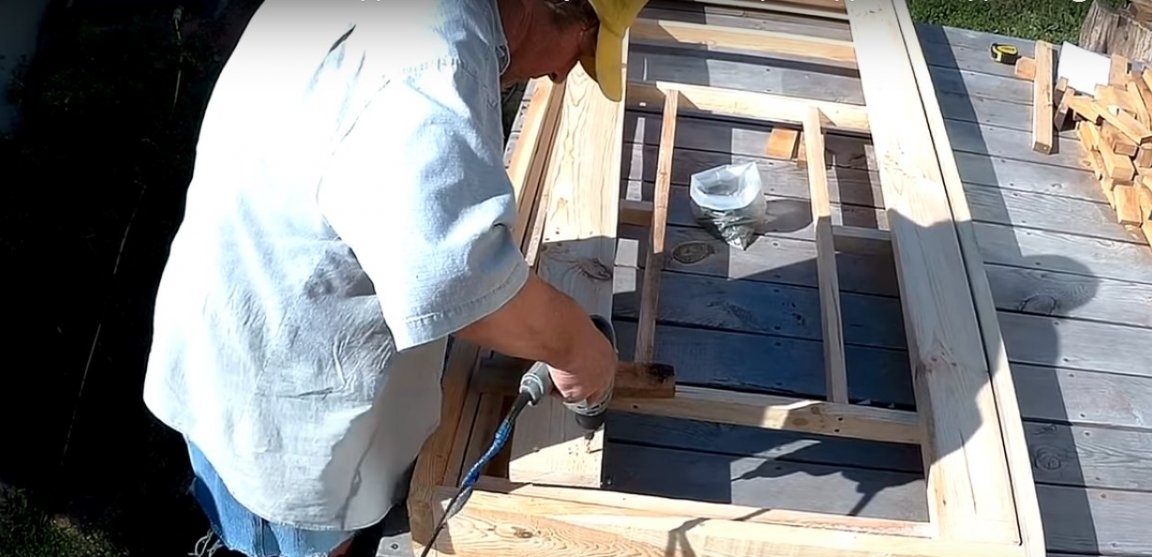


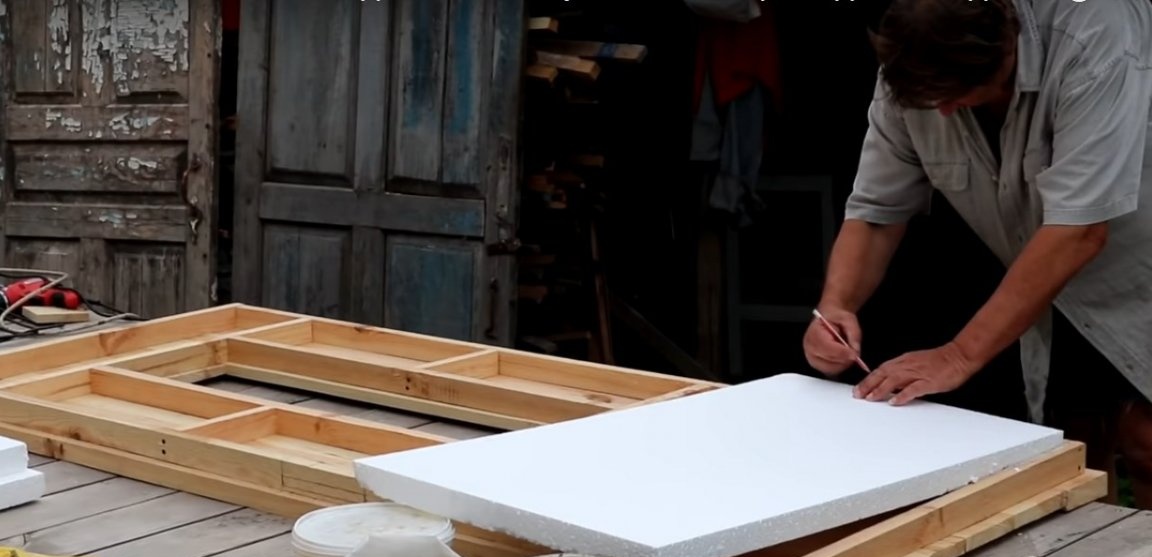
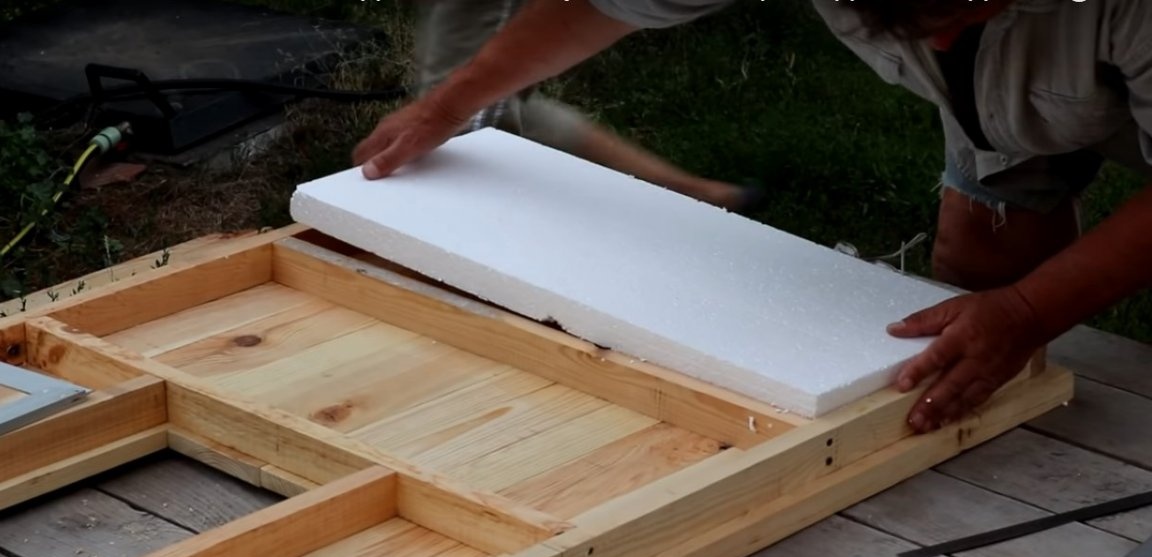
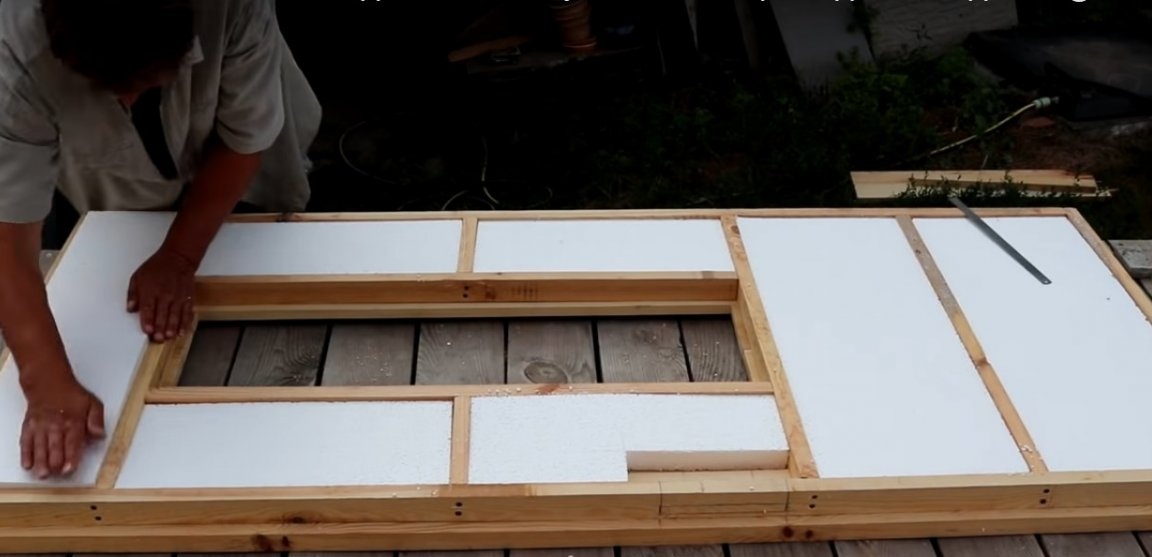
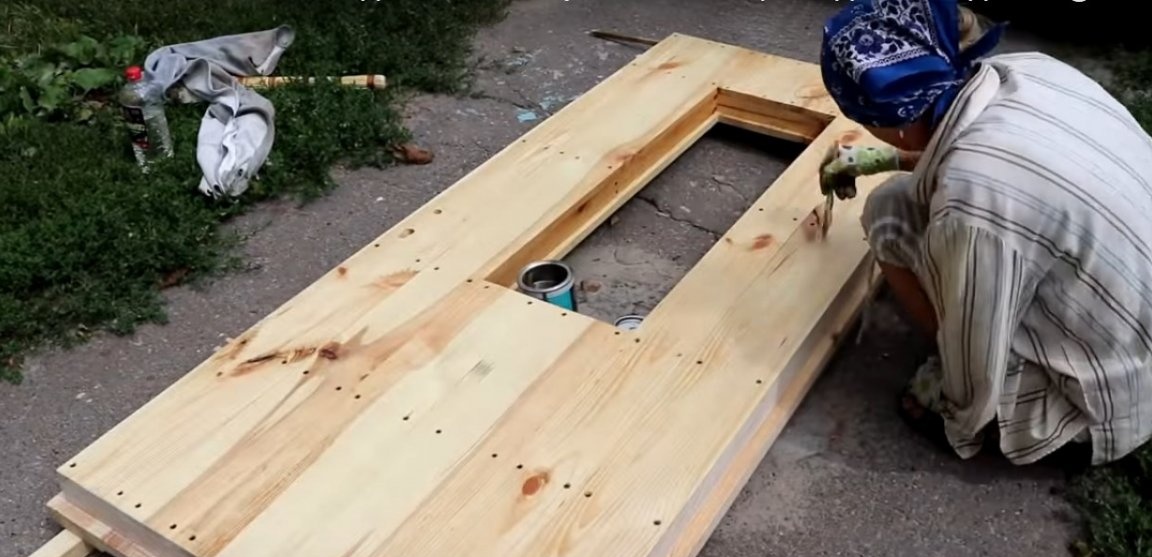
Fourth step: insulation of the door frame
To isolate the door, the author used ordinary polystyrene foam. In general, this is enough for the door to fulfill its function. However, one should not forget that the white granular foam quickly decomposes and crumbles from any adverse external influences: cold, heat, moisture. For this reason, polystyrene foam, mineral wool, or any other roll and tile insulation material can be used instead of polystyrene.
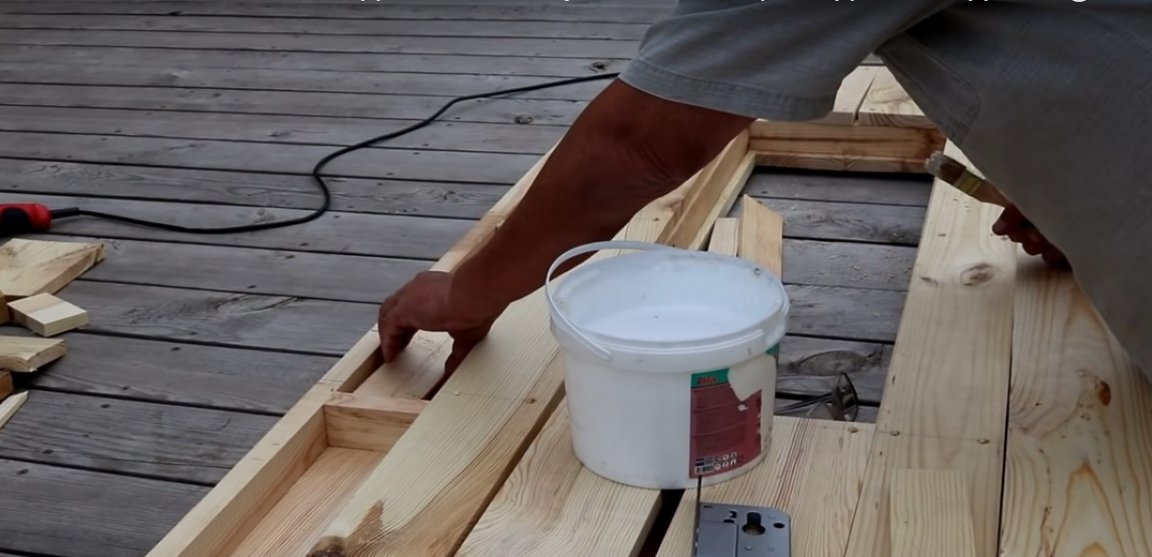
Cut the foam into pieces of the desired size and fill them with the voids of the frame. If the pieces of polystyrene foam fit perfectly, you do not need polyurethane foam. Otherwise, use foam to fill the slots.
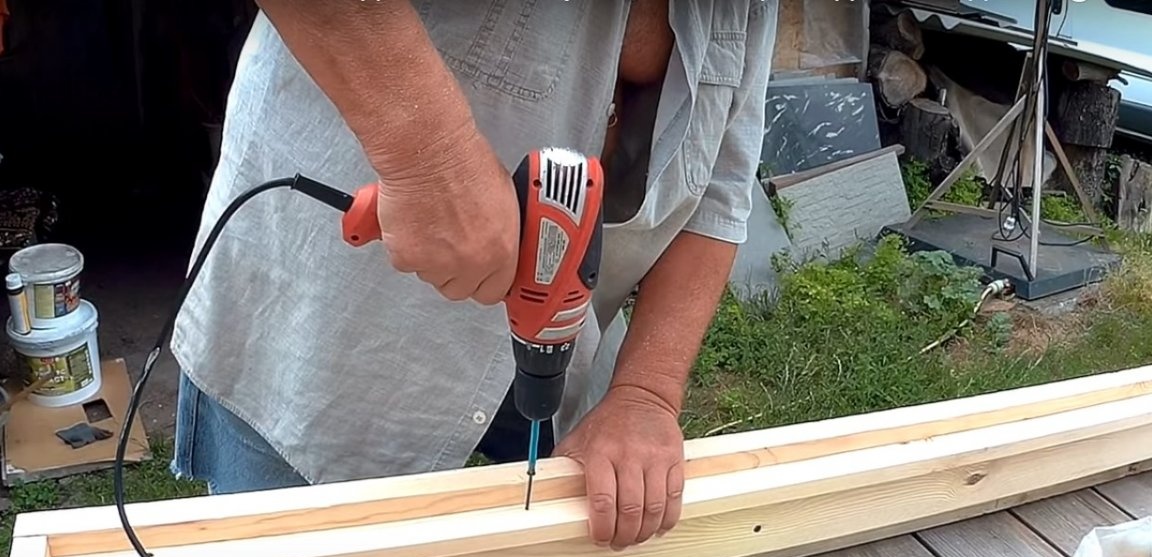
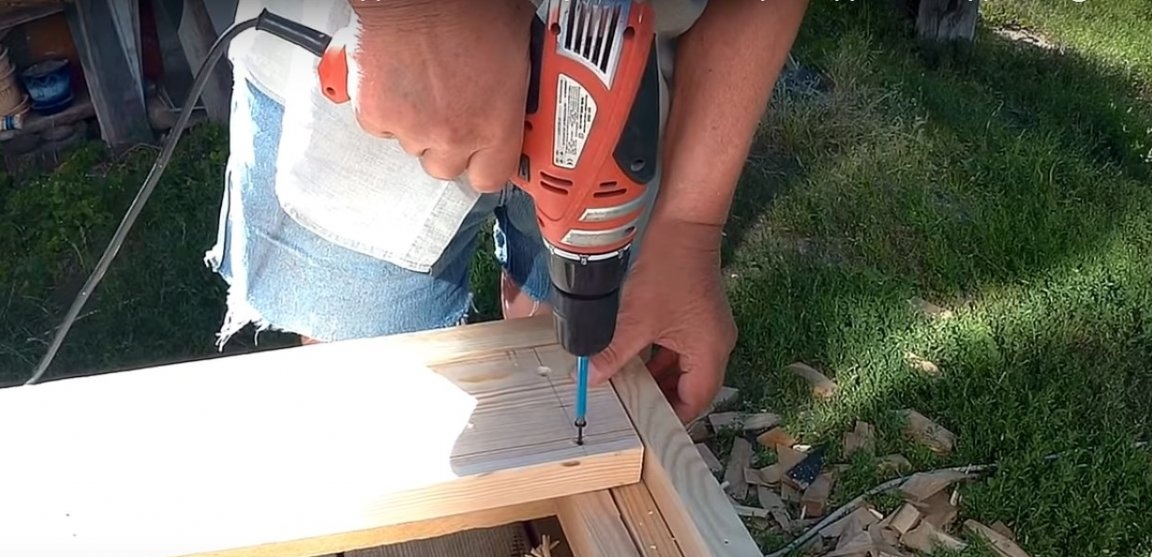
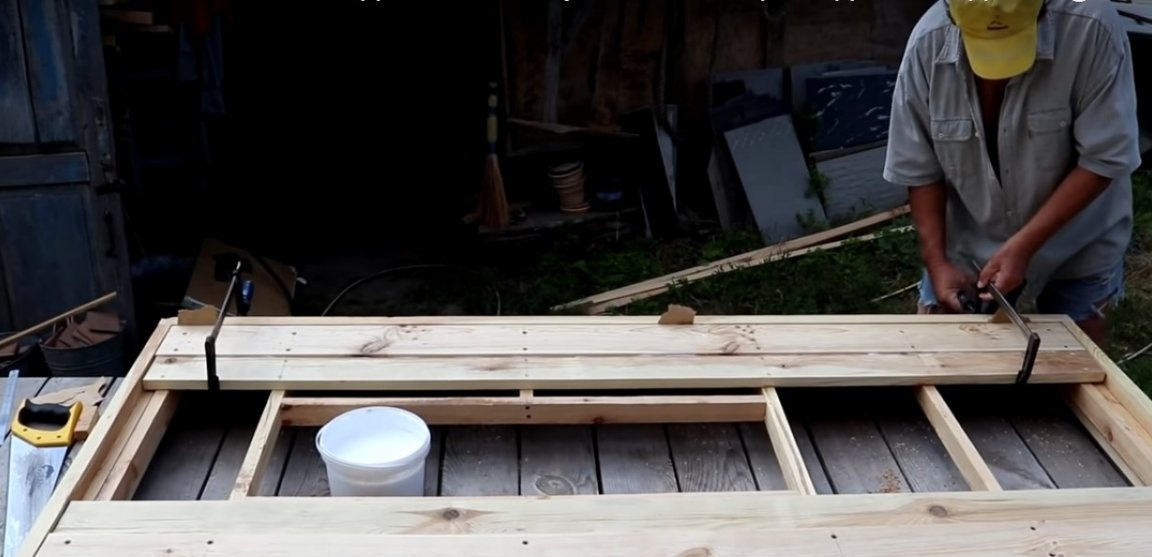
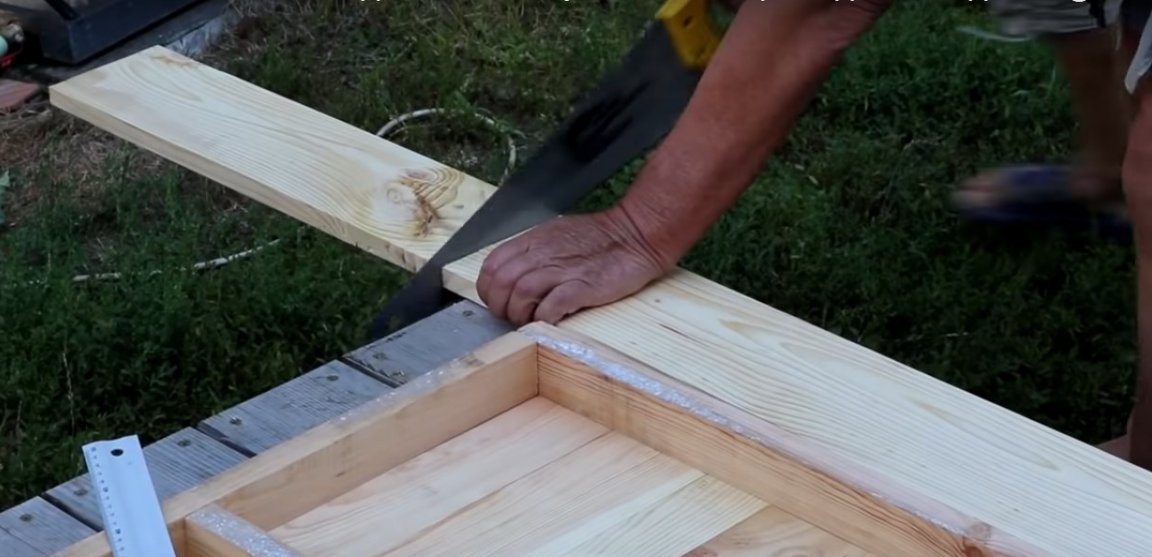
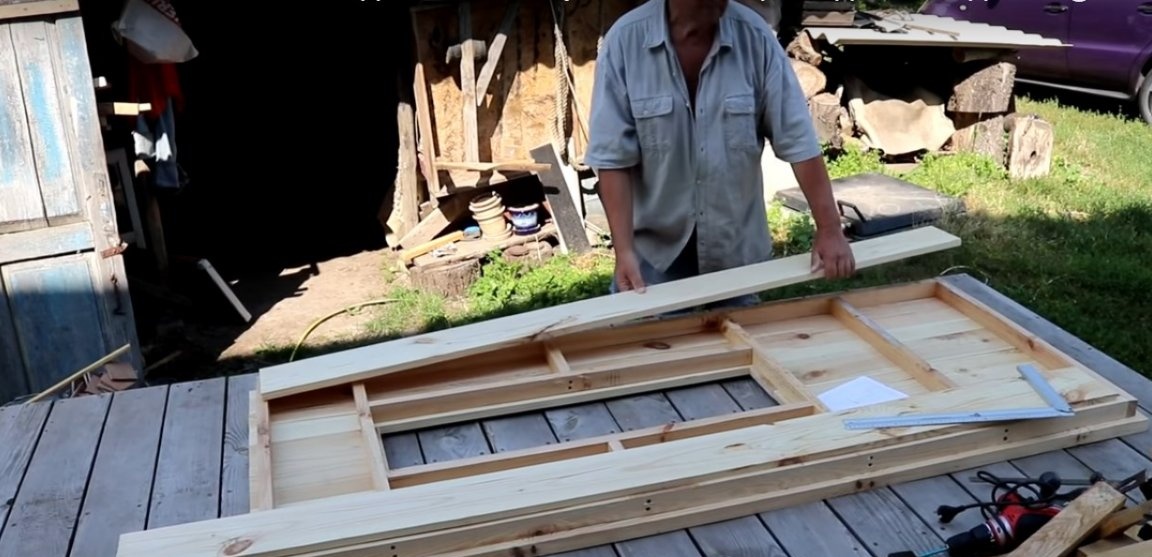
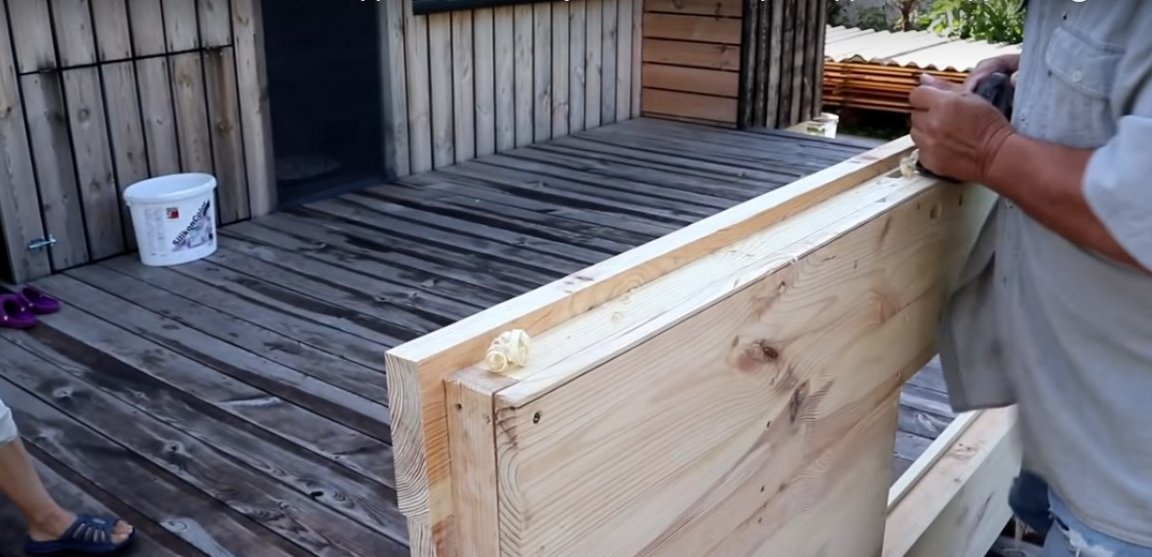
Step Five: Door Frame Trim
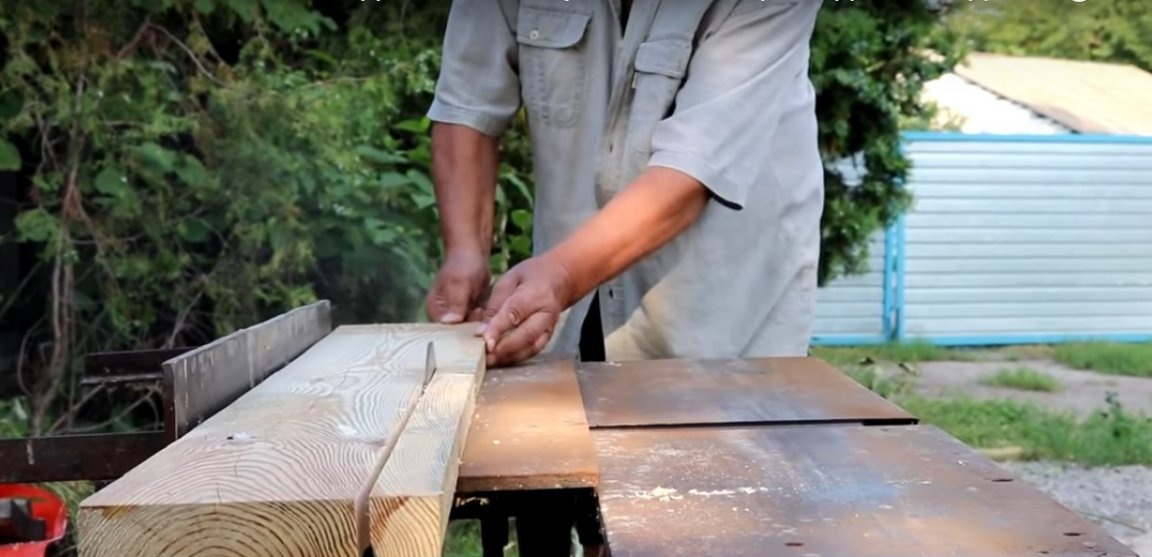
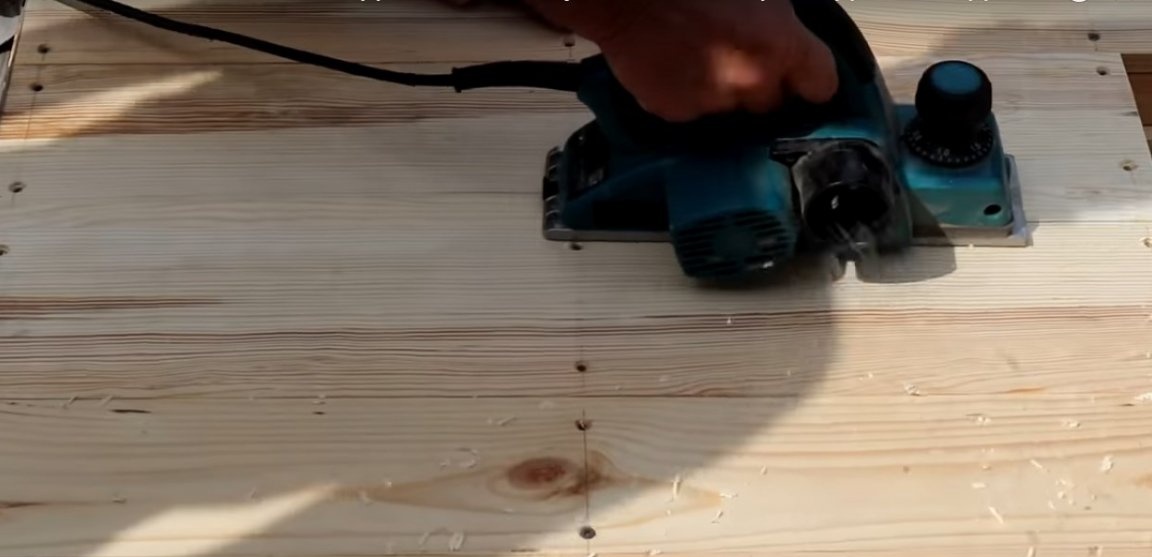
The door frame is sheathed with boards. Ideally, they should all be calibrated in thickness. The author used the usual edged board, which remained after the construction of the frame house. Its thickness can vary by 1 - 2 mm, therefore, the casing required additional processing with an electric planer.
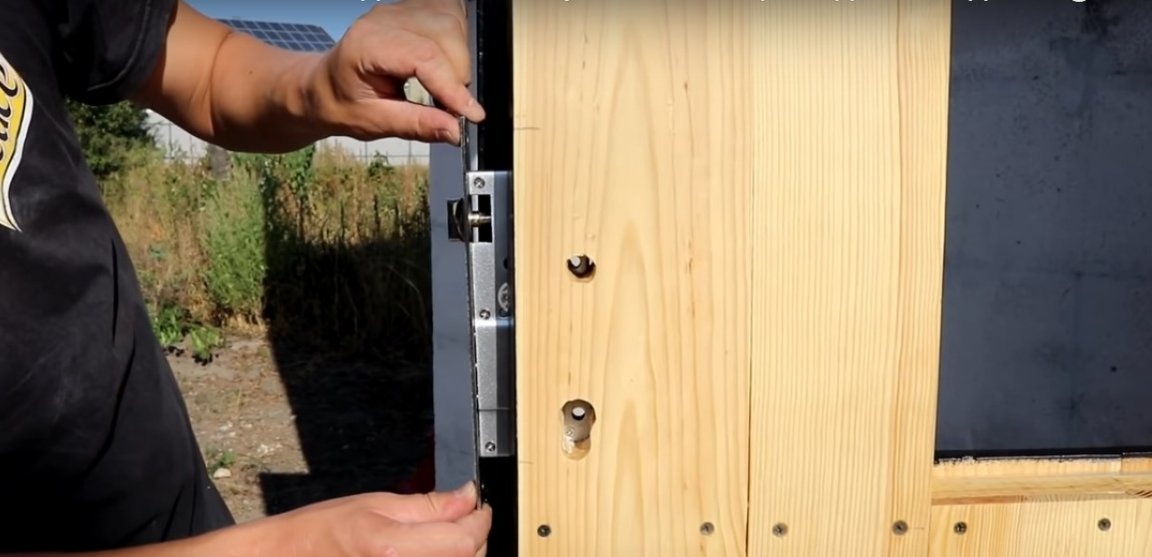
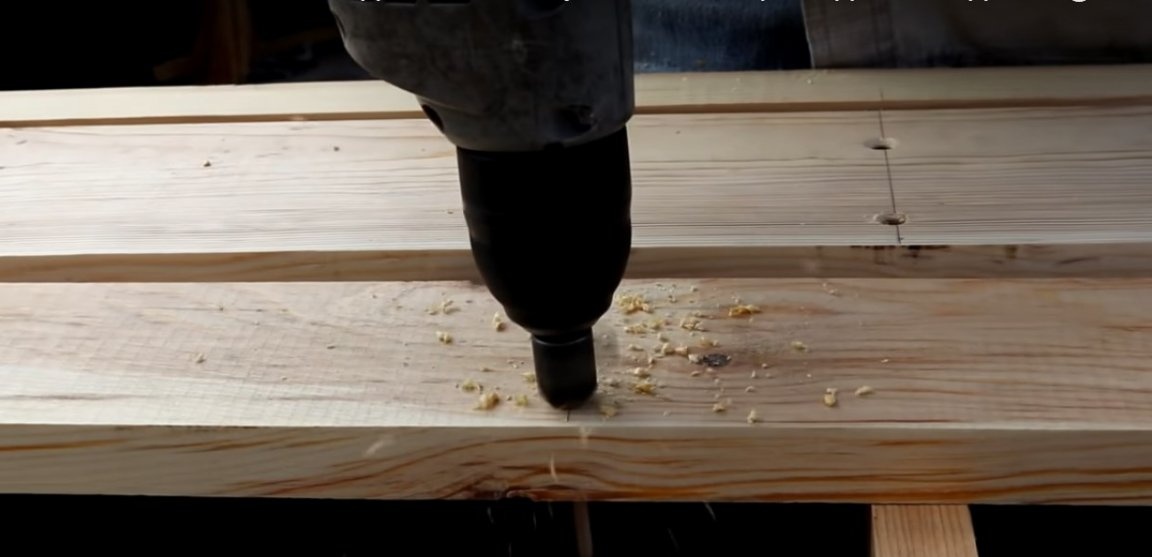
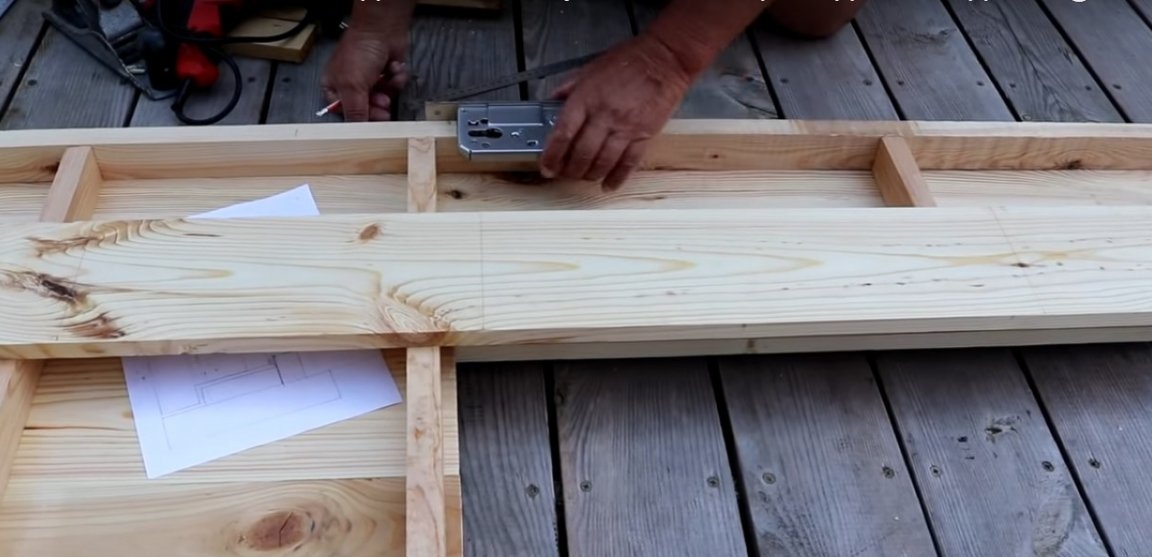
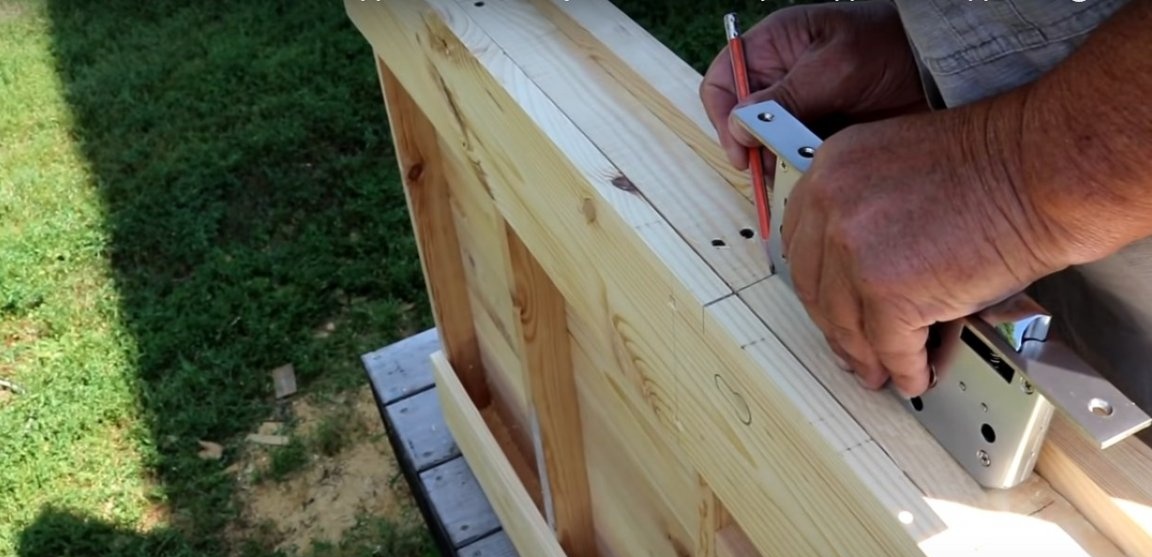
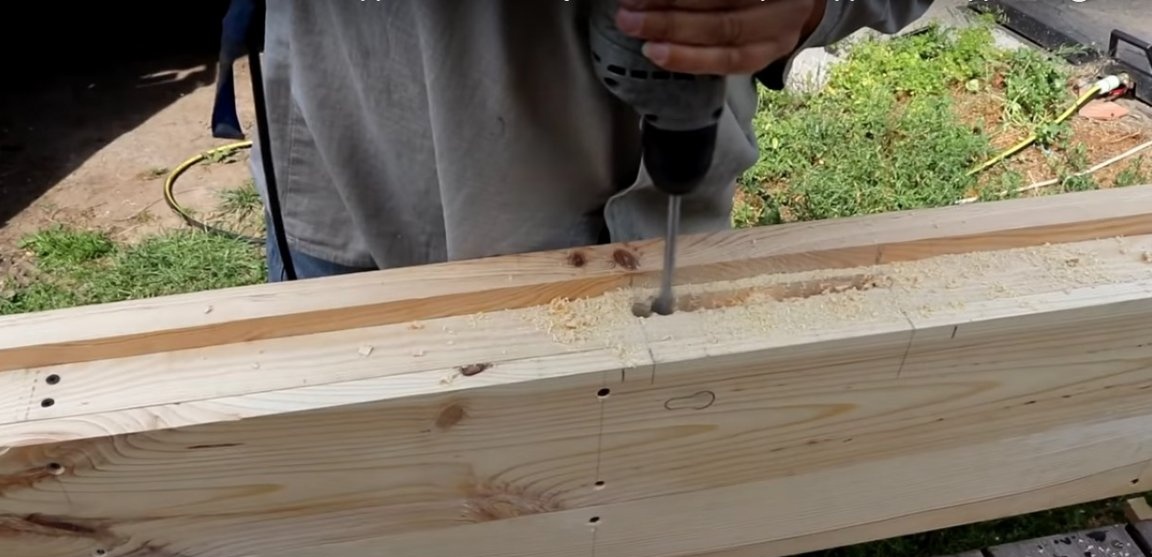
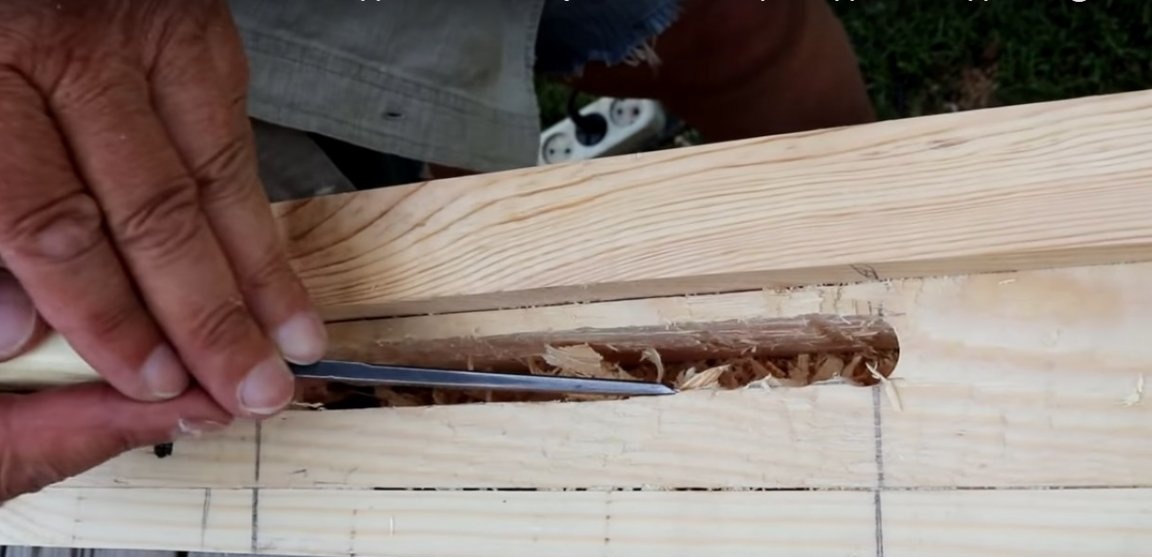
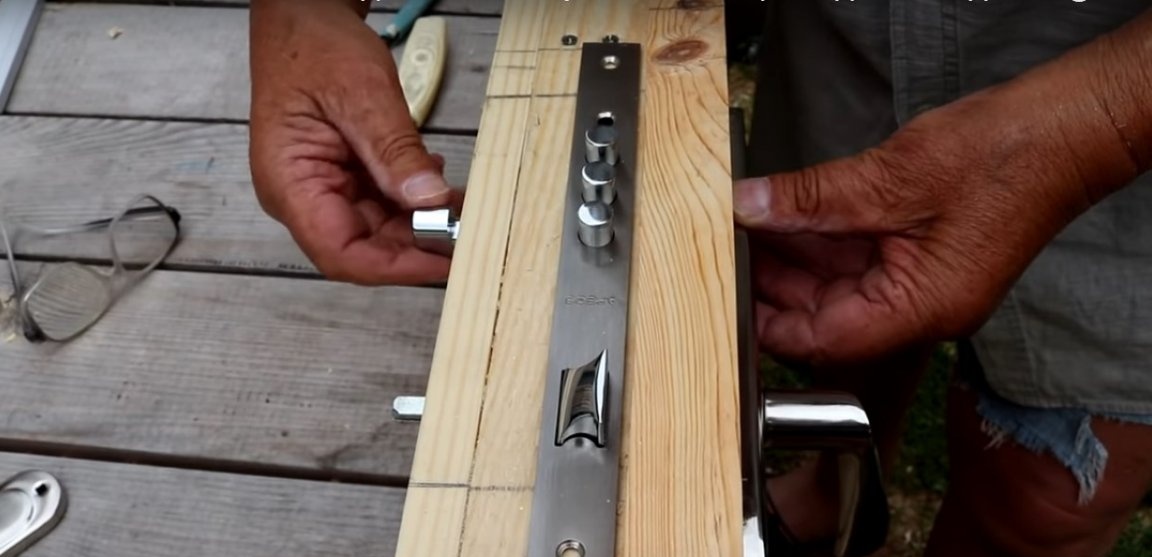
Step six: making a mortise lock groove
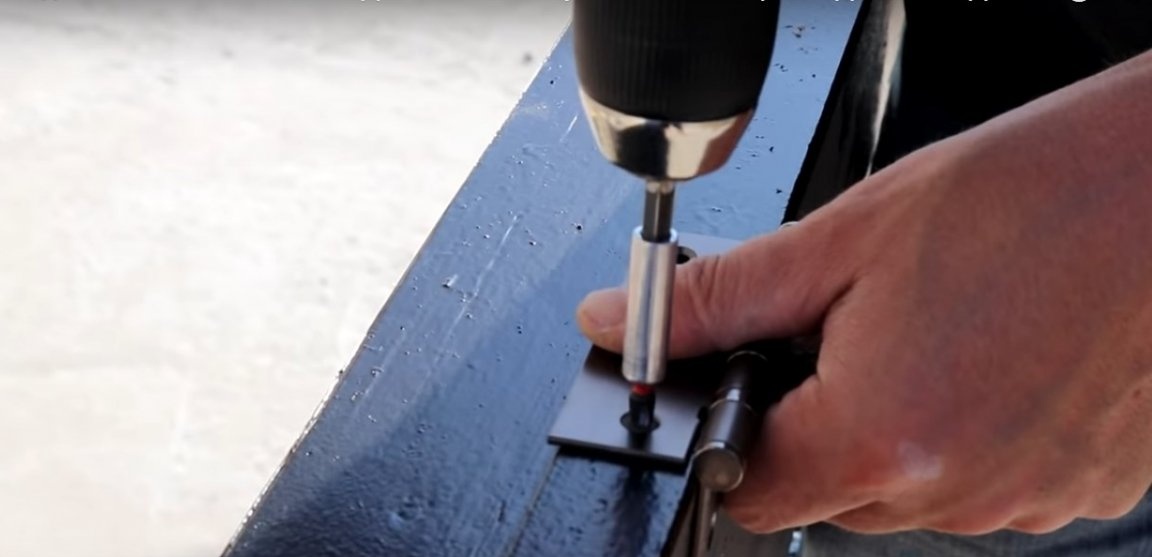
In order to cut a groove for a mortise lock, the author used a drill and a drill of a suitable diameter. After this, the groove must be aligned with a chisel.
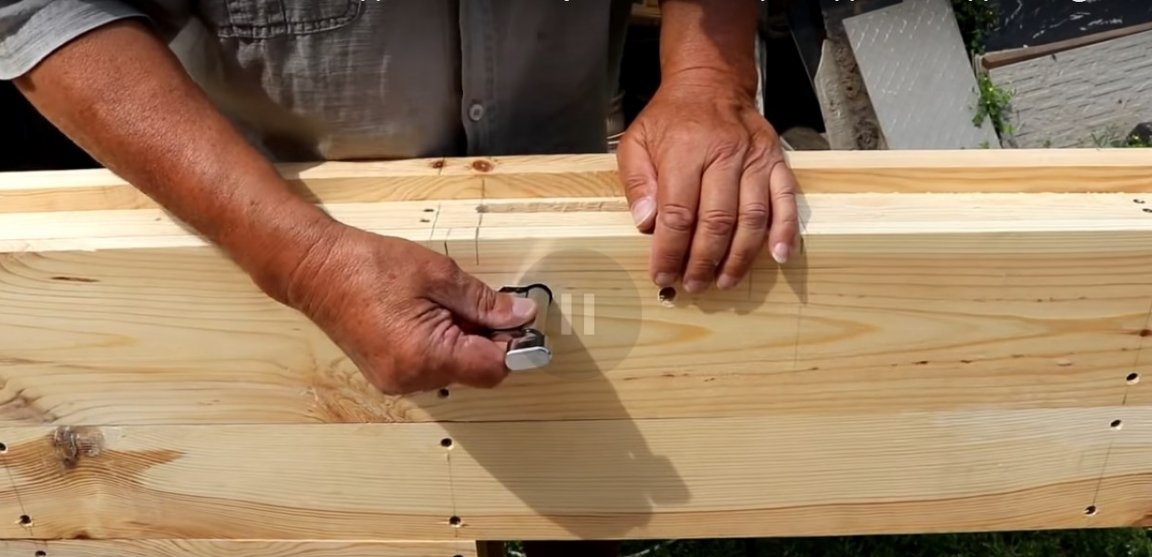
Using drills of different diameters, also drill a hole for the keyhole and door handles.

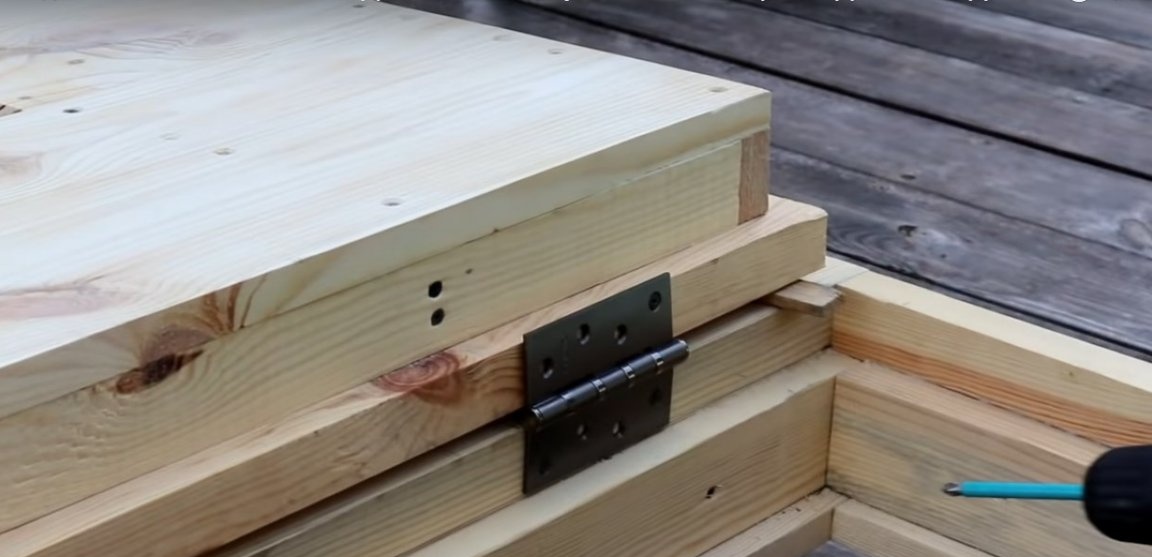
Seventh step: pre-installing the door in the door frame
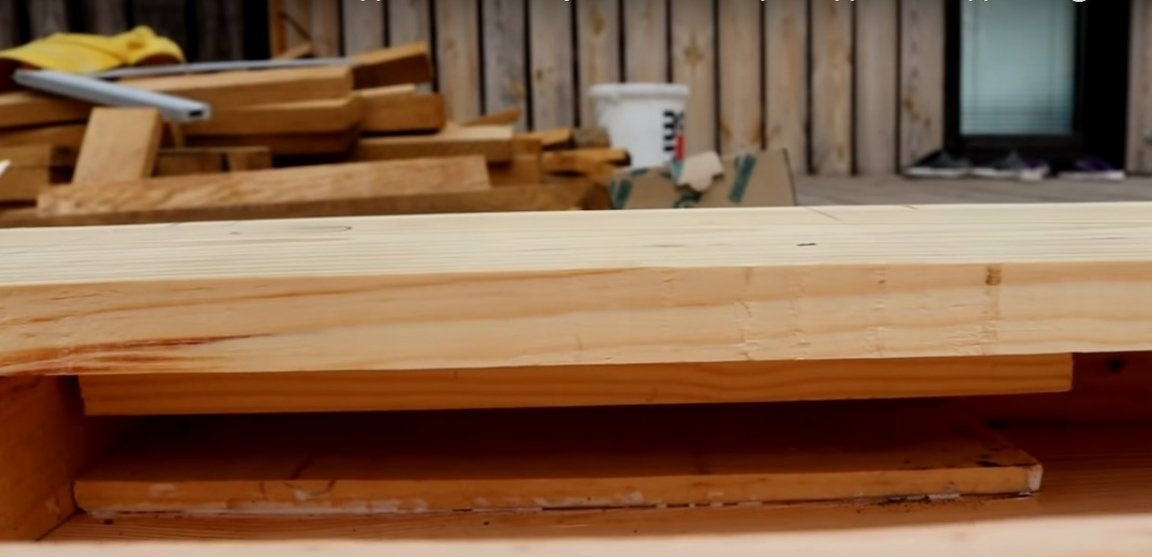
Install the hinges and check if the door is open enough. In this case, for a door with a thickness of about 100 mm, a 4 mm gap was too small, so the author made a bevel around the edge using an electric planer.
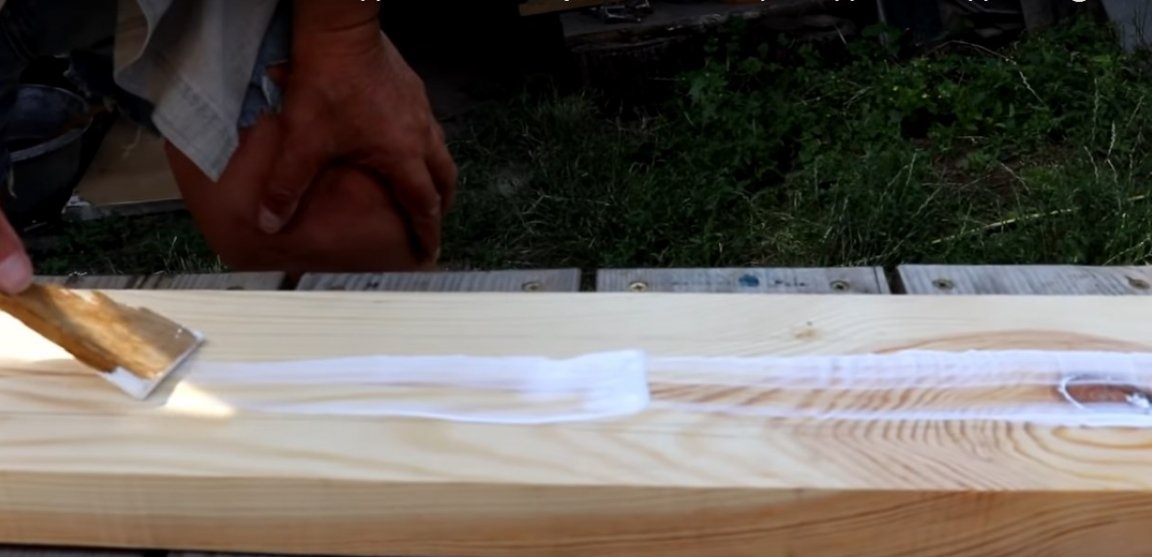
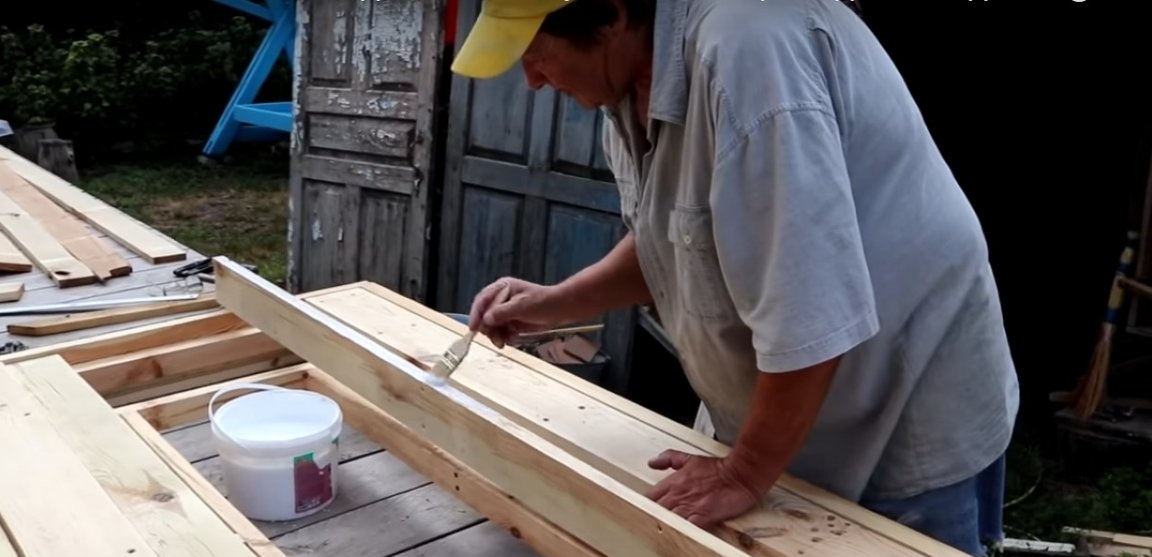
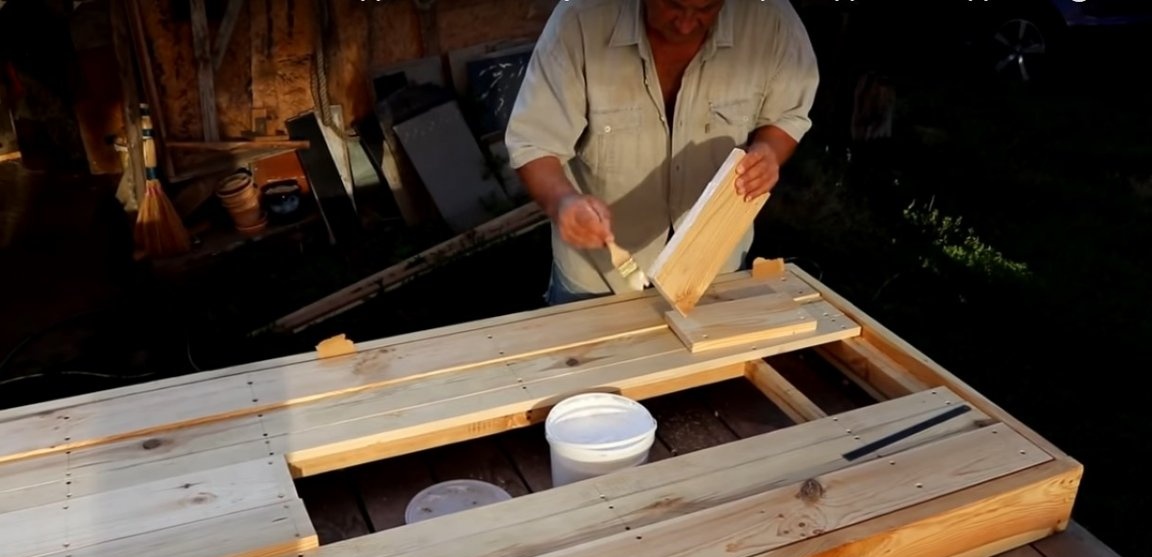
Step Eight: surface treatment of wood doors and door frames
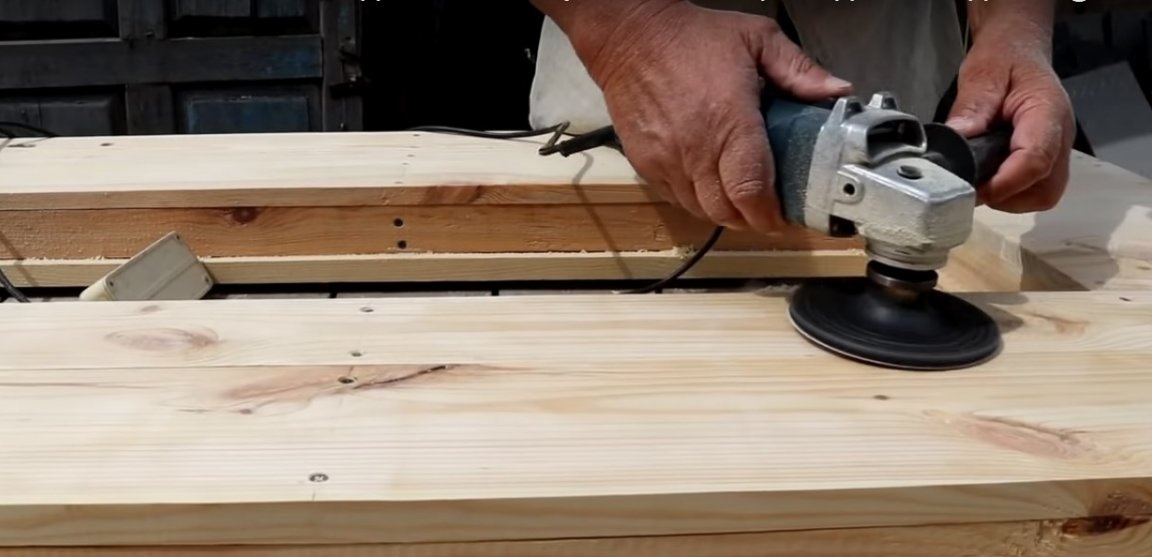
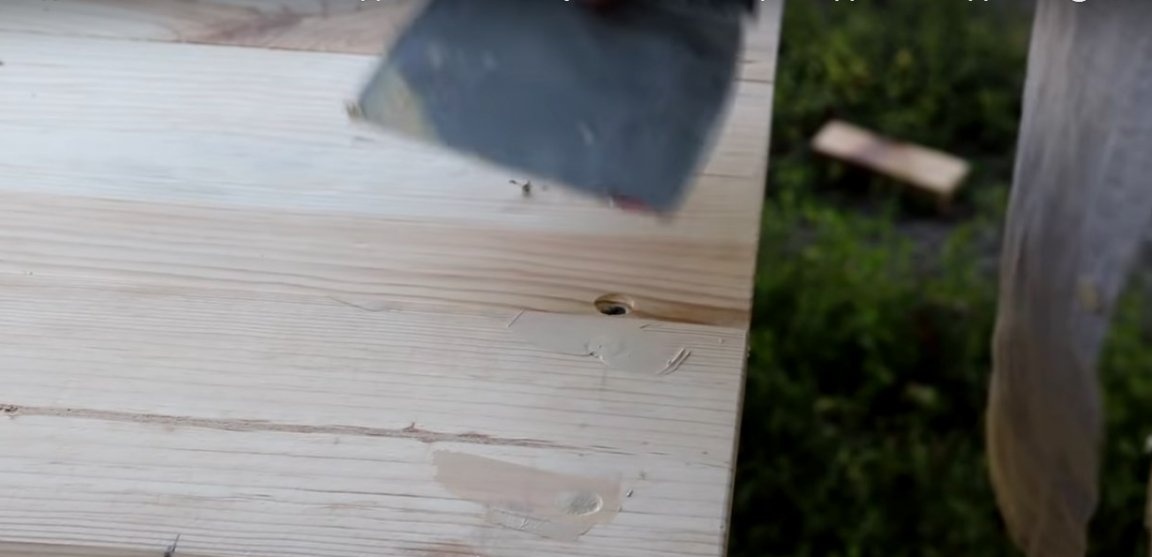
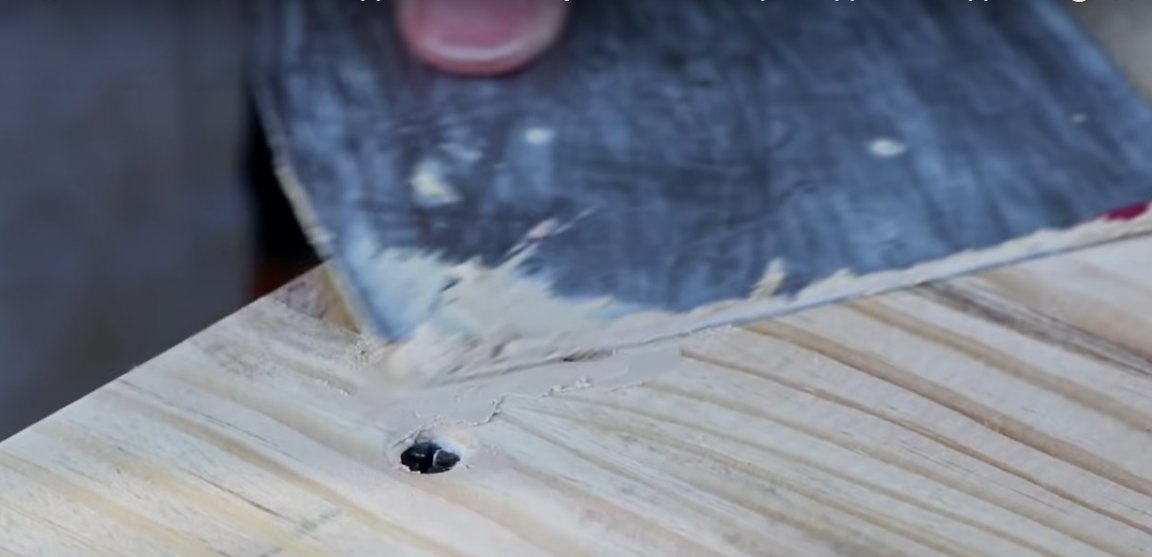
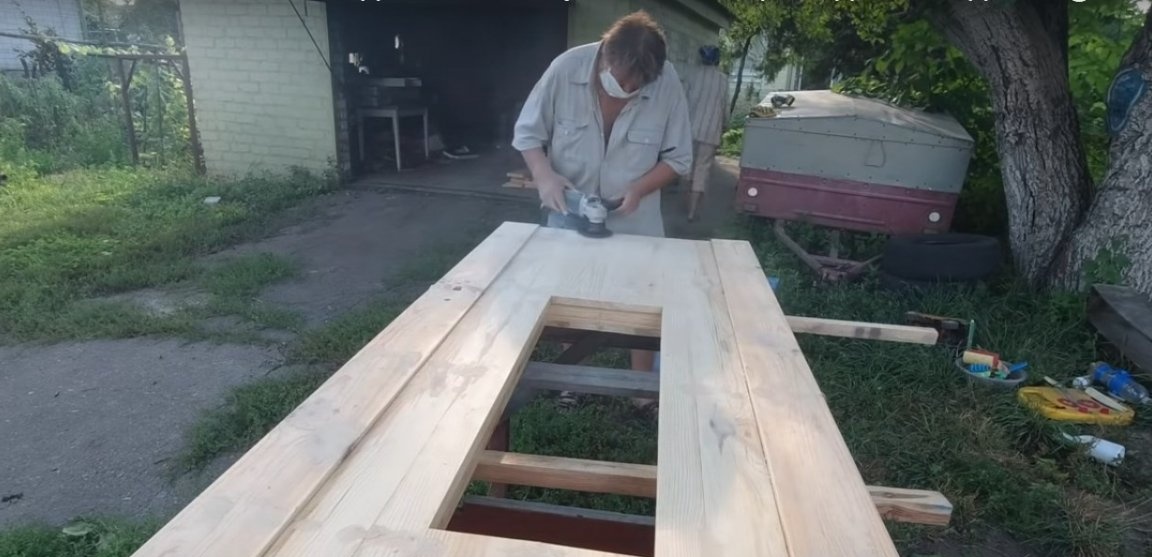
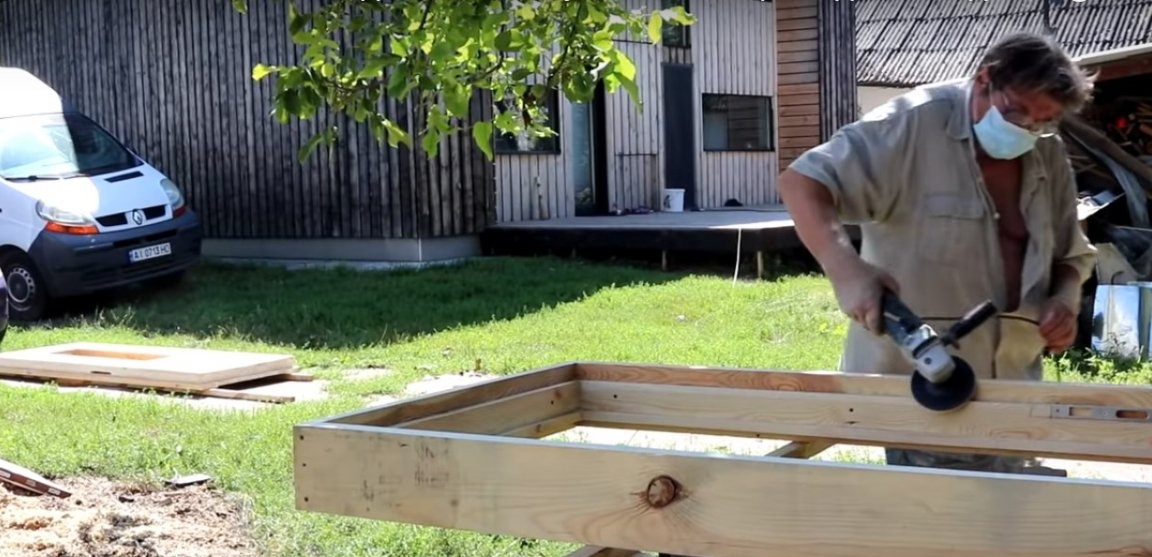
All defects on the surface of the wood must be puttied. Use a one-component wood putty for this. When the mass hardens and hardens, grind the door surface with an orbital sander. The author used a grinder and a Velcro nozzle under sandpaper.
On the inside, the door surface is treated with yacht polyurethane varnish.As a rule, after the first coat, the painted surface must be carefully sanded and a couple more layers of varnish applied. However, the author planned the final paintwork far in the future, when the internal redecoration will be completed, therefore the varnish here acts as a temporary protection of the wood from adverse external influences.
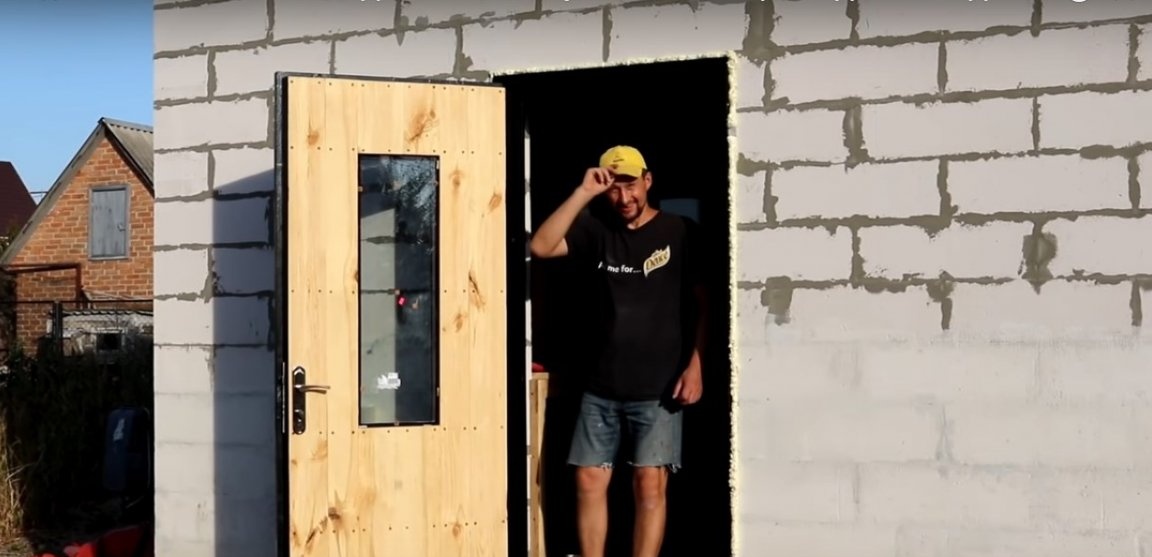
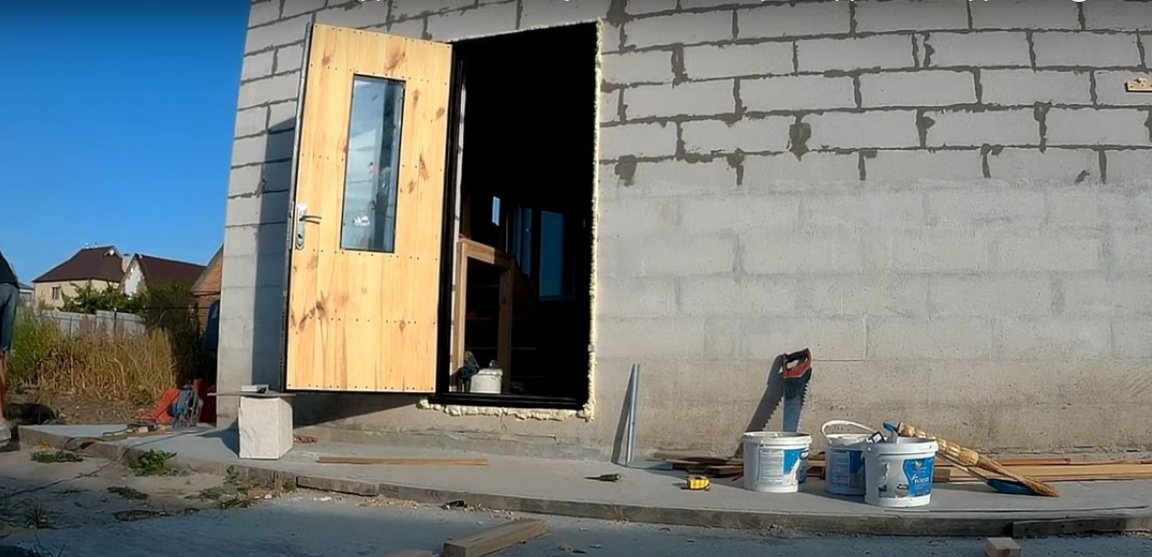
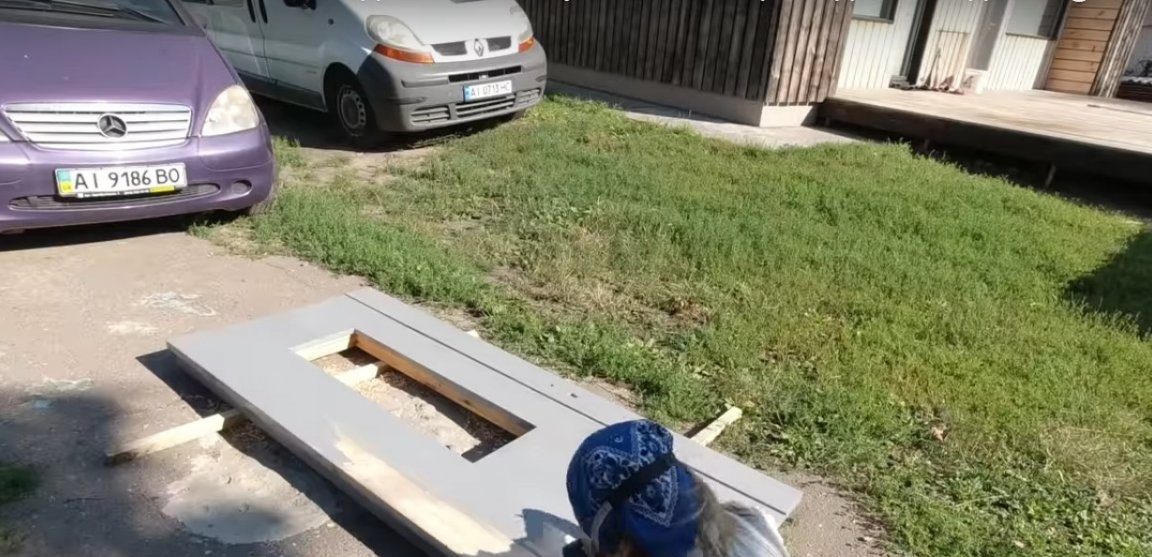
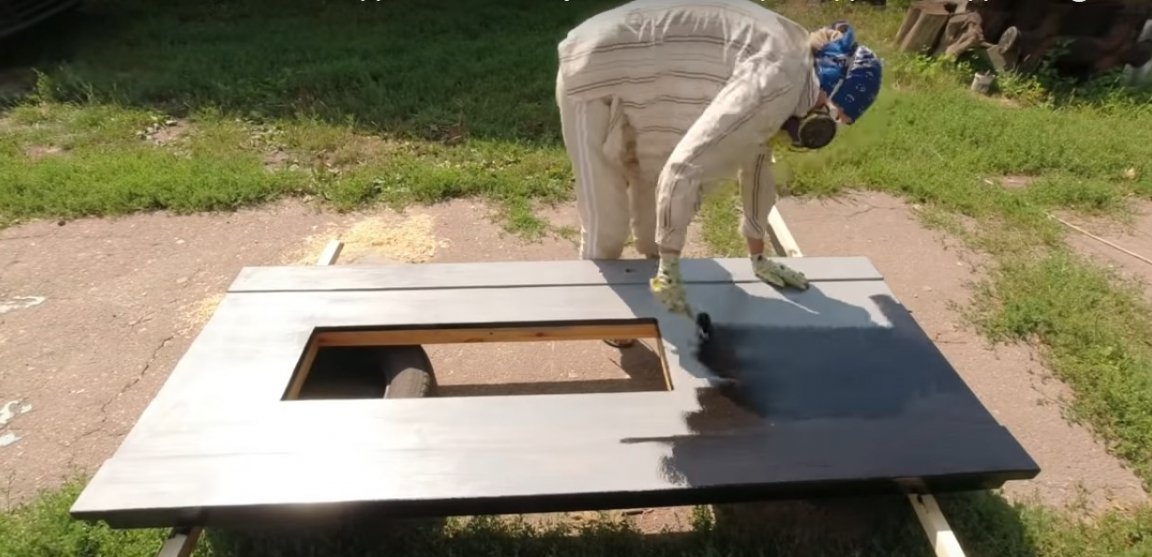
The outer surface of the door is covered with a layer of soil and a layer of paint.
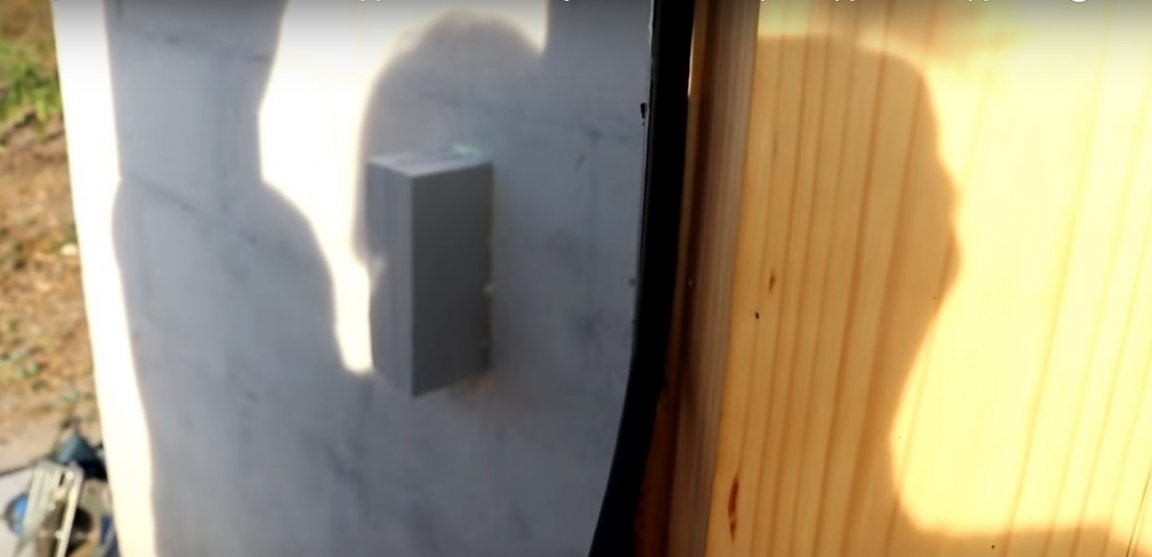
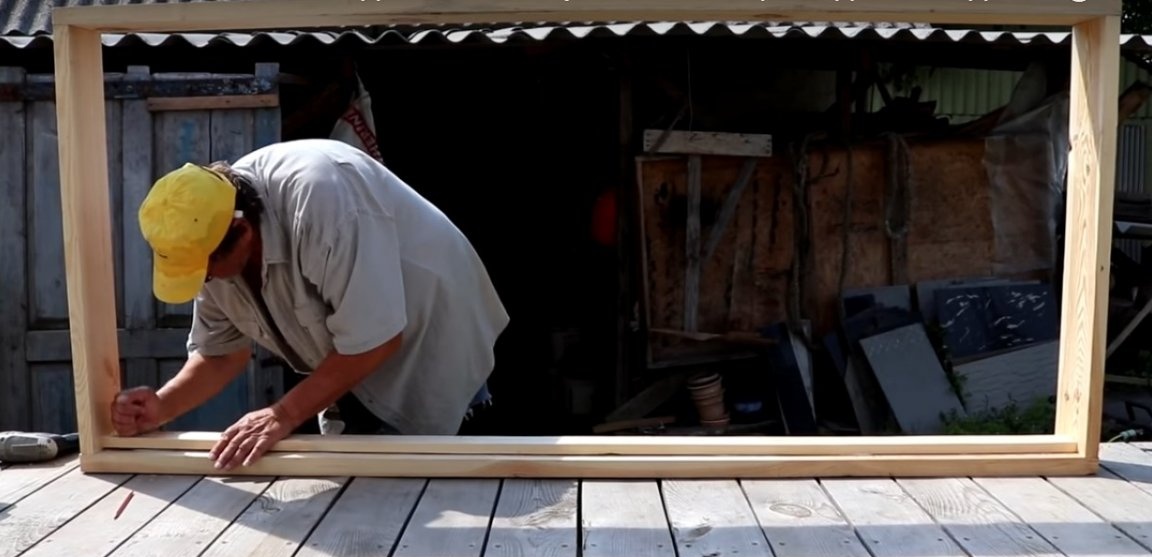
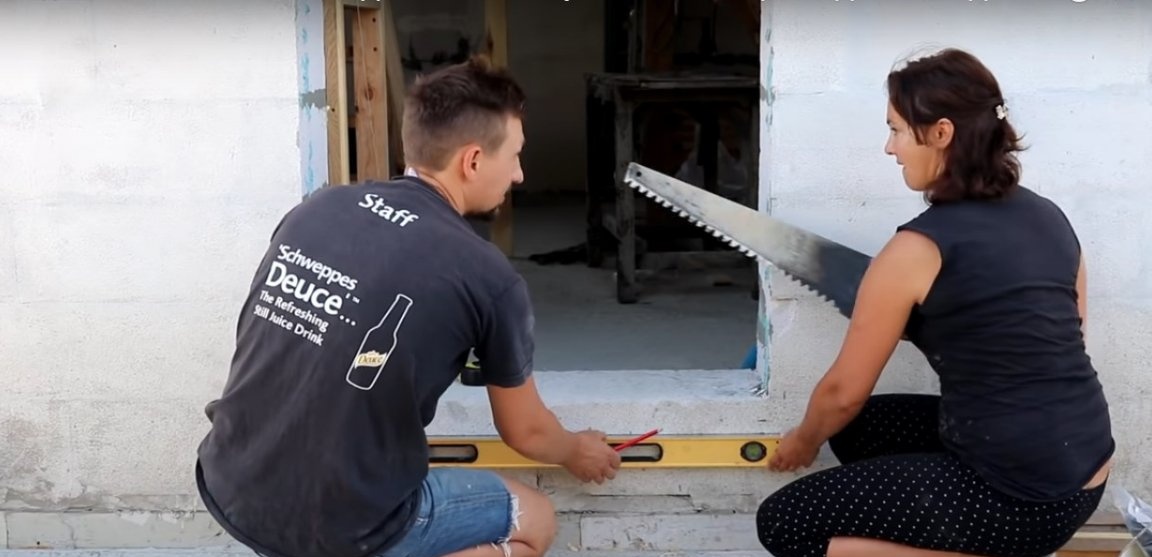
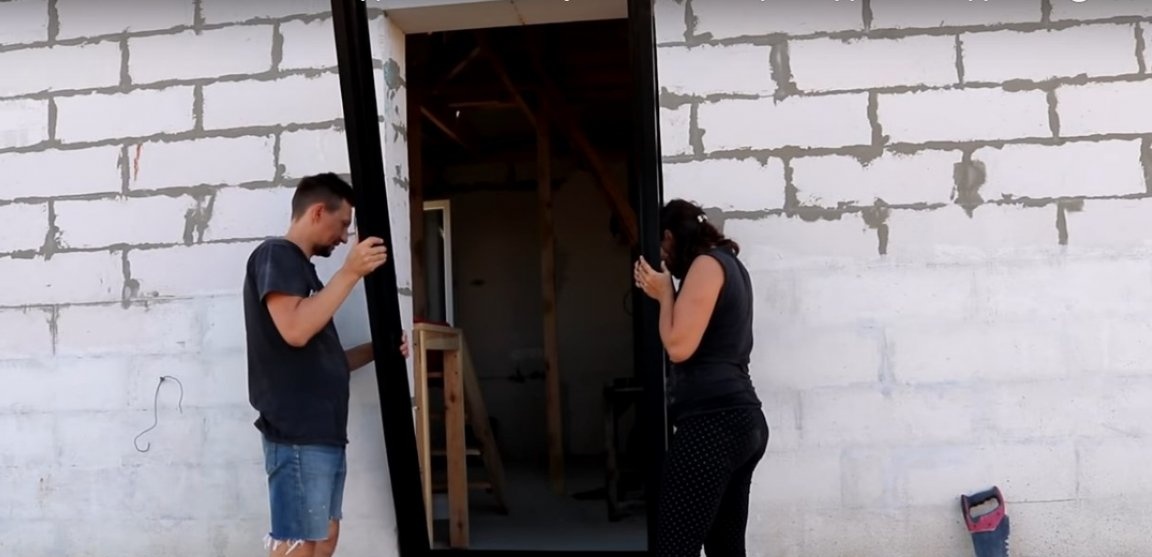
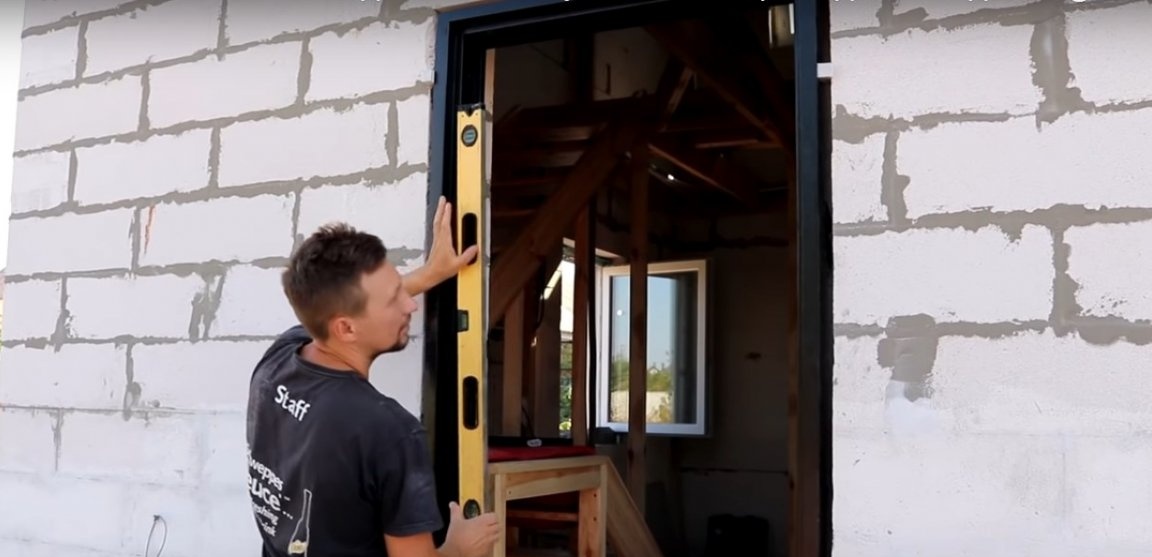
Step nine: installing the door frame and doors
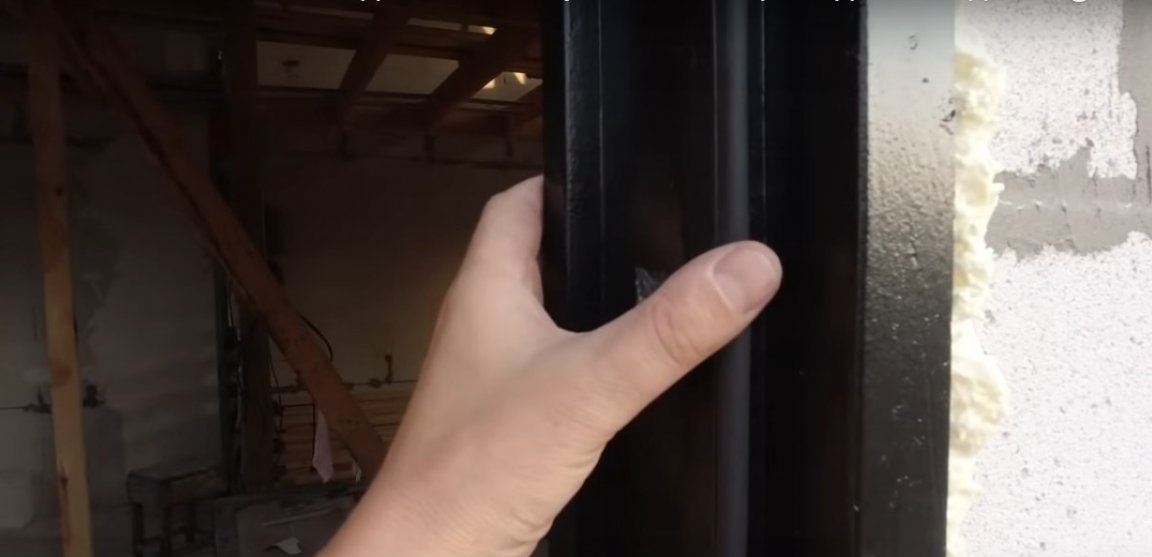
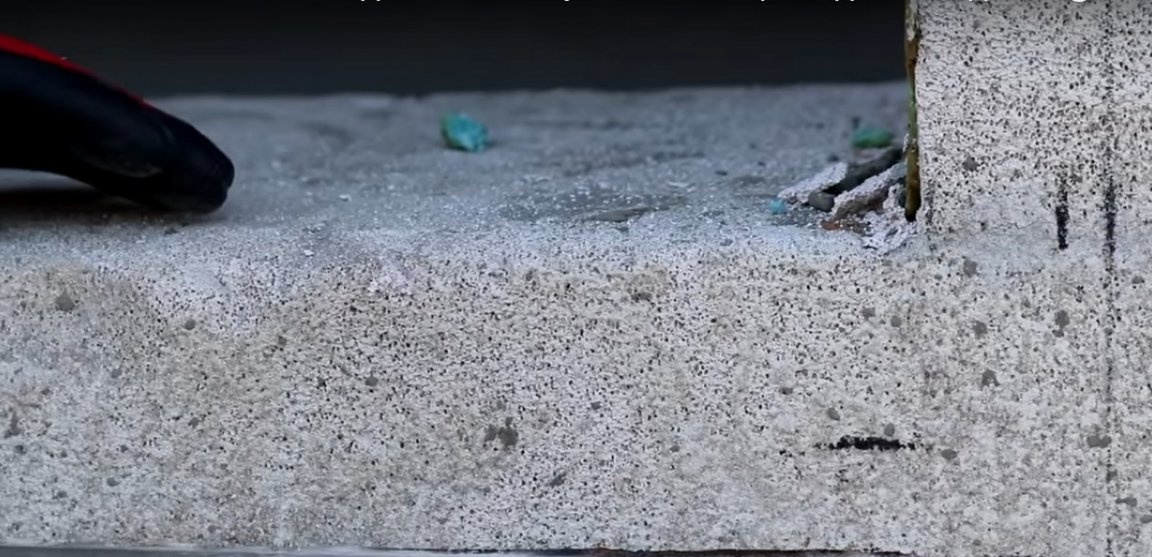
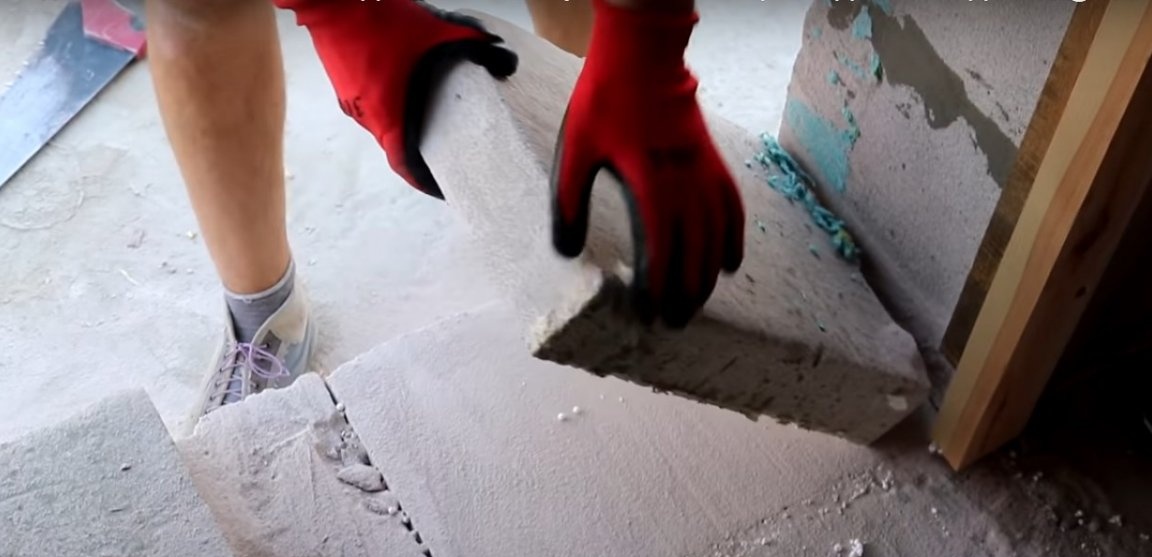
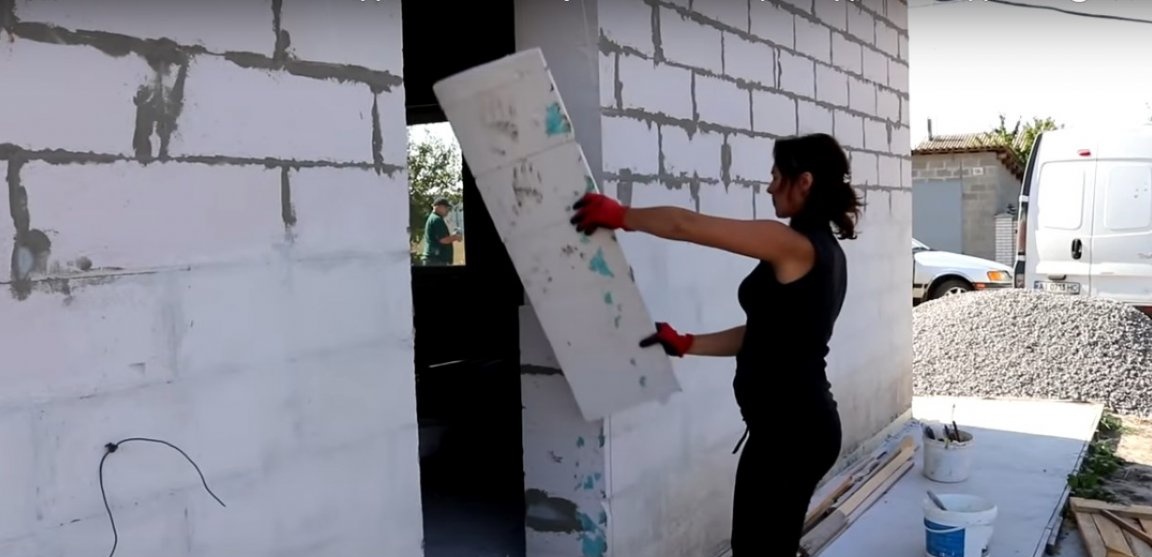
The door frame will be installed in the aperture of the wall of aerated concrete. The hole in this case should be slightly larger, taking into account the clearance for the mounting foam. The author did not use anchors, since most of them are very poorly held in aerated concrete.
Set the box into pieces of dense foam and fill the gaps with mounting foam. To ensure that the doorway does not deform during expansion of the mounting foam, install a spacer. After the foam has hardened, pieces of foam can be cut off along with the foam.
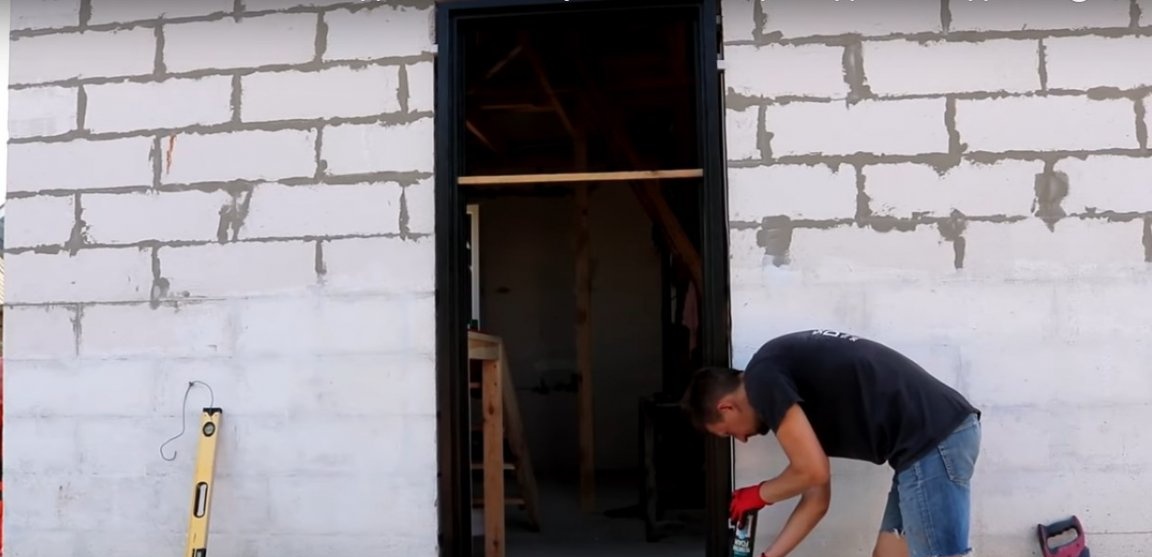
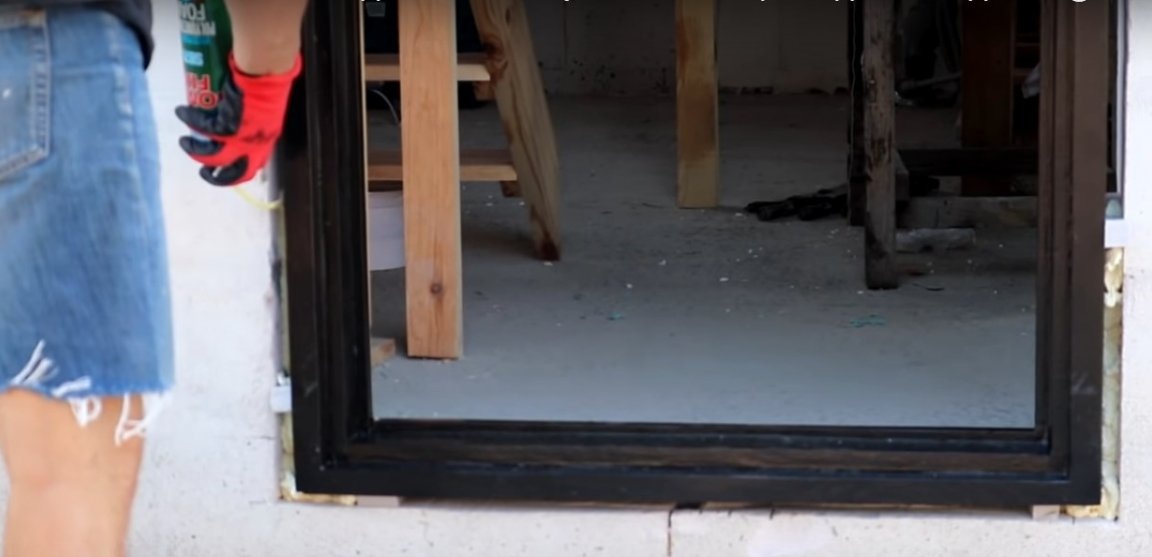
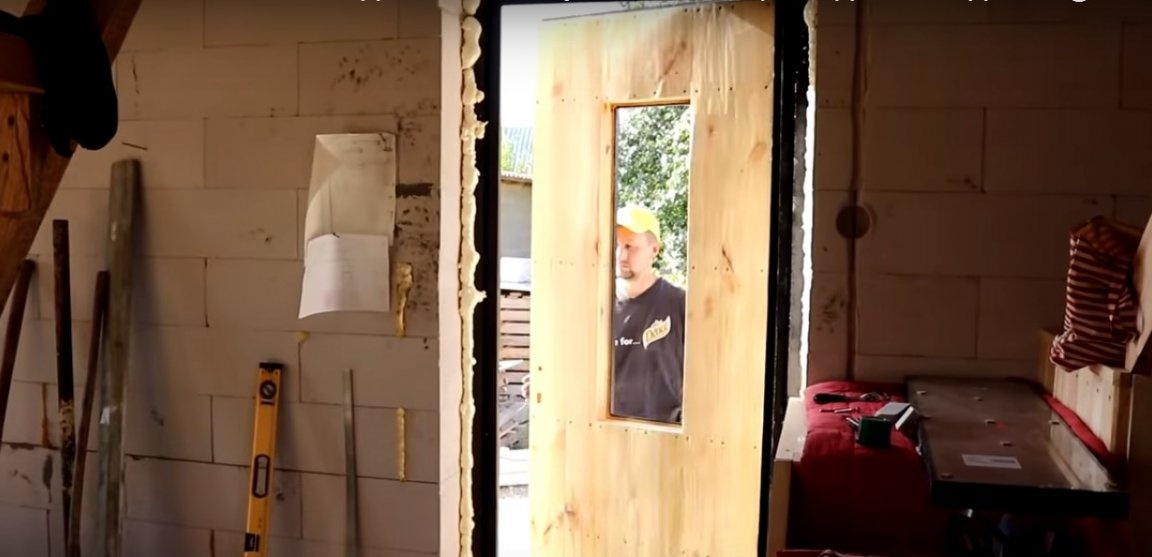
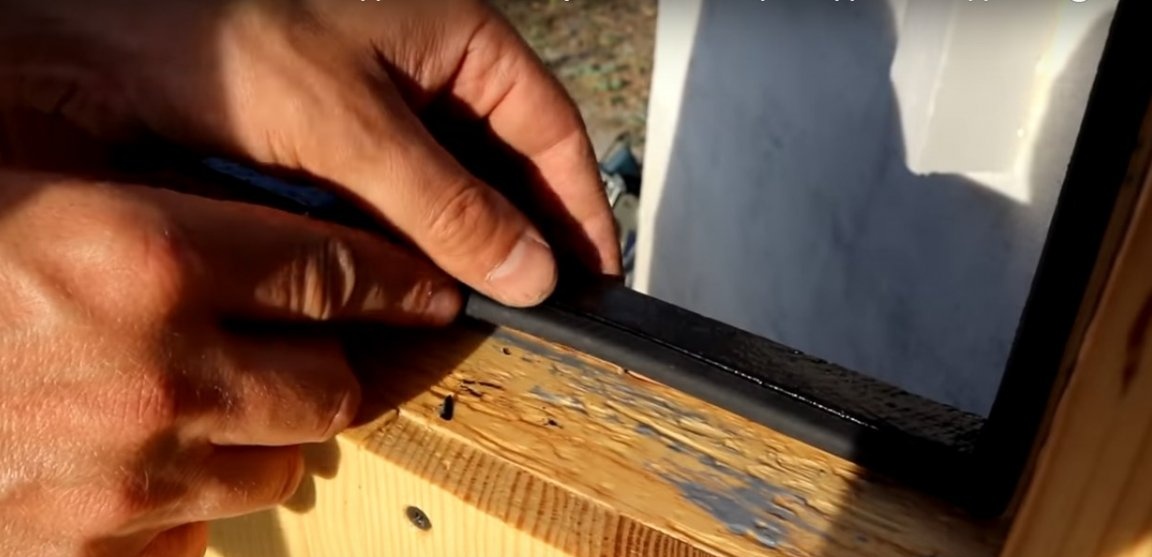
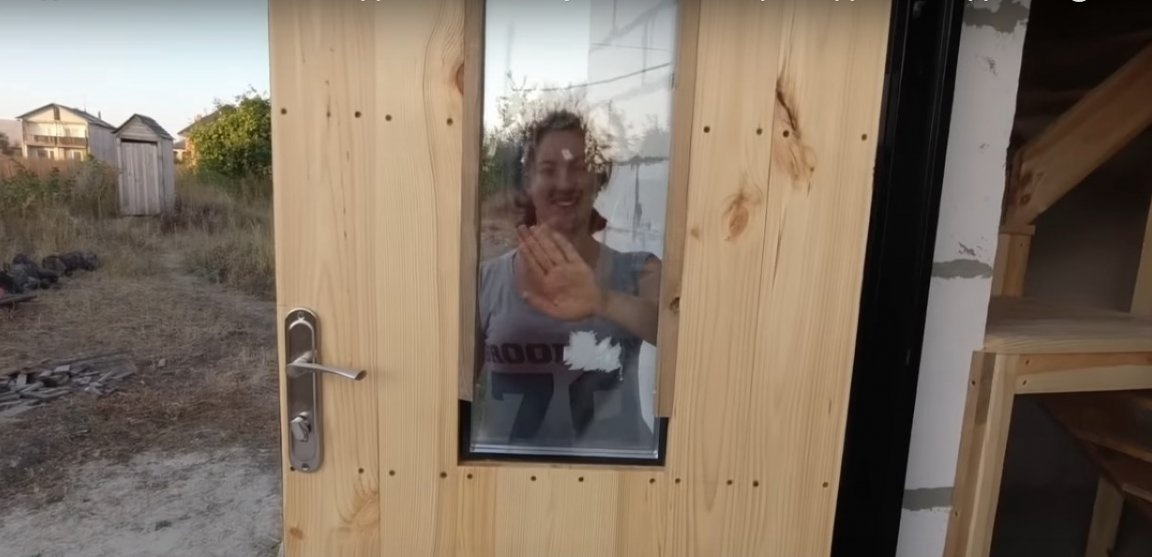
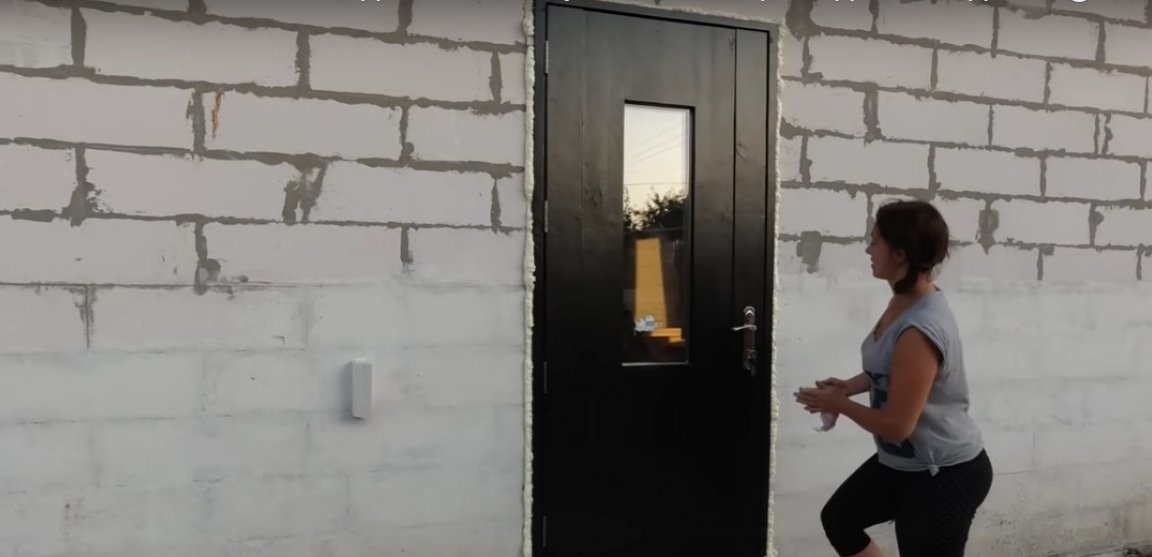
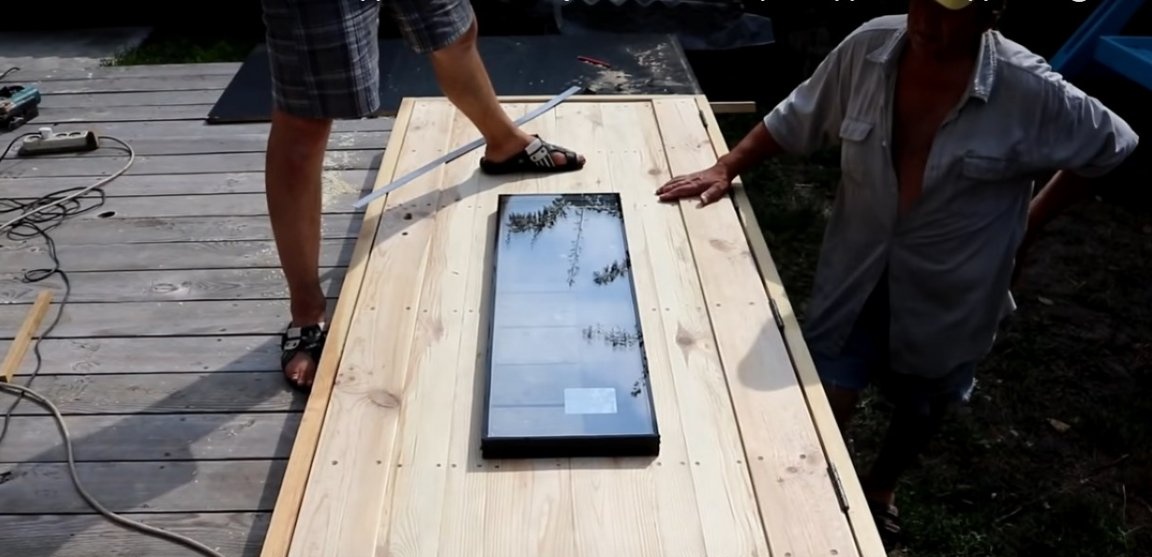
It remains only to stick the seal, install a double-glazed window and a mortise lock with door handles.