If you are aimed at finding the most economical option for building a foundation - a shallow ribbon foundation with a reinforced belt - the best solution for you. Its construction requires a relatively small volume of concrete, and reinforcement along the perimeter of the structure will provide the necessary strength. Such a foundation can easily withstand small seasonal movements of the soil, which in no way reflects on it.
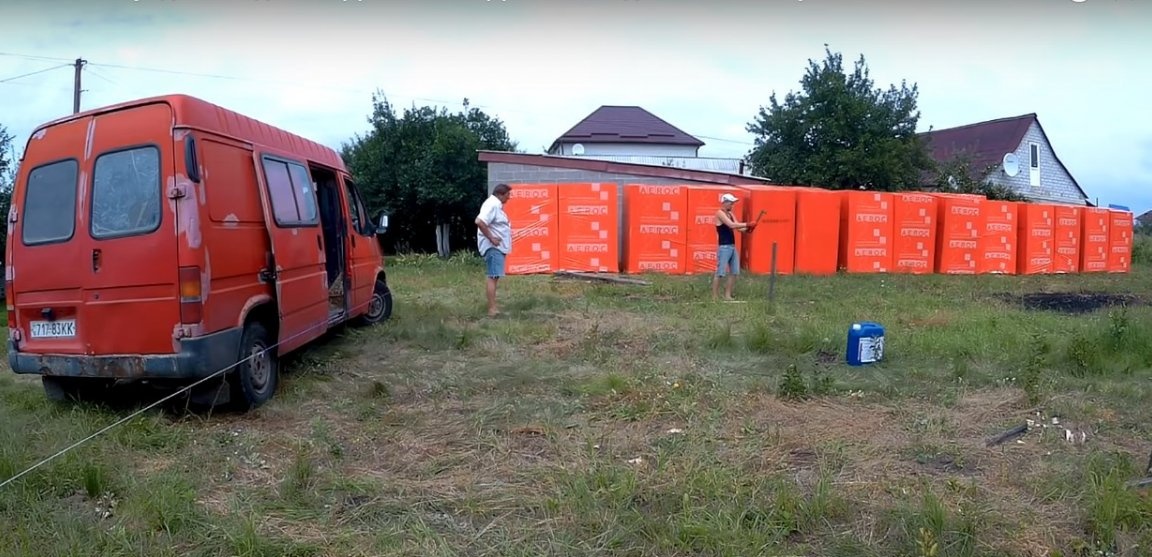
When constructing this foundation, the author was primarily faced with two tasks: ease of construction, speed of construction, and budget cost. The foundation is intended for the construction of a small two-story house from a gas block of 60 square meters. m., without a basement, with a pillar in the center of the structure.
In order to build a shallow strip foundation do it yourself you will need:
Materials:
- M-200 brand finished concrete - 6 cubic meters. m. with the size of the foundation tape 600 x 400 mm;
- sand for a sand pillow;
- old edged boards for the manufacture of formwork with a thickness of 20 - 30 mm;
- bars for the manufacture of formwork;
- bars or slats for the manufacture of U-shaped trusses armopoyas;
- wood screws;
- reinforcement for armored belt 12 mm thick;
- knitting wire for the manufacture of armopoyas;
- extruded polystyrene foam for insulation of the foundation;
- a marking cord and pegs;
- any suitable material to protect the foundation from the sun;
- water to seal the sand cushion.
Instruments:
- concrete mixer;
- screwdriver;
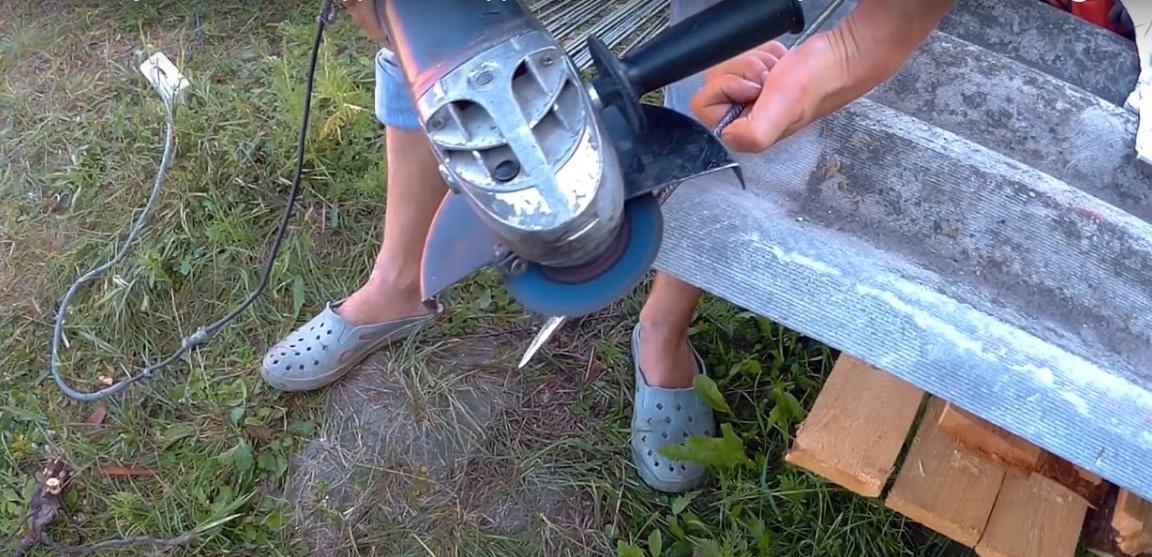
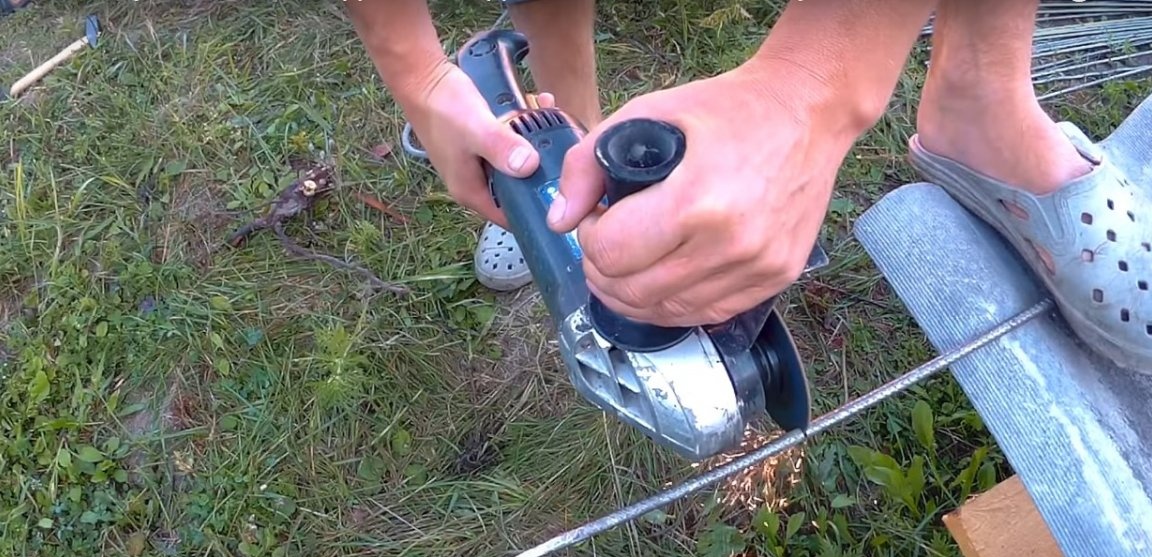
- grinder;
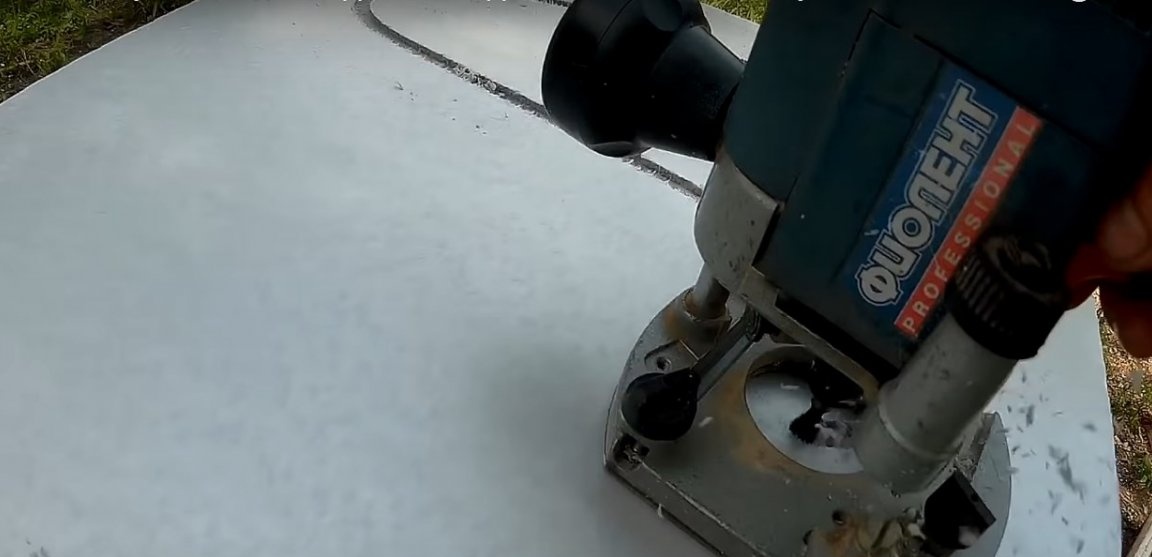
- manual milling cutter and cone-shaped milling cutter for cutting strobes in polystyrene foam;
- shovels;
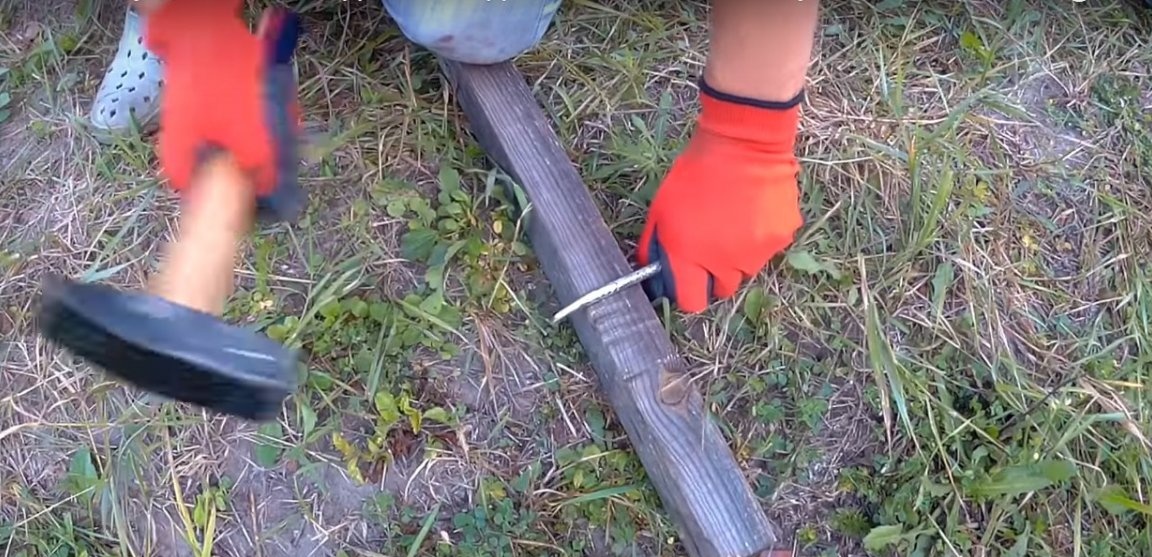
- hammer;
- sledgehammer;
- a knife for cutting polystyrene foam;
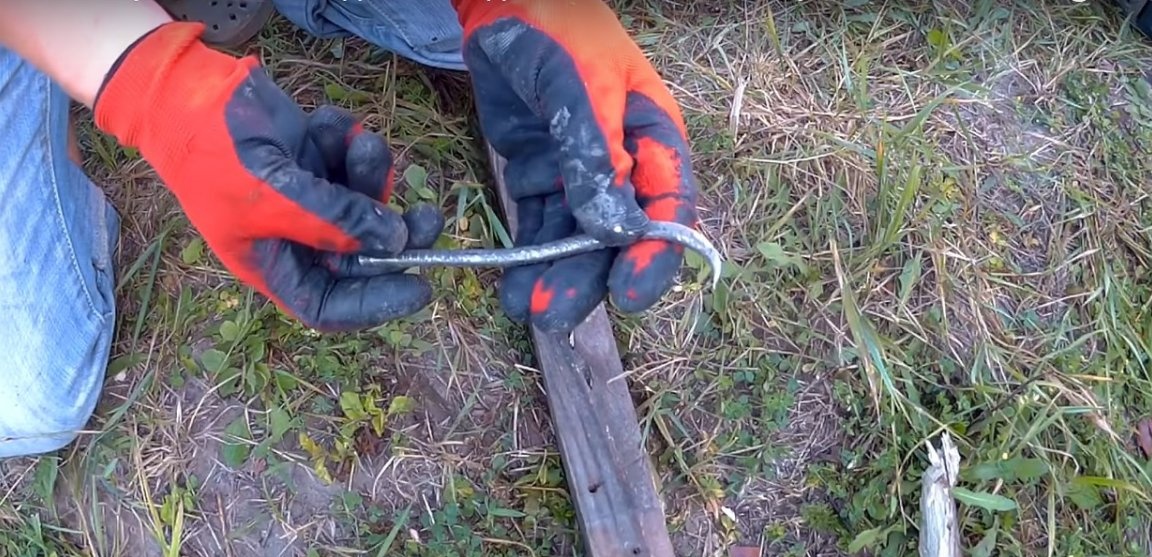
- hook for tightening the wire;
- water level;
- building tape measure, level, marker.
Manufacturing process
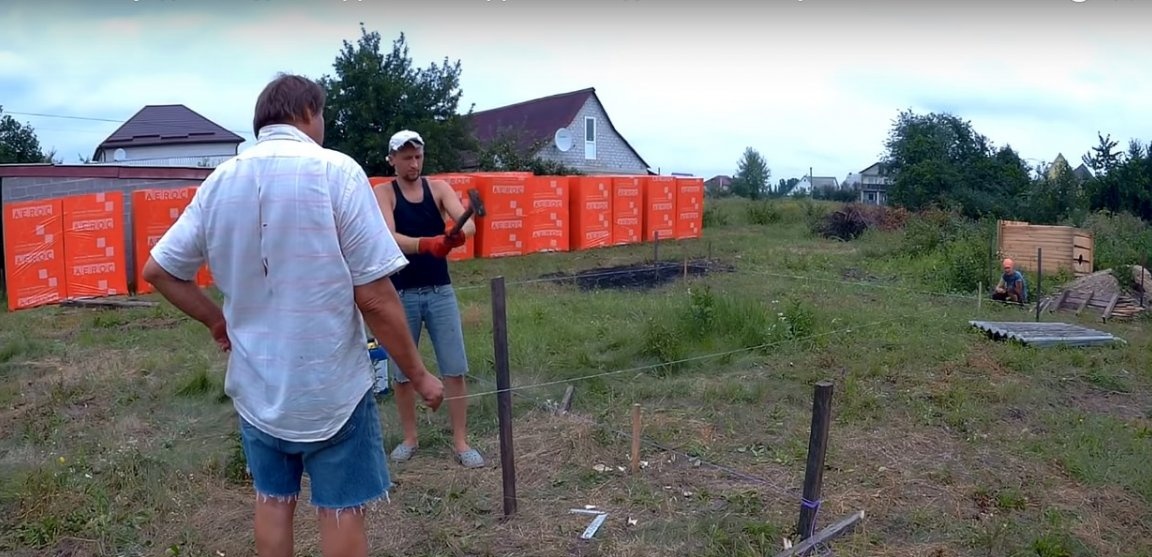
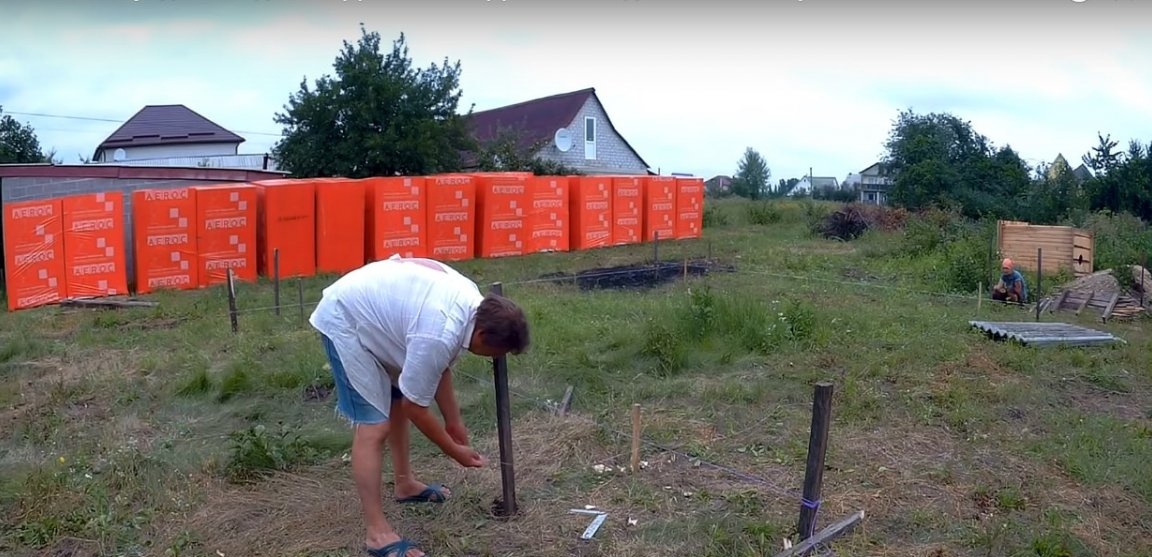
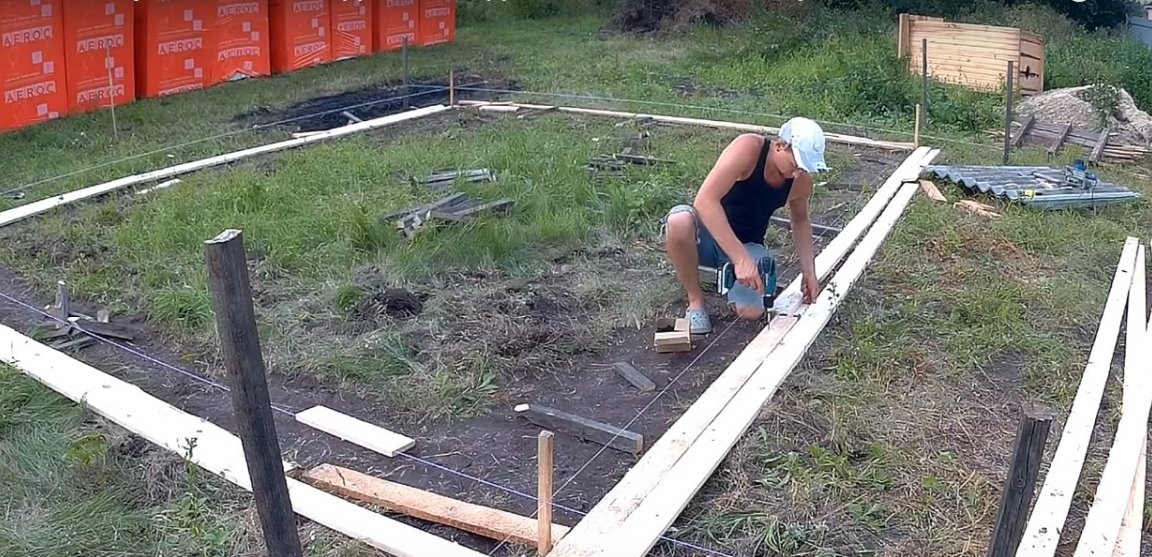
Step one: marking on the ground
Foundation work always begins with site marking. The author scored four pegs in the corners of the future home. He measured their position with a tape measure, and checked the diagonals using the Pythagorean formula for right-angled triangles.
This formula is the simplest. There are two triangles in the rectangular foundation. And according to the Pythagorean theorem, in a right triangle the square of the hypotenuse is equal to the sum of the squares of the legs.
Therefore:
1. The sum of two acute angles of a right triangle is 90
2. The leg of a right-angled triangle, lying against an angle of 300, is equal to half the hypotenuse.
3. Two right-angled triangles are equal if the legs of one of them are equal to the legs of the other.
4. Two right-angled triangles are equal if the hypotenuse and leg of one of them are equal to the hypotenuse and leg of the other.
5. Two right-angled triangles are equal if the acute angle and the side of one of them are equal to the acute angle and the side of the other.
At first glance, it sounds difficult, but everyone can figure it out if they wish.
Focusing on the pegs in the corners, the author pulled a cord - two columns at each corner, so that the marking is on the side and does not interfere with the formwork or dig a trench.
Then, using a water level, they beat off zero - the conditional horizontal level - from which the formwork height was subsequently set.

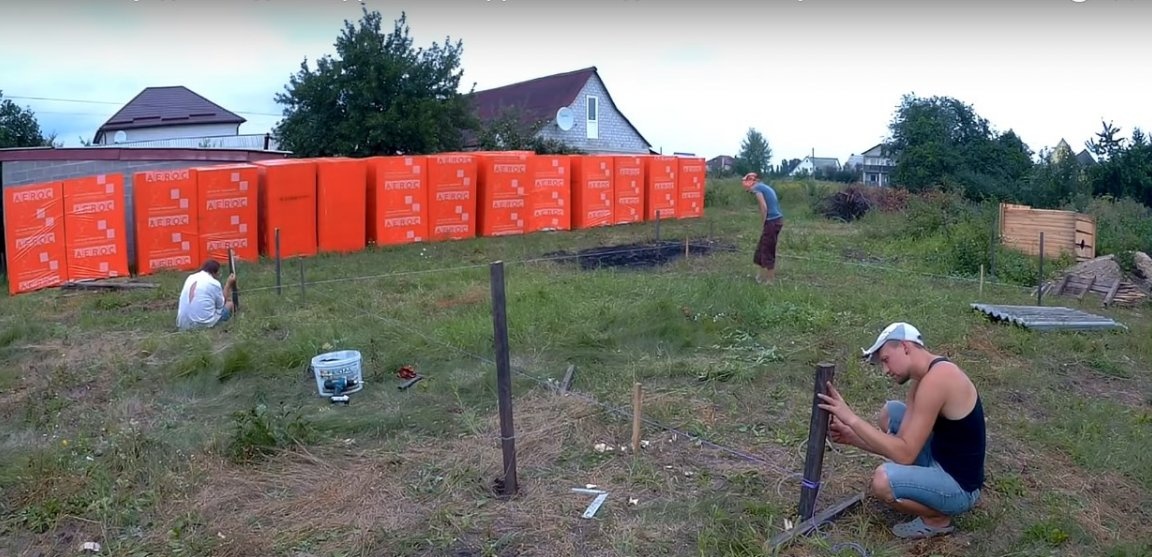
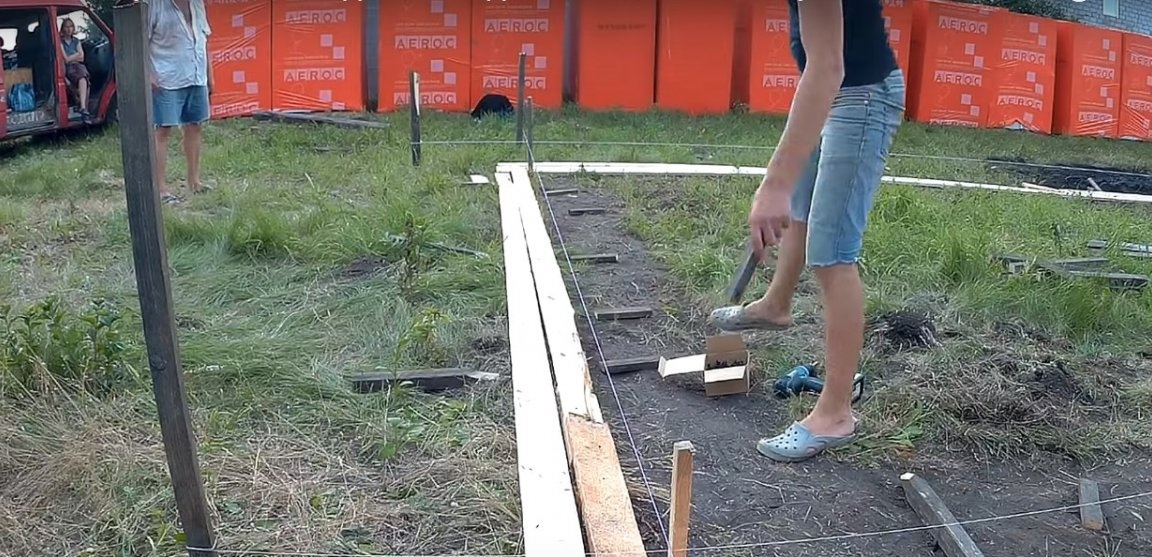
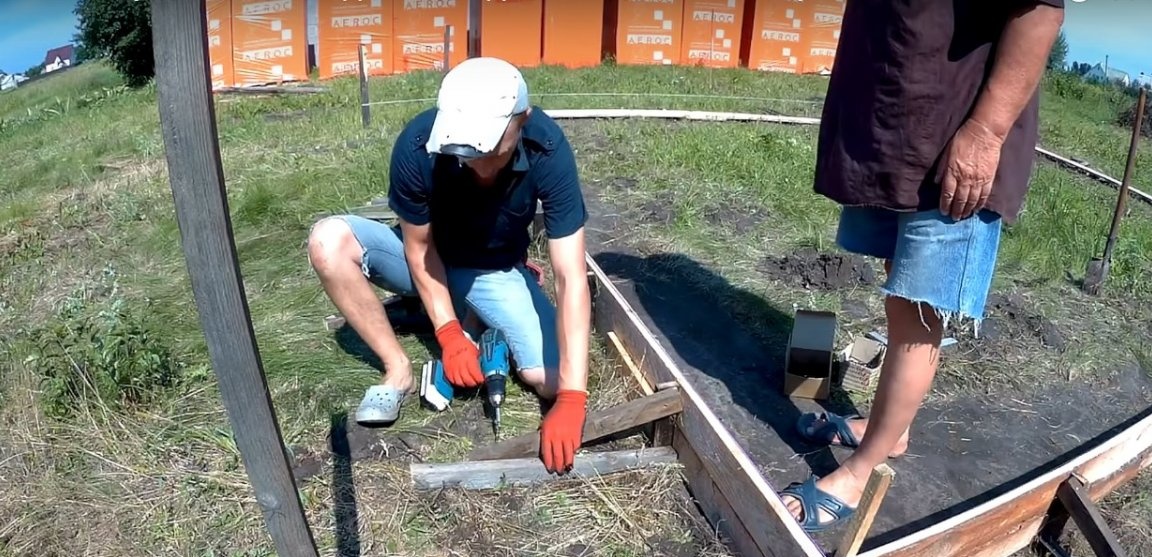
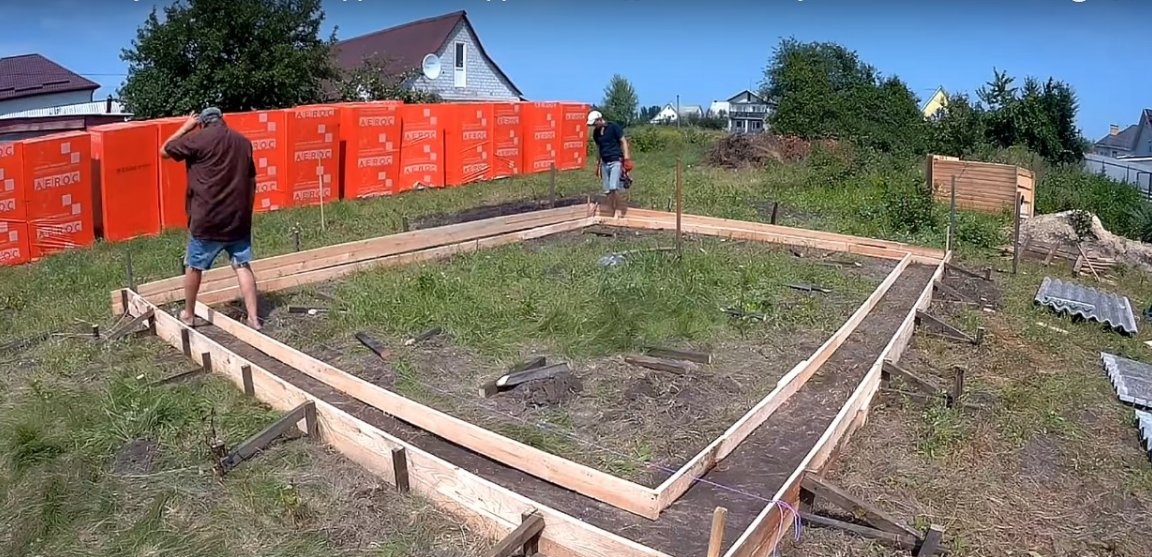
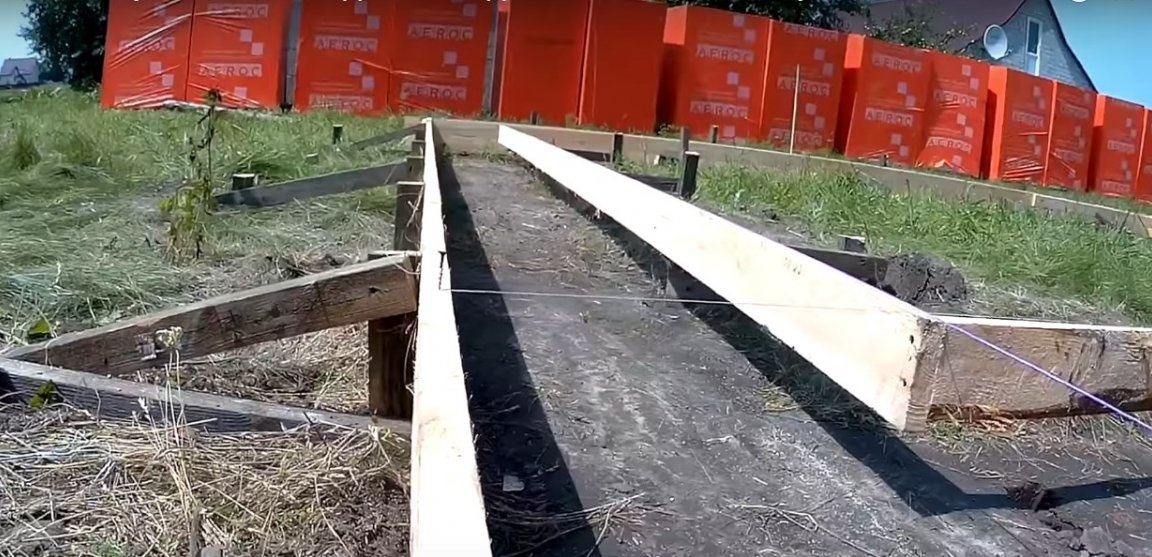
Step Two: Formwork
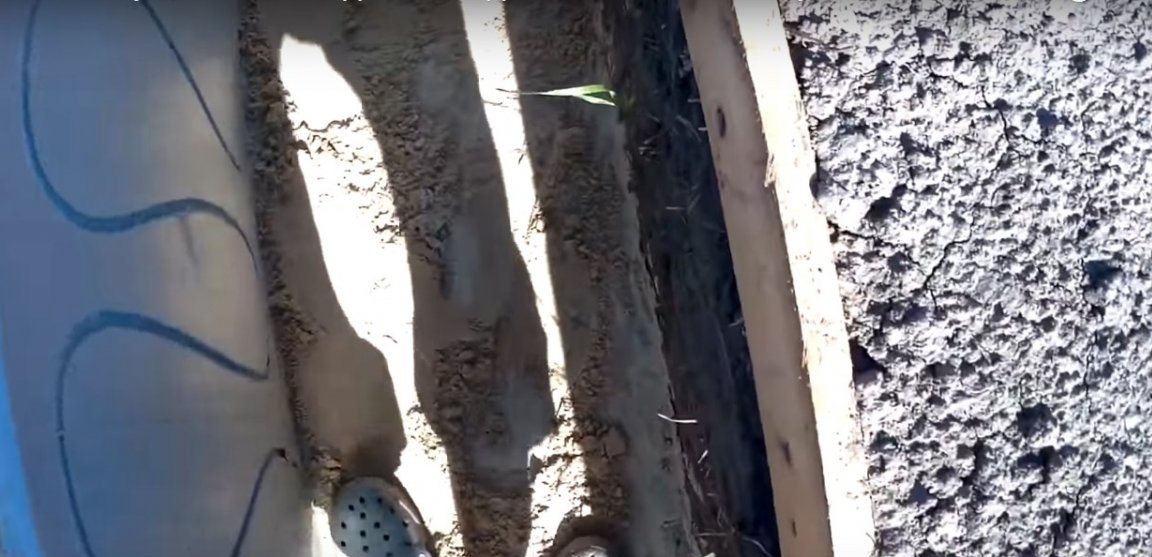
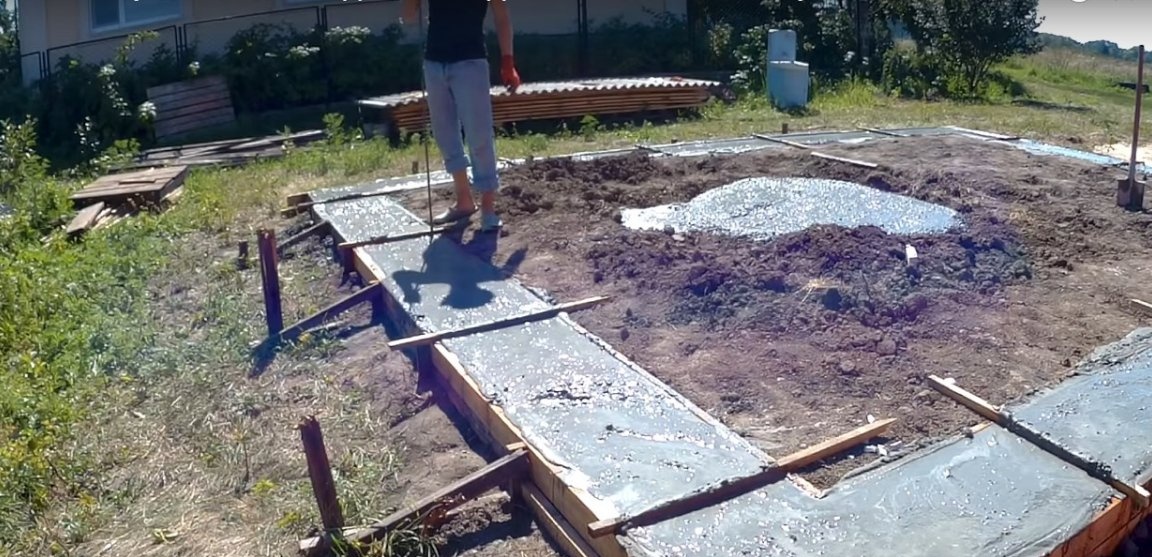
By tradition, immediately after the marking work, any builder begins to dig a trench. The author preferred to start by installing the formwork of the basement level of the foundation. A foundation width of 400 mm makes it easy to dig a trench inside the formwork. Moreover, the formwork prevents soil from falling into the trench. In addition, it is much easier to mount it on a flat surface.
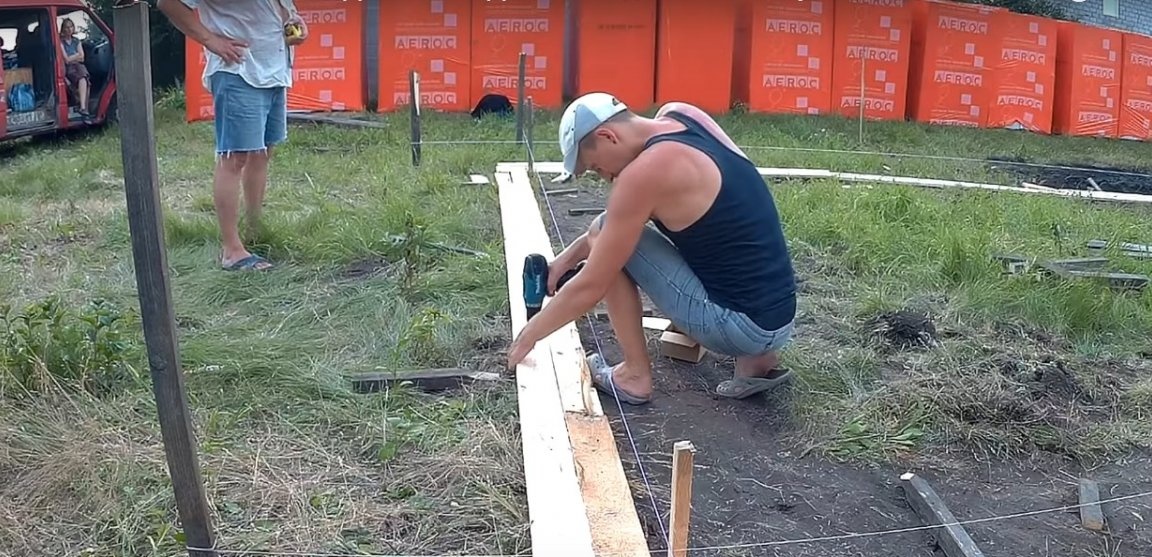
The height of the formwork is only 20 cm. It is assumed that the foundation will be buried into the ground by 40 cm. For the manufacture of formwork, the author used old trim boards in two rows - 10 cm each. Boards with a thickness of 25 mm and a length of 4.5 m. Are connected in height by bars, in length - by segments of the same boards.
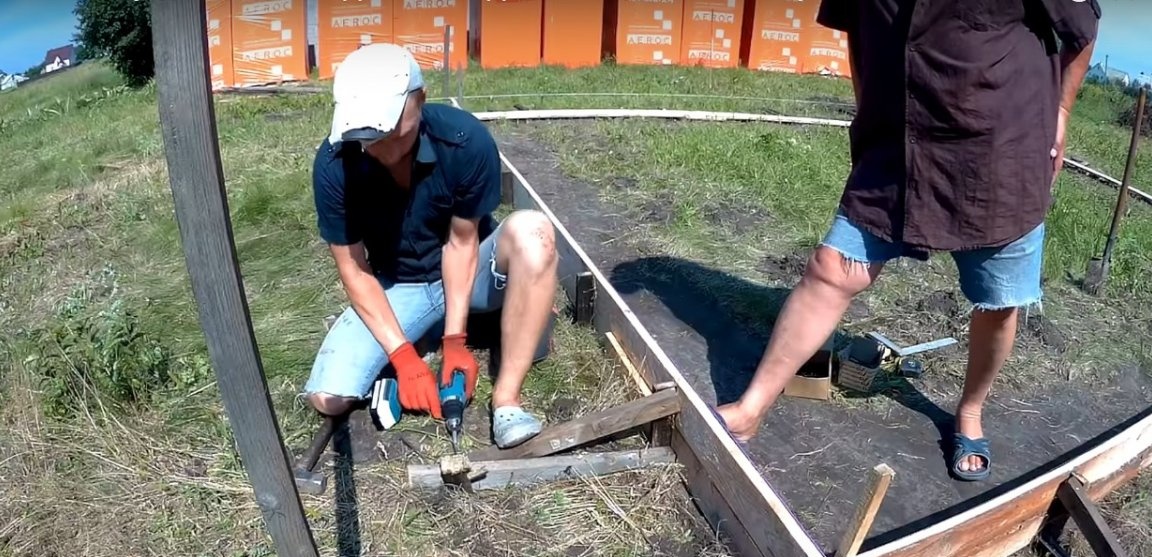
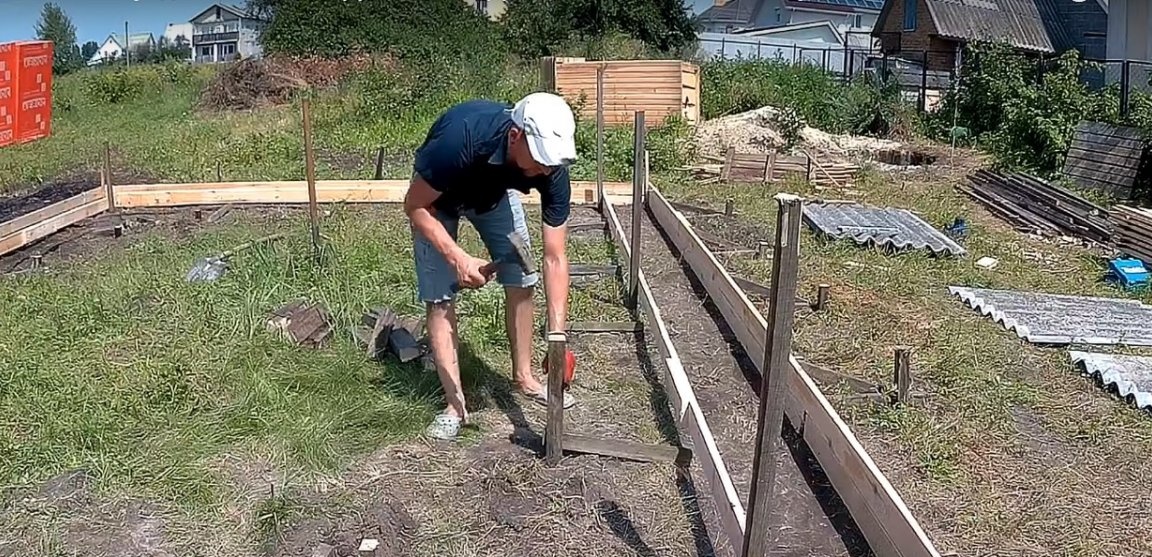
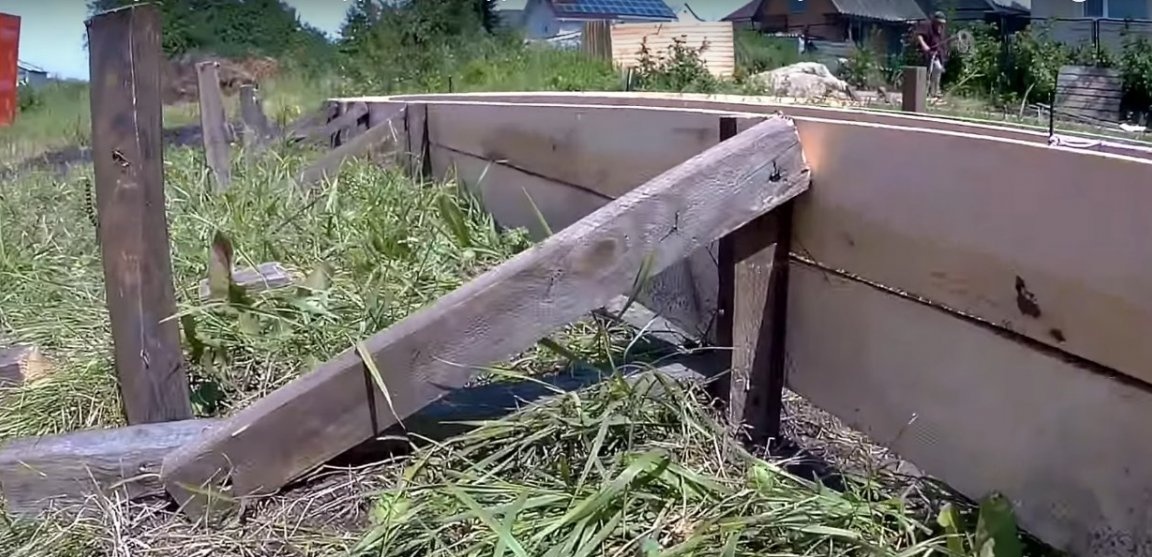
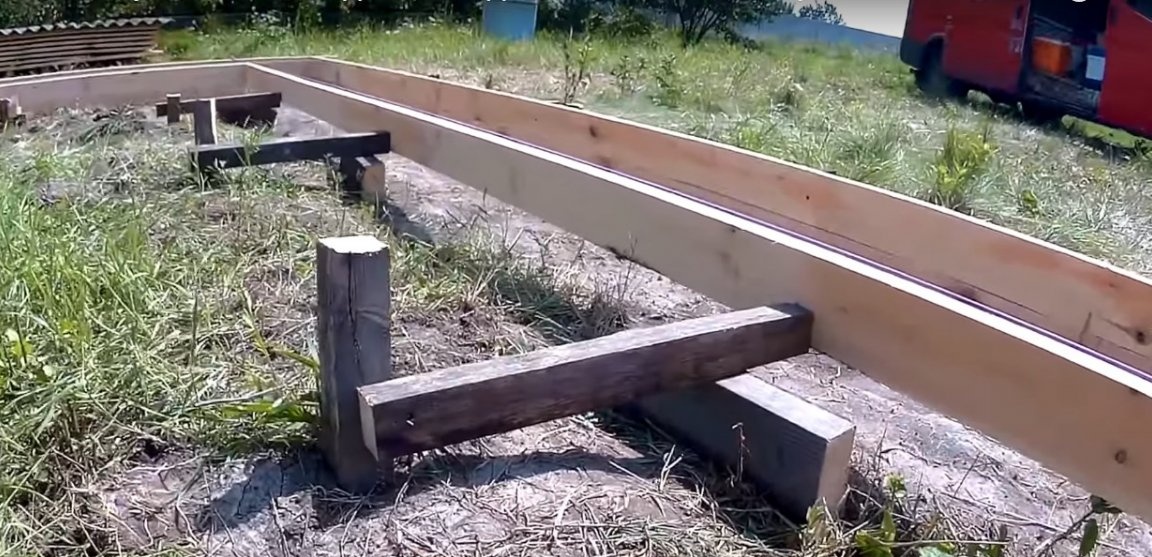
Begin assembling the formwork from the outer panels, as they, guided by the threads, will set the correct geometry of the structure. You will also need columns to fix the formwork. The author proposes to install the columns away from the foundation line - backing 50 cm. Thus, digging a trench will not affect them in the process.
The columns are held in place by two bars, the upper of which is fixed diagonally. It is this method that protects them from displacement.
The geometry of the inner part of the formwork is not so important, so the author made it from just one board. It should be set exactly in height. Other characteristics with a total height of the formwork do not matter.

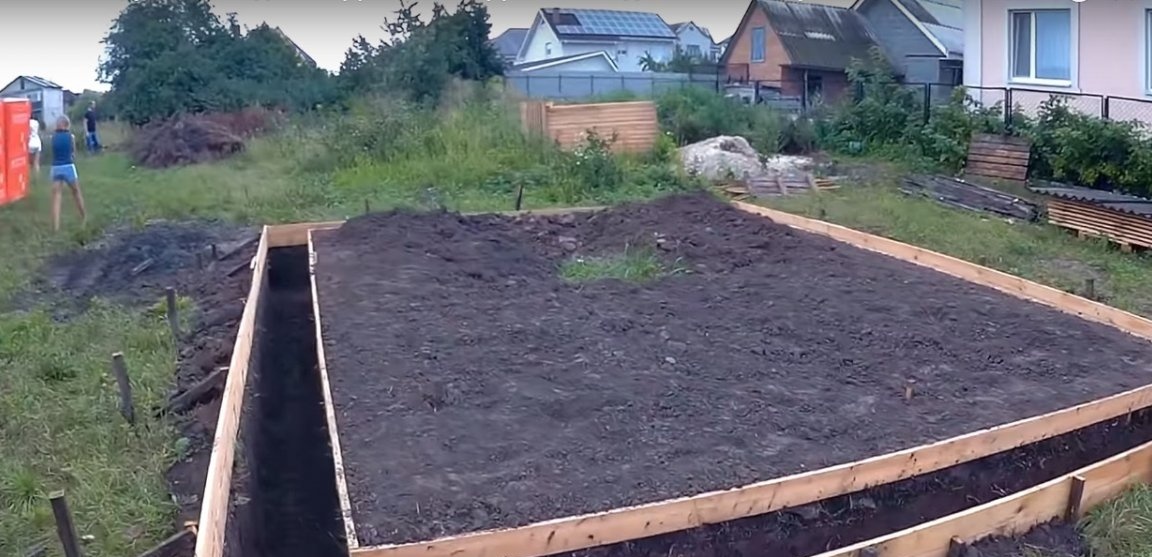
Step Three: Digging a Trench and Insulating the Foundation
All the soil excavated from the trench went to the internal backfill. He also poured the outer perimeter of the formwork so that concrete would not leak out through the cracks.
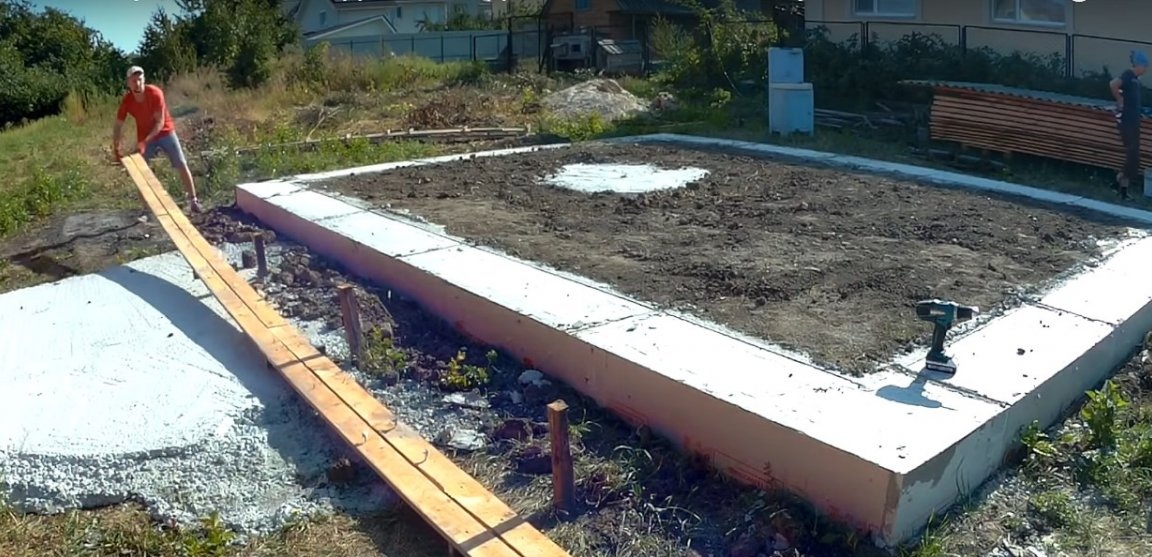
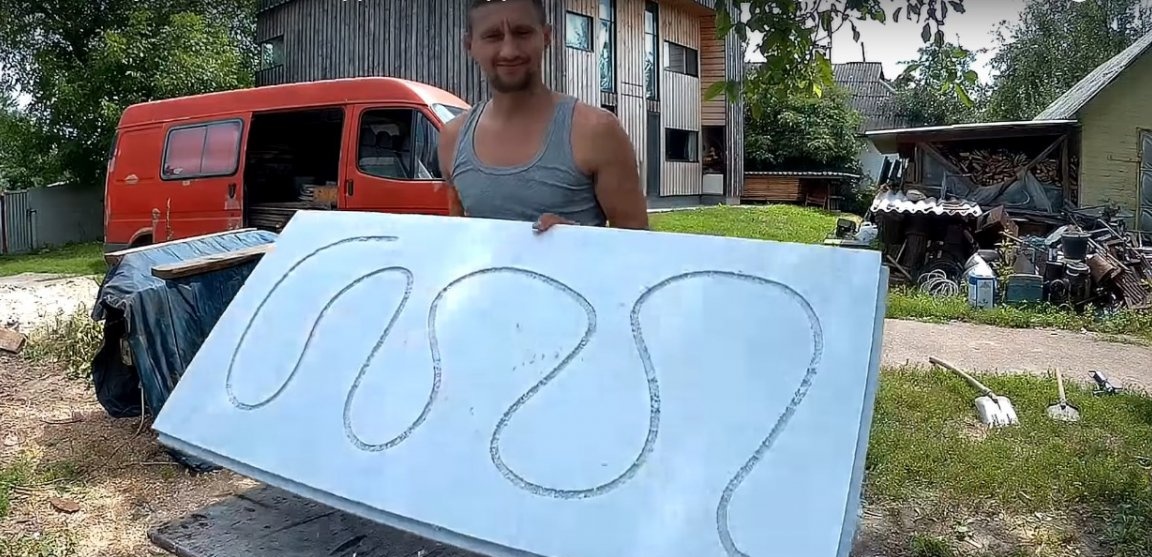
At this stage, it's time to think about isolation of the foundation. For this purpose, use sheet insulation. The most affordable is extruded polystyrene foam. This is a fairly durable material with a prolonged life, which withstands wetting and freezing, without collapsing at the same time.
Expanded polystyrene is attached to the outer plane of the formwork by self-tapping screws. But in order to securely fasten it to the surface of the foundation tape, the author suggests cutting the strobes. The manual router and a small cone-shaped mill will help you with this. In this case, the strobes play the role of grooves, and the hardened concrete inside is a tenon.

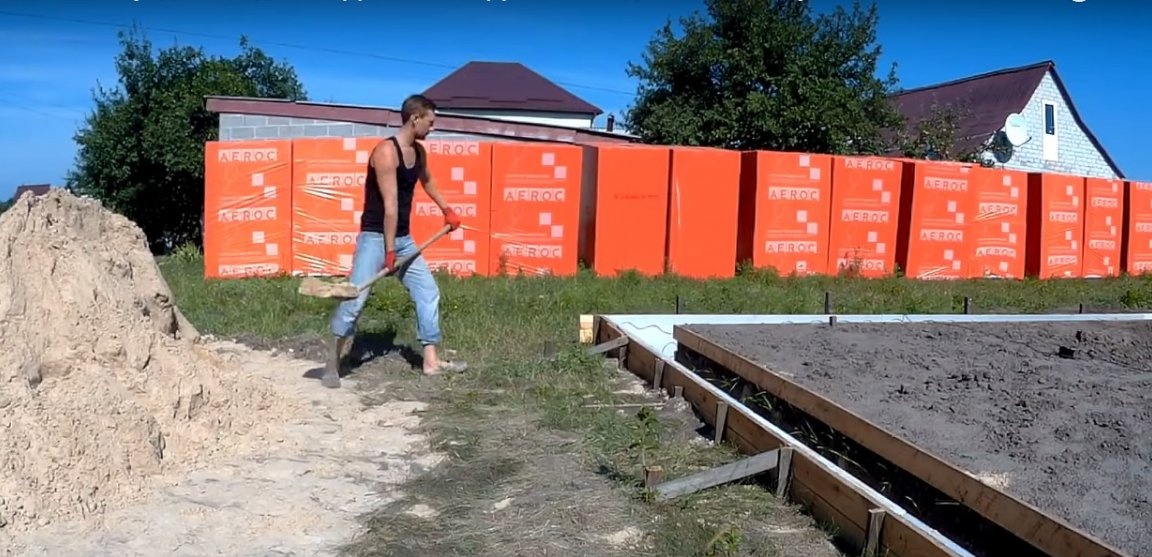
Step Four: Preparing the Sand Cushion
The bottom of the trench must be poured with sand to a height of at least 10 cm in a (compacted state). Knowing the dimensions of the foundation tape, you can easily calculate the required volume of sand. The author needed about 1 cubic meter of sand for a sand cushion 100 mm high.
If you have the opportunity to use more sand - excellent, this will protect the foundation from deformation during seasonal movements of the soil.
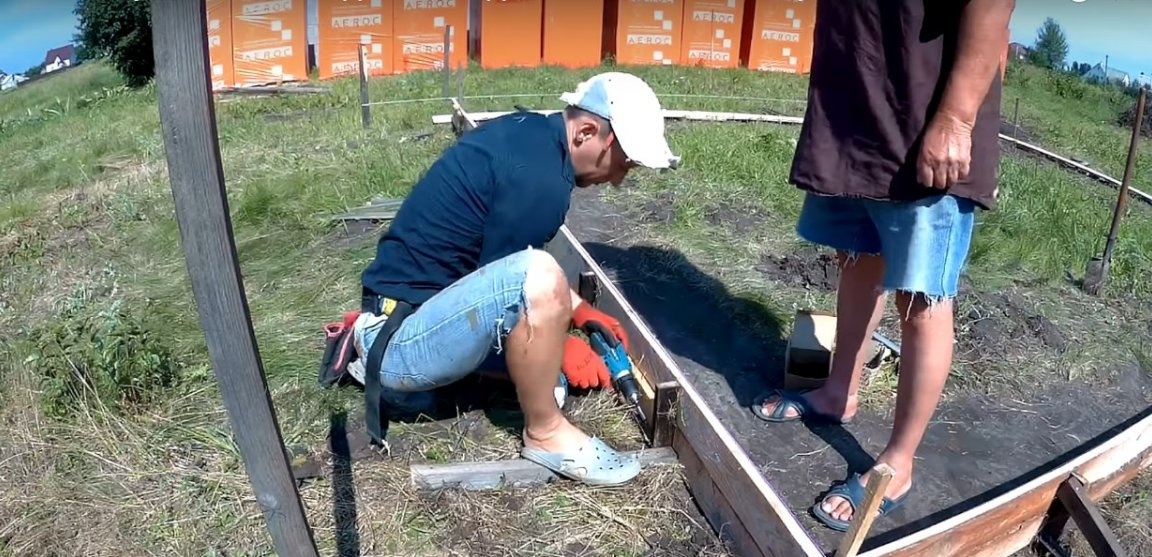
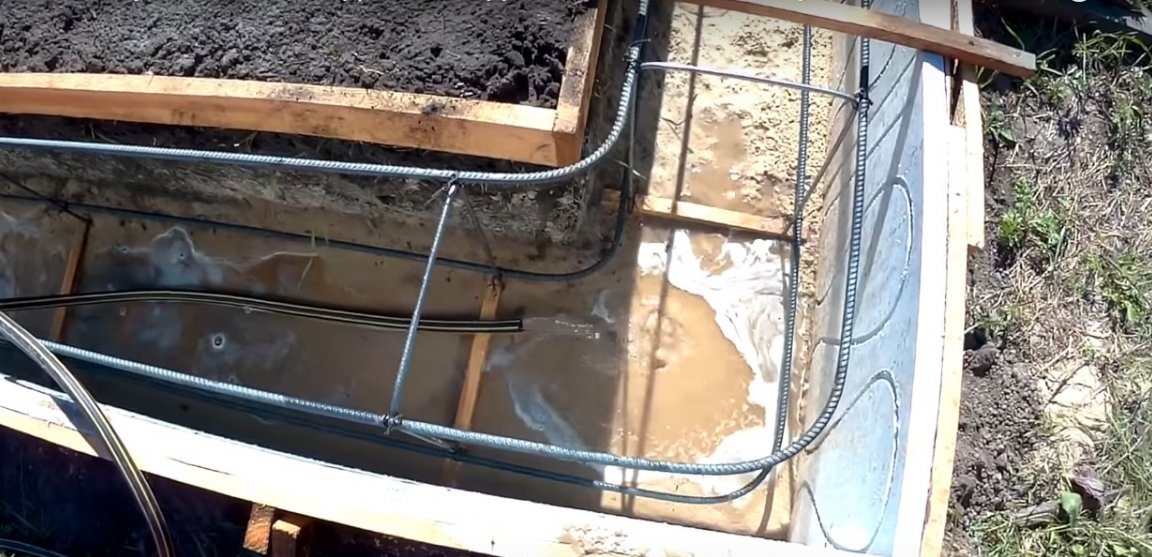
Step Five: Making a Reinforced Belt
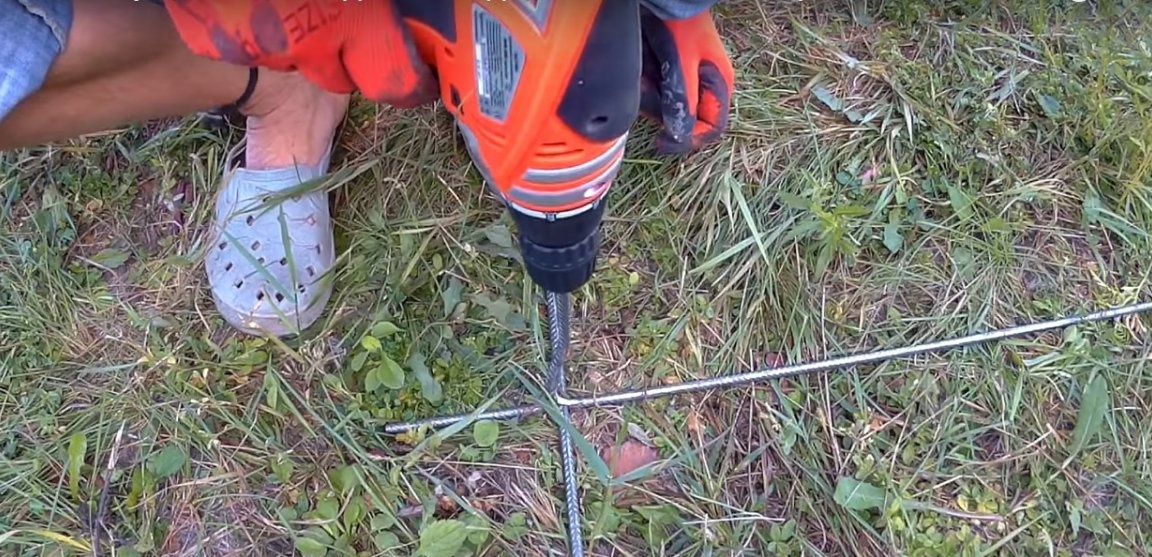
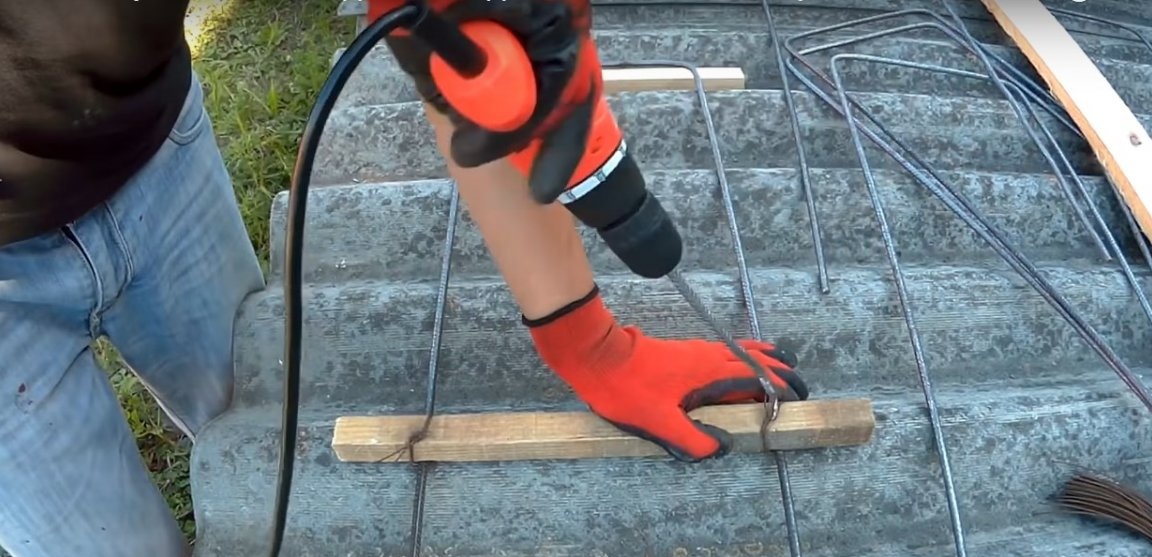
To knit reinforcement, the author made a hook for a screwdriver with adjustable speed. Such a hook allows you to easily and simply tighten the knitting wire, reliably fastening together the details of the reinforcing frame.
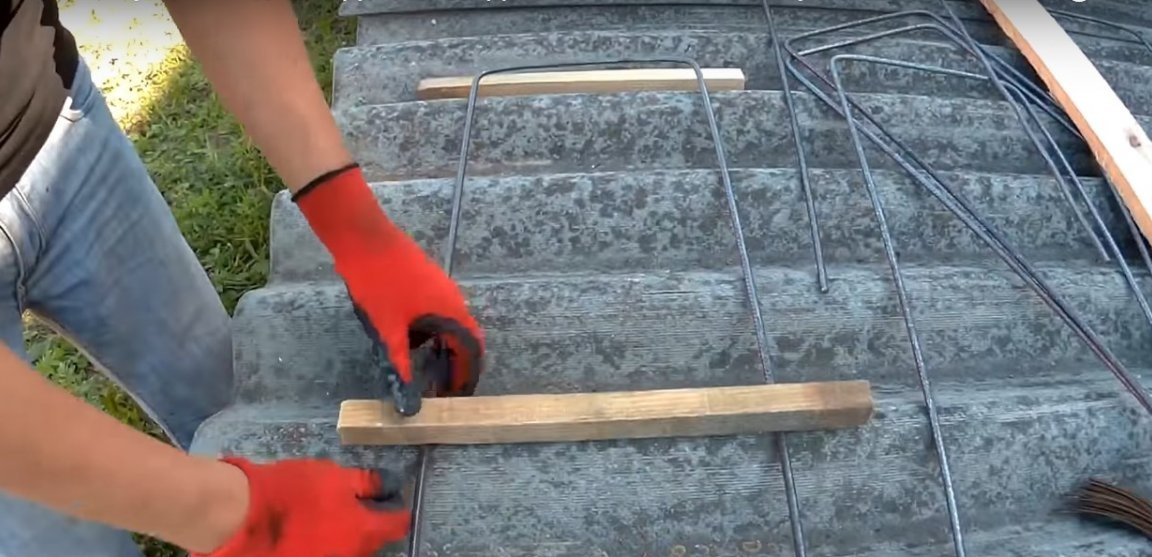
For the manufacture of armored belts, the author used reinforcement 12 mm thick. On the one hand, it easily bends, with an arc - such a thickness is quite enough for reliable reinforcement of concrete tape.
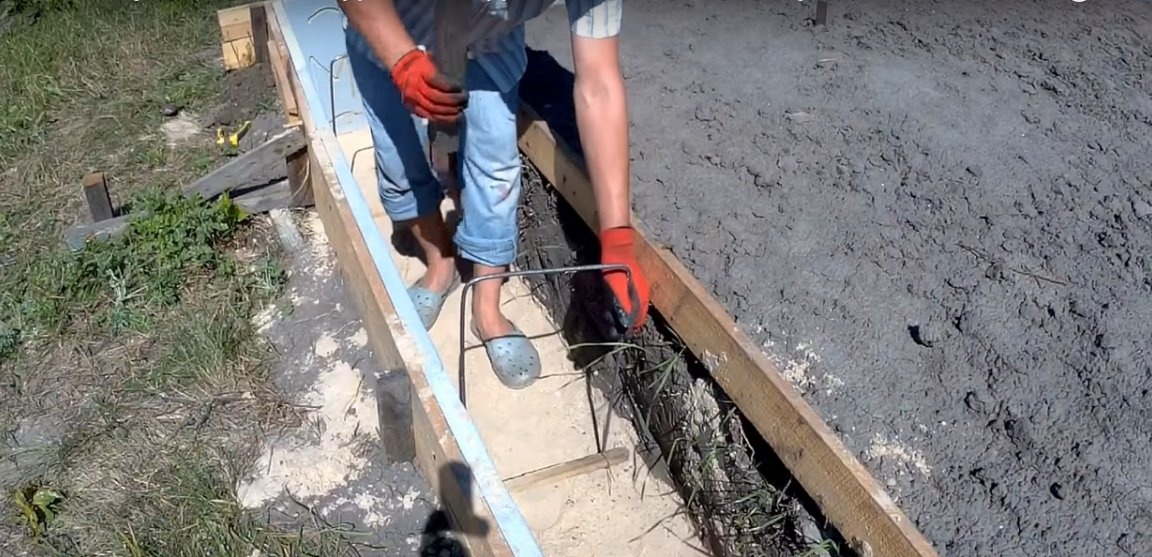
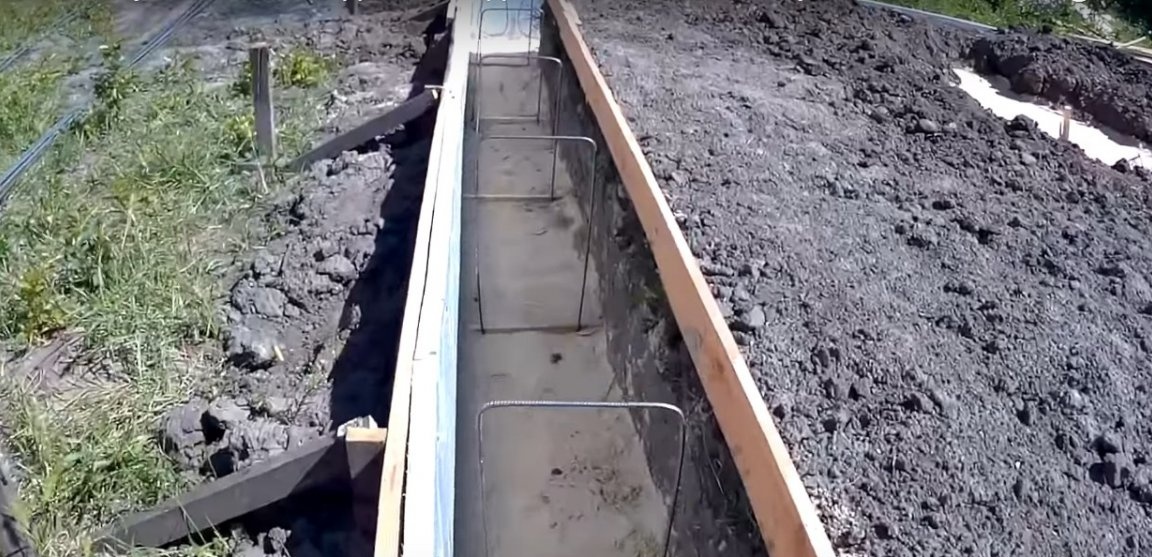
Armapoyas consists of 4 reinforcement bars. It is located in two tiers - two rods in each and is mounted on special trusses made of 8 mm reinforcement and reinforced with a wooden rail. The rail prevents subsidence of the trusses during the installation of the structure and pouring the foundation.
The reinforcement is mounted taking into account solid bent corners and connected along the length by segments of reinforcement 50 cm long. At the same time, the armo-belt is placed closer to the edge of the foundation tape - at a distance of 4 - 6 cm.
In order for the formwork not to deform as concrete is poured, additional rails are screwed on top. They connect two formwork panels together and give it extra strength.
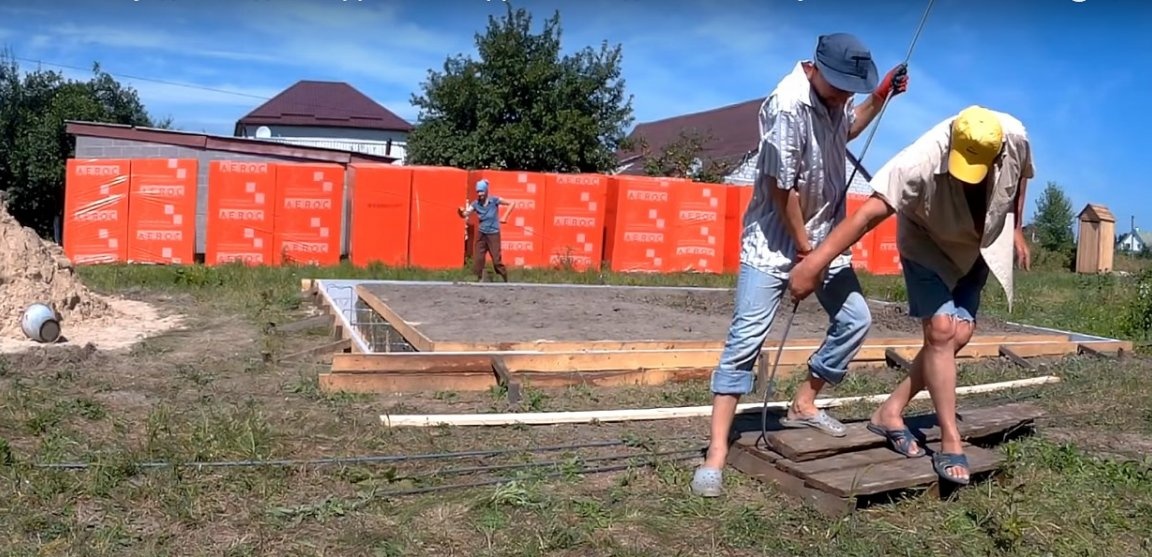
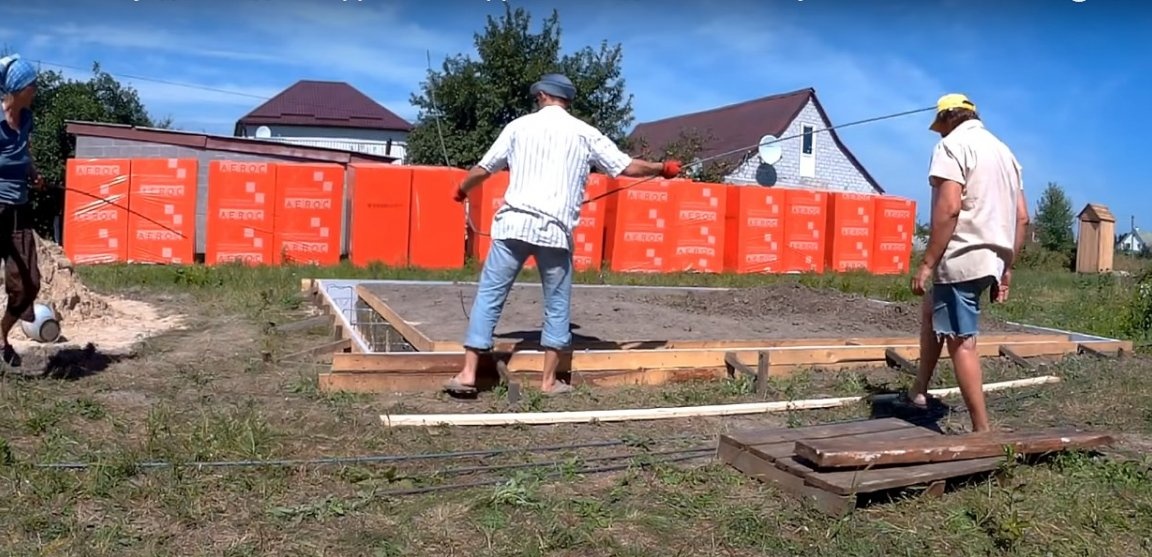
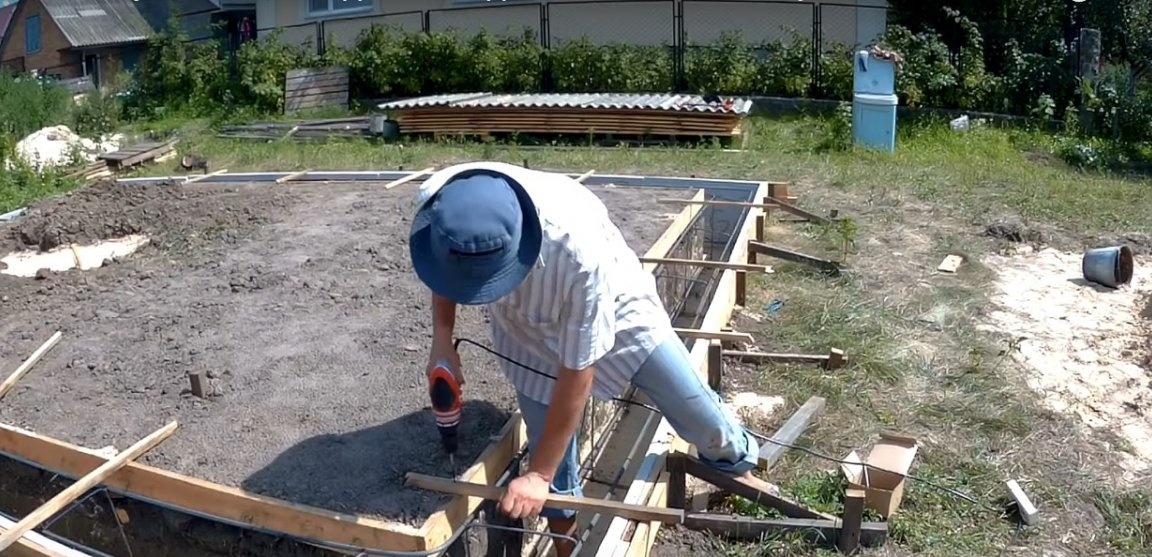
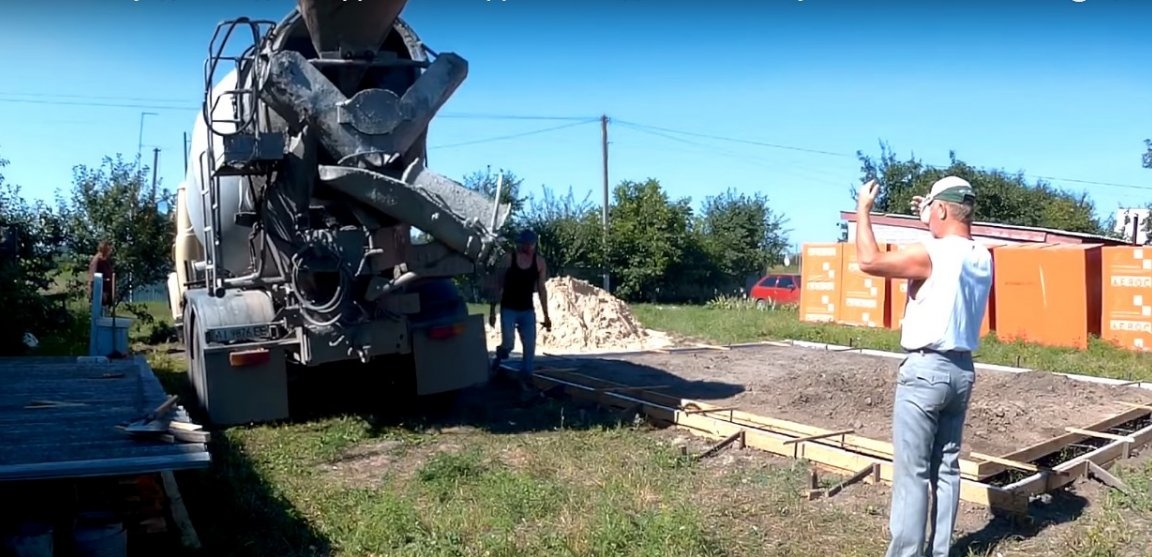
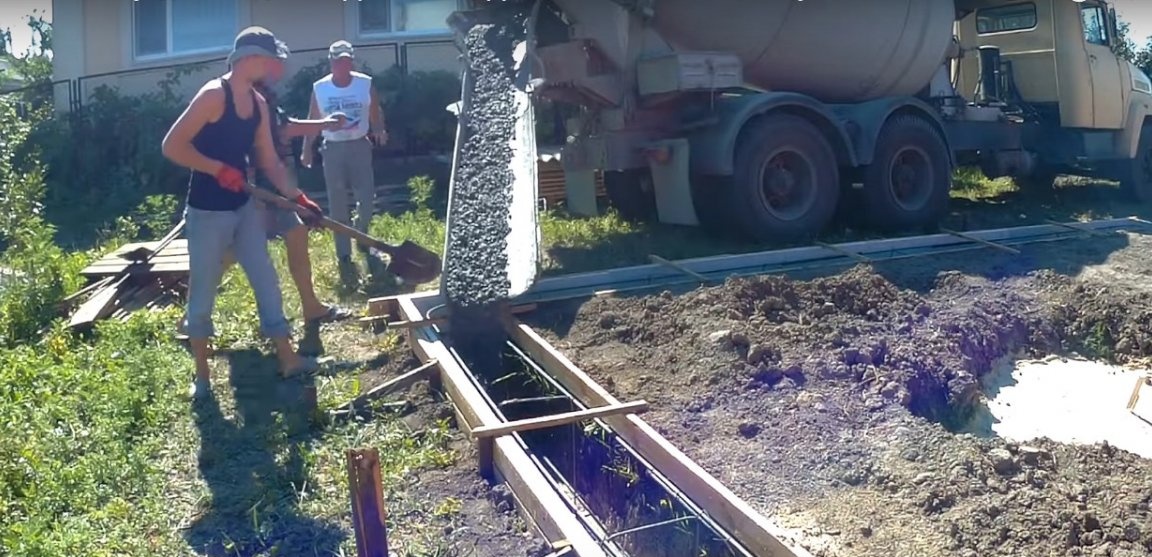
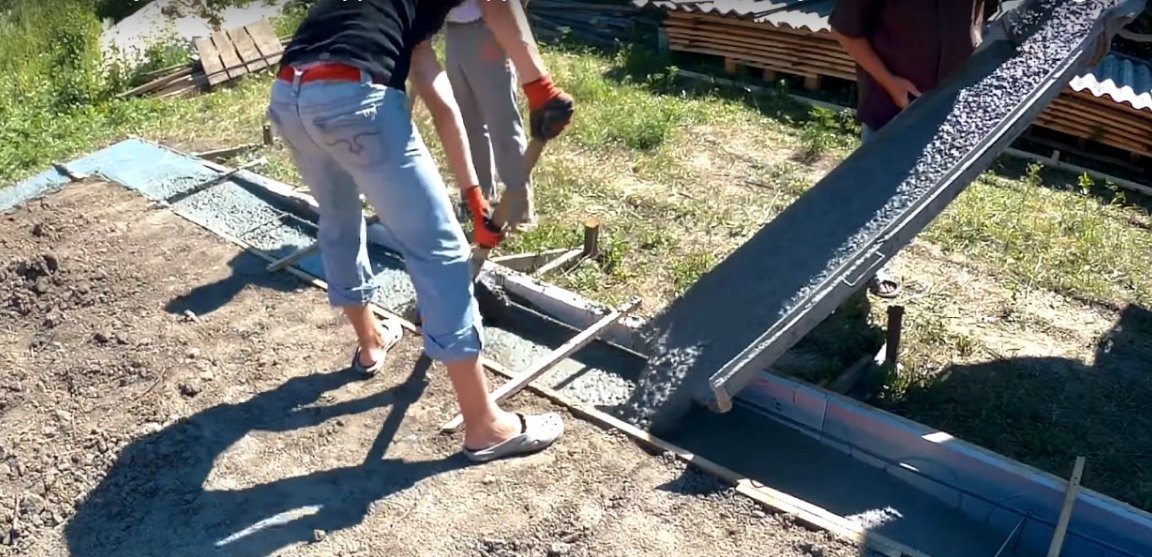
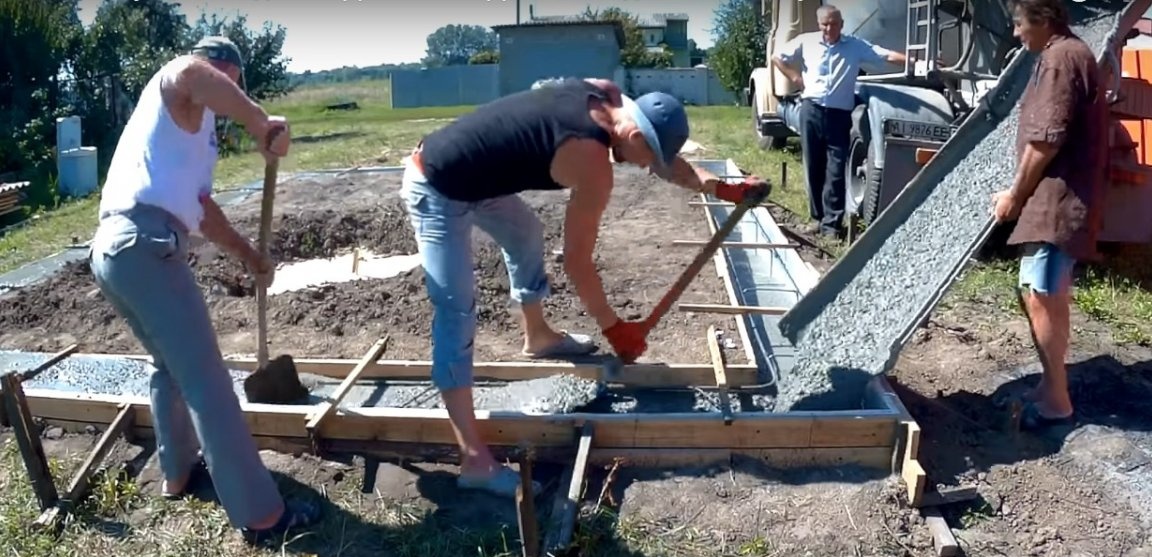
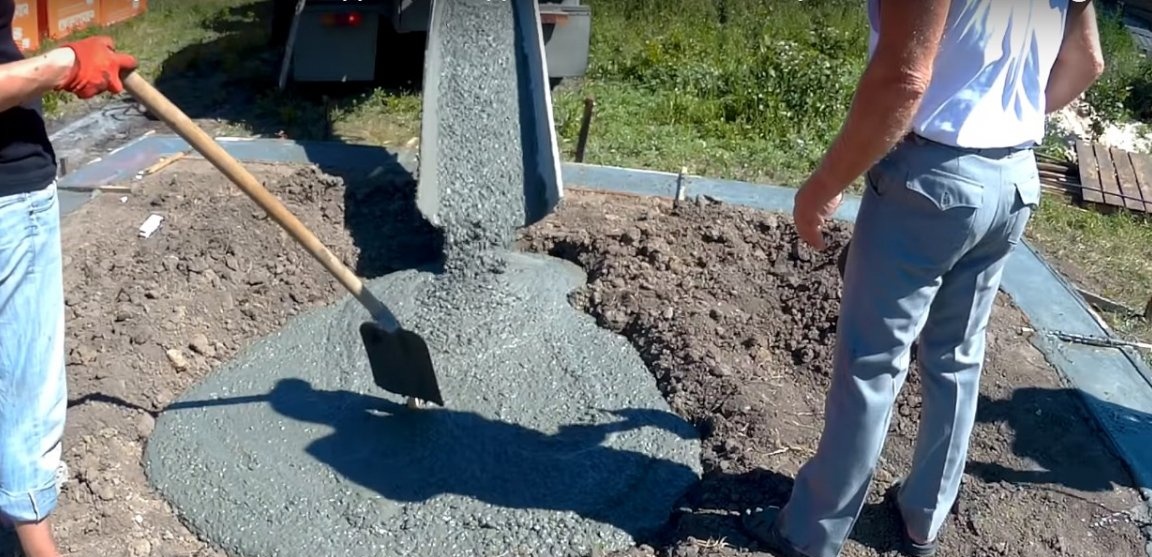
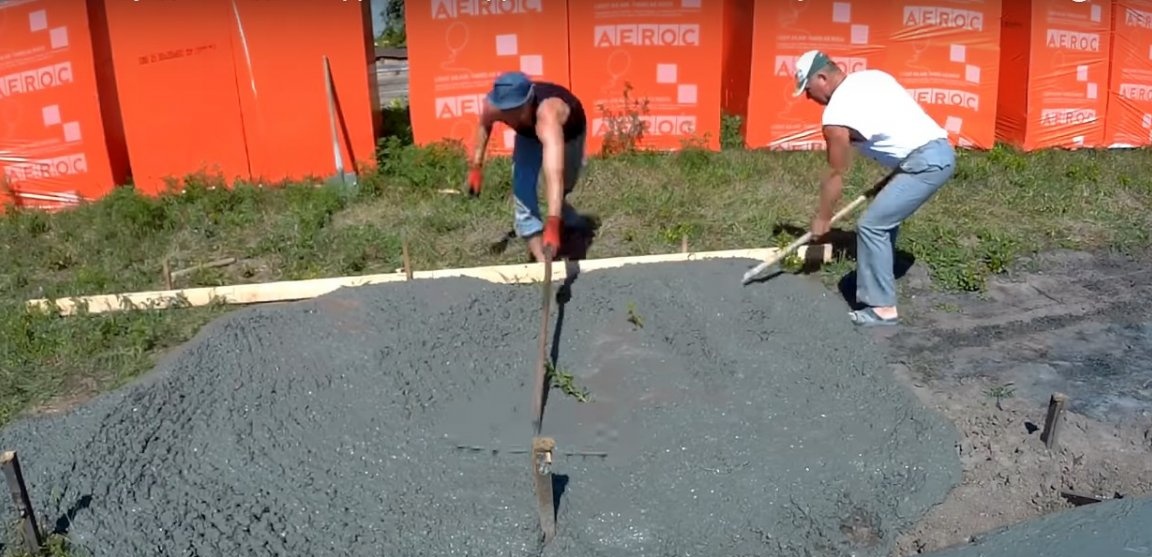
Step six: pouring and drying the foundation
The author used ready-made concrete of the M-200 brand. Keep in mind that this is a fairly thick solution designed for pouring using a vibrating machine. The author got out of the situation by adding a little water to the solution. In theory, this reduces the strength of concrete, but in this case there was no particular choice, since it was impossible to fill a narrow tape of 40 cm with a thick solution and at the same time to do it qualitatively.
Concrete hardens quickly enough, but is gaining strength over 4 weeks. After that, you can continue the construction work. Sometimes concrete is erected in advance so that it survives the winter and the first movements of the soil.
All the time, while concrete hardens and gains strength, it must be periodically moistened and protected from the sun and high temperatures.
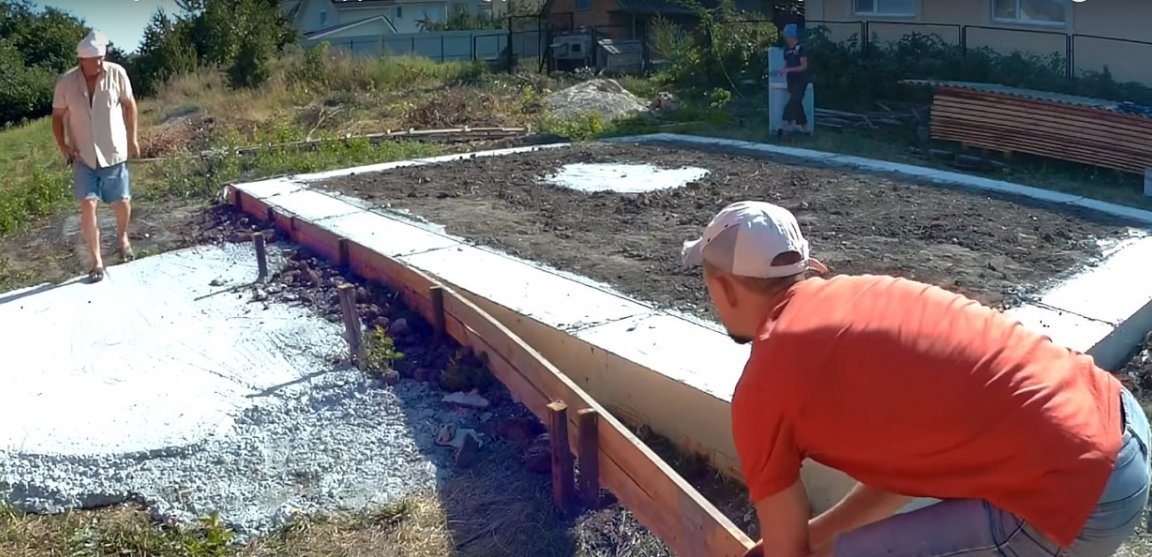
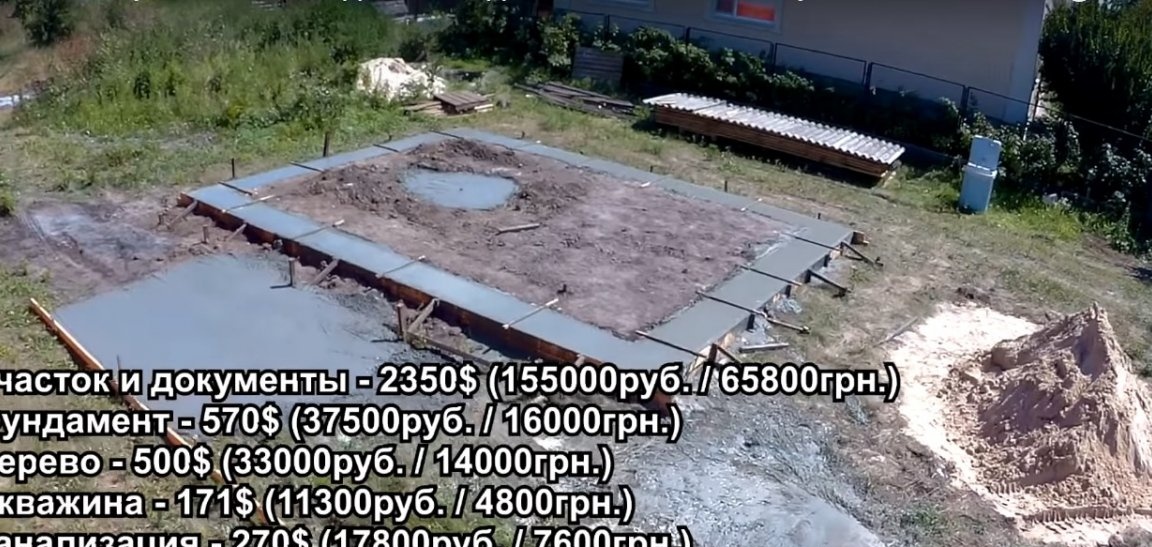
The author spent about $ 570 on the construction of the foundation as of 2019.