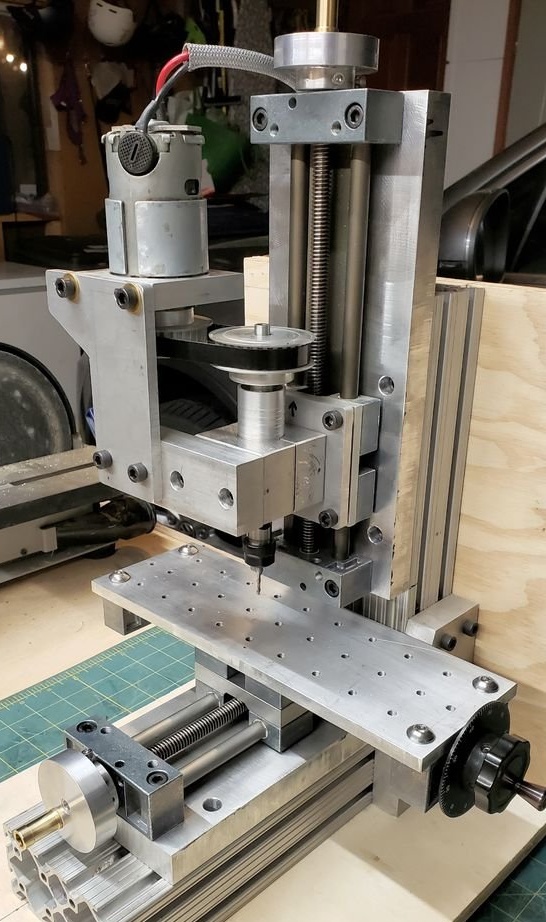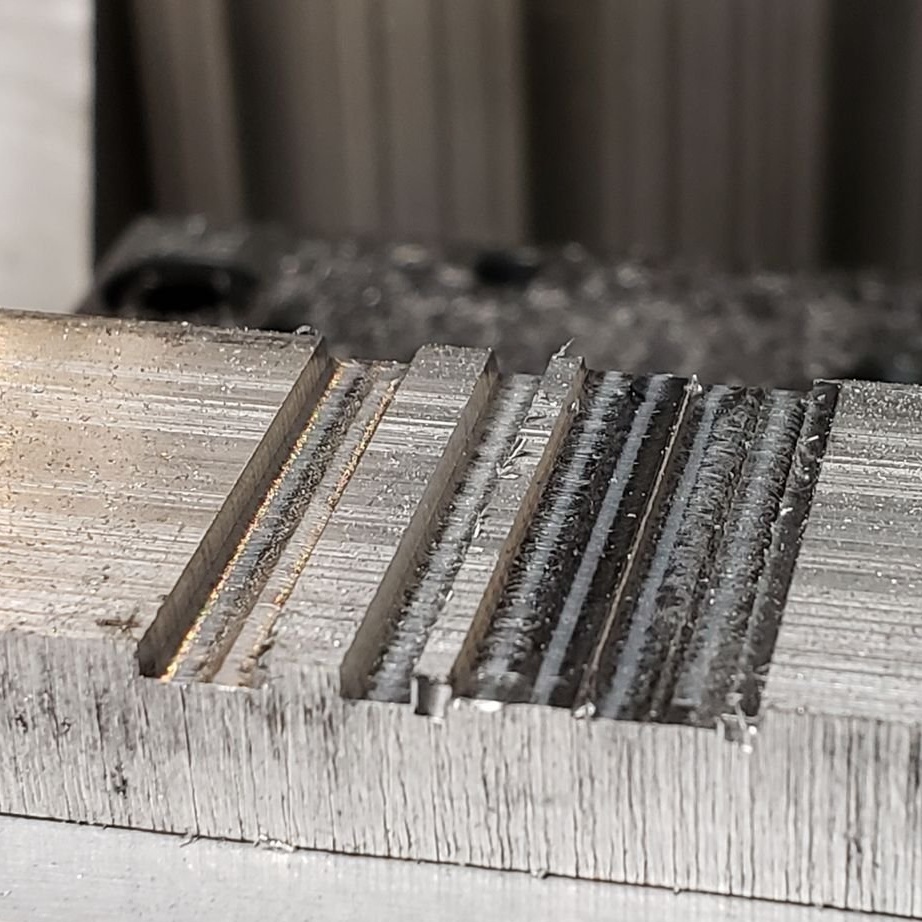
This small milling machine is suitable for milling small parts made of soft metals such as aluminum and brass. Despite the fact that this is a manual machine, it is not difficult to convert it to CNC by adding suitable stepper motors and a controller.
The machine has the following parameters: X axis - 150 mm, Y axis - 75 mm, Z axis - 150 mm.
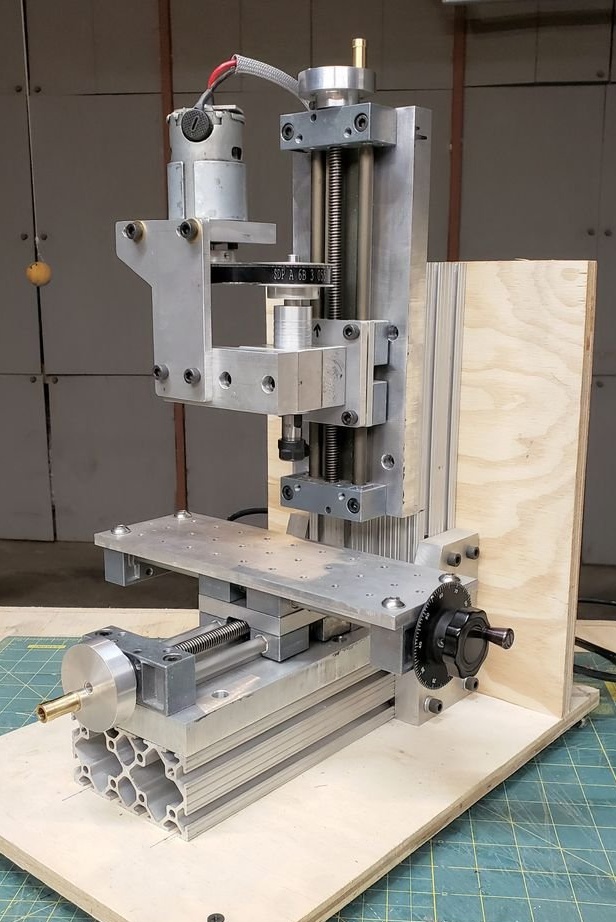
Let's see an example of a machine.
For the manufacture of the machine, the master used the following
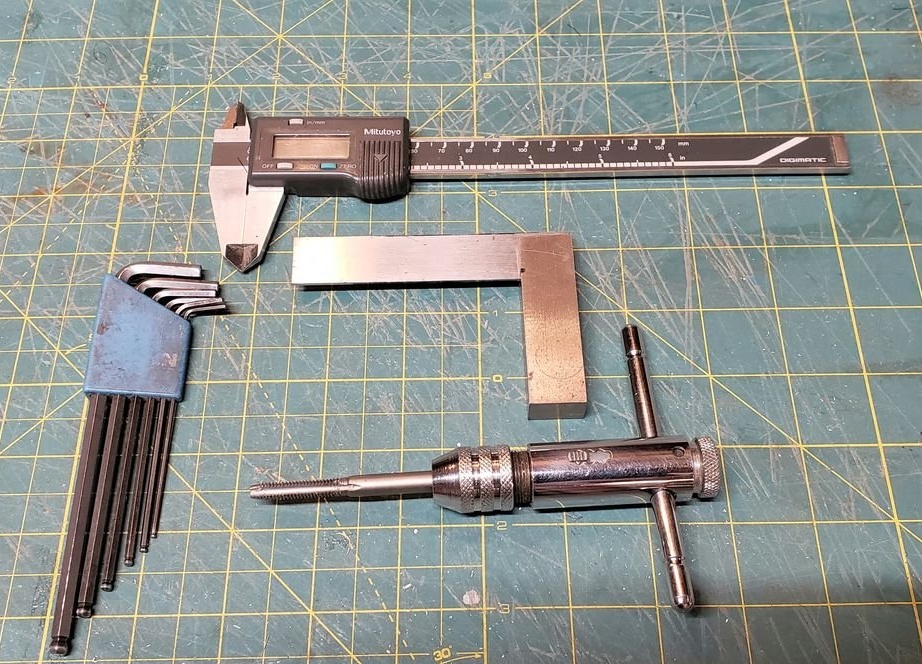
Tools and materials:
-Tap;
-Gon;
-Calipers;
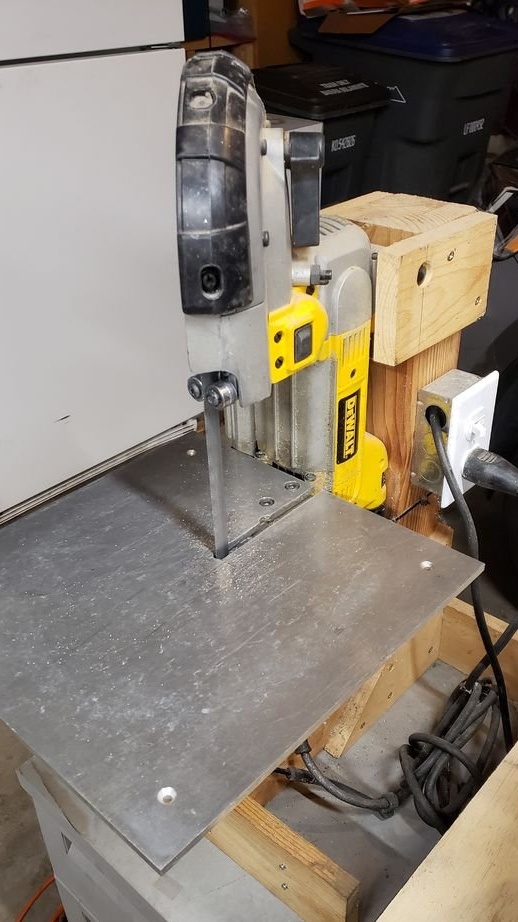
-Bandsaw machine;
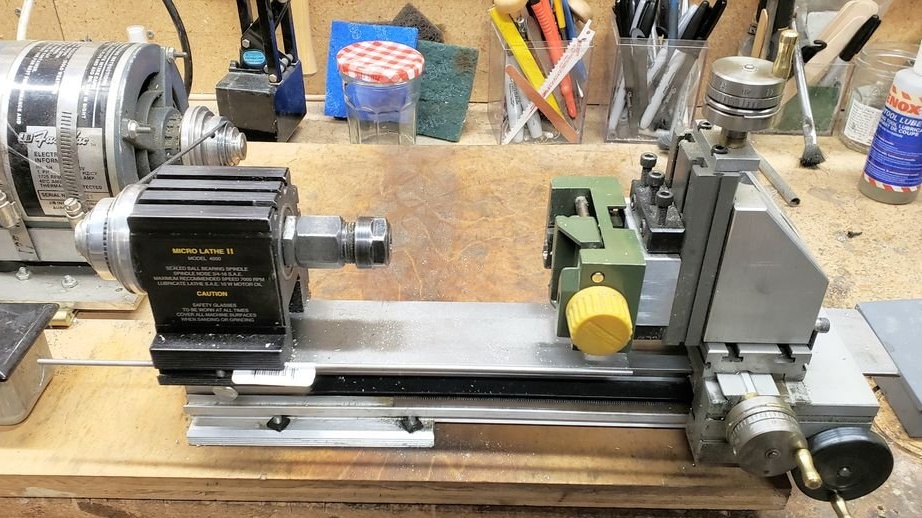
- Lathe option);
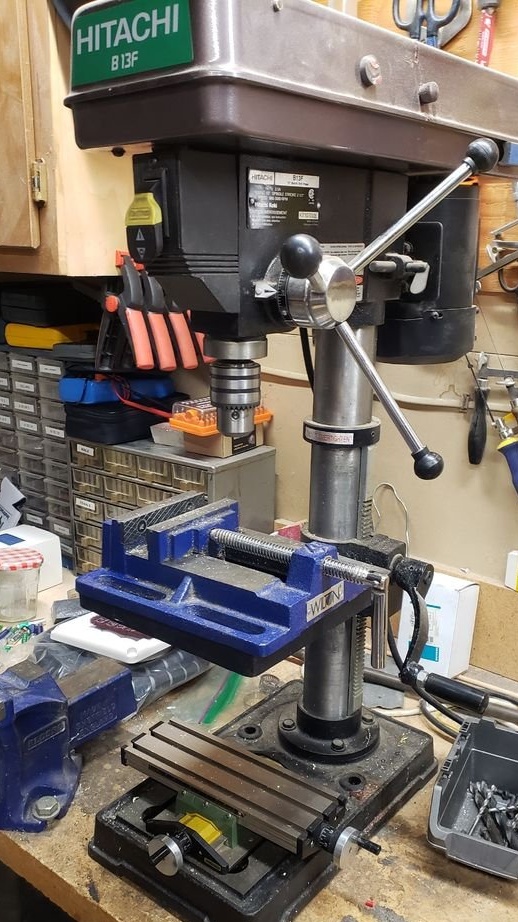
-Drilling machine;
Collet chuck ER11;
- Power supply 12V 30A;
-Aluminum plate;
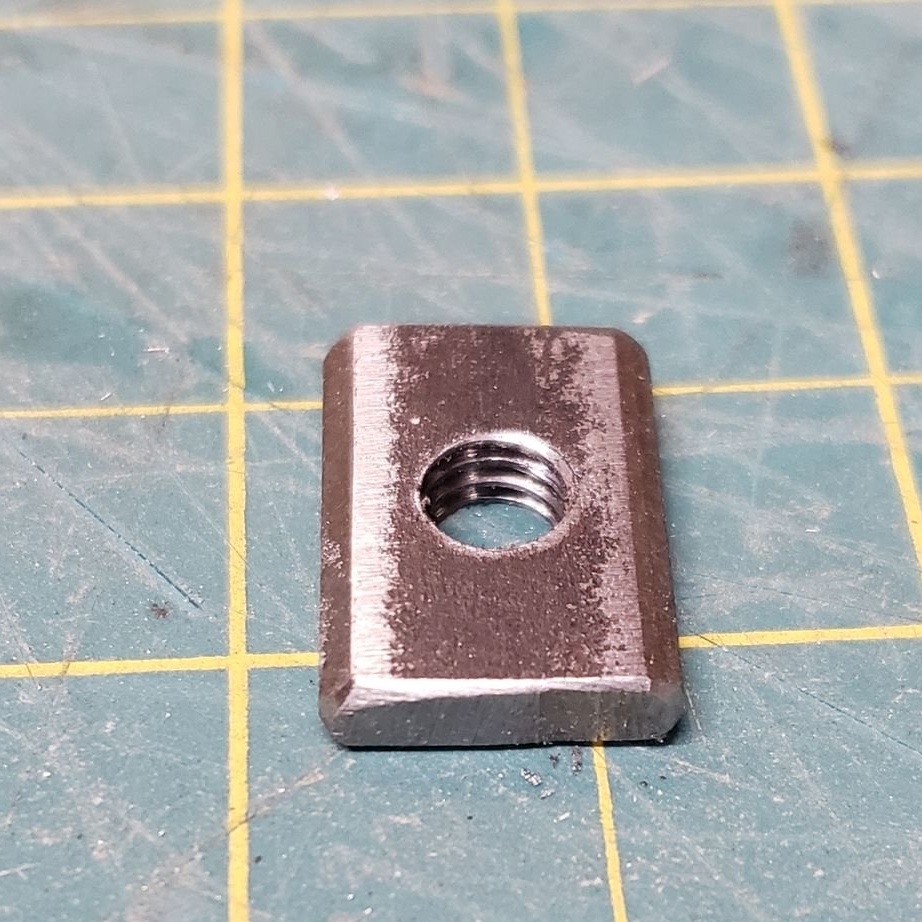
-Fasteners;
-Spindle;
Pulleys;
-Belt;
-Motor;
-Arduino;
-Potentiometer 5K;
- 5V voltage regulator;
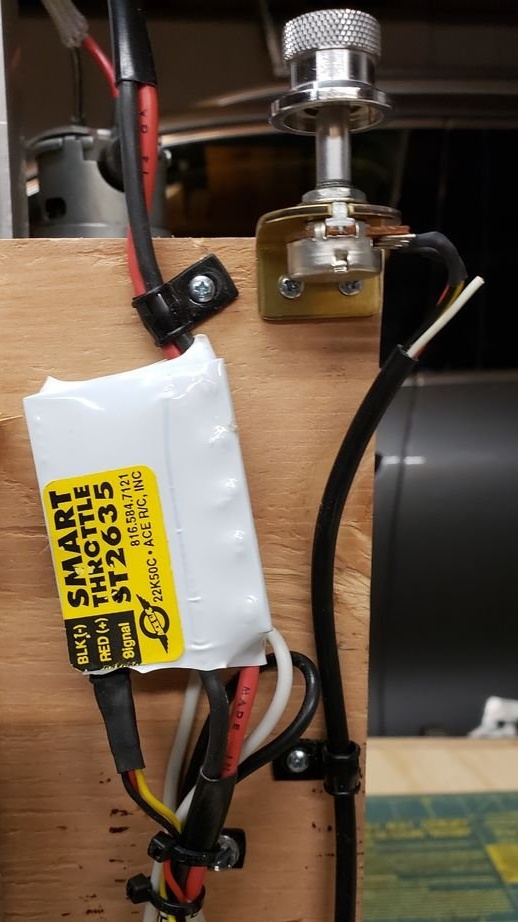
-Ace RC 30A speed controller;
-Plywood;
Step One: Base
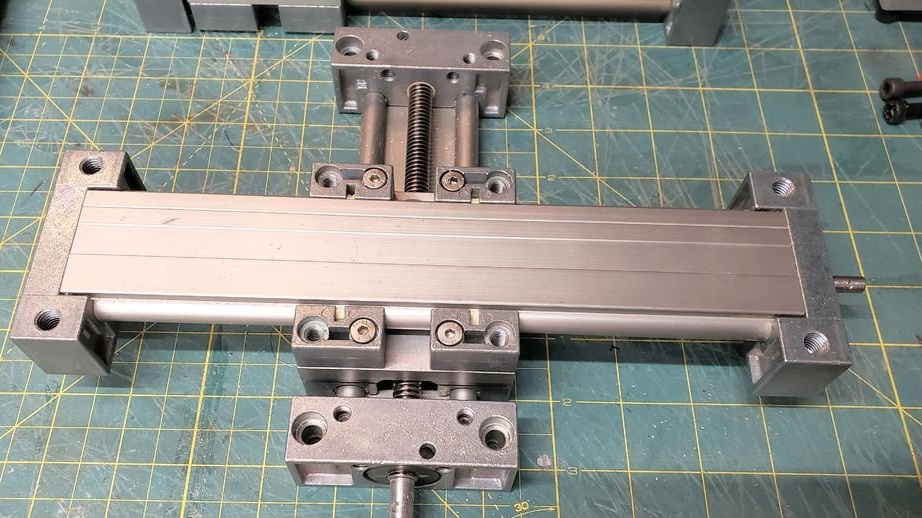
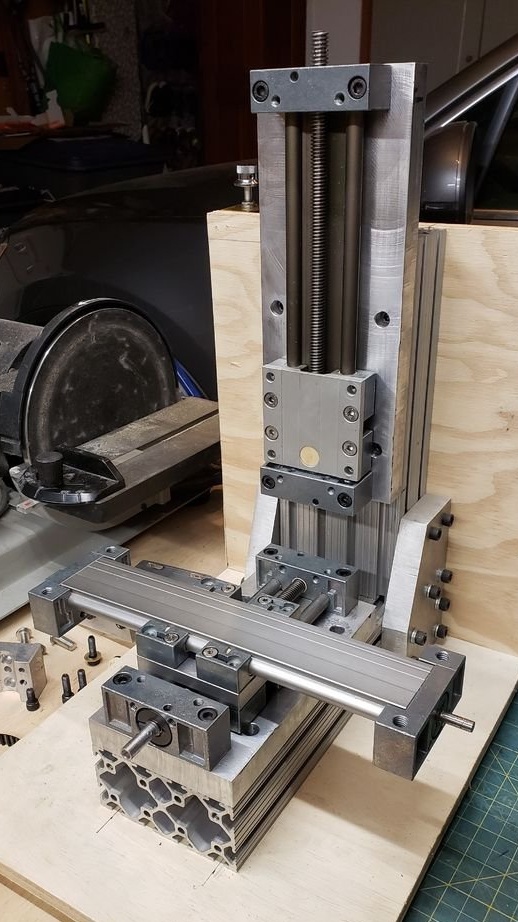
The machine is mounted on a plywood base. The base is made of two perpendicularly installed plywood sheets. In the centers of the sheets, the master fixes aluminum profiles. The angle between the profiles should be straight.
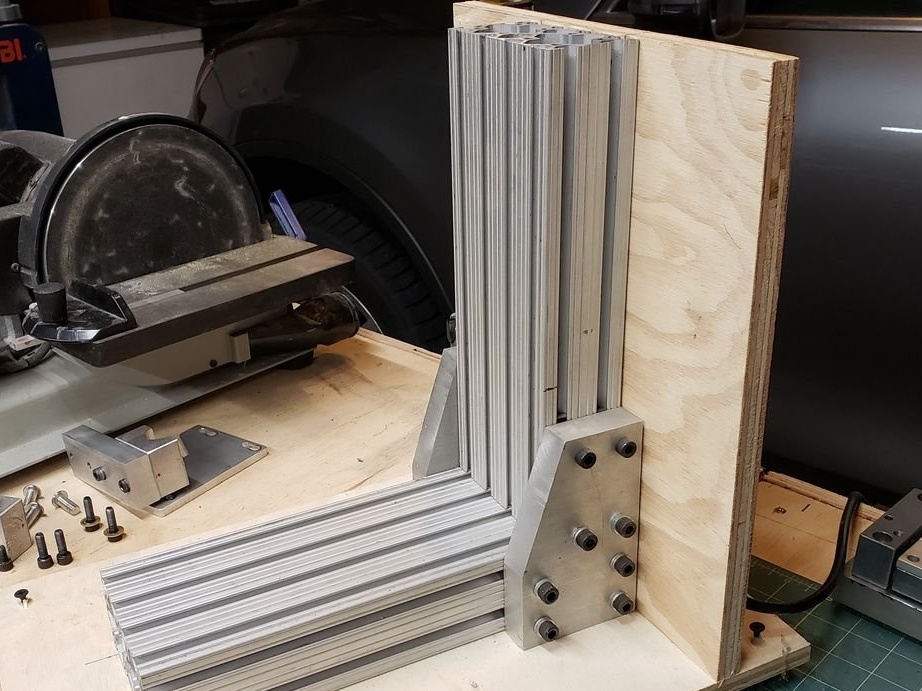
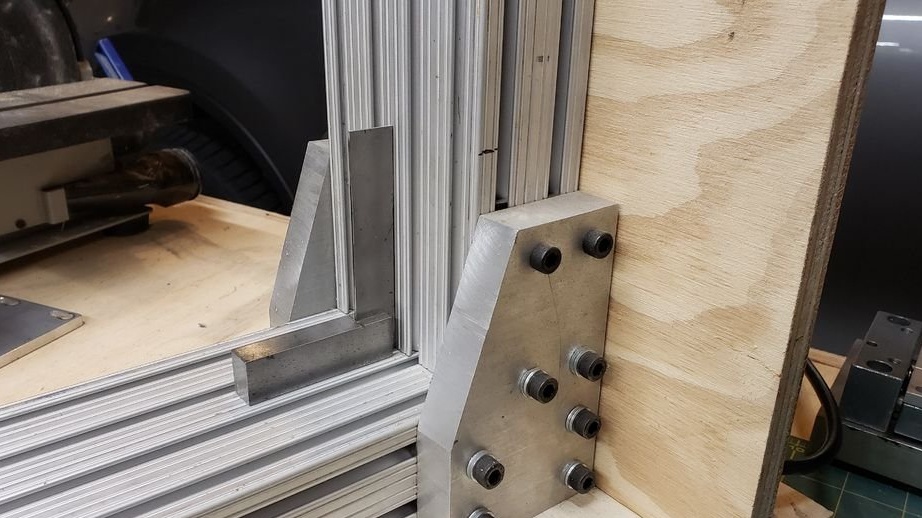
The base plate is screwed onto the bottom profiles (X / Y axis).


A second base plate (Z axis) is attached to the upper profile.
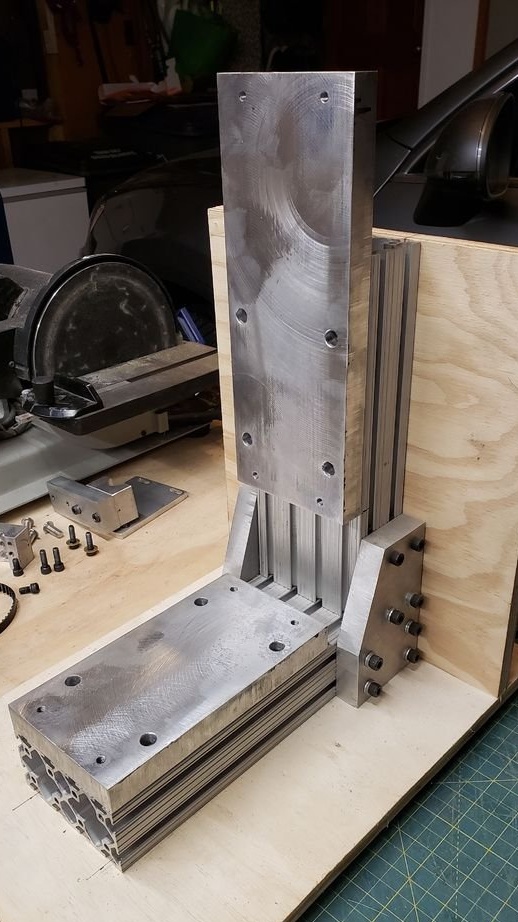
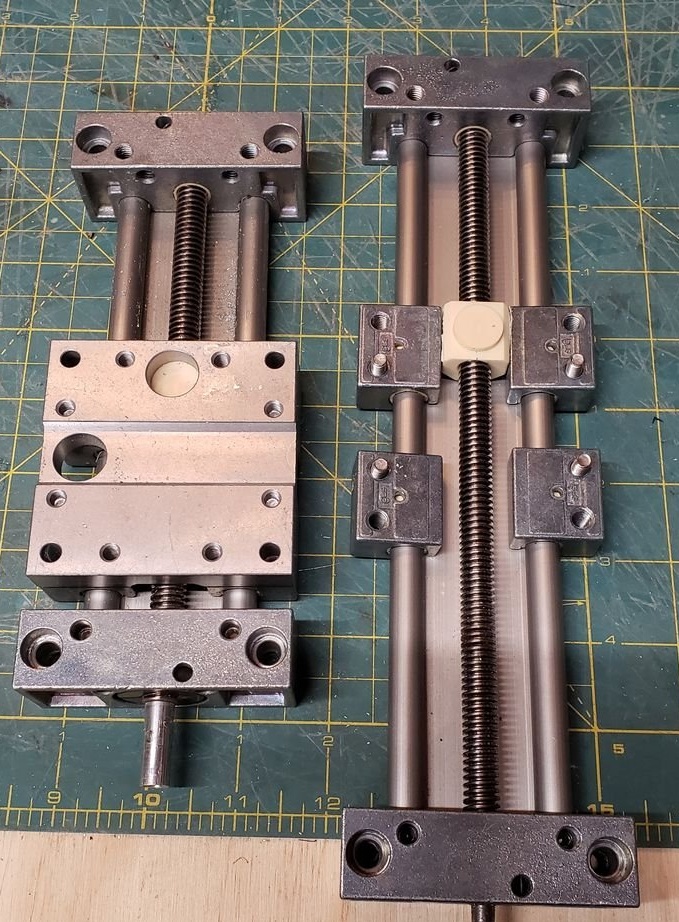
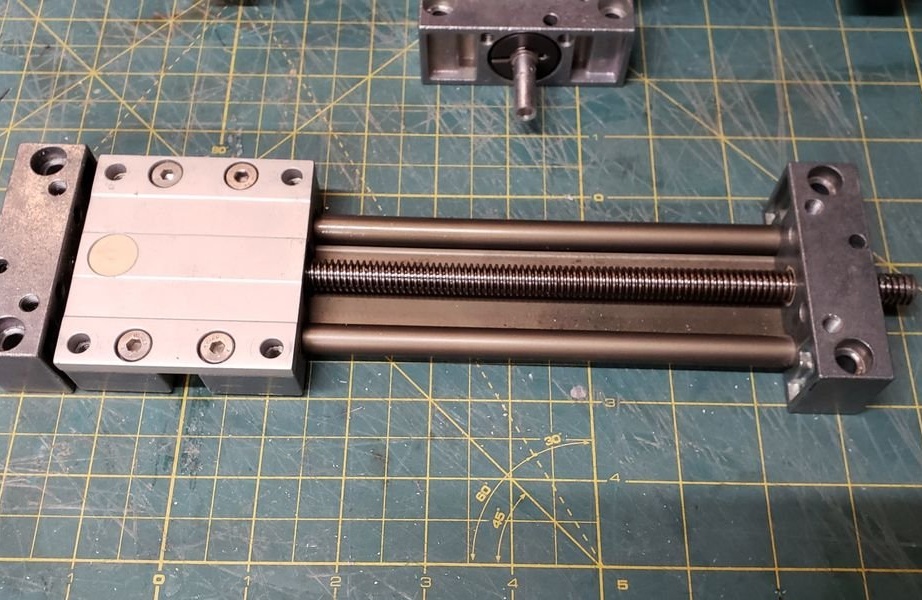
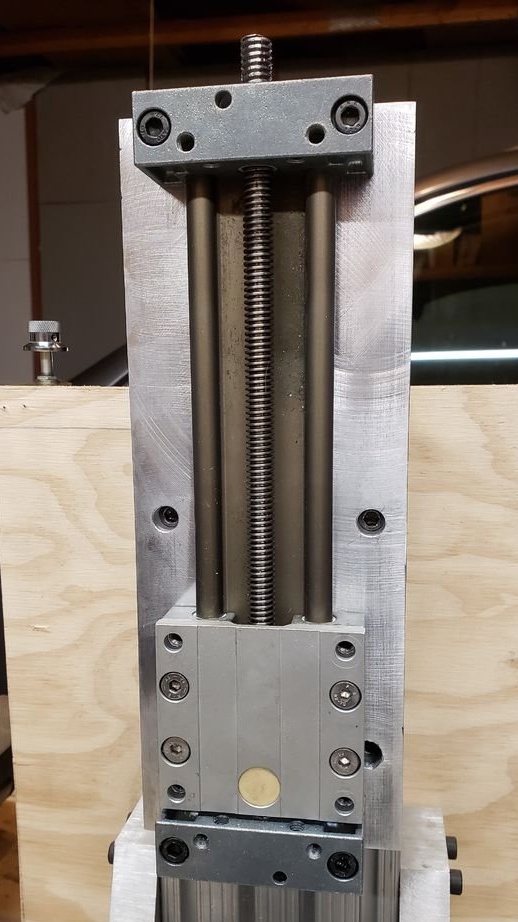
Secures carriages.
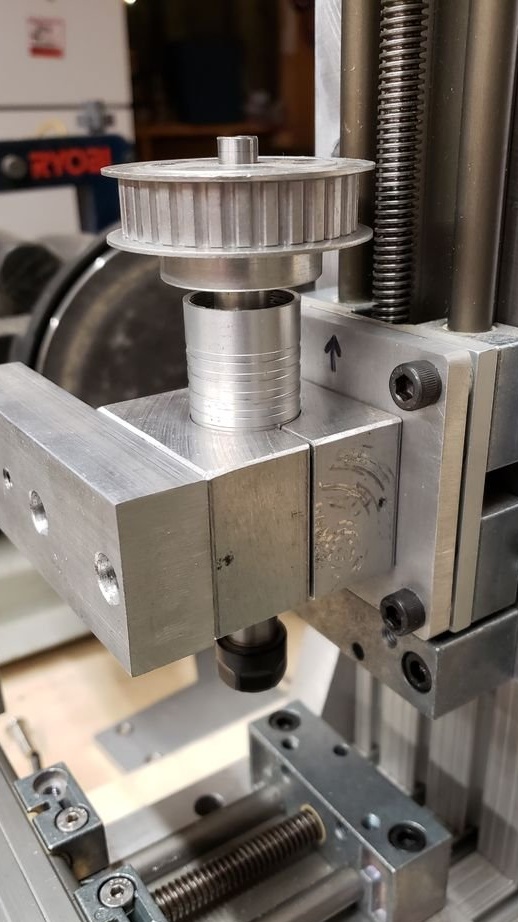
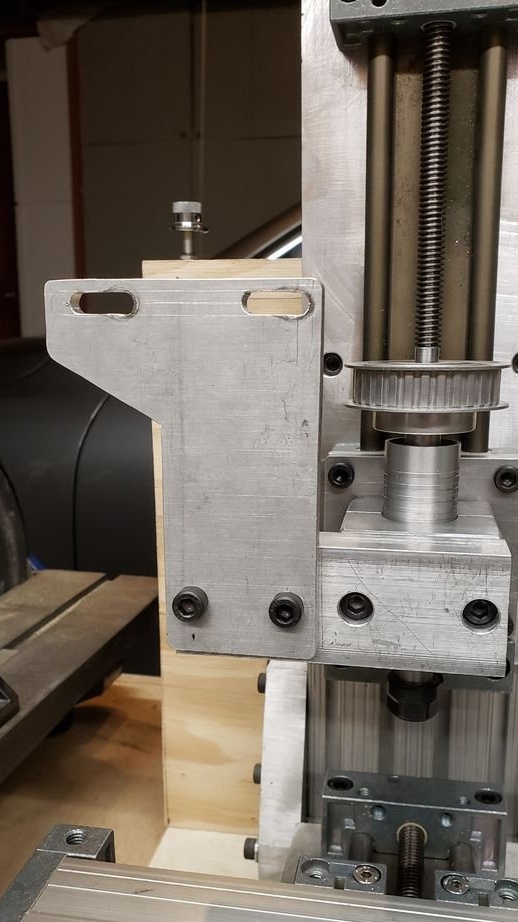
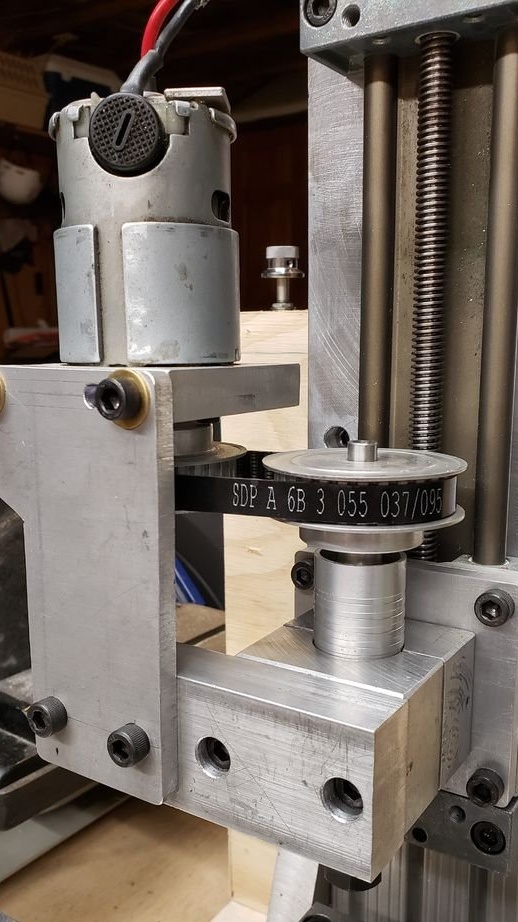
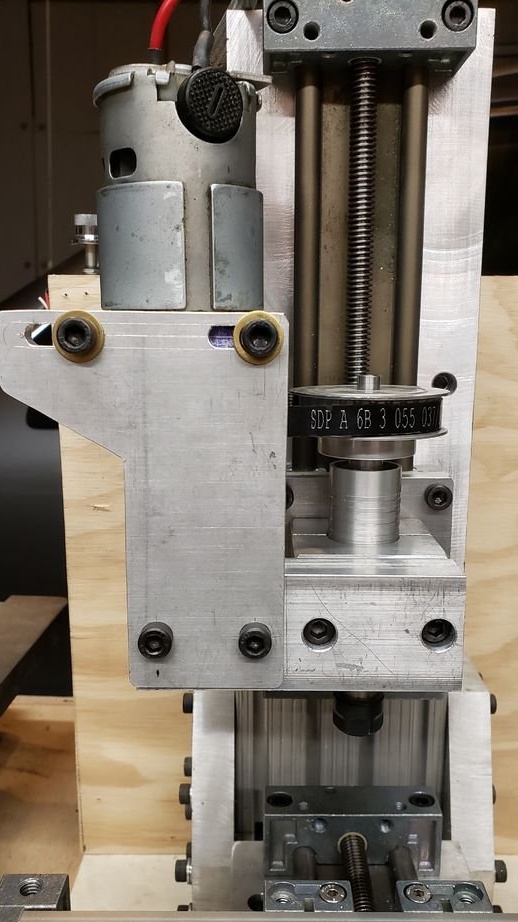
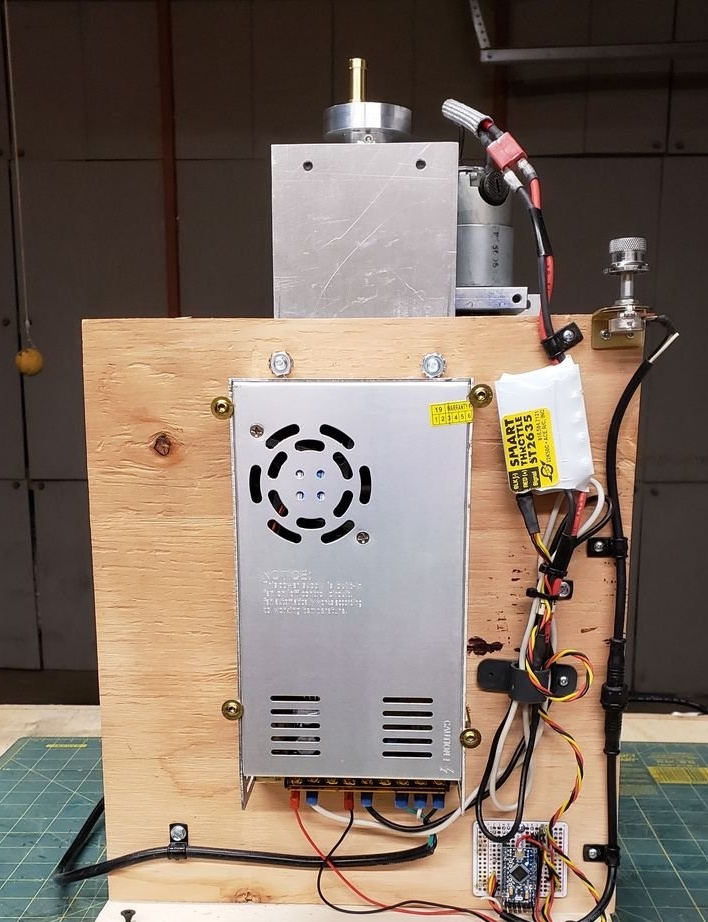
Step Two: Install Spindle and Motor
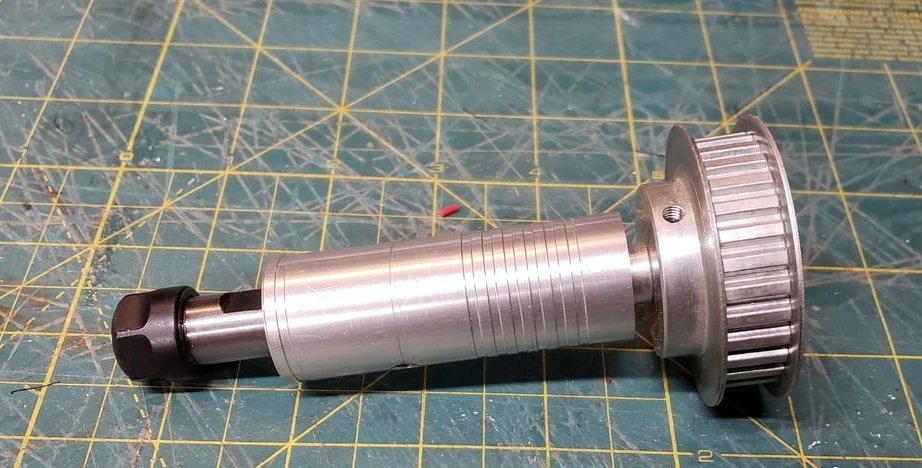
The spindle is made of a drill tip. A collet chuck is inserted into the spindle. On the other hand, a pulley is attached.
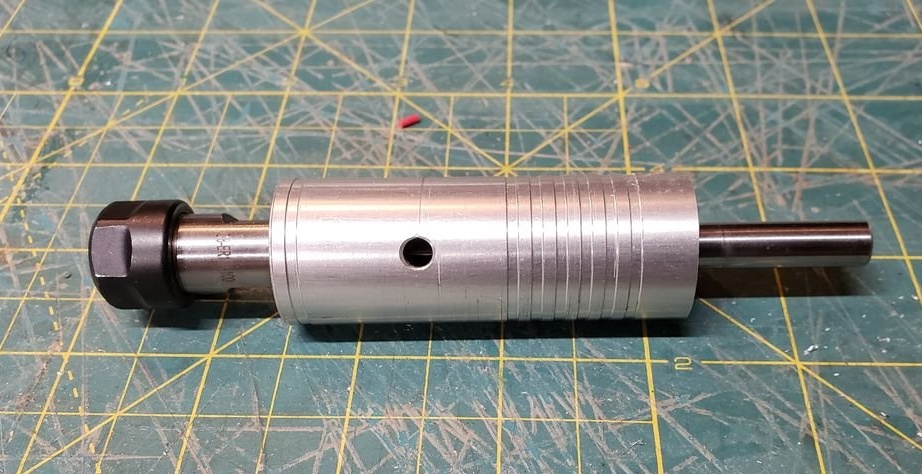
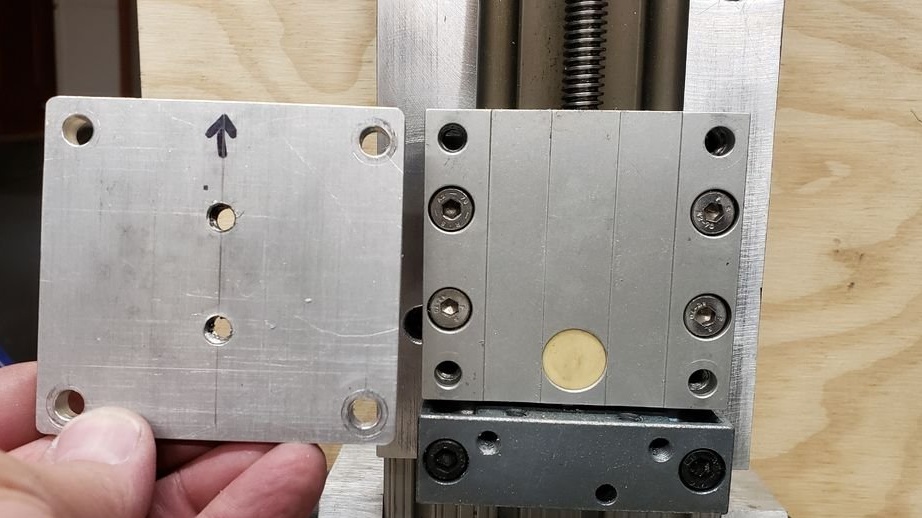
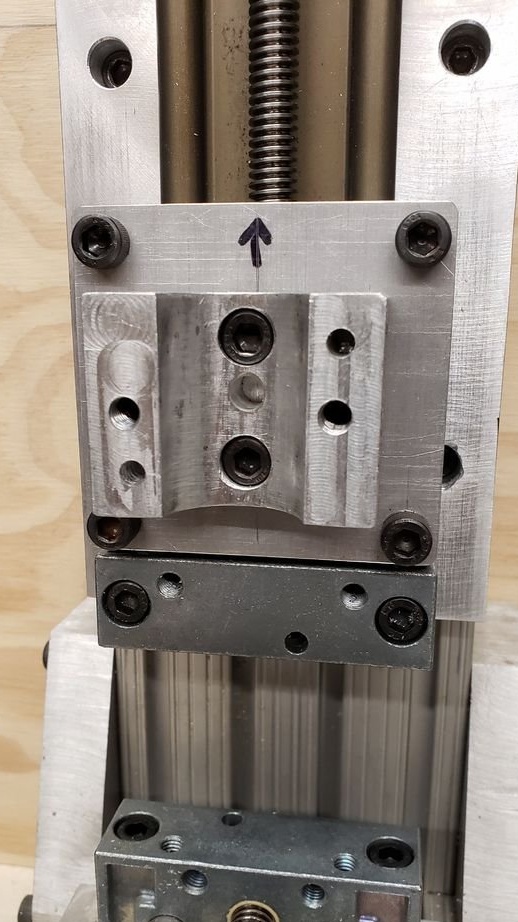
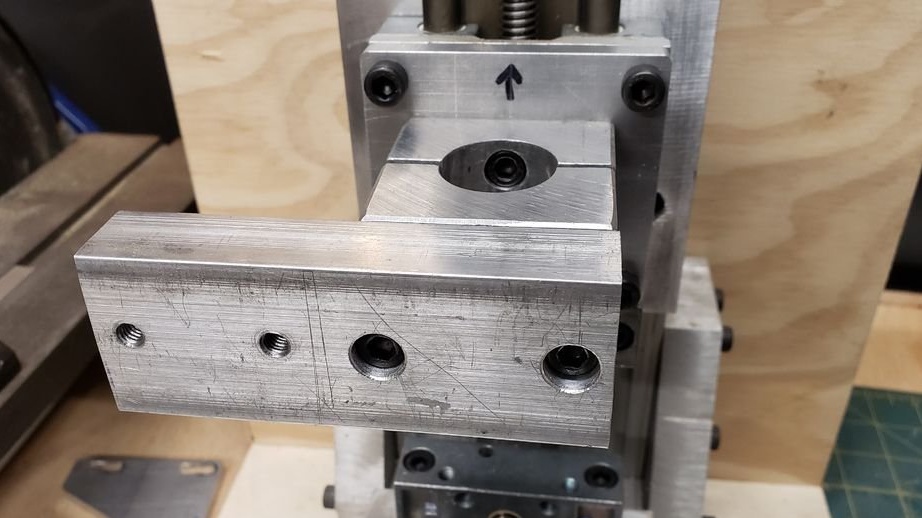
The spindle is mounted using such a mount.


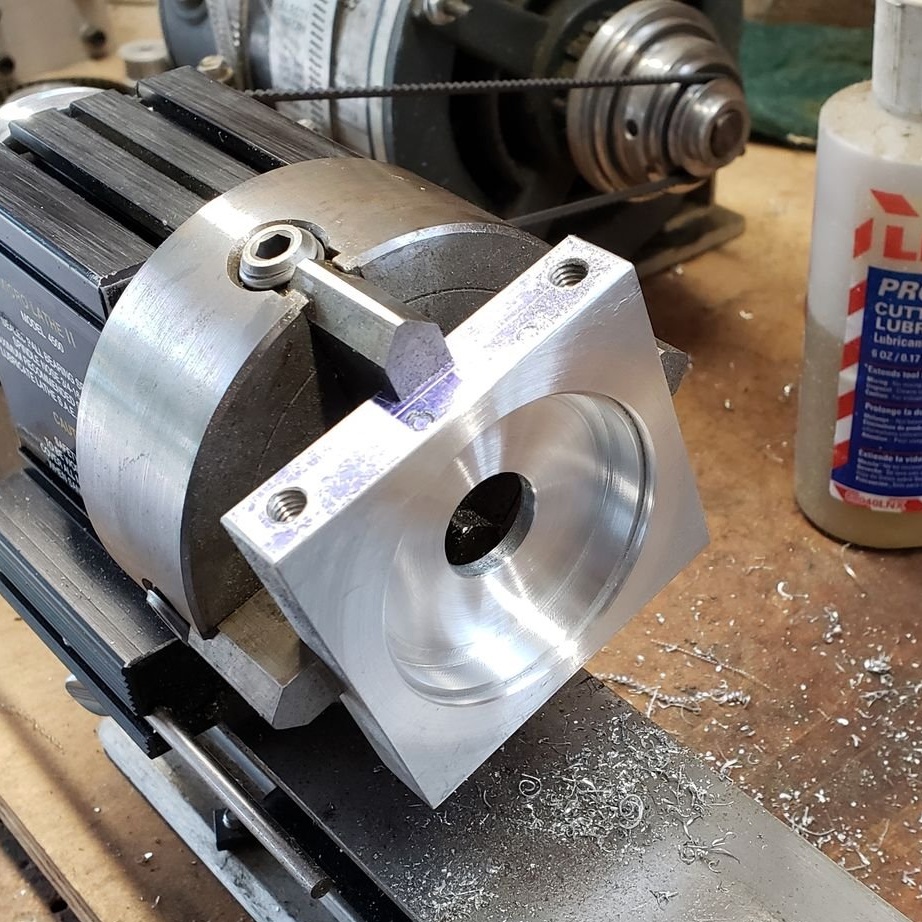
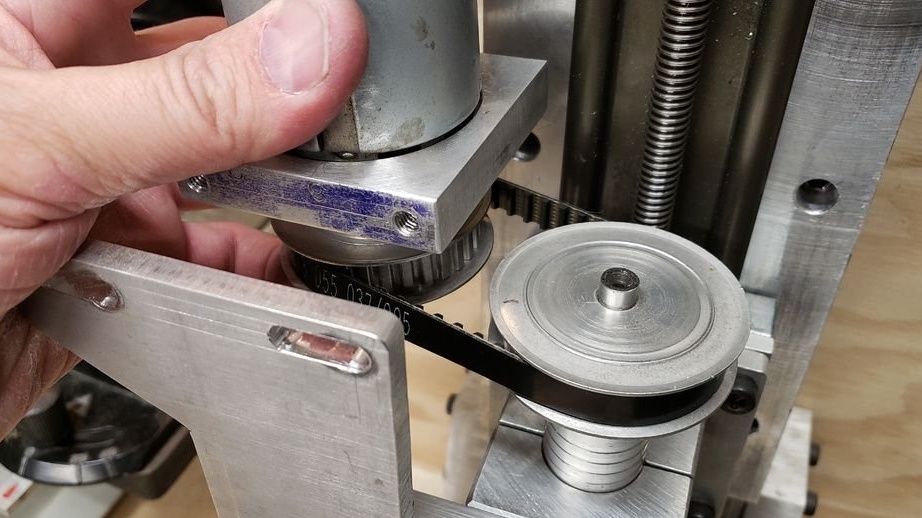
The motor master used from an old 14 volt power tool. On a lathe made a plate for mounting the motor. A pulley is mounted on the motor shaft. The engine is attached to the machine. Toothed belt is put on.

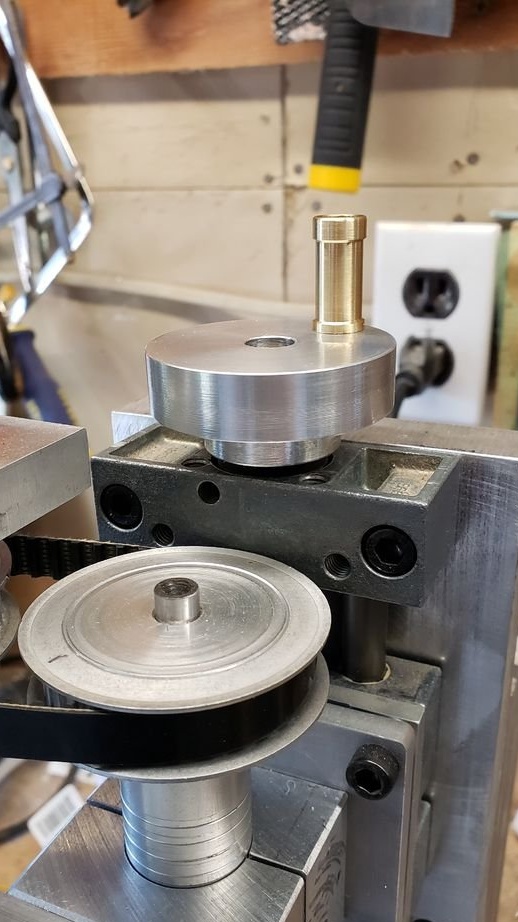
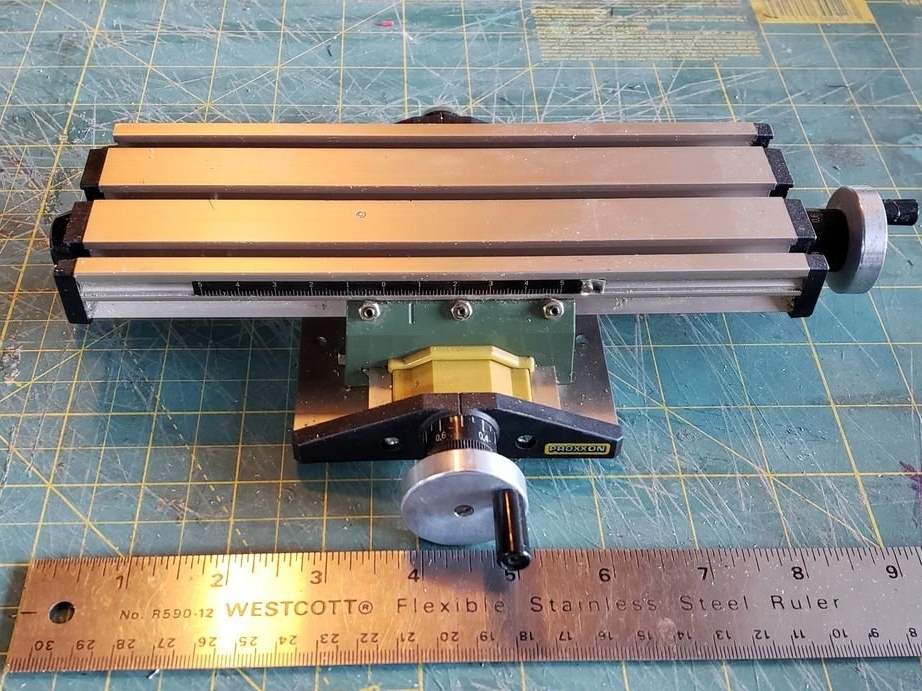
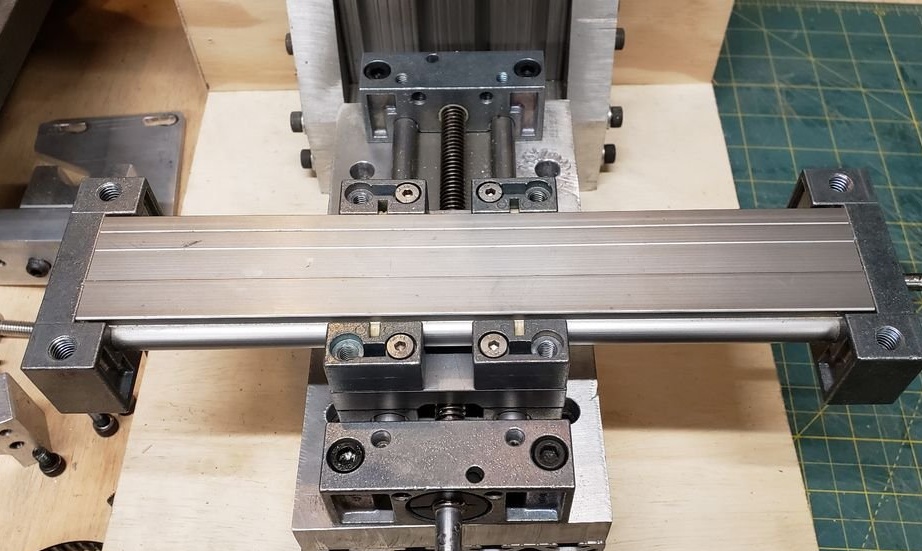
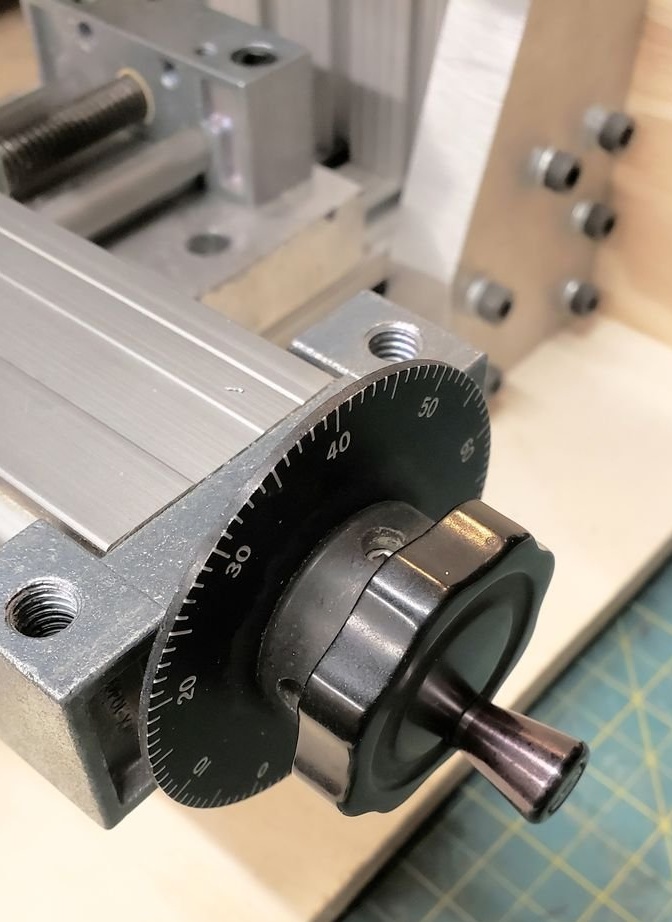
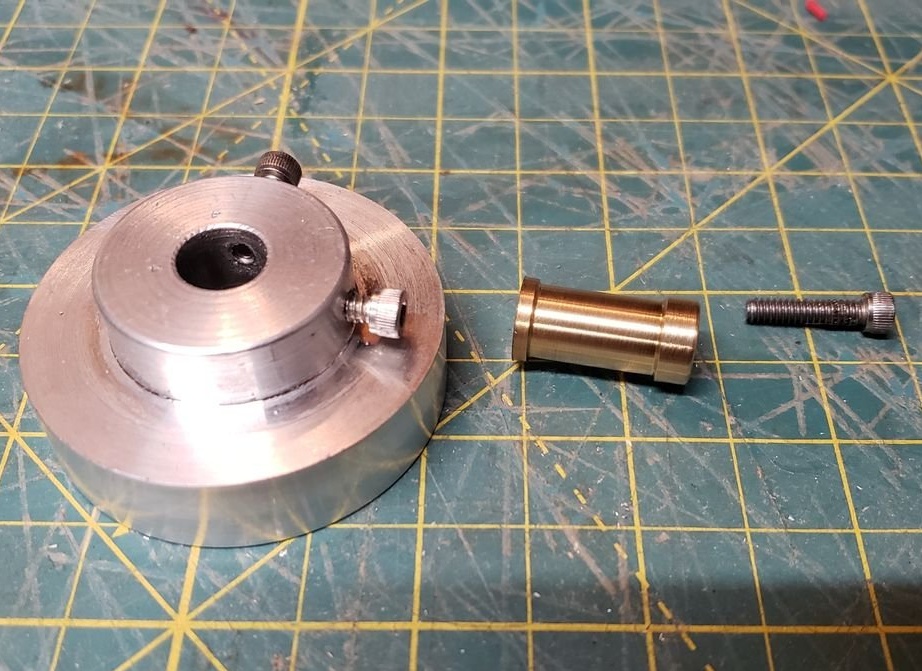
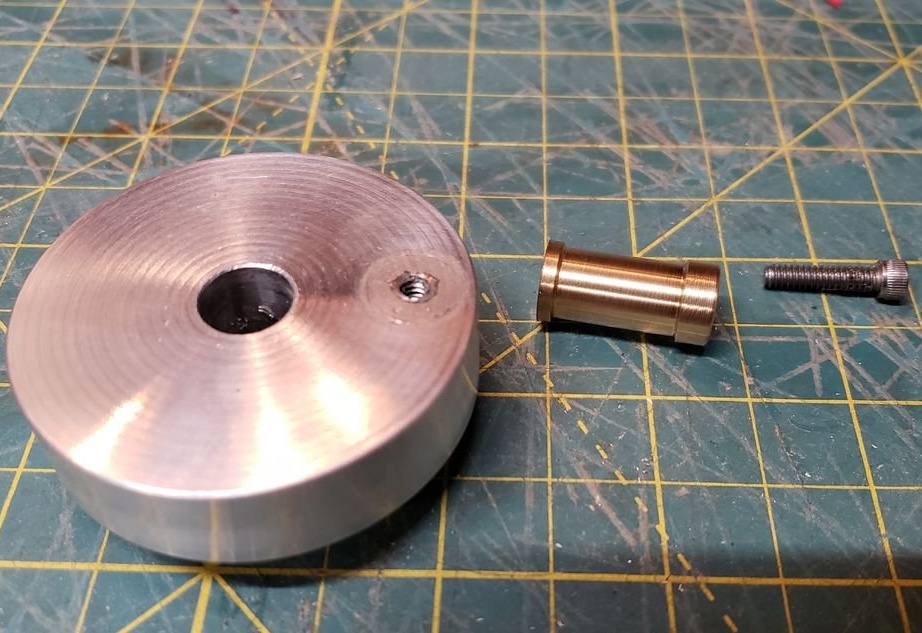
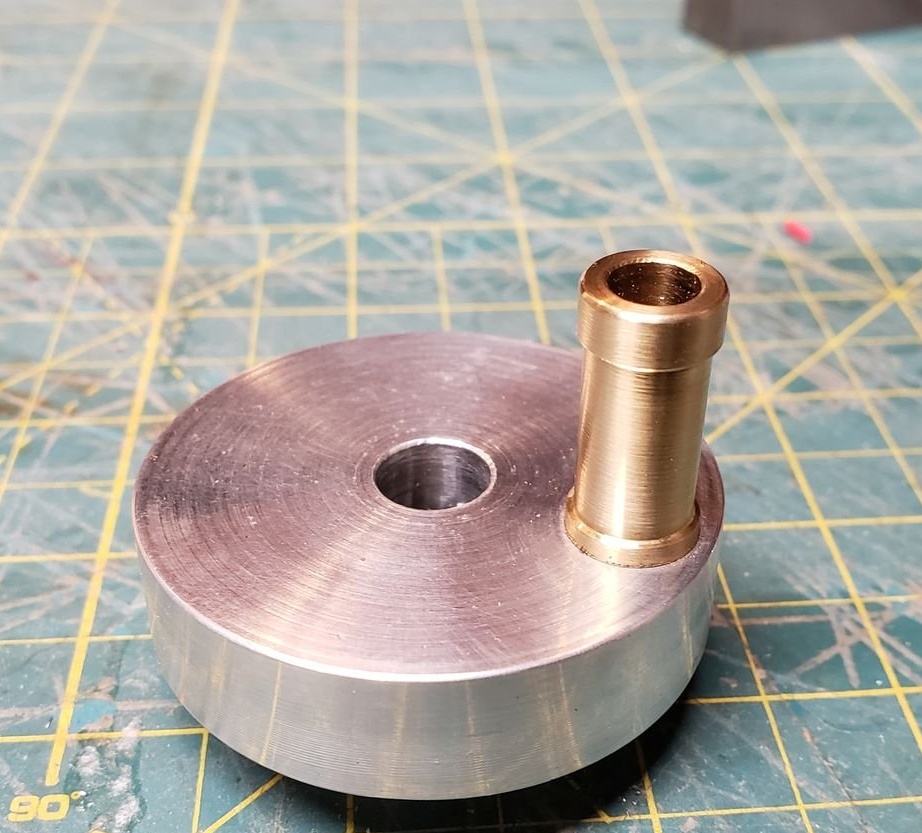
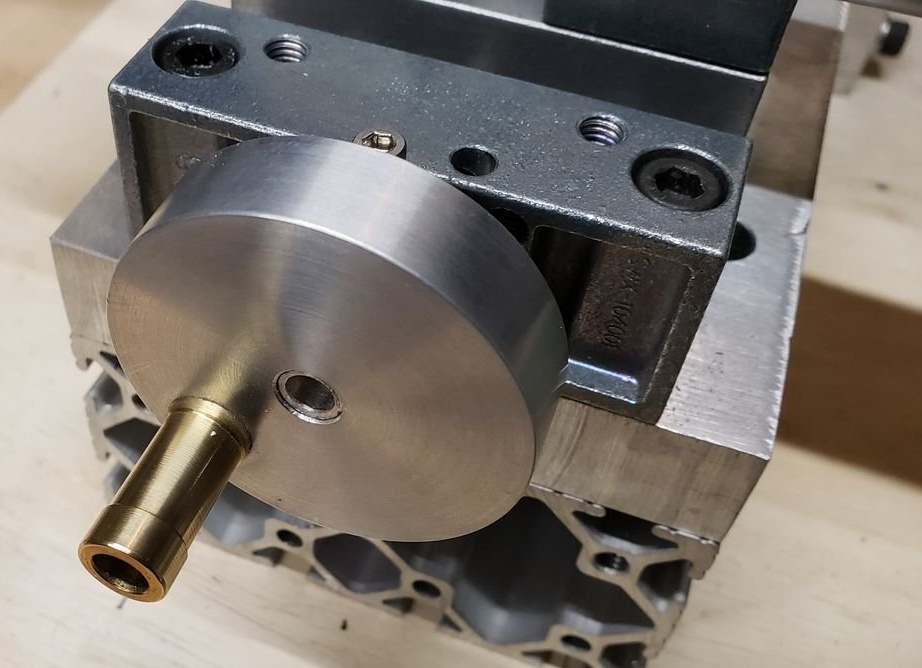
Step Two: Flywheels
The master machined the flywheels on a lathe. The flywheel itself is mounted on a linear screw, with which the carriage moves.
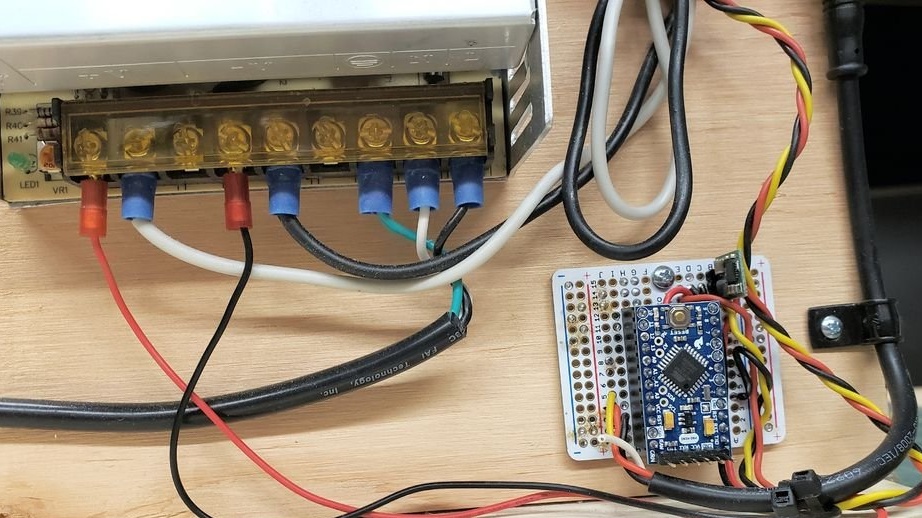
Step Three: electronics
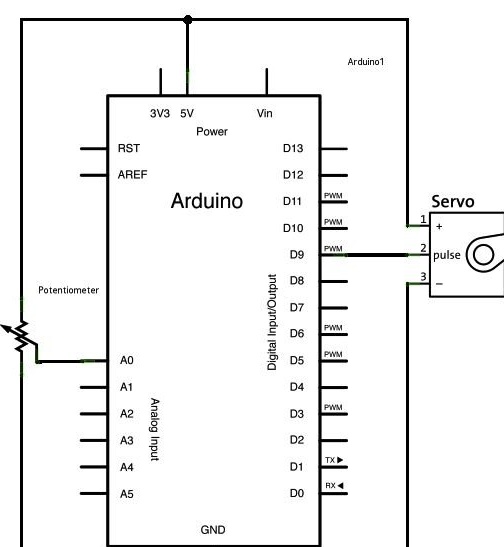
To provide variable motor speed, the master connected a DC motor speed controller to the Arduino.
A voltage regulator is connected to the 12 V power supply to supply 5 V to the Arduino.
Arduino provides the necessary PWM signal for the motor controller, which tells it about a change in speed depending on the position of the potentiometer.
The code can be downloaded from this the link.
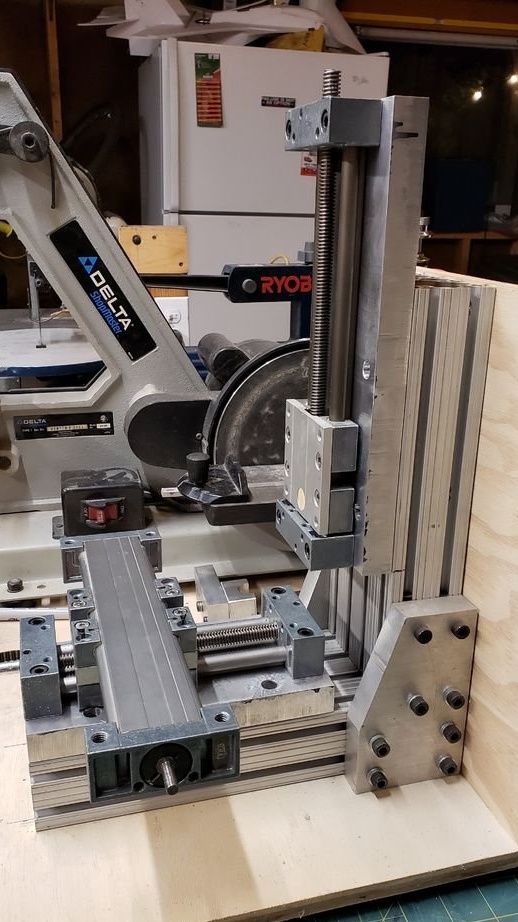
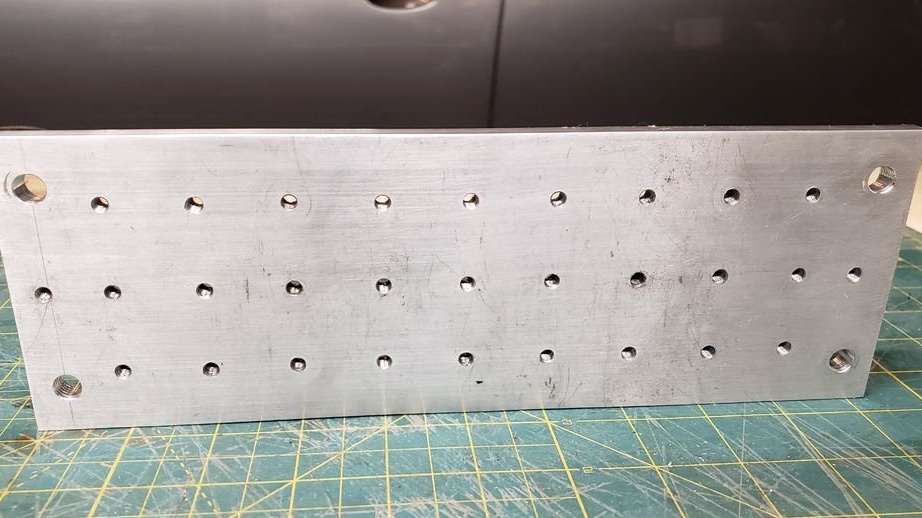
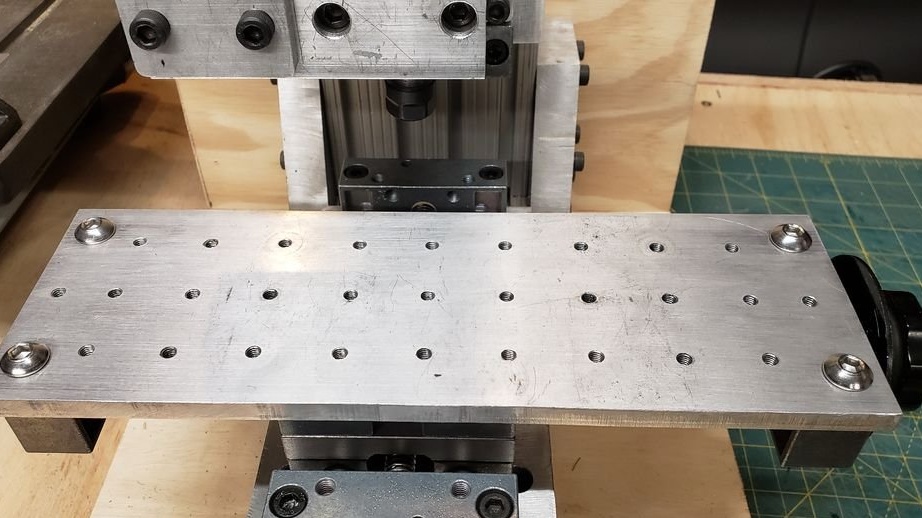
Step Four: Desktop
The master made a plate of aluminum with a thickness of 9 mm. I drilled a series of holes in the plate and cut the threads in them. This is necessary to fix the parts on the plate.

The machine is ready. In the future, the master plans to improve it, install a different cartridge and engine, and racks to give rigidity and dampen vibration, pour concrete or fill it with sand.