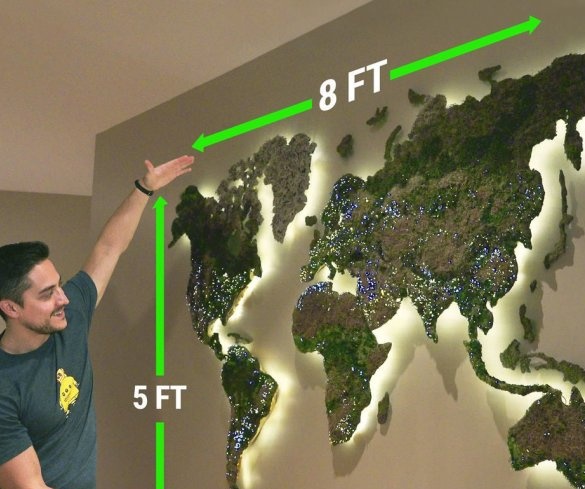
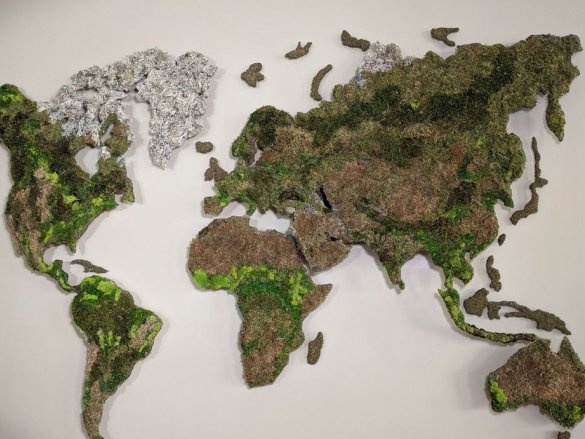
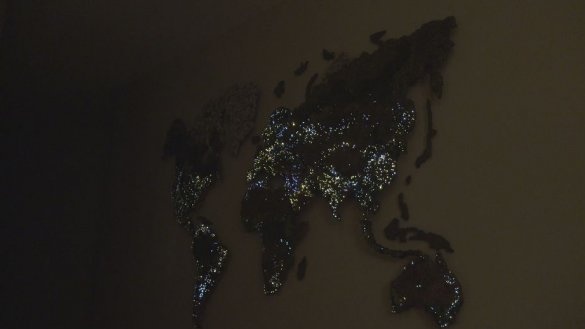
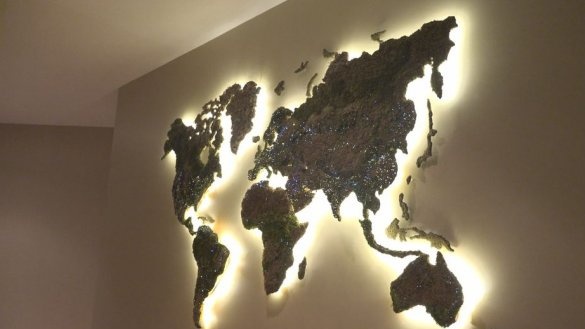
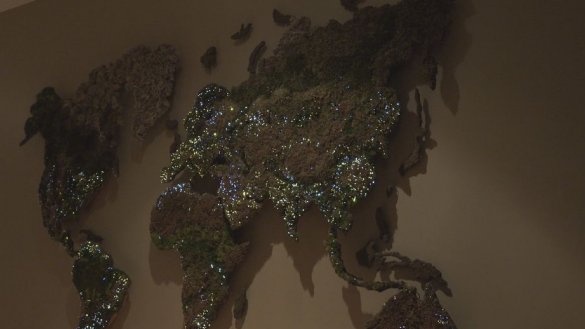
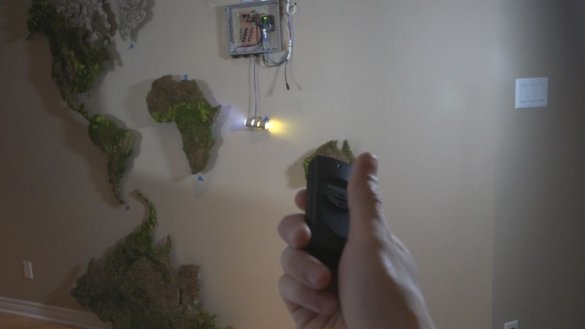
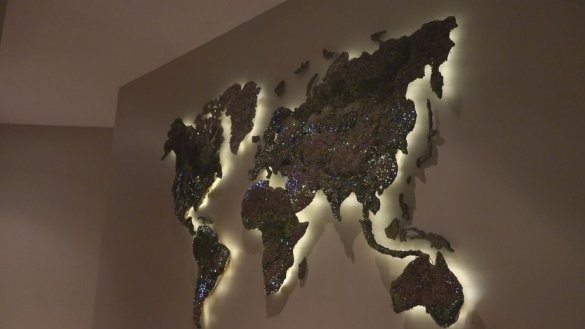
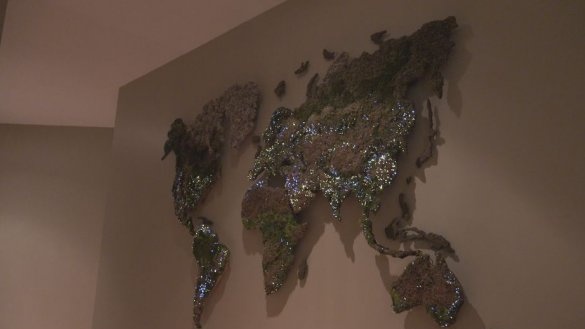
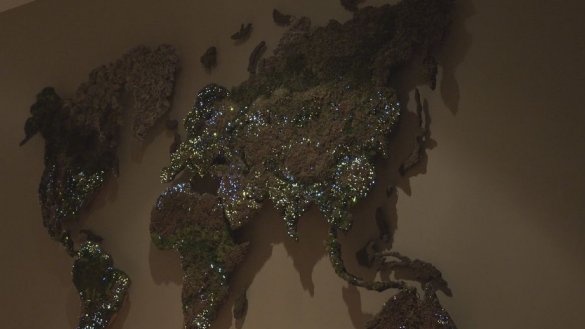
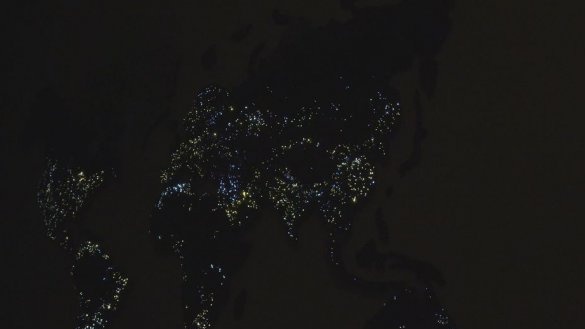
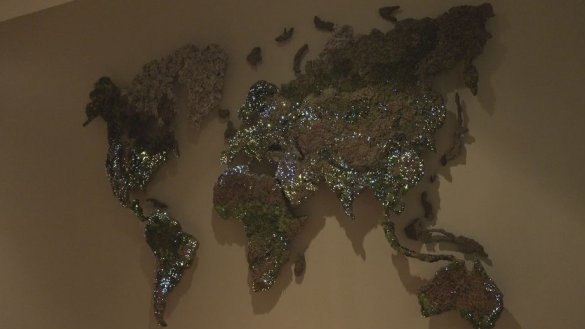
The master who made this card has a huge blank wall in the apartment. For a long time he thought how to close it. At first he wanted to cut a card out of wood, but when he learned about the use of natural moss, he got the idea to make a card out of it. Further, the project was supplemented with the idea of adding highlighting to the locations of cities, as the Earth is seen from space.
Tools and materials:
-Glue for gluing moss;
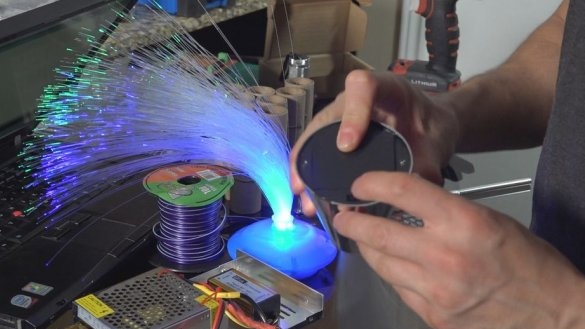
Fixtures with fiber;
-LEDs;
-12V power supply;
- Arduino UNO;
-Soldering accessories;
-Radio details;
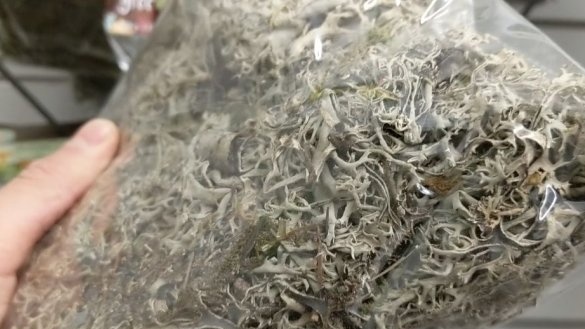
-Different types of mosses and lichens with various shades of green, brown and white (dry);
-Glue gun;
-Glue;
-Fasteners;
-Wire;
-Laminated chipboard;
- CNC cutting machine;
- Electric jigsaw;
-Wire;
-Nippers;
-Knife;
-Rule;
-A circular saw;
- brush;
-Drilling machine;
- Cardboard tube;
-Metal mesh;
-Plastic ties;
-Scissors;
Step One: Cutting the Card
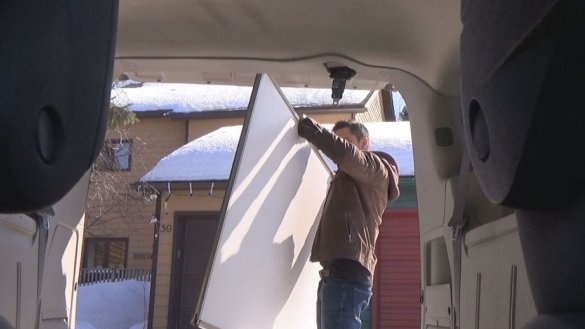
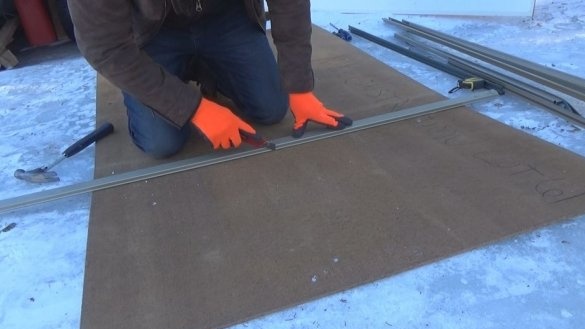
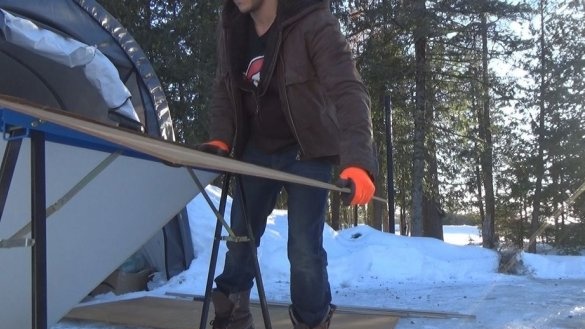
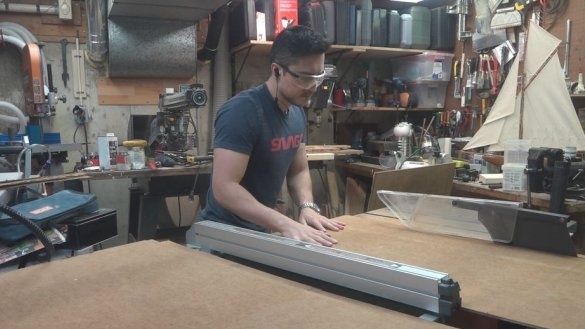
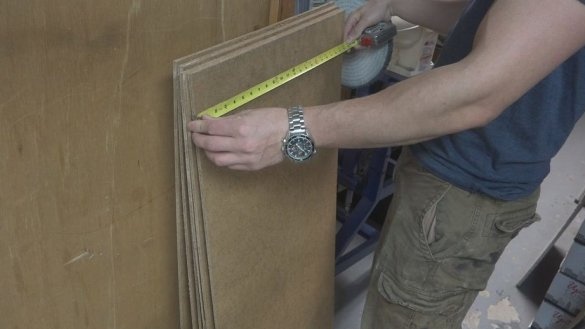
Almost any material with a hard surface can be used to base the card. The master used a laminated chipboard, which is perfect for cutting on a CNC machine. Used chipboard, from old doors.
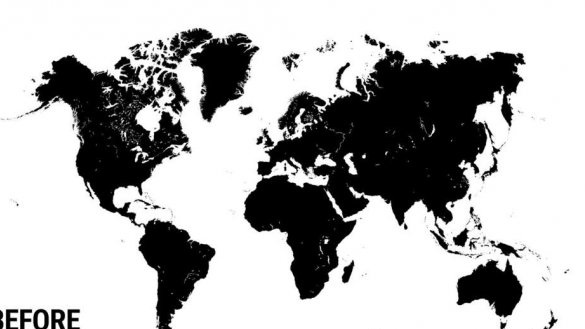
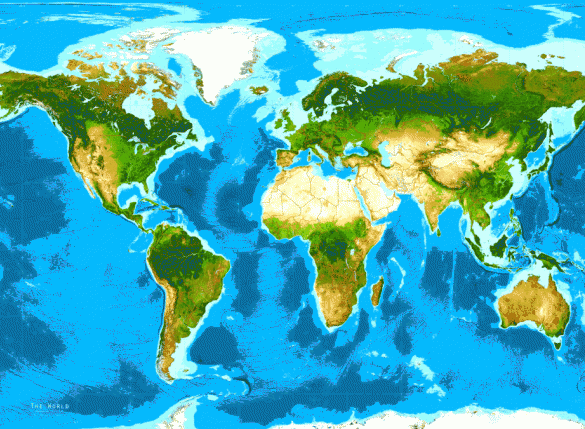
Now you need to select a card. Since the Earth has the shape of a sphere, any two-dimensional image of the planet will be distorted. These distorted images are called projections.
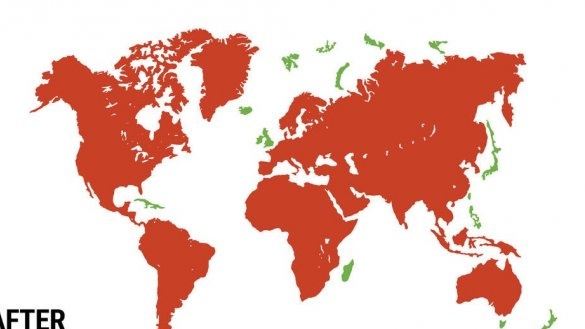
As a result, the master chose the classic Mercator projection. This is a black and white version that he found on the Internet, and then processed it by filling in small ponds and connecting islands, so that it would be easier to carve continents using CNC.
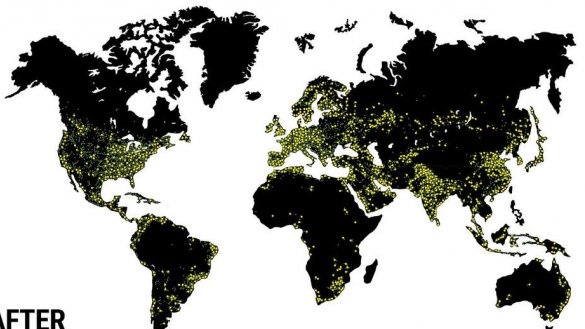
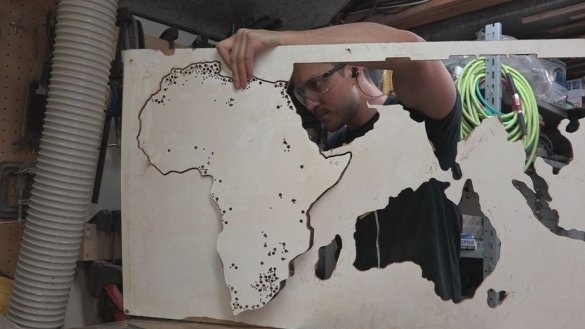
For this project, he had the idea to add city lights visible from space.
He found an image taken by NASA, converted it to black and white and increased the contrast. This made the light a little more pronounced. Then he turned the image over and converted it into a vector one, which he then overlaid on the Mercator map.
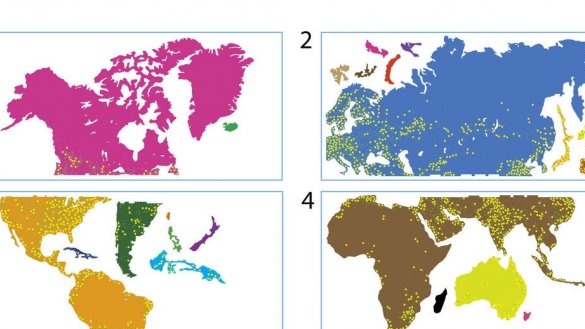
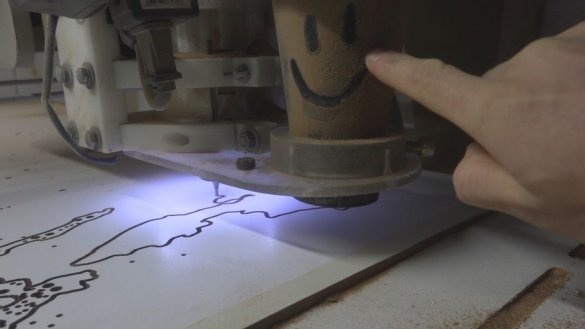
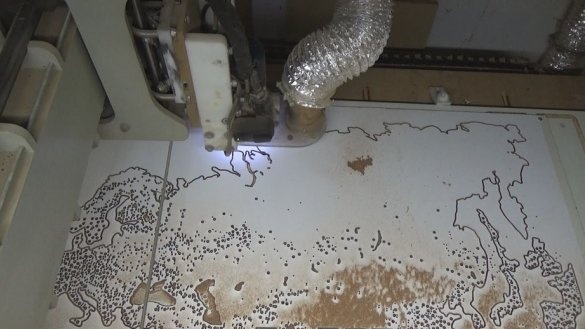
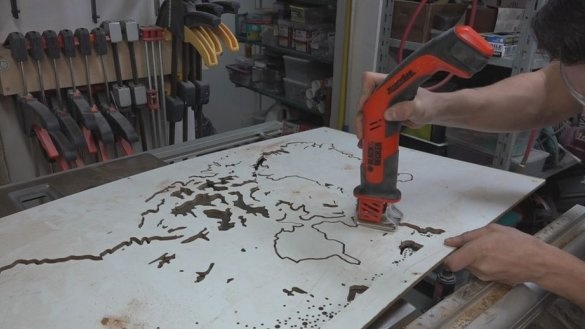
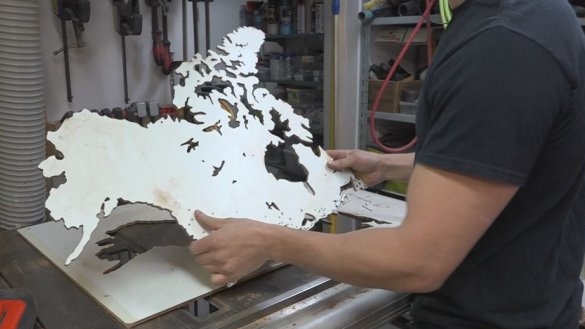
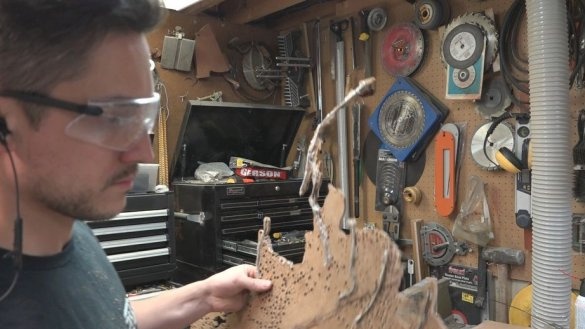
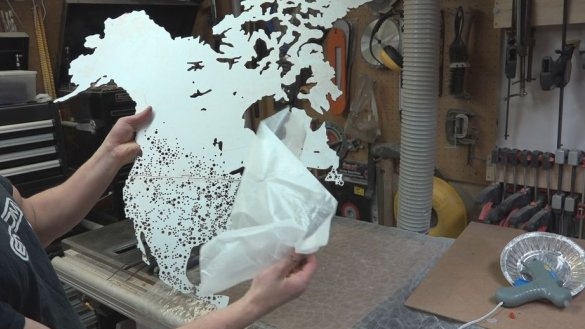
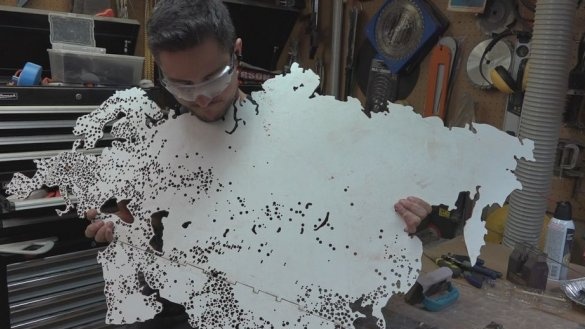
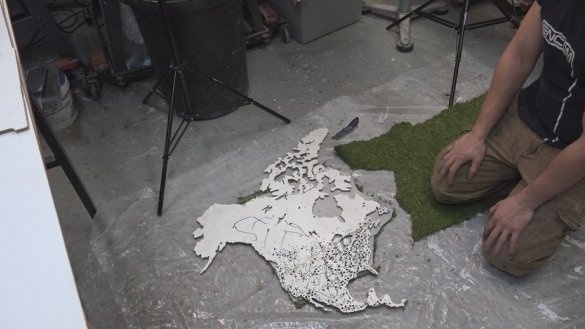
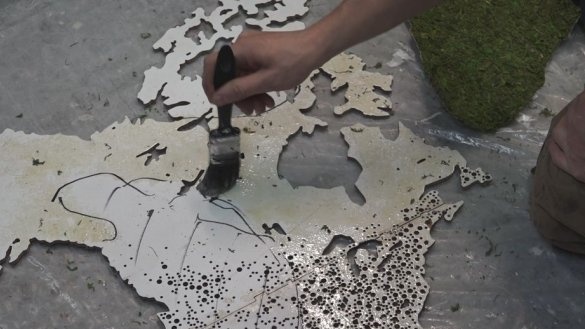
As soon as all the vector graphics were prepared, he cut out the panels on a CNC machine. Then disconnected the card into separate fragments.
Step Two: Repair Some Parts
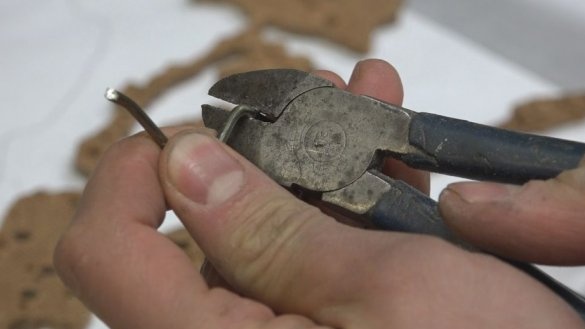
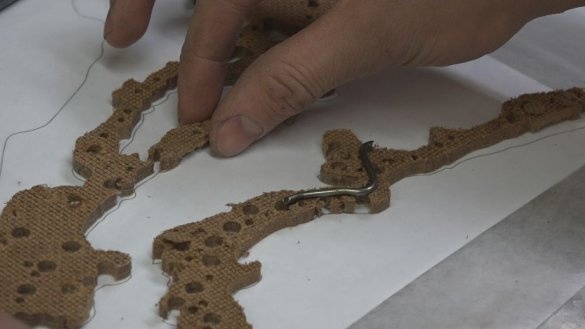
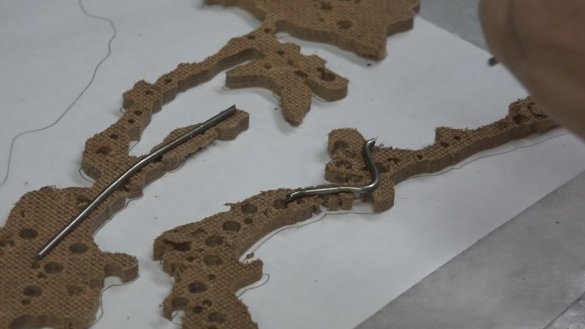
Some narrow fragments broke during cutting, and the master repaired them with metal staples, epoxy and hot melt adhesive.
Step Three: Moss
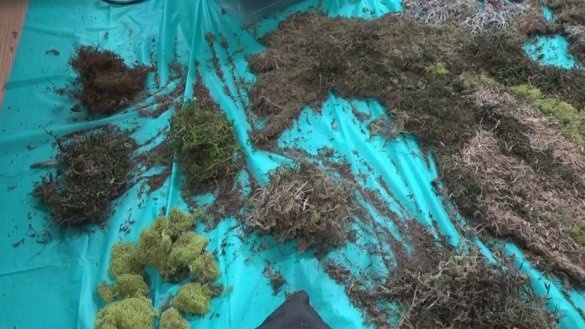
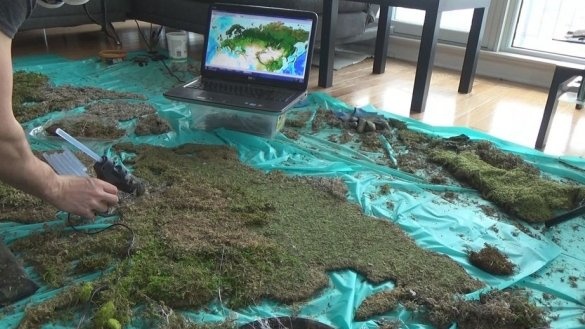
In this project, the master uses dry natural moss. If you can get live moss from the forest or try to draw continents with “moss graffiti”, that would be great too. The only problem with living moss is that you need to create a specific environment for maintaining moss.
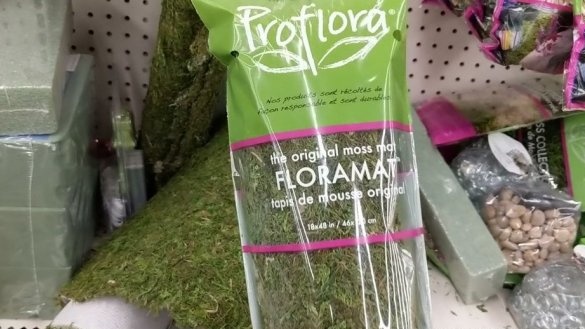
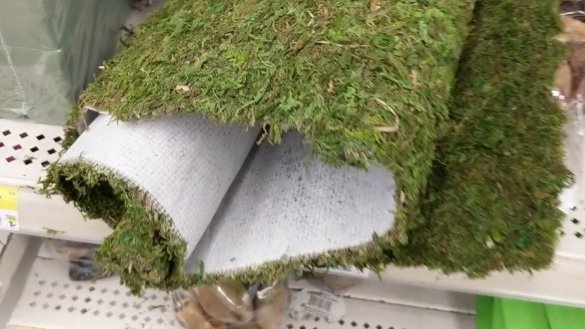
The master found in the store a product called "moss rug", which is a carpet of moss in a roll. This will be one of the base colors of green.
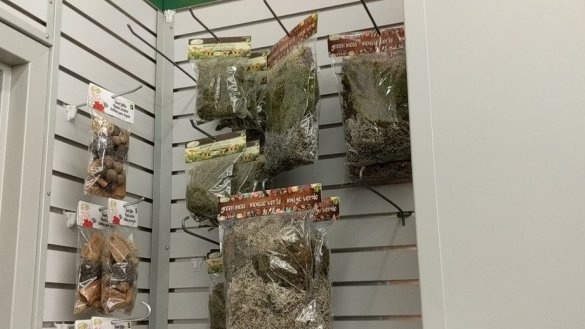
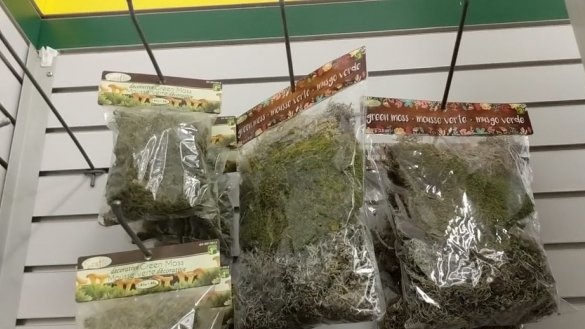
Packages of white moss were used for snowy areas, since they look like snow, gray moss will denote the steppe, etc.
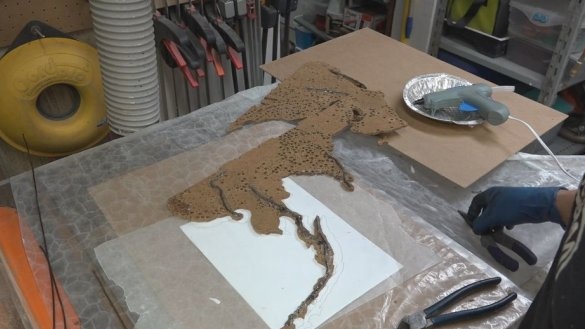
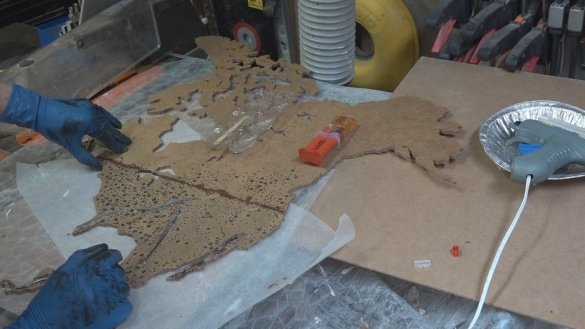
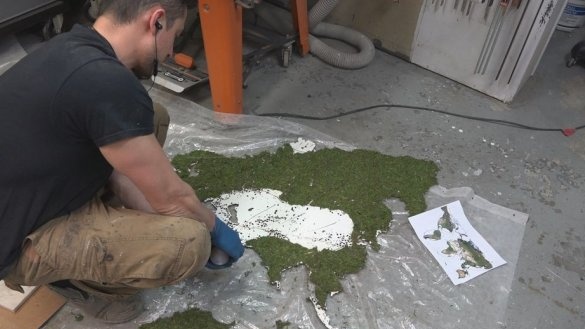
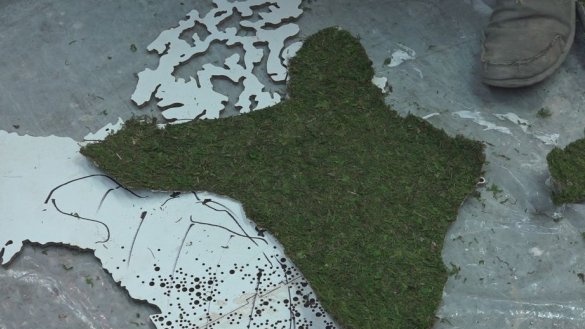
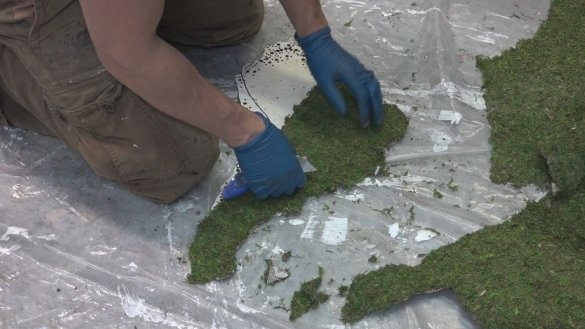
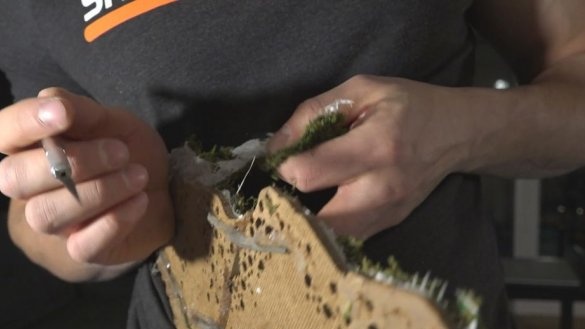
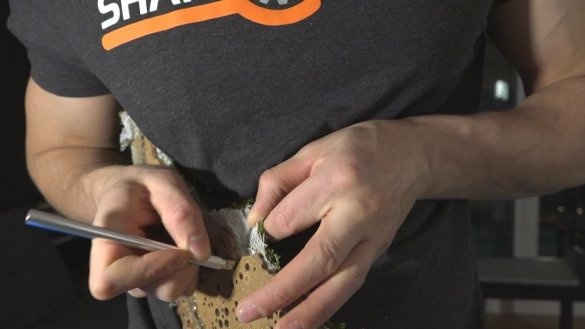
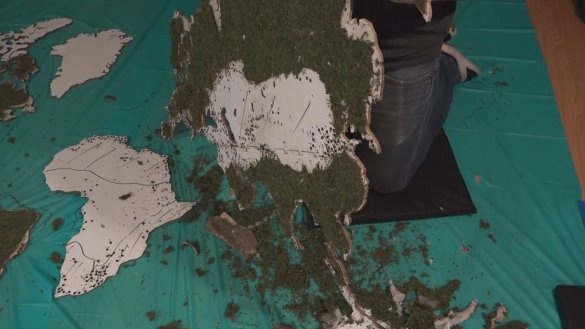
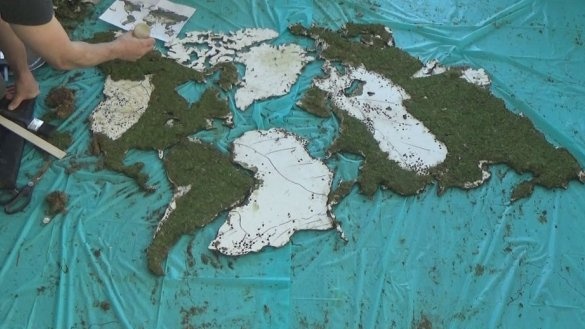
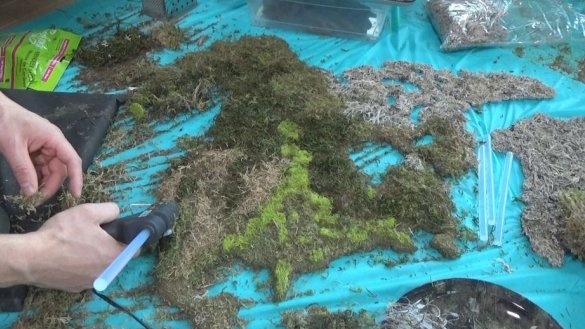
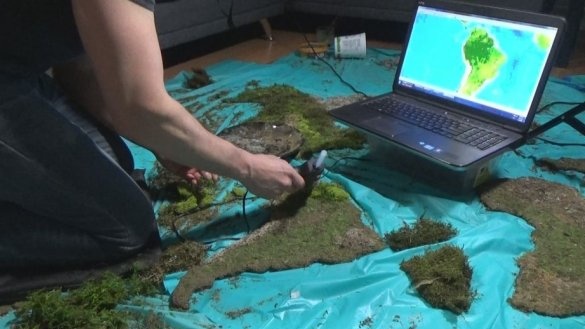
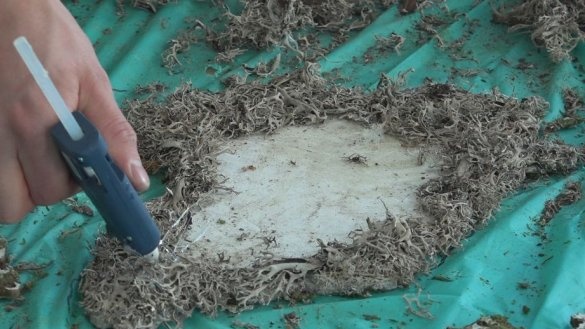
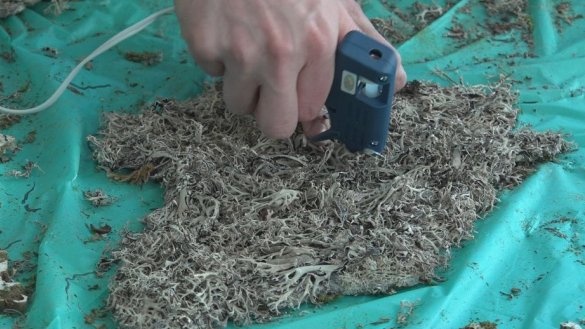
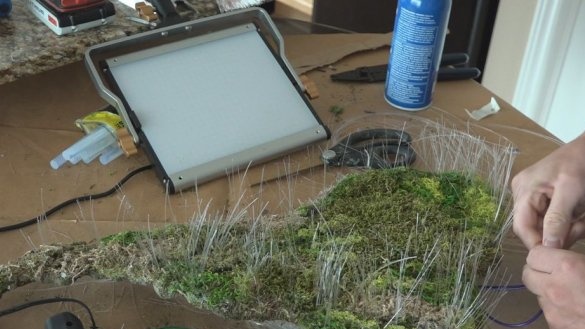
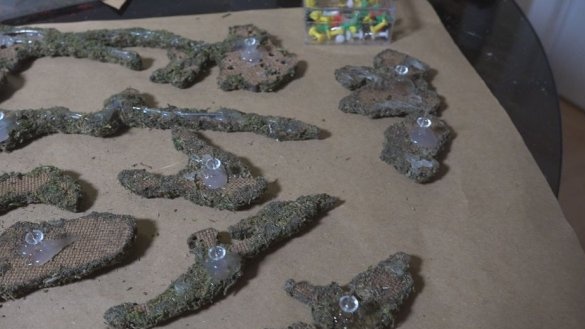
Further, the master glues the carpet with moss on the map, on those areas that are highlighted in green. Excess moss cuts along the contour.
Glues moss of other colors.
Step Four: LEDs
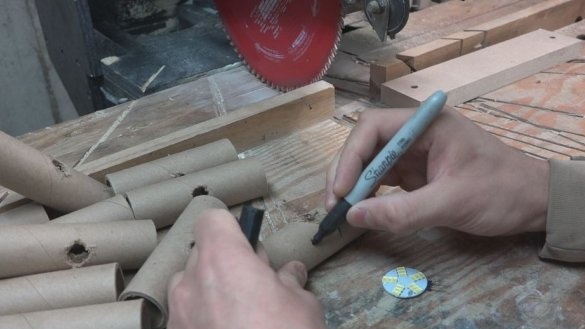
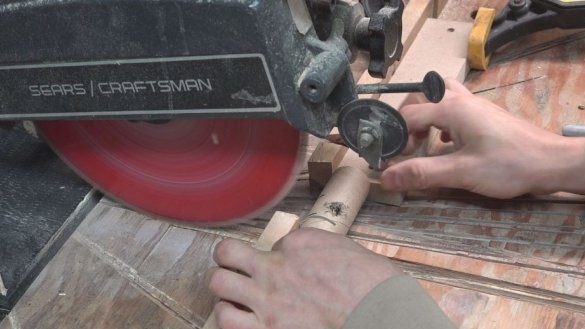
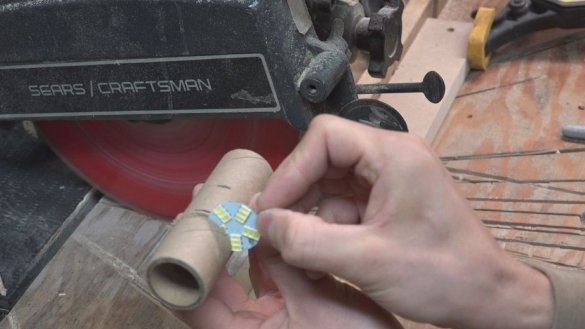
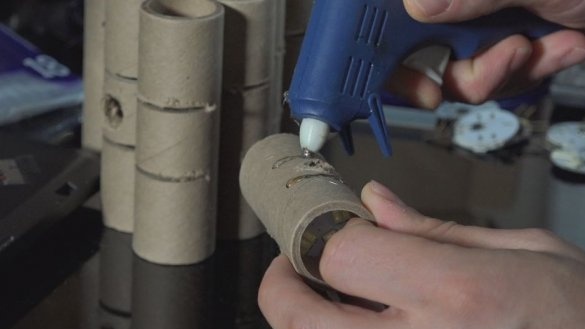
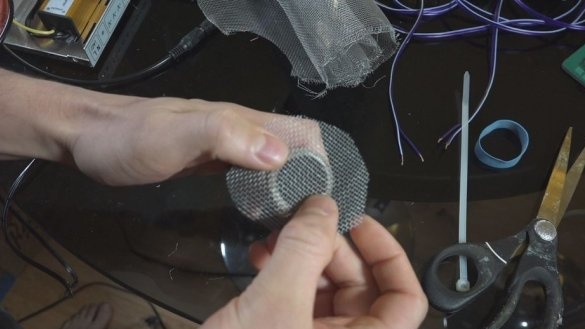
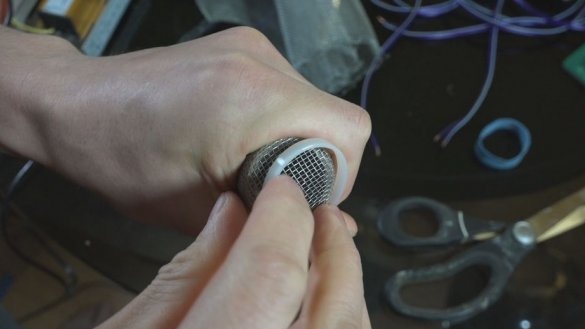
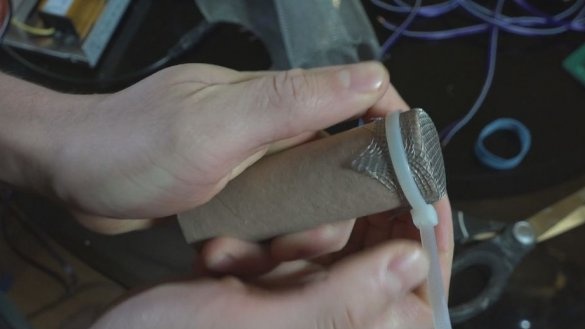
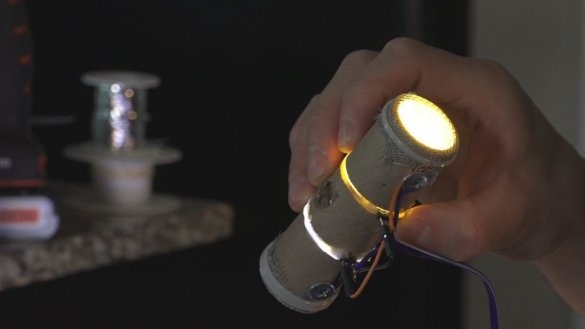
To install the LED modules, the master cuts the tubes.
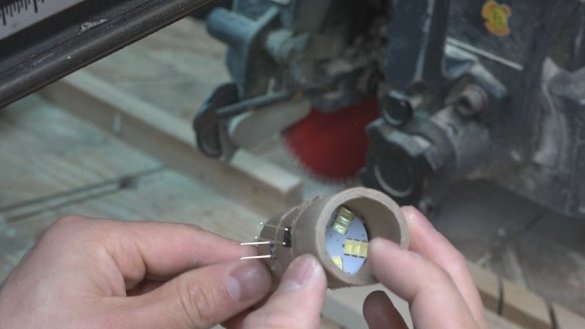
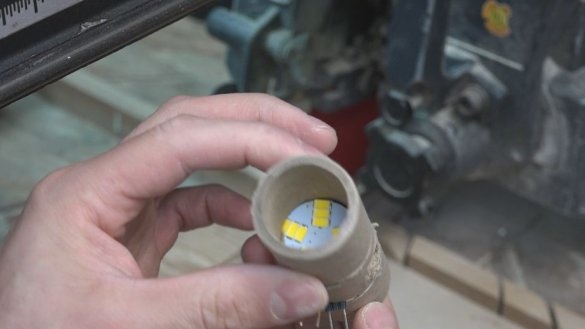
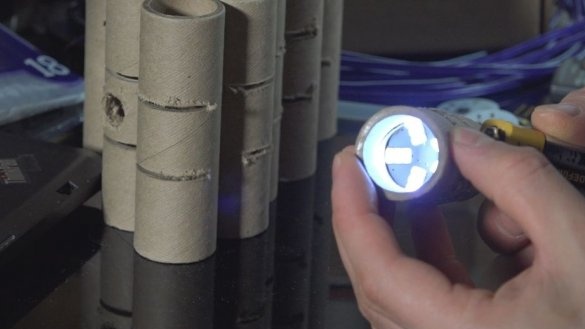
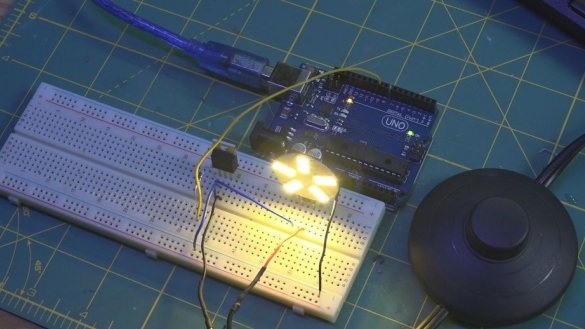
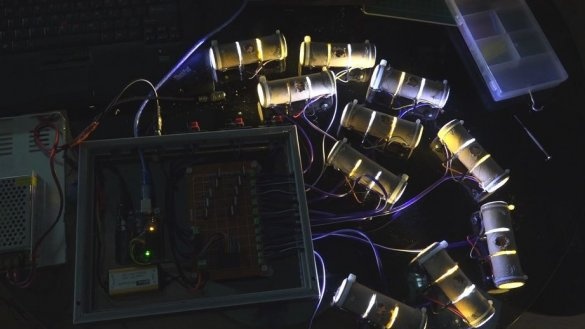
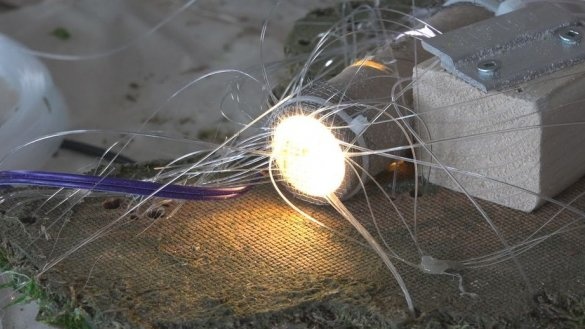
Two 12 V LED modules are installed in each tube, one cool white, one warm yellow. In total, the master makes 20 handsets.
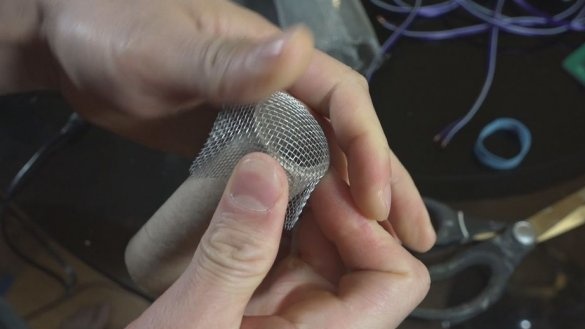
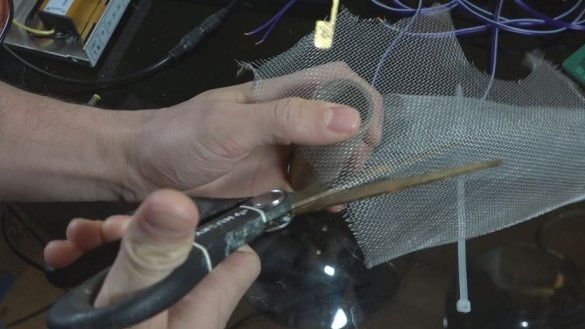
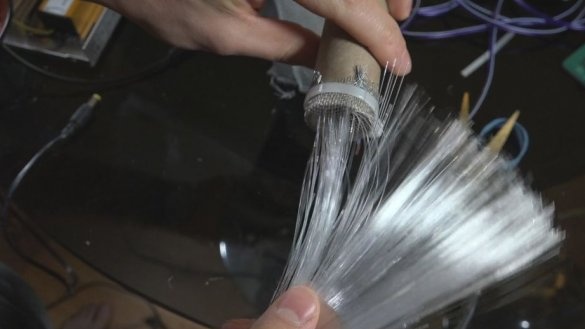
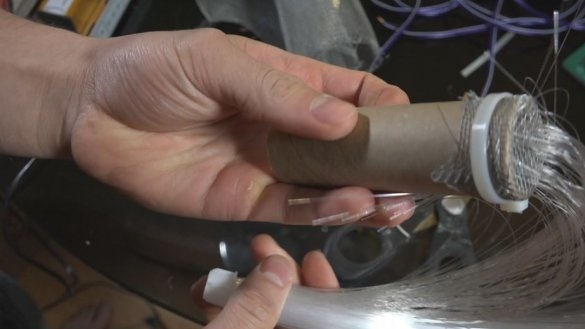
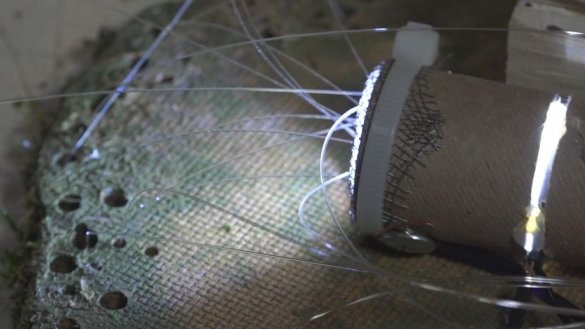
The ends of the tubes on both sides of the master closes with a thin metal mesh.
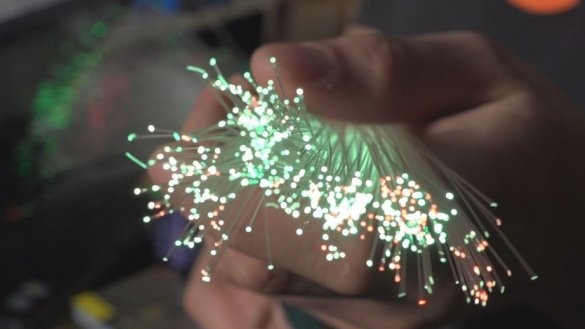
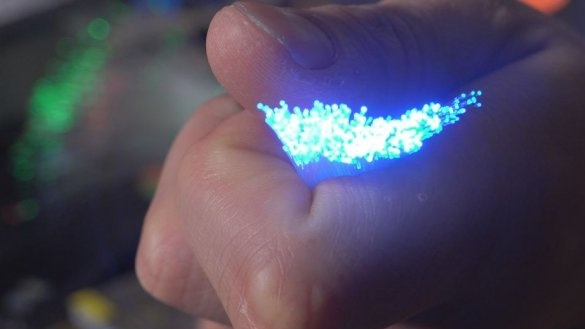
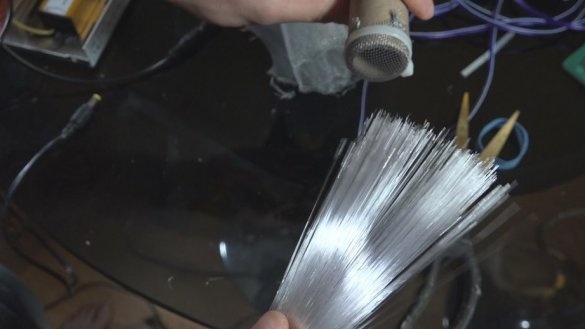
In this metal mesh, in the future, fiber optic threads will be installed.
Step Five: Arduino
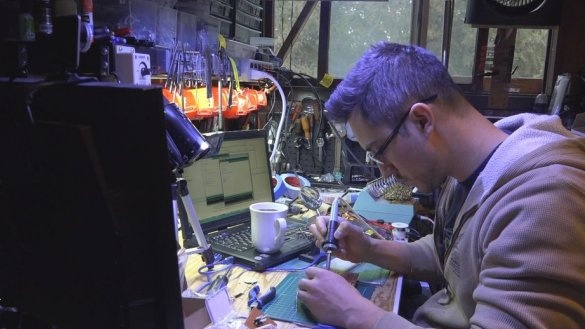
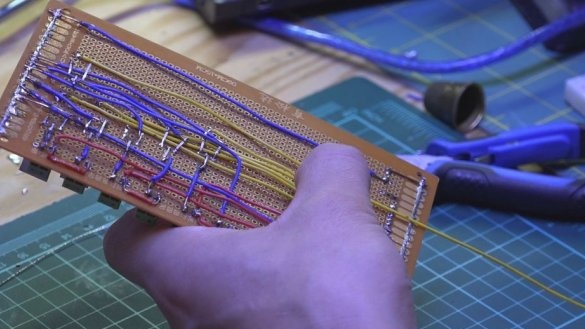
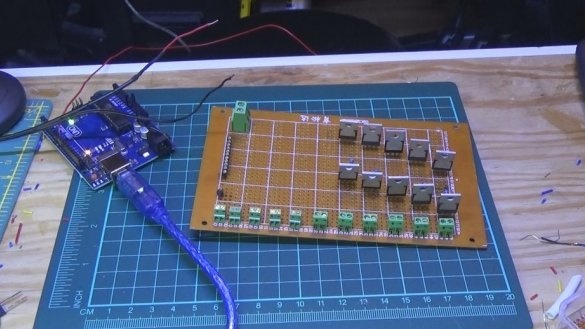
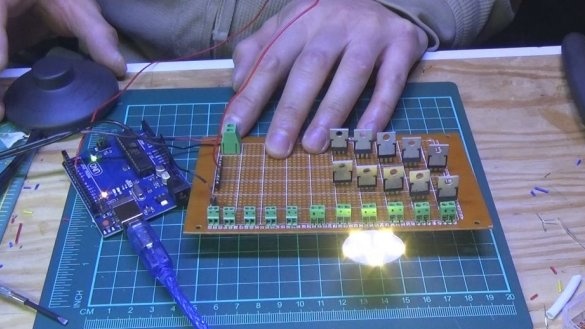
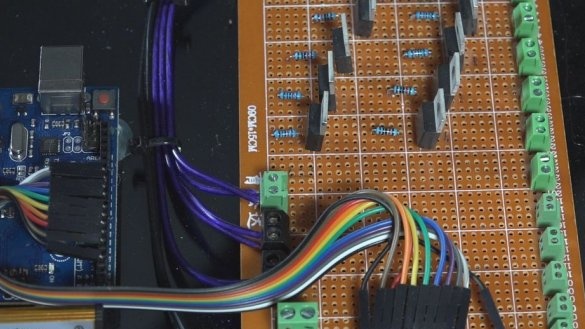
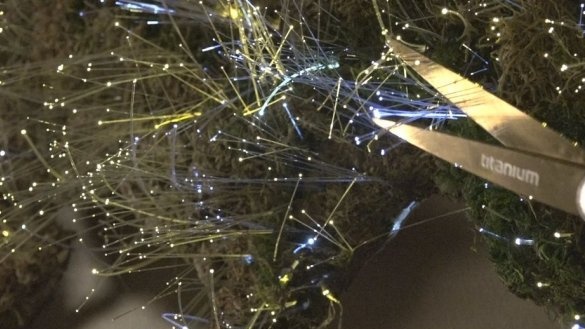
City lights, when viewed from above, flicker. The master wanted to achieve the same effect with the Arduino Uno and several Mosfet N-channel transistors.
N-Channel Mosfets are basically digital “switches” that the Arduino microcontroller can send signals to pass current. The speed of turning the light on and off can create the illusion of flickering. Arduino controls each LED module individually at random.
Then the wizard connects all the electronics. Makes wiring on the wall. Checks work.
Step Six: Fiber Optic
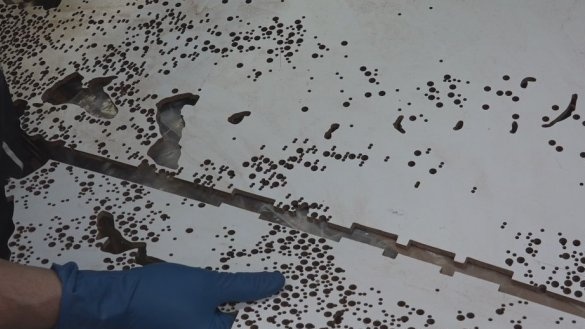
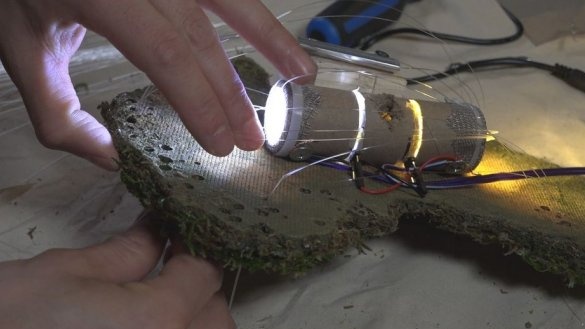
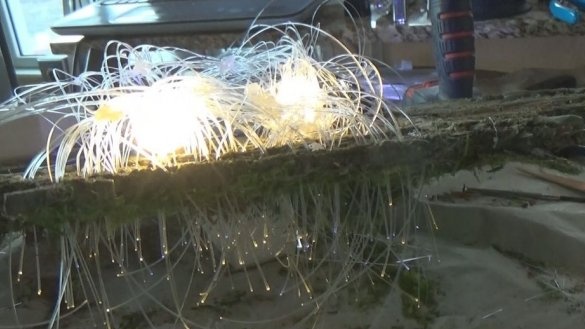
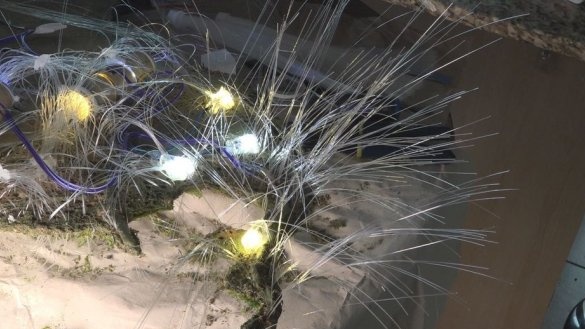
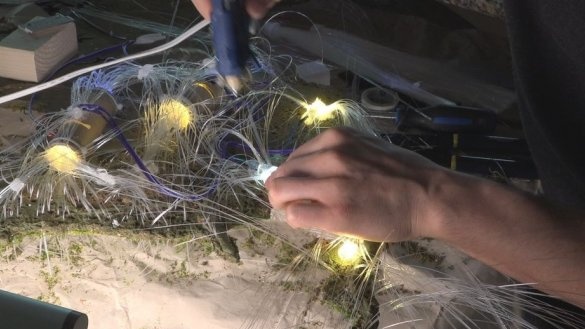
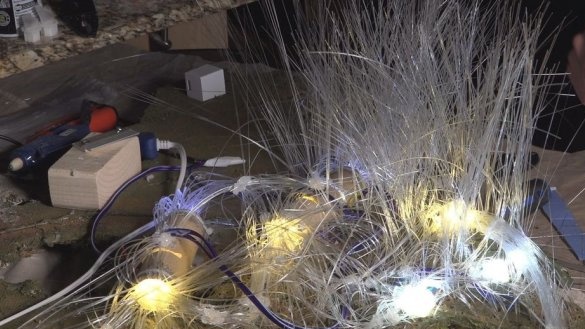
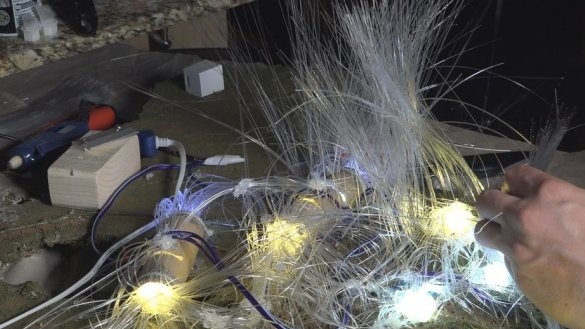
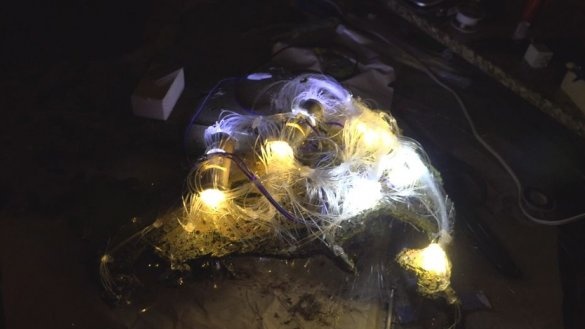
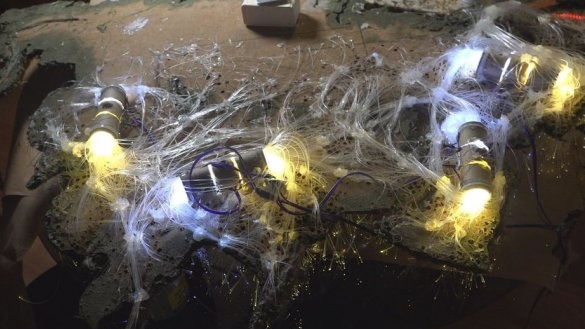
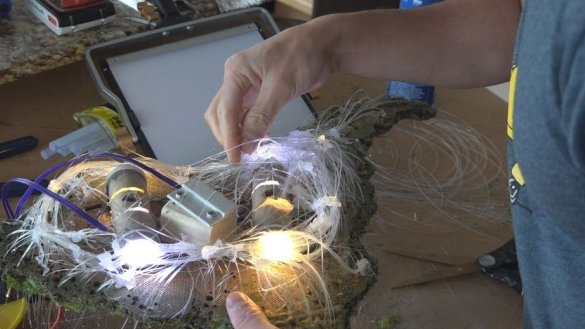
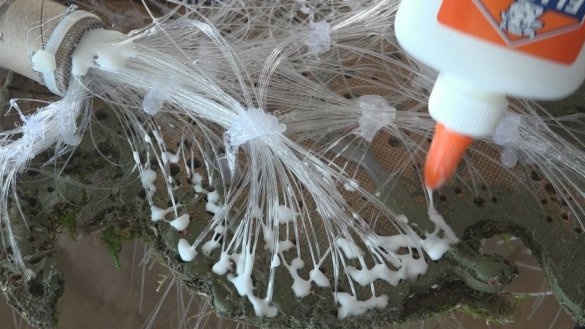
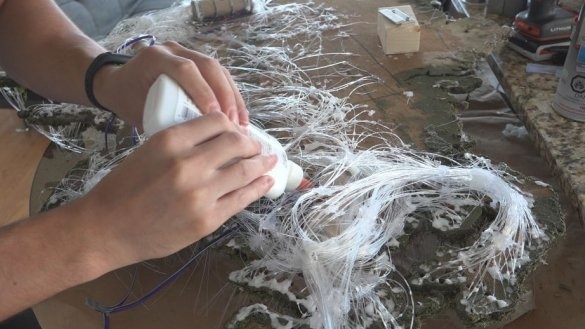
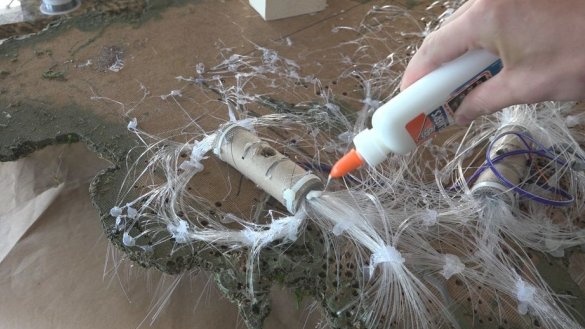
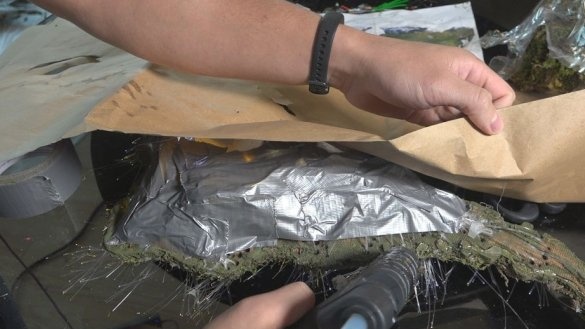
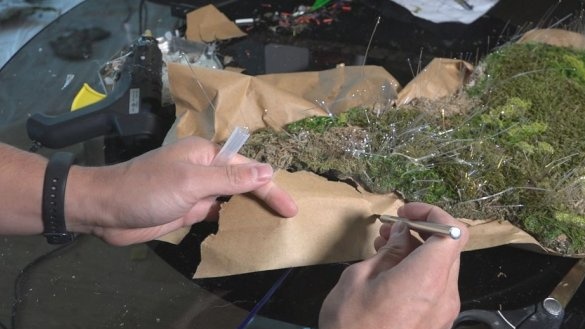
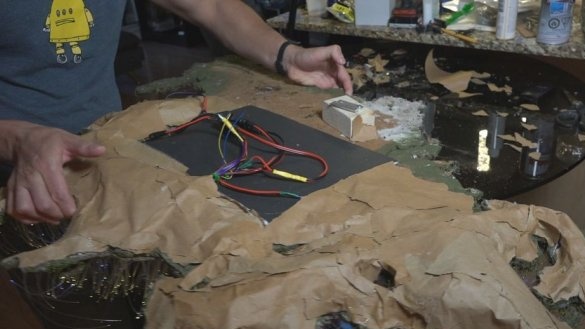
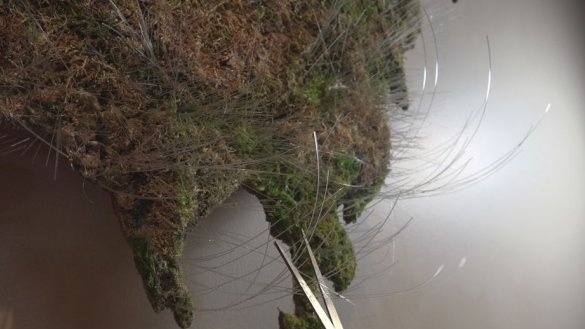
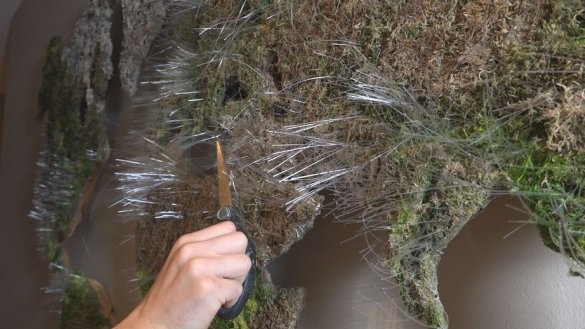
This is the most time consuming step. There are thousands of fiber optic threads that all need to be manually placed and fixed on the card.
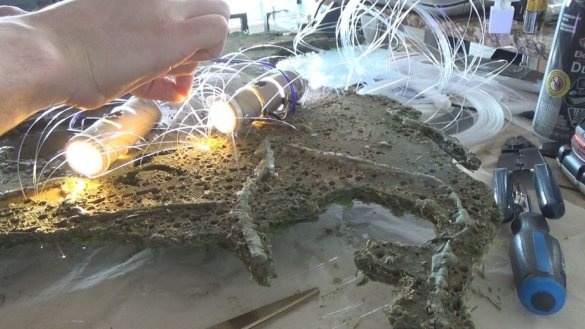
A total of 10 light tubes were prepared. Each pipe was fixed on the back of each continent. Depending on the size of the continent, the number of tubes on the rear panel ranged from 1 light source (Australia) to 4 light sources (Europe). This work took several weeks from the master.
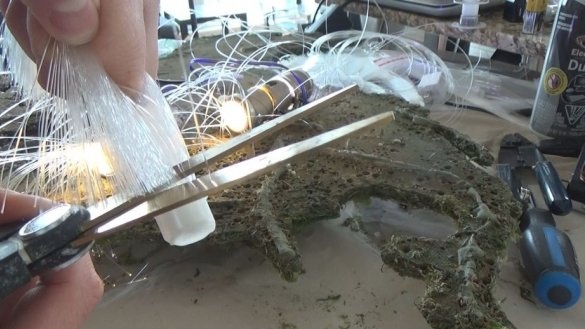
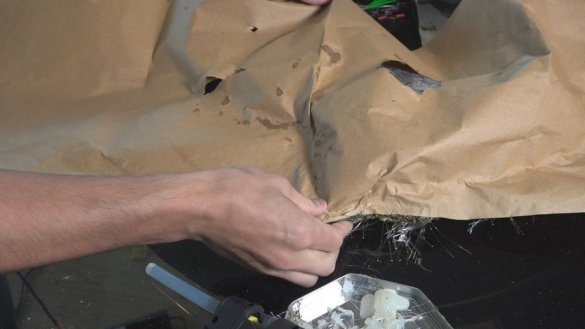
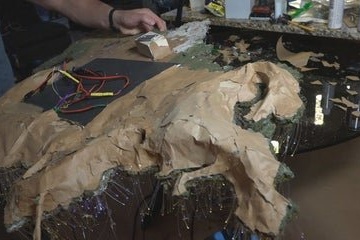
As you can see from the photo, it’s quite a difficult and time-consuming job, each fiber must be placed in the intended place.
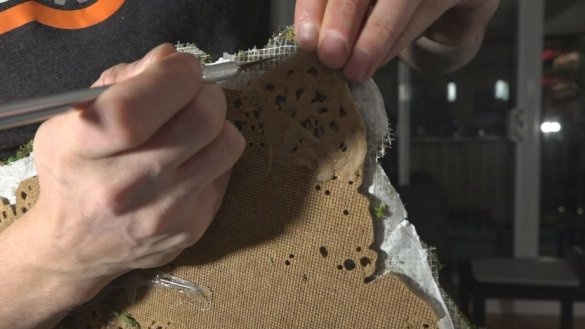
Then the master pours glue on the back. The glue will fix the fiber and let it move.
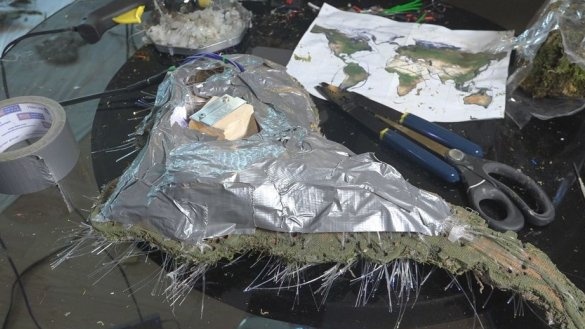
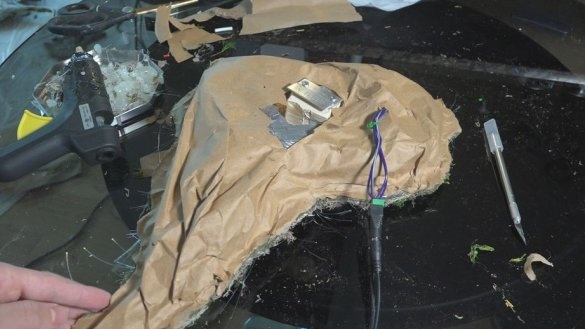
Then seals the back with wrapping paper.
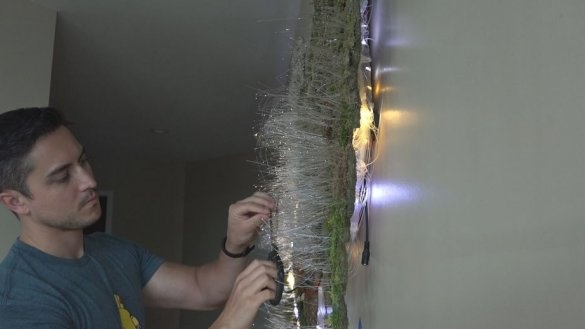
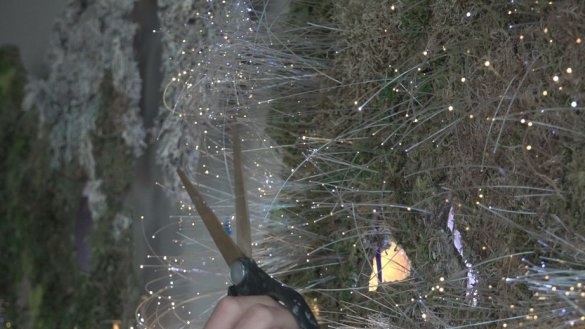
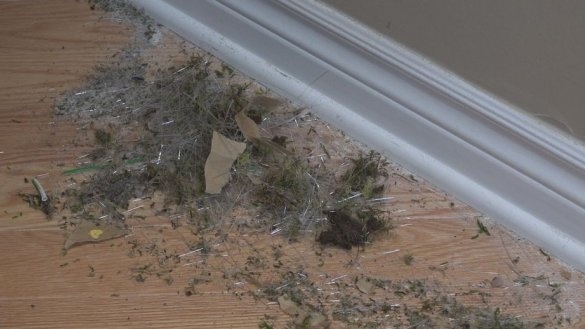
Cuts fiber optic threads.
Seventh step: LED strip
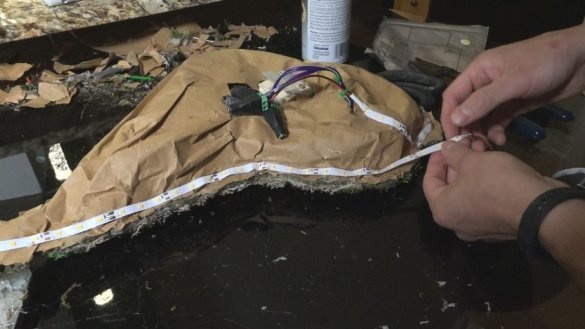
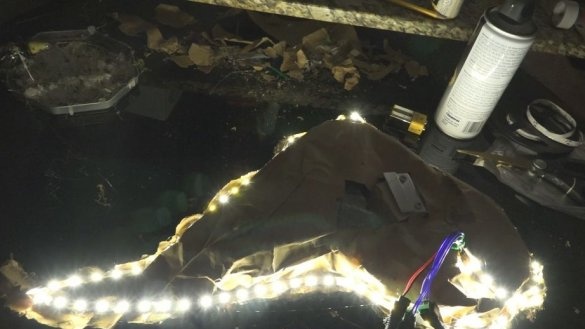
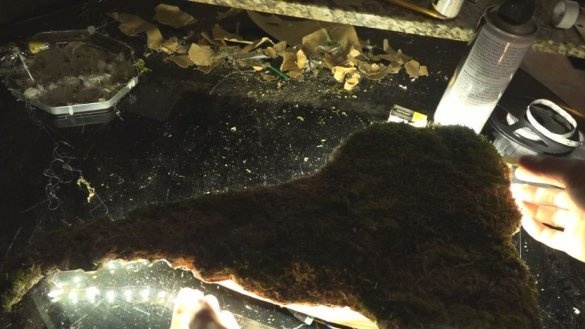
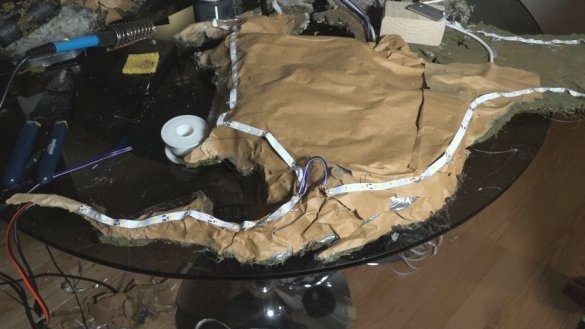
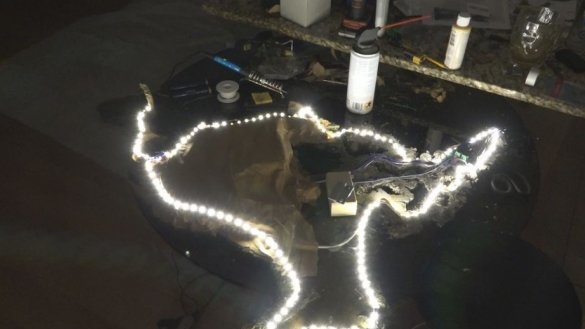
On the back, the master glues the LED strip. The LED strip can be turned on for illumination, or separately for lighting.
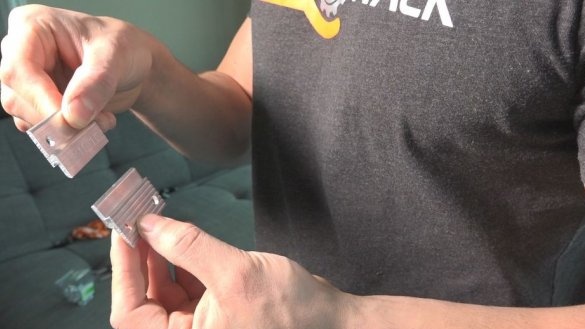
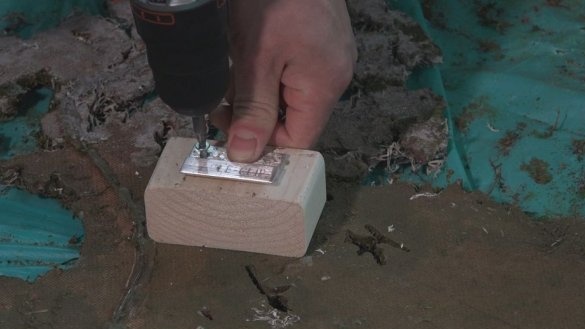
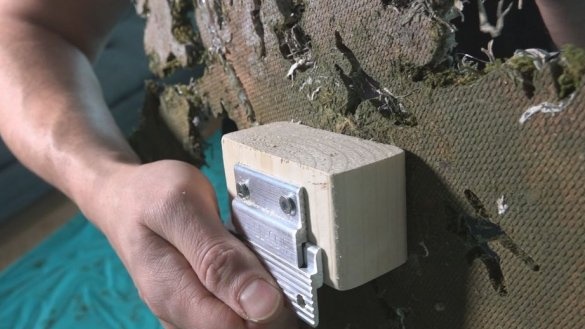
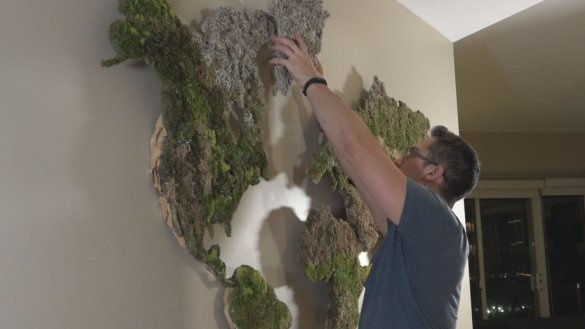
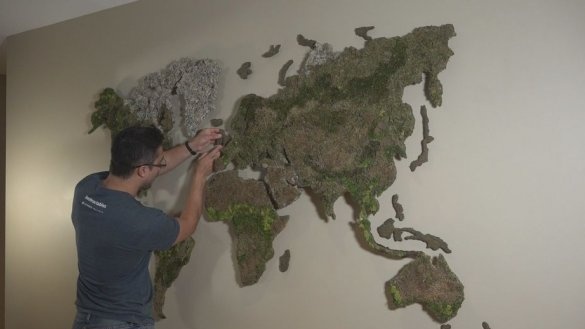
Everything is ready, it remains to hang the card on the wall.
The whole process of making such a card can be seen in the video.

