
In this article, David, the author of the Make Something YouTube channel, will tell you how these lights are made, and you can make the same for yourself.
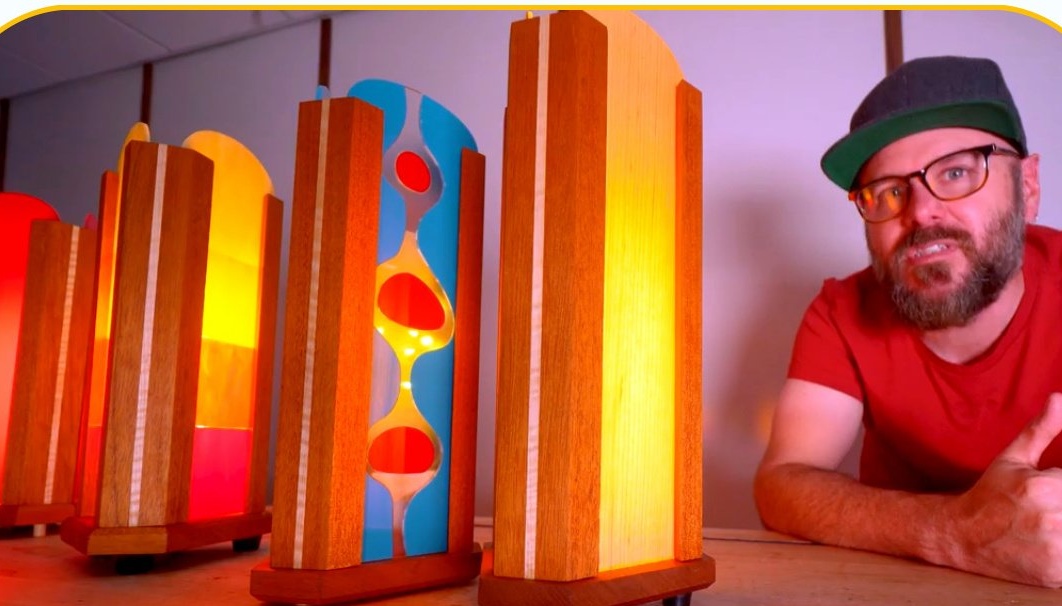
So, the author is going to make some lamps, lamps or lanterns, name it whatever you like.
In case you want to play with your lamp options, you can add several different types of decorations.
Materials
- Mahogany boards
- Stained glass
- sheet plywood
- Acrylic
- Wood veneer
- masking tape
- Sandpaper
- PVA glue.
Instruments, used by the author.
—
—
- Miter and circular saws
—
- Orbital sander
- Drilling machine
—
—
—
-, wood drills
—
- mallet, brush
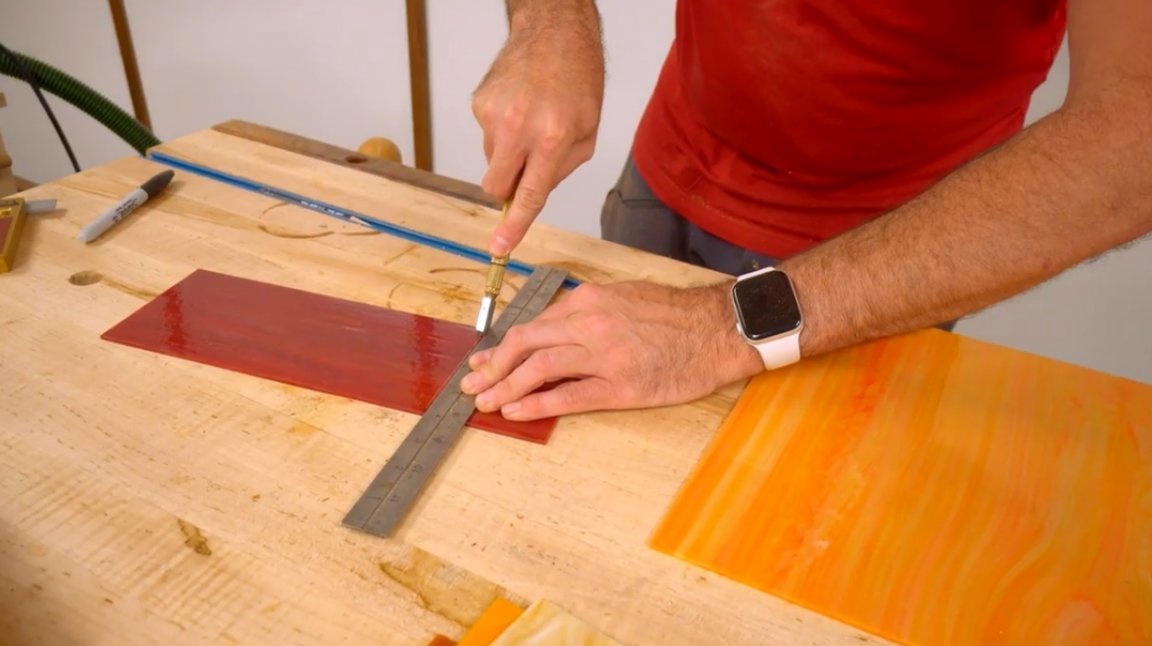
- Glass cutter, ruler, square, pencil.
Manufacturing process.
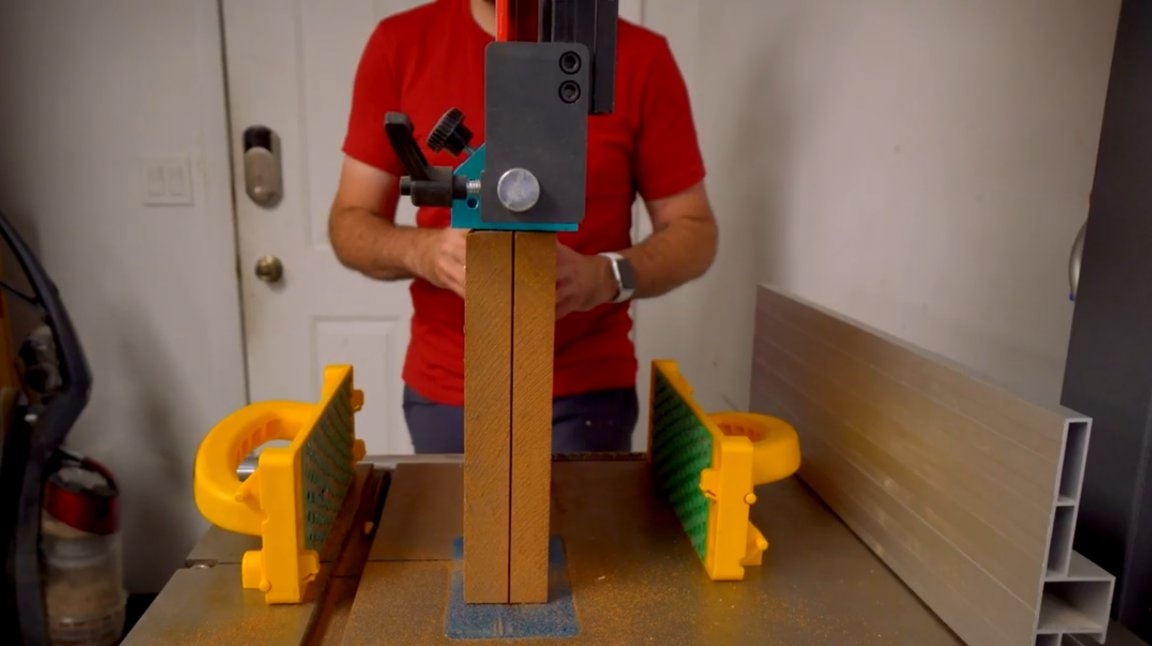
So, a friend gave the author a whole bunch of small pieces of mahogany. This wealth came from his grandfather, who was a cabinet maker. This mahogany is probably thirty to forty years old. Some of these treasures will go into action.
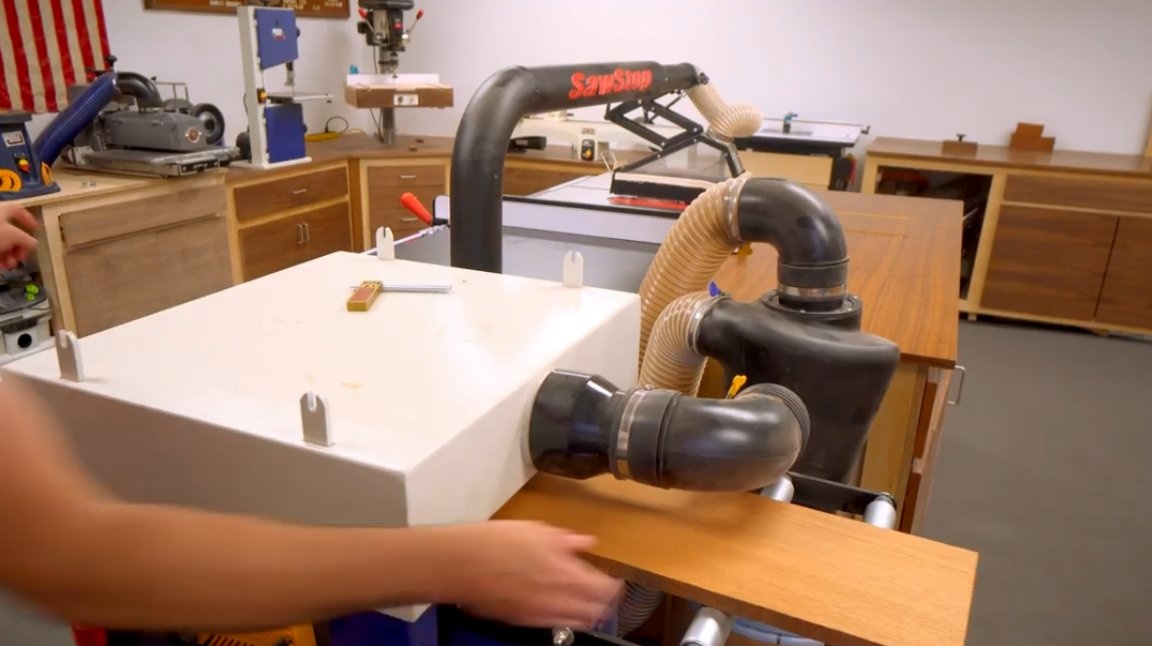
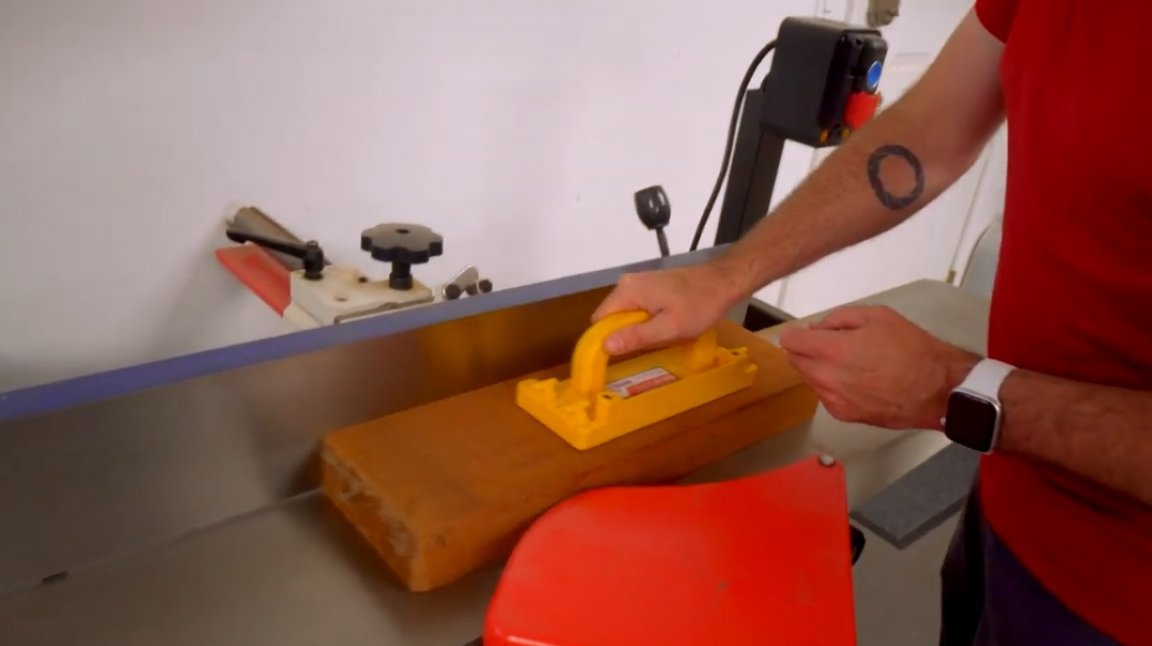
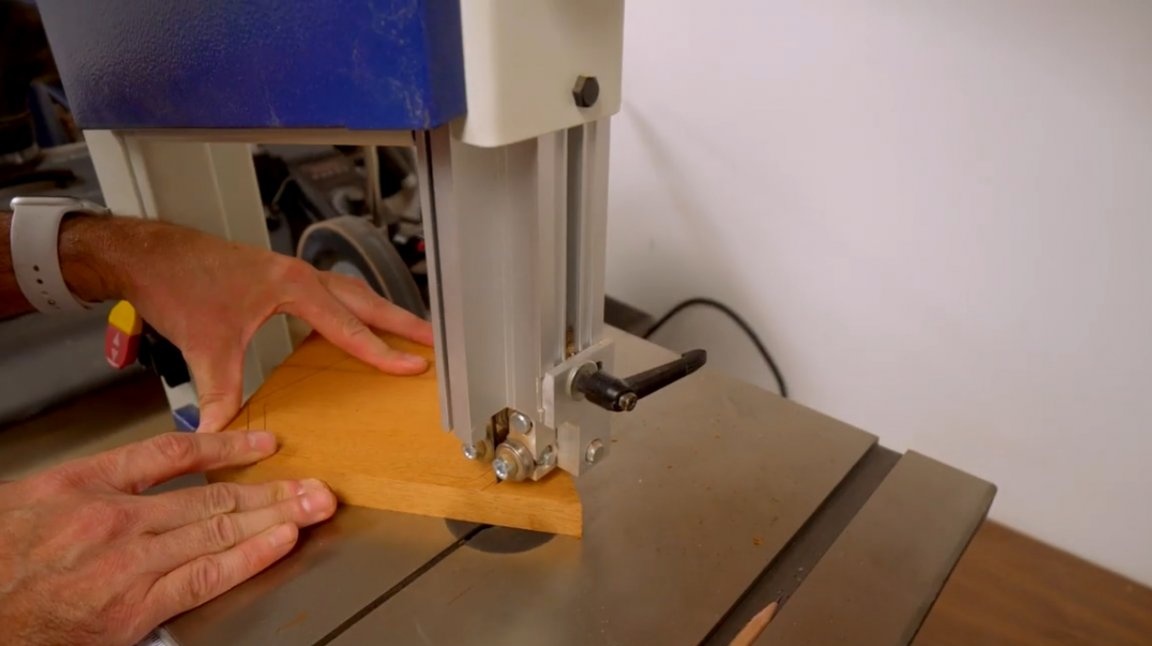
David spreads along this board, on a band saw and aligns on a surface gage. The width of this board is 18 centimeters.

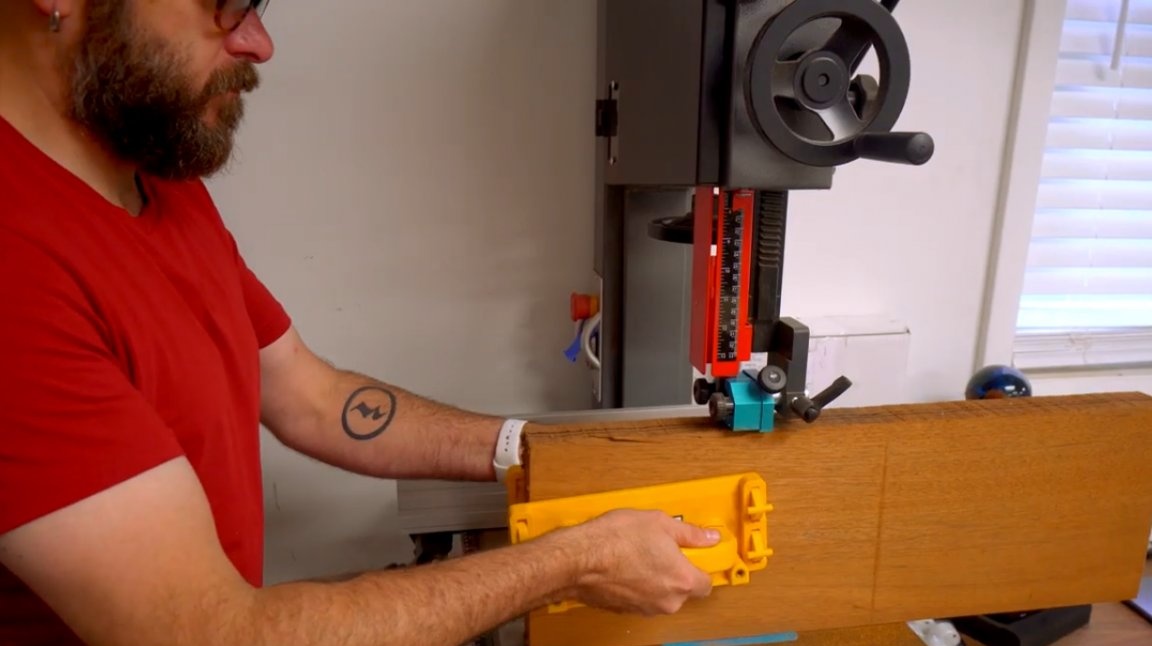
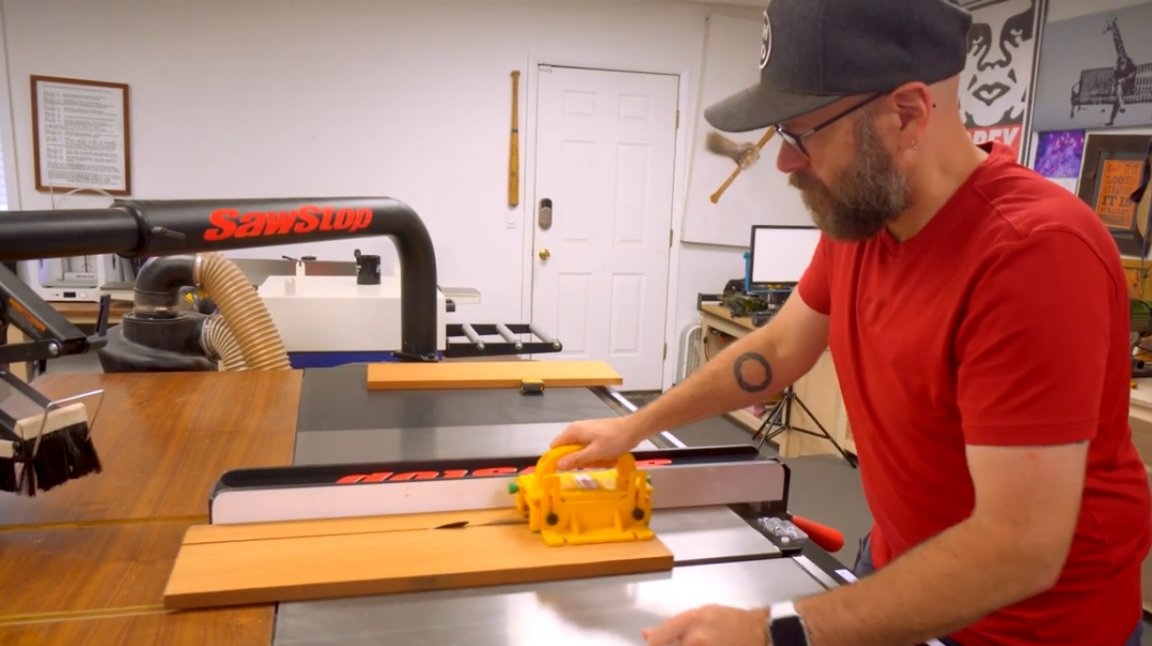
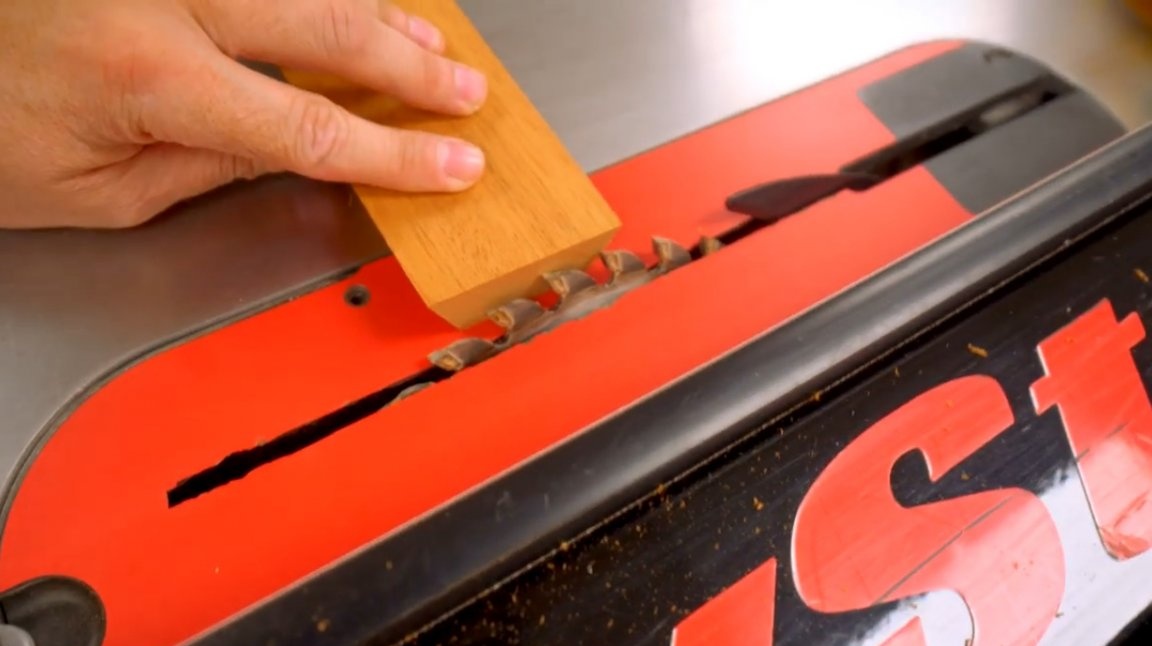
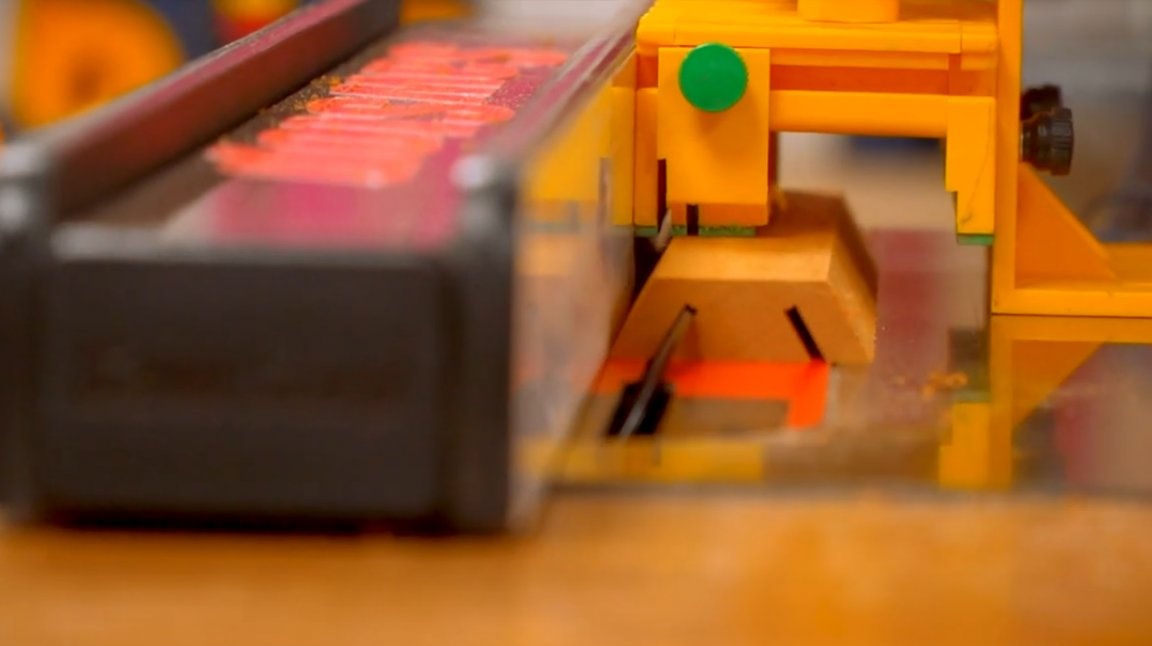
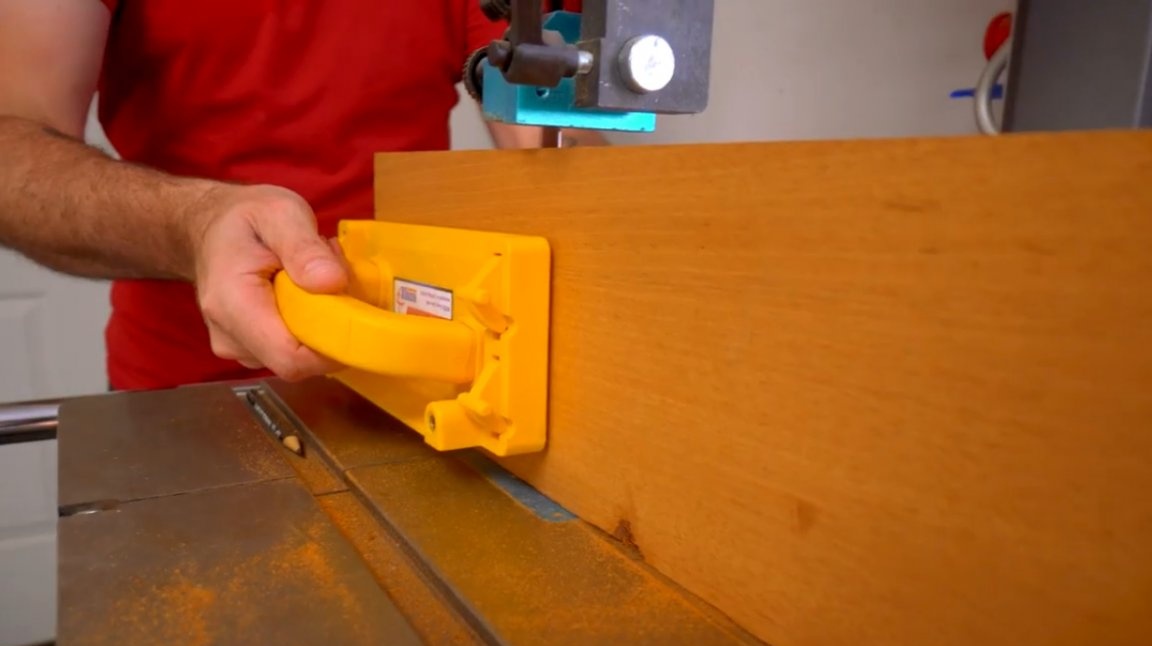
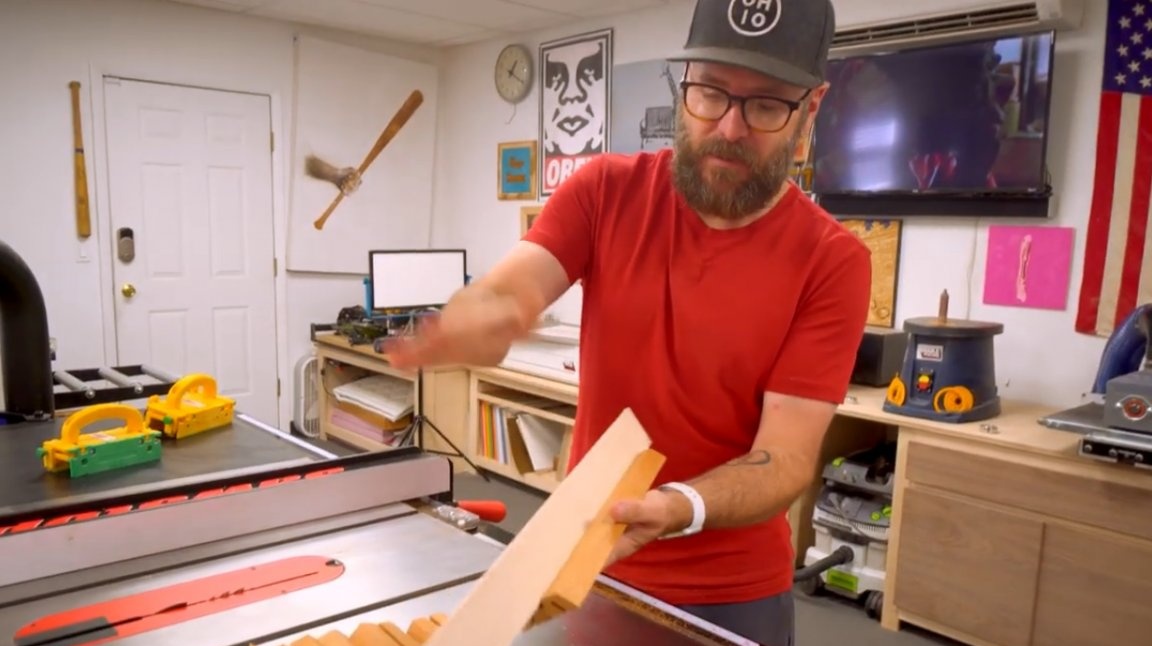
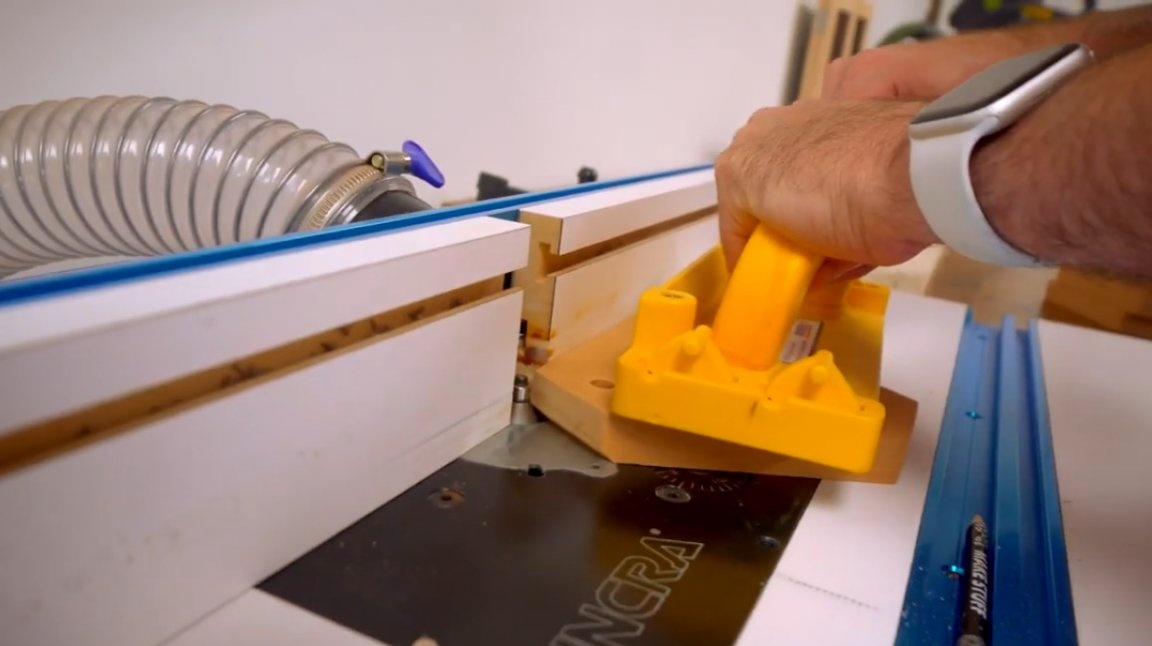
He set the circular saw blade at an angle of 60 degrees, moved forward and moved the limiter five centimeters from the blade - so a bunch of strips would be cut.

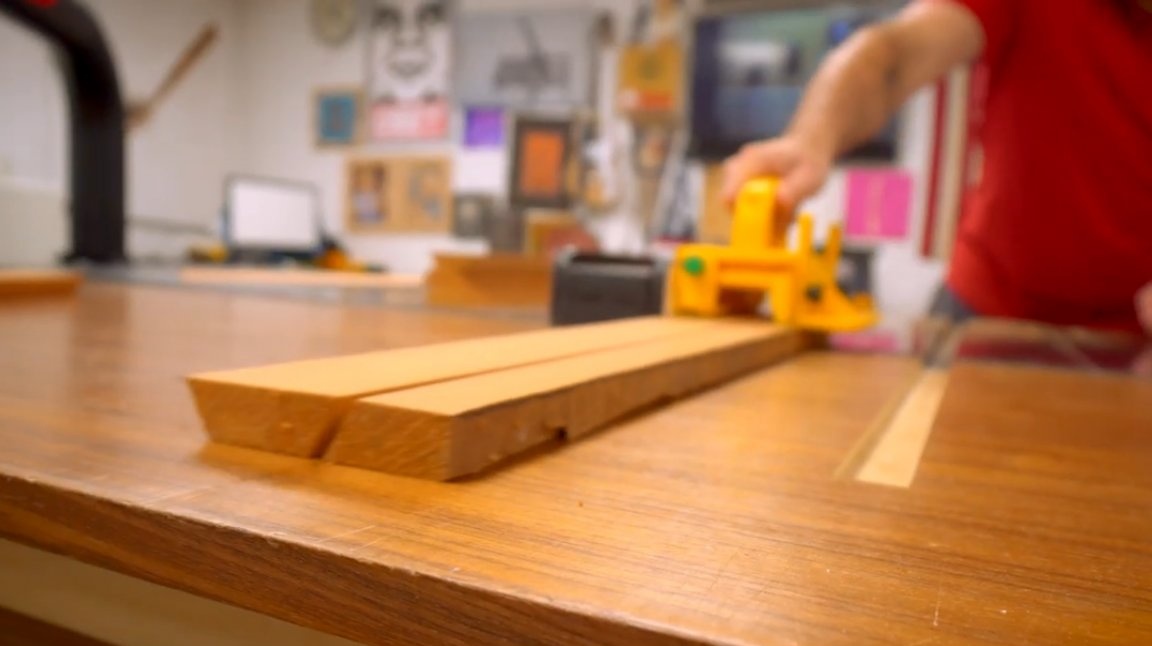
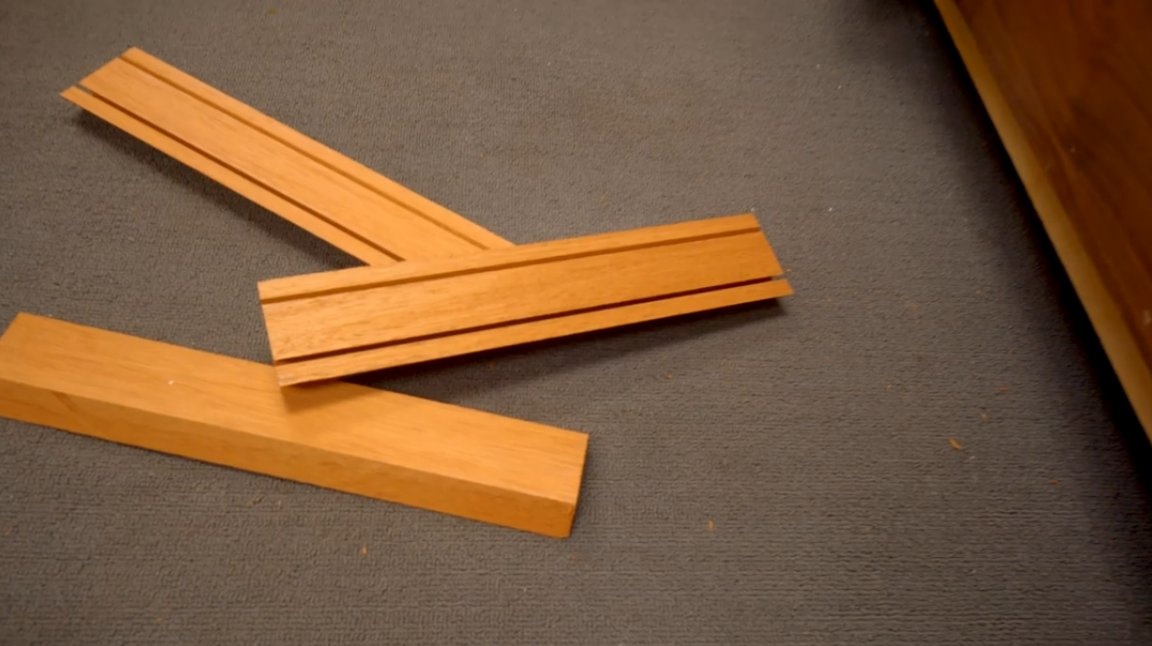
The saw blade is still at the same angle. He needs to make cuts here and here. In this groove pieces of glass will hold. Then he put the saw blade a little more than half the thickness of the workpiece. Rearranged the limiter so that it was a centimeter from the blade.

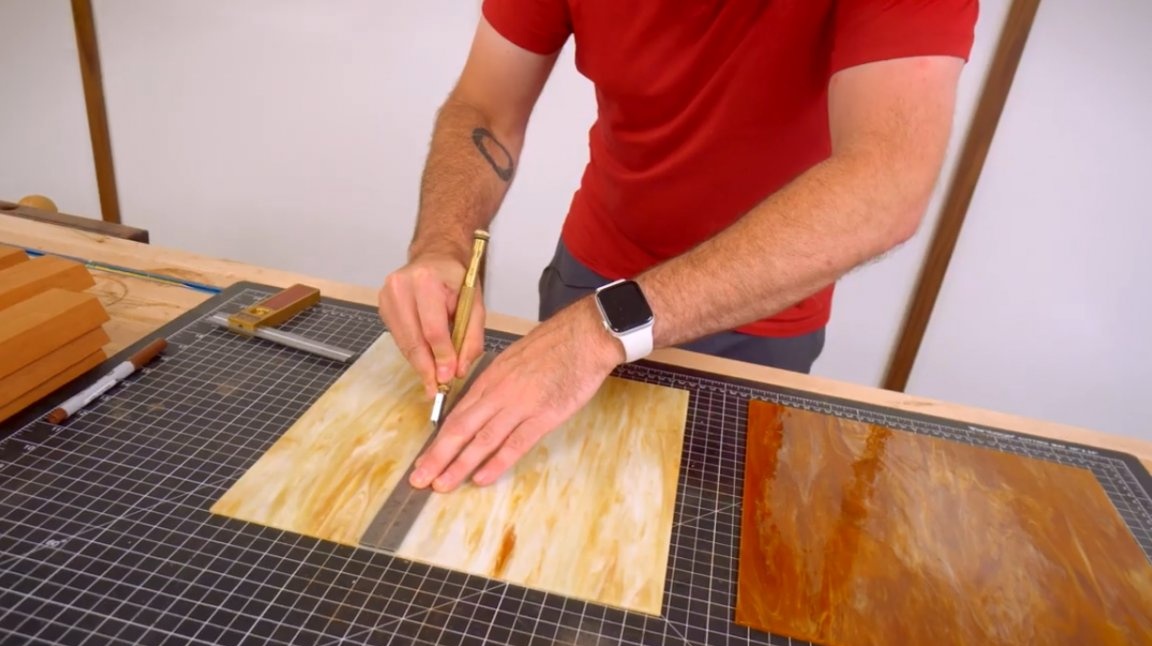
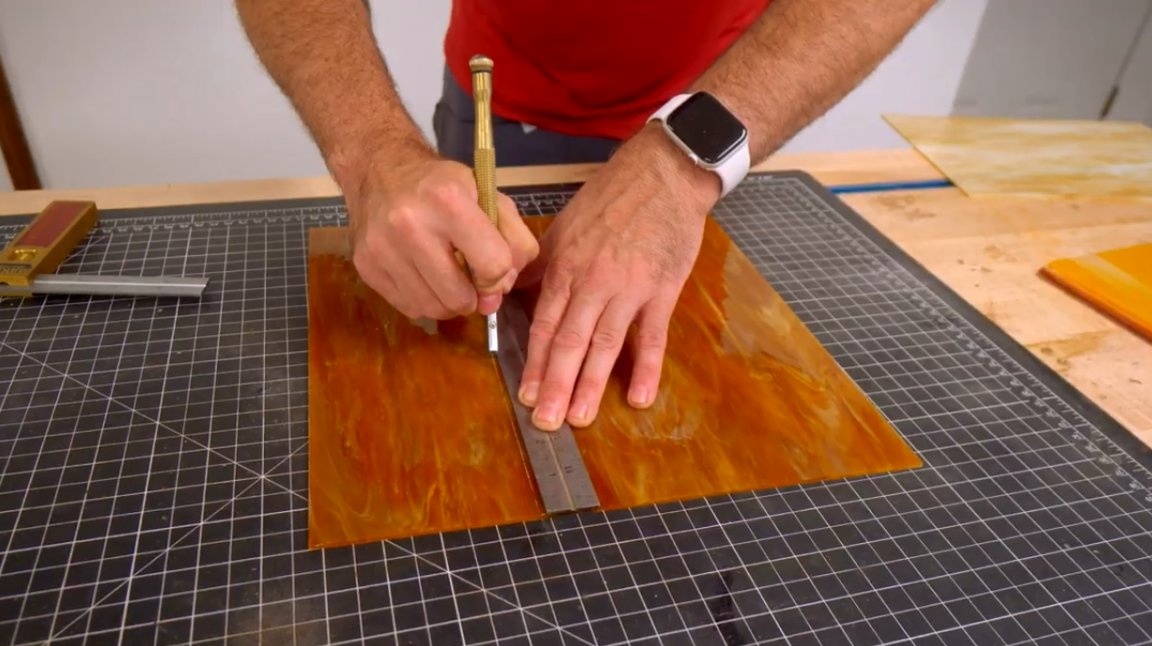
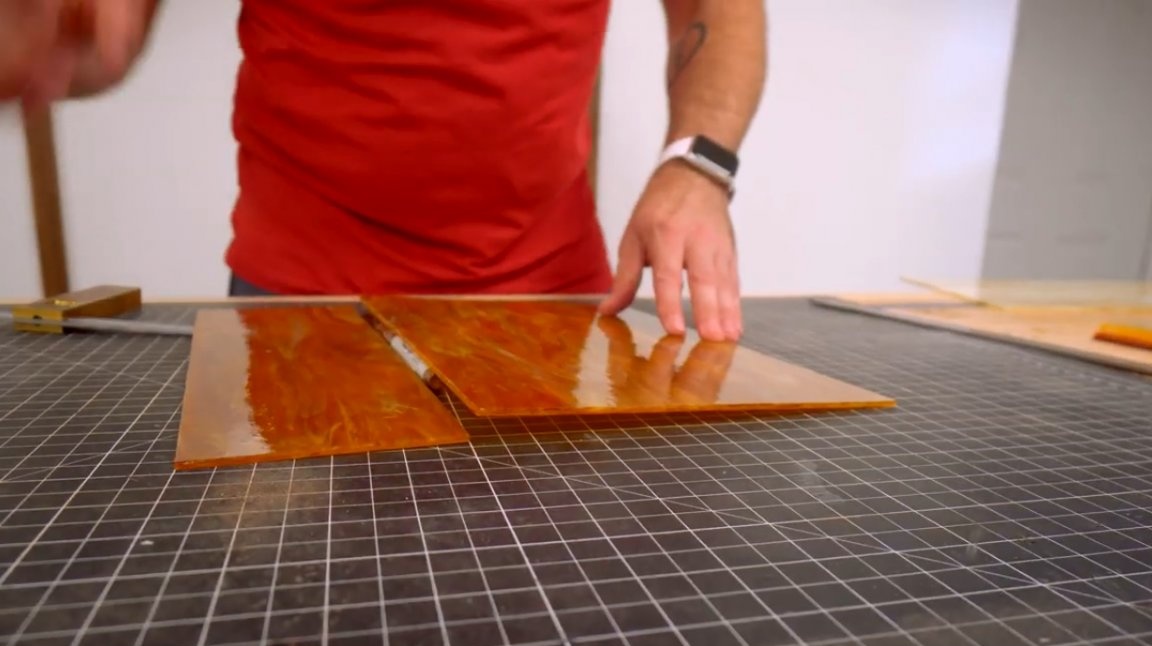
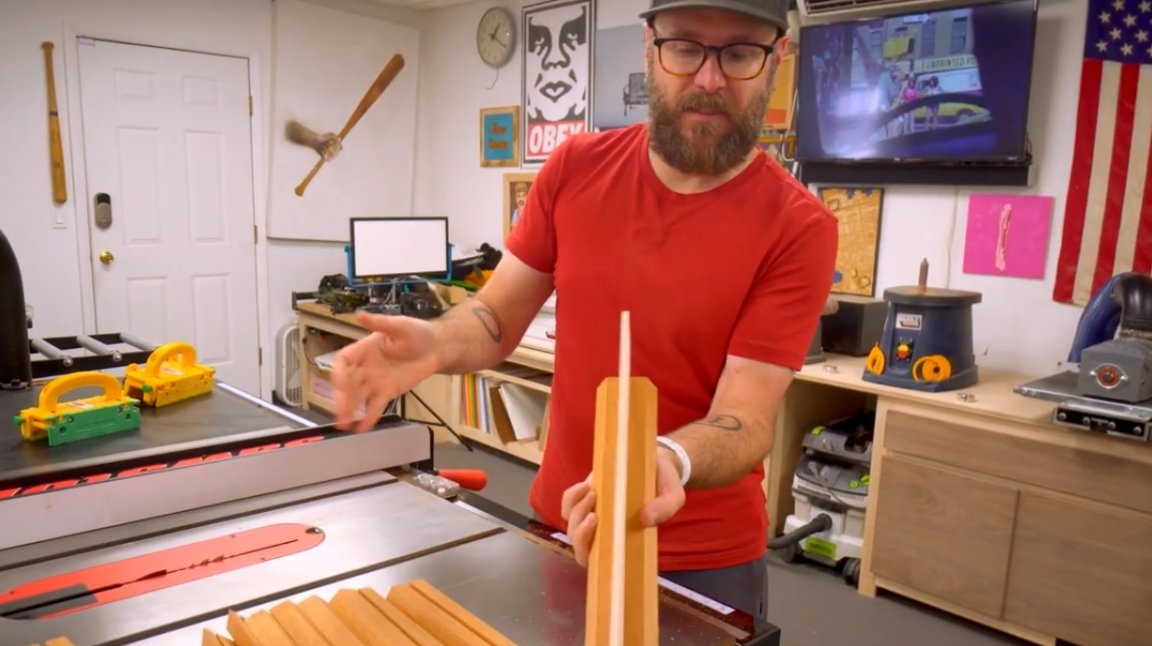
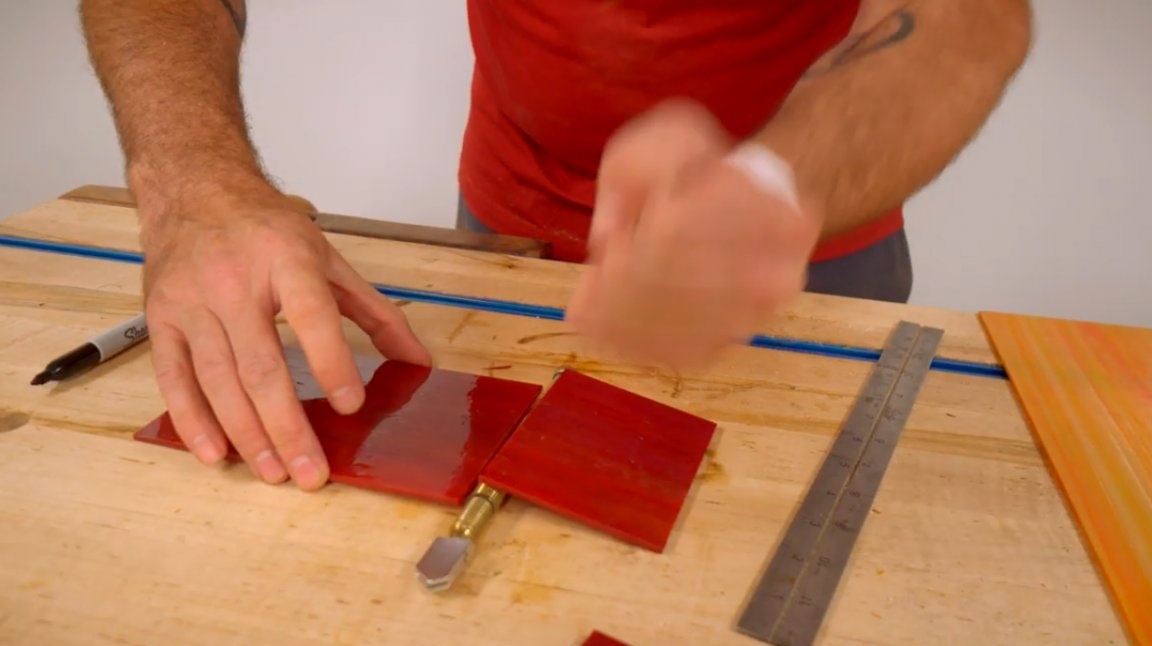
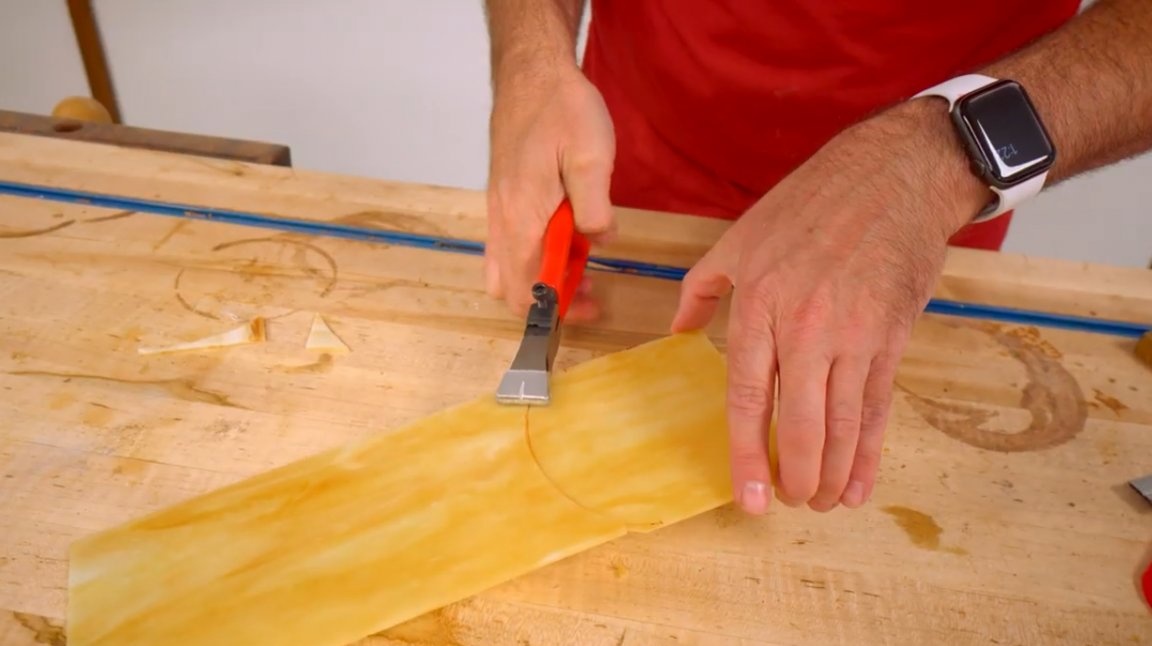
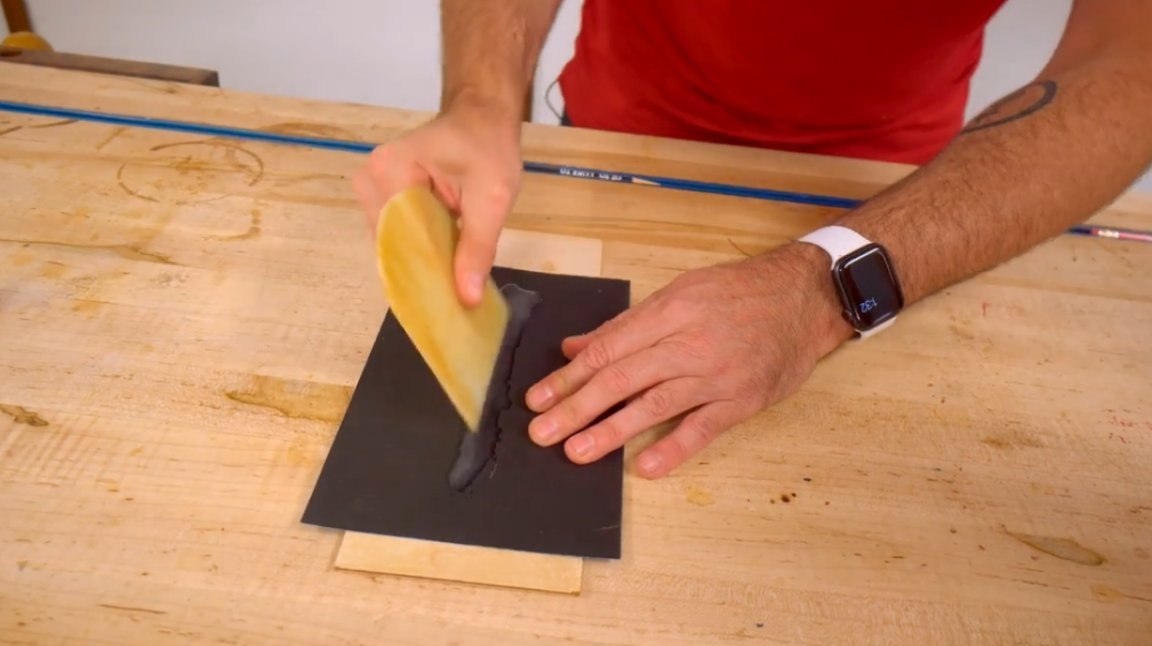
Now the author is going to cut stained glass. He has one, and he uses a glass cutter. It splits the strips just by placing glass under them.
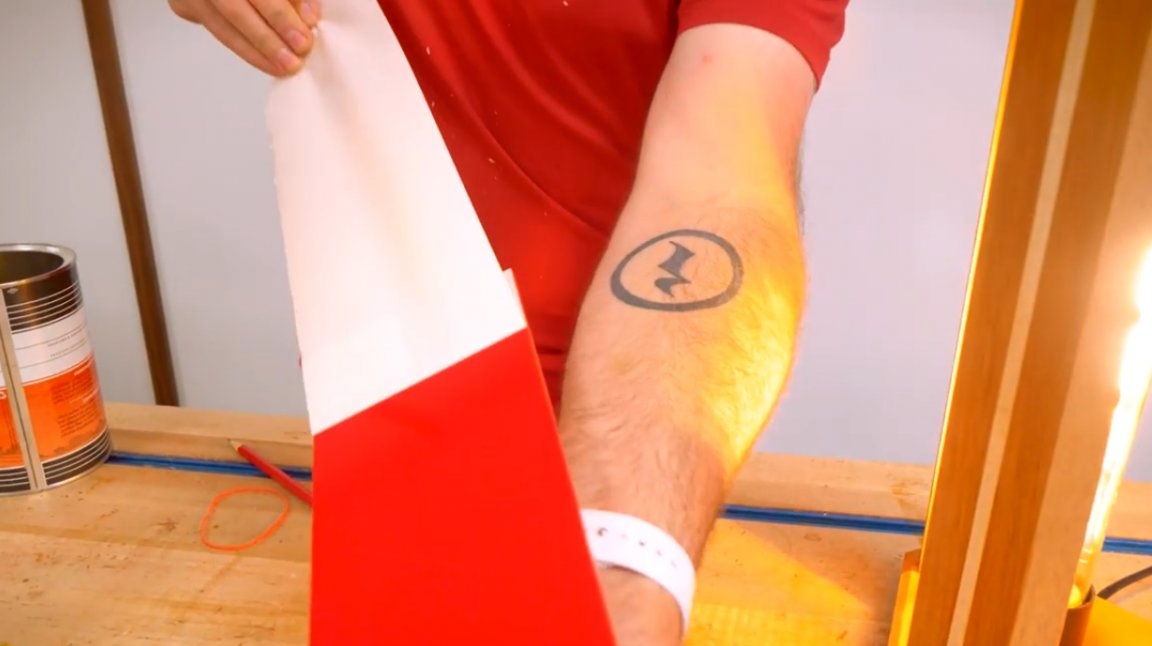
You can also use acrylic - acrylic is cut with a table saw. The sound of cutting is indescribable, such an interesting sound.
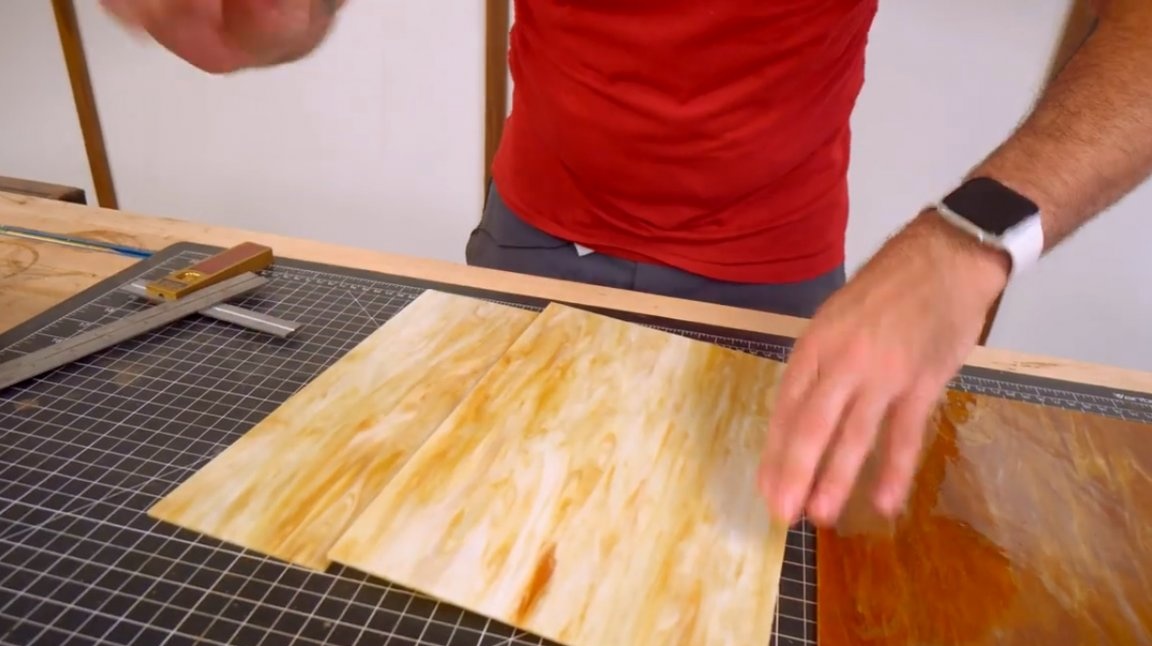
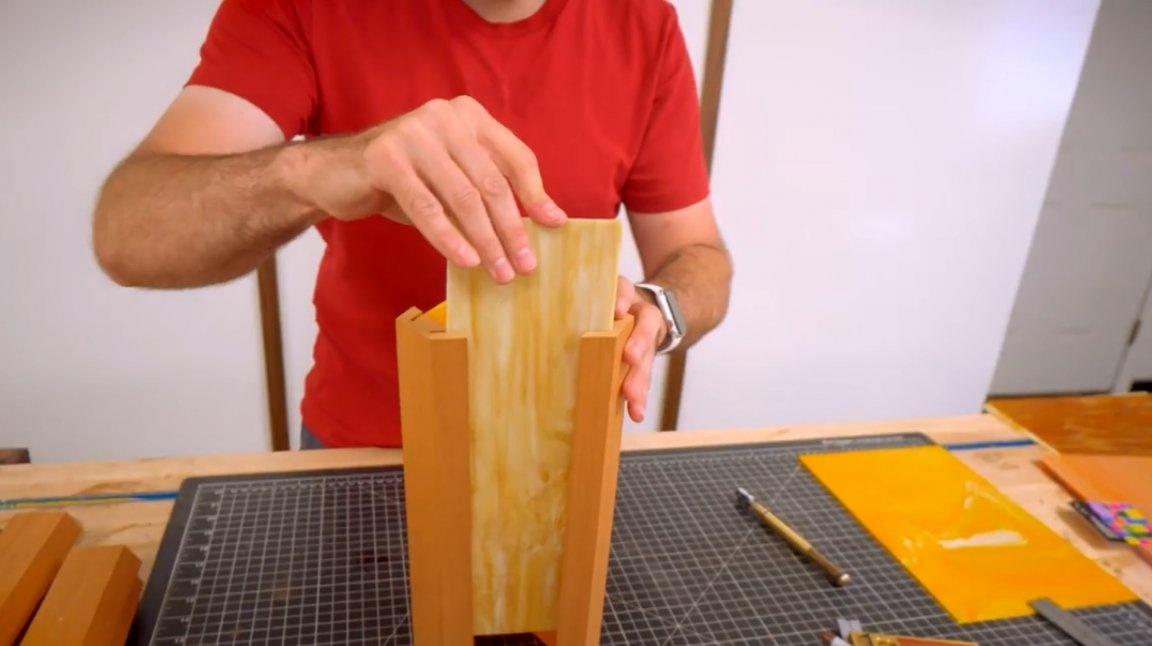
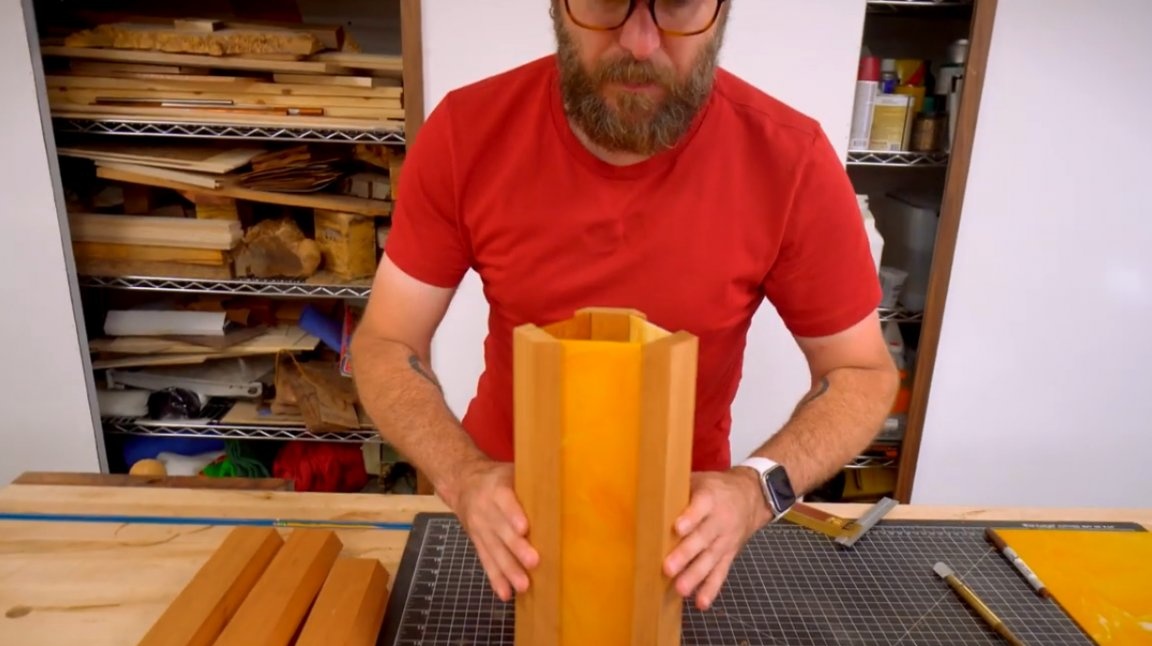
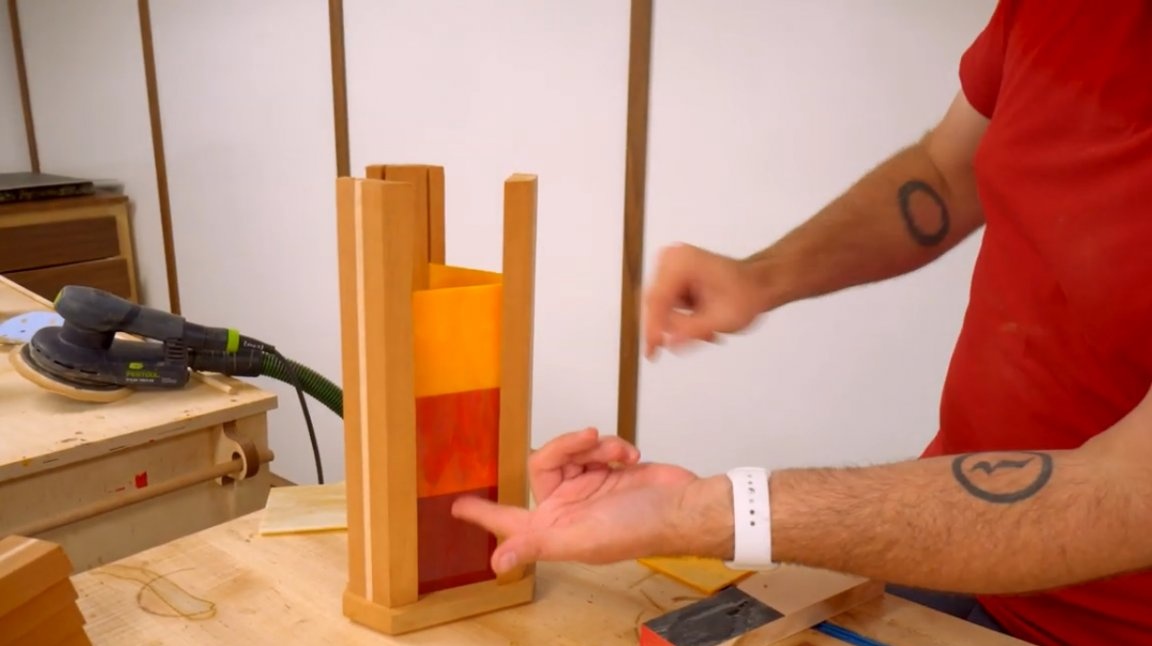
This is how the case with glass stripes will assemble.
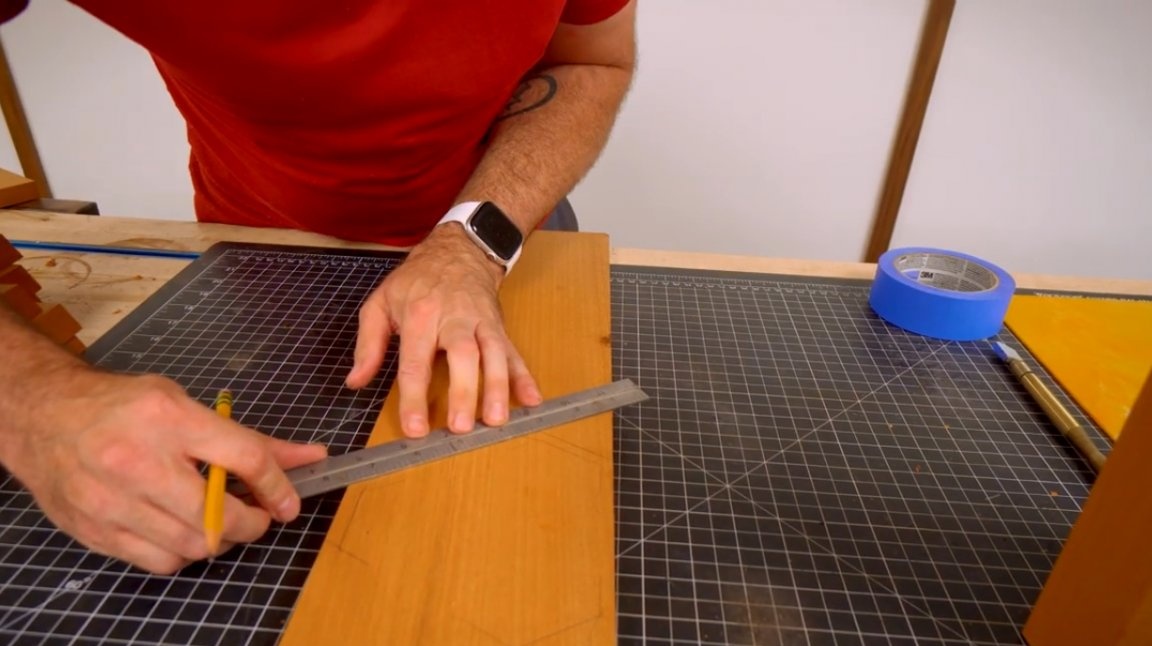
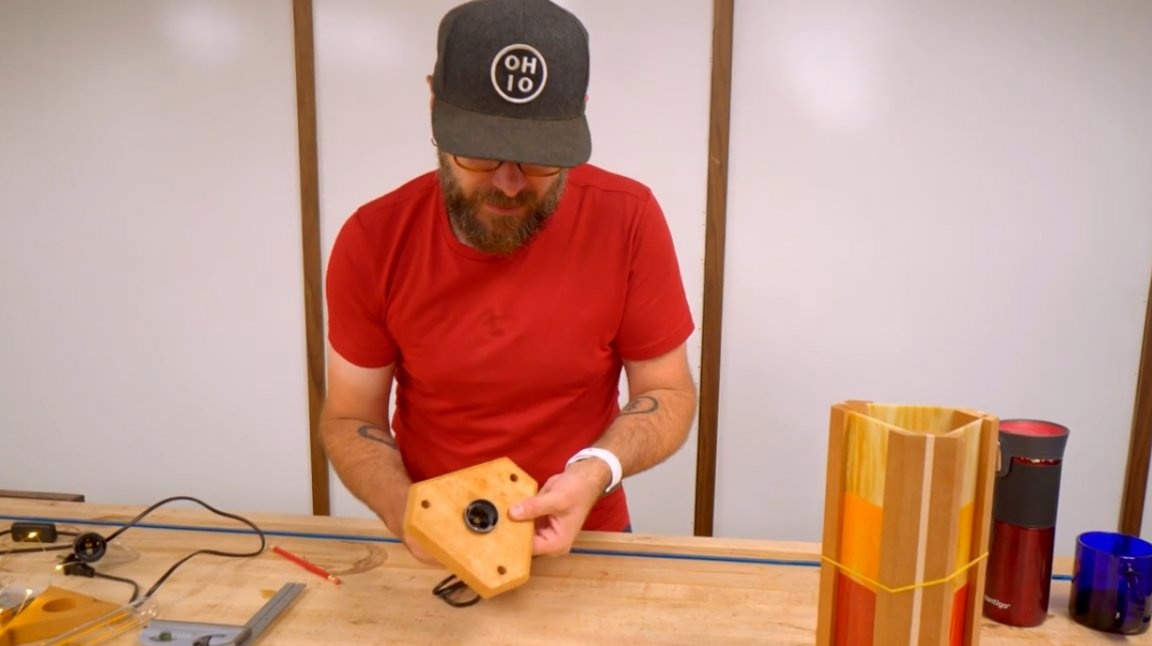
Now it's time to make the bases for the fixtures. She takes another chic, beautiful piece of mahogany from the closet.

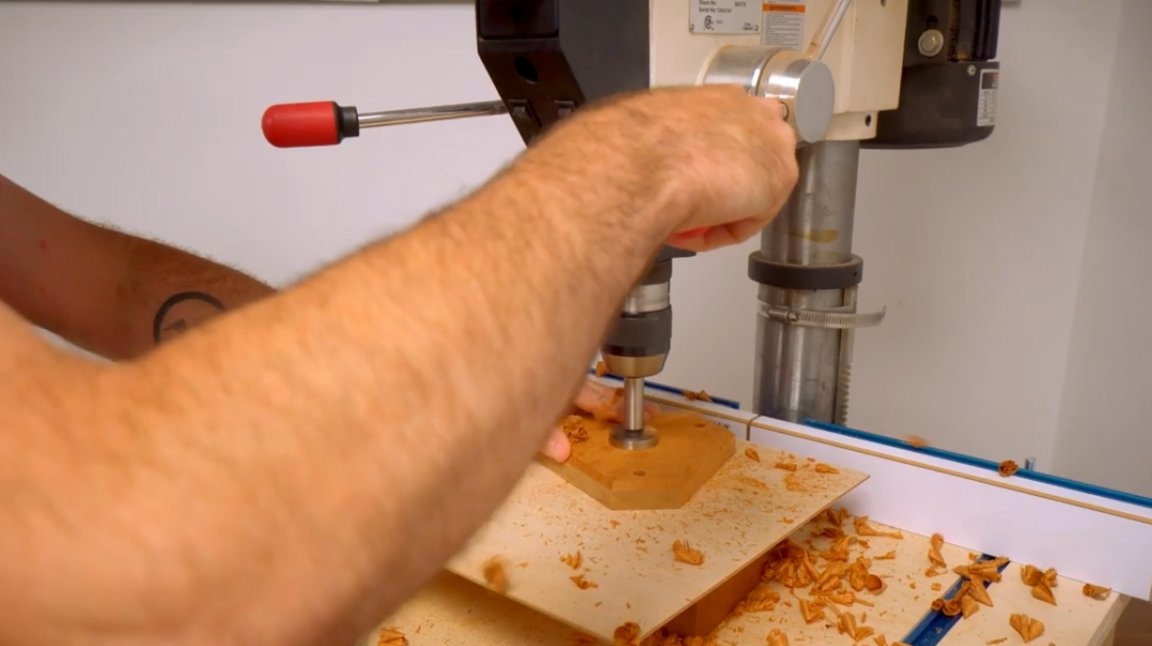
He makes centering, then draws three angles. At the corners you need to add about a quarter of an inch.
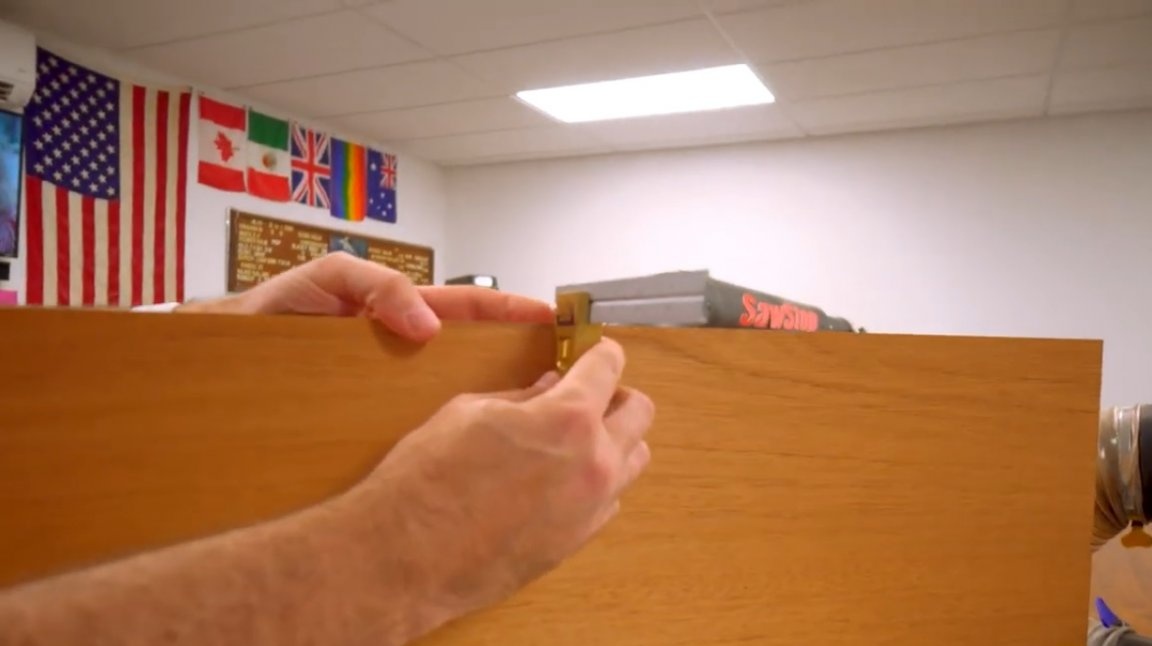
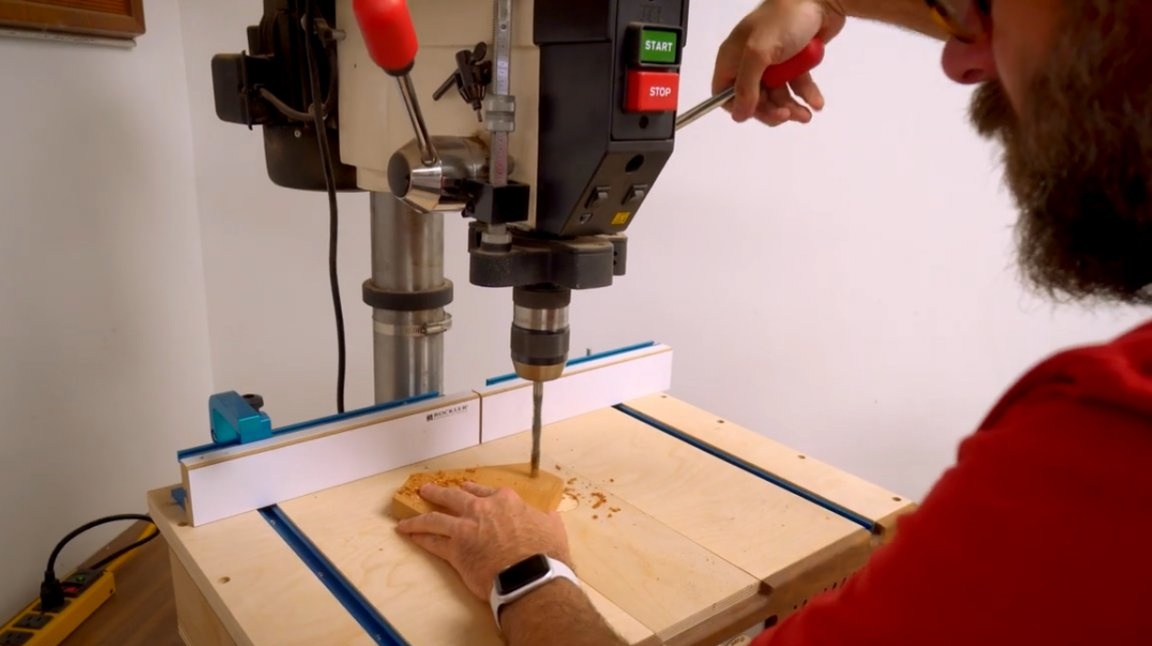
The base will be installed like this, and will be attached with dowels, the holes for which are drilled from the bottom to the end - this dowel will give good strength, and at the same time it will be legs.
The author did this on a drilling machine, but you can use a hand drill or a screwdriver.
First, drill this piece, glue it, and then these holes will direct the drill to drill everything before he will hammer it.
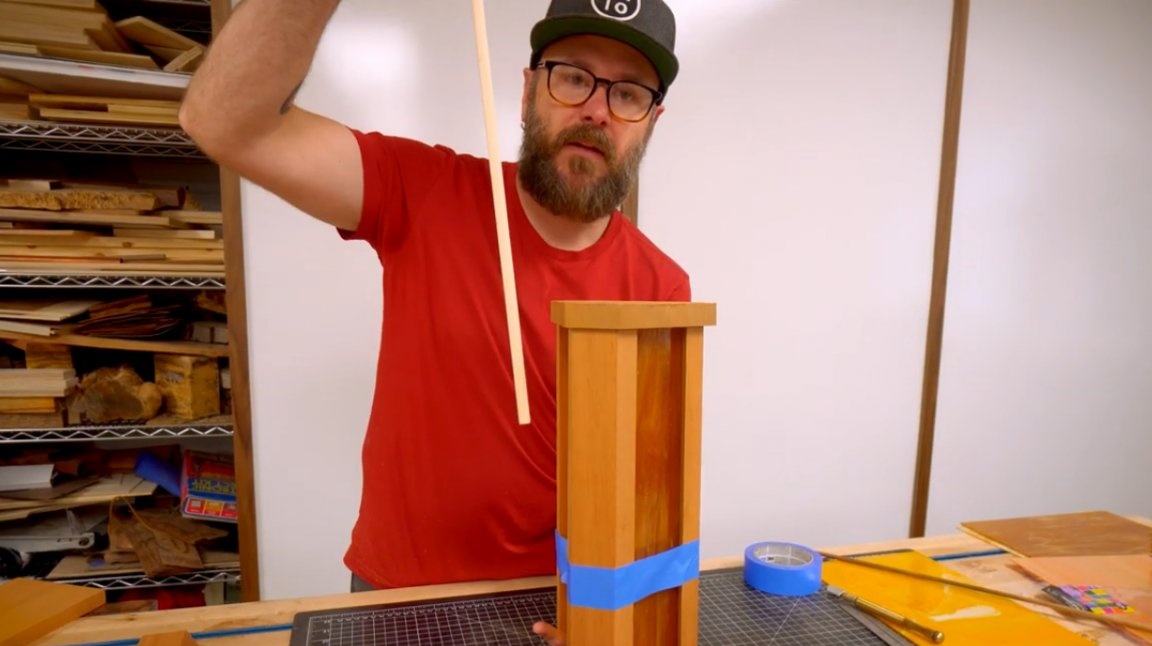
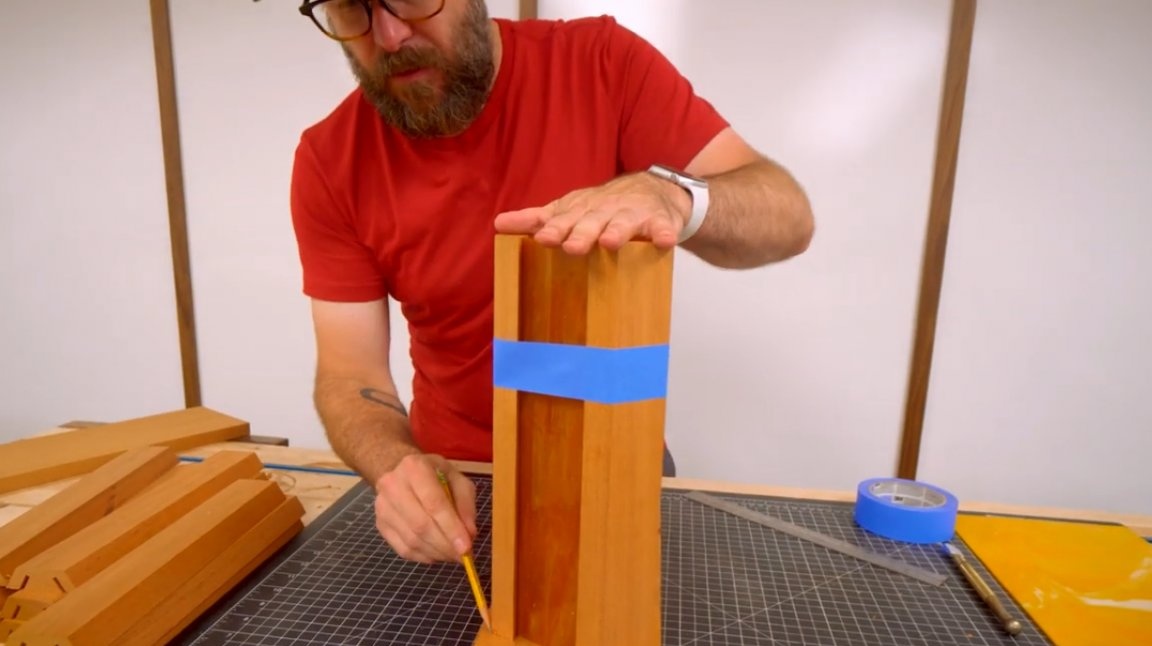
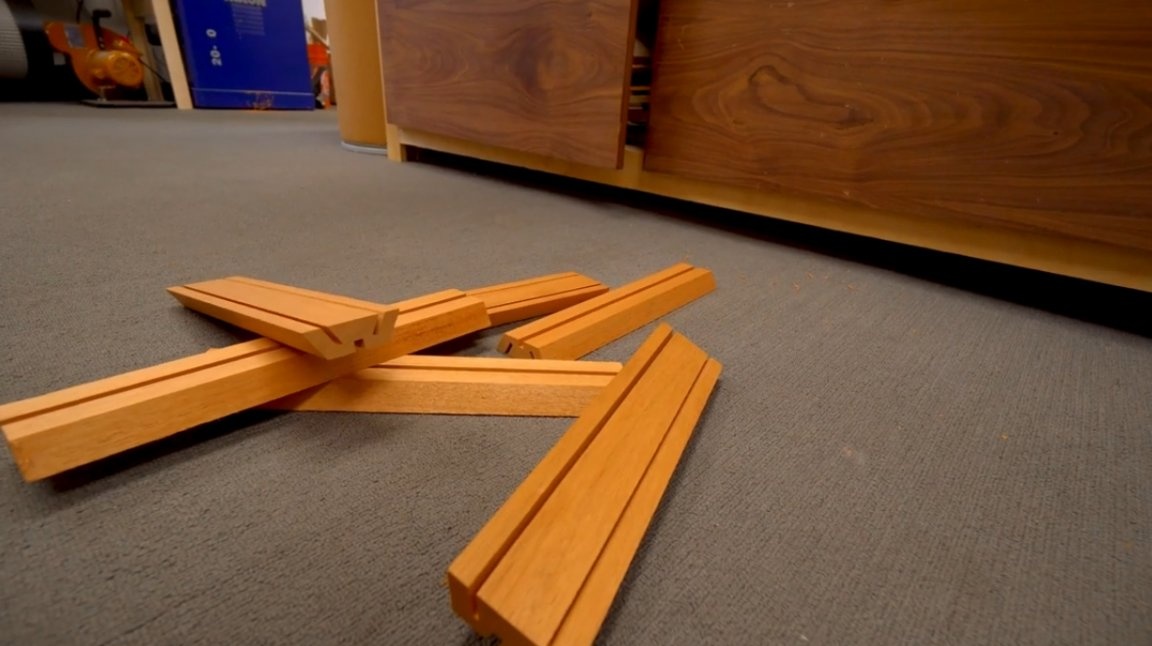
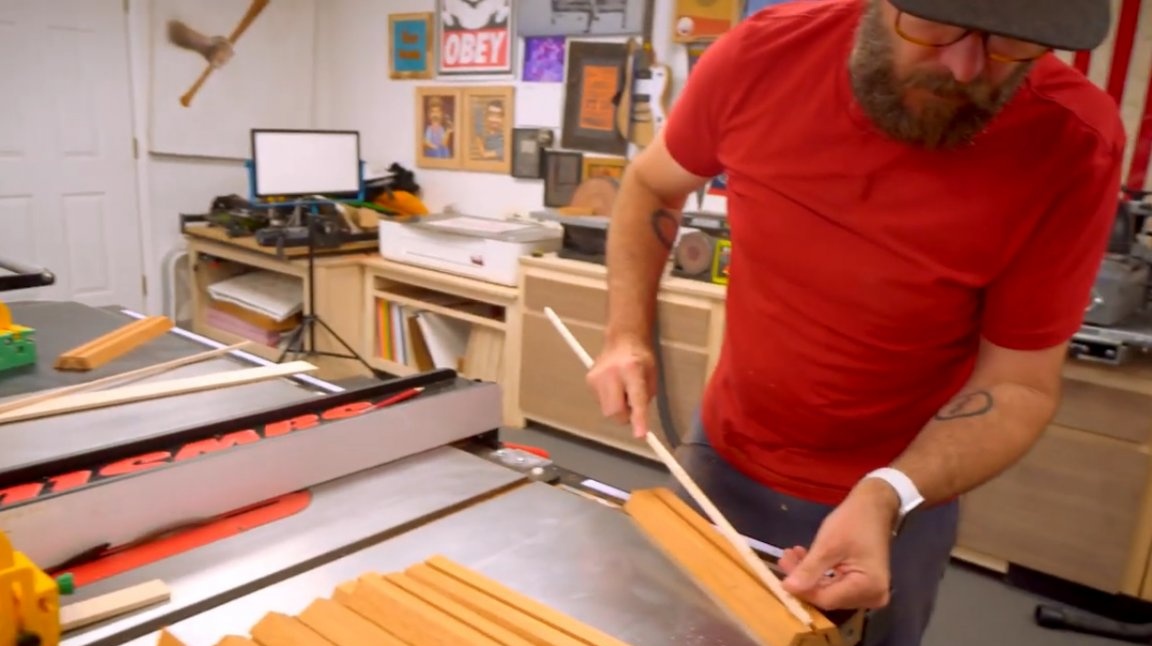
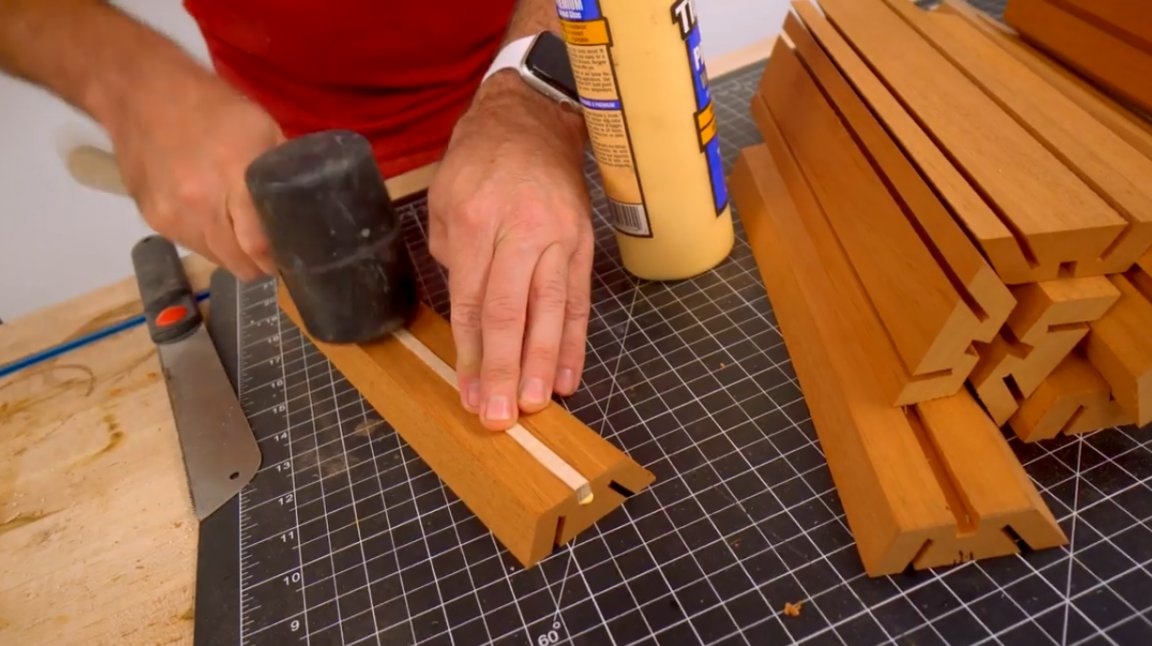
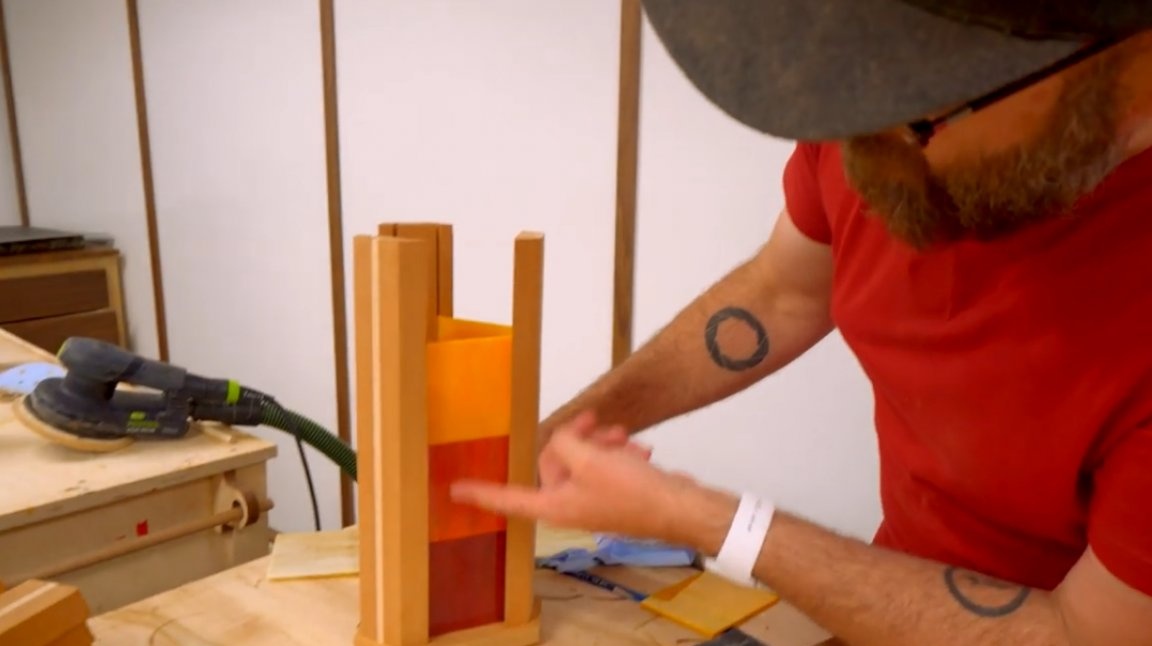
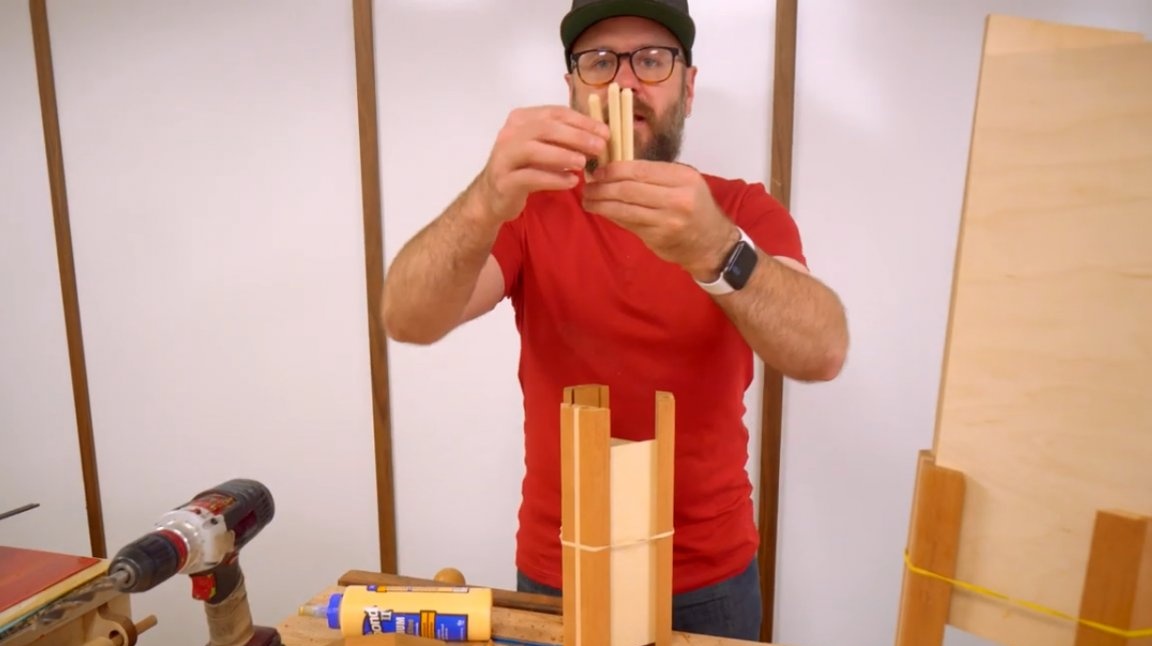
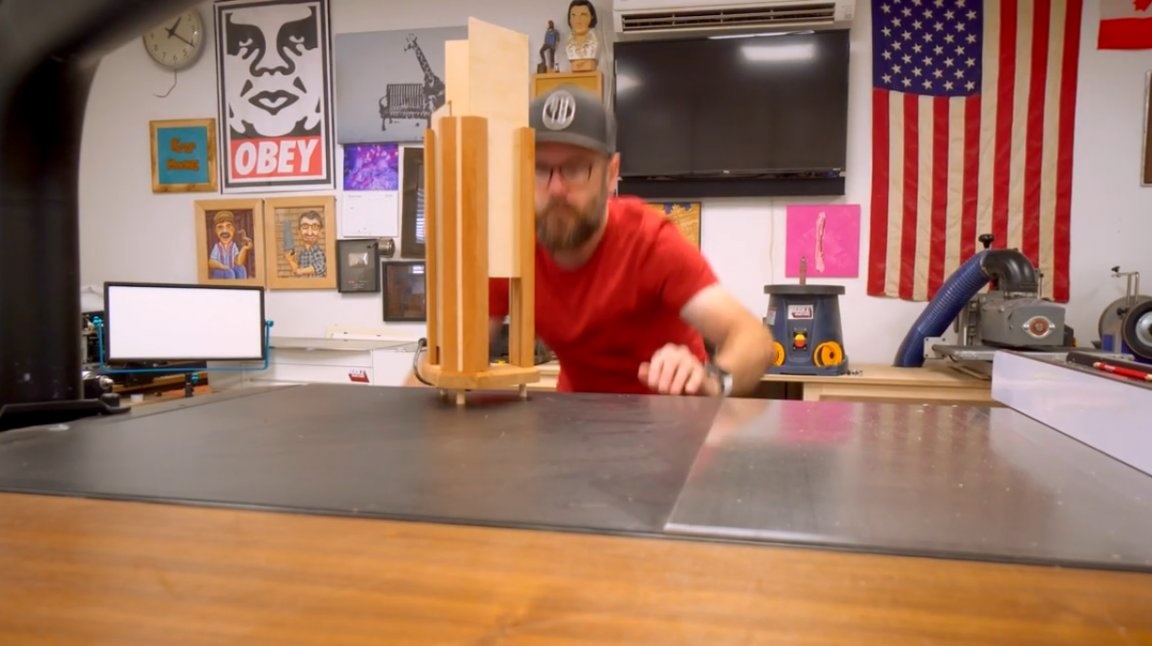
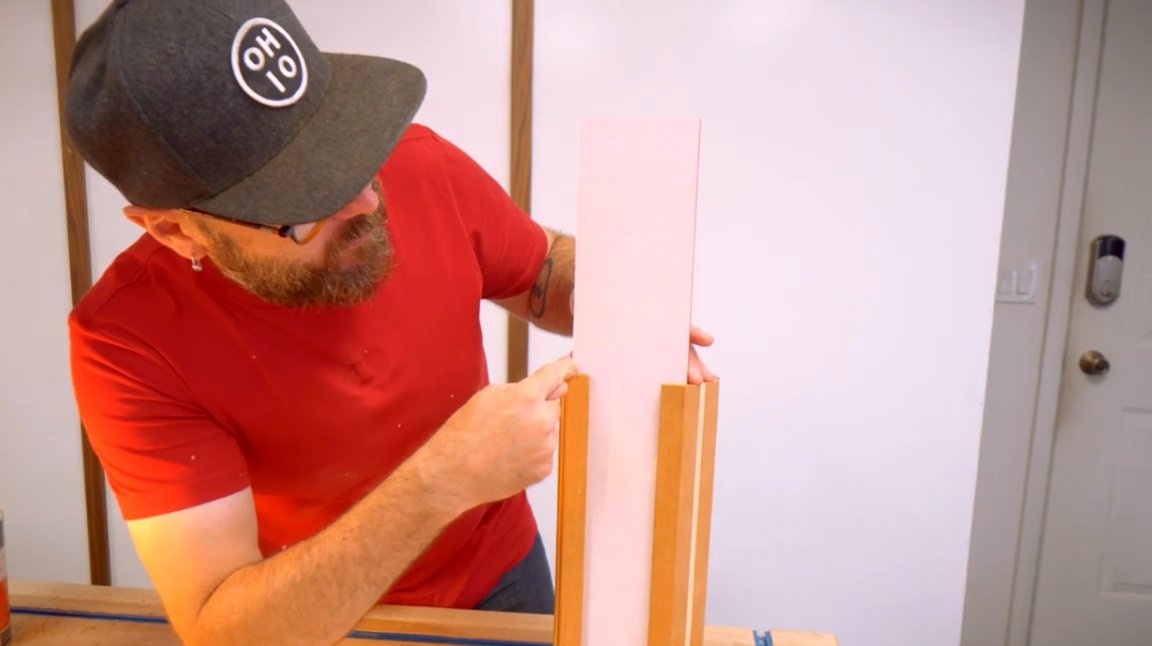
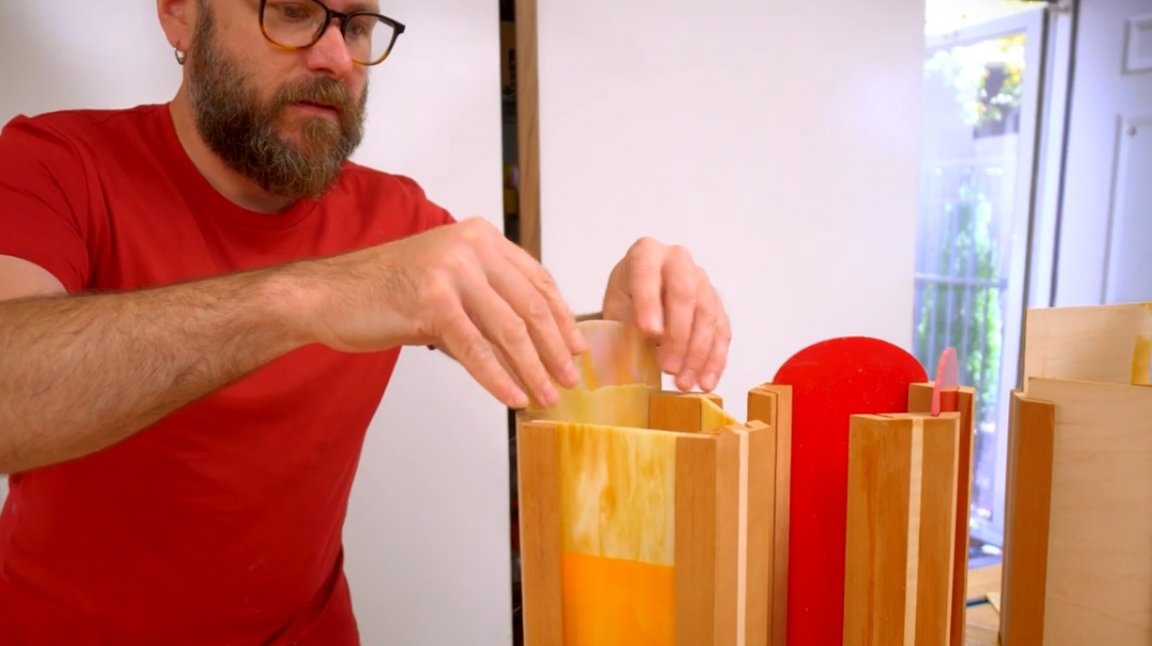
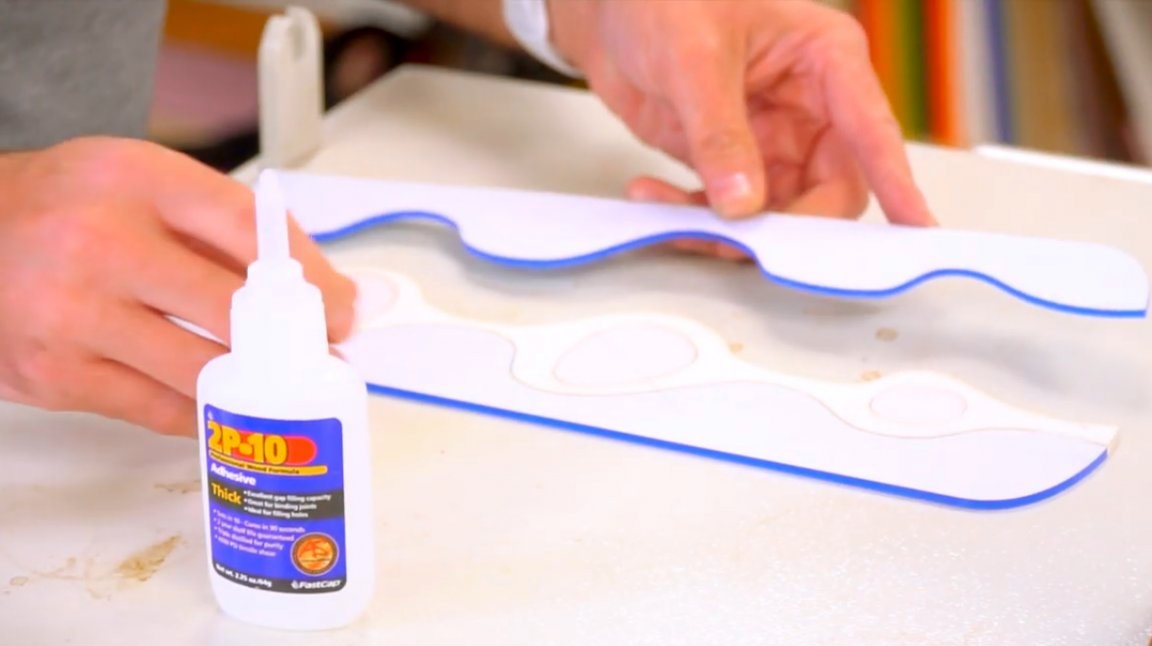
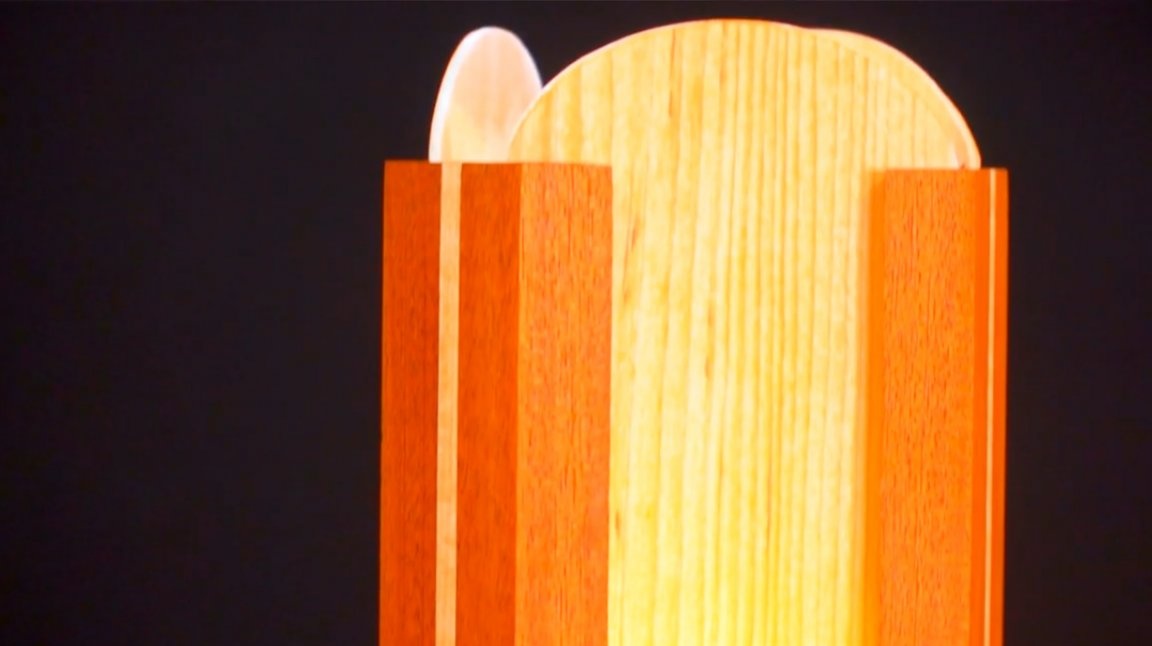
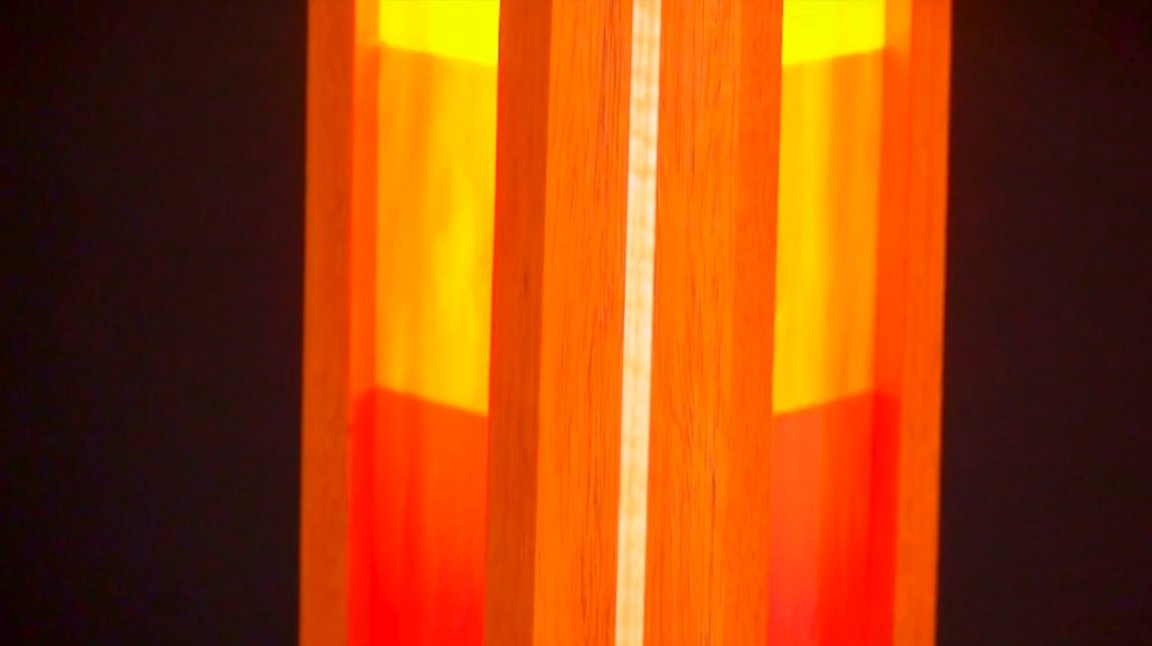
Already you can collect a whole bunch of lamps. Now it's time to add some jewelry. Cut grooves right in the middle of the side posts. It will hold a piece of contrasting wood.
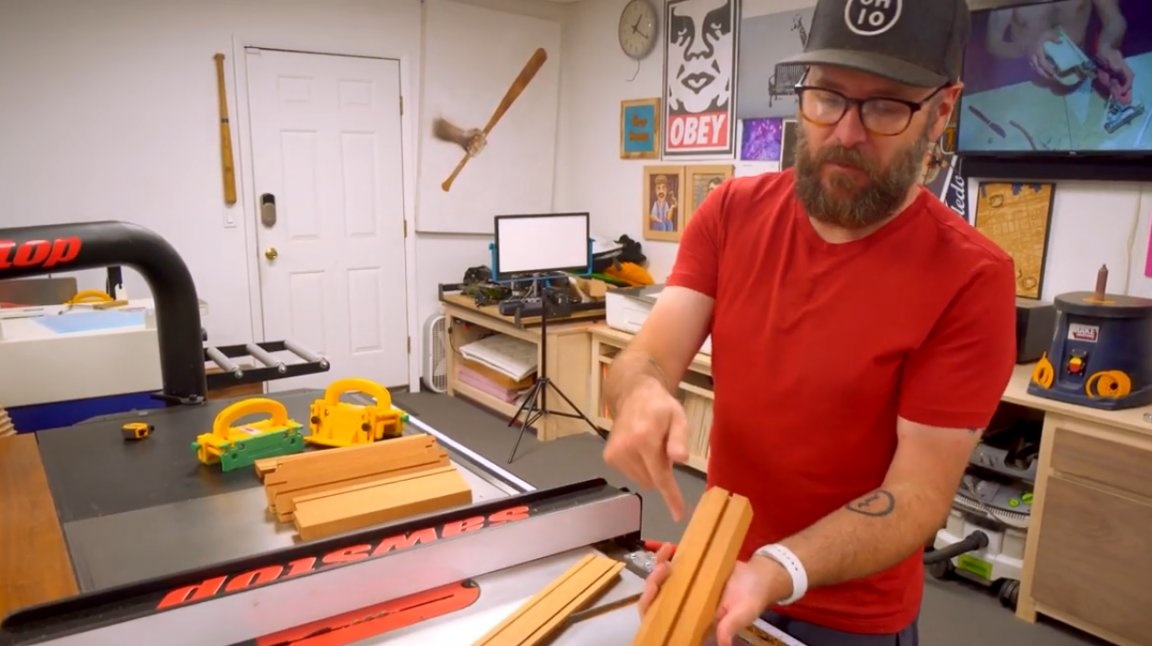

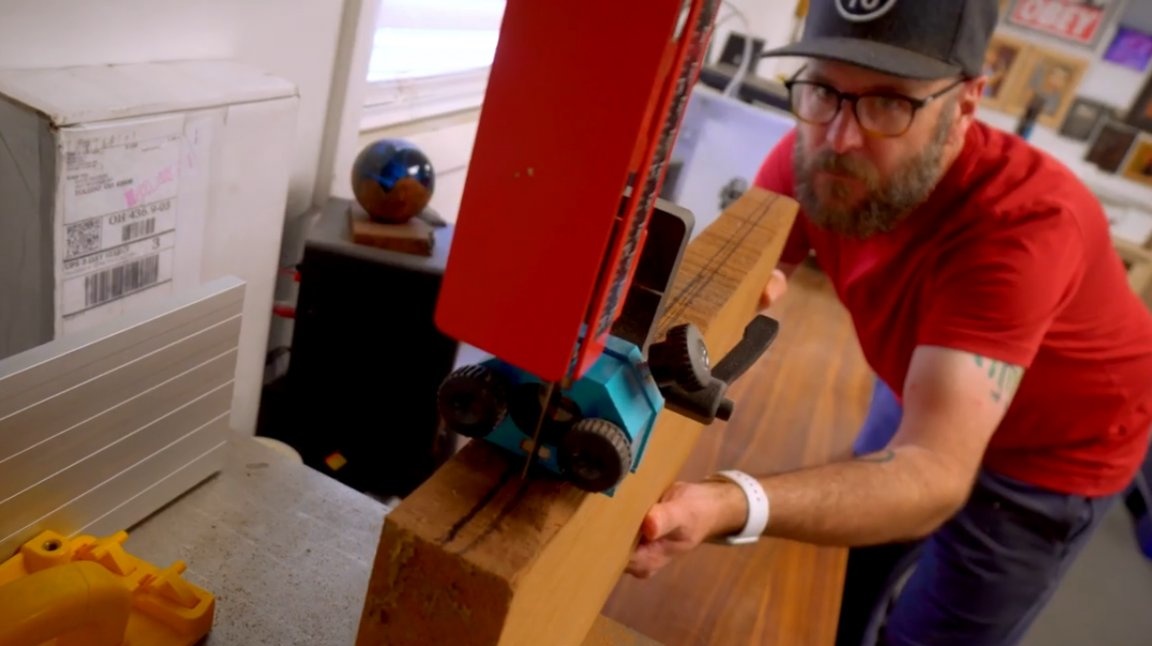
The master sawed a few maple planks on a band saw, and then adjusted them until he got the ideal thickness, which fit exactly into the groove.
So now it just cuts into small strips.

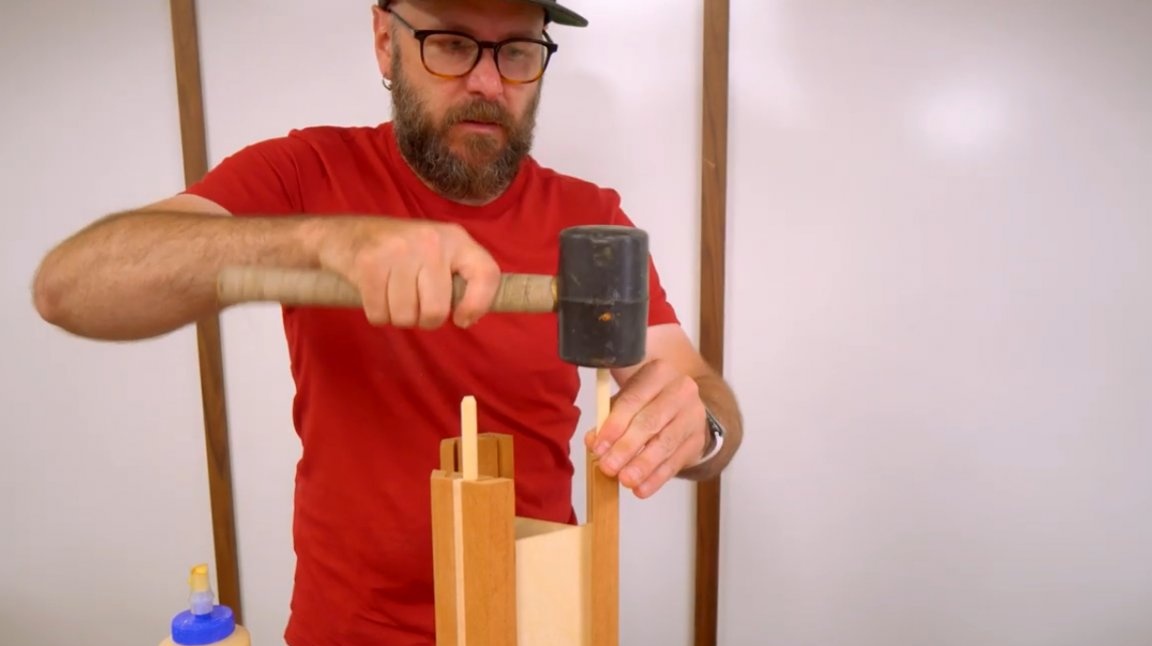
You can just leave this groove, which will also work as a decorative element.
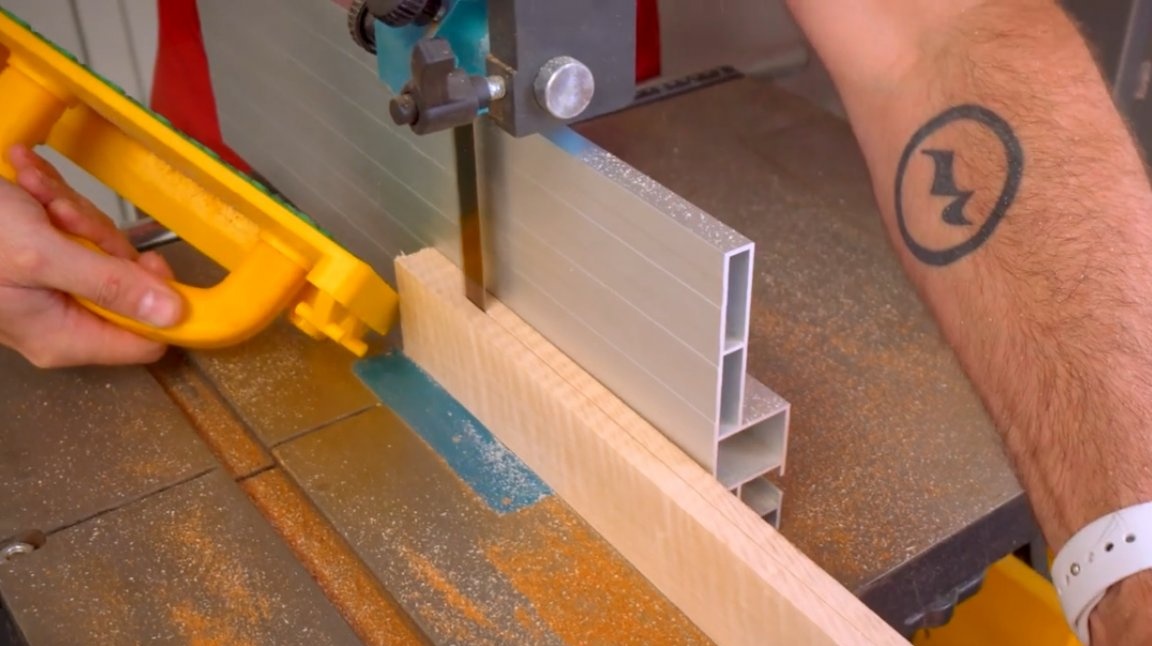
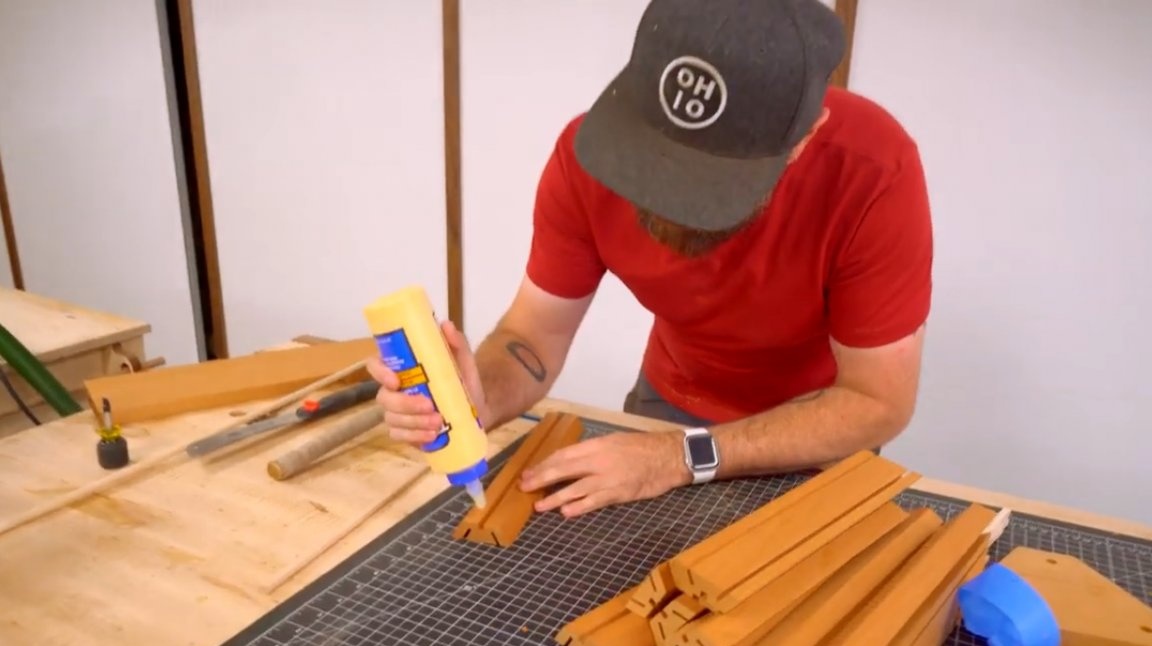
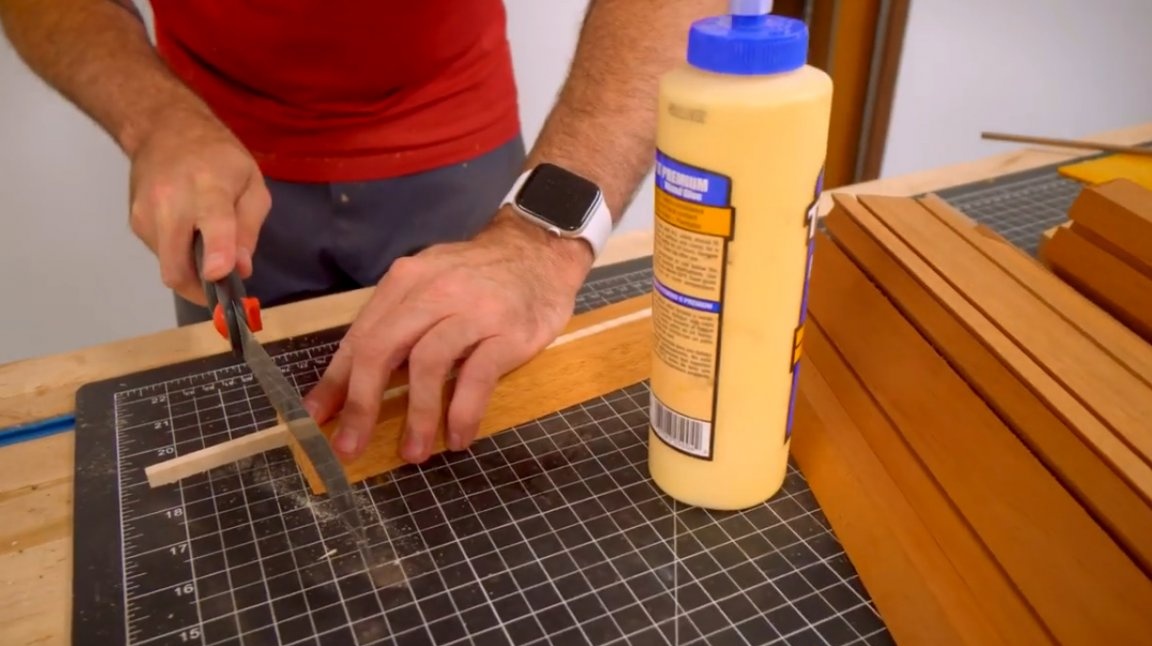
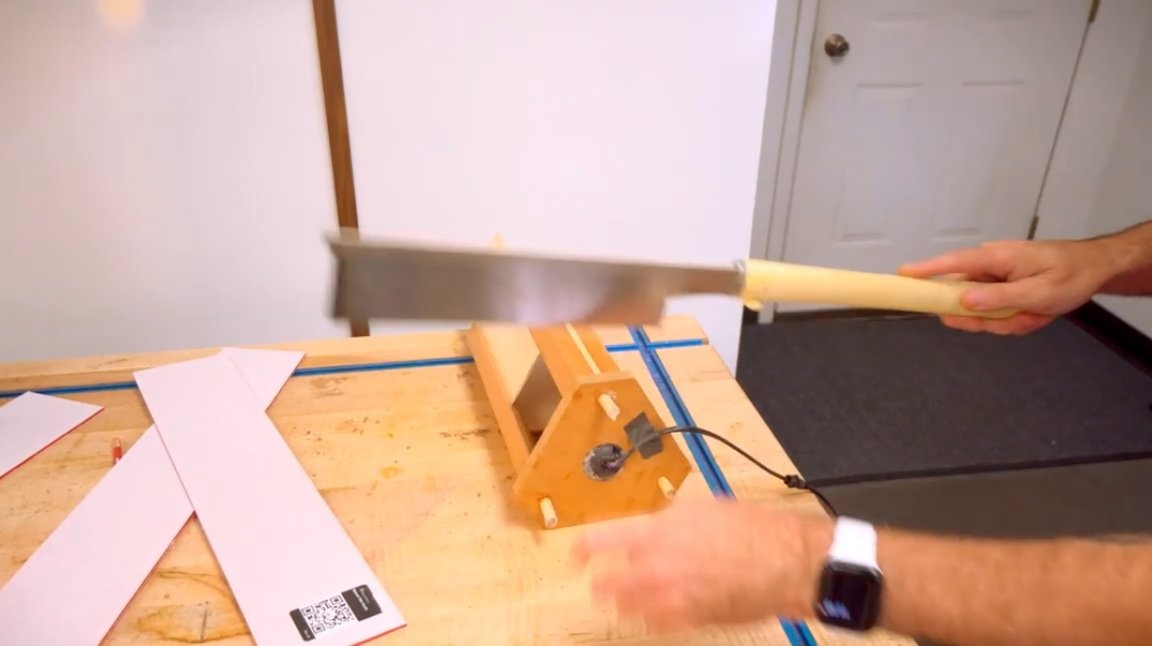
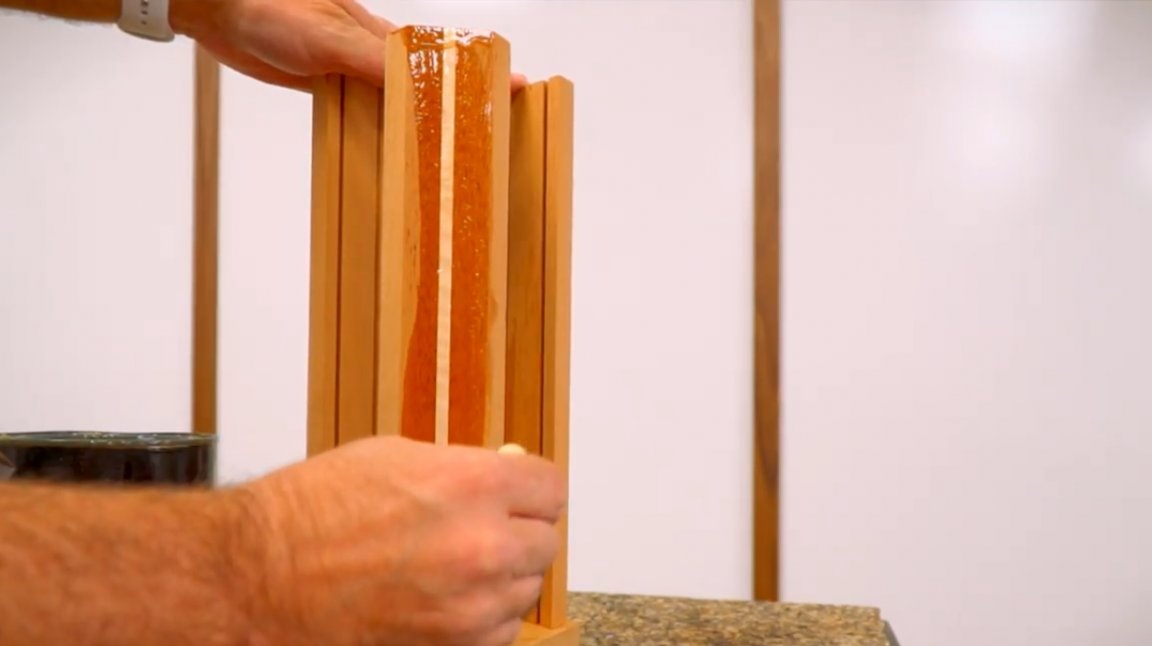
The planks are glued into the groove, excess material is cut with a Japanese saw.
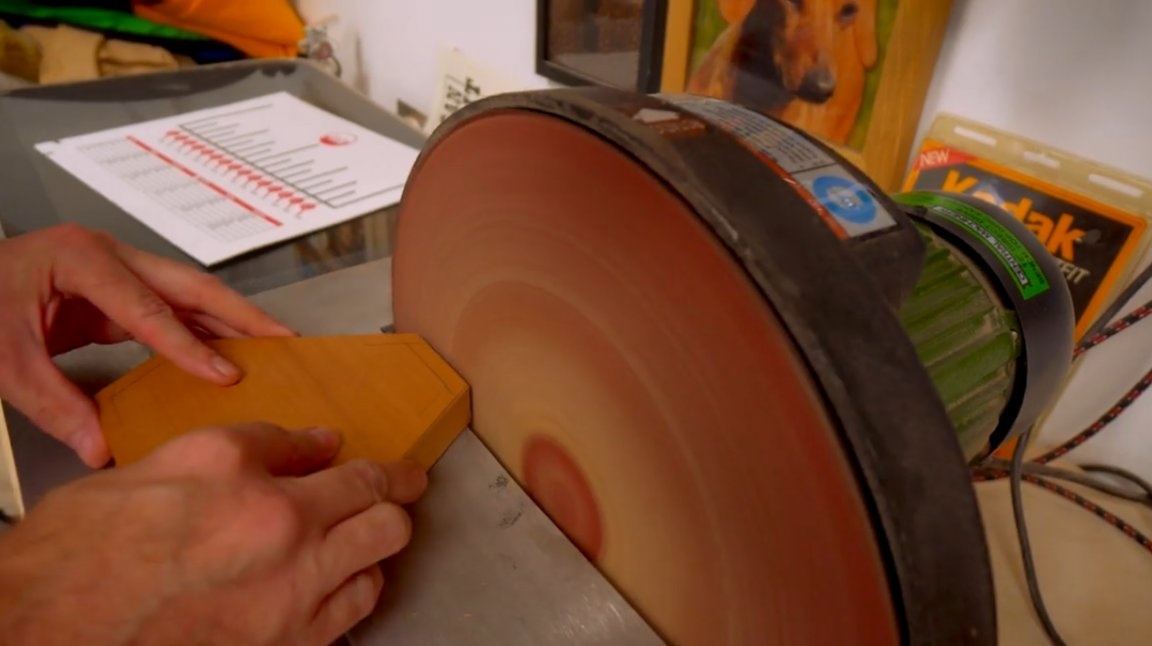
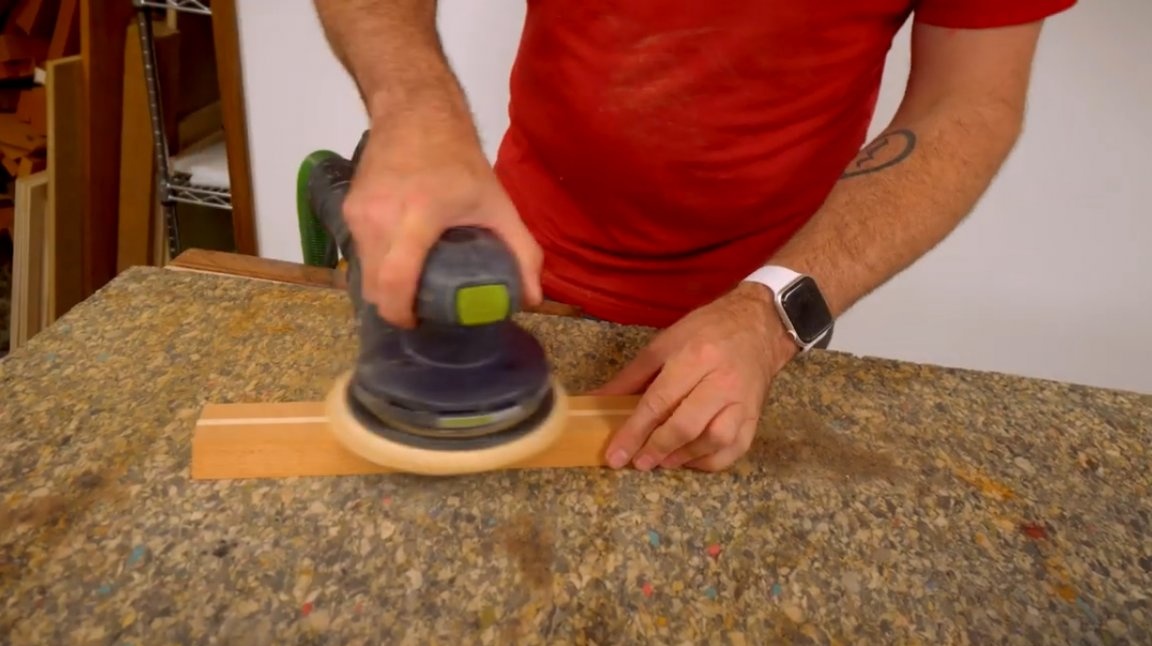
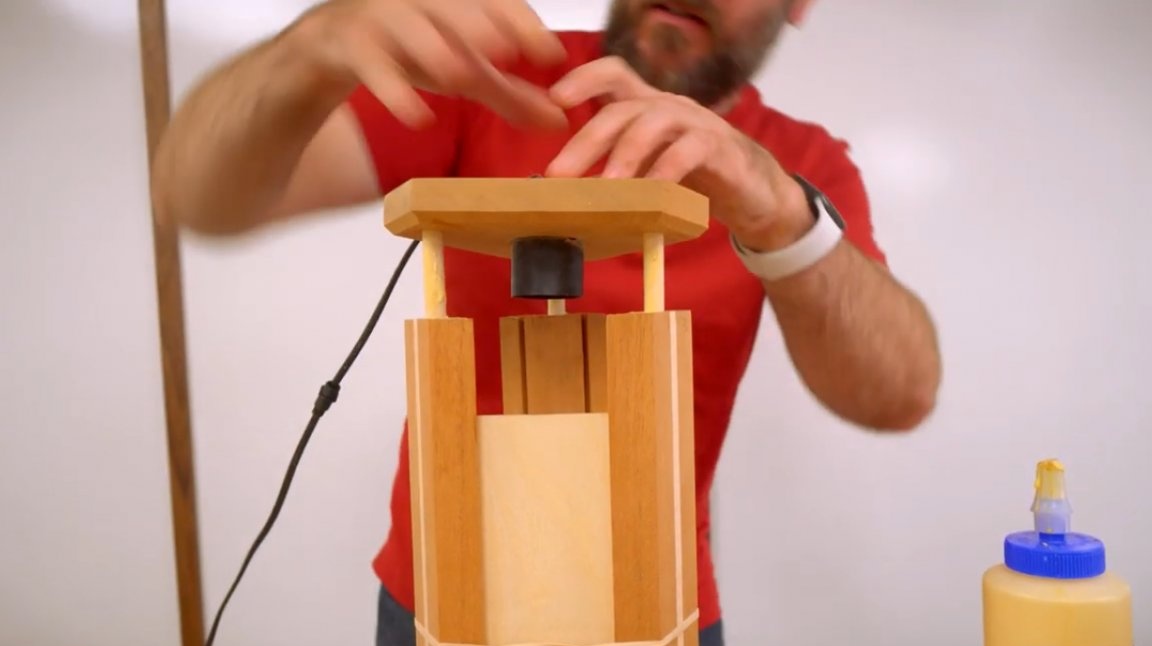
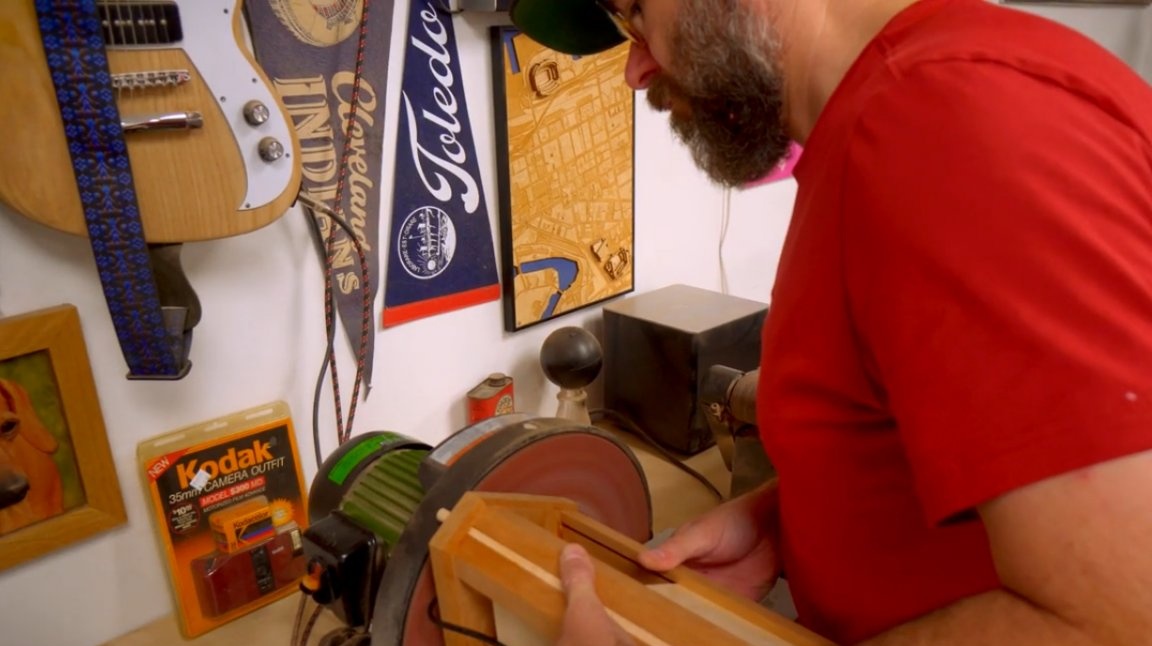
Everything was polished by the author with an orbital machine, and again roughly assembled. The author looked at the base and thinks that it looks too thick.
And one way to visually lighten such a thickness is to simply remove a bit of chamfer at the bottom with a milling cutter.
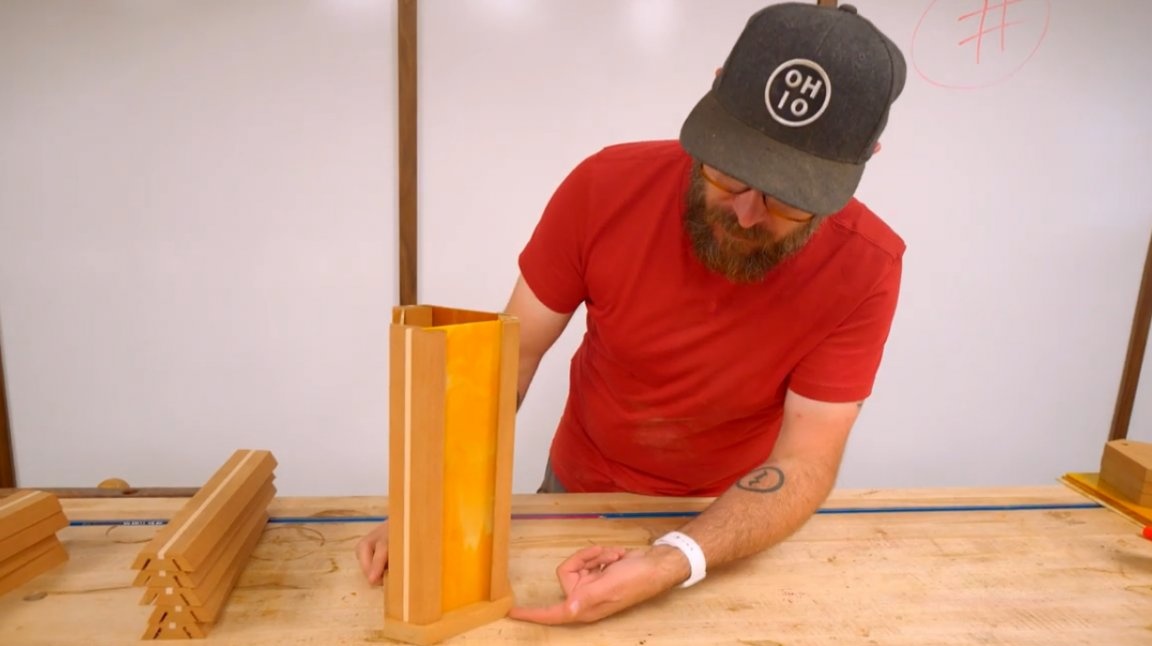
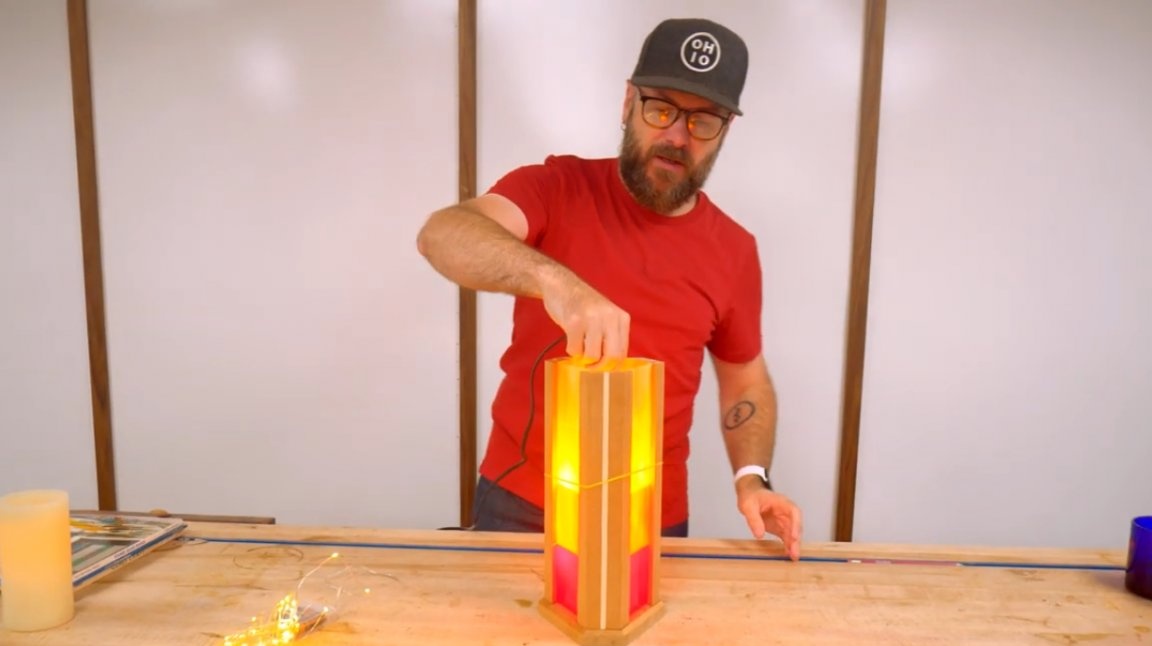
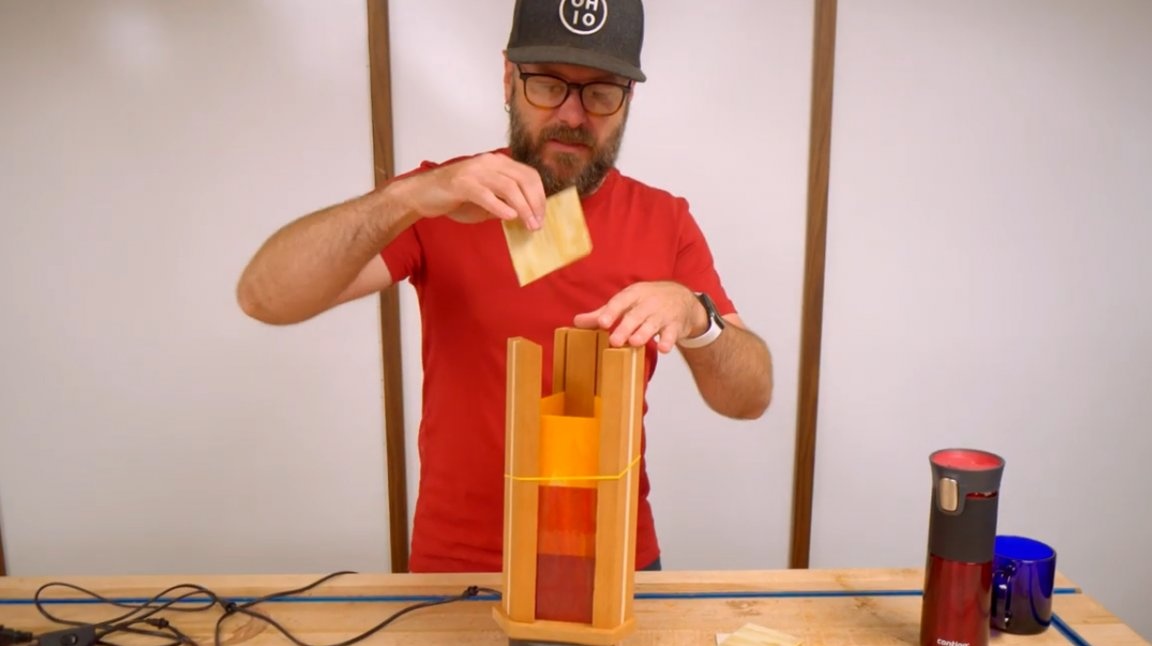
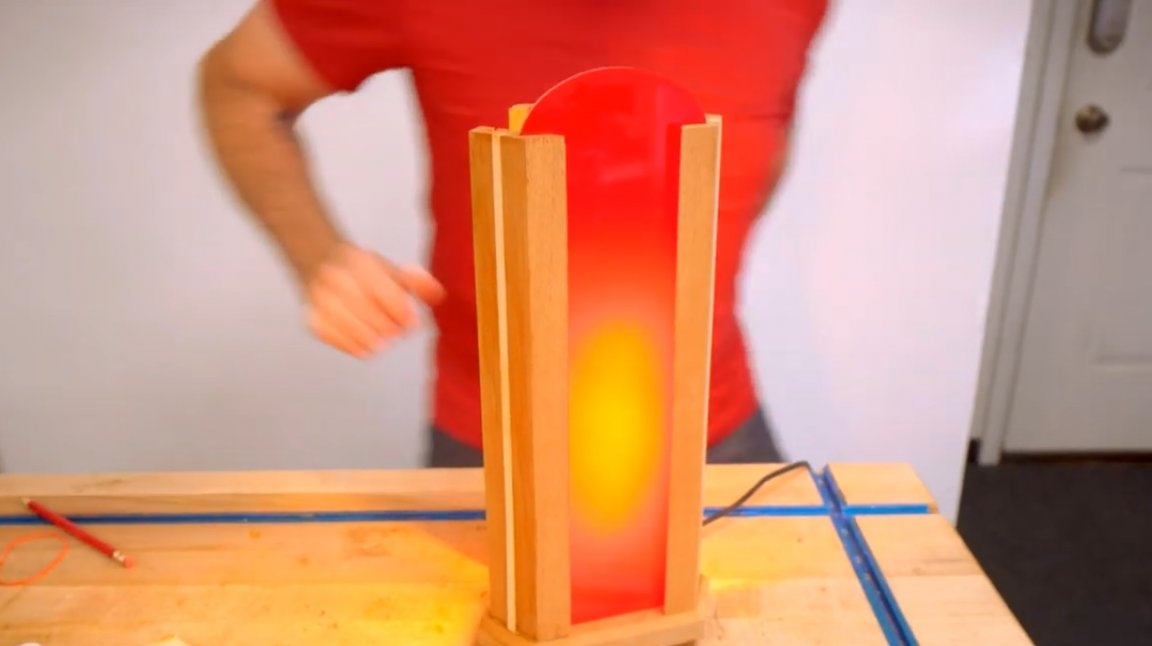
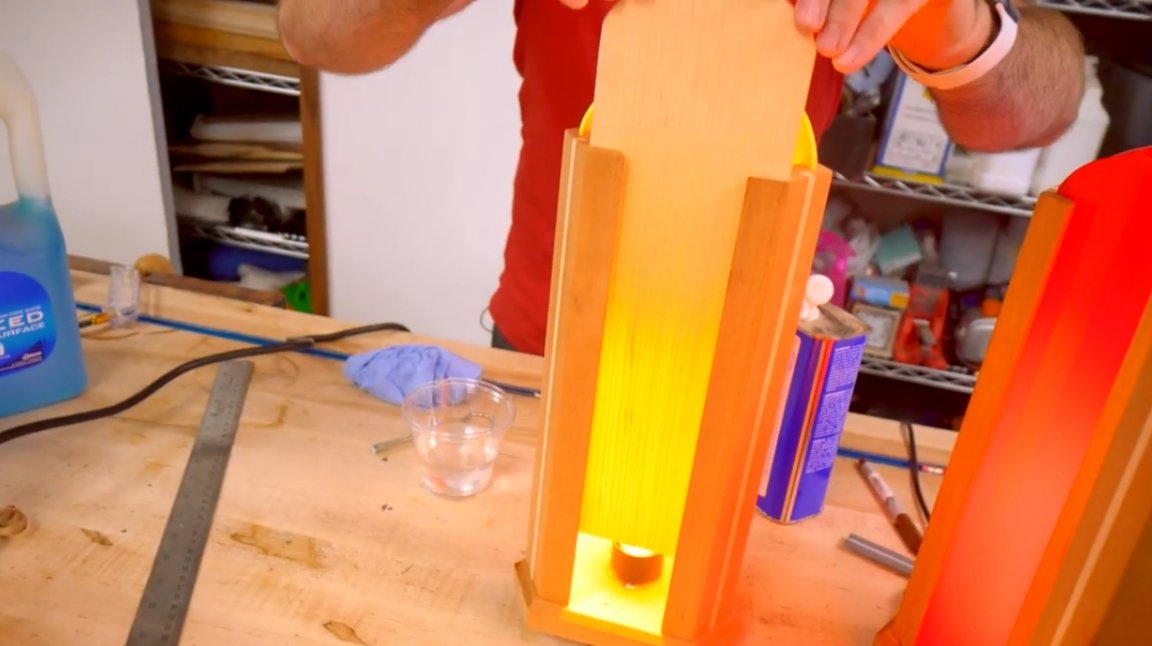
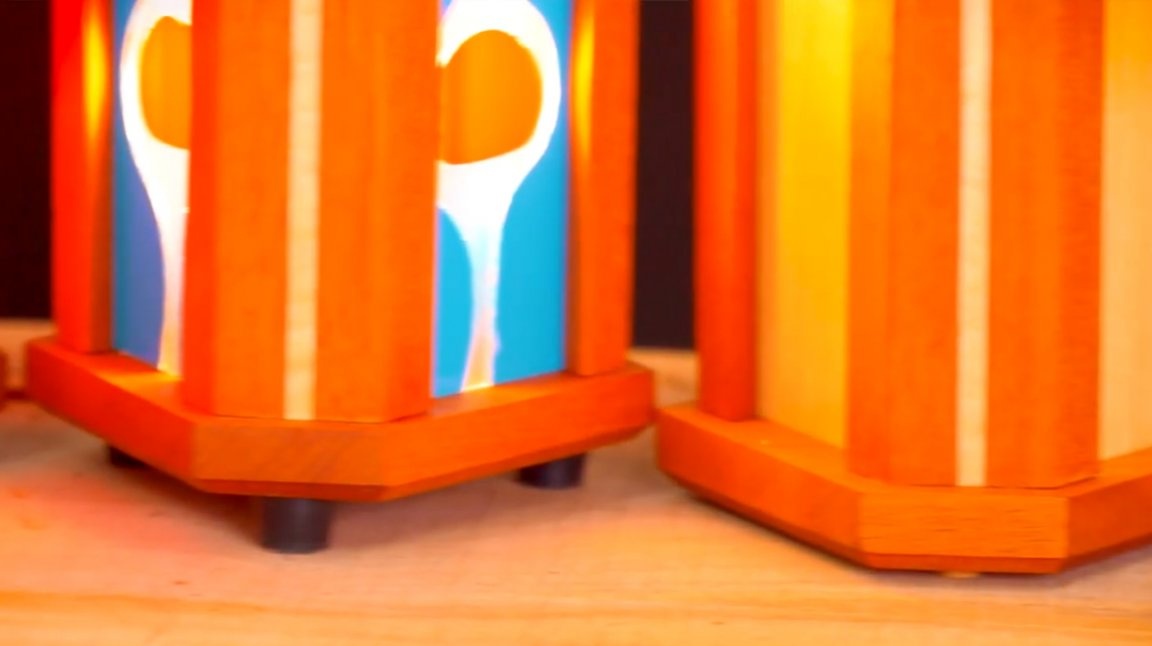
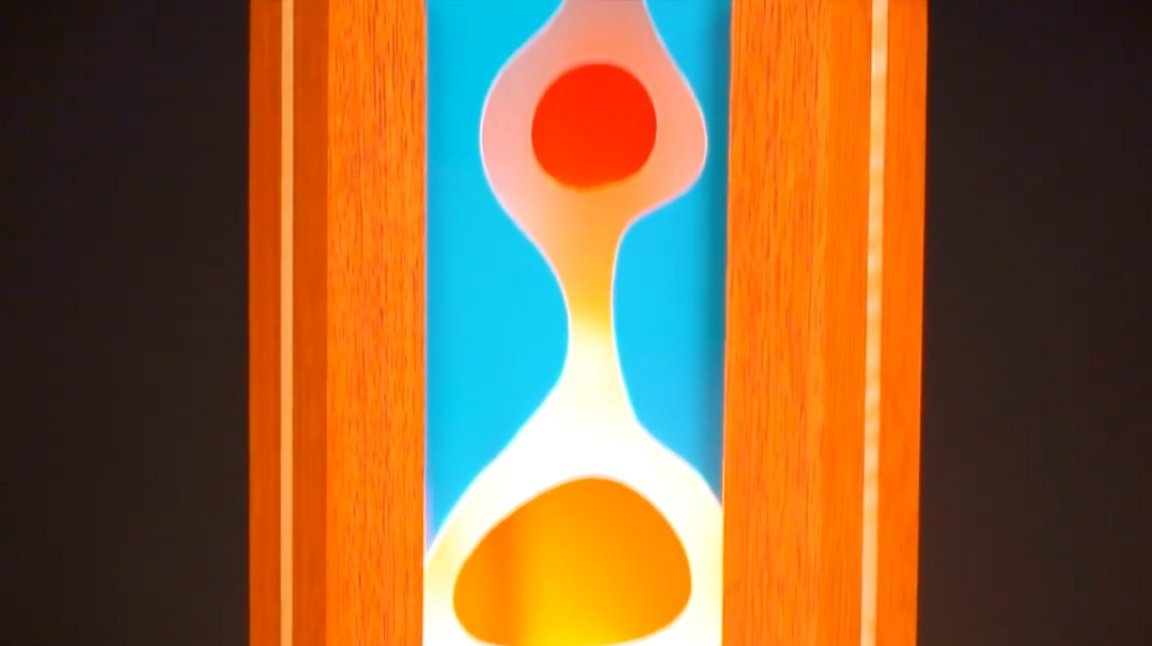
Now he folds the glass, and the author likes the way they play along with each other in color shades. You can leave it that way.
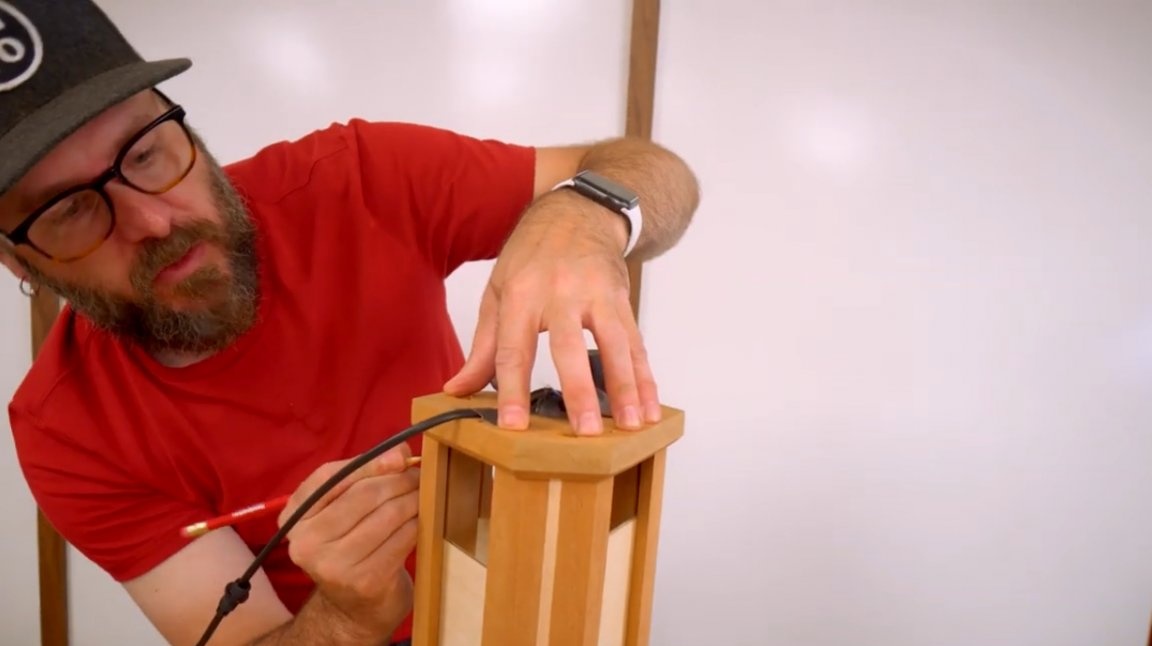
There is a small switch on the lamp. Beautiful and bright, comfortable and cord of sufficient length.
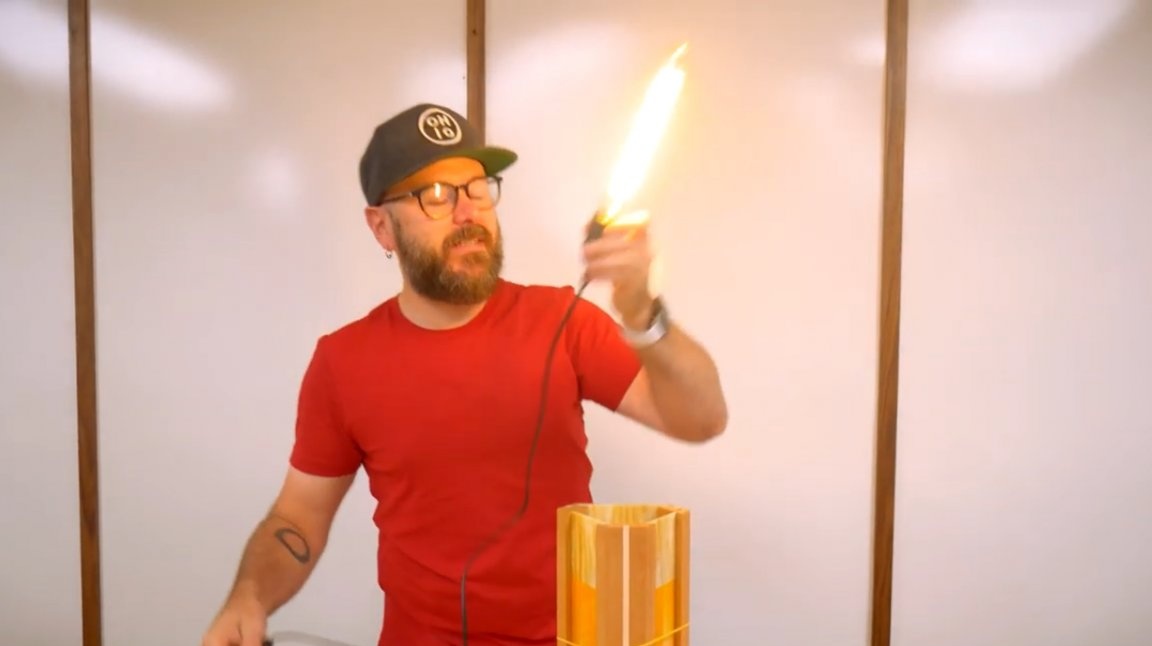
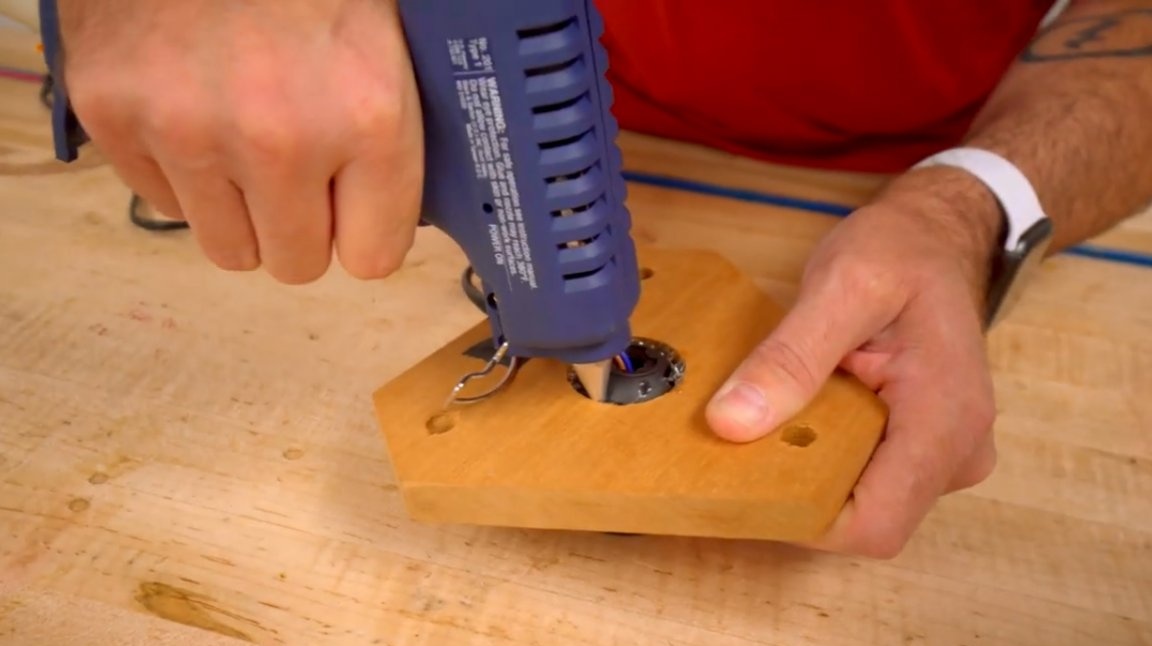
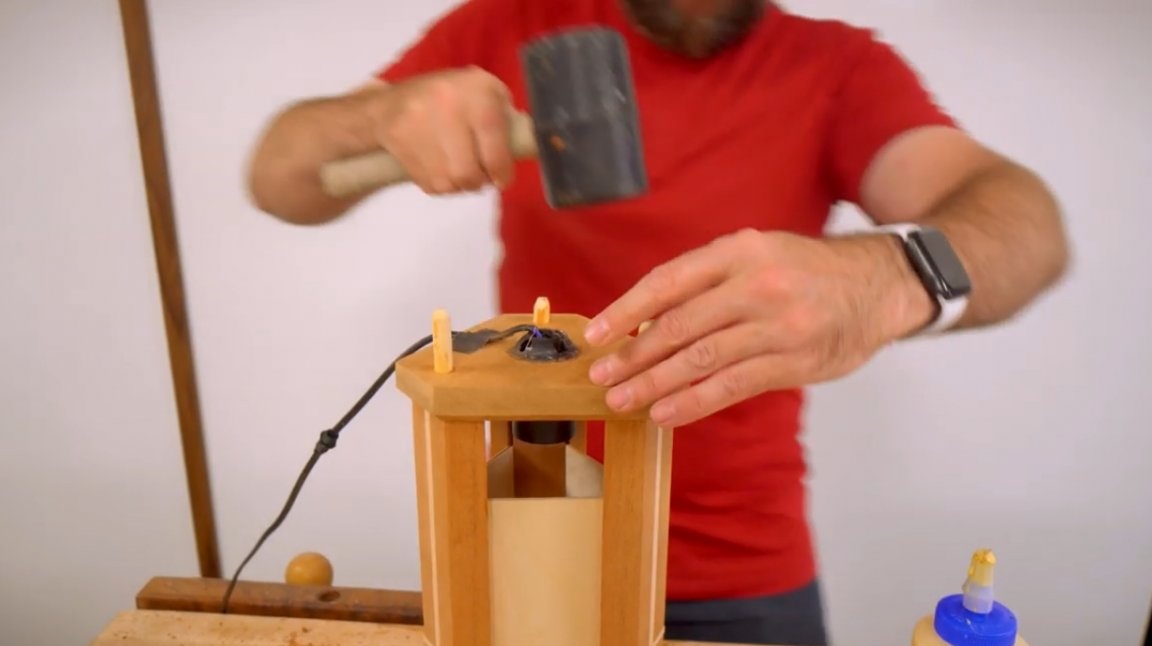
Now everything looks as it was intended. So, he drills a hole for the cartridge with a Forstner drill, stretches the cord, it will go through the bottom. It's time to make a few legs. It turned out a centimeter hole, and it is slightly larger in diameter than required. The resulting gap is filled with hot glue.
Now it's time to stick the base to the side parts. Obviously, there is no place for glass here now, but you need something to hold the entire structure for the time of gluing the base with the side corners-glass holders.
Here, 4 mm thick plywood is ideal, cut it. Plywood will be used as temporary inserts.

Drills holes for dowels in the side parts, glues them.
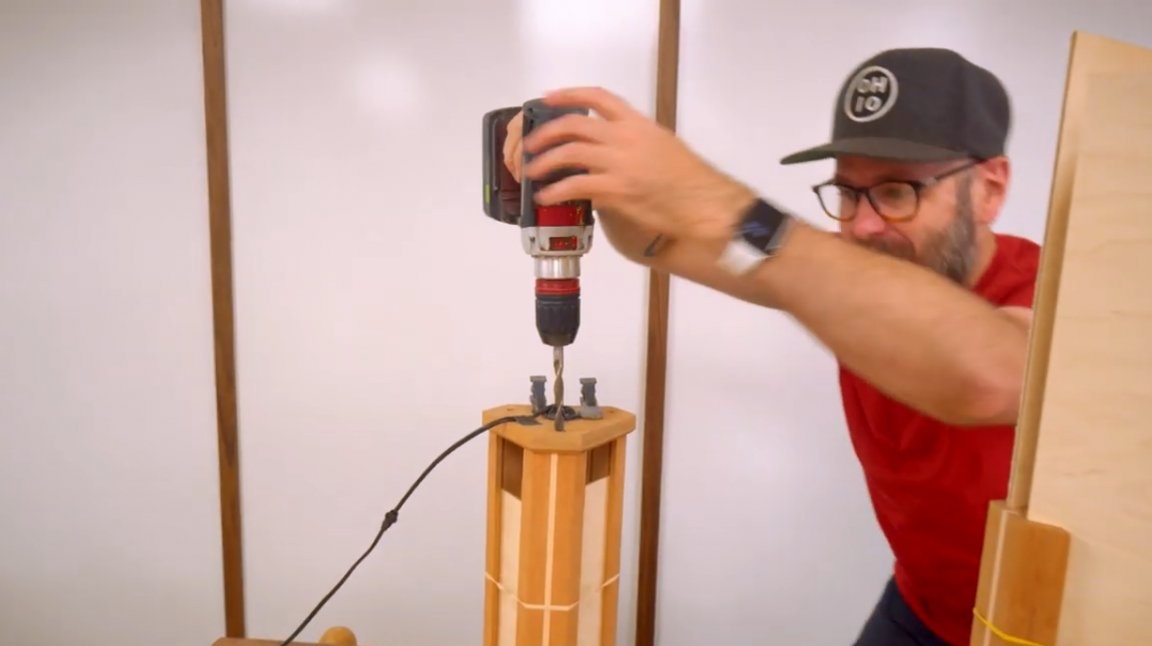

He also cut off the excess dowels, leaving them slightly protruding beyond the bottom of the base. It turned out small legs.
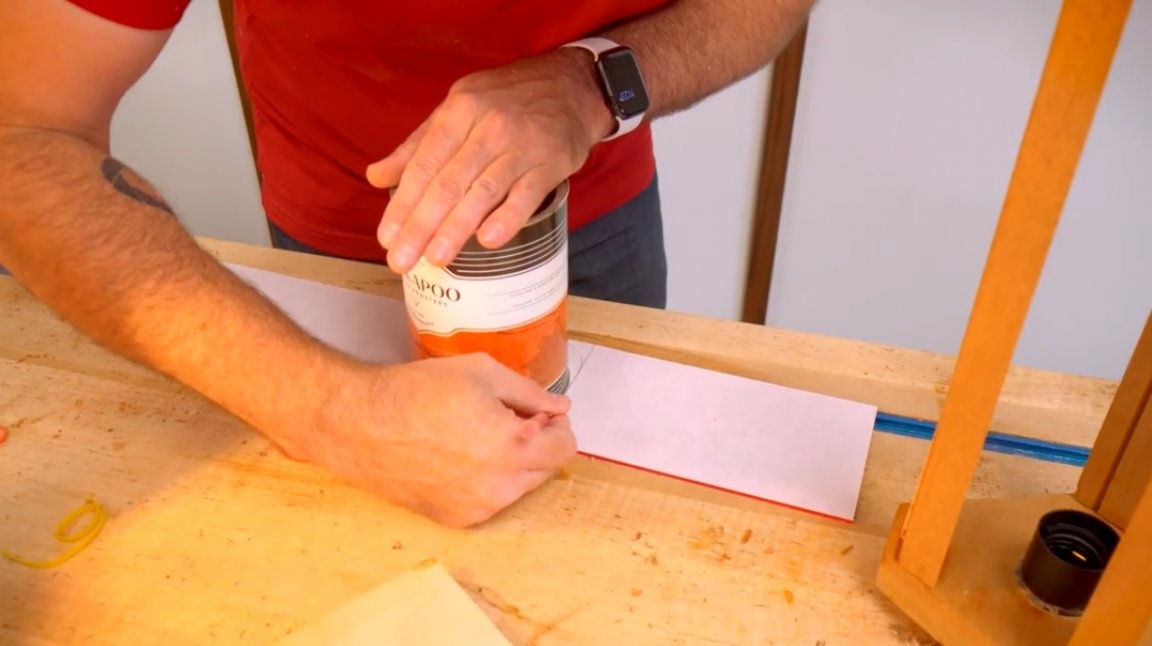
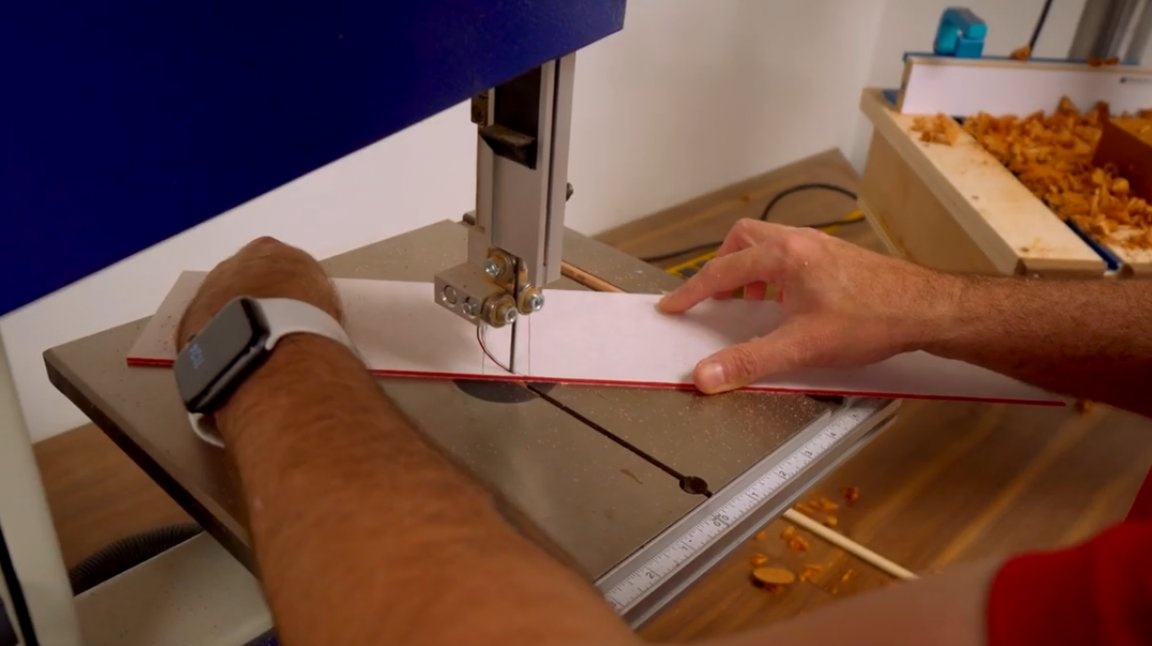
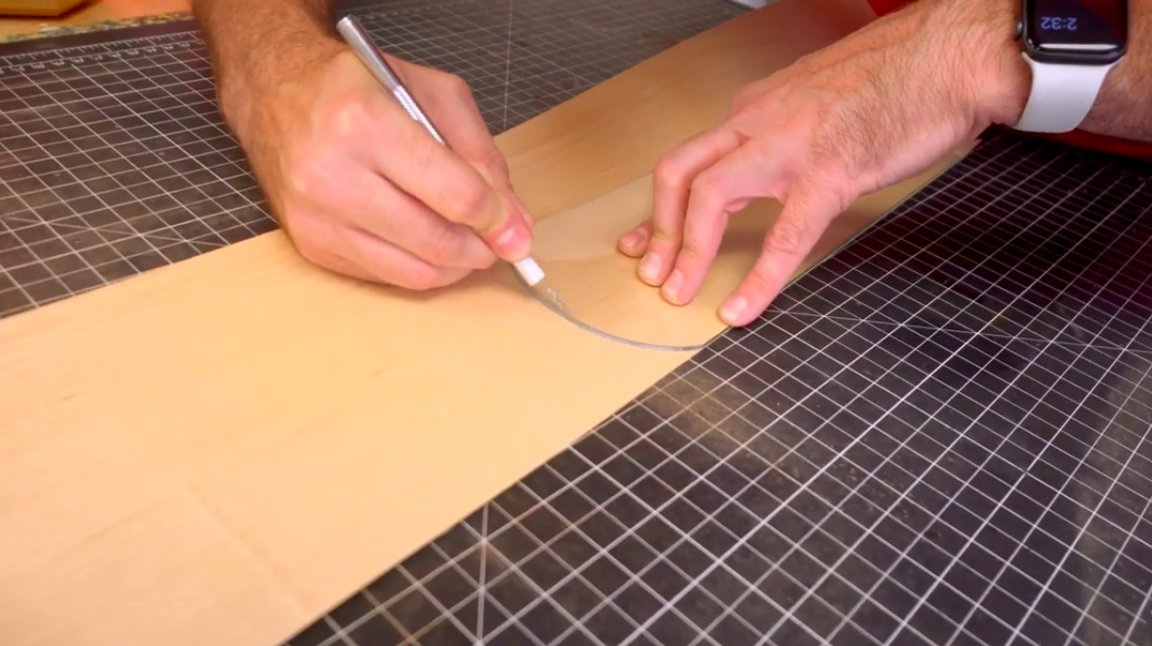
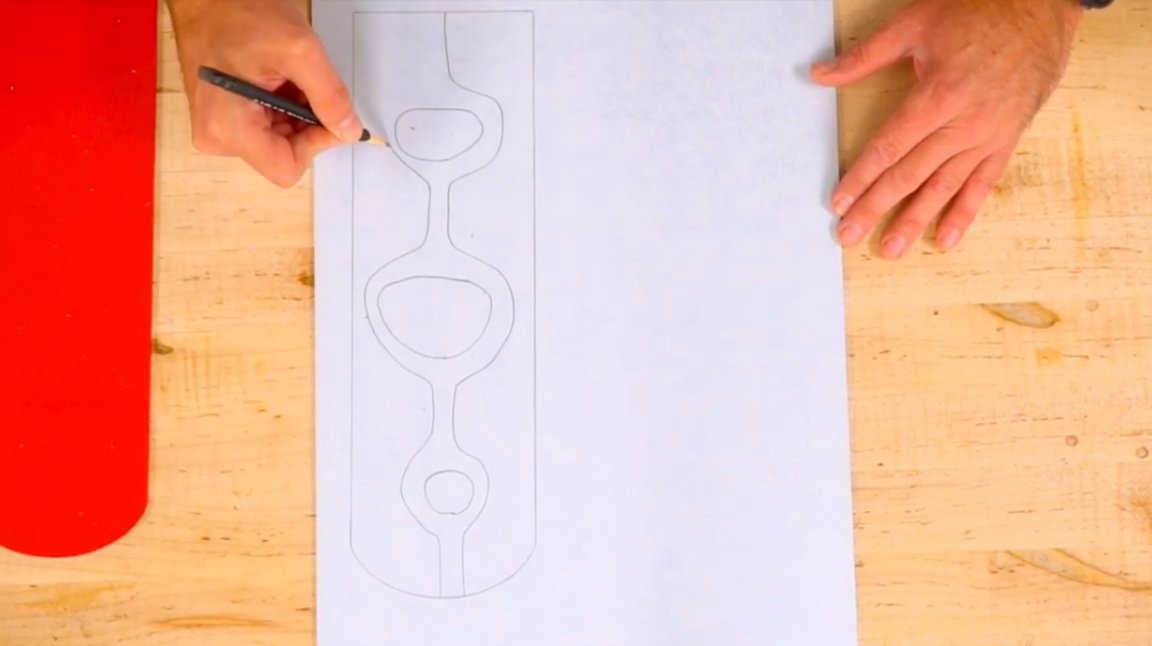
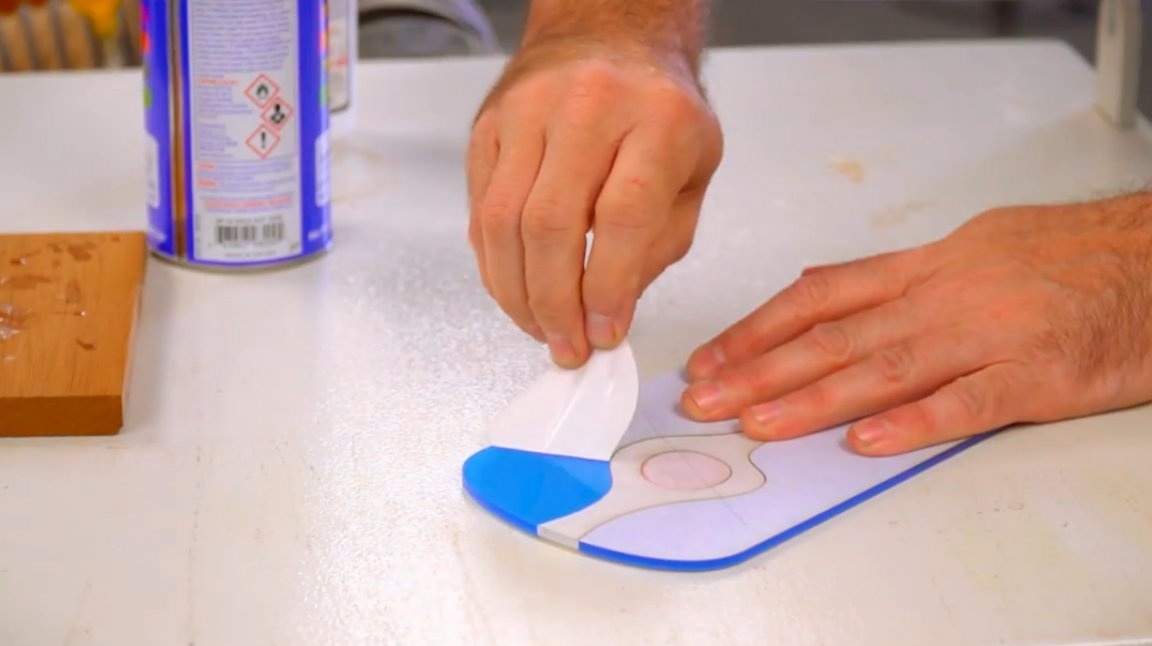
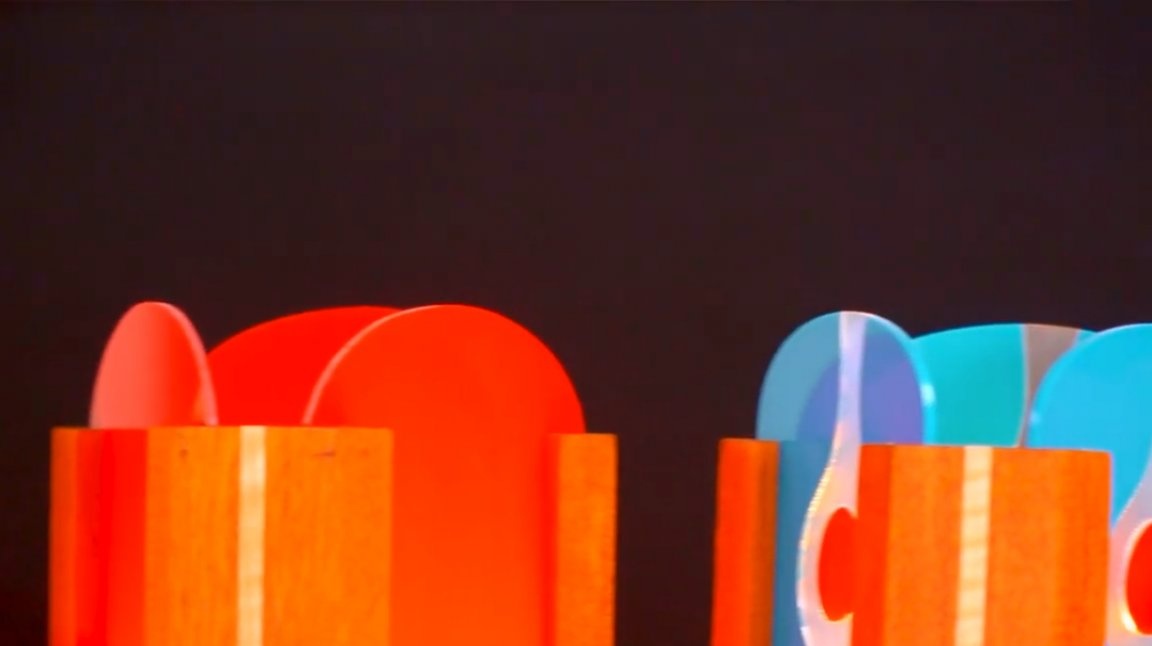
At this stage, he drew a small decorative curve, and cut out inserts of another type from acrylic.

This stuff also looks interesting.
Now he set all the windows in place.
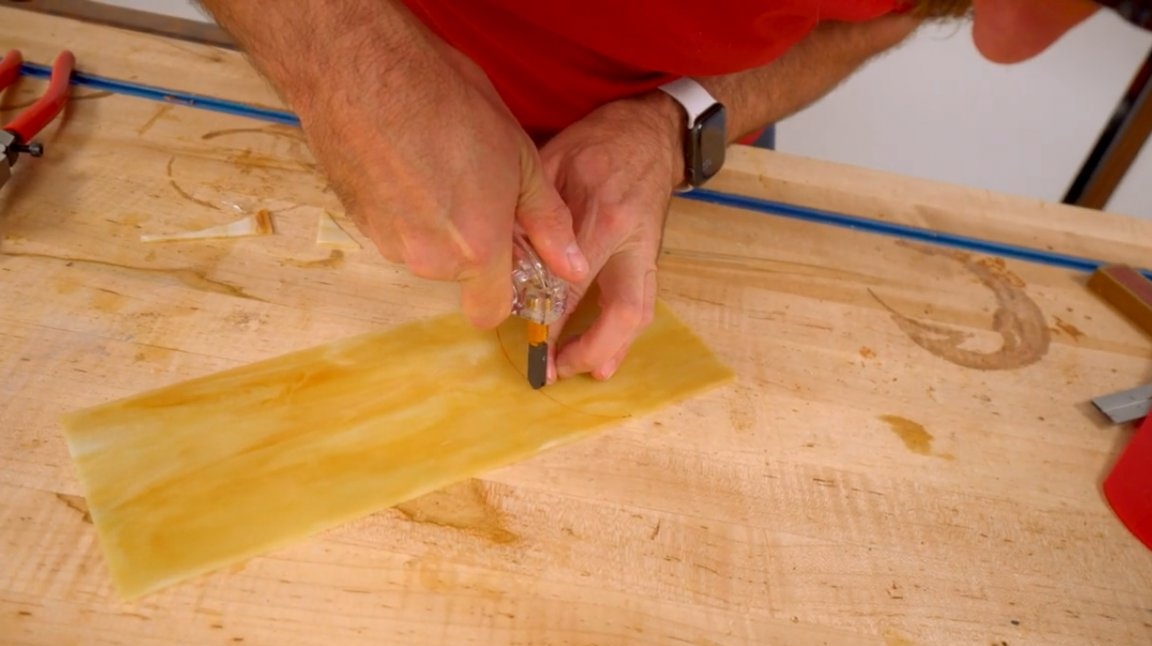
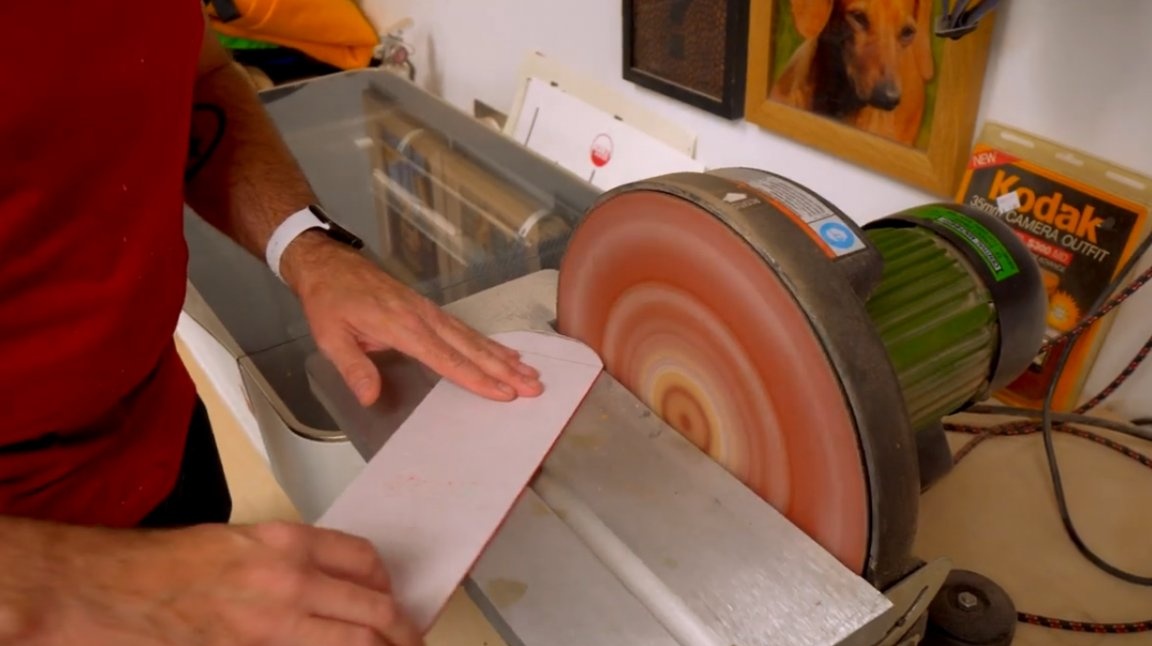
Cleans sharp edges on glass. For this, wet or slightly damp sandpaper is suitable.
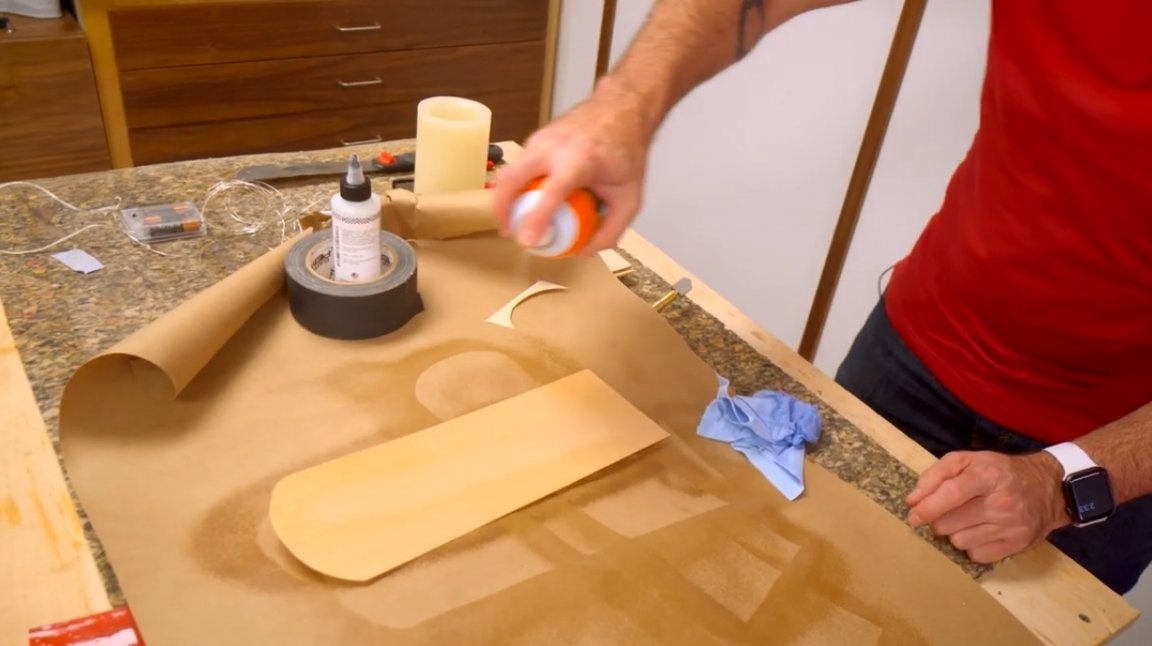
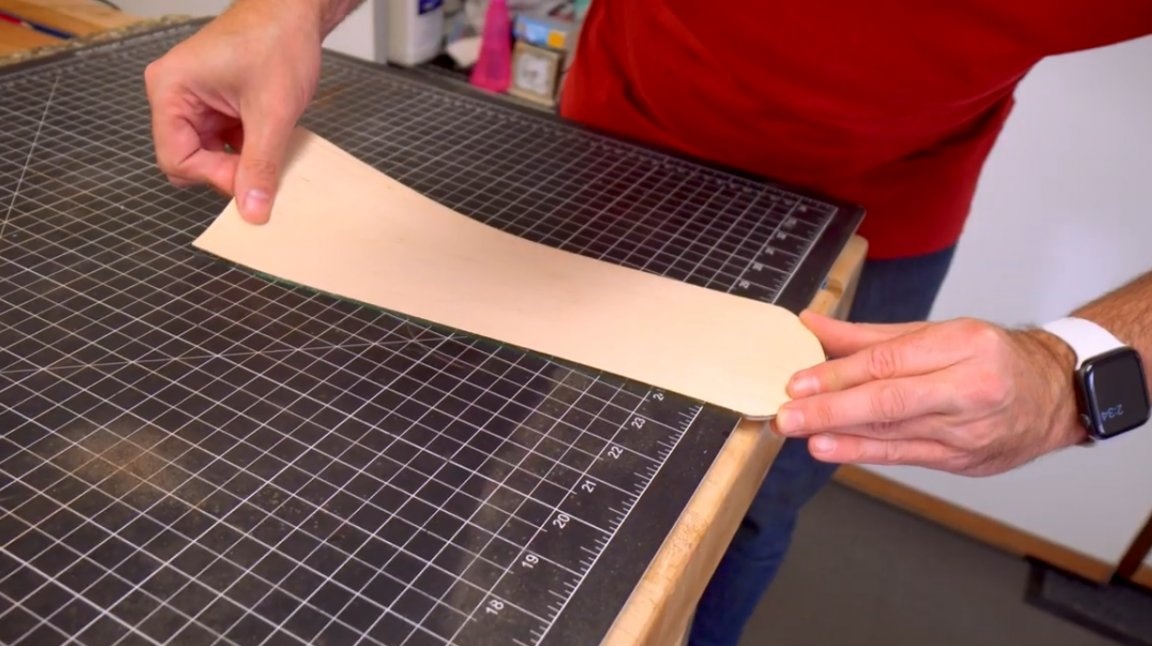
David loves this project, that it can be made as simple or as complex as you want. In this embodiment, clear glass is pasted over with thin wooden veneer glued with sprayed contact adhesive. To pass as much light as possible, the veneer should be as thin as possible.

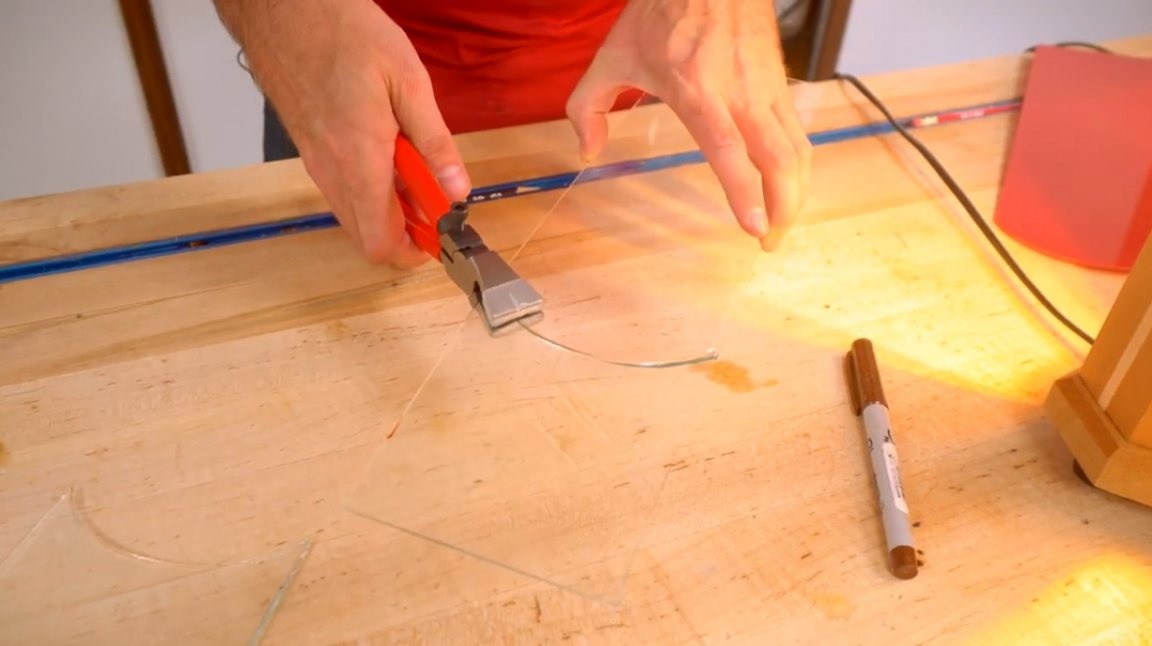
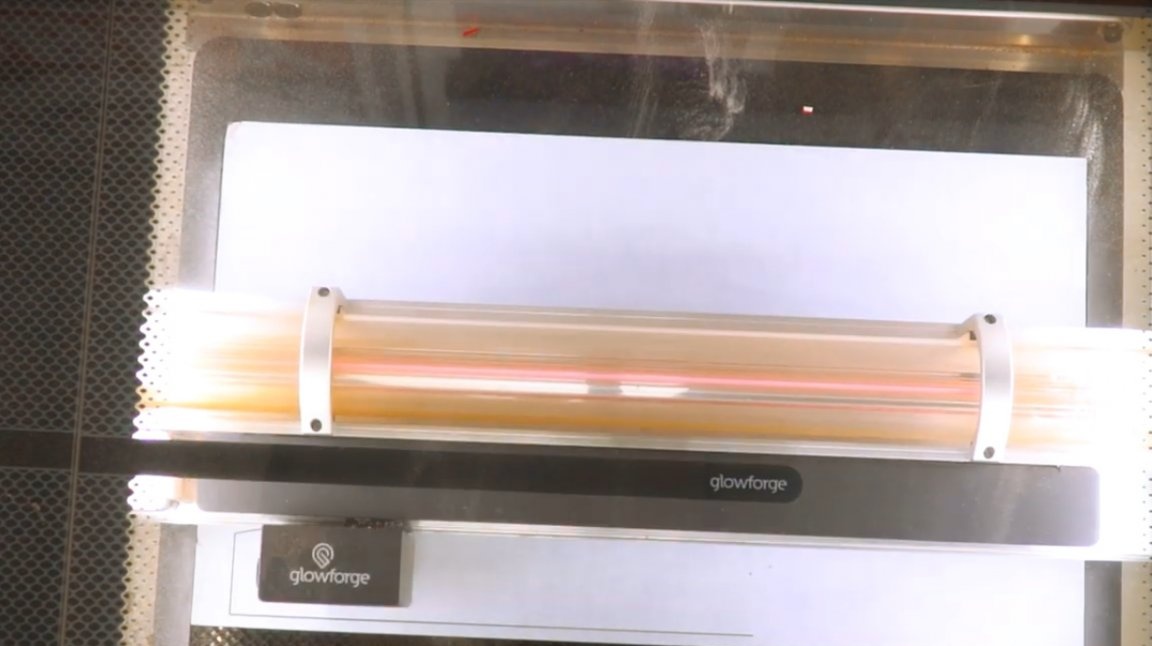
The author cuts acrylic on a laser cutter.
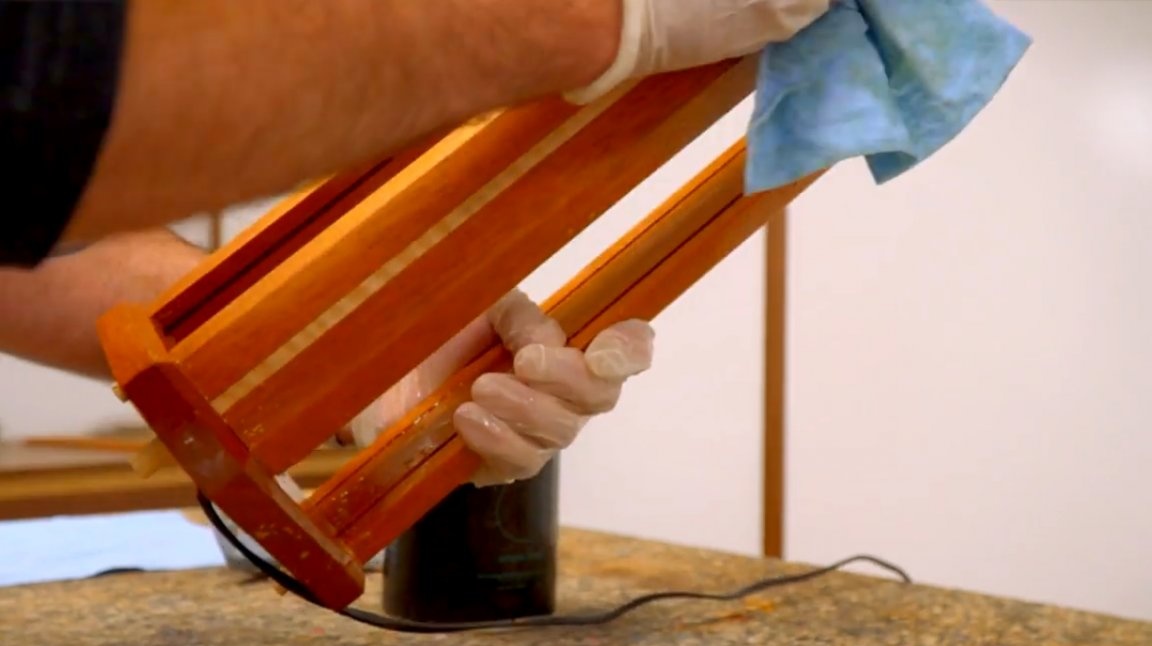
It remains to soak the wooden parts of the lamps with linseed oil.
As always, be careful, follow safety rules, stay passionate and do something!

I thank the author for the rather simple design of various table lamps!
All good mood, good luck, and interesting ideas!
Author video can be found here.