
I have already translated an article about electronic candle FLIRTmodeling the behavior of the present. And the author of Instructables under the nickname DIY_YID made another similar homemadeworking according to a slightly different algorithm. It was performed on a CD4013 chip (K561TM2), of which two triggers involve only one. You can light a candle by holding a source of infrared rays (a lighter, a remote control), and extinguish it by blowing it out. Here is her diagram:

A photodiode and a load resistor form a voltage divider. When infrared rays hit the photodiode, its resistance decreases, which is why the voltage at the midpoint of the divider decreases. Amplified and inverted by a transistor cascade, the sensitivity of which is regulated by a tuning resistor, the signal is fed to the input S of the trigger, which is switched. A logic unit appears at the output of the Q trigger, and the transistor switch that controls the LED opens. The LED itself can be with a cyclic color change (like a master), imitating a candle, blinking or normal - which one you like.
An electret microphone is called so, because it contains an electret - a material that remains electrified constantly. To get it, the dielectric is melted, placed in an electric field, allowed to cool and harden, and only then remove the field. But this does not mean that with the help of a capacitor with such a dielectric the energy conservation law can be circumvented - it will be generated only by moving the electret or one of the plates, which happens in such a microphone. Thanks to the electret, the microphone does not need a polarizing voltage, but it does require a supply voltage of the built-in transistor stage. Previously, a load resistor of this cascade was placed inside the microphone, while a modern microphone requires an external resistor. At the junction of the resistor and the microphone, there are two voltages: constant and variable. The capacitor passes only the first of them, and it falls on a two-stage amplifier.No bias voltage was applied to the base of the first transistor of the amplifier to operate in a mode that is closer to the key than to the linear one: it is necessary to amplify a strong hiss, not speech, not intelligibility, but a clear reaction precisely to hiss and indifference to quieter sounds . If you blow on the microphone, the amplified signal is fed to the input R of the trigger, it switches to the opposite position, the unit at the output Q disappears, and the transistor switch that controls the LED closes.
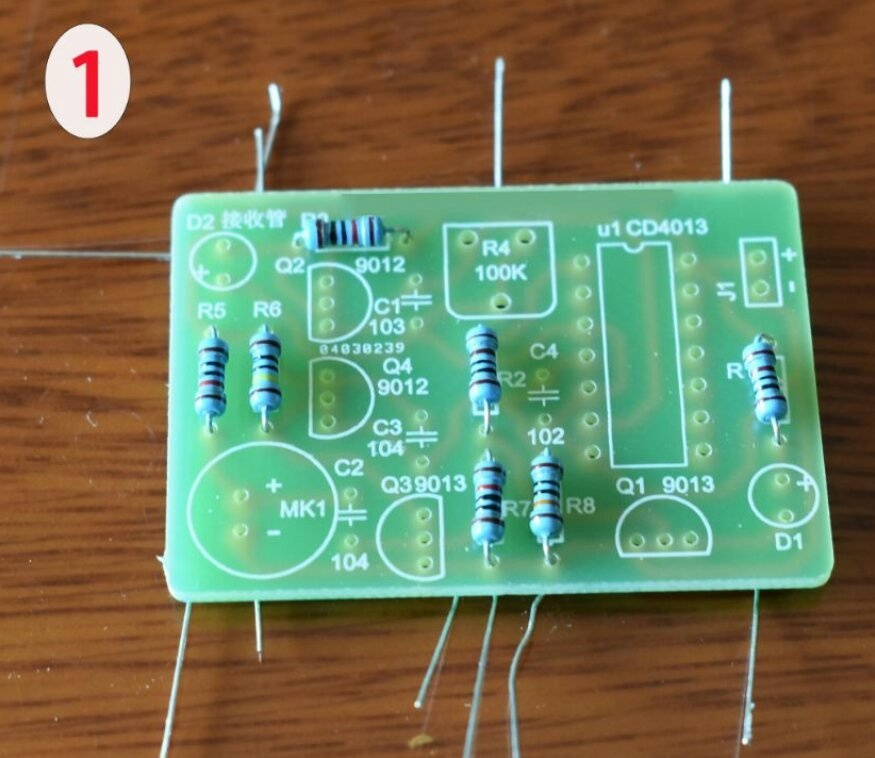
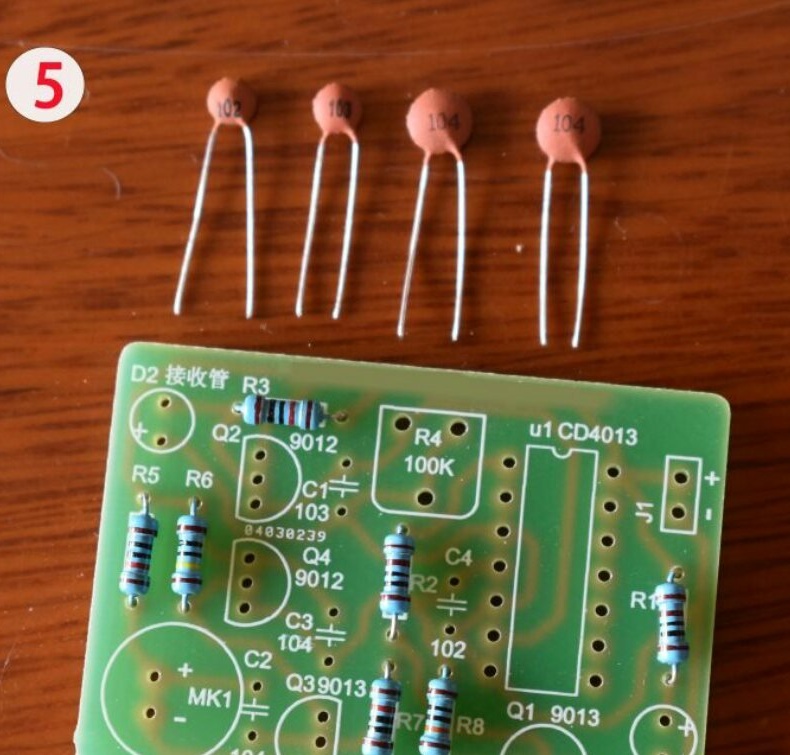
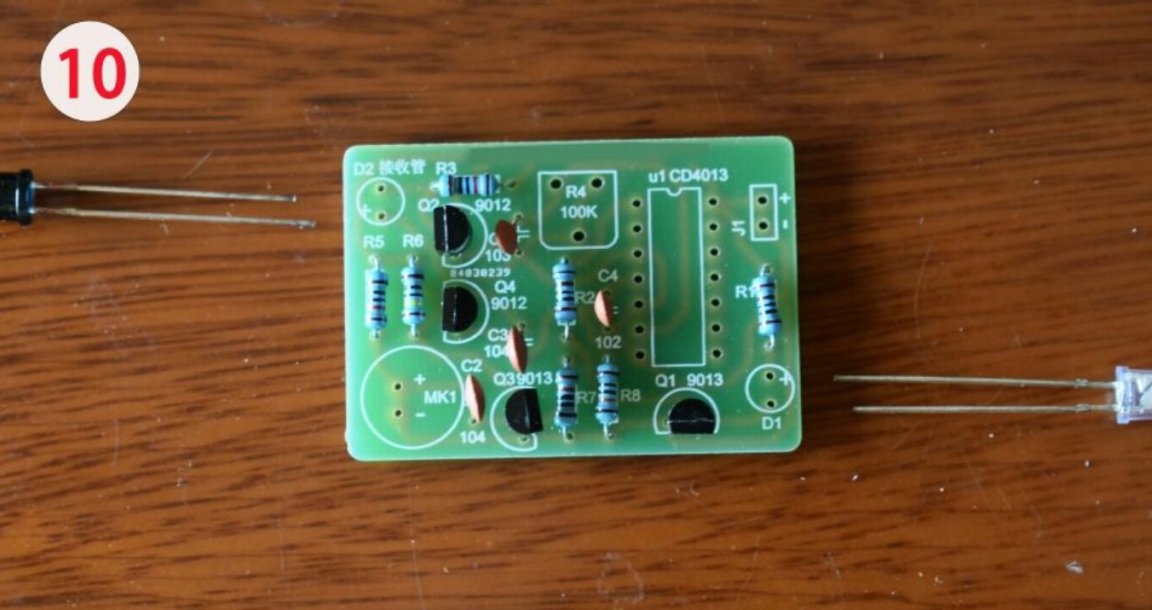
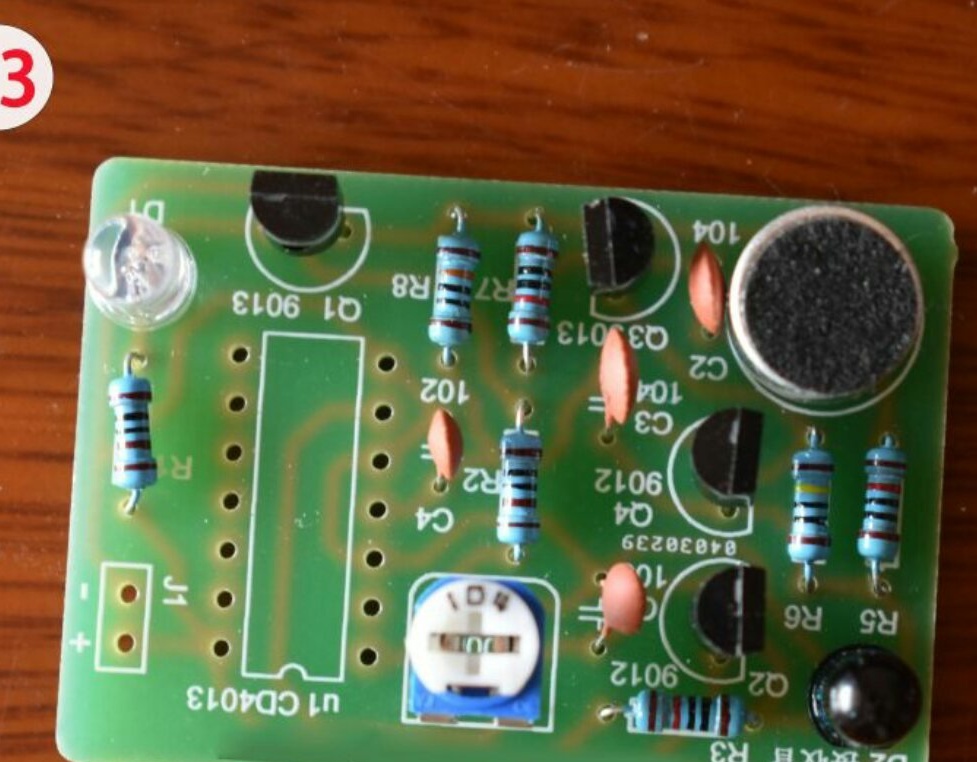
The master did not produce the printed circuit board, but acquired along with the other components the finished one in the form of a designer in the Chinese online store Monday Kids. When repeating, you can use a perfboard-type breadboard, or recreate a printed circuit board according to a diagram or photos. First, the master solders resistors into the board, guided by color coding or measuring their resistance:
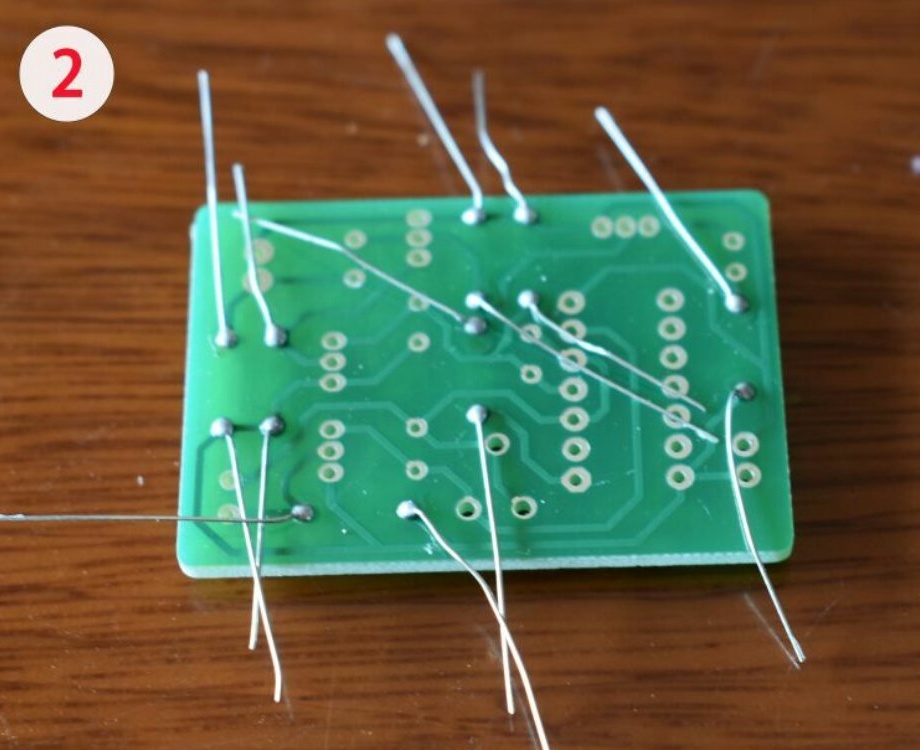
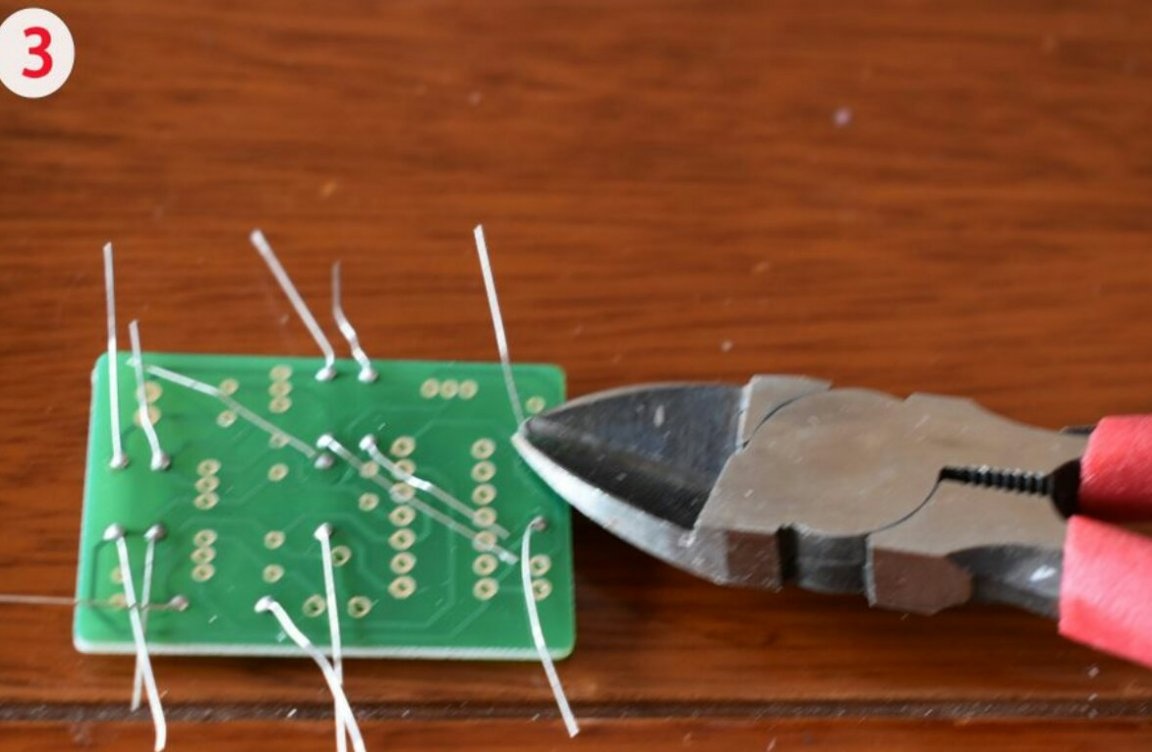
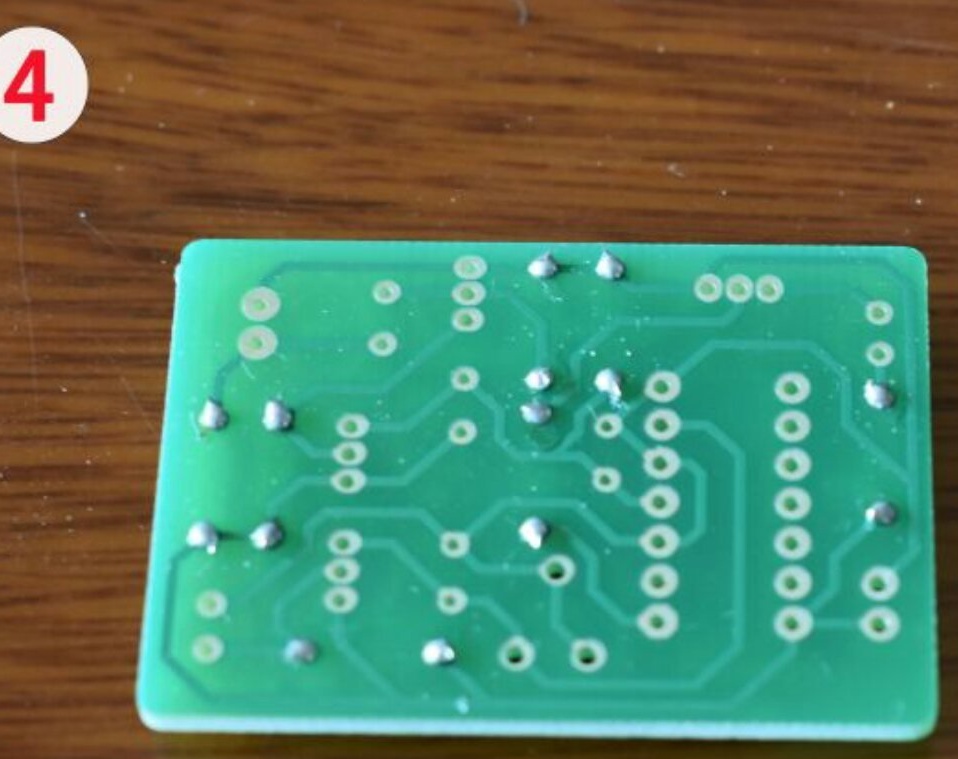
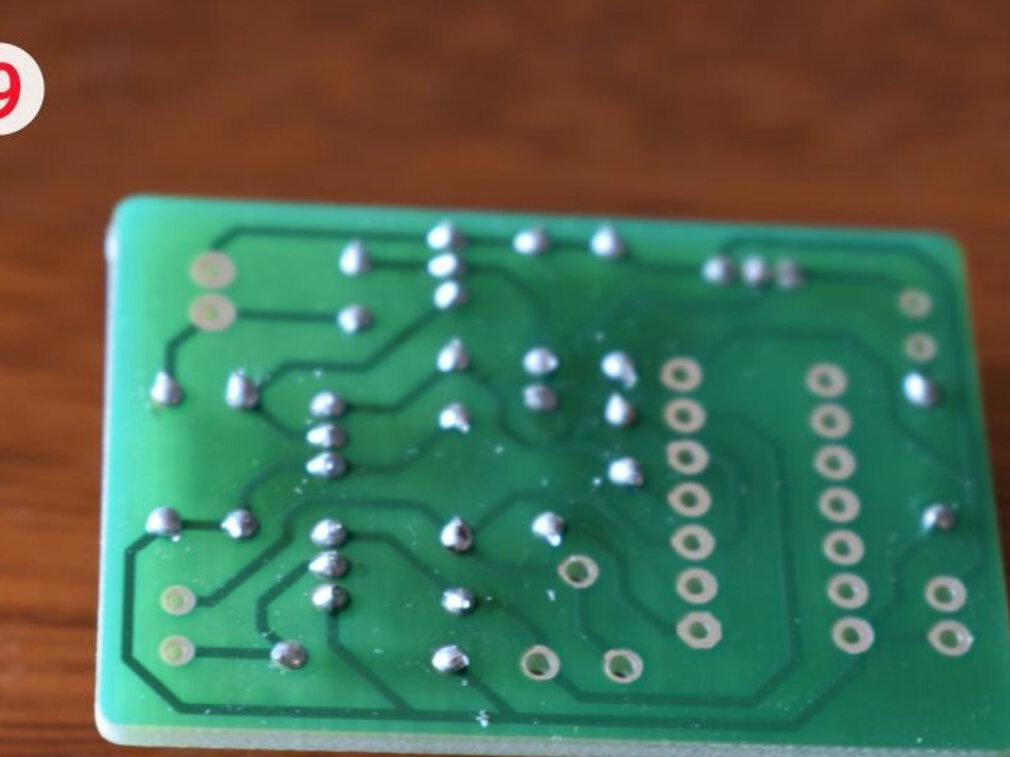
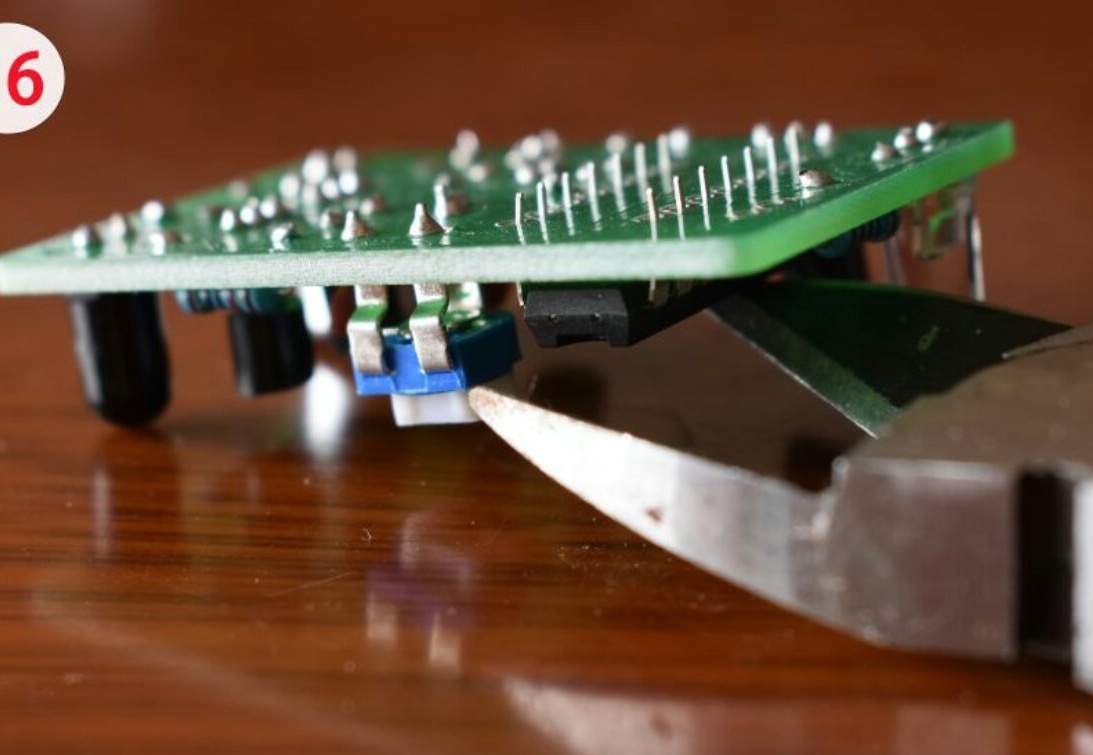
After soldering and nibbling the conclusions on the opposite side of the board, it turns out like this:
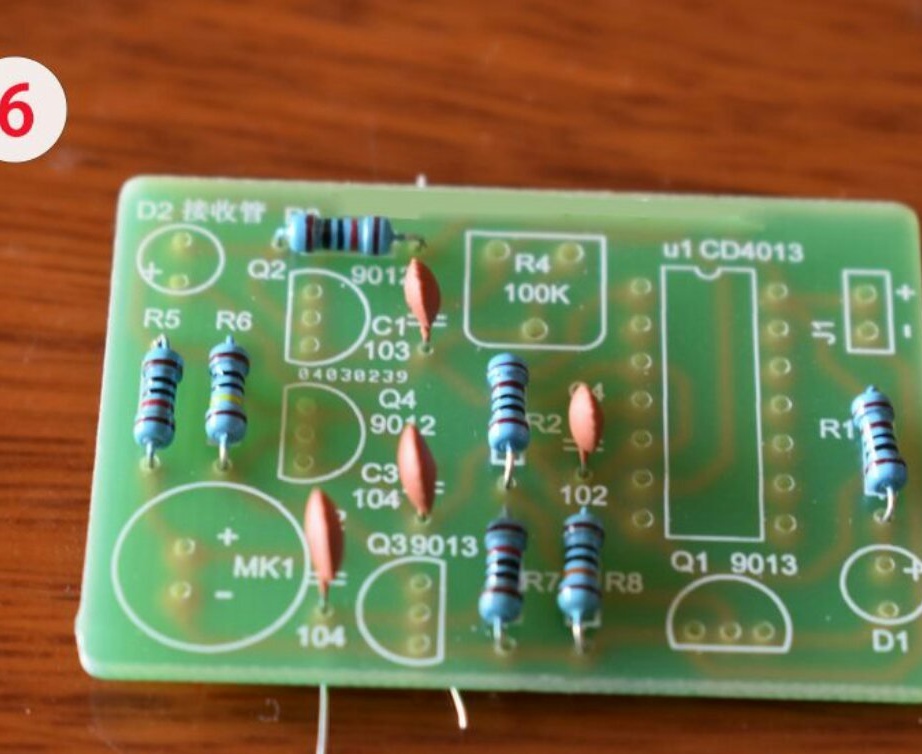
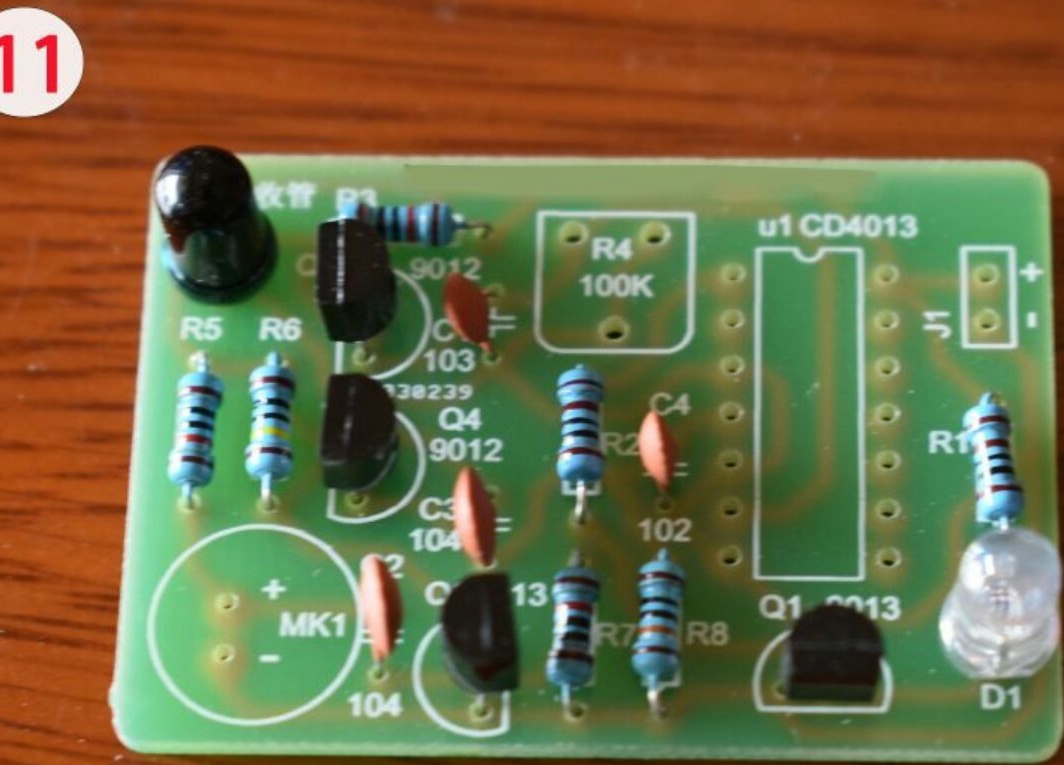
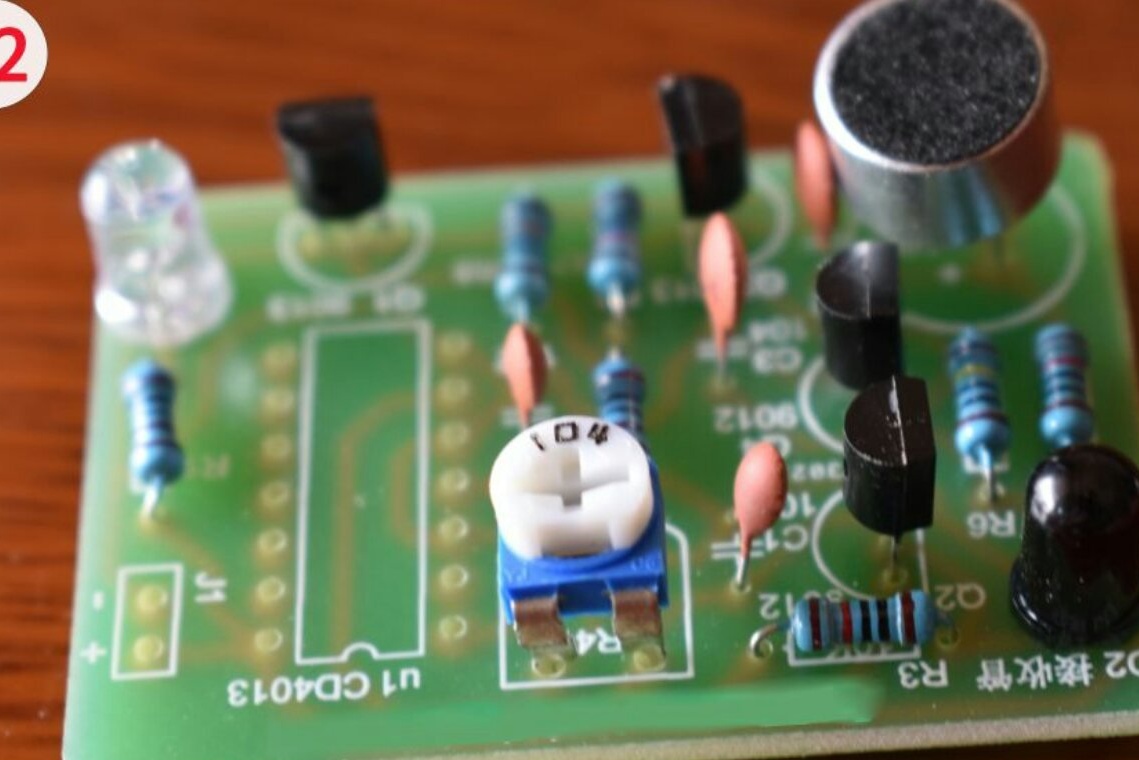
Then the master solders the capacitors, for convenience, not their capacities are indicated on the circuit and board, but immediately abbreviated digital symbols. All capacitors are ceramic, and therefore non-polar.
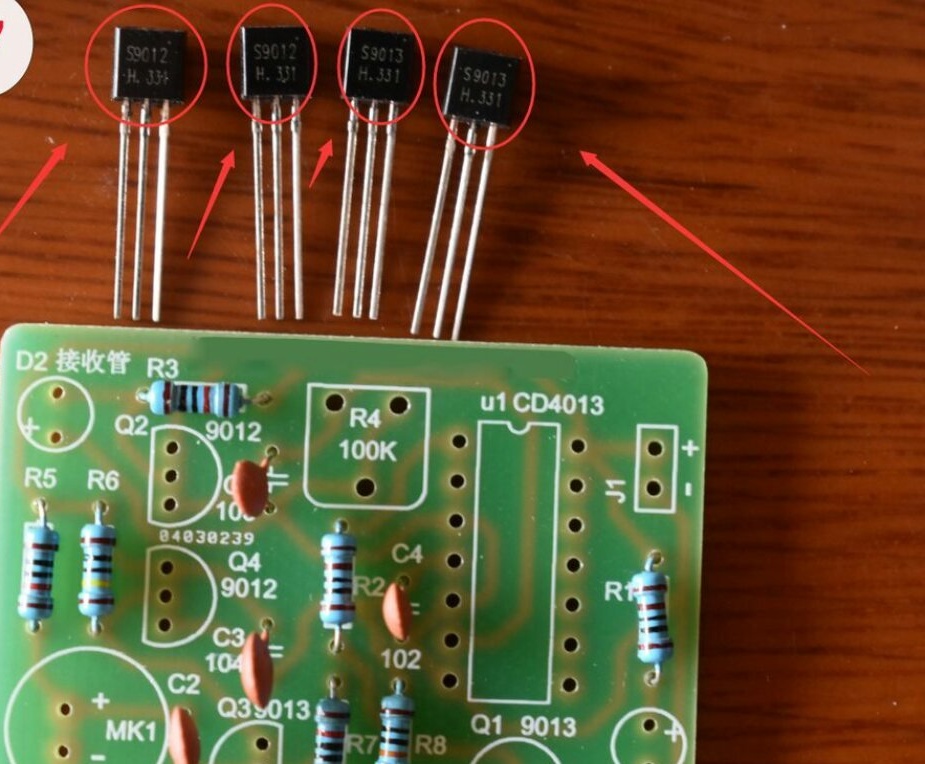
The turn of transistors is coming, they are of two types: 9012 - PNP structures, 9013 - NPN.
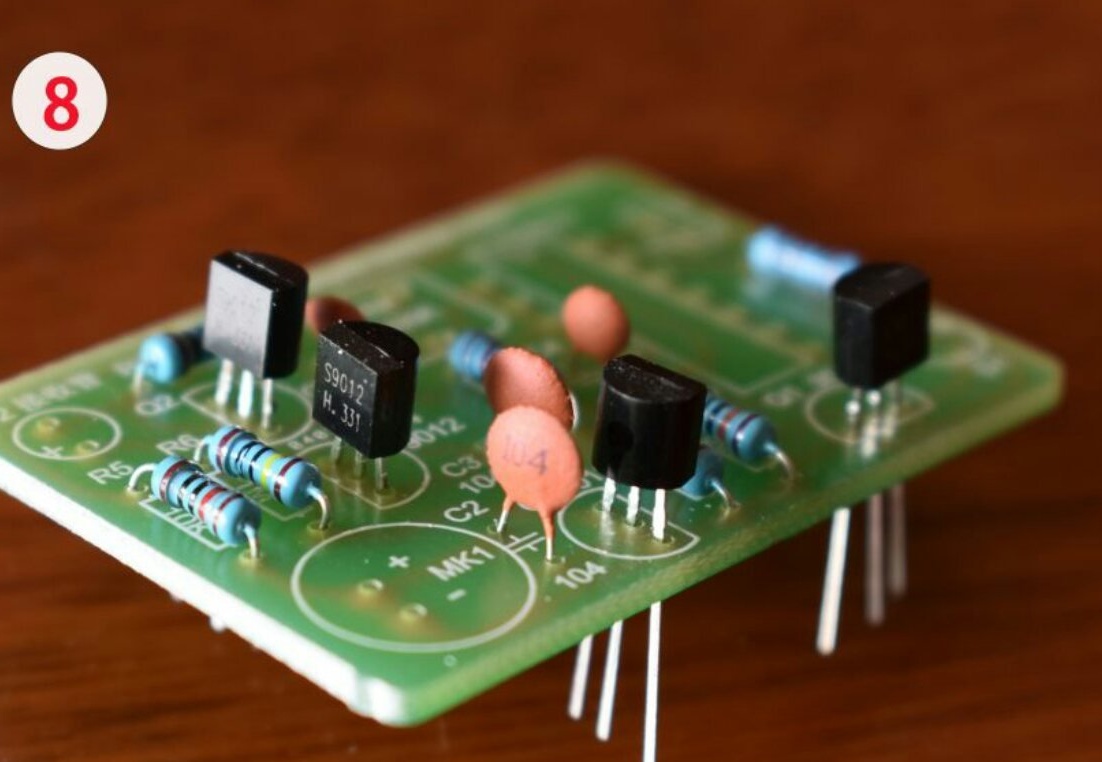
Then the master solders the photodiode and LED, both components are polar, the longer output corresponds to the anode.
The master solders a microphone, which, due to the built-in transistor, is also a polar component, and when the polarity is reversed, the sensitivity drops sharply.
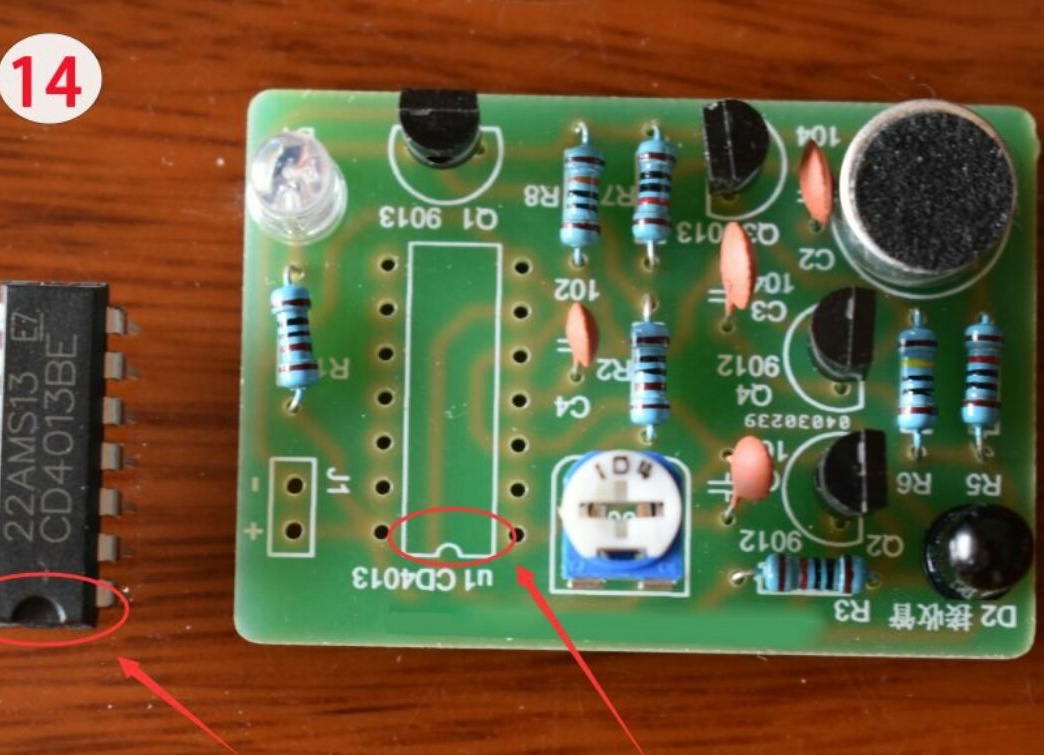
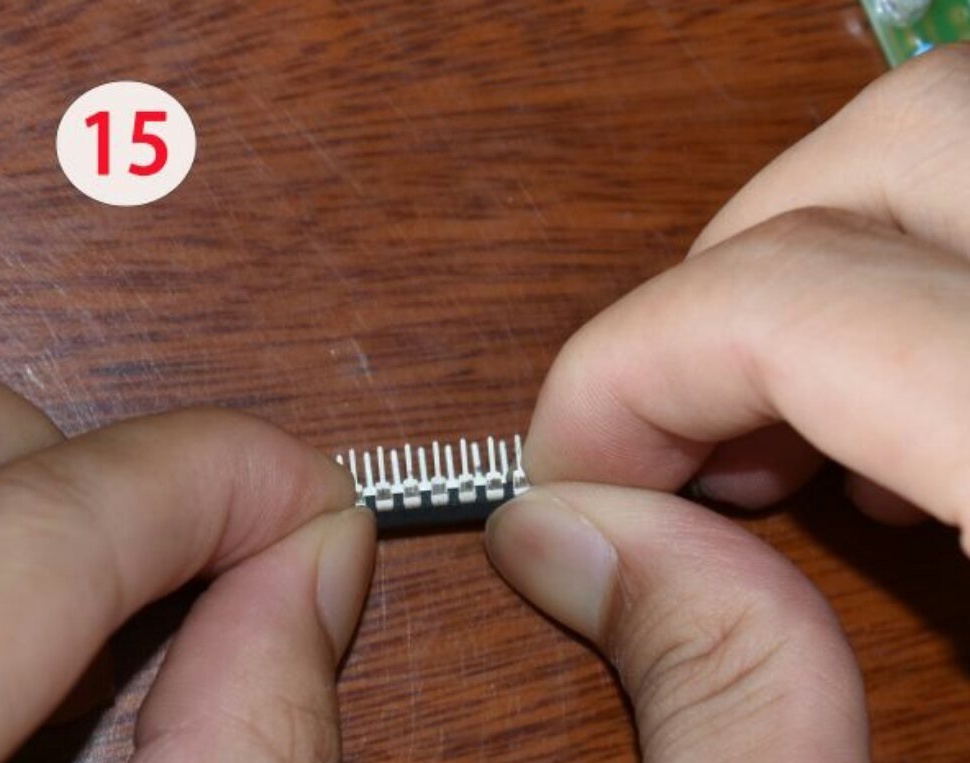
And finally, the master solders the microcircuit, it must be correctly positioned:
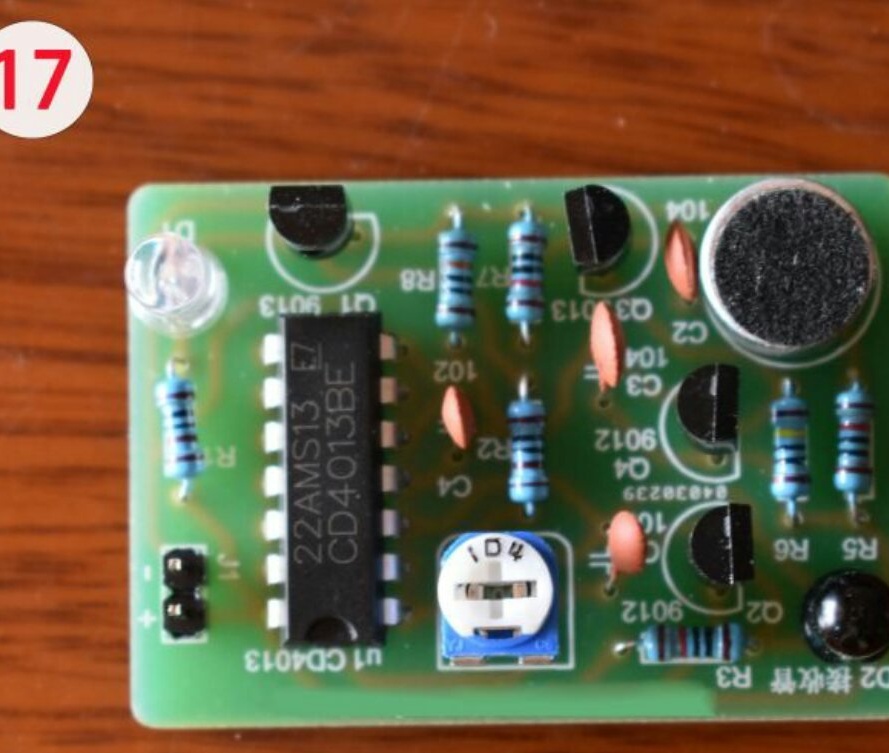
If you repeat the design on the breadboard, you still need to connect the components to each other according to the scheme. But the master has a printed circuit board, it is possible immediately after soldering all the components, observing the polarity, to supply a supply voltage of about 5 V. After that, the resulting electronic the candle can be repeatedly lit by acting on the photodiode with IR rays from a lighter or remote control, and extinguished by blowing on the microphone. Having paralleled many LEDs at once, you can install the design on the cake, blowing them all at once will be easier than as many real candles. But you should avoid contact of the solder with the cake, having come up with a case for the device.