
In this article, the author of The Wood Whisperer YouTube channel offers you a sample of the lightbox made by do it yourself. This model You can also take as a basis for creating a home theater.
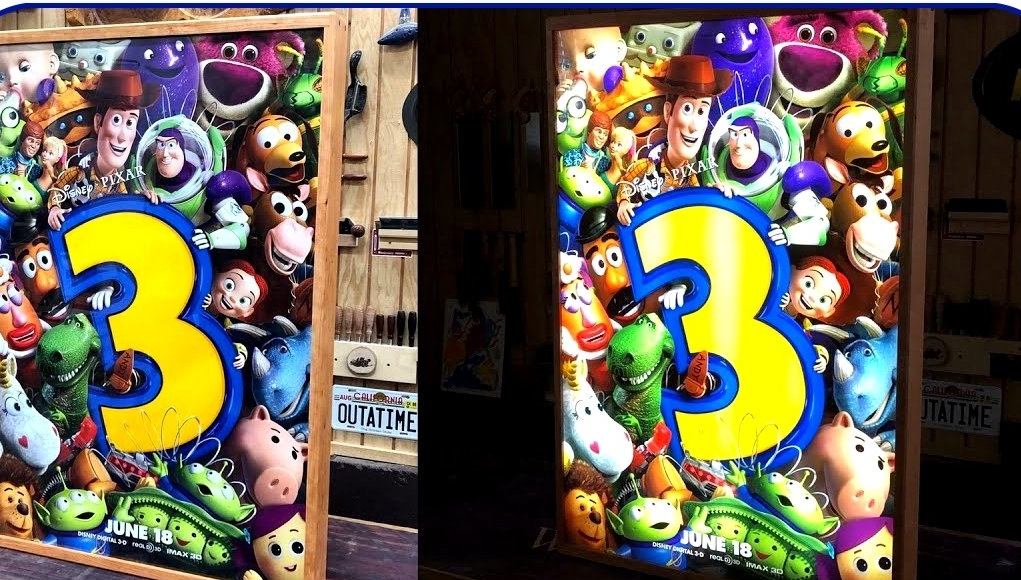
This is a fairly cheap project: a pocket-mounted frame, an LED strip, plexiglass and a paper poster.
Materials
- cherry boards
- sheet plywood
- Aluminum tape
- LED strip, power supply
- Plexiglass
—
- masking tape
- Mortise nuts, screws
- PVA glue
- Impregnation for wood.
Instruments, used by the author.
- A circular saw
—
—
- Allen key
—
—
—
—
- mallet
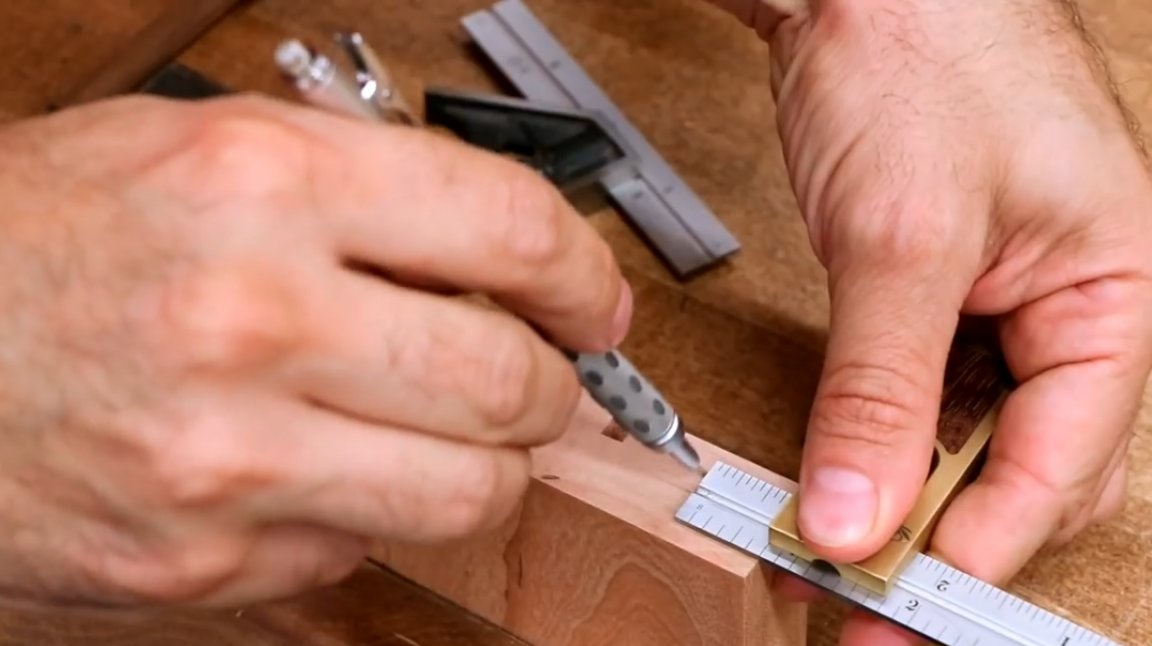
- Square, ruler, marking surface gage, pencil.
Manufacturing process.
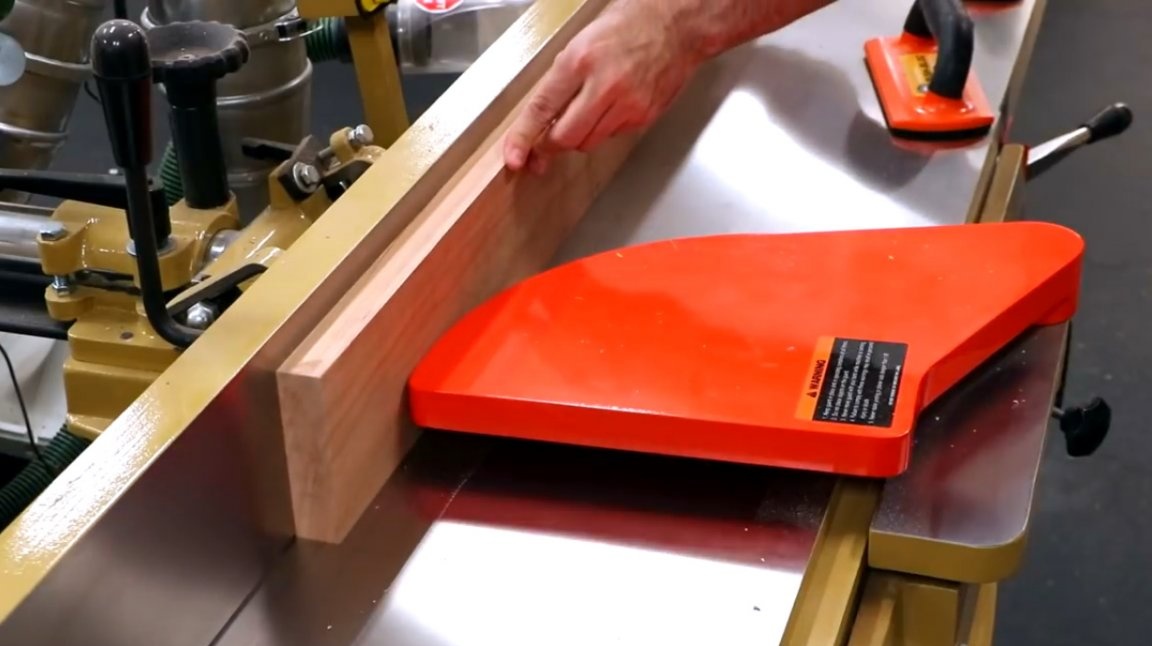
The author begins by making four frame elements. For this purpose, he chooses cherry wood planks, processing them on a jointer,
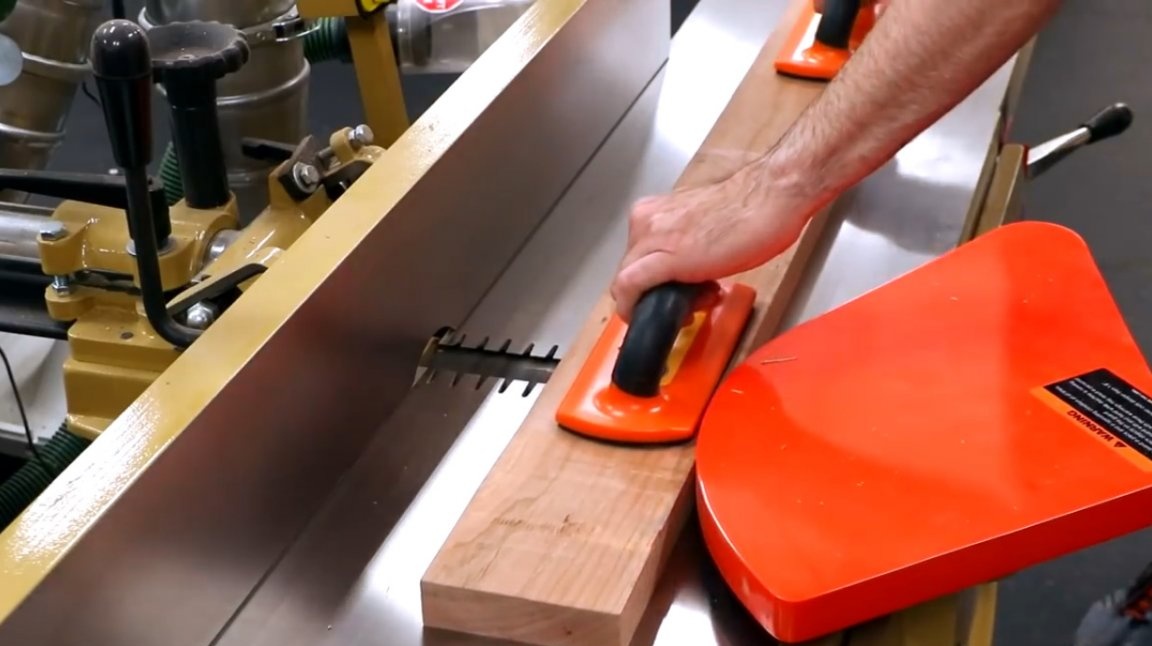
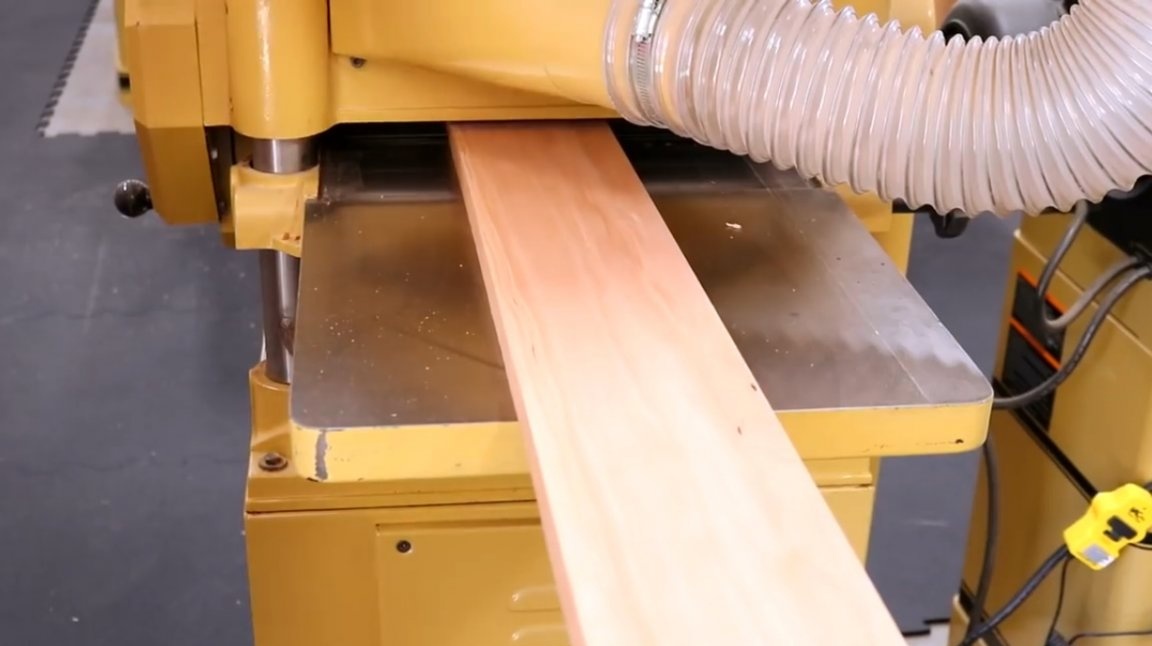
Now all the boards are passed through the thicknesser.
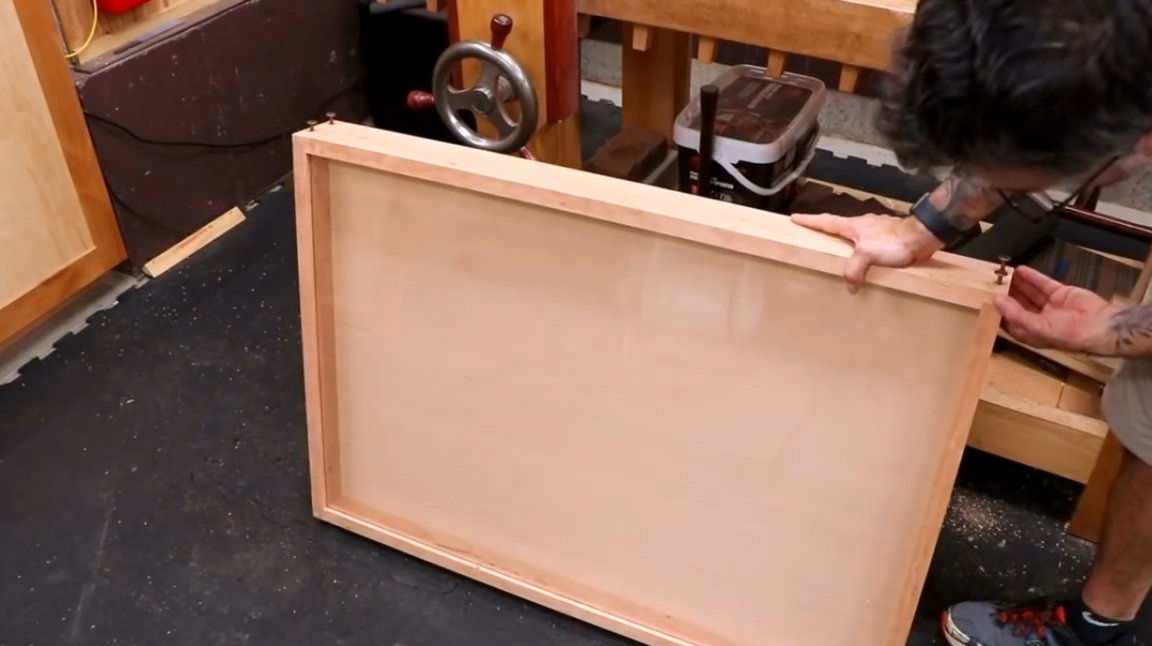
Cut to the size indicated indrawing. The frame parameters correspond to the standard of 27X40 movie posters. But these sizes can be varied, observing the proportions.
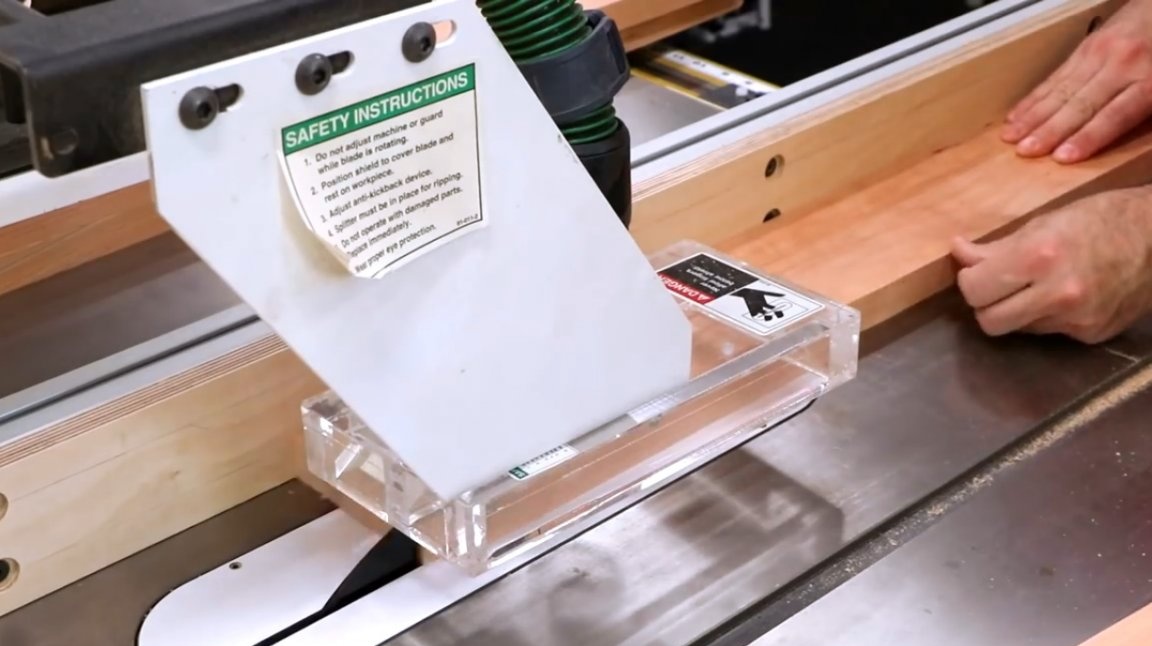
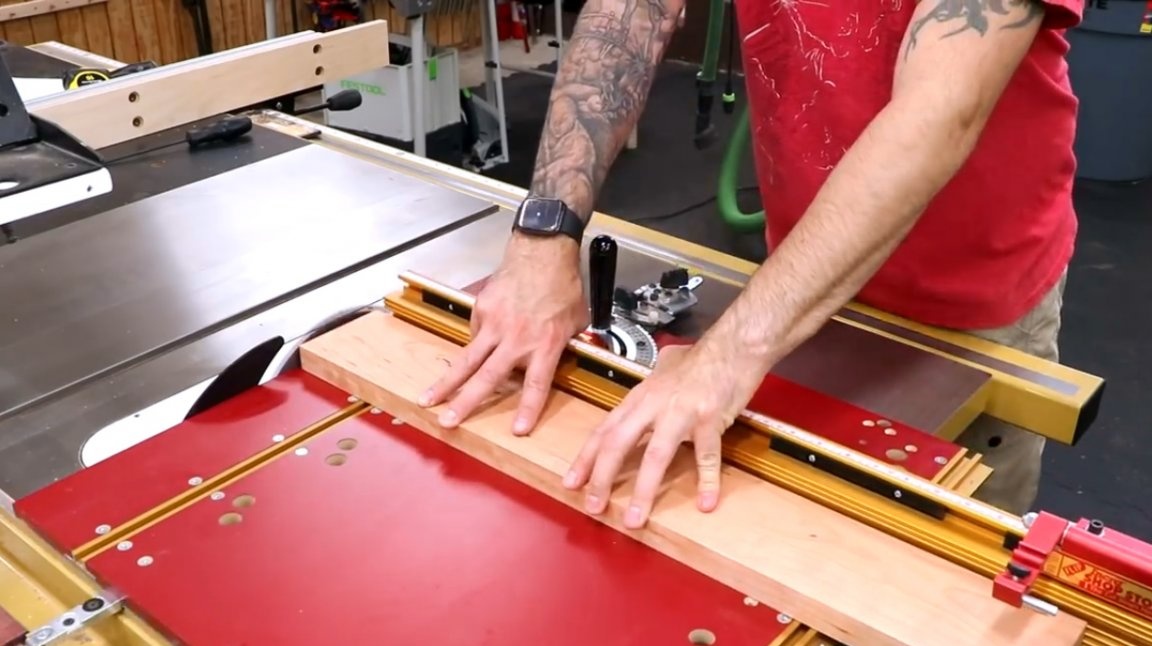
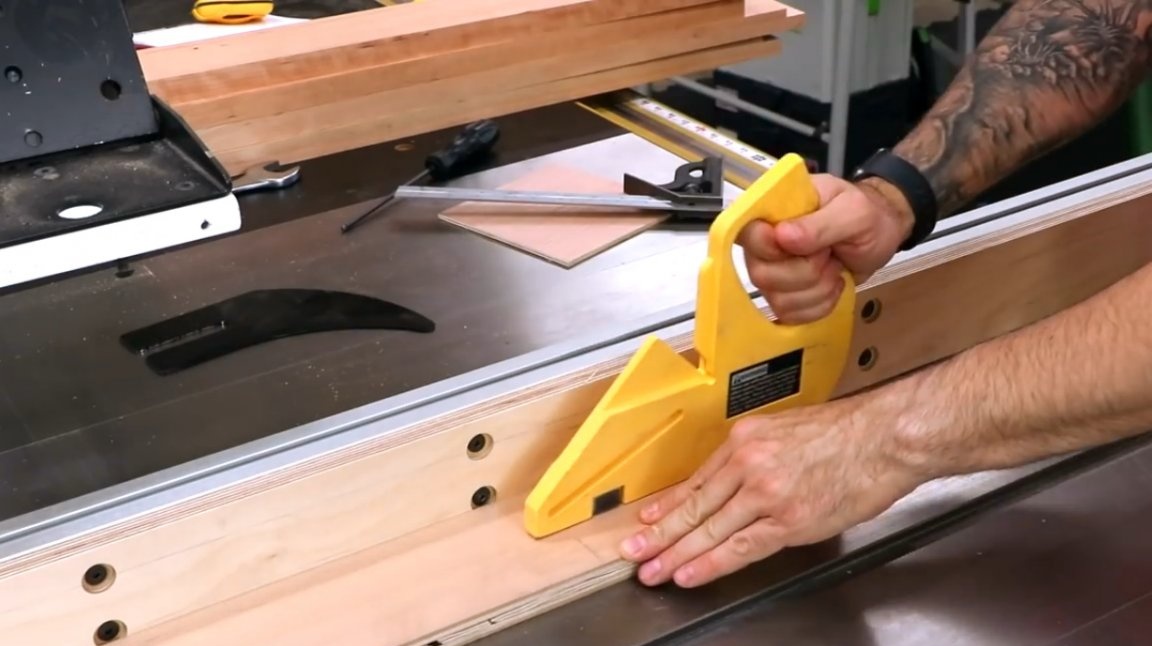
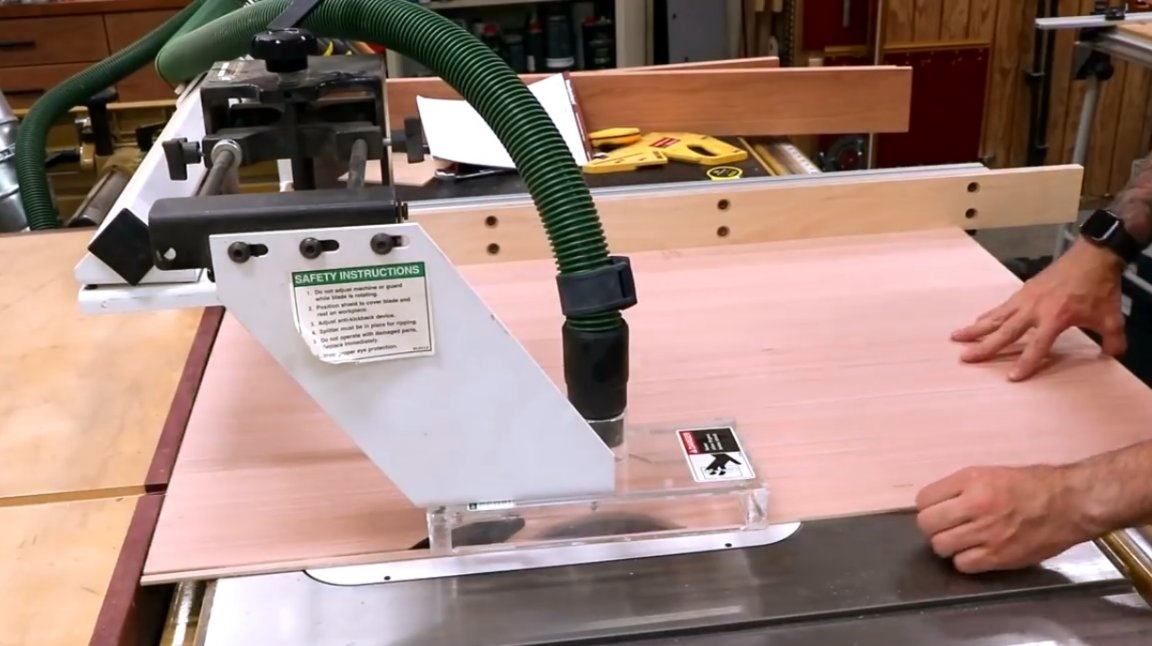
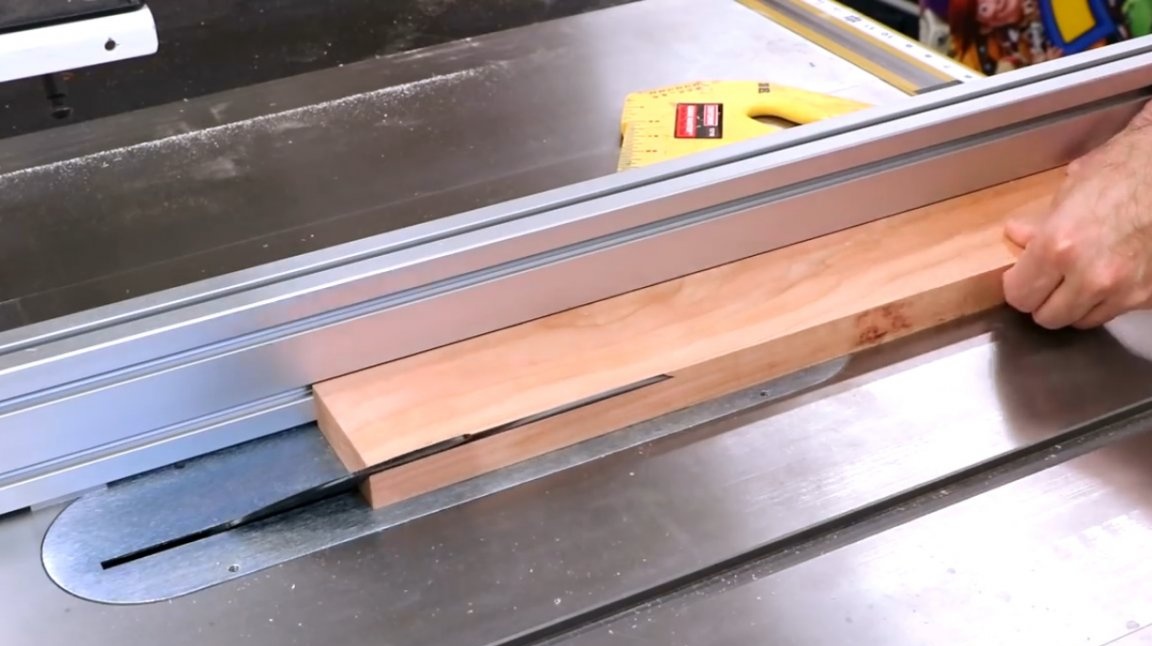
Parts of the frame will be connected to each other by reinforced dowels. The ends of the long sides of the frame are cut with a Dado disc.
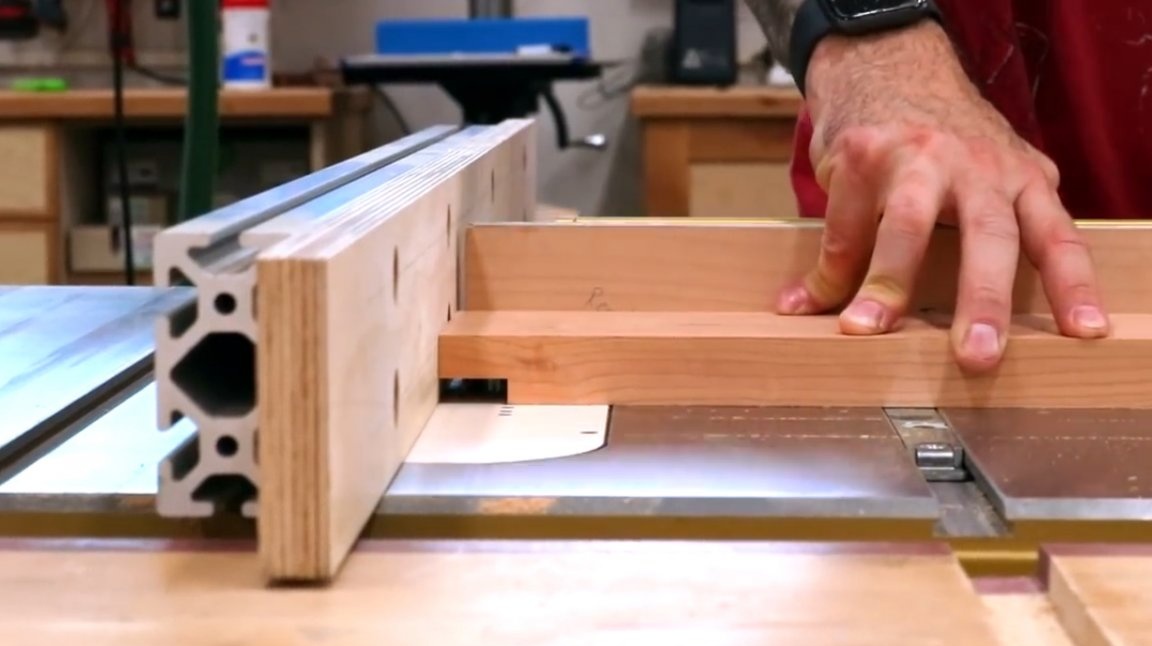
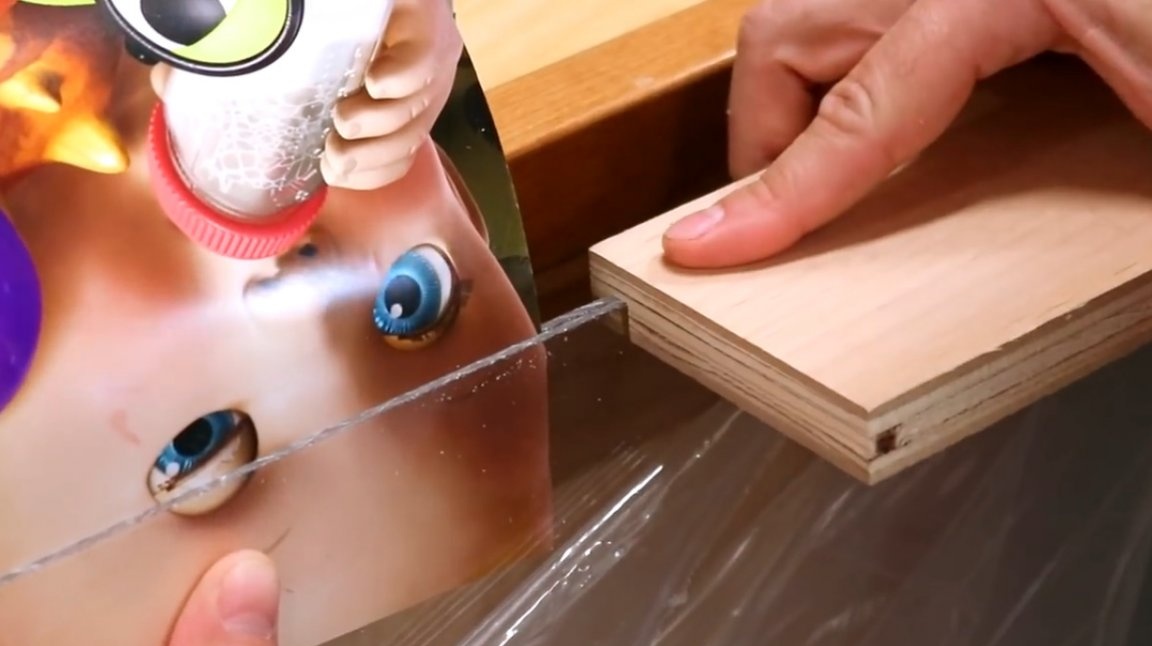
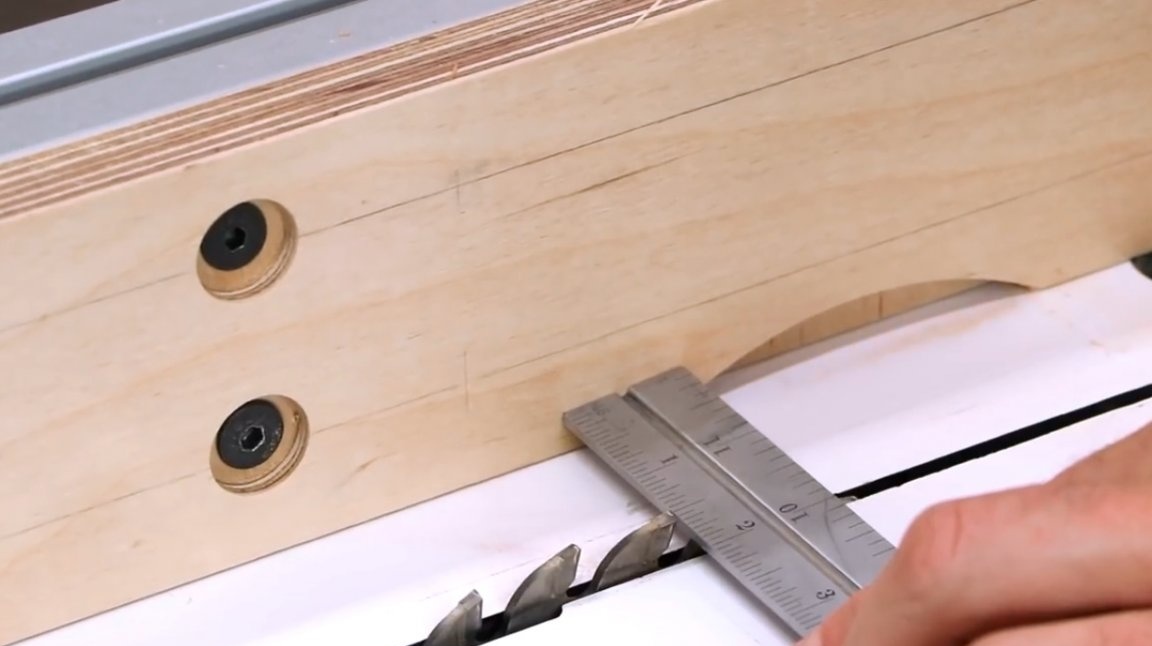
Then, with a conventional saw blade, grooves are cut out for a section of plexiglass and the back wall of plywood. The master measures the exact distance where the groove should go and sets the stop. The first test slot is made on a piece of plywood. Now the slot for the Plexiglas insert should be expanded. It should be wider than the blade of the saw blade. The master gradually puts emphasis, training on the test board. Each time he tries on a sheet of plexiglass. The poster itself will lie between its two layers.
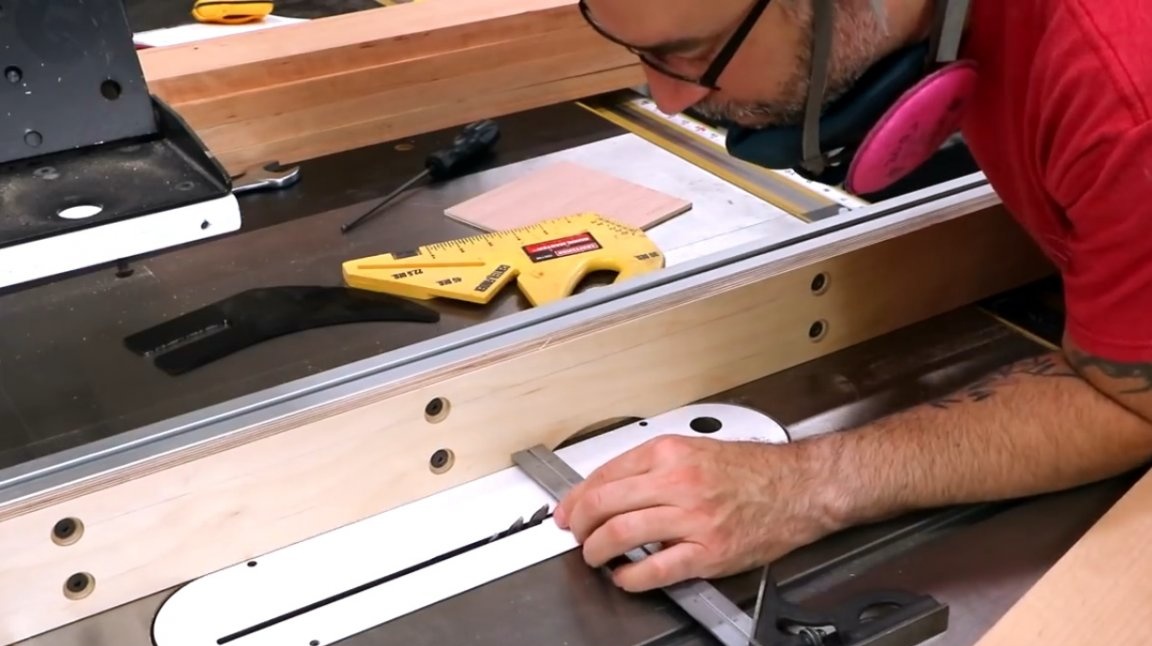
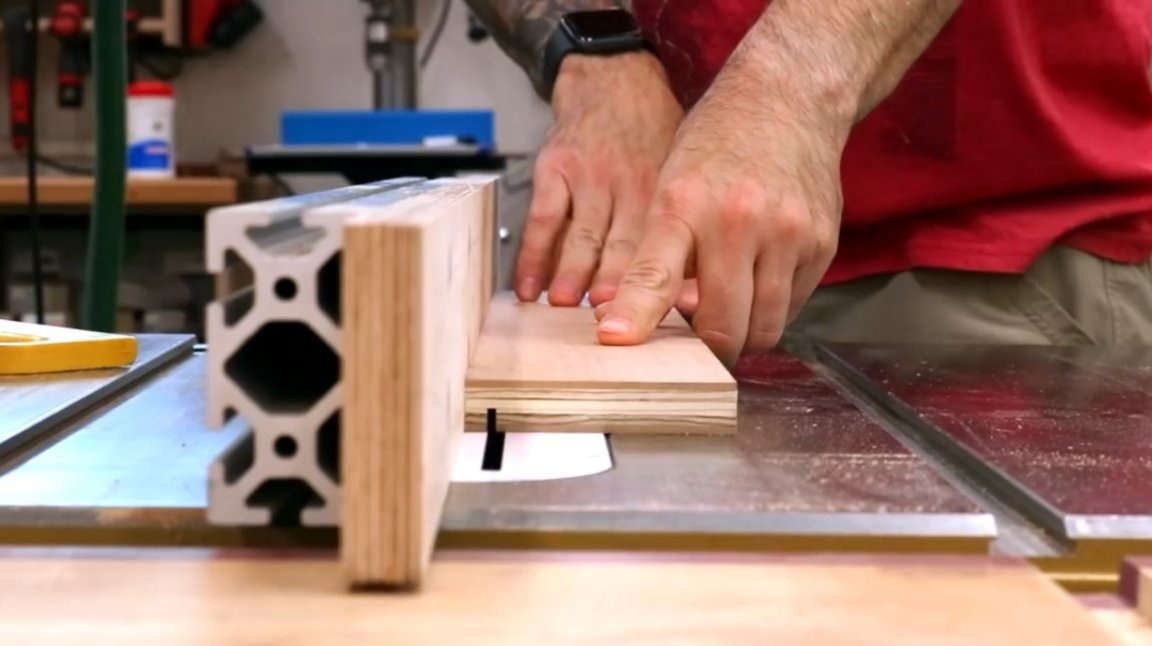

In the end, he wants the plexiglass sheet to slide inside the slot.
In the same way, he makes a second slot on each fragment of the frame. And finally, the slots on the back.
The rear panel is mounted to the frame at a sufficient distance so that the LED strip and power supply can be positioned behind the frame. The back panel also slides easily inside the grooves, so if necessary it can not be removed there.
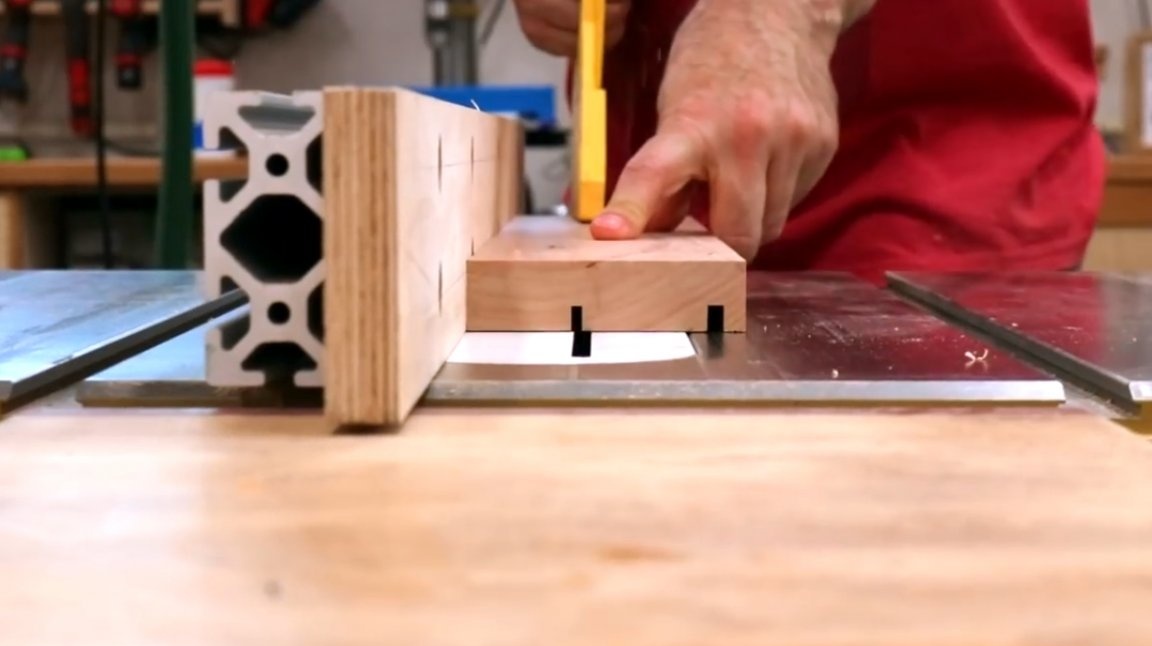

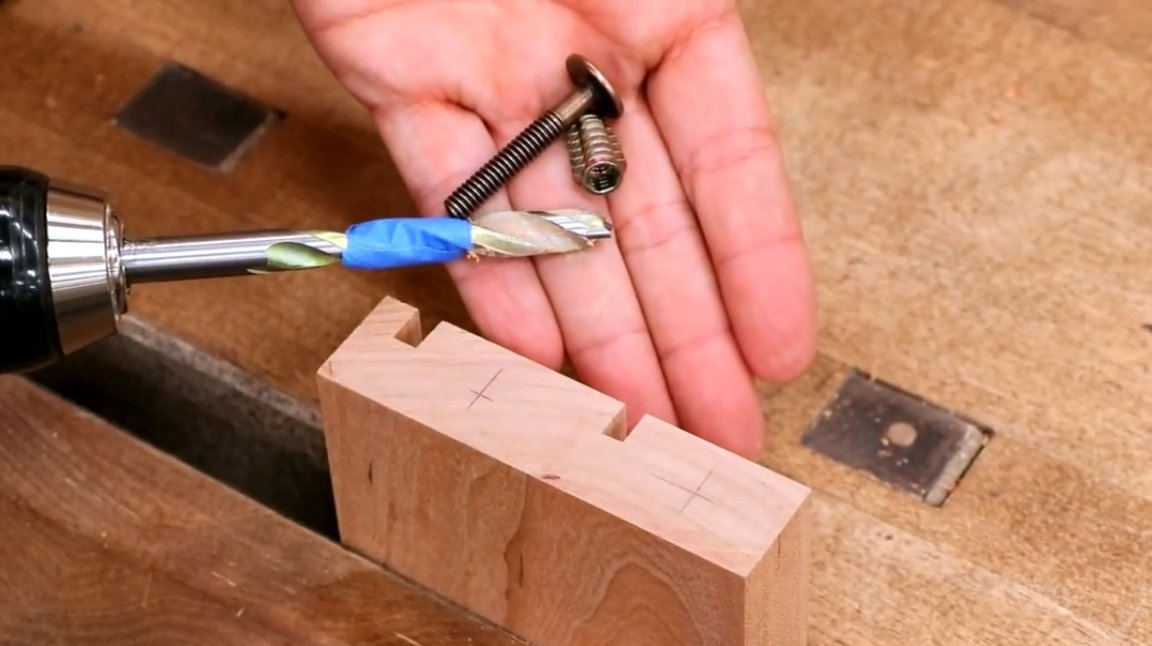
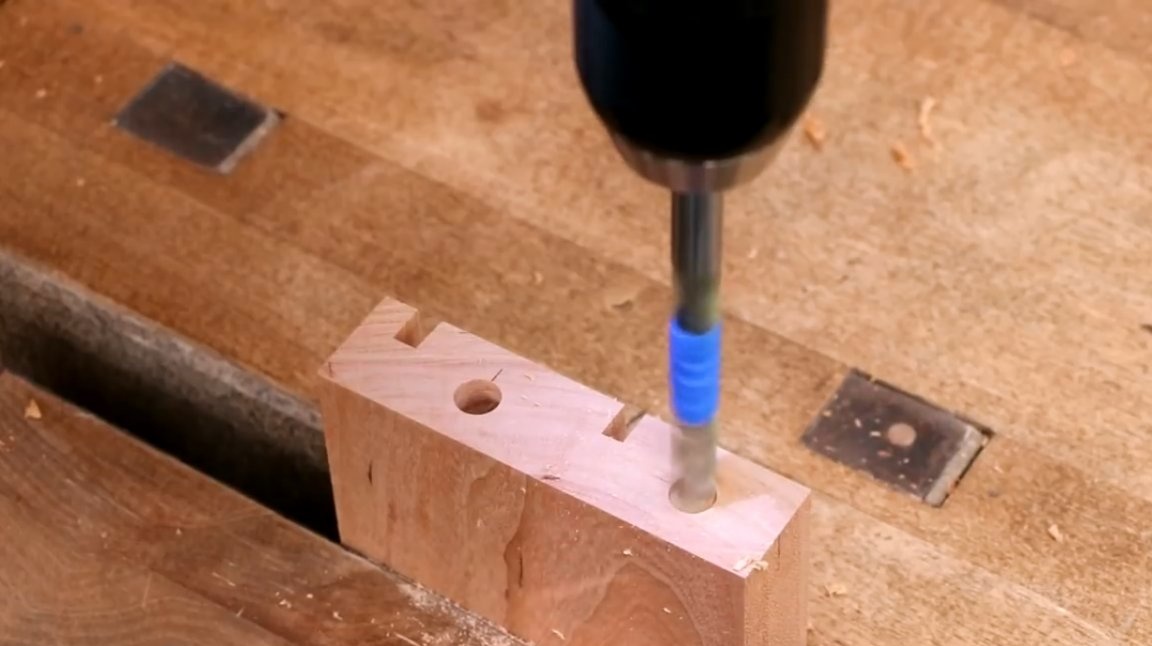
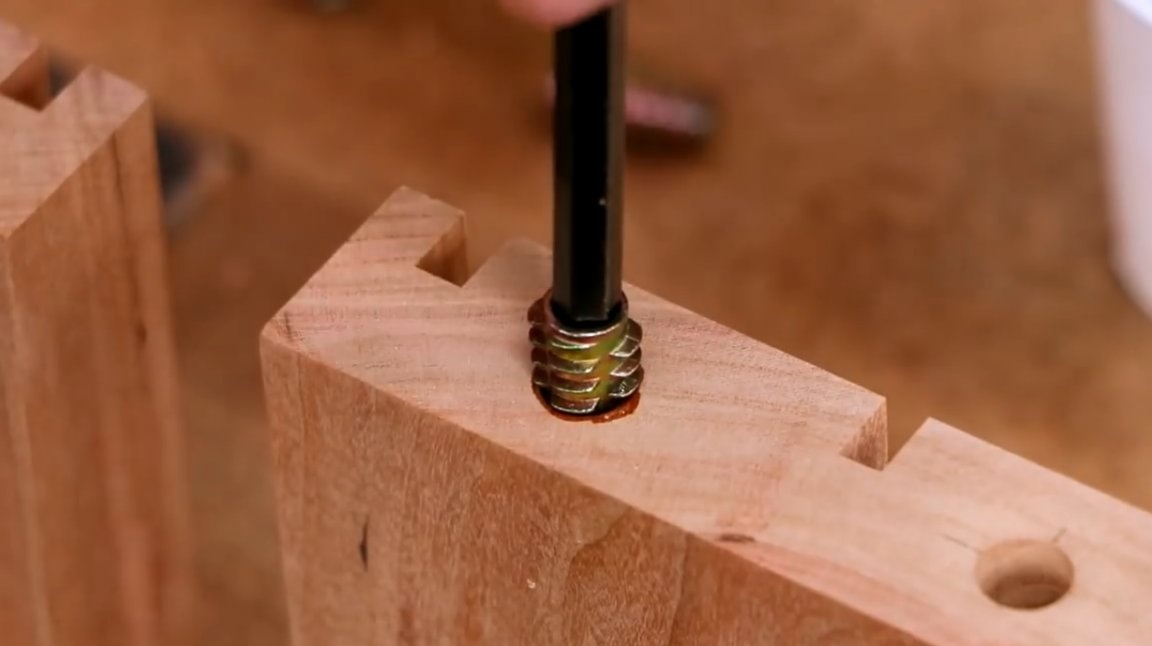
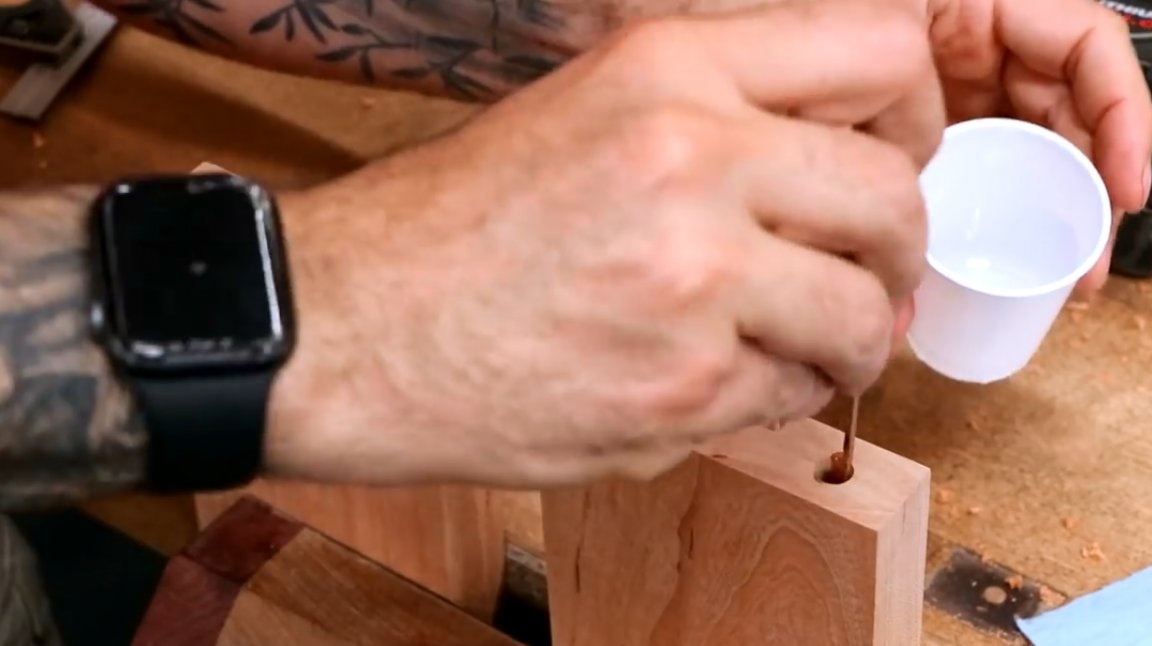
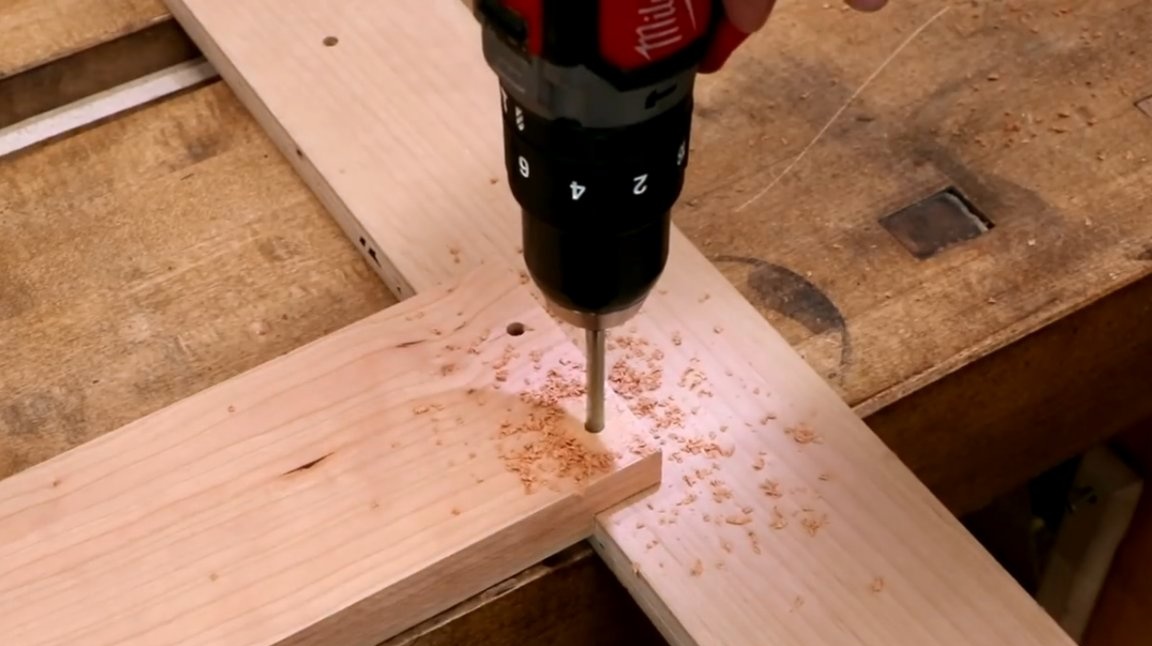
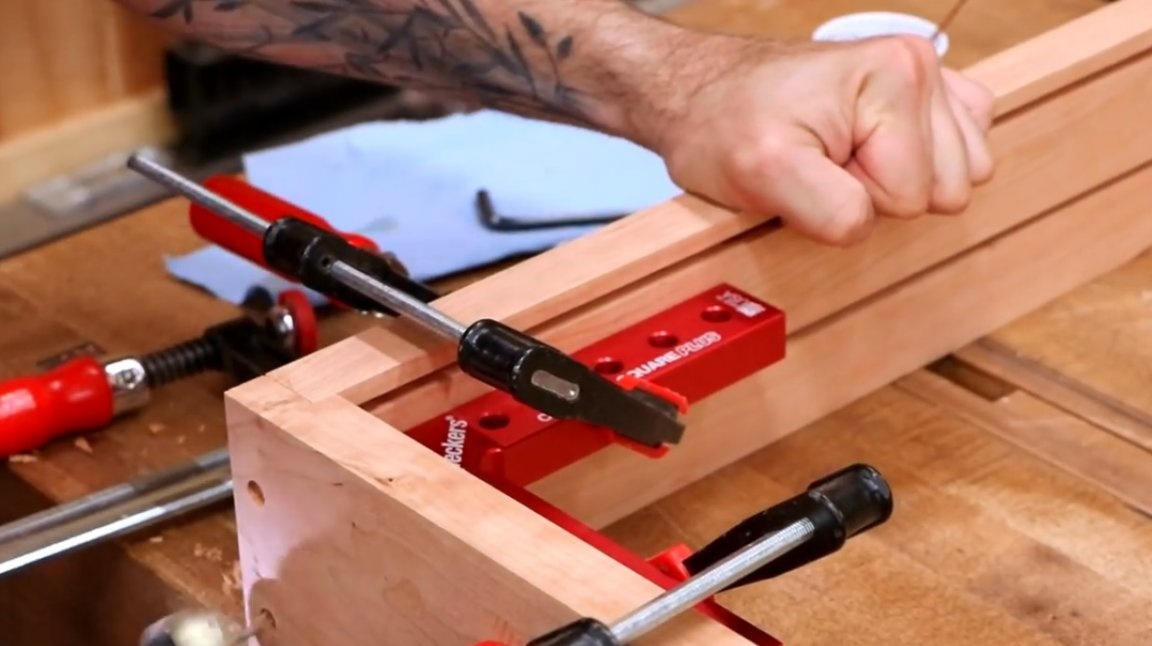
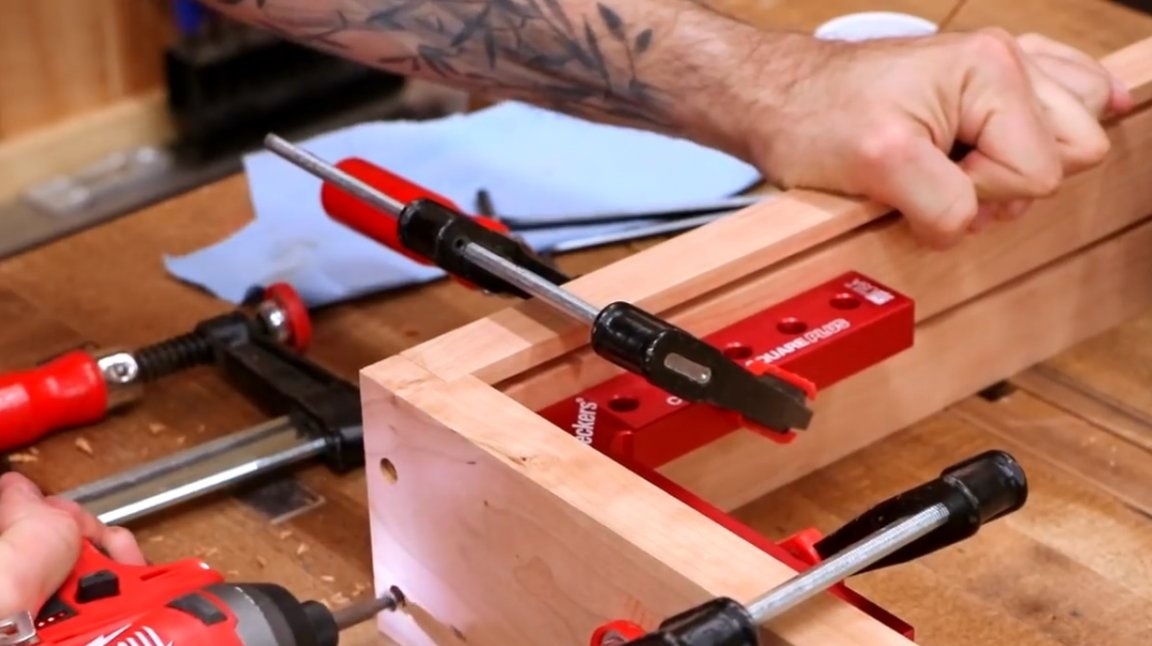
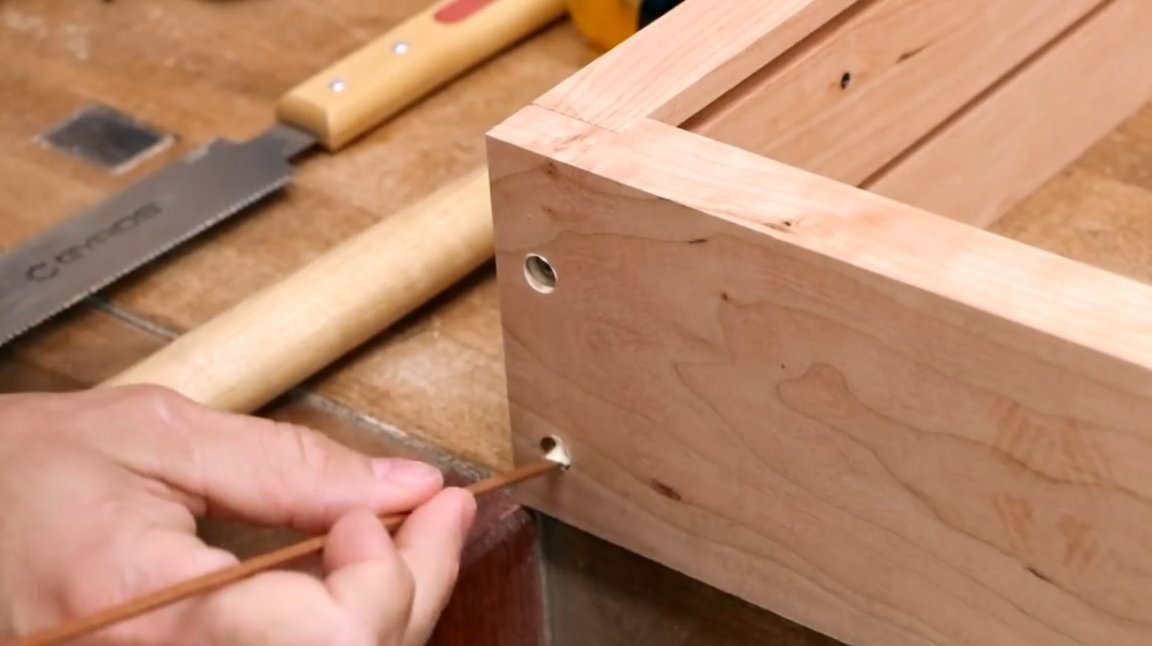
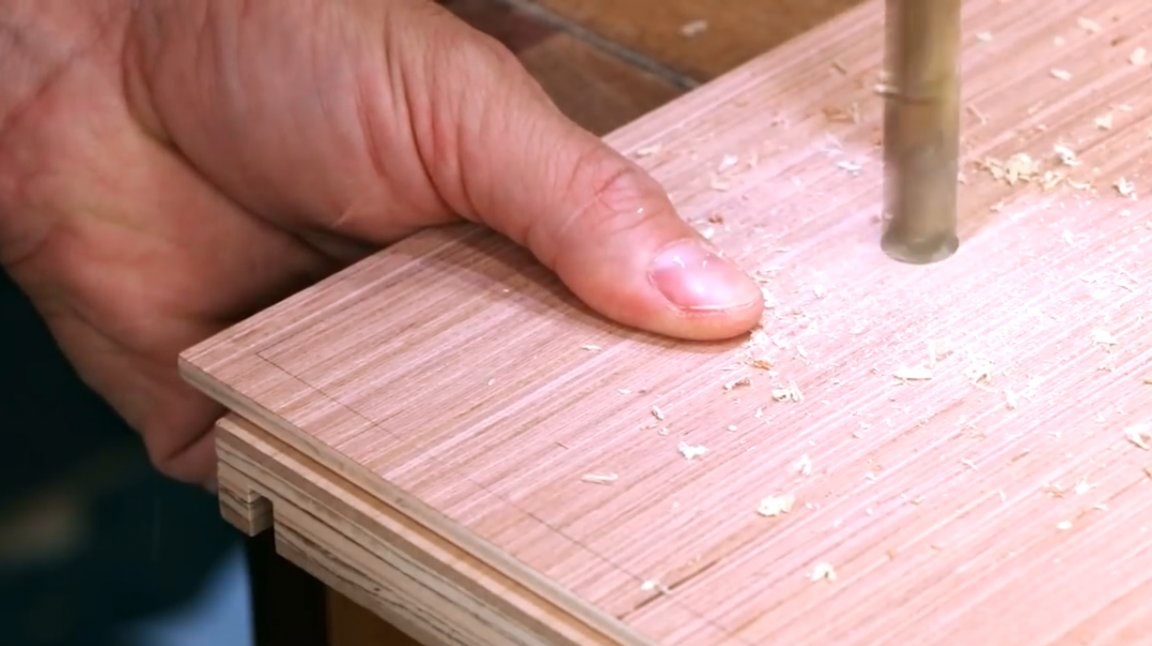
One side of the frame will be removable. In it, from the ends, the author installs several mortise nuts. The holes are intentionally drilled somewhat smaller than the nominal. The angle to be drilled should be as perfect as possible. It is better to do this on a drilling machine.
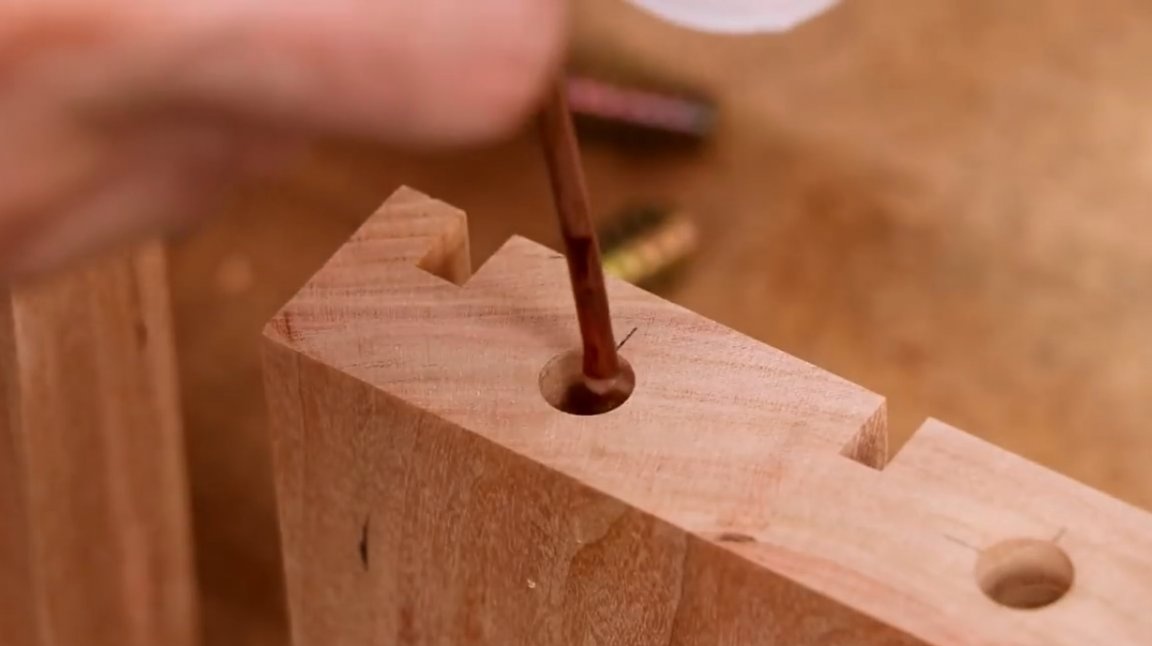
To ensure that the inserts are not movable, the craftsman pours a small amount of two-component acrylic glue into each hole, and then slowly tightens the nuts. They should sit below the surface.
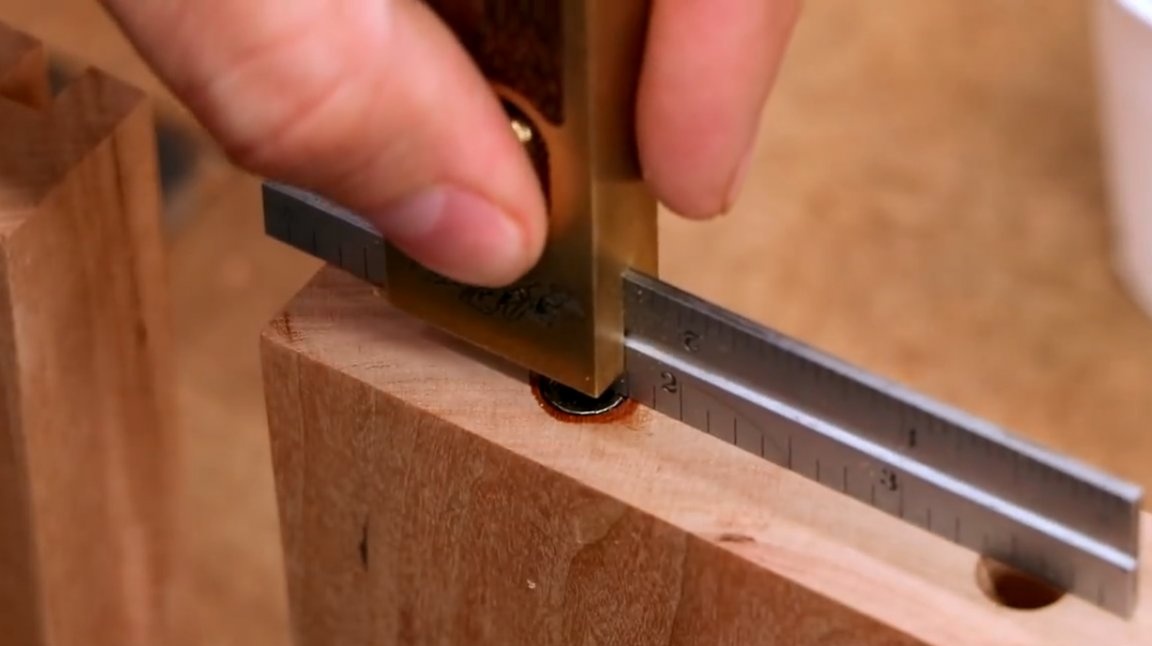
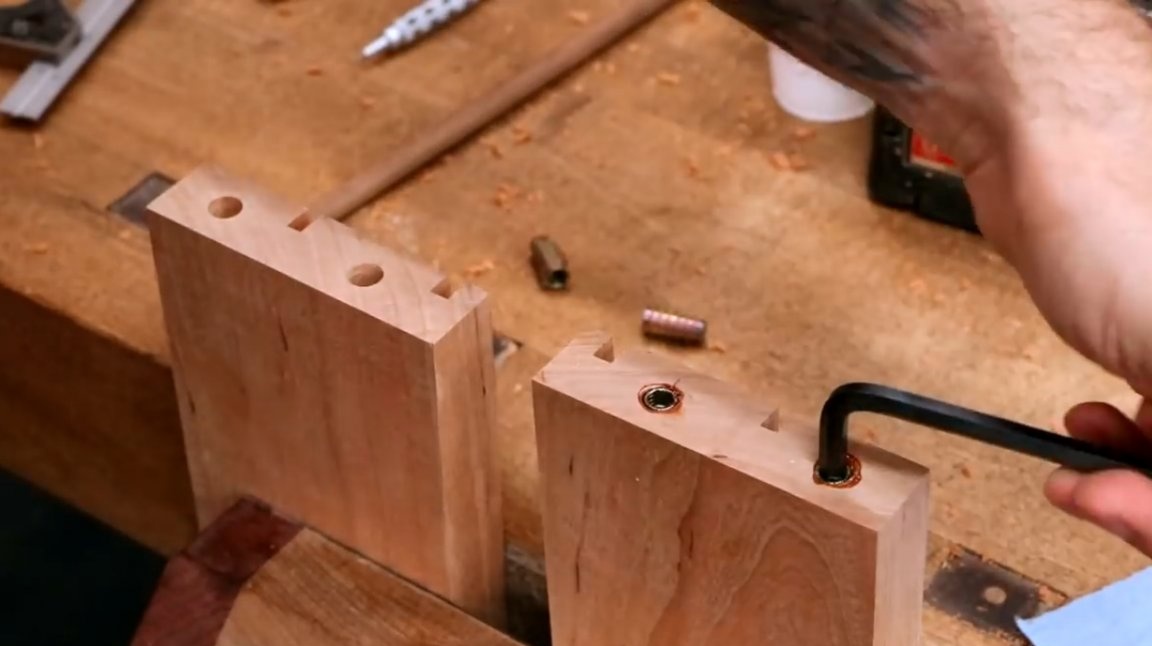
With the same arrangement, the author marks and drills the upper and lower holes in the removable fragment. The holes should be slightly wider than the bolts themselves.
When the author begins to combine both parts, one can immediately see how the holes are perpendicular to the surface.

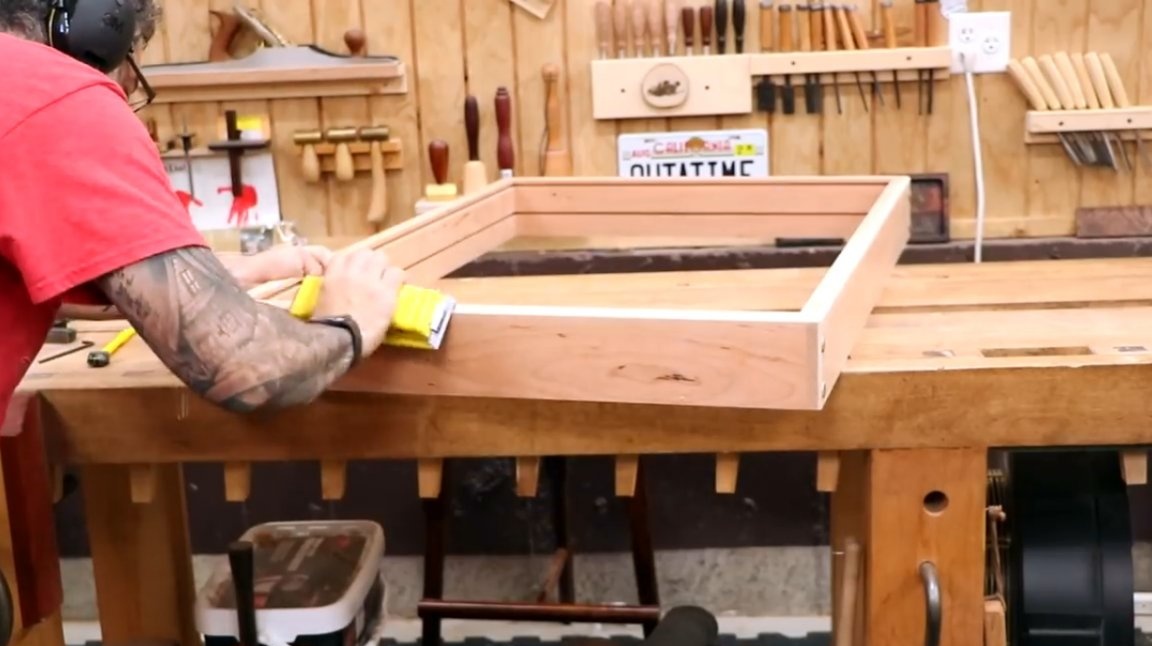
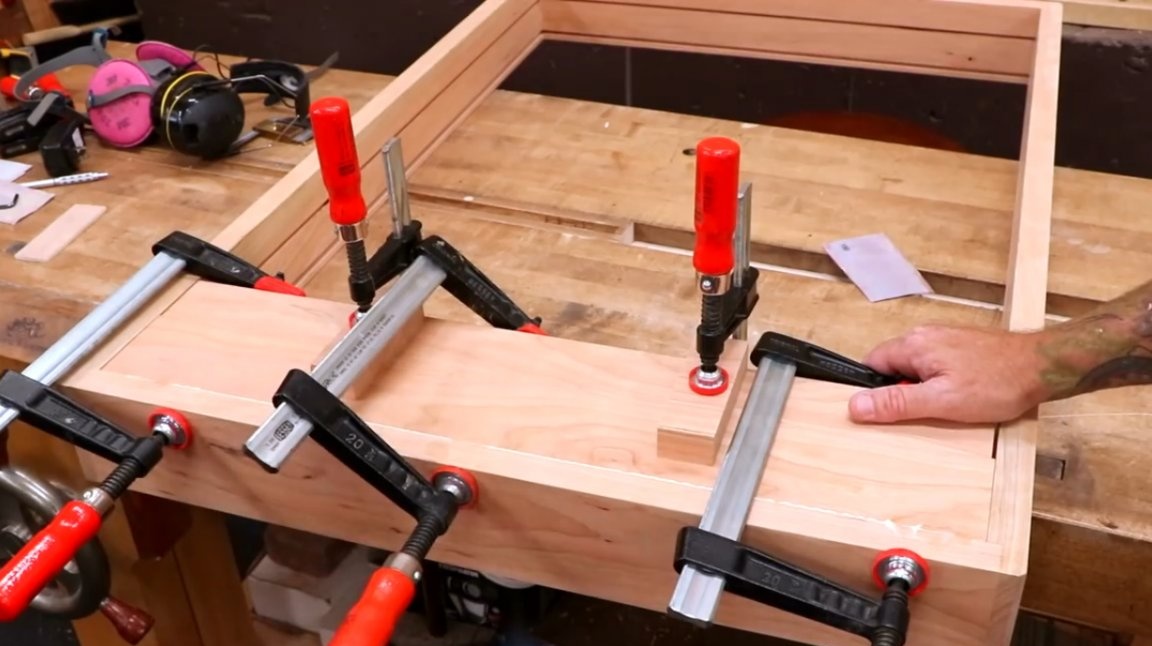
The second side of the frame will be fixed. The compound is coated with glue and tightened with clamps.
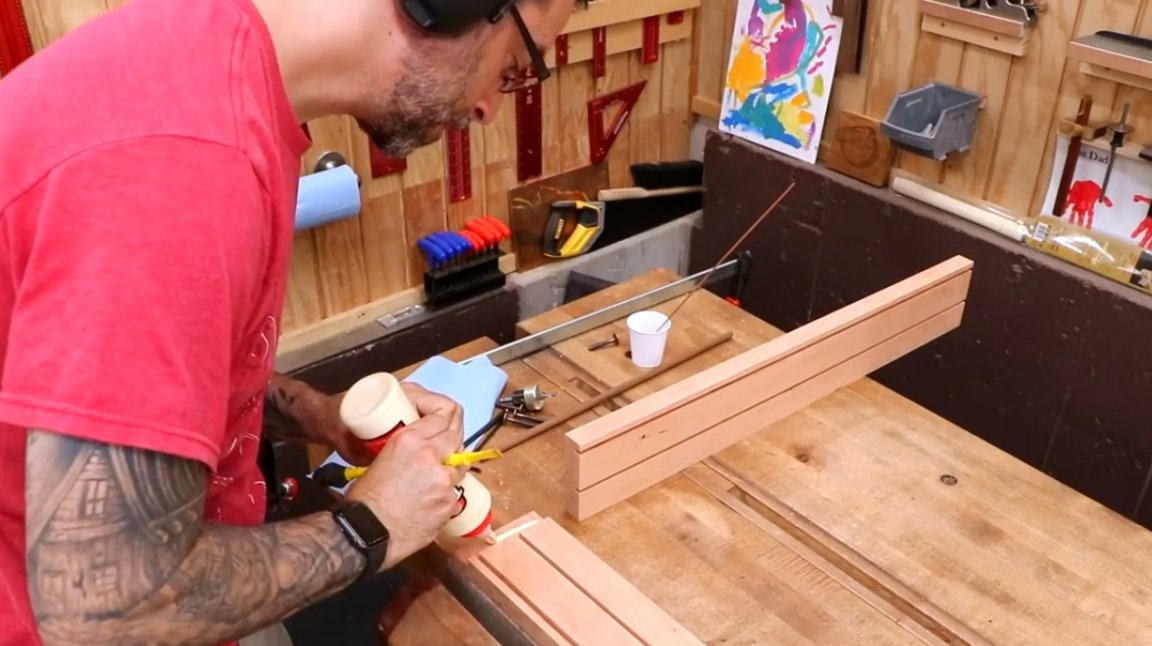
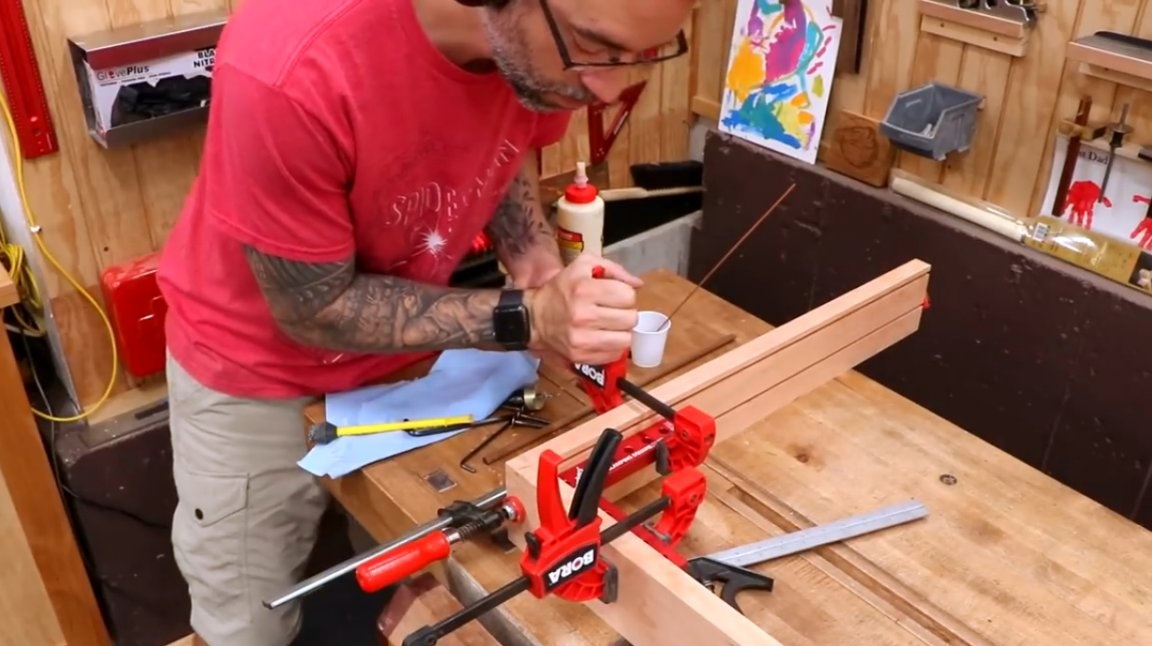
After the glue dries, the master strengthens the joints with screws.
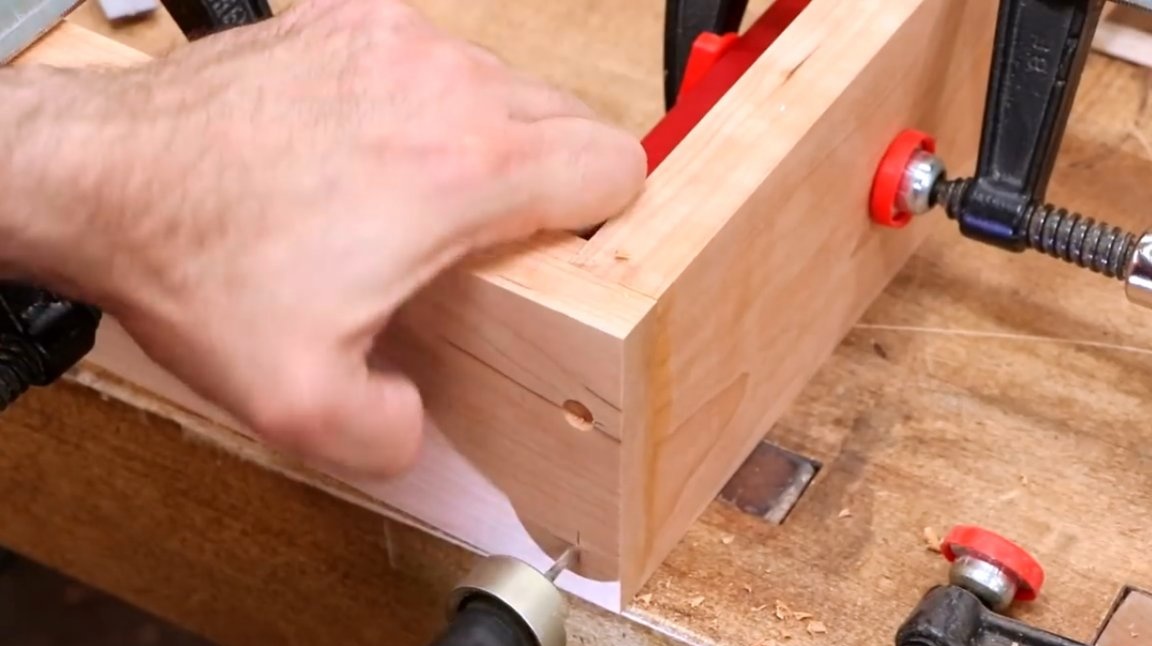
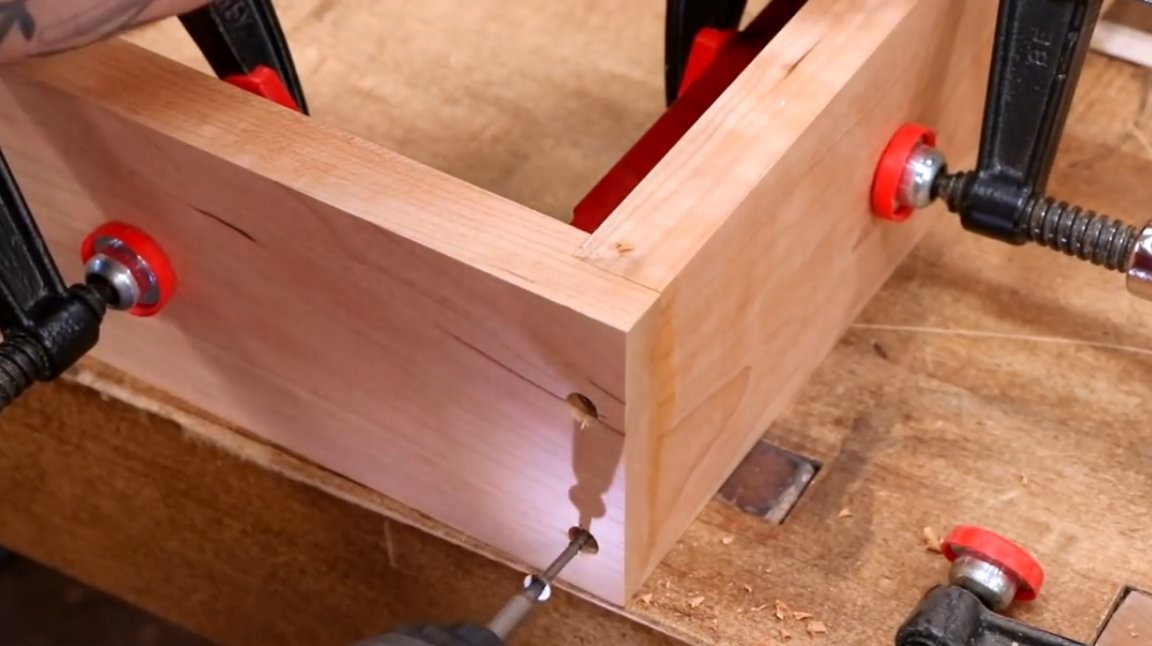
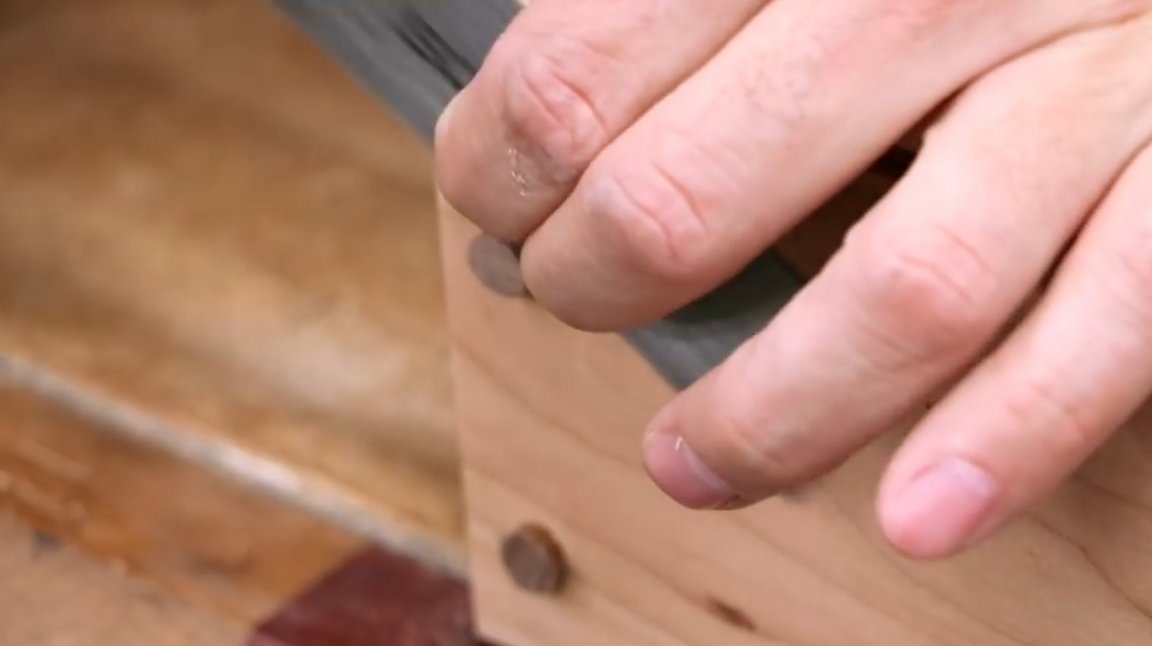
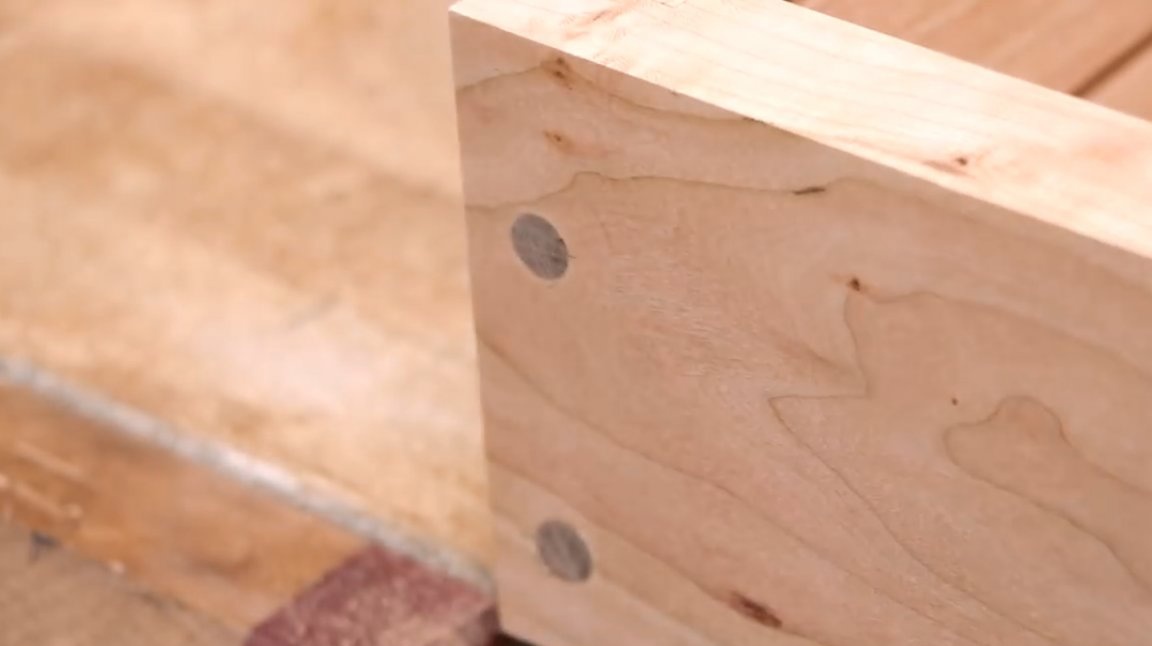
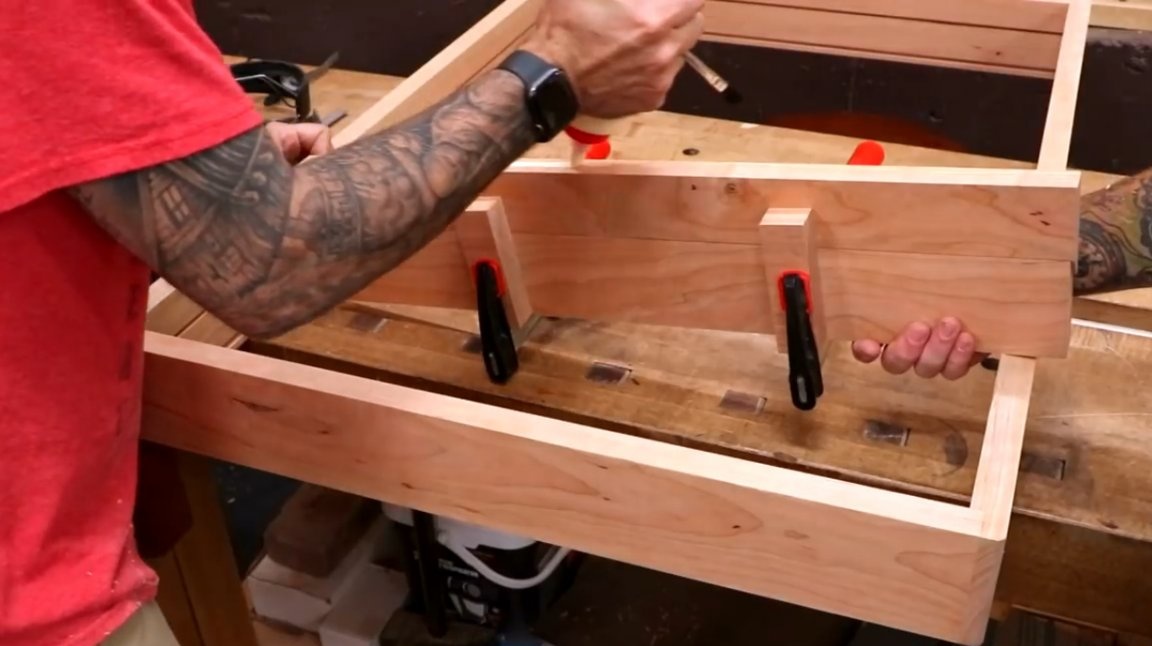
The author fills the remaining cavities with pieces of walnut dowels.
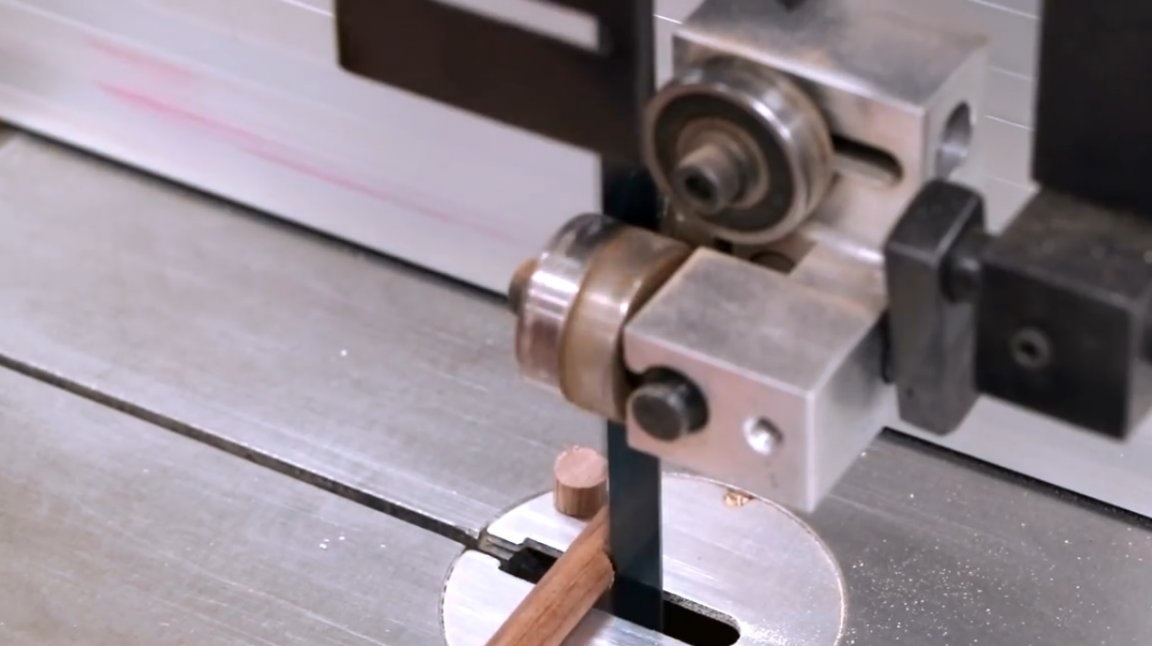
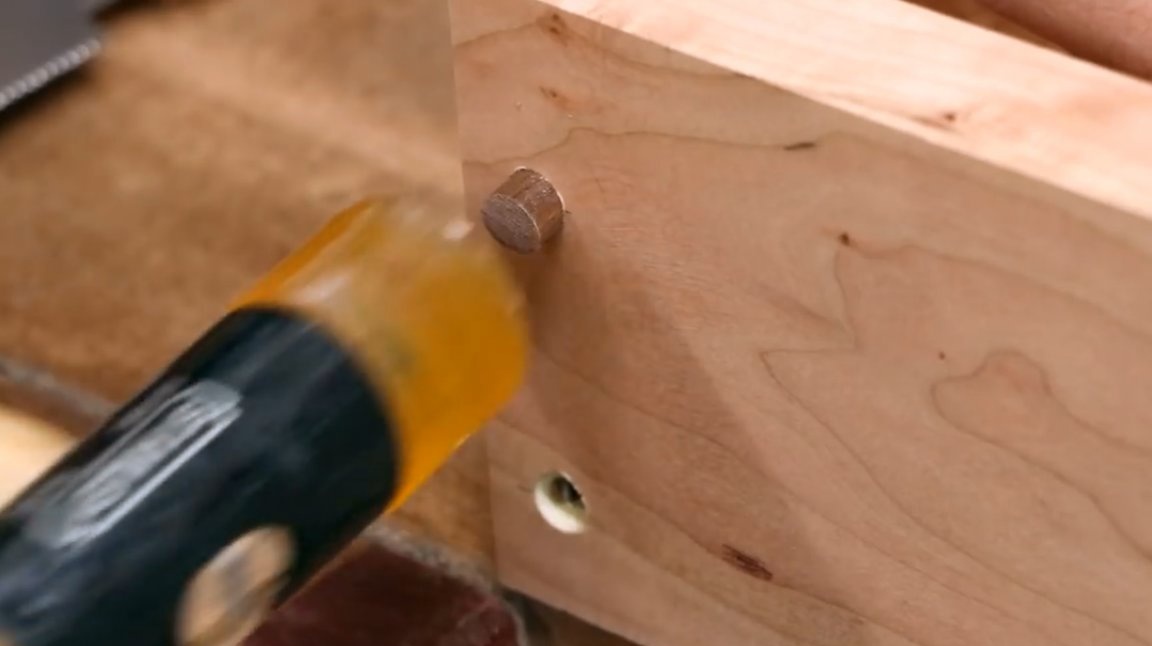
After the glue dries, the protruding parts of the nagel are cut off with a Japanese saw.
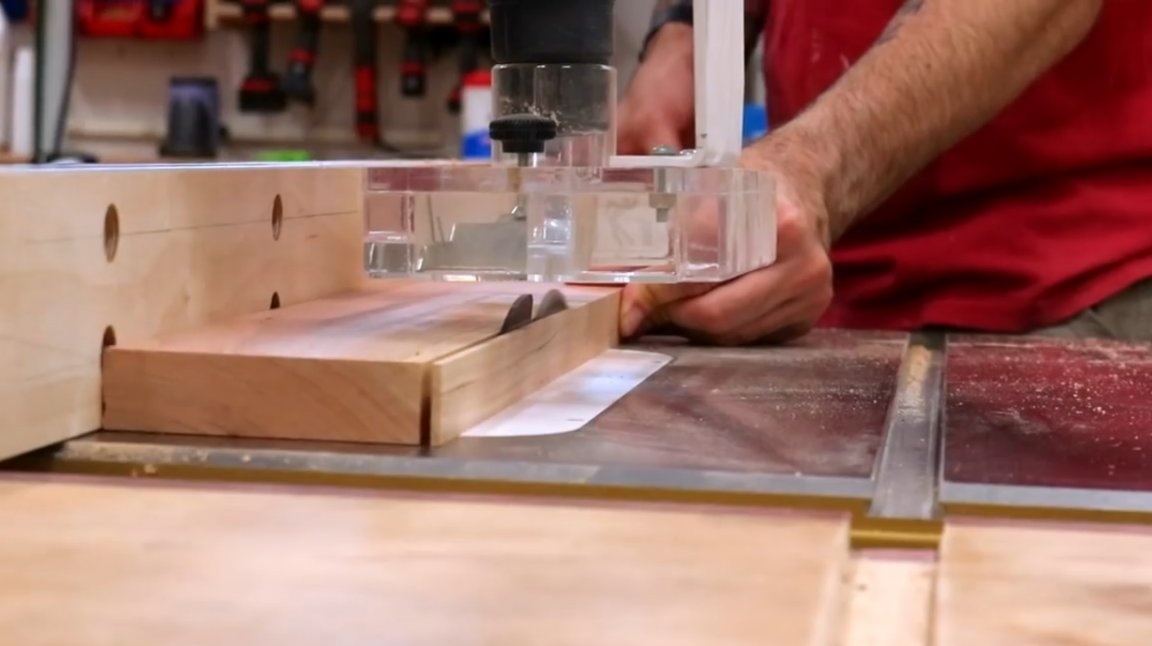
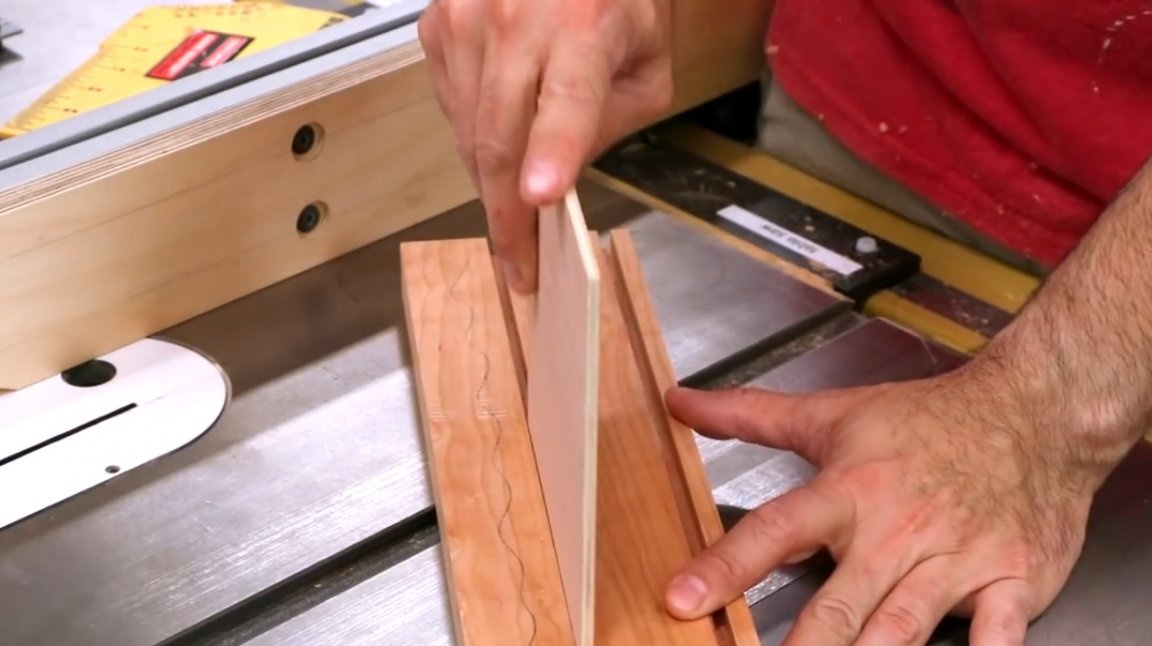
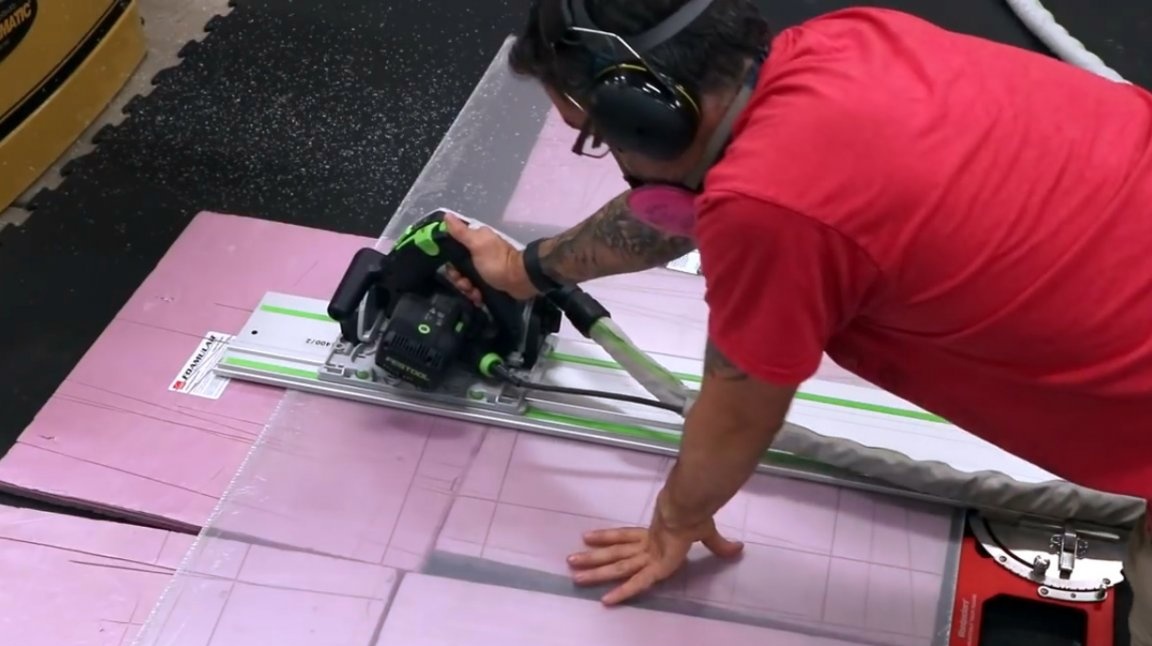
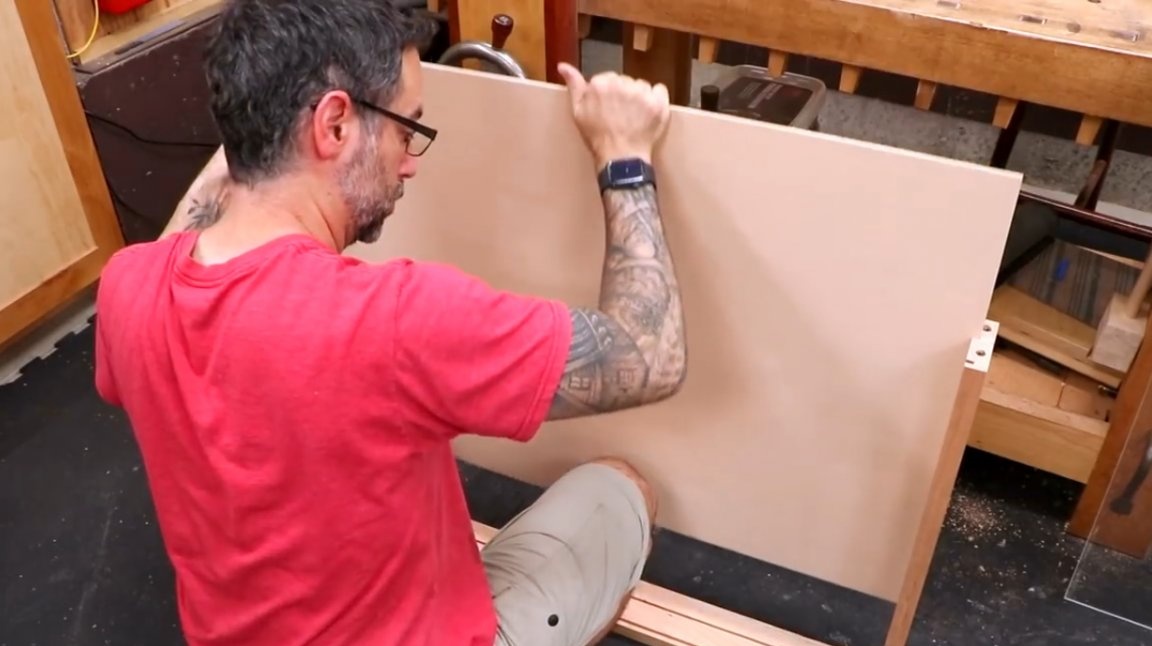
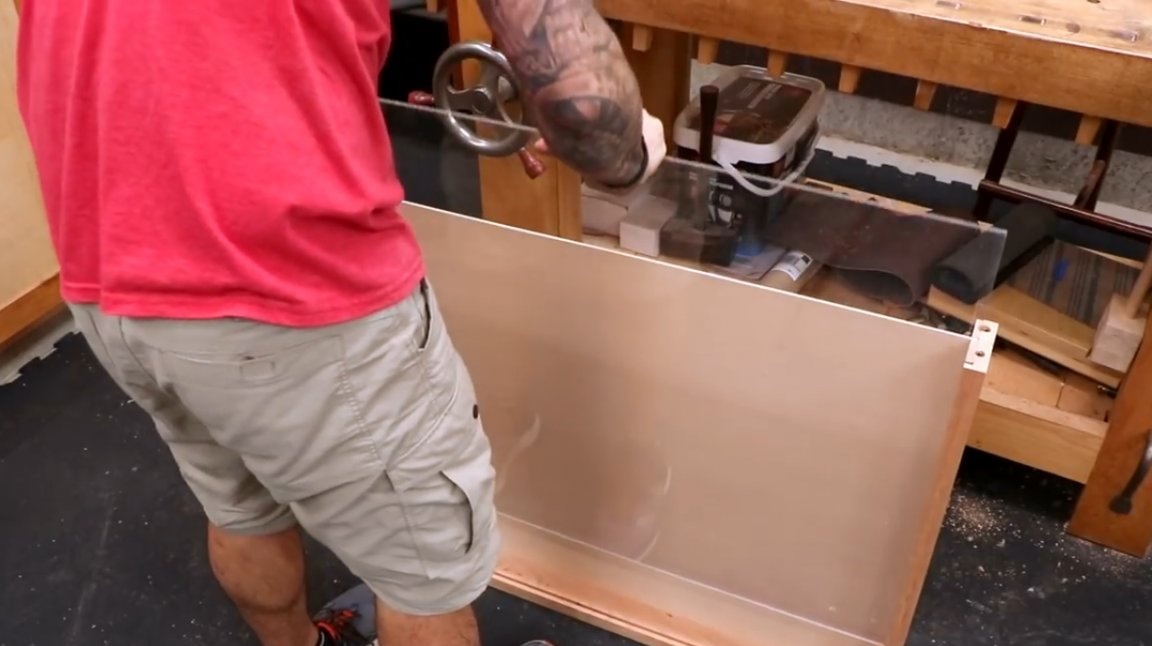
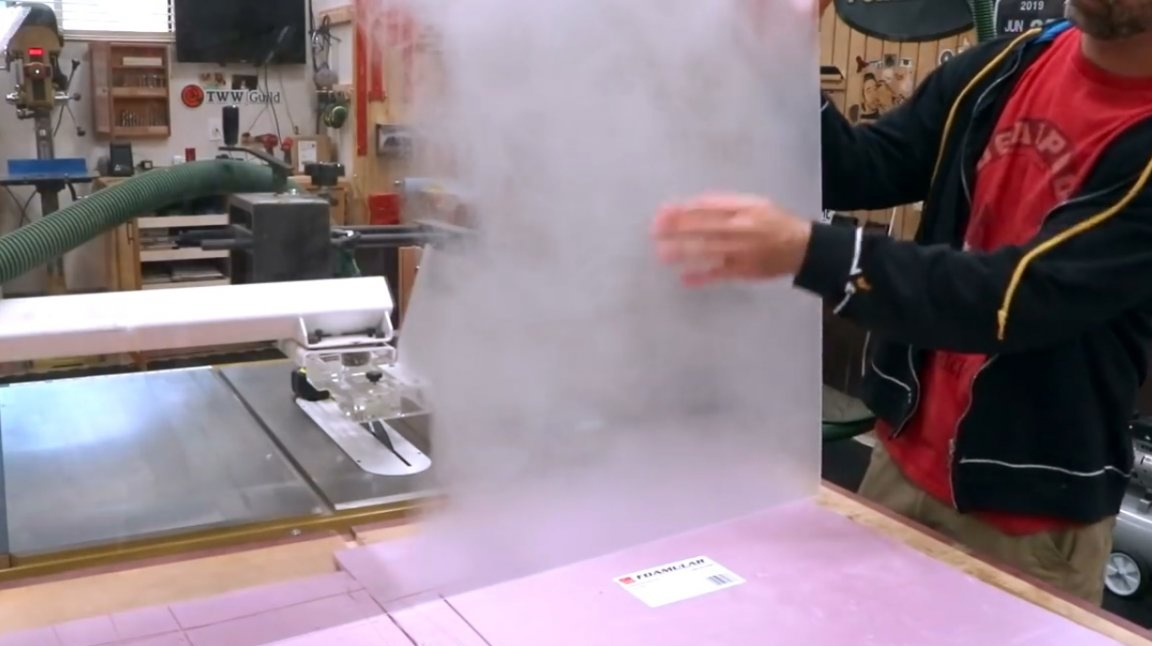
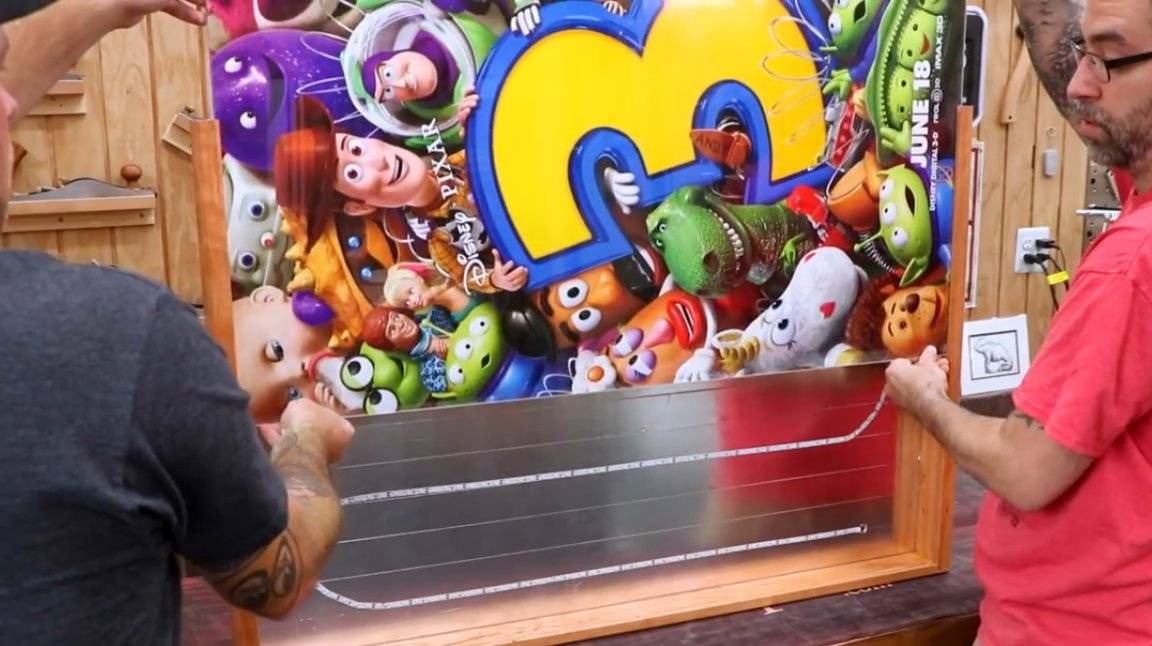
Both the back panel and the plexiglass sheets are the same size. First, the back panel is made of plywood. After that, the author immediately cuts two sheets of plexiglass with a circular saw using a guide and a plastic disc.
Remember, all three sheets should move easily inside the grooves.
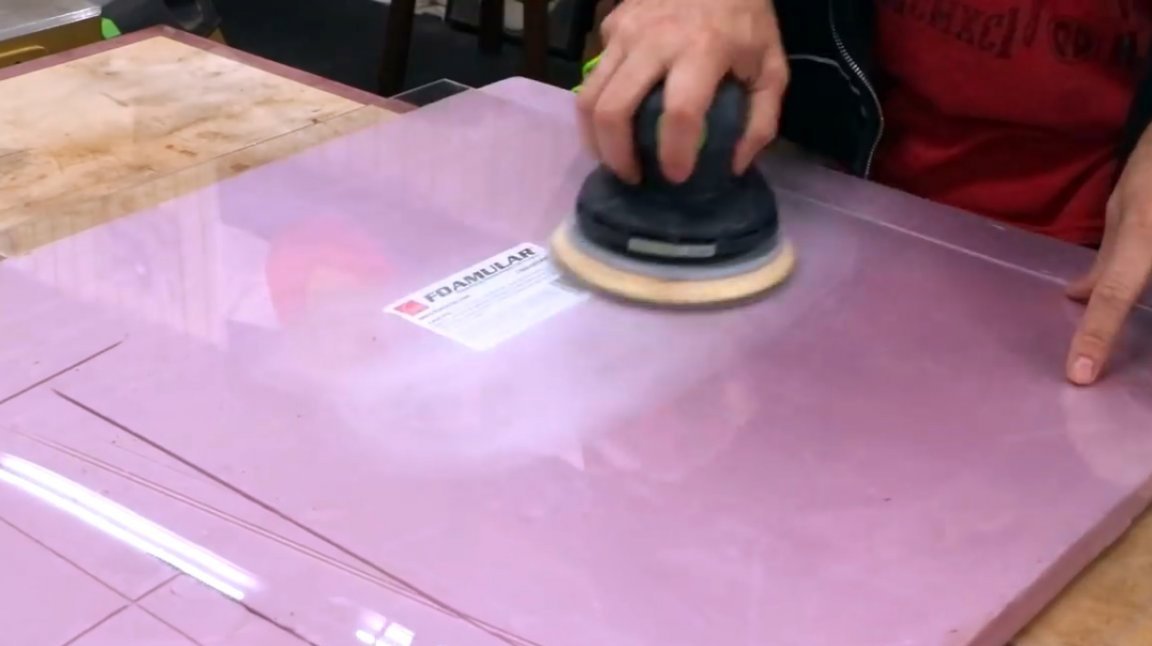
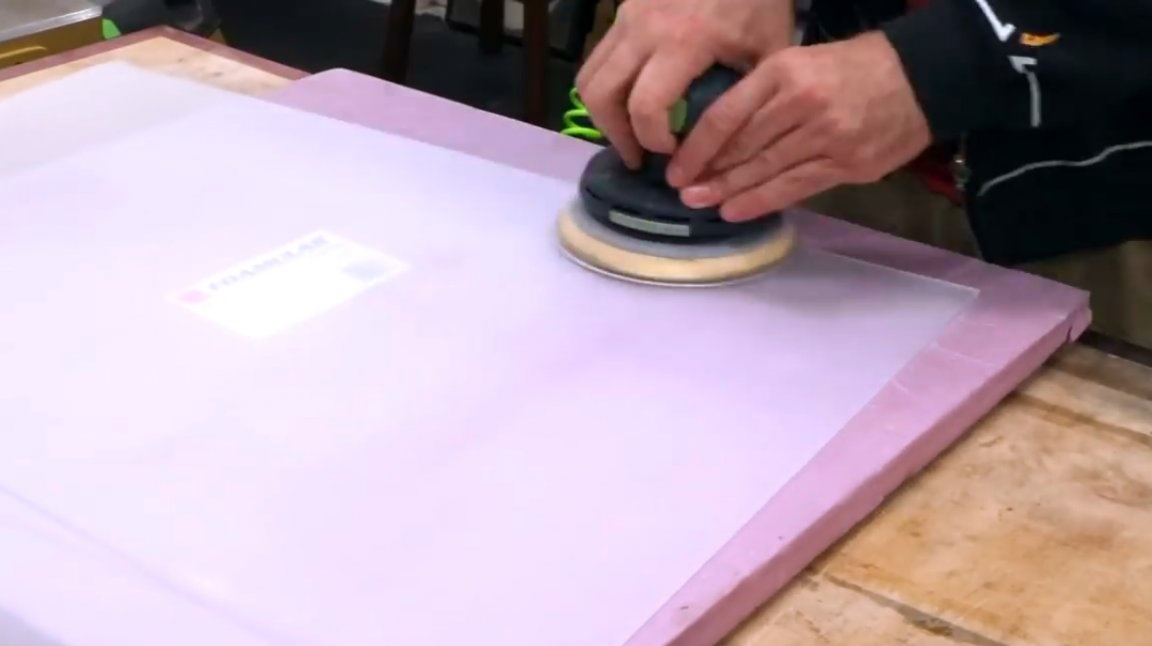
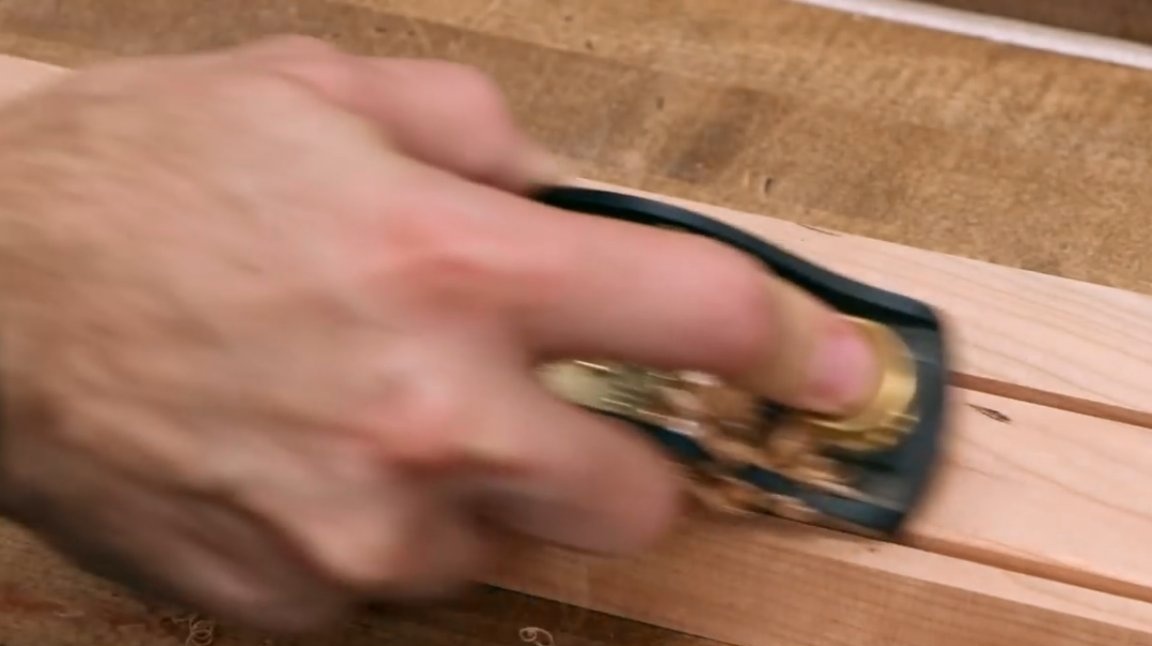
Since the LEDs will be at a very close distance from the poster, some too bright areas may form on it. To minimize the negative consequences of such proximity of the light source, the author processes plexiglass on both sides with an 80 grit emery disk. Now its matte surface will scatter light.
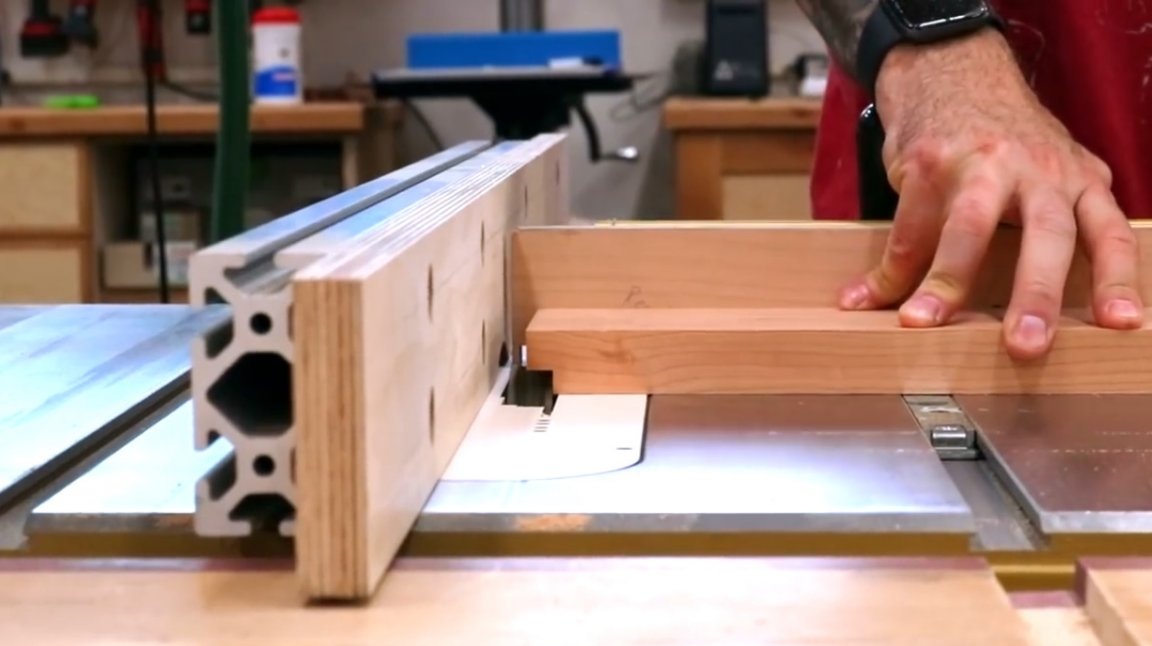
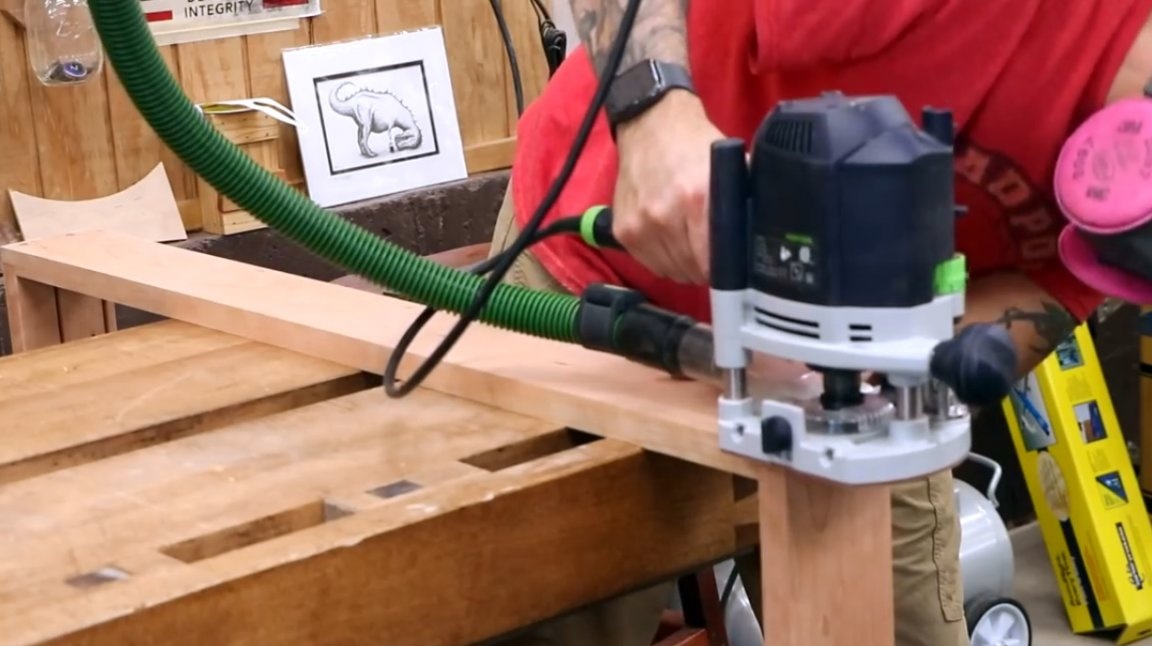
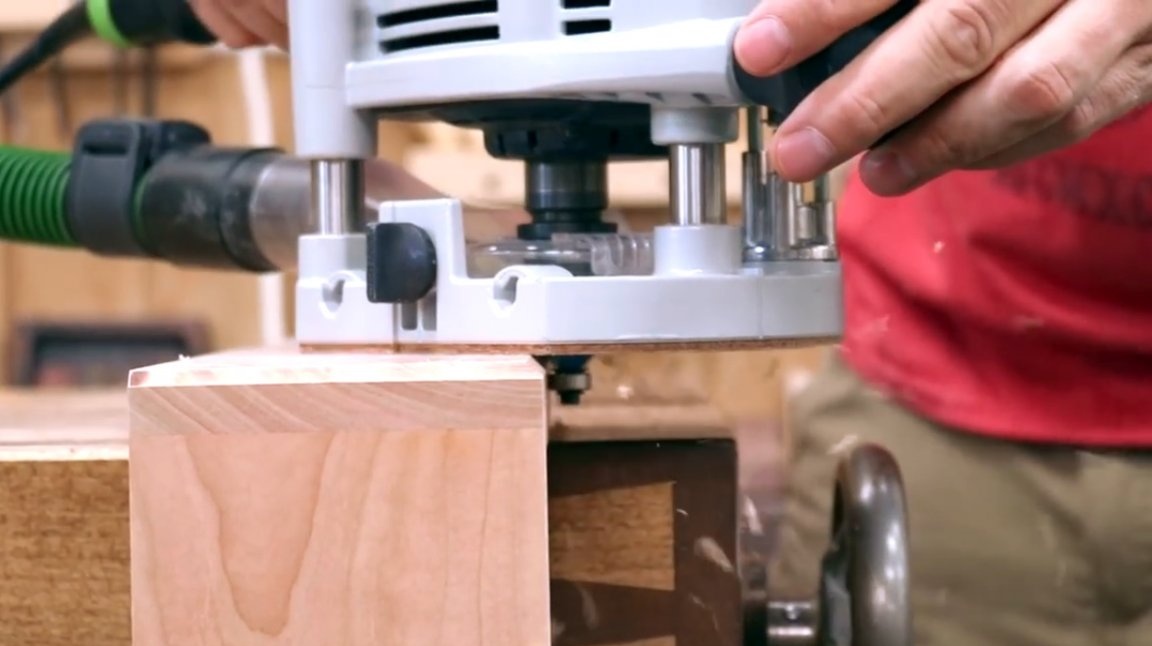
A deep bevel is made on the inside of the frame along the edges of both slots. This is necessary so that during assembly it is possible to easily insert sheets of plywood and plexiglass into the grooves.
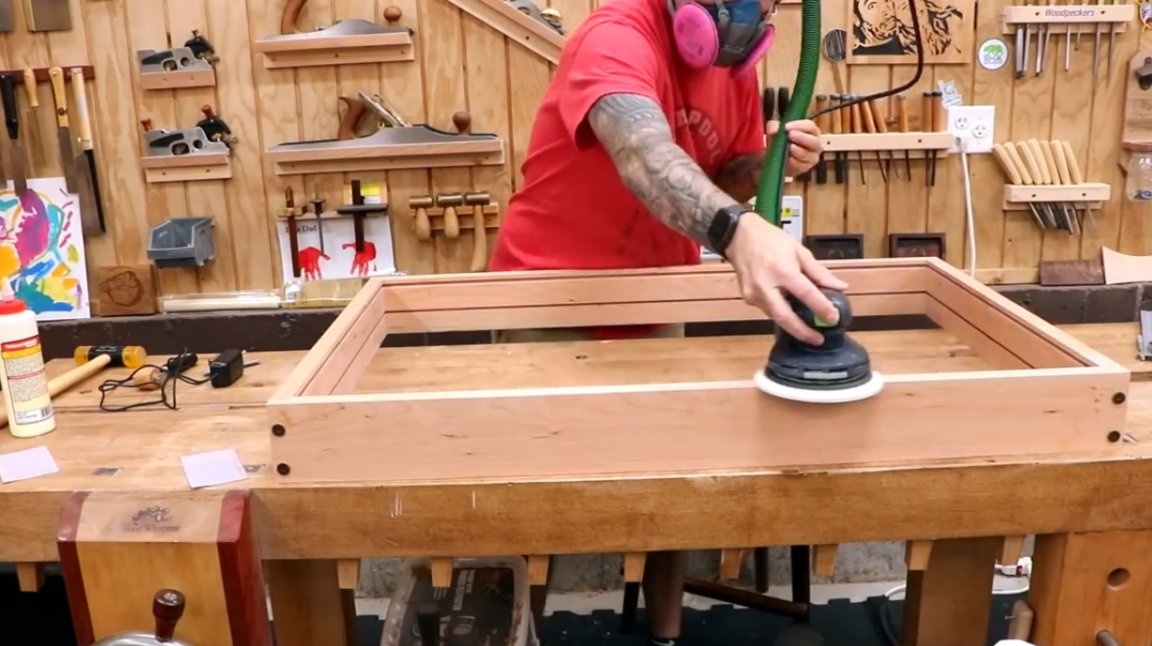
Then the same bevels are made at the visible corners of the frame. The outer edges are also rounded off by a radius cutter with a thrust bearing, and ground.
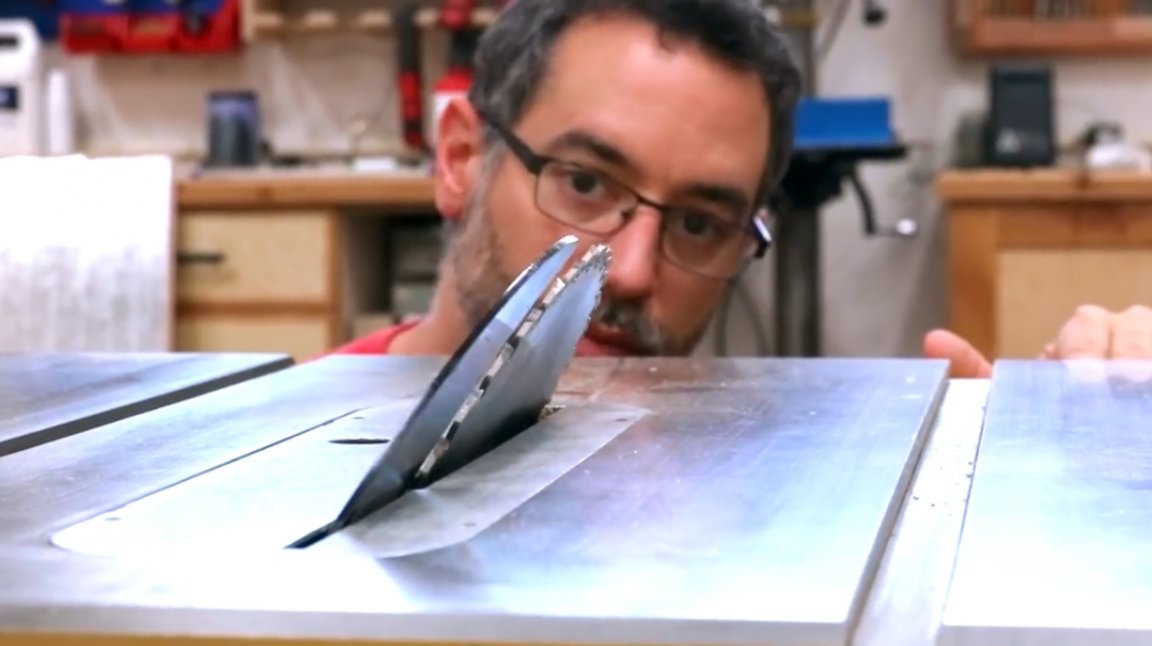
Next, the author sets the saw blade at 45 degrees, and on two elements of the frame it will be necessary to make a bevel.

These planks are glued together and attached to the upper back of the frame.
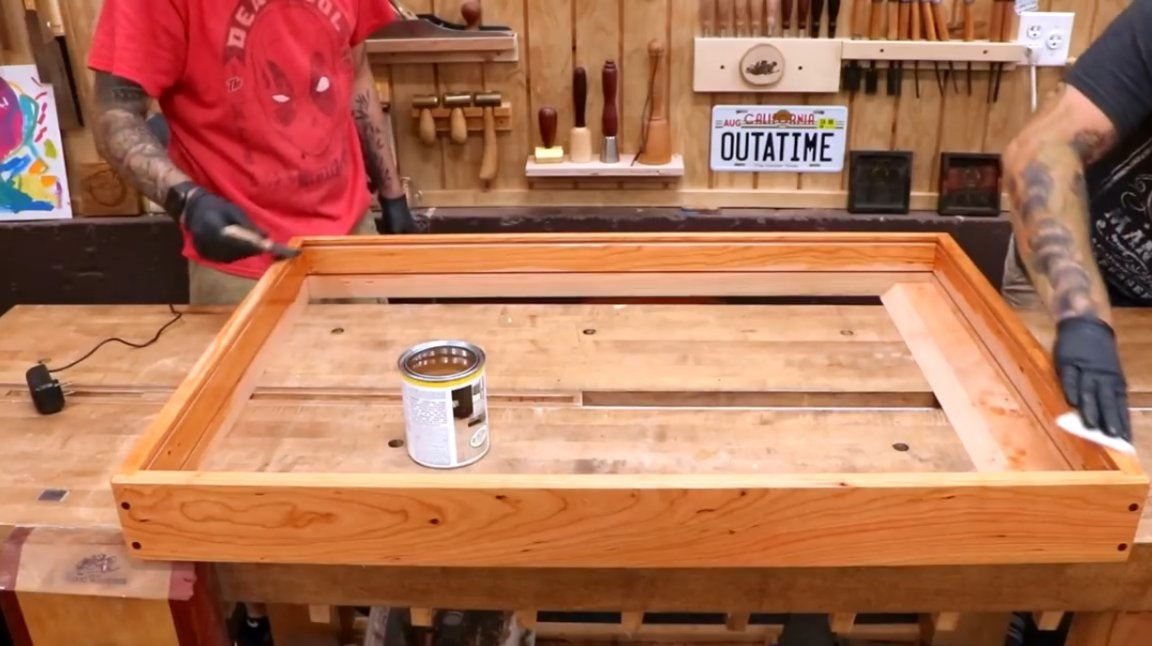
Next, the author treats the surface of the frame with a mixture of linseed oil and wax.
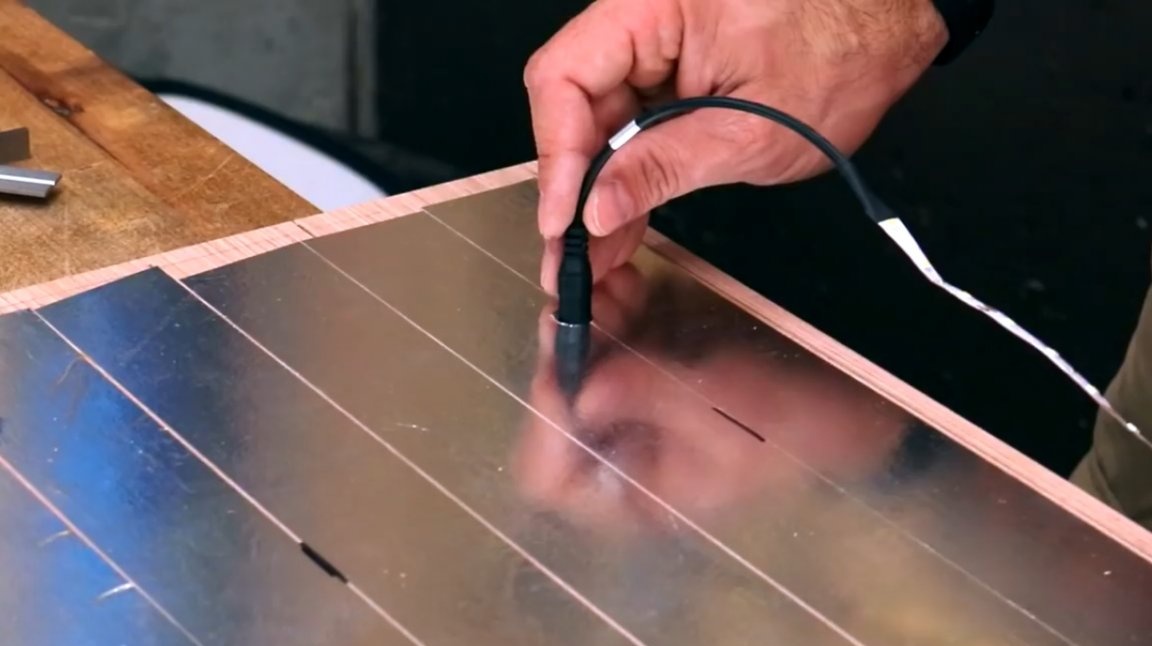
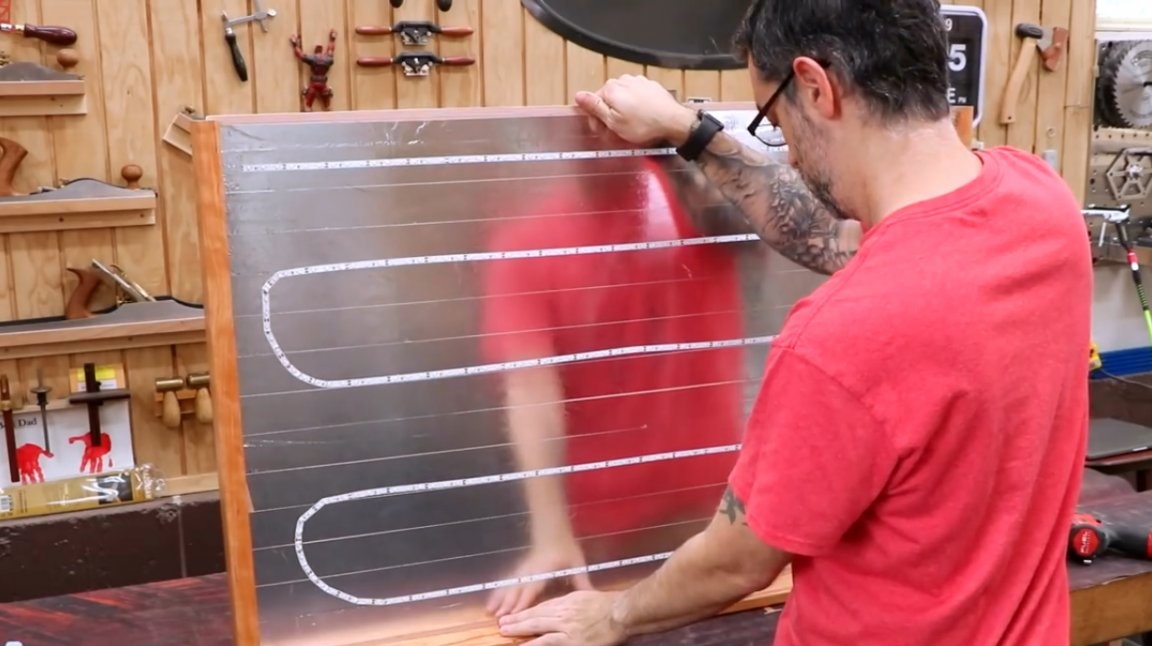
An opening is made in the upper part of the rear panel for the LED strip cable.
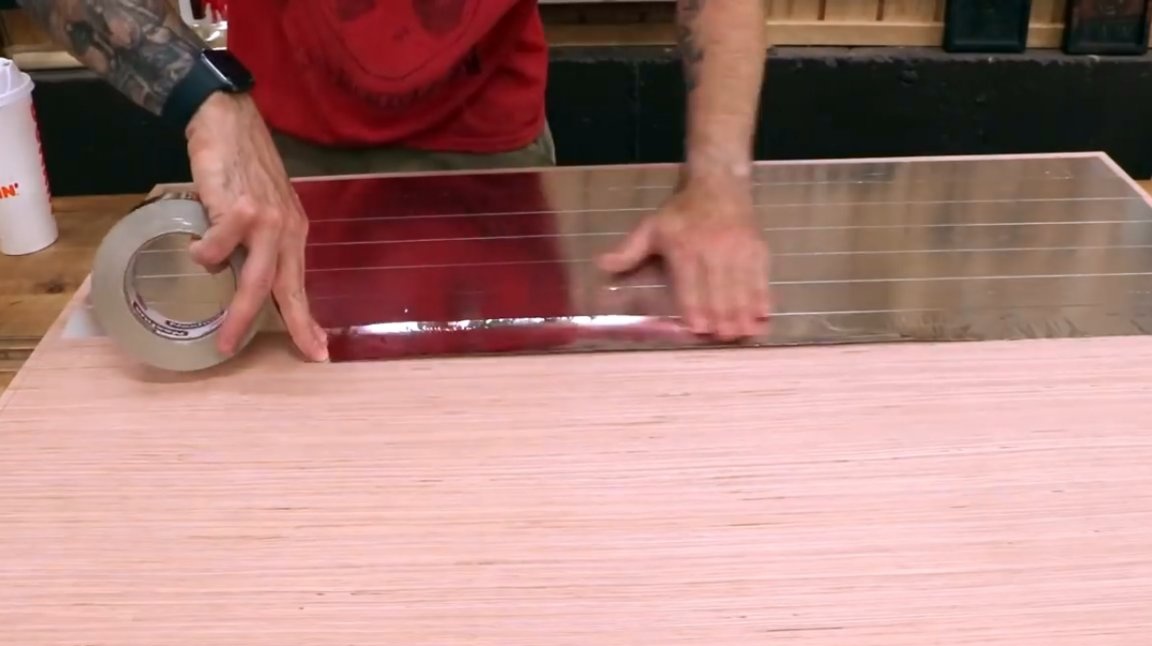
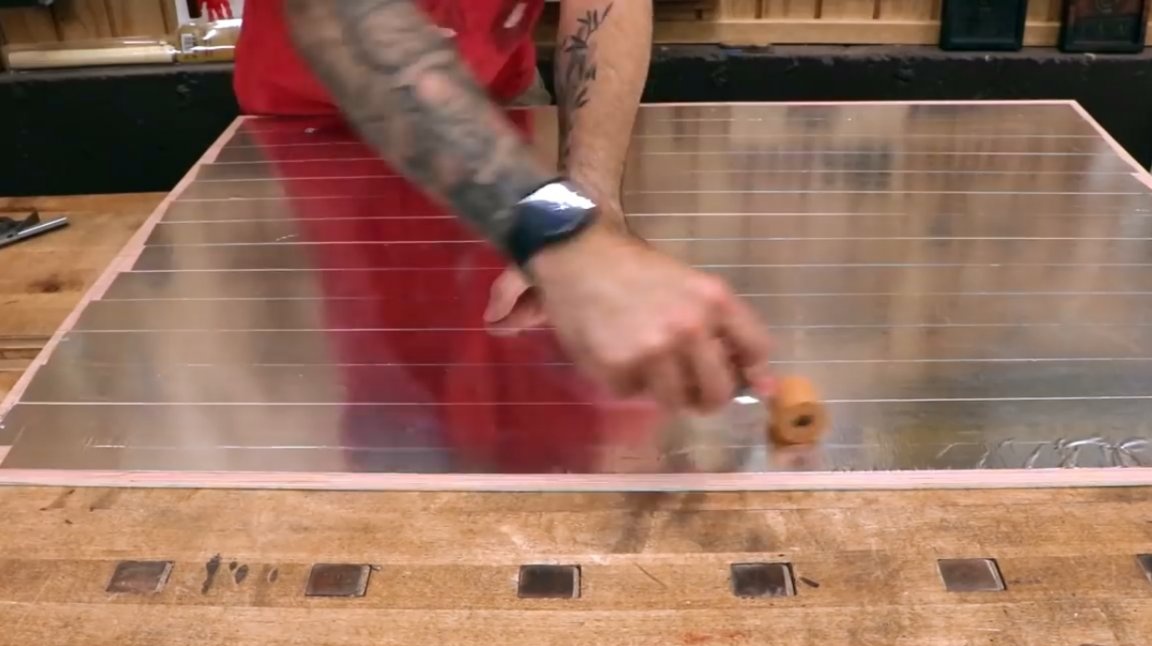
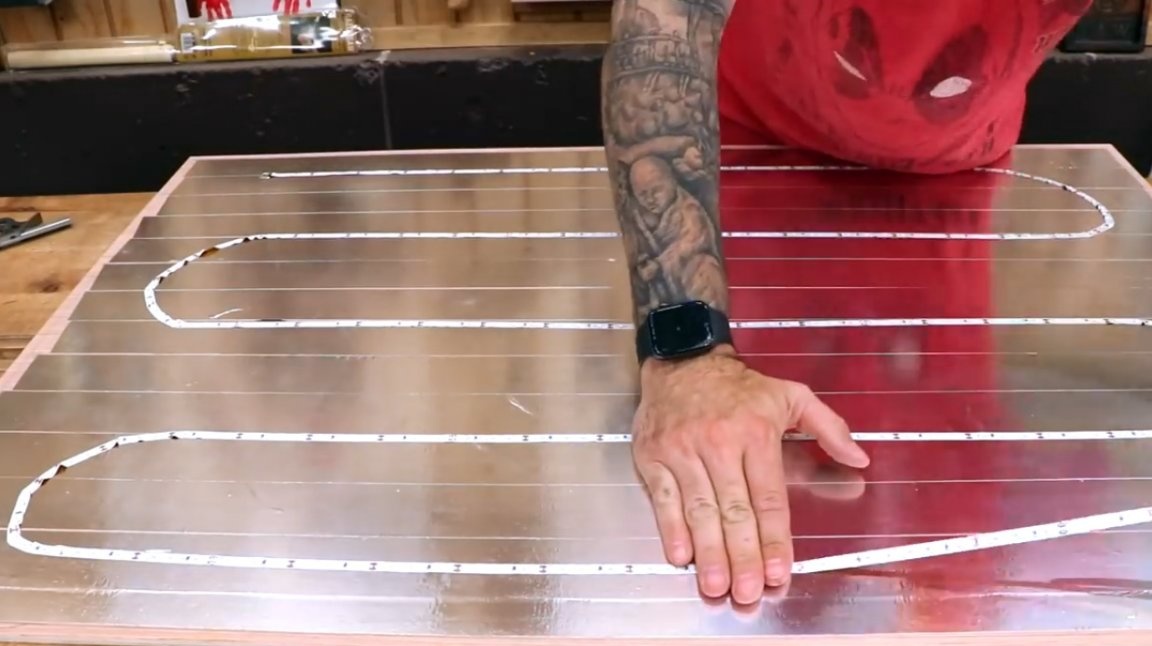
To increase the intensity of the glow, the master glues the entire surface of the rear panel with aluminum tape. The latter not only reflects light, but also facilitates the gluing of LED strip to the surface of plywood due to its smoothness. The tape itself should be glued as evenly as possible, leveling it with a roller, so that the light is evenly distributed inside the box.
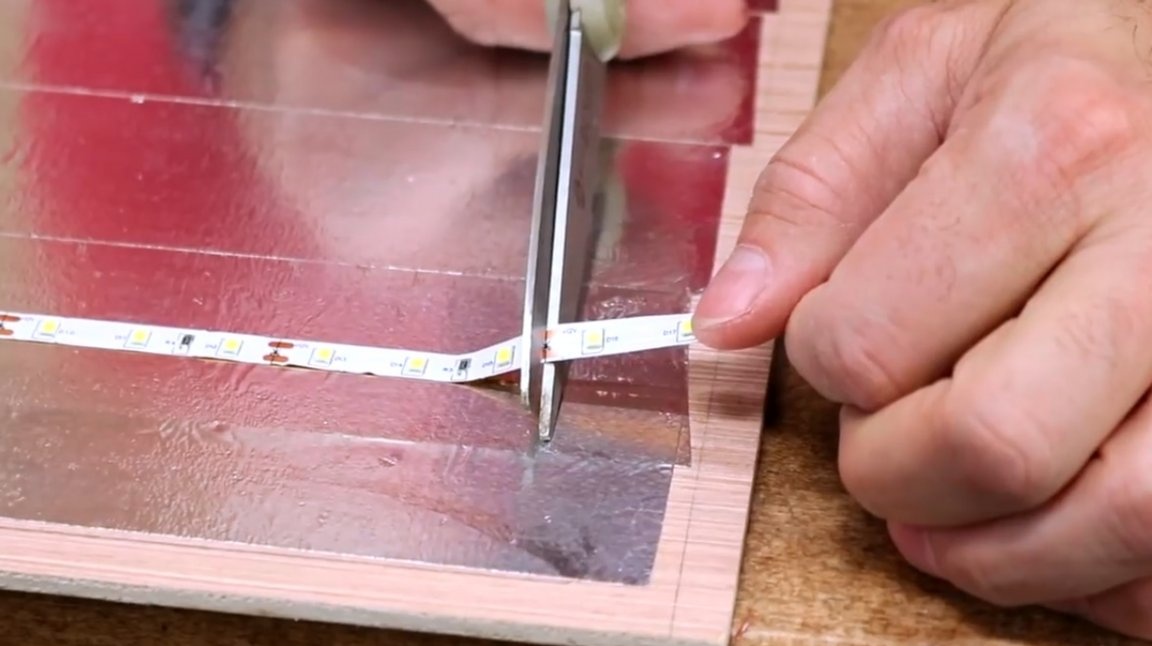
Next is the gluing of the LED strip, and assembly.
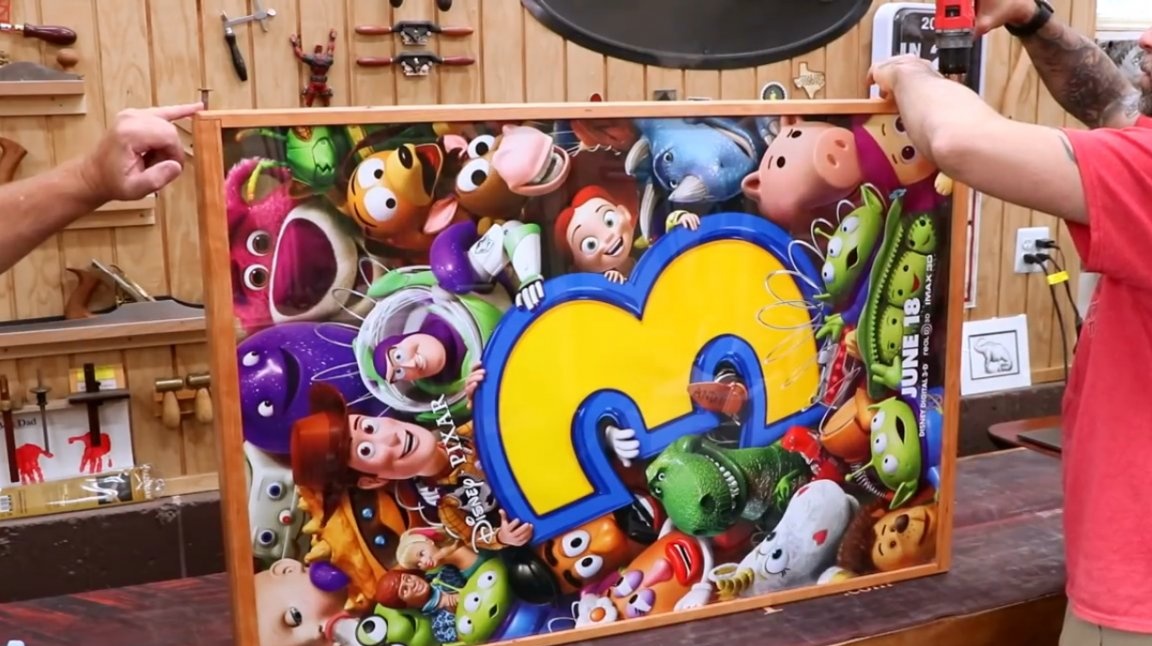
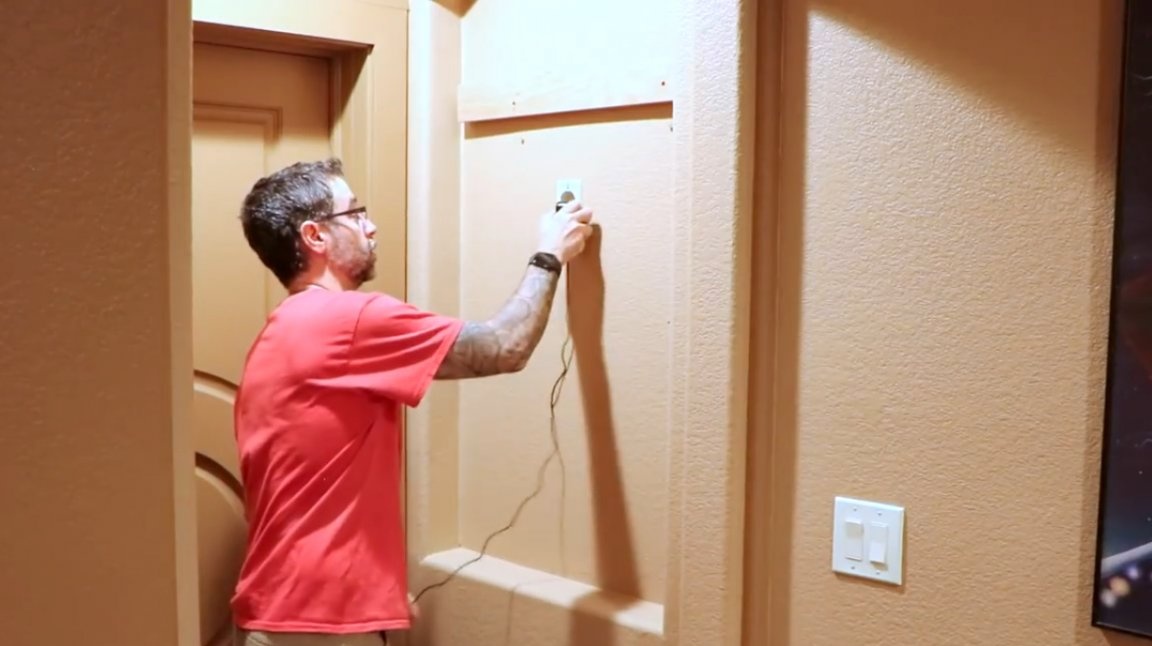
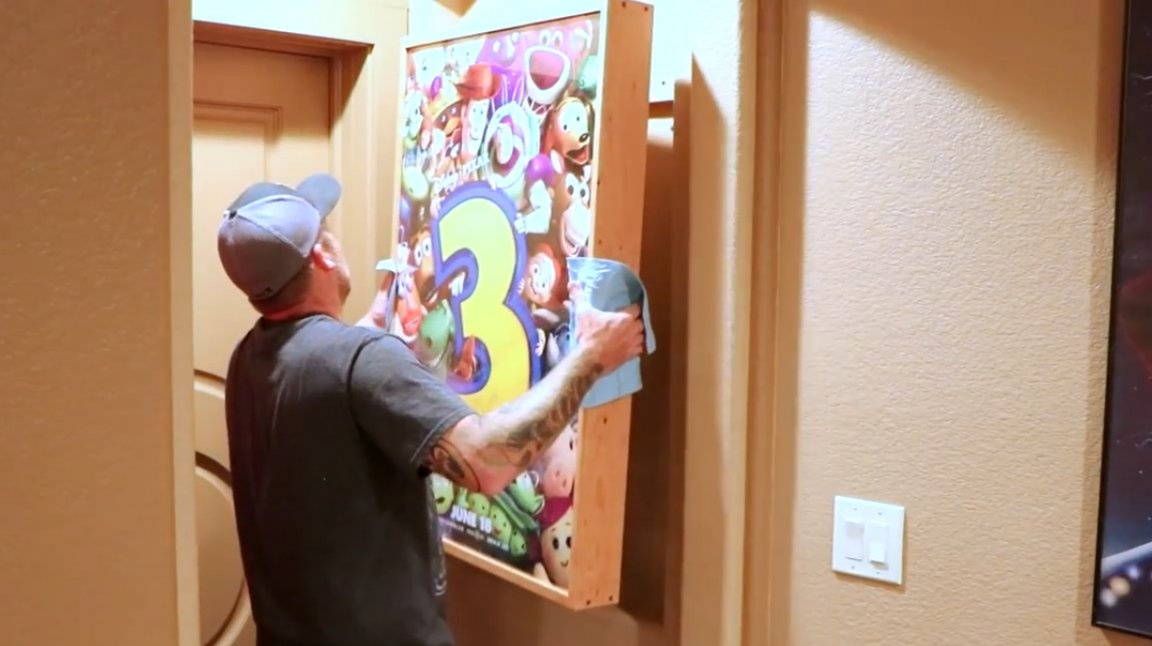
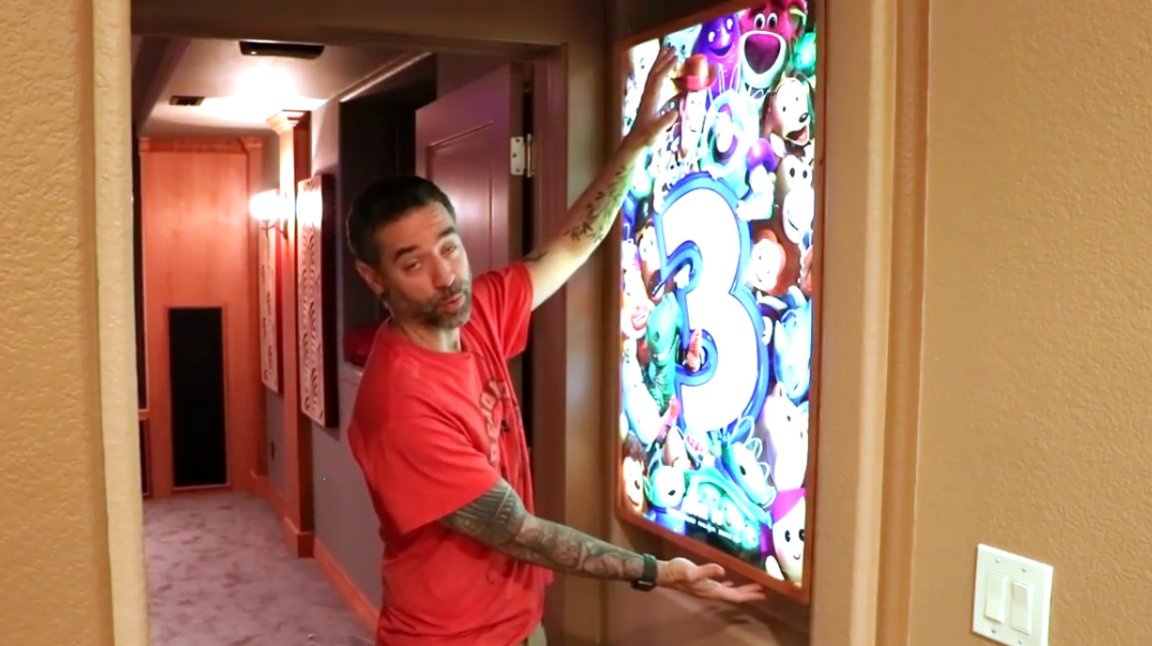
The poster is hung on the wall and connected to a power source.
And here he is the moment of truth!
If you want to leave this poster turned on for a long time, you should consider ventilation so that the heated air from the inner chamber can enter the outer space. Maybe it will be a gap in the lower part of the structure, maybe small holes in the back. This way you will protect yourself from the potential risk of fire.
I thank the author for an interesting and high-quality way of making lightboxes!
All good mood, good luck, and interesting ideas!
Author video can be found here.