
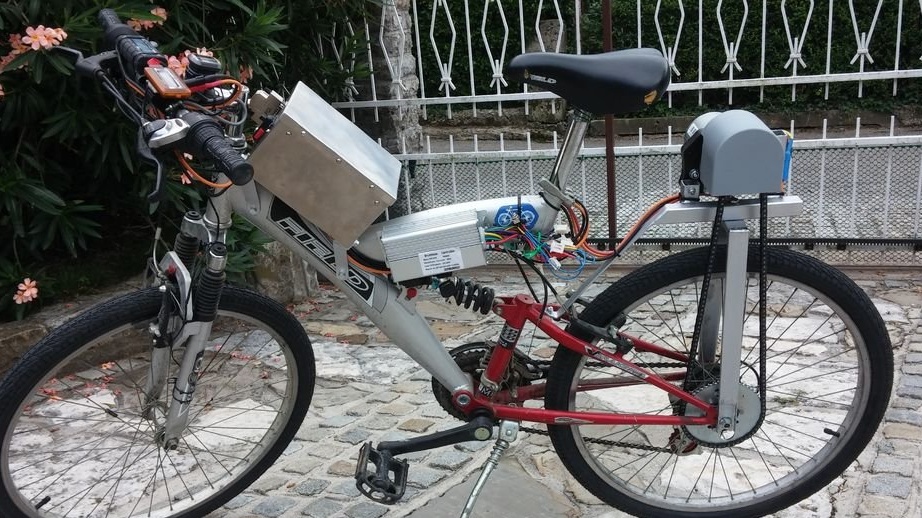

The master wanted to make an electric bike using parts that are easy to obtain. The simplest thing is to replace the wheel with a motor wheel, but this option is quite expensive, and the master wanted to make an affordable electric bike.
Tools and materials:
-Electromotor;
-Coupling;
-Controller;
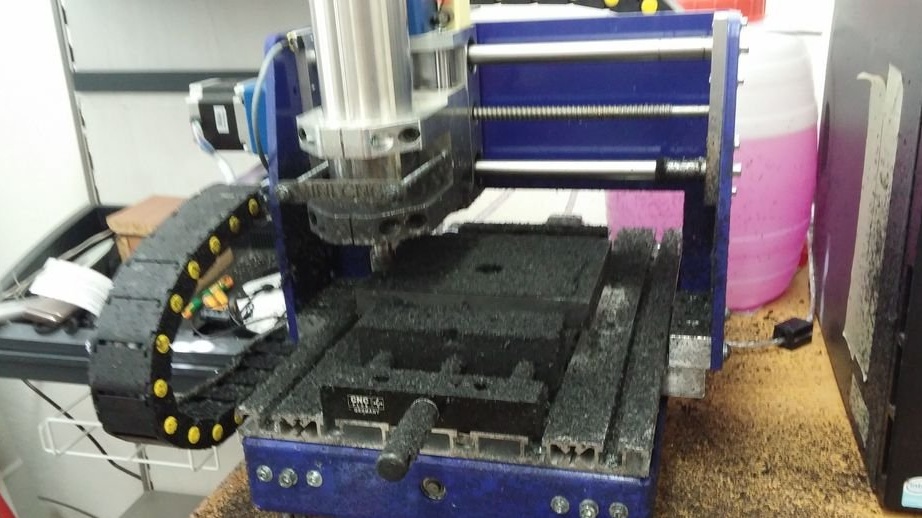
-Milling machine;
-Bike;
-Profile;
-Welding machine;
-USHM;
-Batteries;
-Stainless sheet;
-Wire;
-Fasteners;
-Charger;
Step One: Motor
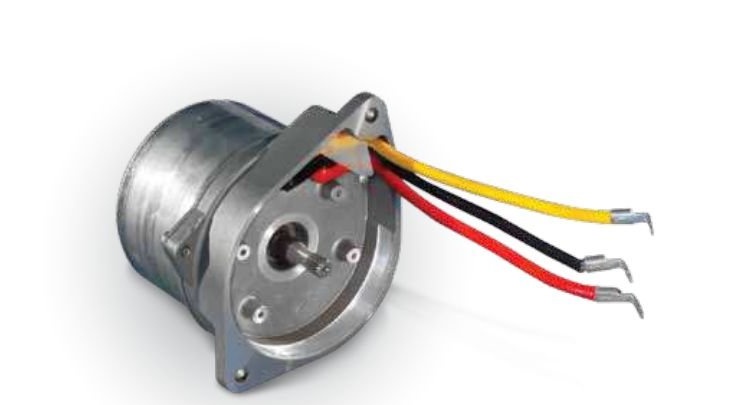
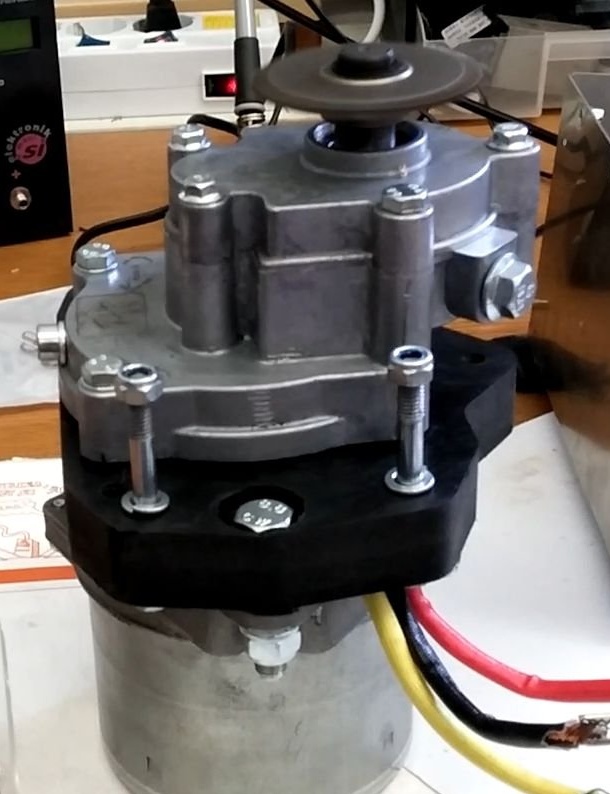
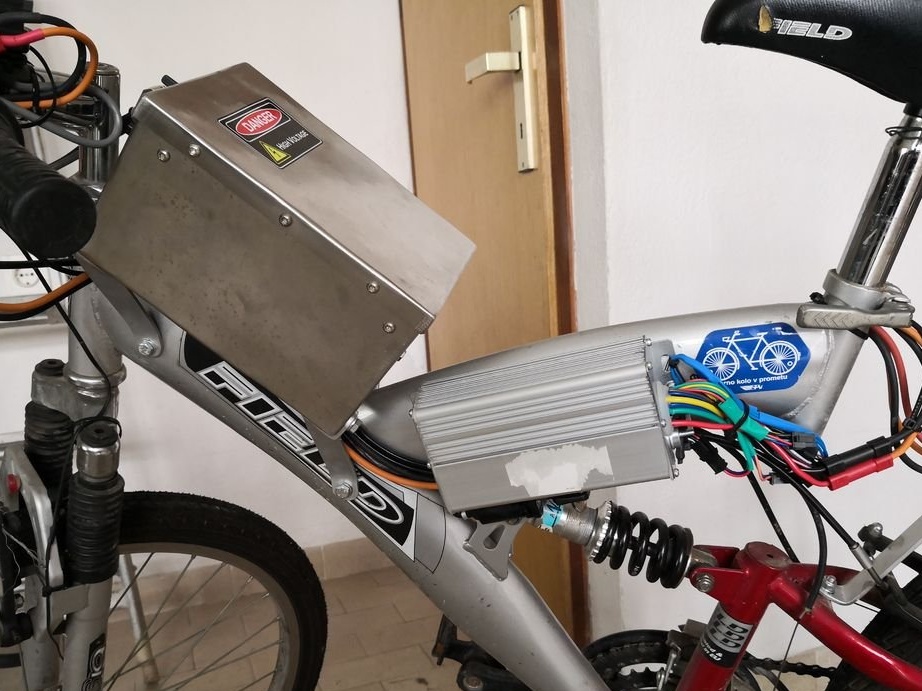
For electric bicycles, the master uses a used engine purchased at a local autodismantling. Three-phase brushless motor with the following characteristics: 12V, 500W.
Step Two: Controller
Counting on the margin of safety of the motor, the master purchased a 24 V, 20 A, 500 W controller. But even this seemed to him not enough, and he modified it to 30 A and 700 watts. According to him, this should be enough to accelerate an electric bike to 30 km / h.
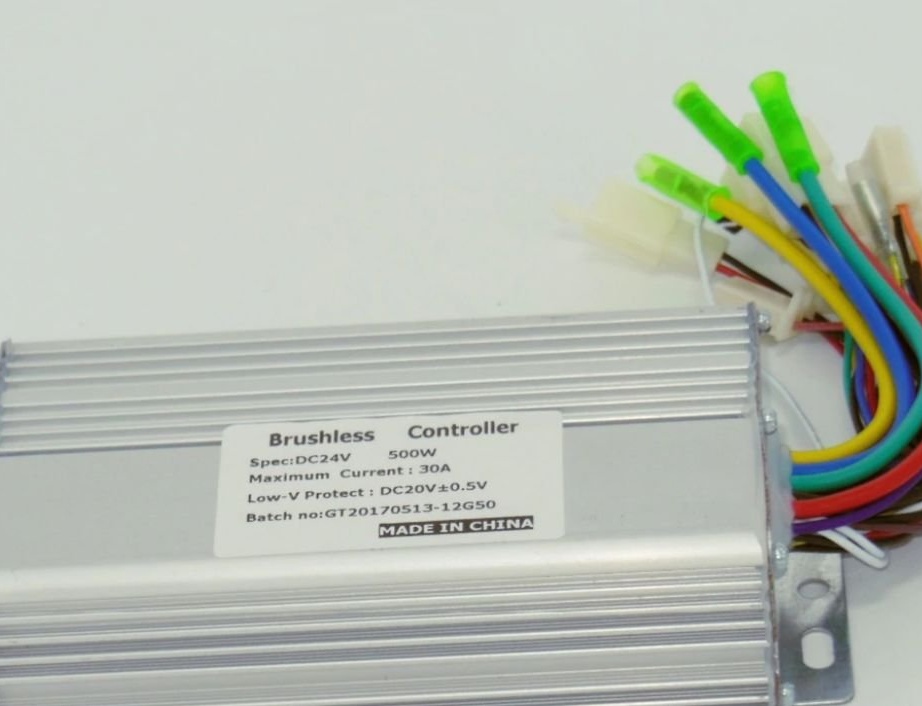
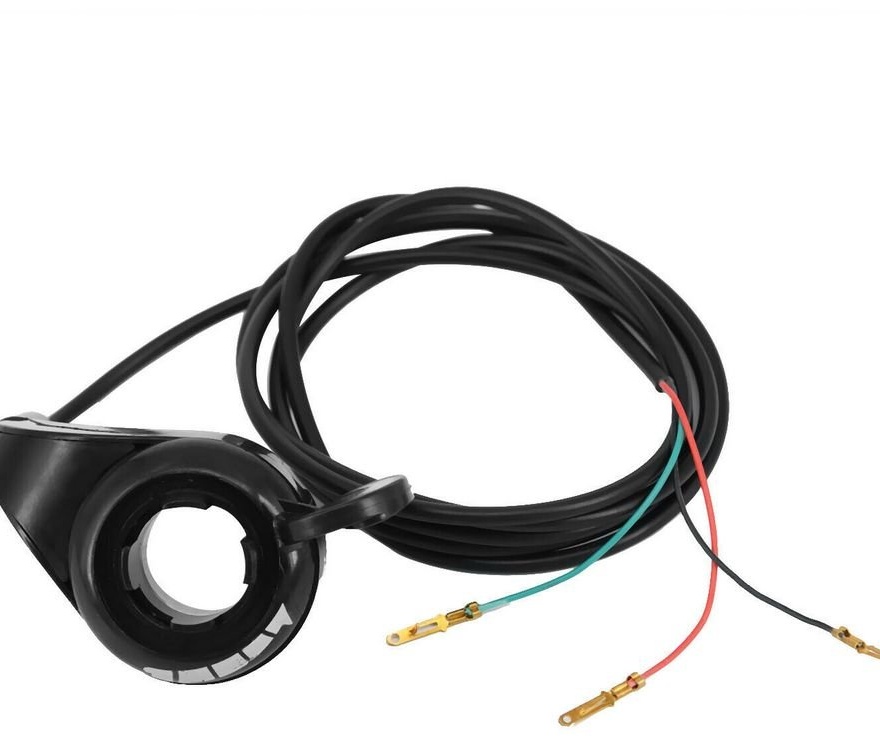
Also, the master acquired a throttle "under the finger."
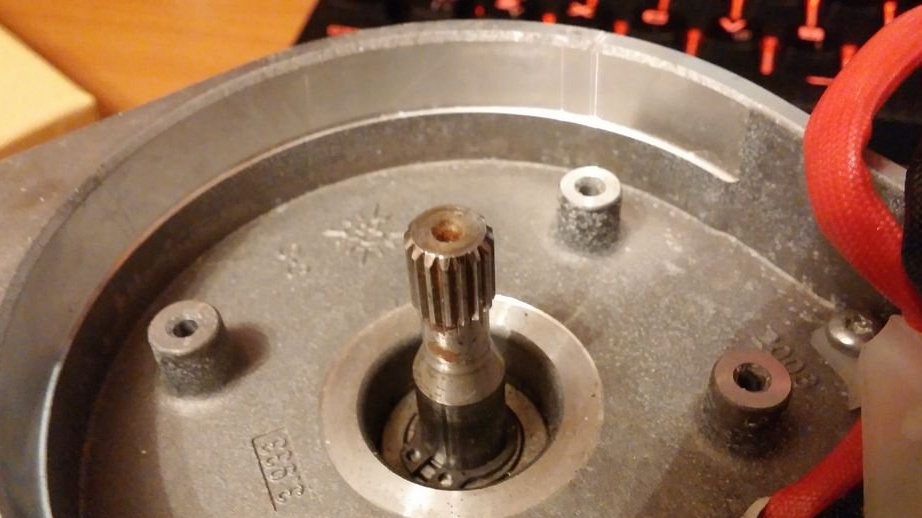
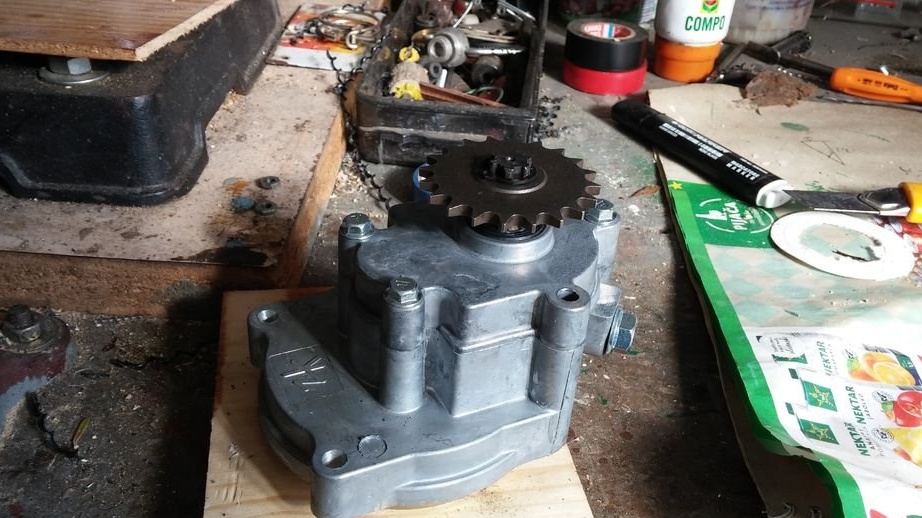
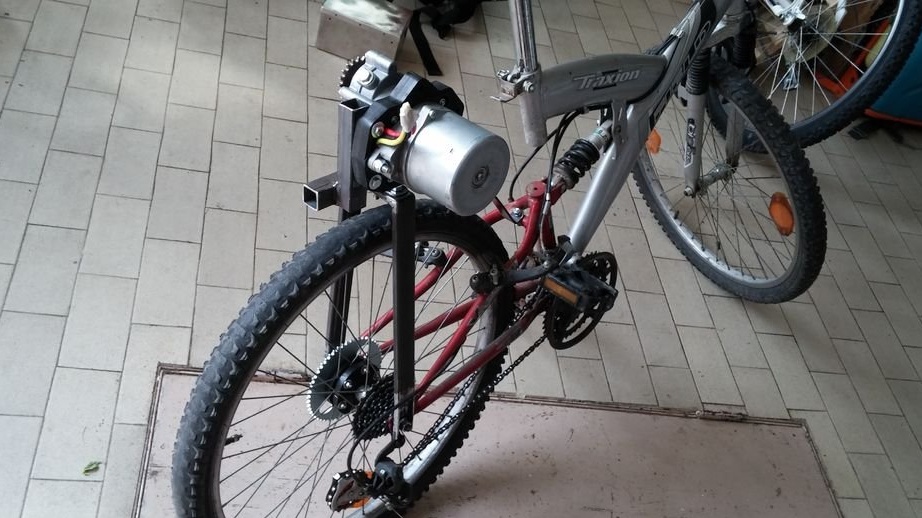
Step Three: Gearbox
The engine without load has a maximum rotation speed of about 2700 rpm. The bicycle wheel rotates at a speed of 160 rpm at a speed of 30 km / h. In this regard, it was necessary to reduce the speed by 17 times.
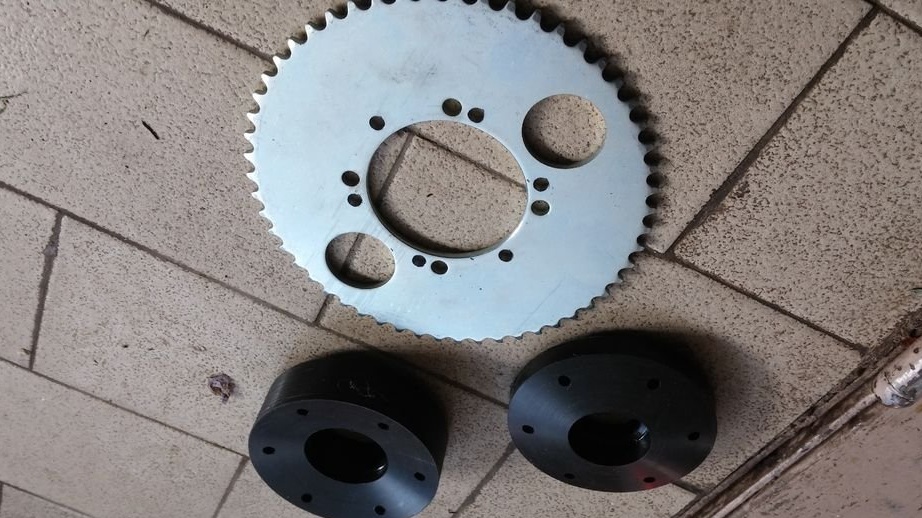
You can do this with asterisks, one will be of 10 teeth, and the other should be 170 teeth. Such an asterisk will be in the half wheel of the bicycle. Then the master decided to use a gearbox. I calculated the gearbox with what parameters he needed and purchased in an online store.
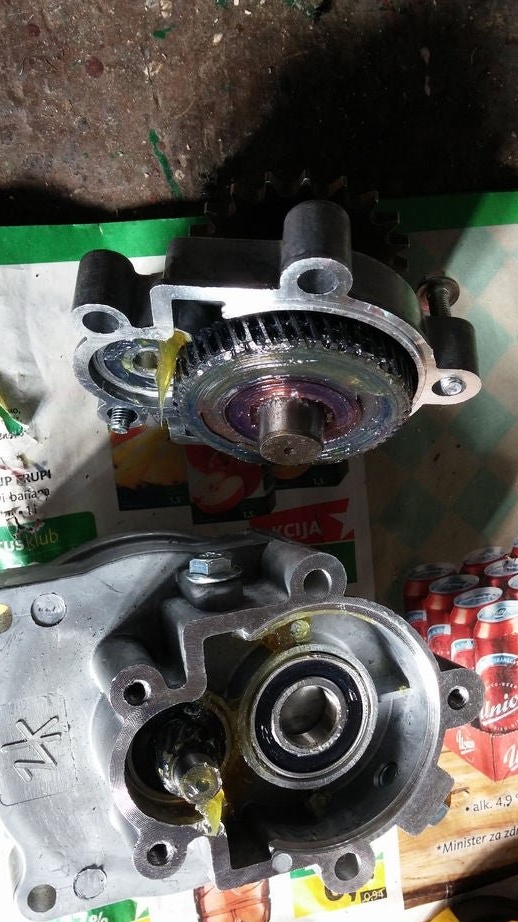
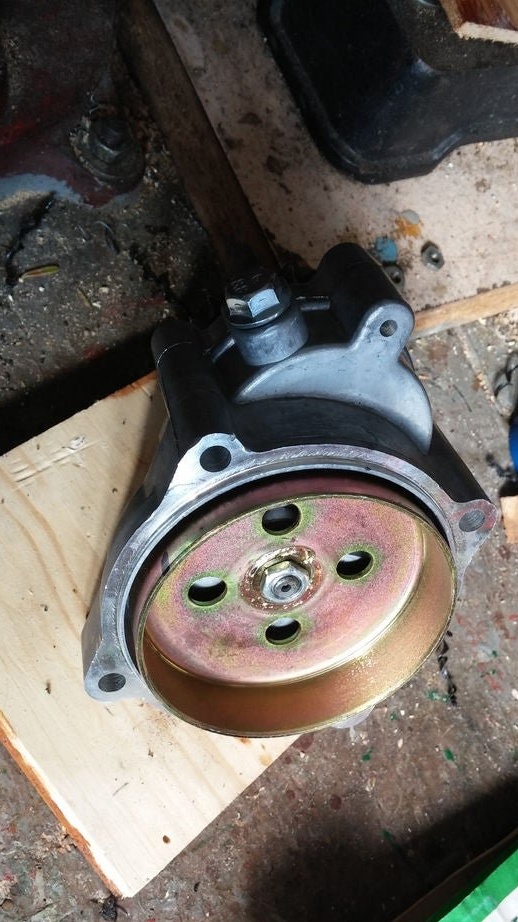
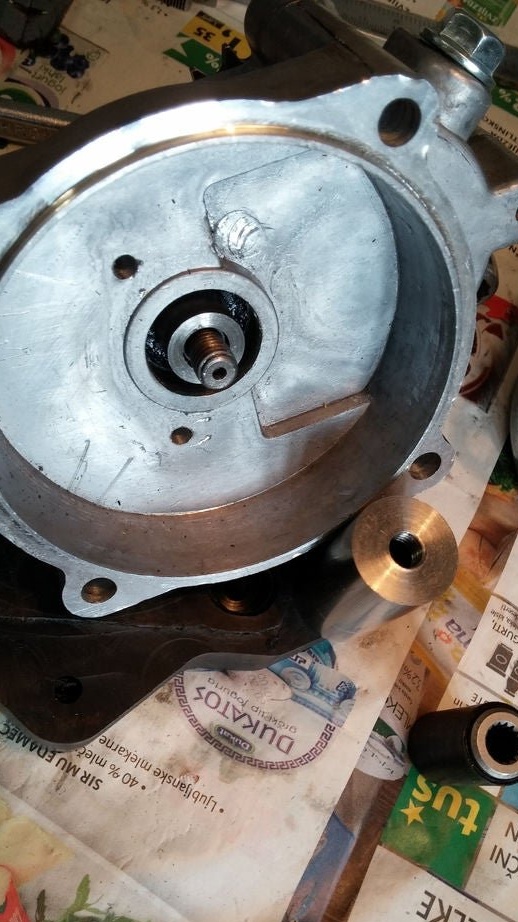
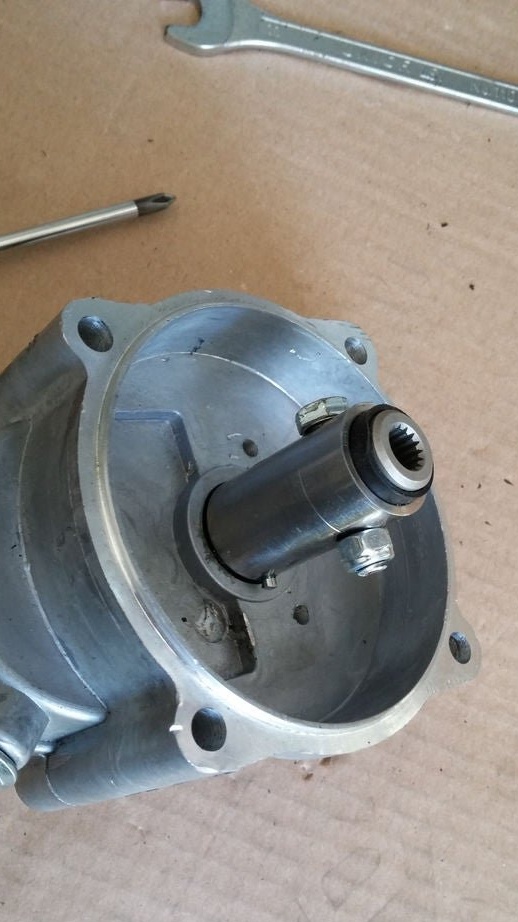
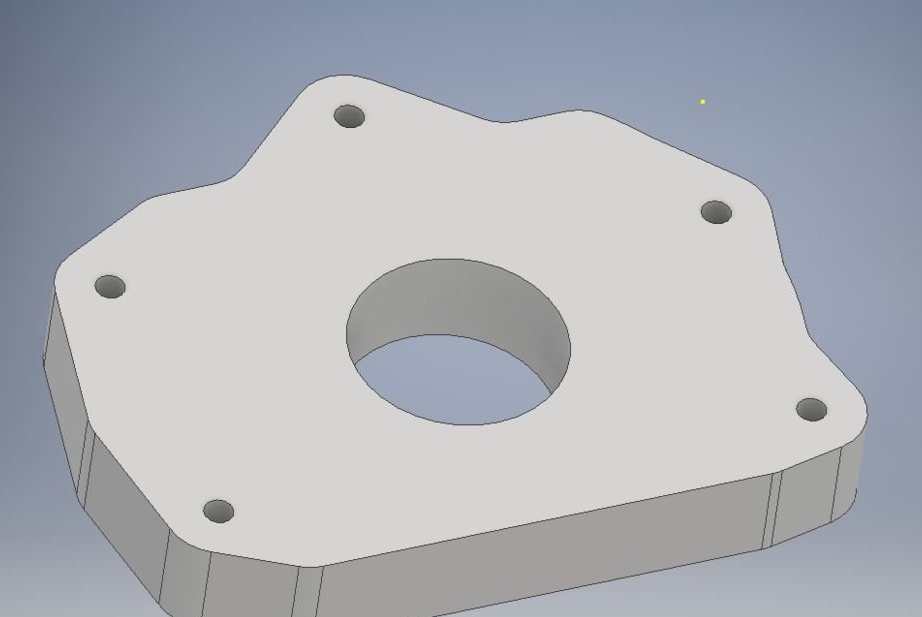
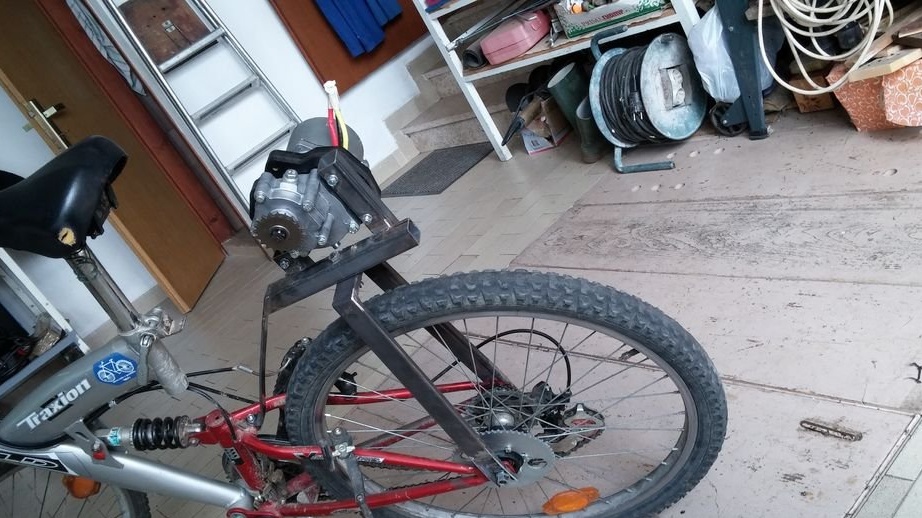
Step Four: Gear Motor
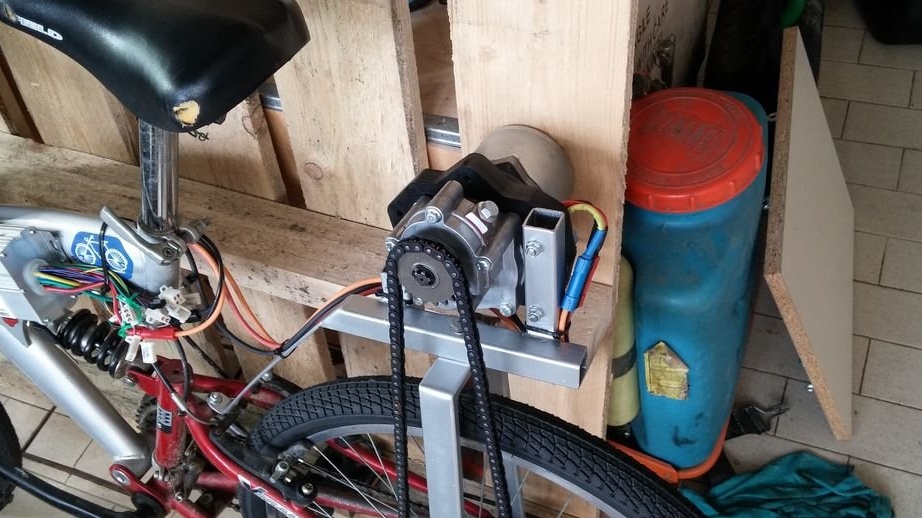
Now it's time to connect the motor and gear. For this, the master makes a coupling and a plate.
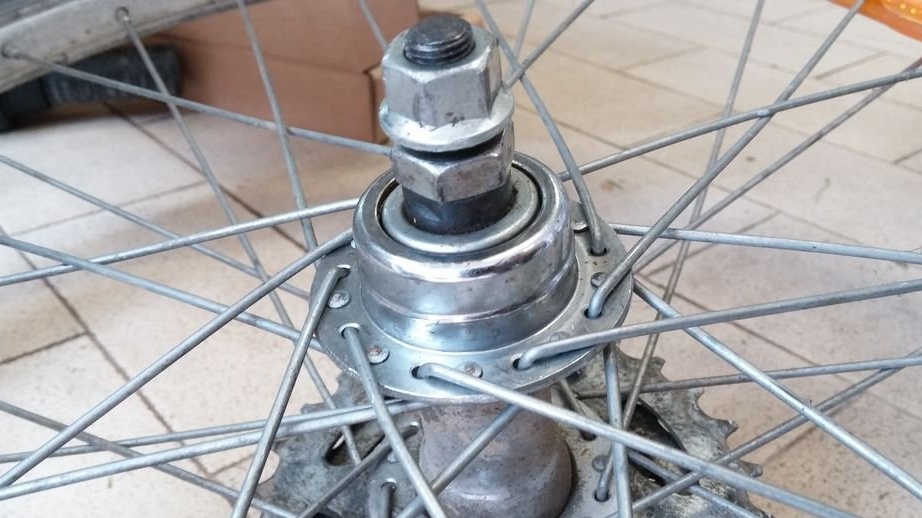
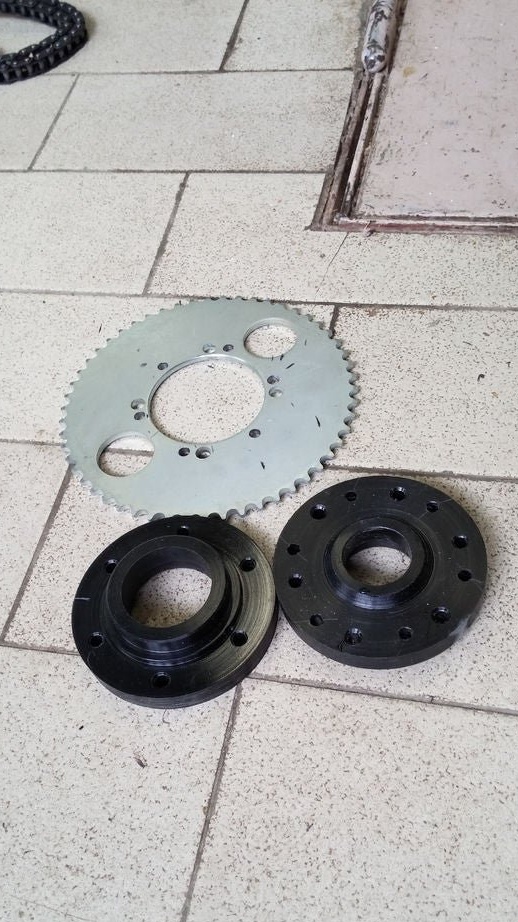
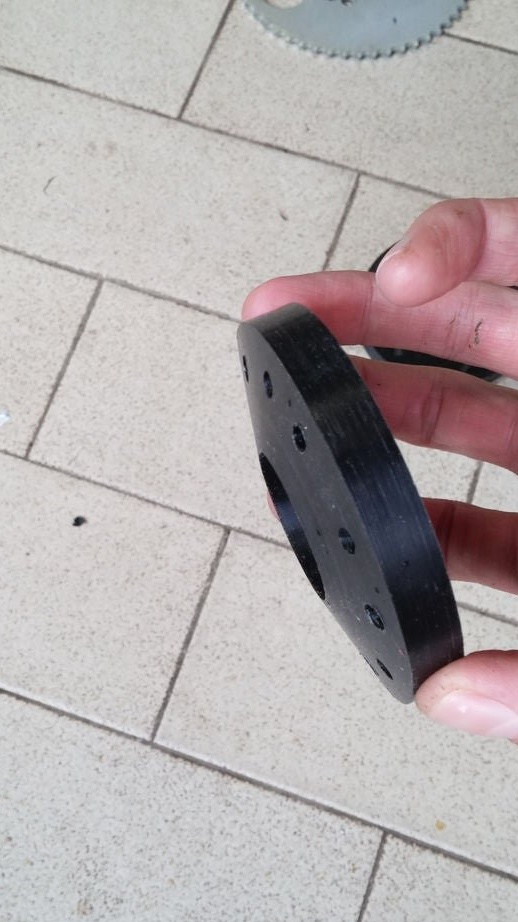
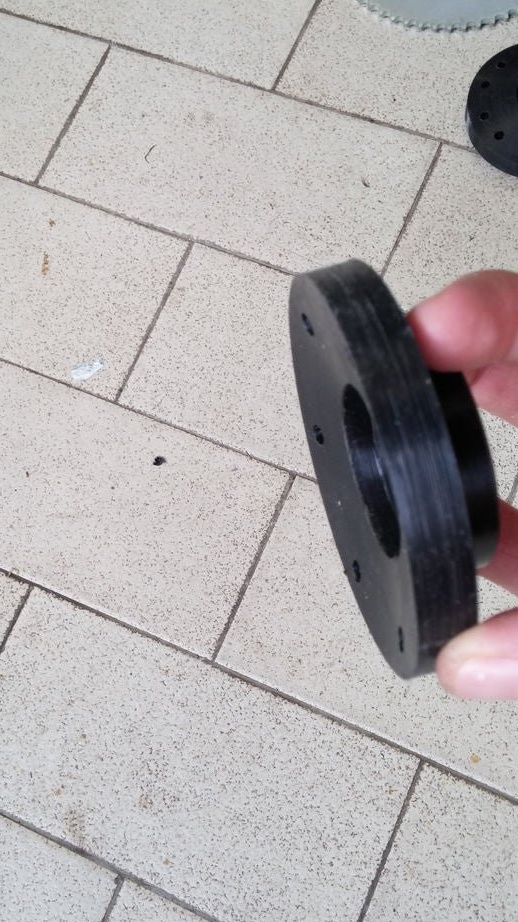
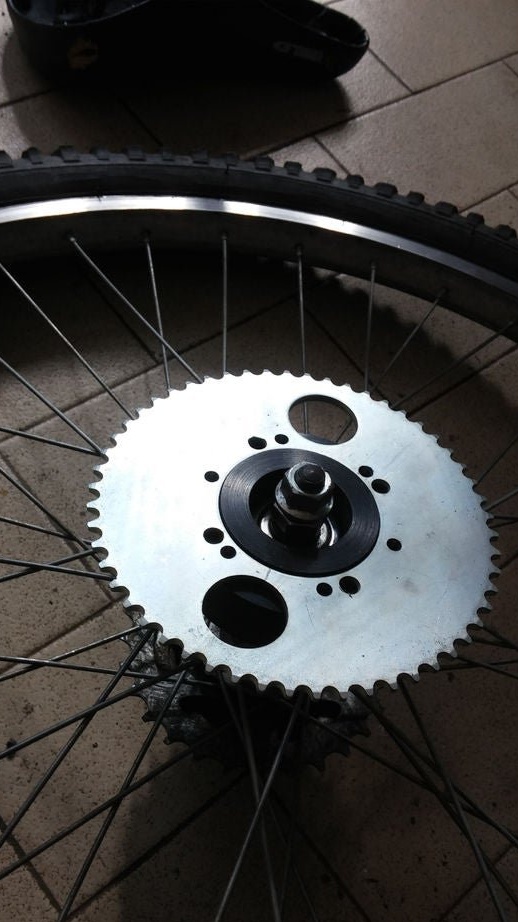
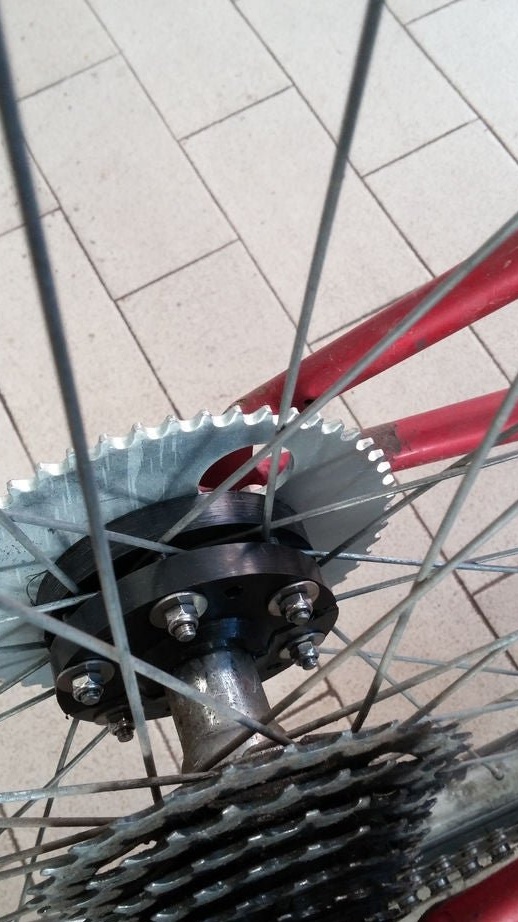
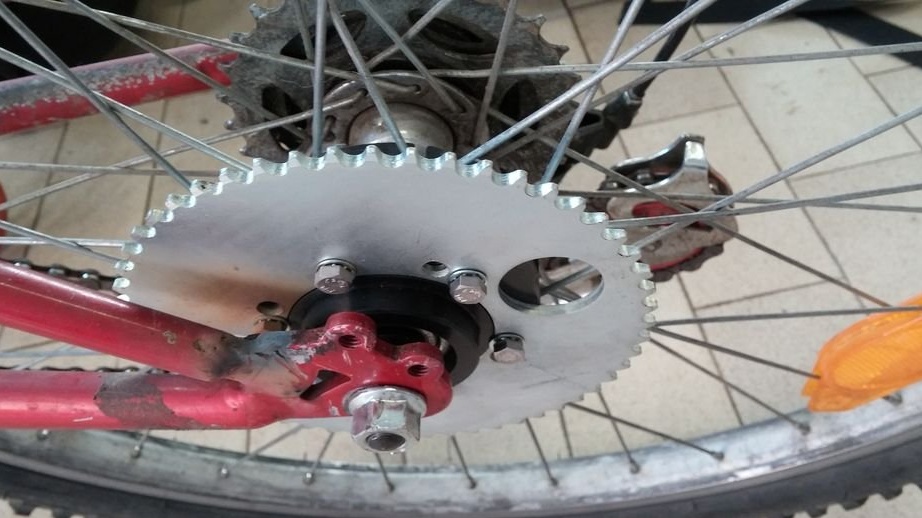
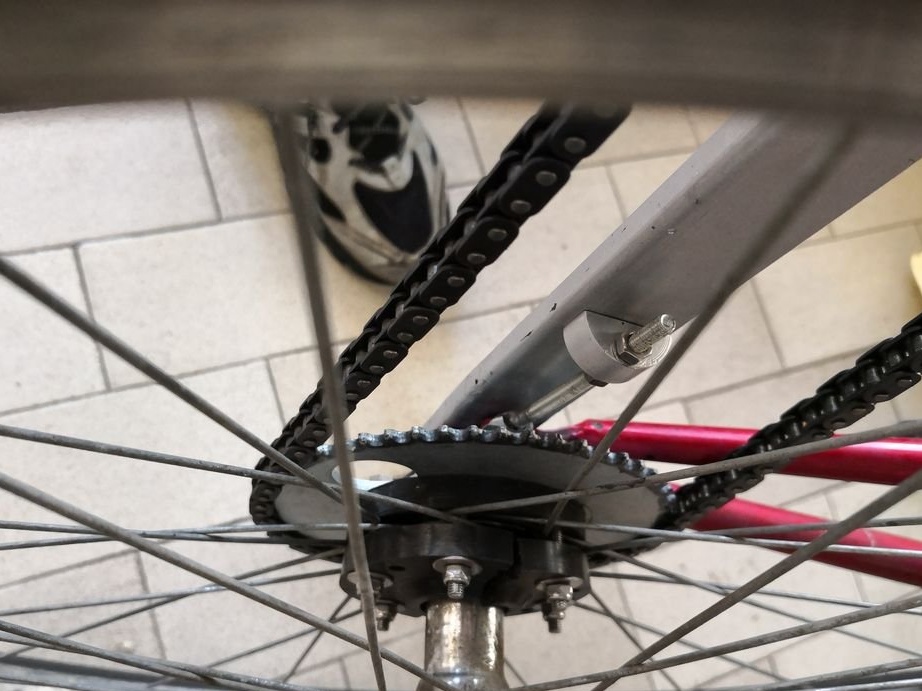
Step Five: Wheel
The master makes two textolite bushings. Attaches an asterisk to the sleeve. Sets the wheel in place, checks alignment.
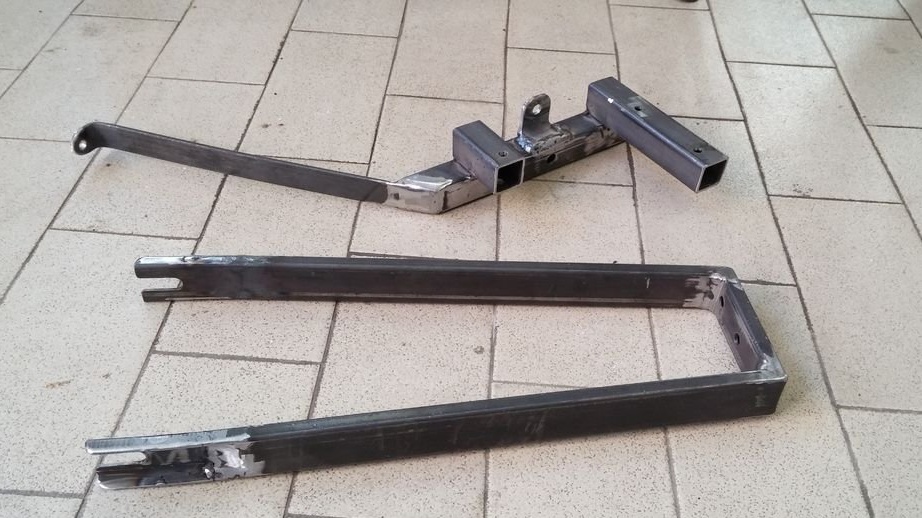
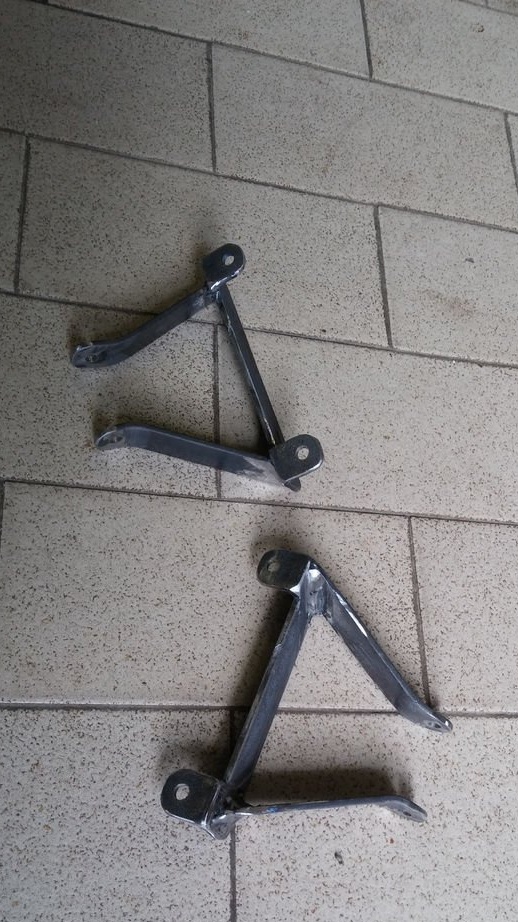
Step Six: Engine Mount
In order to install the engine, the master makes a frame. from profile pipes.

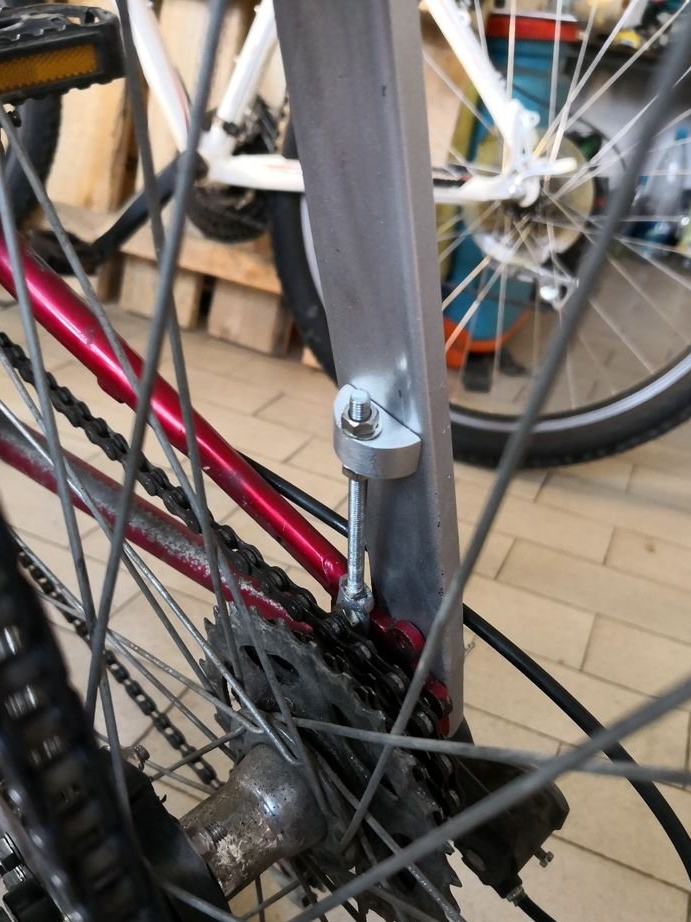
Seventh step: tensioner
The chain tensioner is made of aluminum rail and is adjusted using a threaded rod with an eye.
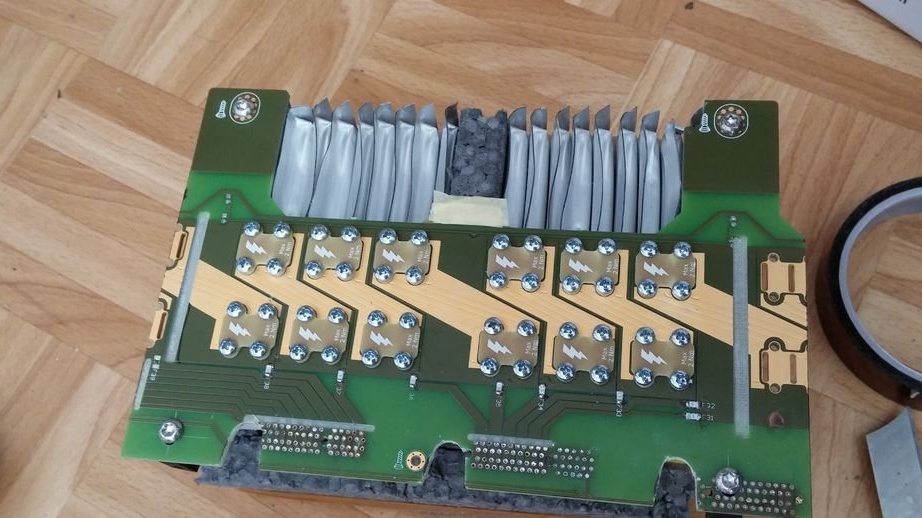
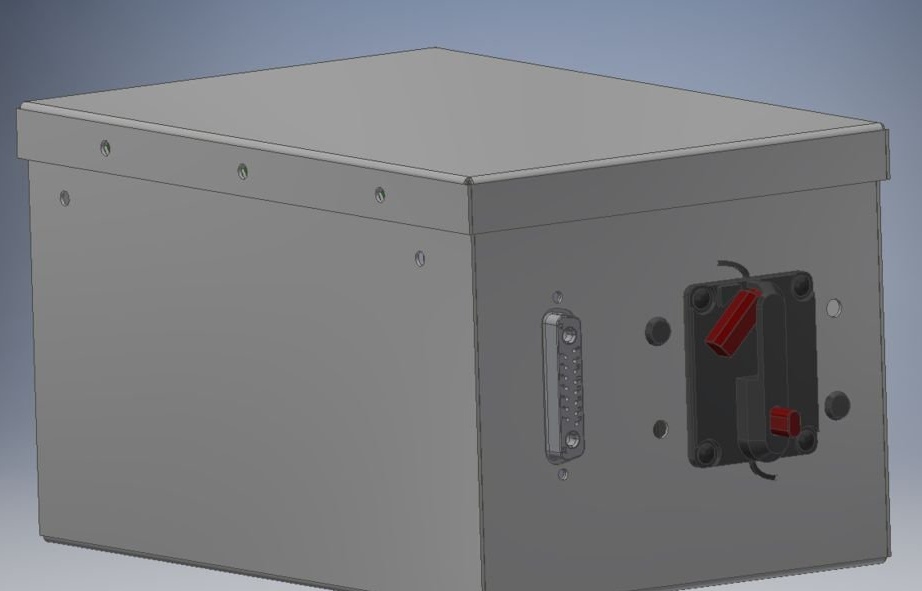
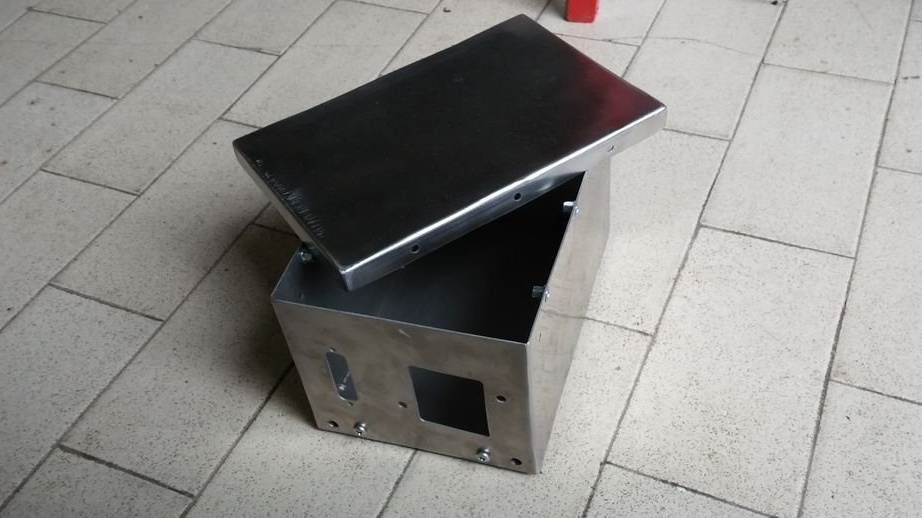
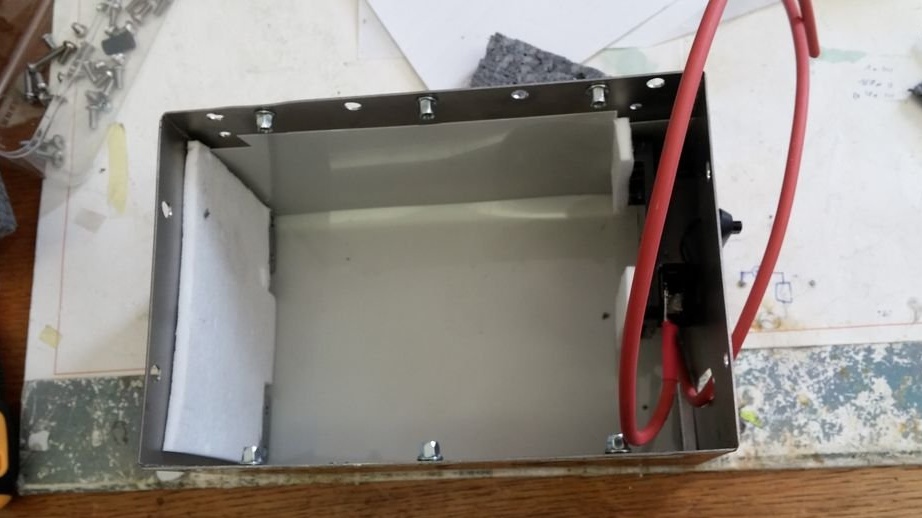
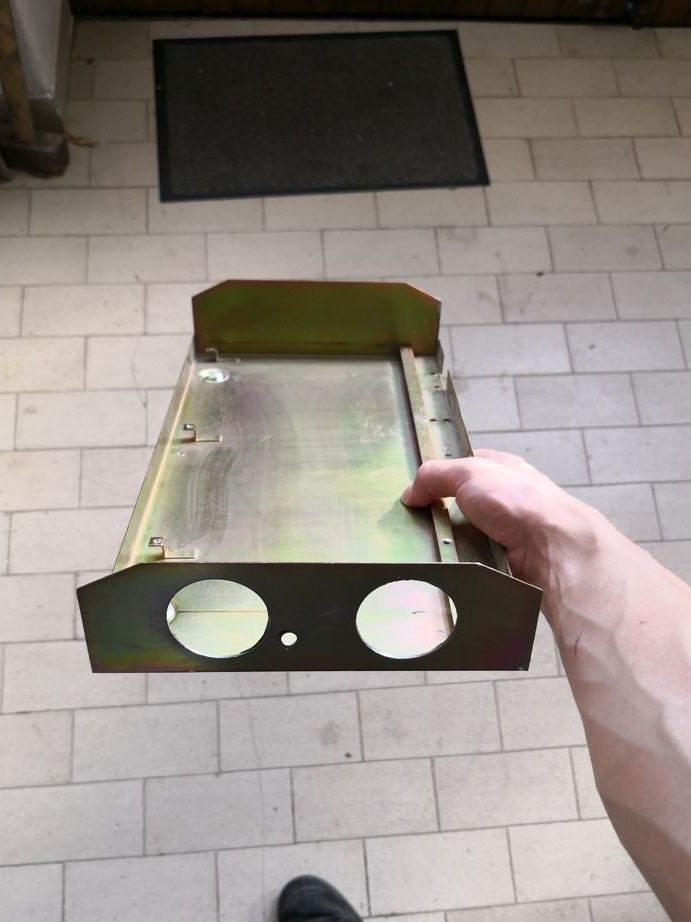
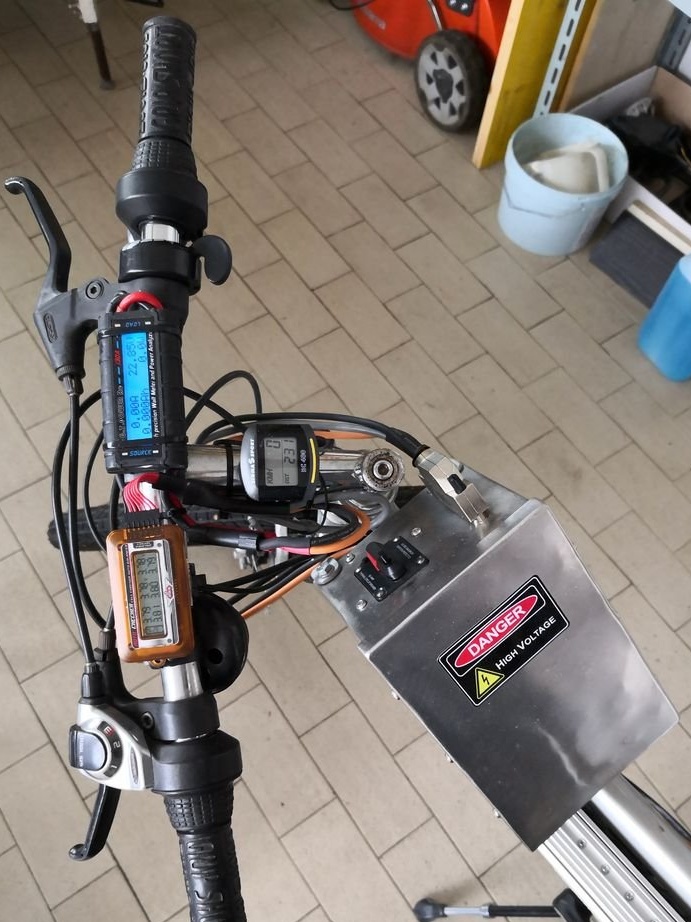
Step Eight: Battery
To install the batteries, the master made a box of stainless steel. The box has a D-SUB connector, with two power circuits for the engine and charge / control. A 50A automatic fuse is installed in the box, with a lever to turn off the power.
The master dismantled the batteries from the old hoverboard. 3 cells are connected in parallel. Each cell has two batteries. This gives the master about 20 A / h, which should be enough to travel up to 40 km.

To install the battery compartment, the master made a mount.
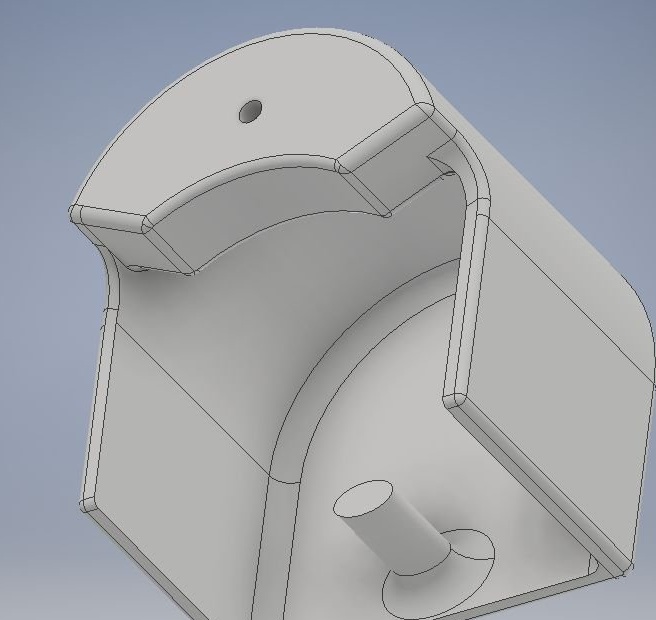
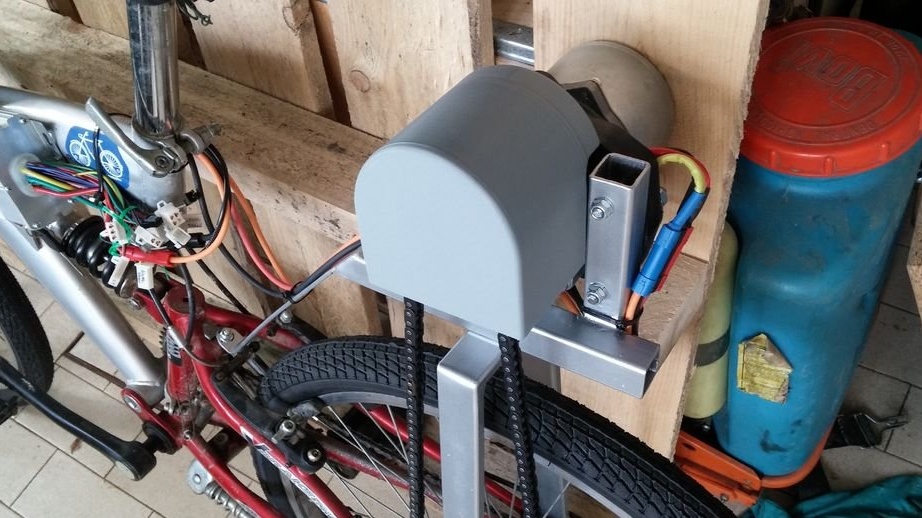
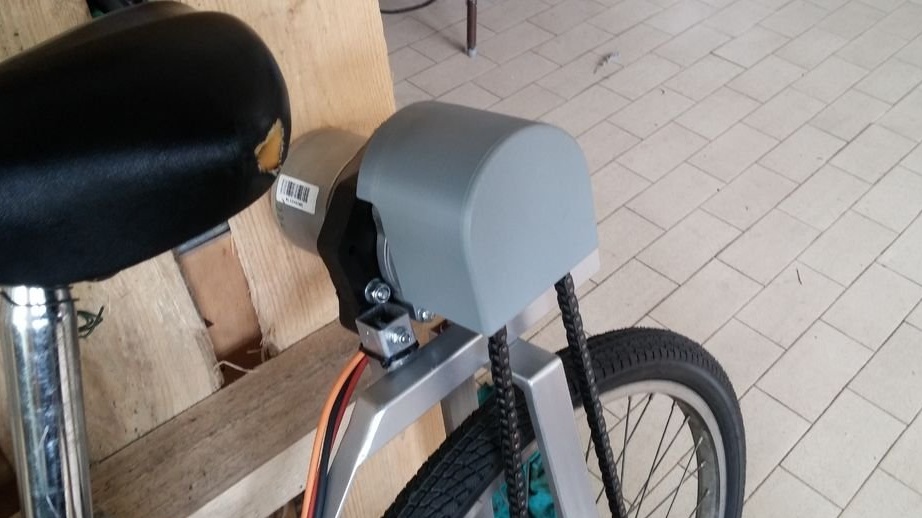
Step Nine: Protective Cover
The master printed the protective cover on the 3D printer.
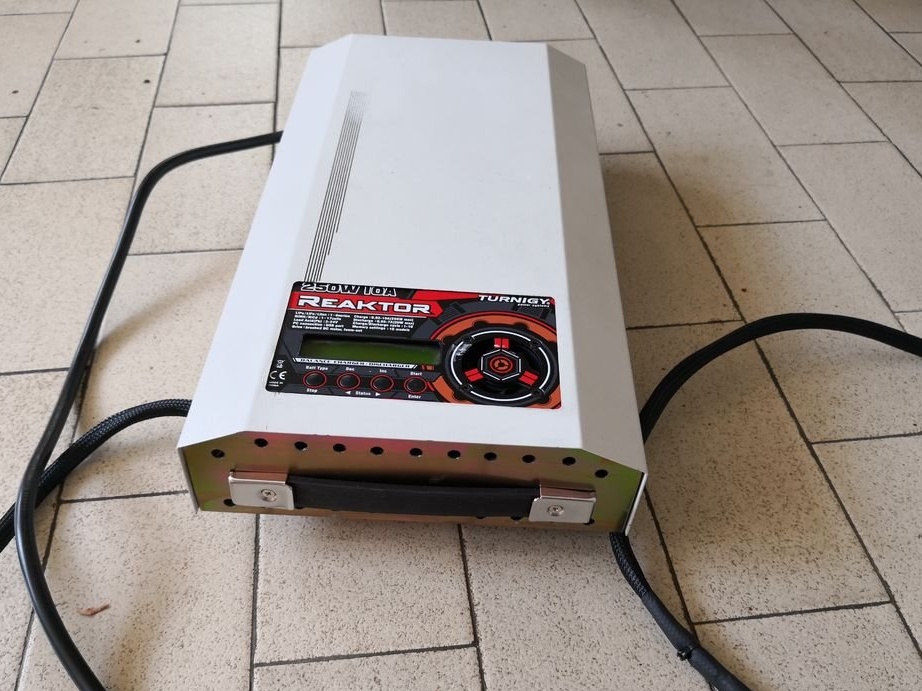
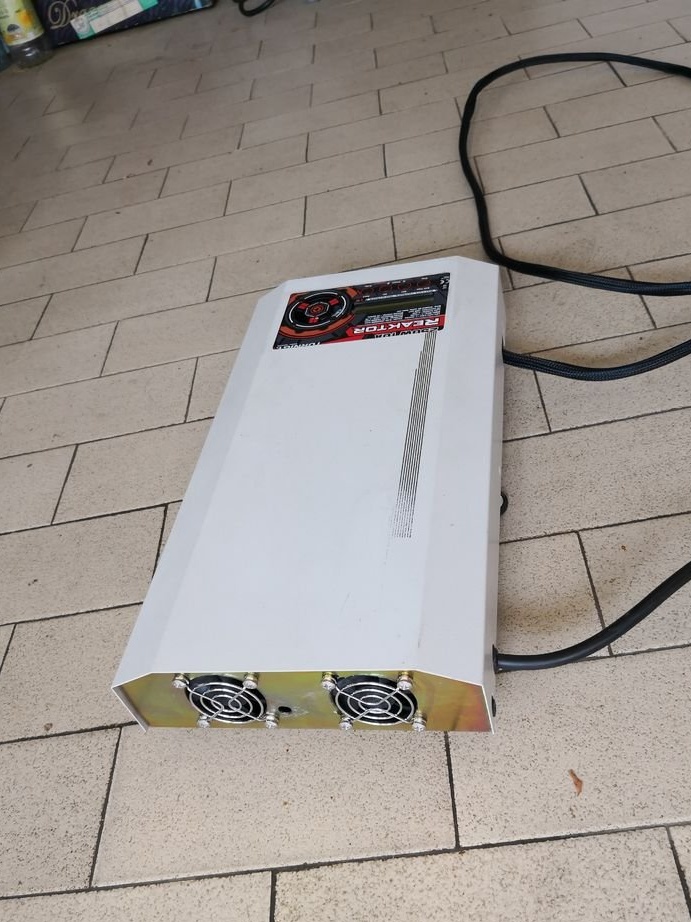
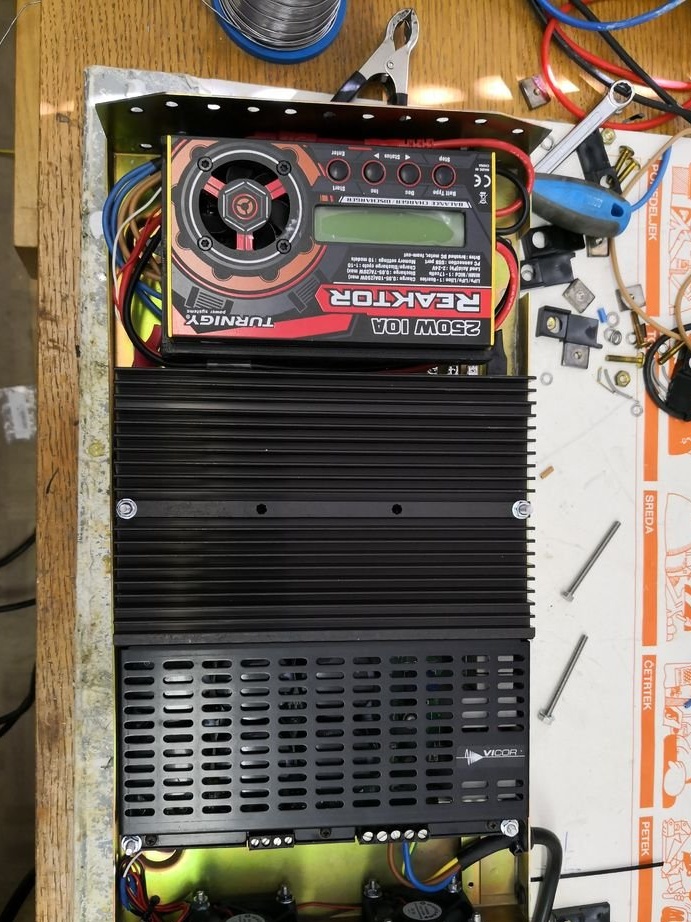
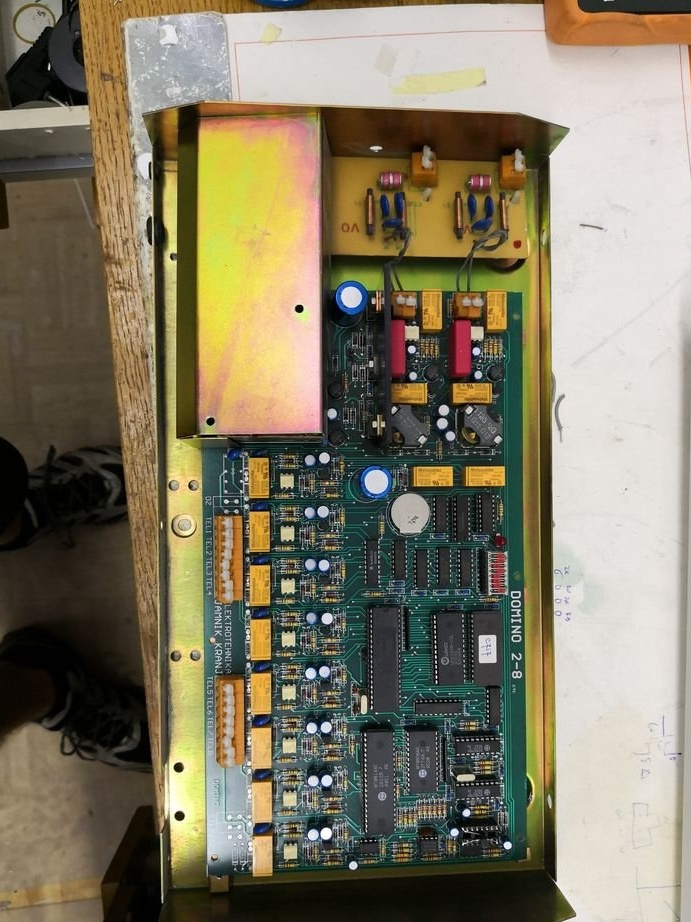
Step Ten: Charger
To charge the batteries, the master used a charger powered by 12 V.
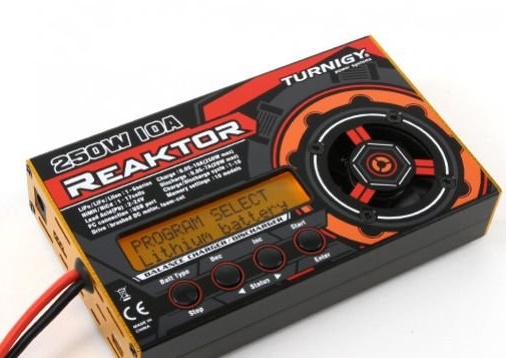
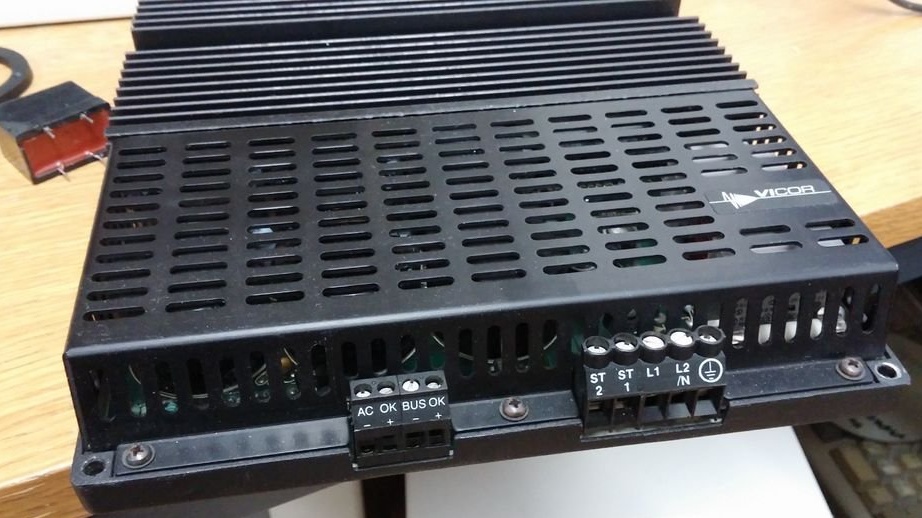
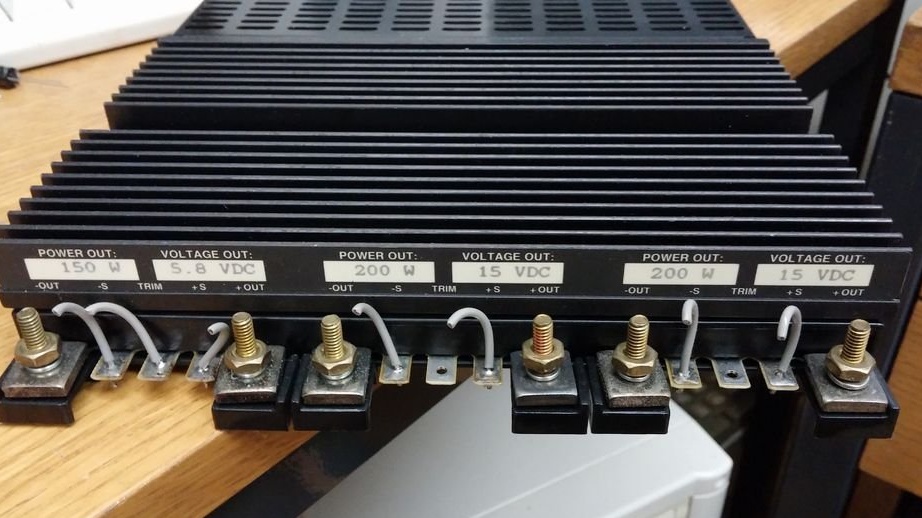
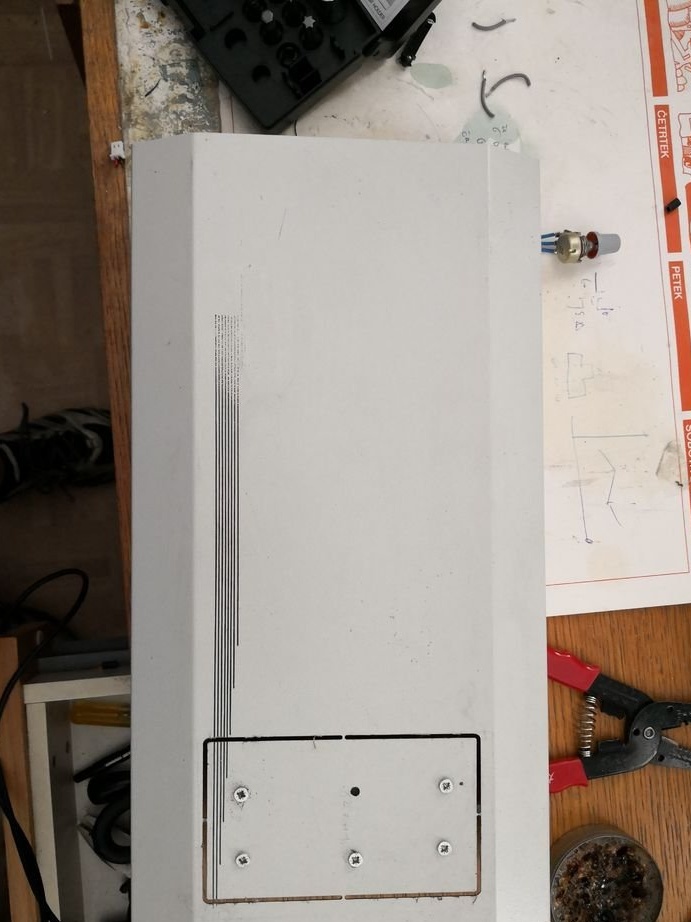
I remade it for mains supply and made a case.
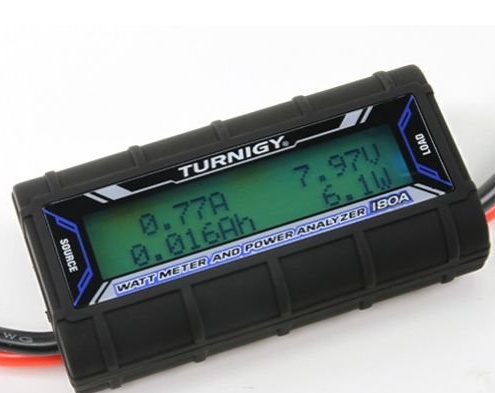
Step Eleven: Instrumentation
Additionally, the master installed two devices. With one, it controls the voltage, current, and power, with the other, the voltage of each battery.

All is ready.
The whole process of making an electric bike can be seen in the video.