
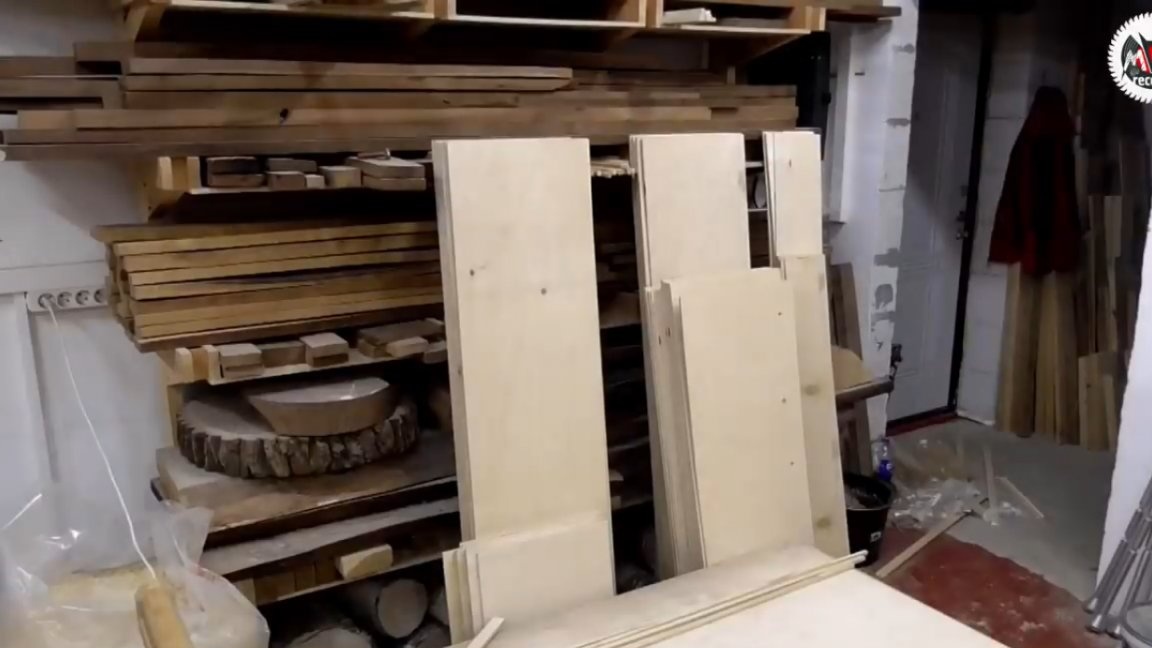
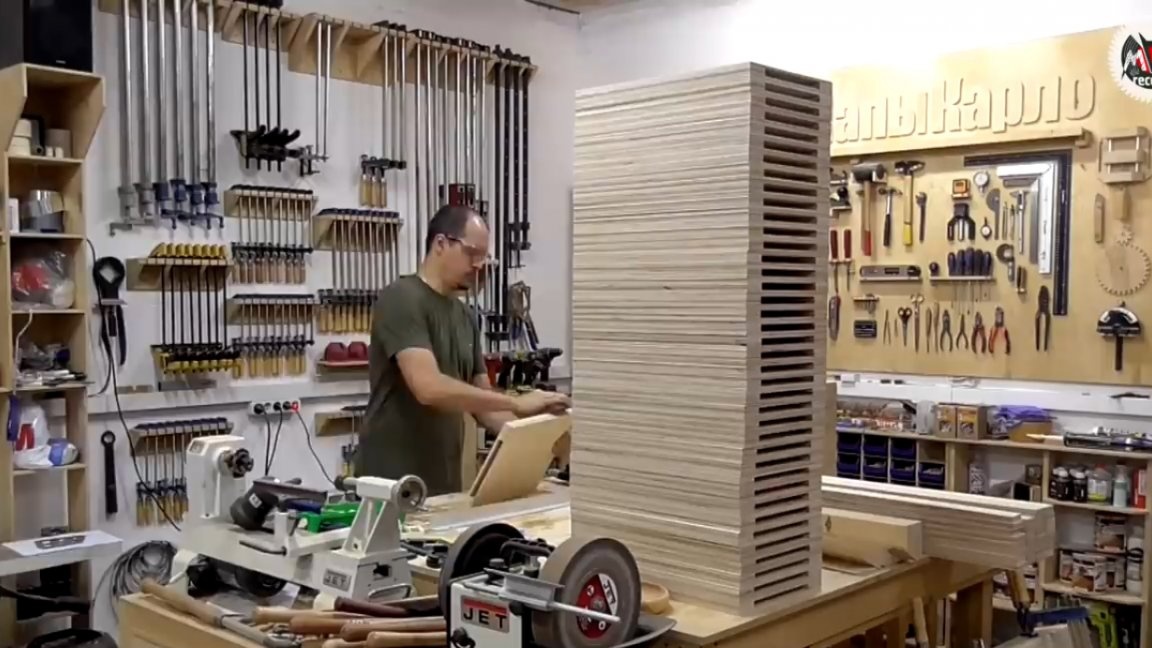
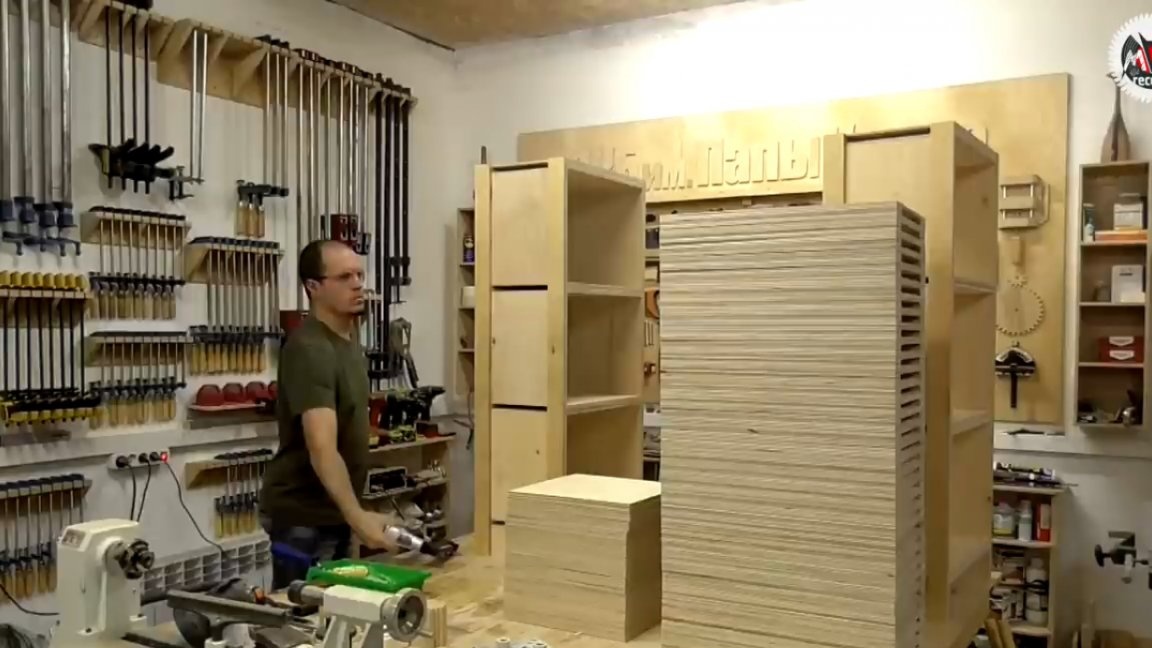
In this article, we will take a closer look at the process of self-production of these plywood racks here:
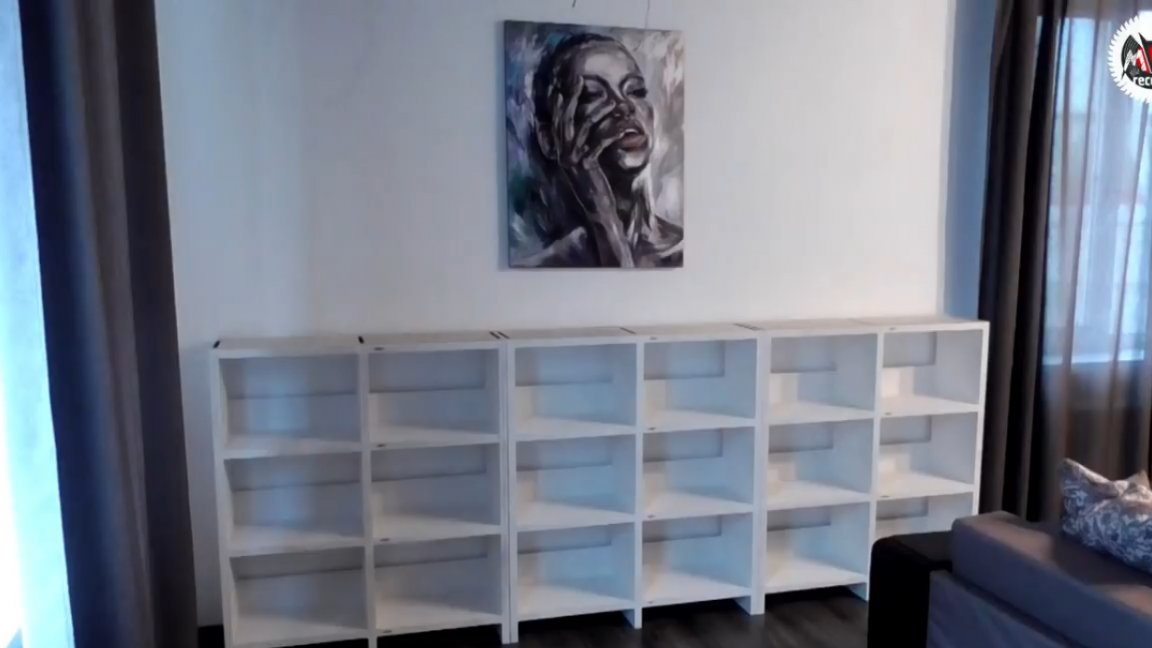
Just the other day, Master Maxim Kozlov, author of the YouTube channel of the same name (Maxim Kozlov), updated the stock of plywood. This plywood was purchased for the kitchen, but before, the author wanted, so to speak, to test its quality, since already during unloading it was noticeable that some of the sheets had a diagonal bend.
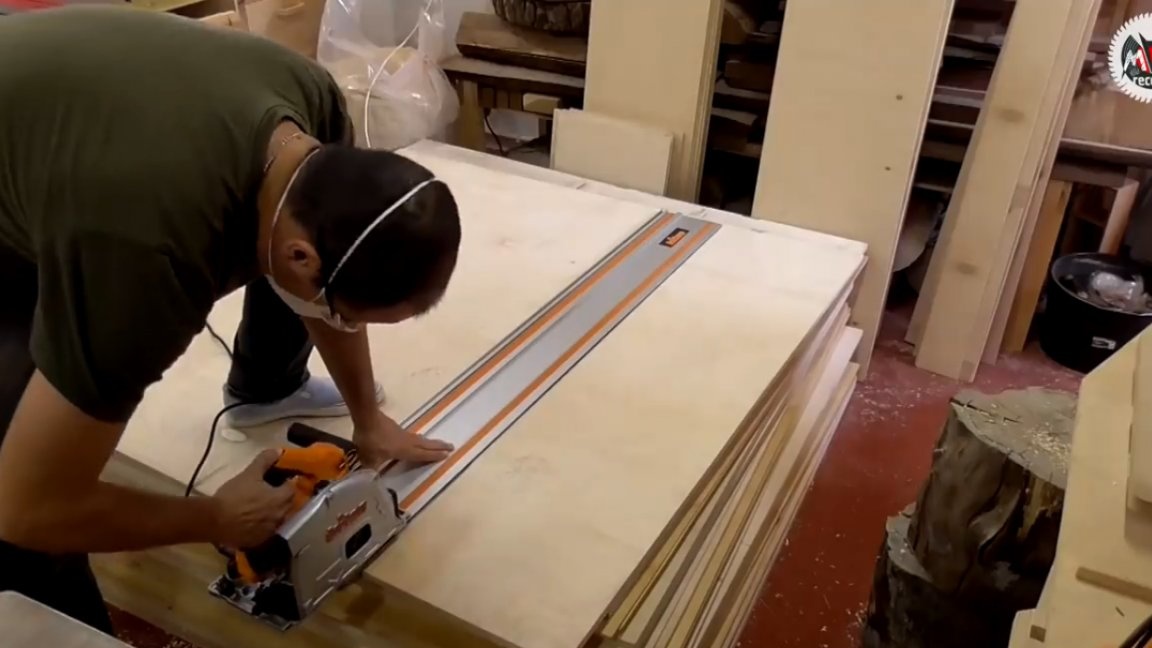
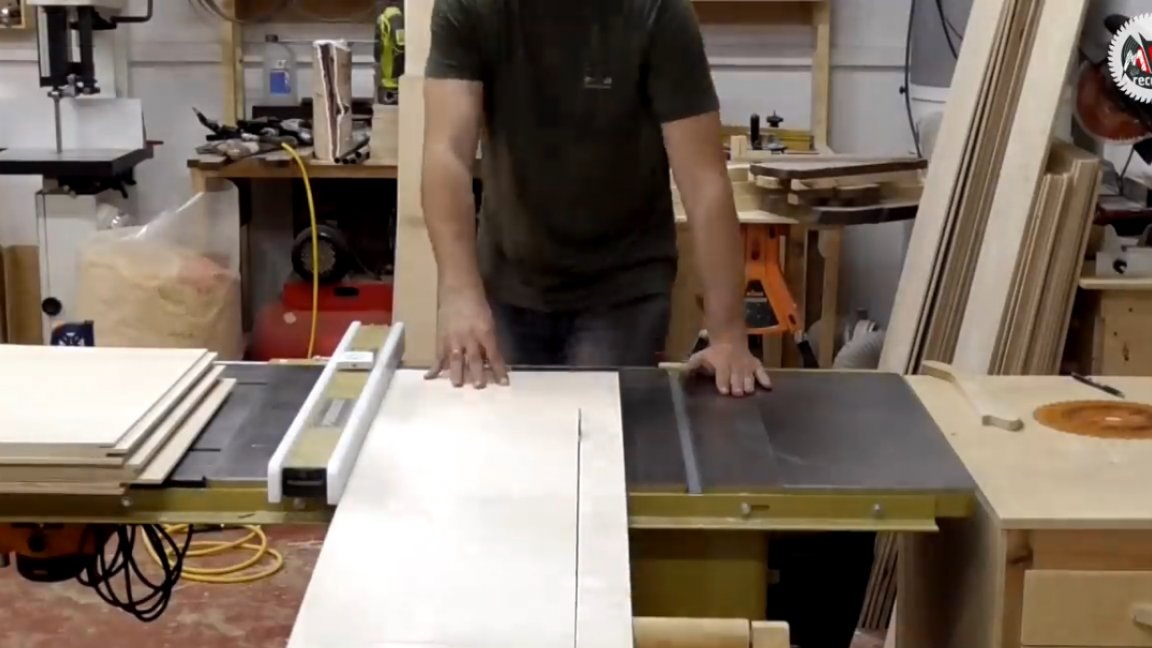
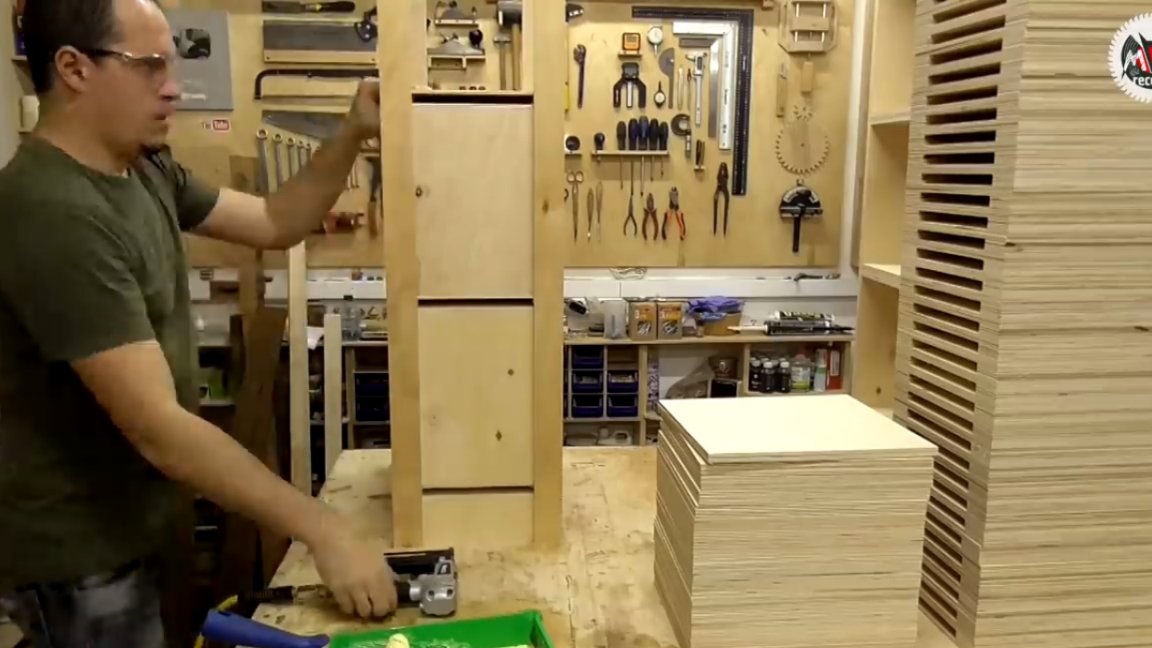
Therefore, at first it was decided to make of it several book shelves for the living room. Since there was quite a lot of work to be done, the master did not sort and raise the whole plywood batch, but decided to dissolve the sheets directly from the pile.
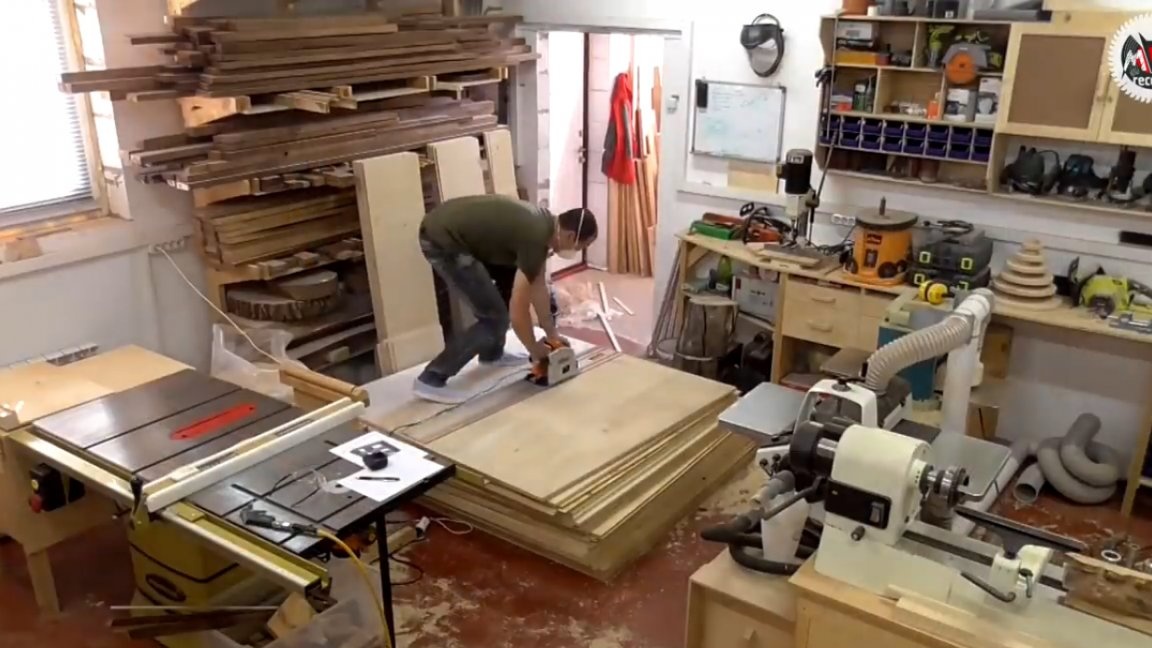
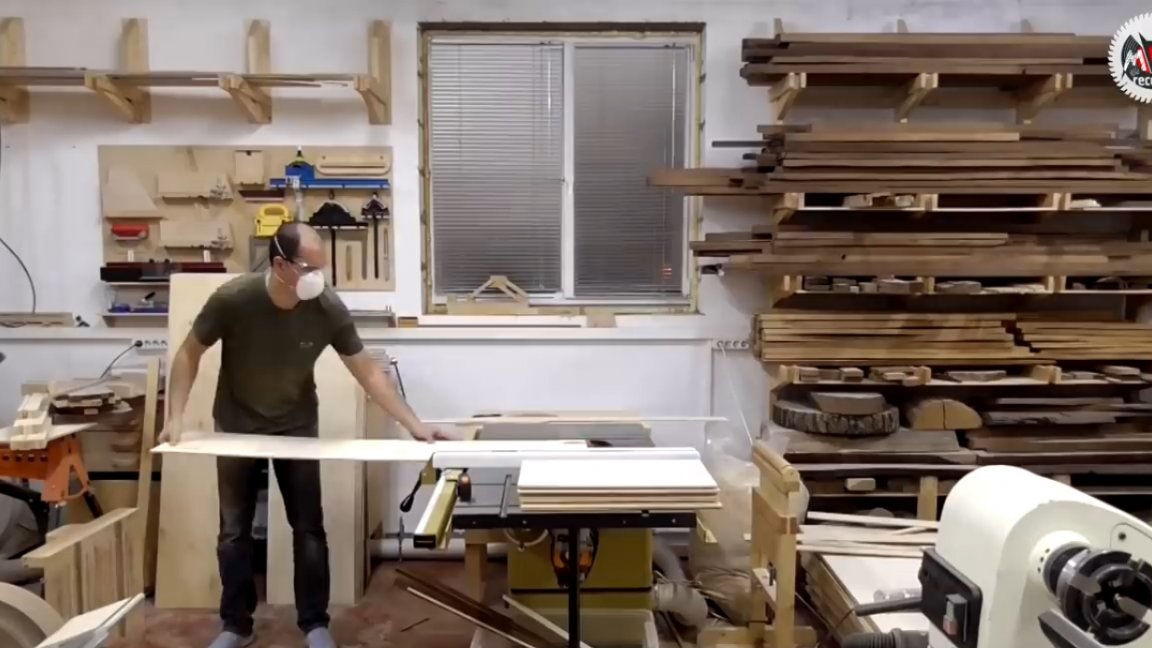
In addition, with whole sheets of “tag” to work on a sawing machine is quite problematic, so it is wiser to dissolve everything into pre-workpieces with a submersible saw along the tire.
Racks and shelves of racks will form a sandwich, consisting of the beams of the 15th plywood sheathed with sheets of "six". Accordingly, for the manufacture of bases (frames) for five racks, 2 sheets of 15th plywood were unfold.
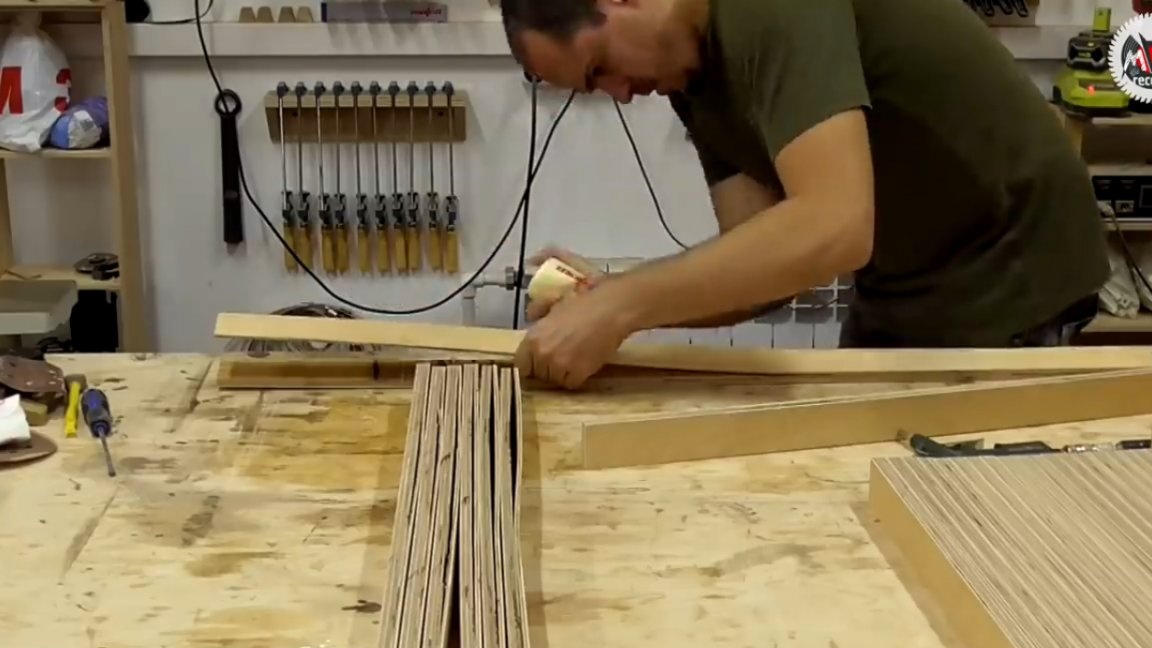
And right on the first sheet the problem was just revealed. It consisted of a bundle, but since all racks, as well as all plywood ends in the structure will be closed, it was decided to simply glue the stratified parts and press them into pieces directly to the assembly table.

At first, of course, the author was upset, because he thought that the whole batch of this plywood could be of the same quality as the first copy, and the author planned to make kitchen drawers out of it where, as planned, I wanted to leave the plywood butt. But fortunately the second sheet turned out to be quite suitable even for these purposes.
To draw any conclusions about the quality of the whole party is of course too early, but 50 to 50 is already something. When buying a large batch, evaluating the geometry of the sheet is quite difficult, since they all lie flat in huge stacks, so there are essentially only 2 options here, either to buy plywood from trusted sellers, or rely on luck.
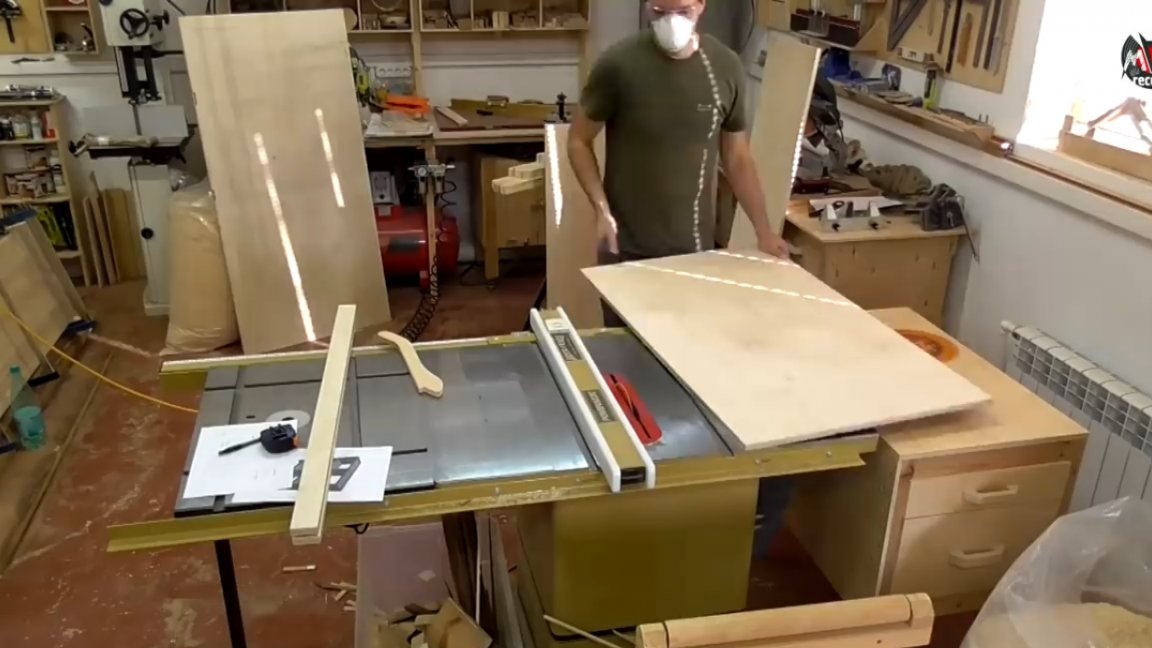
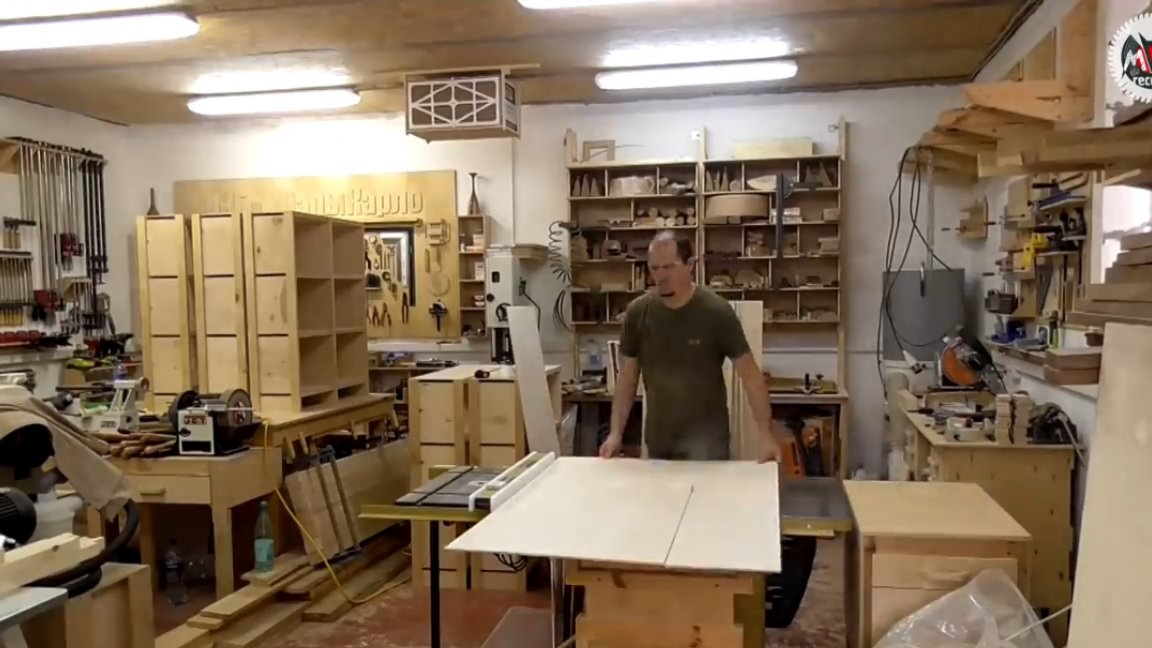
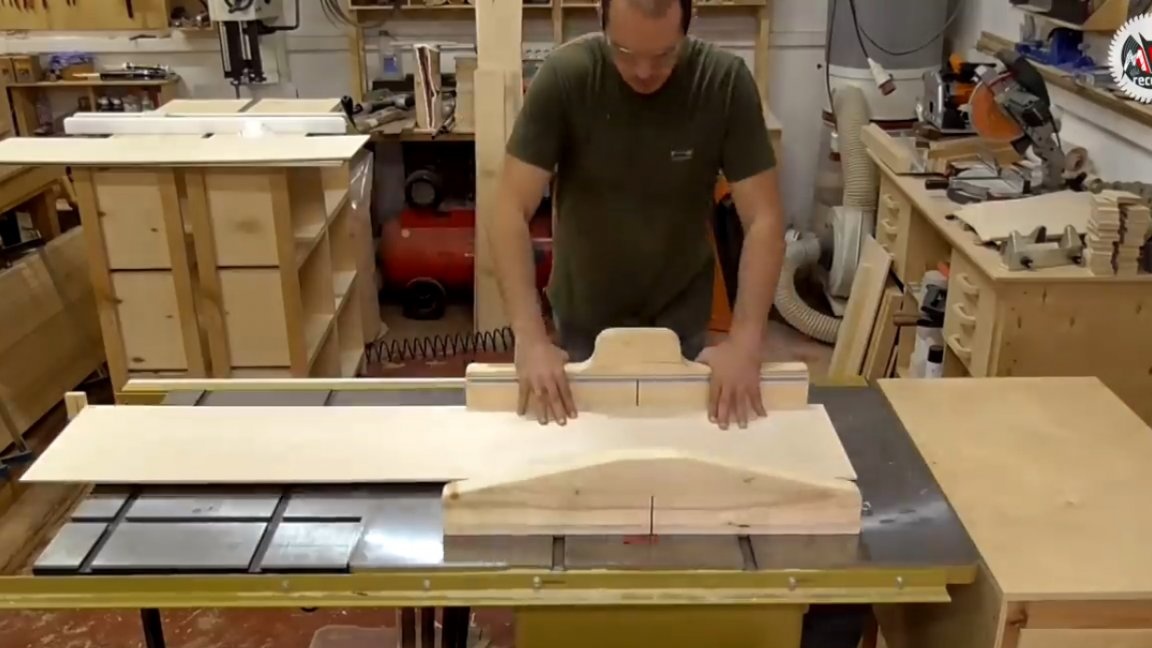
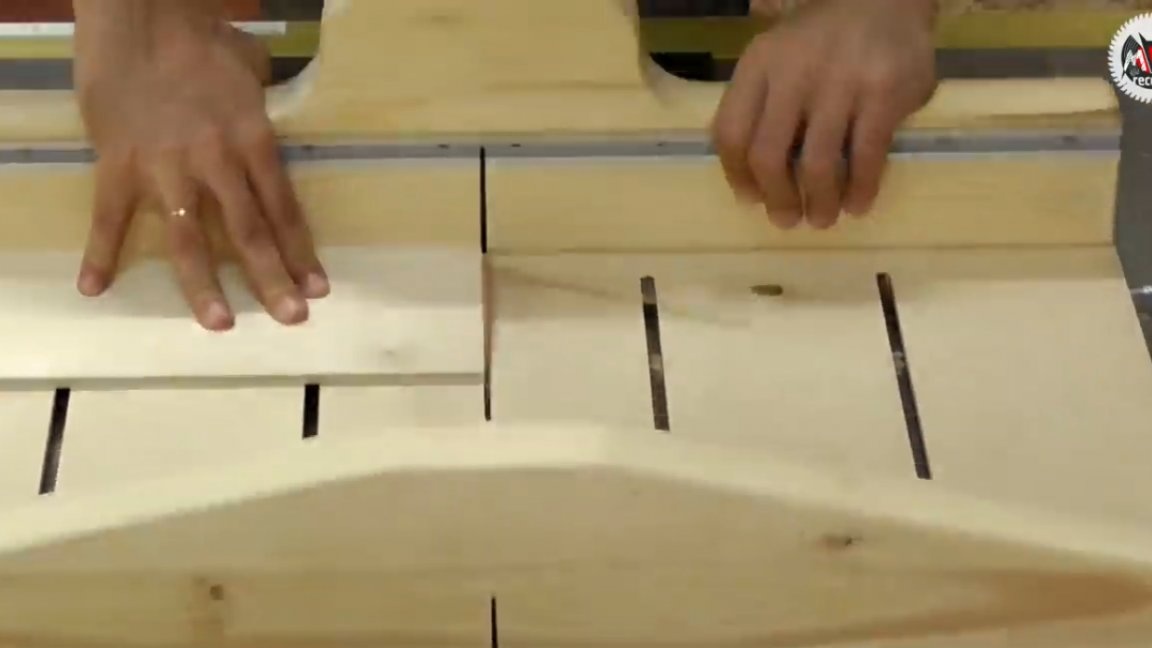
The integrity of the racks restored, now proceed to sawing the crossbars and shelves. This process was carried out by the master using a carriage with zero clearance, which minimizes chips.
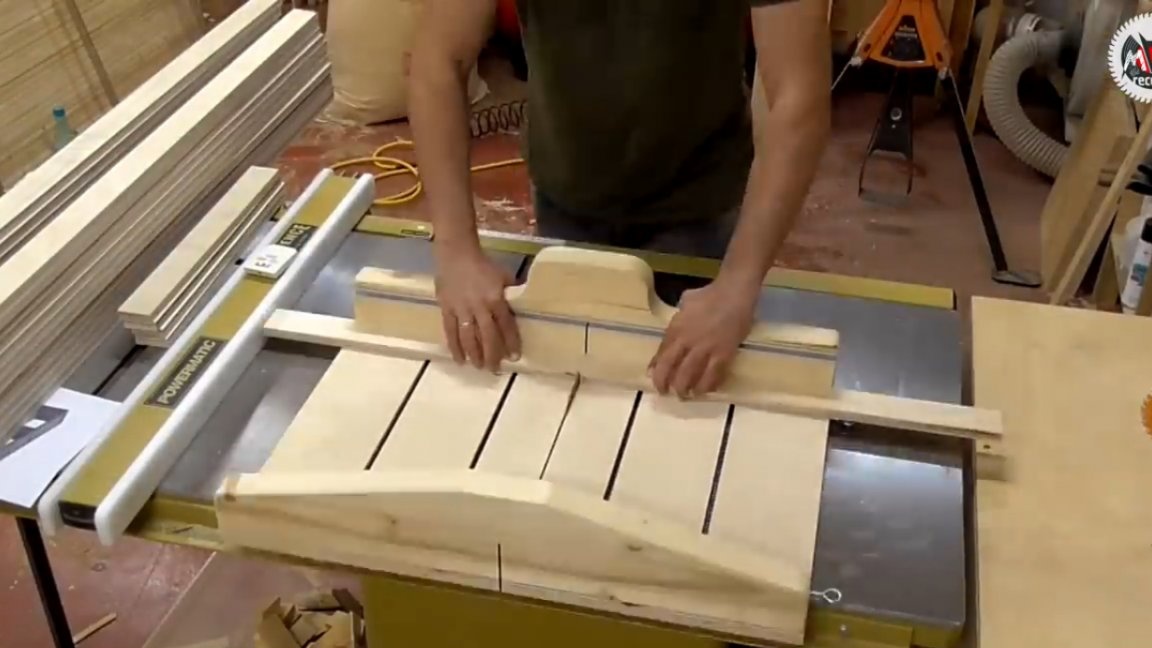
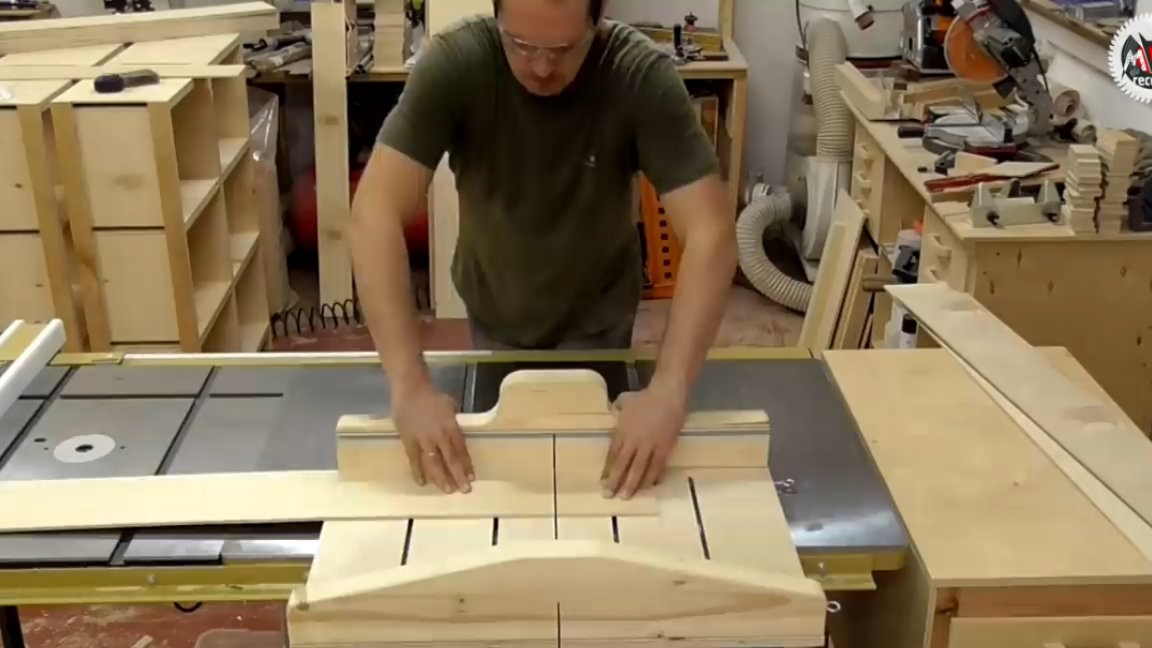
For sawing the details of the racks in the size of the length of the guides, the parallel emphasis was no longer enough.For this reason, the author had to further bother and make such an emphasis, the slider of which is installed in the grooves of the milling table, and then, according to the principle of a split nut, is fixed with a self-tapping screw in it.
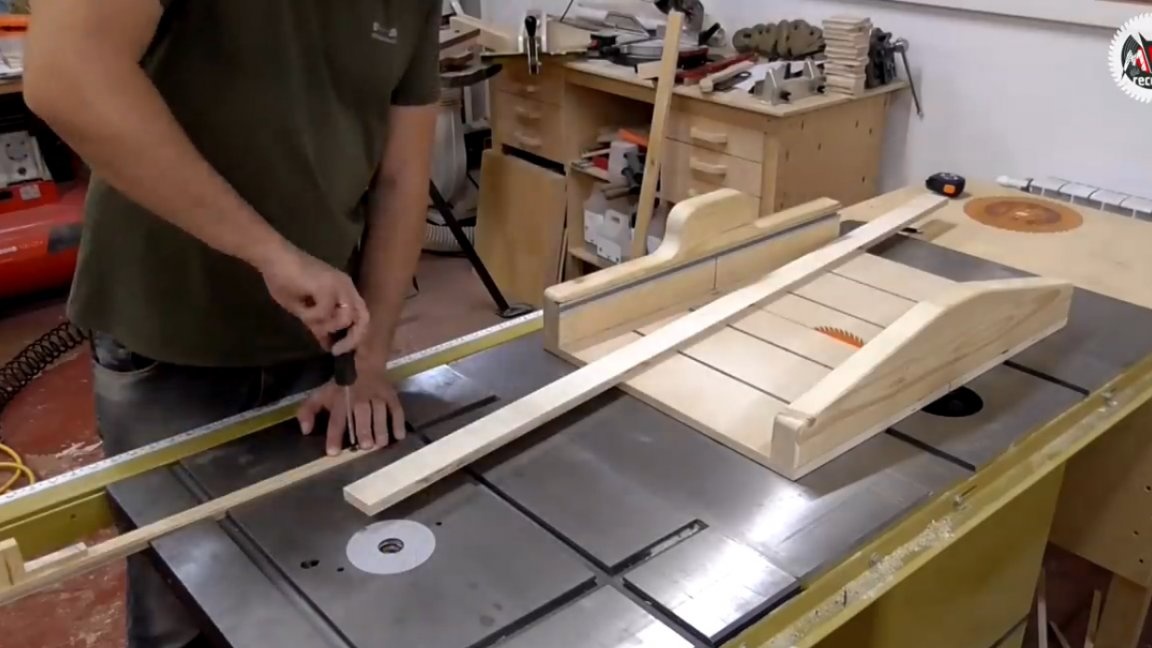
The author was quite satisfied with the result, it turned out quite conveniently. Now it was possible to continue trimming long parts without chips, and at the same time with fairly high accuracy.
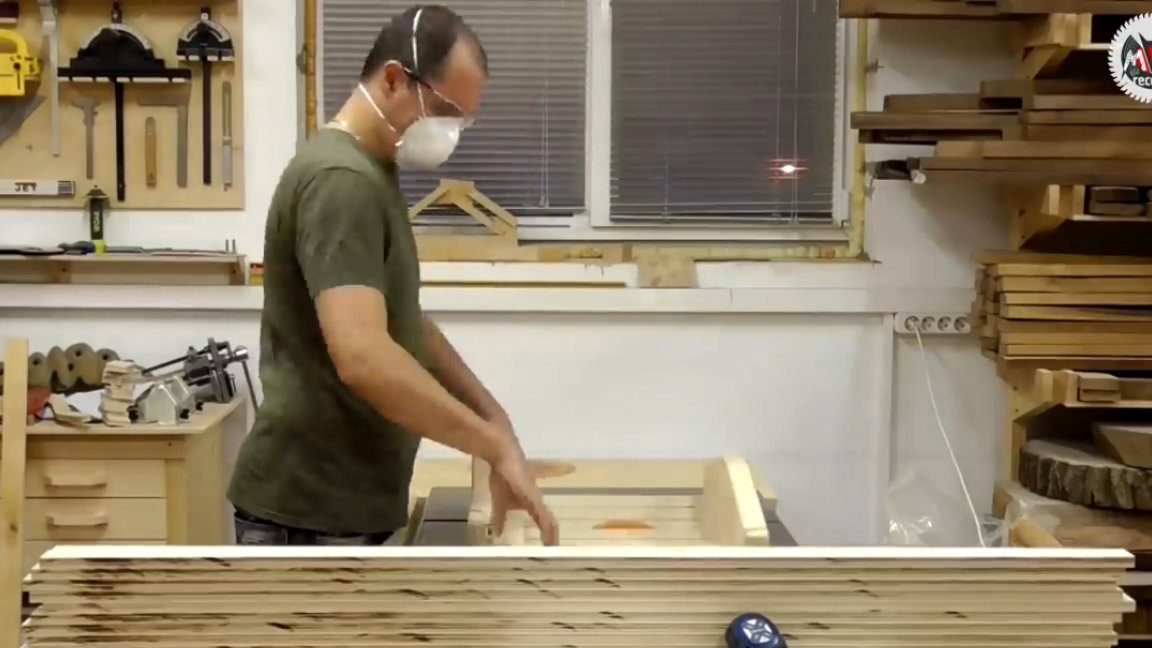
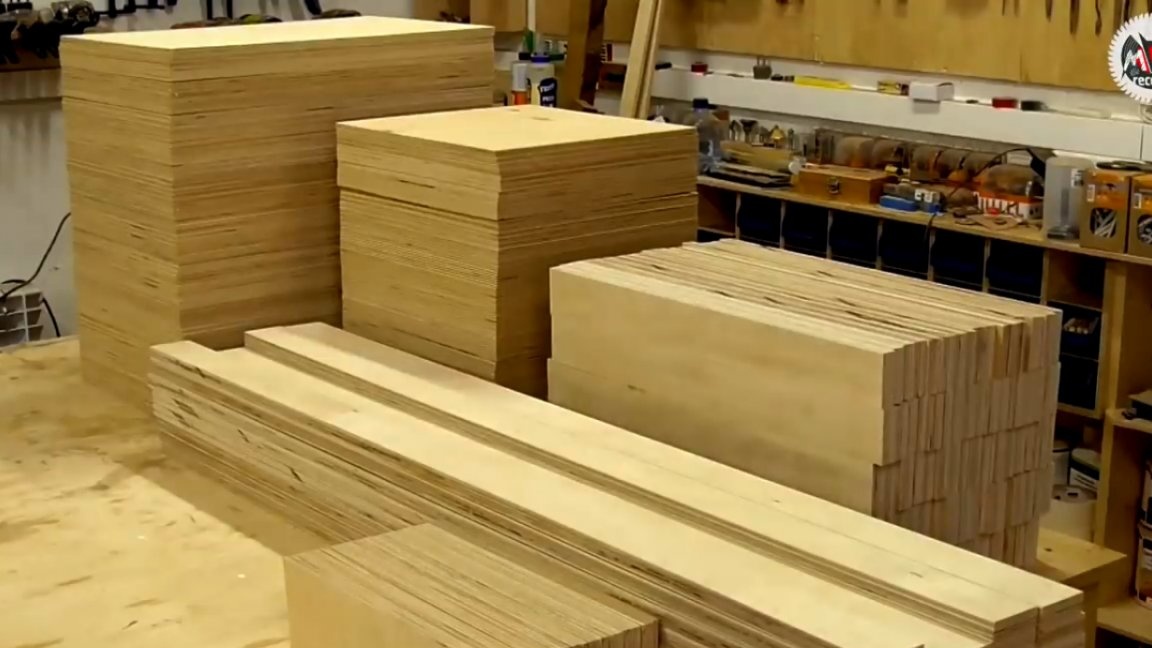
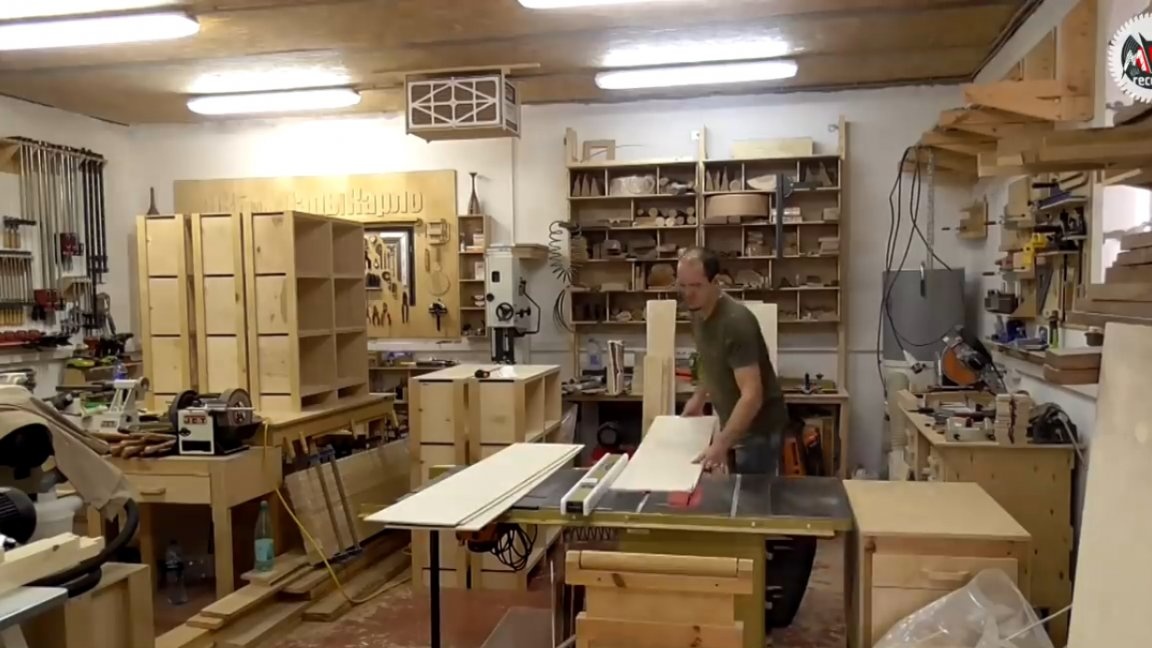
Next step it was necessary to form the necessary details from 6 mm plywood, which in the future will be sheathed all the shelves and racks of racks.
The depth of all the racks in this case is 300 mm, and for starters all the workpieces were sawn on the basis of these parameters, and then on the width of the shelves and the height of the inter-shelf racks.
The 80-tooth end plate proved to be just great. The author even wondered why all these years this disk has never been used on a sawing machine, although it is almost 5 years old.
Prior to this, almost all of the author's plywood projects were accompanied by a lengthy process of grinding the edges, which sometimes had pretty decent chips that formed during the cutting of the sheet. This was especially noticeable if the fibers went across the cut line. But with this disk for 80 teeth, the appearance of unwanted chips was reduced to almost zero, as if the sheet was not oriented with respect to the disk.
Well, in the end, from the resulting scraps, the last group of necessary elements was formed. Now imagine how long it would take if there were burrs near this whole mountain of blanks.
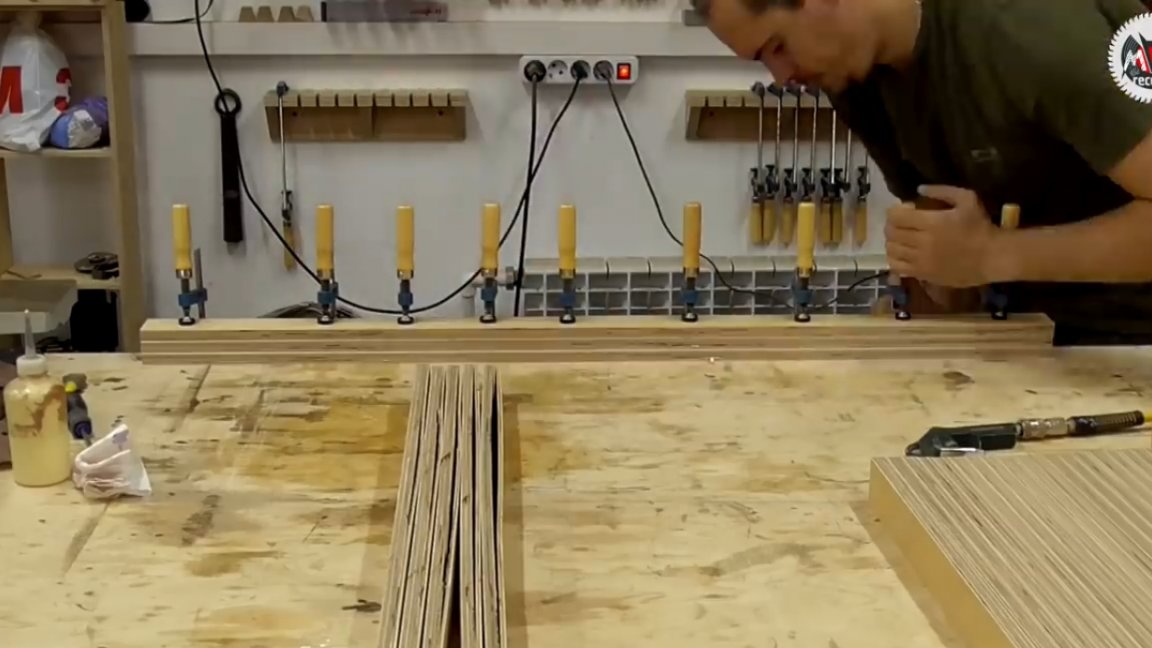
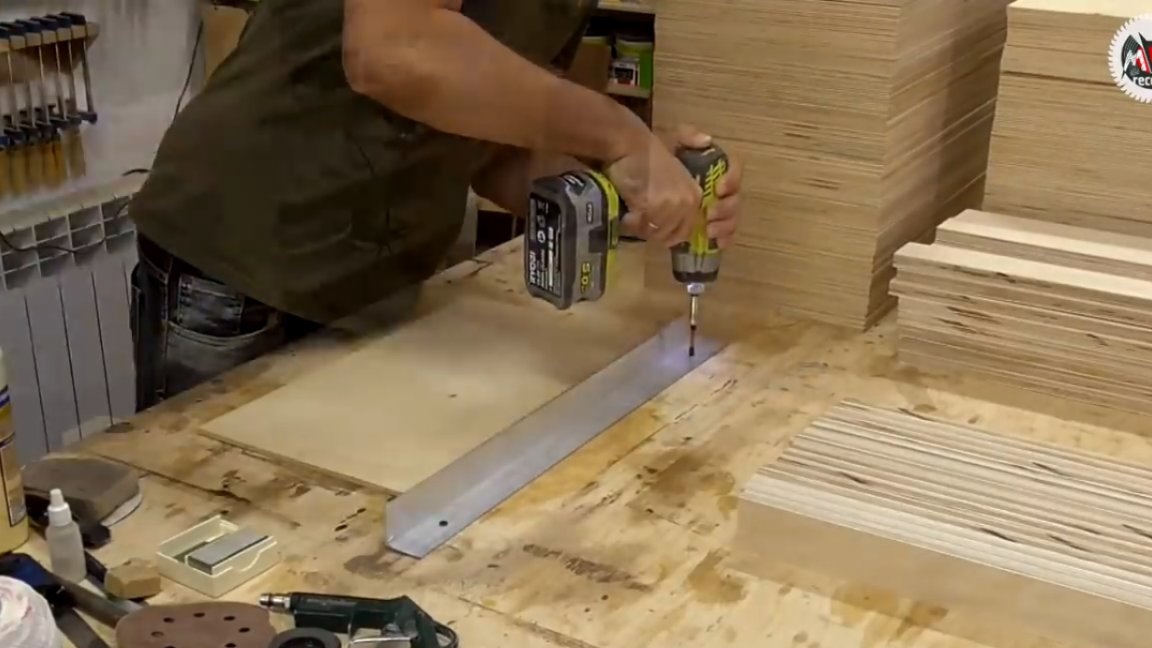
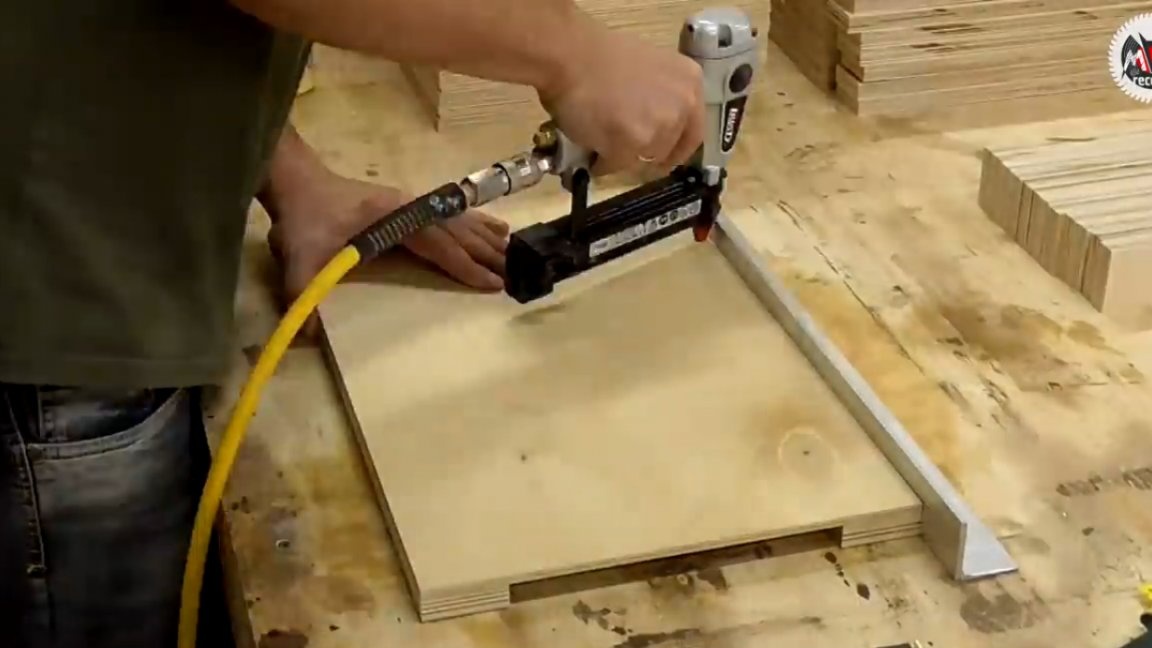
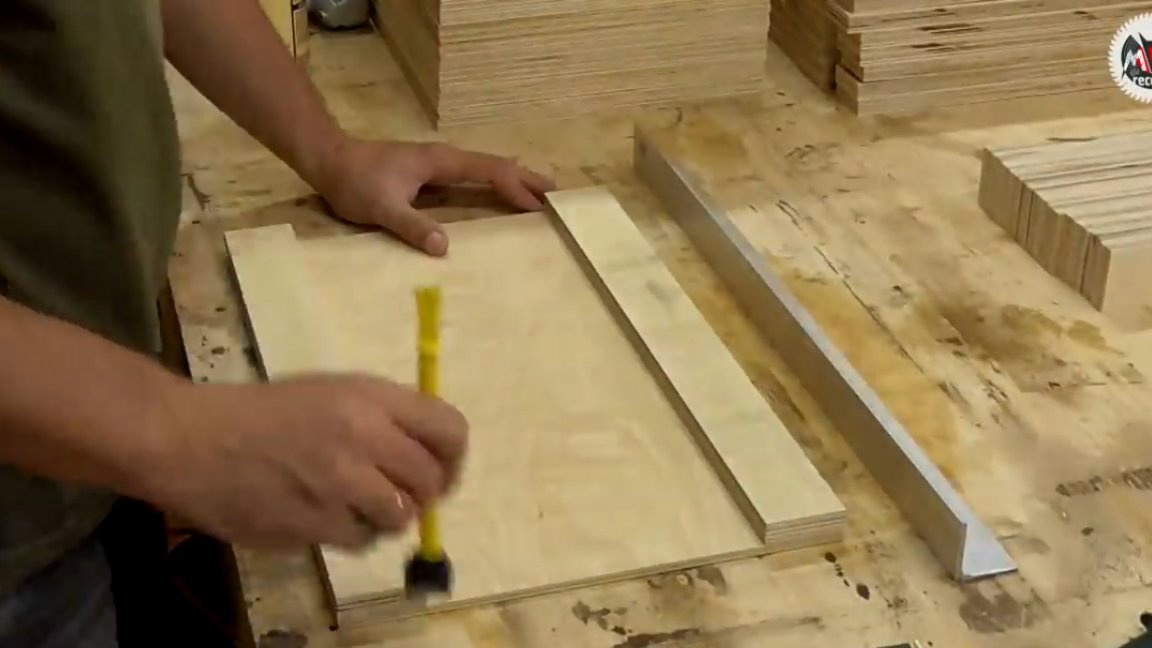
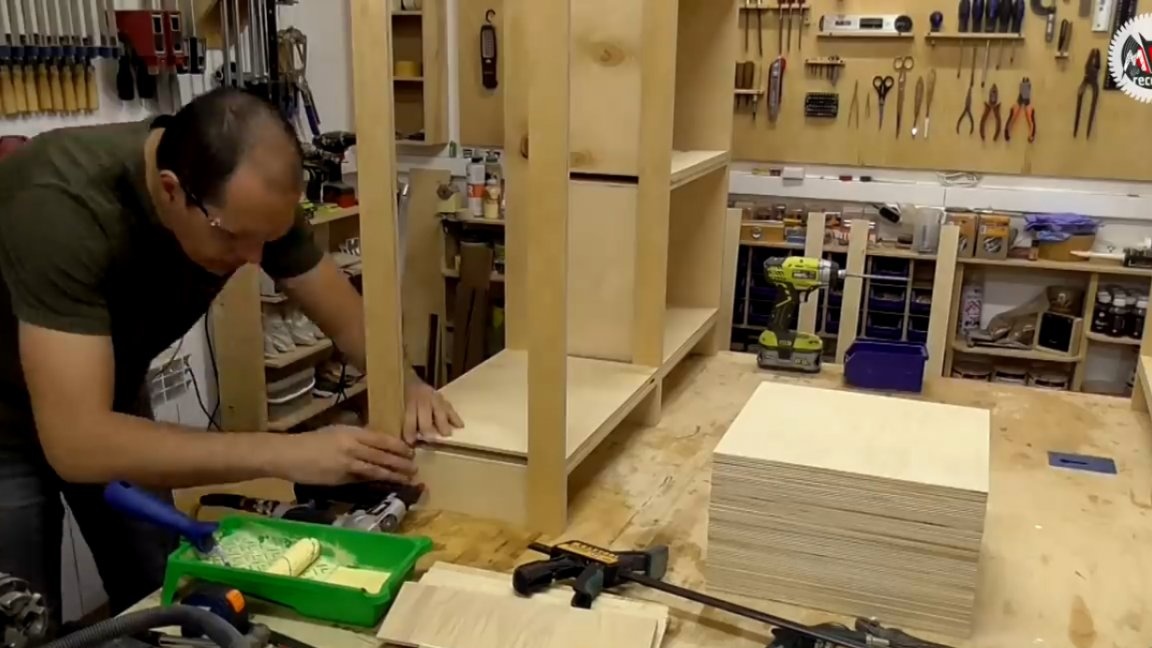
Then you can proceed with the assembly, but first you need to break this process into several stages. The first step is to make a so-called sandwich. To do this, it is necessary to fasten the slipway from the aluminum corner to the assembly table, according to which it is possible to control the plane of the ribs with fairly high accuracy.
Well, now the long monotonous assembly process has begun, which was accompanied by the re-sticking of all parts with the mandatory stitching with a hairpin.
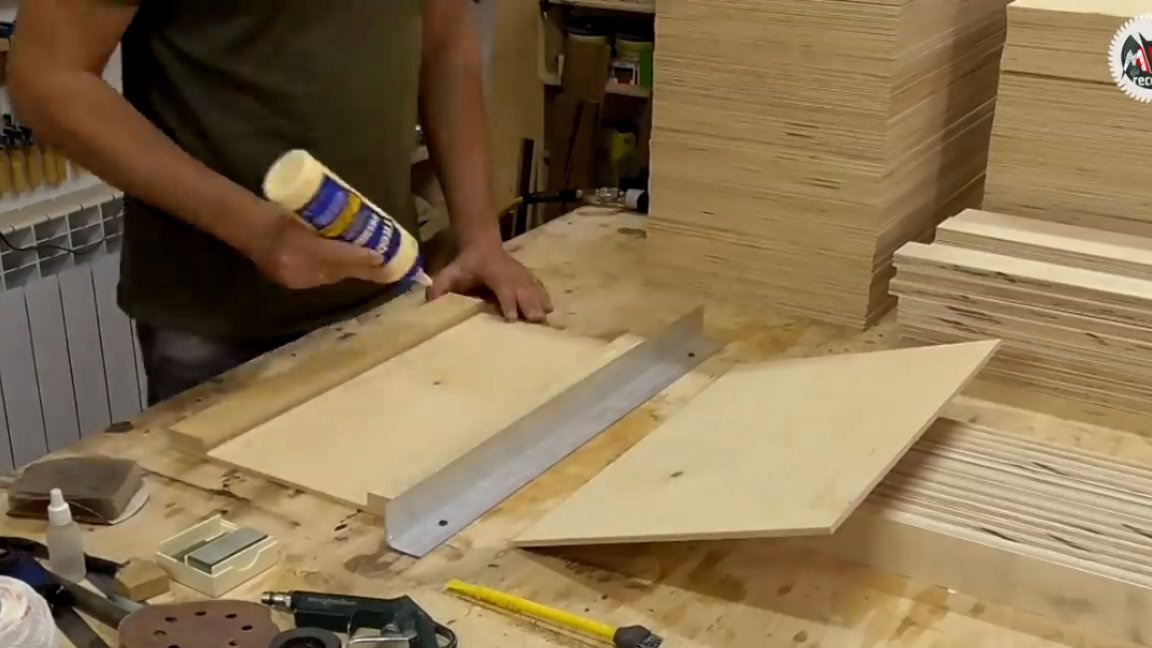
Having fastened several details in this way, the author decided to slightly optimize the process of applying glue and in the next frame we can observe the roller.
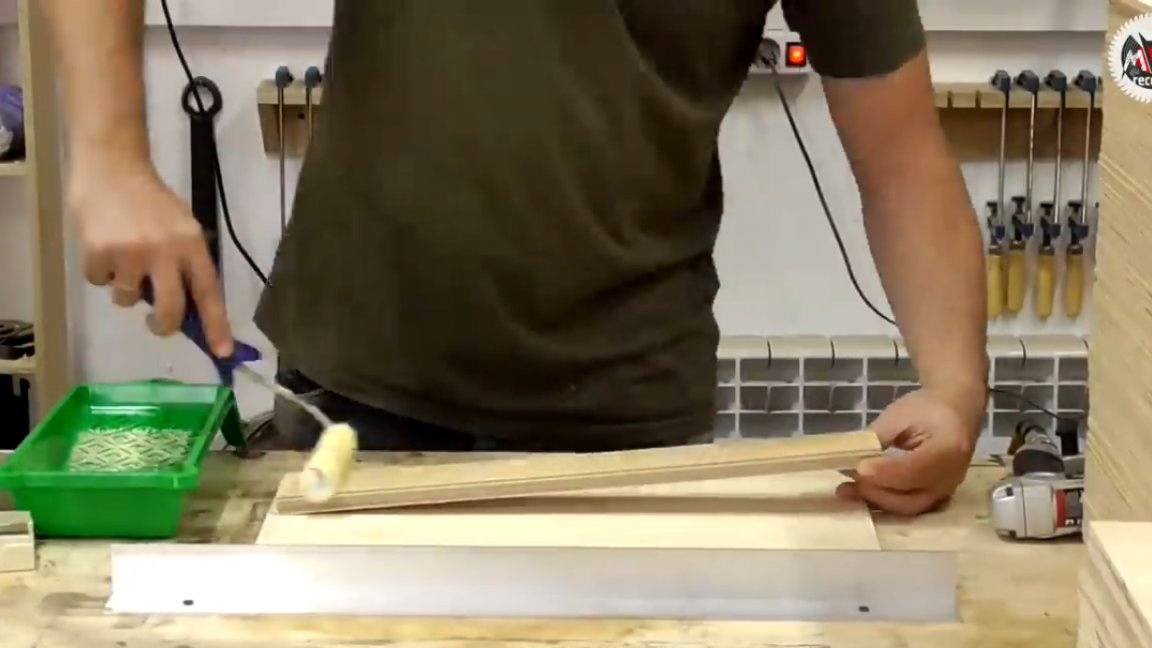
As a result of the introduction of this simple fixtures things went a lot more fun, and the quality of the glue line in view of the excellent uniformity increased significantly. Plus, when pulling together, the excess glue in this case did not climb.
So, with the shelves sorted out, you can proceed to the racks racks. But first, for this it is necessary to make a new assembly slipway, according to which it will be possible to set the parallelism, as well as the required width of the racks.
When we have a lot of identical nodes, it’s always worth introducing some kind of templates and assembly methods in order to make life easier and increase repeatability.
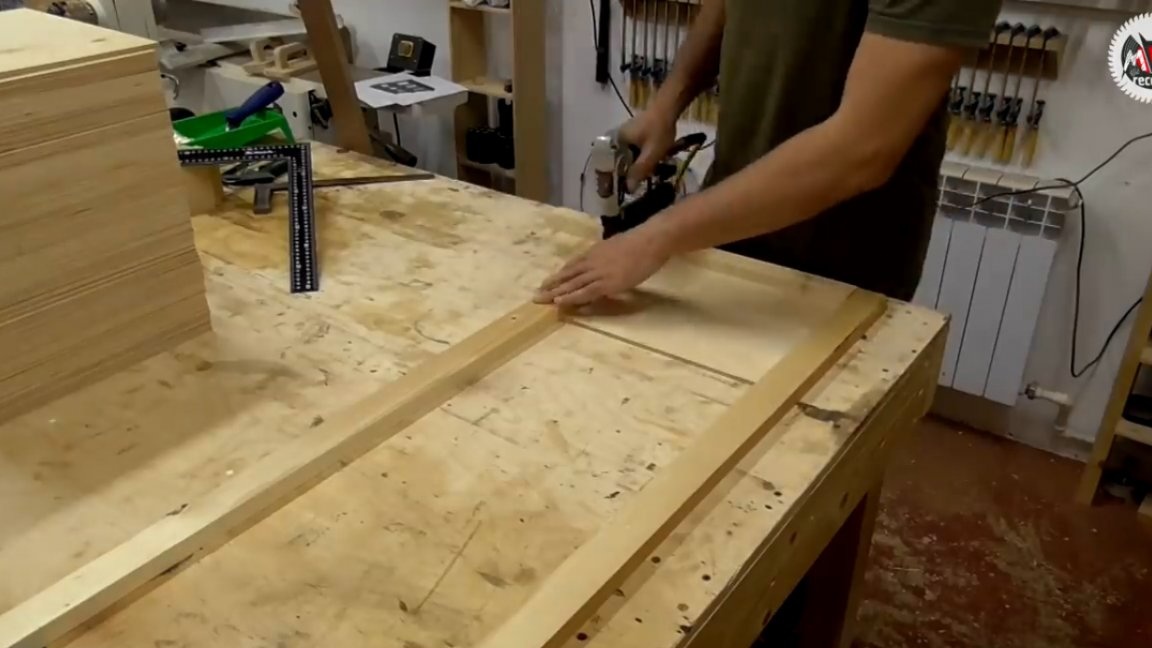
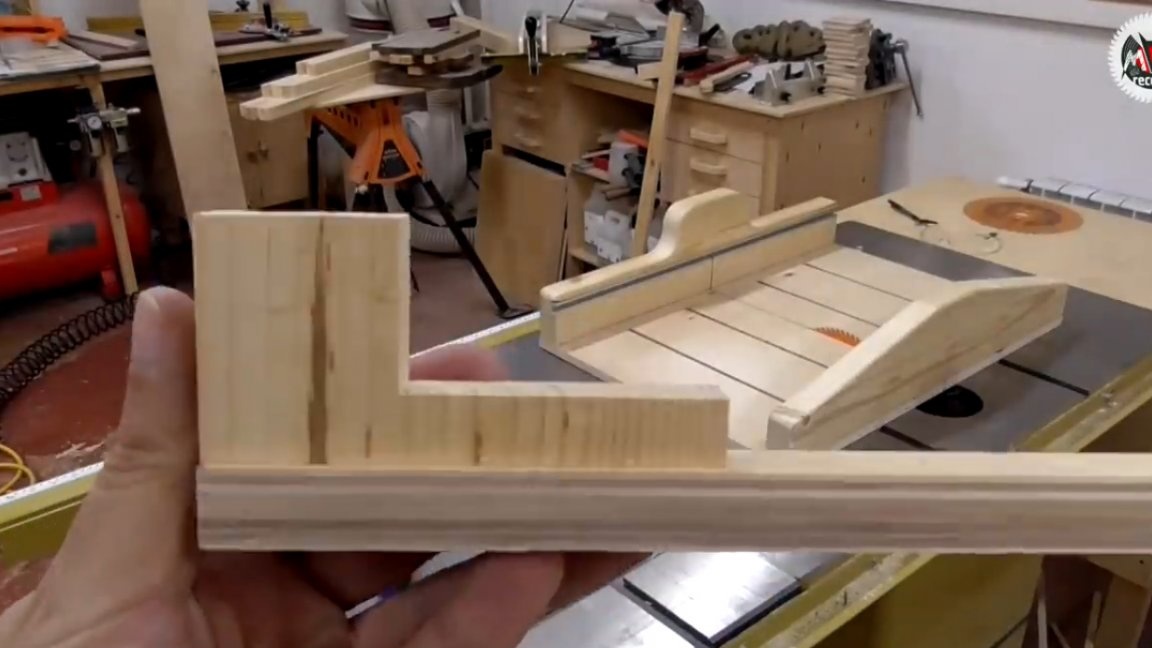
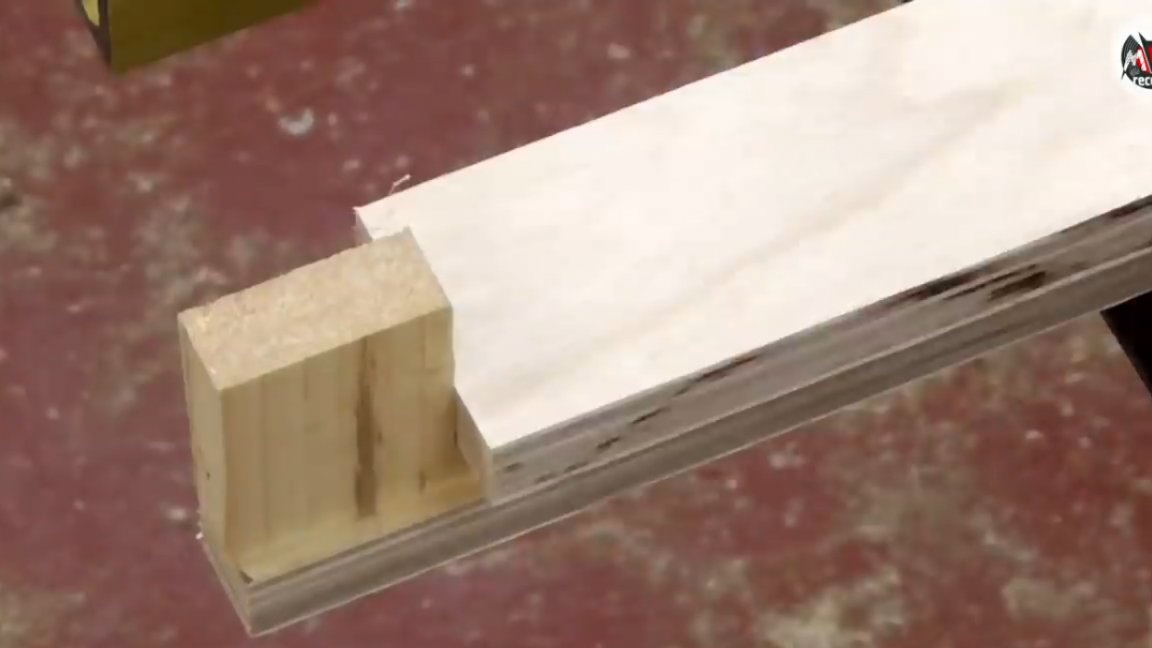
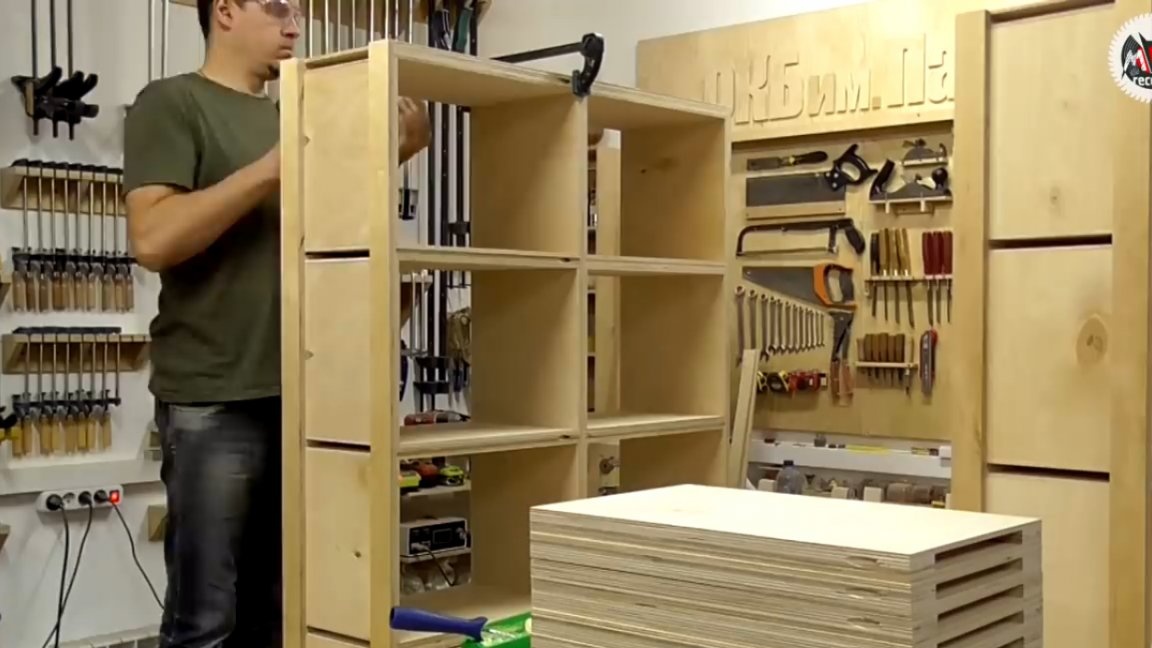
All. Now you can start assembling the racks themselves. At this stage, the master used his favorite technology, when the grooves for the shelves are formed by the inner filing of the racks, thereby we get a noble appearance of a completely enclosed niche and excellent strength. Plus, we completely get rid of any markup during assembly.
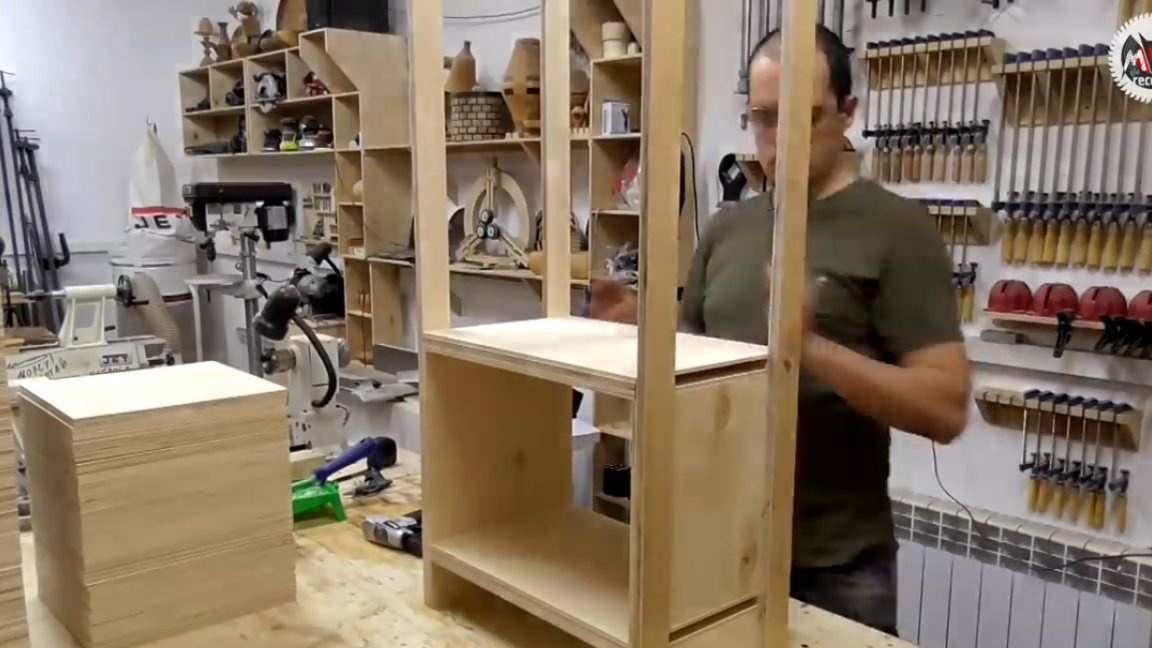
The result was such a sandwich from the Six and Fifteen. Visually, such a part has sufficient thickness and excellent strength, but in fact, 4 mm plywood for binder could be dispensed with, it would also be quite enough.
All plywood that the author uses for this project has a 2/4 or 3/4 class and is sanded on one side, which is turned towards our gaze. Thus, it is possible to get durable massive structures quite cheaply while saving on thick plywood, which, whatever one may say, will still be low-grade. Well, if we take a bilateral high class, then these are just cosmic prices. Although, if desired, and the presence of a press, plywood can always be pasted over with veneer.
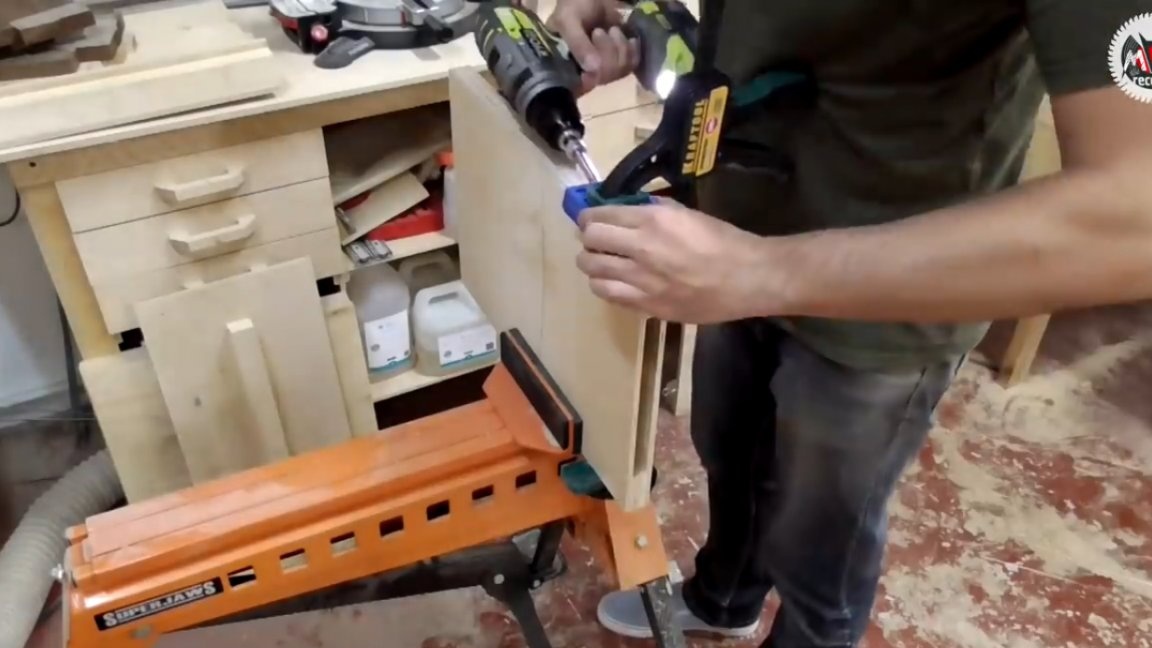
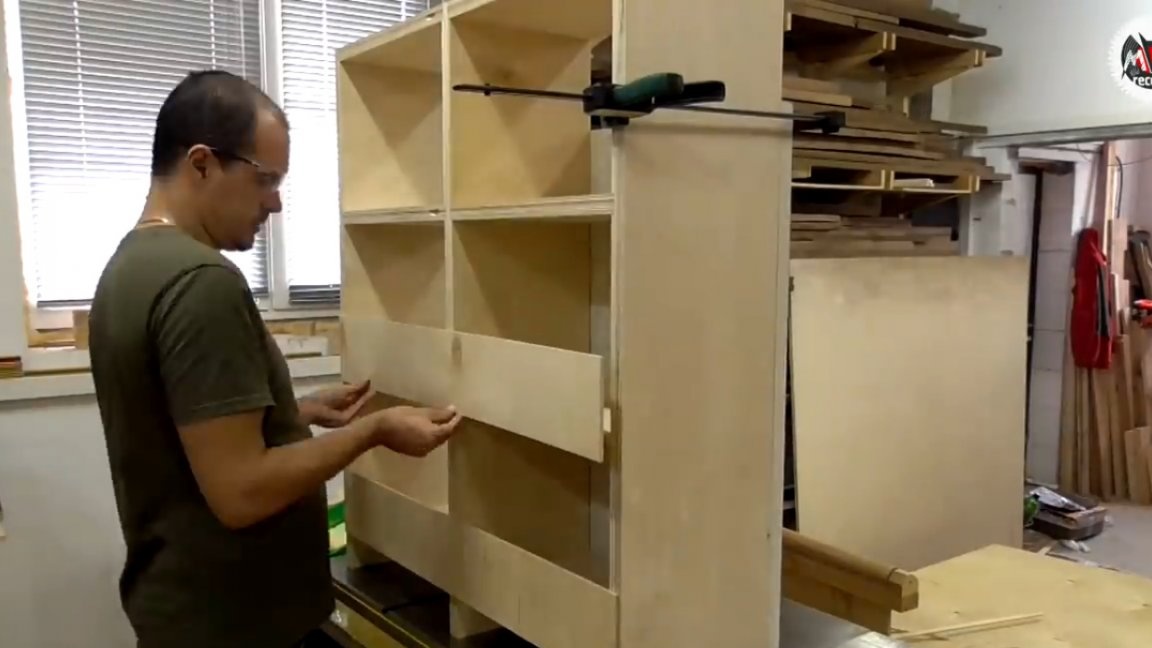
The halves of all five racks are assembled, you can go to the mates. At this stage of the assembly, we need a slanting screw, it will serve as an additional fastener, since it was possible to hem the shelves with the studs to the central racks only on one side.

We don’t worry about the openings, it’s not necessary to jam them, since in the future we will close all the front ends and racks with battens from thermal wood.
So, the installation question is almost closed, then we proceed to the final assembly of the racks. At this stage, we have to add the missing symmetrical part relative to the central rack.
When twisting the shelves on an oblique, it is necessary to tighten this place with a clamp so that at the entrance of the self-tapping screw at an angle the shelves do not part. The rest of the process is a classic, micro-stud.
If necessary, it is possible to make racks without back filing, which in turn provides lateral strength, since twisting all the shelves on an oblique will give excellent strength despite the absence of additional stiffeners.

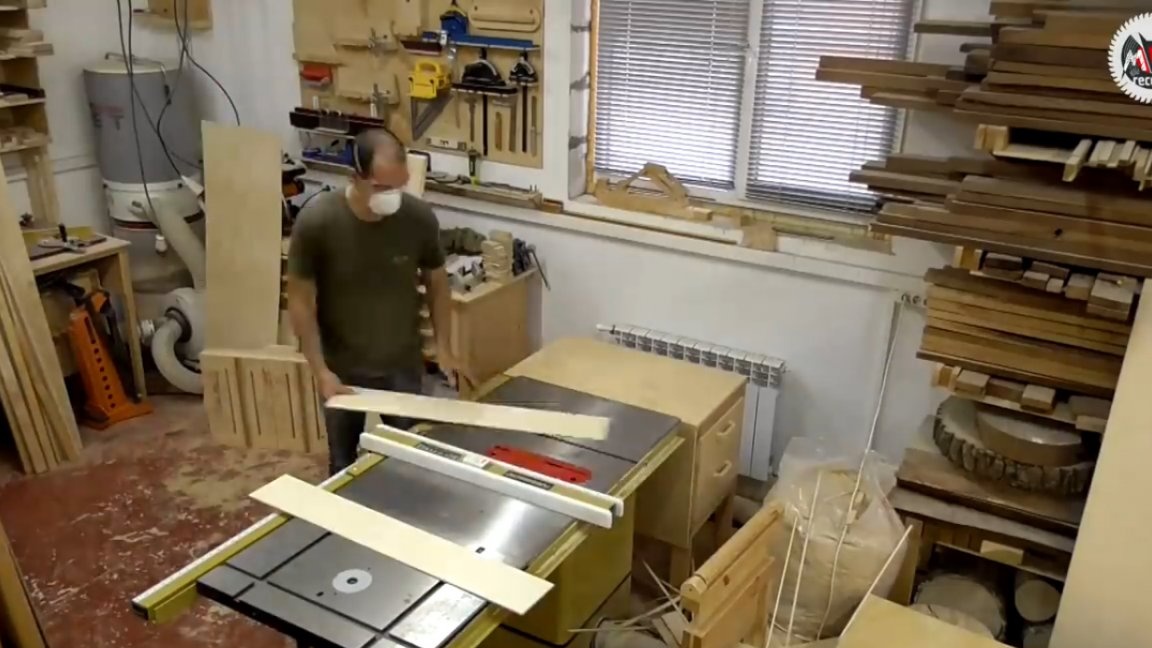
We proceed to the final stage, dissolving new sheets under the lining of the side posts. It is a pleasure to work with the “six” at the sawmill. From one sheet it turns out almost exactly 5 racks 300 mm wide. So - a couple of sheets and you're done!
Honestly, a standard square sheet of plywood is quite convenient for racks of this depth. Thanks to this, we get virtually waste-free production.
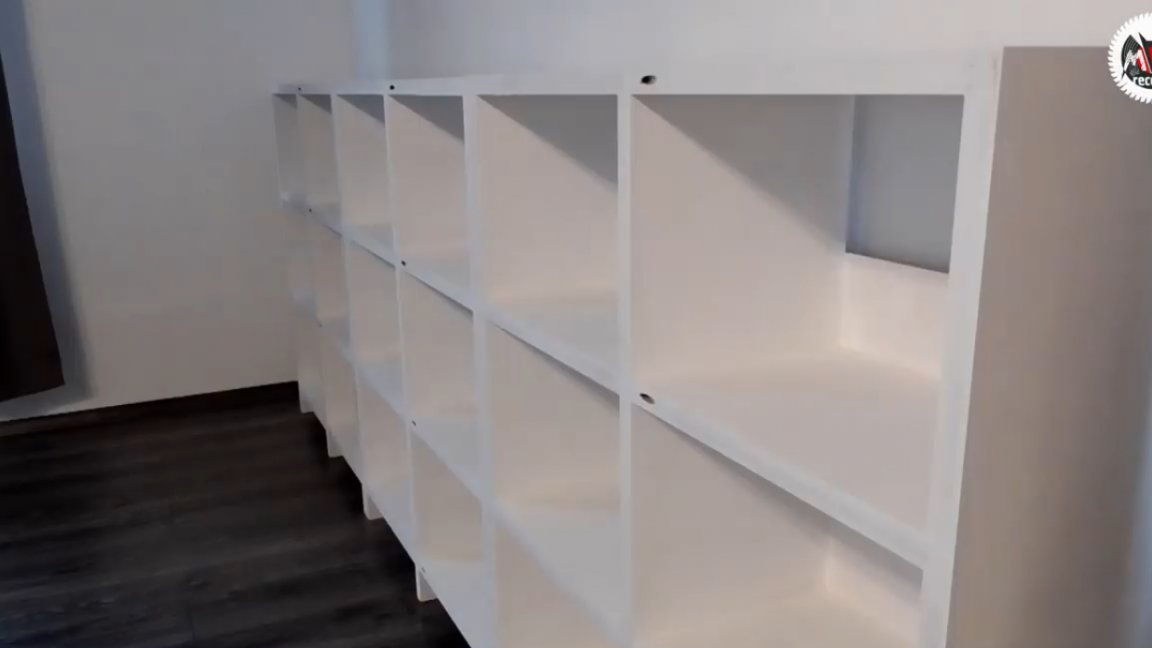
Next, a little less than one sheet was needed on the stiffeners. It was decided to make them not with a continuous binder, but with some limiters of the depth of the shelves in 1/3 of the inter-shelf distance. Thanks to this, we get quite sufficient strength, plus any, but saving material. It also looks pretty good.
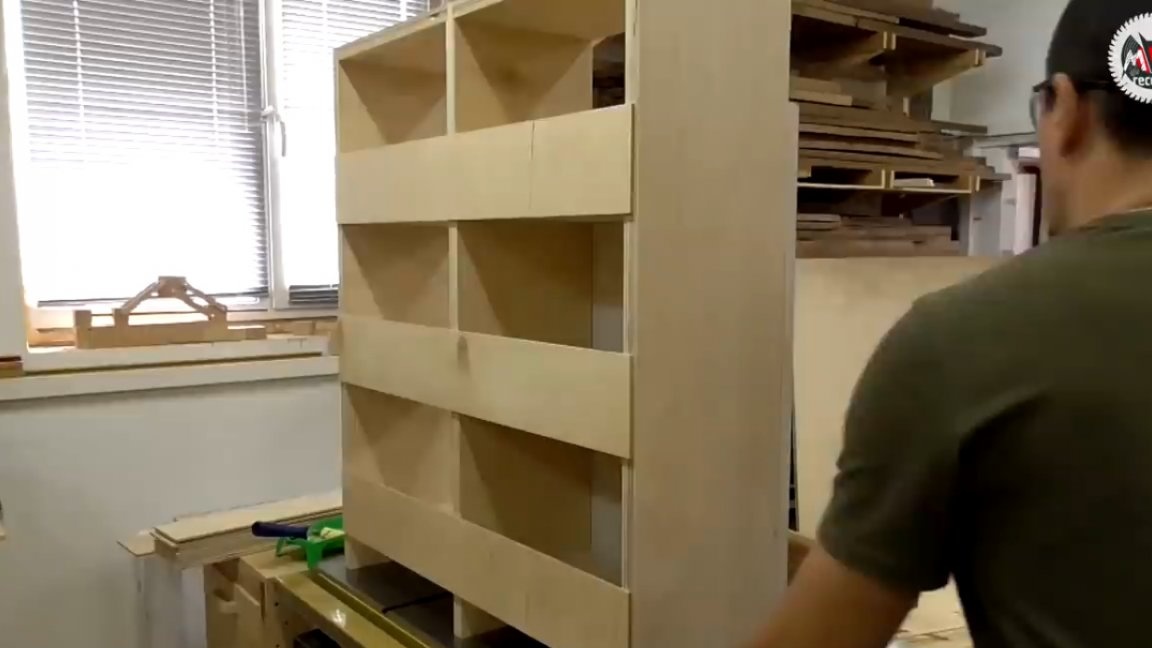
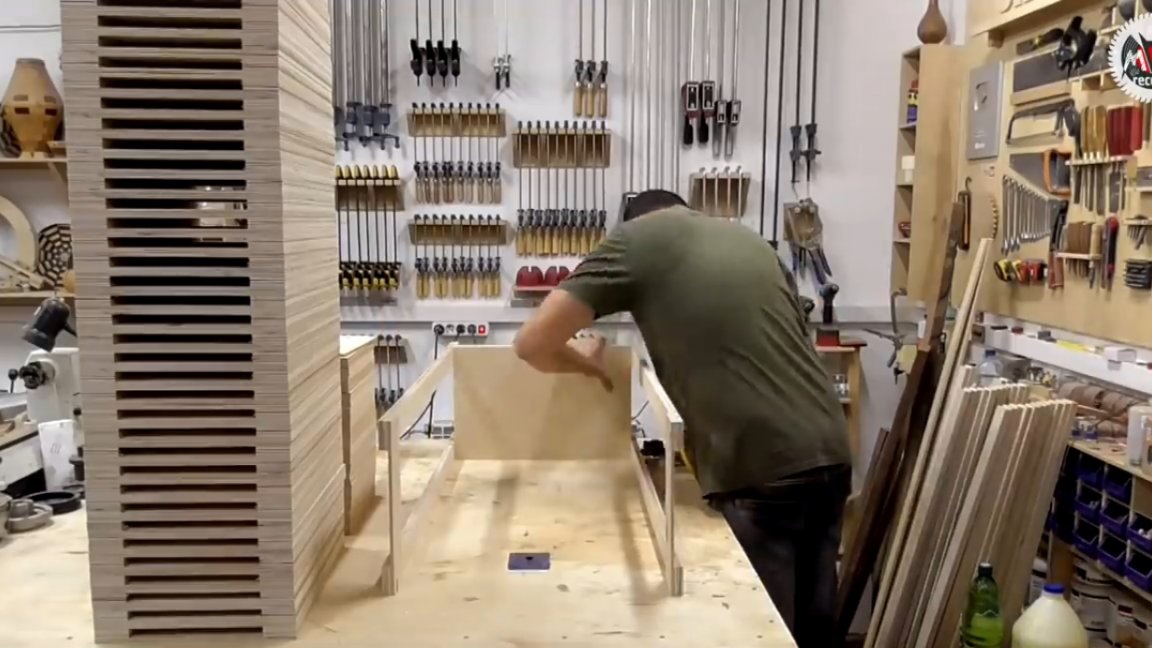
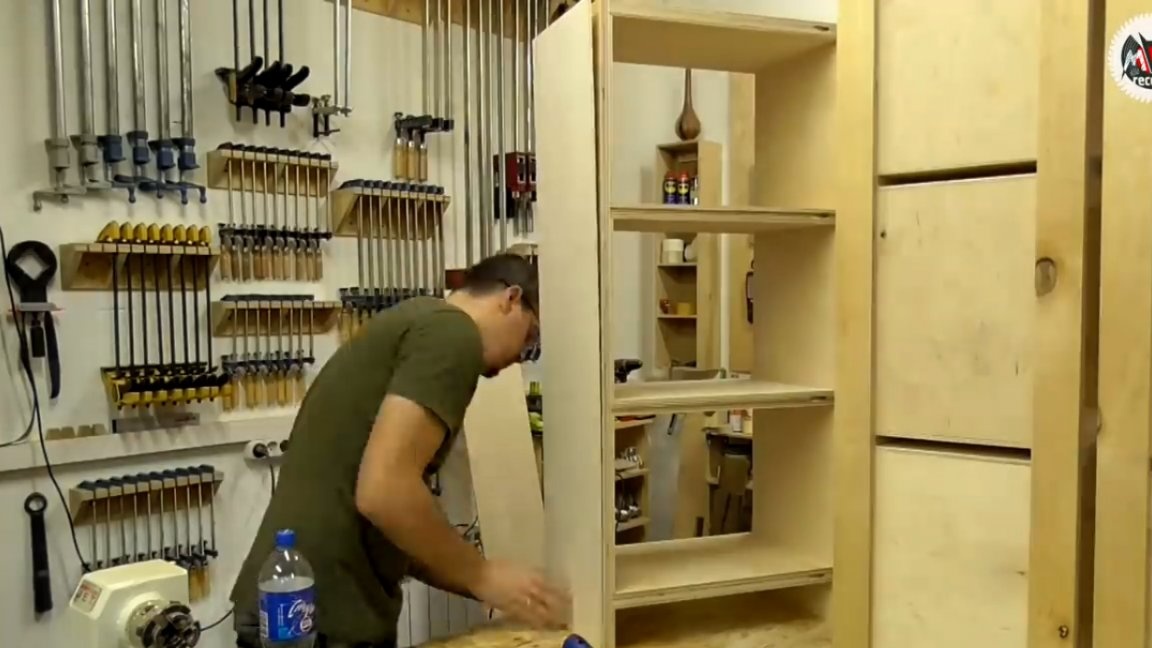
To mount the resulting parts, racks must be installed on a flat surface. Next, you need to align the diagonals of the resulting design.
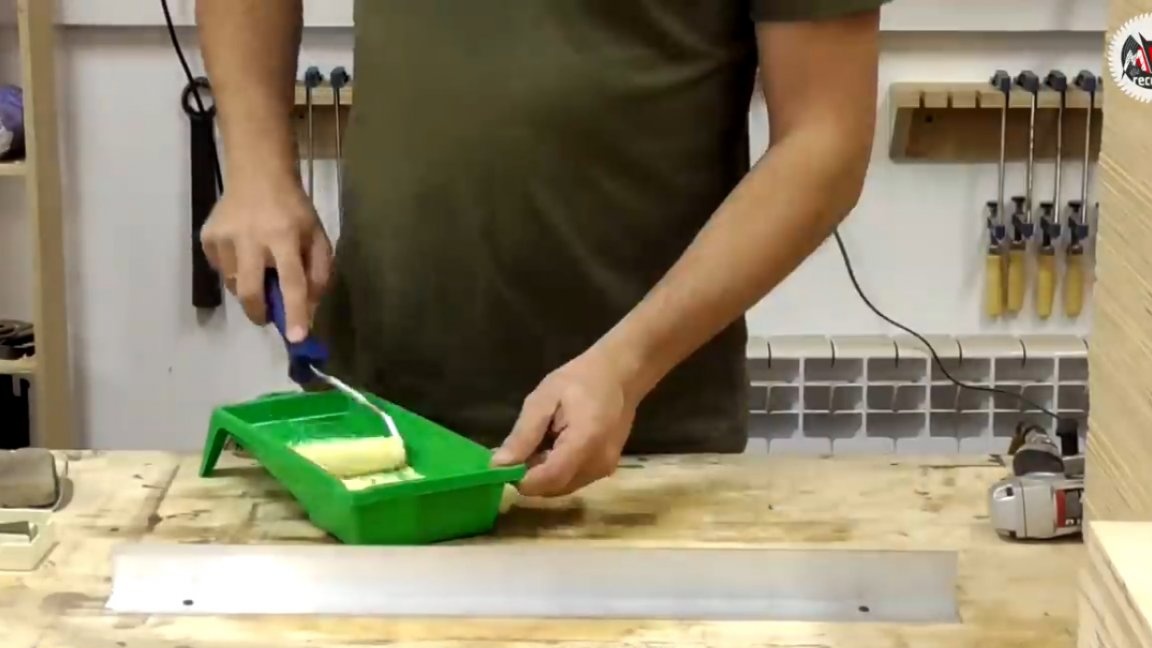
Next stage - painting of racks. The author uses an ordinary roller for this purpose.
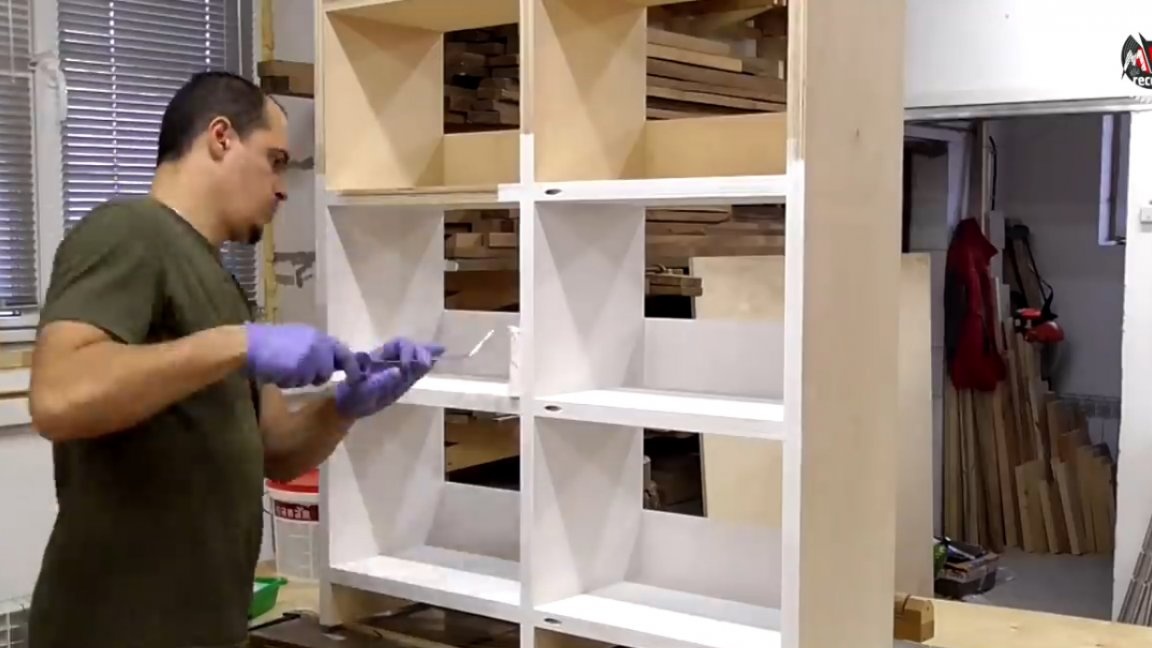
Water-based regular latex paint. This composition slightly raises the pile on plywood, so that the surface of the product acquires a certain zest.
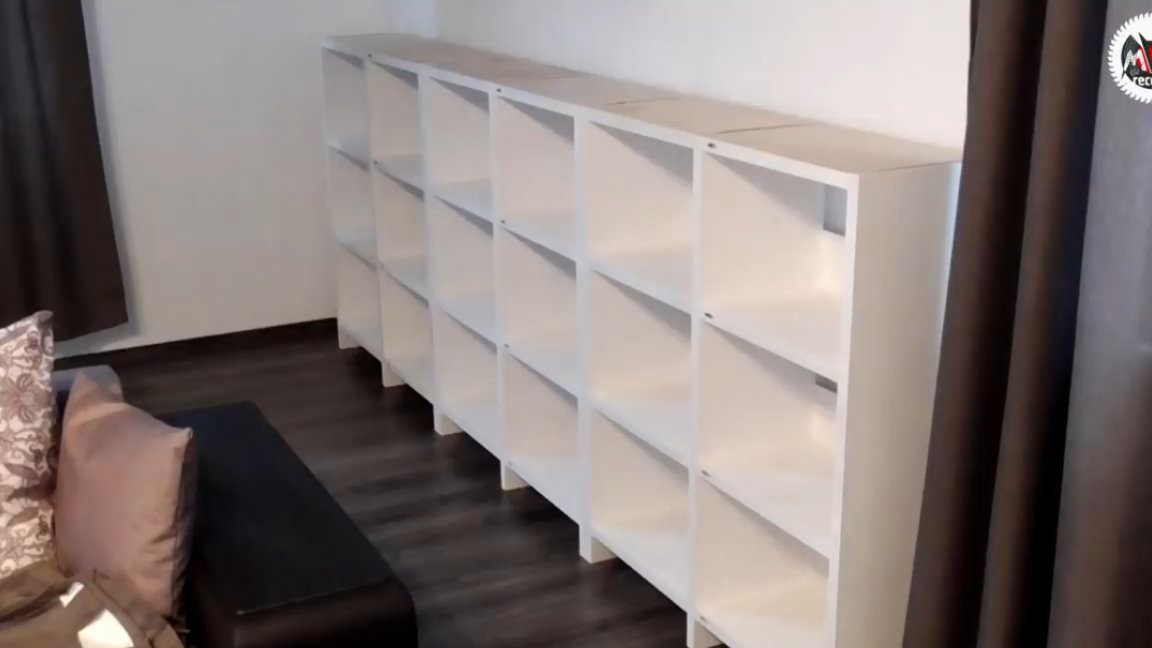
That's all for today. In the future, the master plans to finalize this project, to engage in the decoration of the ends and countertops for these racks. Thank you for attention. See you soon!
Author's video: