
The author of the TEXaS TV YouTube channel has long wanted to make a closed-type sandblasting camera for use in the workshop. And in this article we will take a closer look at the manufacturing process of one of the options for a compact, mobile sandblasting camera, which also looks aesthetically pleasing, in general it is for a small workshop.
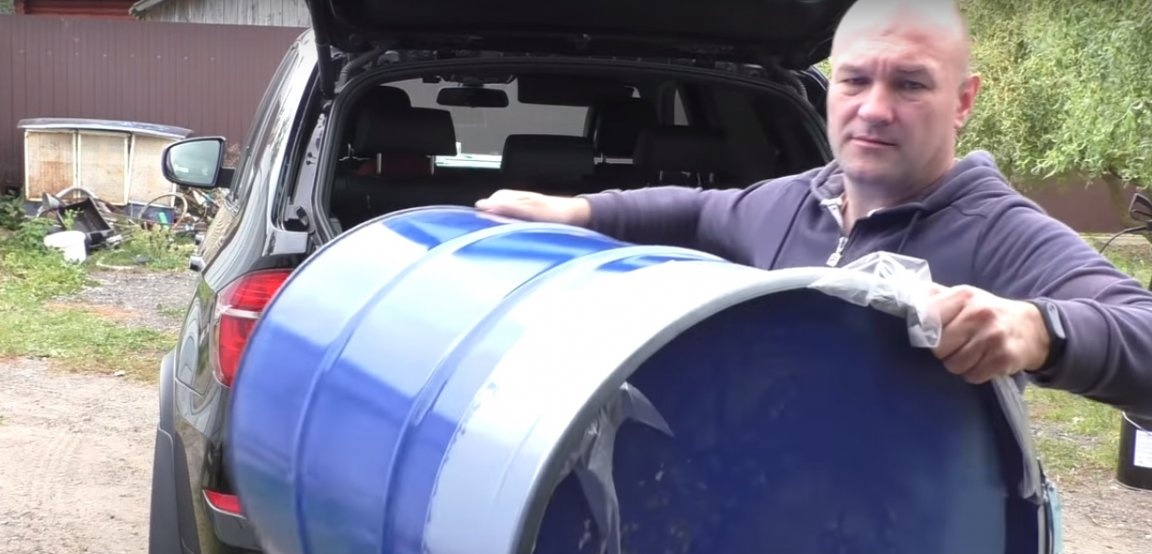
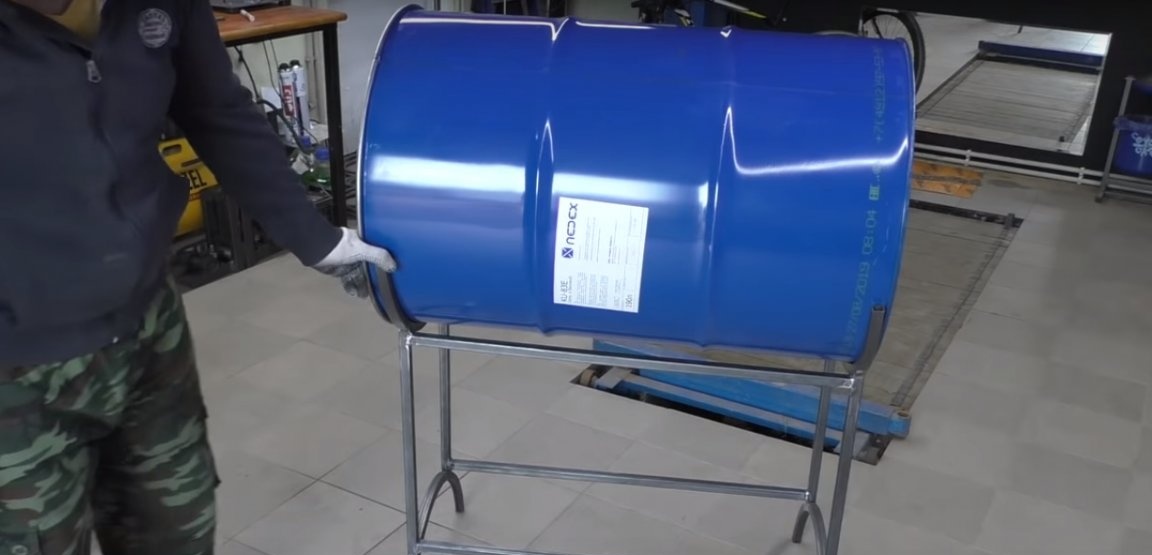
The main element of today's project will be such a metal barrel.
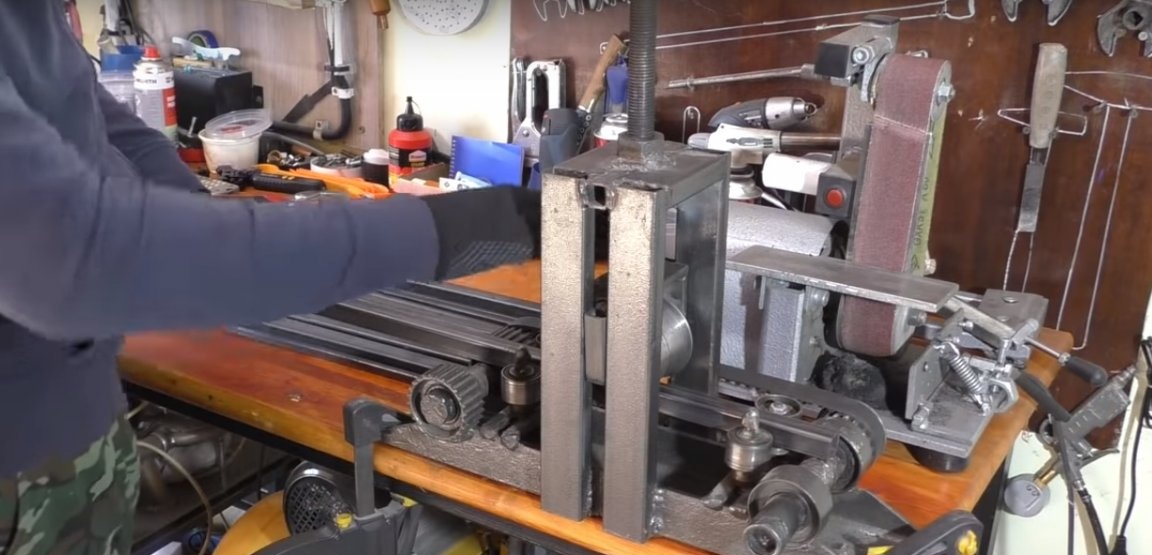
We will return to it a little later, but for now, we will start by making the base for the camera. For the manufacture of the base we will use a square profile pipe 20 by 20, this will be enough.
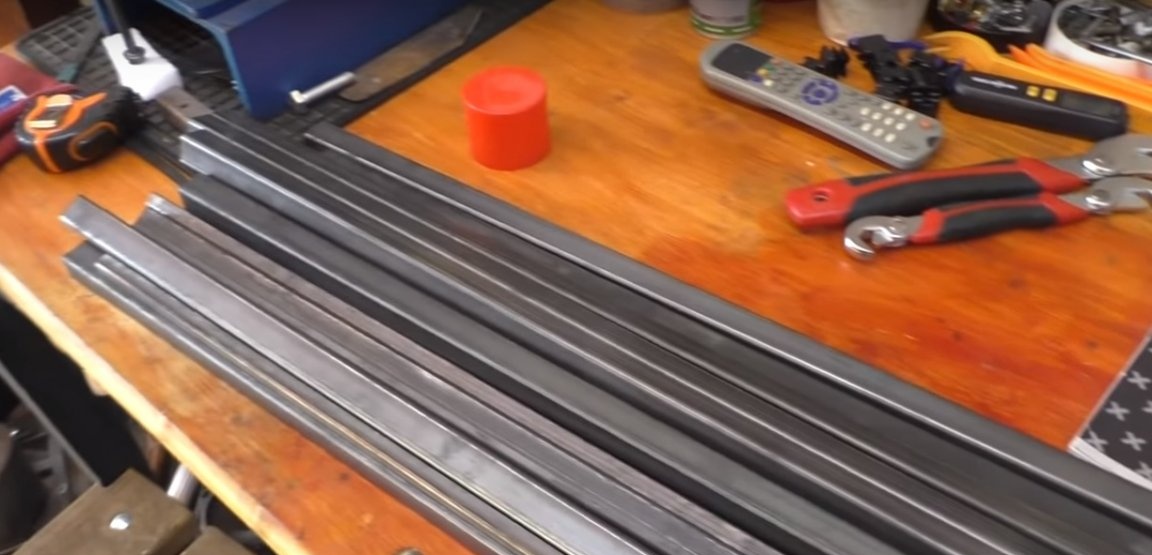
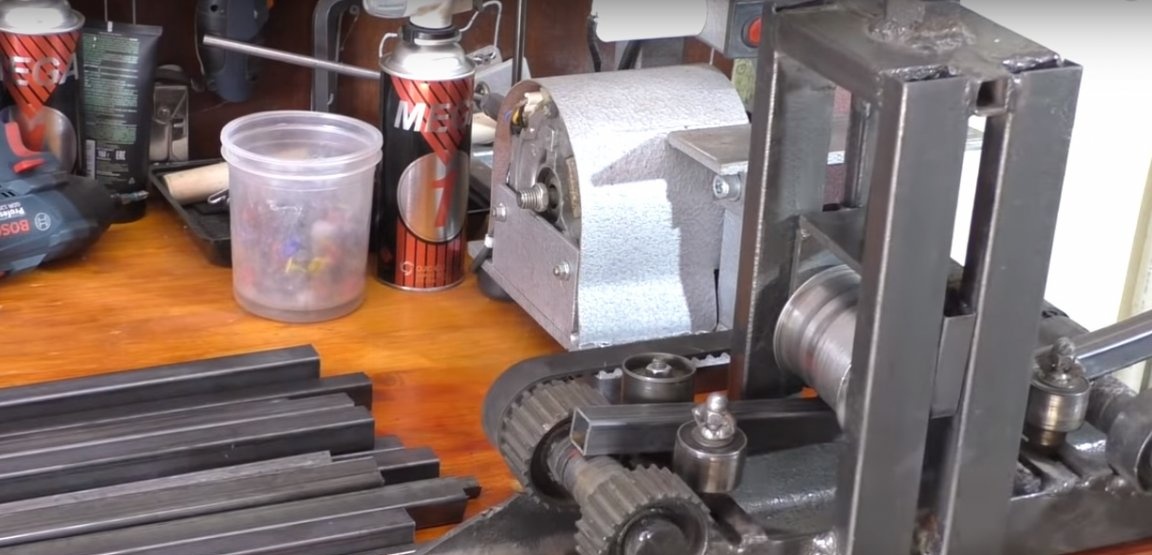
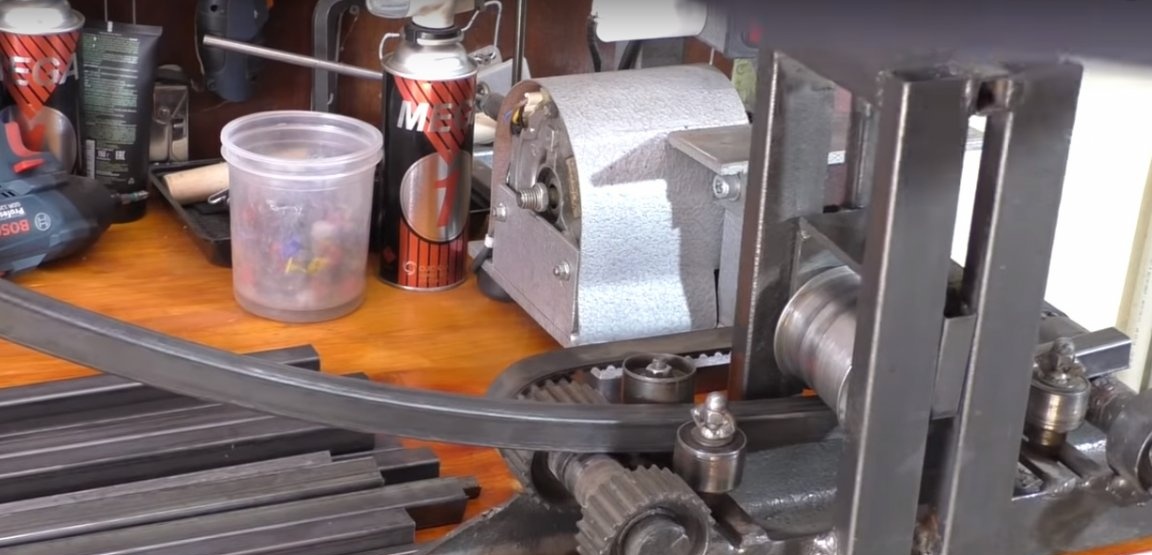
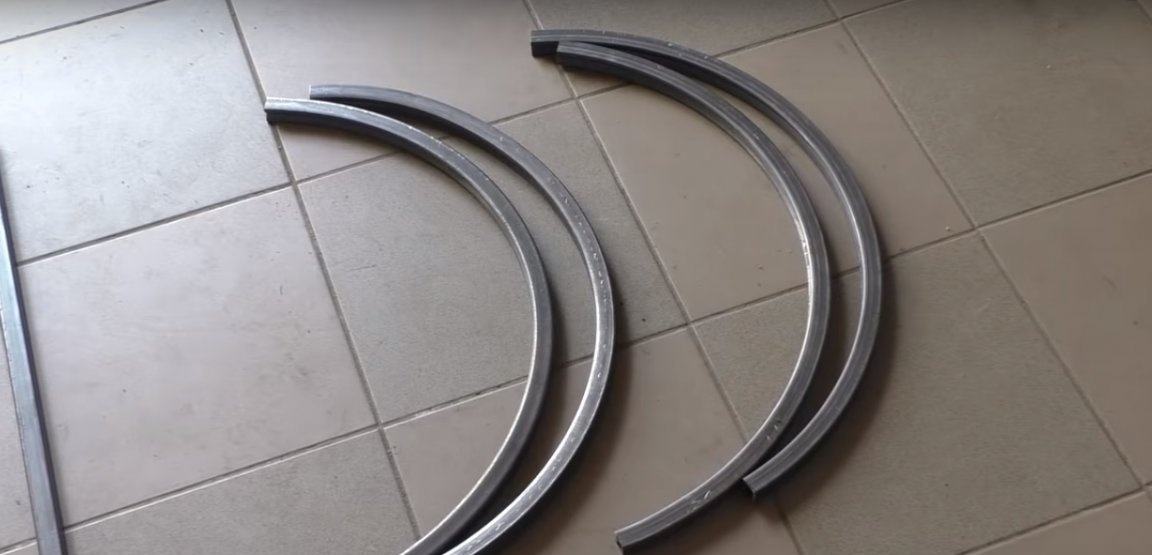
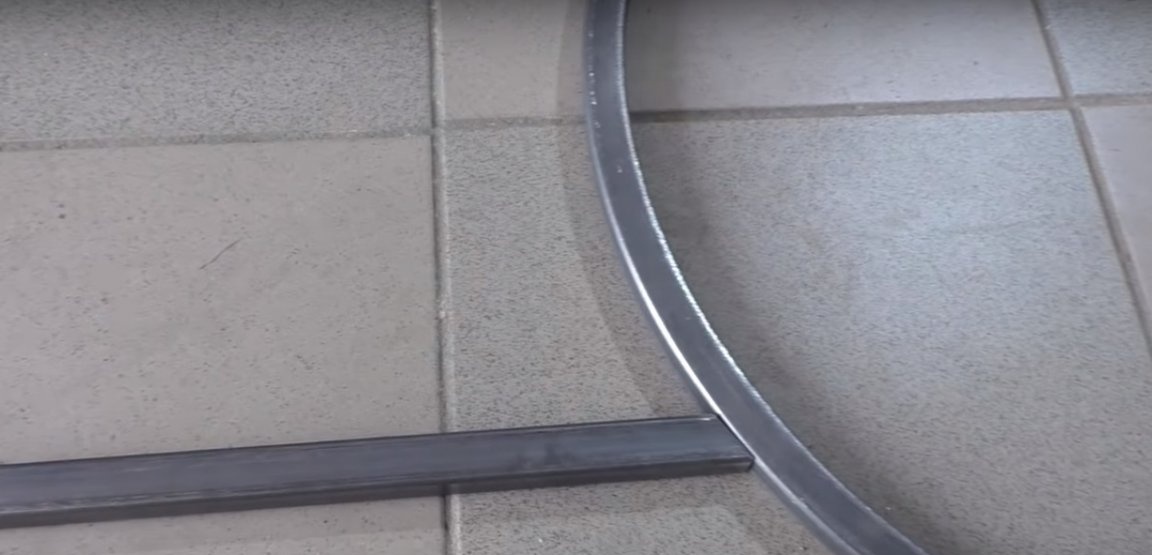
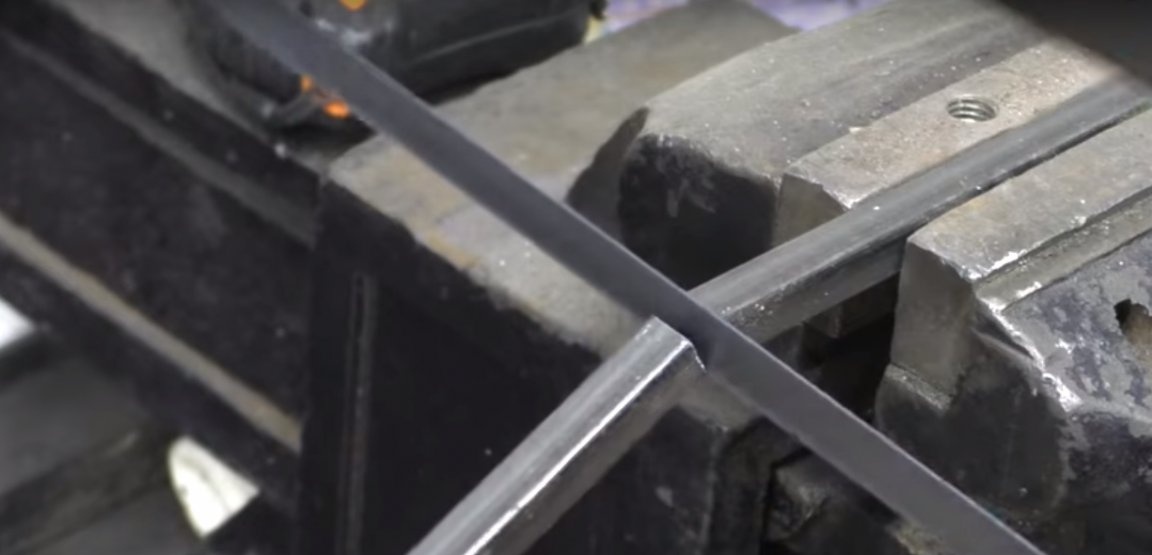
Also for work we need profilegib. The work ahead is rather slow, we will have to sweat a little, namely we need to bend 4 blanks in the form of a semicircle. A little effort and the twentieth profile takes on the shape we need.
All excess should be cut to the desired size.
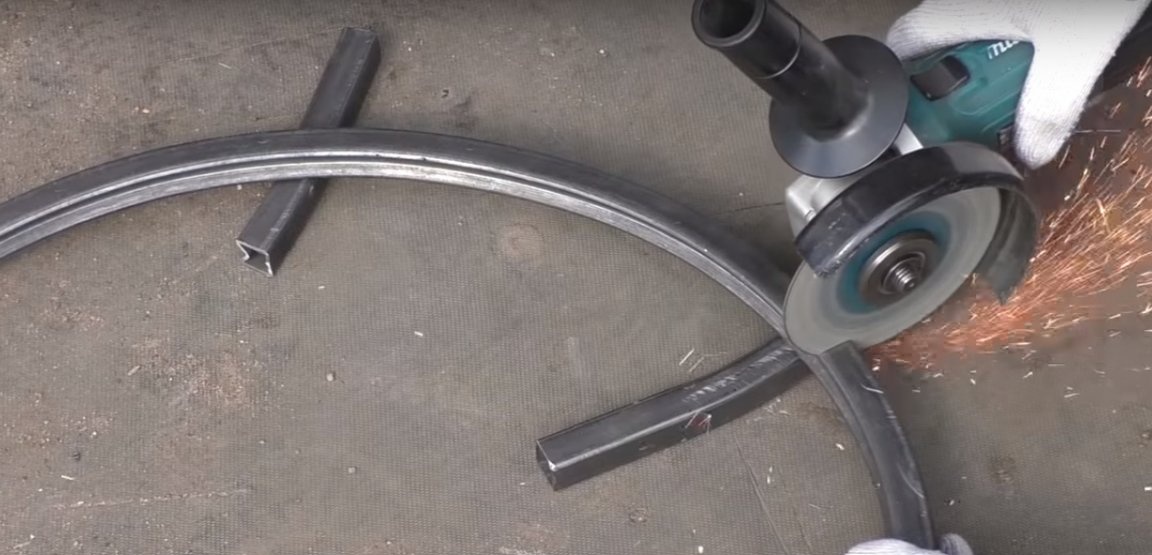
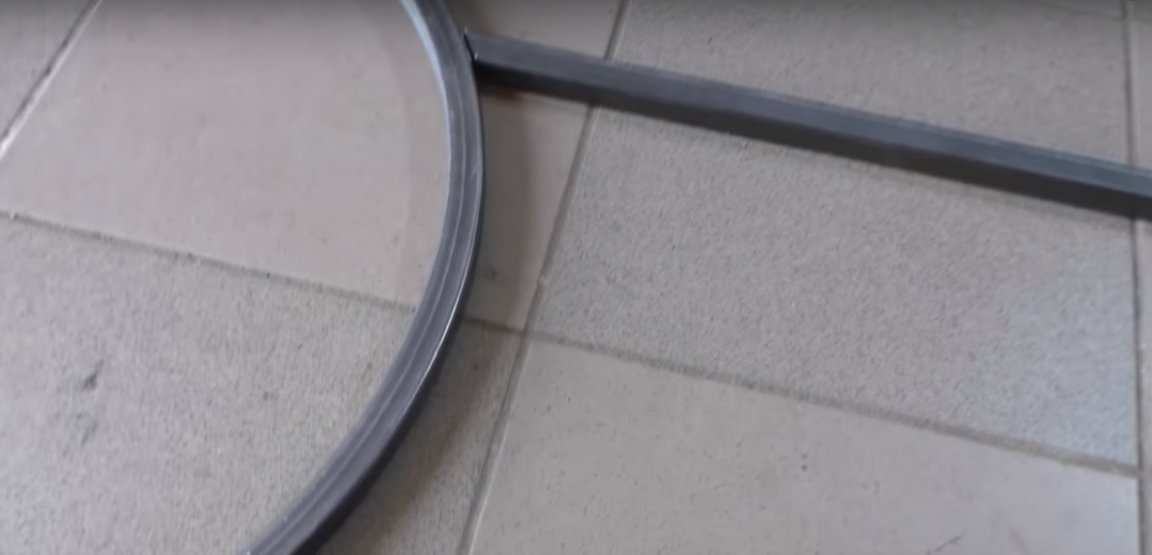
As a result of the manipulations we get here are absolutely identical blanks in the amount of 4 pieces.
Now it remains to choose a suitable height and you can begin welding work.
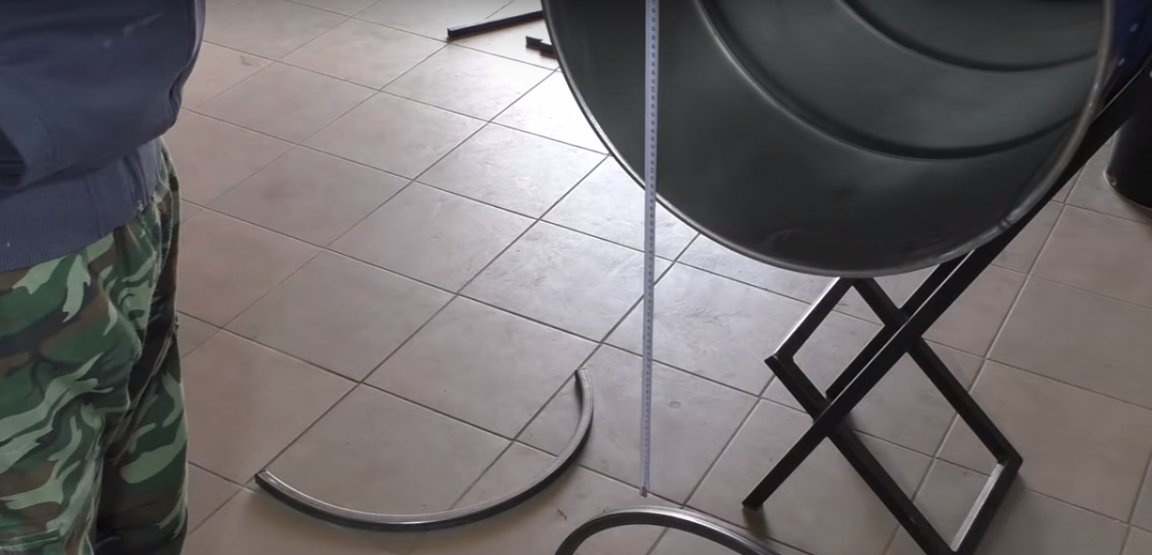
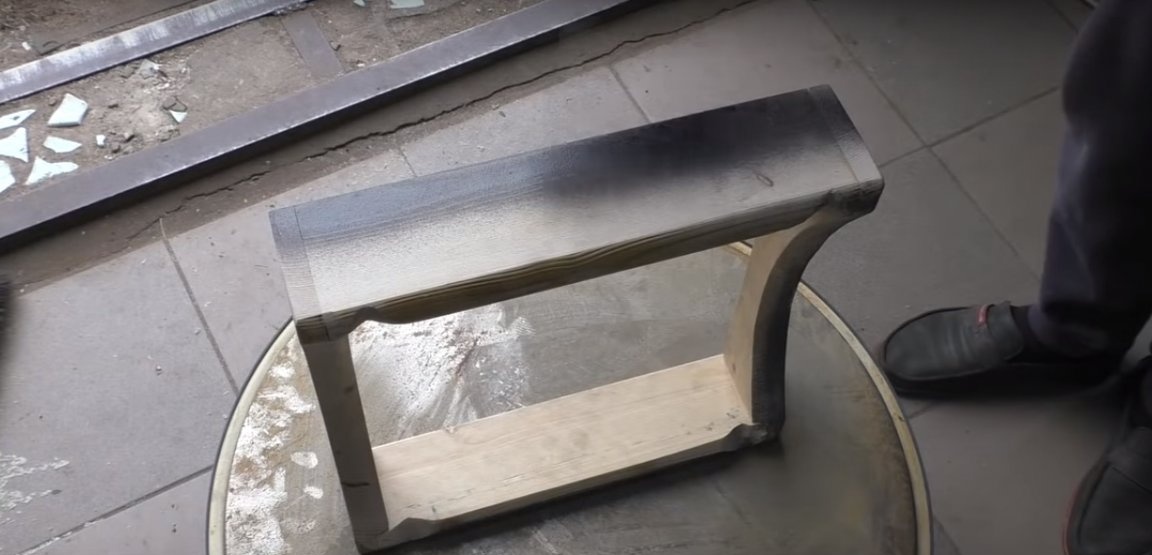
To determine the height of the future camera, the author placed the barrel on a chair, the height turned out just right, you can do the markup.
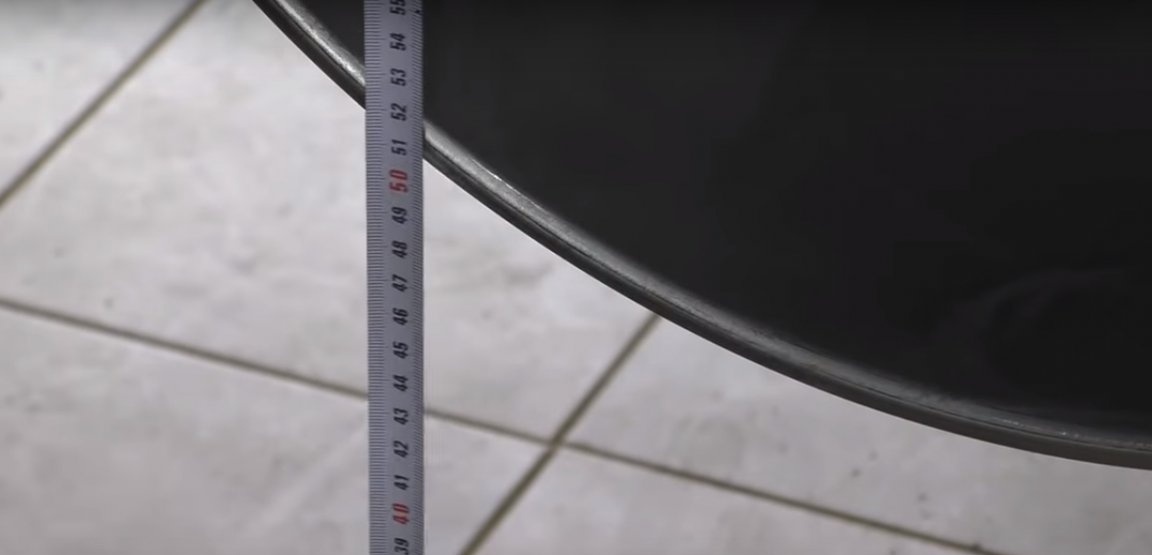
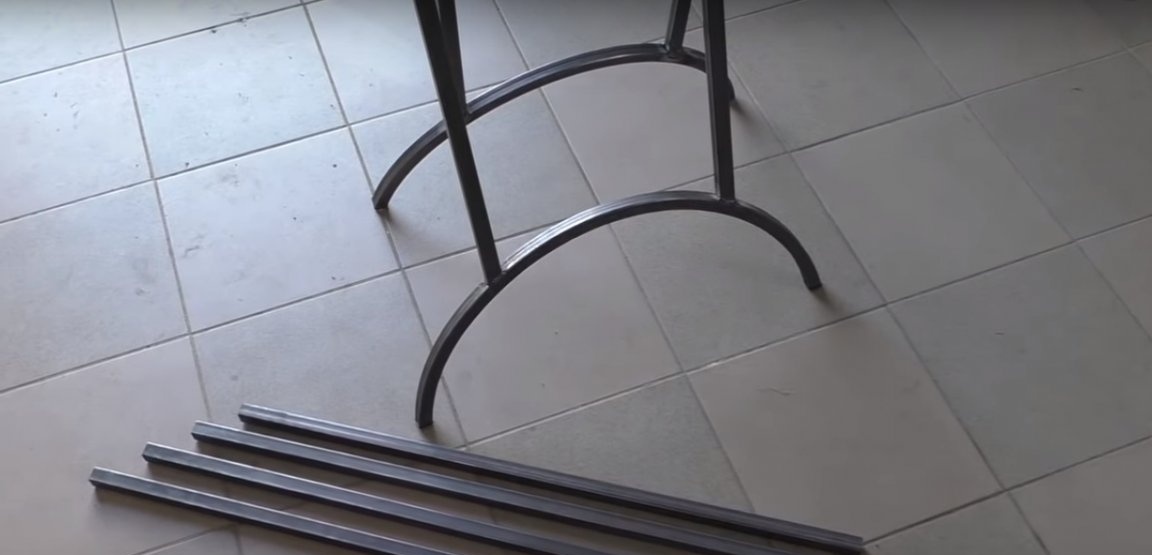
As a result, from the leg to the barrel, 50cm was obtained. Billets that were cut at 1m at the metal base are just useful.
This is followed by the final marking and fitting immediately before welding.
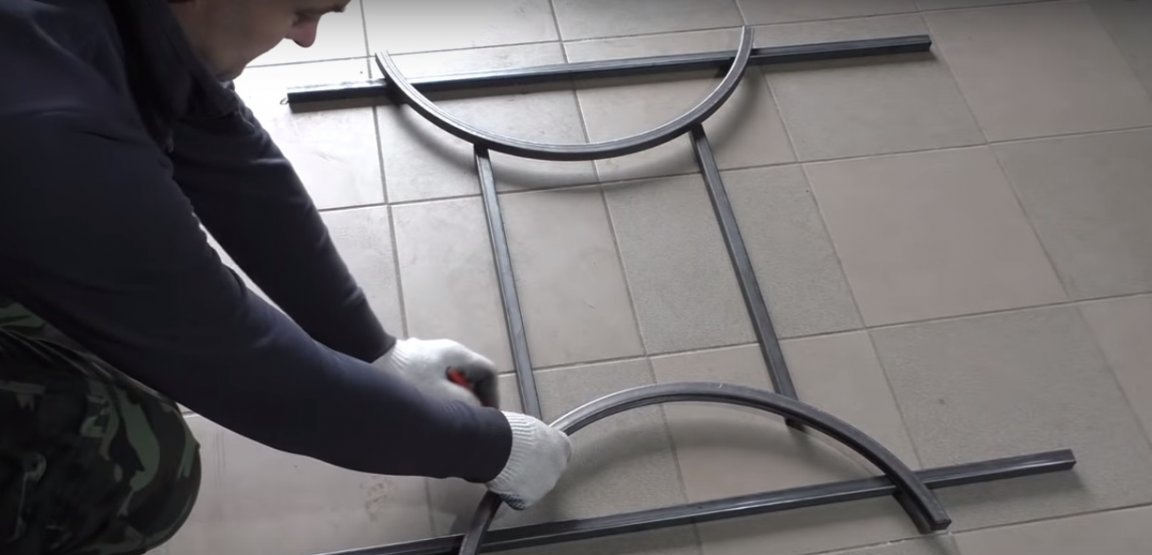
So in this way it turned out to dock the details.
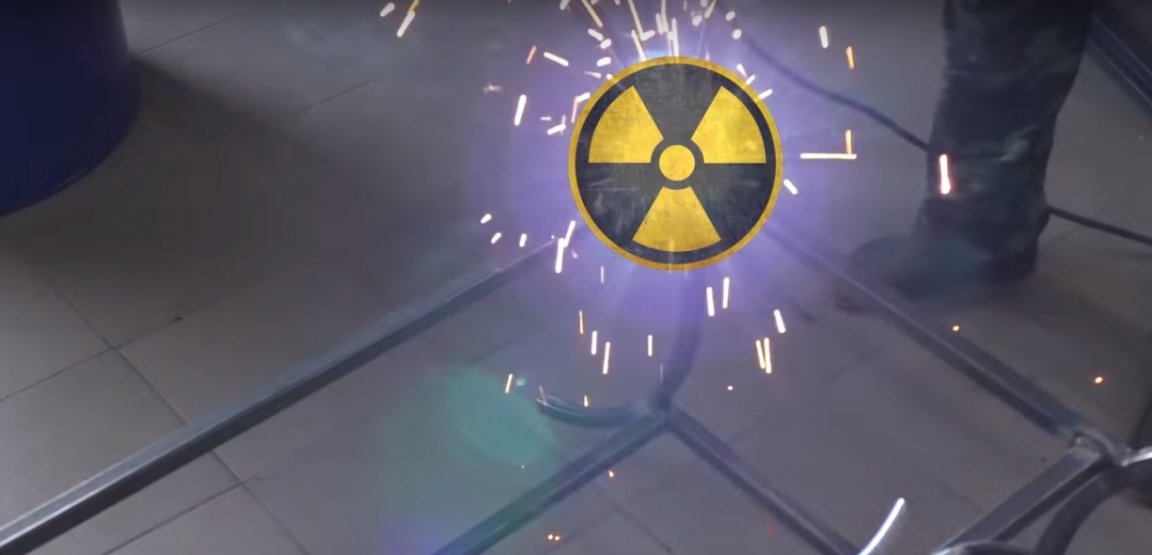
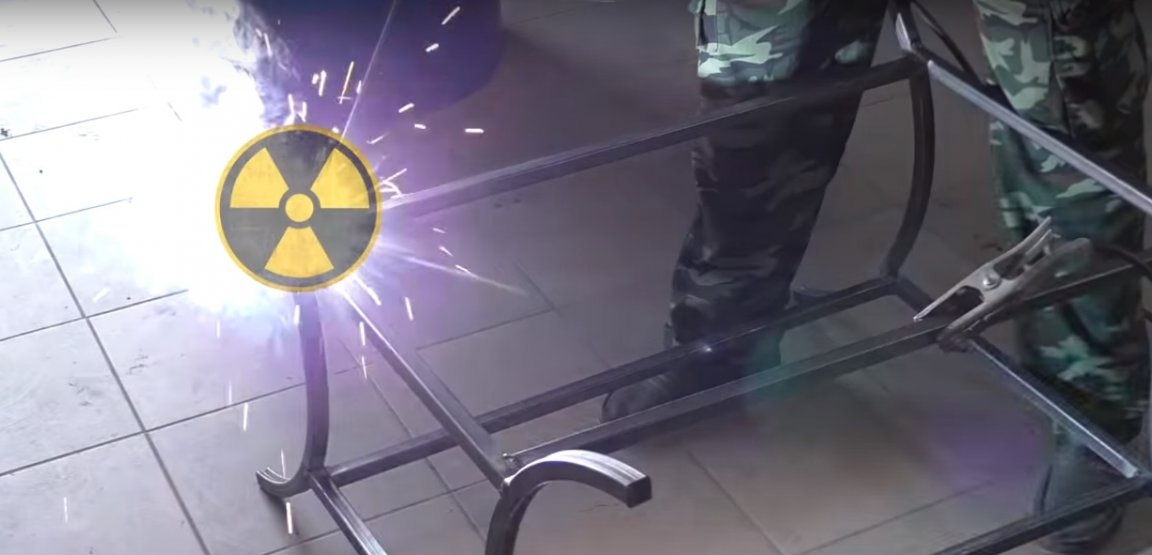
Now finally you can start welding.
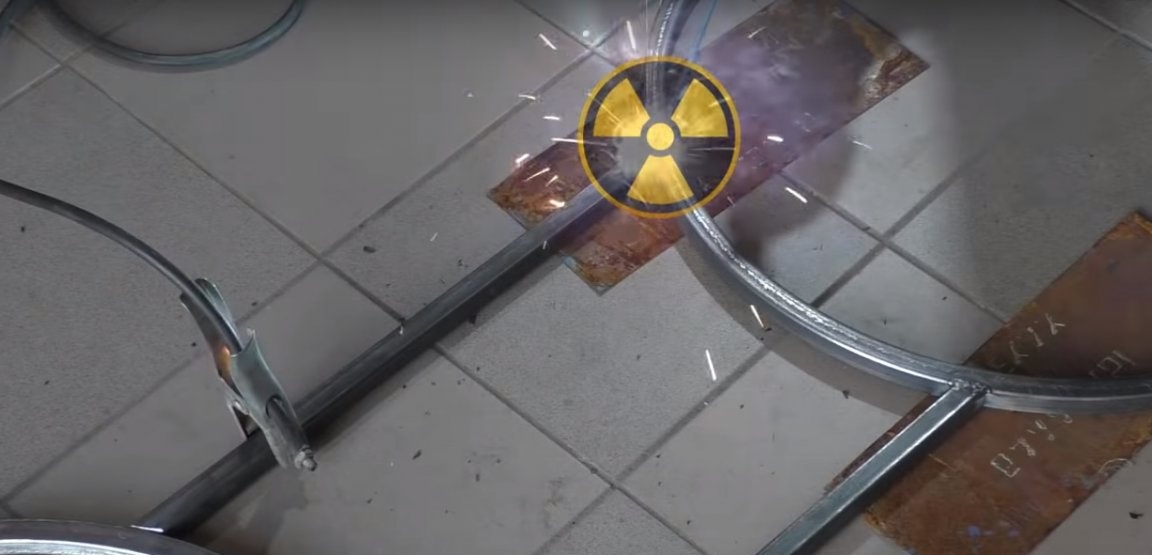
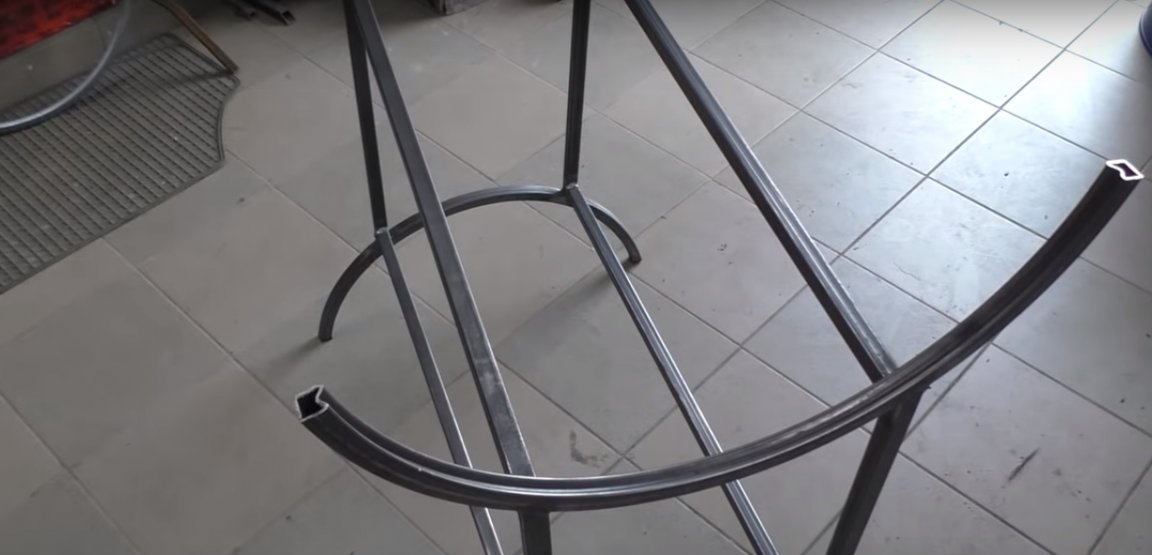
In the end, this is what happened.
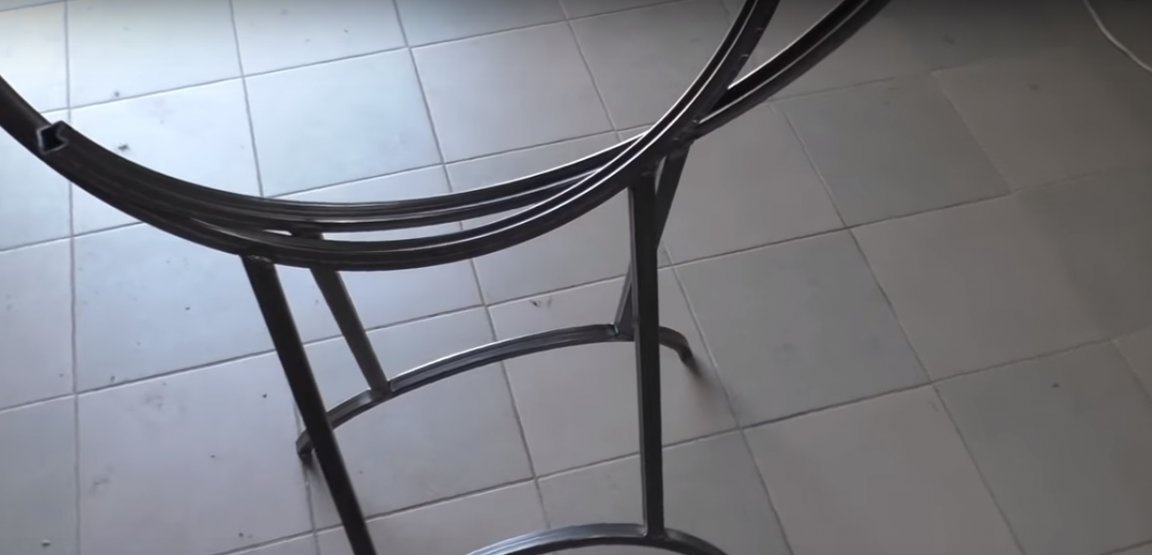
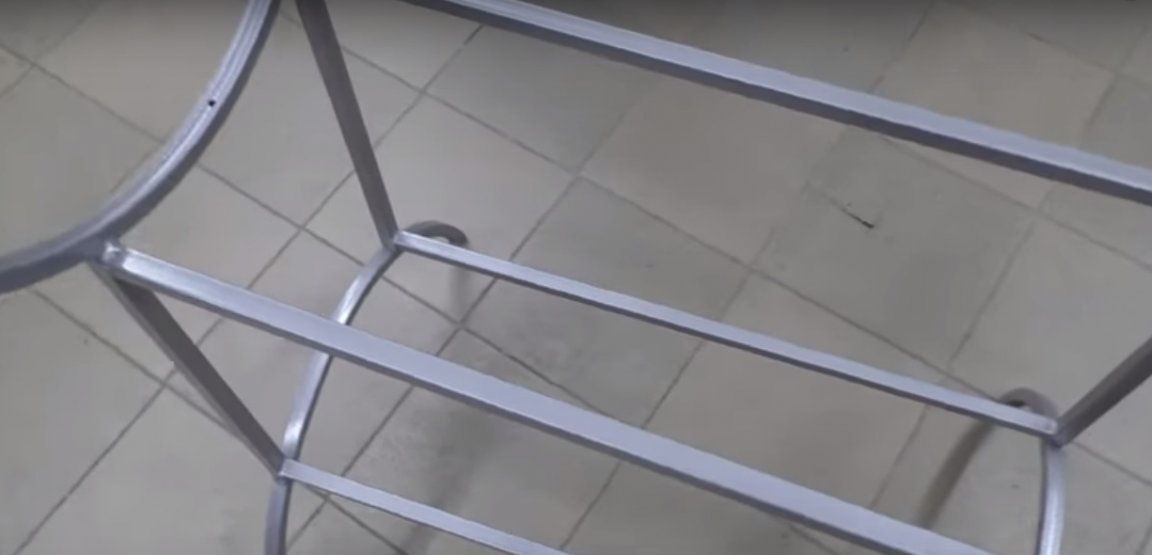
Racks made now you need to tie them. To do this, we need 4 pieces of the twentieth pipe with a length of 80 cm each.
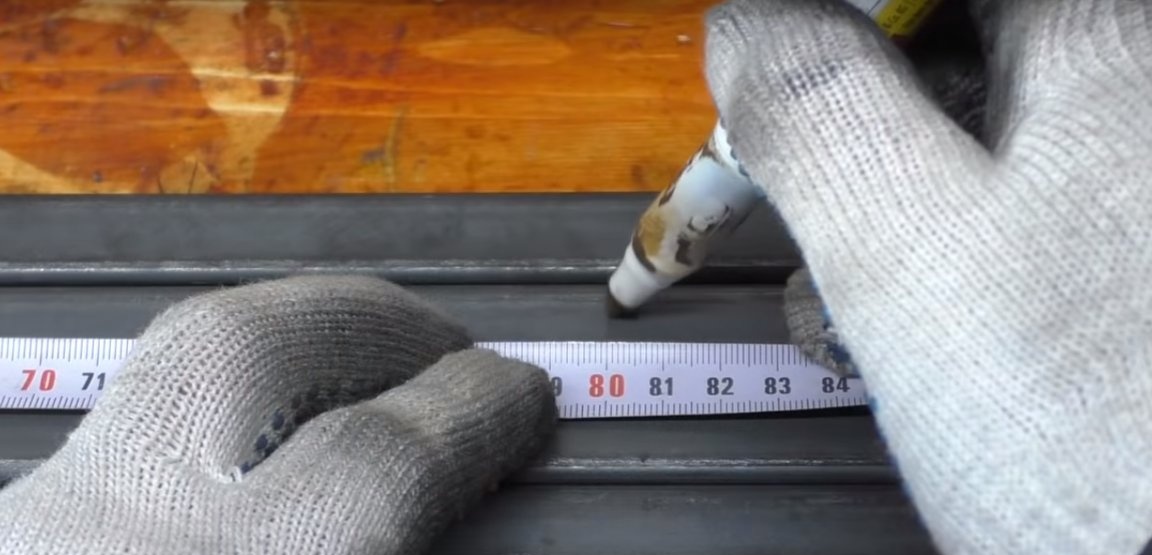
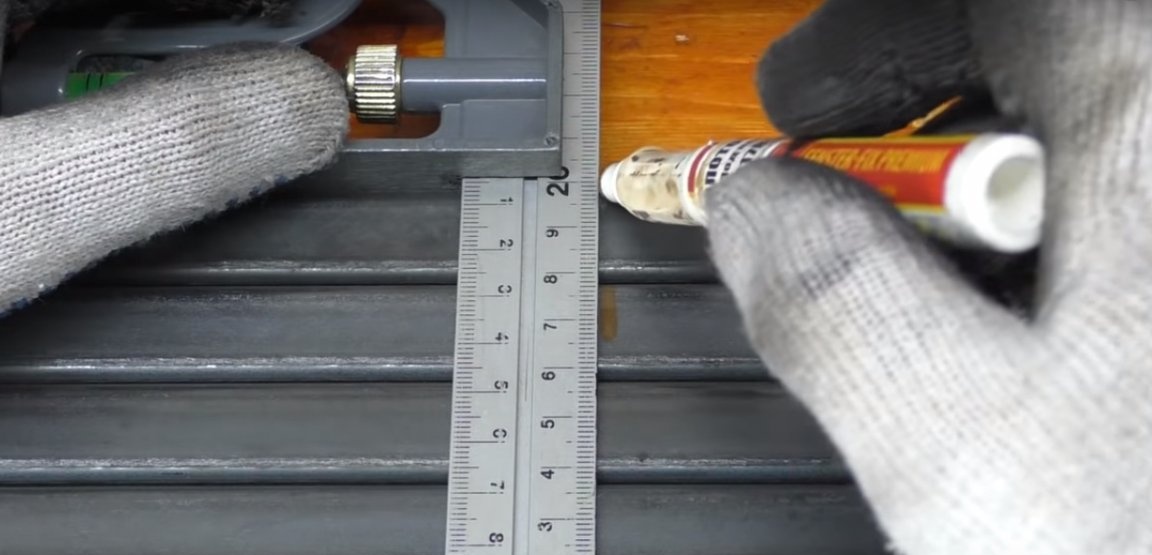
The pipe is cut to size, you can proceed to further welding.
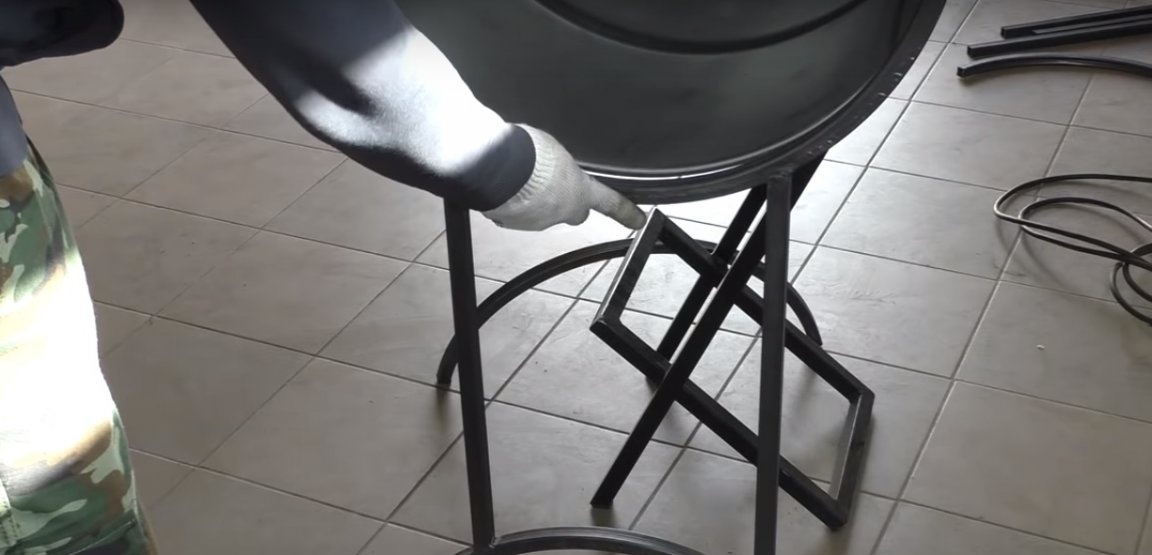
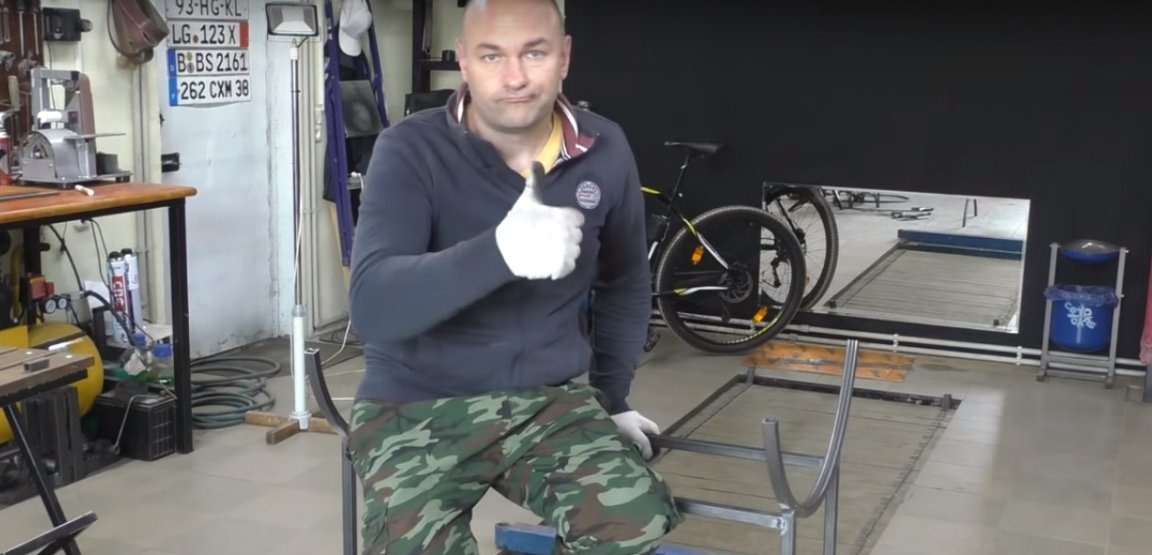
After the work done, we see such a pretty, and most importantly, quite strong foundation that can withstand the weight of the author without any difficulty, which means we can say with absolute certainty that under an empty barrel this foundation will not bend or break.

Now we will try it on.
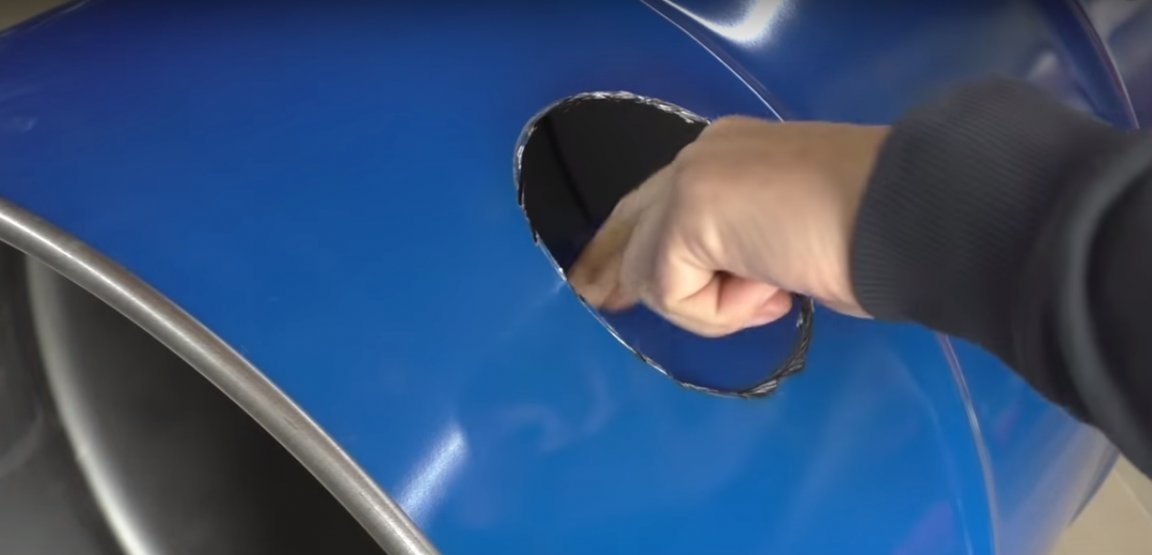
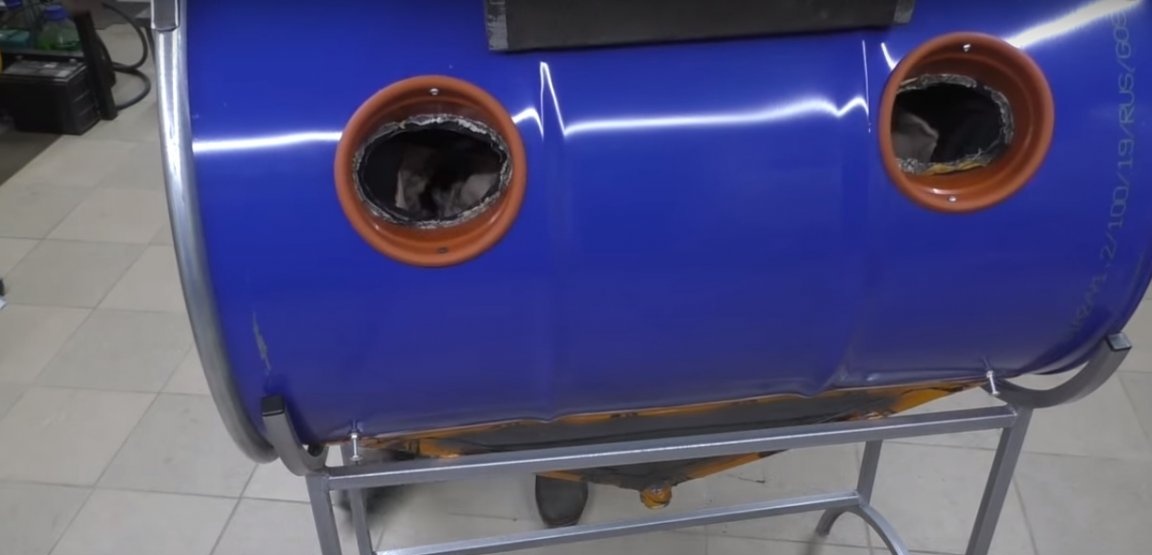
Excellent! As it was here. Now you need to make markings for the holes. In this case, the author does everything for himself, the sizes can be arbitrary.
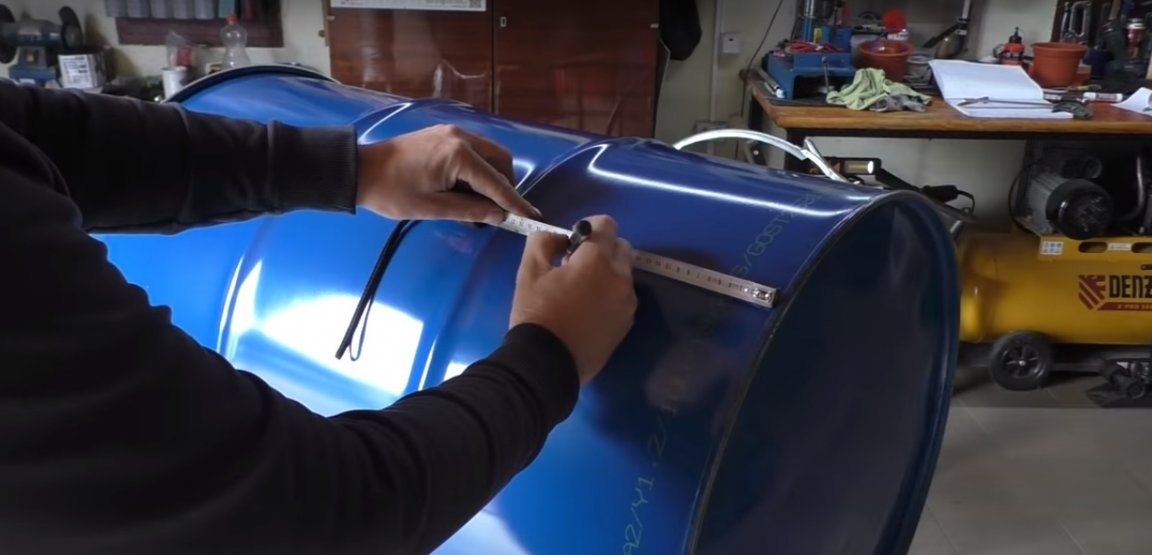
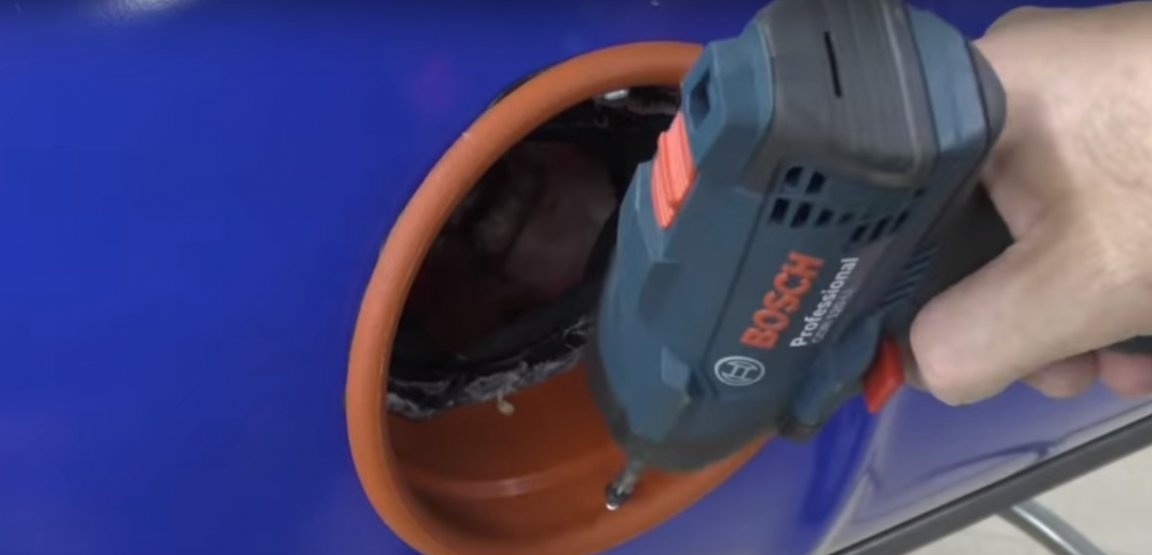
In a specific example, the markup is made under these flowerpots:
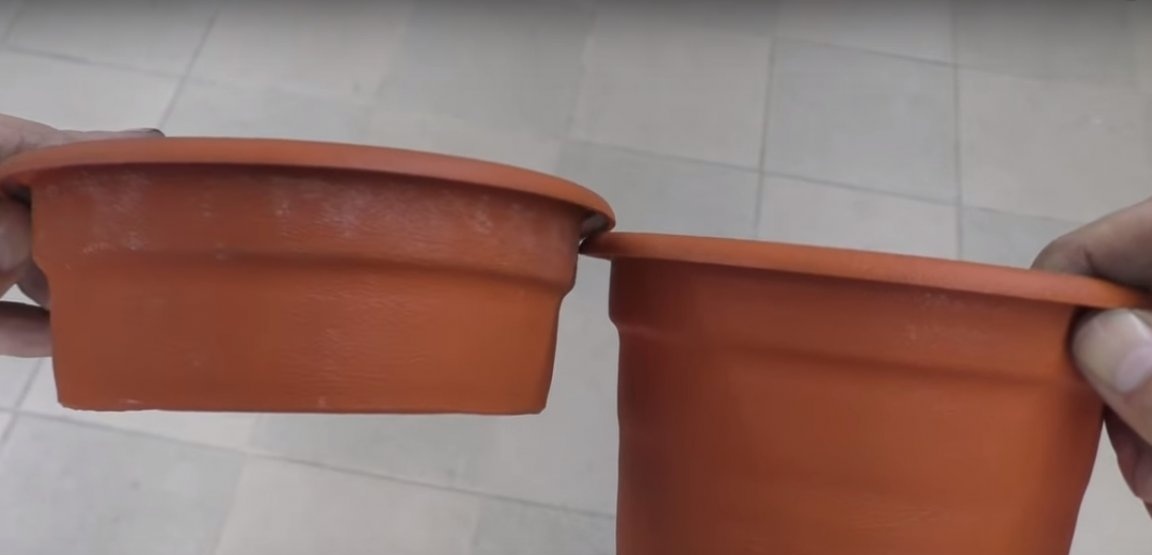
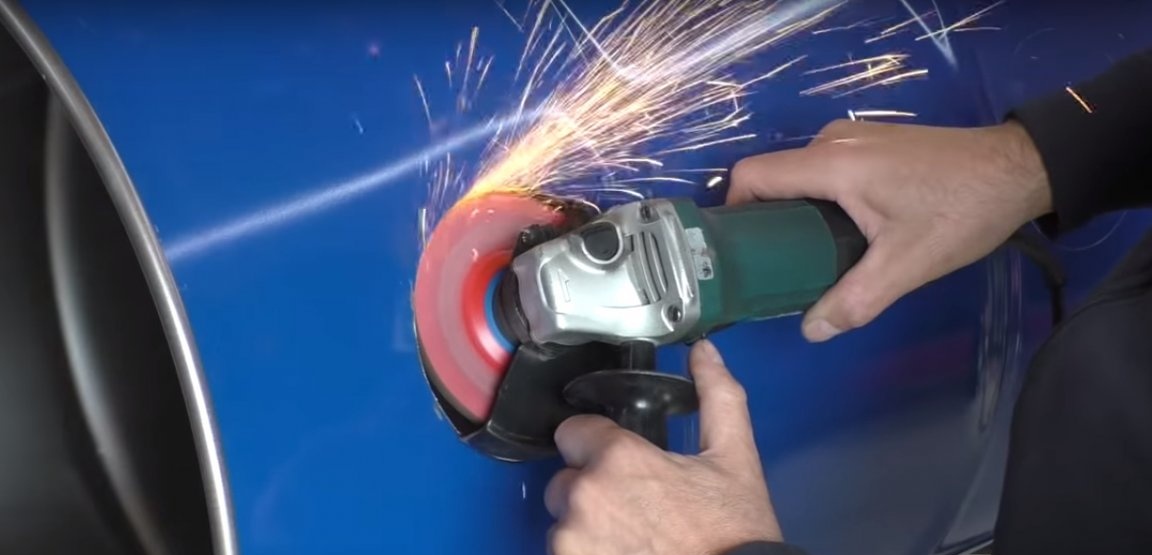
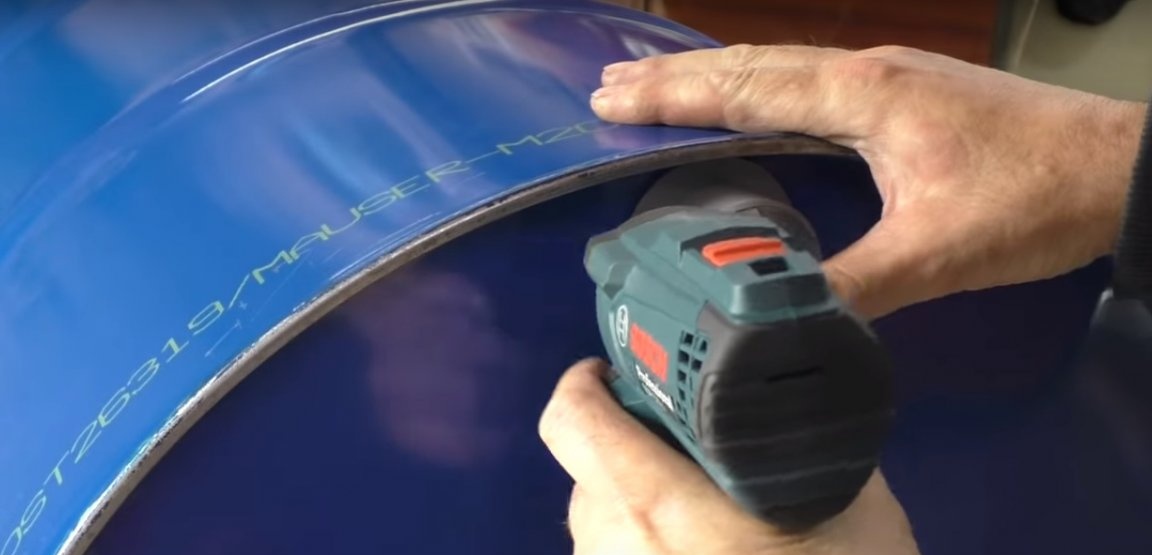
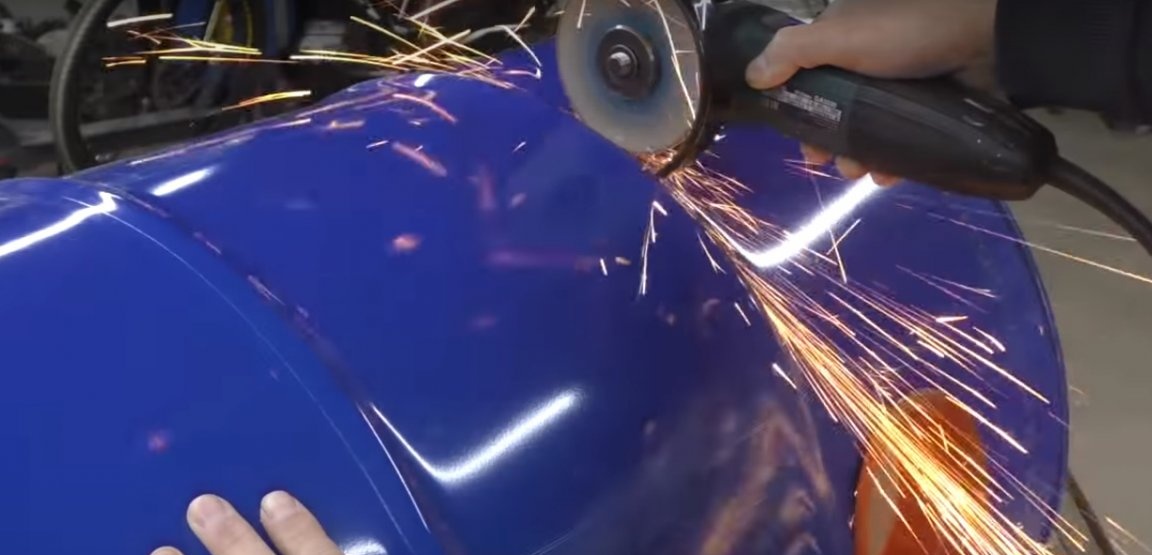
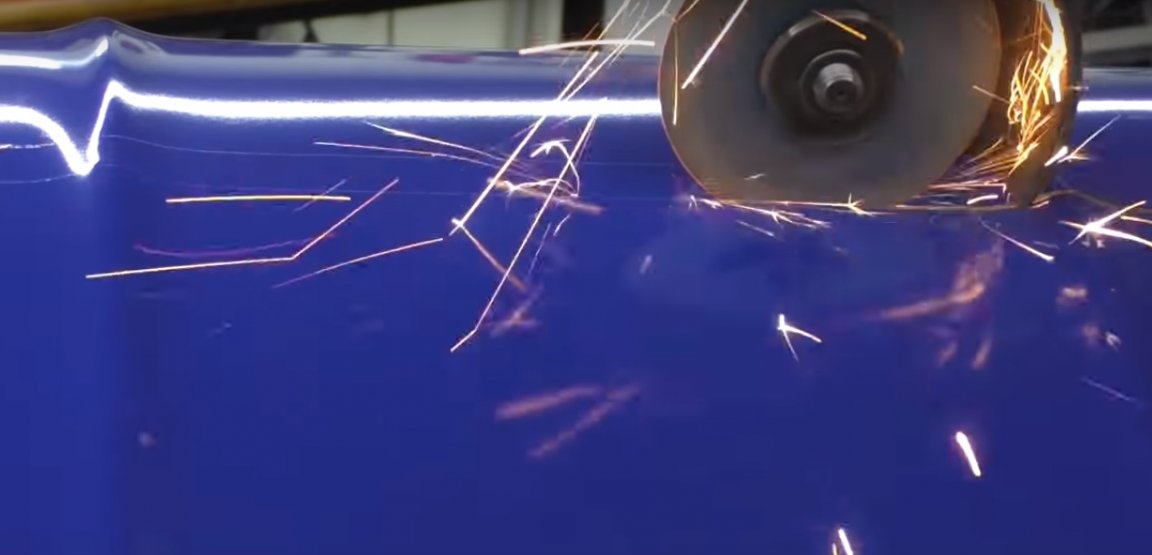
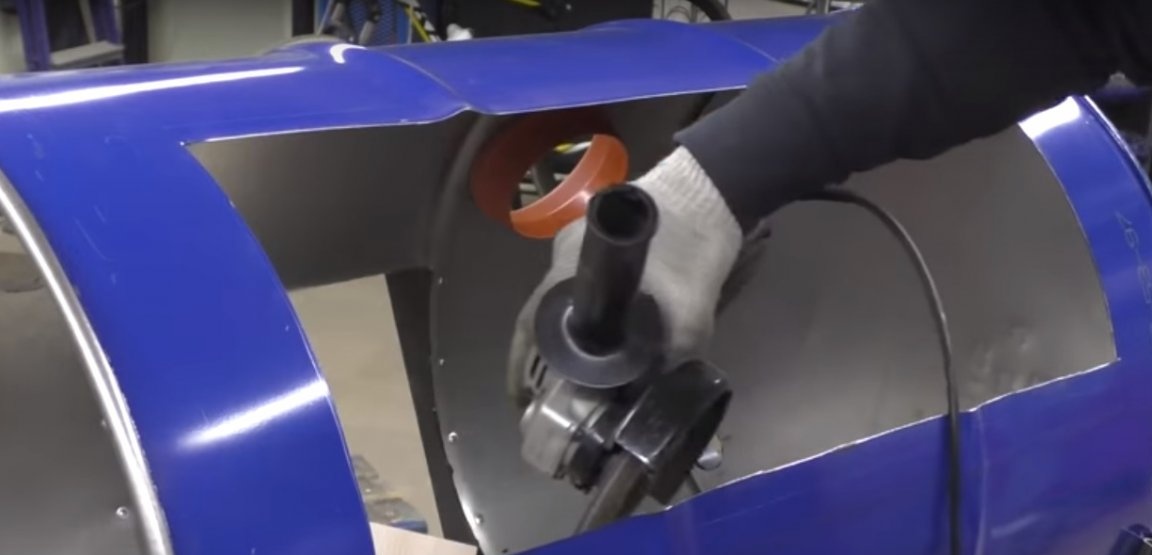
This is the most suitable thing that caught the eye of the master at that moment.Next, you will have to work a little grinder. The holes must be made quite clearly and accurately. A cleanup circle will help remove all the flaws from cutting.
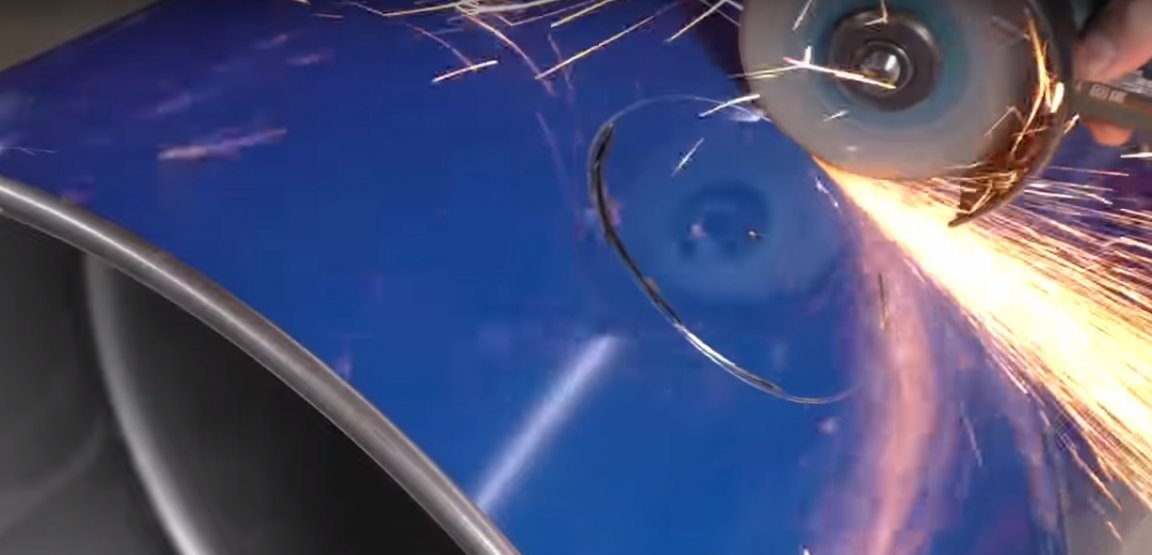
When the hole is ready, you can try on.
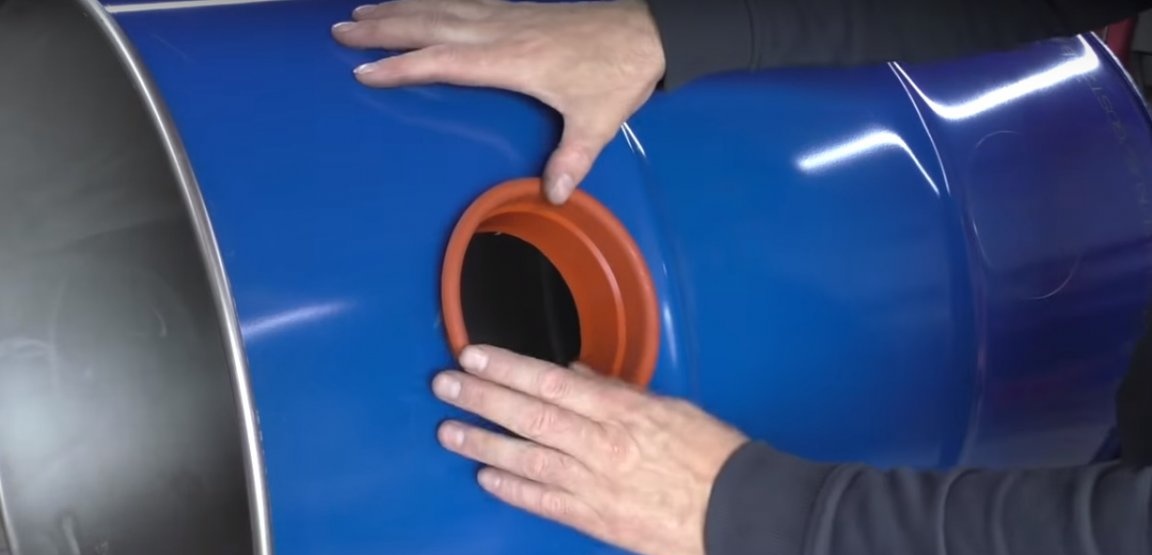
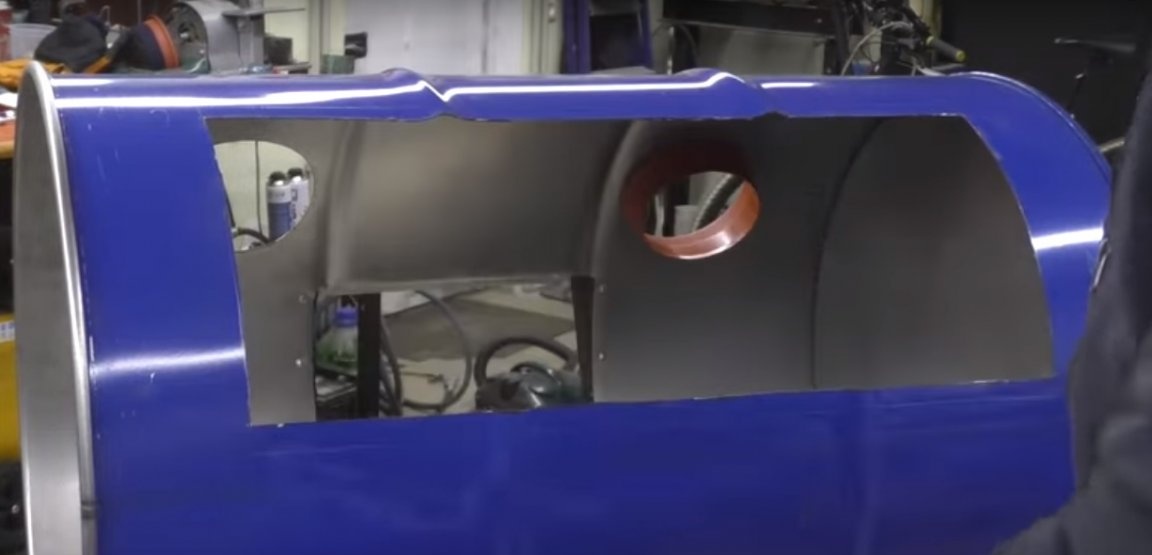
As you can see, everything is clear, as it should be. Similarly, make a second hole and move on.
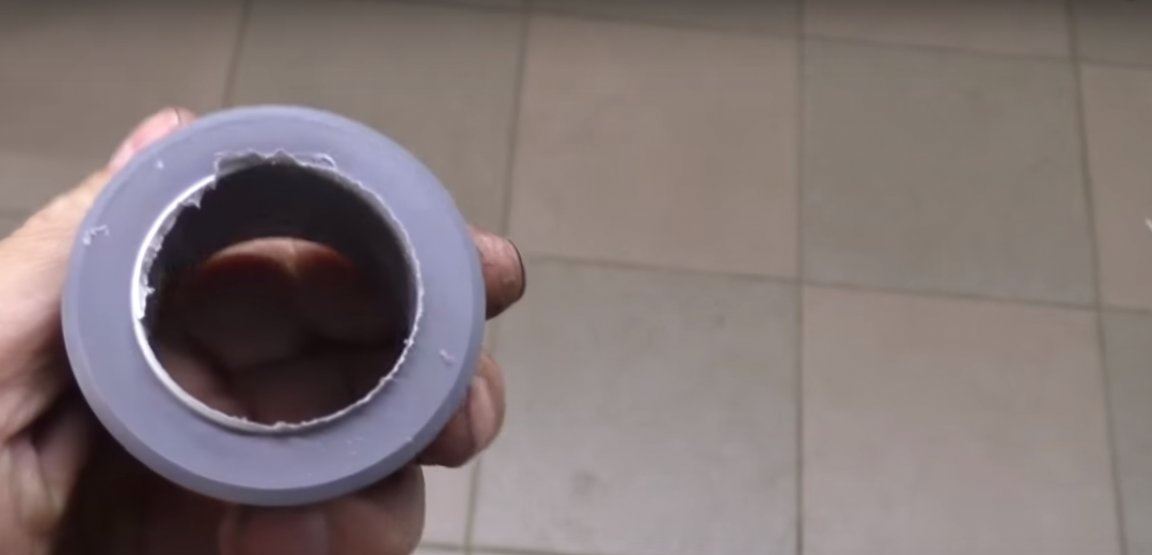
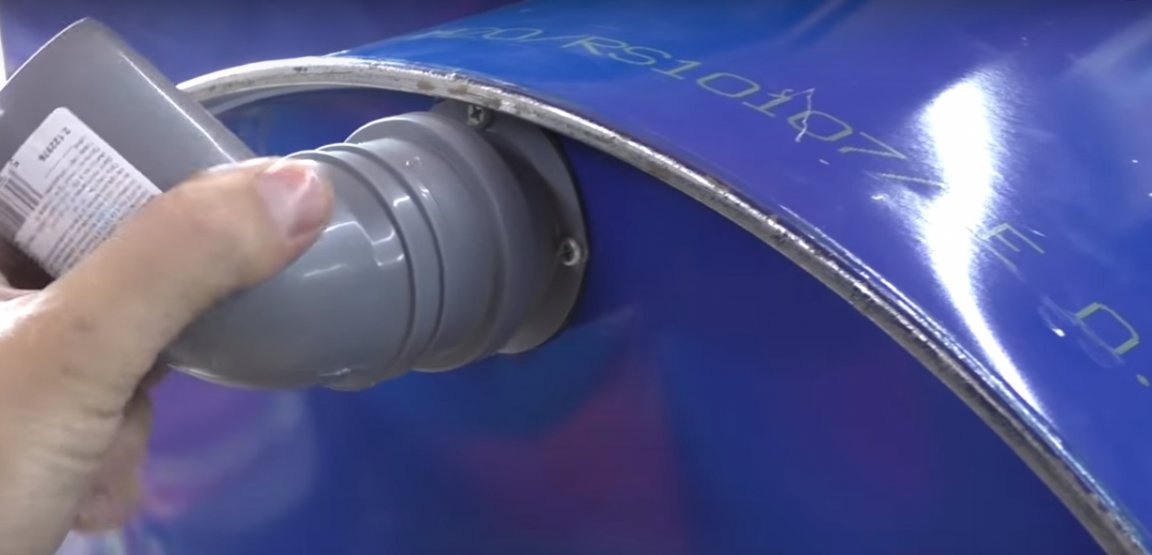
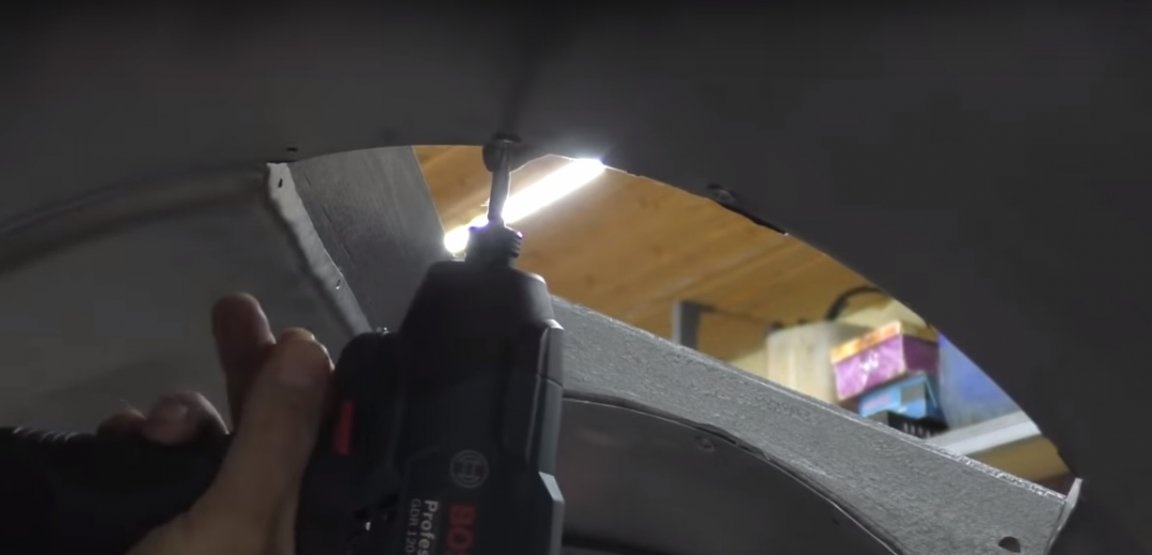
Then, a through hole must be made in the 50th plug.
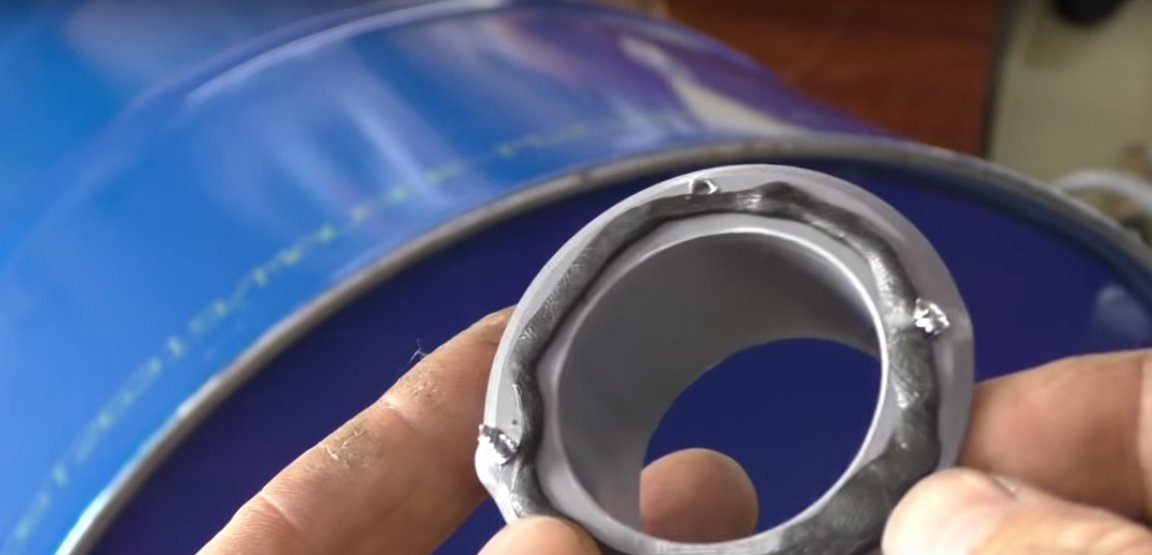
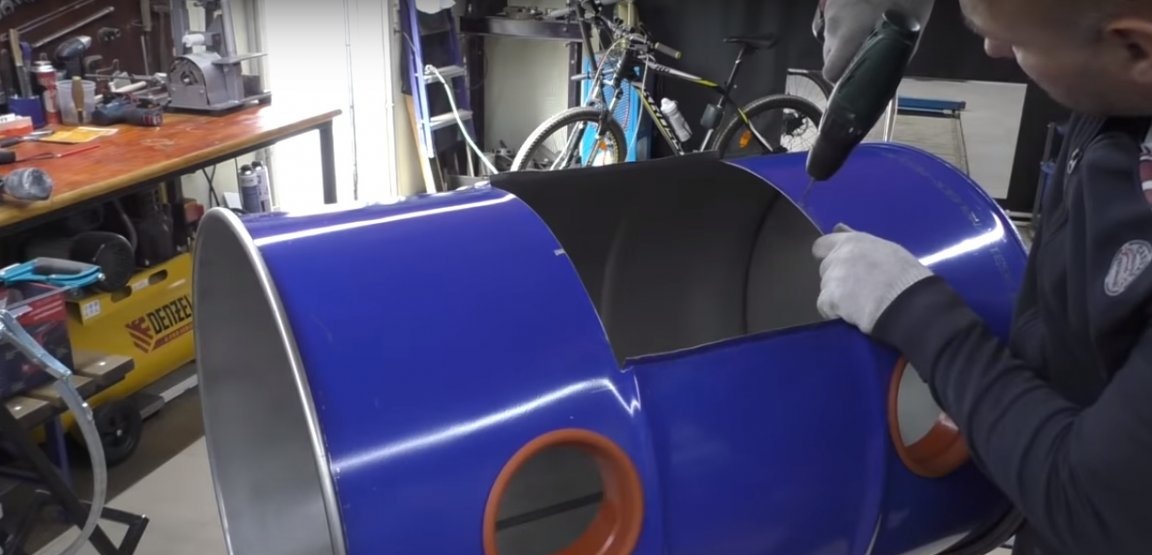
Also, the hole must be cut out at the top of the barrel. The resulting part is planted on a sealant and fastened with screws, all for feng shui.
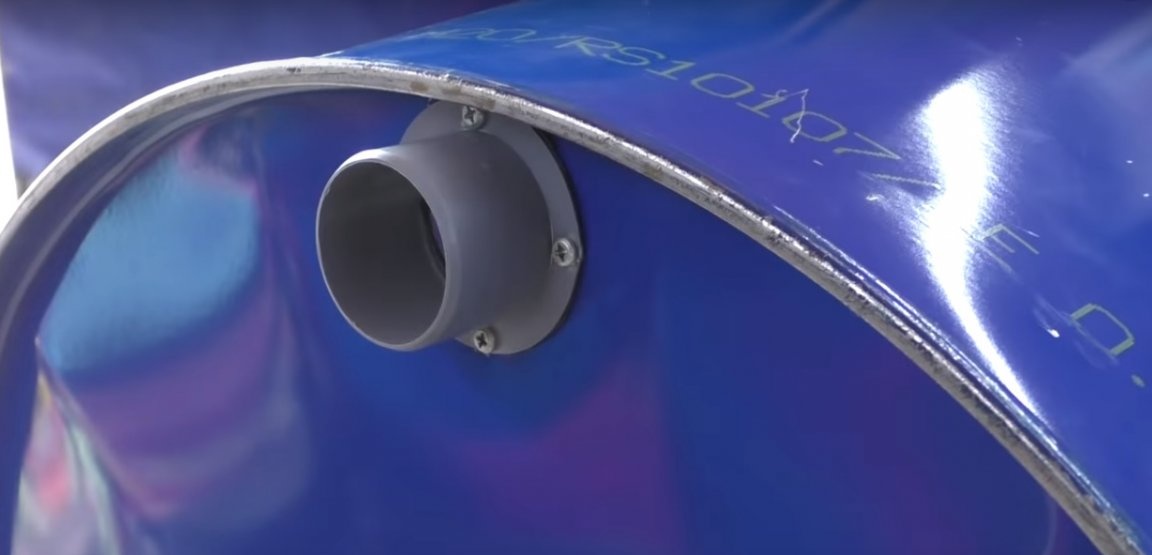
If you use various adapters and other plumbing, then the ventilation can be brought out into the street, or put on a filter, then you need to look at the circumstances.
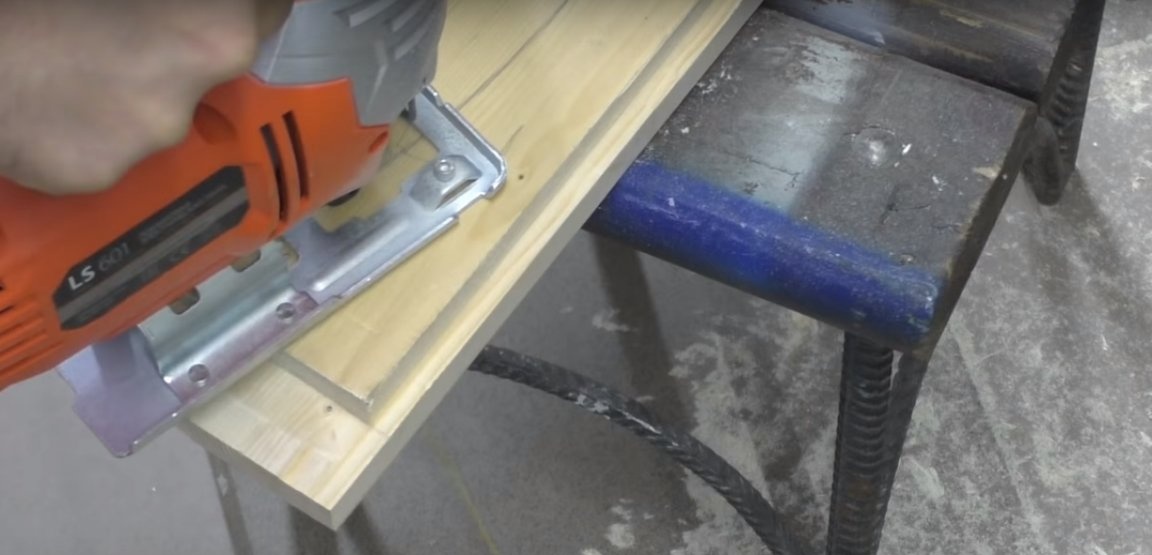
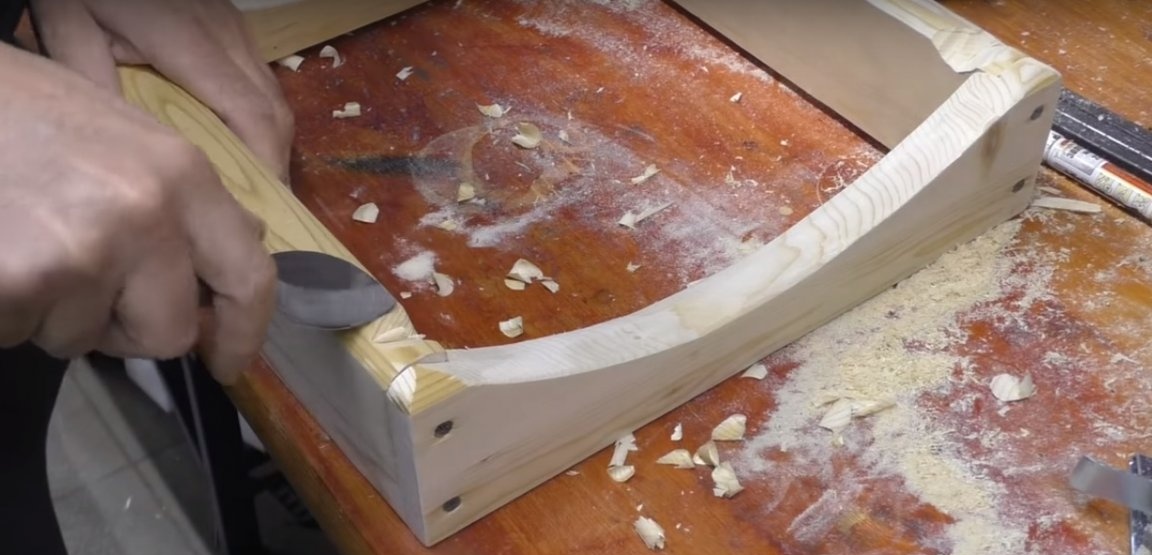
Now it's time for the viewing window. We will make a frame of wood, it is much faster and easier. The oval is simply sawn with an electric jigsaw, followed by refinement on the grinder.
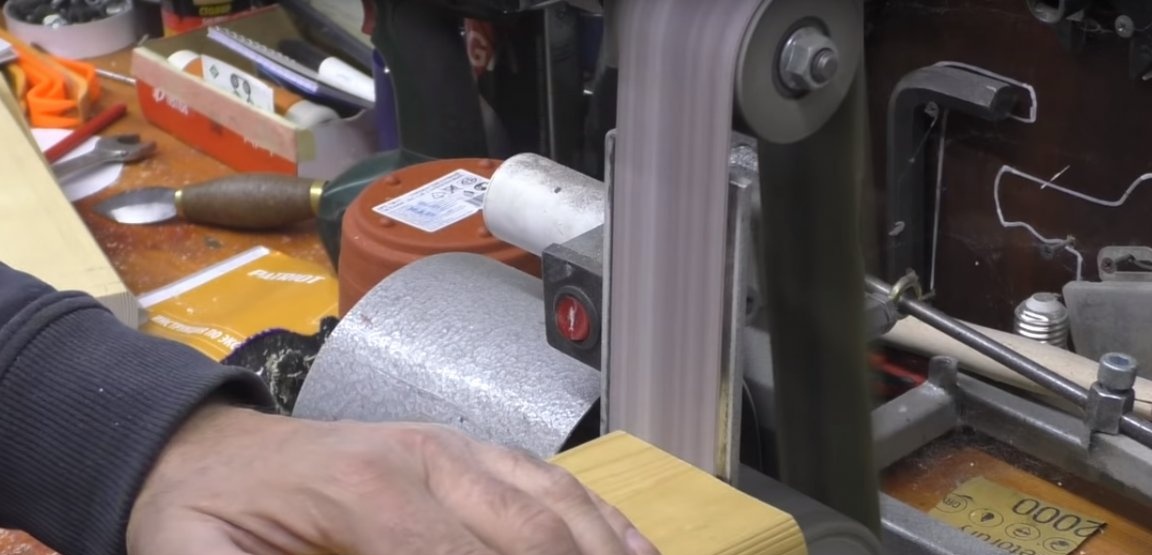
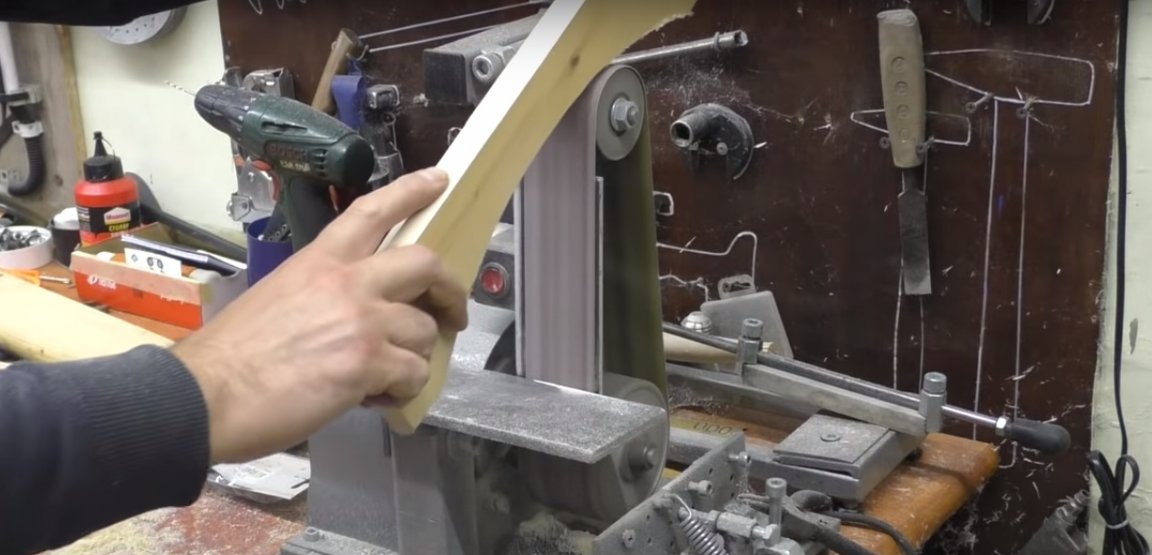
After assembly, a little manual work follows, namely a denser fit and grinding.
Next, you need to determine the installation location of the frame. Then we mark and embed this fragment.
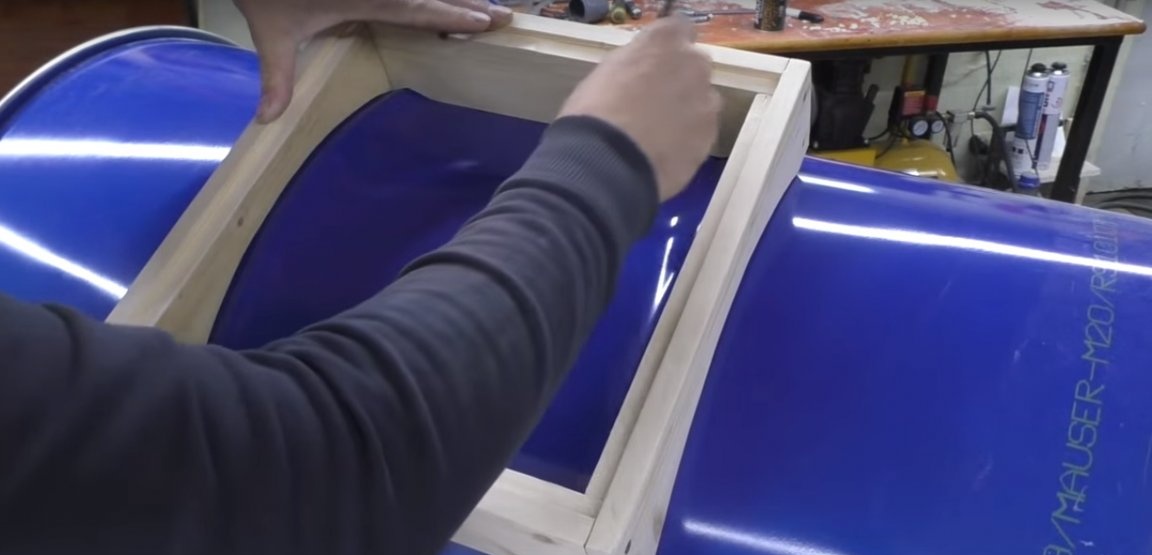
The final fitting and you can start painting the frame.
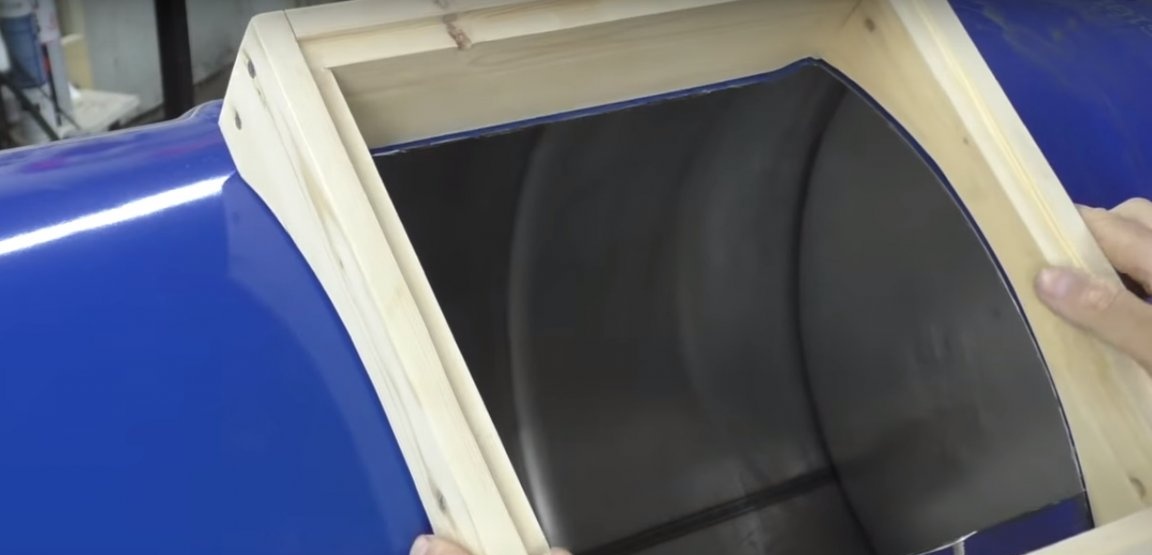
In the meantime, the frame dries, make a hole for attaching it.
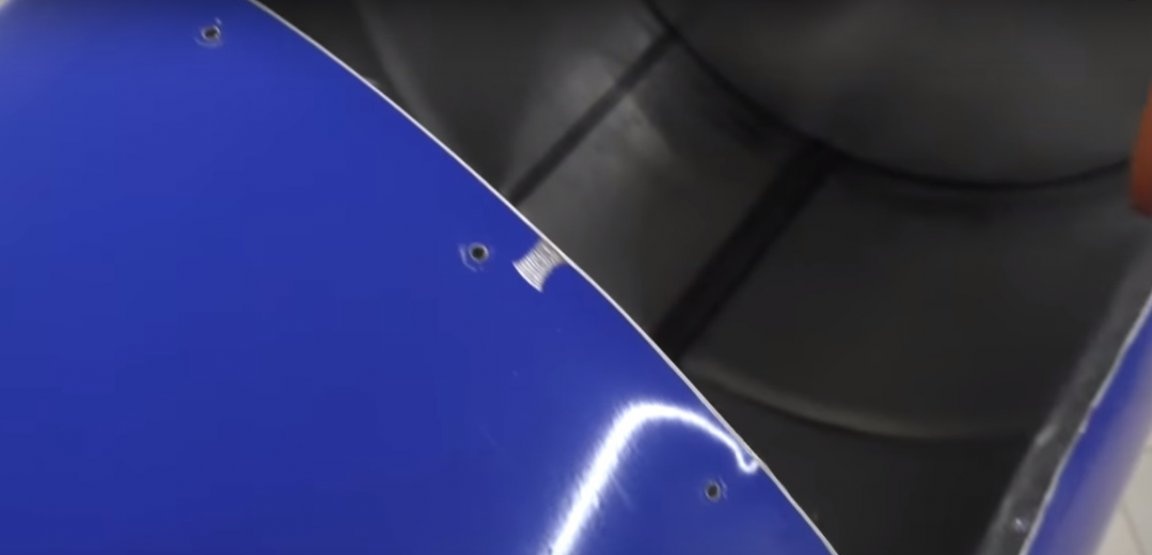
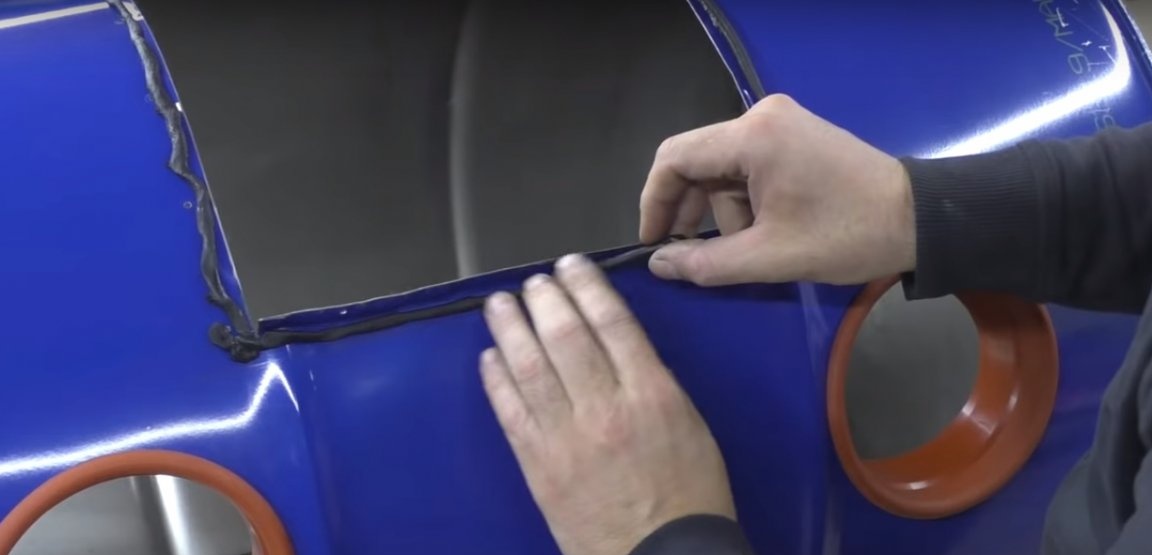
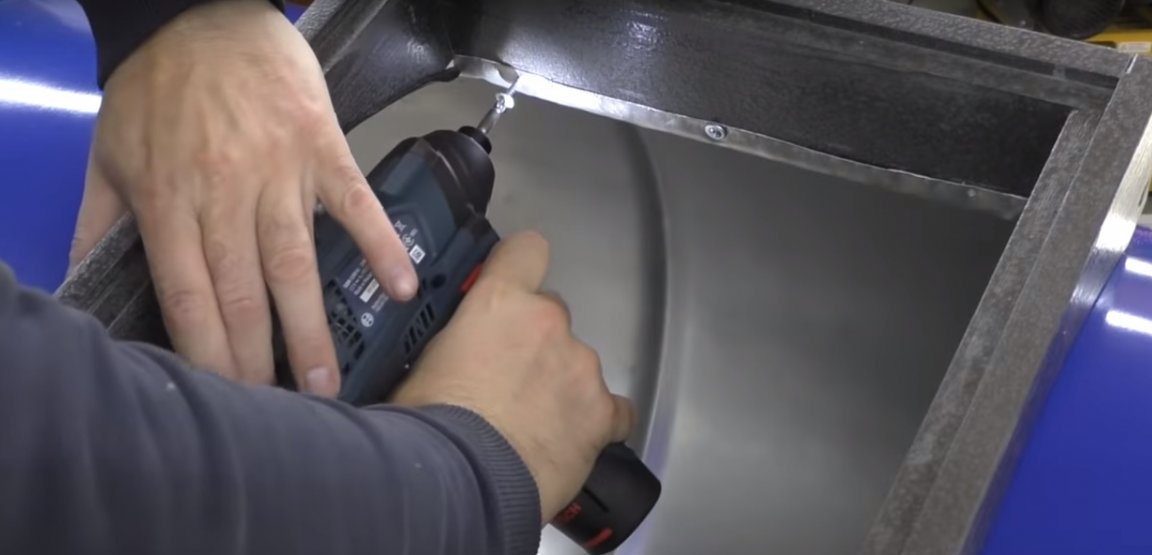
The hole is ready, the frame is completely dry, you can proceed with installation. At this stage, we also seal everything well and fix the frame using self-tapping screws.
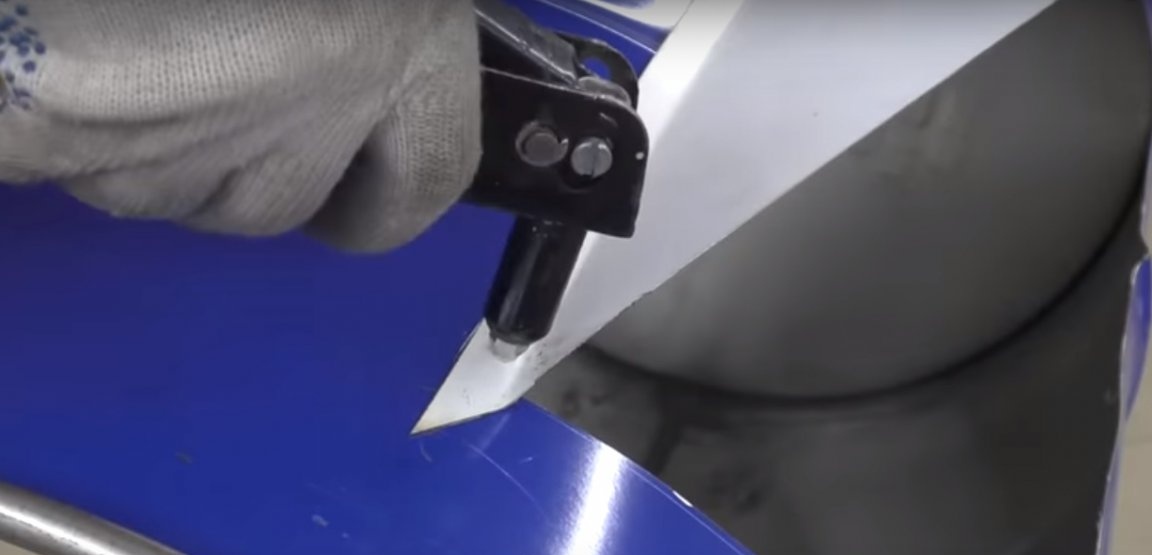
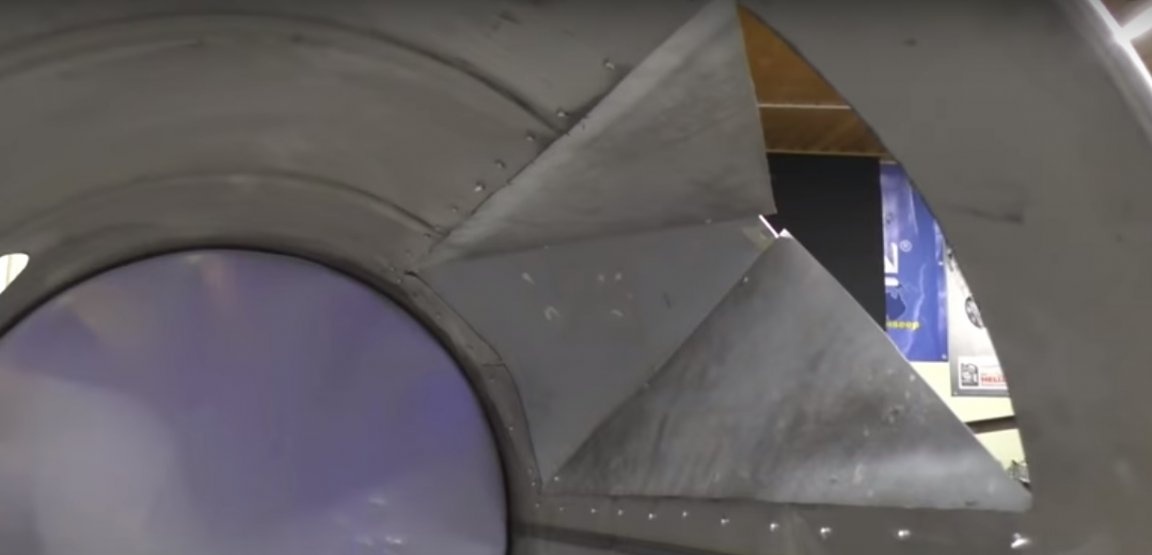
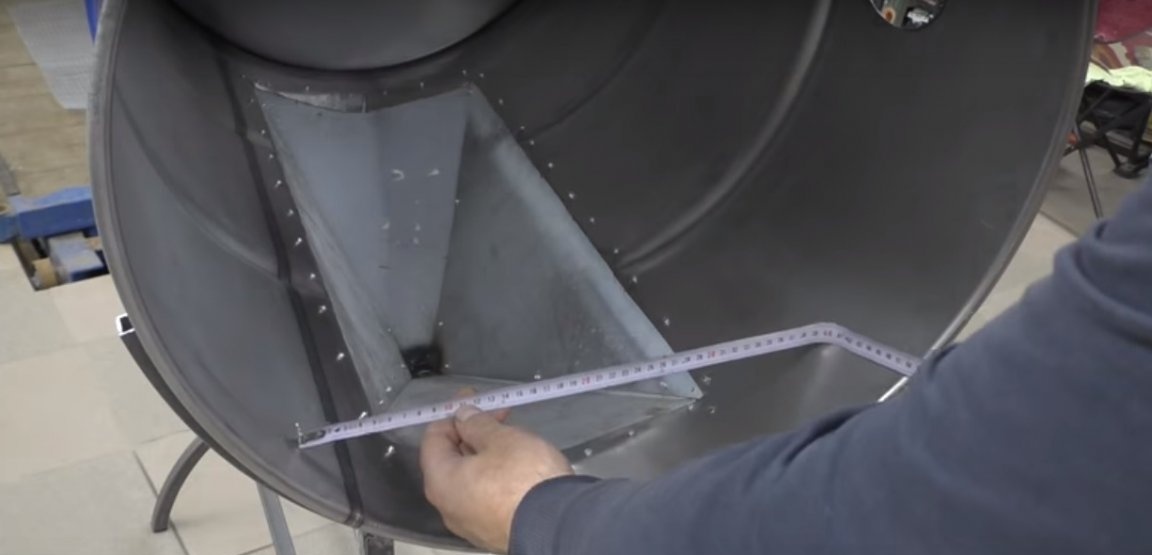
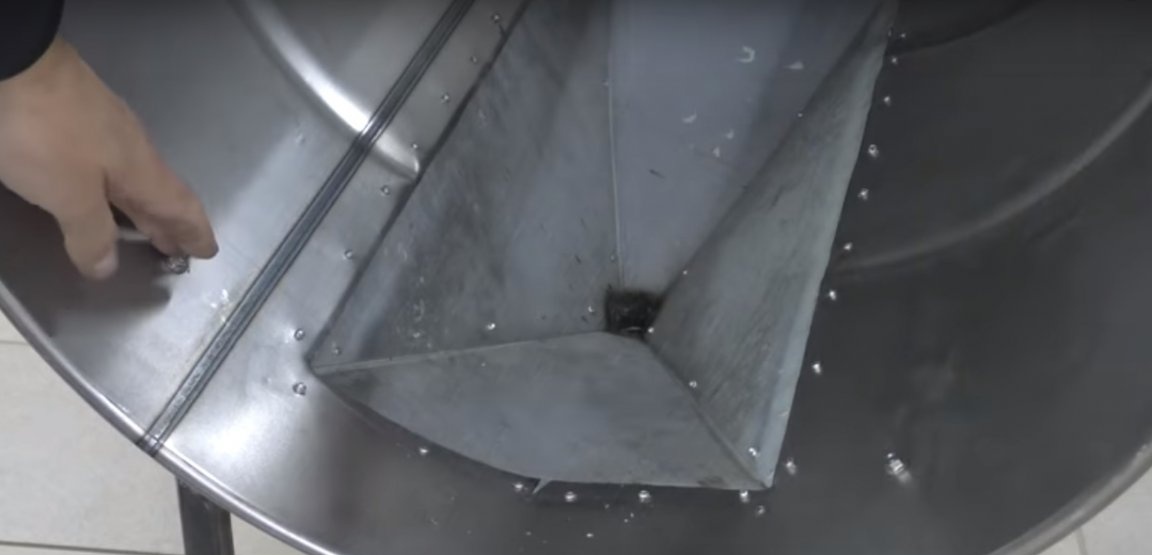
Well, it turned out pretty good, continue on. Now at the bottom of the barrel you need to make a semblance of a funnel, which will serve to collect sand. We cut out the bottom in the form of a rectangle and of course it is advisable to get rid of all the burrs, so as not to accidentally get hurt.
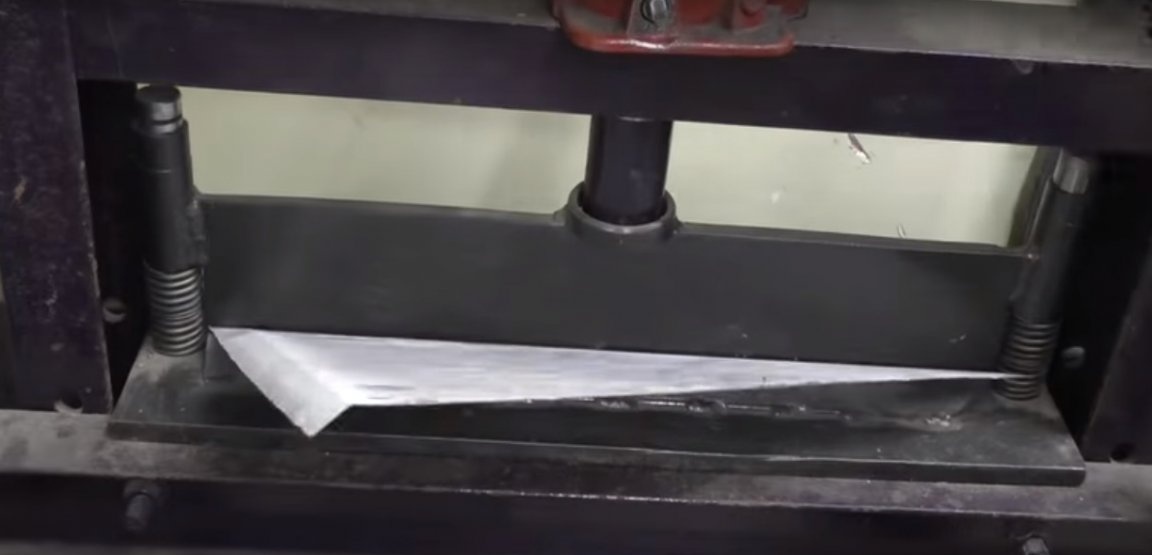
The funnel itself will be made of metal. Take metal from the old refrigerator. The material is pretty good, well, do not disappear to him.

Next, a little work on the bending machine, a very useful tool by the way, and the funnel is ready.
We will fasten the resulting part to rivets. Well, in this case, it doesn’t matter, it’s possible to weld, as much as anyone likes.
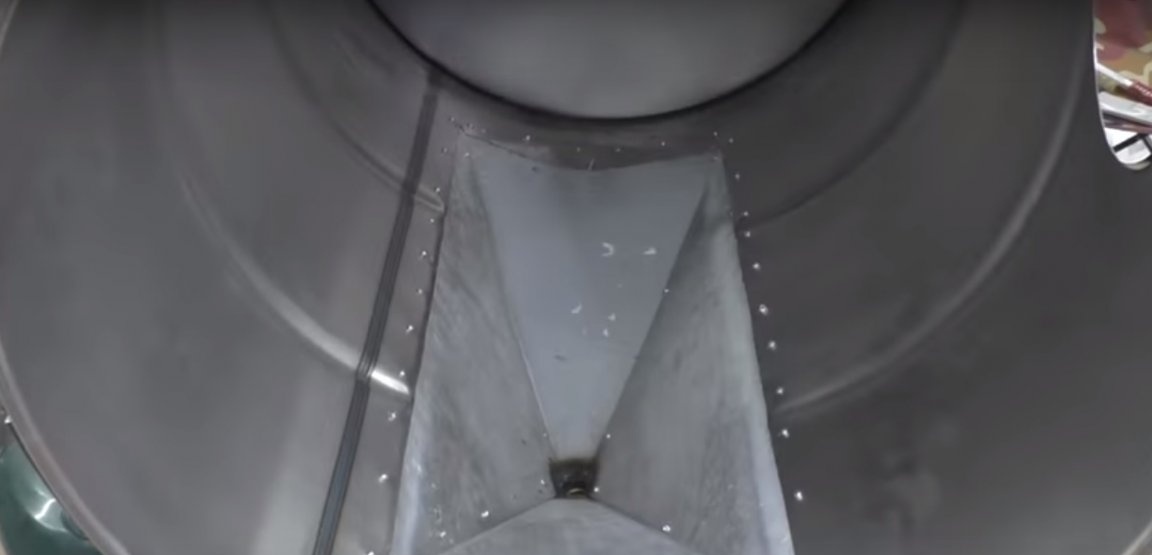
This is how it looks from the inside, it remains to fix the last wall and the funnel will be completely ready.
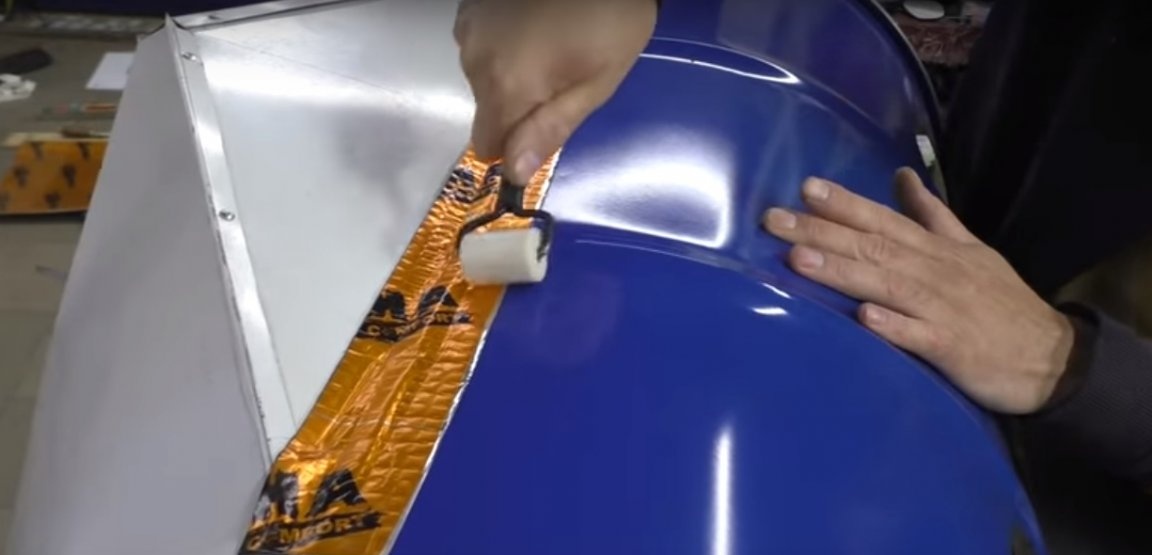
All the walls are in place, and for tightness the seams, it was decided to glue automotive vibration isolation.

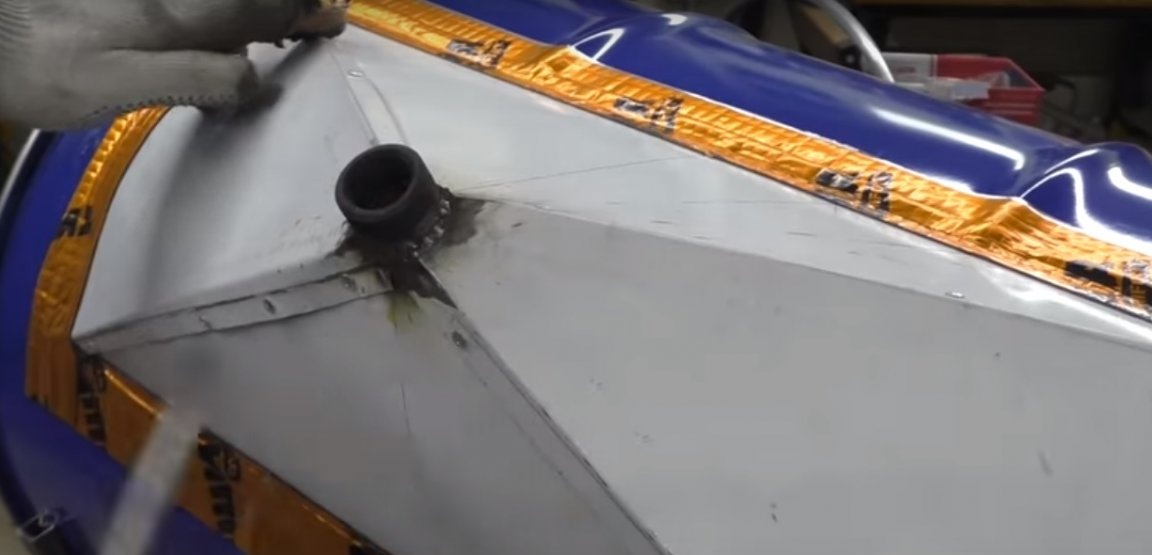
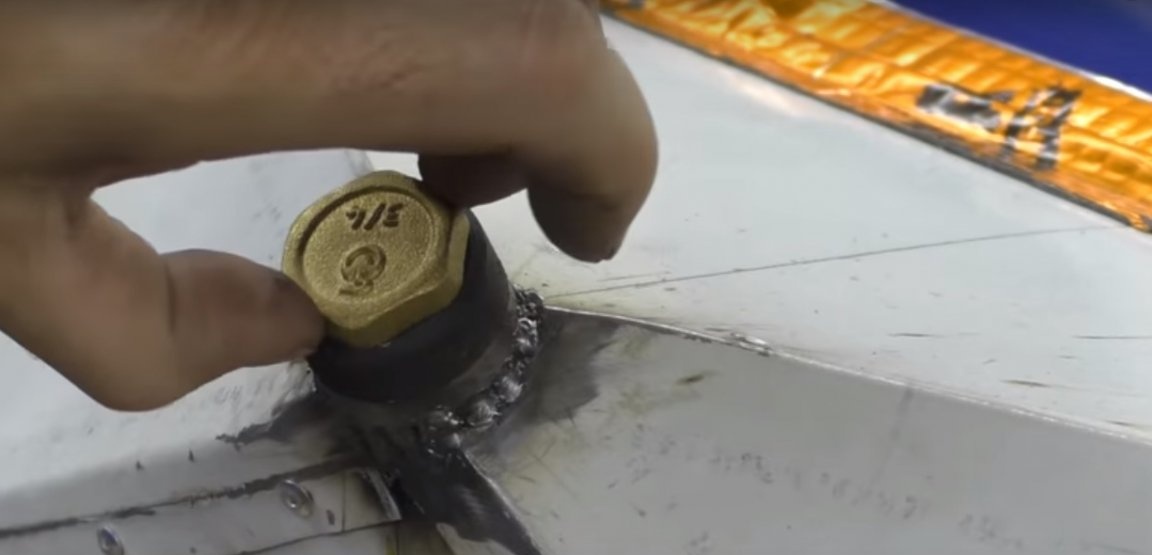
On top of the resulting cone, the author welded a nut. Subsequently, it is possible to install a ball valve at this place.
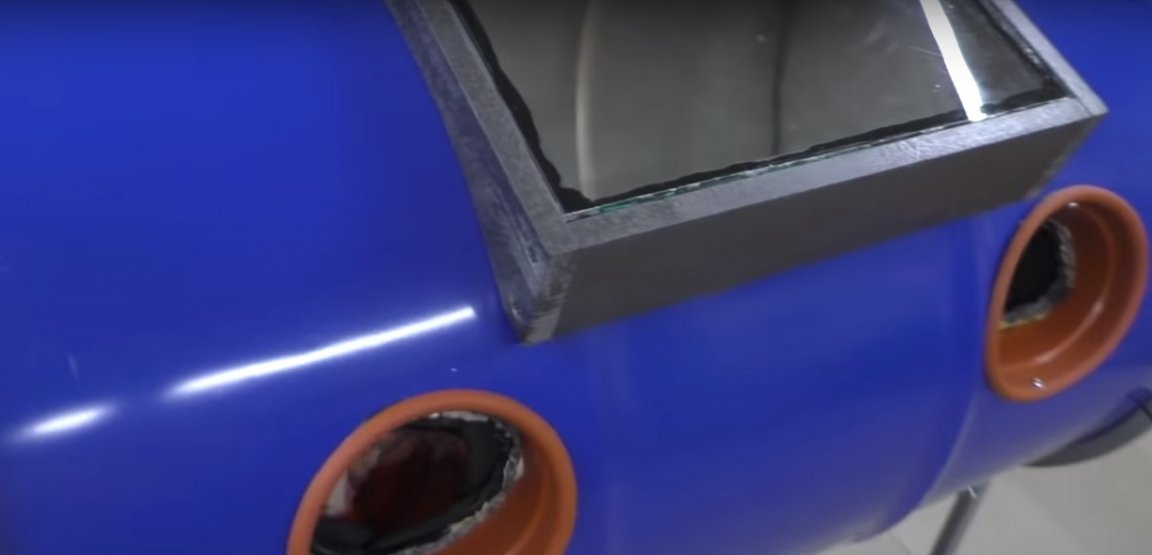
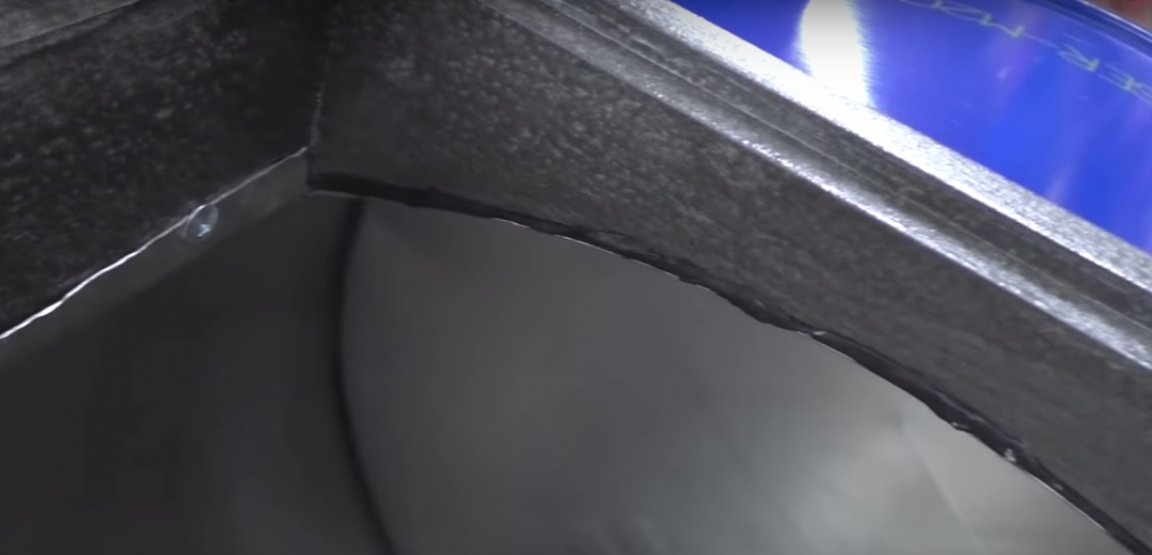
So at this stage, our homemade product looks like, from the outside:

And so it looks from the inside:
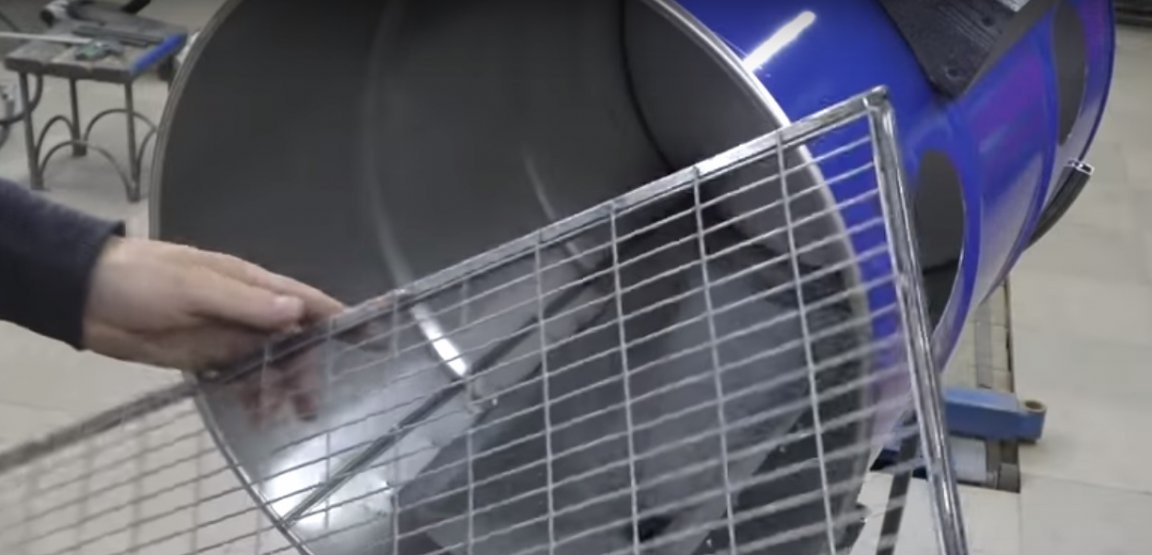
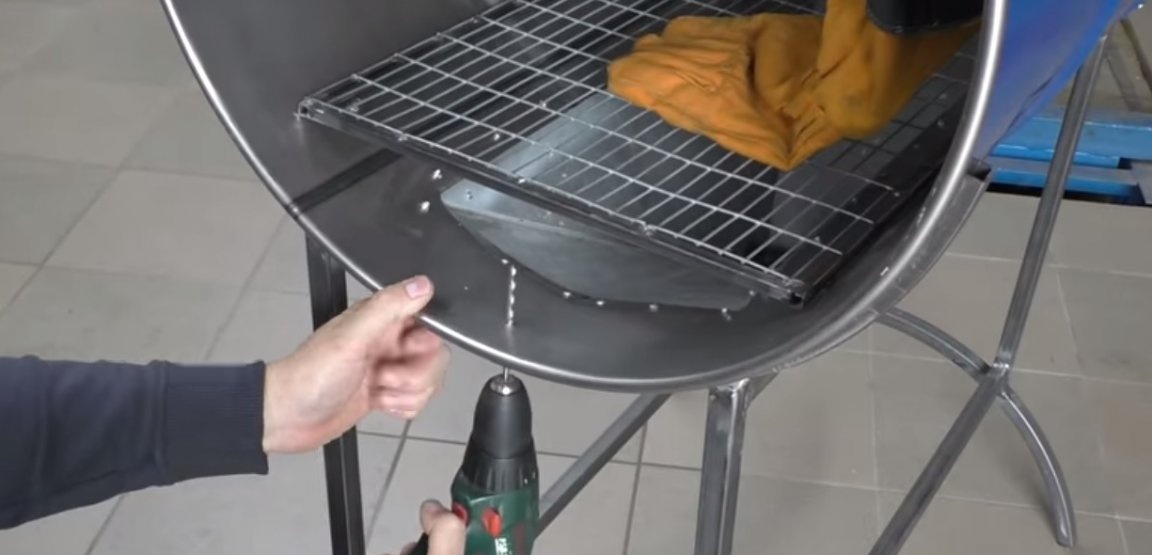
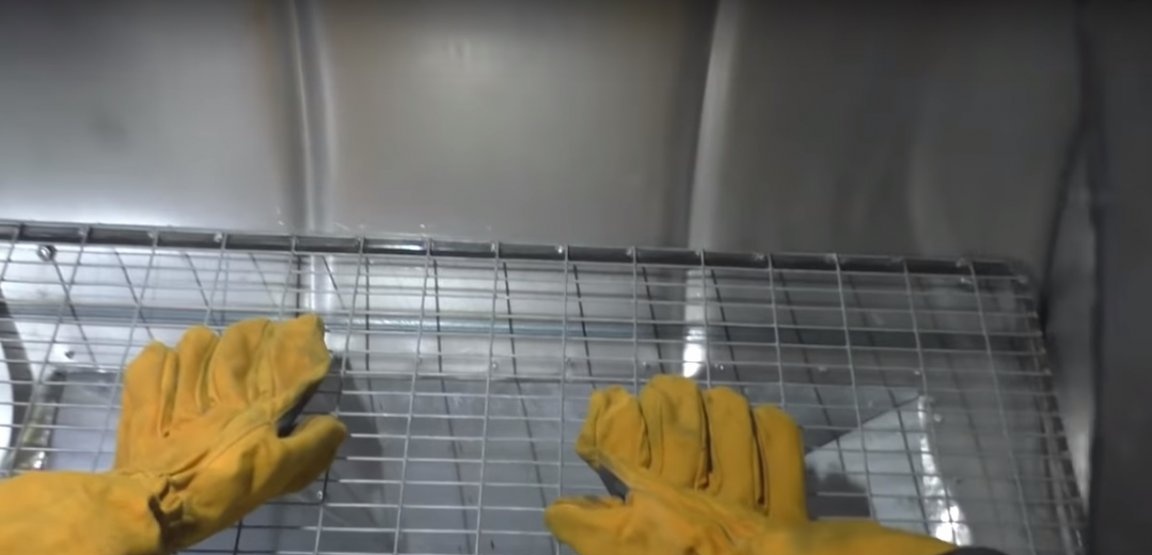
Now we are going to make a mesh pallet. The first thing, as usual, is to try on.
40 centimeters will be enough. We will make the harness from the 10 to 10 professional pipe. As a result, we get such a rectangle on which it will be necessary to fix the grid.
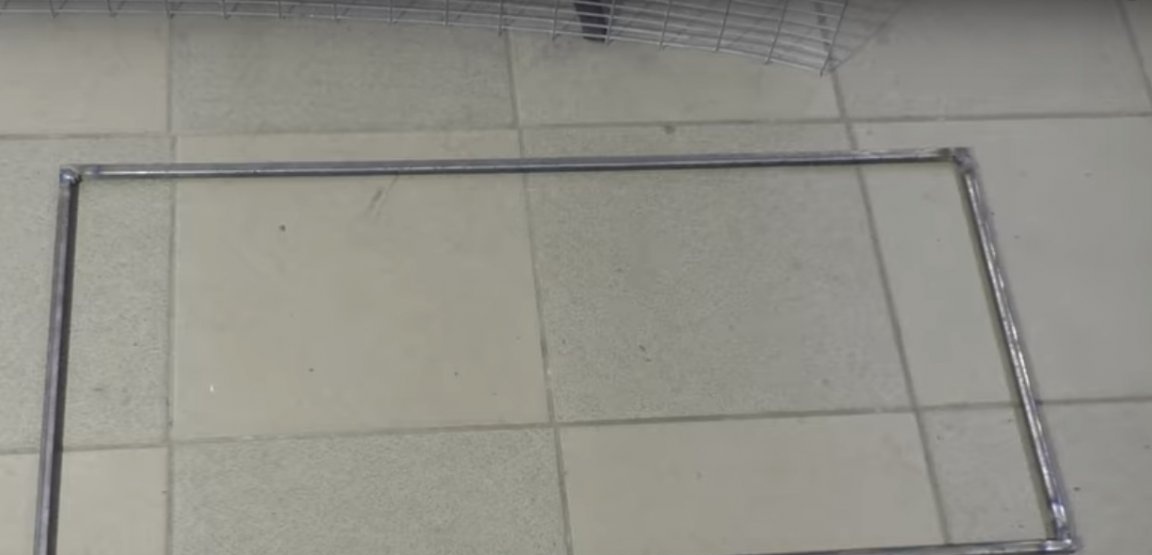
The grid can be purchased at the construction market or in a similar store.
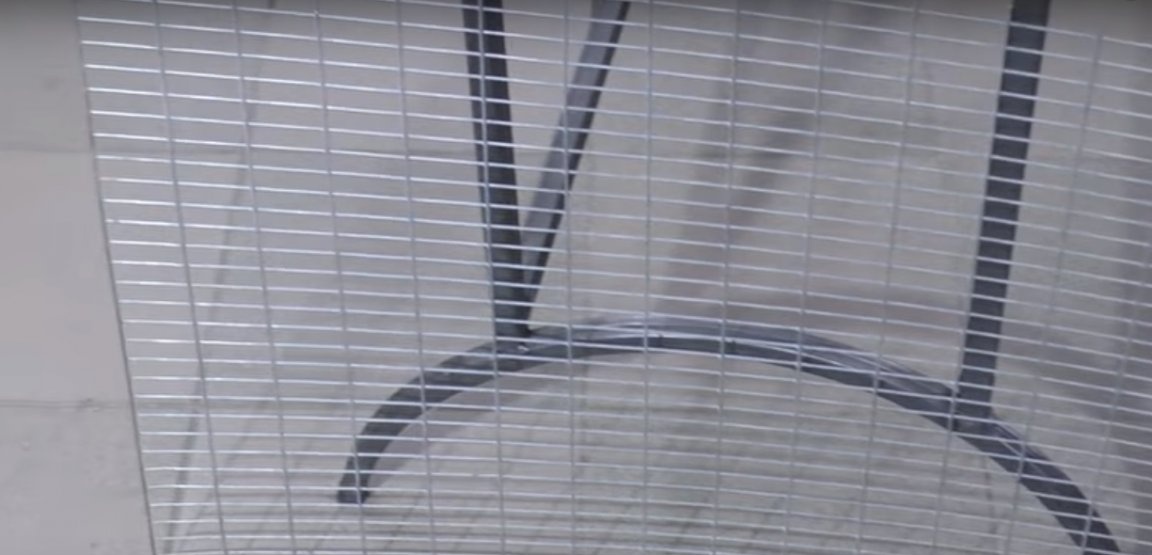
We grab the net semi-automatic and the pan is ready.
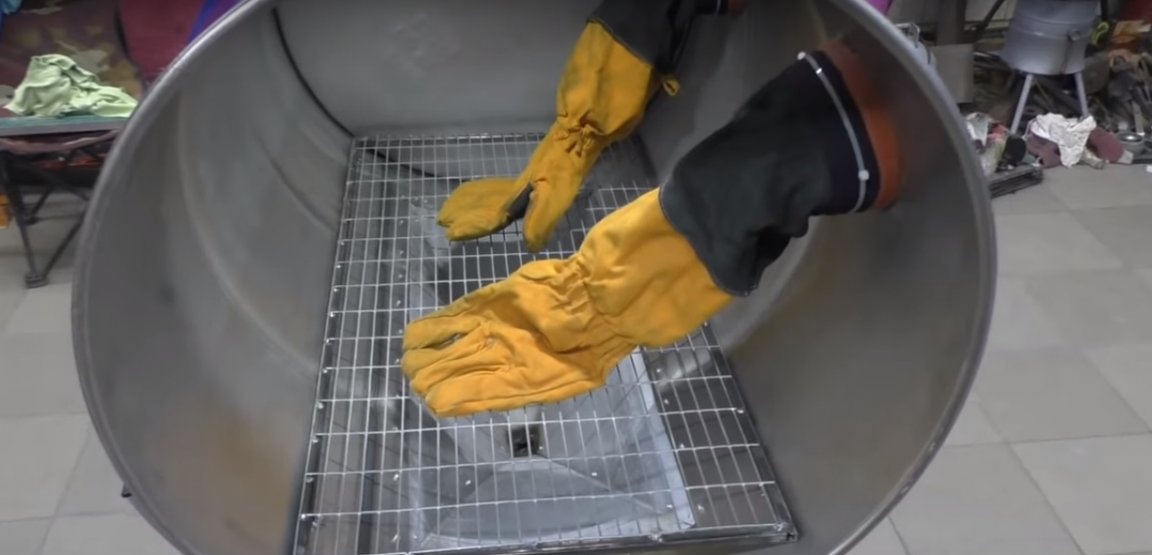
Also, it will not be amiss to make stops from bolts and nuts under the pallet so that it rotates in the barrel.

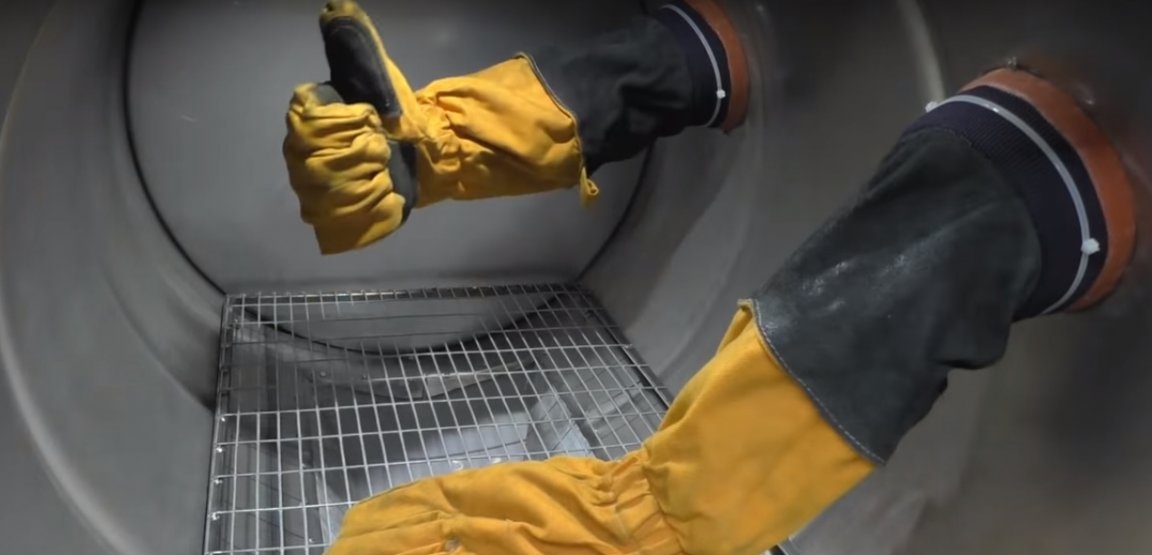
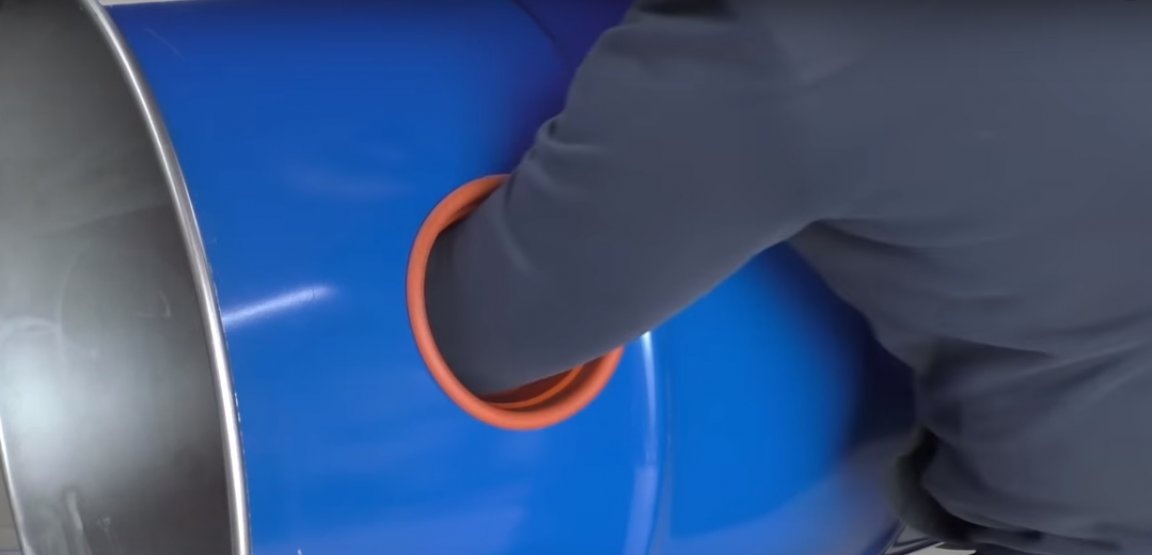
Now you can start installing the tentacles, they are gloves.

These gloves have long been in the garage from the author and were waiting for their fate, I didn’t even have to buy. Turning the inside out, the gloves received the necessary lengthening. Well, I didn’t even have to sew on anything, beauty, in a word.
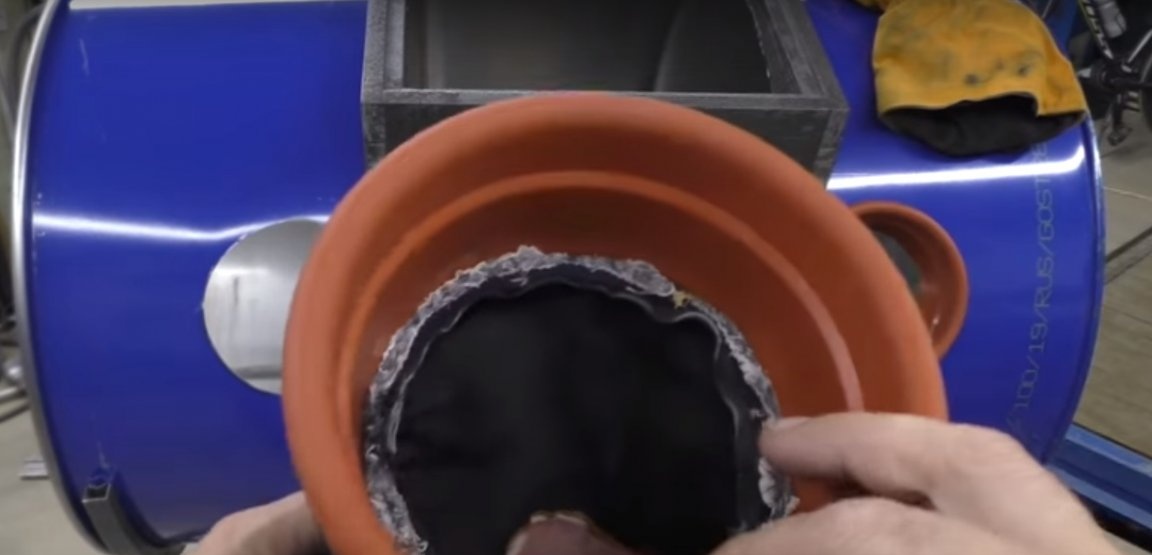
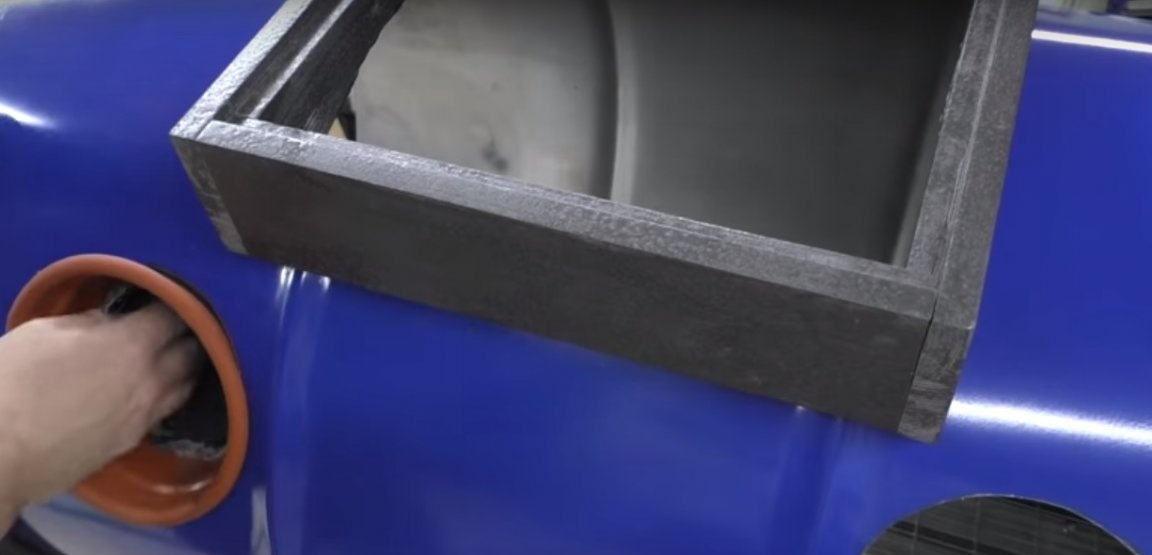
We fix the gloves with superglue to the former pot and everything is ready, you can put it in its place. Do not forget about the sealant and for insurance a couple of screws will not hurt.
In the lower part of the barrel, we drill holes for attaching to the frame. A pair of bolts is enough.
The project is almost complete, it remains only to cut and install a sight glass.
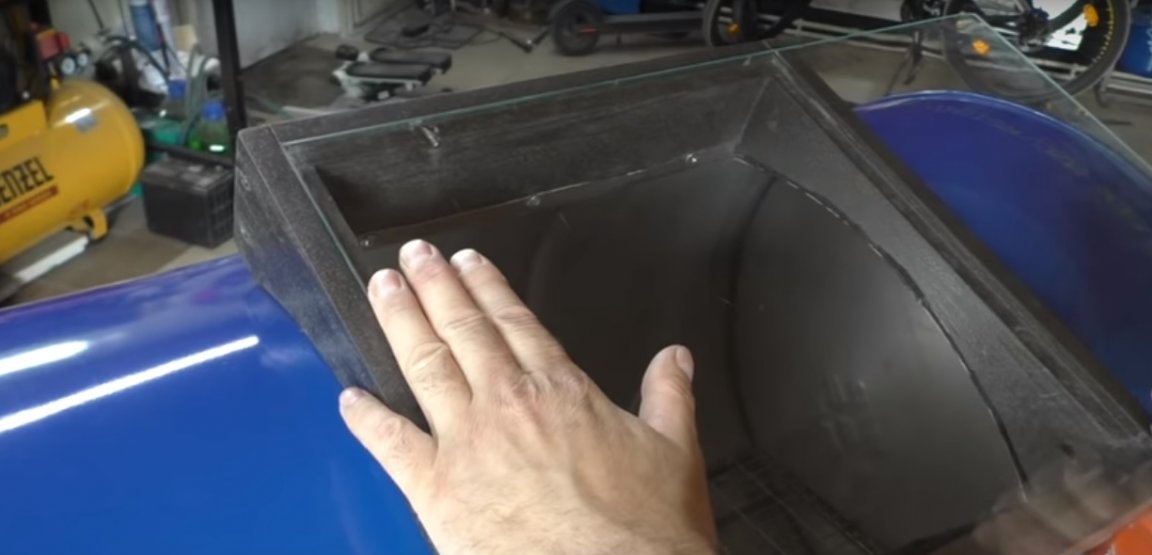
We put the glass on a butyl cord and for reliability in several places I fix it with self-tapping screws just in case, so to speak.


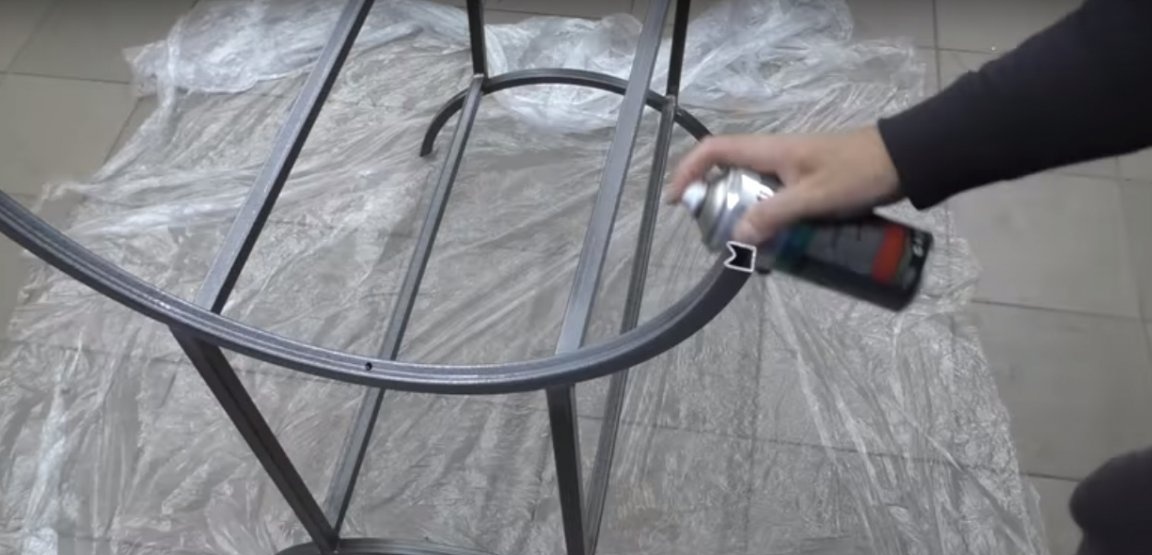
We paint the frame with hammer enamel on rust and you can proceed to the final assembly.
The final touch is the end caps.

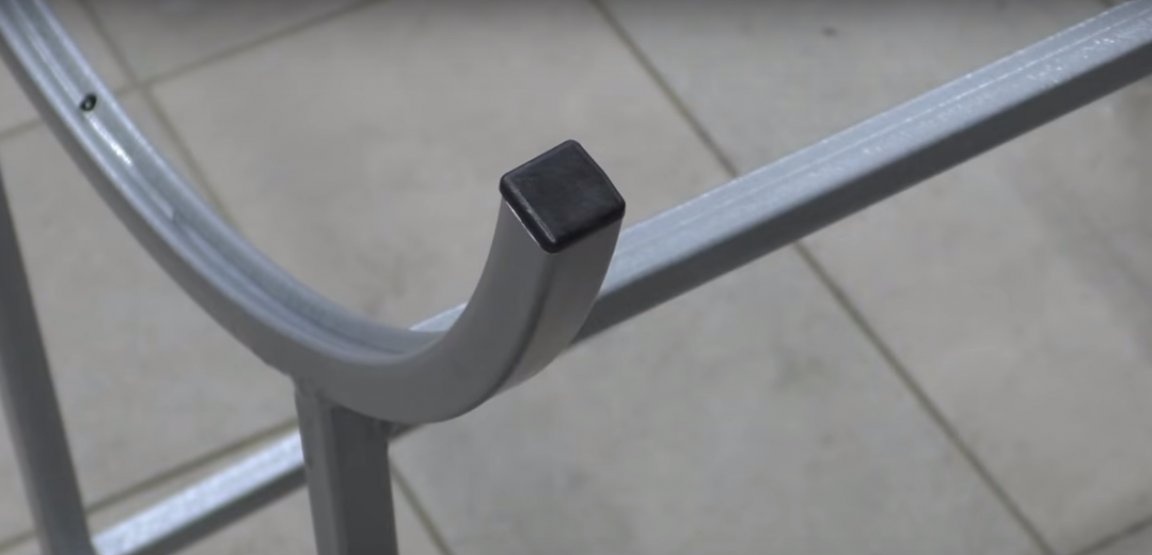
Now, now is a completely different matter.We put the barrel in place, attach it to the base and get just such beauty.
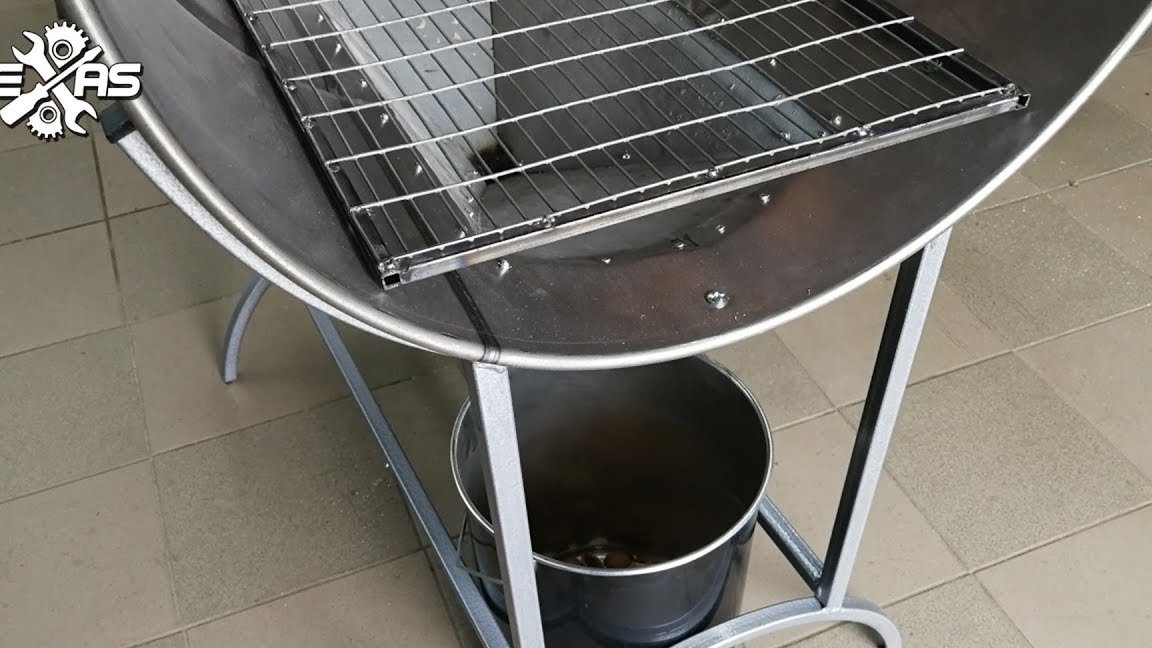
Thank you for attention. See you soon!
Author's video: