Surely almost every one of you has heard about the famous Tesla coil many times, but your hands did not reach its assembly. Perhaps many believe that this is a very complex device.
In this article, the author of the KJDOT YouTube channel will tell you how to make this device in miniature.
This homemade product is very easy to manufacture, and even a schoolboy will cope with it.
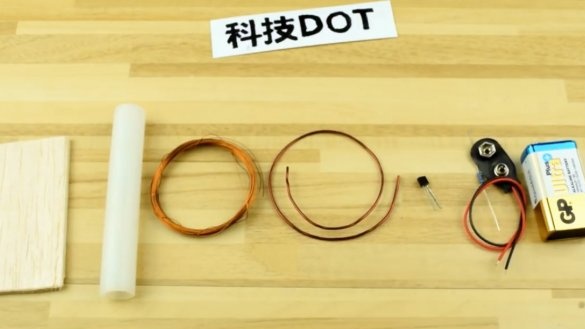
Materials
- Copper wires 0.25 and 1.2 mm diameter
- Transistor 2N2222A
- Resistor 22Kohm
- Battery 9 V (krone)
- Battery connector
- solder
- Polyethylene tube, a piece of plywood
- Insulation tape
- Sandpaper.
Instruments, used by the author.
—
—
- Hacksaw, wire cutters, scissors.
Manufacturing process.
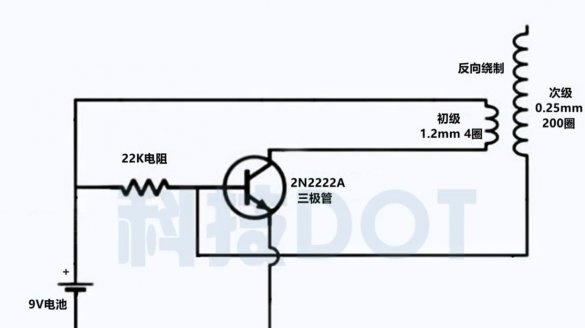
So, the author offers to get acquainted with the device diagram.
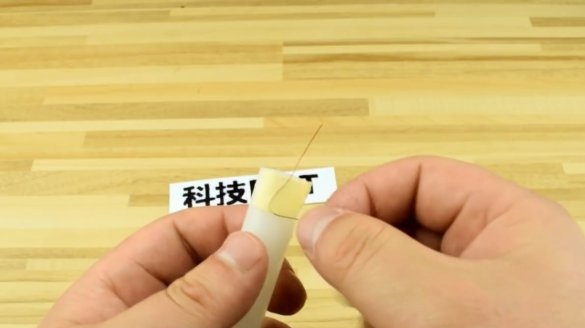
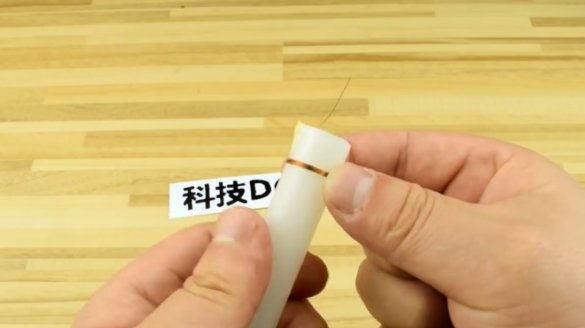
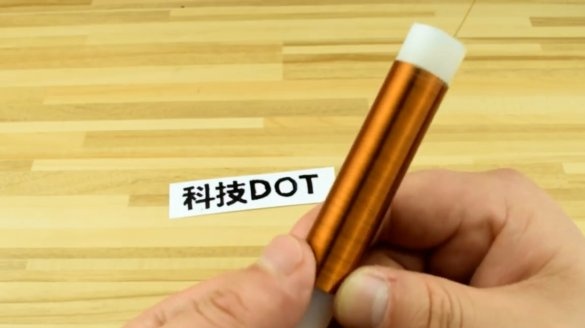
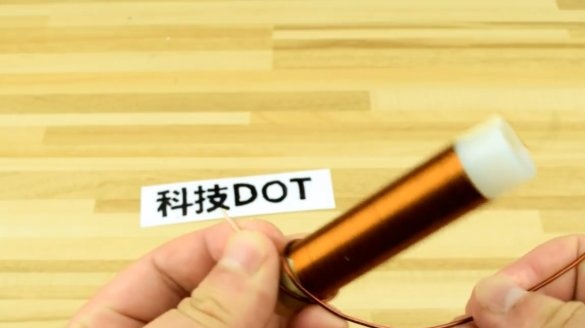
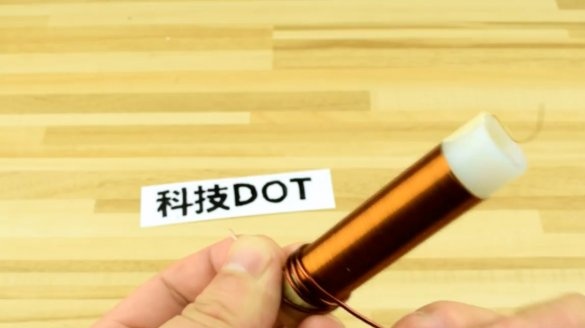
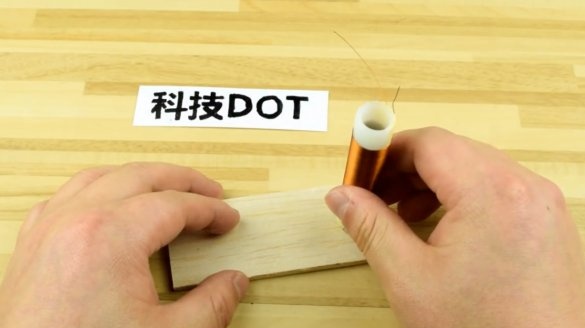
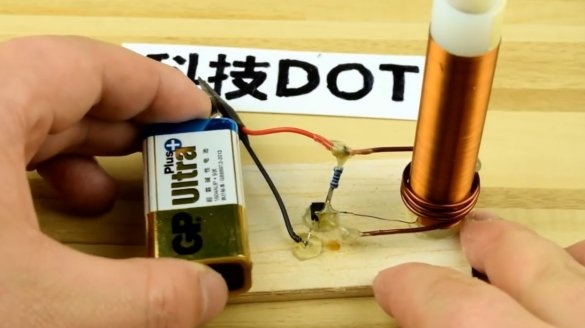
The author will use a polyethylene tube as the coil body, and a PVC pipe will also be suitable. Its outer diameter should be about 20 mm. On one edge of the tube, he fixed with insulating tape the edge of an enameled wire with a diameter of 0.25 mm, and began winding. This will be a secondary, high voltage winding.
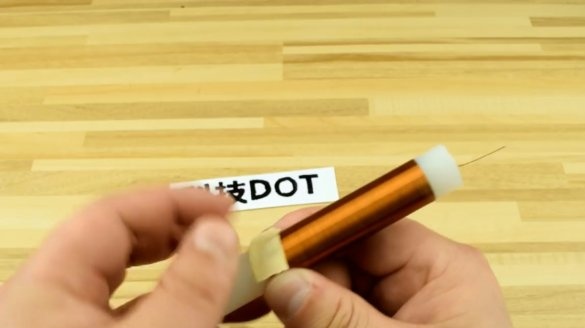
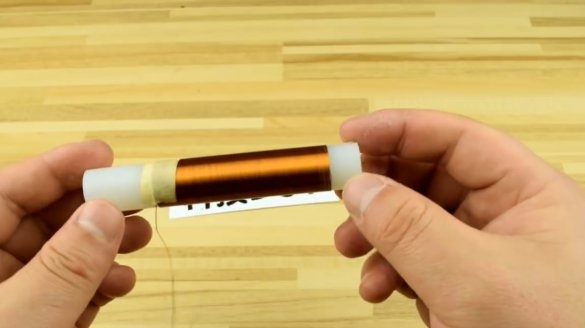
In total, it will be necessary to make 200 turns, it is important to lay them tightly to each other, avoiding overlaps and passes. Breaks are also unacceptable. The last turns are also fixed with an insulating tape.
The author cuts the excess length of the tube with a hacksaw.
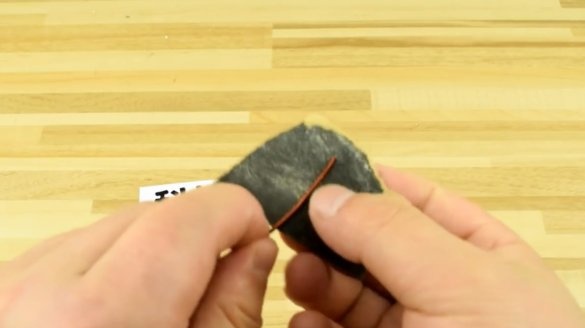
For the manufacture of the primary winding, a wire with a diameter of 1.2 mm is needed. Its edges are cleaned with sandpaper, or a knife. The number of turns of the winding is four.
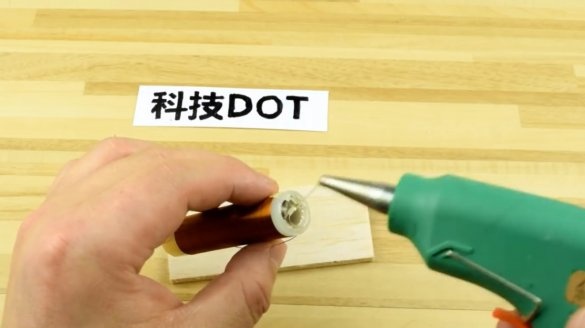
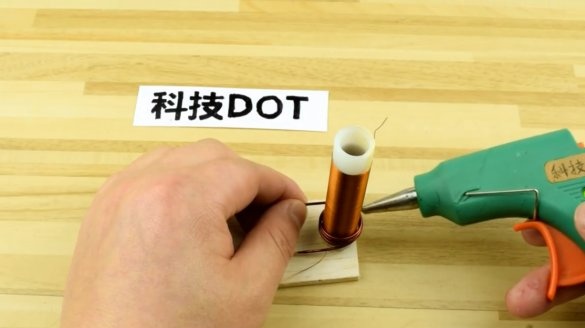
So, the coil is glued to a small board with hot glue.
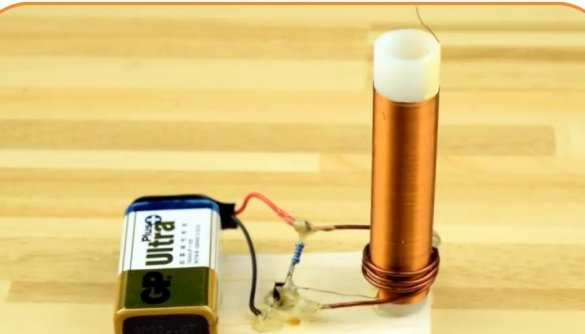
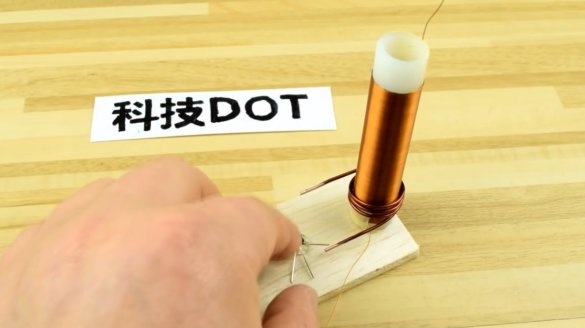
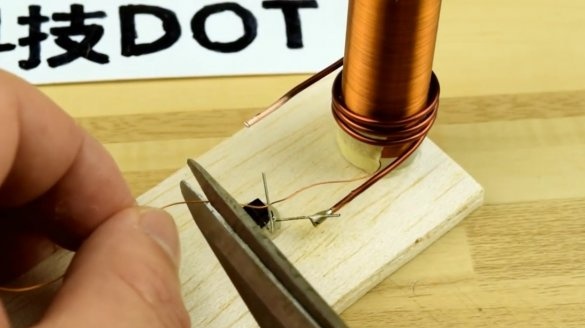
Then, the primary winding is put on the coil, and fixed in its lower part. Also, a transistor is glued to the base.
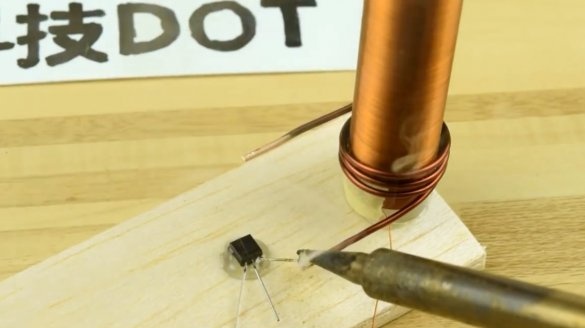
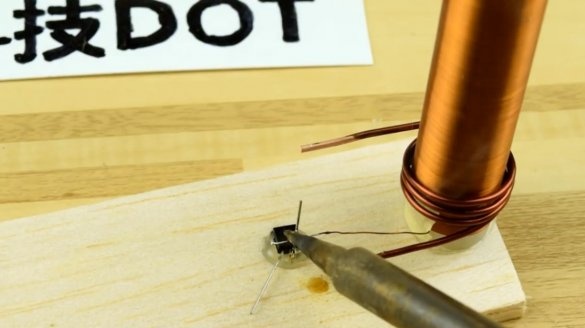
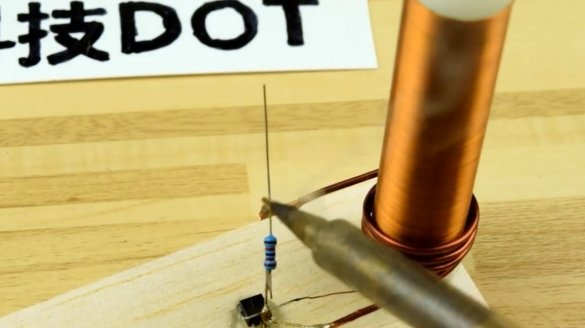
The transistor collector is soldered to one of the terminals of the primary winding.
One terminal of the high-voltage winding is soldered to the base of the transistor. The second will remain free.
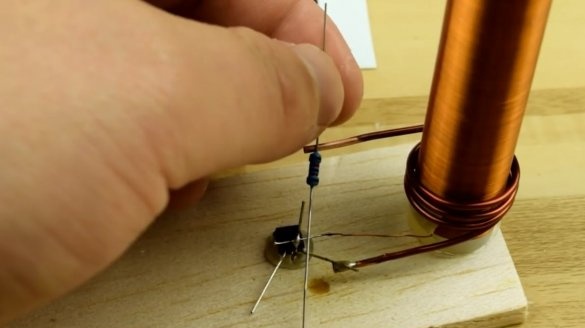
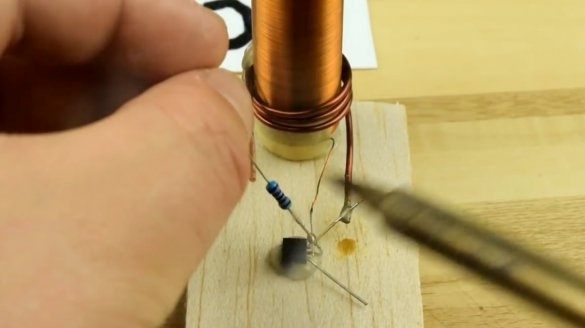
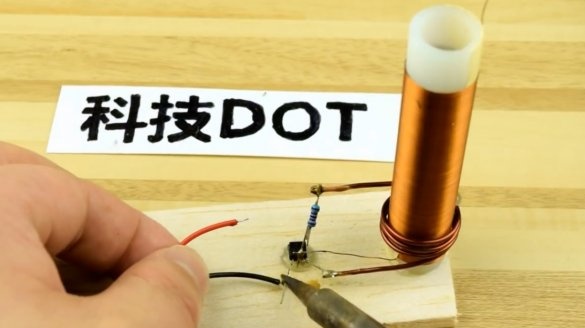
The legs of the resistor are shortened, and it is soldered between the base of the transistor, and the second terminal of the primary winding.
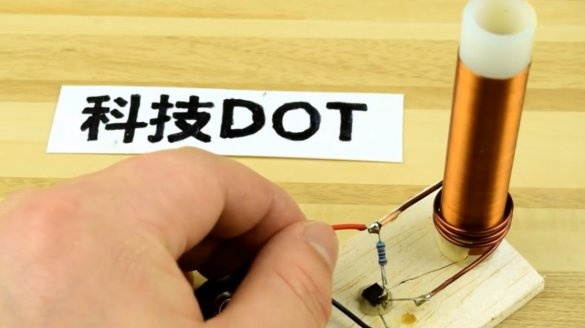
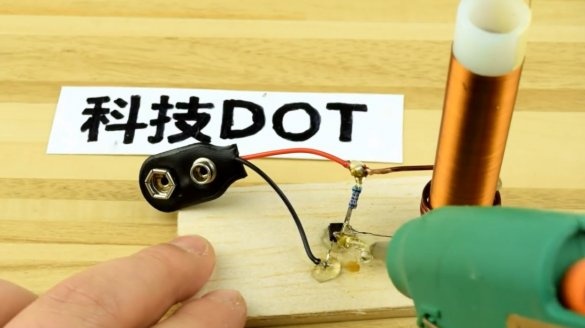
Now it remains to solder the negative power wire to the collector, and the positive wire to the second terminal of the primary winding. All soldering spots should be carefully insulated. Hot glue will completely cope with this task.
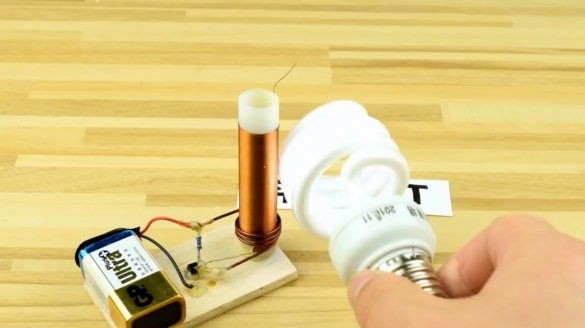
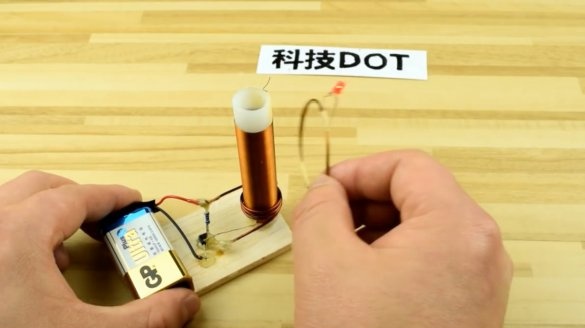
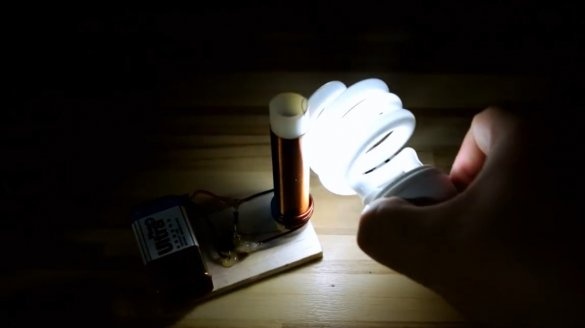
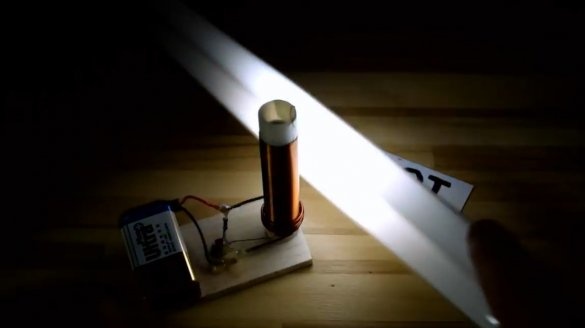
You can connect the battery to the terminals and start the test. The fluorescent lamp lit up.The LED soldered to a small coil also glows.
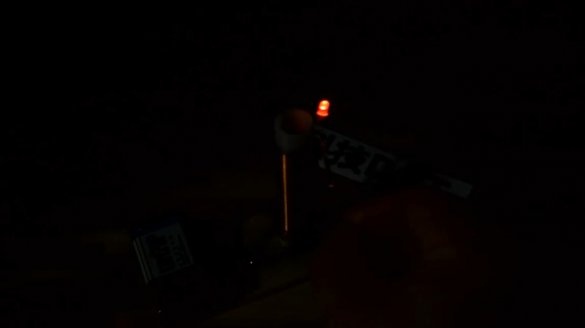
And so it looks in the dark.
I thank the author for the simple and easy to repeat Tesla coil circuit!
Repeat and you are a simple device! Be careful, you are dealing with high voltages!
All good mood, good luck, and interesting ideas!
Author video can be found here.

