

There is always not enough free horizontal surface at an easily accessible level. This is an axiom. I will add - especially to active people. I will add more - especially in the workshop. Here, the table is made in place of an impromptu, from several pieces of a chipboard sheet on supports. All this was of dubious stability and beauty, of different levels. In a word, the time has come.
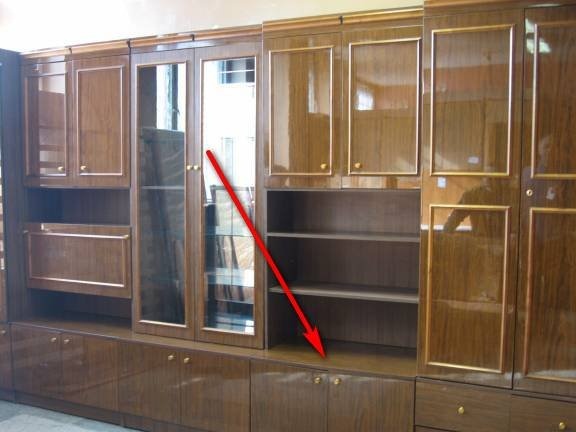
A few common points when designing. A table for sedentary work - its height is about 750 mm. The countertop must be absolutely smooth, a set of boards is prettier, but in this case it is not suitable - work with decorative glass (stained glass, mosaic), glass cutting, cutting of large sheets are supposed. When working of this type shall not be allowed small deflections, pits, irregularities. Small smooth deflections of the surface are acceptable, we work with non-thick glass, it is able to bend a little. Based on the task, I picked up materials for the table top - the details of the old, domestic "wall". Among the small shields, there were several, of solid size, with a mirror lacquered finish, from the covers of the wide lower bollards. Their size turned out to be 580x890mm. Involved three of these shields.
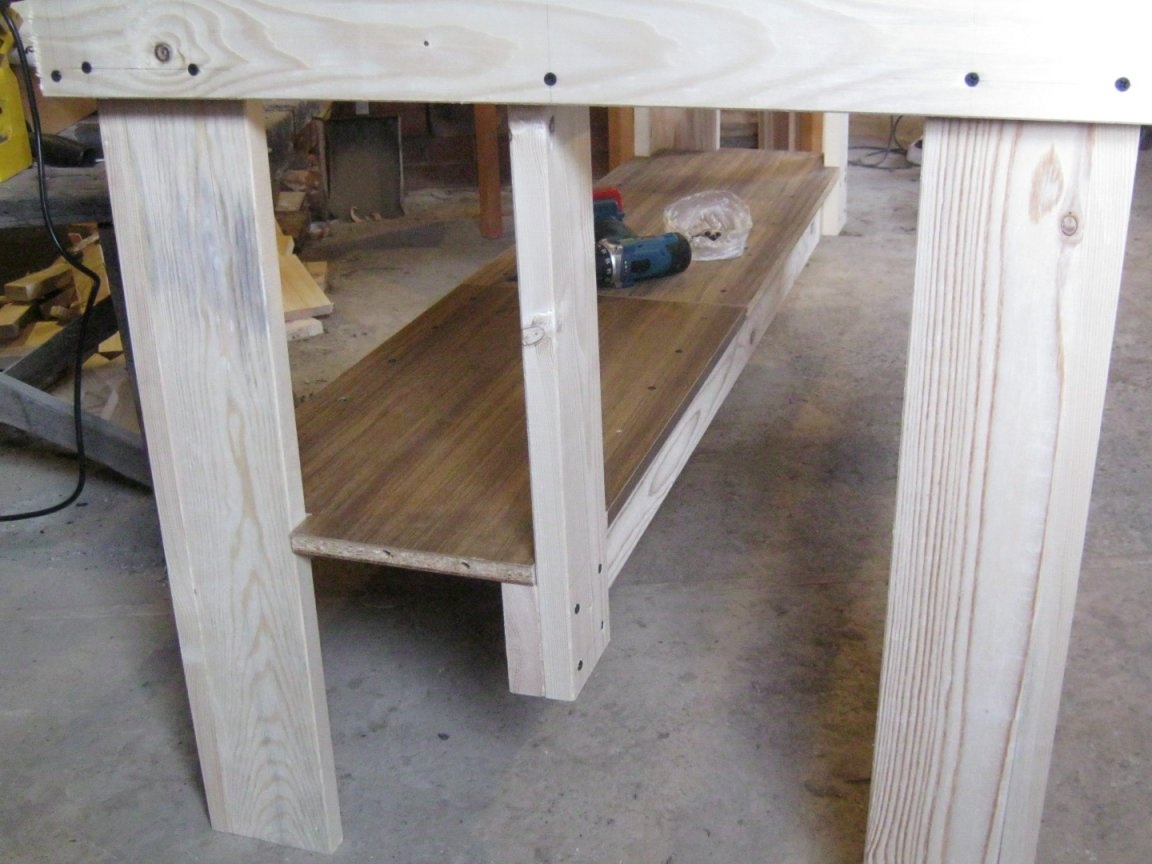
In addition to the main surface, a shelf under the table is also very useful. It was also decided to make it flooring from fragments of the former furniture, but narrower, simpler. The height of the shelf is such that cardboard boxes fit comfortably medium-sized, the height from the floor - so that you can climb into the socket of the vacuum cleaner and a broom. The remaining elements of the table are made of non-thick planed pine boards. The simplest connections are self-tapping screws of the required length and carpentry glue. Practice shows that for durability this is quite enough. With accurate execution, the look is quite decent. Wooden elements do not have a decorative coating.
So. What was used at work. Tools, equipment, materials.
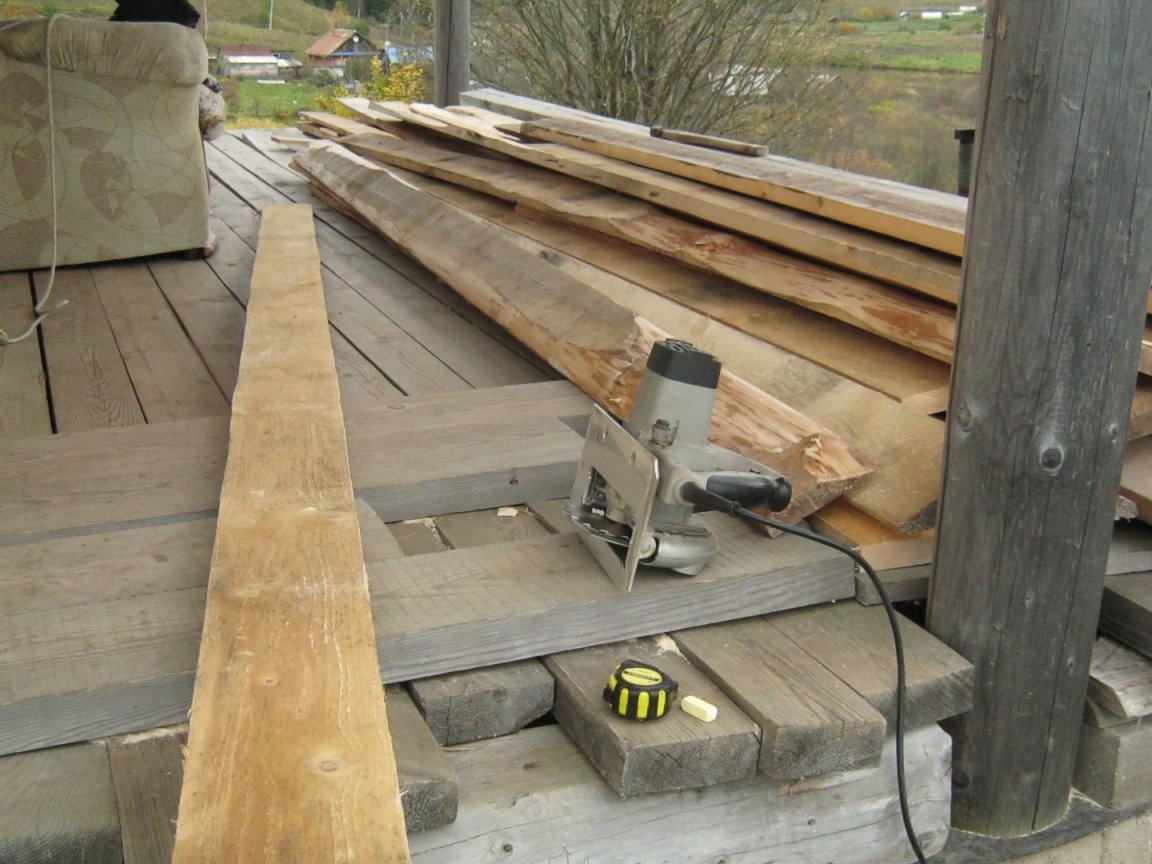
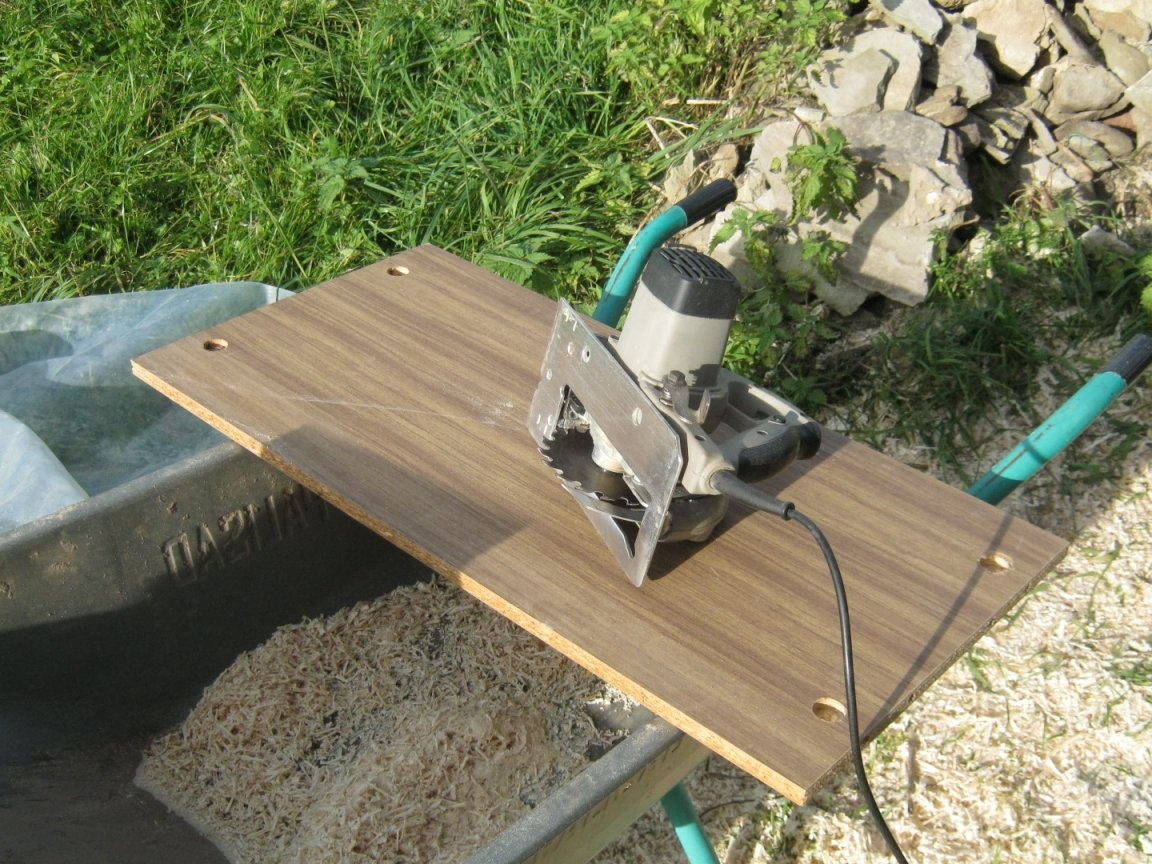
A set of carpentry tools, measuring, marking tools. It speeds up the work and makes it more accurate, an electric tool and simple machines. Here, a circular hand saw, an electric jigsaw, a universal planing saw, and a pendulum miter saw were used. Cordless screwdriver (drill-twist).
As blanks, the mentioned old furniture panels, edged pine board 30mm thick, were used.
After I decided on the table cover and its size (stems from the size of the existing shields), I first made the details and assembled the table frame, its legs.
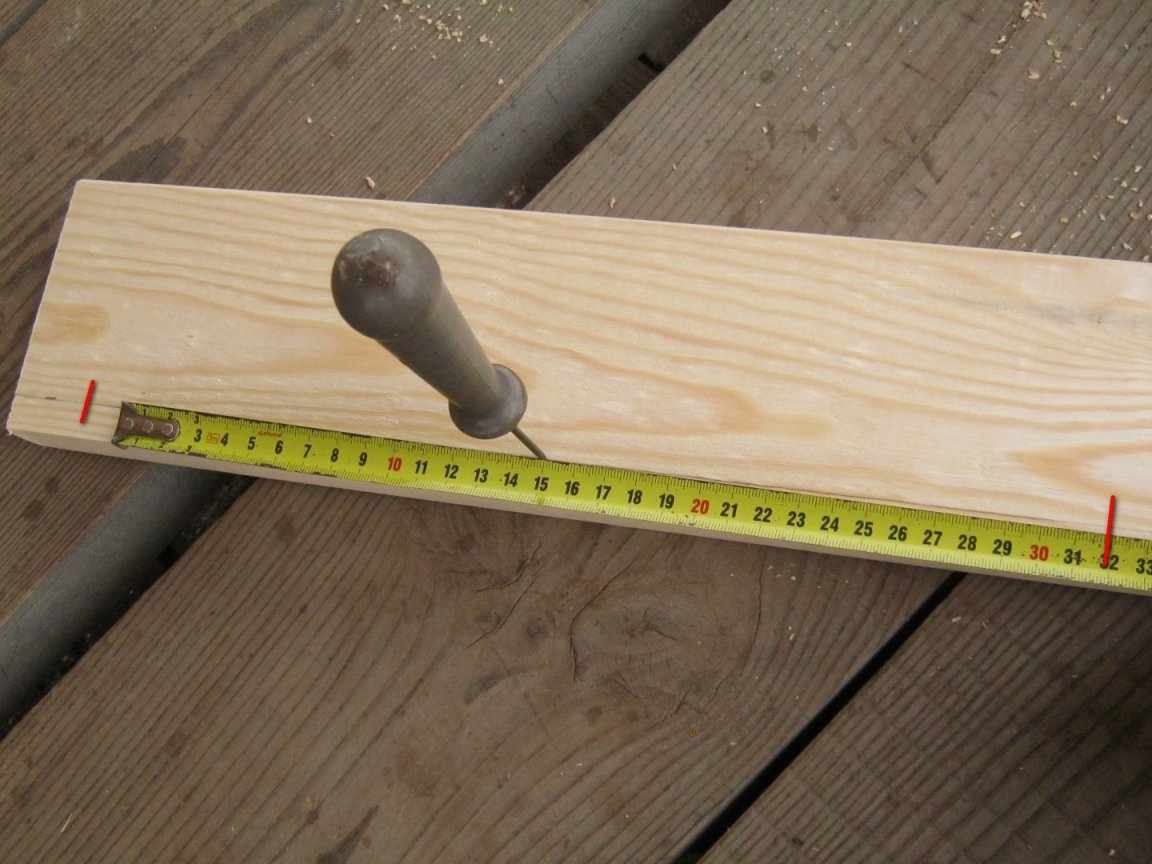
Billets cut off with a small hand circular saw. From the available boards (dry pine, 4m x 140mm x 30mm) I chose places more straightforward, without large knots.
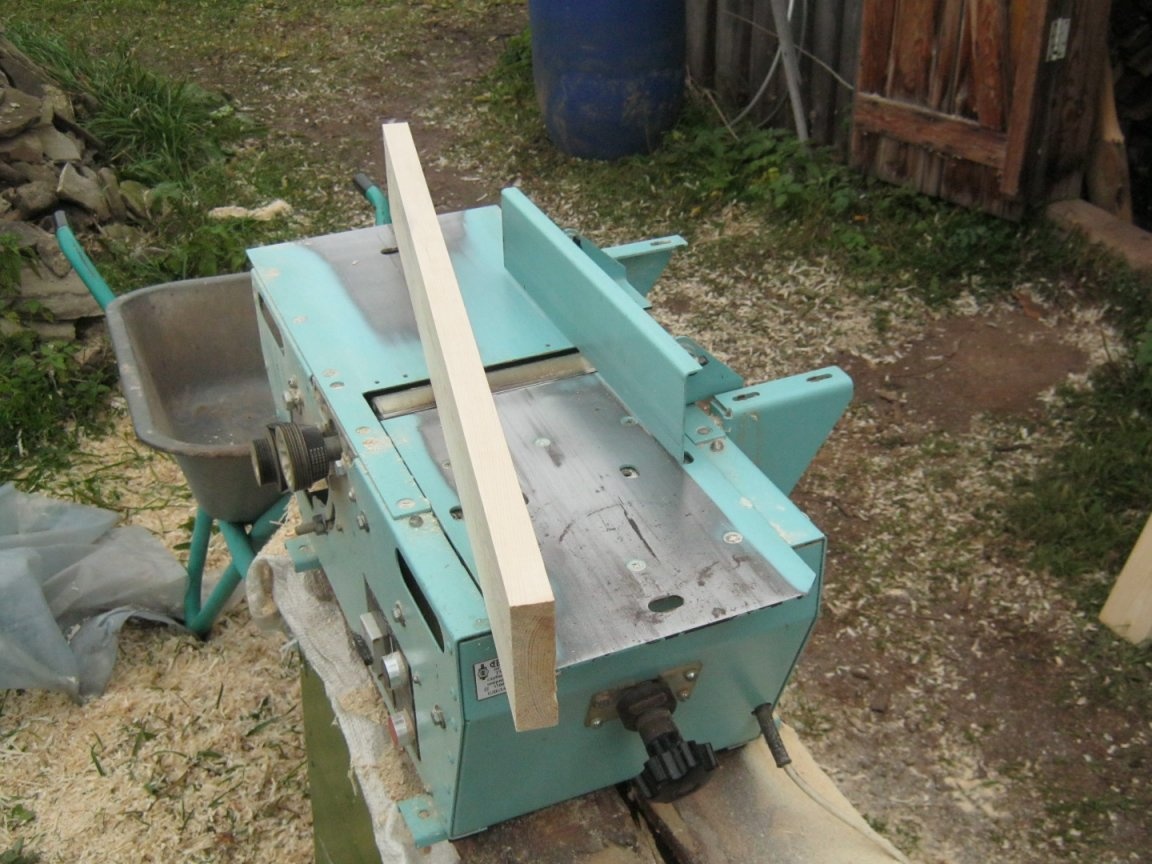
The width of the power parts of the table is accepted 100 mm. It is strong enough and fits well on the miter saw table and does not look bulky. I sawed planed boards 140 mm wide on a circular saw, to workpieces 100 mm wide.
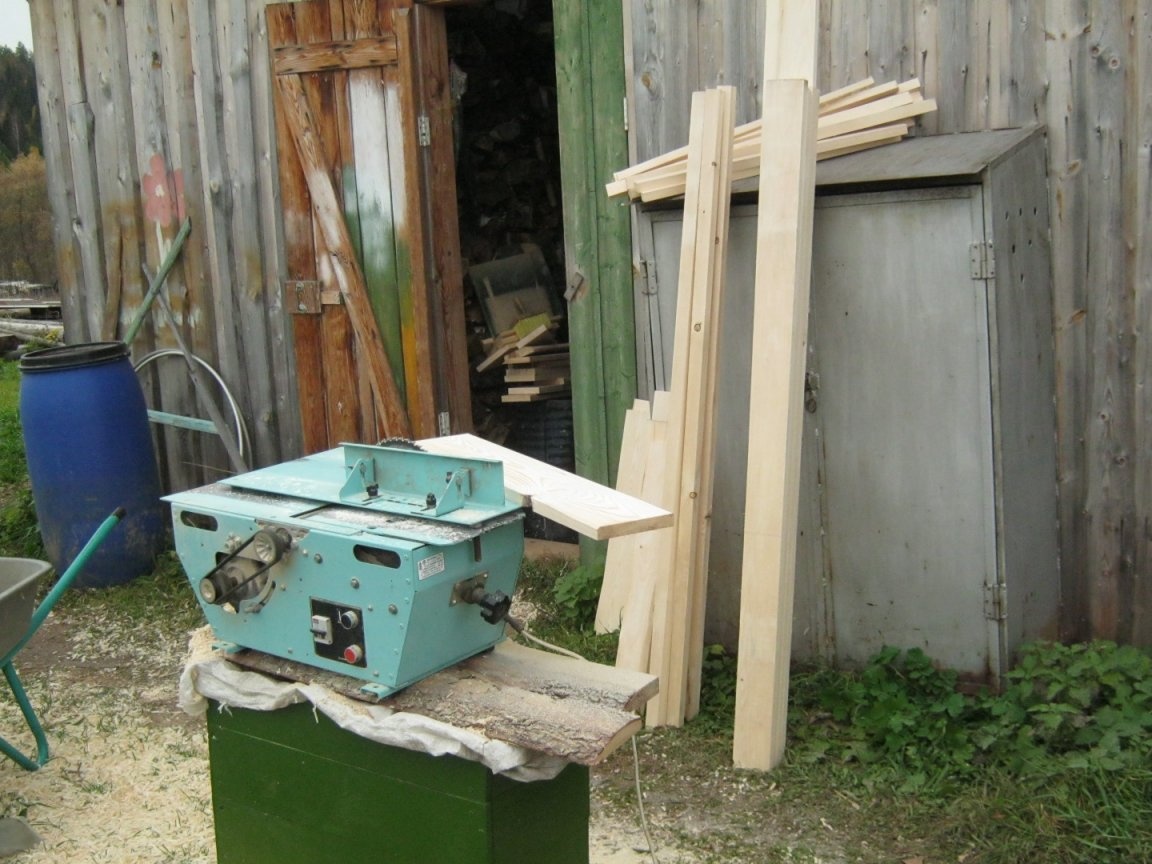
I was not too lazy to reconfigure the machine for planing and process sawn ends. Attached and parallel emphasis to be perpendicular.
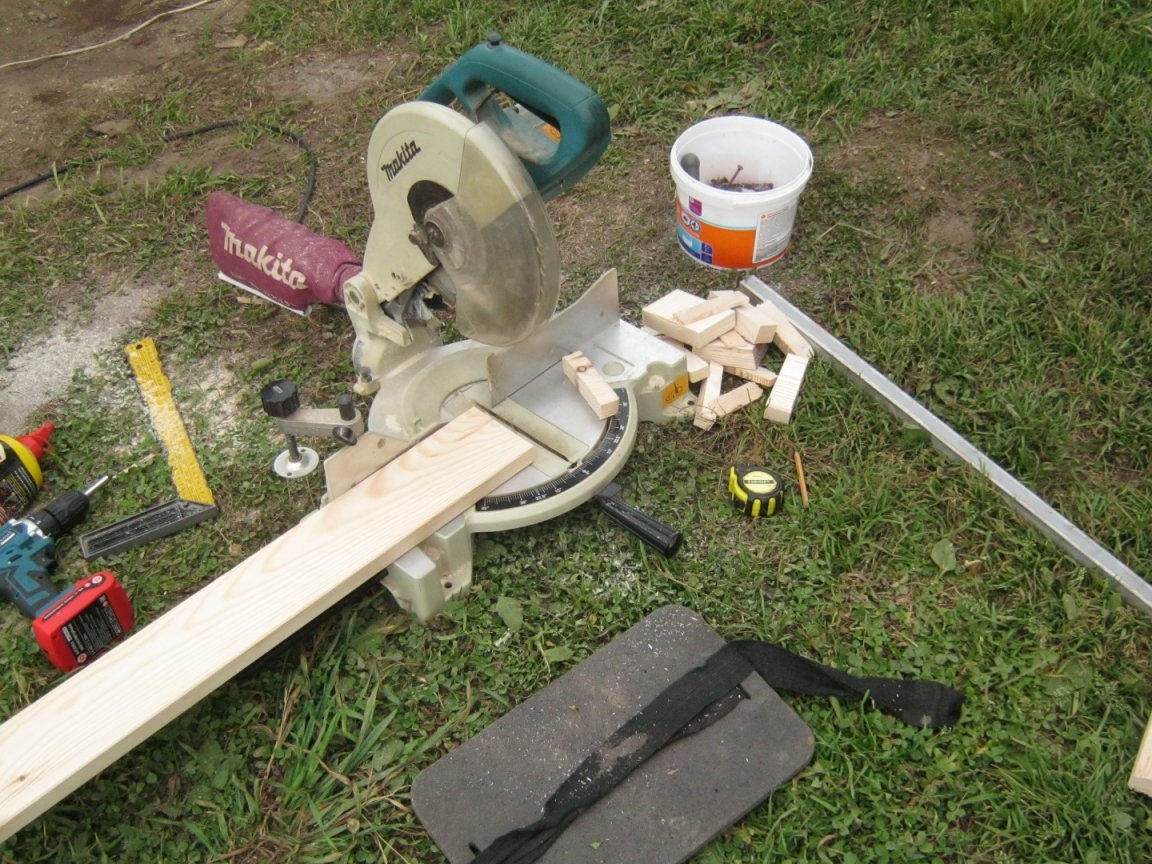
I cut the length of the part on a pendulum saw, no miter box can compare, an excellent tool!
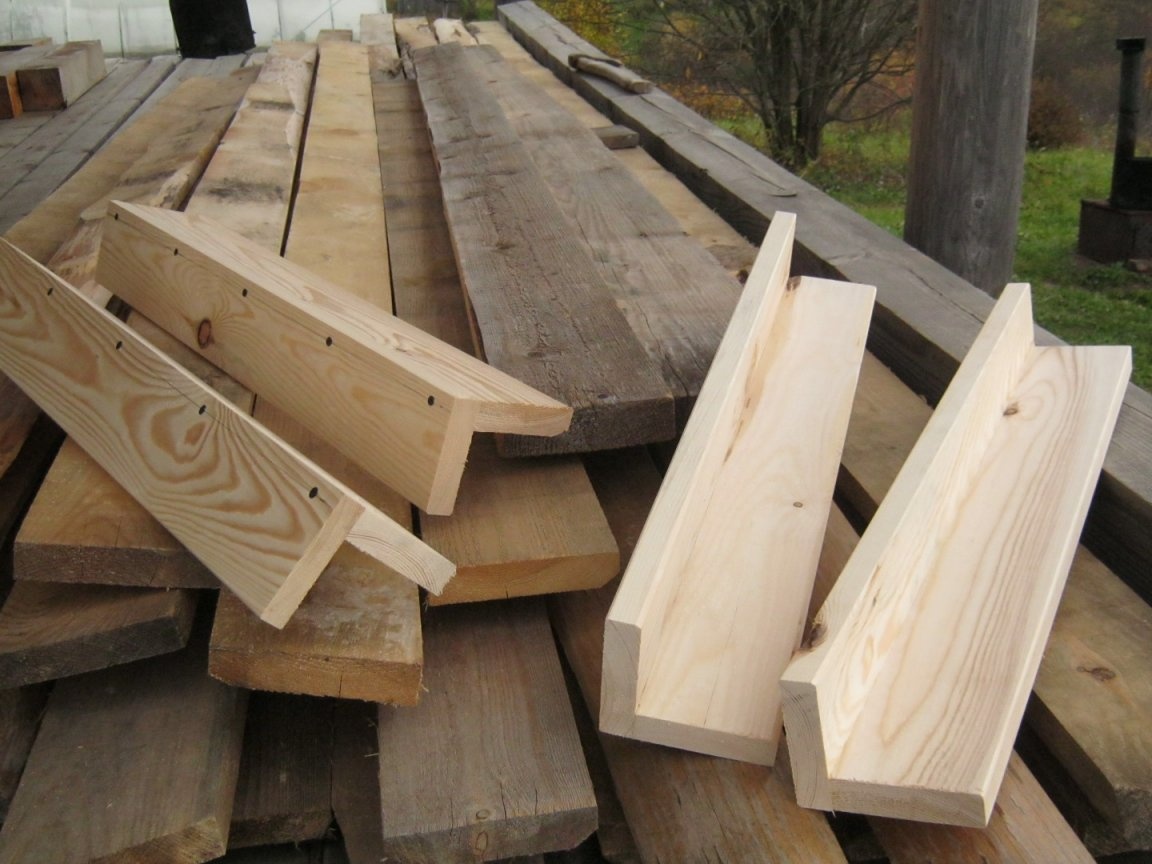
Legs. The legs of our current table are made of two blanks-boards fastened by a gutter. V-shaped.
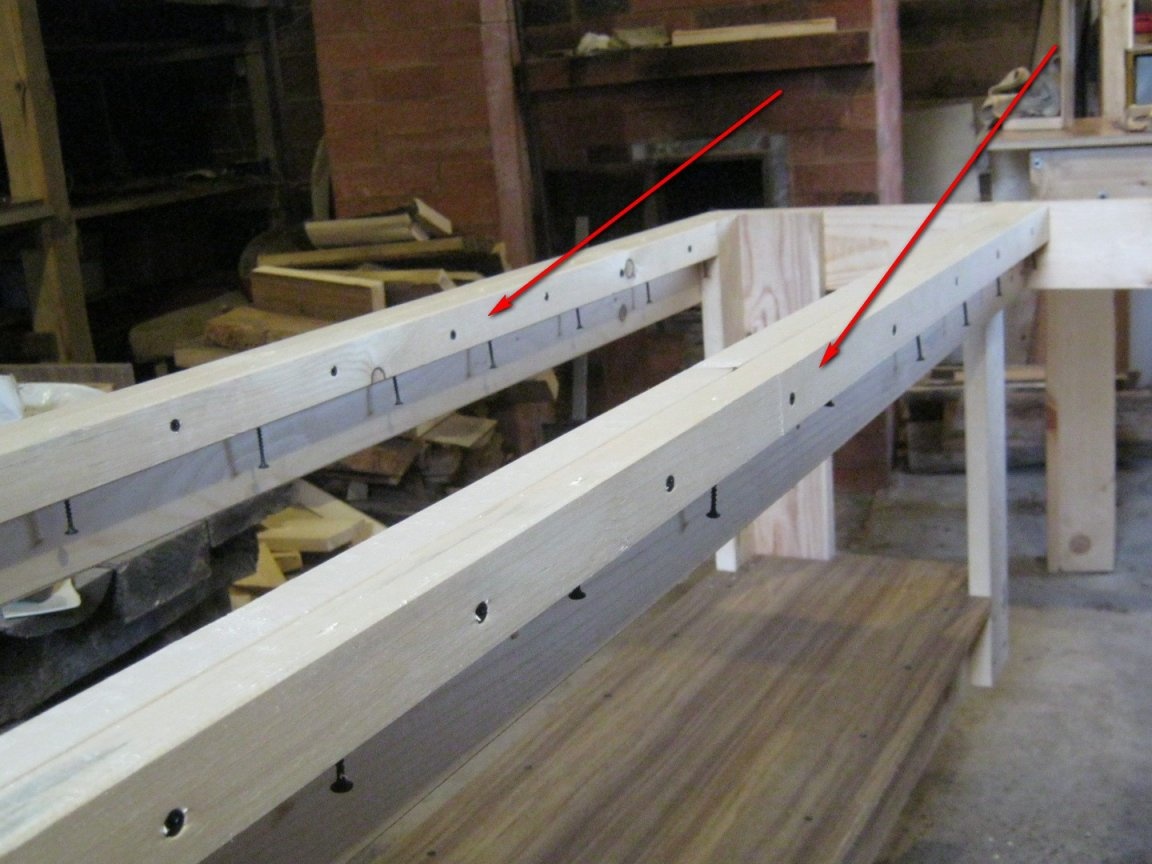
Here I must say that any hidden fixture, even the most undemanding appearance, looks neat if placed evenly, at regular intervals or symmetrically, uniformly. It takes a little extra time for marking up with some skill, however it looks ready-made, much more profitable.
A few simple tricks used.
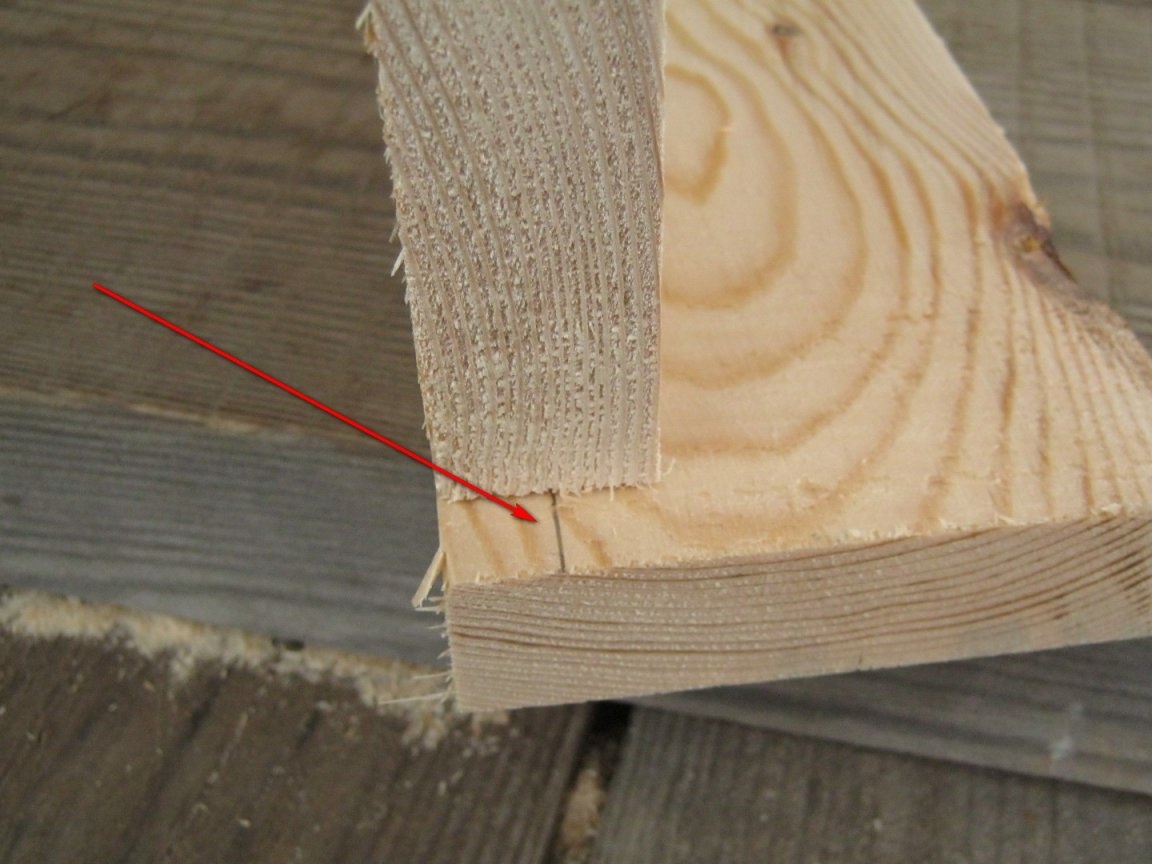
I received the center line for a series of fasteners directly from the second attachment part - I moved the edge from the bottom, made a mark in the middle, moved the edge from the top, another mark. Drawn an axis under the ruler. It’s not worth making a big deal, especially if you suddenly expect a transparent finish - it’s hard to sand the drawn lines with your soul.
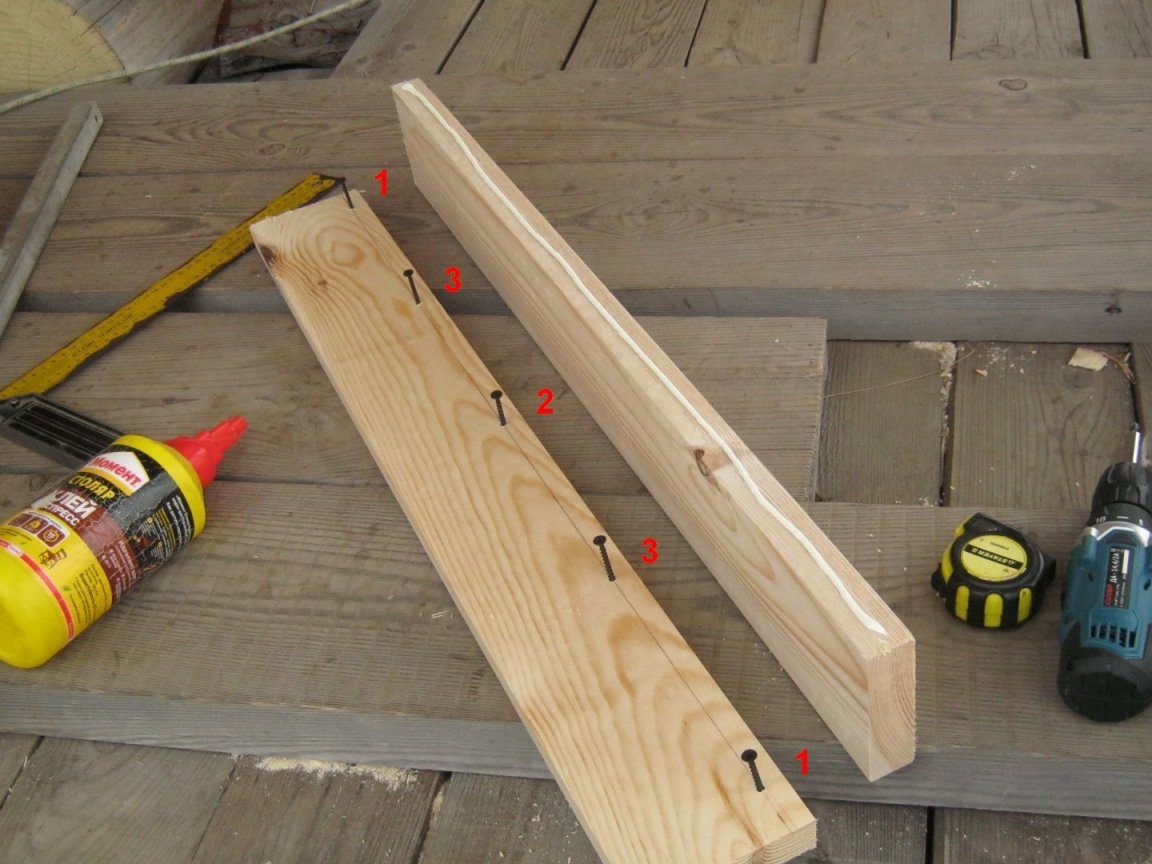
I get the uniformity of the non-maskable hats as follows: measure equal distances from the edges, mark with an awl (it’s more convenient to drill, with a metal drill), these are points 1. I mark the middle 2. I divide the gaps into two or three parts, this is one or two points. You can do this by eye - point 3.
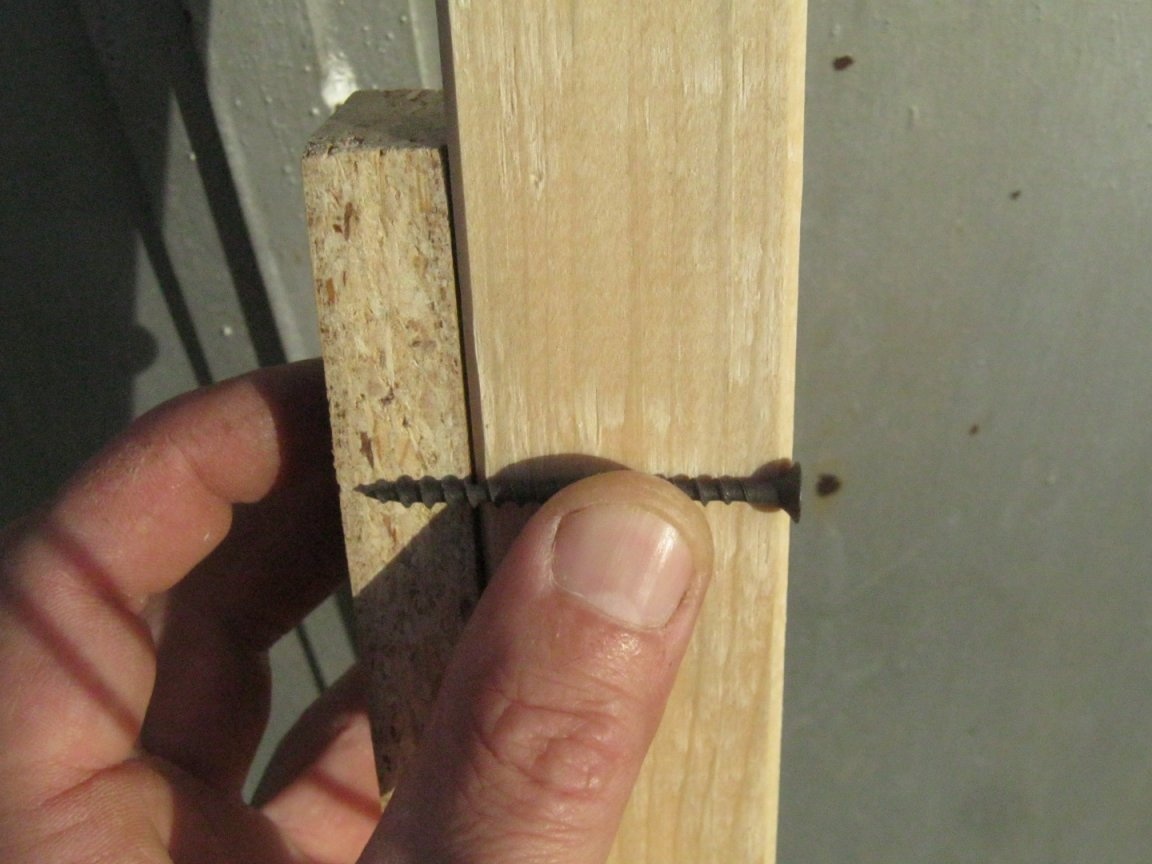
I drill all the places for screwing screws in the upper part. This allows you to tightly and without much effort to collect the elements. It is convenient to drill with a drill of a slightly smaller diameter so that the self-tapping screw is easily screwed into the hole with your fingers, but it was screwed in precisely. At the same time, you can swing the part with the “fastened” fasteners as you like, without fear of fireworks from screws that are so unpleasant to step on and so uncomfortable to look for in shavings and sawdust on the floor or the ground.
At the junction, I plop a little carpentry PVA (it became an expensive infection!) And screw up the parts. Well, our table already has four legs, like a cat.
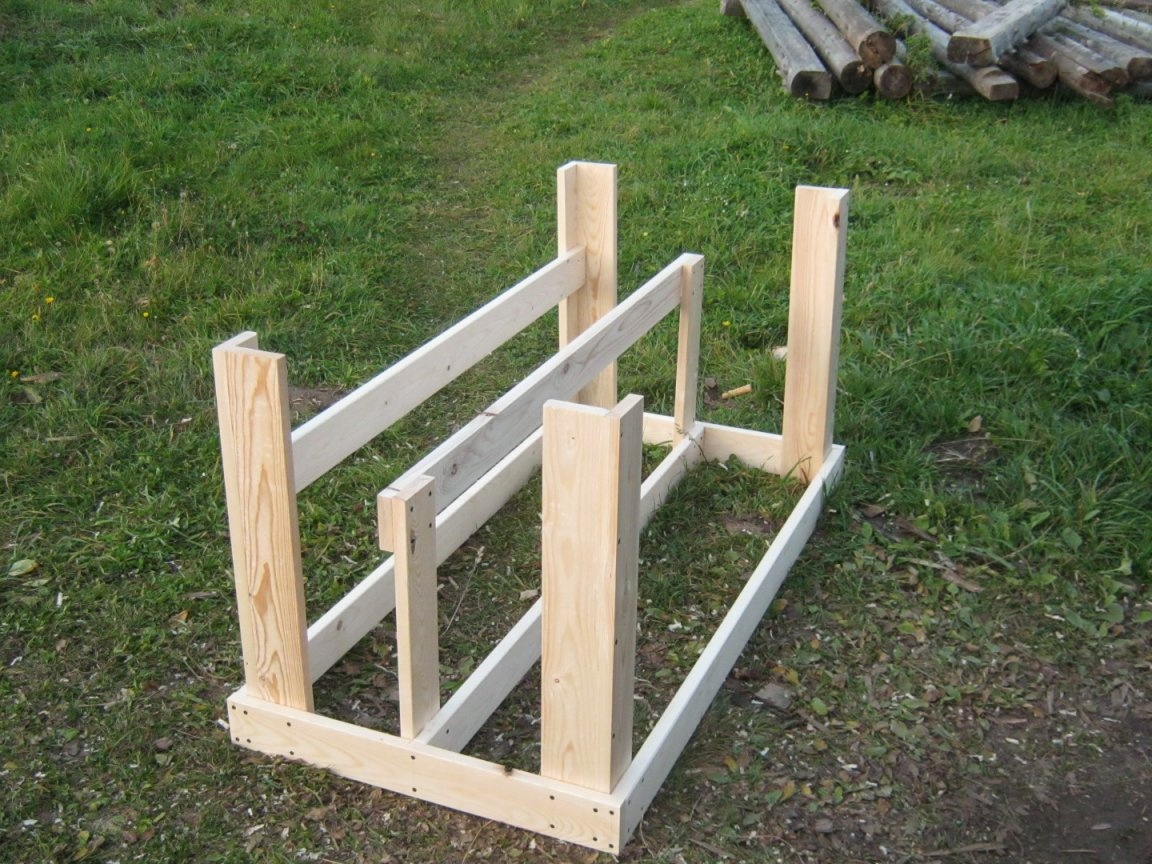
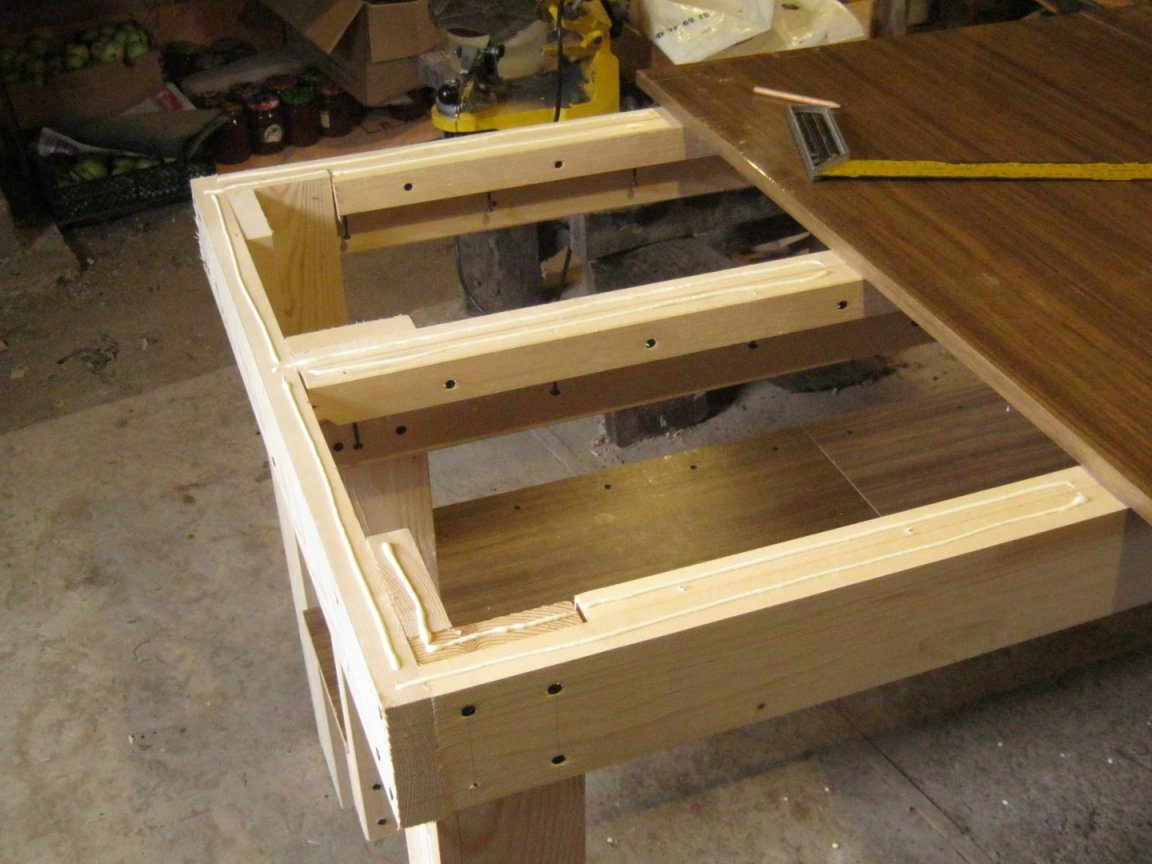
Roof frame. I screwed it out of the blue. As such, I used the future cover of the table. All joints are butt, on glue and screws. It turns out very firmly, in addition, the angles are strengthened by "corner" legs.
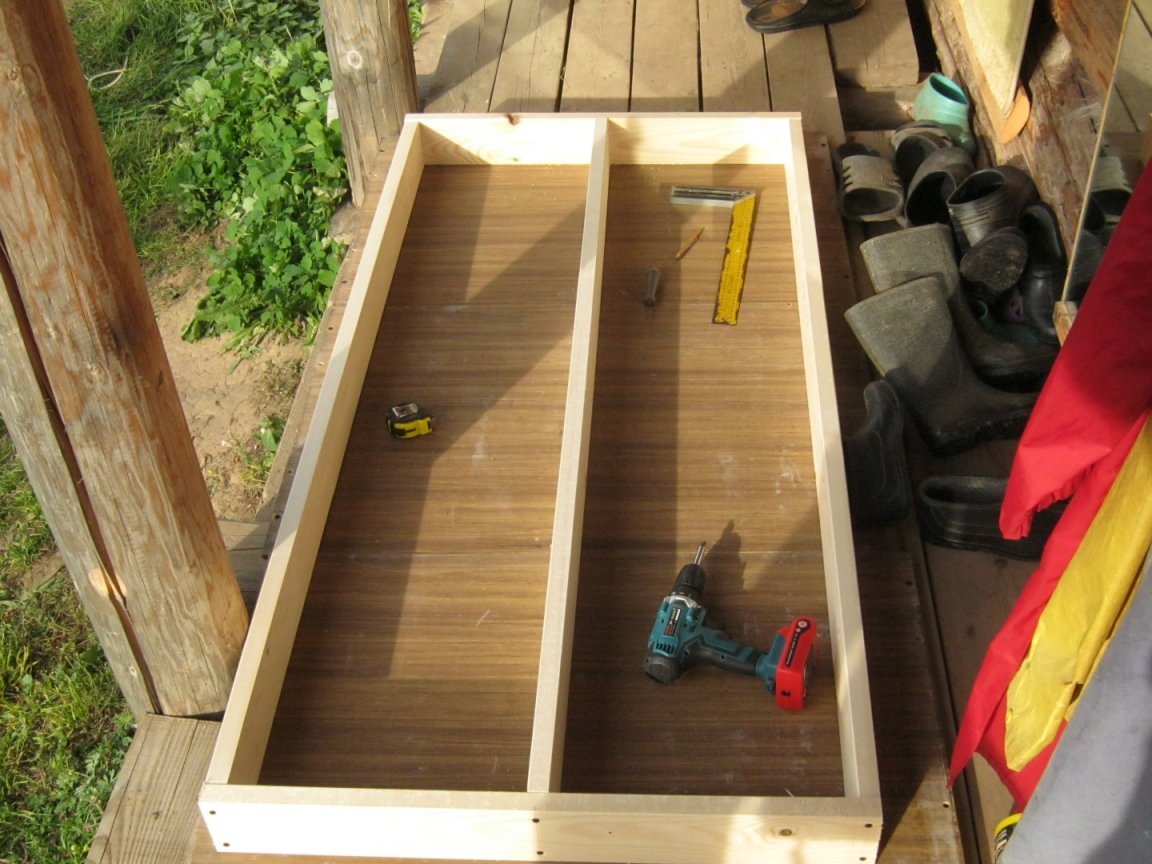
Set and legs (glue, screws). While the structure is in a comfortable position, I tried on and made fastenings for the lower shelf as well. He brought a relatively light frame into the workshop and proceeded to “sheathing”.
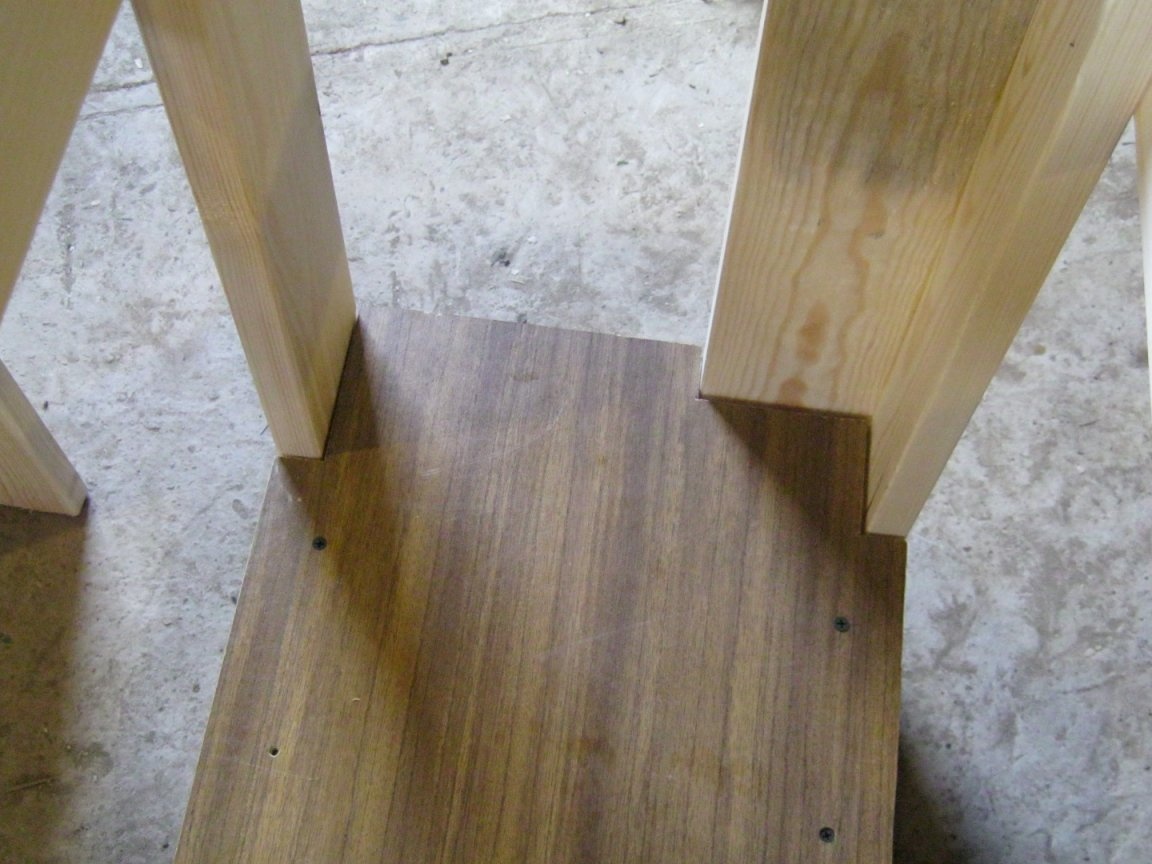
Shelf. I picked up a couple of shields of a similar size from the disassembled “wall”. The shield turned out to be a little wider - narrowed it with a hand circular saw, cut the serrated edges for tight installation into place with an electric jigsaw.
To fasten the top cover, we had to make additional elements through and through. I picked up suitable whetstones (the remains sawn off from wide boards), adjusted the width with planing, screwed them with glue to the upper edge of the table frame. The width of the bars should not allow existing fasteners to protrude from the table top. Here, you can choose the length of the screws, if the shops are close.
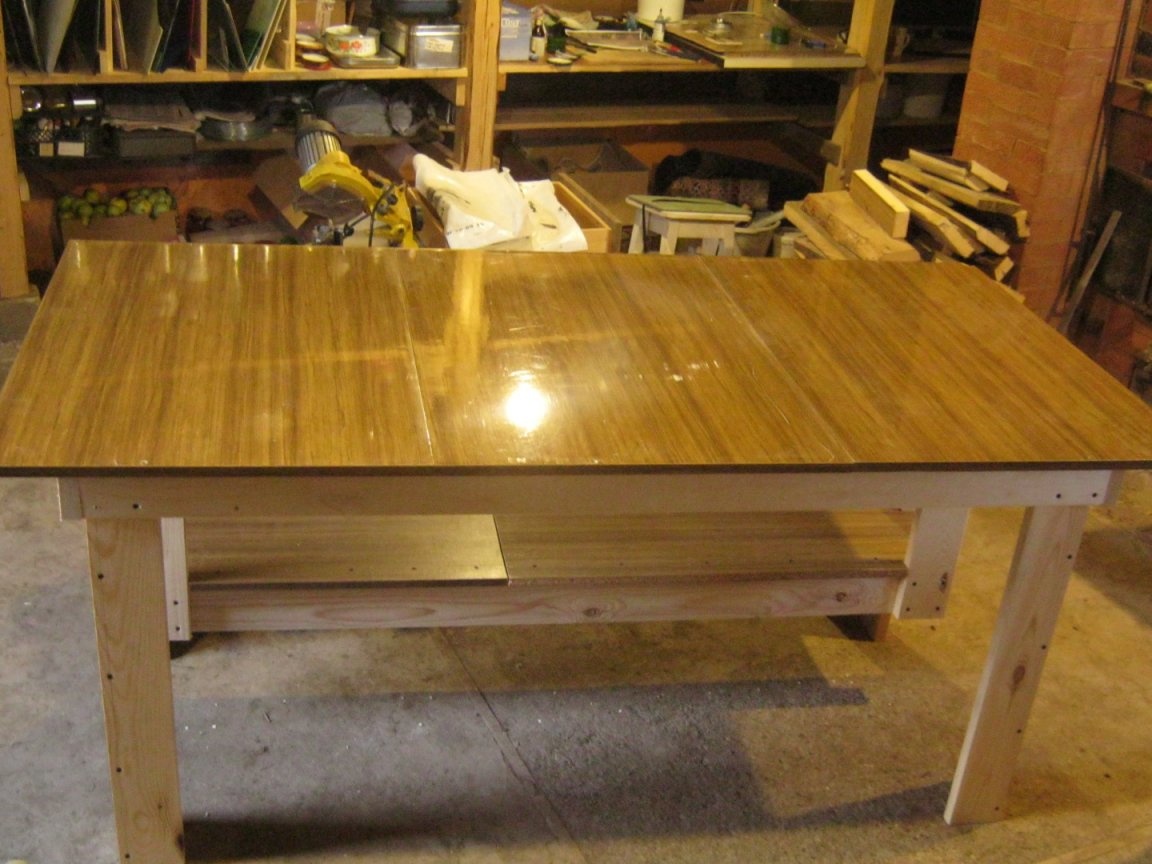
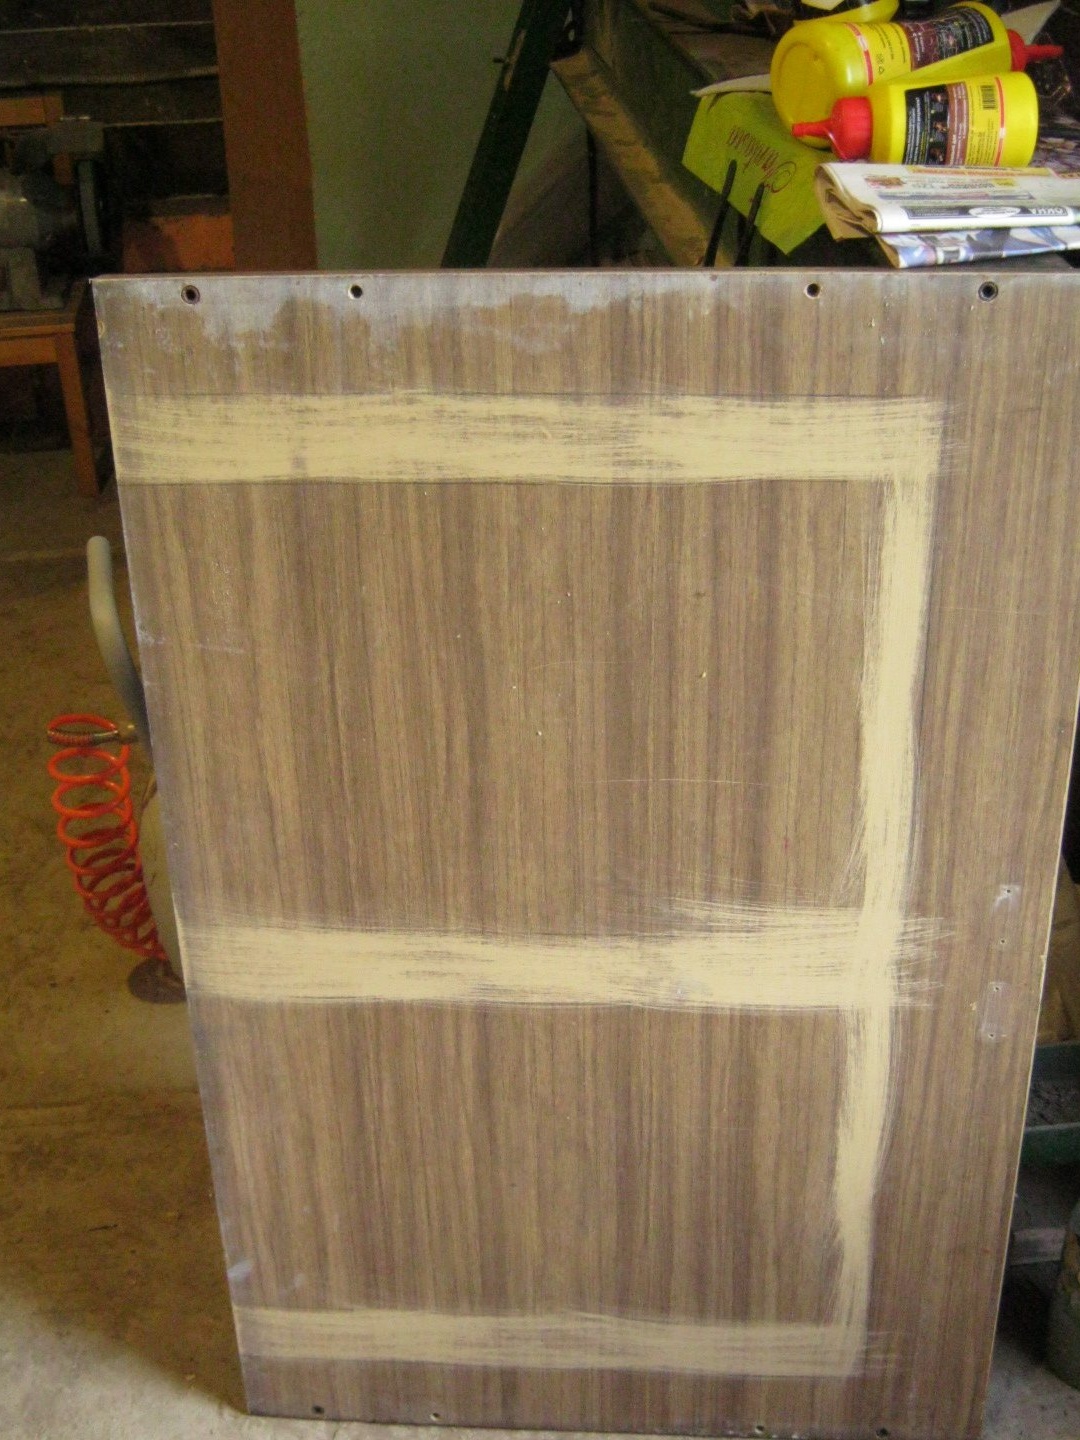
The three parts of the tabletop are in place and carefully aligned with the frame. Below, with a pencil, noted the places of contact with the frame. Each fragment was carefully removed so as not to disturb the neighbor, the places of contact were cleaned of varnish with a large skin.The reverse surface did not at all resemble a piano, and under the varnish was discovered, not at all veneer, but a kind of cardboard.
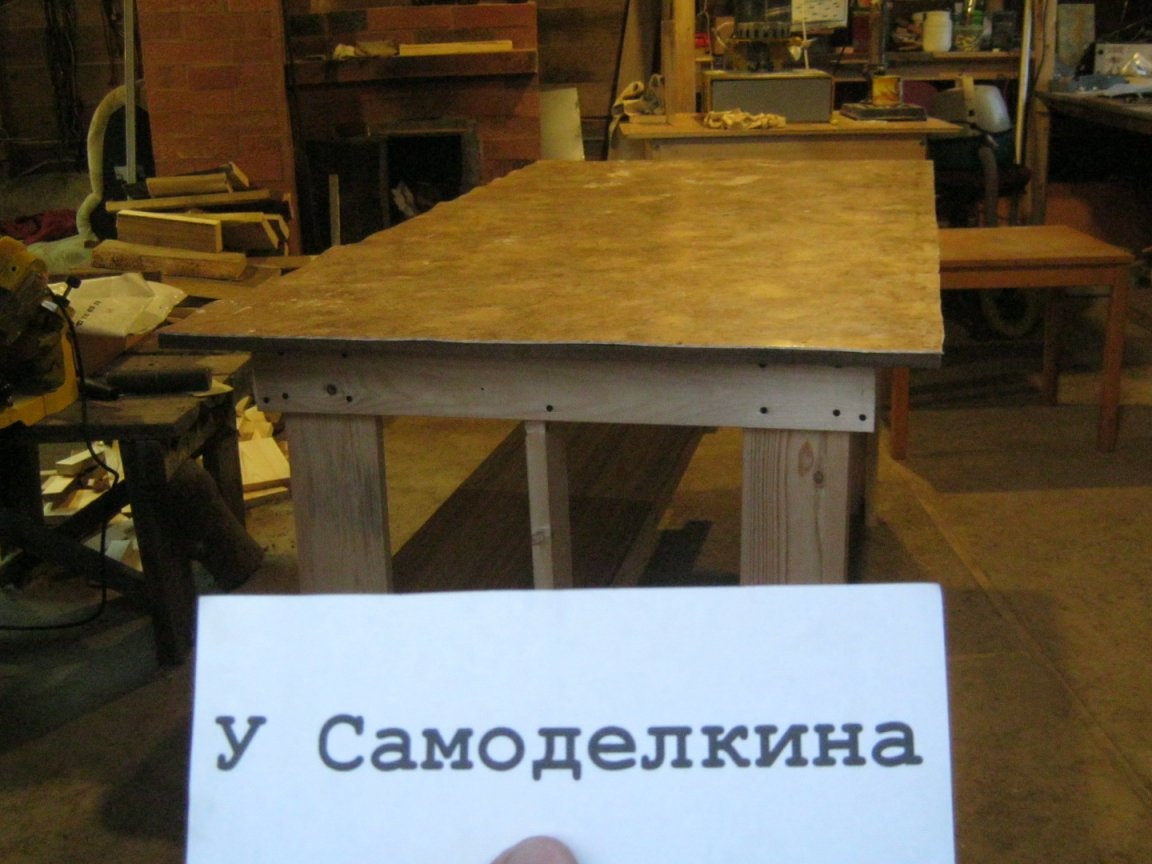
I applied glue to the ends of the frame and gently slammed the prepared shield. Bottom screwed it with screws. Repeat the procedure two more times.
The varnished surface is not particularly suitable for the workshop - it quickly freezes, scratches. On top we laid and cut to size a piece of old non-thick and non-insulated linoleum. This is a good, inexpensive cover for the desktop, if necessary, scorched and rugged is easily replaced.
Babay Mazay, October, 2019