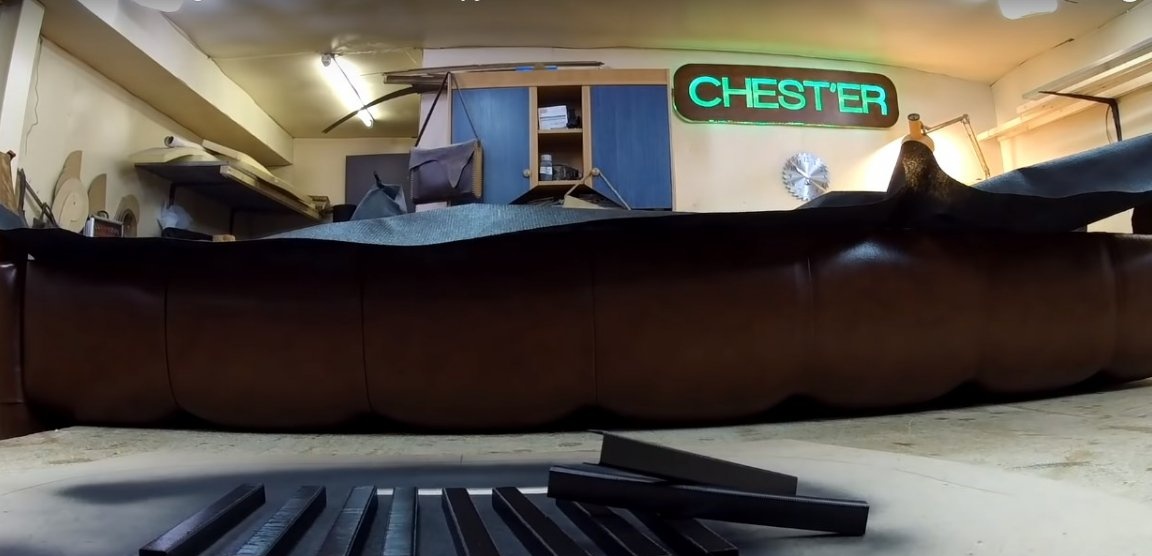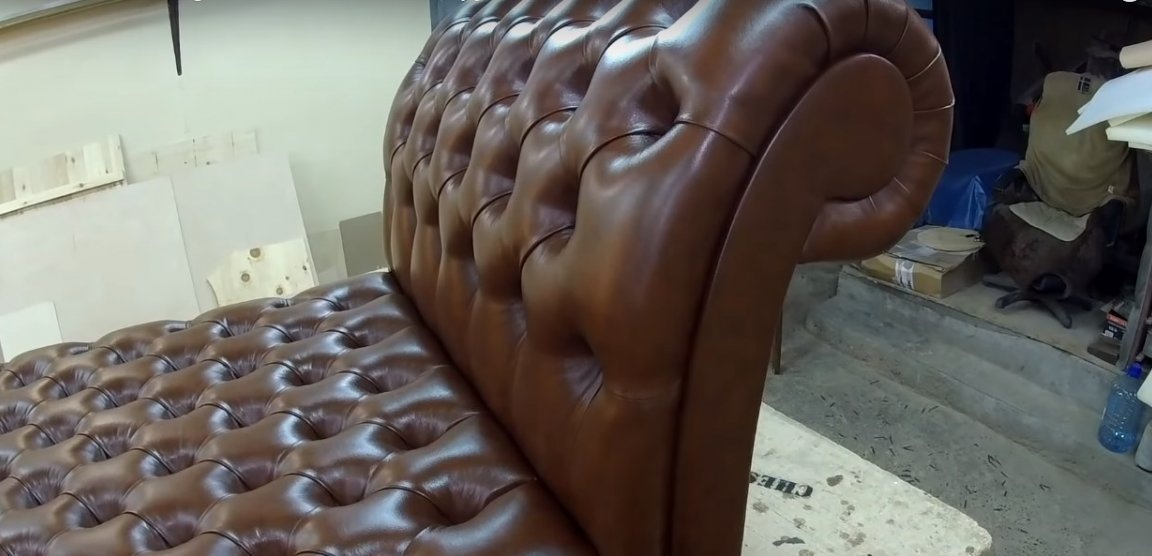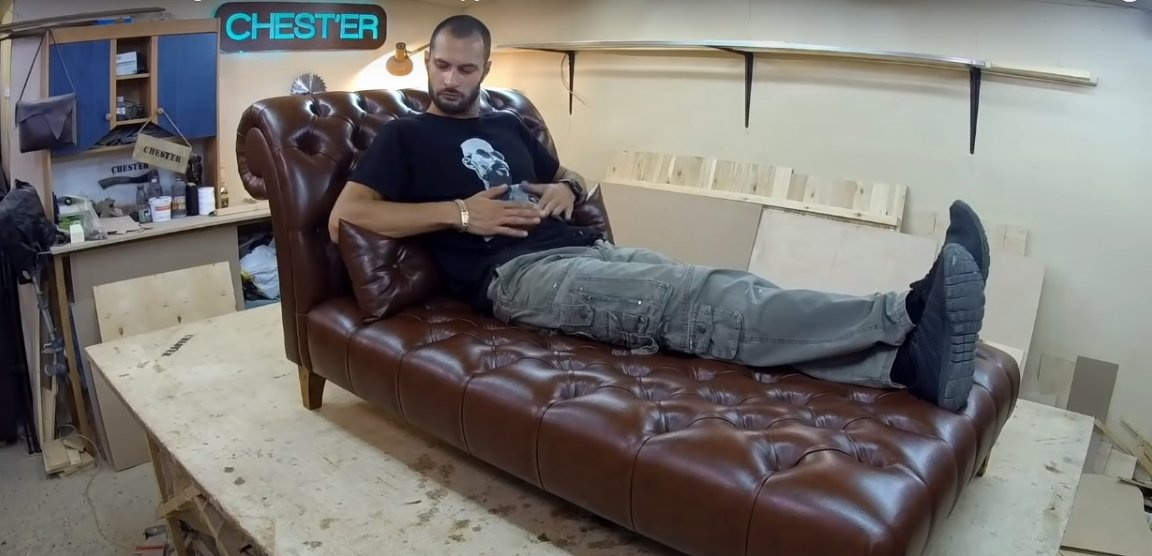
What could be cooler than a chair? Only its improved version is a chaise lounge chair, where you can relax and work. And if, in addition to everything, the chair is covered with durable and practical leatherette using the carriage coupler technique, then there is no price for it at all. One solid work of art!
To make a soft chaise lounge chair do it yourself you will need:
Materials:
- plywood for the manufacture of a frame with a thickness of 10-12 mm and plywood thicker - 18-22 mm;
- a wooden block with a section of 30 x 50 mm or 40 x 50 mm for the manufacture of a frame;
- fiberboard (plain or laminated) for sheathing the frame;
- non-laminated MDF for the manufacture of patterns and the basis of soft profiles bylts;
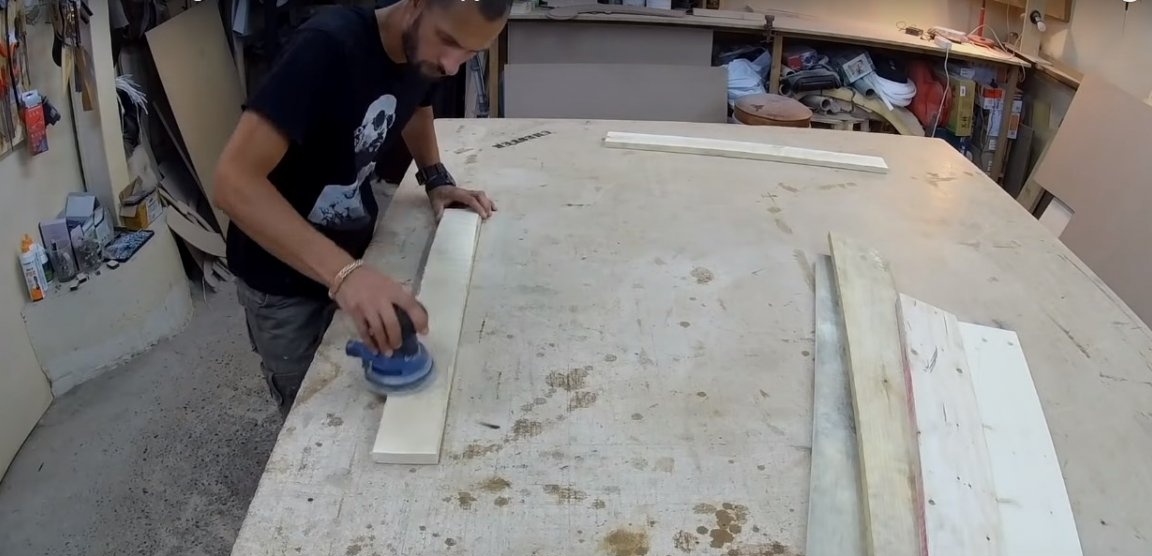
- wooden boards with a thickness of 20 - 25 mm and a width of 150 - 180 mm for the manufacture of a seat frame;
- furniture belt (textile furniture tape) 50 mm wide;
- furniture foam rubber of medium hardness with a thickness of 40 - 50 mm;
- furniture foam rubber of increased softness with a thickness of 20 mm;
- foam rubber tape with a diameter of 30 - 35 mm;
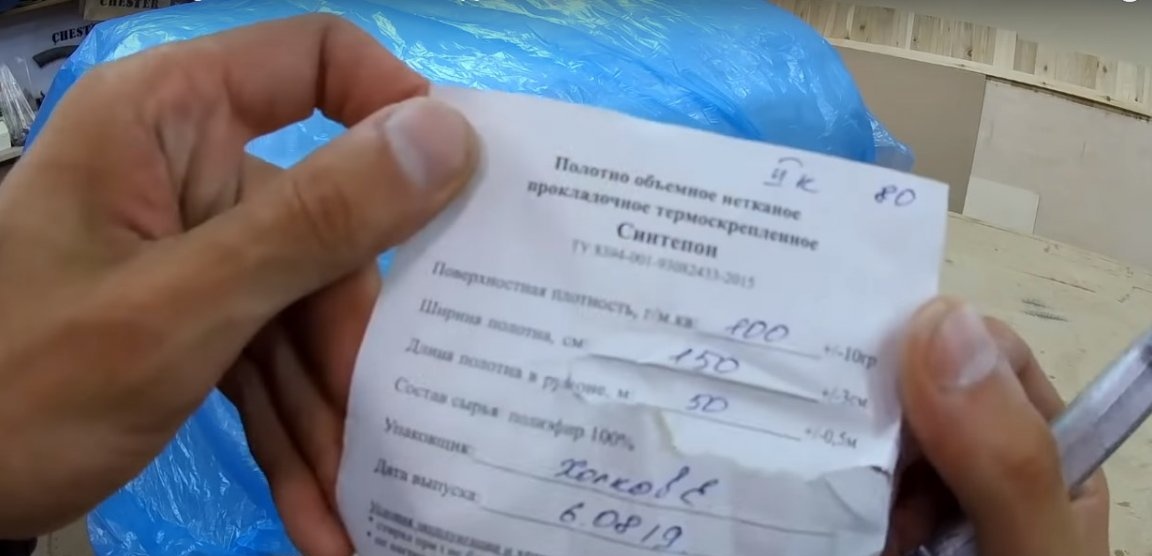
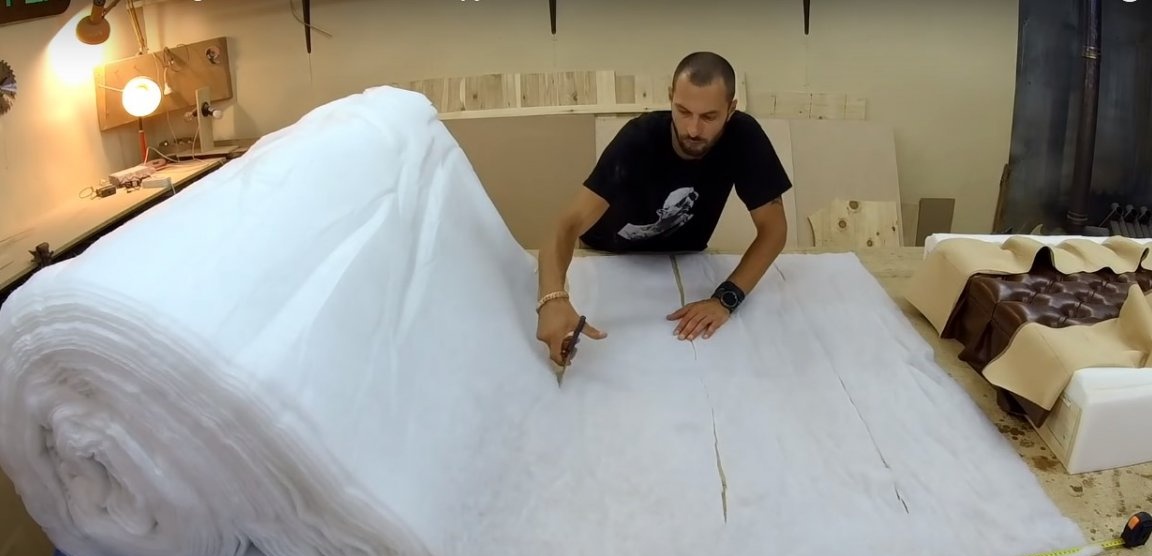
- synthetic winterizer 10 mm thick;
- durable furniture leatherette with a density of at least 350 g per square meter;
- a button, fitted with a leatherette for a carriage tie;
- burlap and synthetic cord to perform tightening of the carriage coupler;
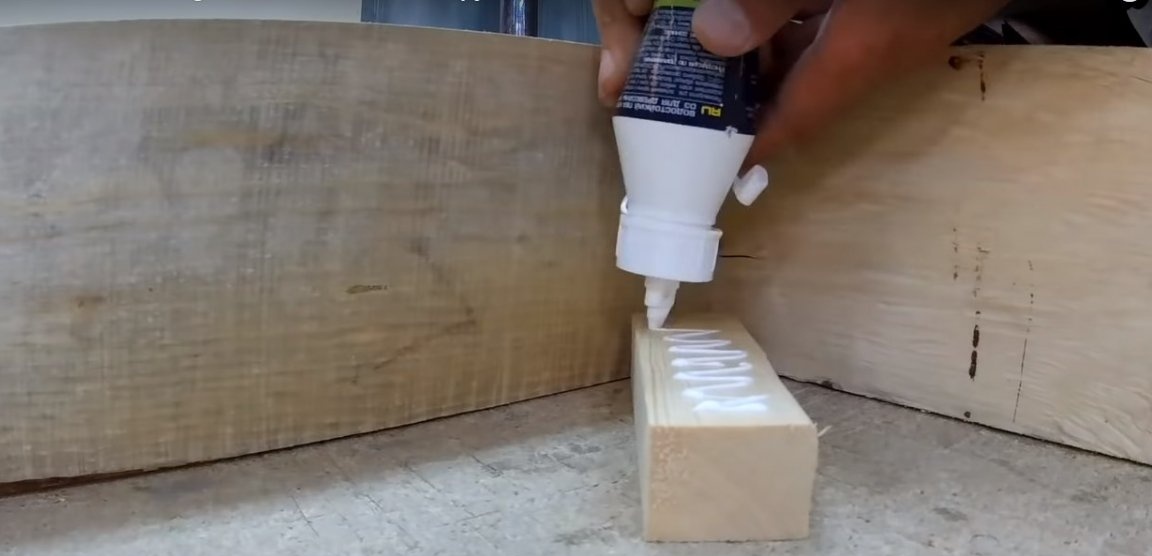
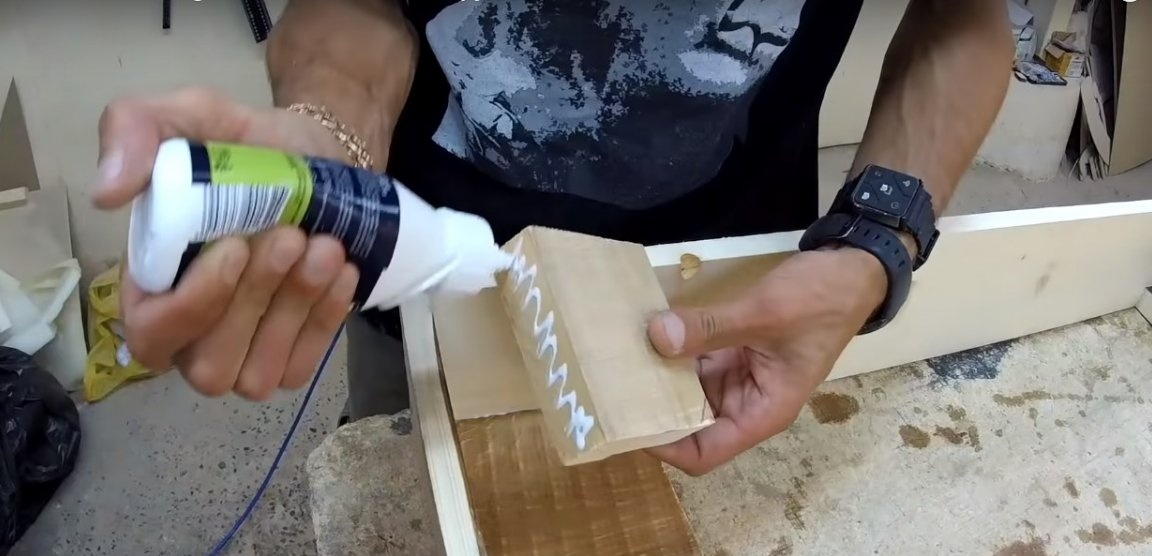
- joiner's glue;
- non-combustible glue for gluing foam rubber;
- tinted furniture wax or oil stain for processing furniture legs;
- dense spandond for a covering of a seat and a reverse side of a sofa;
- wooden legs finished with a threaded rod under the nut, nuts and washers for their installation;
- dowel-nails for installing soft profiles on the former;
- bolts, washers, nuts for connecting the backrest and seat frame;
- wood screws, furniture screws.
Instruments:
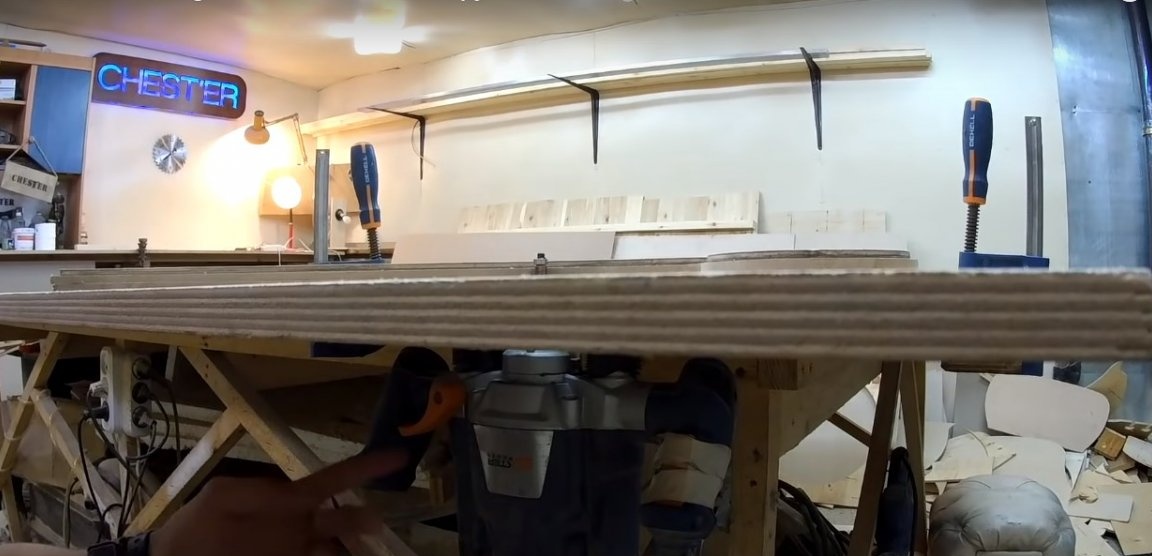
- manual milling machine fixed permanently (milling machine);
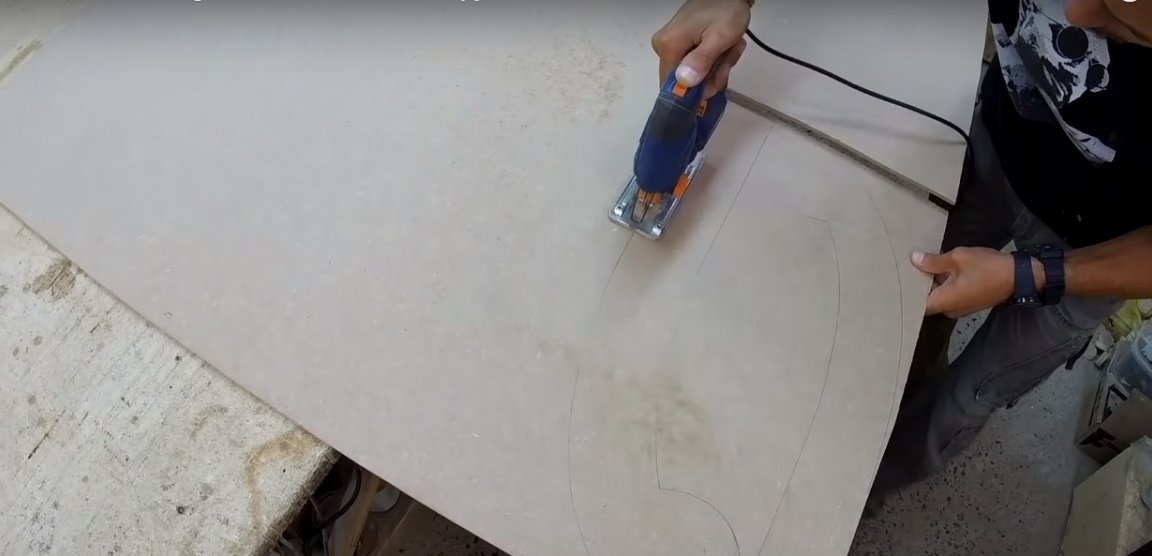
- jigsaw;
- grinder;
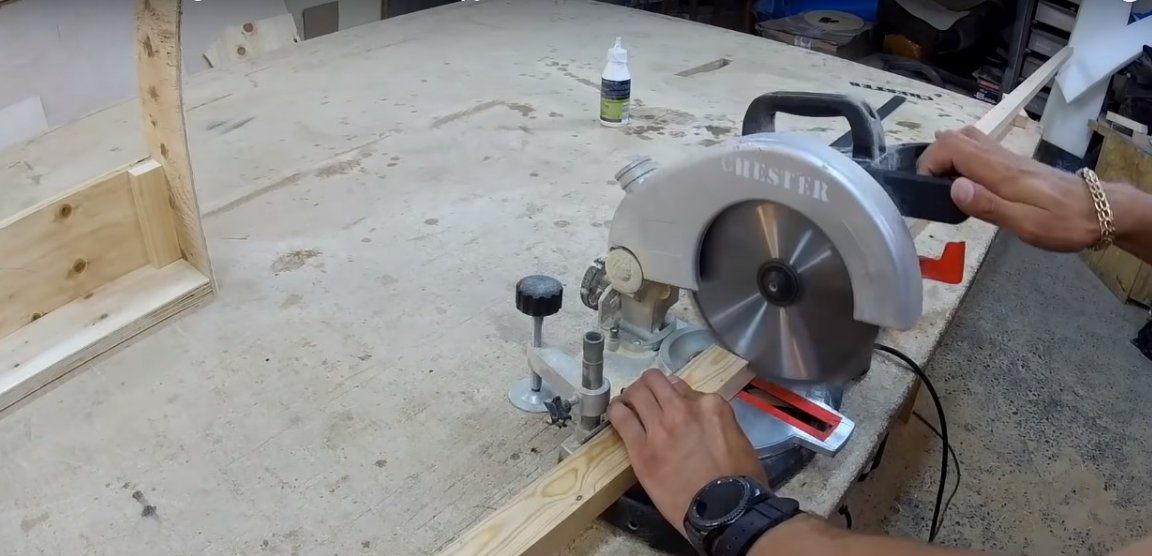
- Miter saw;
- drill;
- screwdriver;
- furniture pneumatic stapler;
- spray gun for glue;
- hacksaw for sawing fiberboard;
- stationery knife;
- scissors;
- a large gypsy needle;
- wrench;
- construction tape, ruler, square;
- marker.
Manufacturing process
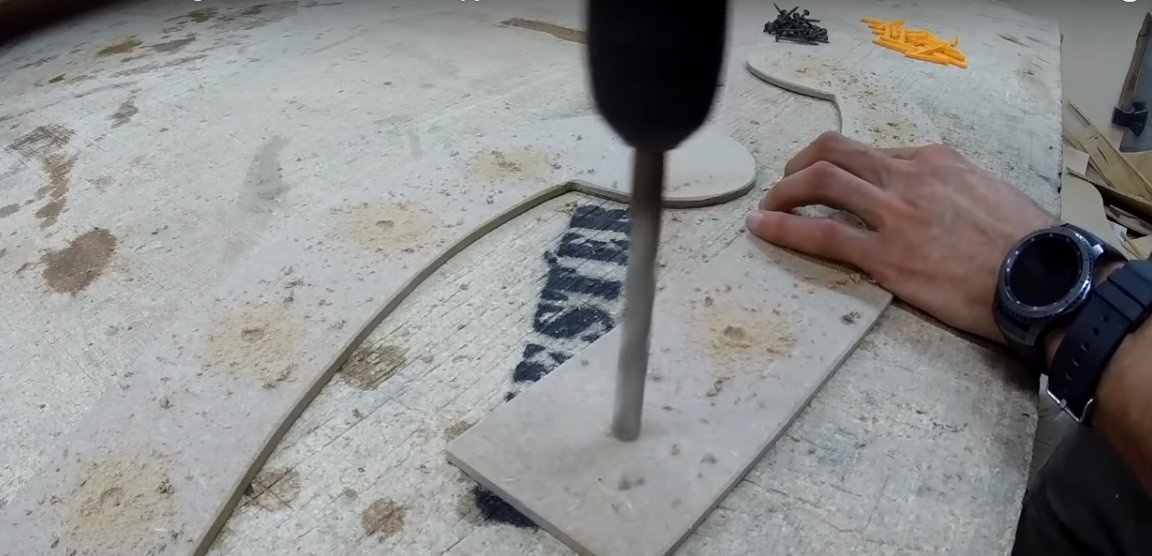
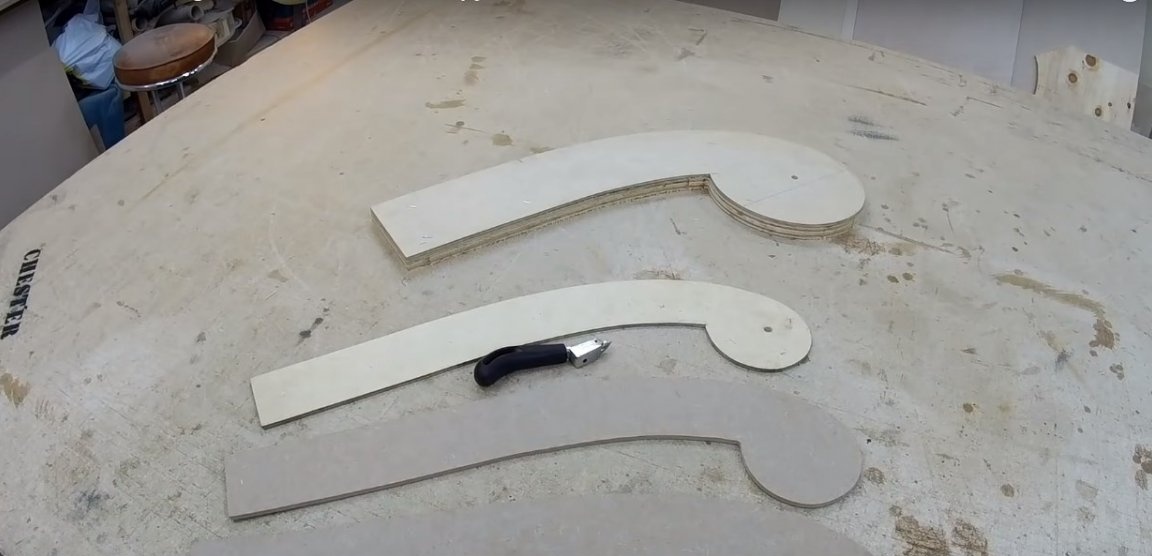
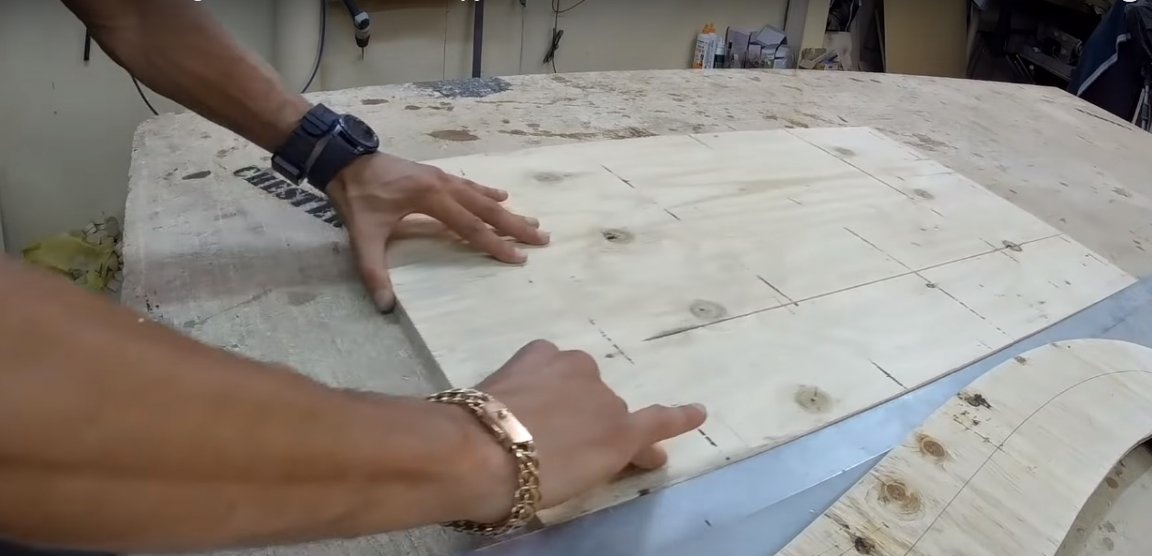
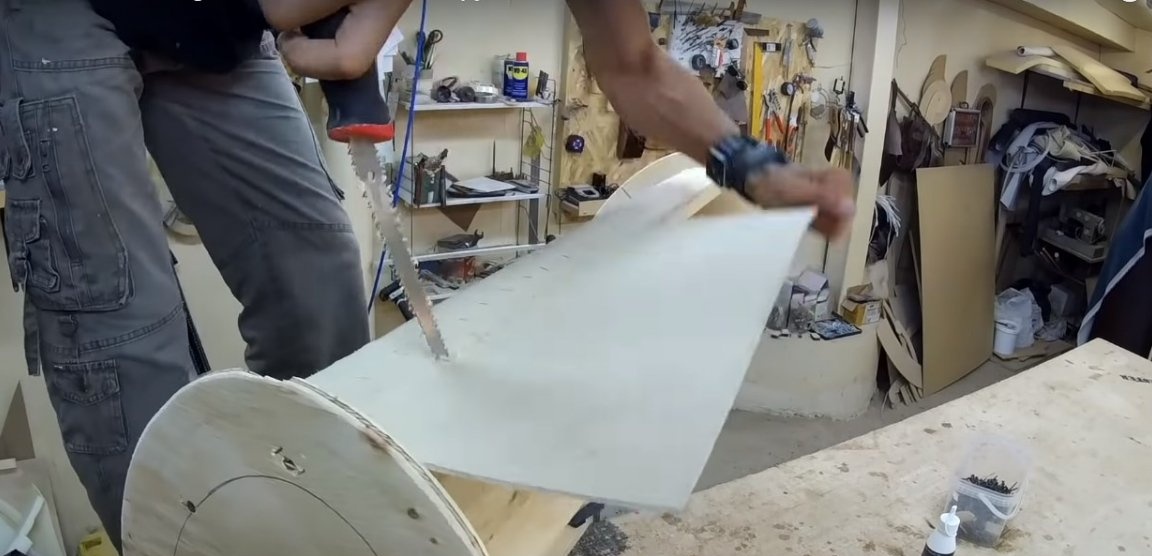
Step One: Production and Processing of Curly Frame Parts
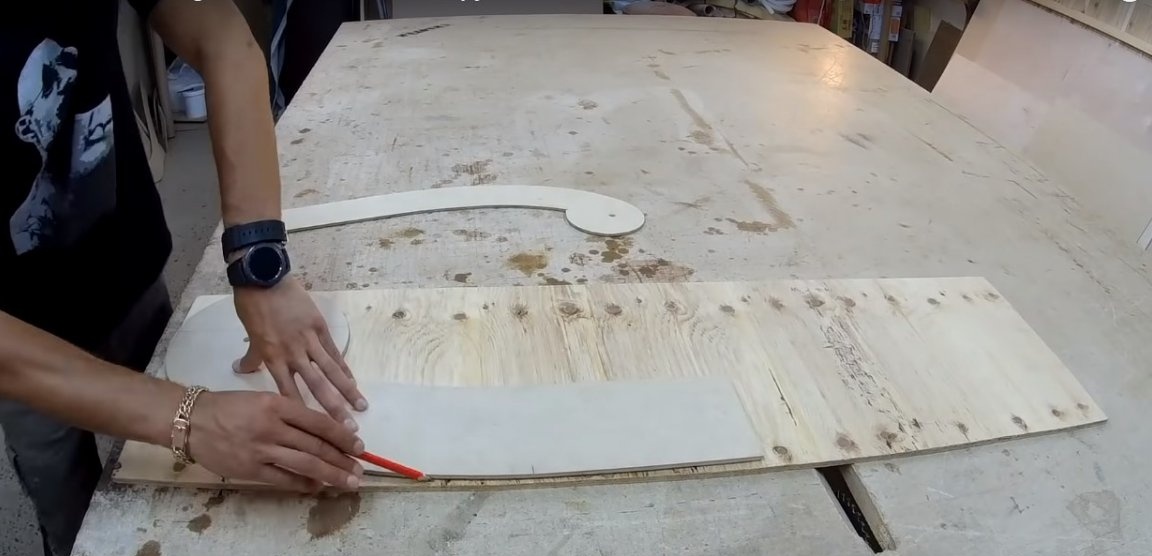
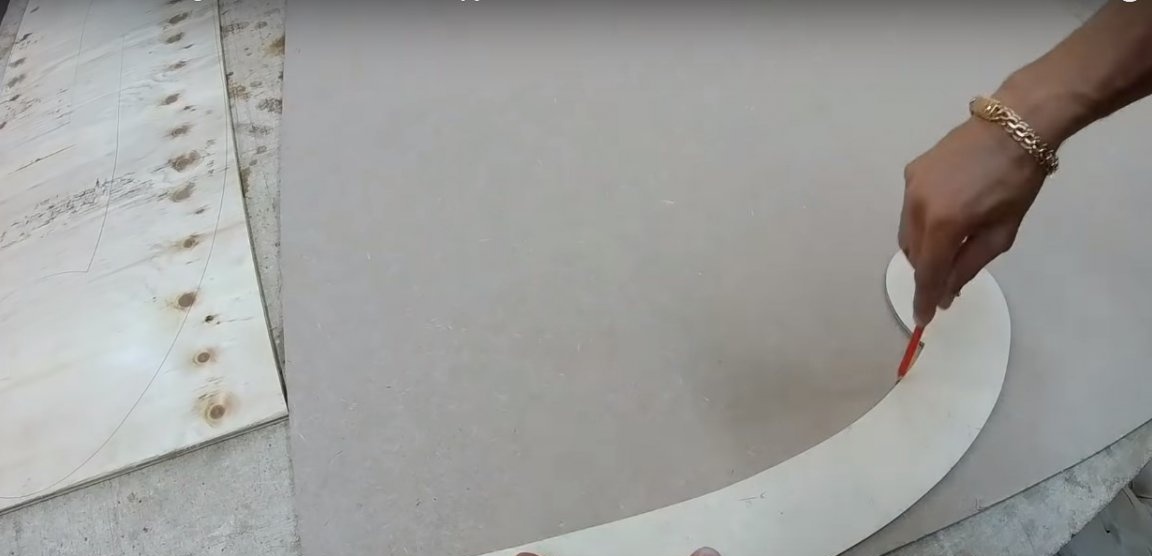
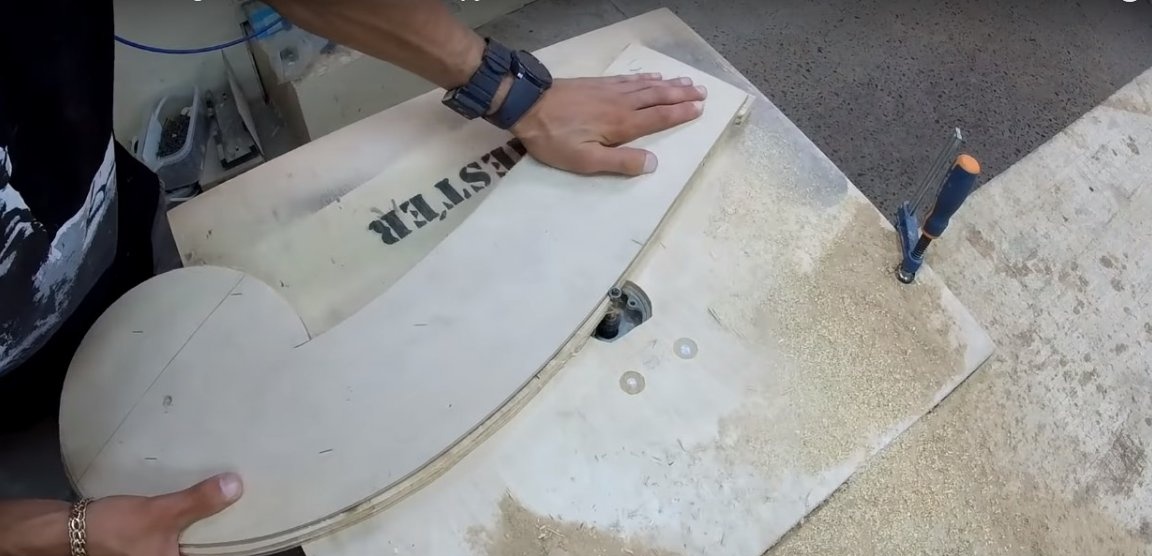
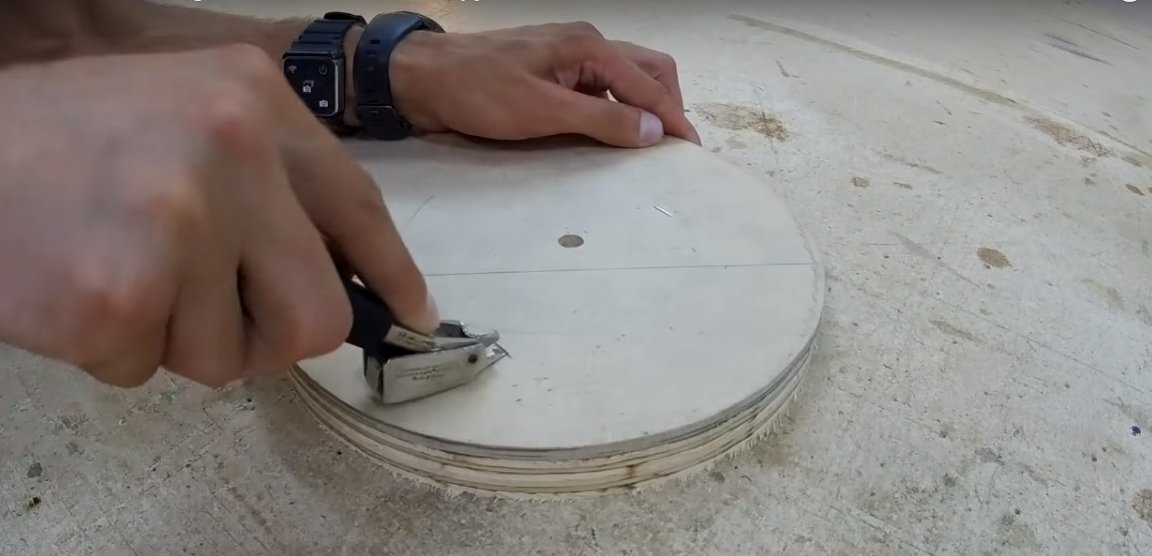
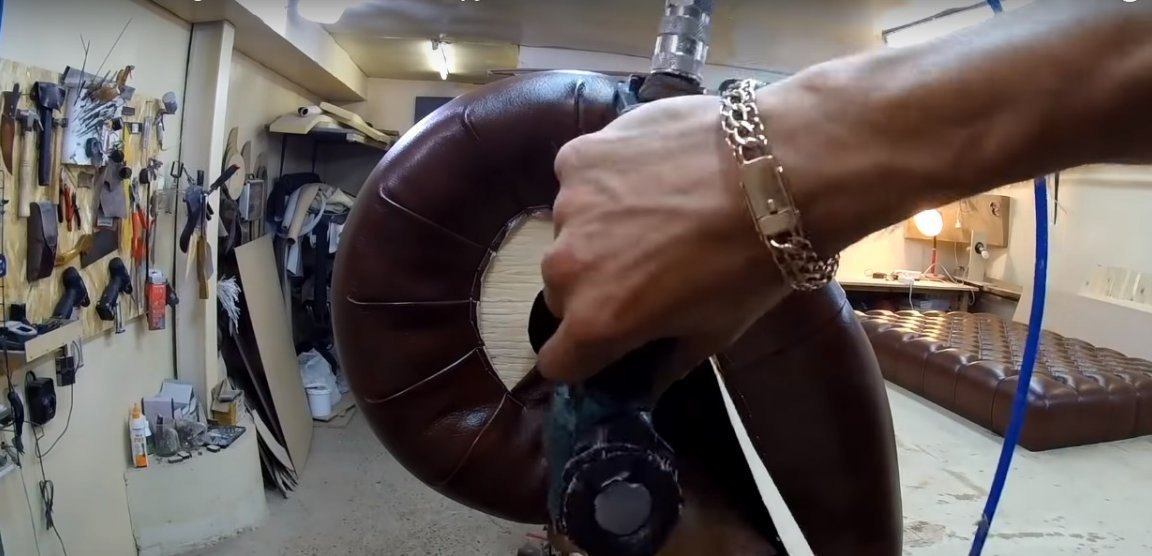
The frame of this chair has two paired figured details: bylets and bases under the soft profiles of bylts. The first two are made of non-thick plywood, the second - from non-laminated MDF.
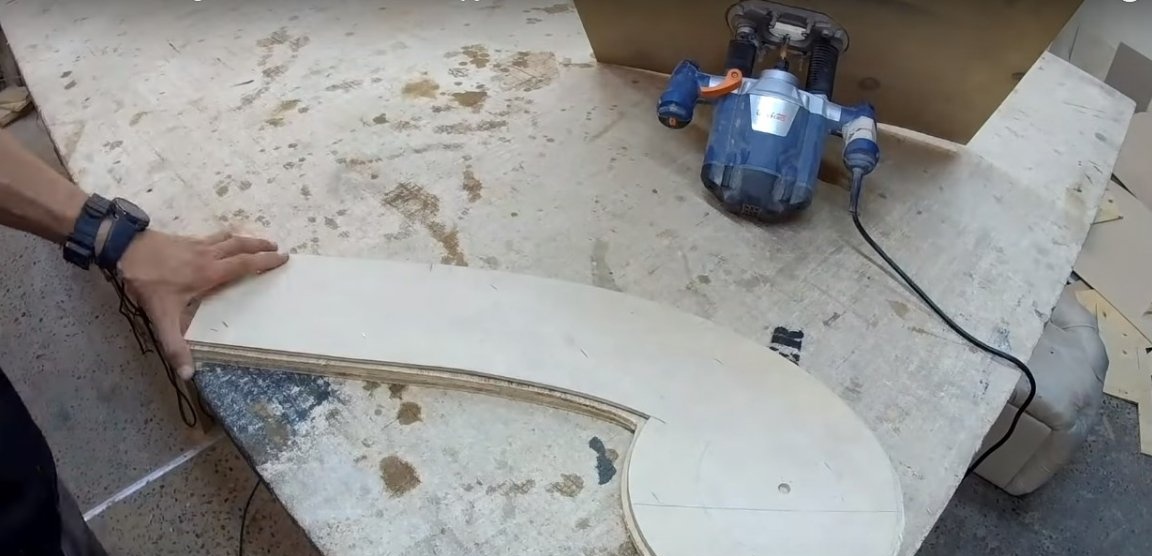
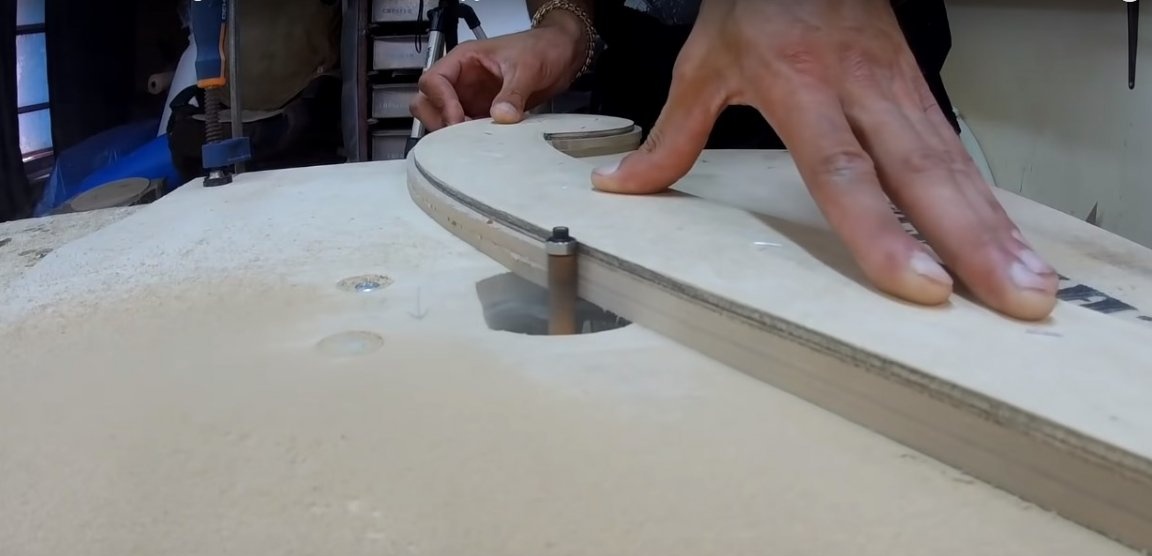
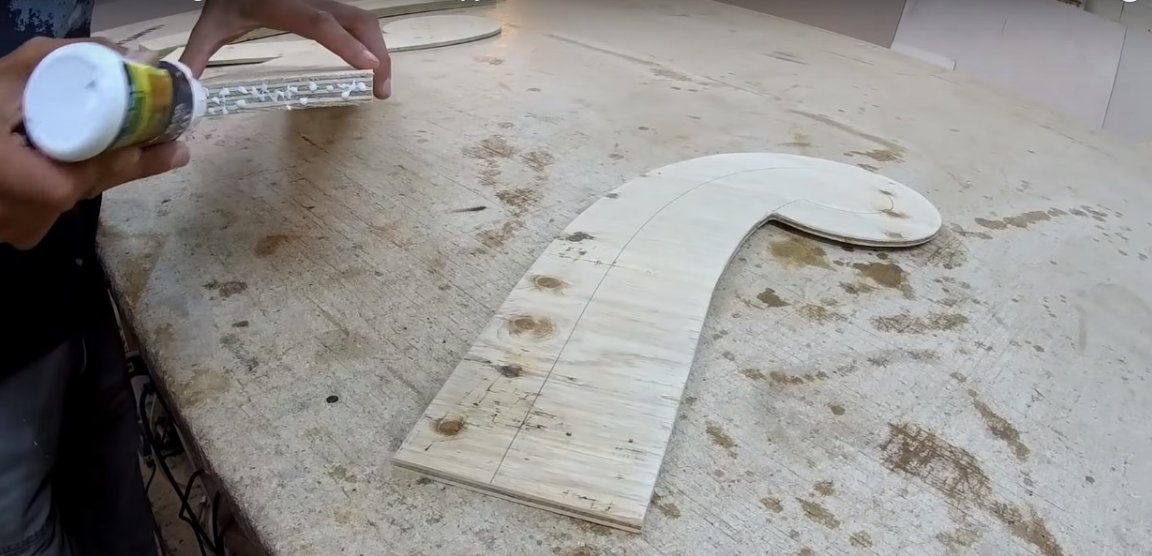
Initially, the author cuts the parts with an allowance for edge correction.The edge is processed by a manual milling cutter, stationary mounted under the desktop. For this, the author uses a cylindrical cutter.
At the end of the cutter is a smooth area that is not involved in the work. However, in this case, it perfectly fulfills the role of a limiter. A pattern is attached to the workpiece from above with metal staples. It is along it that the blind end of the cutter passes, cutting off excess from the workpiece.
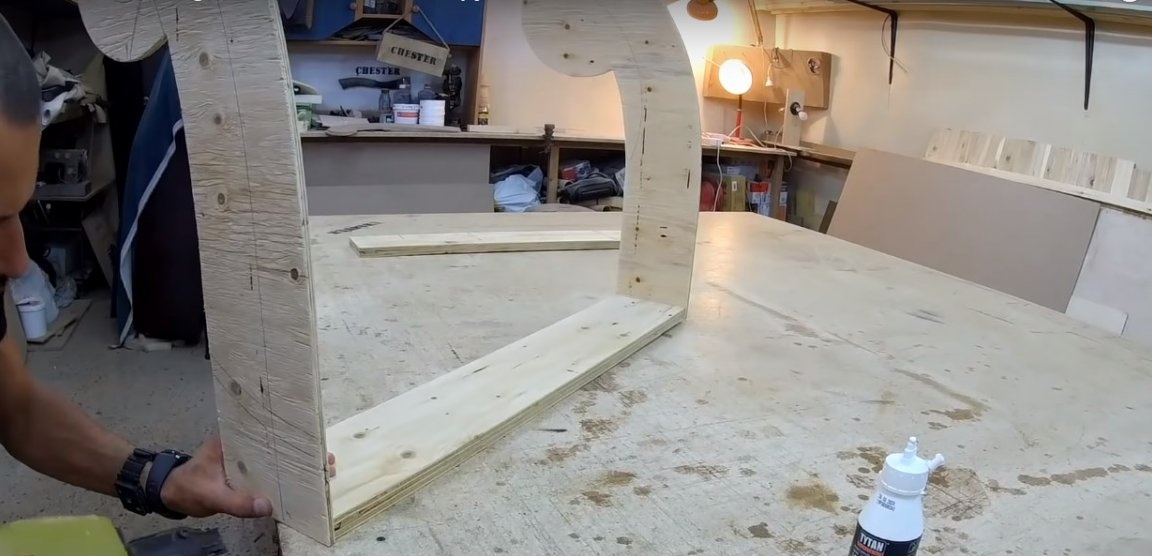
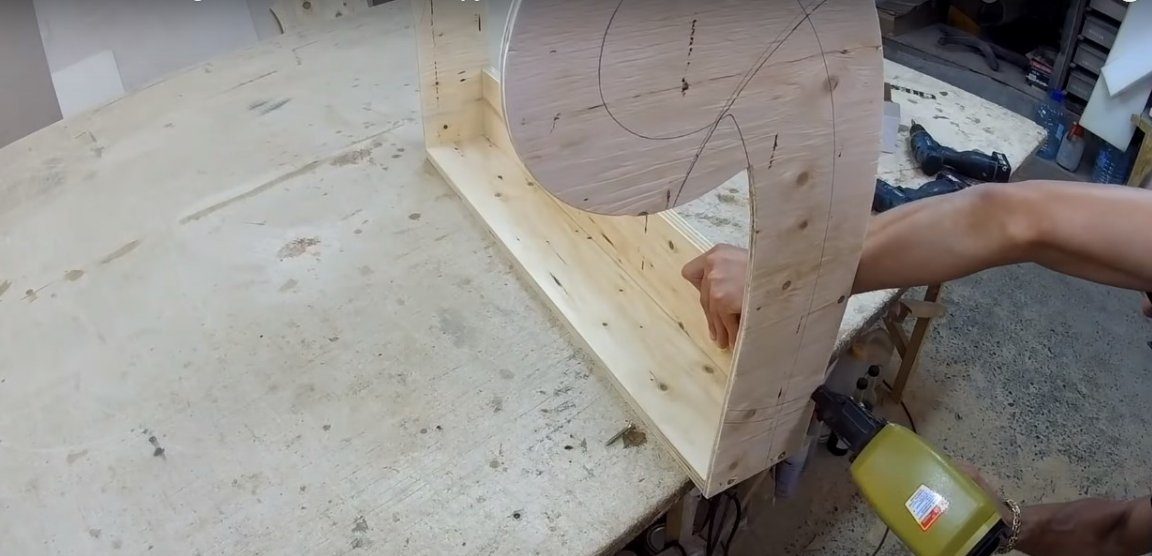
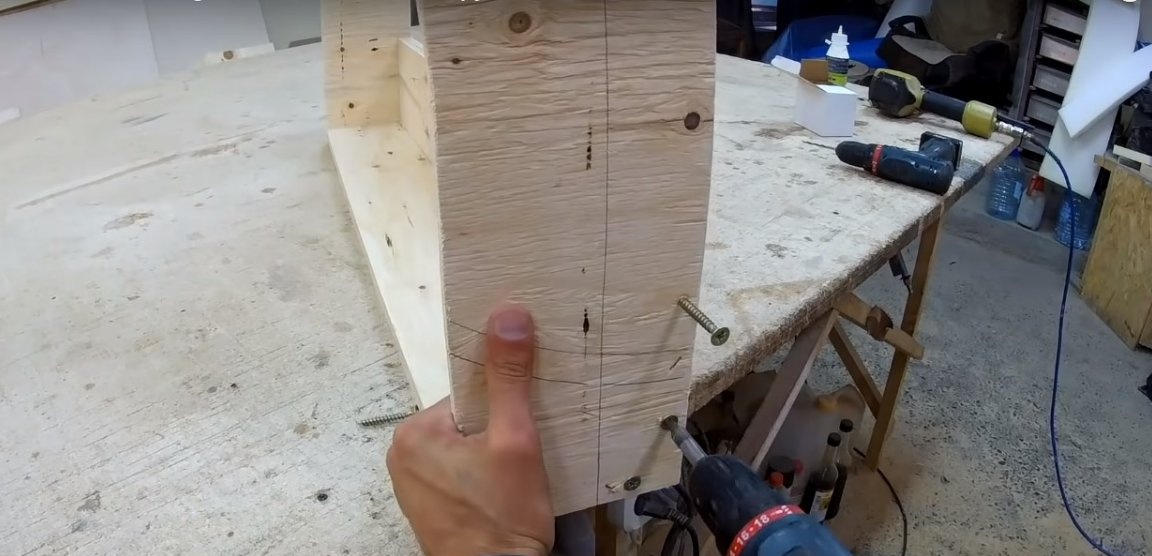
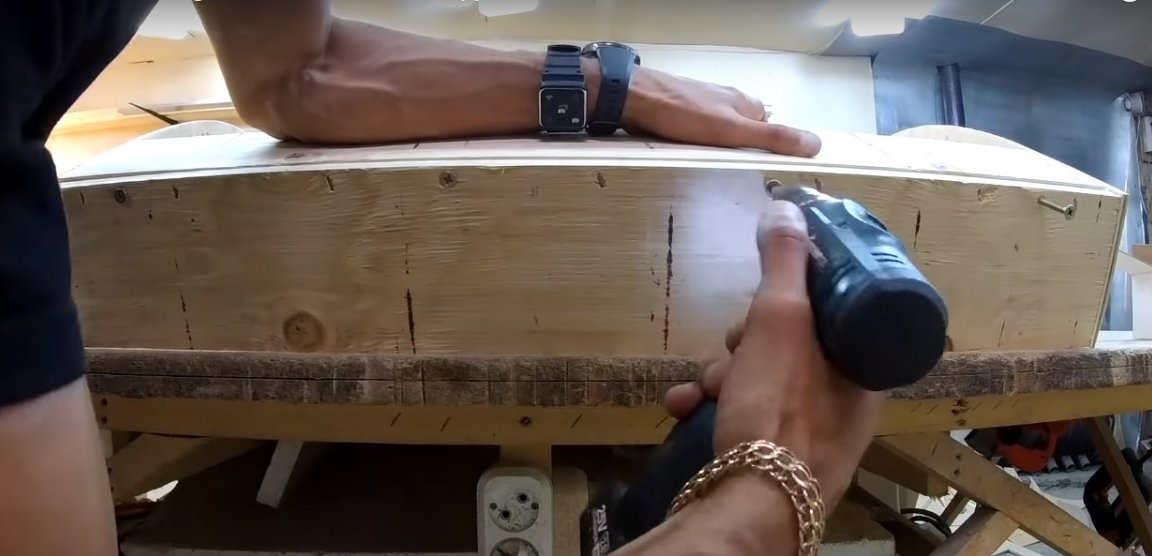
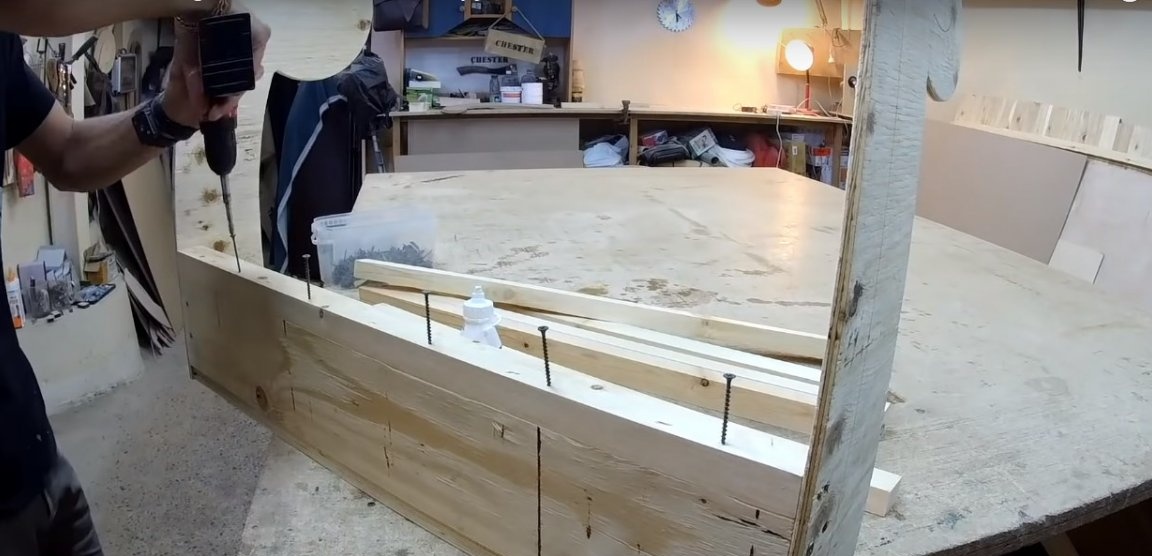
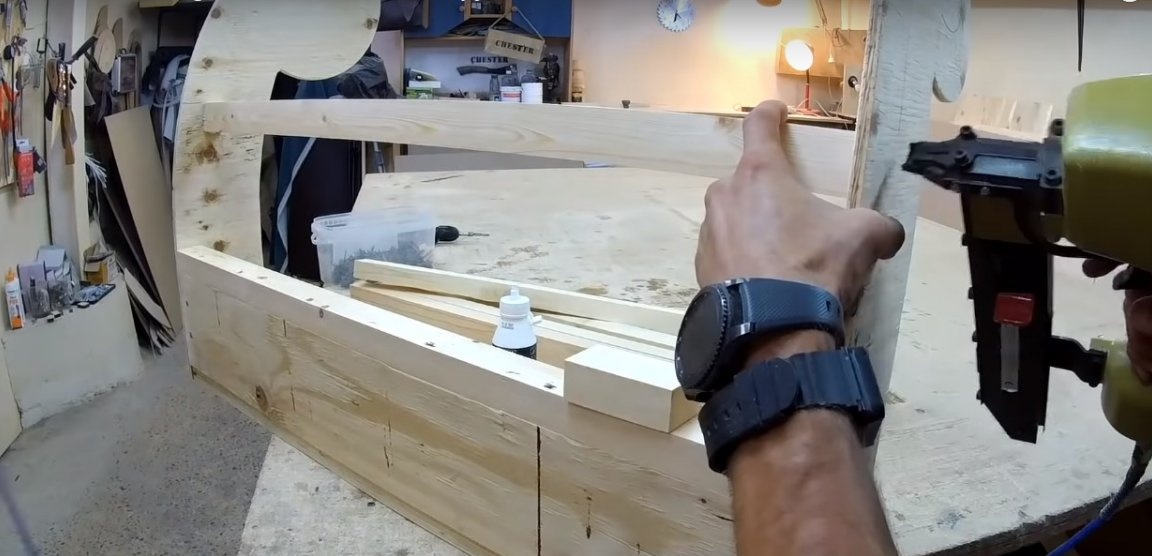
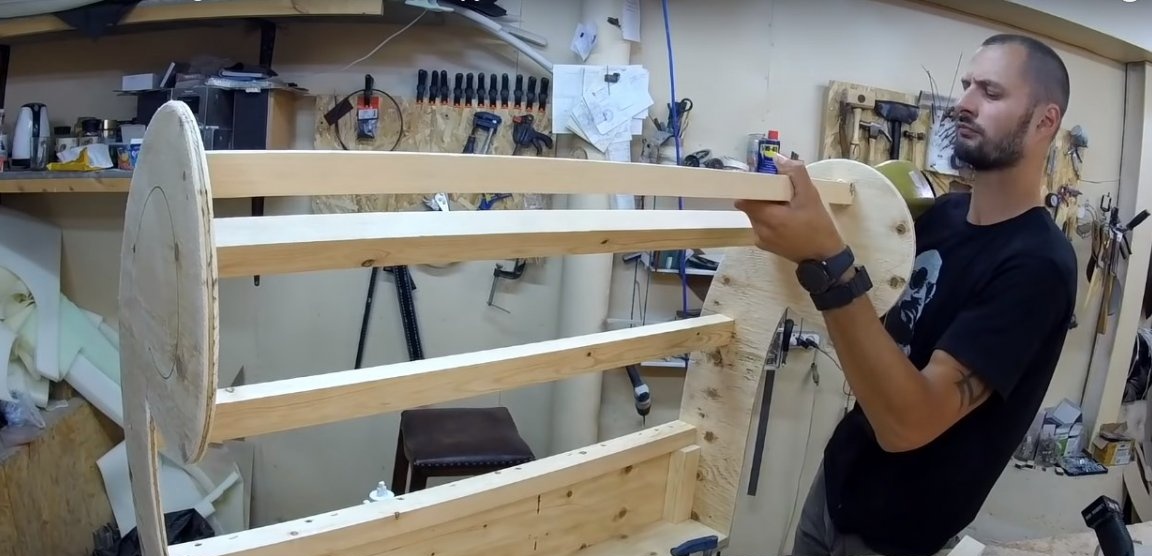
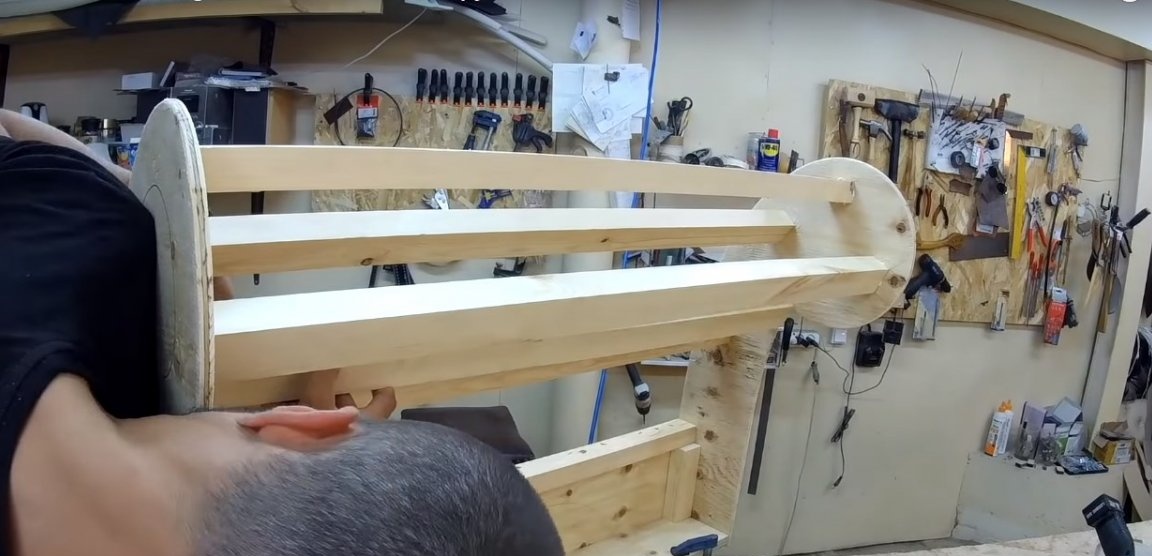
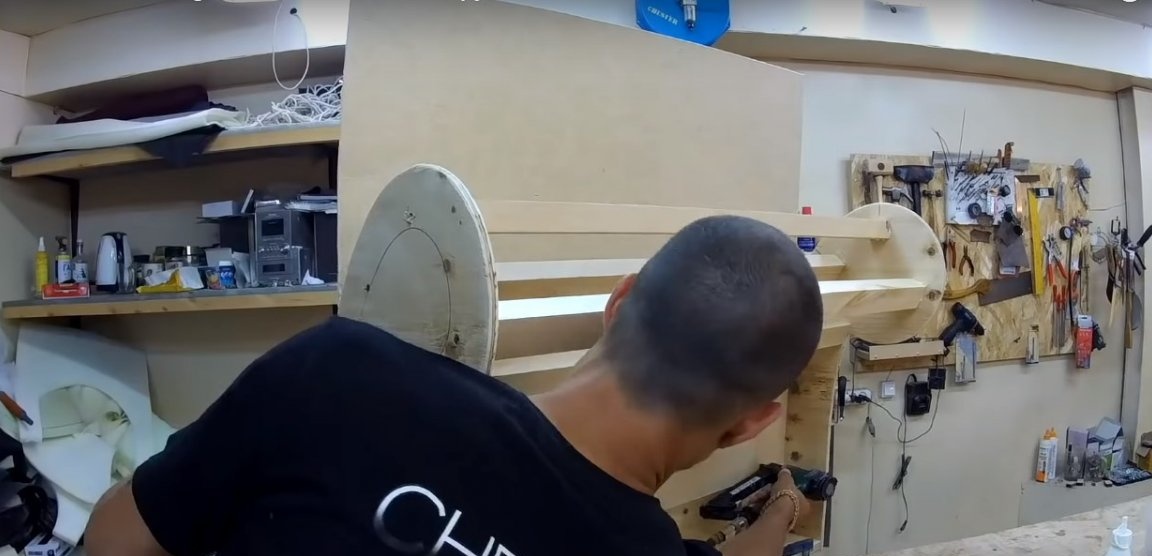
Step Two: Assembling the Back Frame
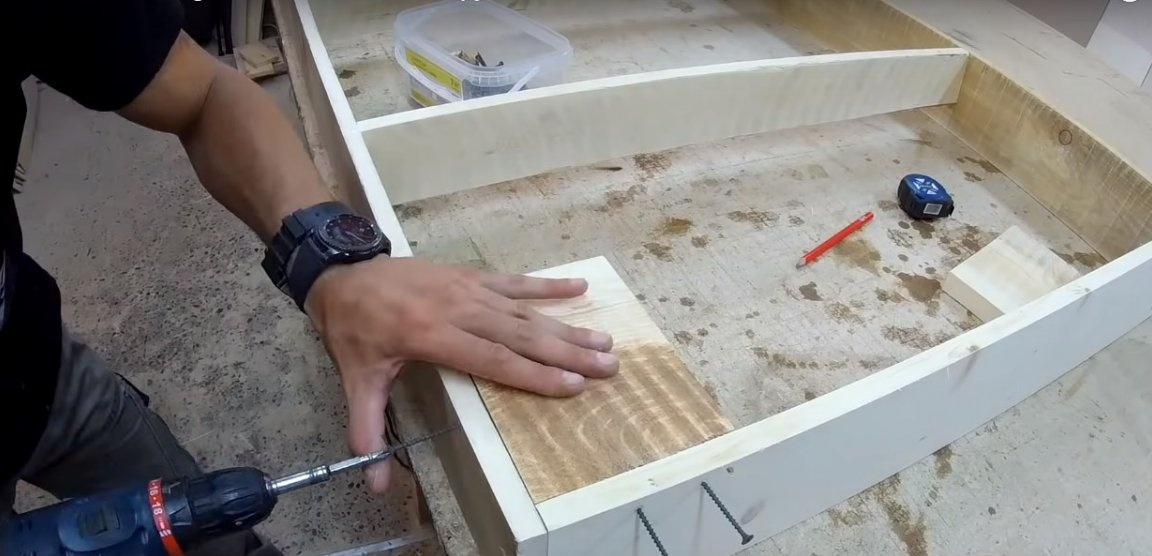
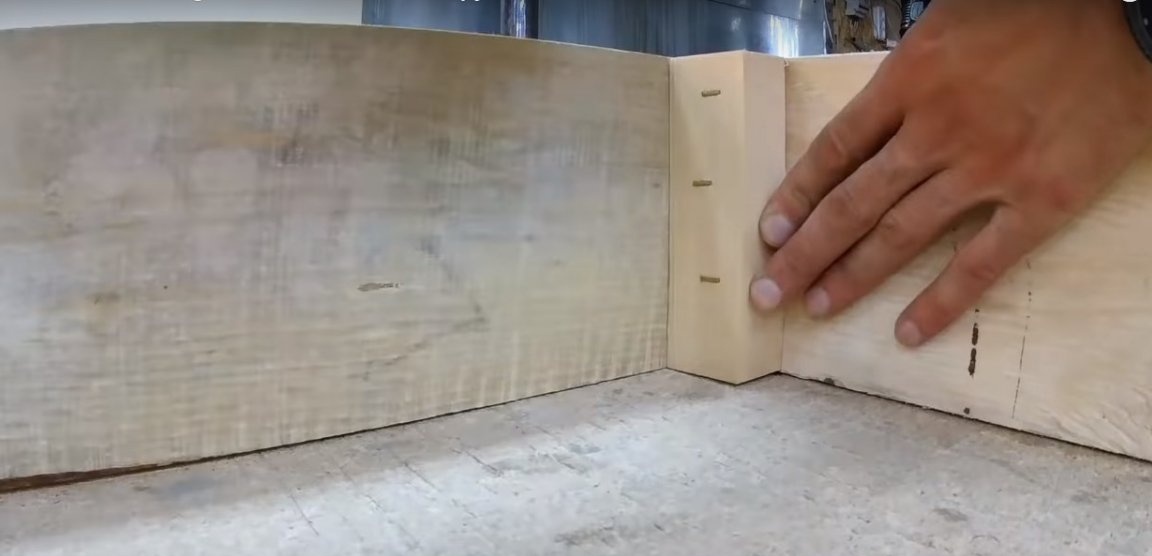
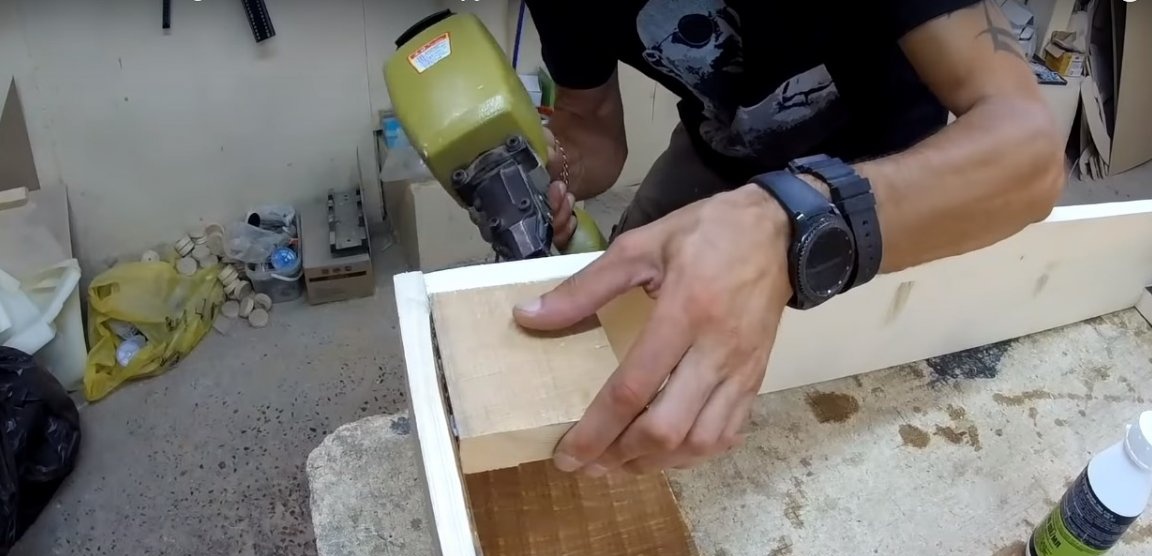
To begin with, the author connected two bylits with a lower partition-base made of thicker plywood. Any part in the assembly process is fastened with brackets, then the author drills holes for screws and screw them in with a screwdriver. All joints are reinforced with wood glue. At the top, the backrest frame consists of wooden blocks of rectangular cross section.

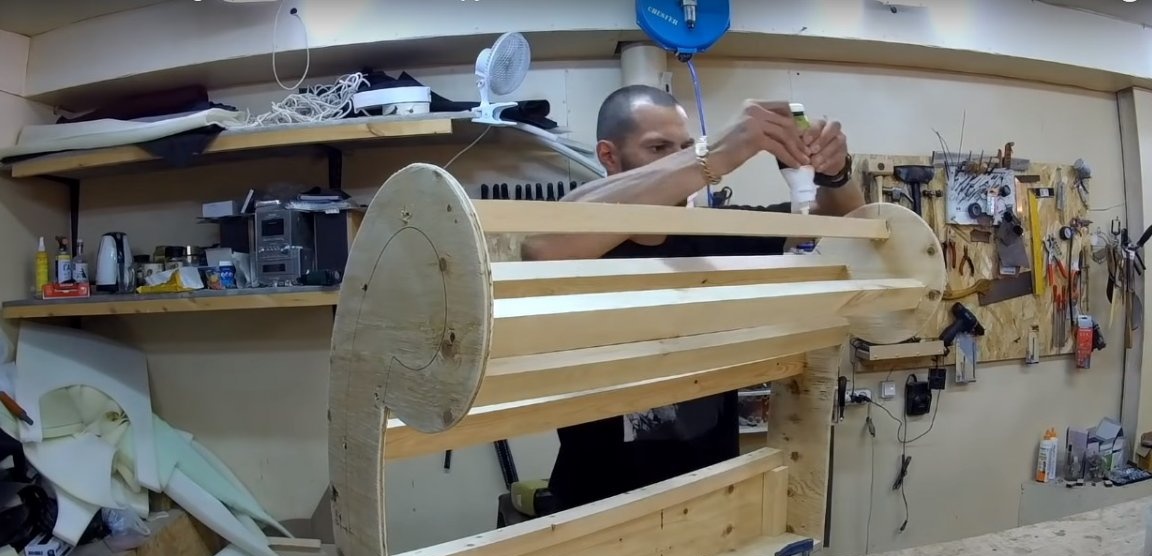
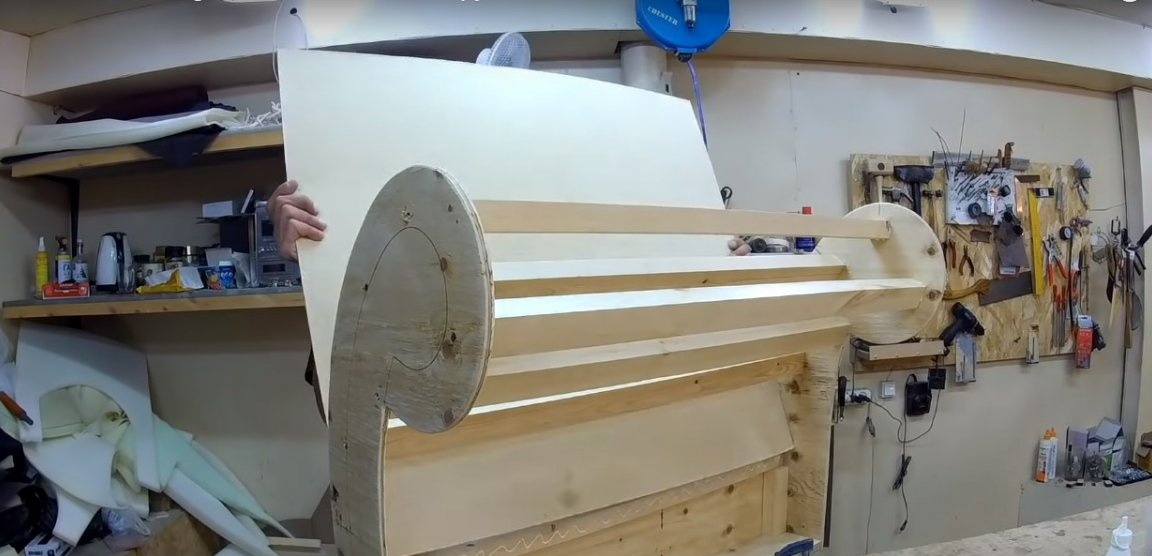
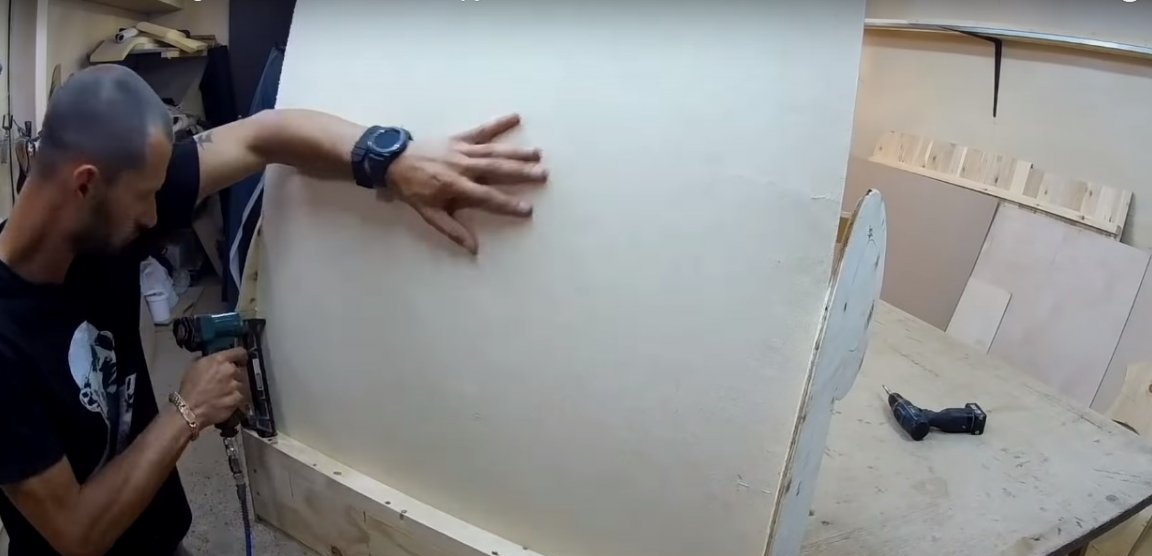
Step Three: Covering the backrest frame
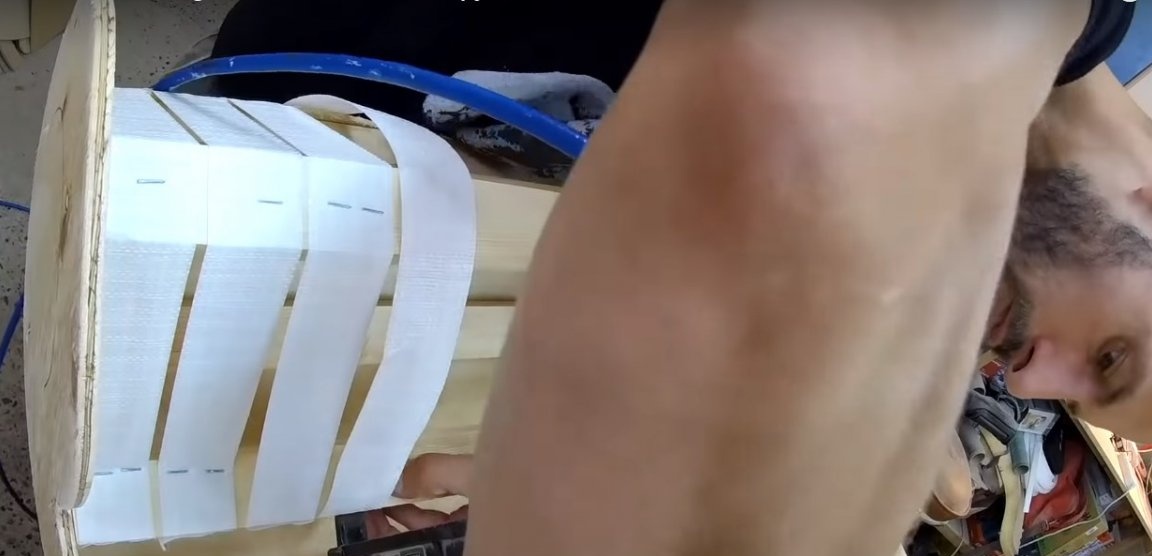
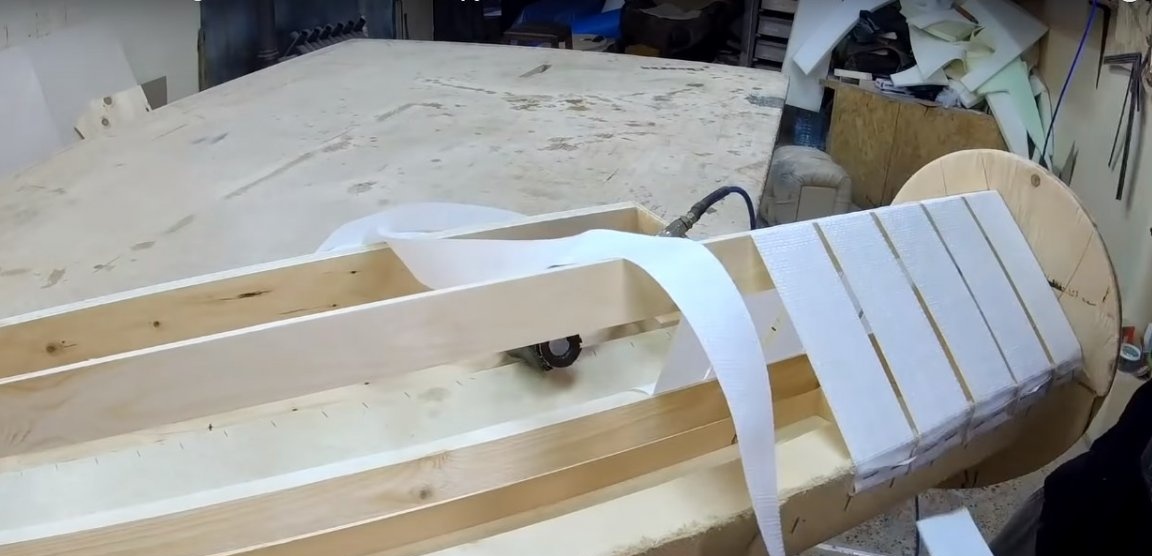
The backrest sheathing consists of two stages: sheathing the back of the back with a fiberboard sheet and installing the furniture belt as the base under the foam. If with the first stage everything is more or less clear, then the second one will dwell in more detail.
The author uses a special furniture belt, which is attached with brackets to the wooden frame of the back. Here, the part has a too small radius, so the use of a belt is more than justified. Tapes are attached with a tangible stretch and are fixed in several places at once.
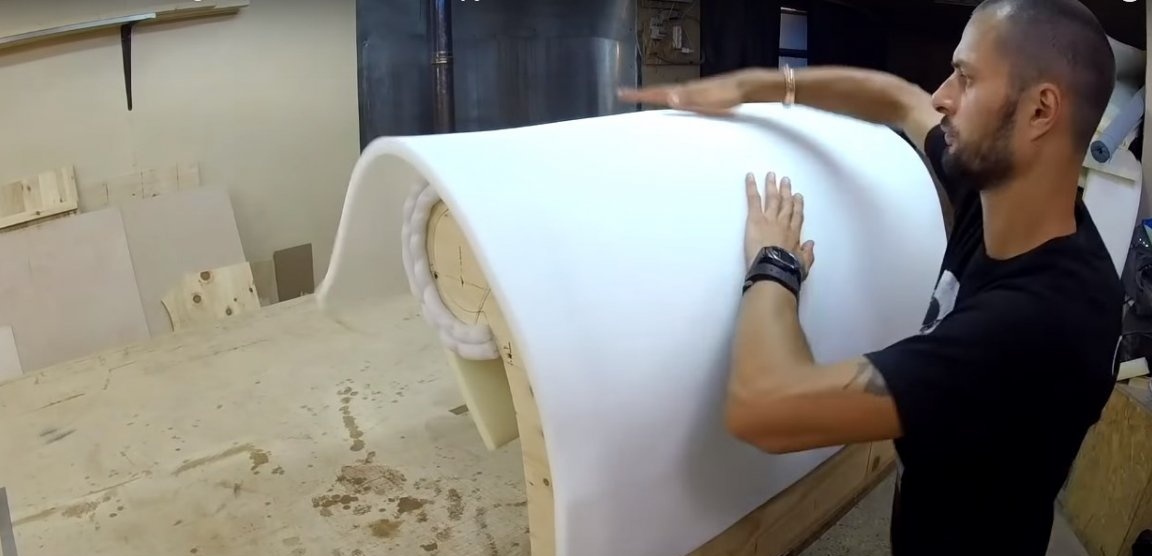
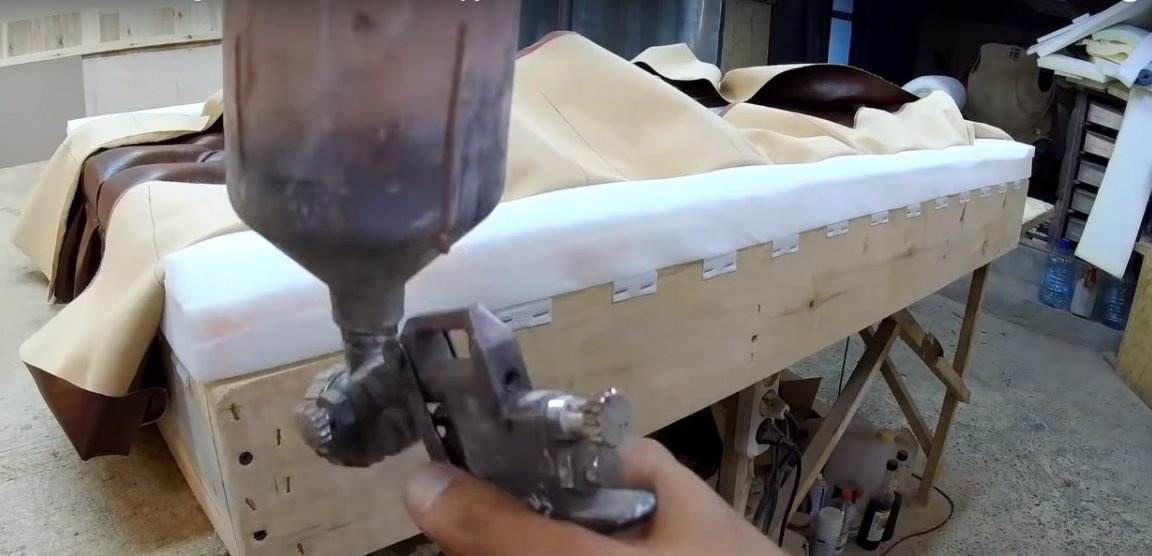
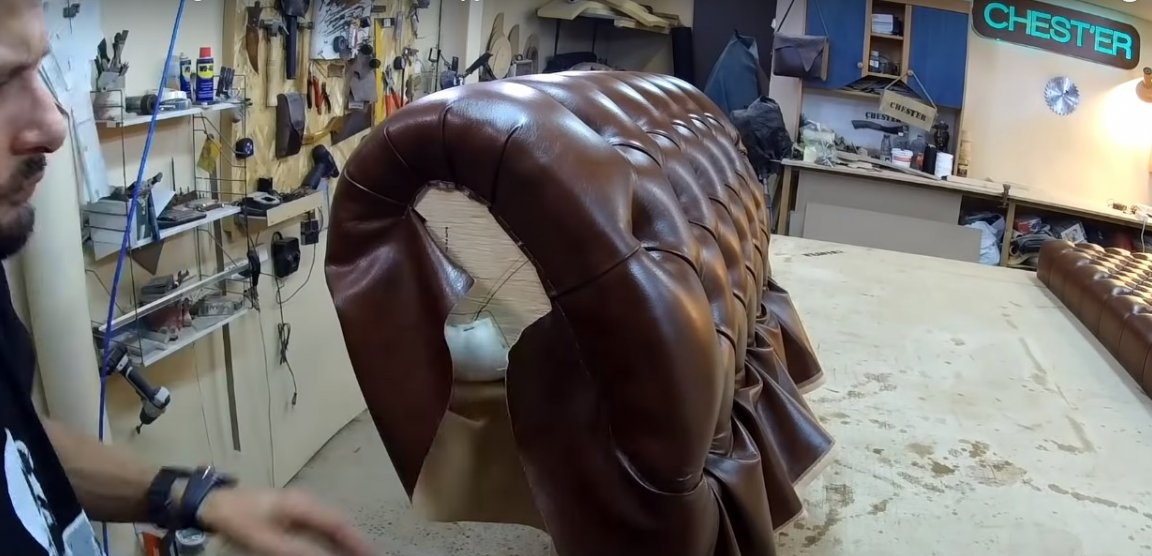
Fourth step: facing the backrest with foam
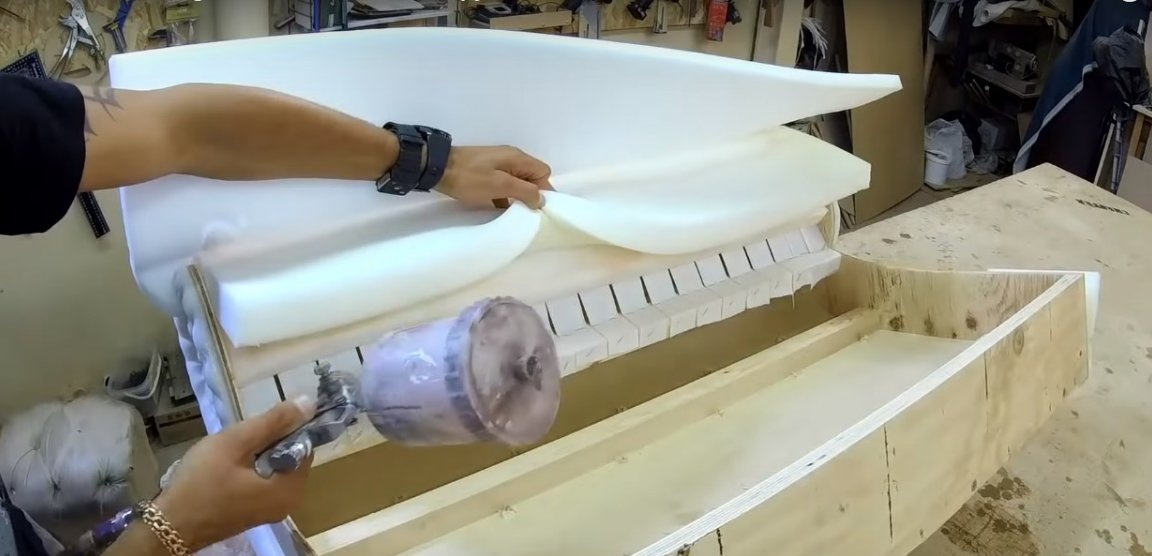
For gluing foam rubber, the author uses non-combustible solvent-based glue. They sprayed the gun, so that the glue is applied with a thin even layer.
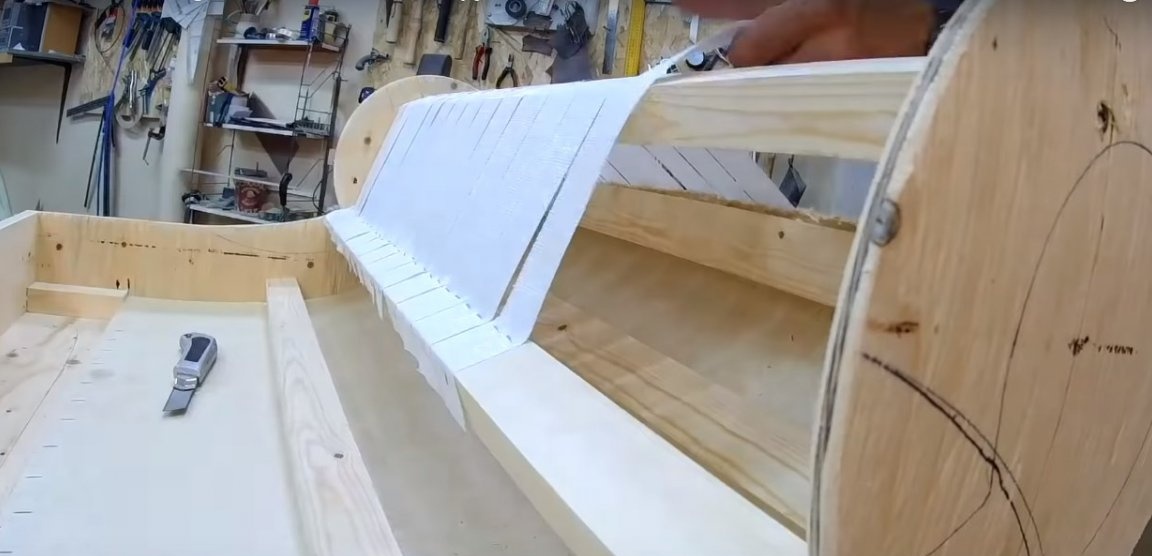
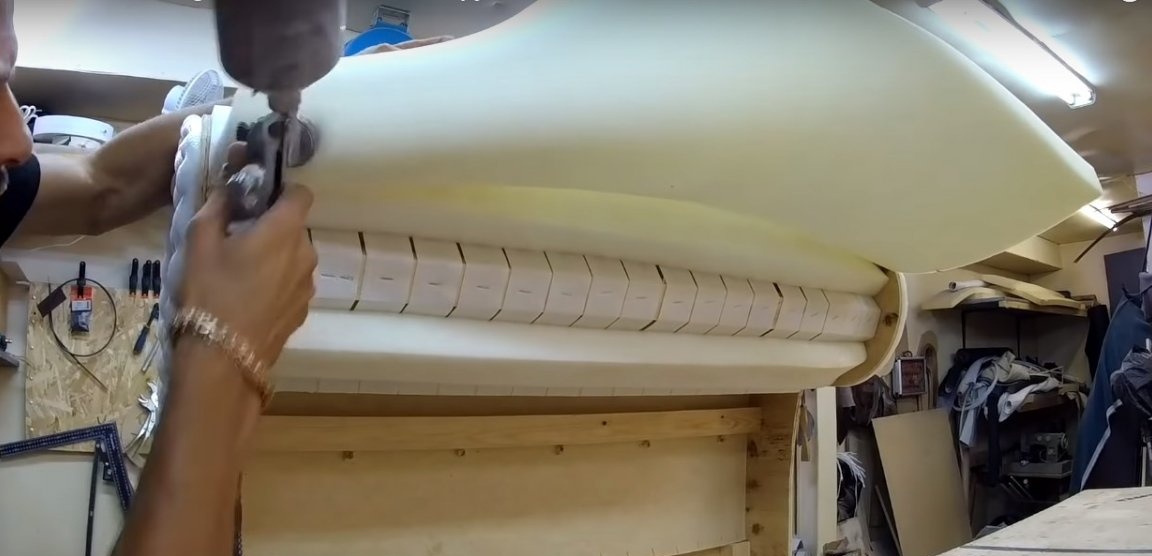
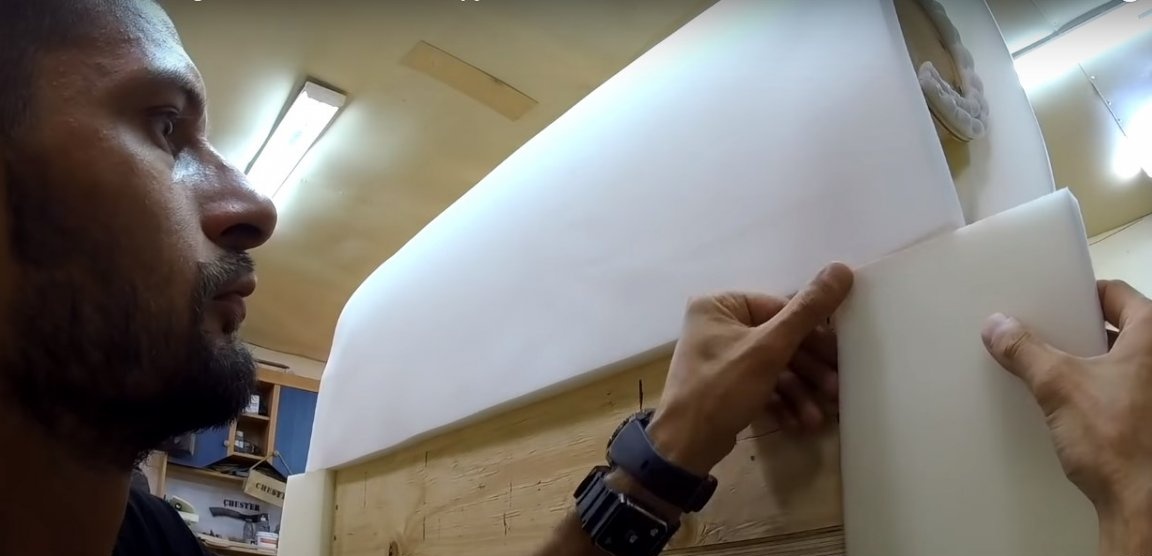
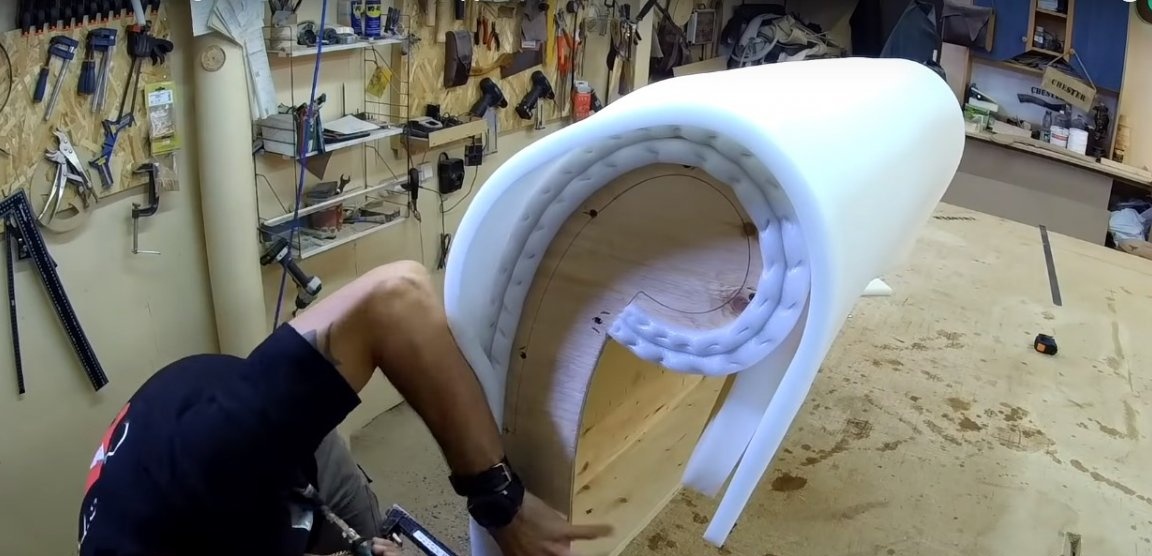
First you need to glue the foam strips on the furniture belt. Then the author fixes the strip of the facing foam tape at the ends of the bylts.
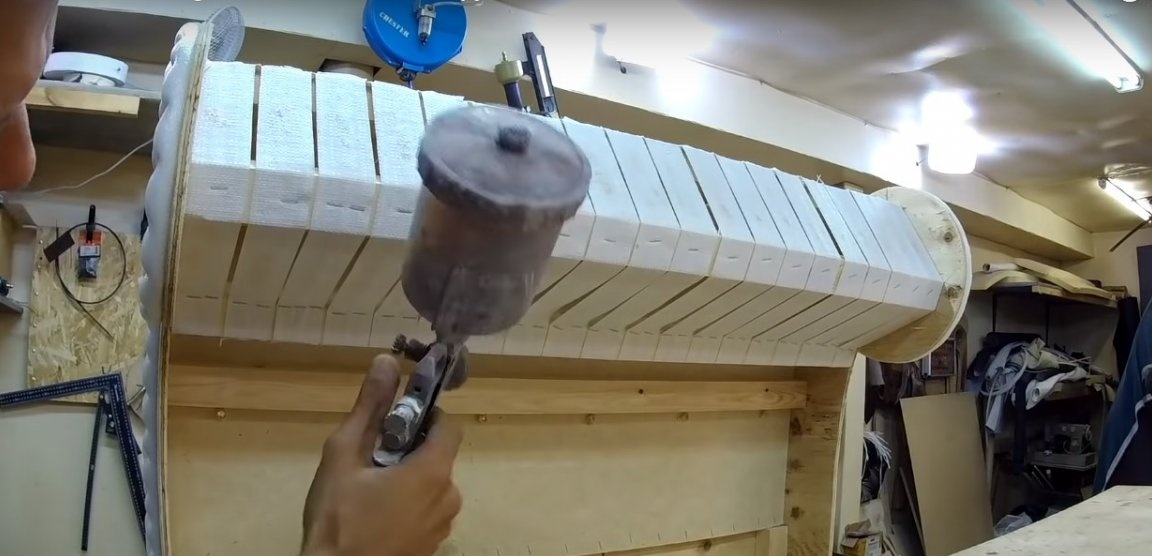
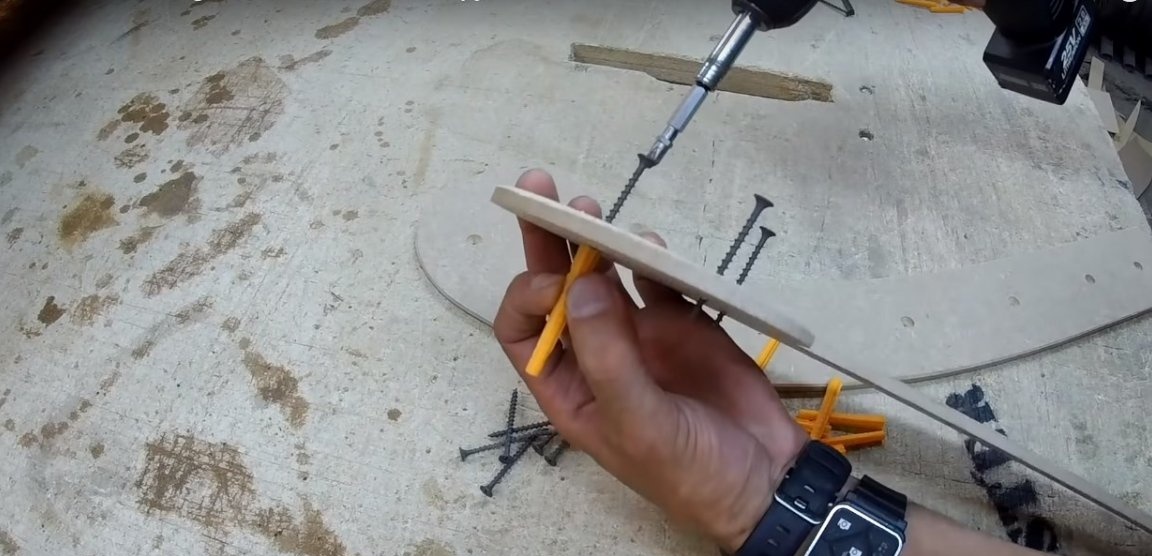
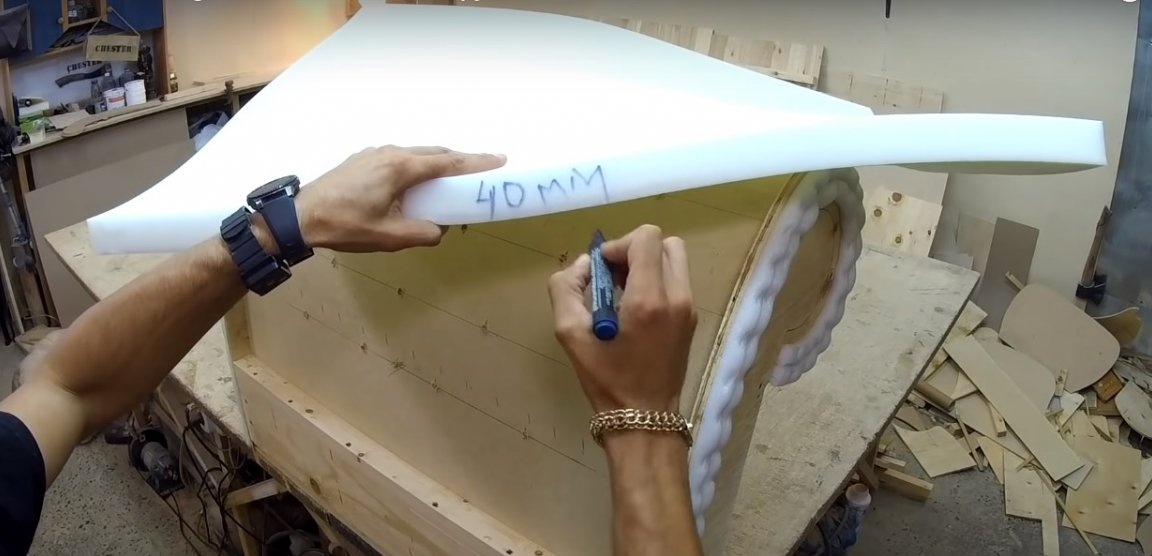
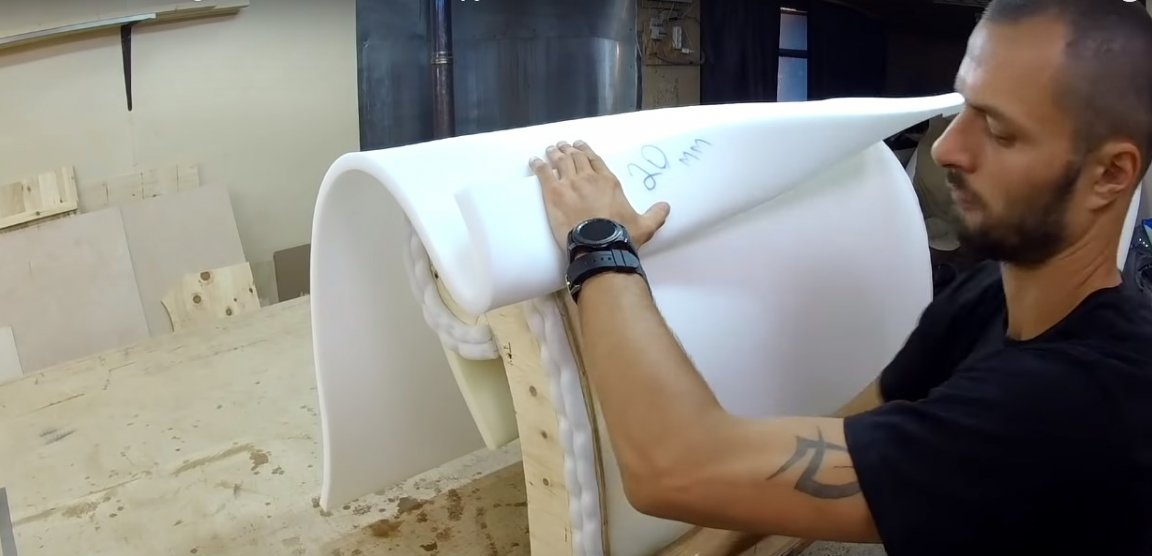
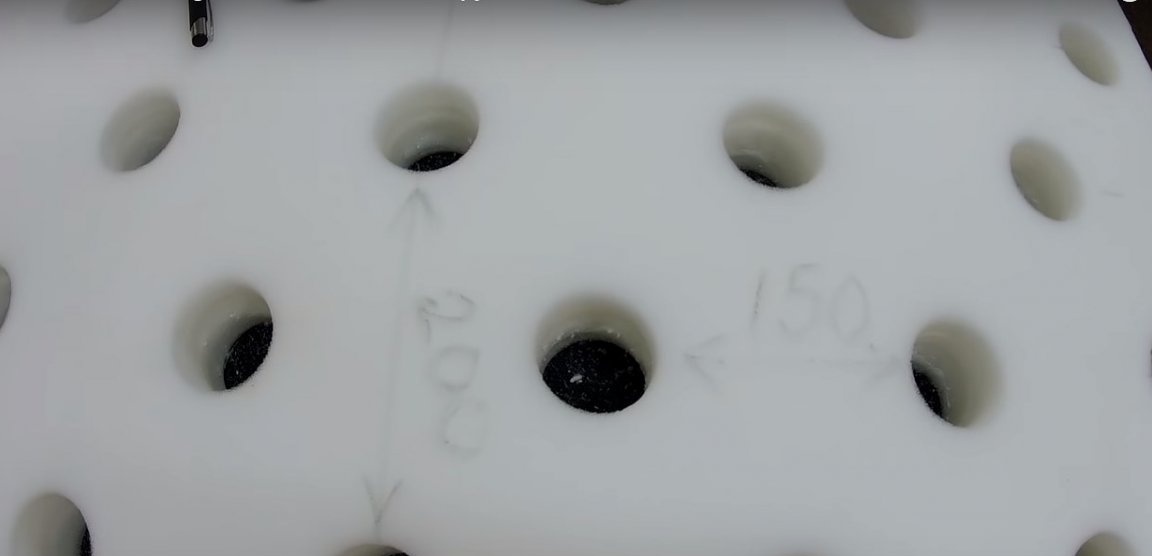
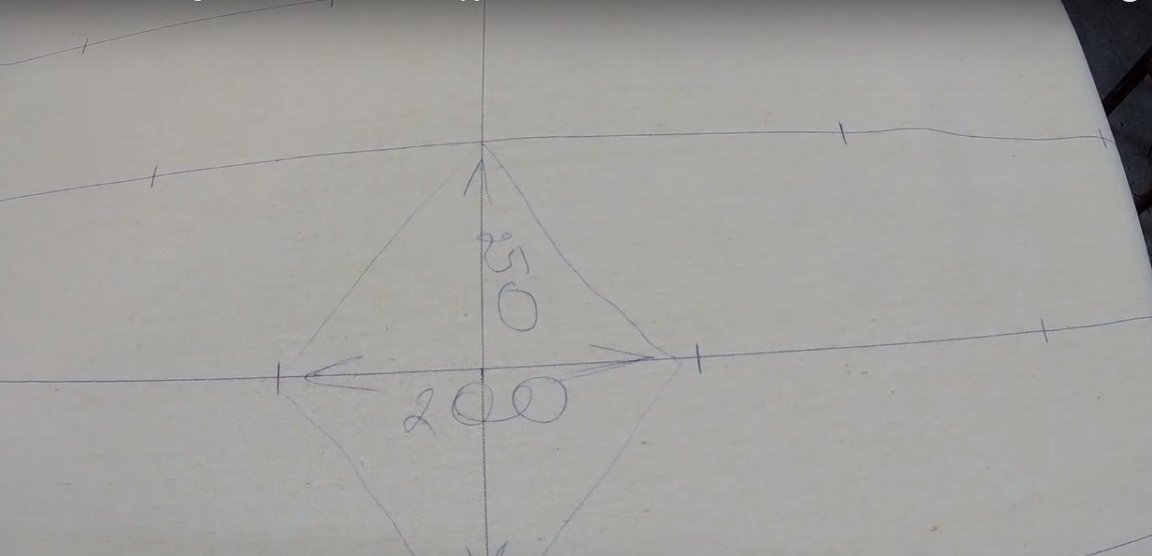
The fiberboard zone on the back must be marked under the carriage screed and drill holes for the gypsy needle. After that, cover the back with foam rubber. The author uses 40 mm thick furniture foam as the first layer. For the second layer you will need soft foam rubber with a thickness of 20 mm.

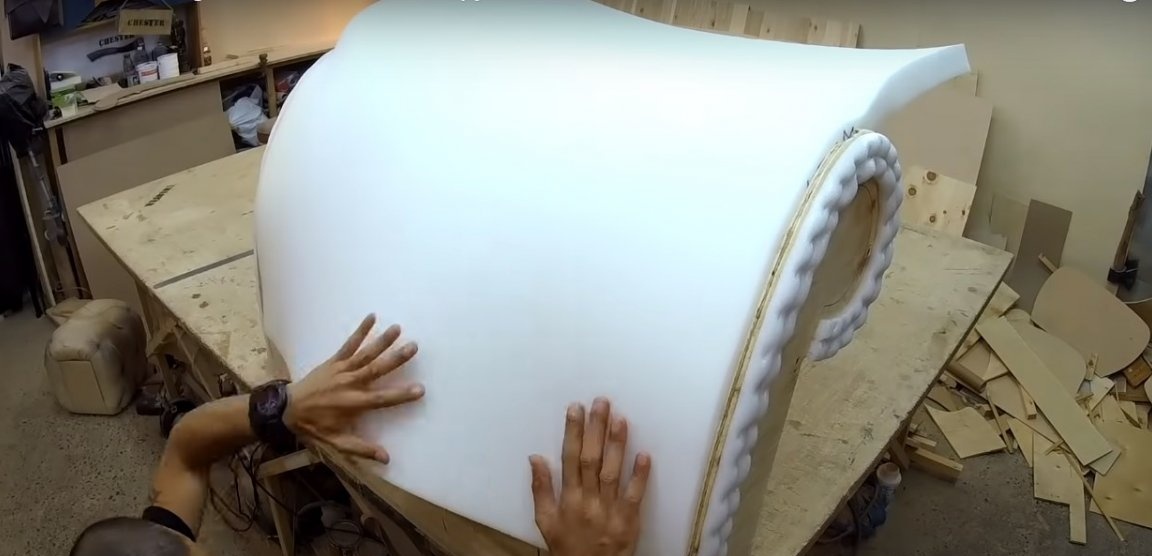
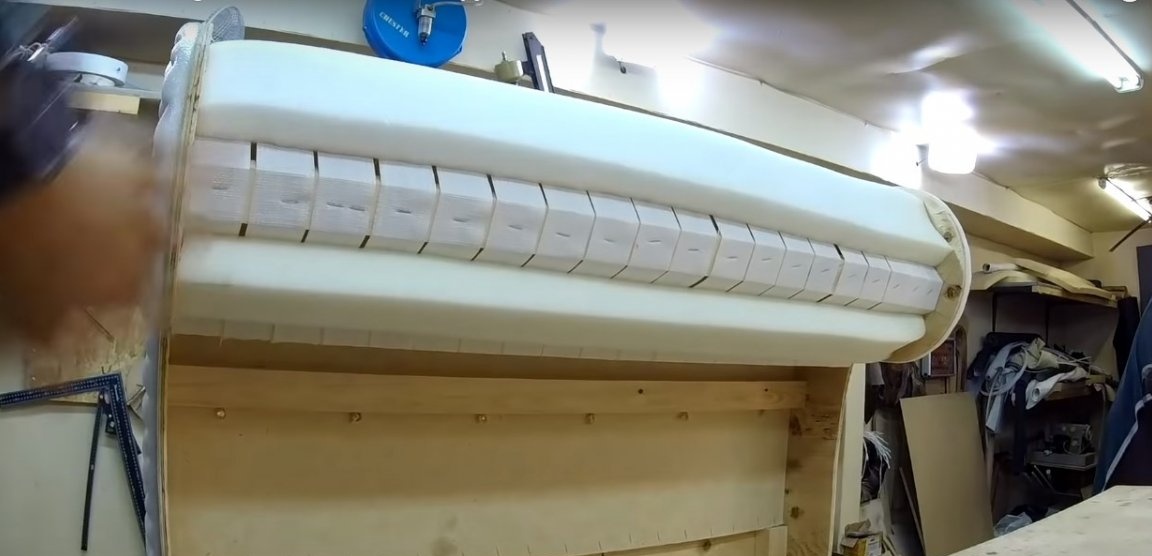
Fix the foam rubber with brackets as shown in the photo and drill round holes according to the marking for the carriage tie.


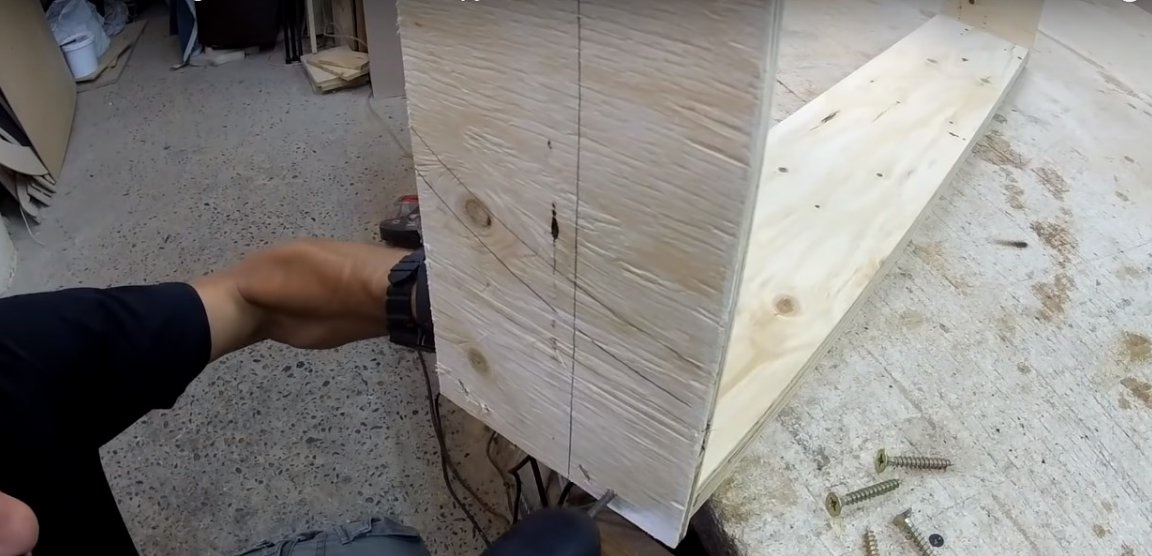
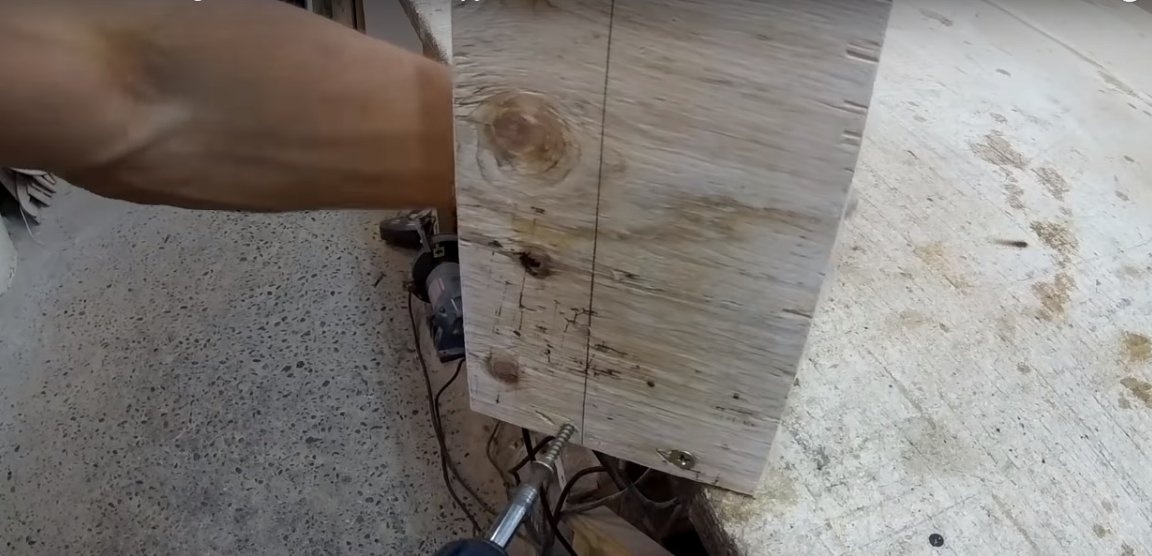
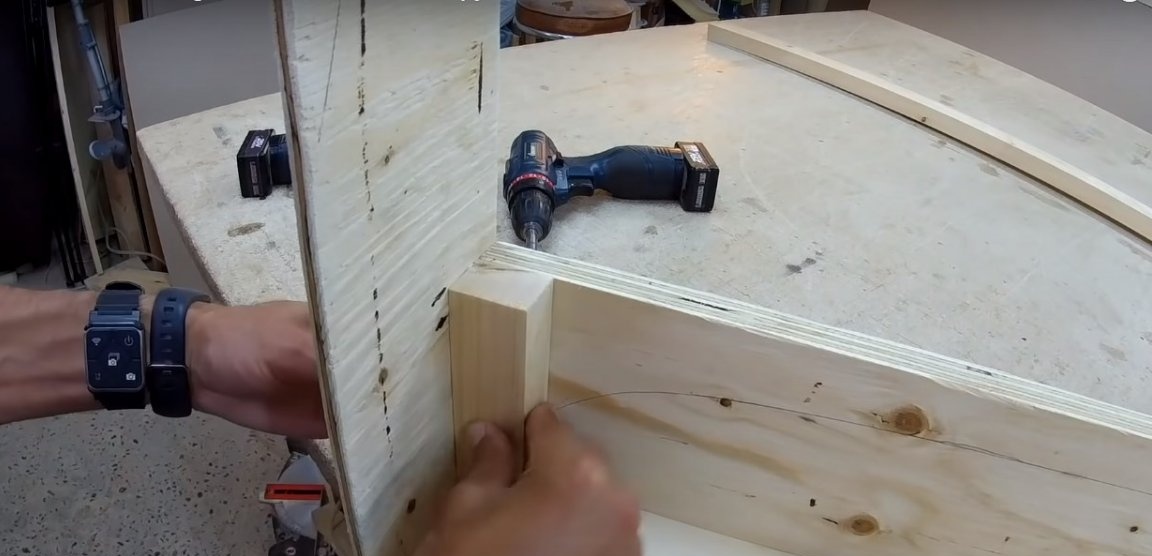
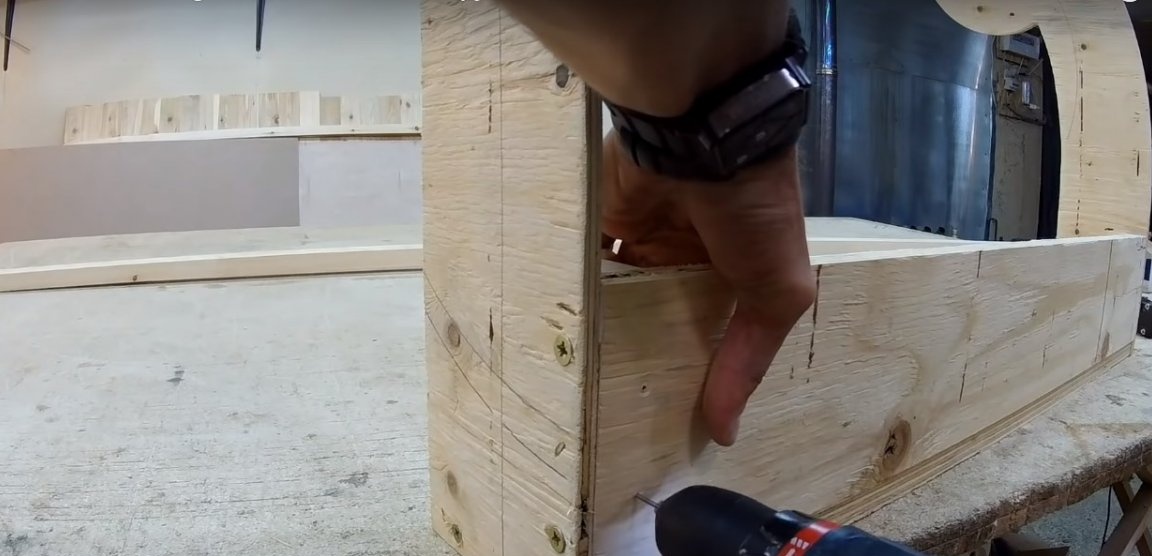
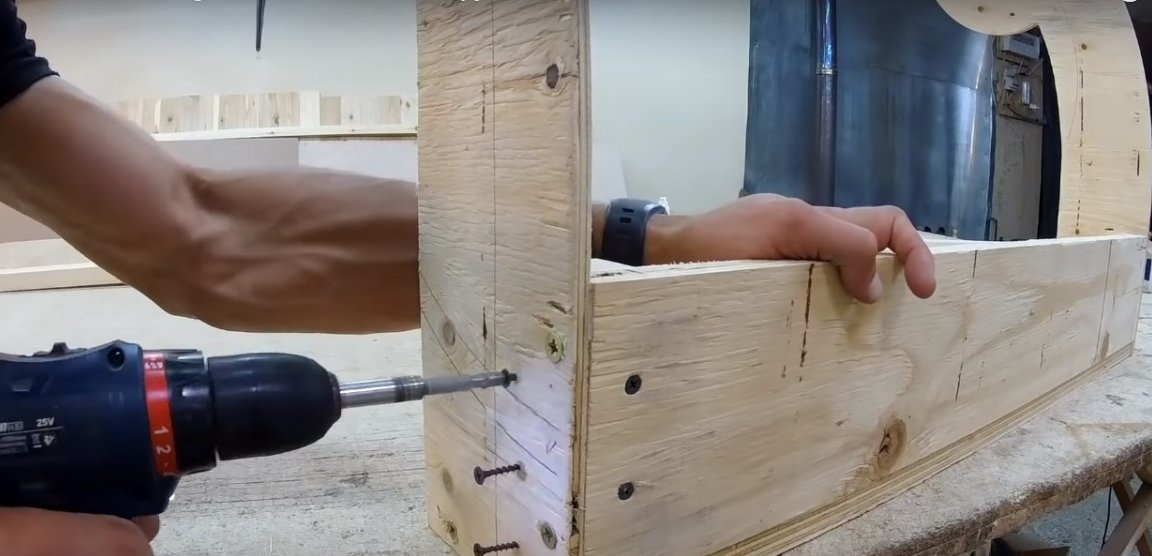
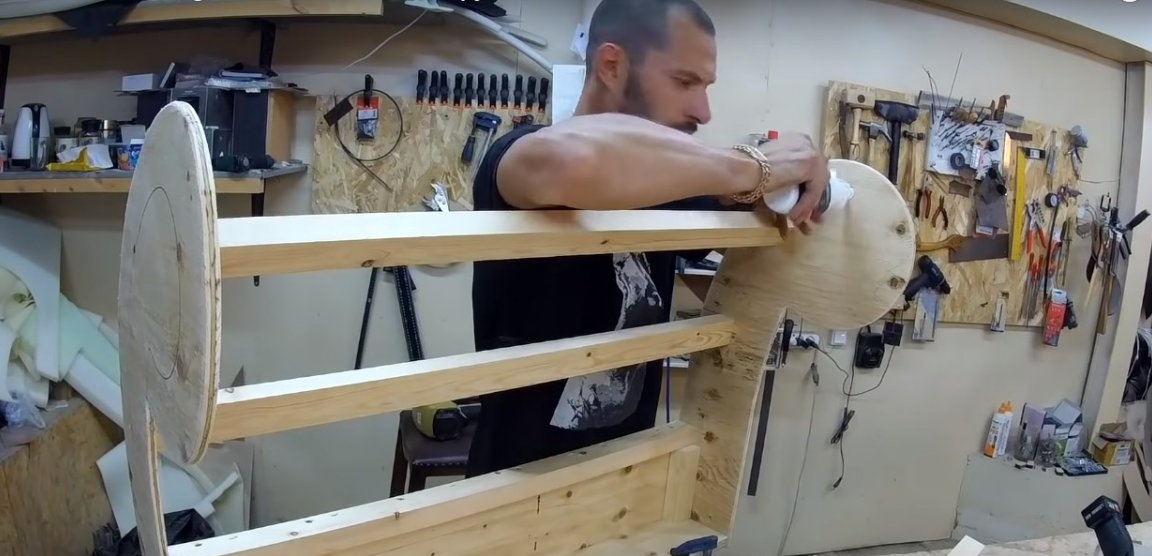
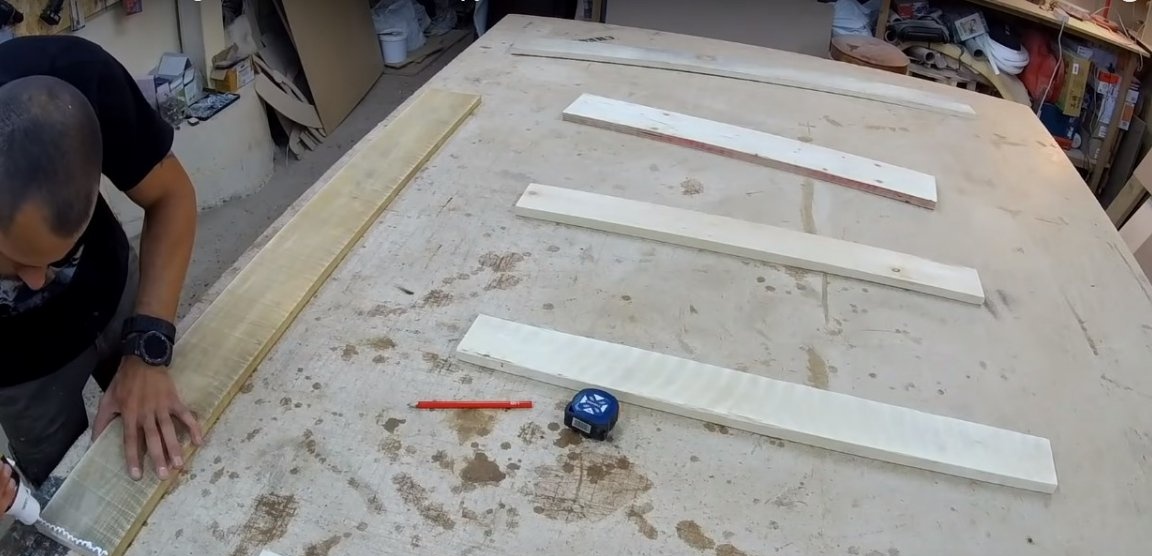
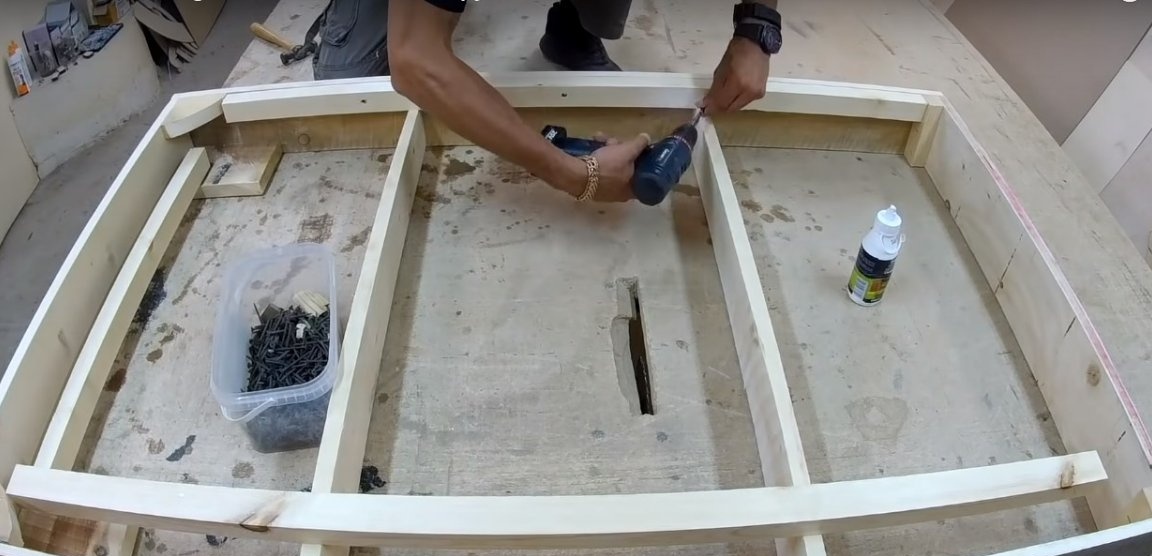
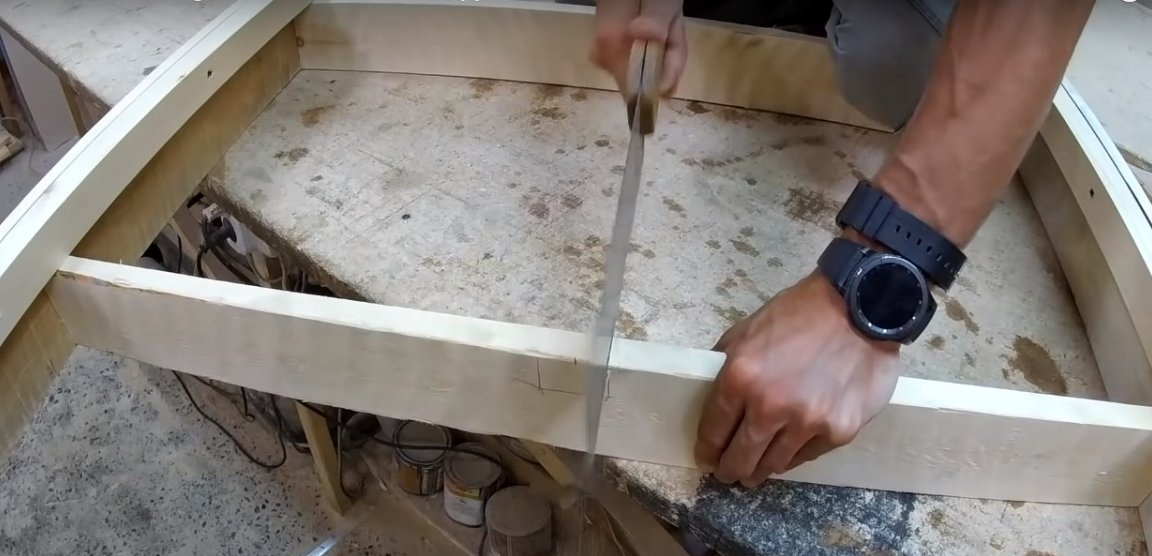
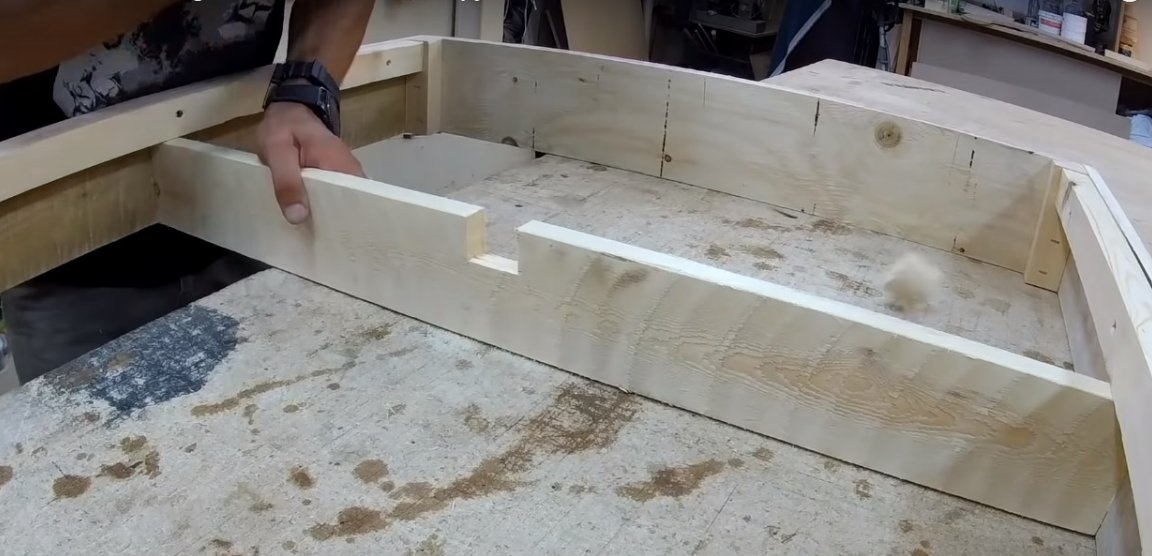
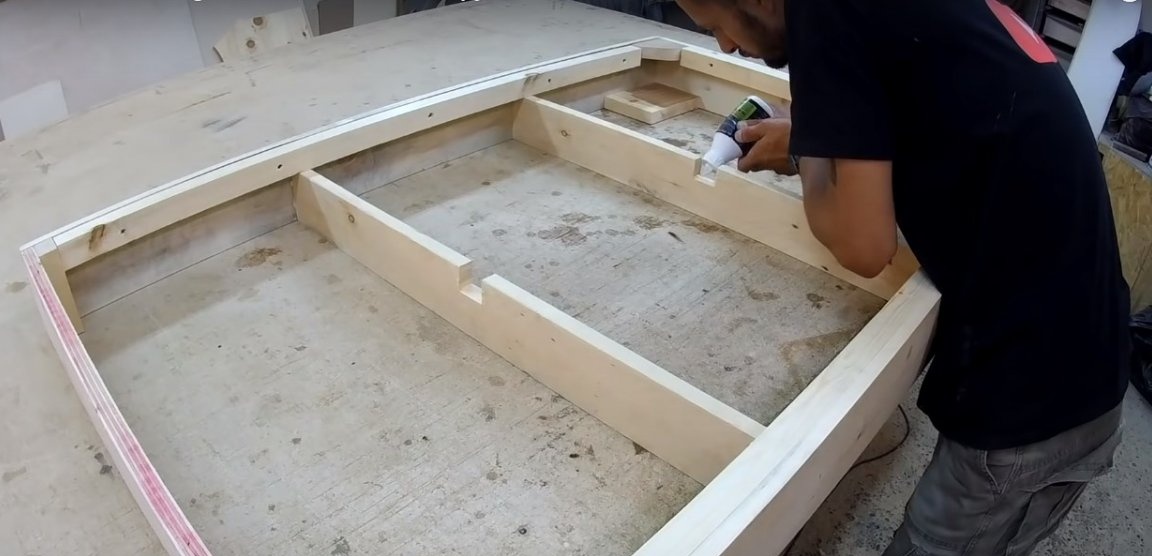
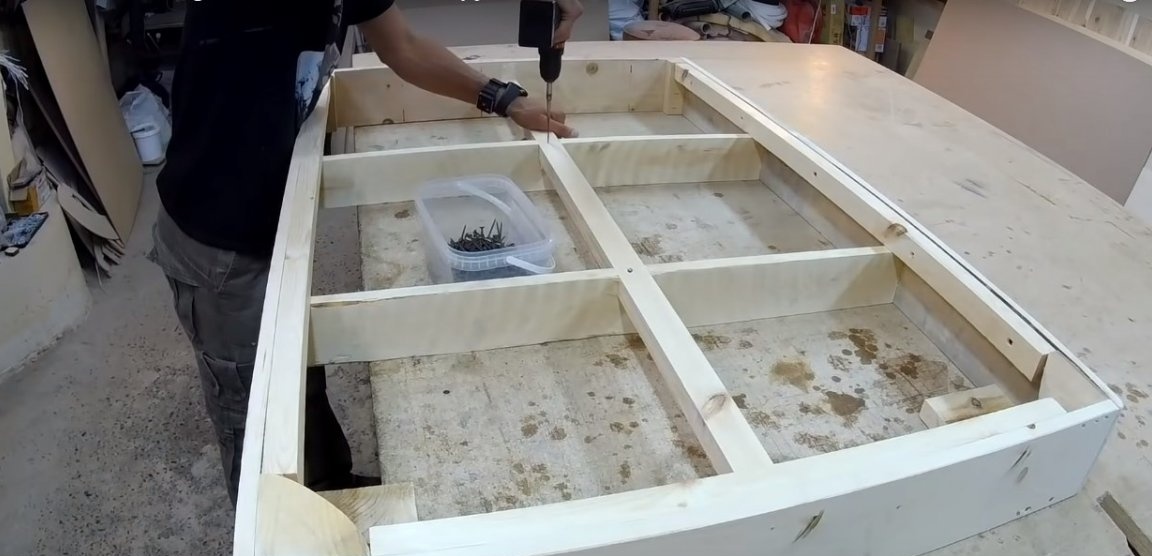
Step Five: Assembling the Seat Frame
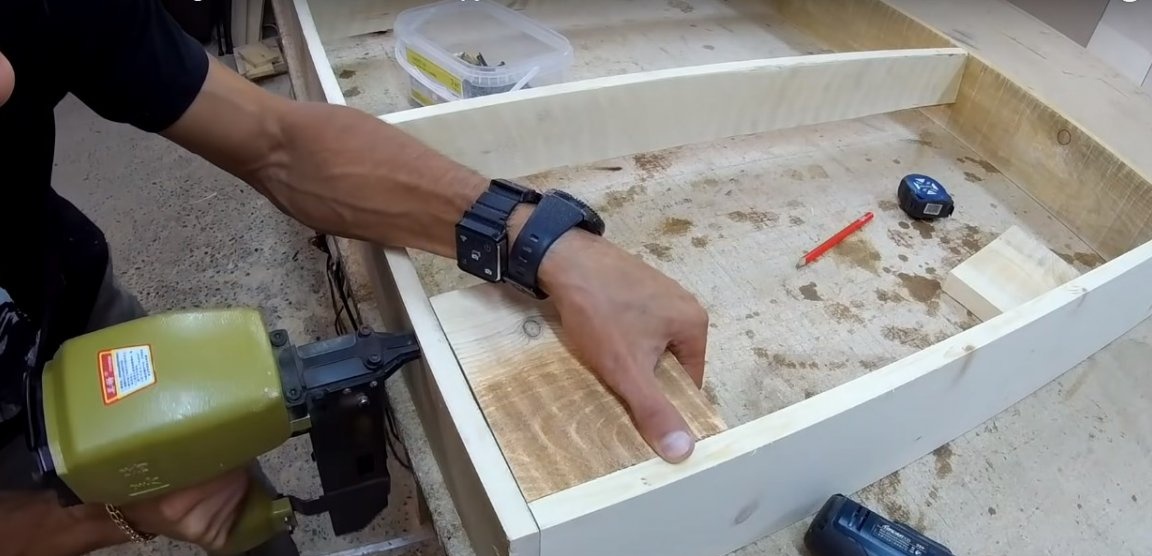
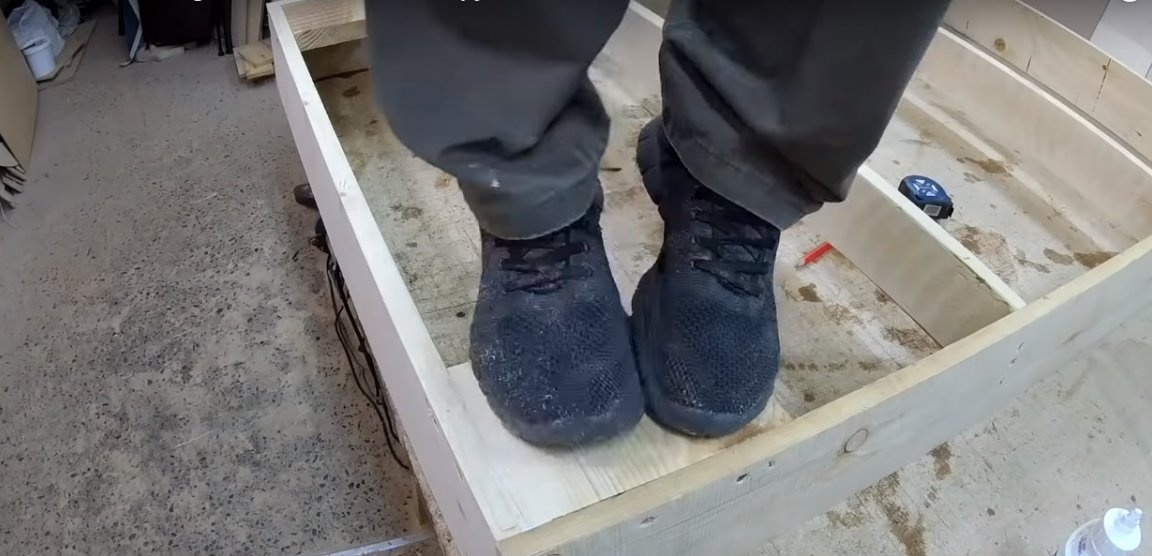
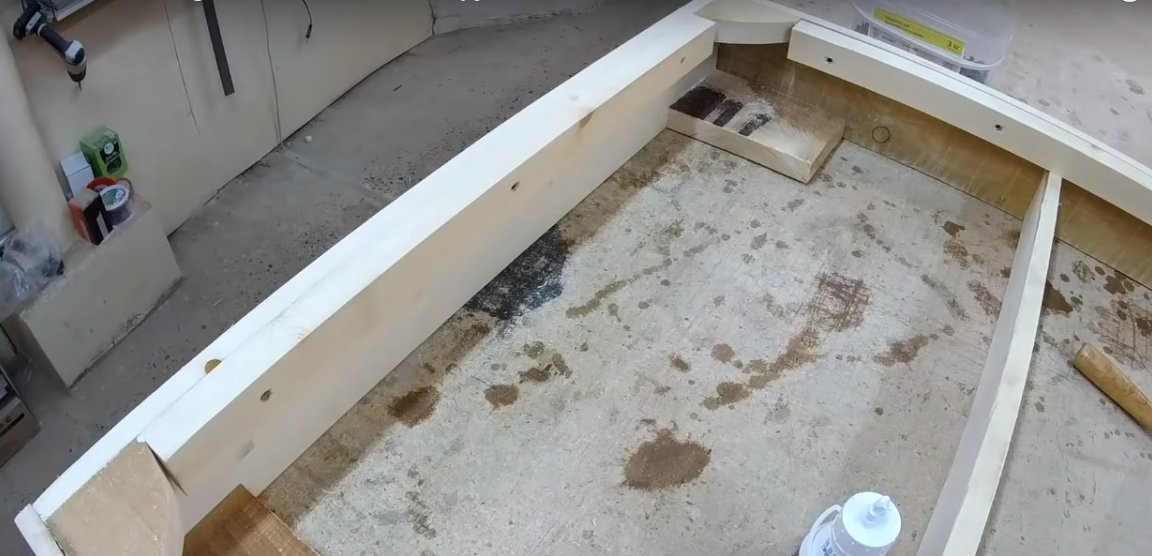
The frame base consists of an external harness and two central struts. The frame is made of natural wood, because the width of the board perfectly matches the planned height of the base of the seat.
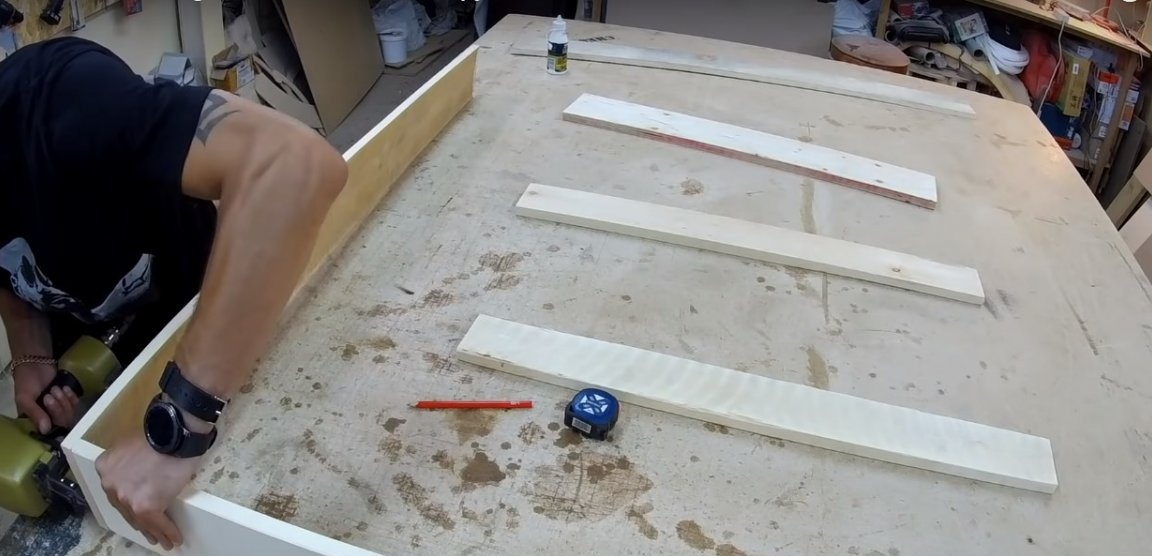
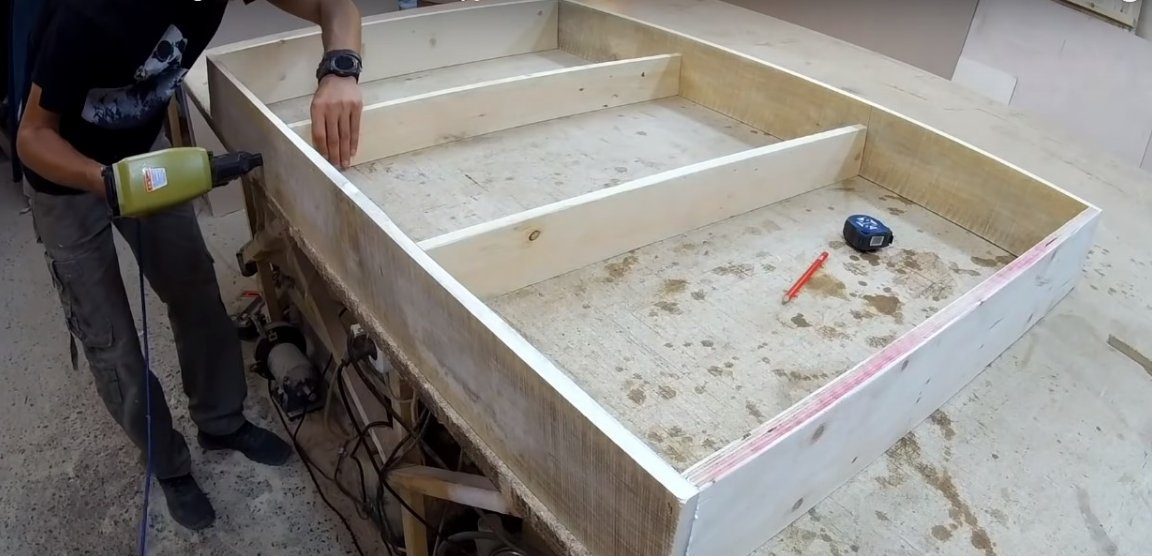
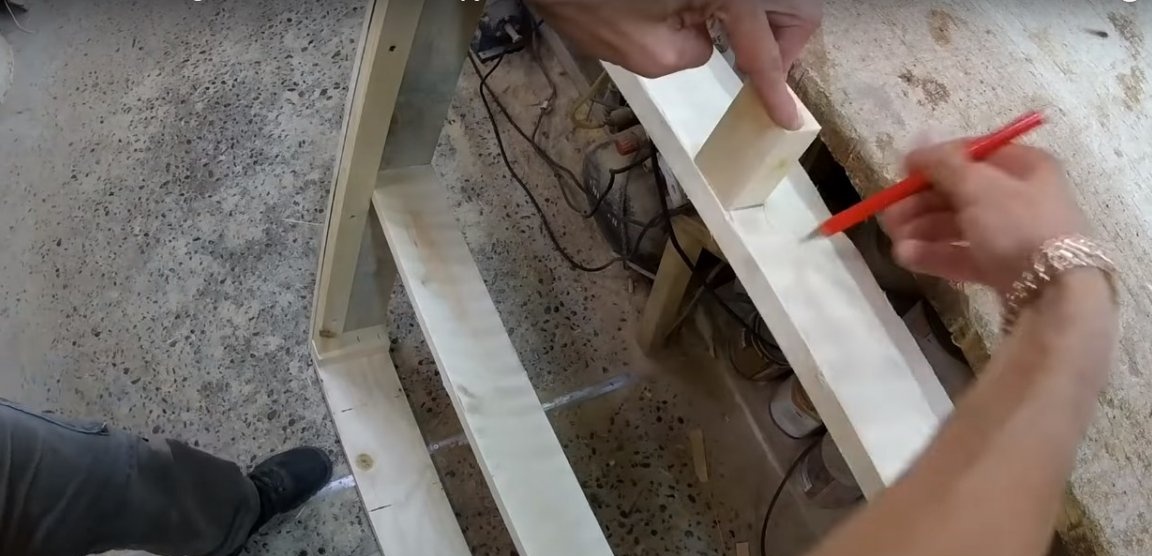
With square sections of boards, the author strengthened the corners of the frame, and at the top of the perimeter installed wooden blocks that abut against the central struts. The design was supplemented by a central longitudinal partition.
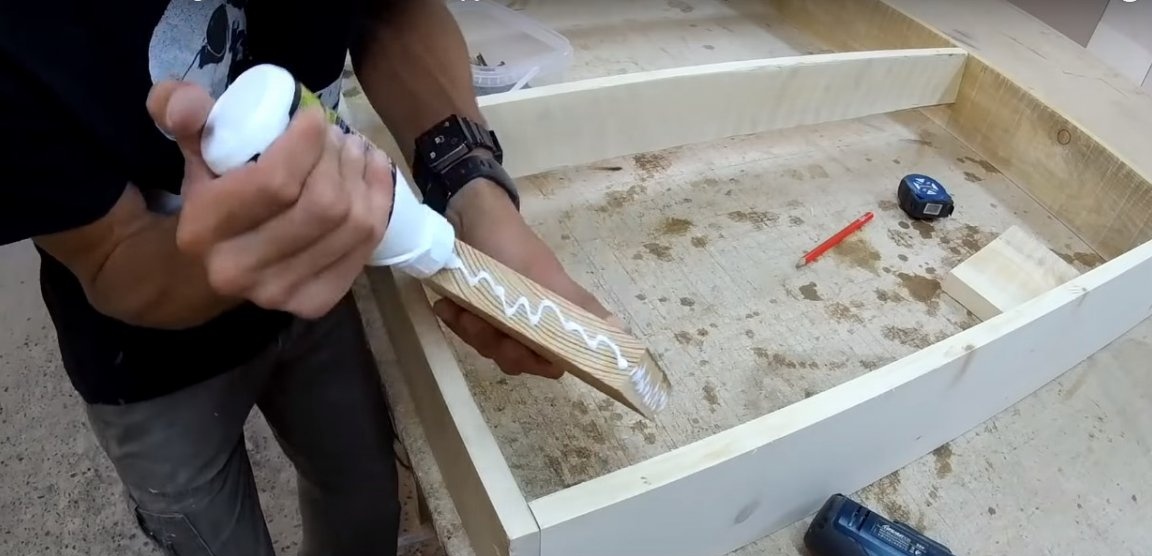

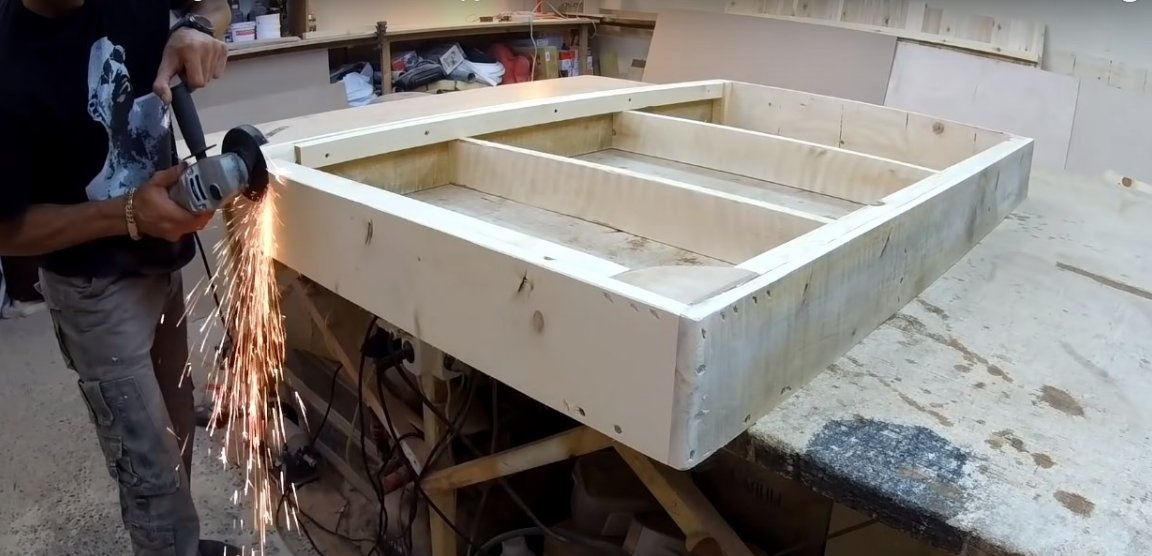
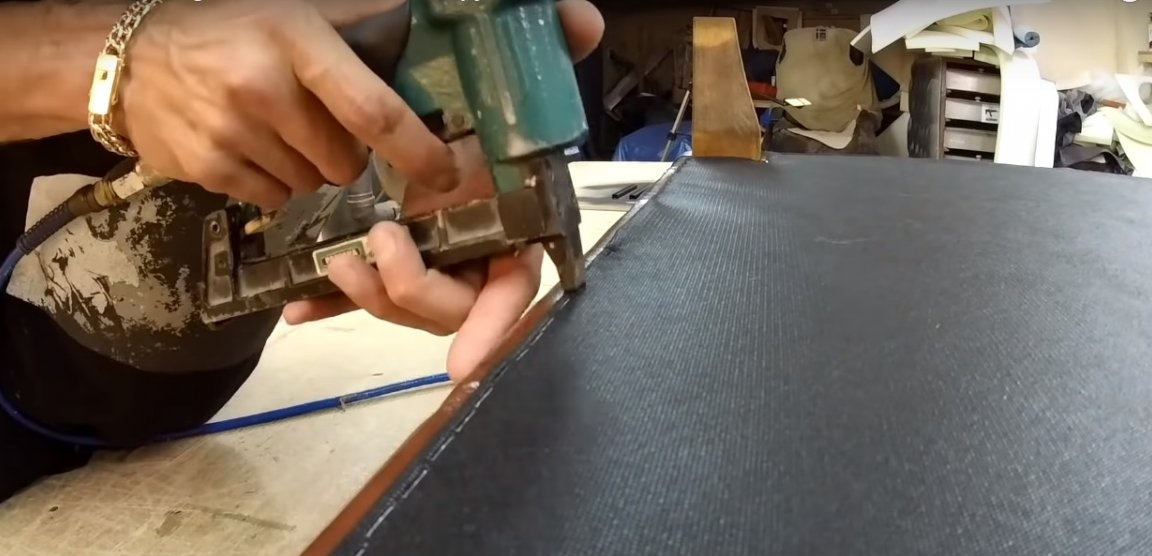
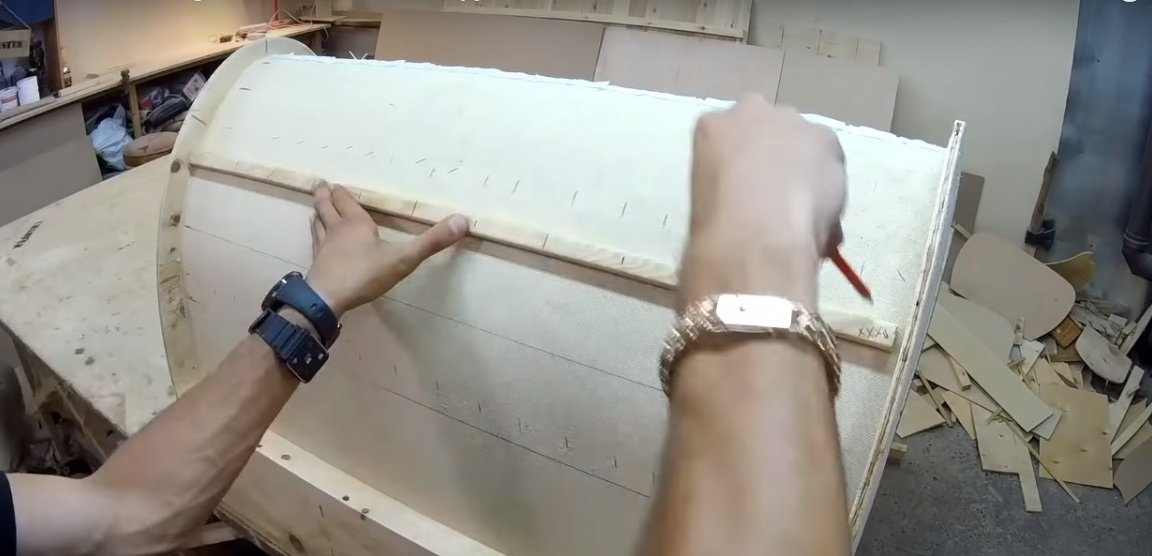
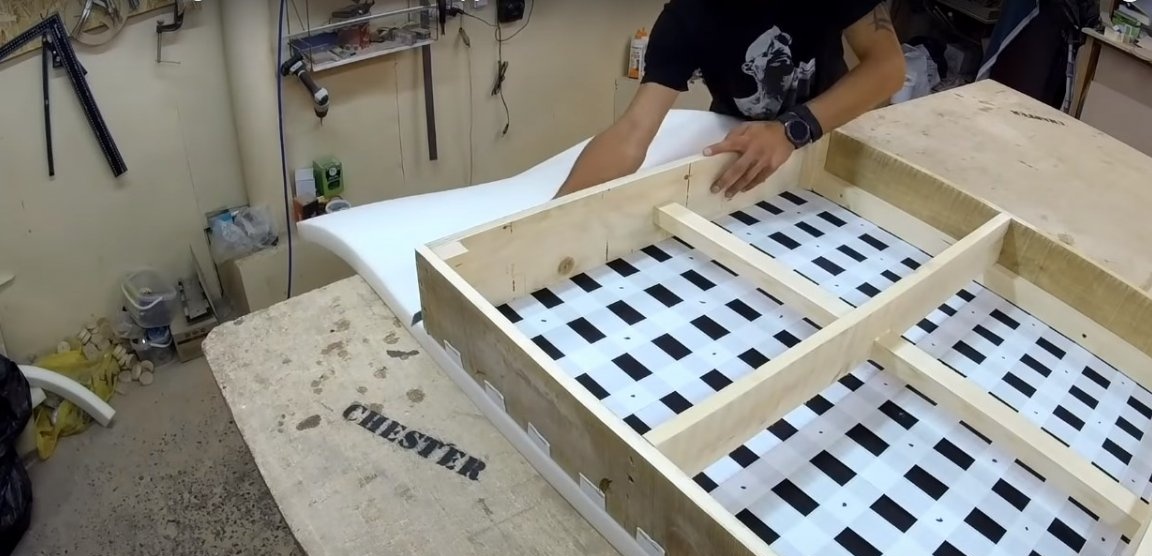
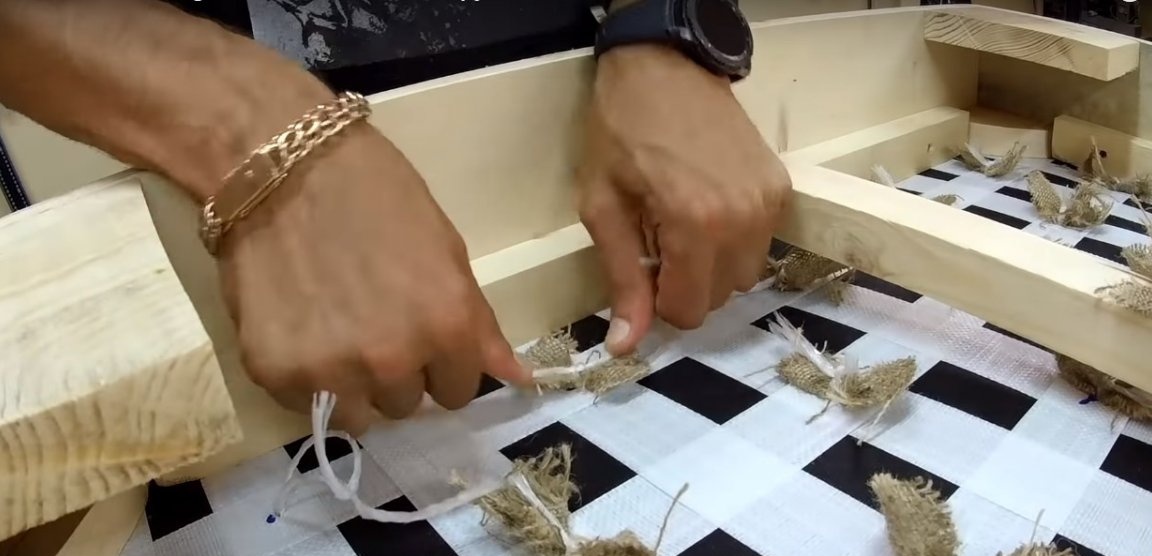
Step six: preparing the frame for the cladding
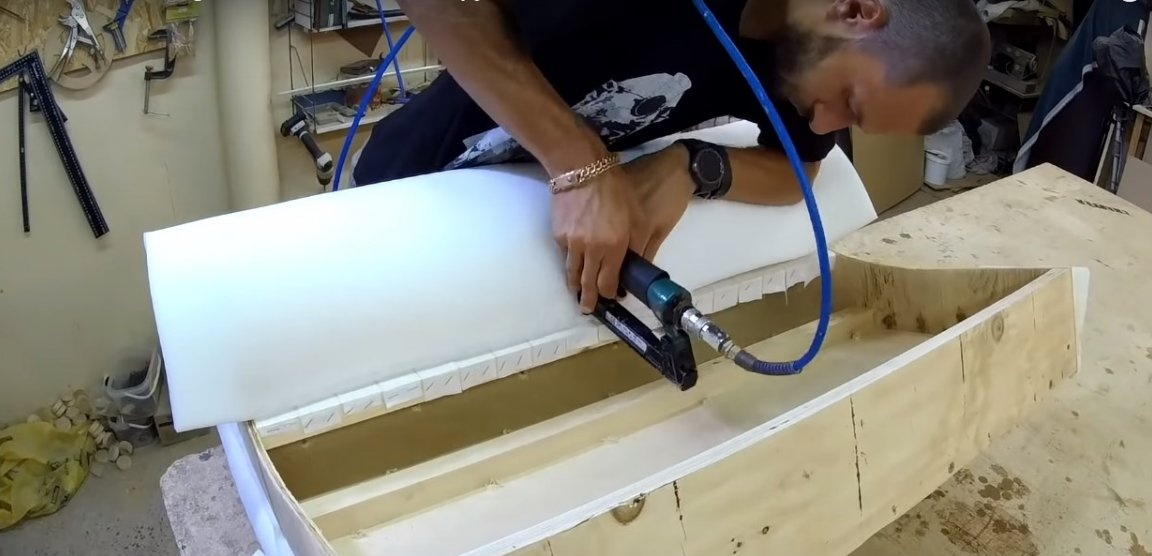
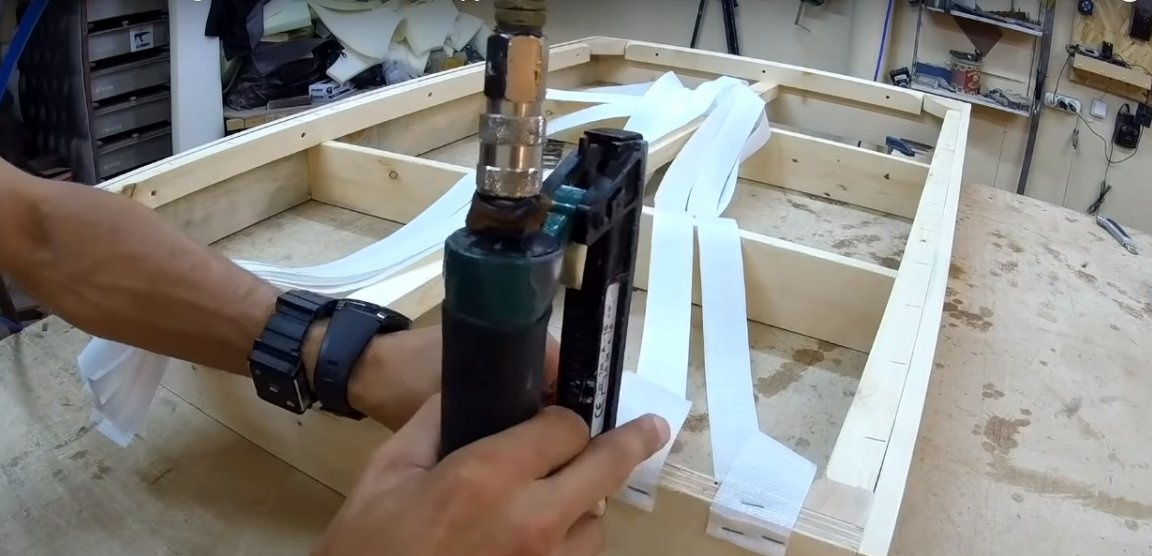
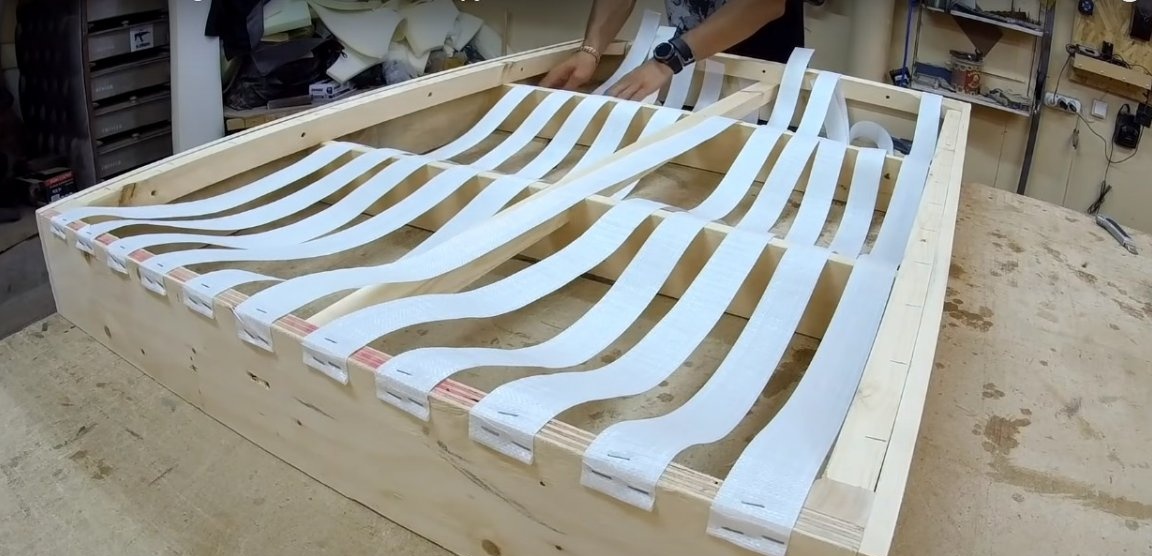
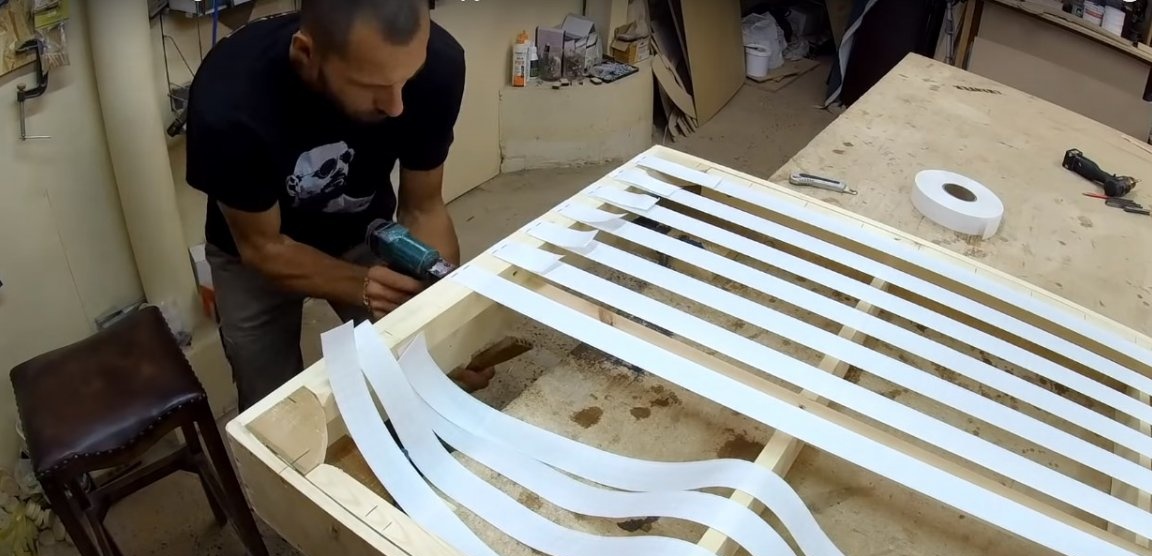
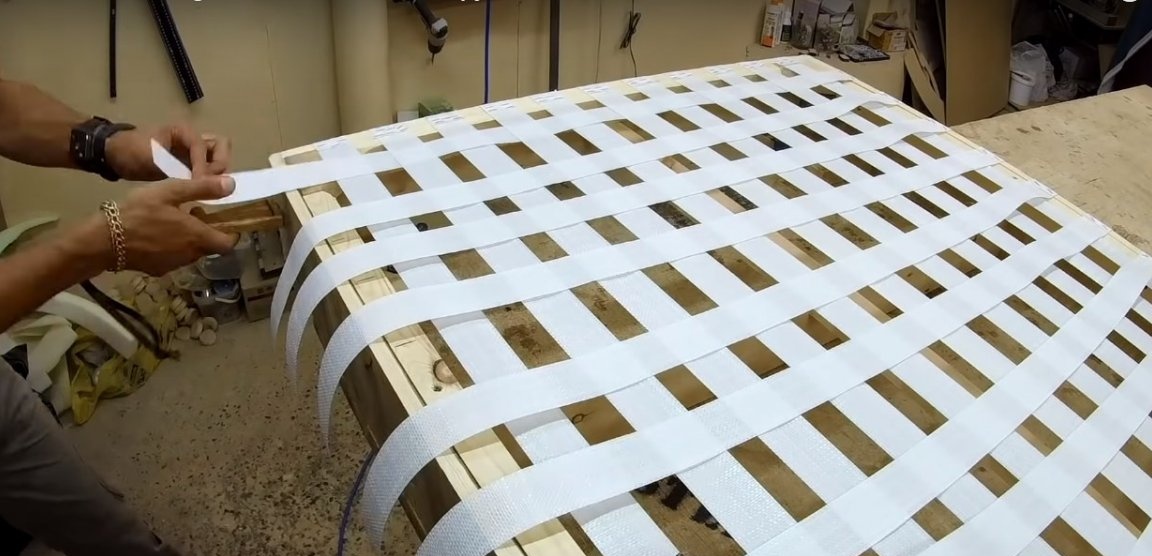
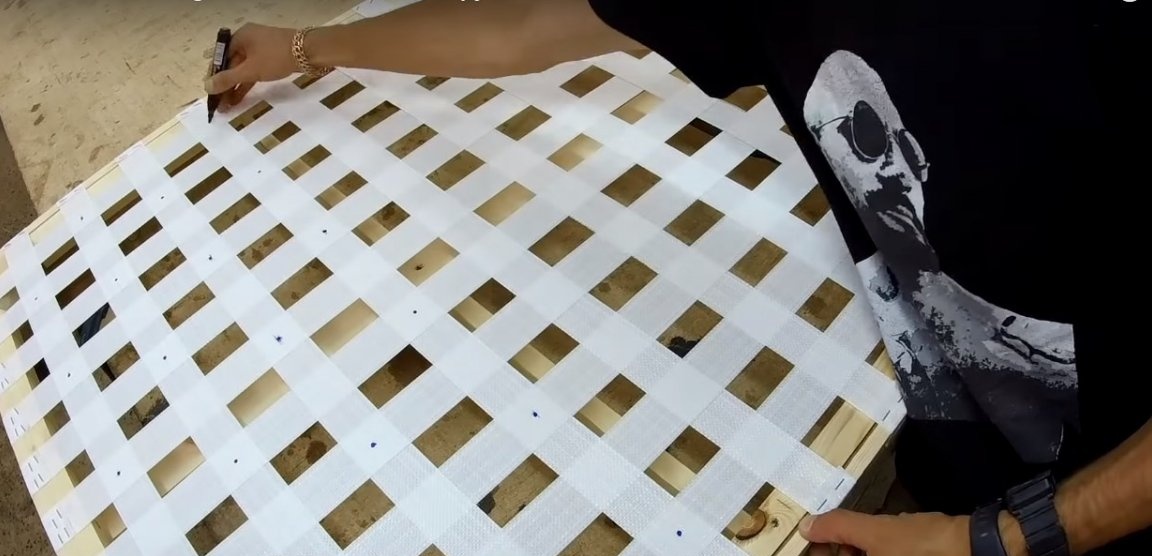
The author made the base of the seat under the foam from a furniture belt. It is quite strong and durable, able to replace lamellas or continuous plywood flooring. The ribbons are stitched together in a checkerboard pattern and securely fixed around the perimeter of the wooden frame with staples.
In order to prevent the foam from pushing through and not falling into the cells, the author placed a layer of synthetic non-woven fabric - spunbond on top of the belt base. You will need a spanbond of sufficiently high density - 100 - 120 g per square meter. m
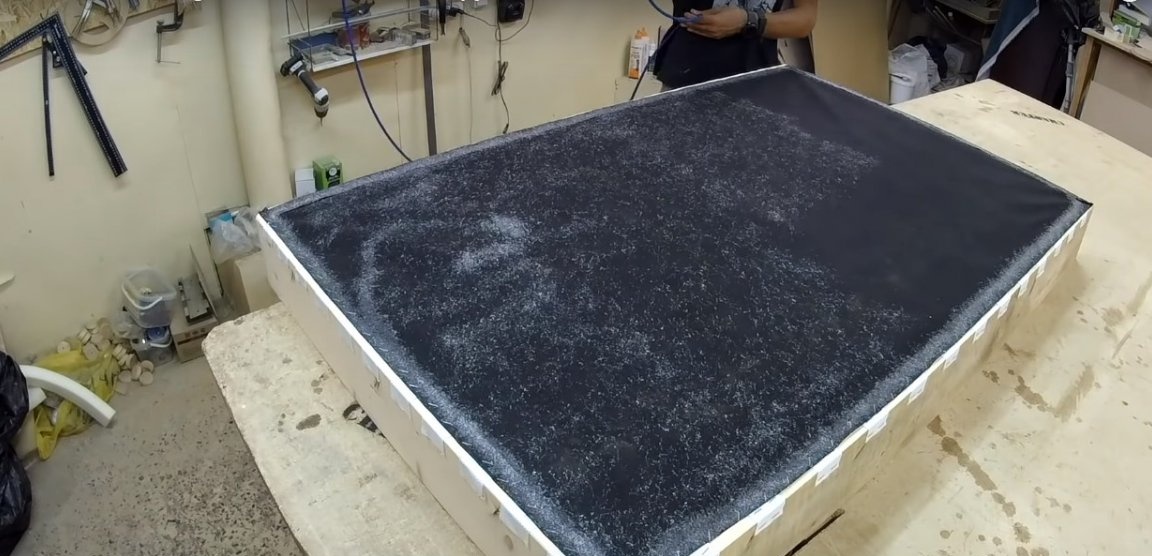
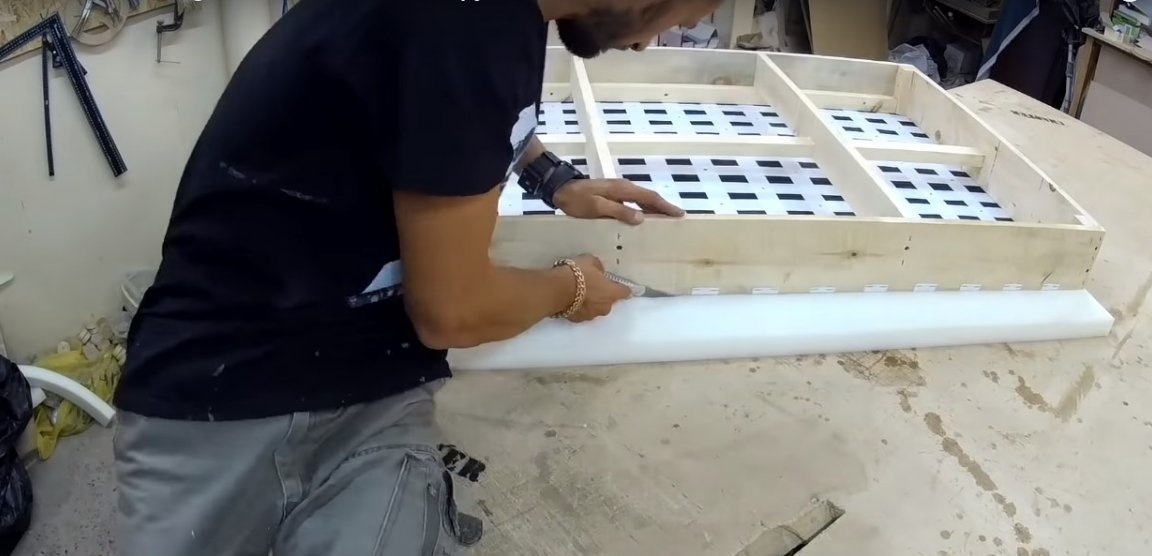
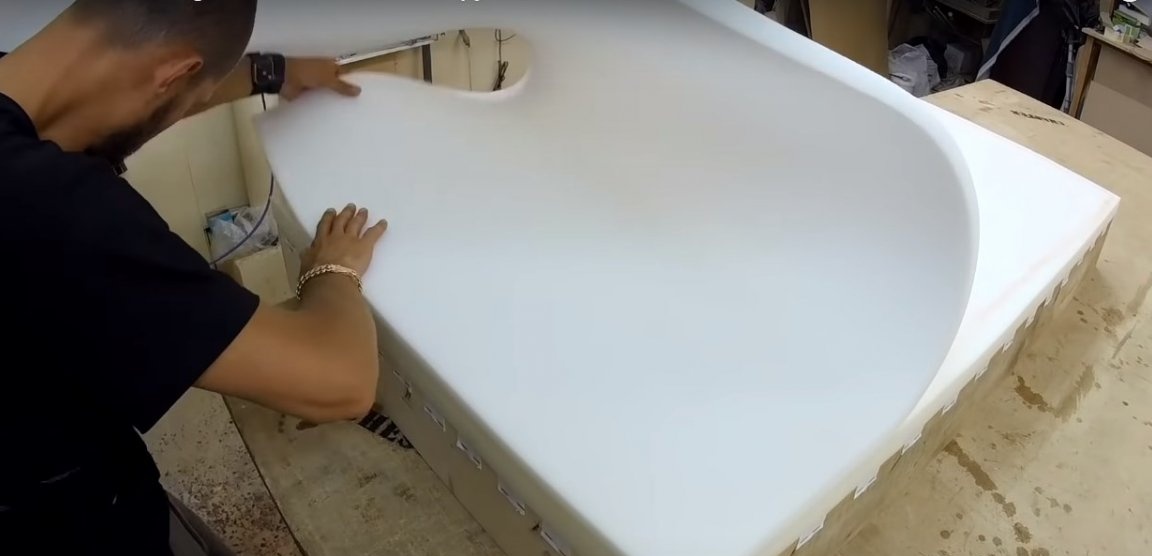
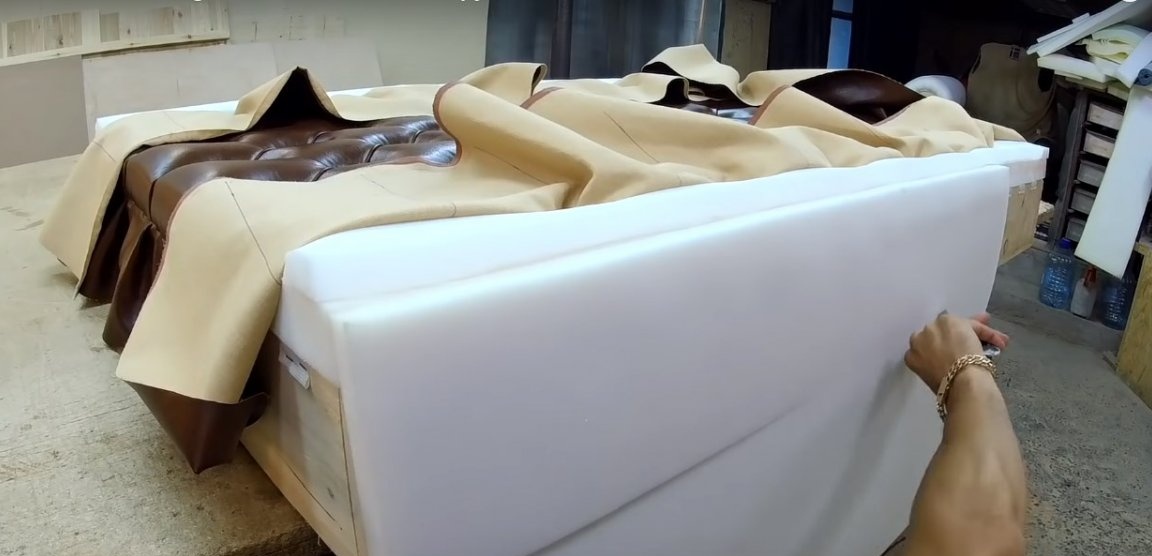
Seventh step: lining the frame with foam
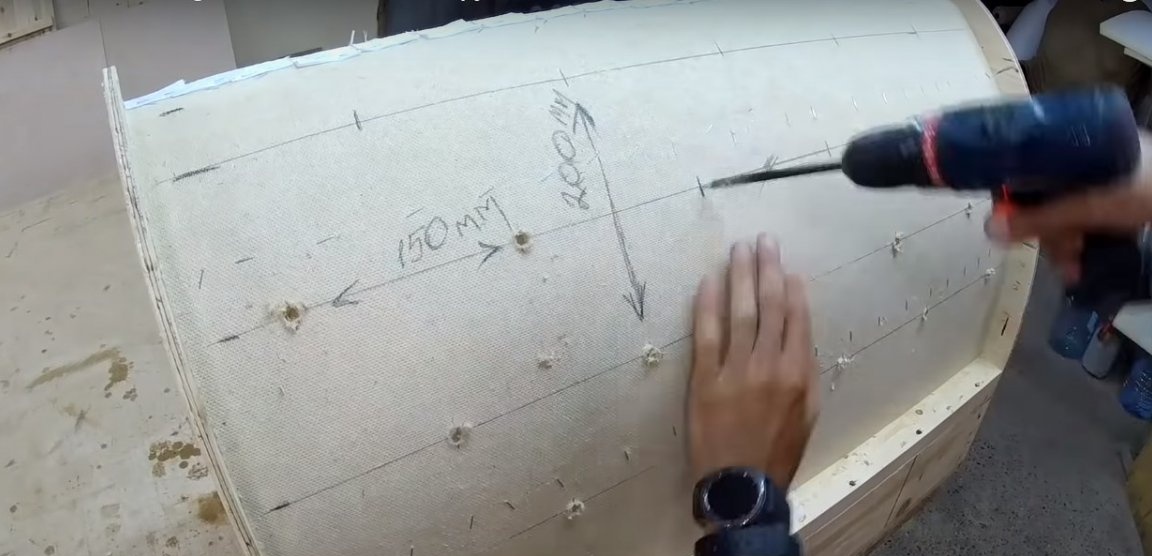
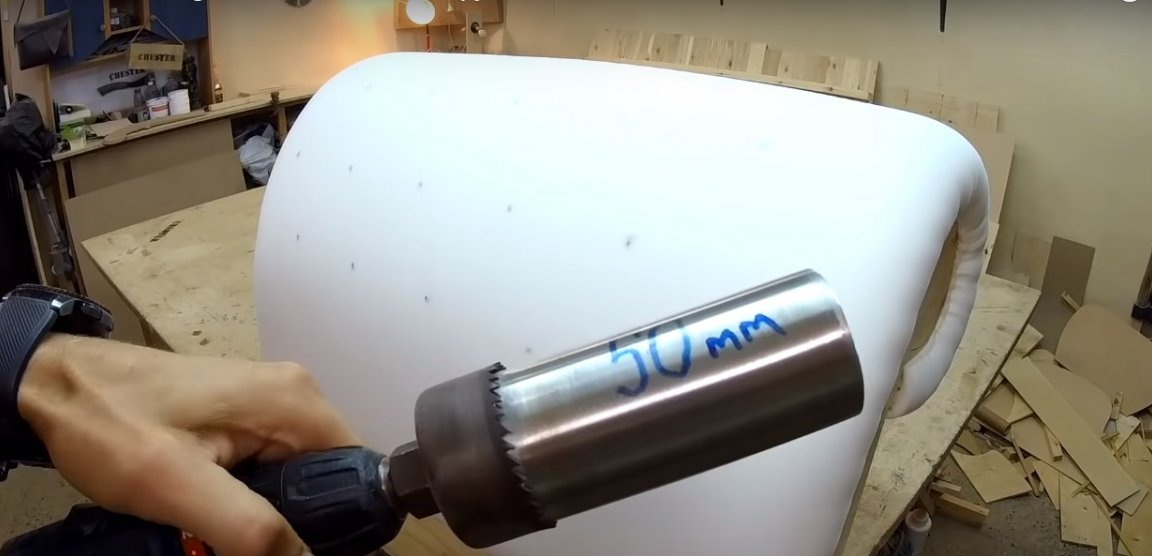
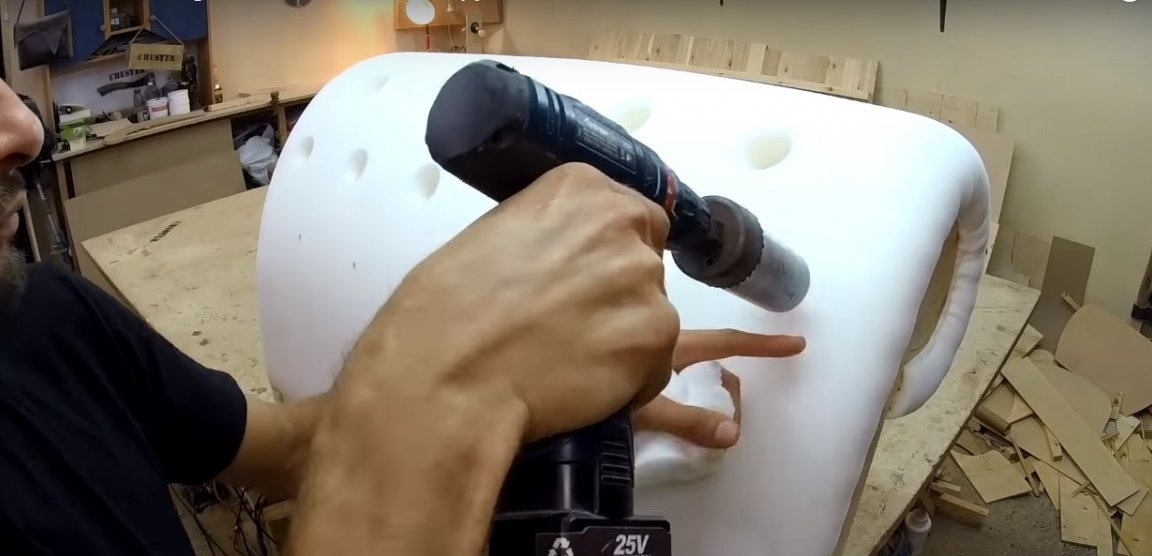
The author pasted two layers of foam rubber on top of the spunbond layer: thick foam rubber of medium hardness and thin foam - of increased softness. Total, the foam layer was 60 mm. At the base, it is necessary to drill holes for the carriage coupler.
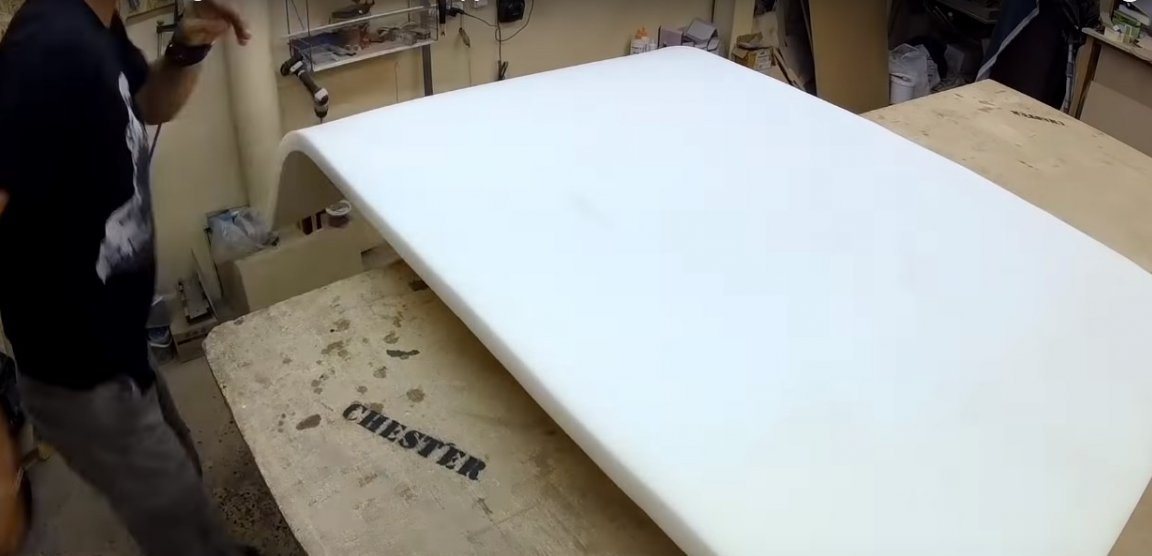
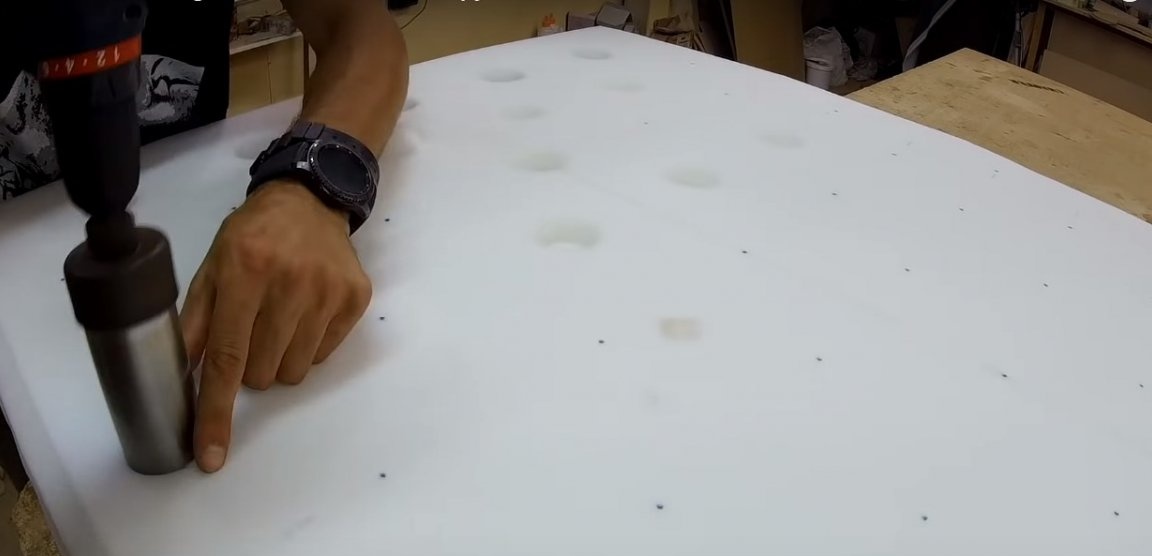
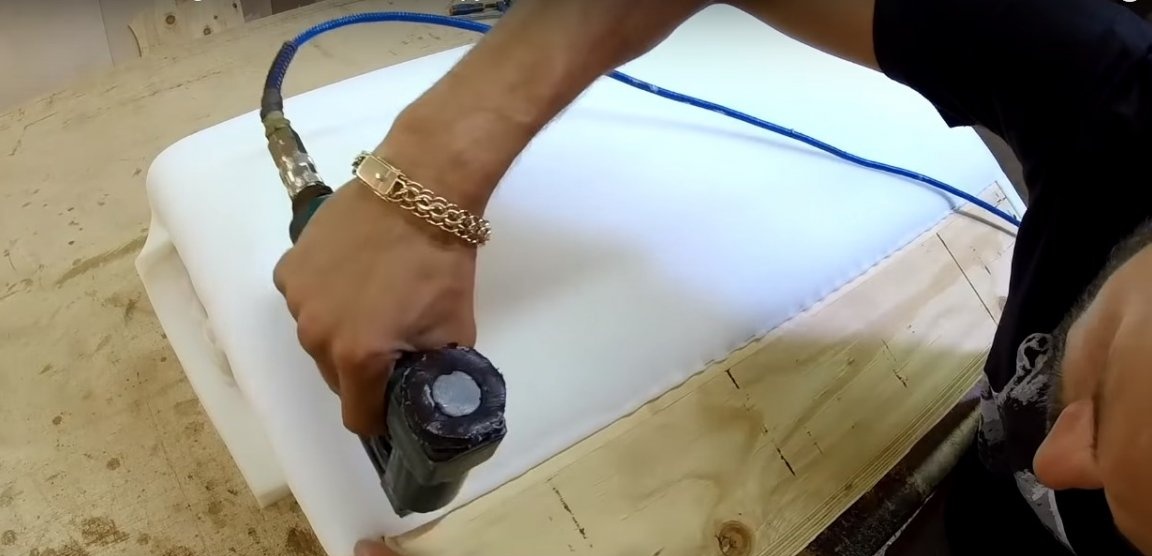
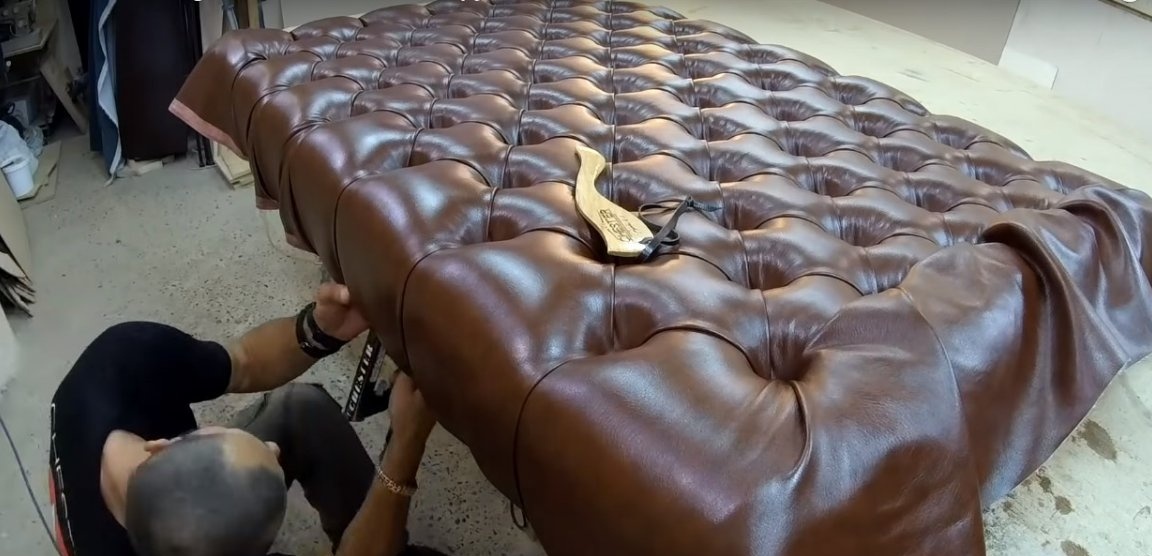
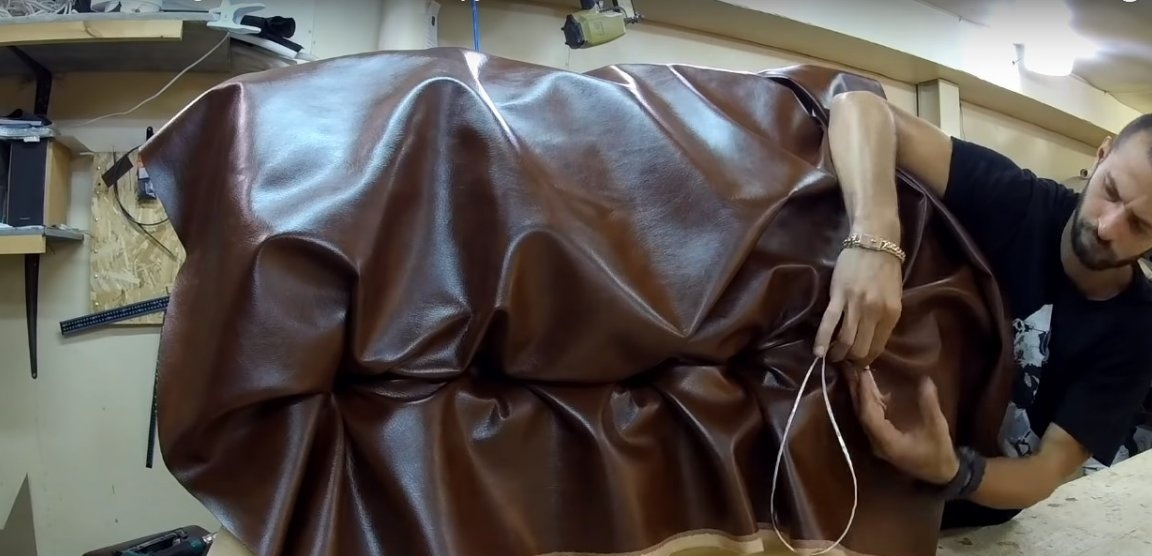
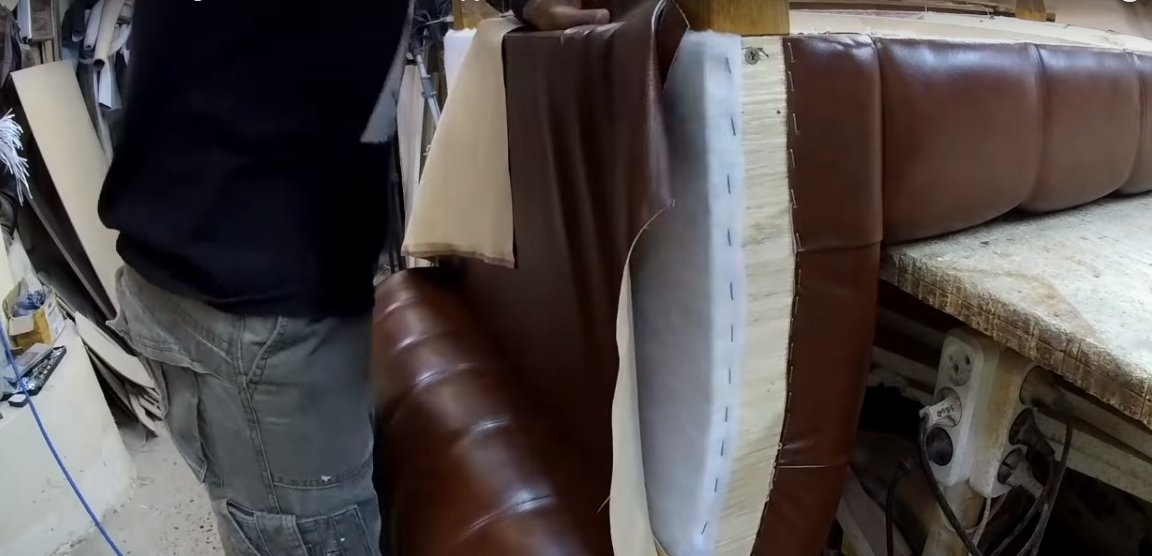
Step Eight: Carriage Tie
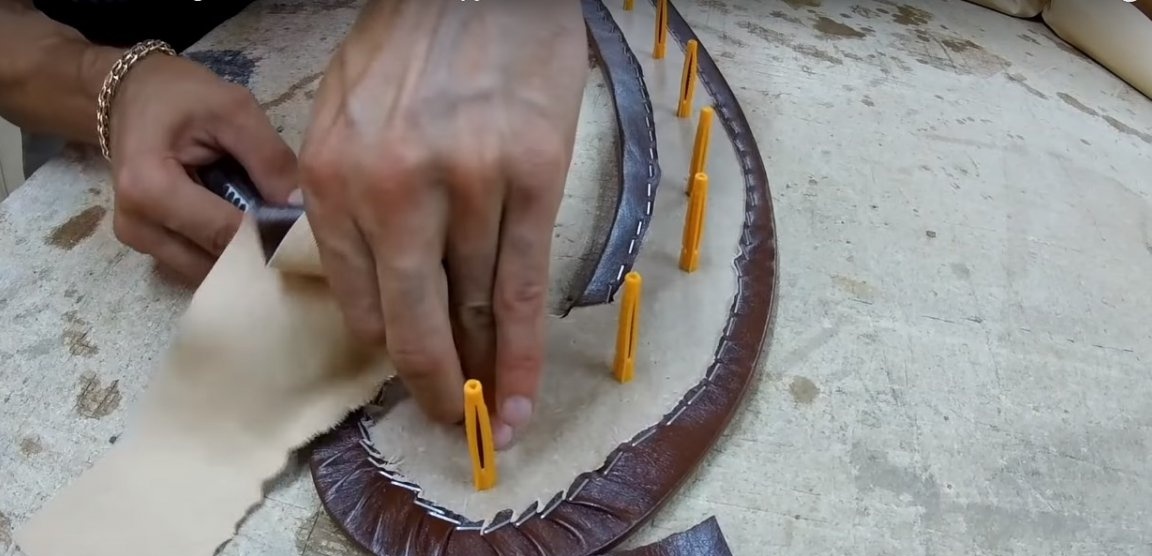
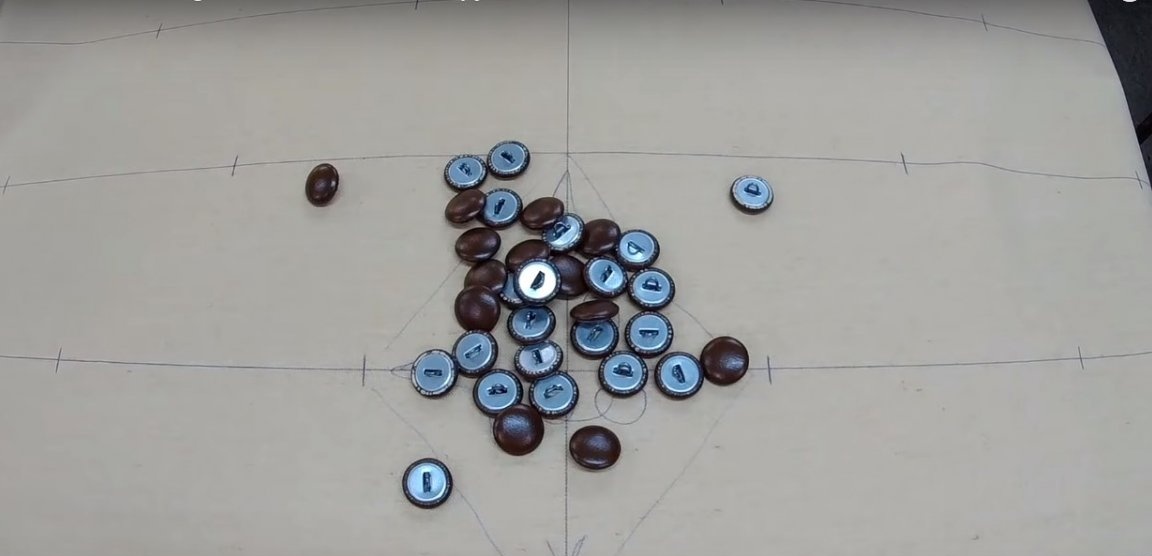
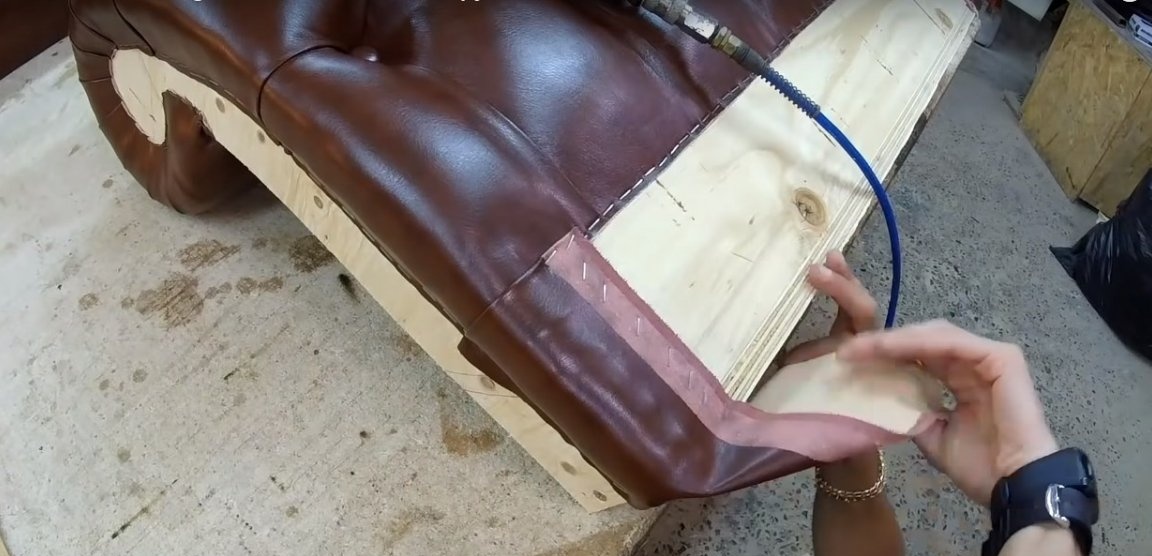
Begin carriage screed from a narrow edge in one direction. For tightening, use a synthetic cord and buttons on the leg, fitted with a leatherette. Stiffen joints can be made using small burlap pads.
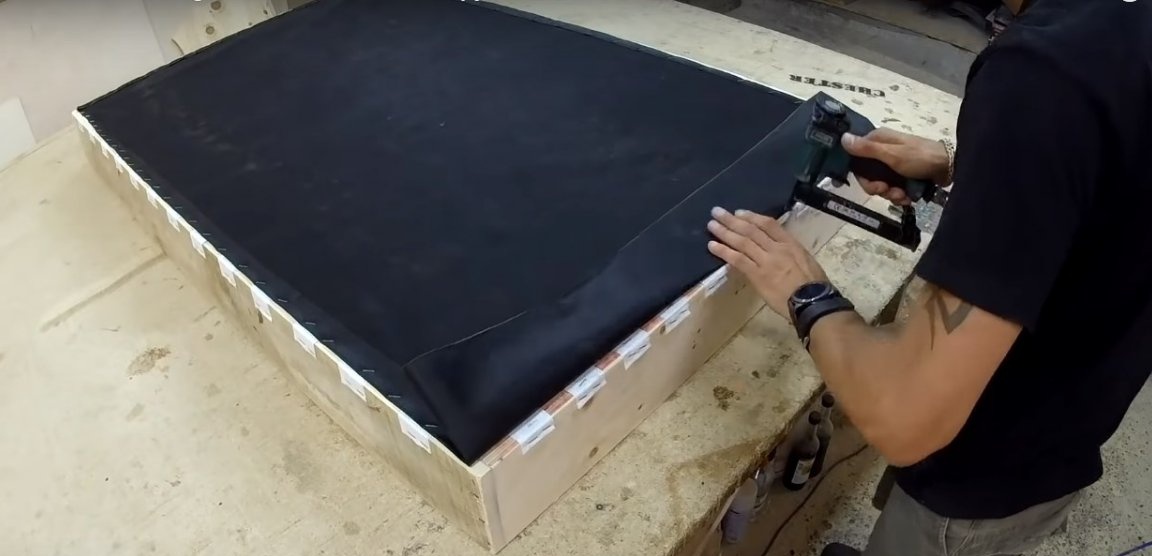
The ends of the seats should be pasted over with thin foam rubber and faced with synthetic winterizer.After that, the padding is fixed on the back of the seat with brackets.
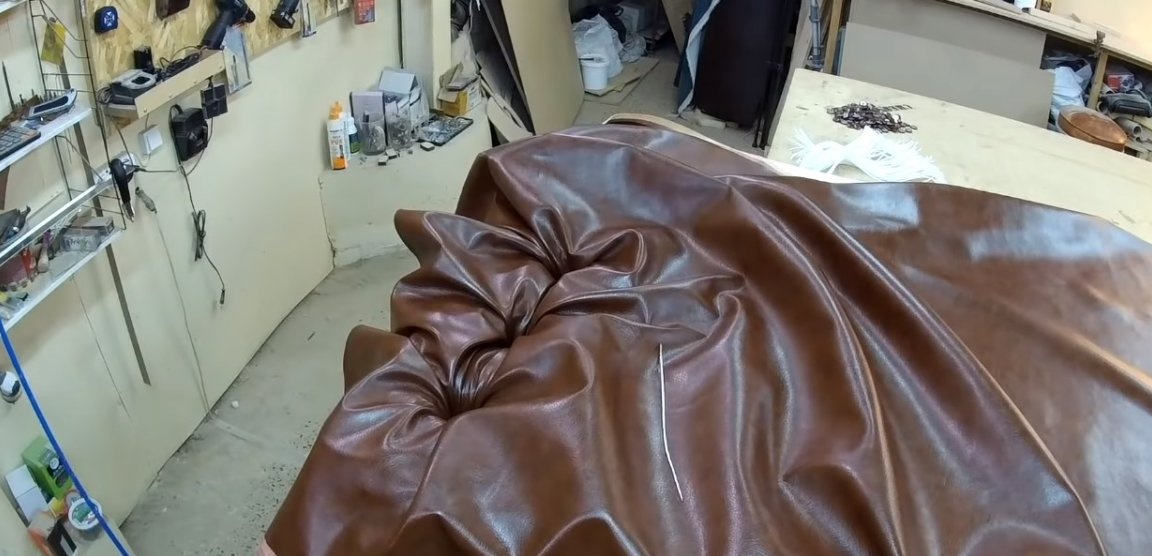
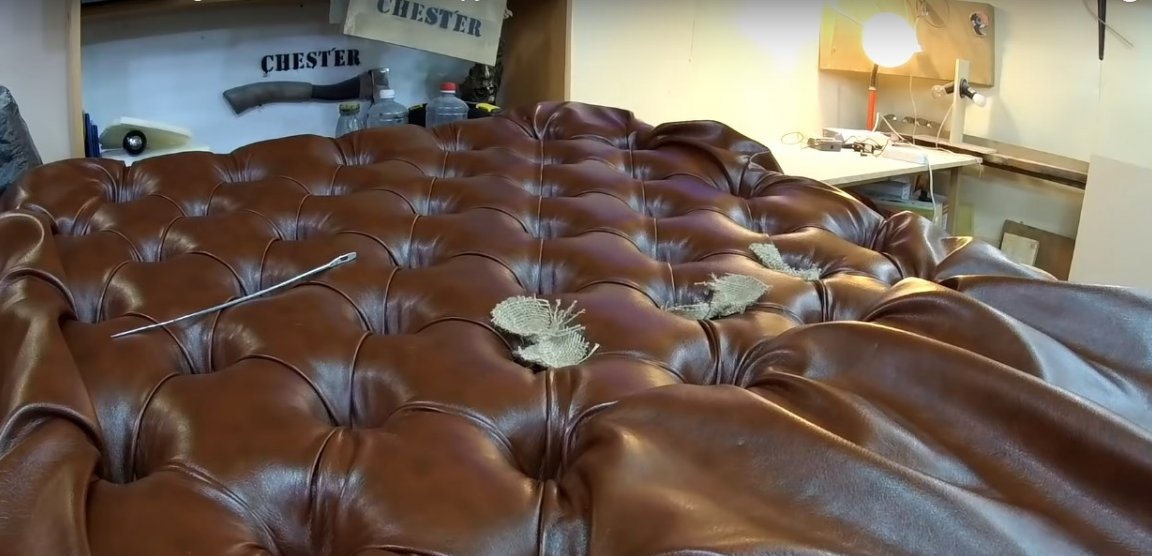
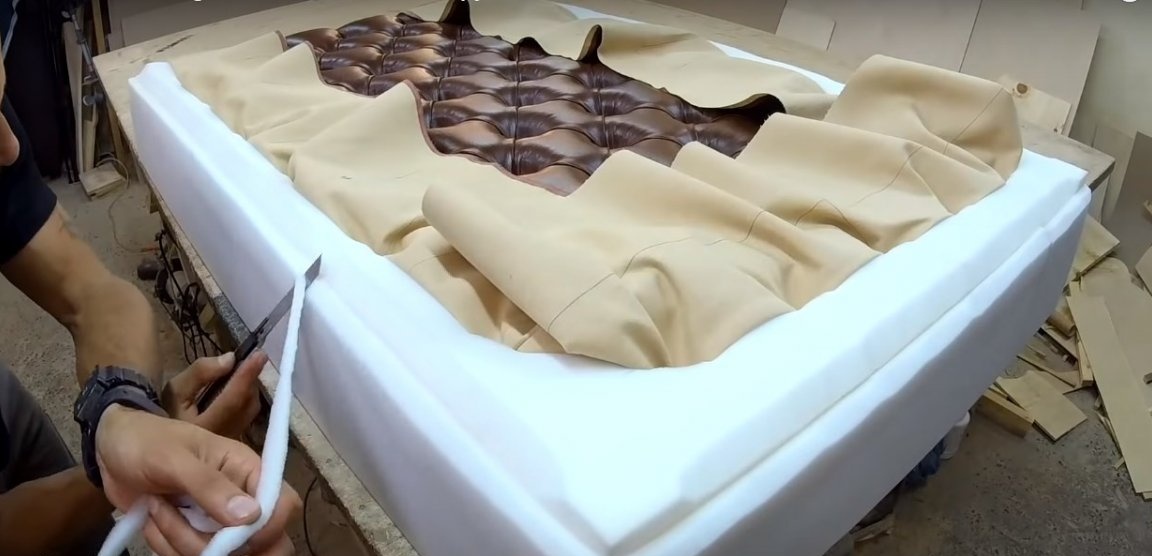

Also drag the backrest as shown in the photo.
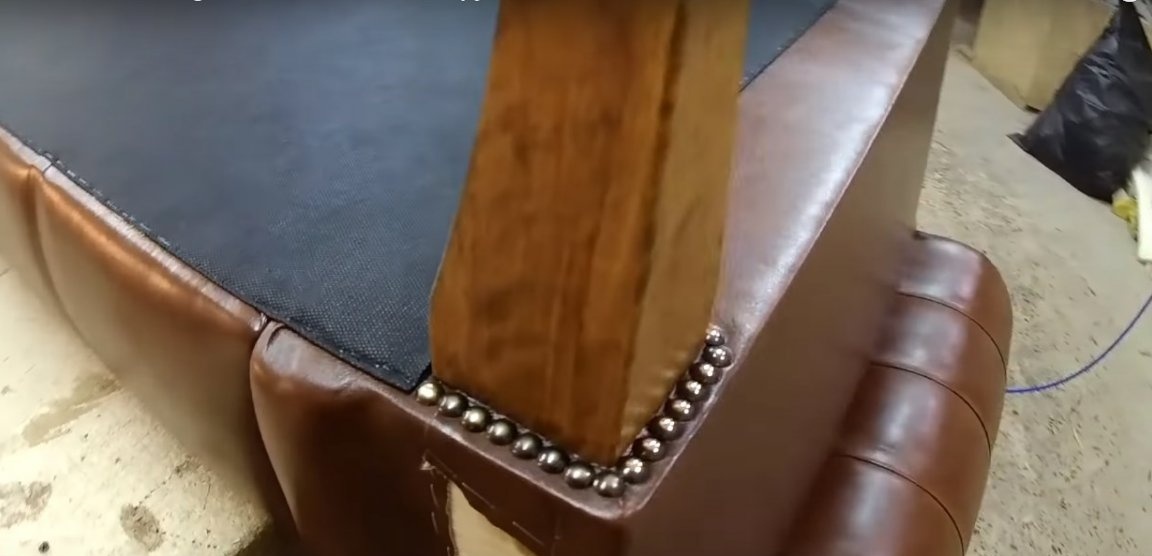
Step nine: final assembly and installation of legs
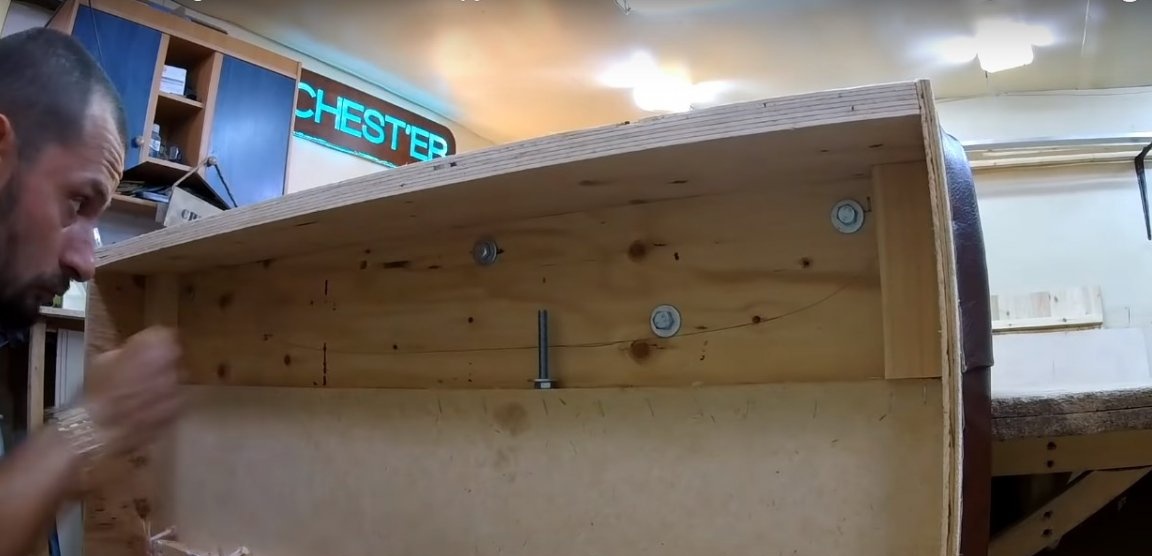
The backrest is fixed on the base of the seat with bolts, washers and nuts in several places.
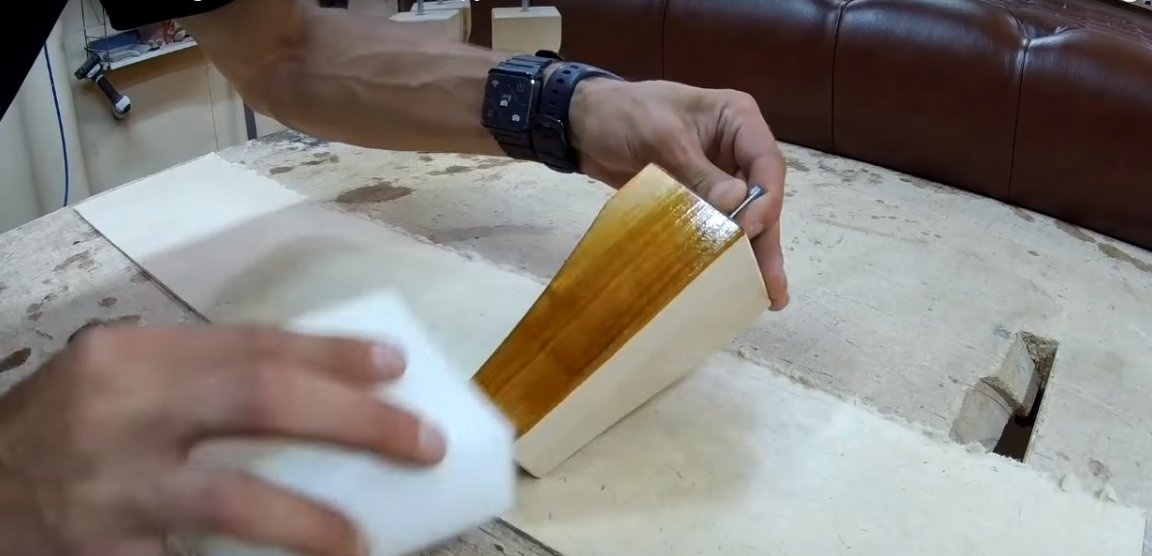
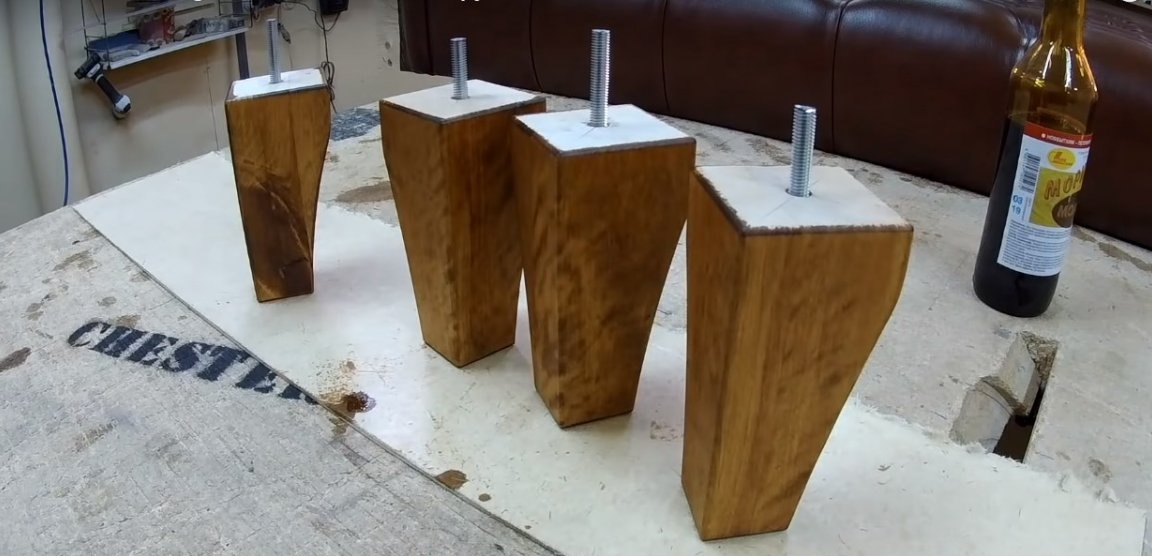
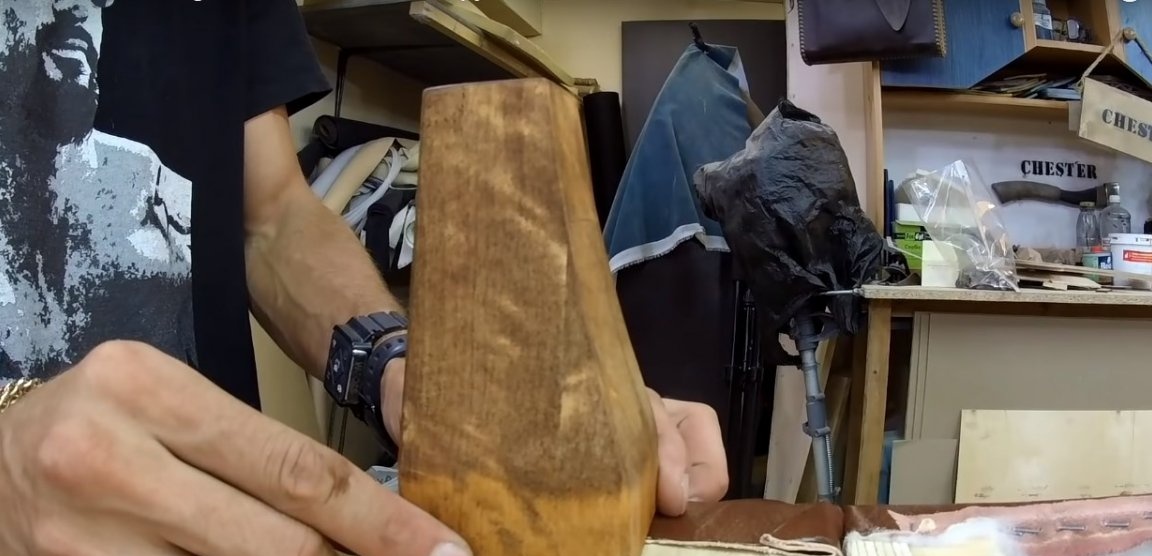
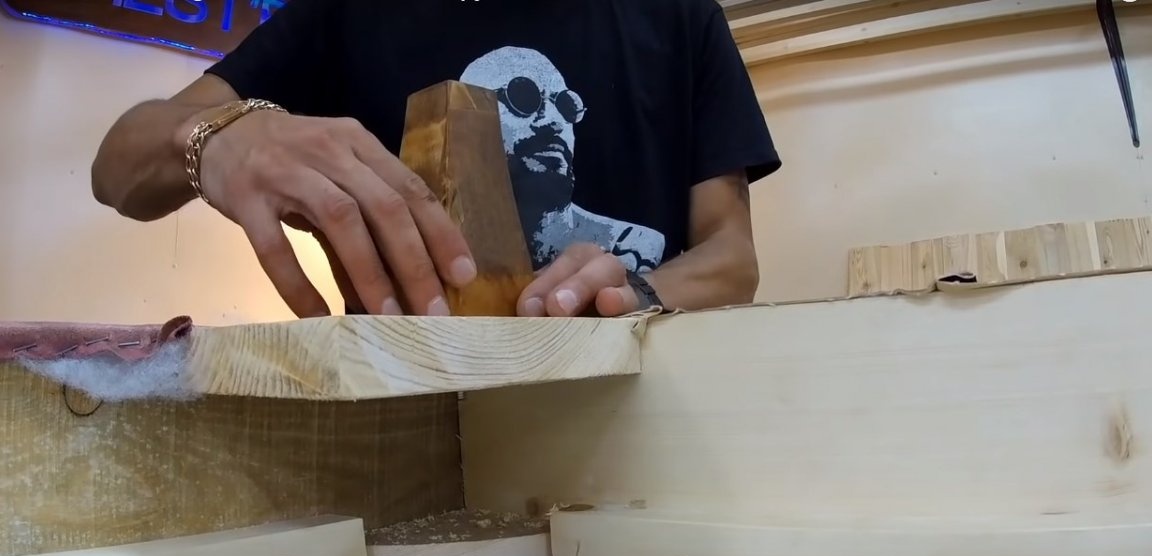
The author processed the finished wooden legs with an oil stain. You can also use tinted furniture wax. Any of these products does not require fixing with varnish.
The legs have a threaded metal rod, are installed in the holes and fixed with nuts on the back side.
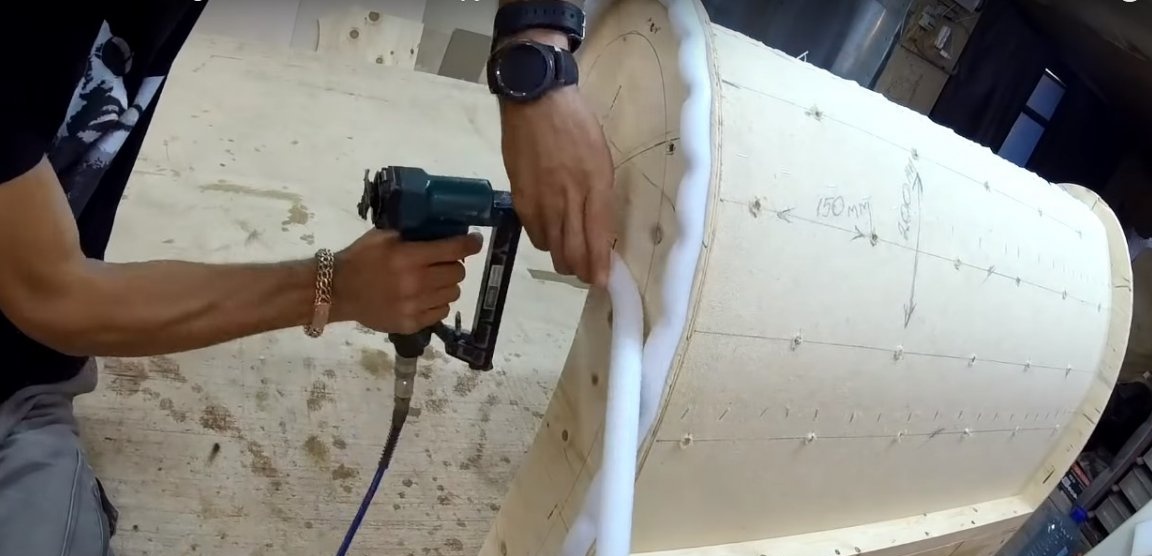
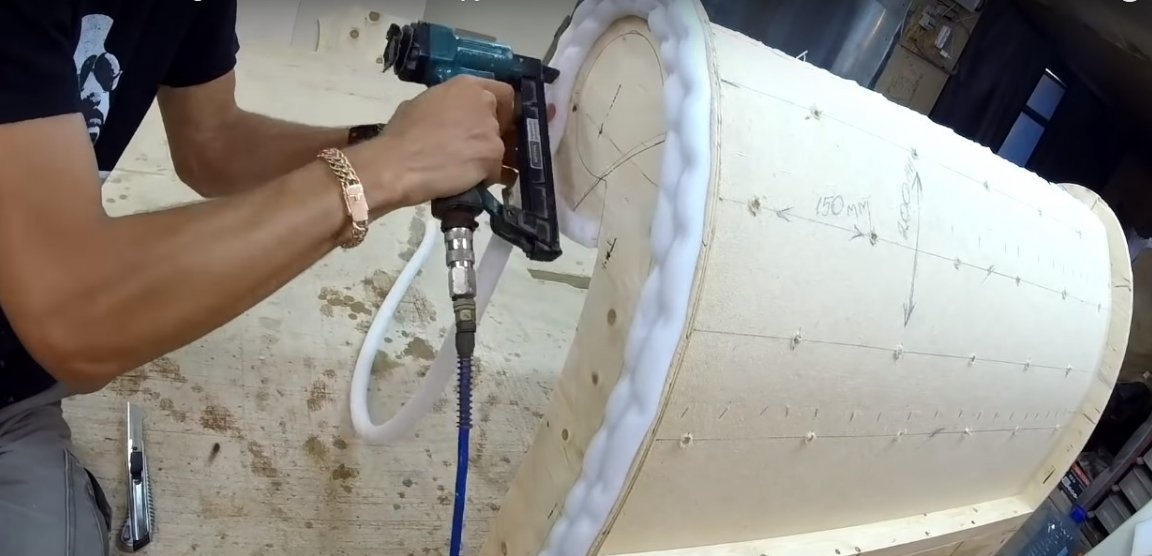
Step ten: processing the bottom of the chair and installing soft profiles
The bottom of the chair is treated with a dense spanbond, which is attached to the frame with brackets with a hem edge of 2-3 cm.
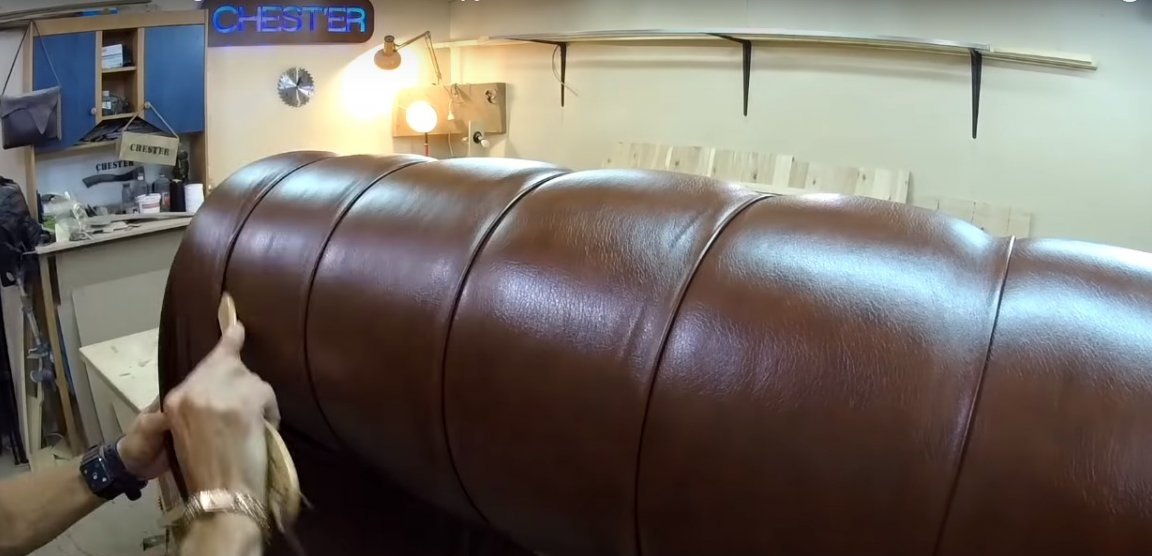
Auto pre-prepared soft profiles for bylts made of MDF, thin foam rubber and leatherette. Fasteners will be the dowel-nails installed in the holes
profiles. Finished profiles are easily and simply hammered by hand into the corresponding holes in the past.