Nowadays it is difficult to find a person without a phone. If a mobile phone is an integral part of your life, then you should know how sometimes there is not enough stand for it. In this MK we will talk about how to make a stand out of trash, or rather, from an old board, which has a place in the garbage.
Tools and materials:
- Board
- Electric jigsaw
- Craft paper
- Stain of any color
- Brush (it is more convenient to use a narrow one)
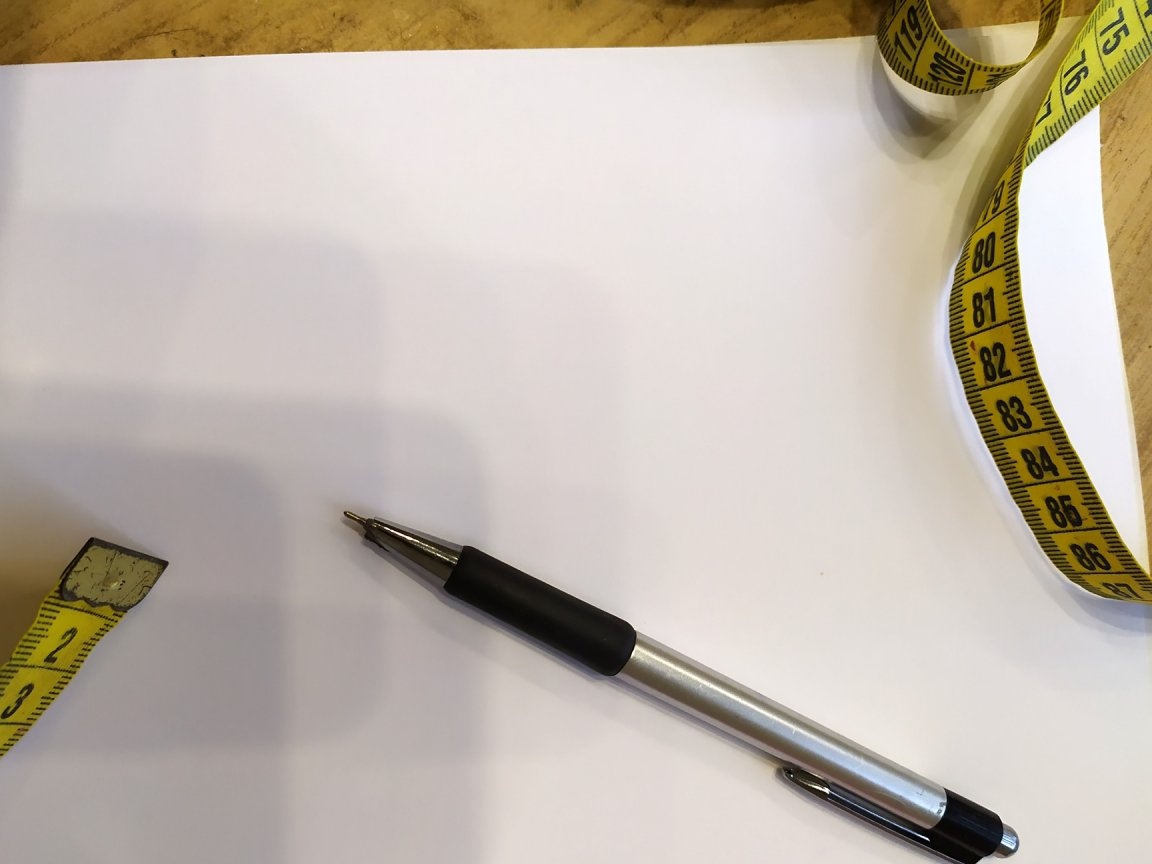
- A4 paper sheet
- A pen
- Ruler or tape measure
- A few long nails
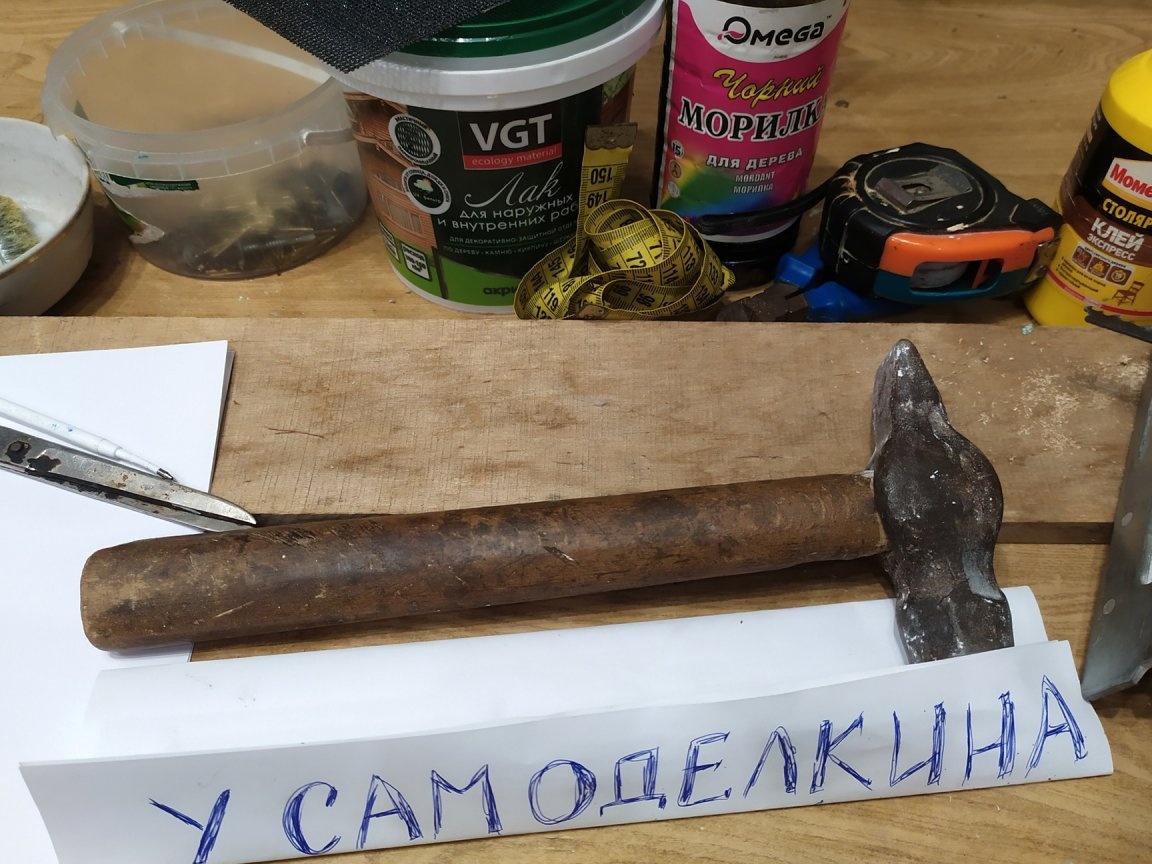
- Hammer
- Capacity for stain
For starters, let's decide on the board. I found mine on the balcony, where she lay for many years. If you do not have the usual stock available, then you can always buy at the points of sale of the tree in your city.
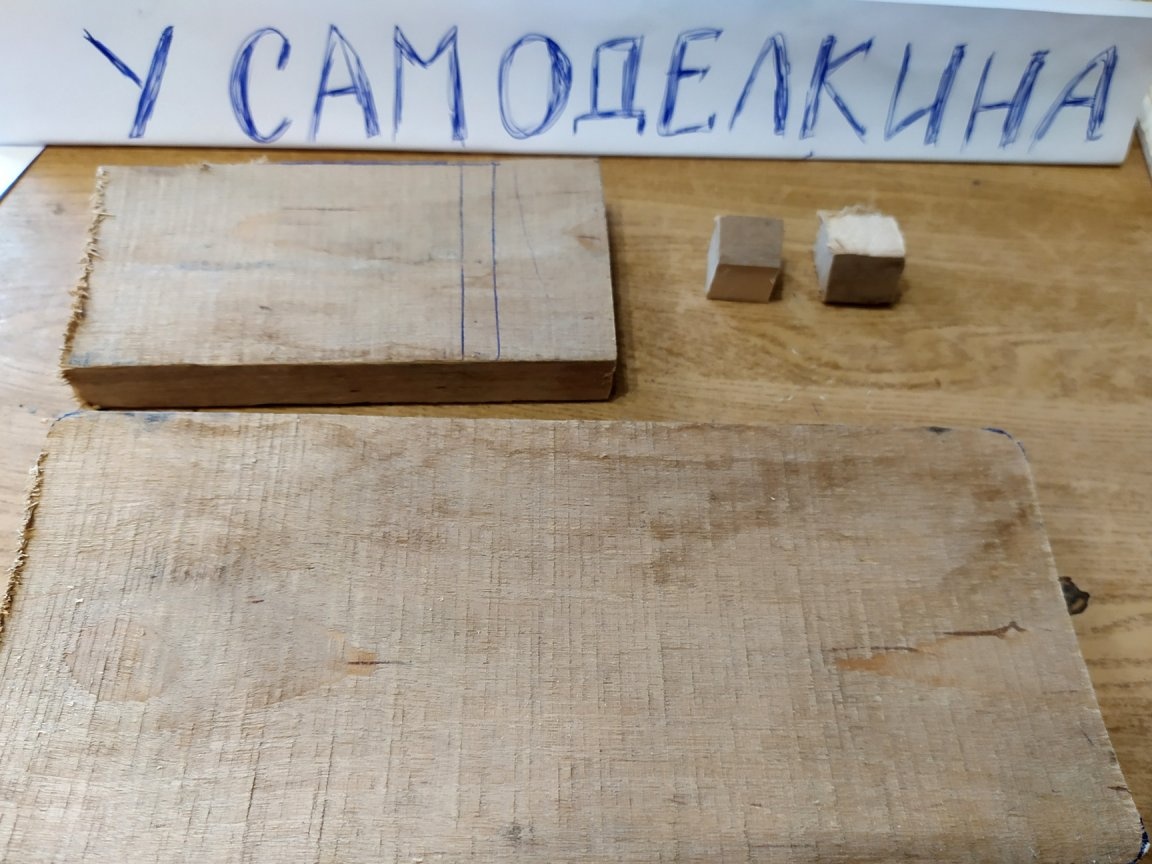
The dimensions of the board are as follows: Width - 83mm, length - about 400mm, thickness - 12mm.
If the board is too long, select the most attractive area and cut it out to make it more convenient.
Now, we need a stencil. We take a sheet of A4 paper, a pen and a ruler, and draw all the details.
My stencil does not look perfect, but it works fine.
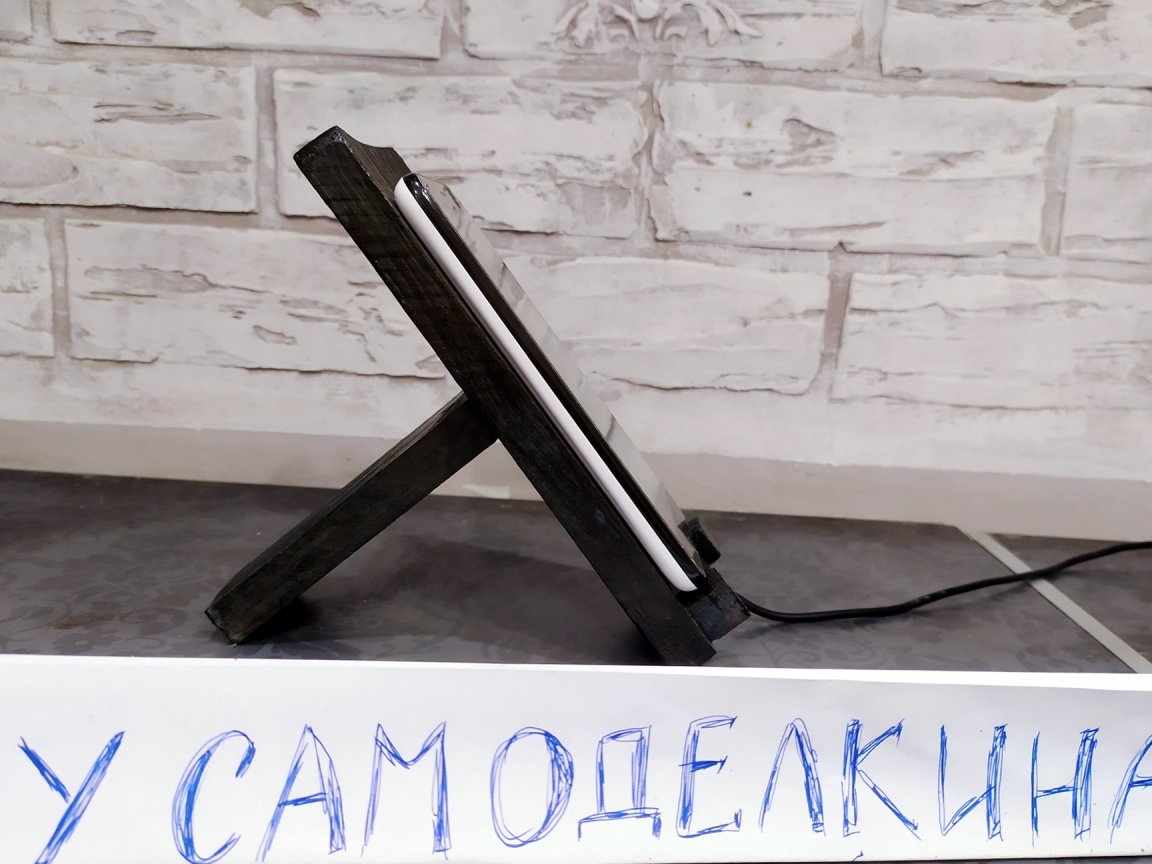
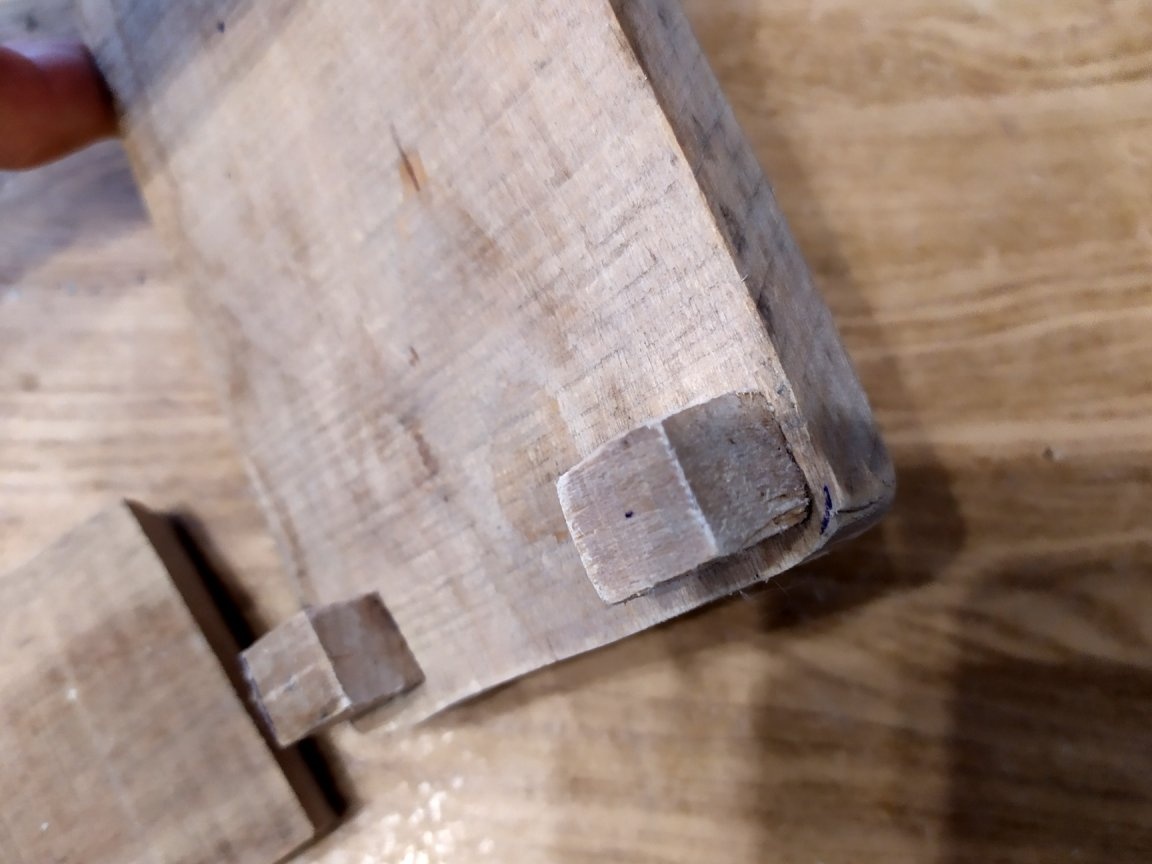
The largest part is the base, on the back we attach a leg, and in front, two small cubes on which the phone will rest. All my sizes are in the photo. When calculating the optimal width of the stand, I just used the width of the board (83mm.).
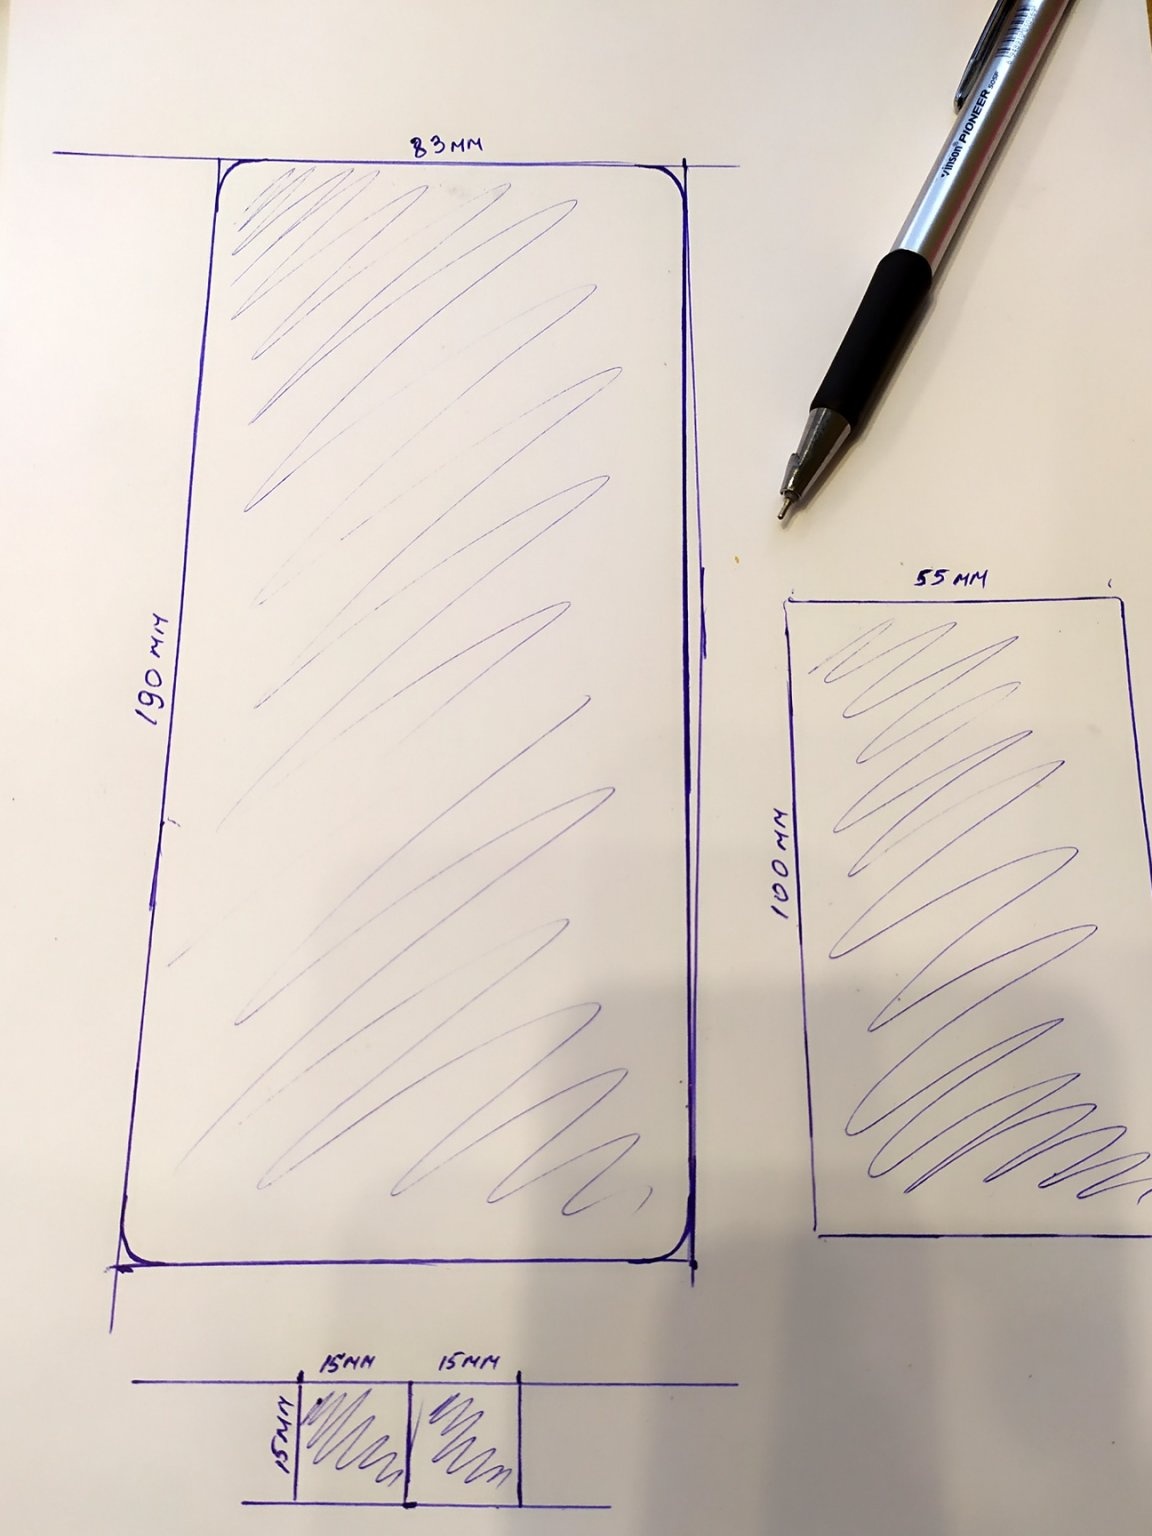
I decided to round the corners, but I want to note that with such a thick board it is quite problematic to cut them evenly. Therefore, rounding can not be done.
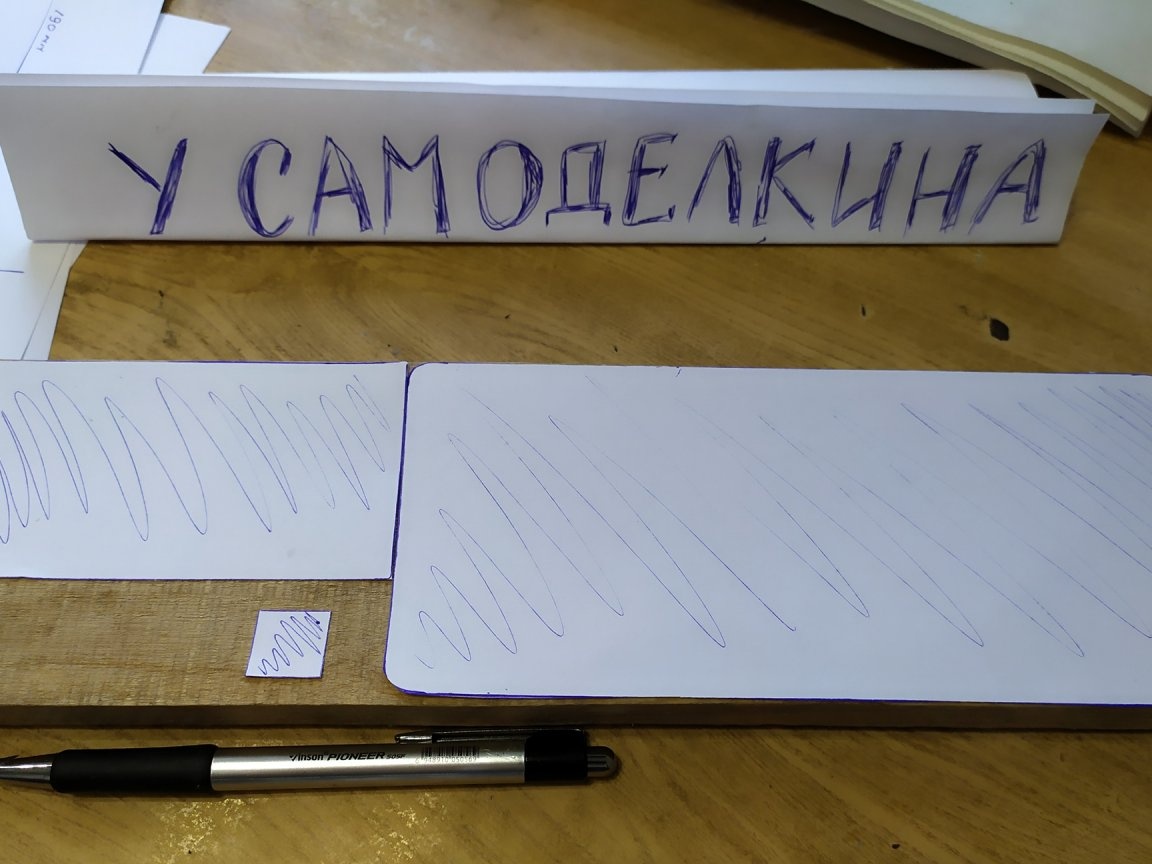
When we draw the sizes we need on paper, we take the scissors and carefully cut them out.

After the stencil was cut out, transferring them to the board, as it is convenient for us.
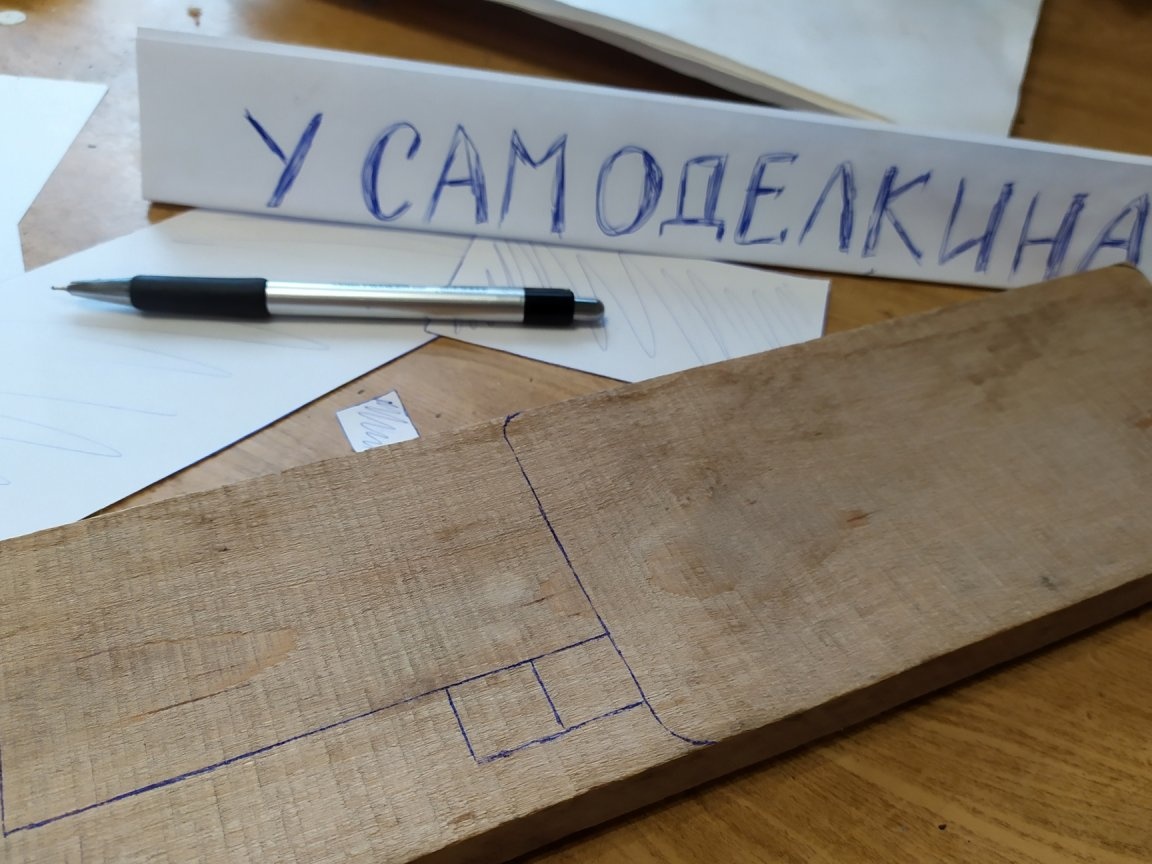
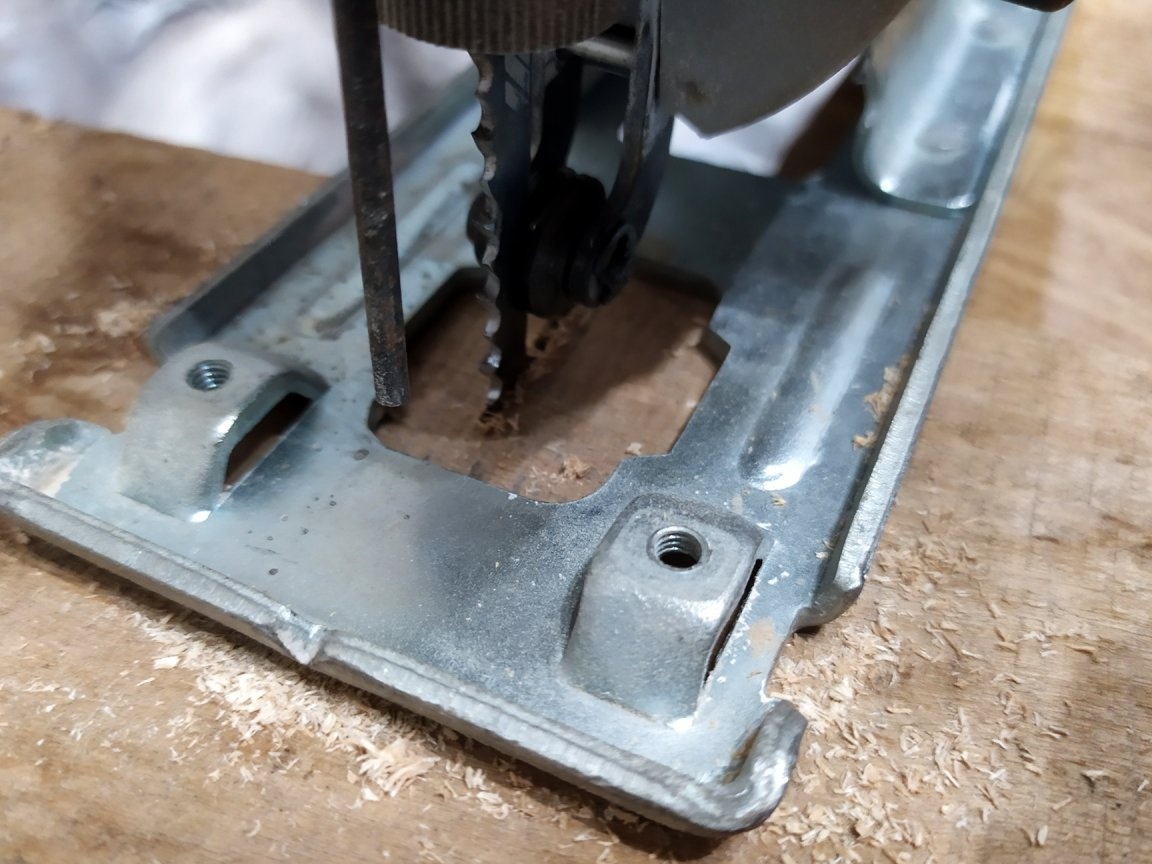
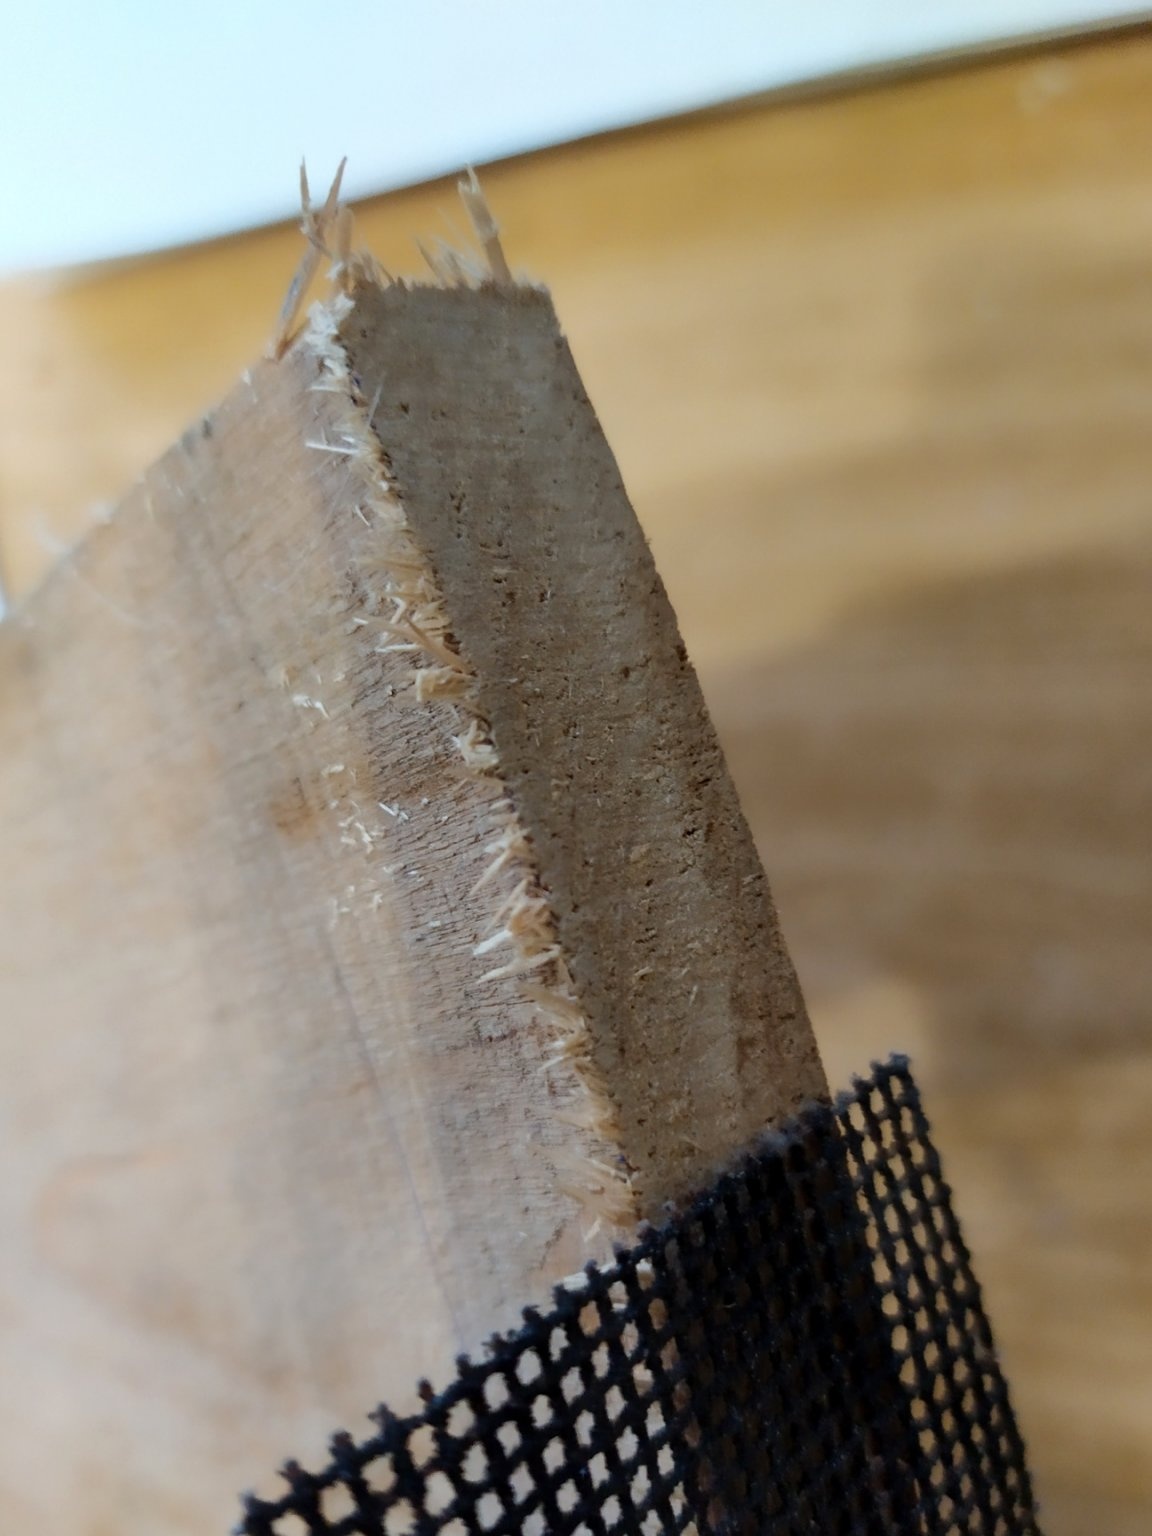
We need a jigsaw and a wood file. The thickness of the board is not very small, so it is better to choose a good file, so as not to tear the edges, I used the one that was in the arsenal.
So, we cut out a stencil from paper, transferred it to a tree, and we begin to cut it. We do everything slowly and accurately, since we need to make the edges as even as possible. If the first time fails, then you can redo it, because all this will be too clearly visible in the end.
When we all cut out, we take sandpaper, and we thoroughly skin everything. I use the iron mesh number 120, it seems to me comfortable. If you do this with your bare hands, then you need to be careful, as it is easy to drive a splinter. If you have a grinding machine, then it is better to use it, it will be much faster and more convenient.
It is necessary to grind not only freshly cut sides, but also all other sides, since my piece of wood is old, I do it as carefully as possible until it brightens a little.
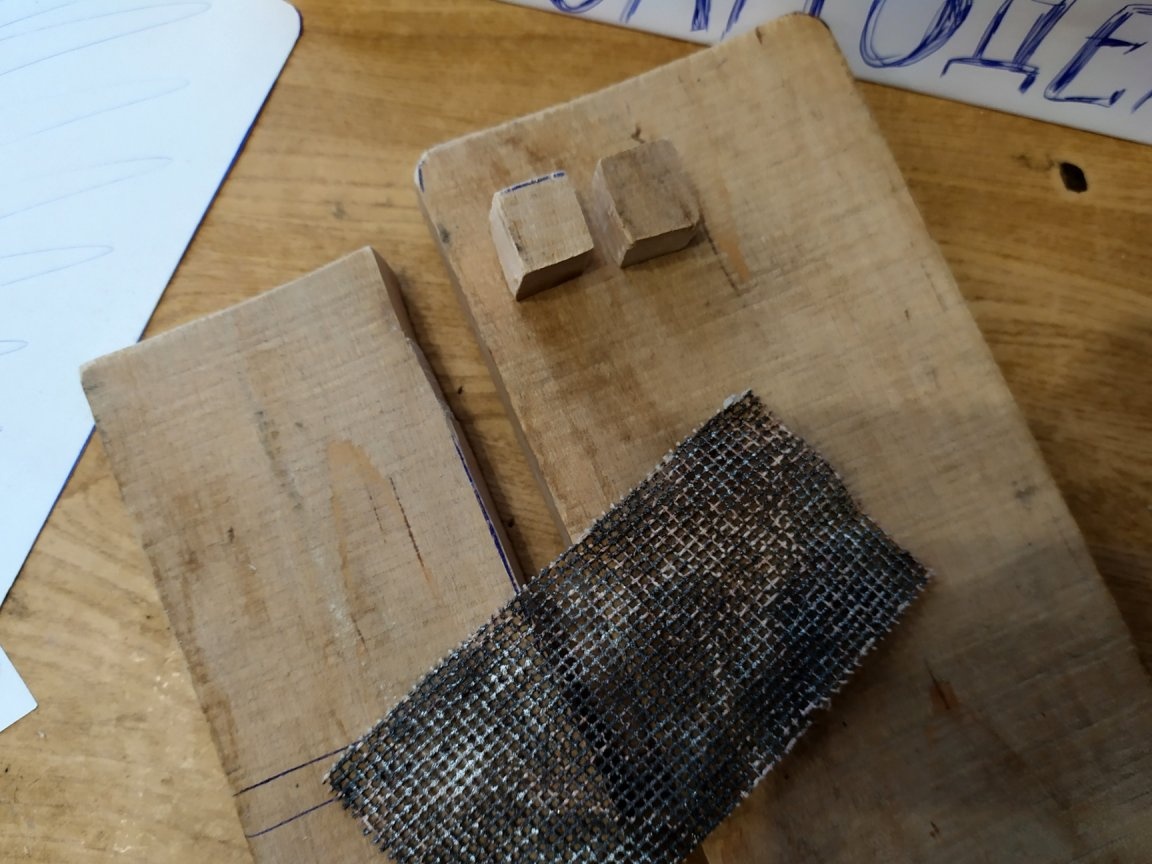
After good grinding, you need to wipe our parts with a damp cloth to remove the sawdust.
When we finish wiping, our pieces already look much better, now they can be assembled and painted.
For assembly, I used carpentry glue "Moment" and nails. Two small cubes on which we put the phone, we glue on glue. Wood glue will take them well. It is better not to use nails here, the tree is old and dry, such small pieces simply crack.
We are outlined with a pen a place where we will glue them. First, let's figure out where they will be, and circle the pen.
Now, we take the glue, and apply it to the cubes, carefully, so that there is no excess. If the glue flows out, it will be inconvenient to wipe it later, so it is better to apply in moderation.
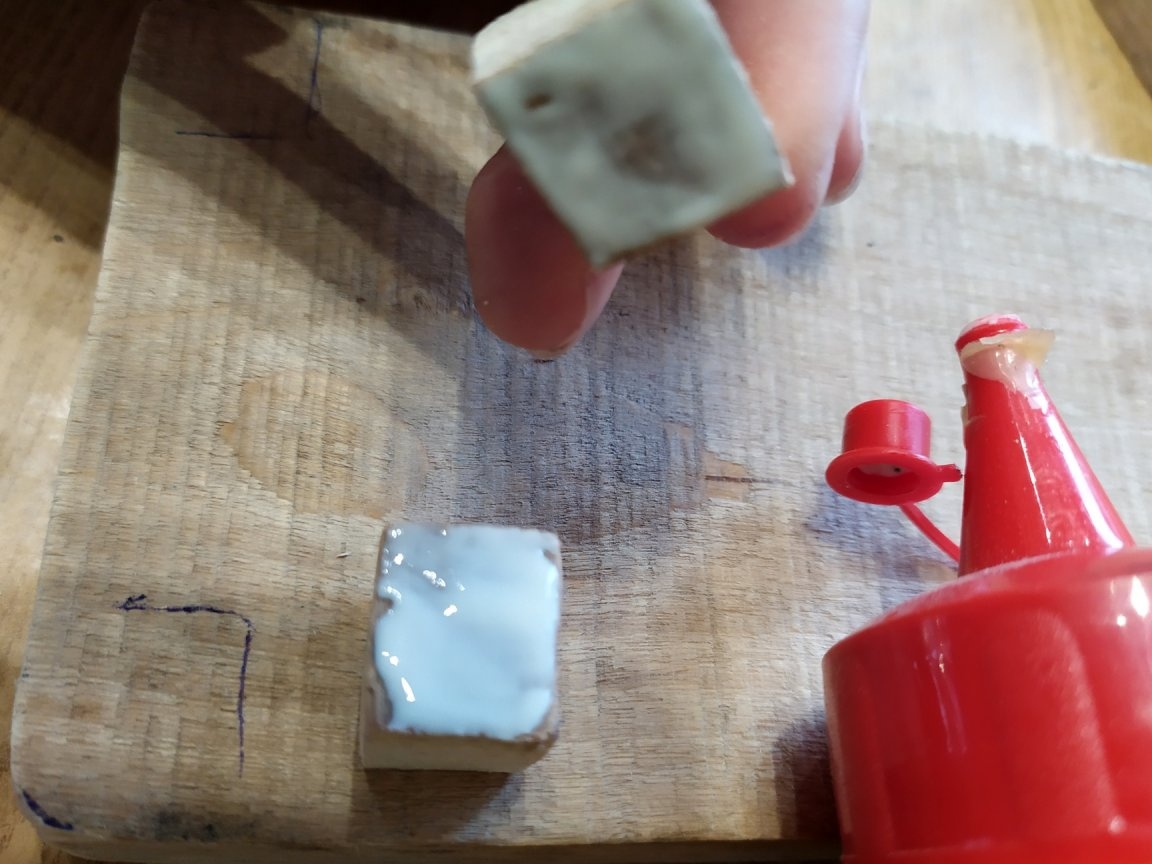
Now we press these pieces to the main part, and clamp well. You can put it and cover it with a small press so that the glue takes well.
The full drying time can be read on the packaging. With the glue that I use, it is 10-15 minutes.
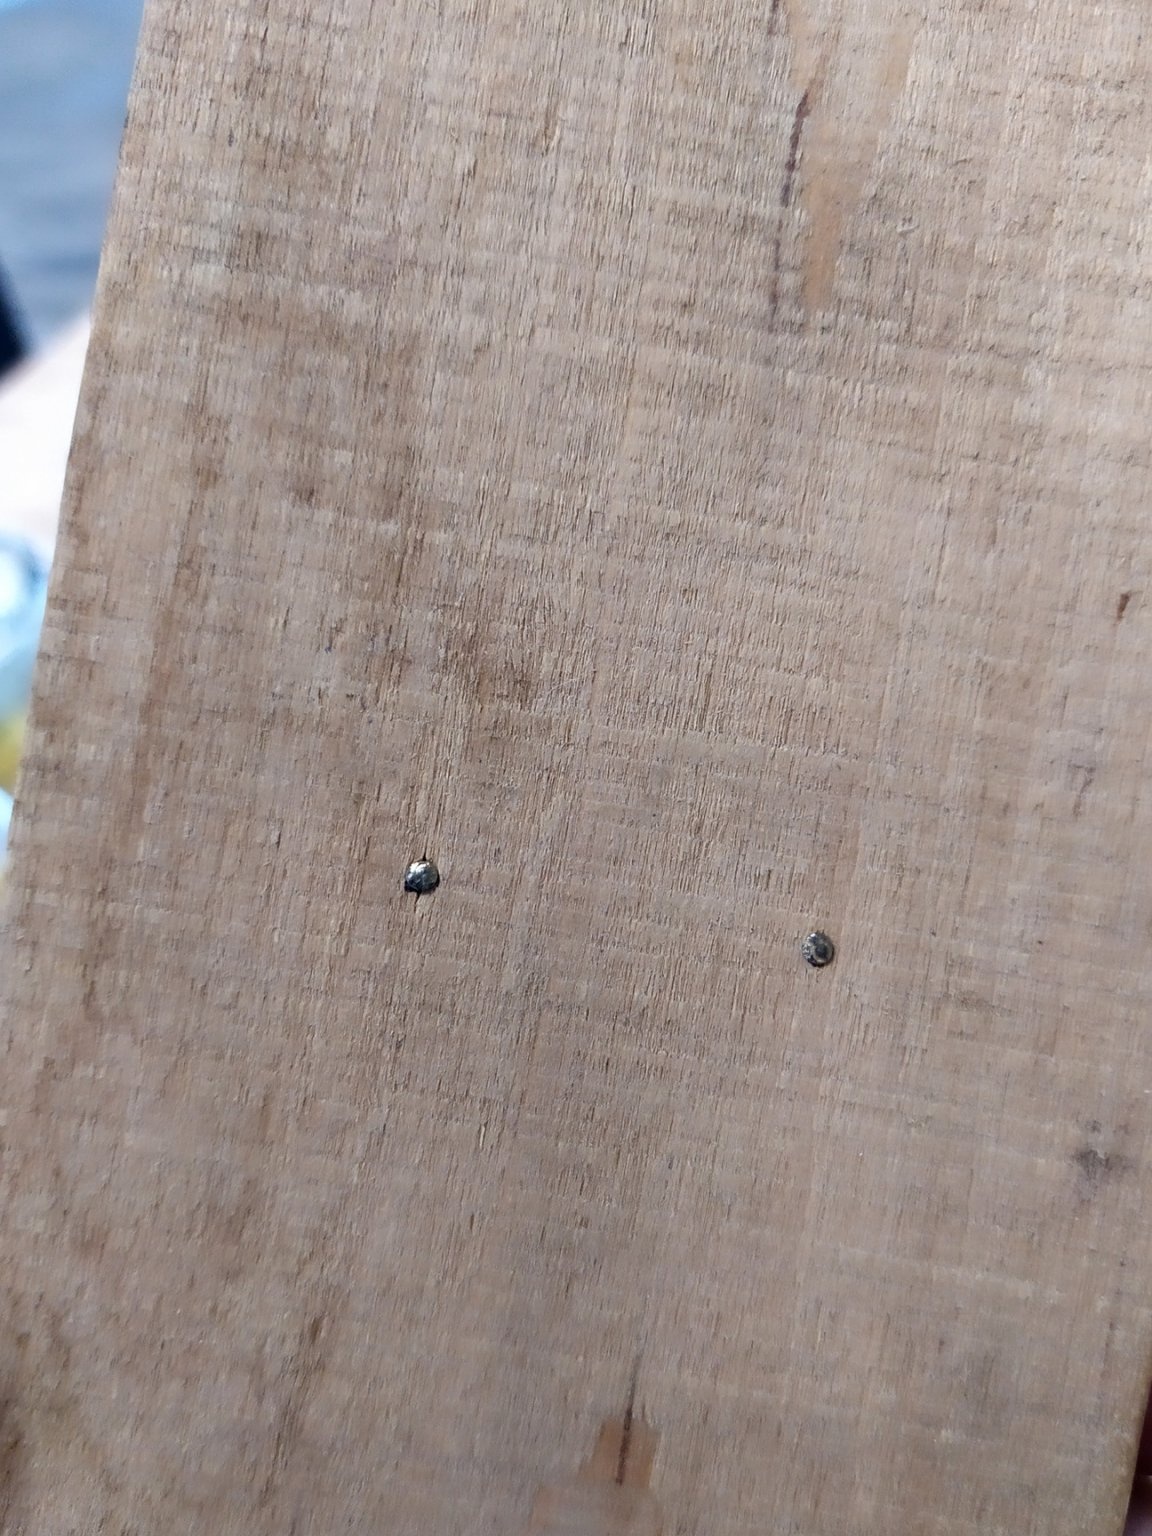
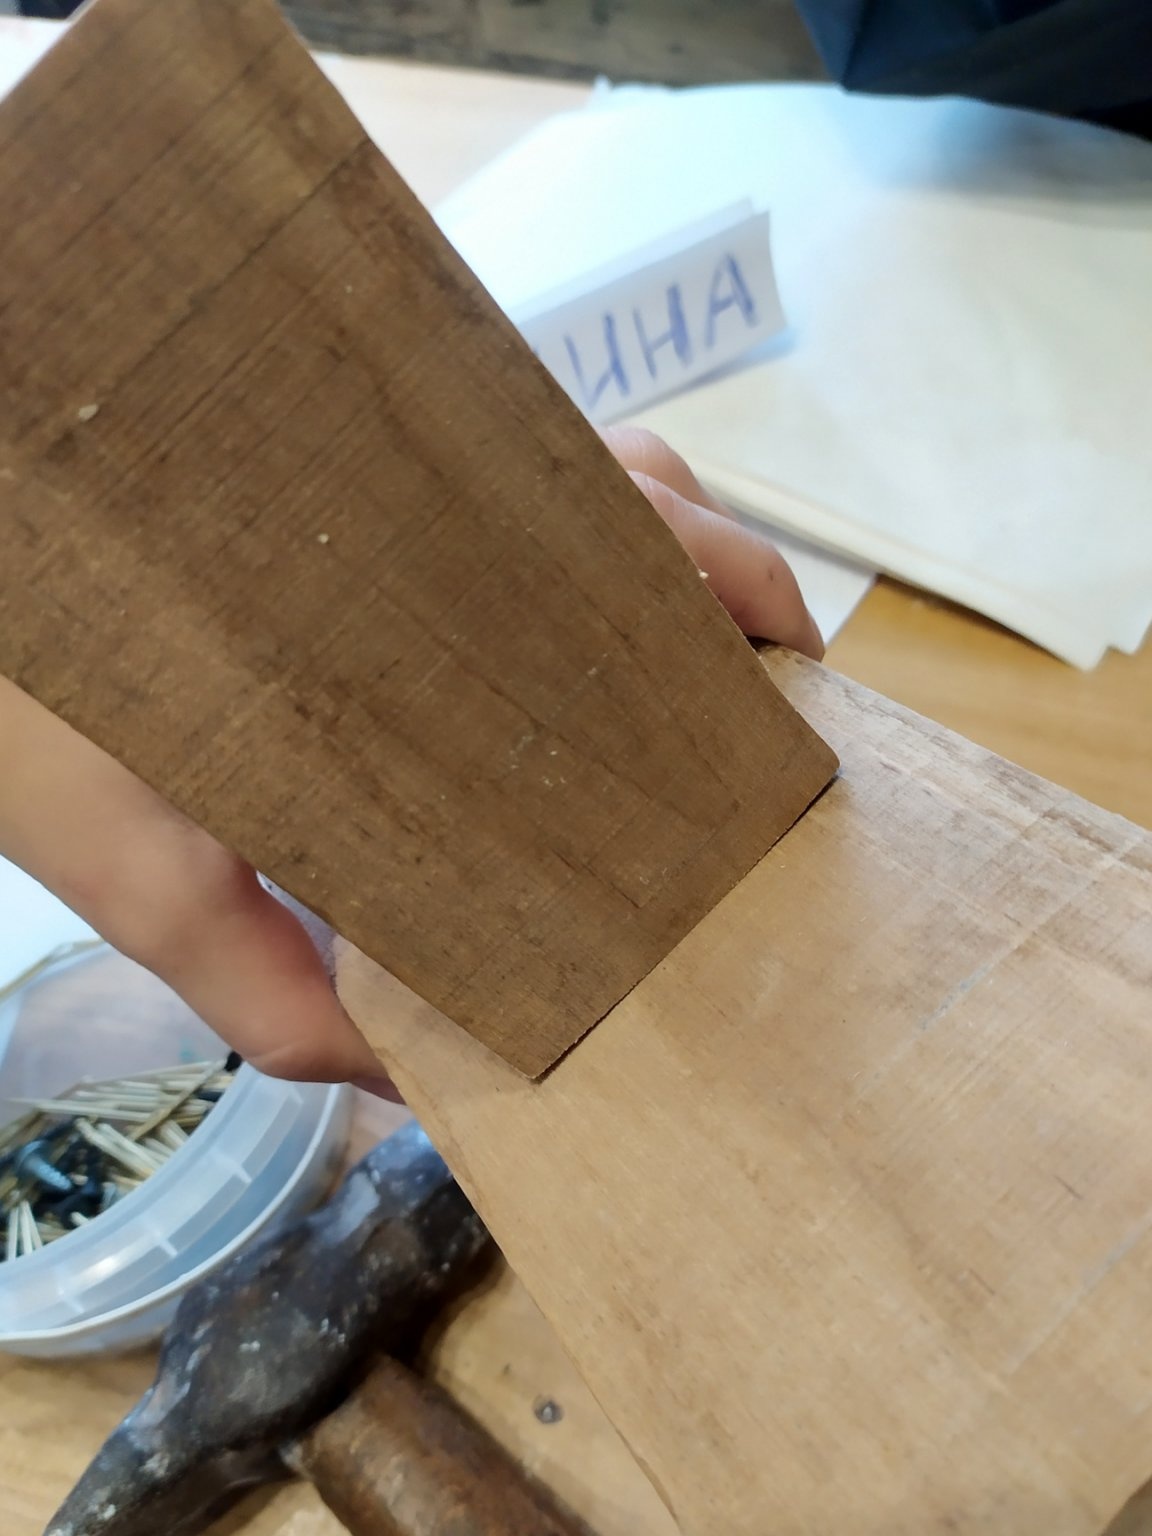
When the glue dries, we begin to engage in the back, leg. Since the whole mass will rest on it, one glue is not enough here. Therefore, we make marks for nails. Long nails are needed so that both parts can be properly molded. I have 30mm nails. long. Around the middle we draw two dots, these are our marks. So far we begin to score only in the main detail, in our foundation.
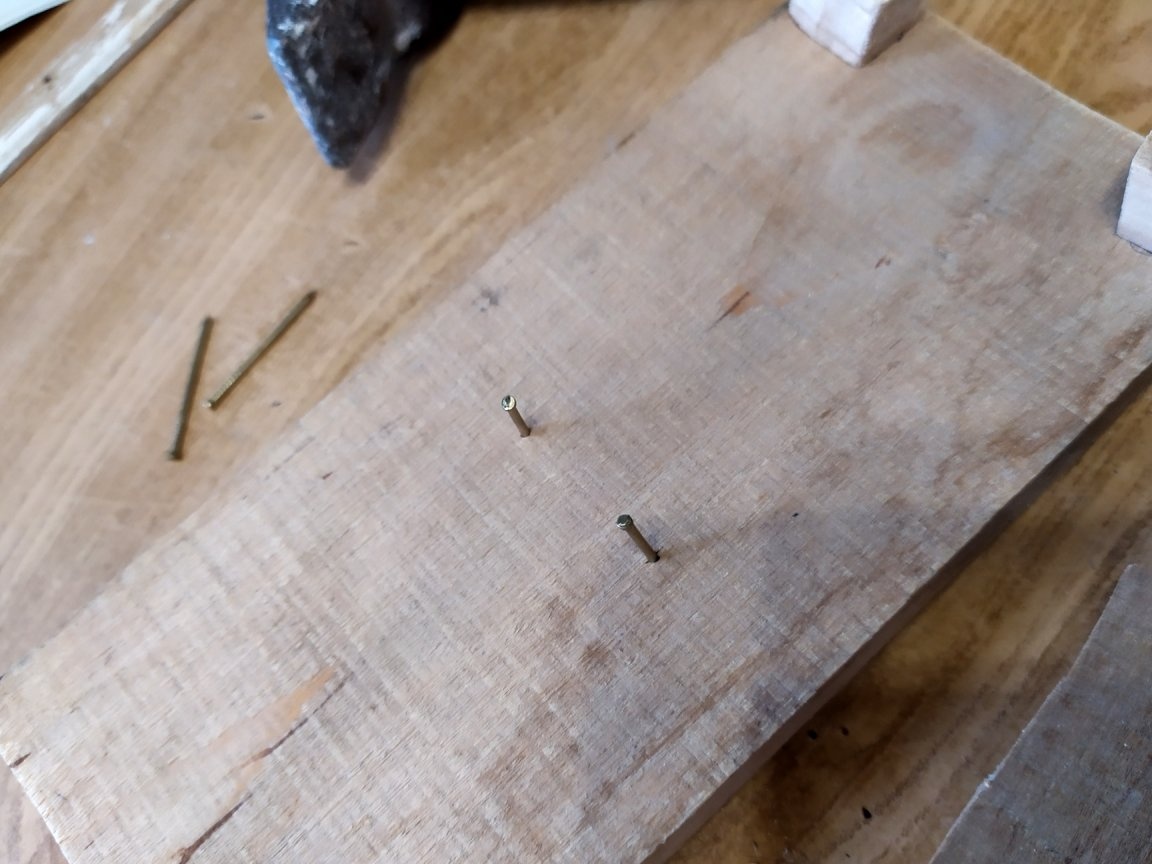
When both nails have almost passed the thickness, we substitute our leg, and begin to drive into it. It’s not very convenient, you’ll have to adapt to keep parts and a hammer at the same time. If you have second hands to help, this will greatly facilitate the work.
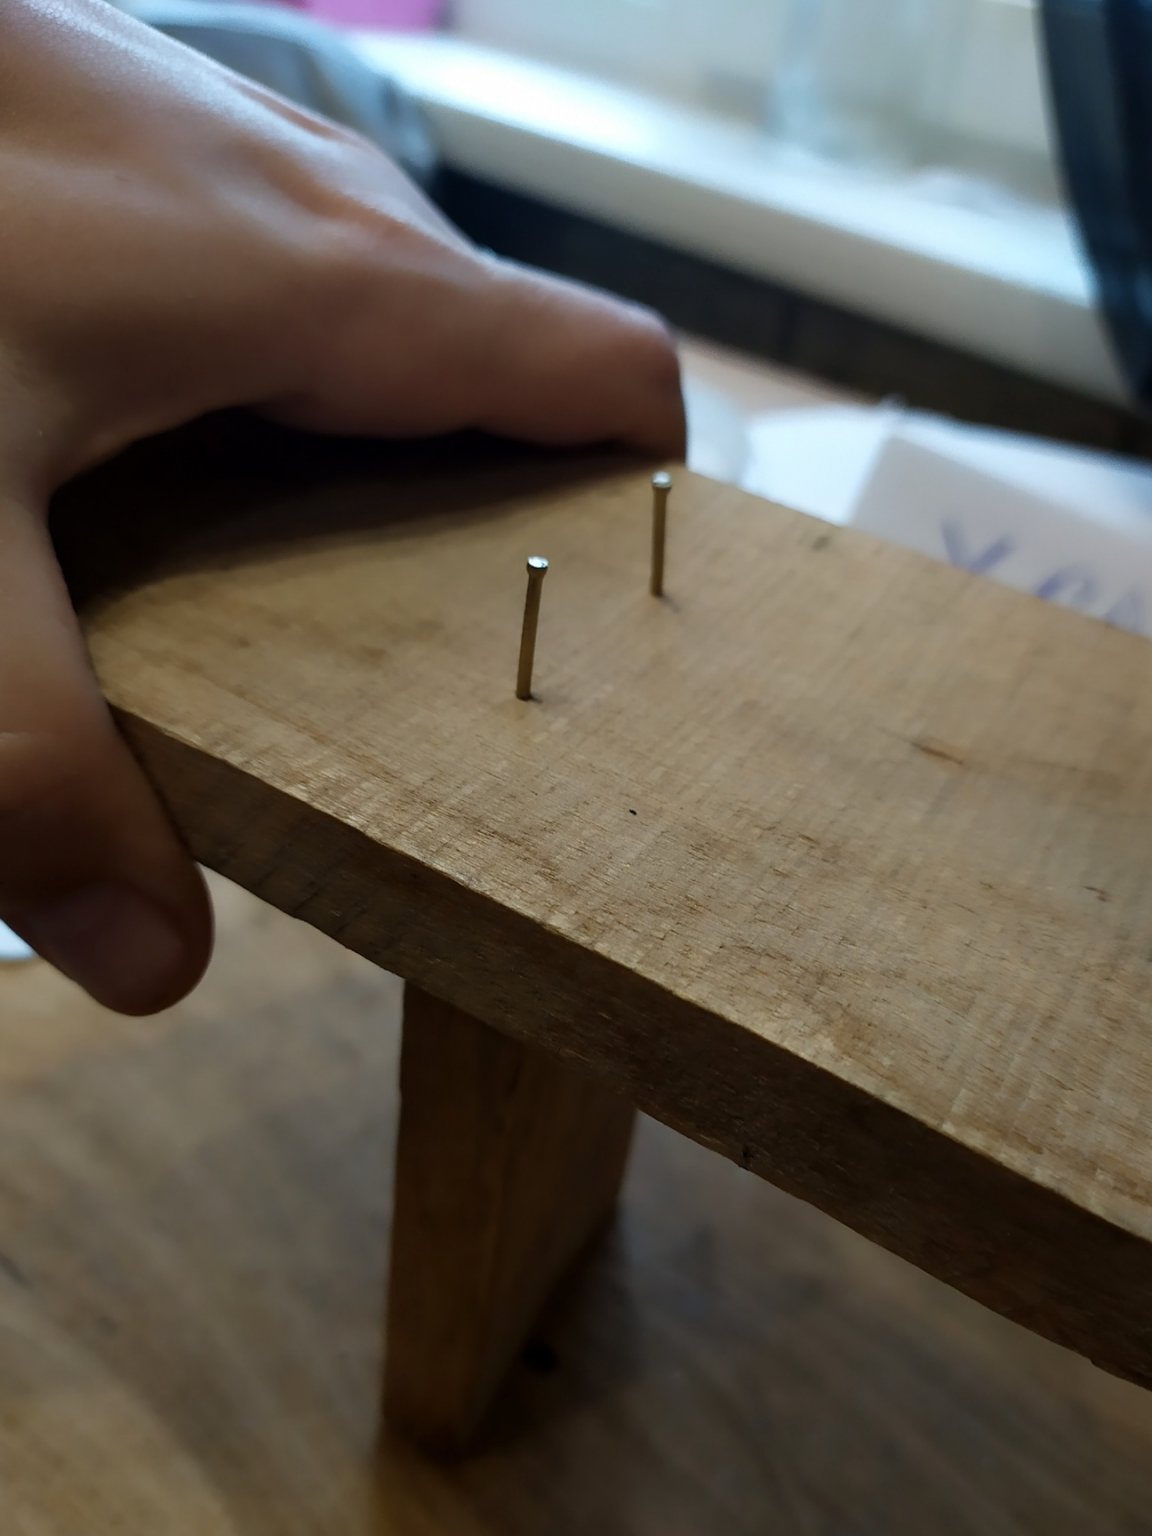
What we did, I showed in the picture.
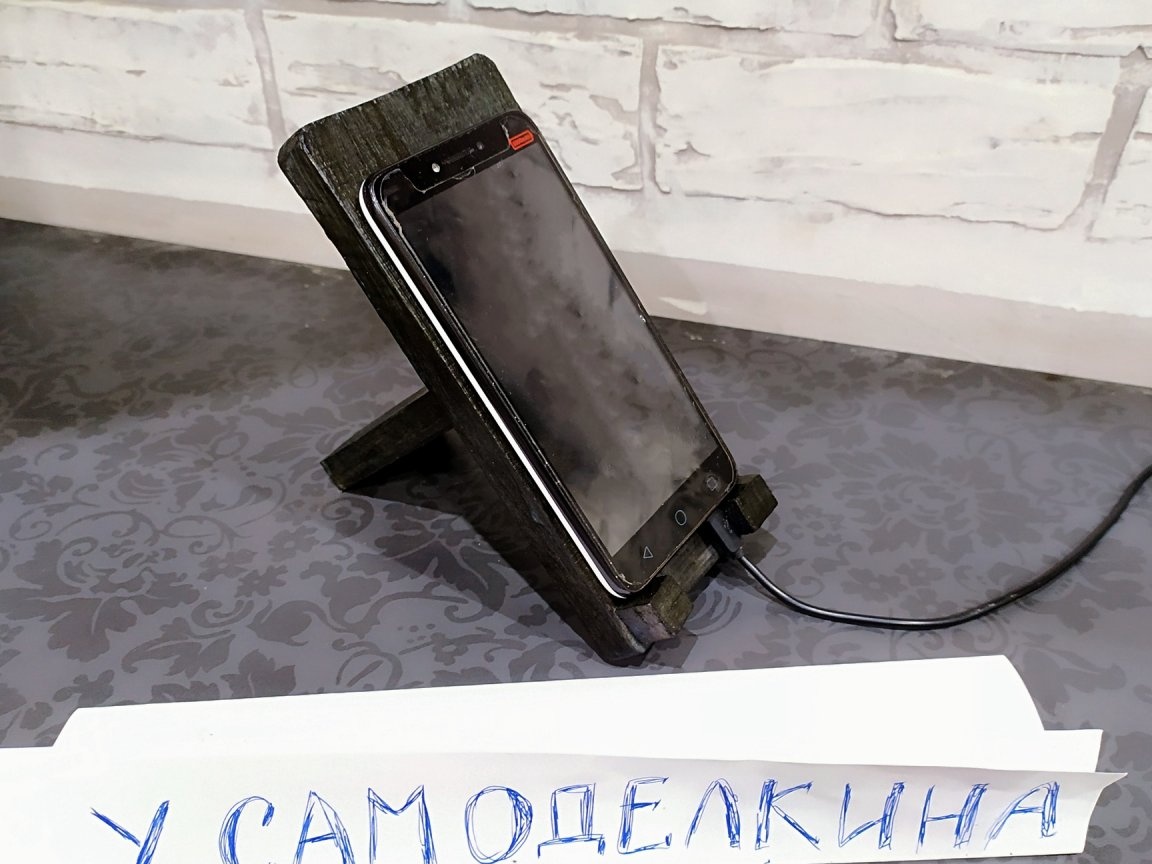
Now we have everything ready, it remains only to paint in any color. I chose black because I was at hand.
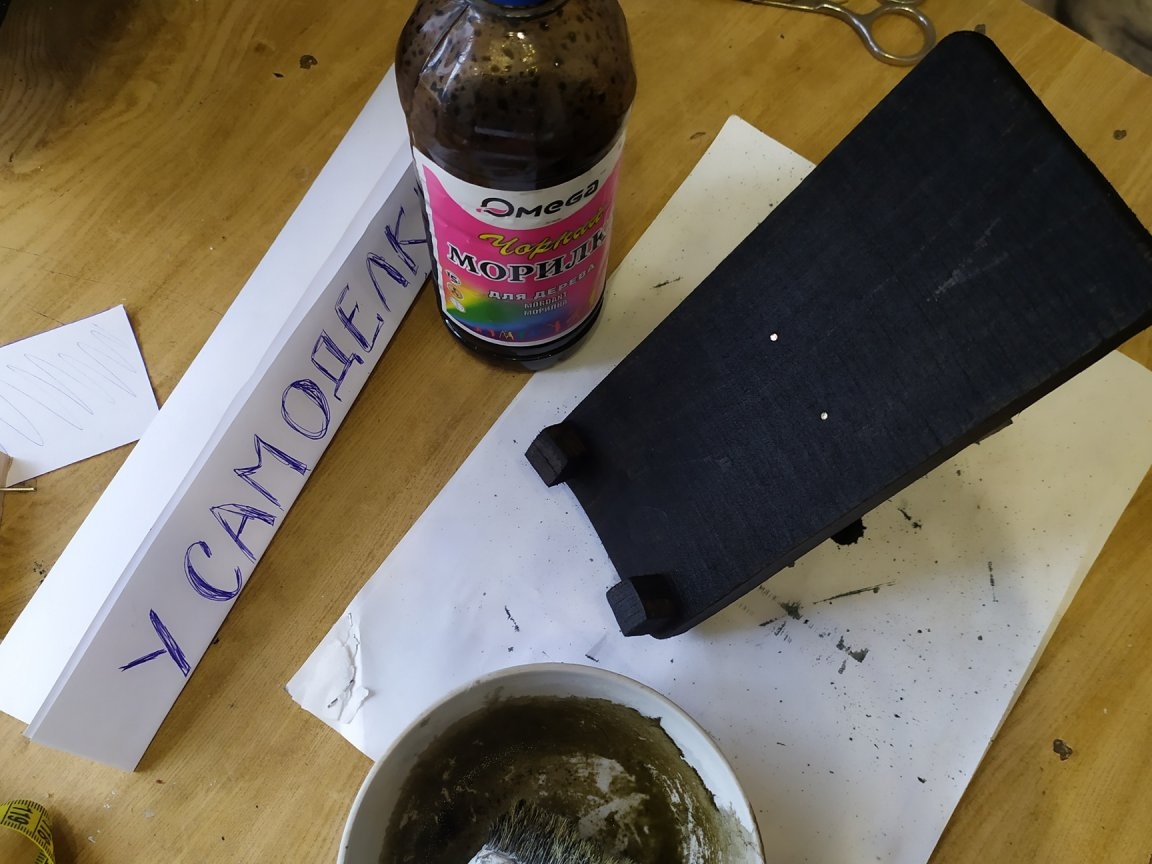
Shake the stain well, and pour it into a convenient container.
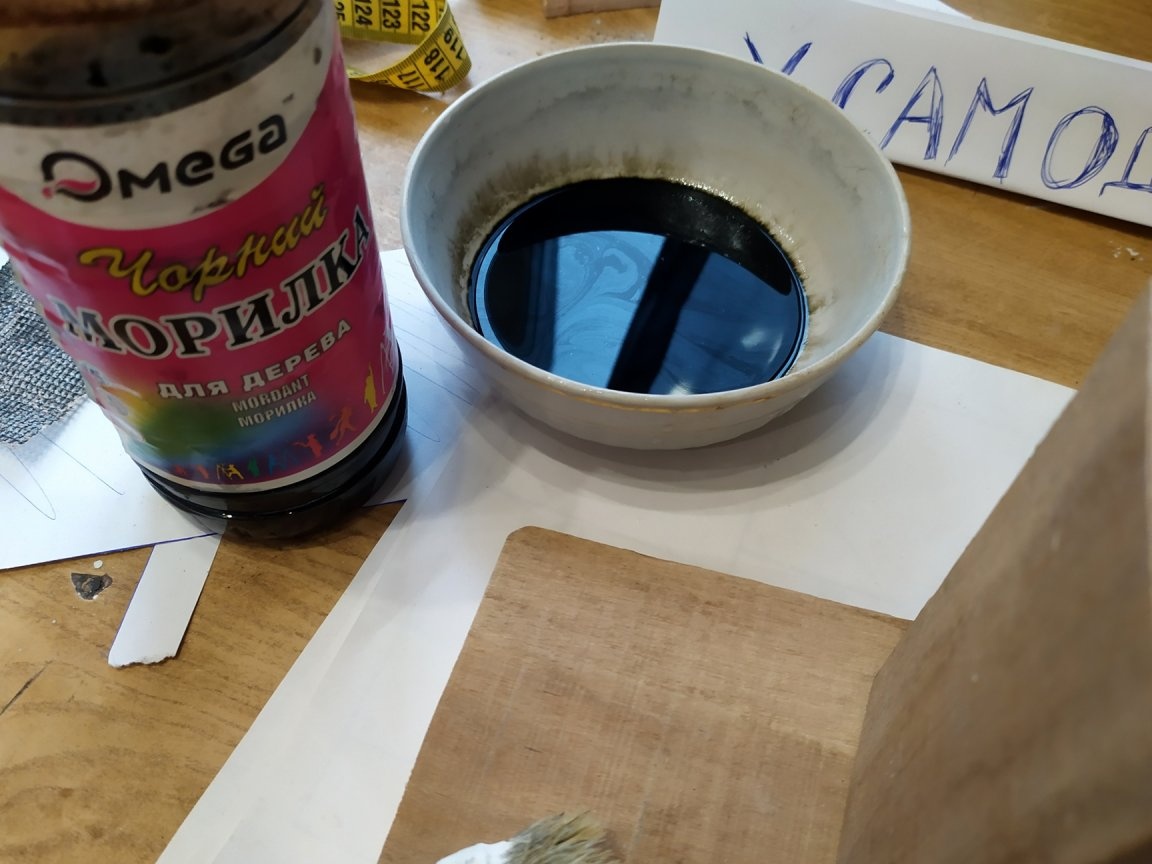
We take a brush, and we thoroughly coat everything. Stain is very quickly absorbed. Since the color is not very saturated, then literally half an hour later, I applied another layer. On the label I did not find information about the complete rash, but just in case, I waited 12 hours.
When the stain is completely dry, it should be varnished. This is necessary for a longer service life, the varnish will protect against all external influences.
I use acrylic colorless varnish. Before application, it must be thoroughly stirred. It is better to do this with a drill with a nozzle. Gently varnish the entire surface. We carefully monitor that there are no drips, if any, then brush them off with a brush. After an hour, you can apply another coat of varnish.
We are waiting for complete drying.

Well, our phone stand is ready. Thanks for attention:)