And again, hello, dear modelers.
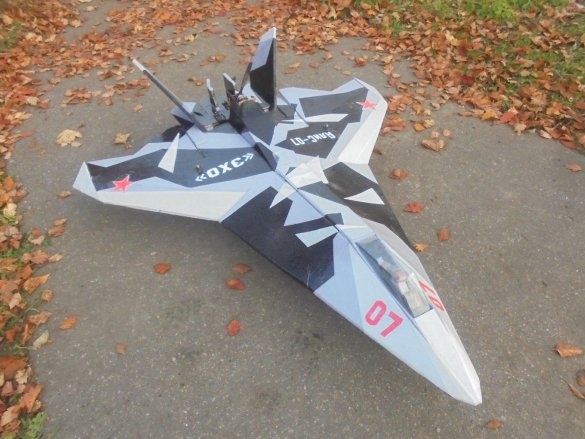
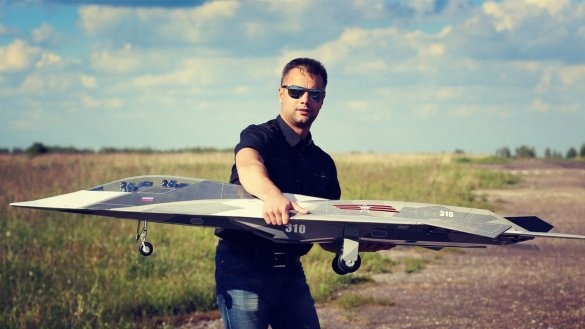
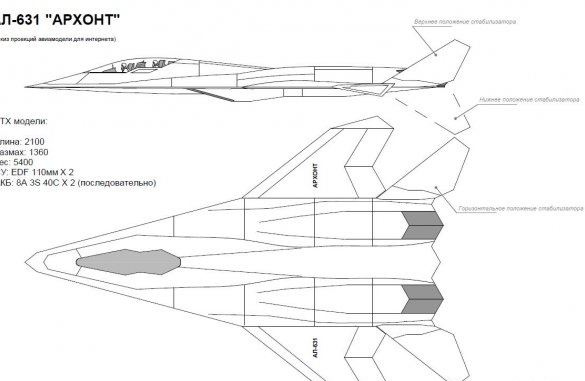
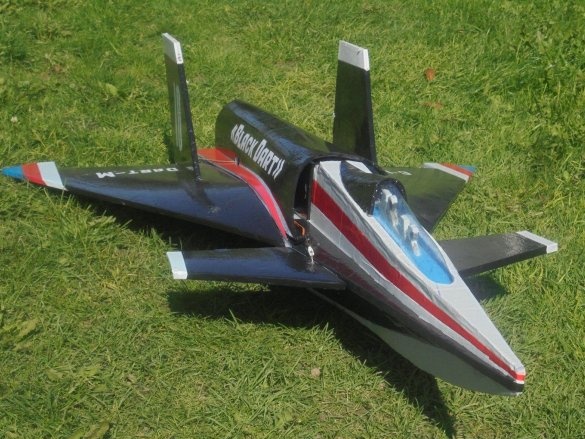
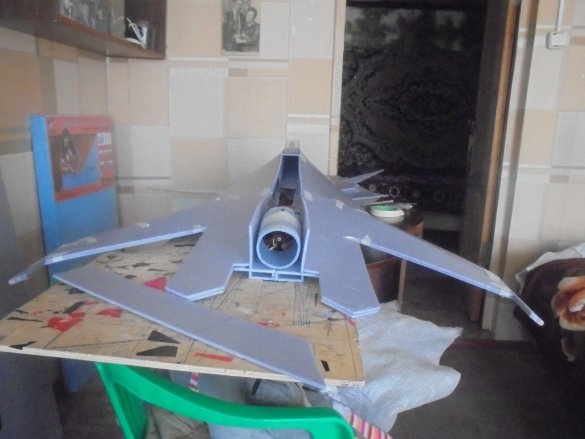
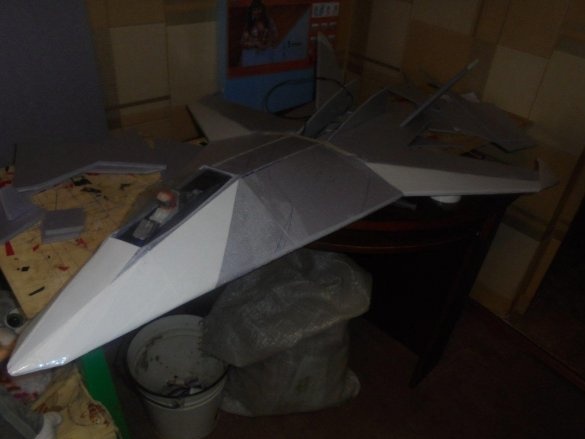
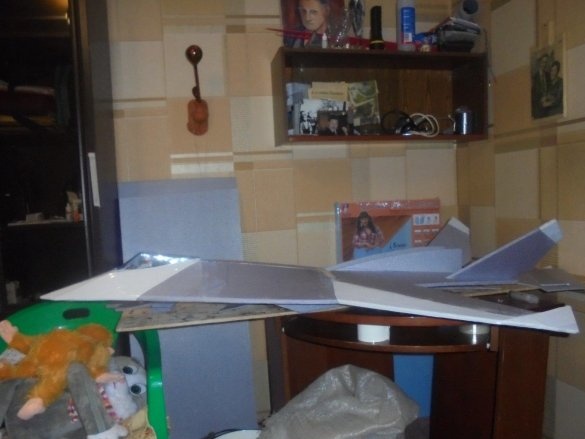
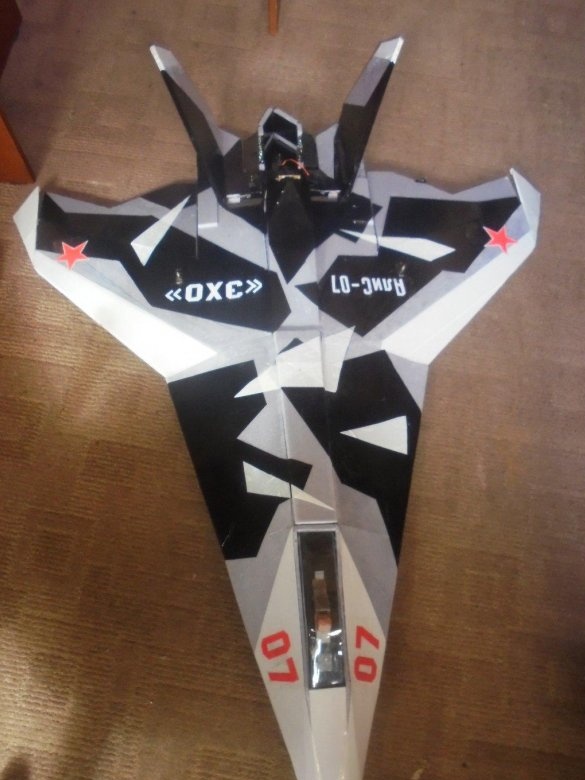
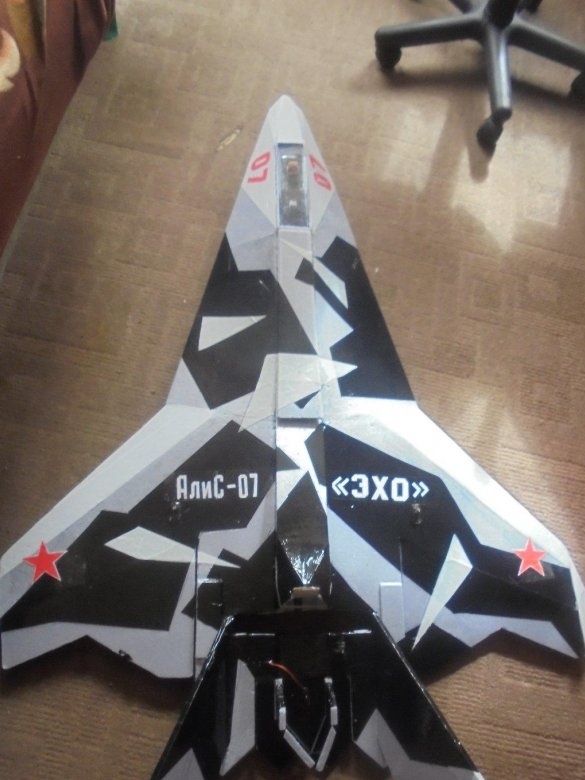
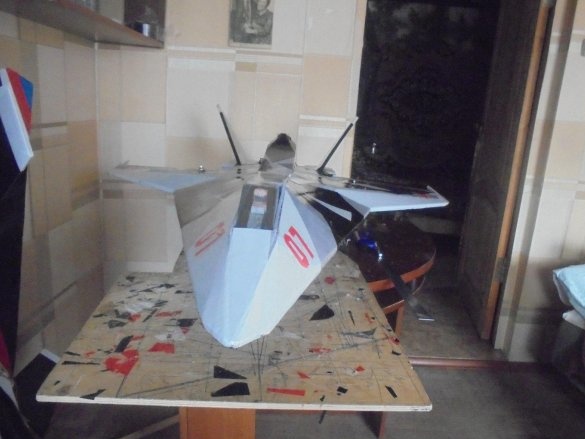
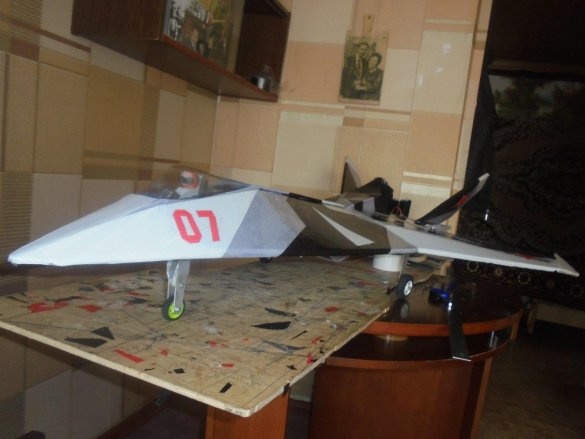
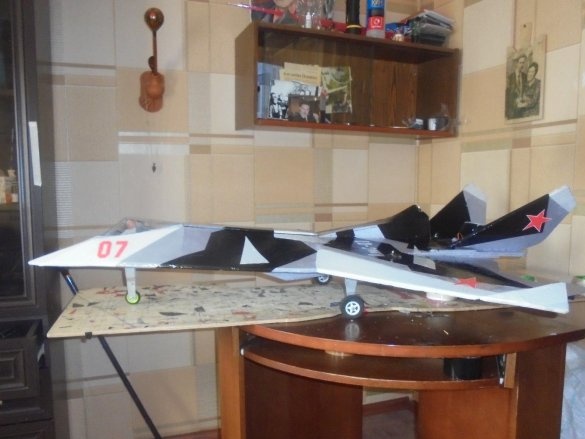
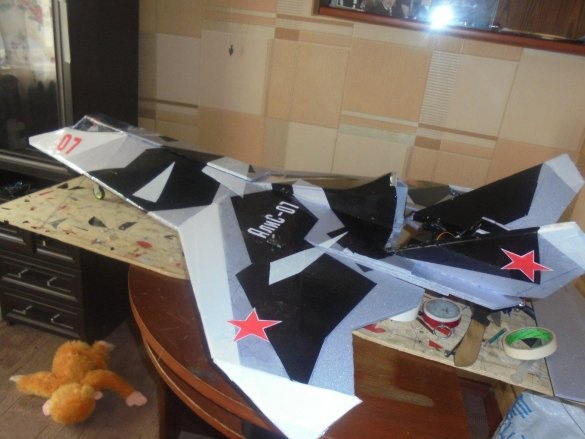
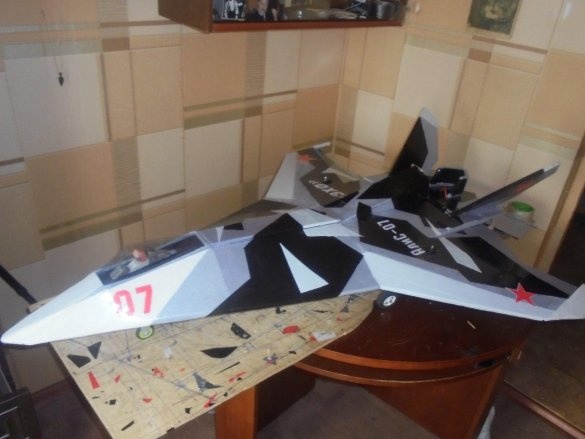
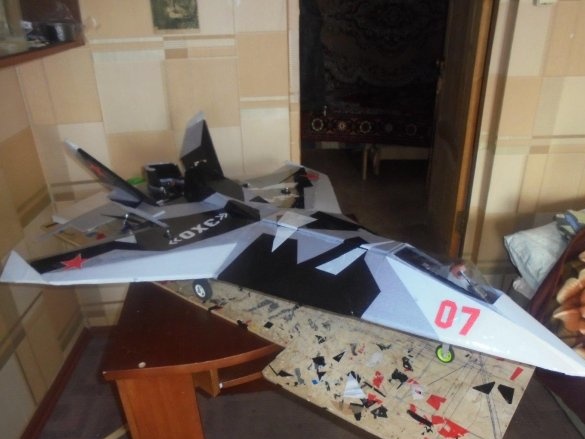
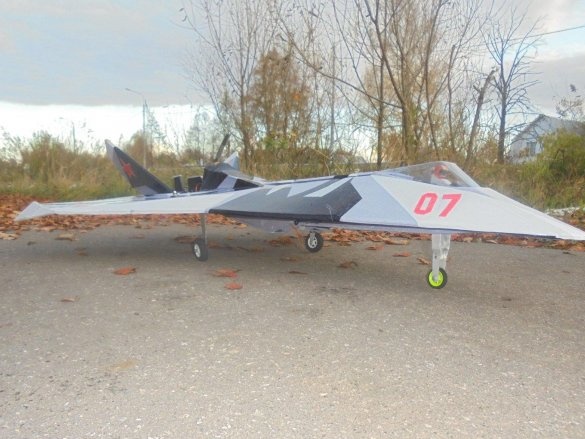
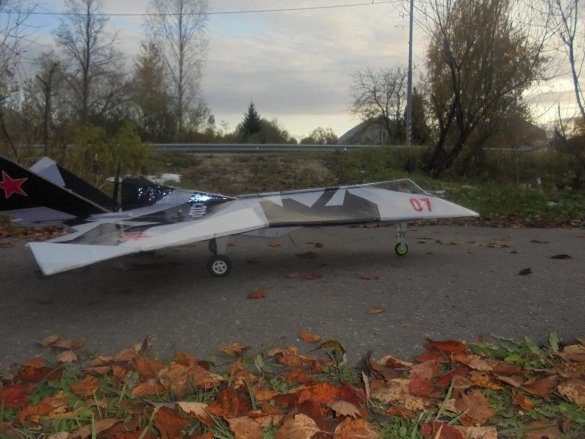
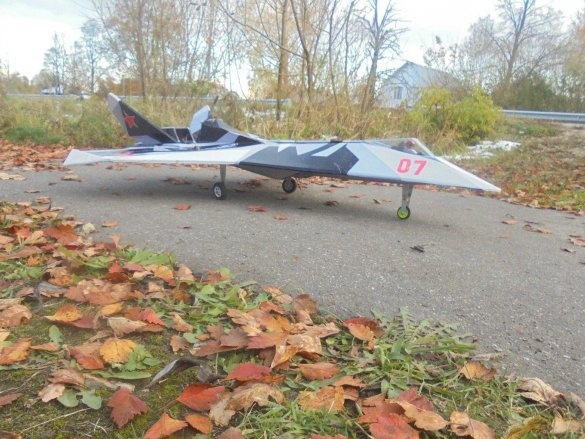
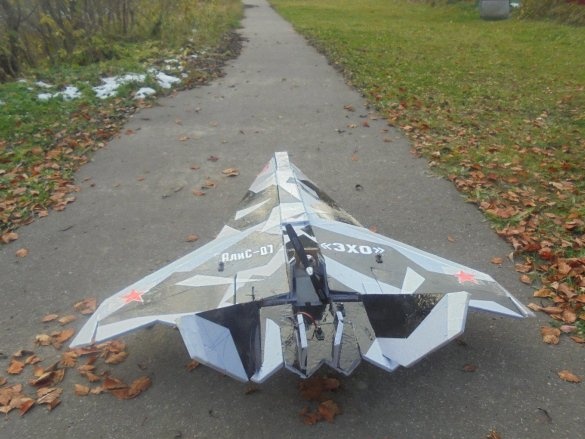
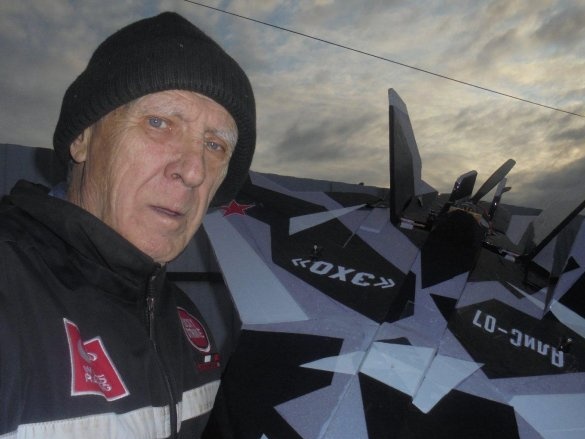
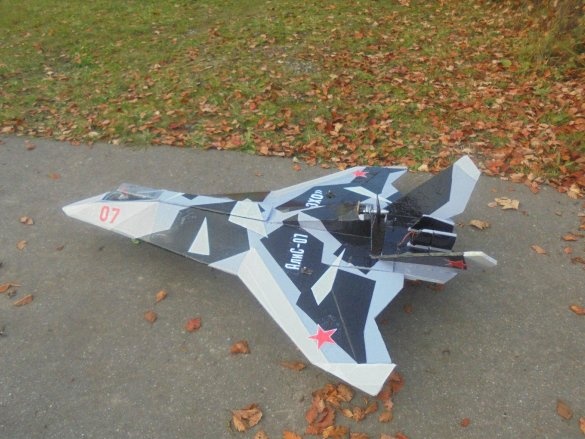
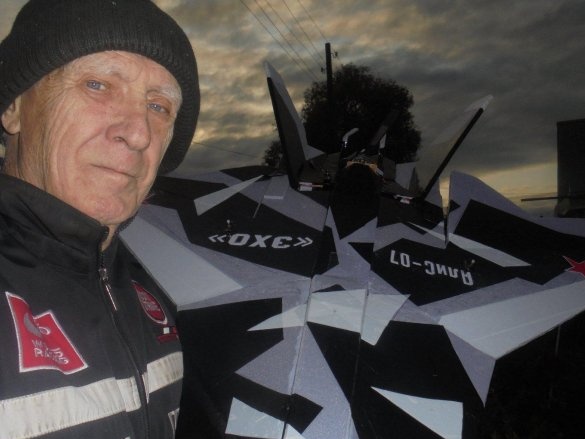
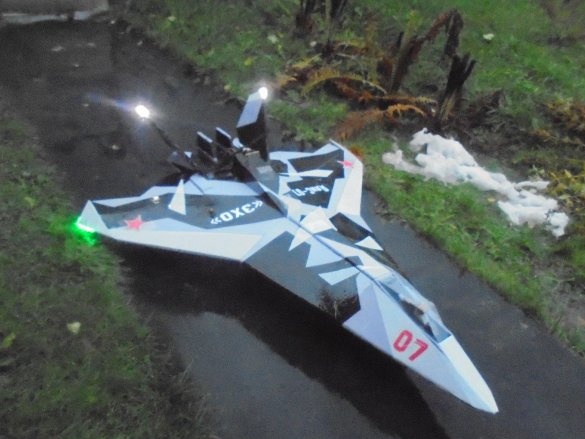
Today I decided to show you my new aircraft model based on the famous Archon aircraft model Sergey Alexandrov, which I already told you about.
Model It was conceived, as it were, the basic version, using a conventional motor with a screw or an impeller as a mover.
That is, the model itself does not provide for any design changes; you can install either a motor or an impeller on it.
The approximate dimensions of the model and electronics.
Length - 1430 mm.
Span - 1150 mm.
Weight without battery - 600g.
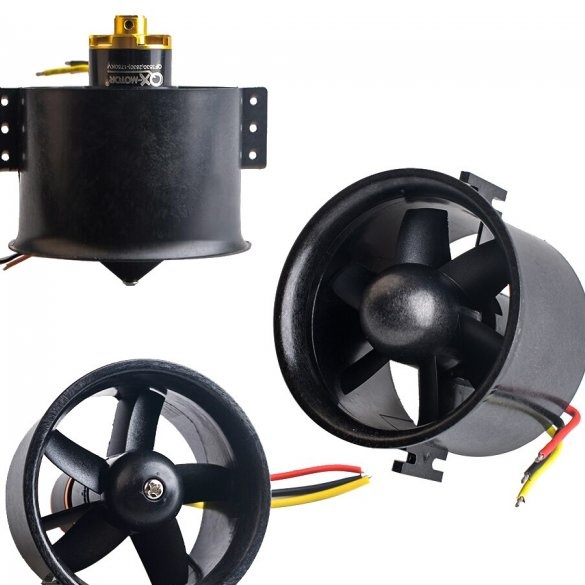
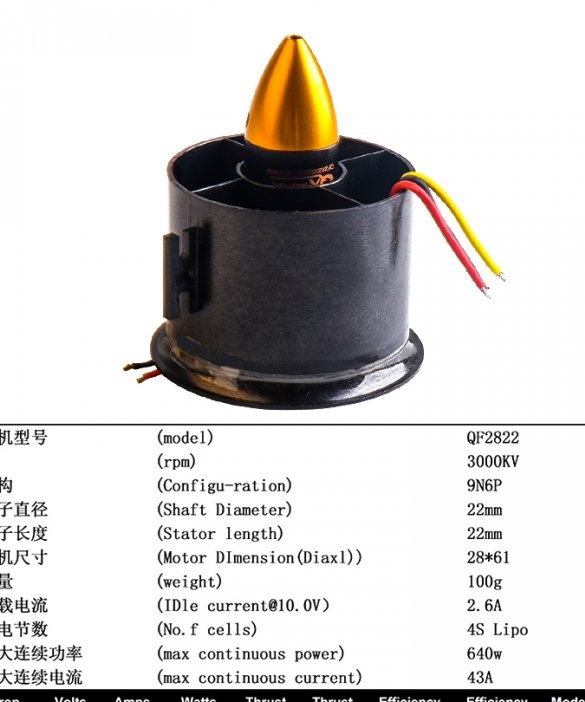
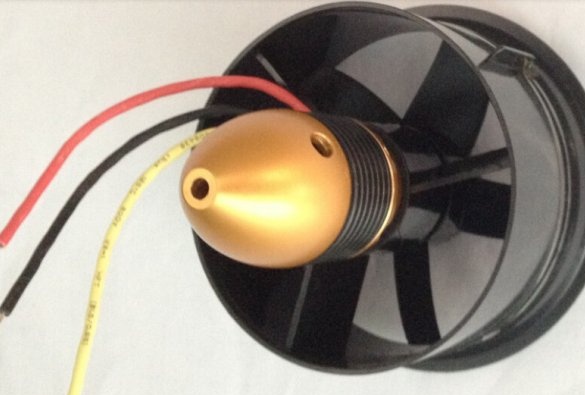
Impeller - 70 mm.
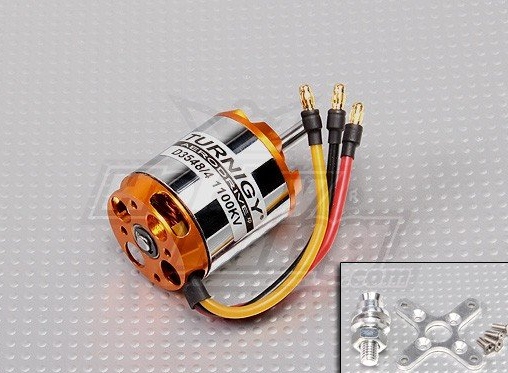
Motor - D3548 / 4 1100kV.
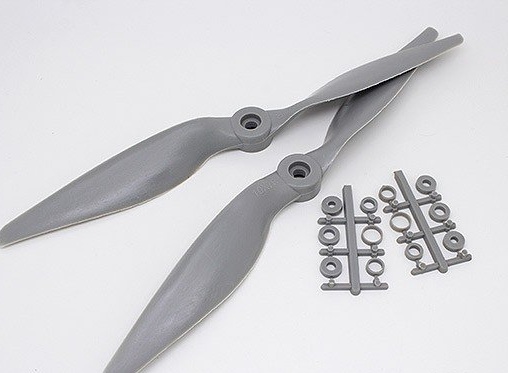
Screw - 11 X 7.
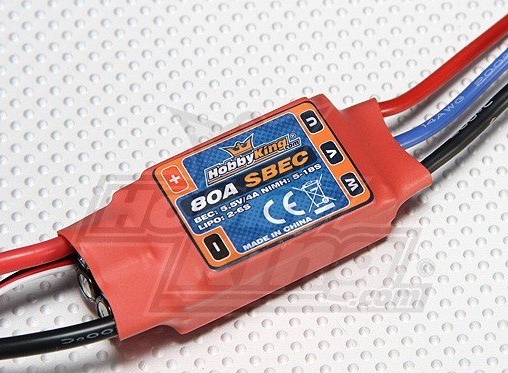
The regulator is 80A.
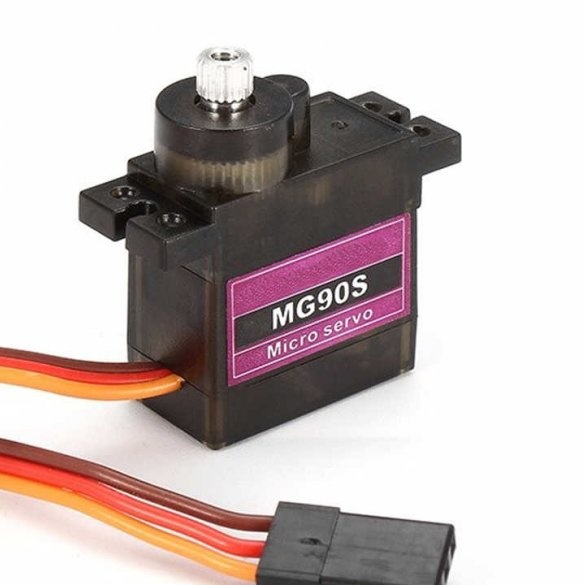
Servos - MG90S
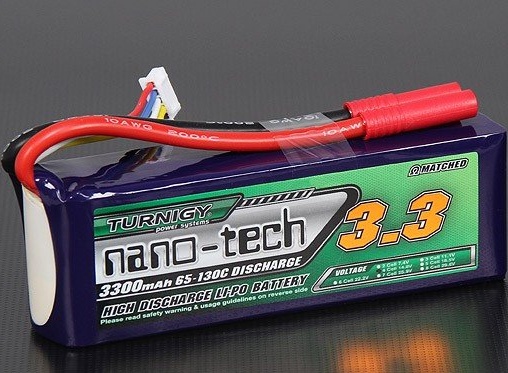
The battery is 4S 2200 mAh.
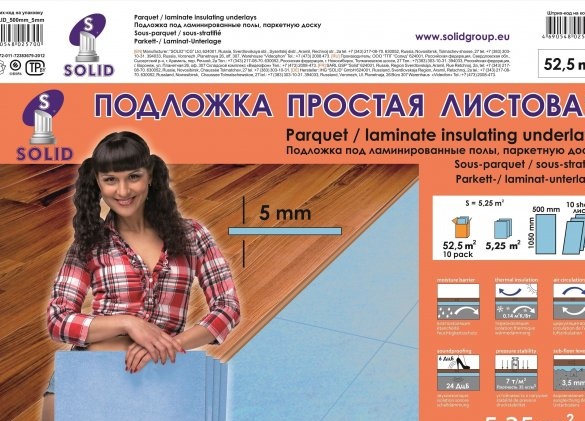
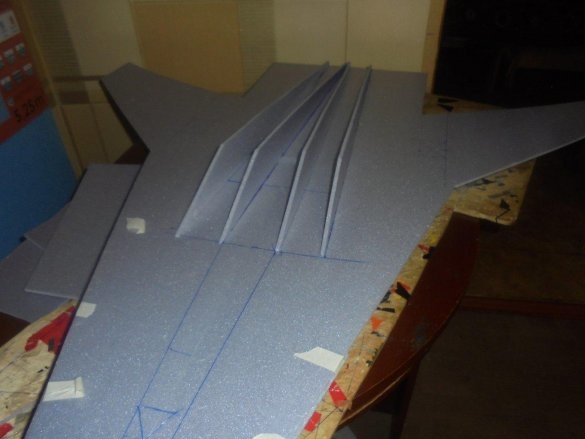
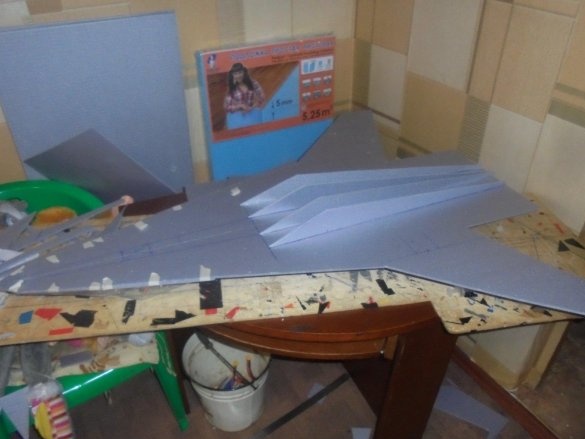
The main material for the construction was a simple, sheet substrate for a laminate with a size of 1000 X 500 - 5 mm.
In principle, it was possible to use other, suitable materials such as ceiling tiles, but I’m used to, recently, to work with a substrate for a laminate. It is more convenient in size and thickness, in many cases you can do without gluing in two layers and butt.
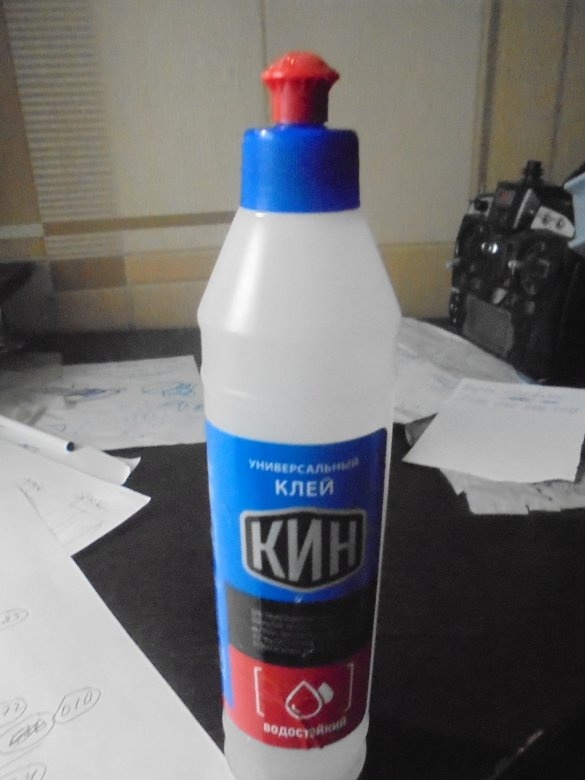
The glue used a waterproof, versatile KIN.
Also used color and double-sided tape.
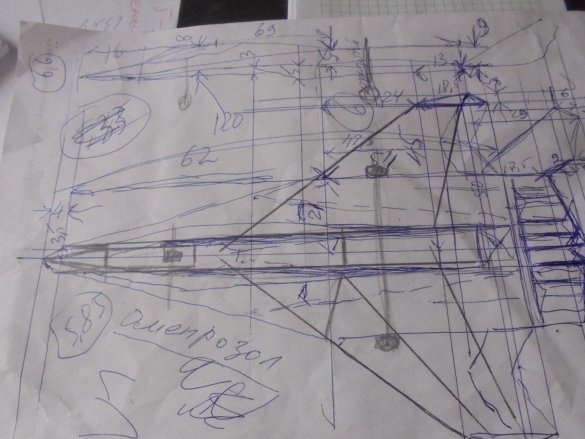
To be honest, there were practically no drawings. I took this drawing by Sergey Alexandrov, put down the necessary dimensions and transferred the drawing to the substrate.
The gun checks the accuracy of the calculations.
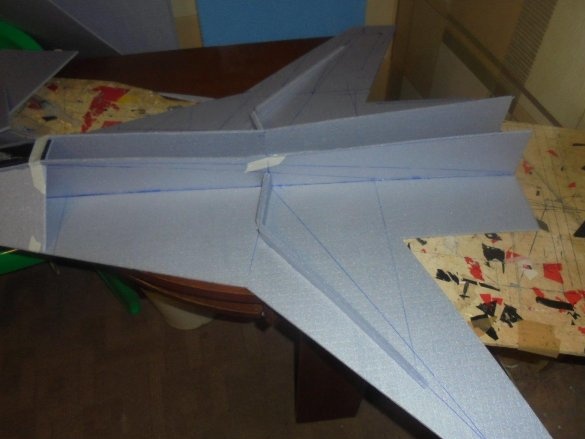
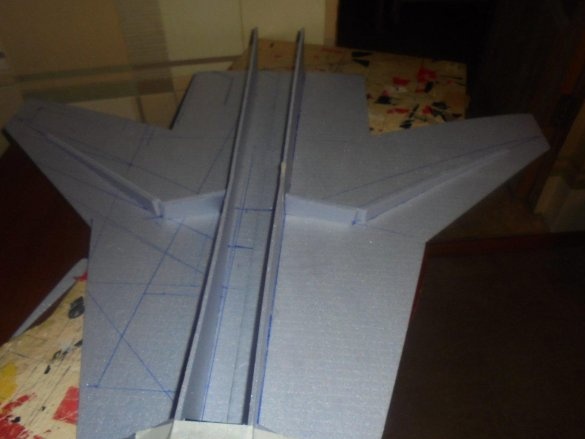
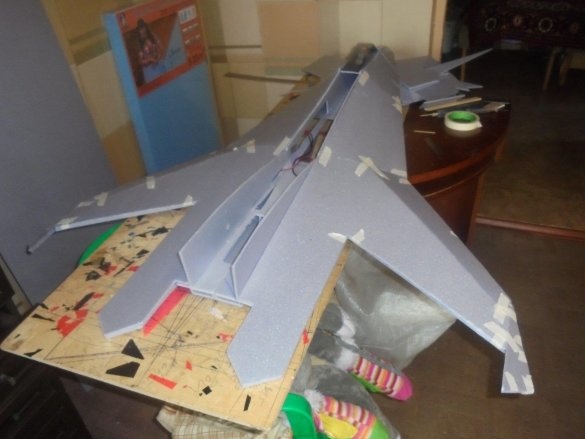
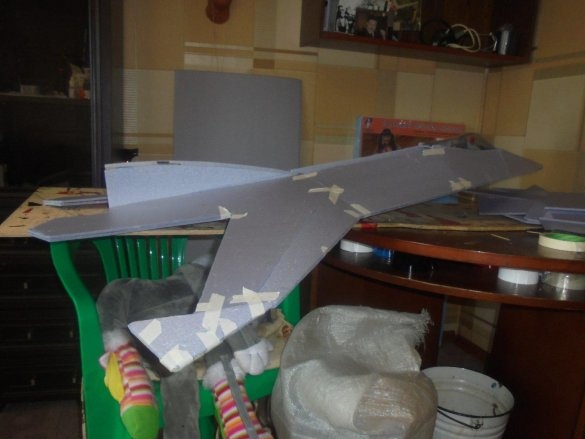
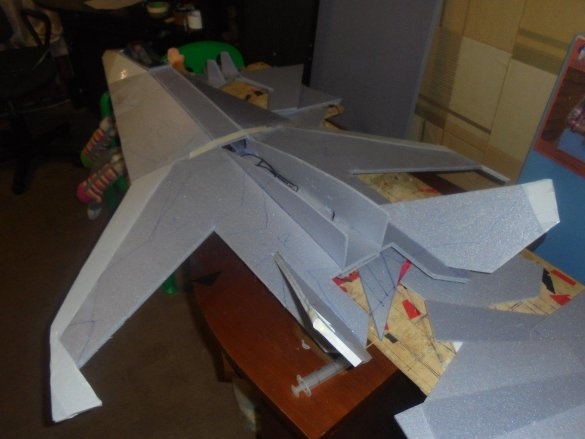
The backing had to be glued back-to-back in order to get the main, bearing plane of the wing, on which I mounted all the other details of the model.
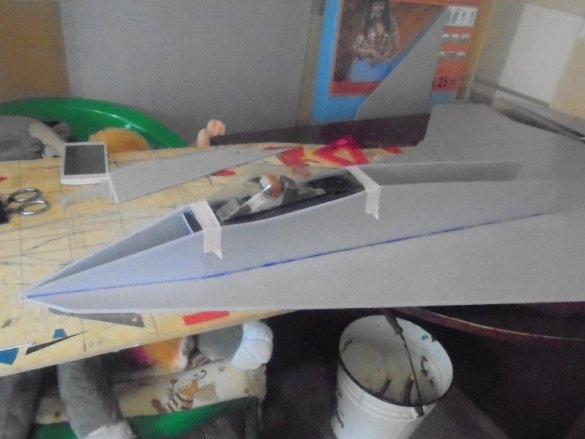
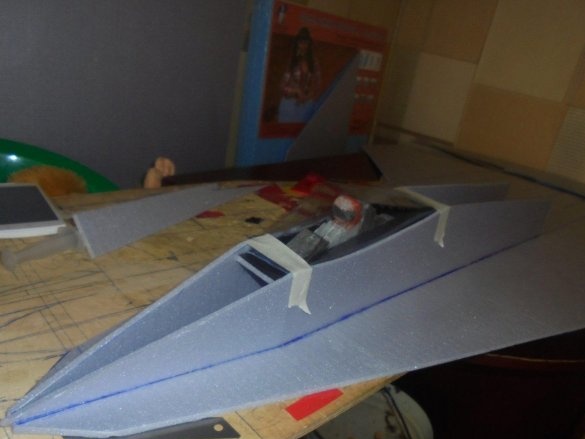
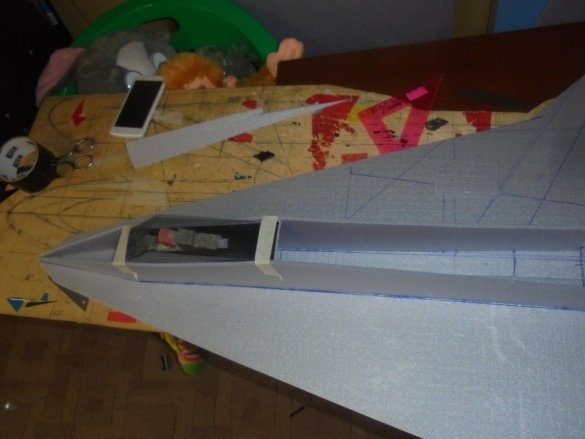
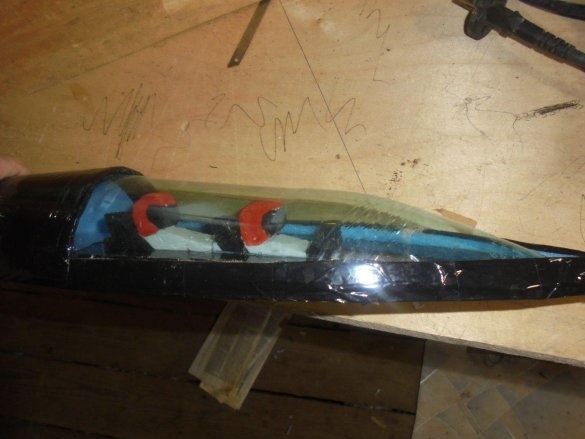
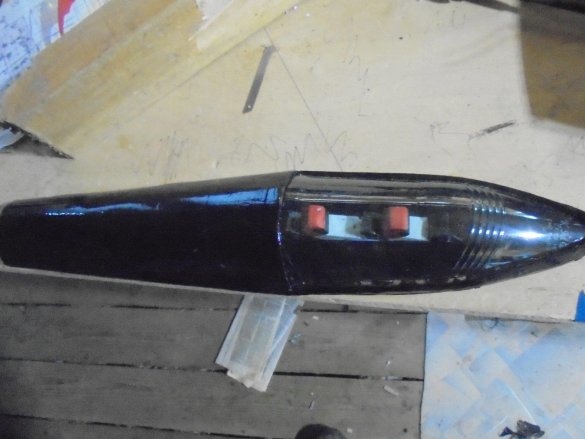
The first thing I did was to make a cockpit lantern from a plastic bottle and put the pilot in it.
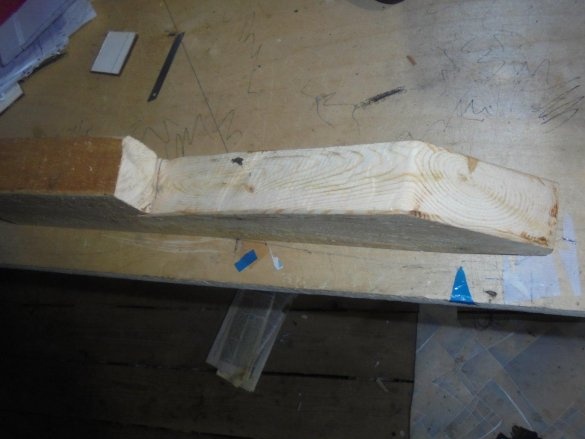
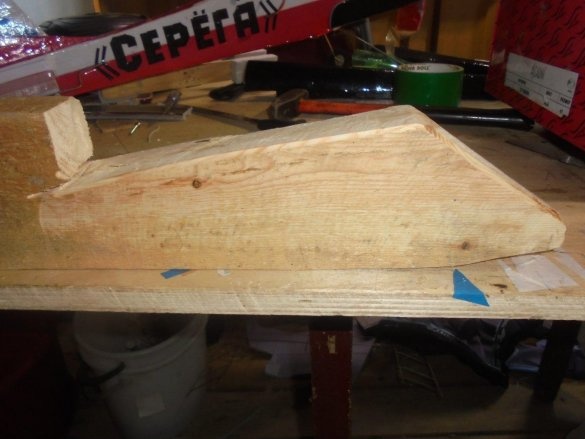
To do this, at first, I cut a blank from a wooden bar, processed it a little with sandpaper and the wild “grinder.”
Then he inserted the finished blank into a plastic bottle and, by heating with a technical hairdryer, got a ready-made lantern for the cab.
He cut out the pilot from a piece of Penoplex insulation and painted it with gouache paints.
Of course, you could get by with the finished cockpit with two pilots, which remained from the old model,
but I decided to make a rectangular-shaped cockpit lantern to match the stealth model configuration.
All this was immediately adjusted in place and glued.
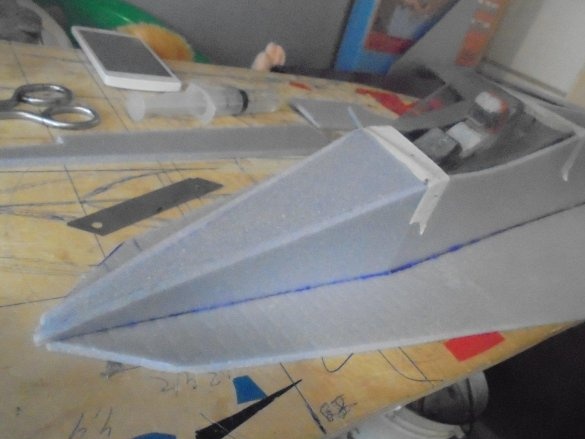
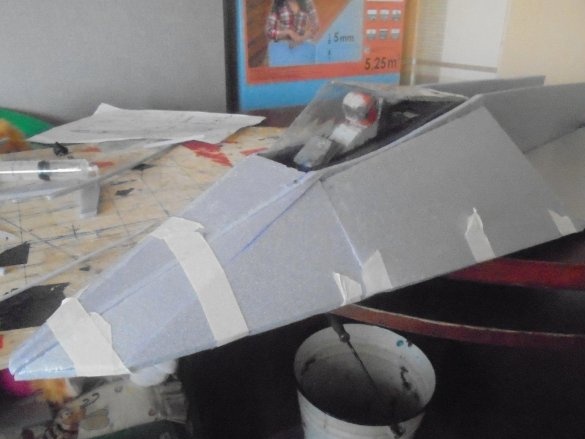
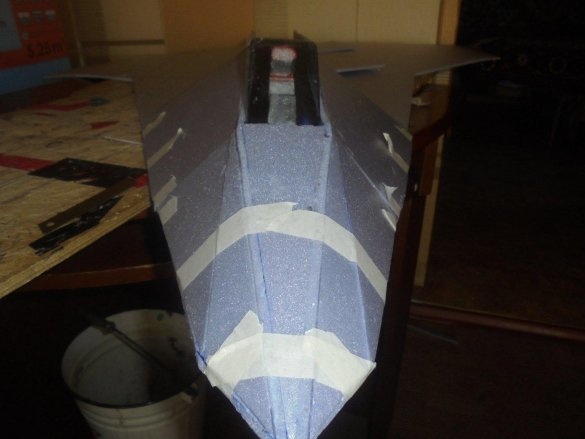
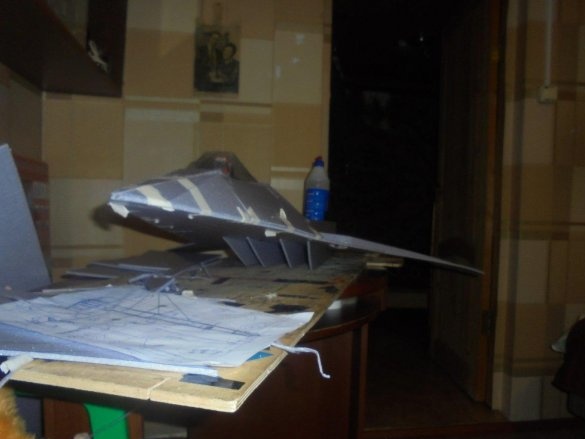
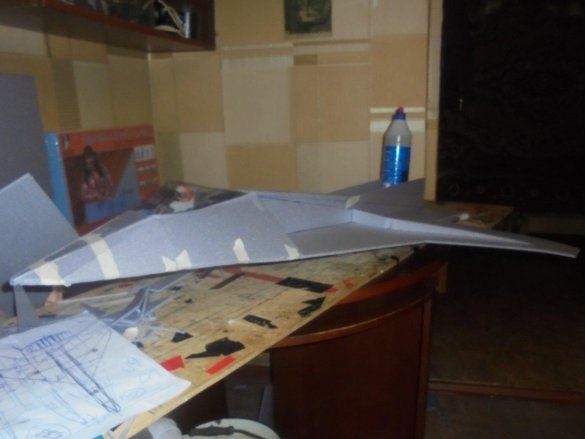
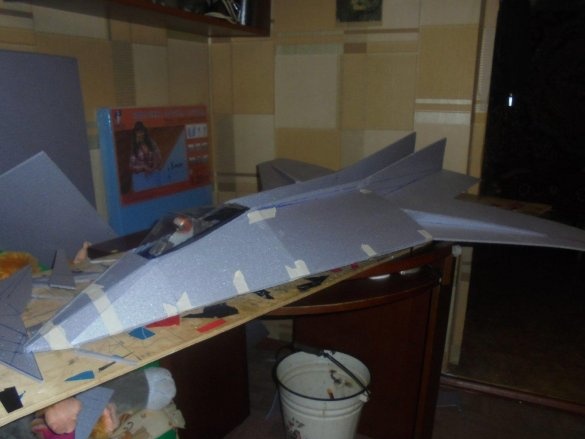
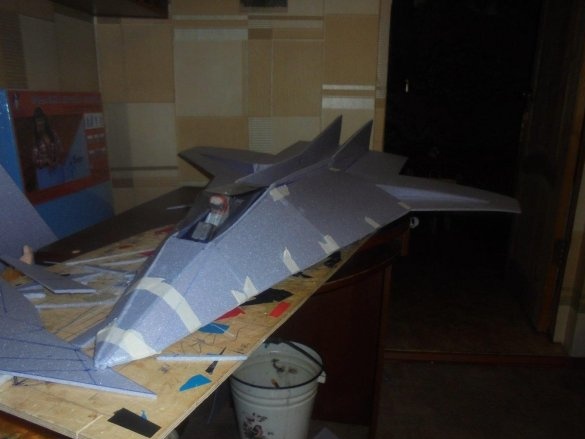
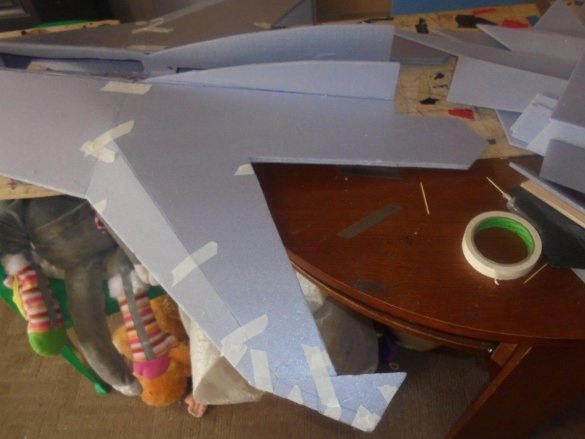
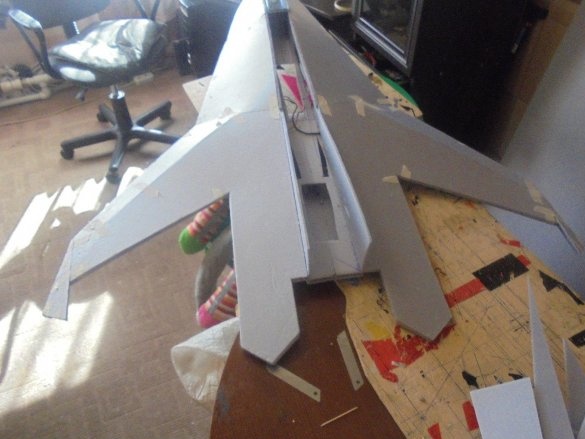
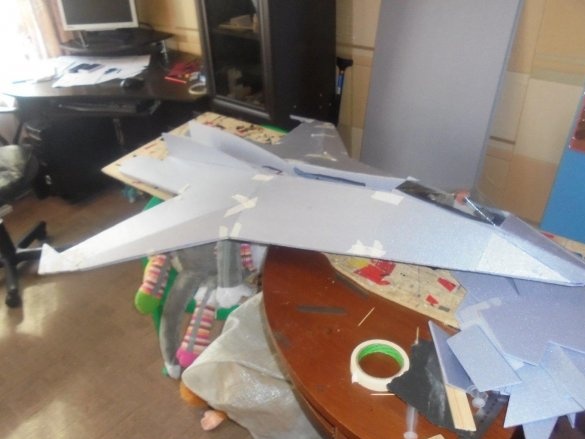
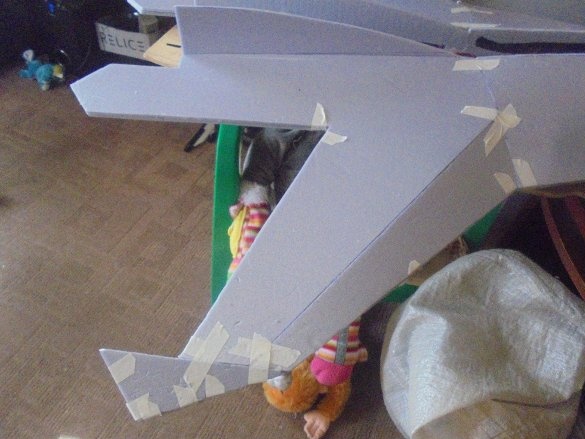
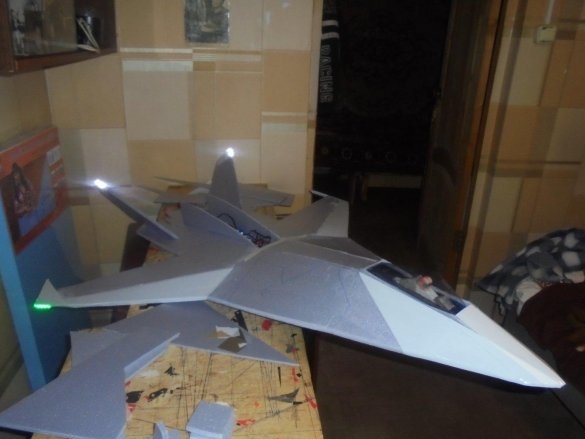
To the formed vertical walls of the cabin, in separate pieces, fitting them in place, he began to sheathe the outer surface of the wing. So the nose of the fuselage appeared.
For rigidity and to create a small wing profile, I glued the internal partitions onto which the outer skin of the wing was glued.
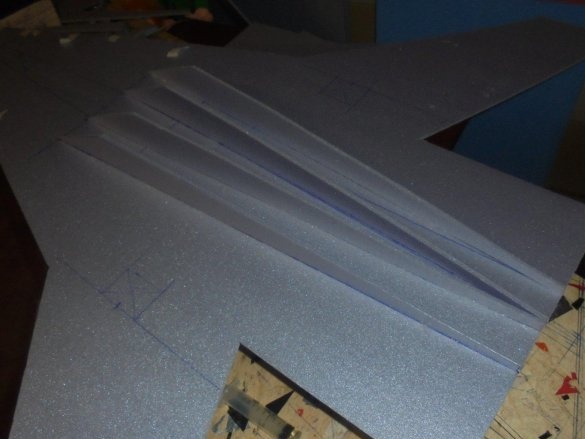
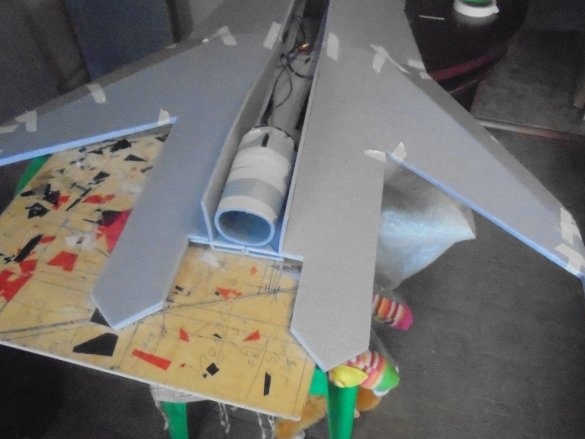
On the underside of the carrier platform, I glued the side walls of the air intakes - air ducts.
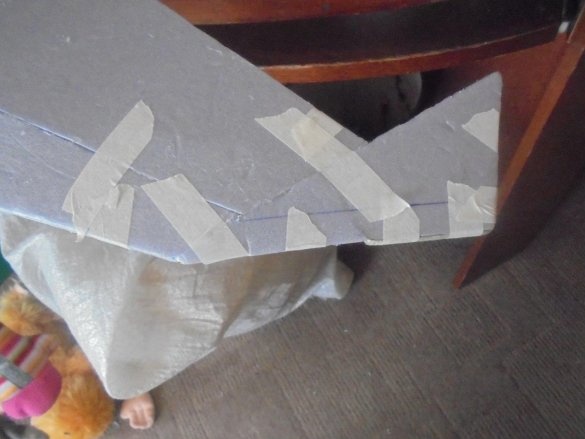
During the installation of individual elements, I used technological stickers from masking tape. As soon as the glue polymerized, immediately removed these stickers, otherwise later it would be difficult to peel them off.
The outer skin of the fuselage and wing is completed.
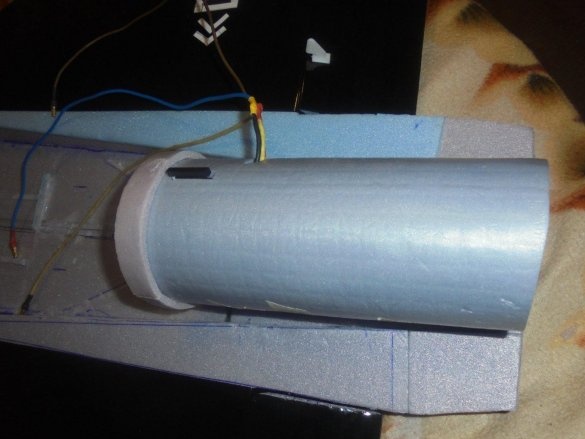
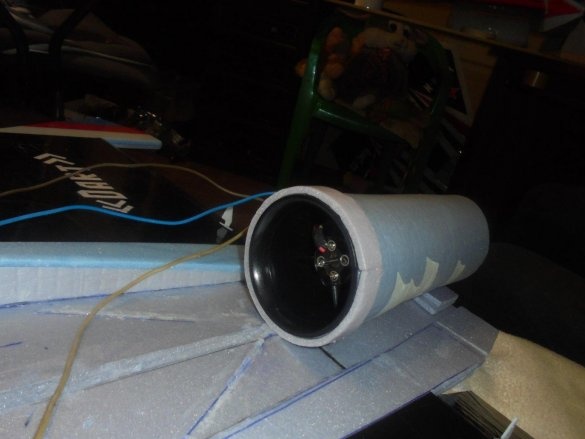
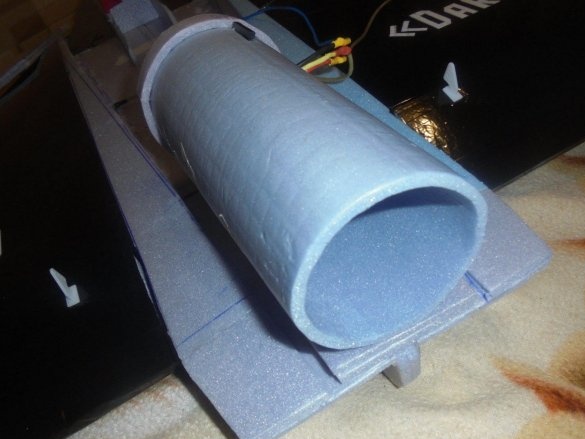
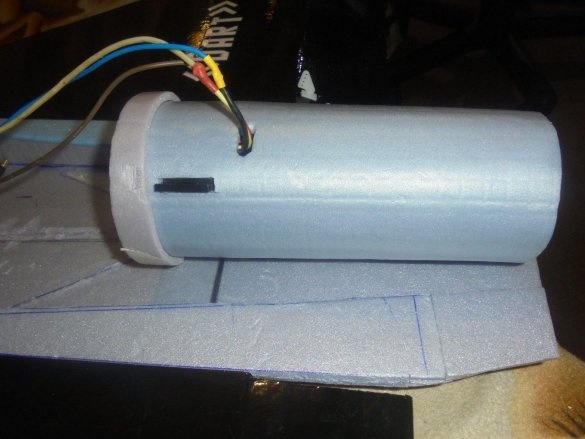
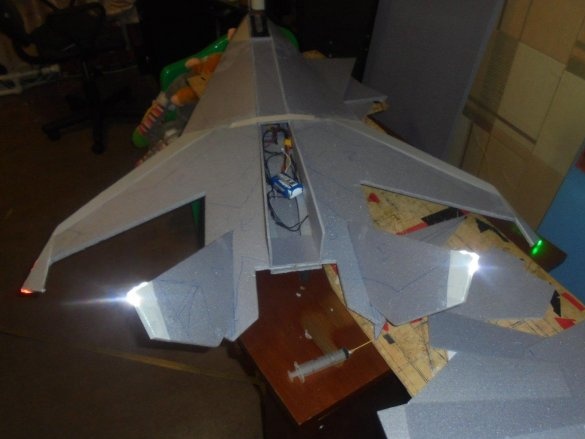
I made a tube for the impeller, the length of which is 1.5 times the length of the impeller body and has a narrowing at the output nozzle of about 5 degrees. In the same way, I made a tube for an impeller for the BlackDart model.
I tried the impeller in its place.
As the glue dries on the mounted elements, it began to be covered with colored tape.
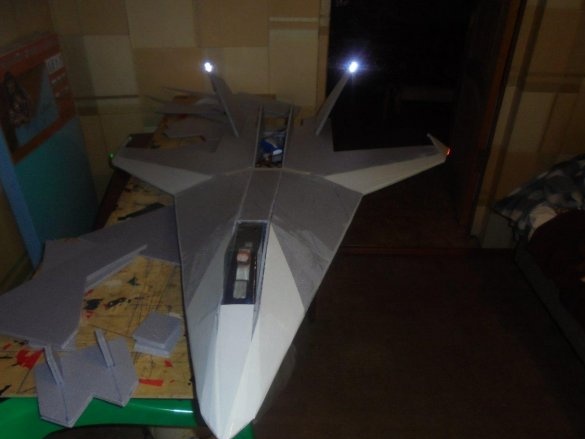
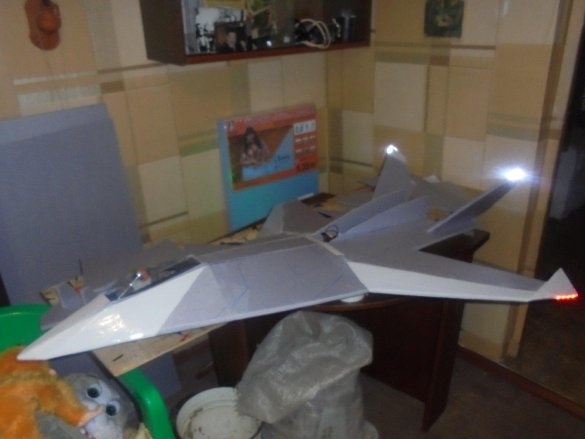
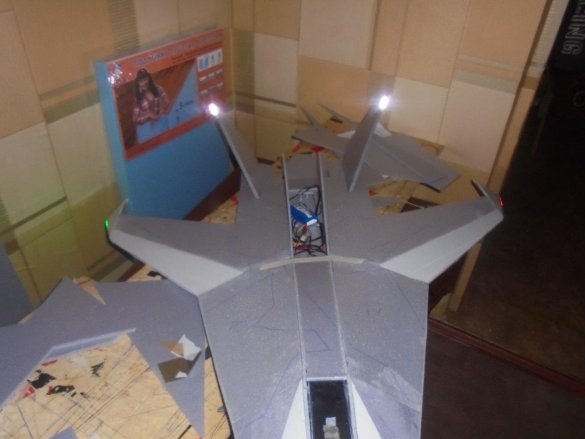
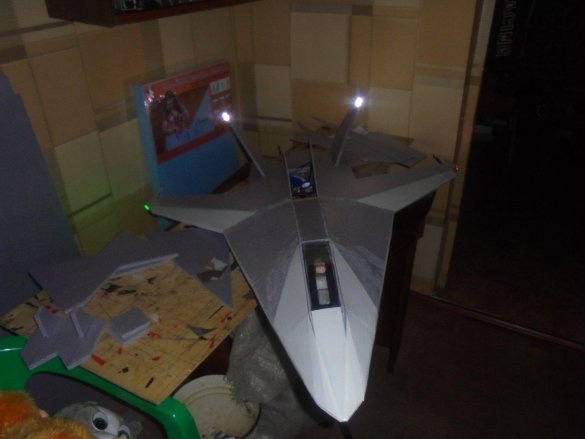
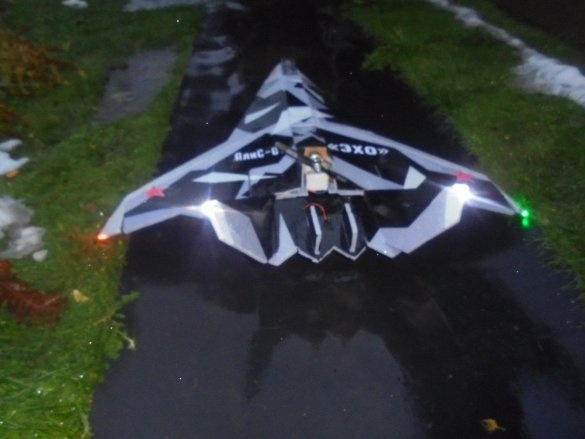
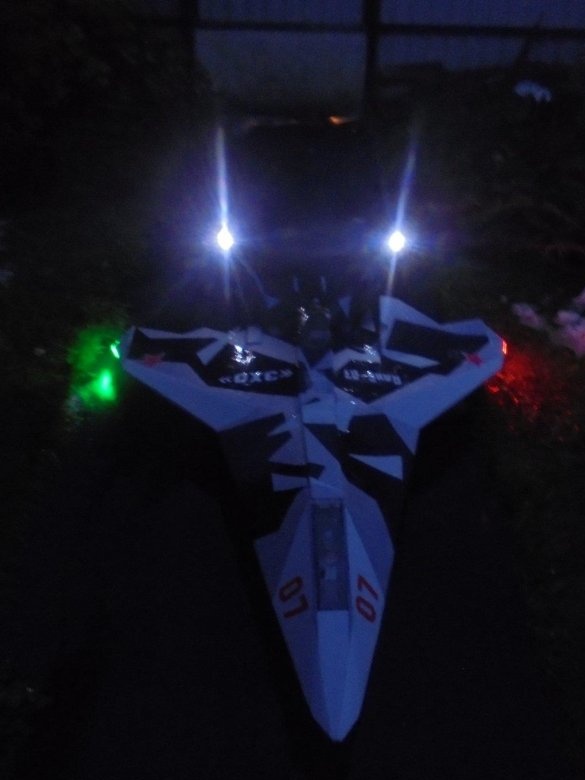
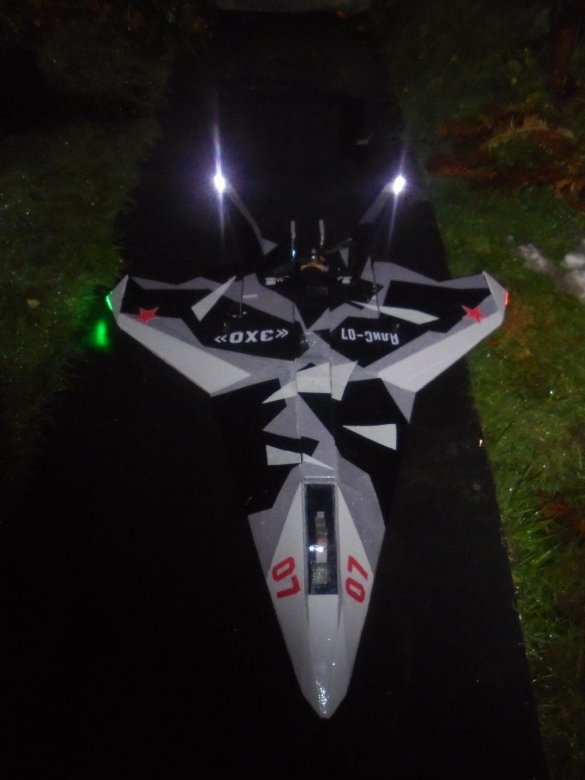
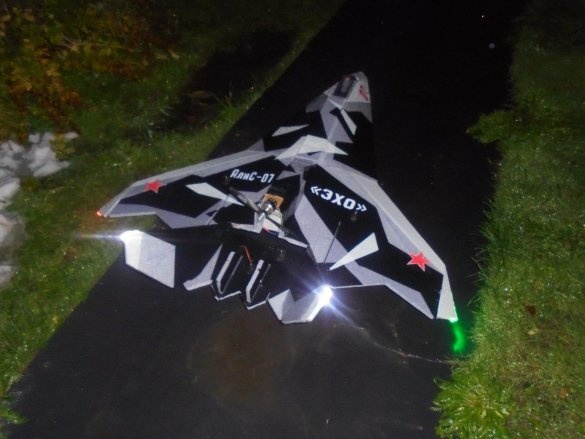
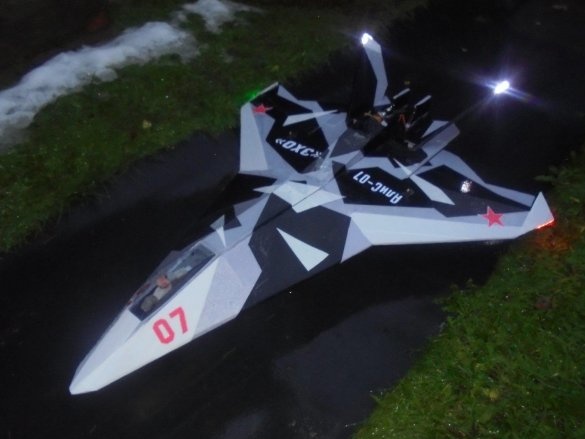
I checked the performance of the BANO. Wires were laid before the final skin of the fuselage and wing. Everything works fine.
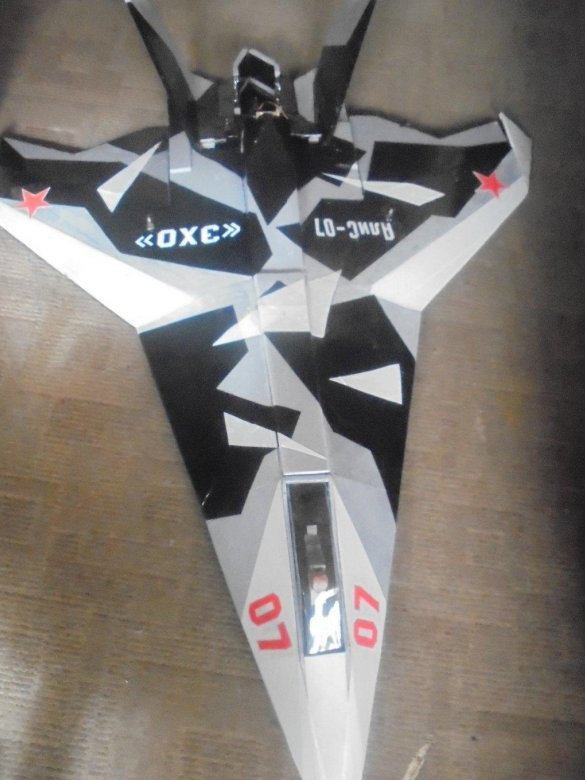
He began design work on covering the model with colored tape.
He made the necessary inscriptions, mounted the chassis.
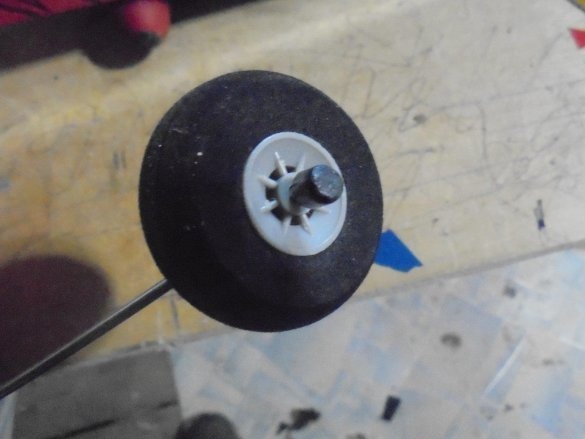
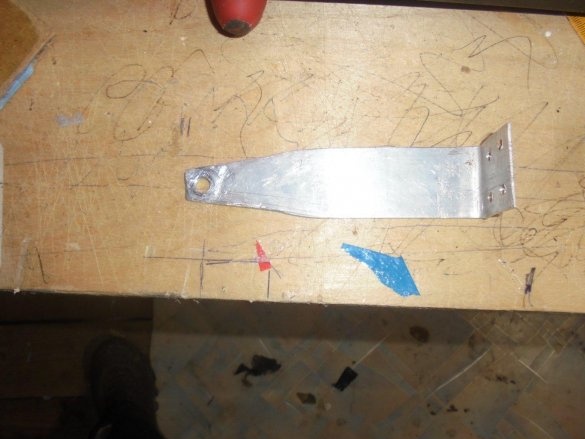
Chassis racks made of sheet aluminum, 2.5 mm thick. wheels purchased.
Last moments on the slipway.
At the first stage of the model’s tests, he mounted the engine with a screw, installed servos, boars and connected the rods.
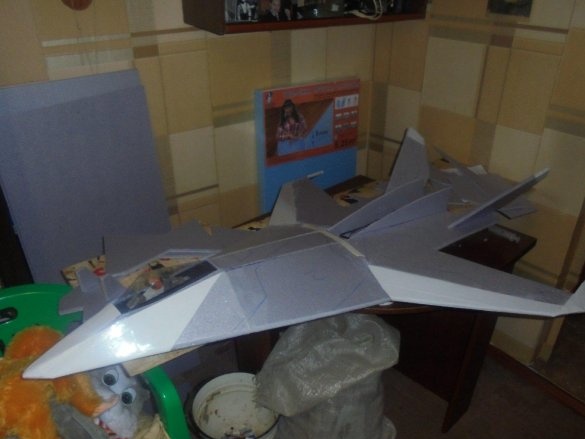
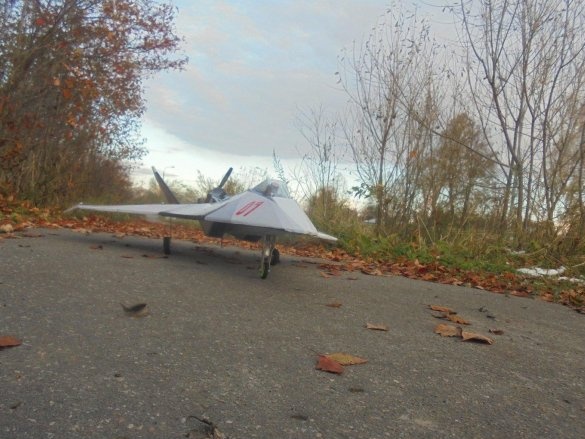
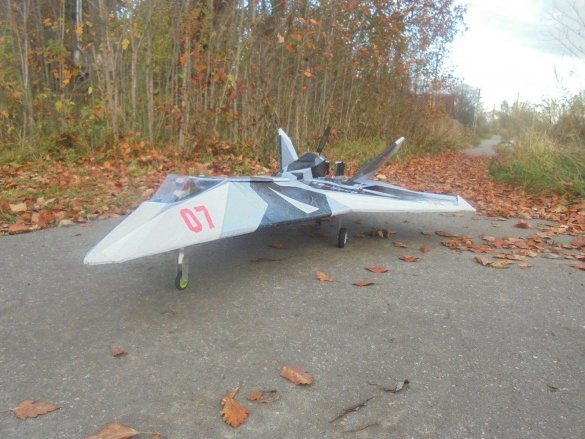
This is what the model looks like before the first flight.
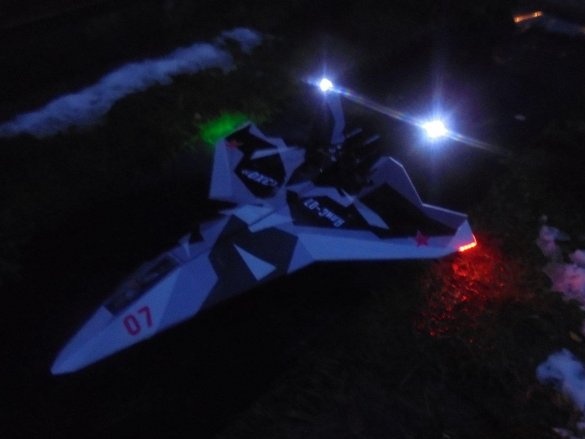
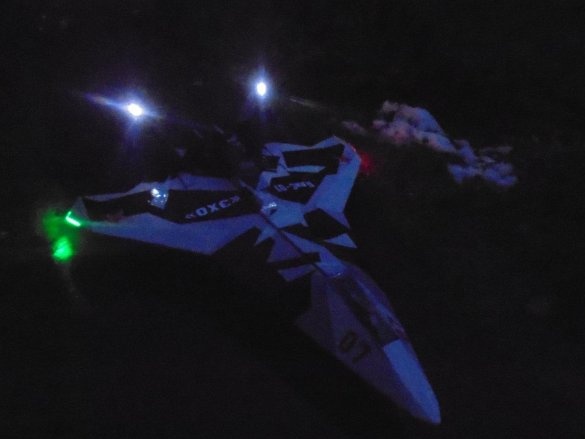
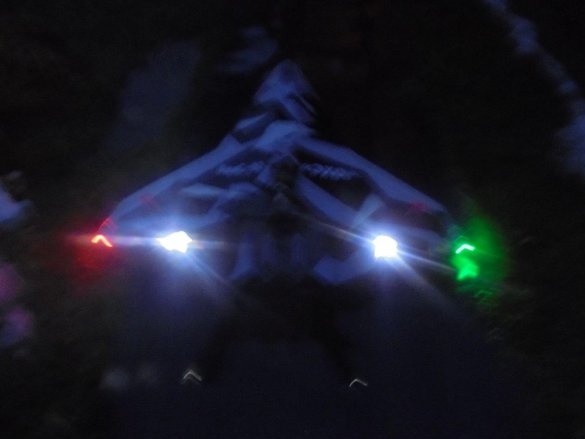
And these are evening photos from BANO.
That, perhaps, was all I wanted to tell about.
See you soon, your Valerian.


