
Portable battery chargers (Powerbank) have long been included in everyday life.
In this article, the author of the KJDOT YouTube channel will tell you how he made such a device that can be charged not only from the network, but also from two solar panels.
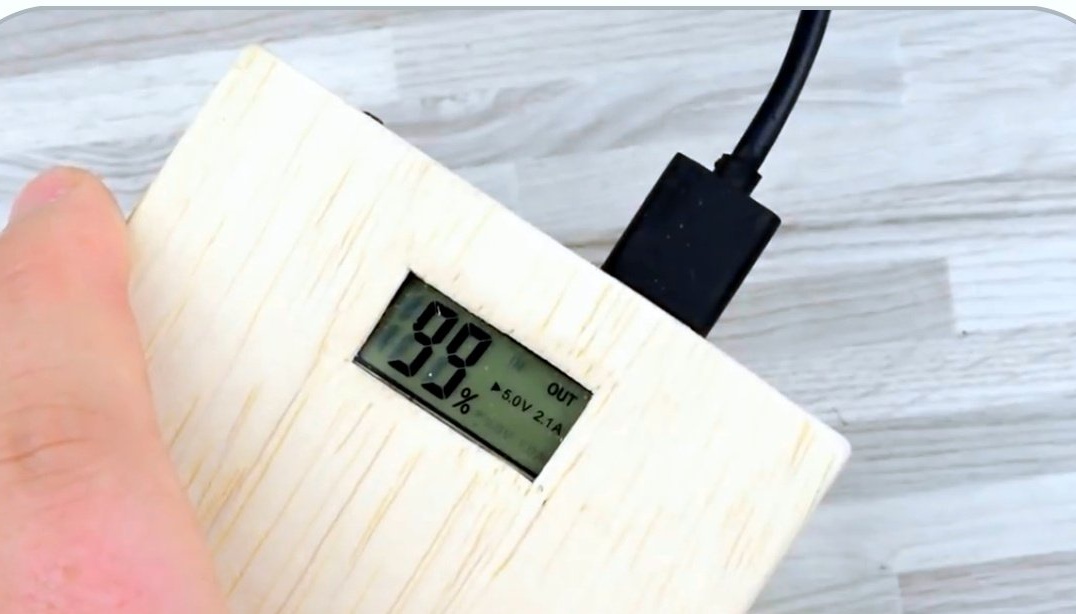
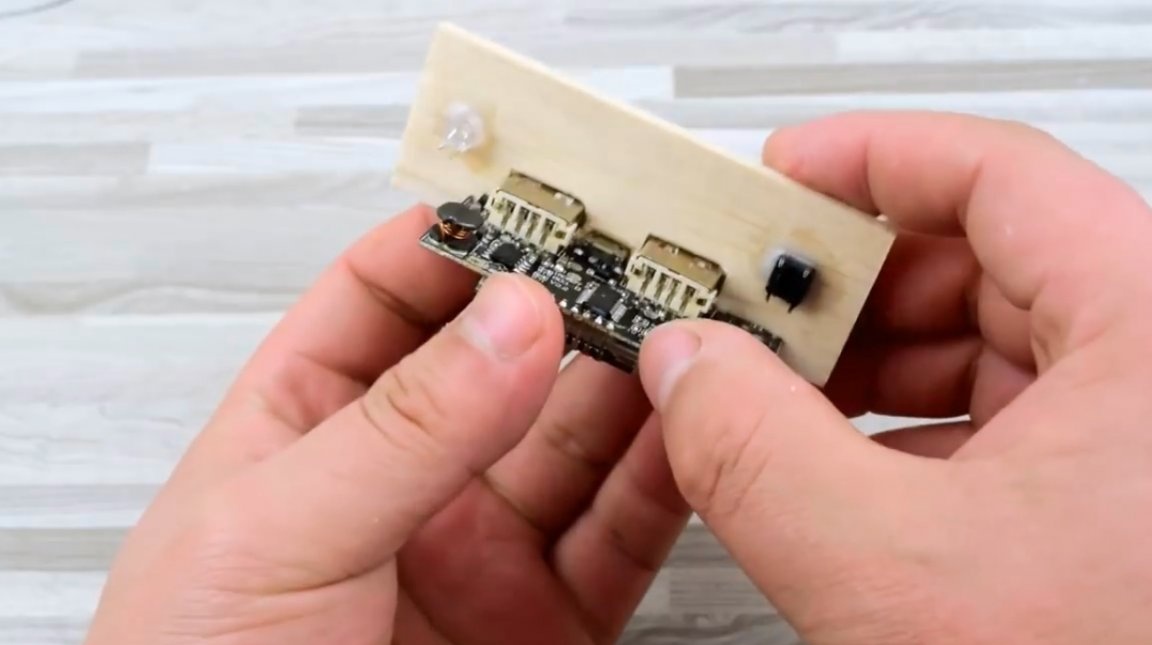
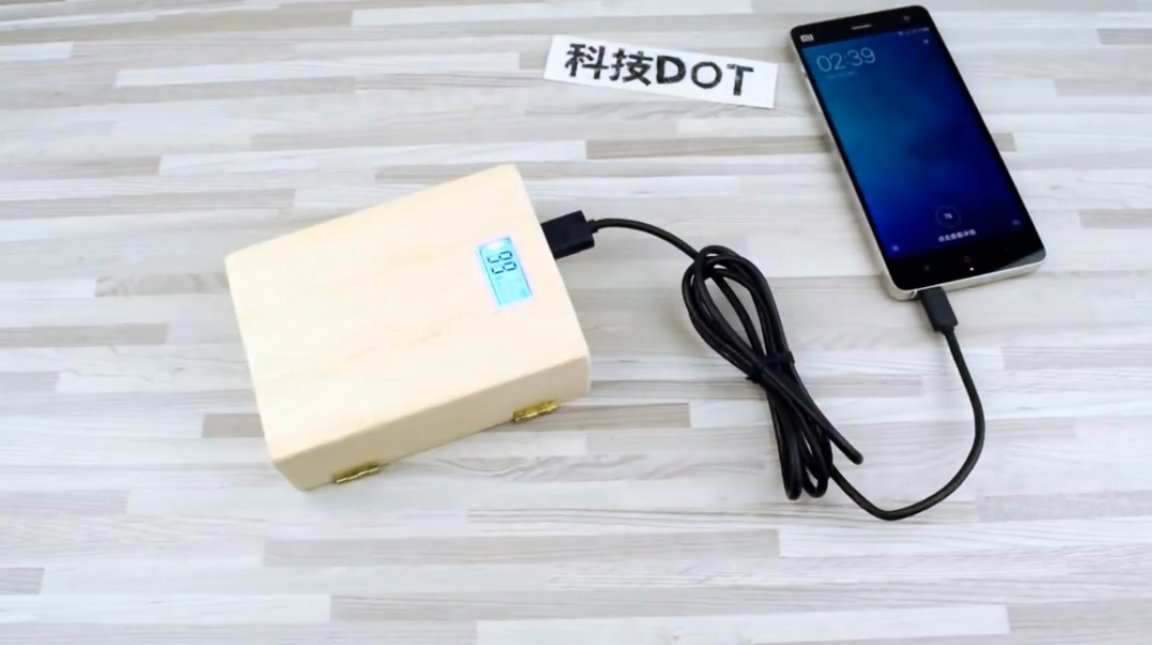
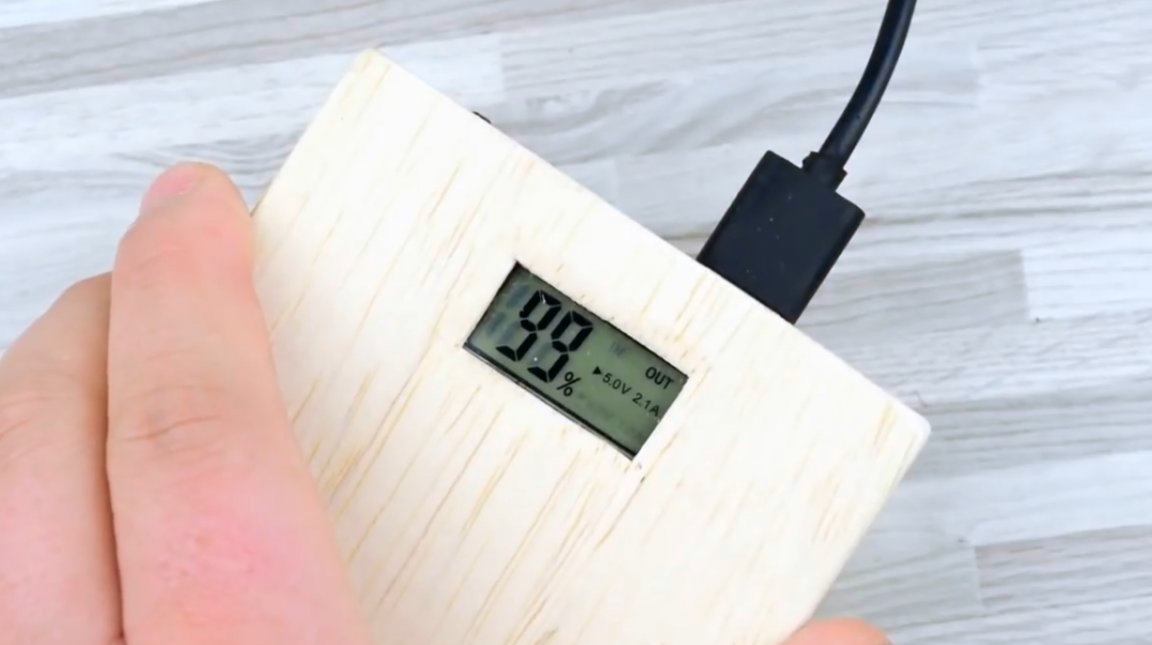
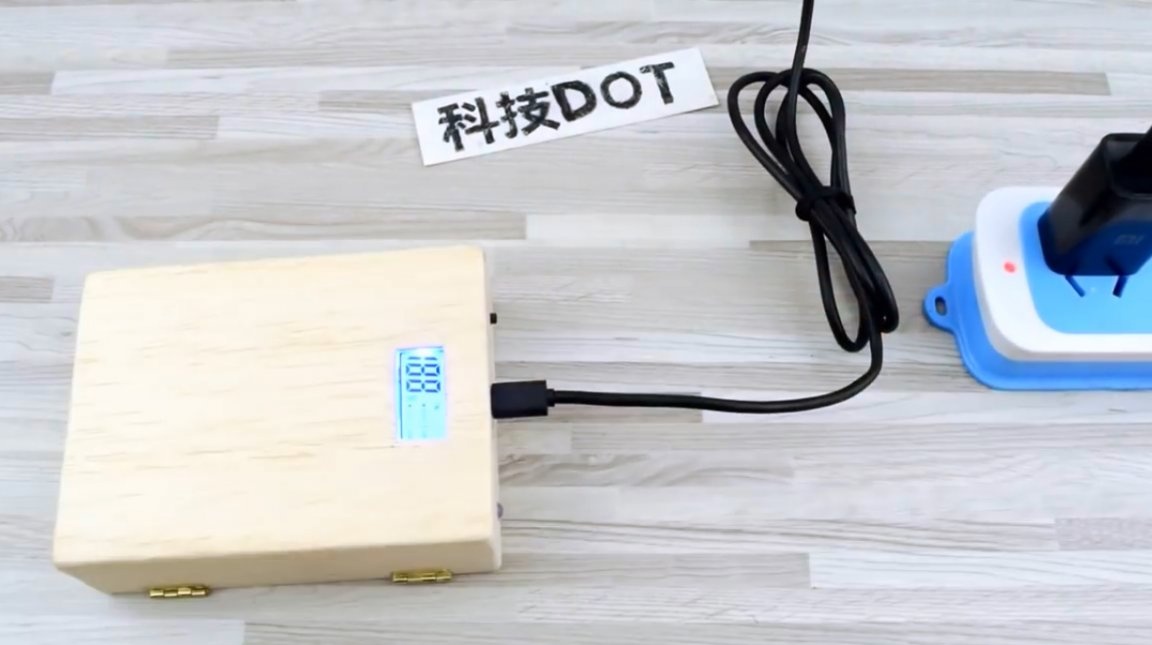
The capacity of the built-in batteries is 13.6 Ah. There are also two USB outputs (2.1 and 1 Ampere), a multi-function display, and a small LED flashlight.
Materials
—
—
- - 2 pcs.
- - 4 things.
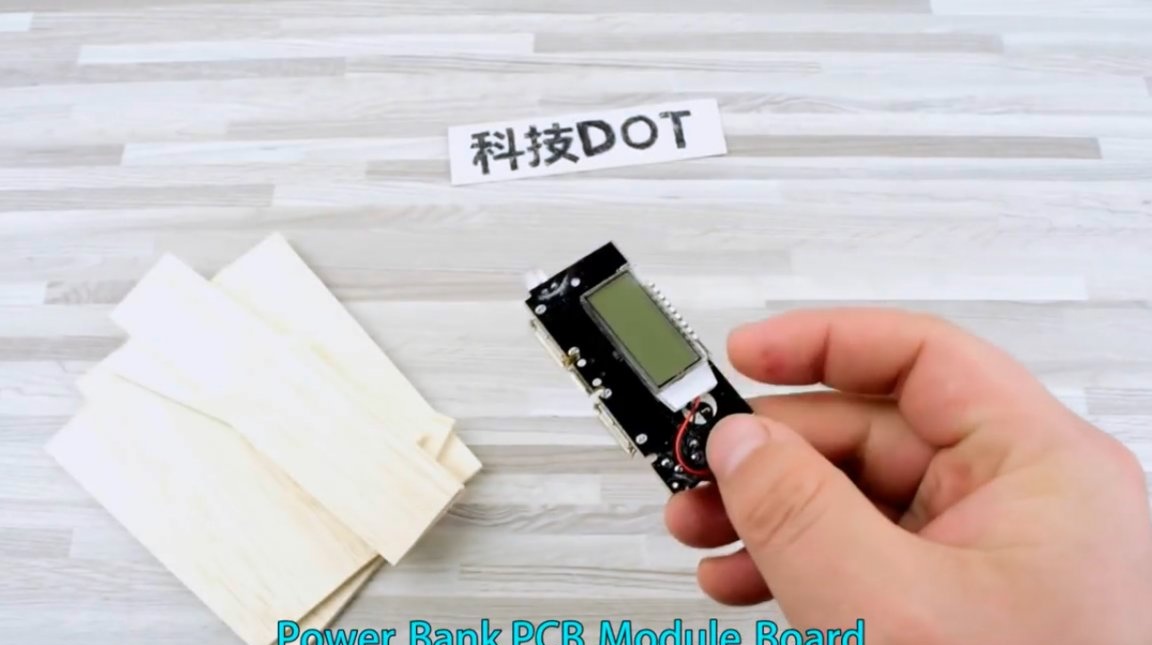
- Protection board for Li-Ion batteries
- Clock button, wires
—
- 2 mm thick sheet plywood, furniture hinges
- Silicone sealant
- Insulation tape, double-sided tape
- Second glue.
Instruments, used by the author.
- tweezers
- Knife, pencil, ruler.
Manufacturing process.
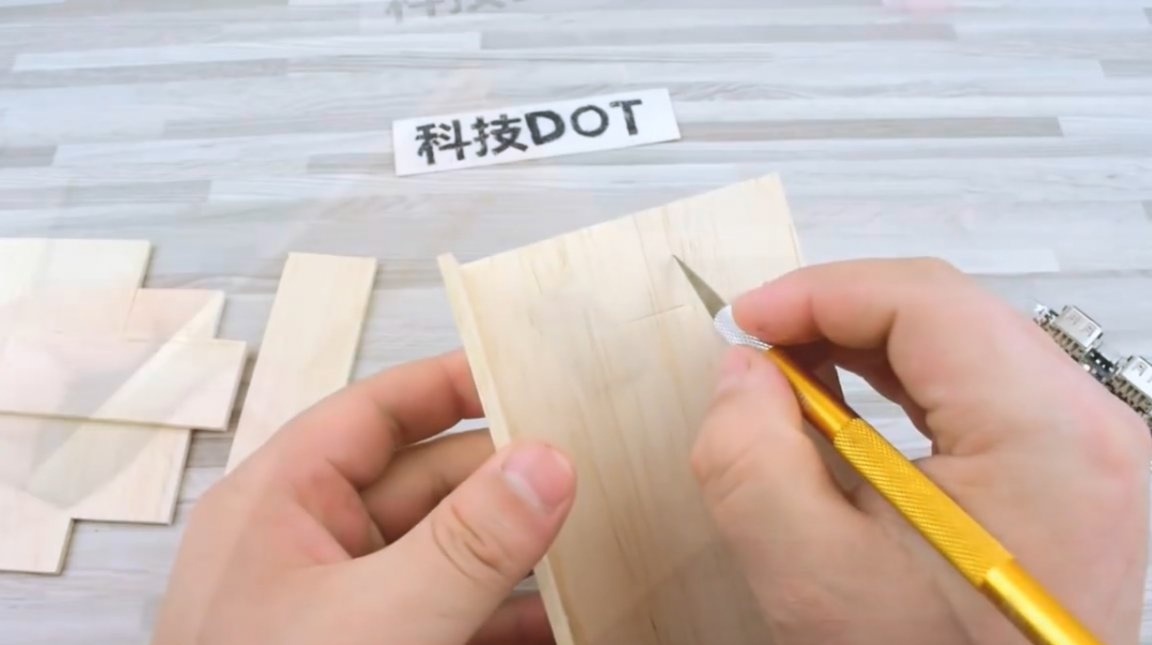
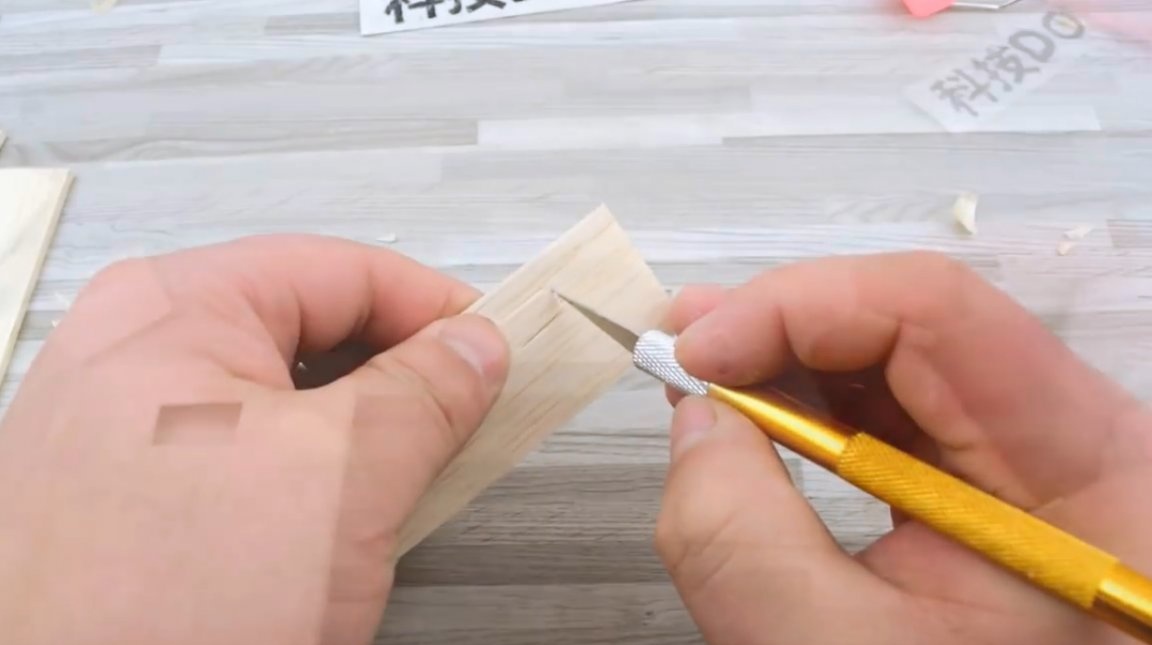
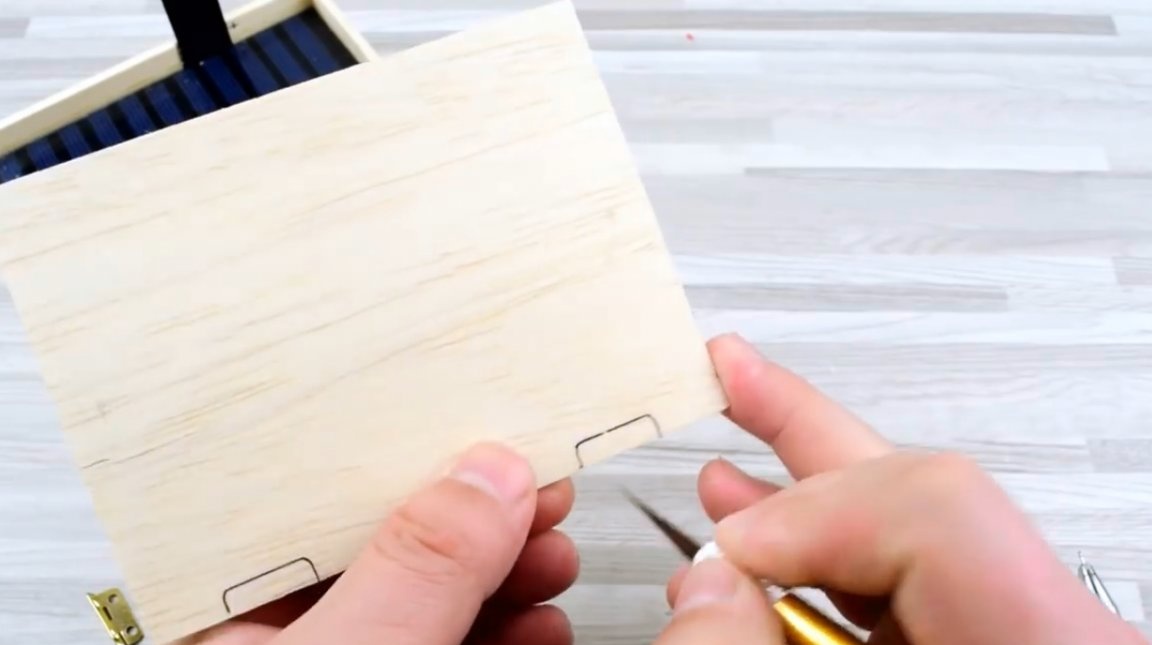
So, for the body, the master needs to cut rectangular billets of thin plywood of the following sizes: 116X86, 116X30, 80X30 mm of such parts should be two. First, he glues a side panel to the back wall.

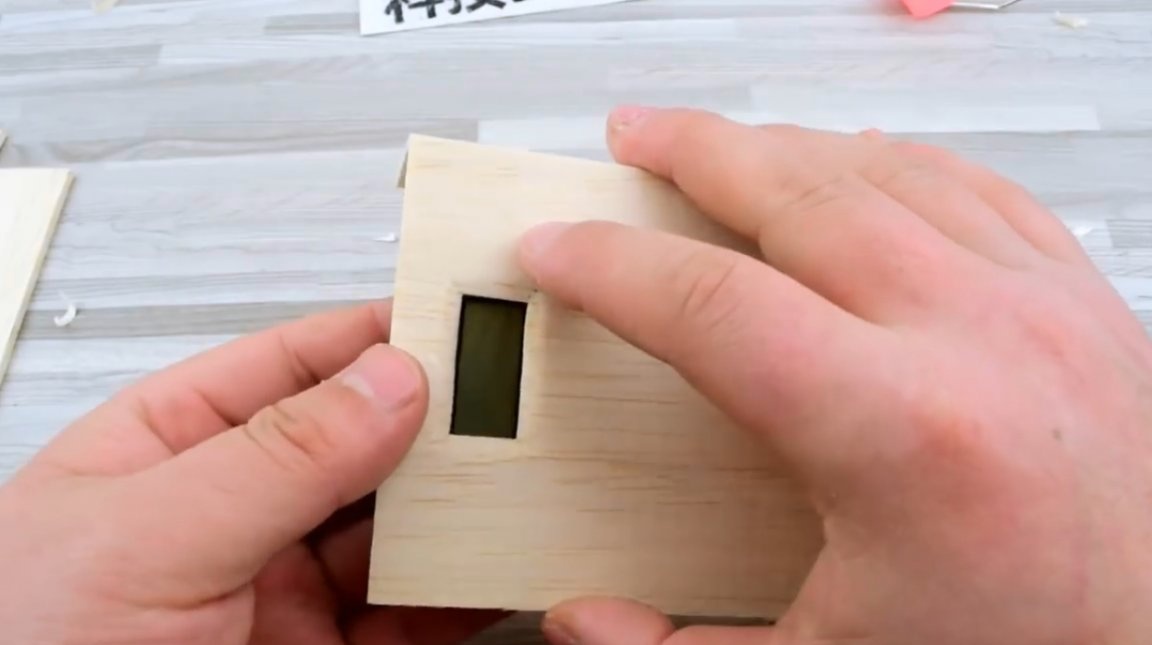
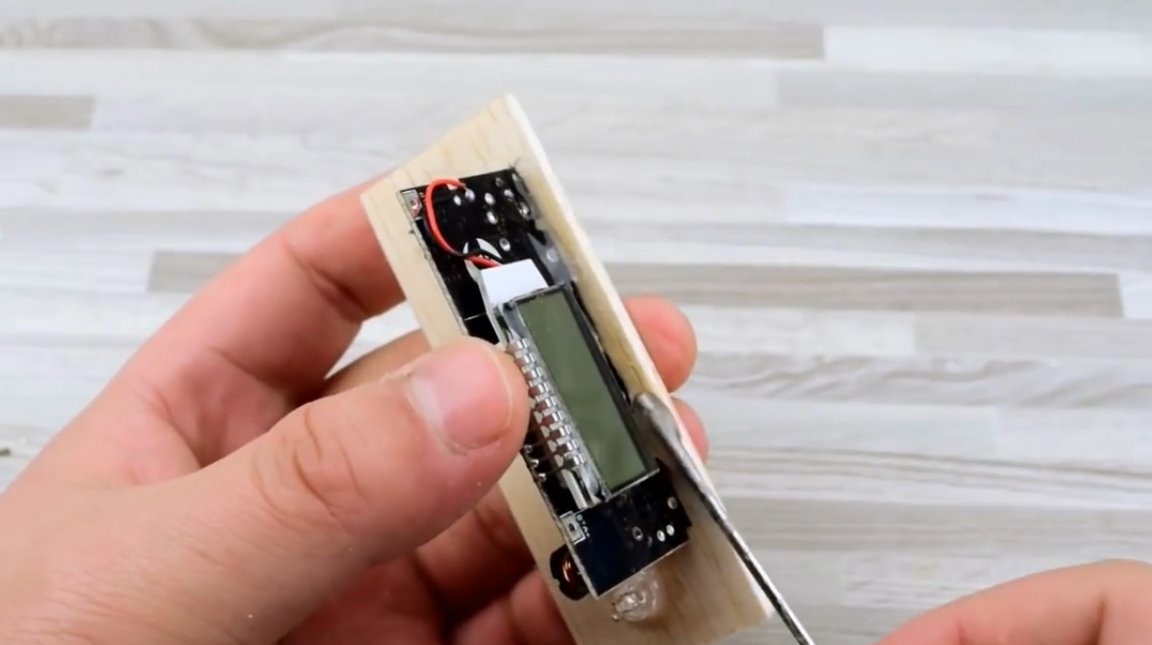
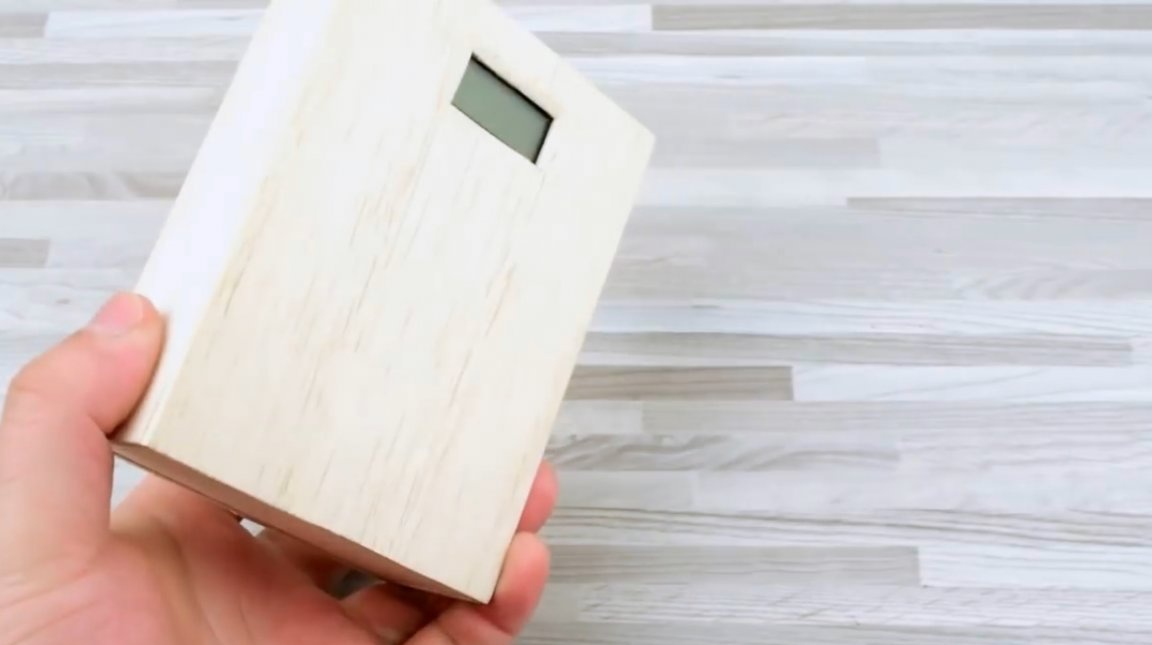
He tries on the board, and cuts out a window for the screen.
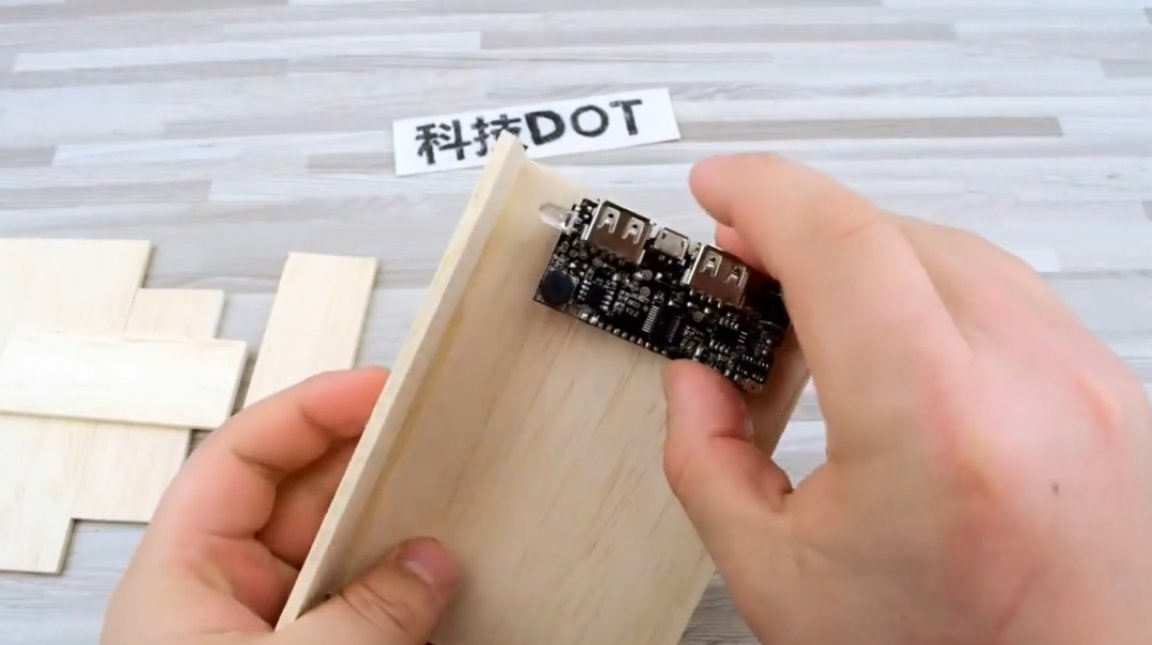

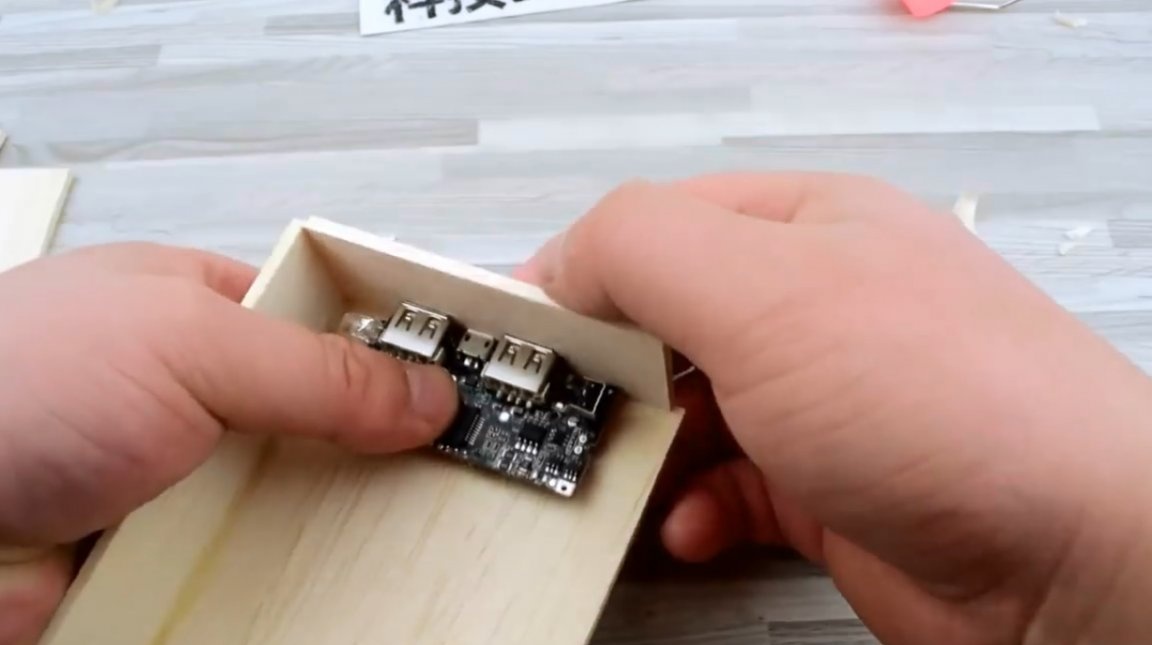
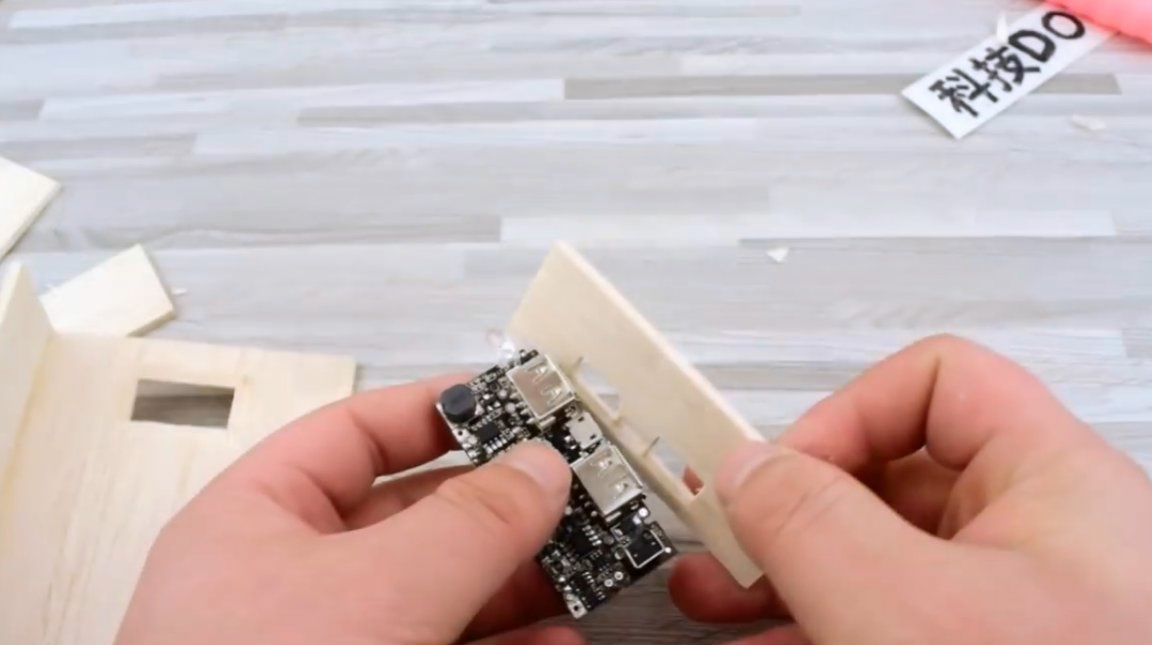
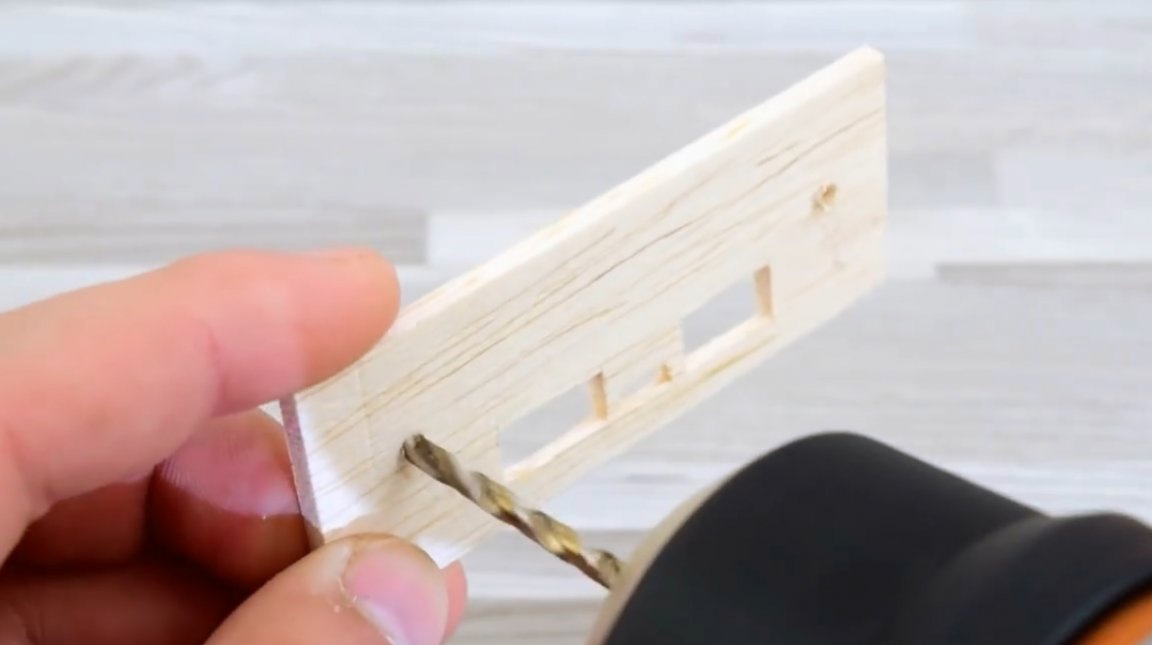
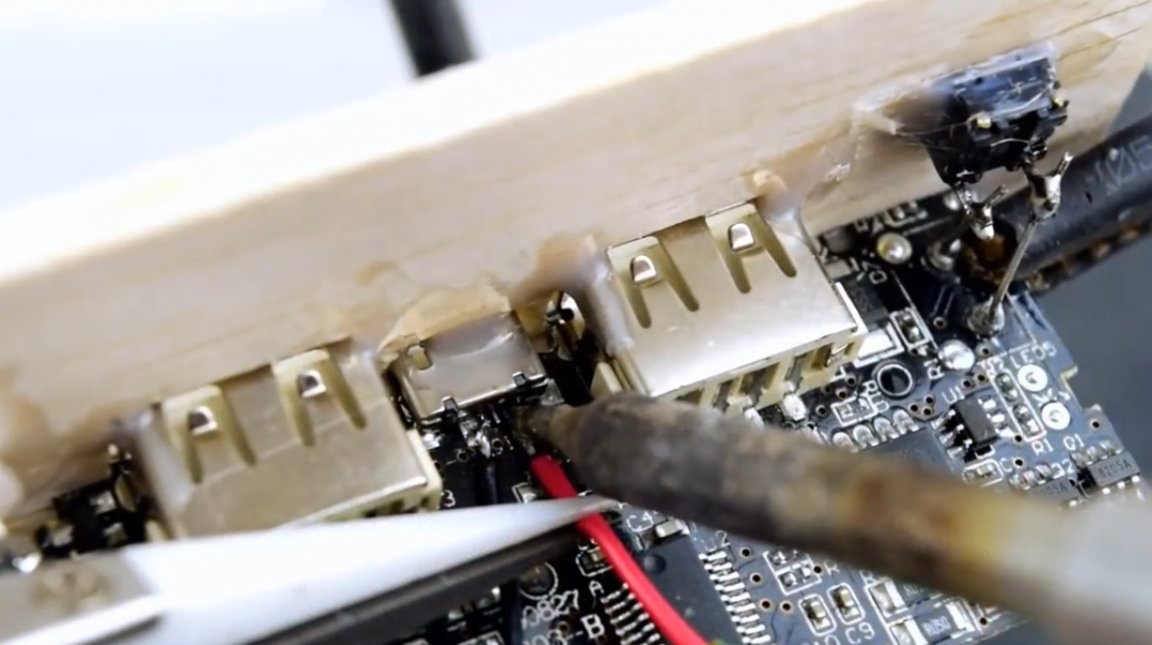
Next, holes for connectors are marked and cut out in the upper panel.
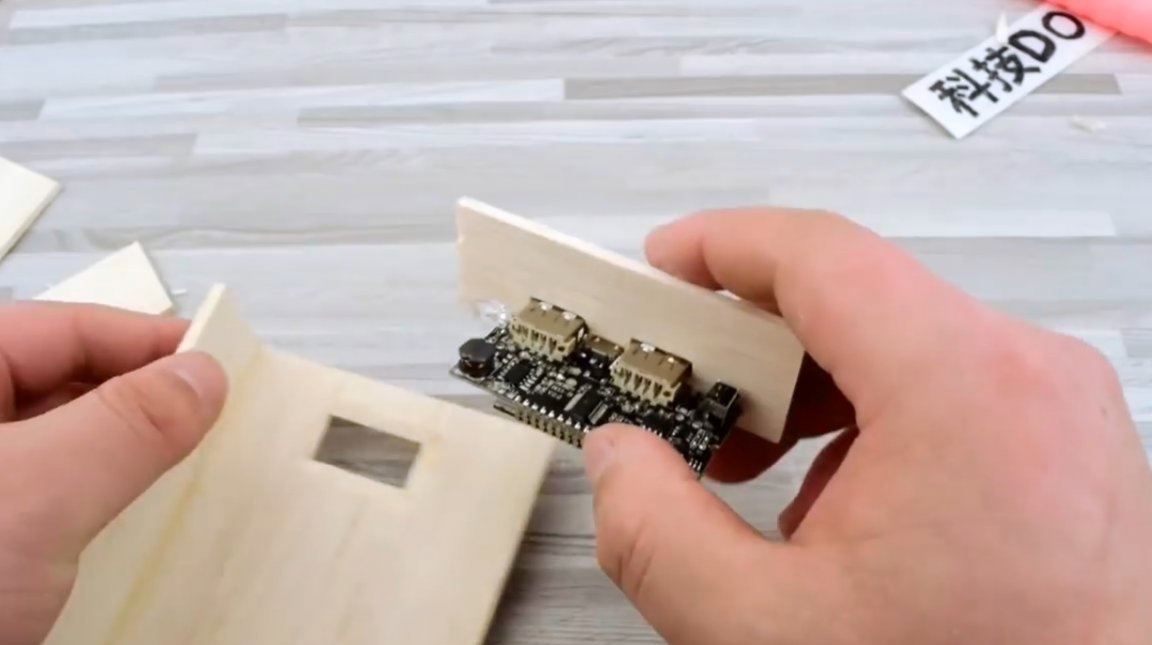
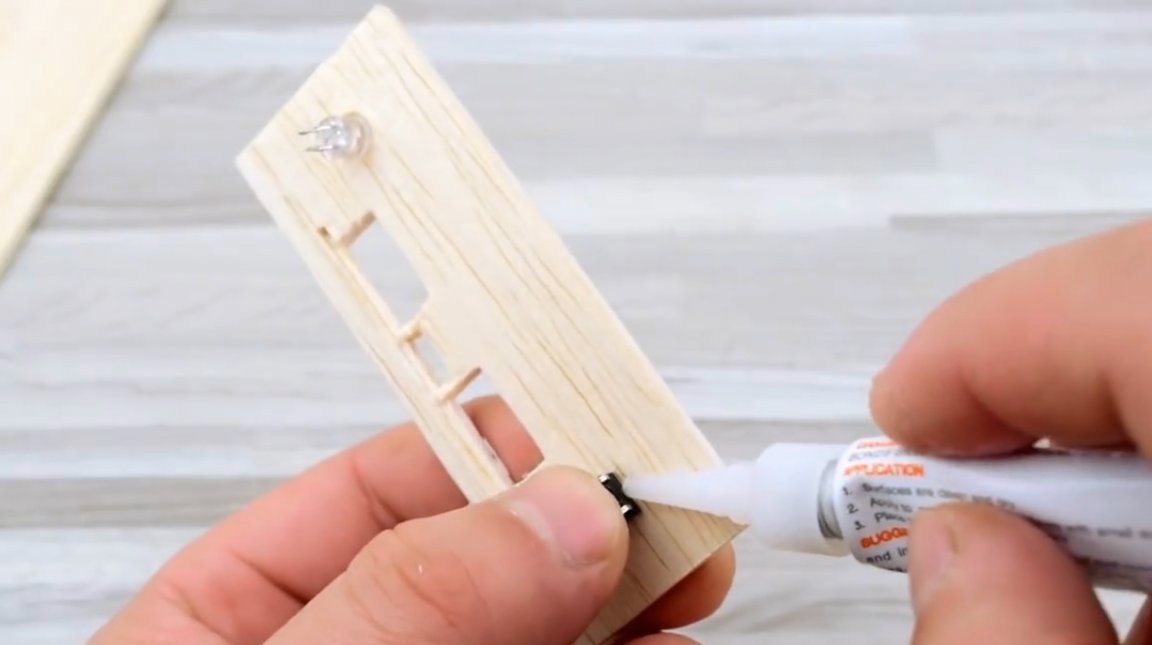
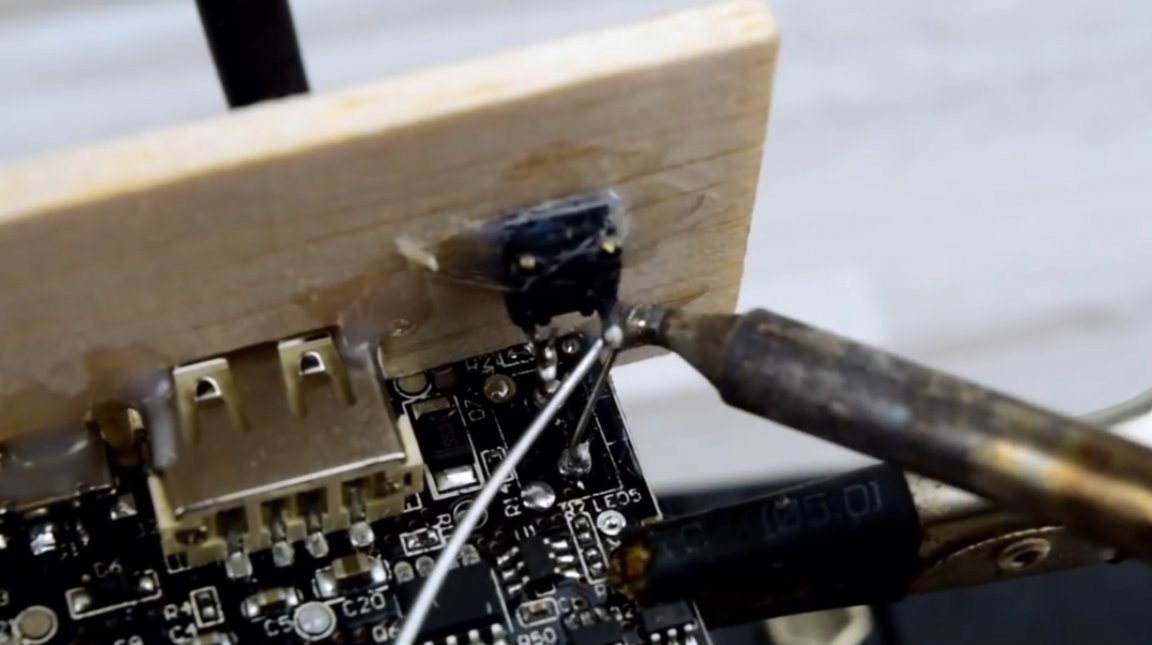
The LED of the flashlight is soldered from the main board, and the button for turning it on.
Drills holes for the button and LED, and glues them into place.
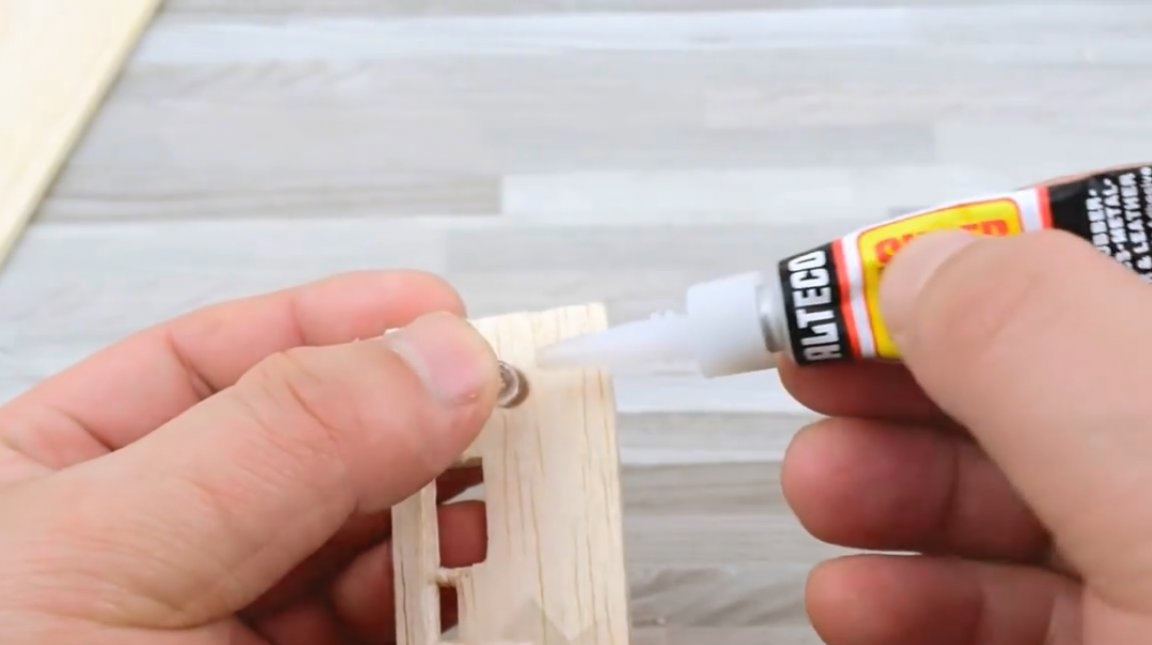
Mixes the components of acrylic glue, and sticks the board to the case.

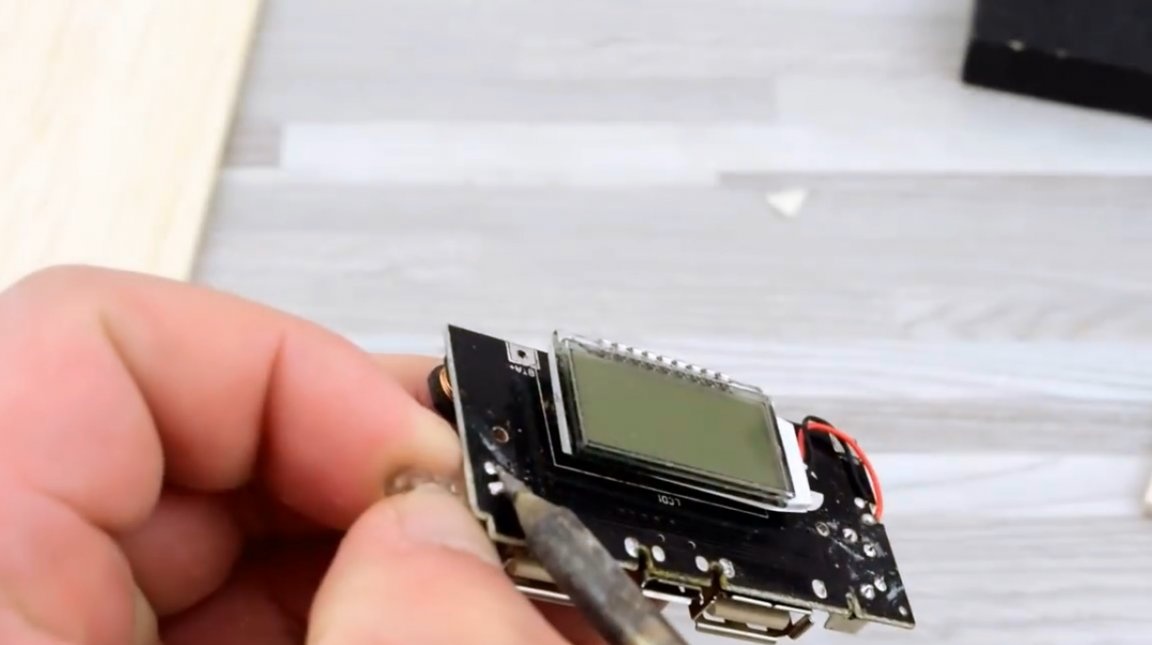
Solder the contacts of the LED and the clock button to the board.
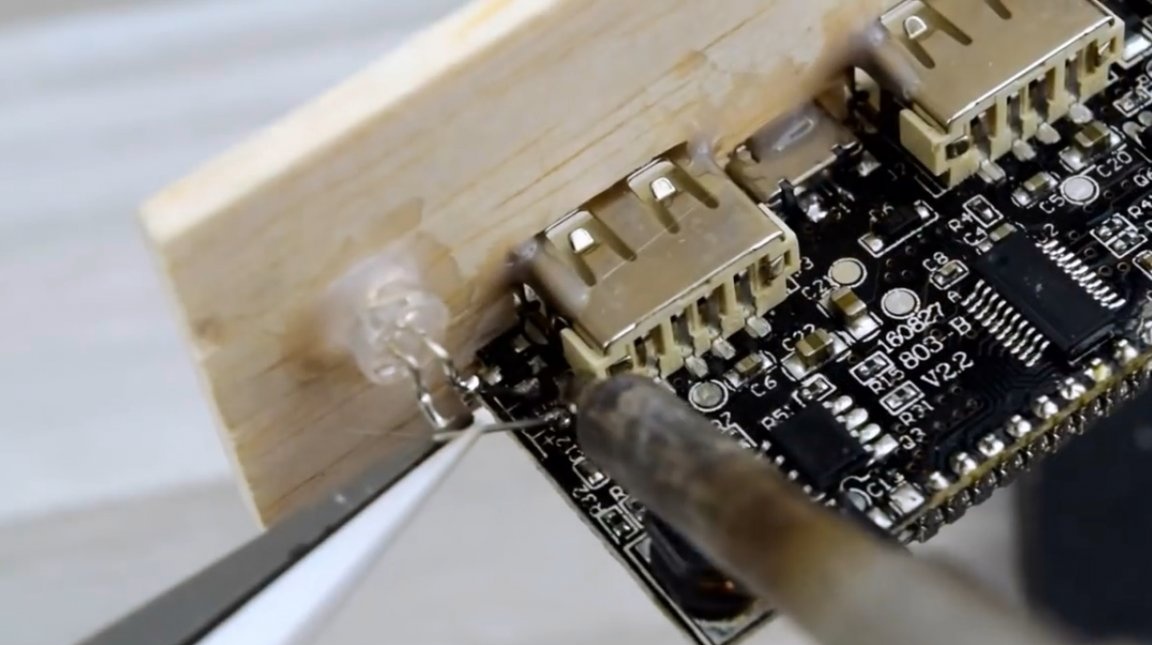
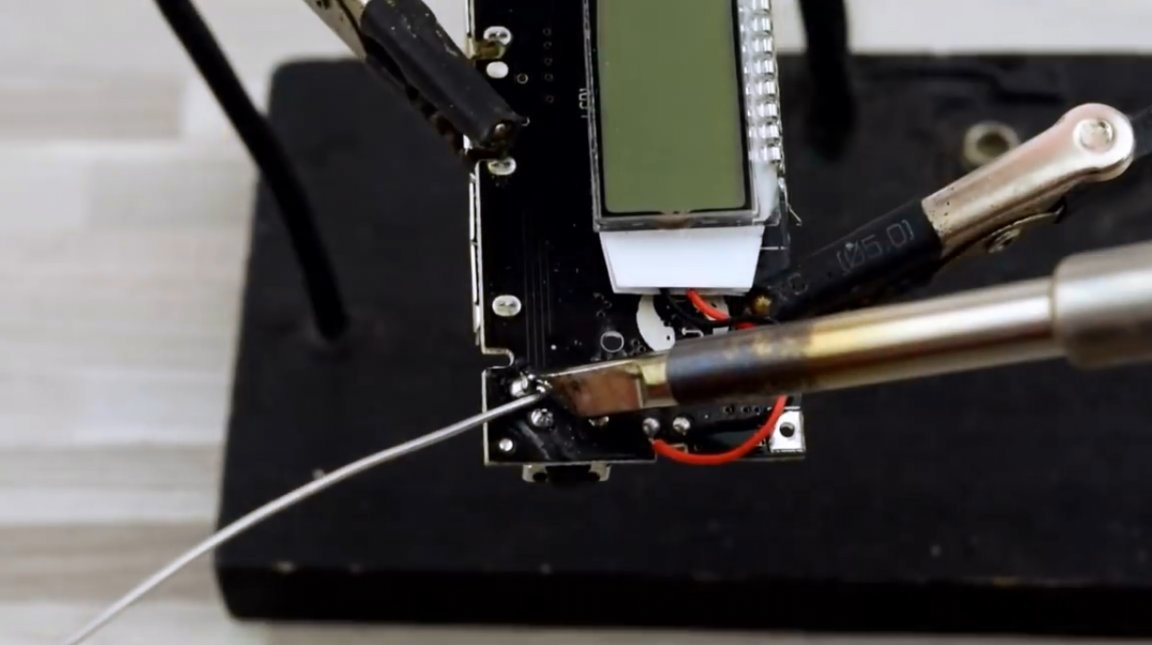
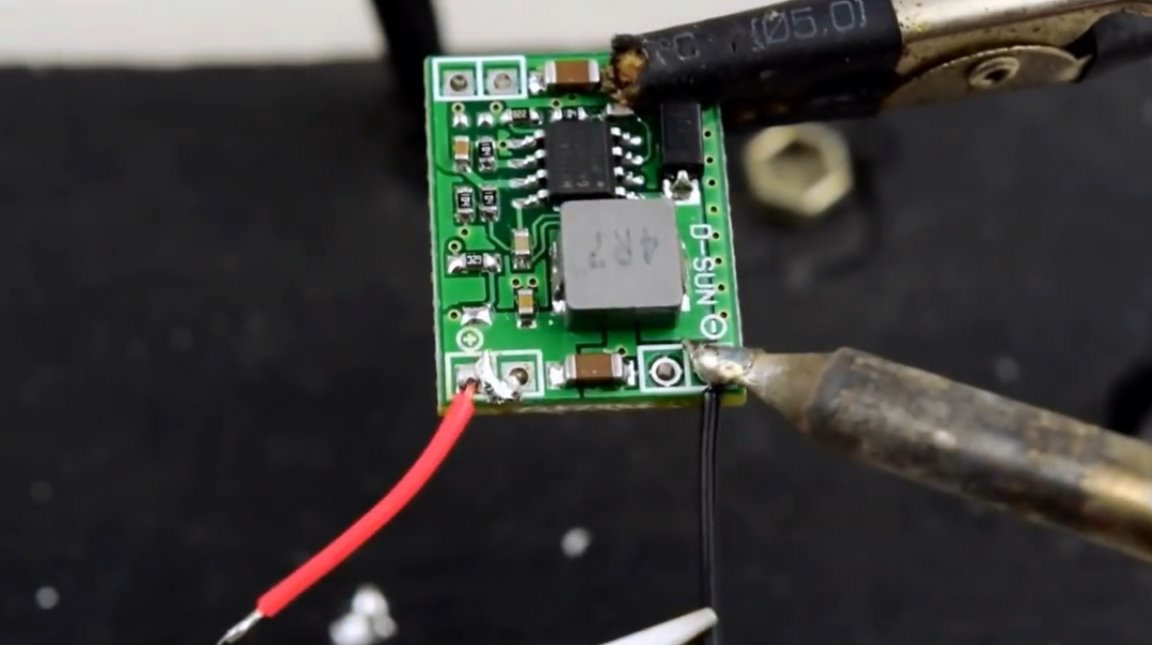
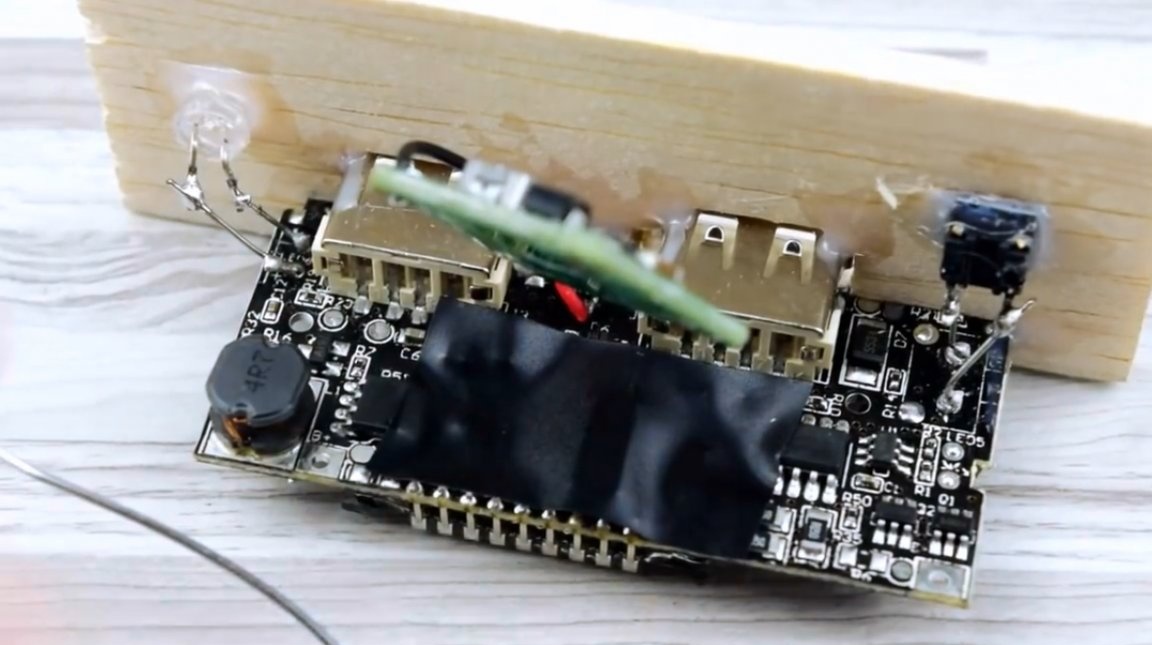
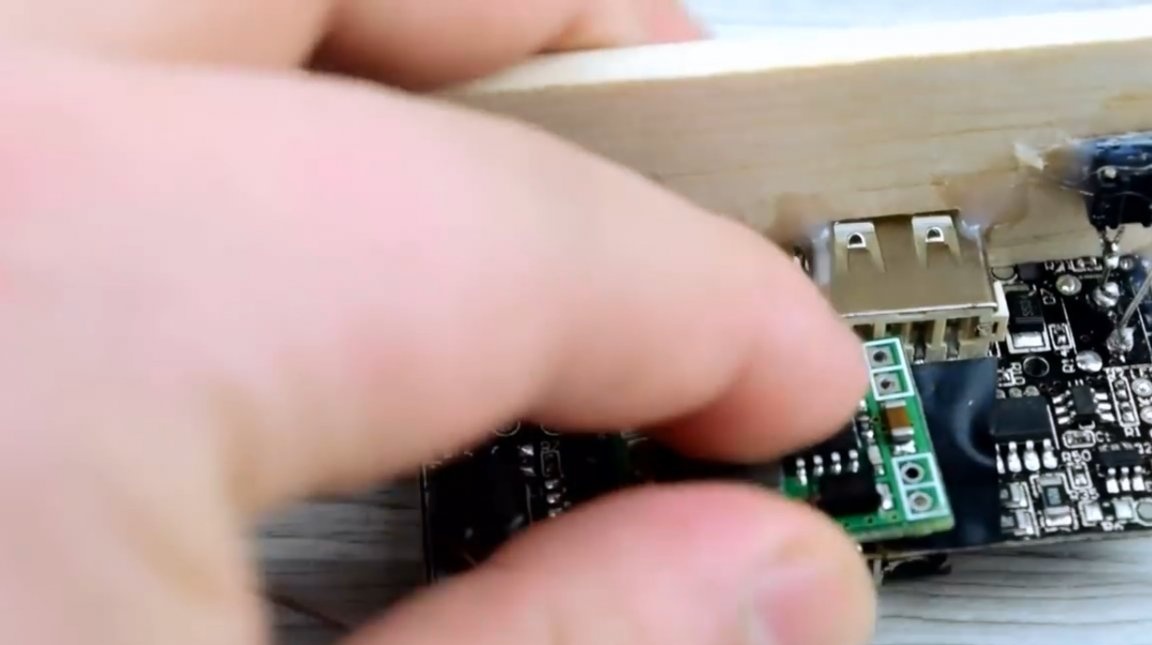
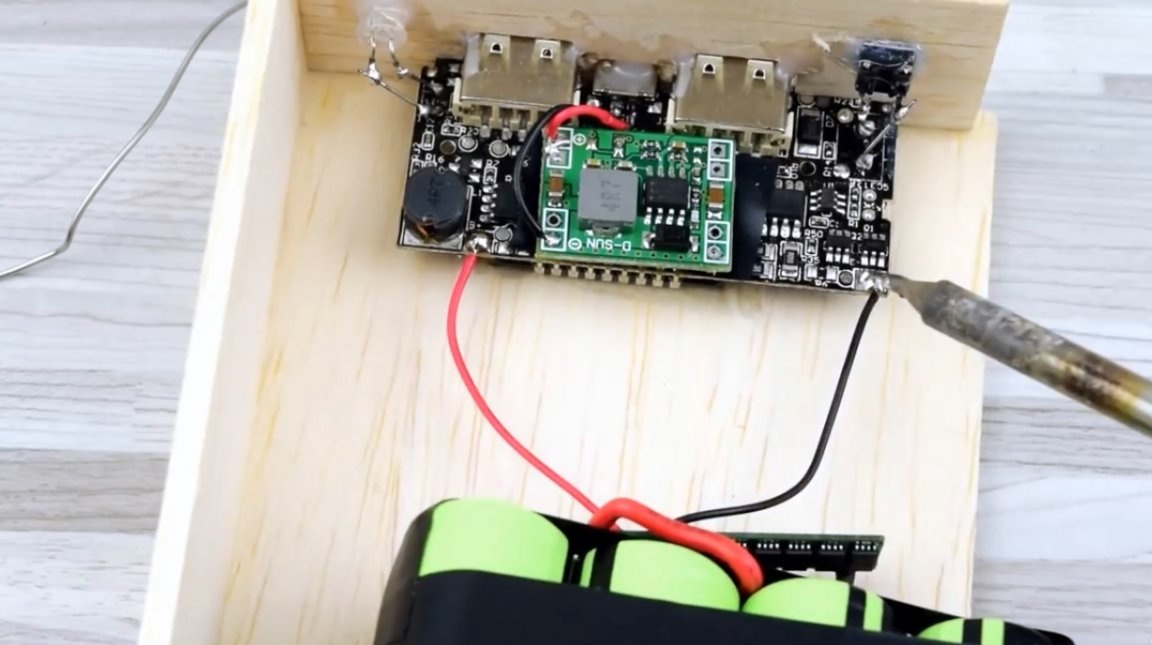
Two wires are soldered to the output contacts of the stabilizer, which are connected to the controller's charging input socket.
The board sticks to double-sided tape.
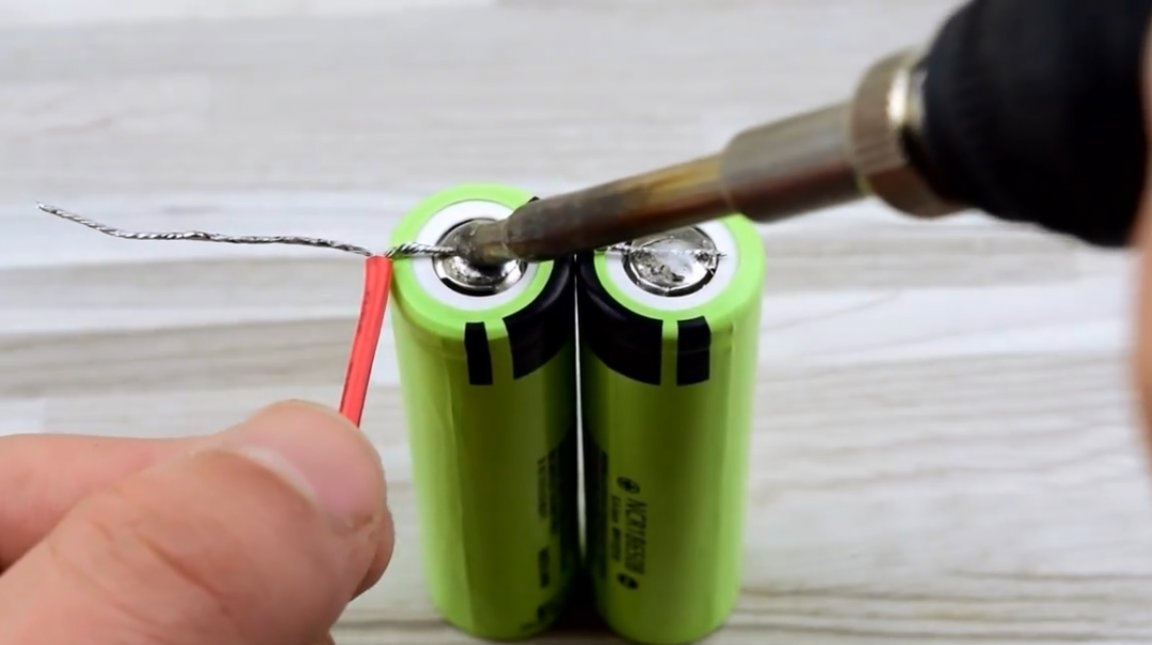
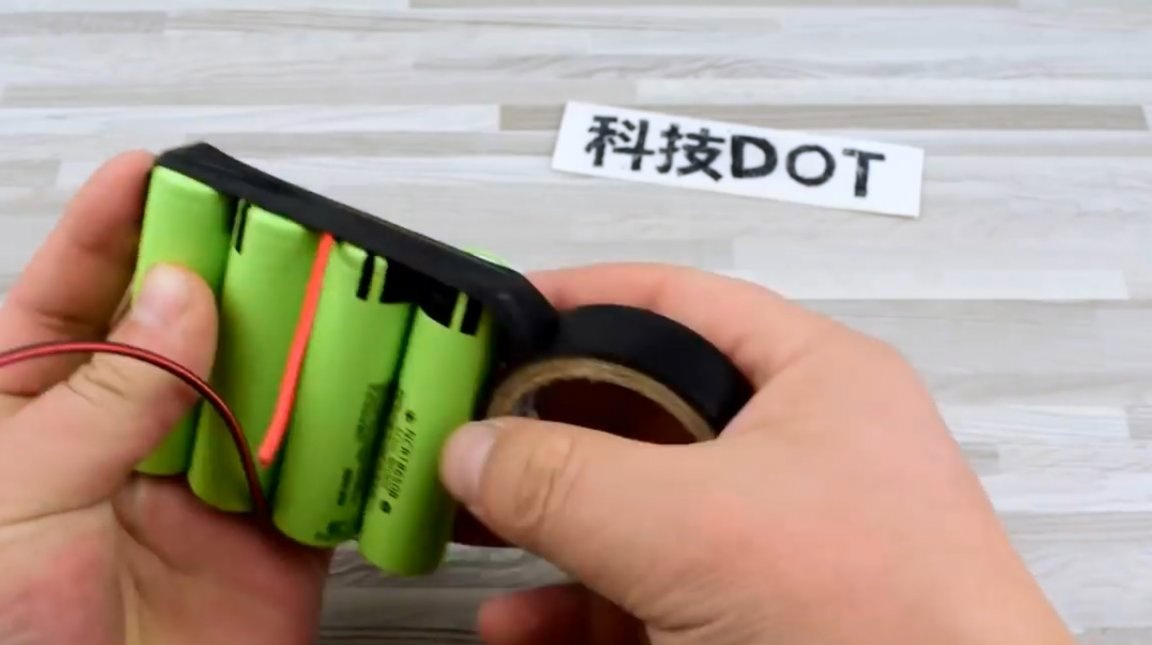
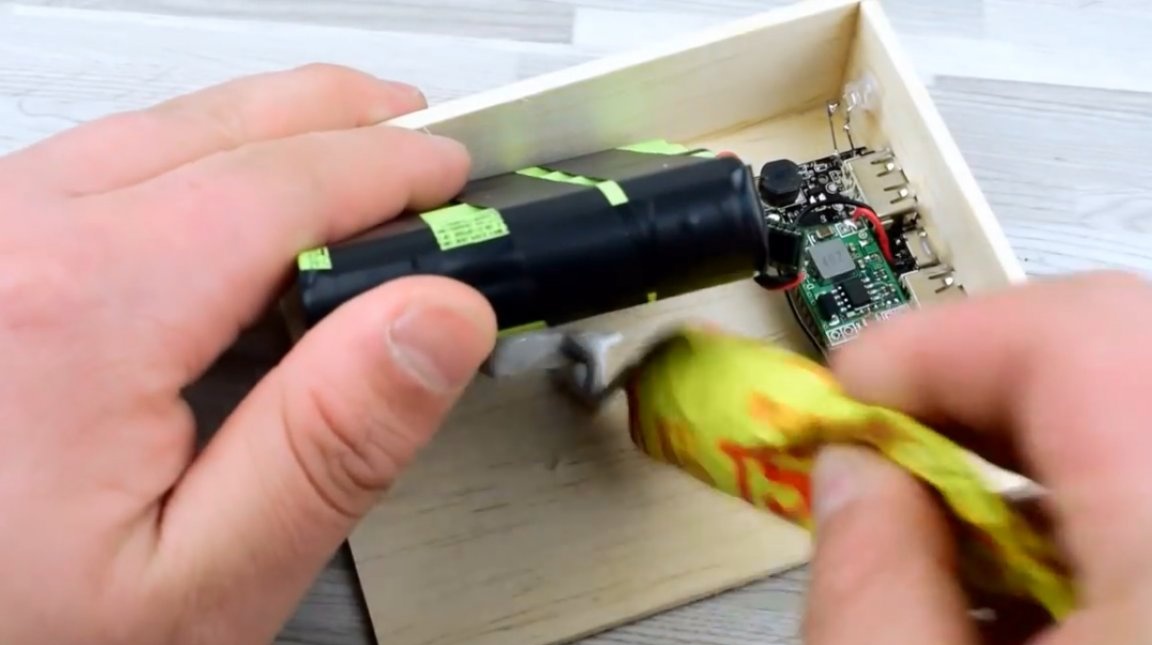
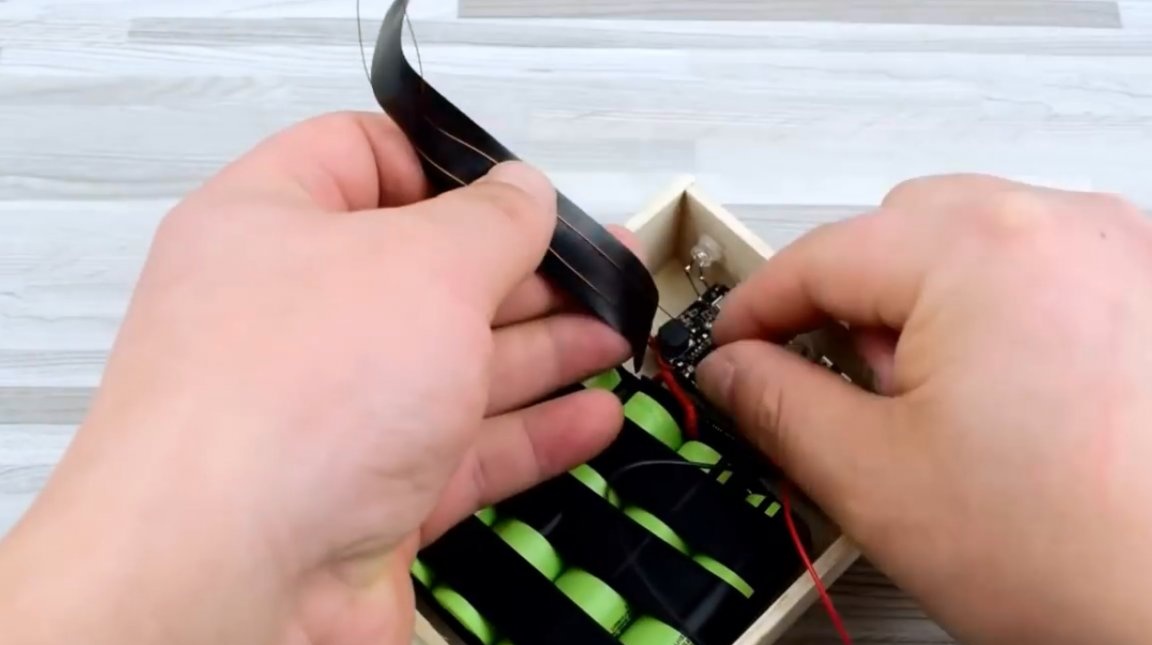
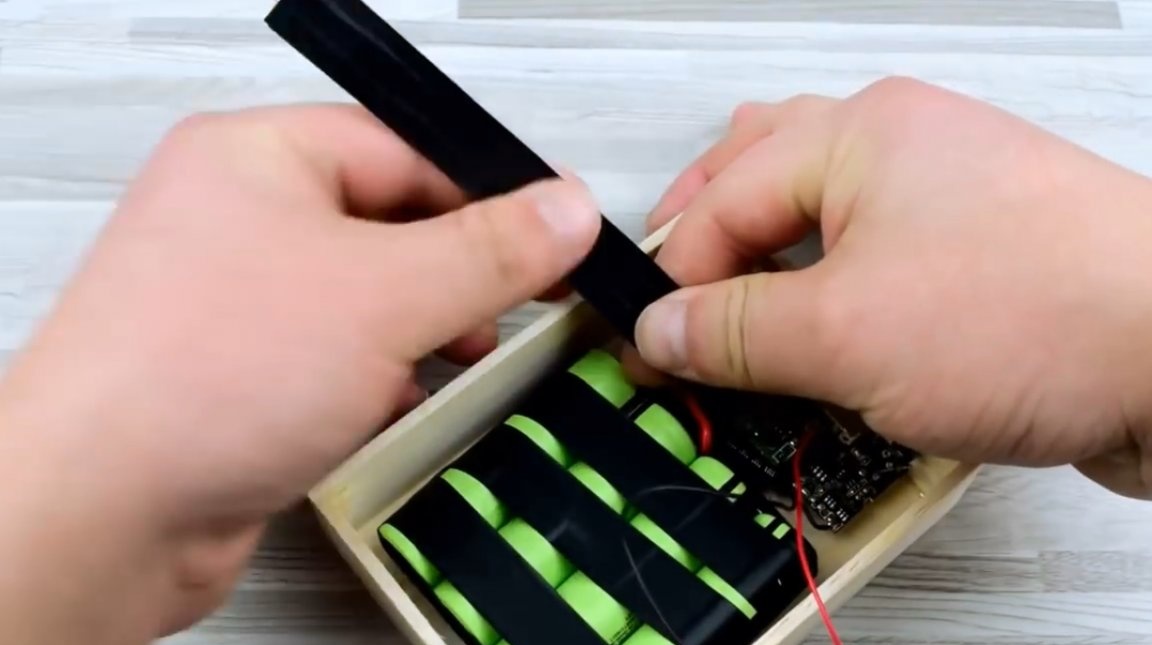
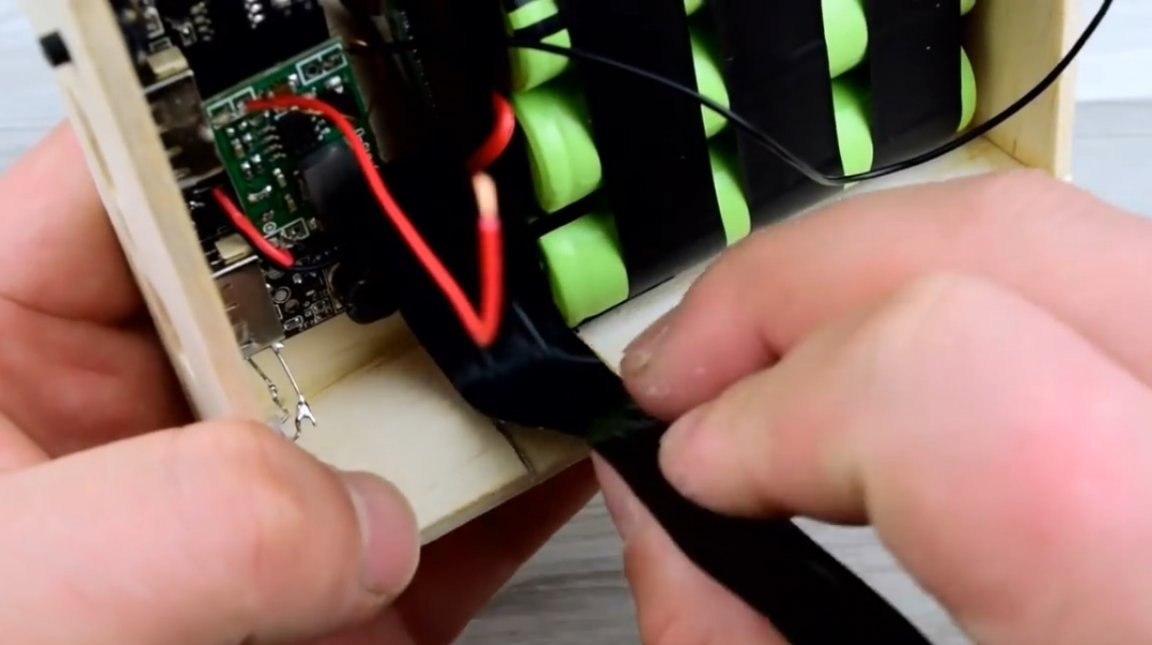
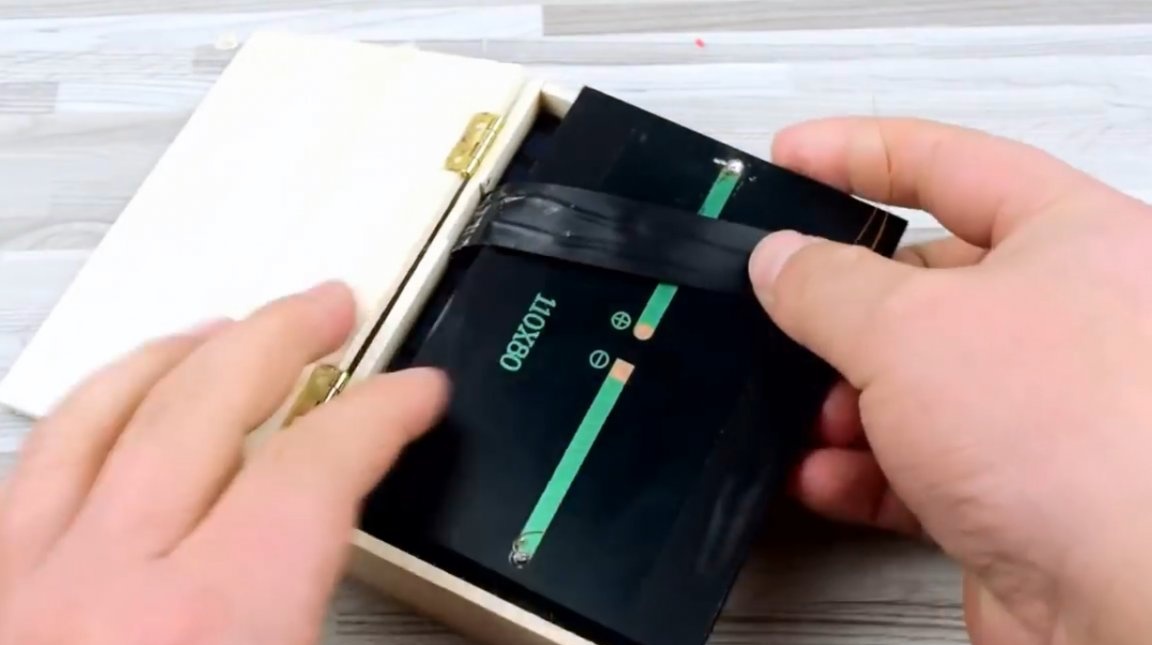
Next, solder the power wires to the batteries, and connect them to the protection board. Batteries are secured to each other with insulating tape.
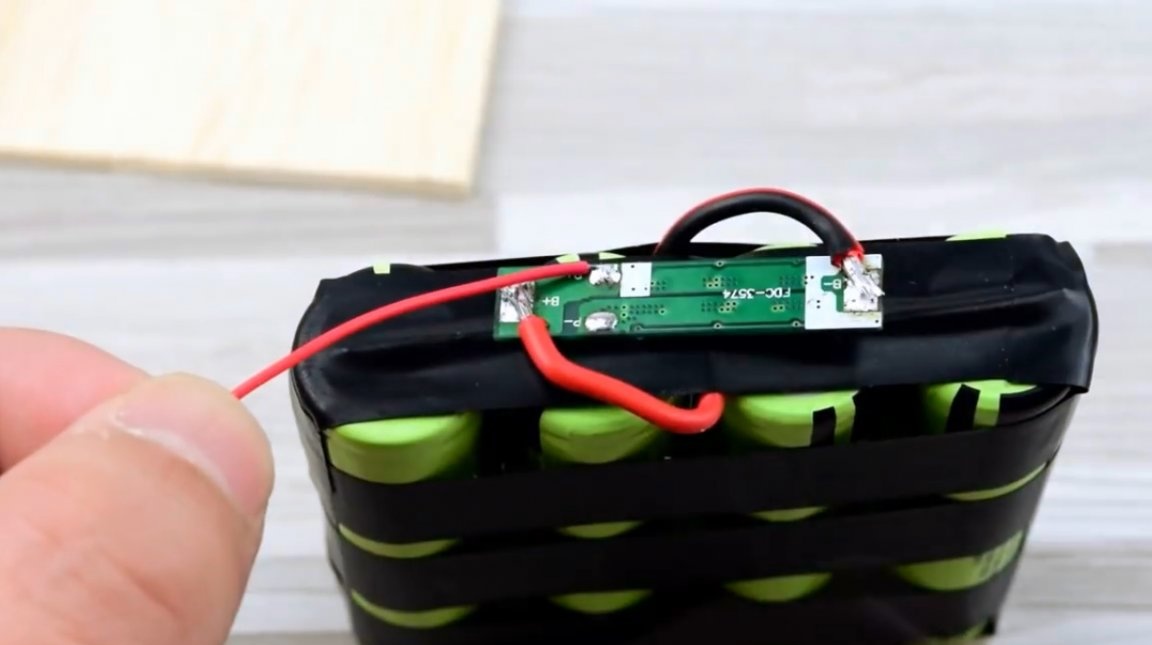
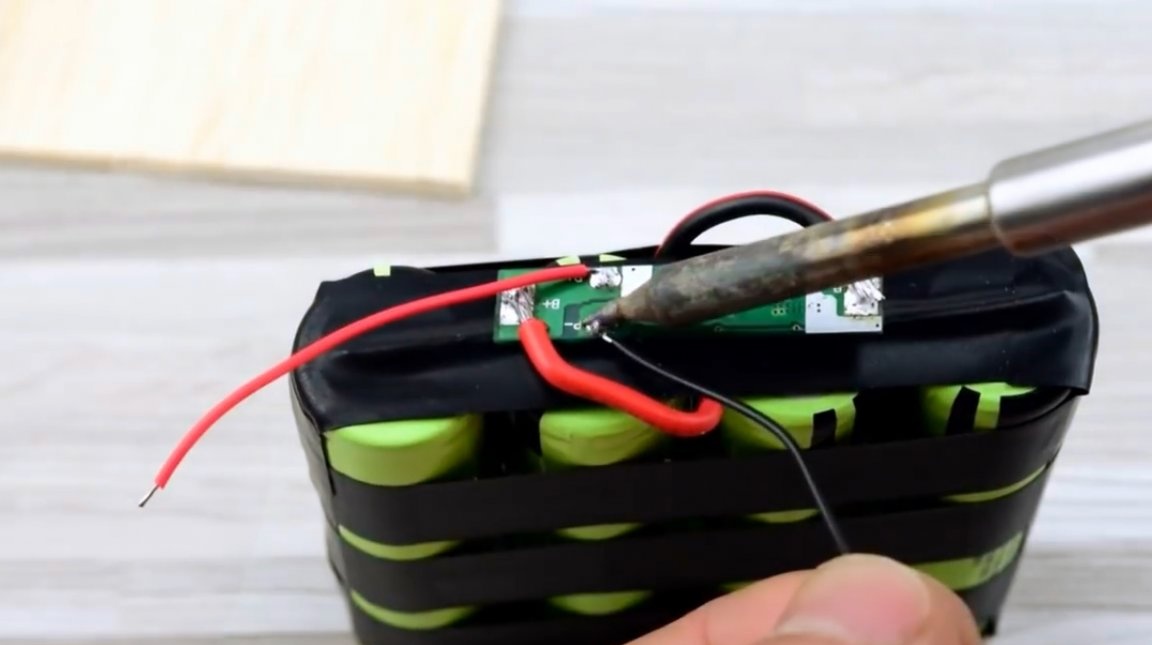
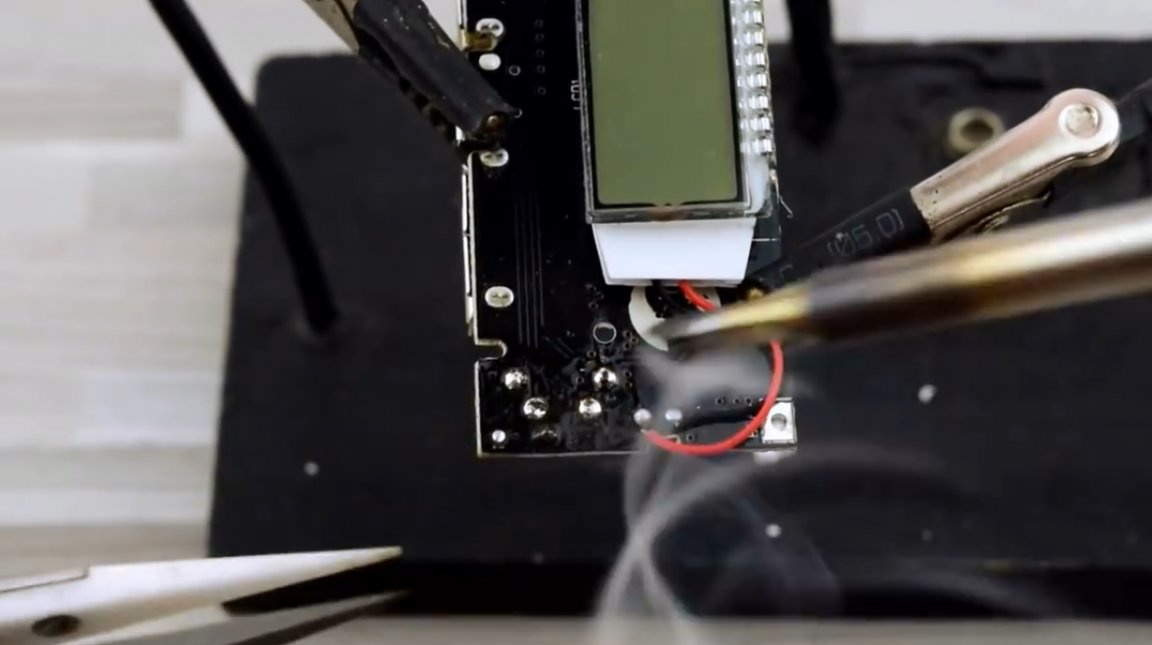
The output of the board is connected to the controller terminals.
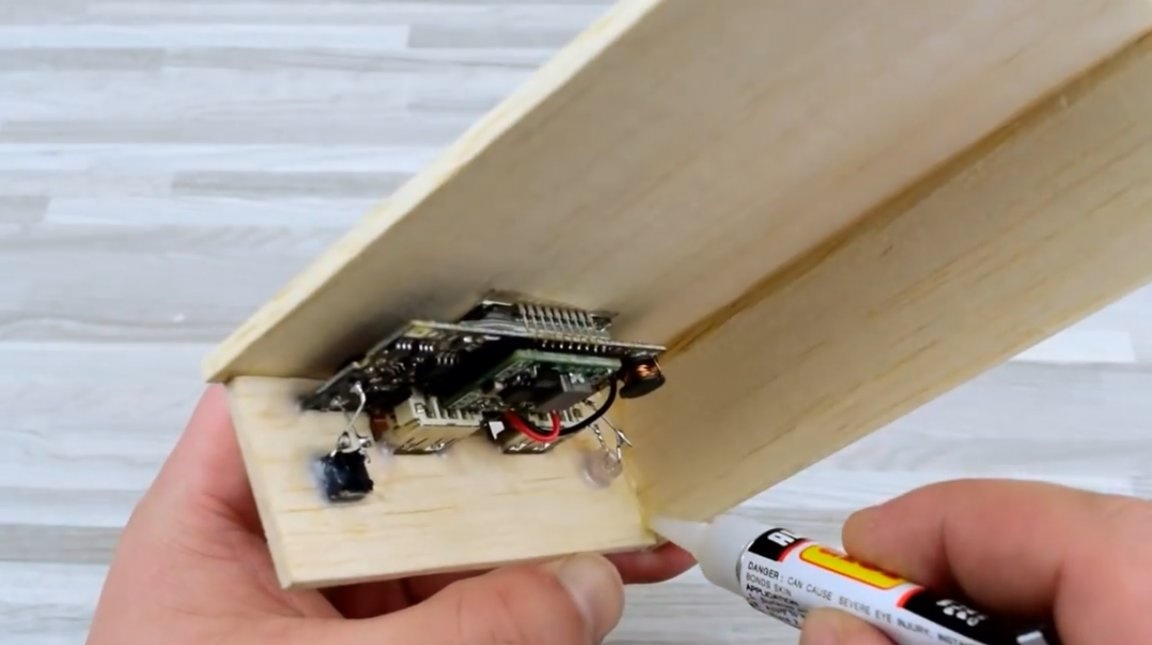
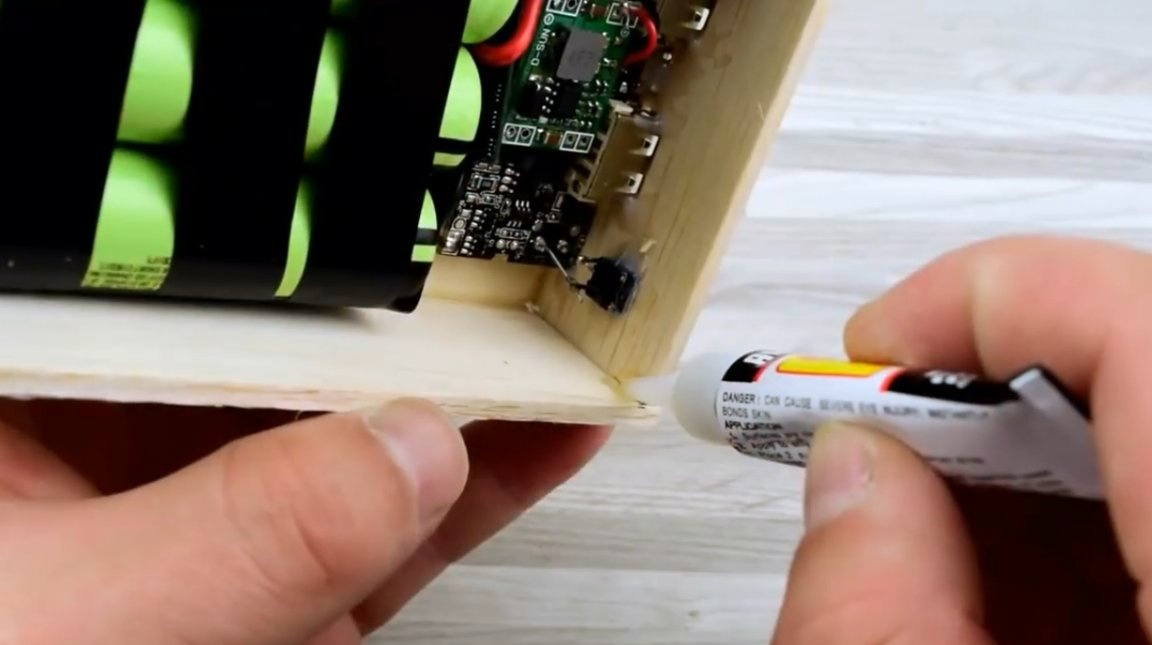
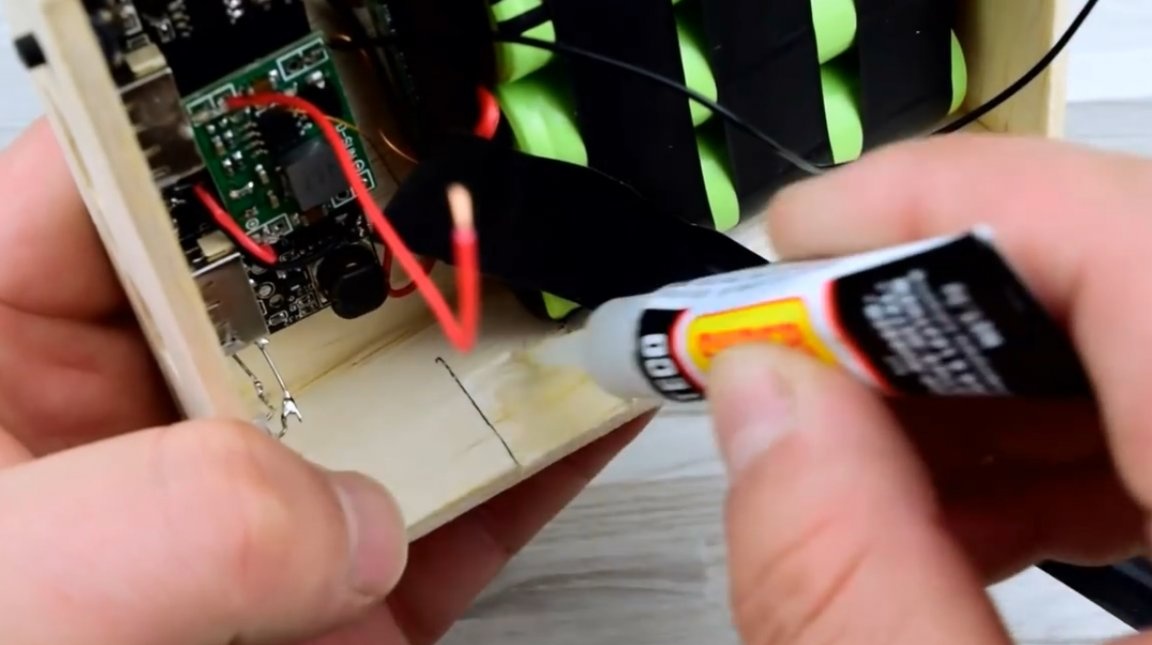
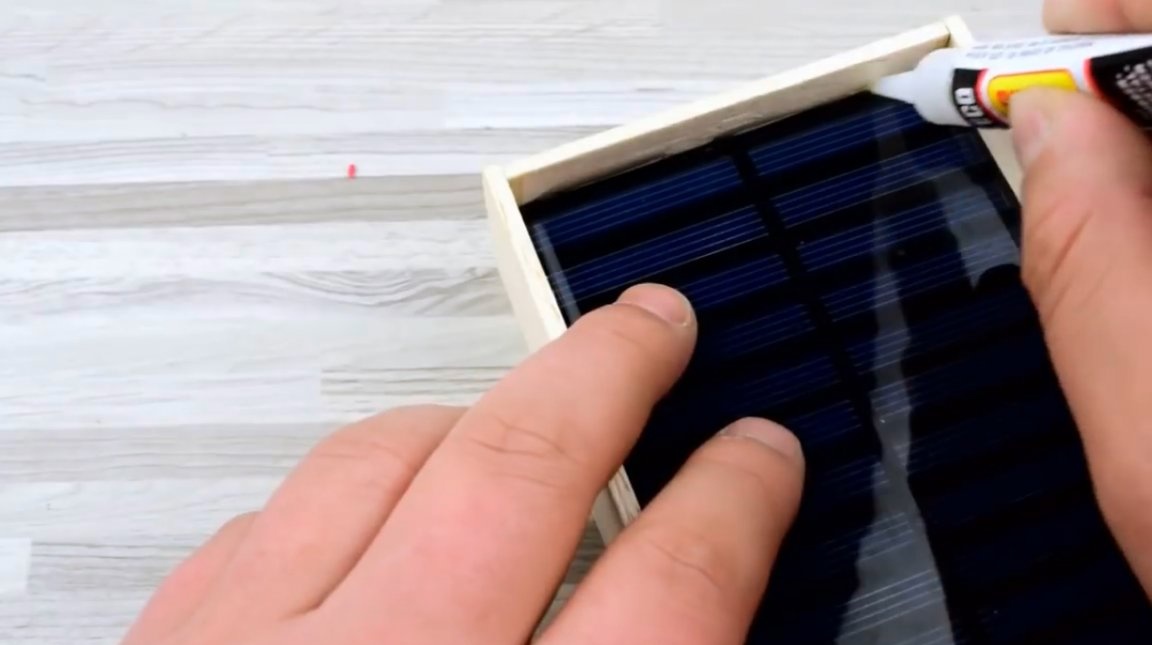
Batteries are glued to the case using silicone sealant.
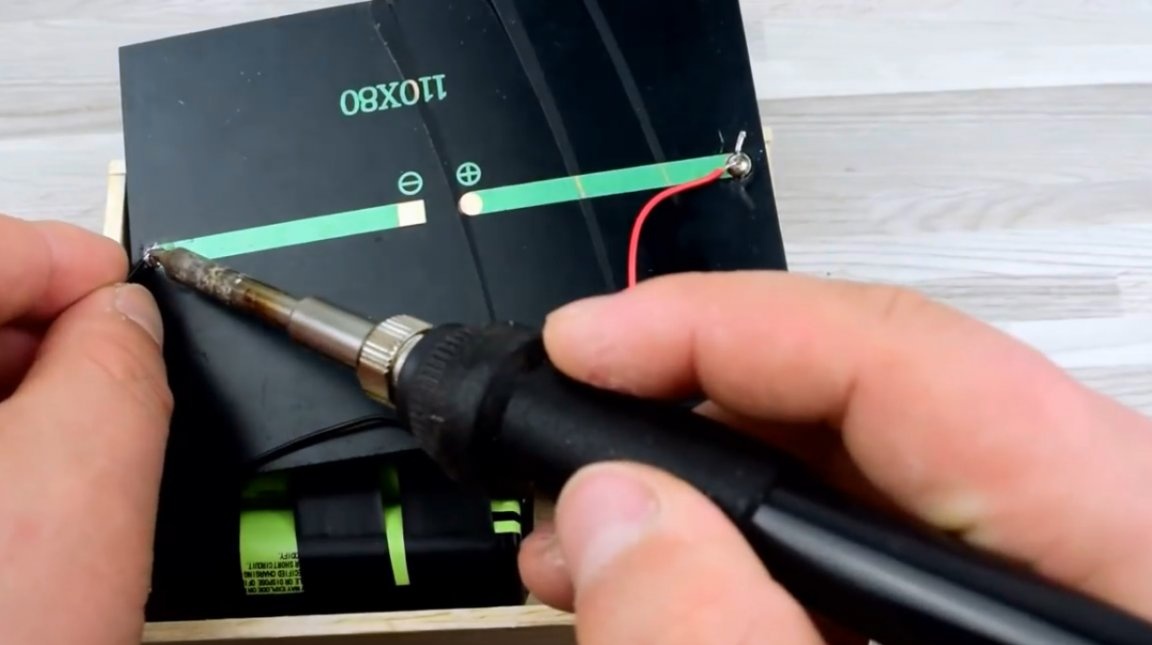
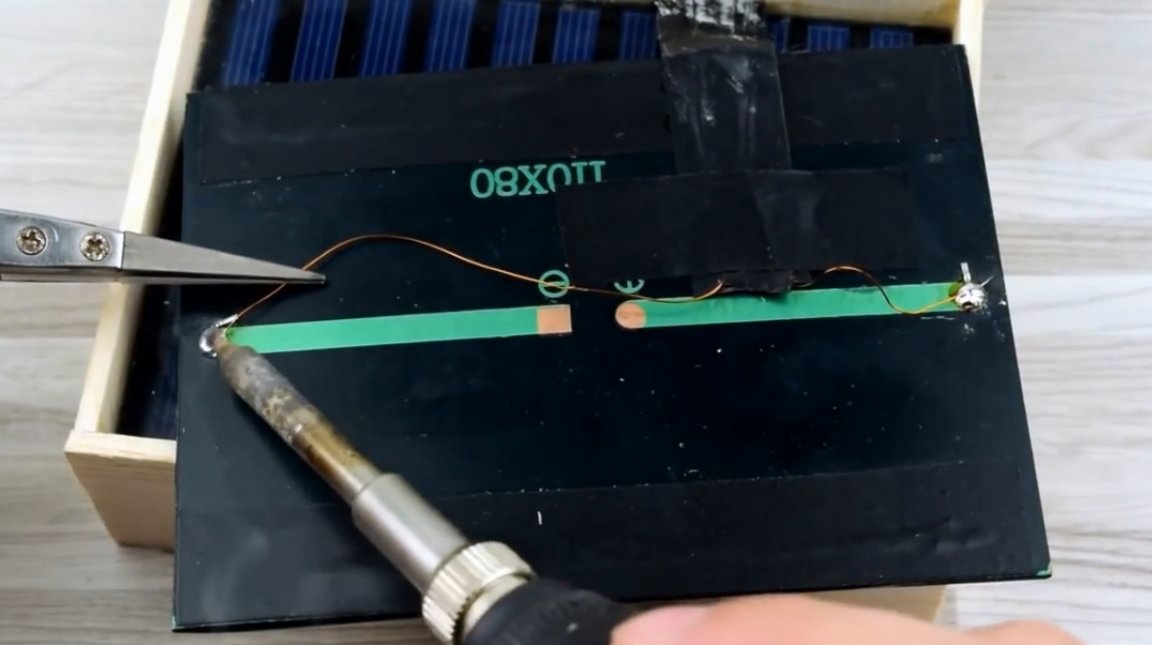
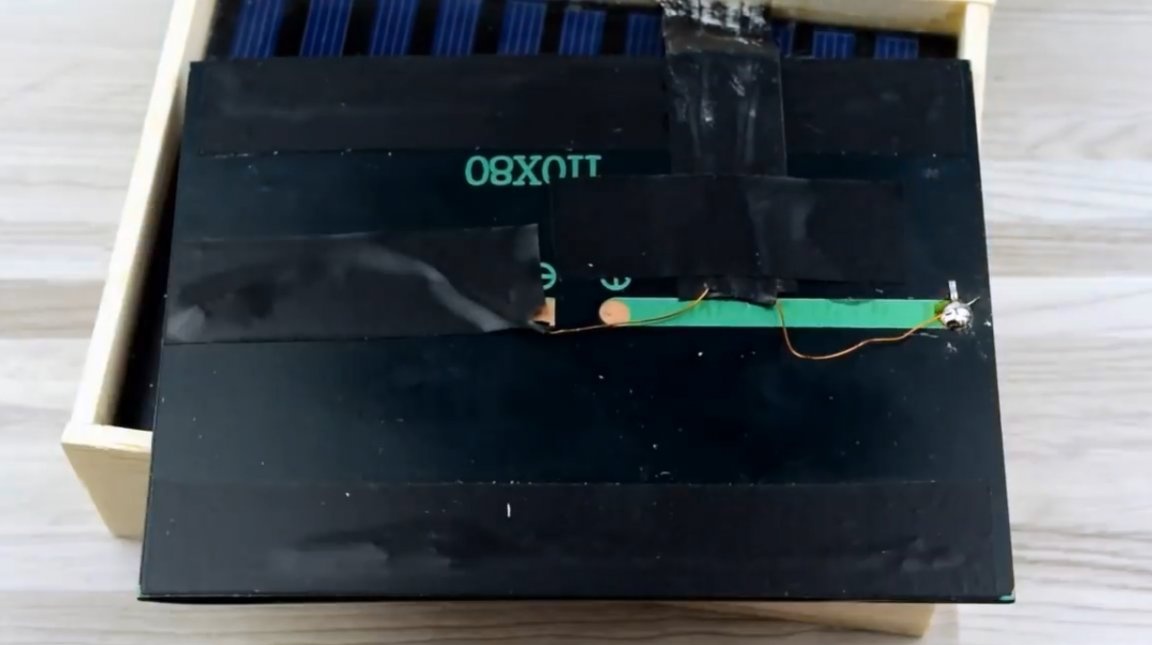
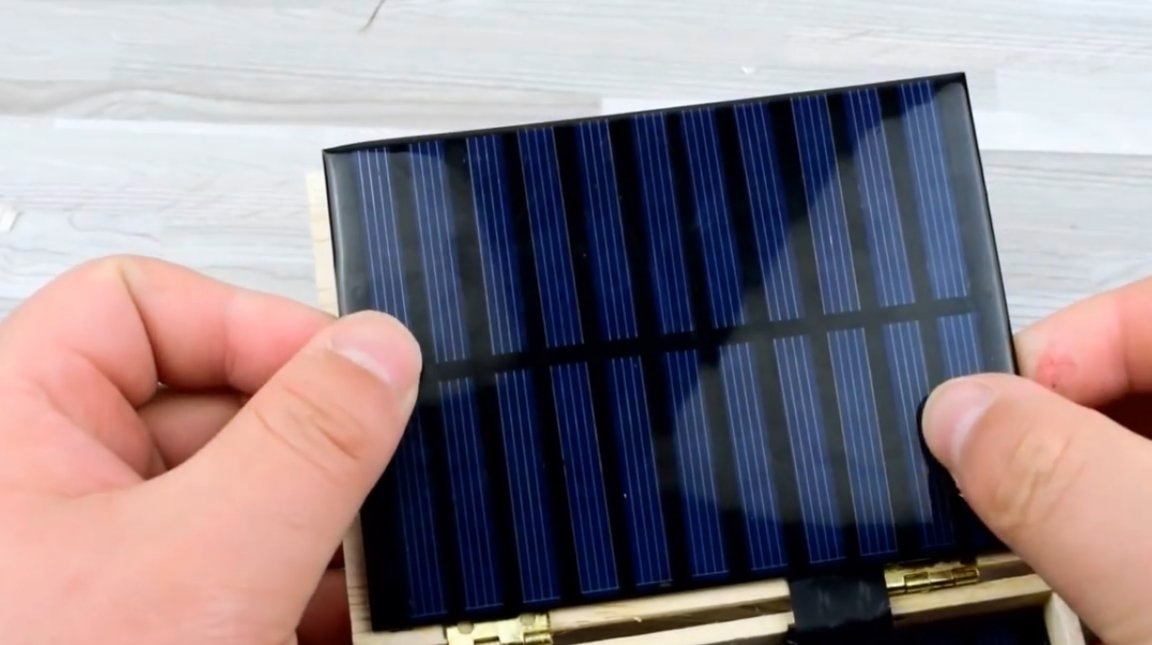
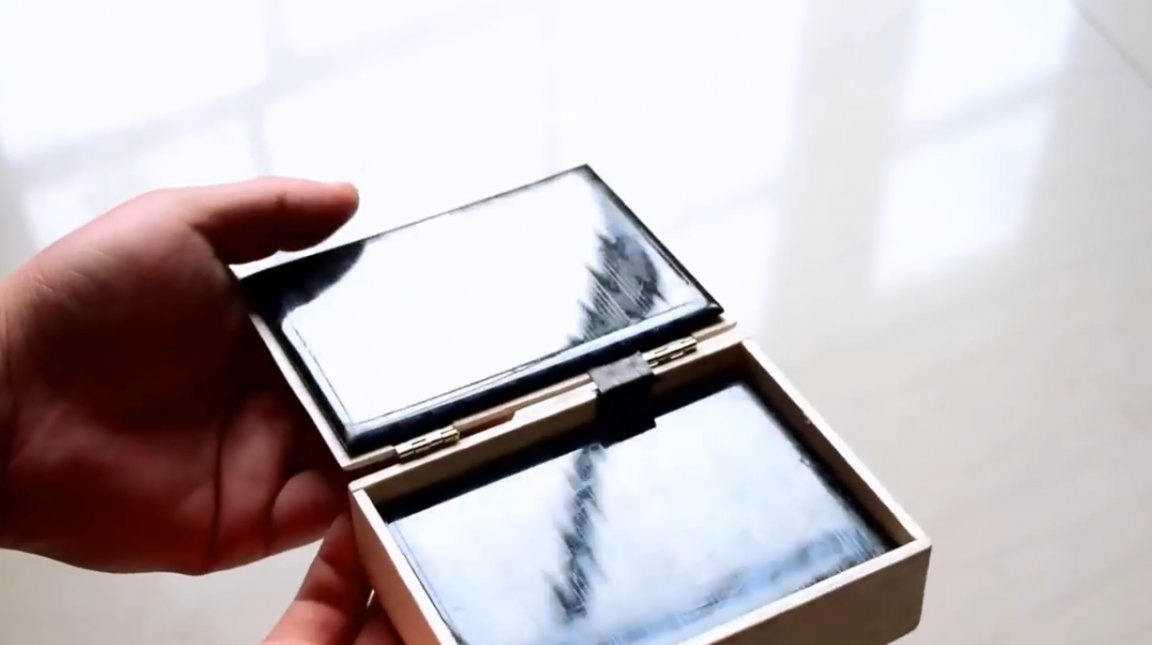
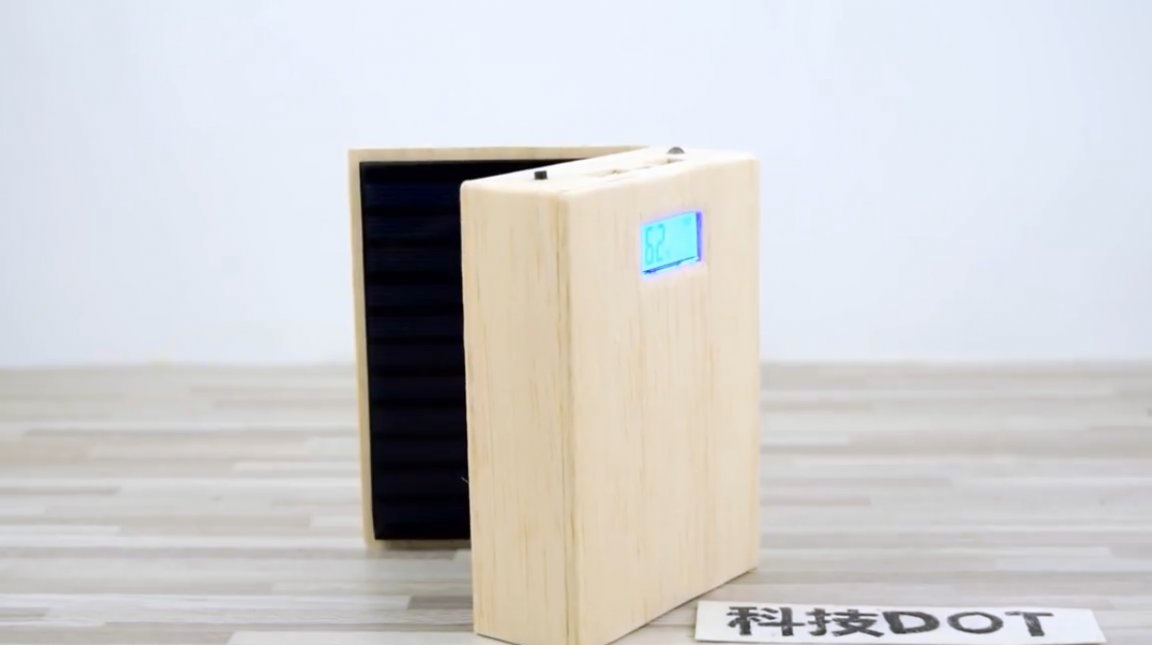
Now you need to connect two solar panels to the input of the stabilizer. For this, the author uses ordinary and varnished wires. Lacquered wires are fixed between two strips of insulation tape. They will go to the second, mobile solar battery.
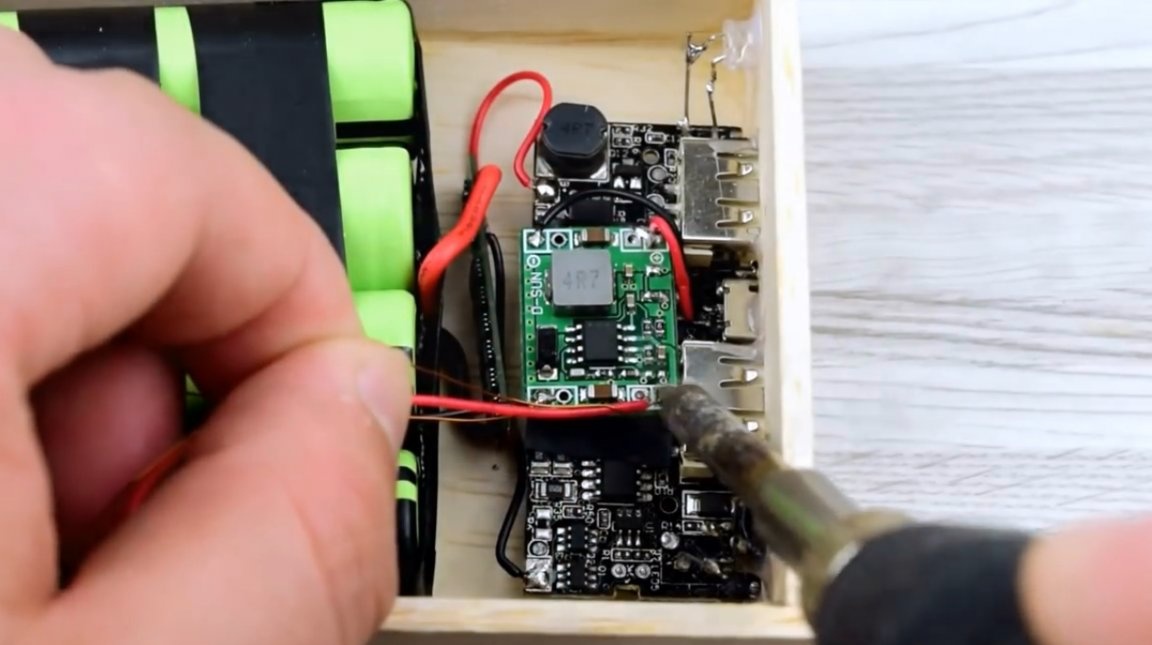

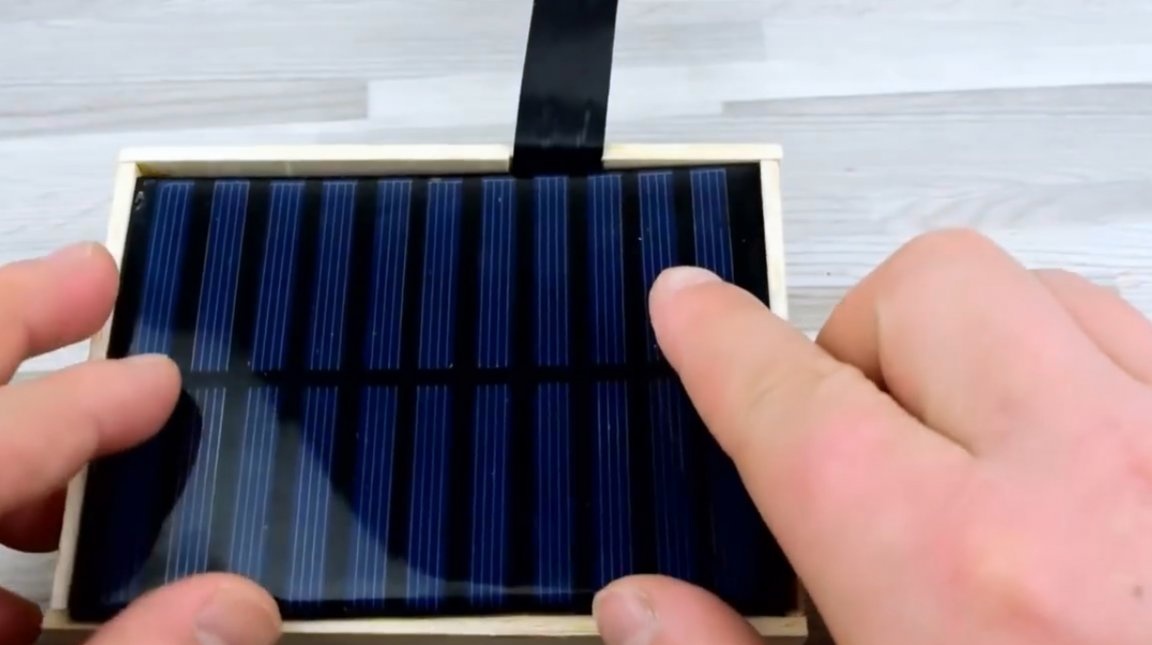
Solder the wires from the stabilizer to the first battery, and paste it into the case.
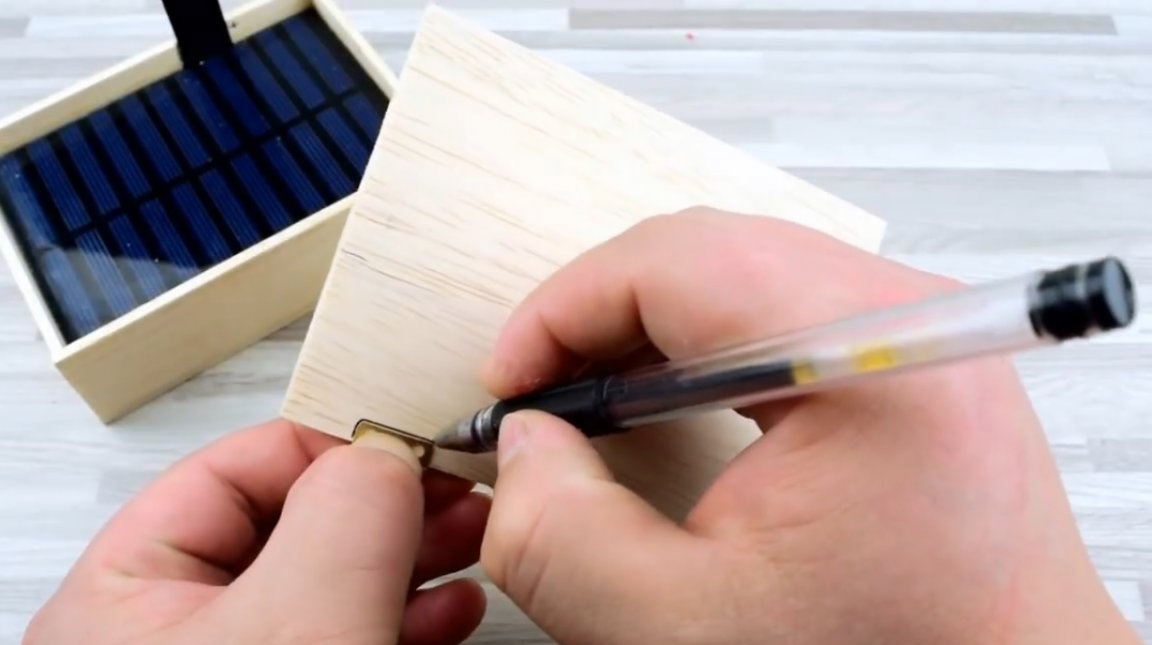
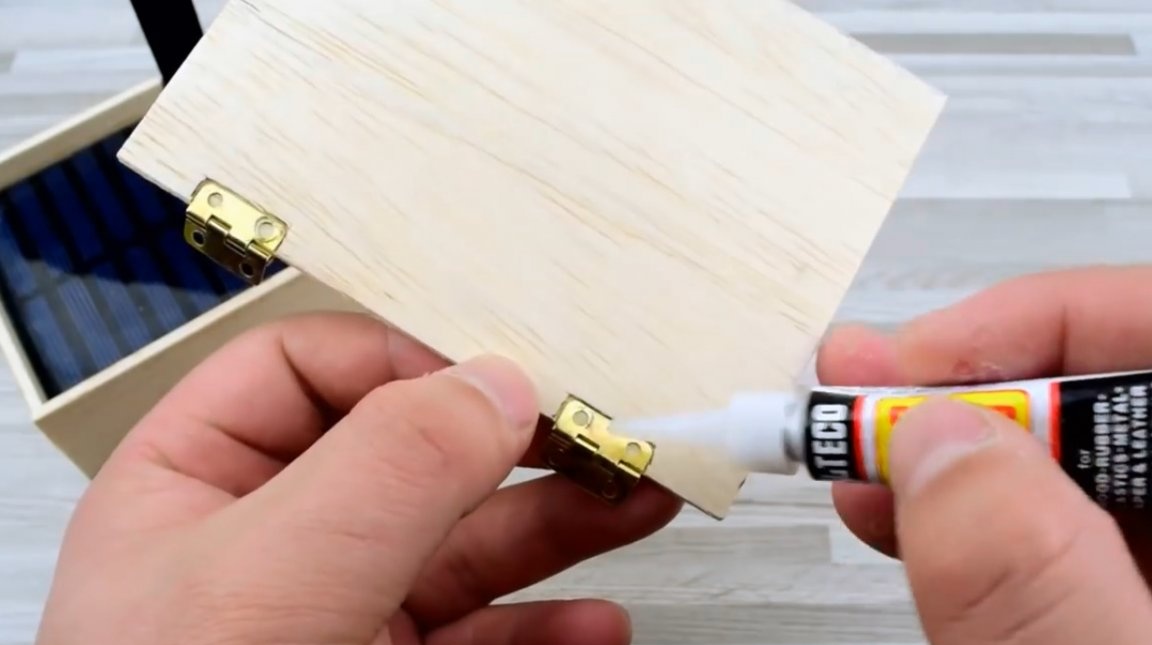
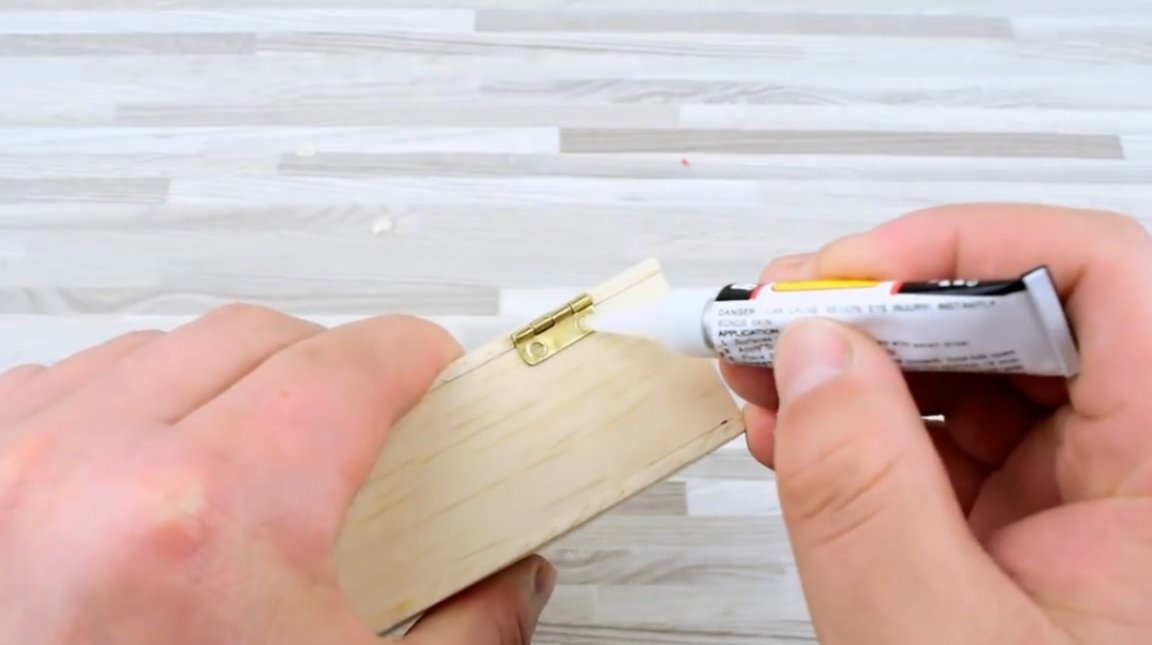
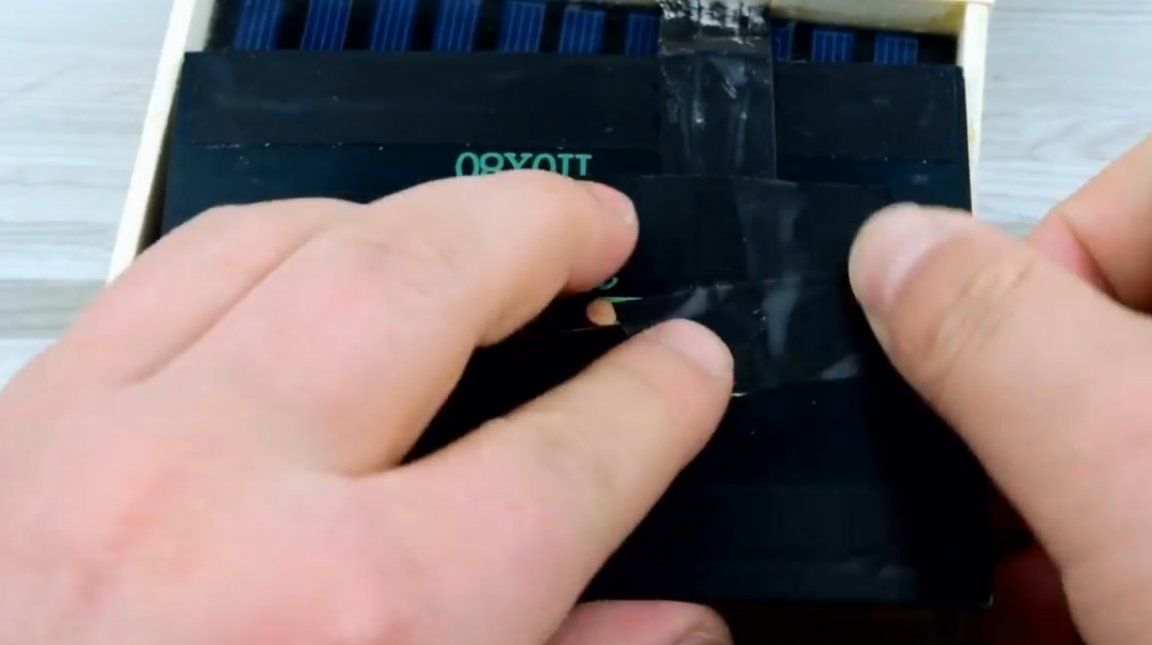
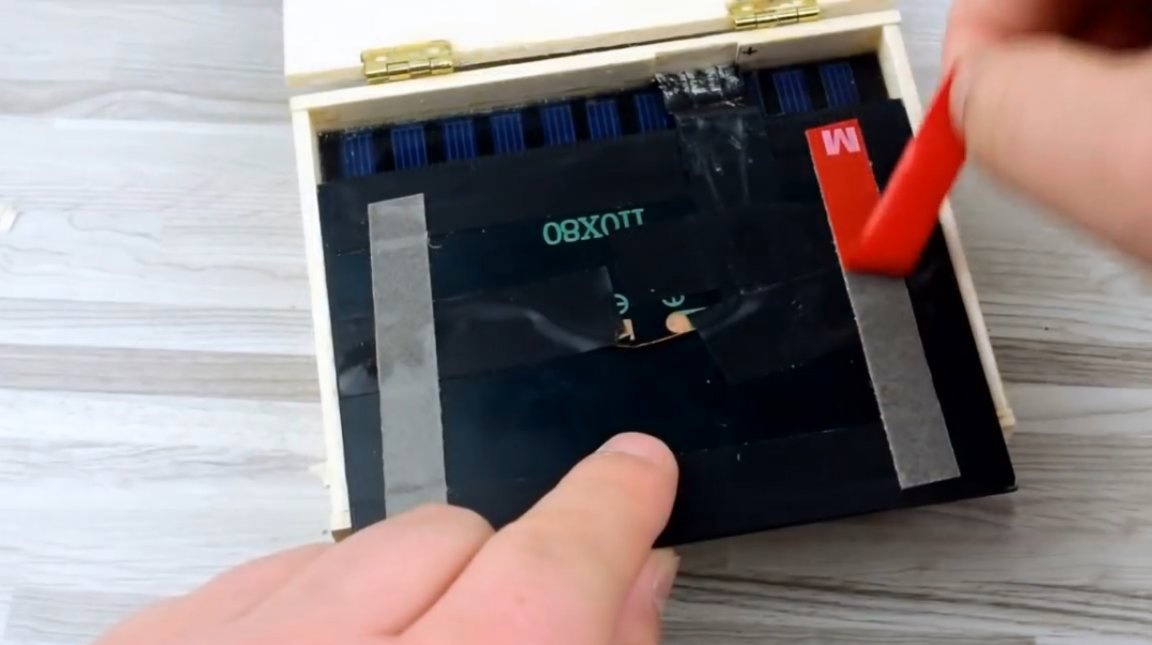
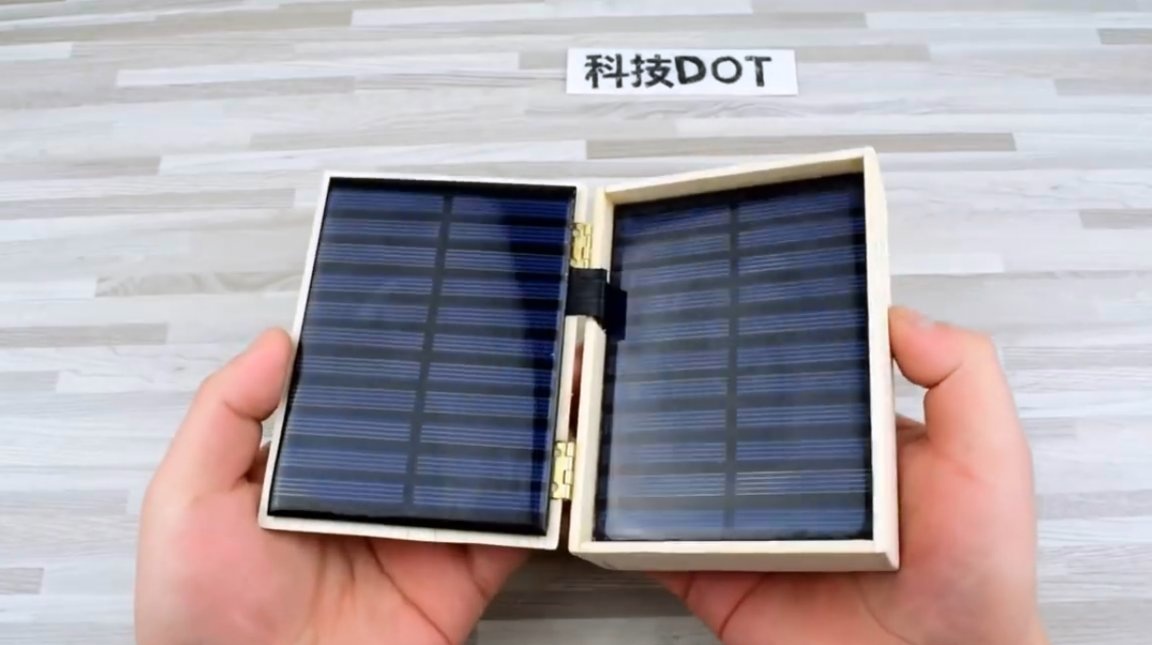
Cuts small indentations on the inside of the lid, and glues loops to them. The counterpart of the hinges is glued to the outside of the housing.
The second battery is also soldered, parallel to the first. The author glued it to the lid on two strips of double-sided tape.
So, the device is ready, you can slightly process the face with sandpaper.

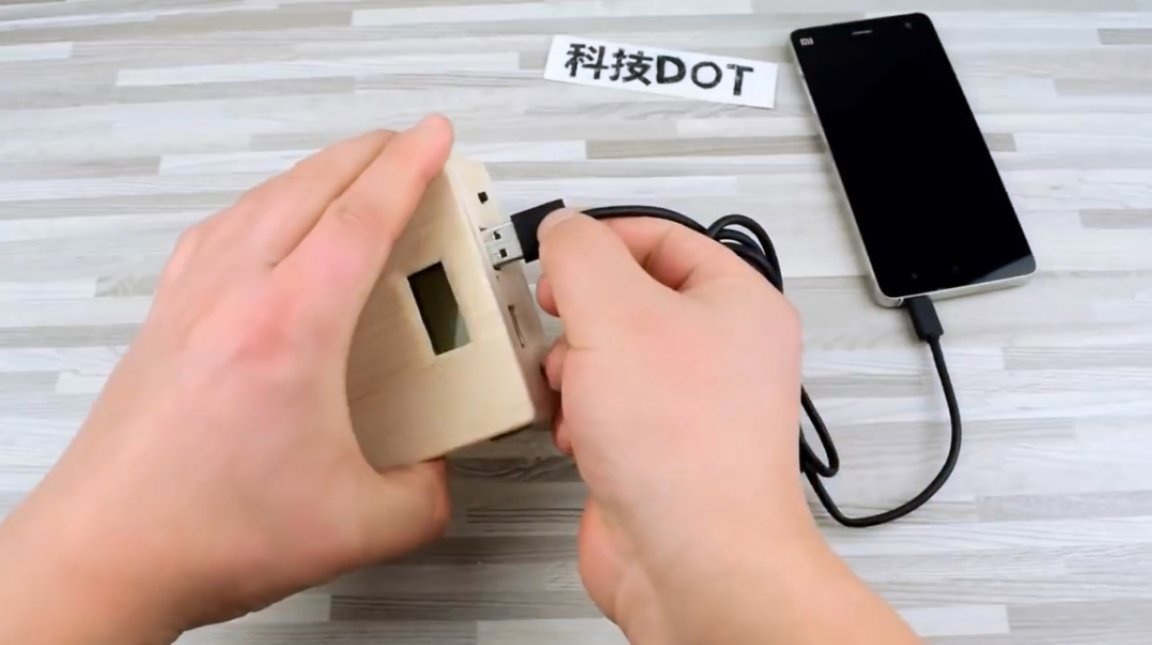
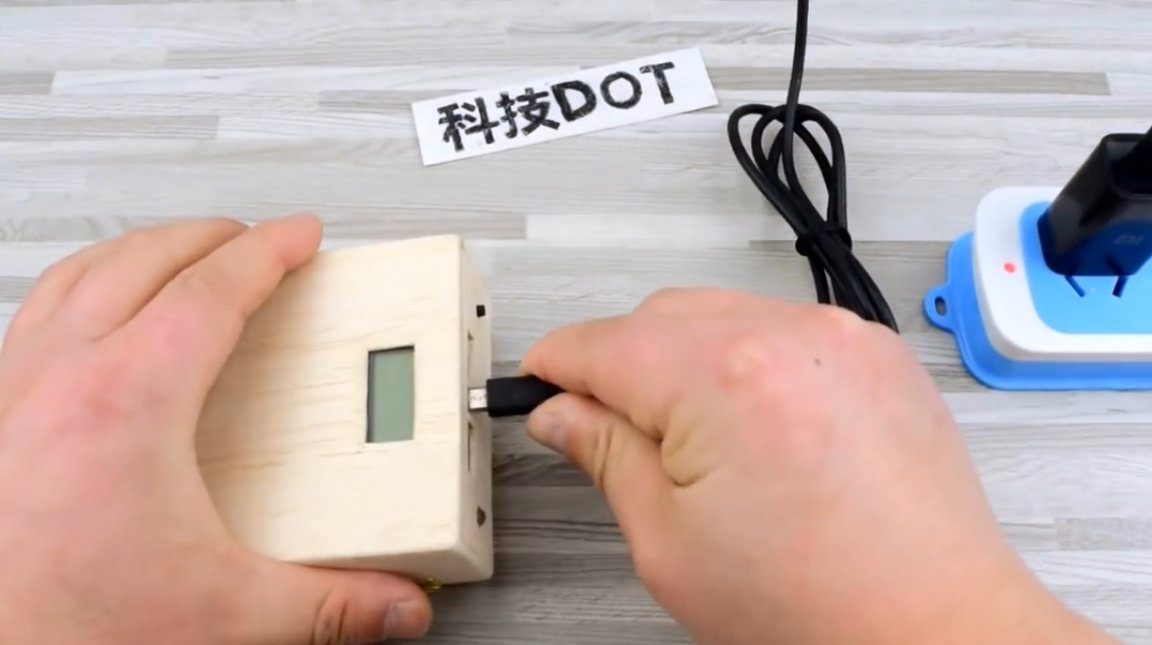
Now you can connect a mobile phone to it for verification. When a device is detected, the screen automatically turns on and shows the remaining charge.
If you open the solar panels, the controller will also turn on the screen.
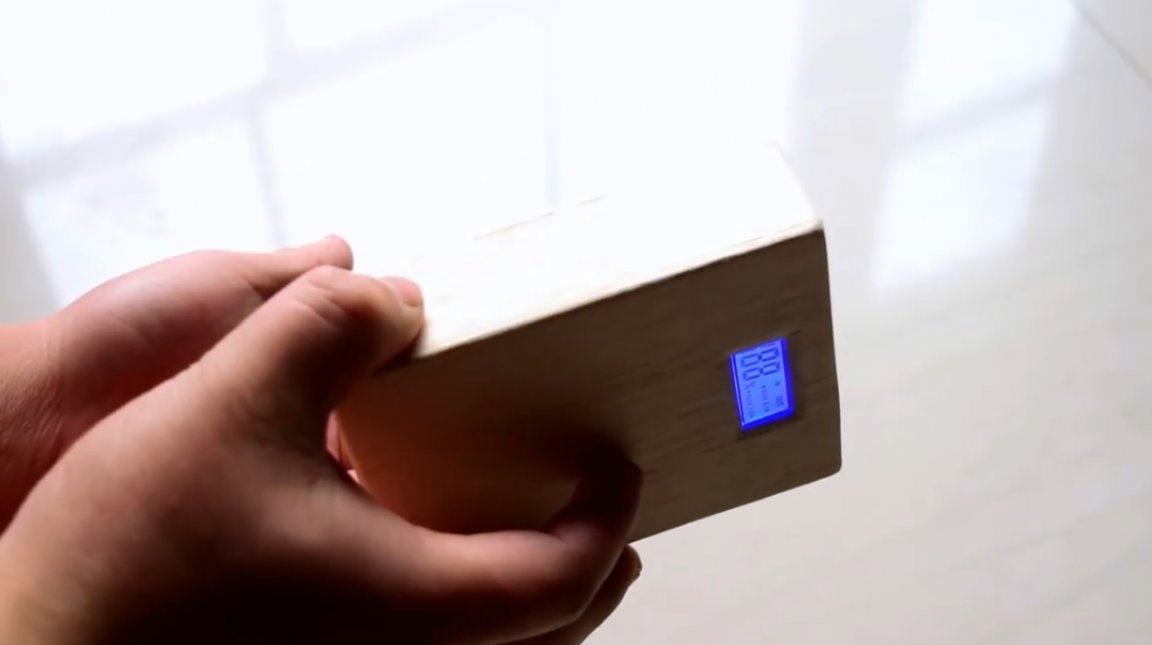
And in the absence of the sun, it can be charged from the network.
I thank the author for the simple and multifunctional device to charge mobile devices!
All good mood, good luck, and interesting ideas!
Author video can be found here.