
In this article we will try to use in casting. We will pour brass, bronze and bismuth on 3d models printed on the printer.
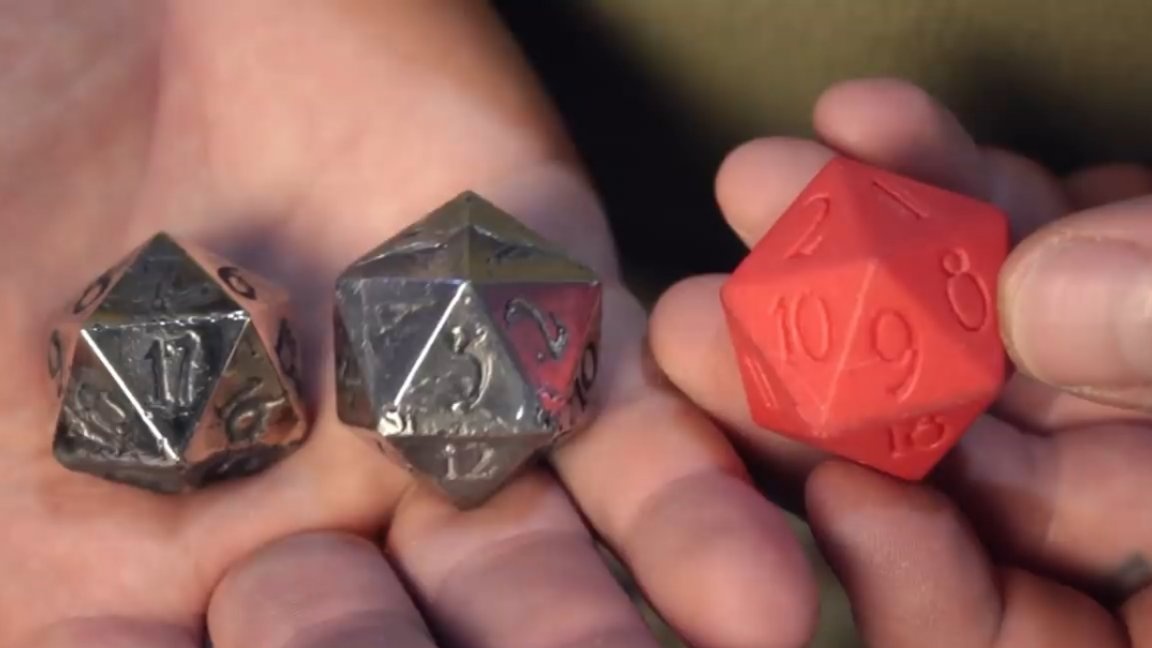
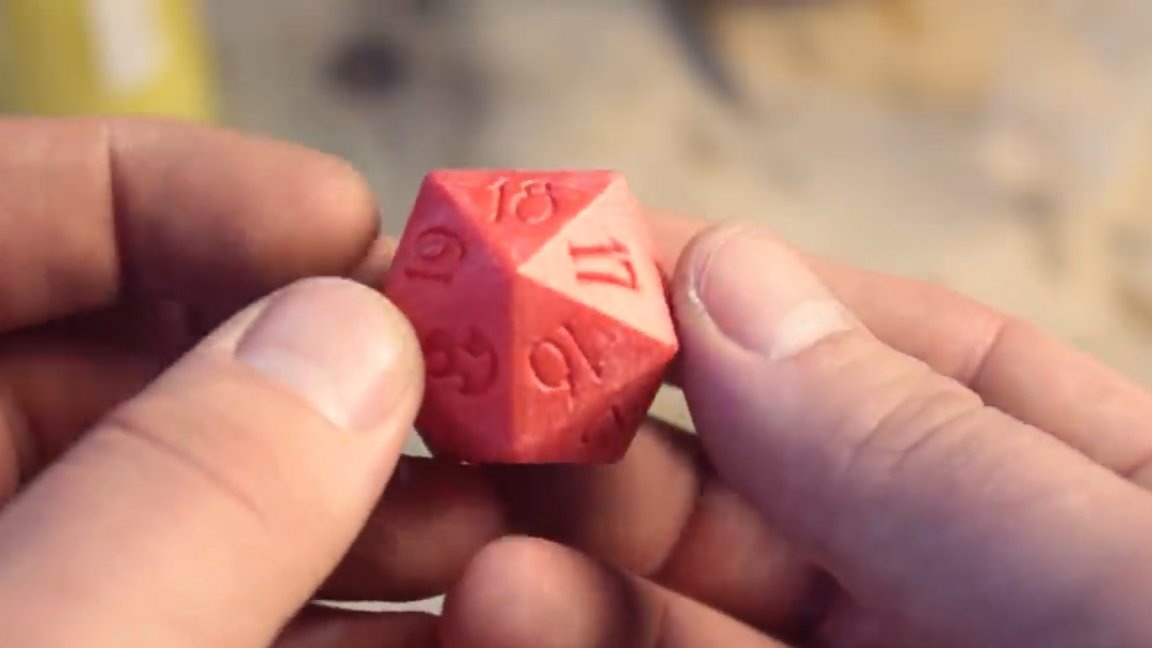
The following instructions are taken from the Fiery TV channel YouTube. First, let's try to cast a dice with 20 faces. These dice are needed in some board games.
Such an unusual form is just ideal for testing casting technology, since this model It has a huge number of faces, which are also located in different planes and at different angles. And besides the above, a lot of small numbers adorn such a dice, for which the author chose a rather thin font. In general, we have a lot of difficulties and a lot of specific features ahead.
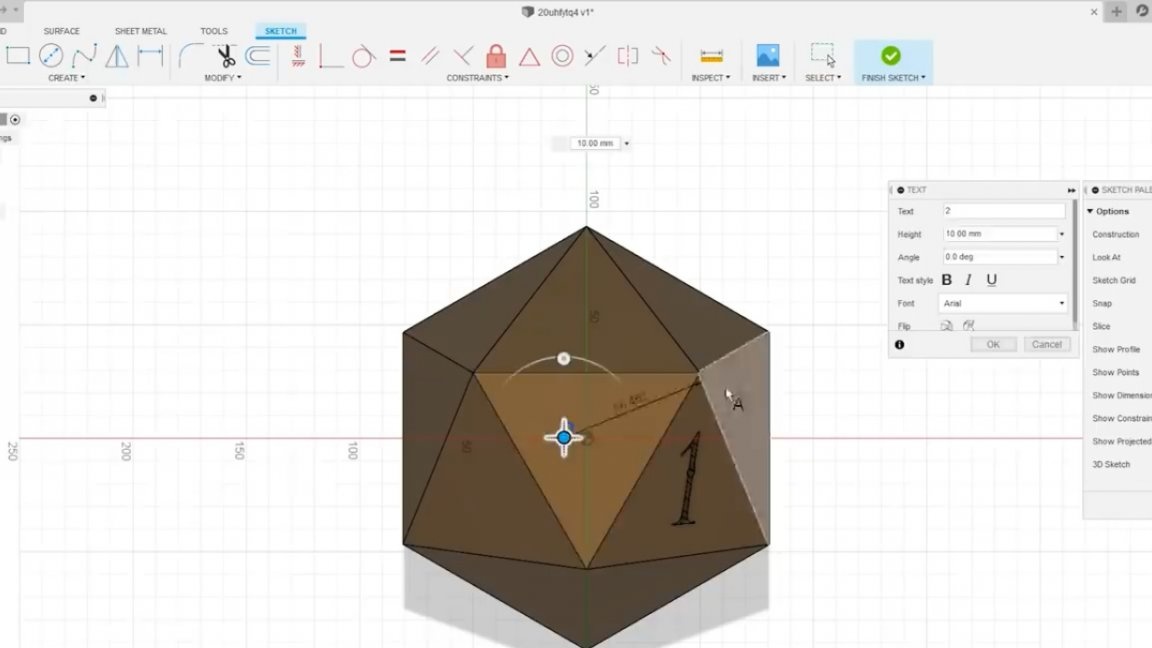
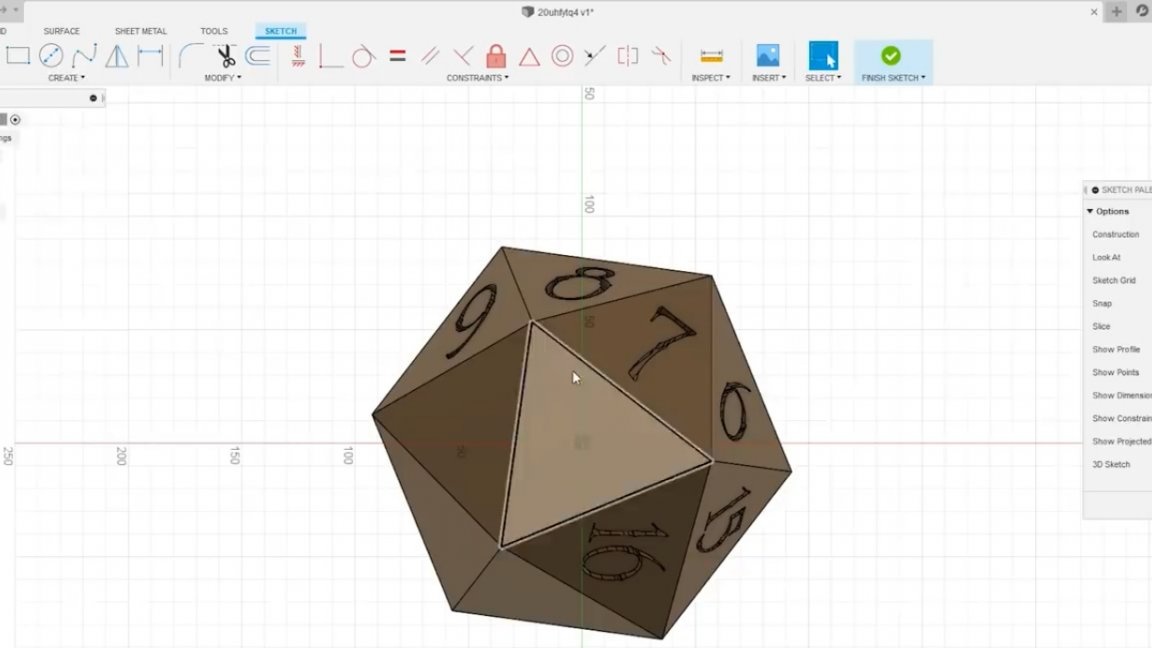
It was decided to create a 3D model from scratch, so that it was possible to correct the model as needed and to practice in 3D modeling at the same time.
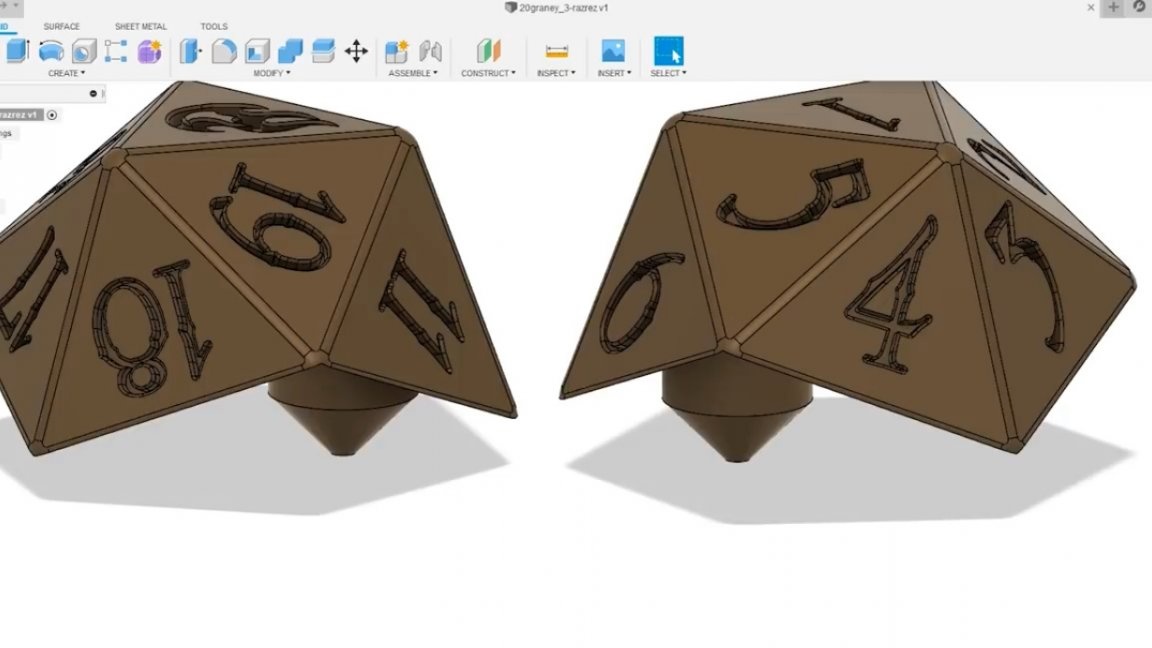
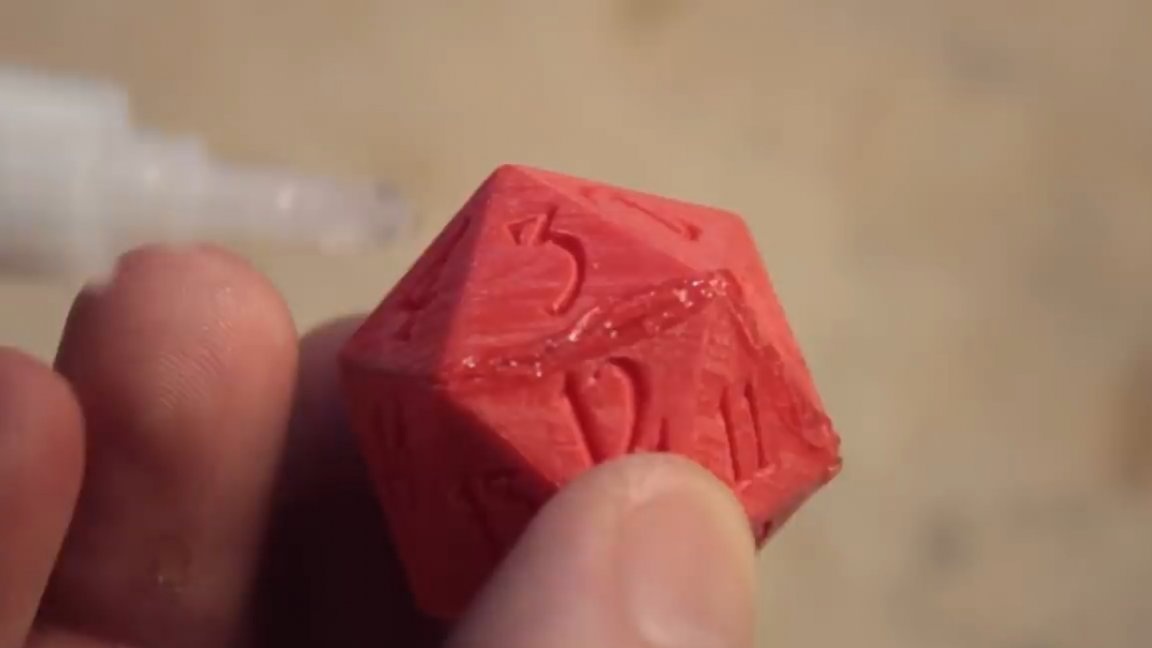
The author printed a cube of 2 halves and there were reasons for that. Firstly, it is impossible to print small parts without blowing, they simply overheat. Secondly, it’s impossible to print a cube just like that even using supports, all surfaces that look down turn out to be too rough, and some numbers even become unreadable.
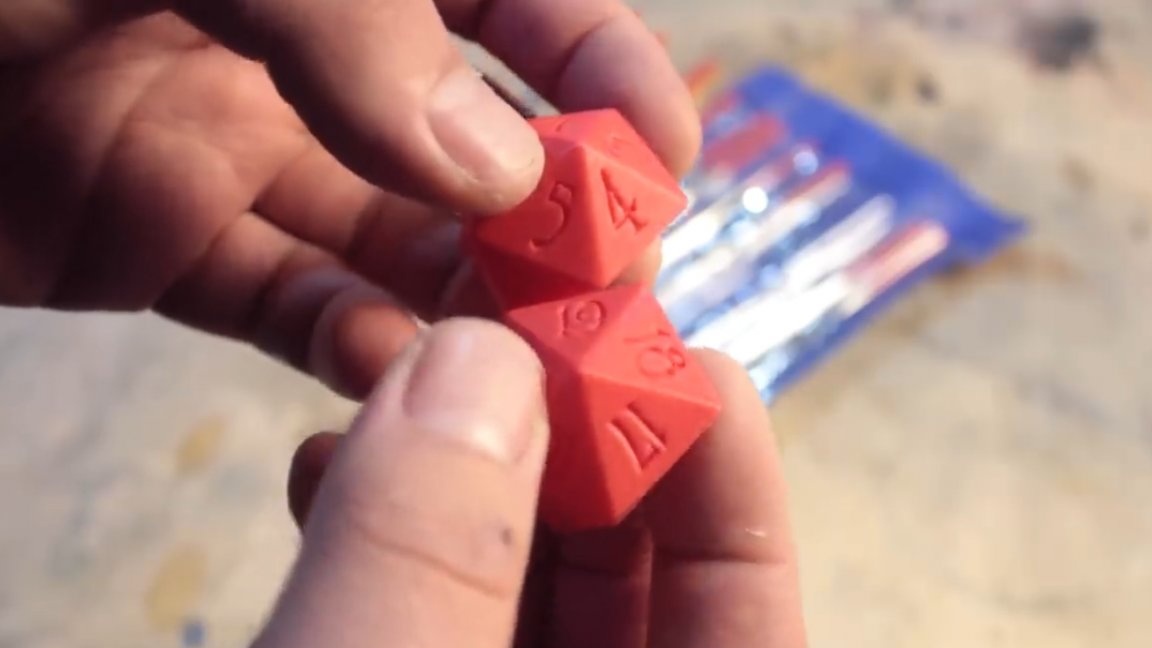
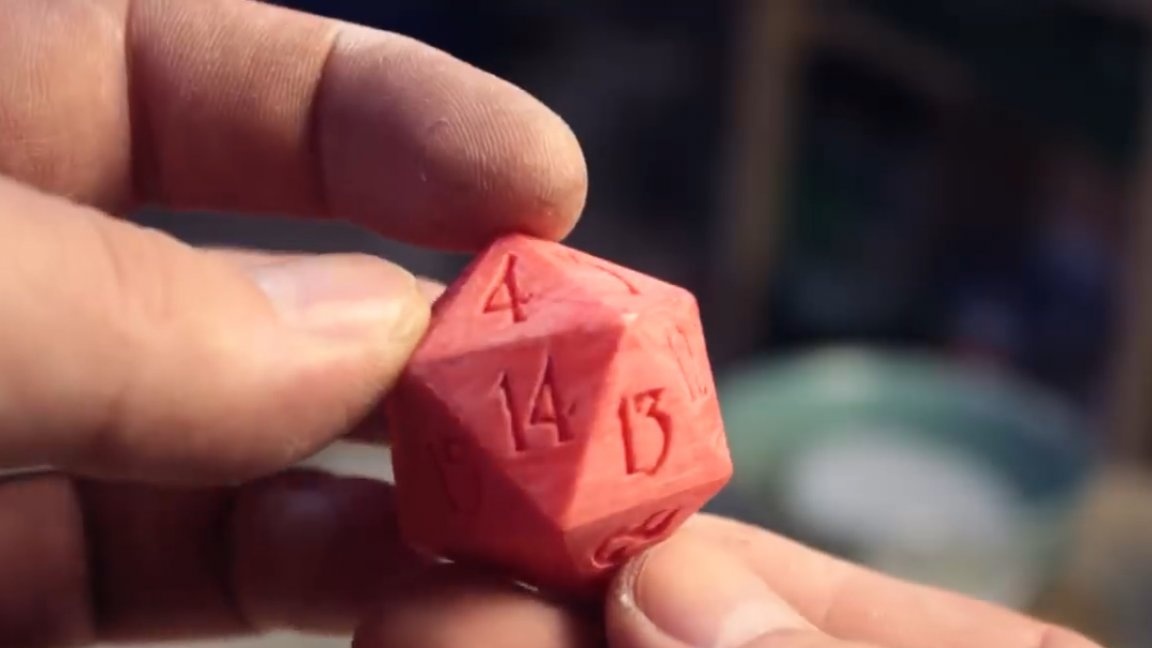
But, as you can see, in the end everything turned out quite accurately, everything fits together, there are no skews, the edges are even, and the numbers are perfectly readable.
If any of the readers want to repeat this project, then here link to the model folder.
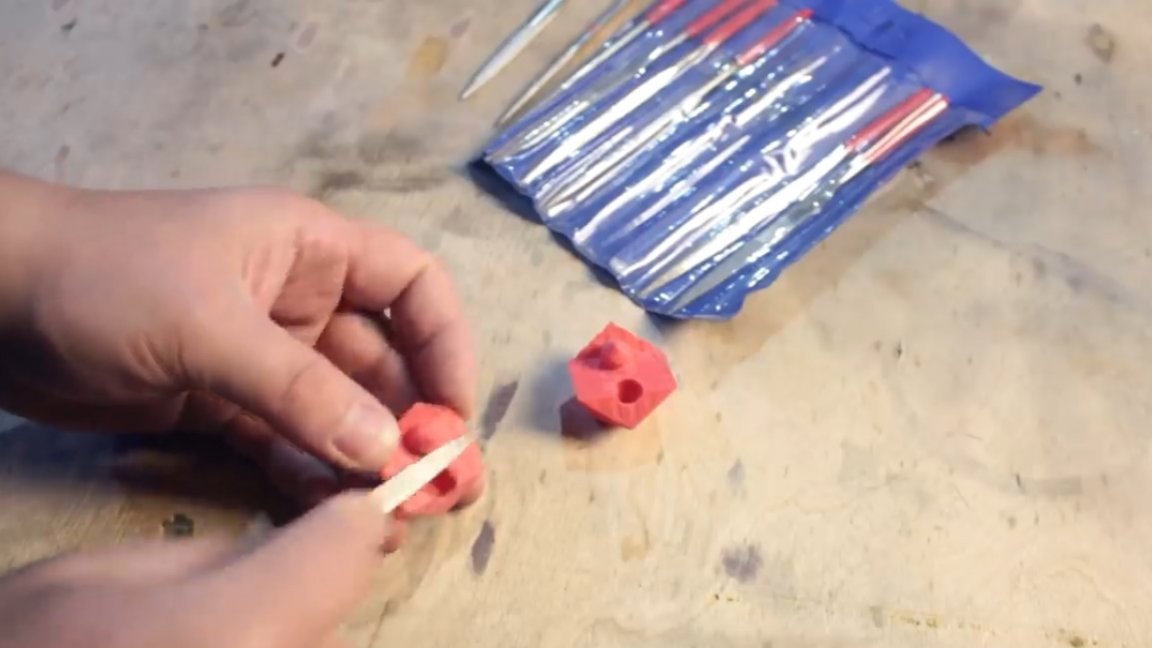
Everything was printed pretty well, with the exception of small kosyachki at the edges, but we will fix it. Now it is necessary to remove the remnants of the supports and clean the inner plane with a file to precisely dock the resulting workpieces.
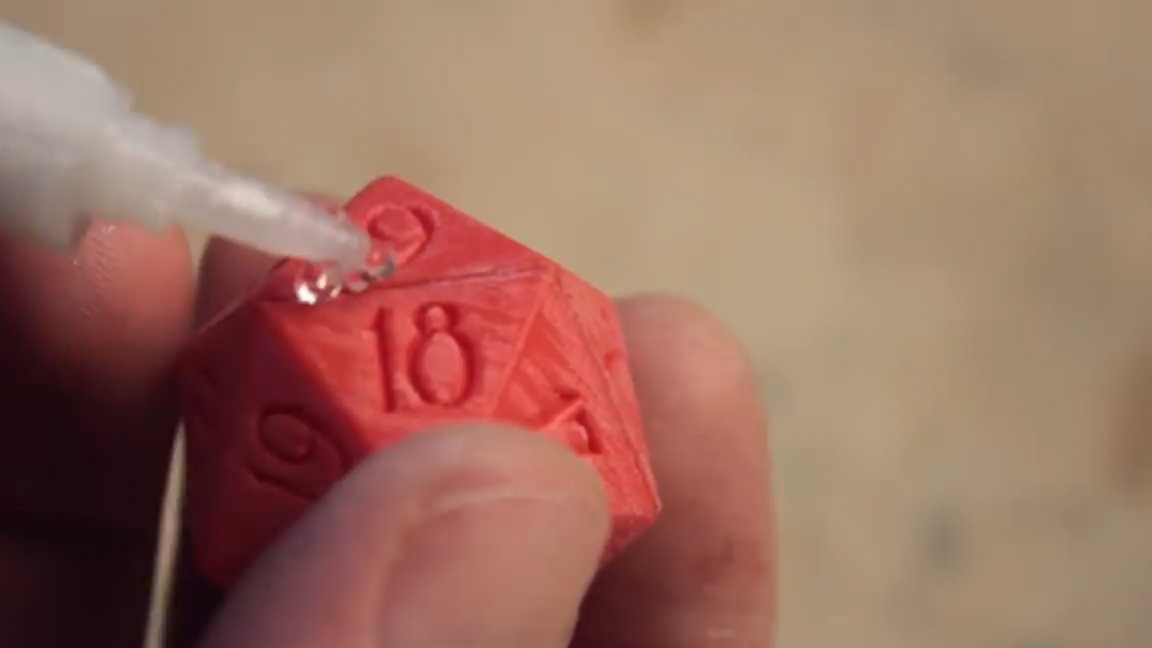
Next we need superglue. After gluing with a knife, we get rid of the remnants of glue.
But the joint is still not very neat, it must be puttied. All the same superglue will act as putty. We put it on the joint and wait for its full polymerization.
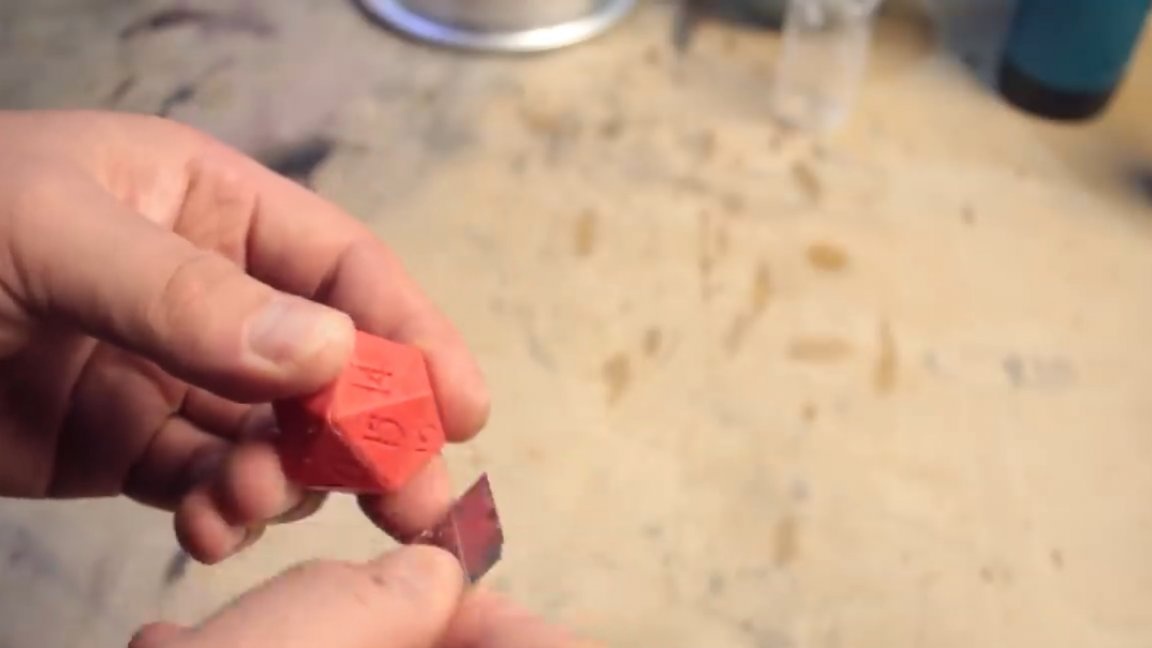
After that, it is necessary to carefully align the edges with a file. In general, such a thing happened at this stage:
The surface of the cube is not smooth and rather rough, it must be smoothed. As you know, PLA plastic is dissolved in dichloromethane.In its pure form, buying this substance is quite problematic, so it was decided to use such a paint remover:
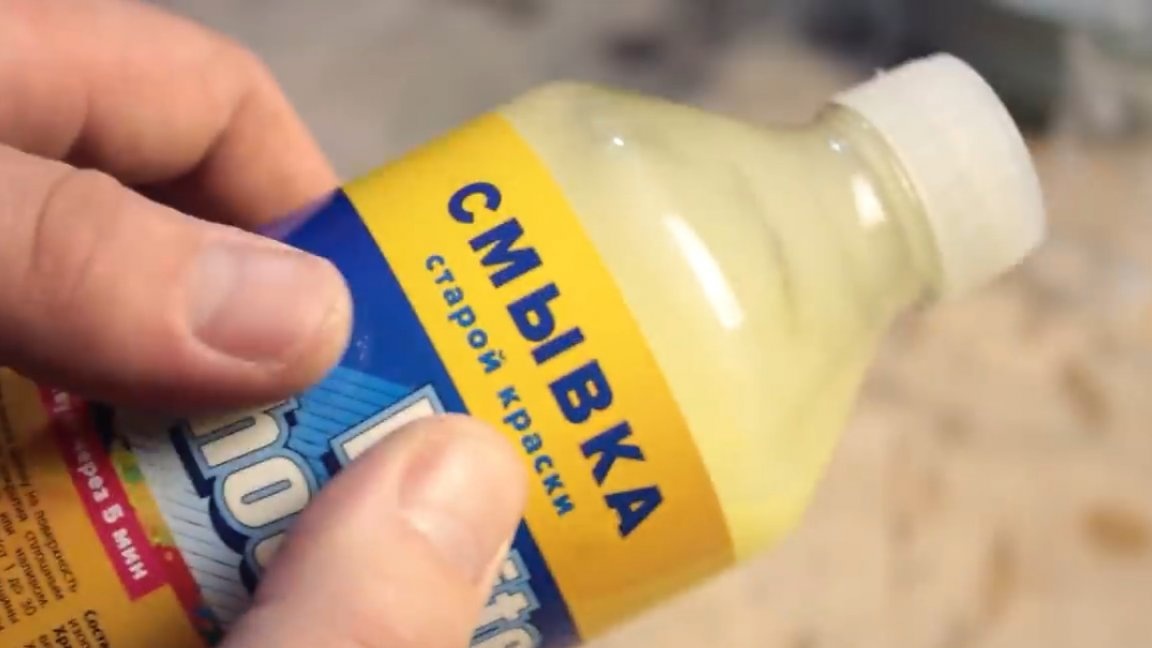
Dichloromethane has been used as the main ingredient in this product. With extreme caution, apply a thin layer of this tool with a brush and additionally smooth the surface a little with your fingers.
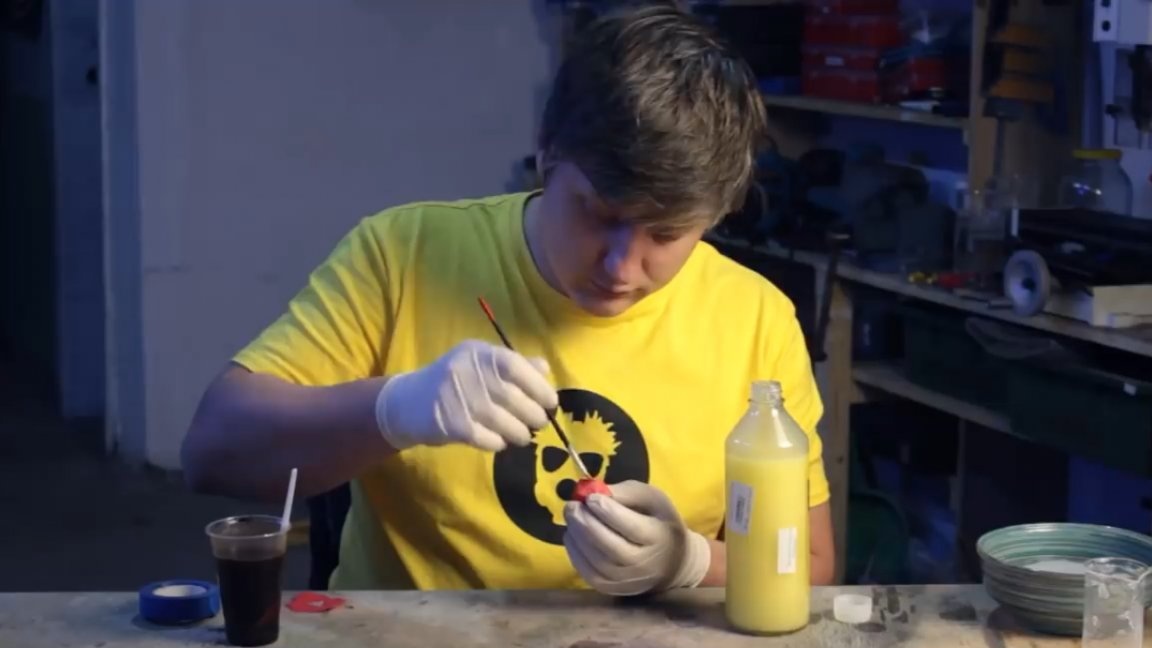
The main thing here is not to overdo it, because we only need to get rid of the roughness so that the silicone does not stick to the plastic. This is followed by a very crucial stage - it is necessary to make an impression of two-component injection rubber, while making sure that the joint of the two halves of the mold passes along the edge of the cube.
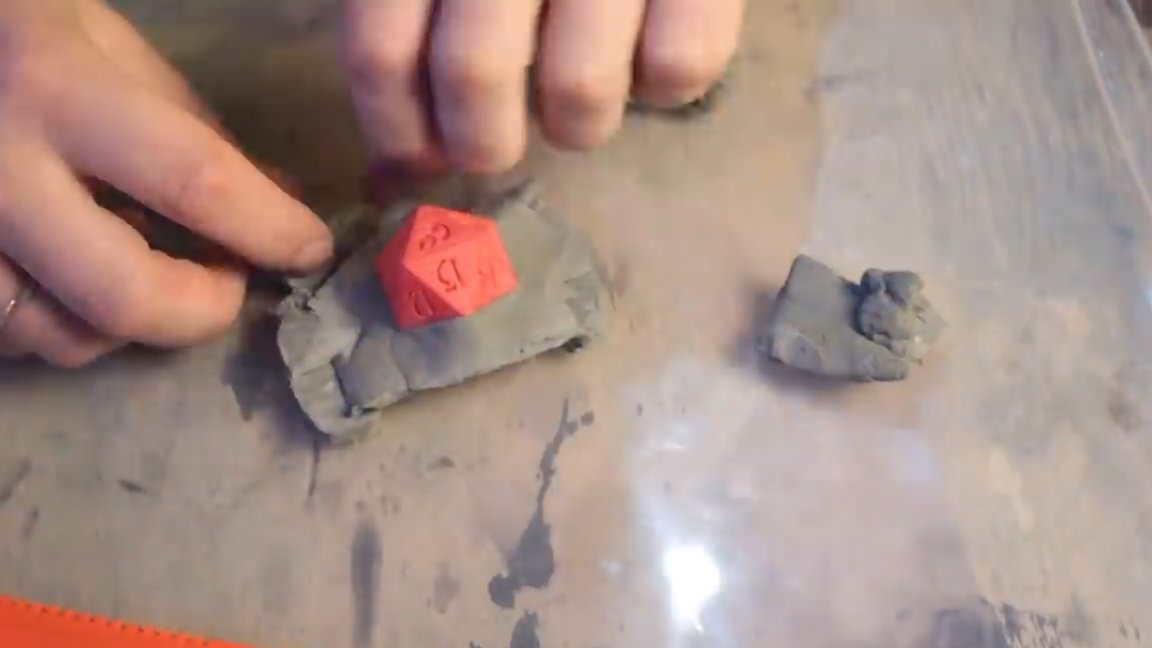
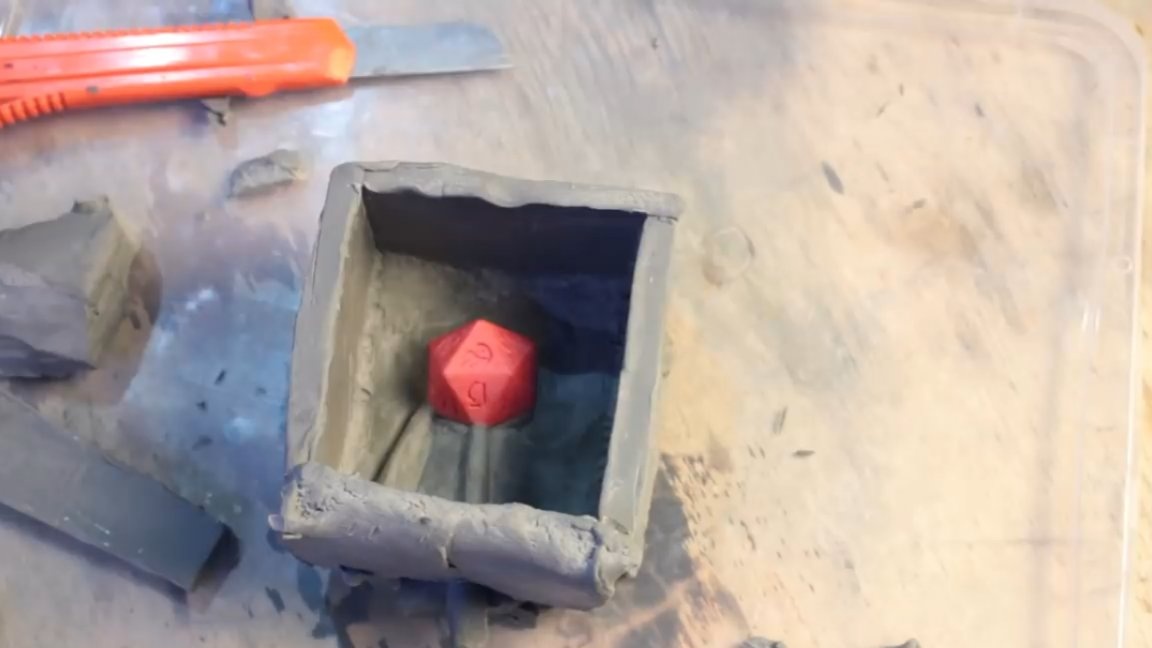
Immediately make the sprue channels. In order not to bother with the search for any additional materials, we will make the walls of the mold from sculptural plasticine.
Next, you need to process the surface. For this purpose, it is best to use the most common petroleum jelly, but the author decided to treat the surface with silicone grease, since it was applied with a brush for a rather long time.

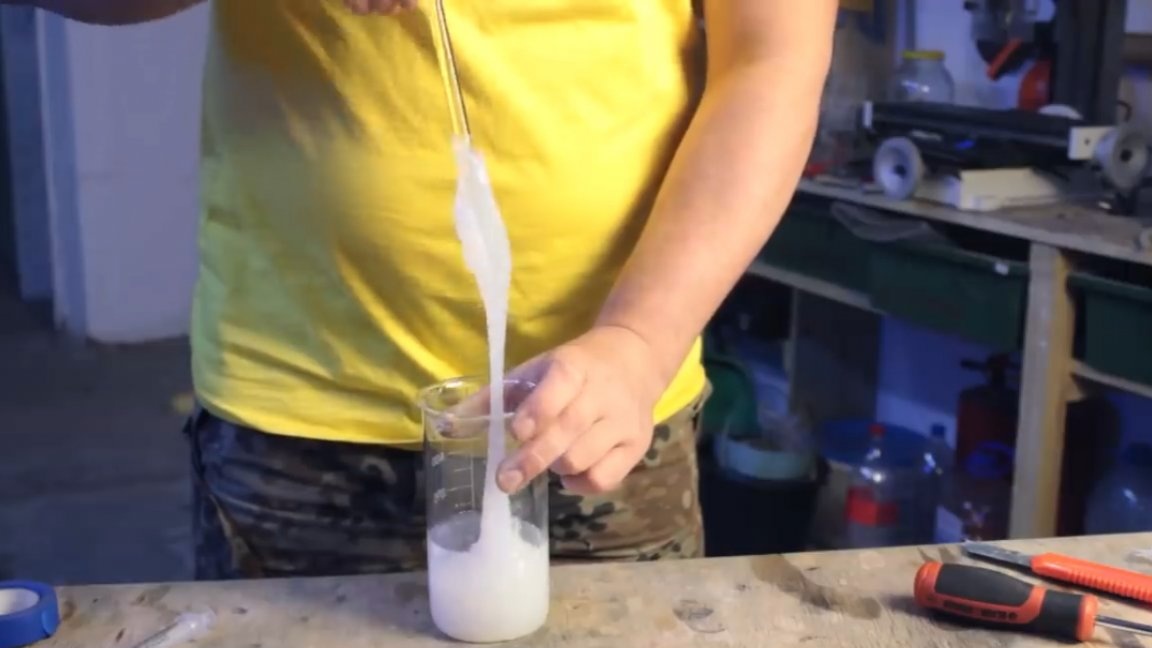
Next, you need to prepare silicone rubber. Mix it thoroughly with a hardener.
After a couple of hours, you can fill in the second half. We also make the walls of sculptural clay. Next, apply a separator, the author used the same silicone grease, but as it turned out in vain ...

15 hours passed and everything finally polymerized. The walls of plasticine are quite easy to separate, but the silicone stuck together, silicone grease did not help. It's a pity of course, but nothing can be done, you have to cut it.
It is necessary to cut so as to get as many protrusions, grooves and turns as possible. Simply put, to have as many irregularities as possible.
Next, connect the halves to each other and fasten with rubber bands. 10 elastic bands hold two halves together perfectly. The author first fastened the mold with electrical tape, but then replaced it with the aforementioned elastic bands.
Next, you need to melt the paraffin. The author uses paraffin wax for candles; he is directly sold in packages.
But for casting, it is still desirable to buy the right paraffin, which is used in jewelry. Such paraffin has greater strength and practically does not shrink.
After cooling, it is necessary to remove the paraffin model from the mold.
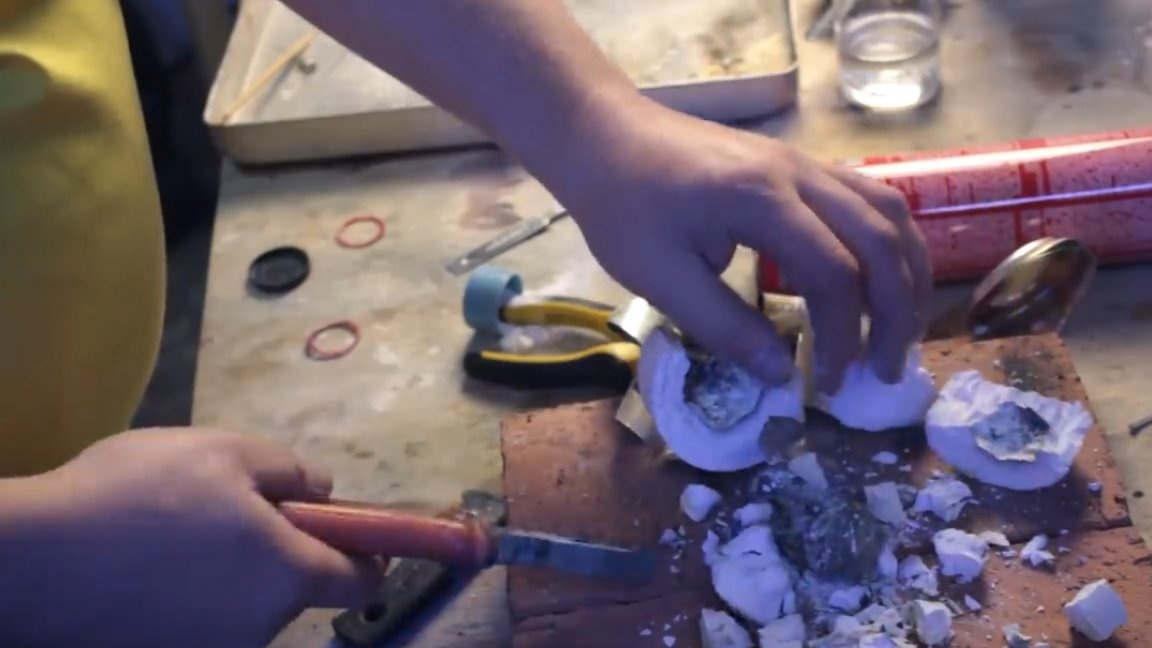
Everything seems to be fine, but the sprue channels broke off immediately. Still, this paraffin is not very suitable for this role. Next, we will make the mold of plaster. Pour the gypsum into the prepared container (in this case, in a cut aluminum can). Then we immerse the paraffin model about half its height and wait for the gypsum to freeze. Then we solder the sprue channels and fill the model with gypsum to the end.
After the gypsum has set, you can begin to remove the paraffin from the mold. When heated, the paraffin melts and excess water begins to come out of the gypsum.
After all the paraffin has been removed, we leave the form on the stove for a couple more hours, so that it is completely dry.
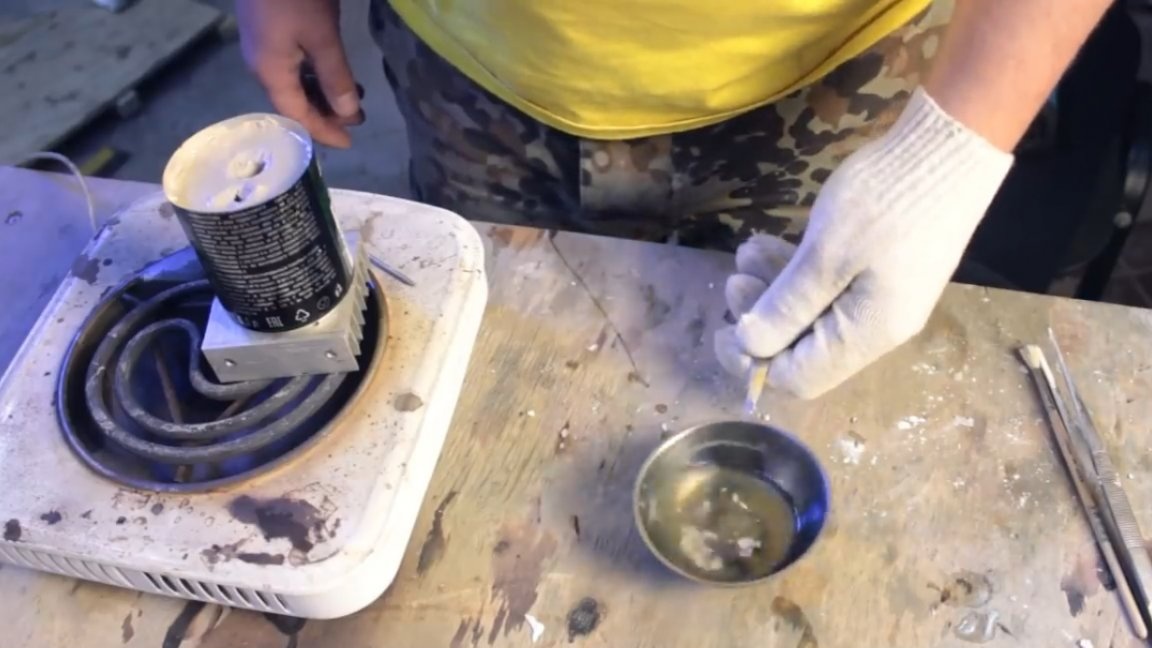
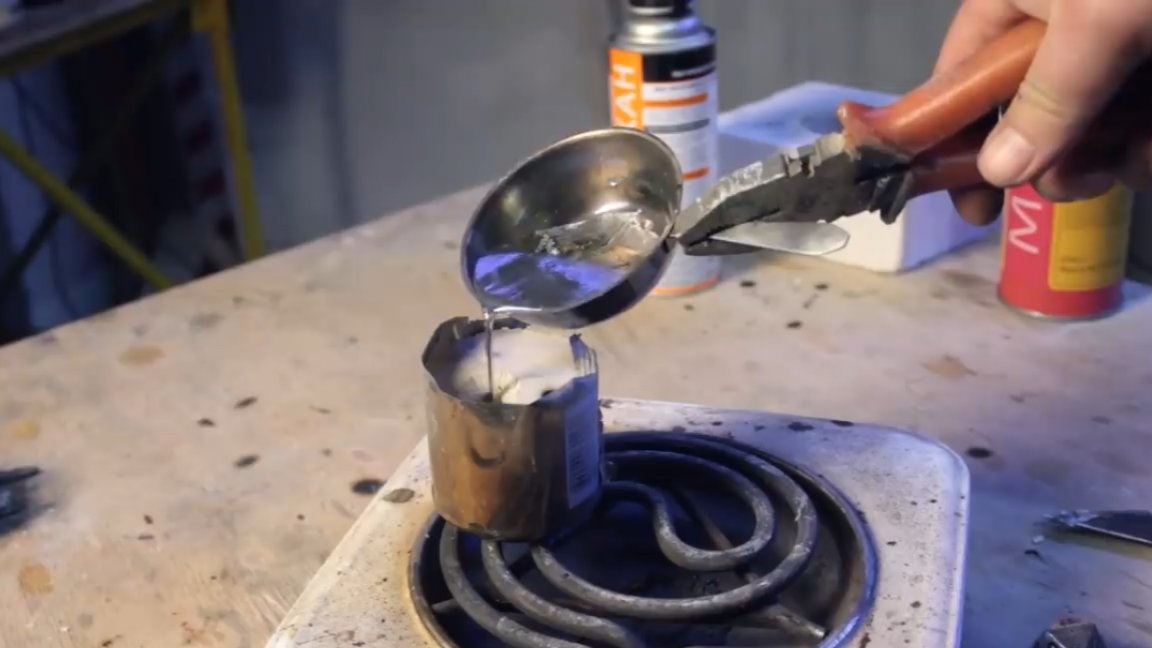
Now you can proceed directly to the casting. In a piece of a gas block, we make a depression and place a glass of stainless steel there as a crucible.
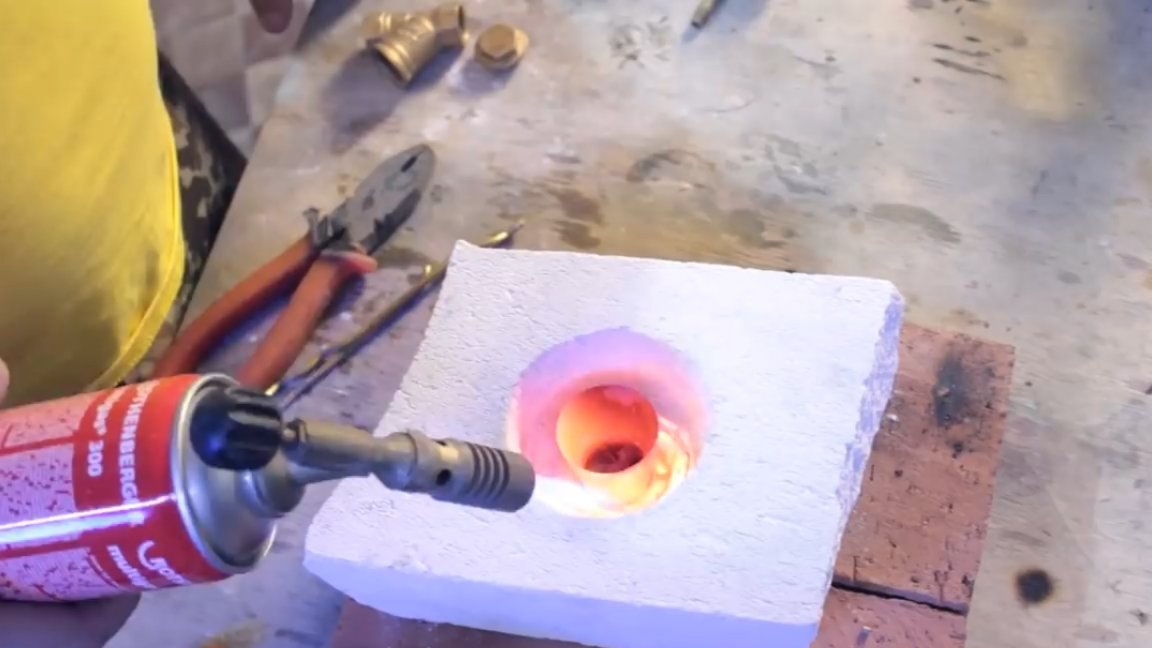
The stainless steel warms up quite quickly and it is quite convenient to melt the metals in it.
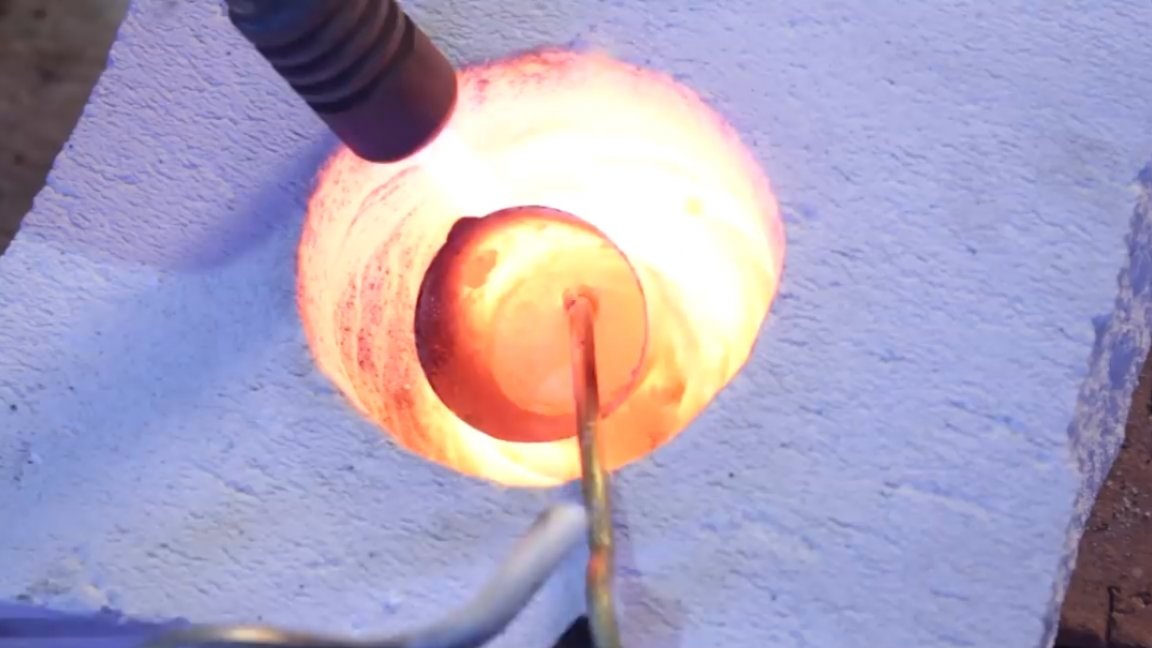
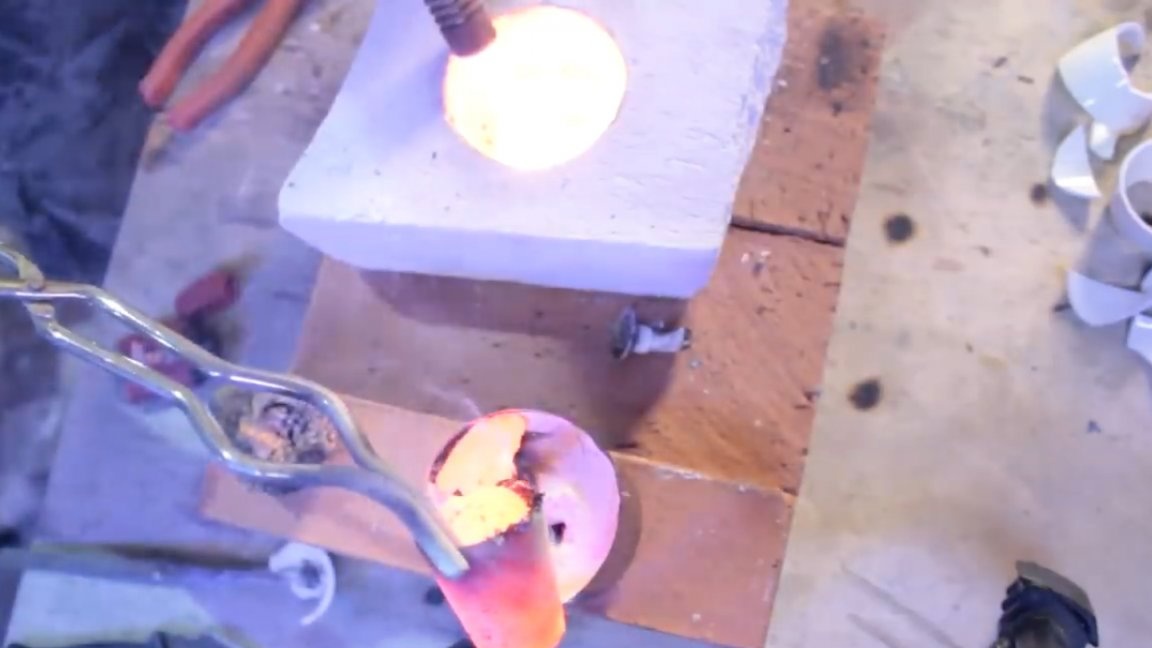
The author decided to try to melt the brass and immediately make a casting. Soldering rods and the housing of the old water filter were selected as raw materials. But the metal was not too fluid, it could not exit through the second gate channel. In general, the result did not understand what.
But you must admit, it’s quite difficult to guess what awaits you when you melt an unknown brass part. Therefore, it was decided to make our own casting alloy. It has 81% copper and 19% tin. The resulting bronze due to the high content of tin lends itself well to casting and to melt at a temperature of 880 degrees.
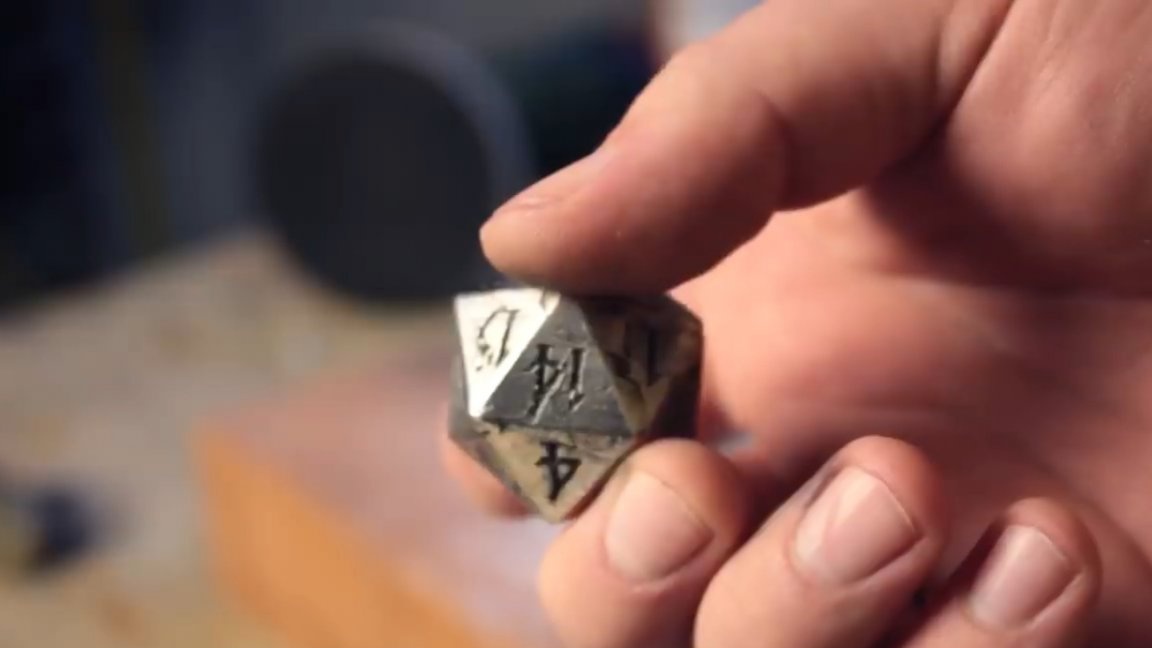
Unfortunately, the resulting alloy was not enough for the entire casting. But let's still look at the result.

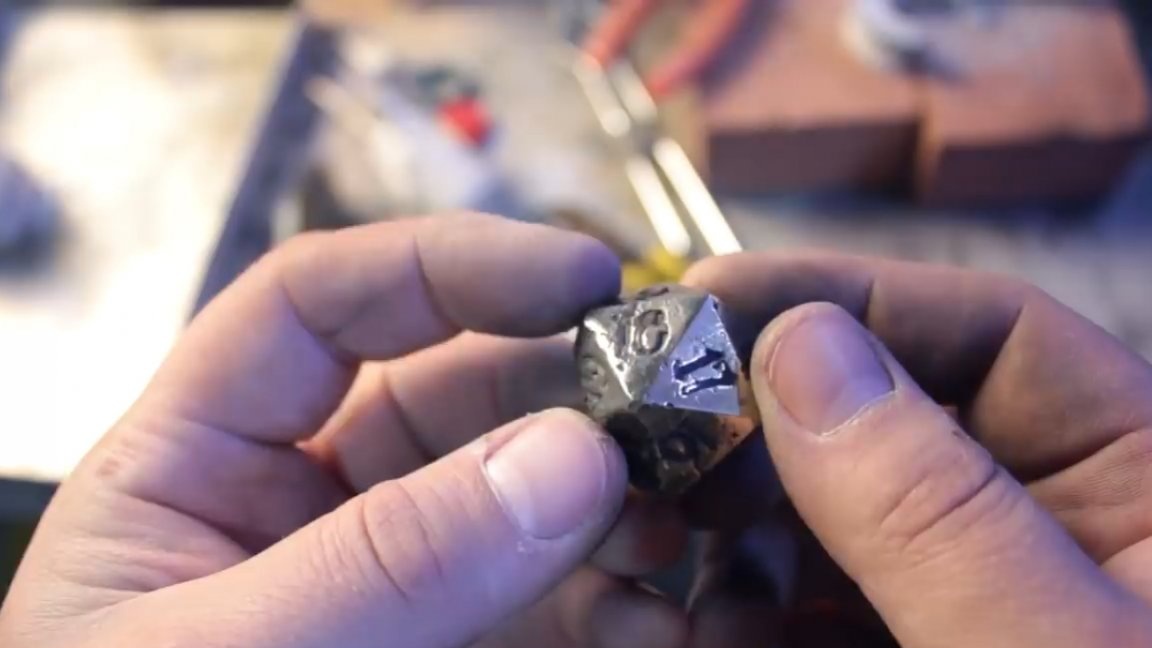
A completely different matter! All details are clearly read. There is a little concavity of the faces, but this is due to the shrinkage of paraffin, when cooling. You can also see small bubbles, they are also due to paraffin.
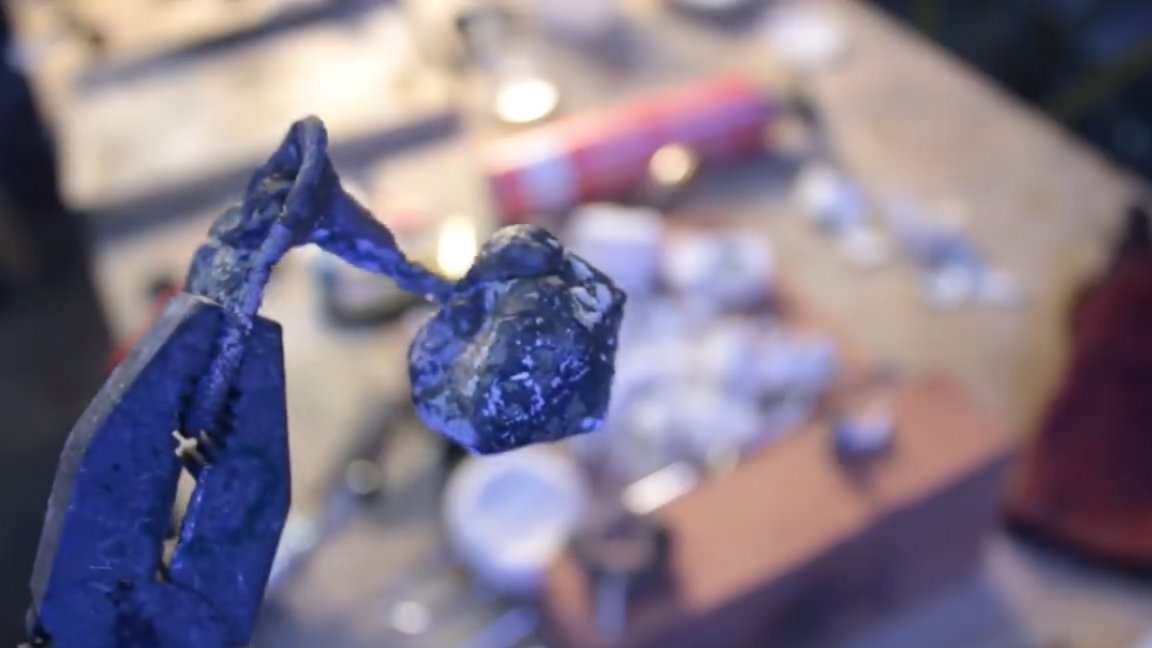
Finally, it was decided to cast a cube from bismuth. Bismuth is a low-melting metal with good fluidity.
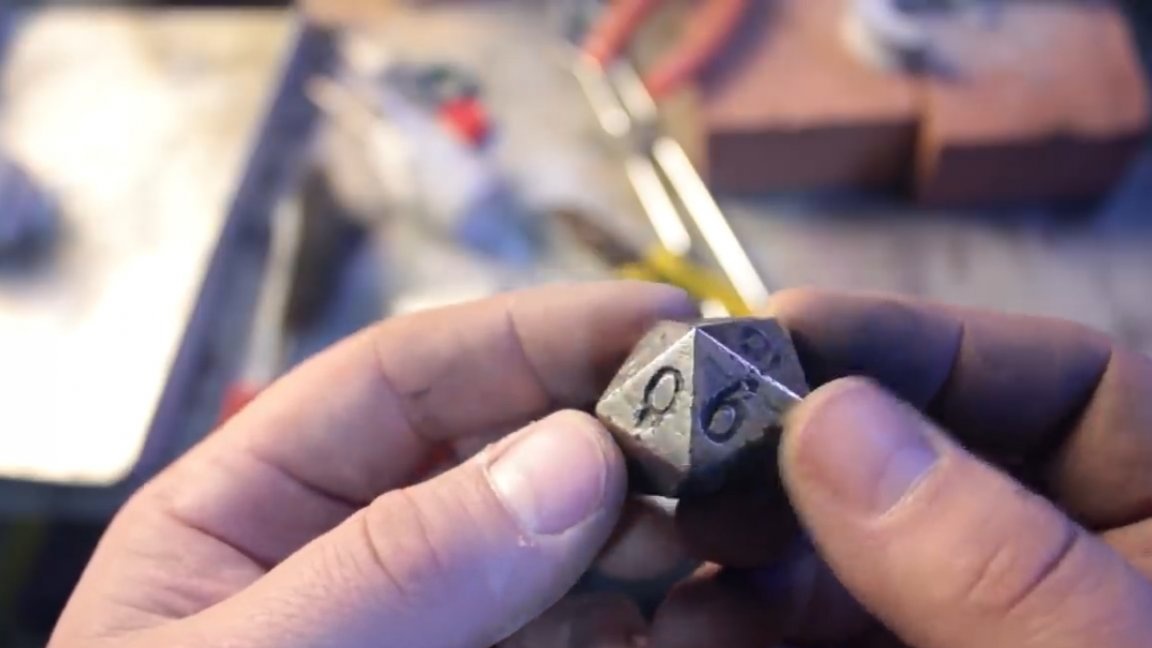
A little sandpaper and a felt circle and we get the following result:

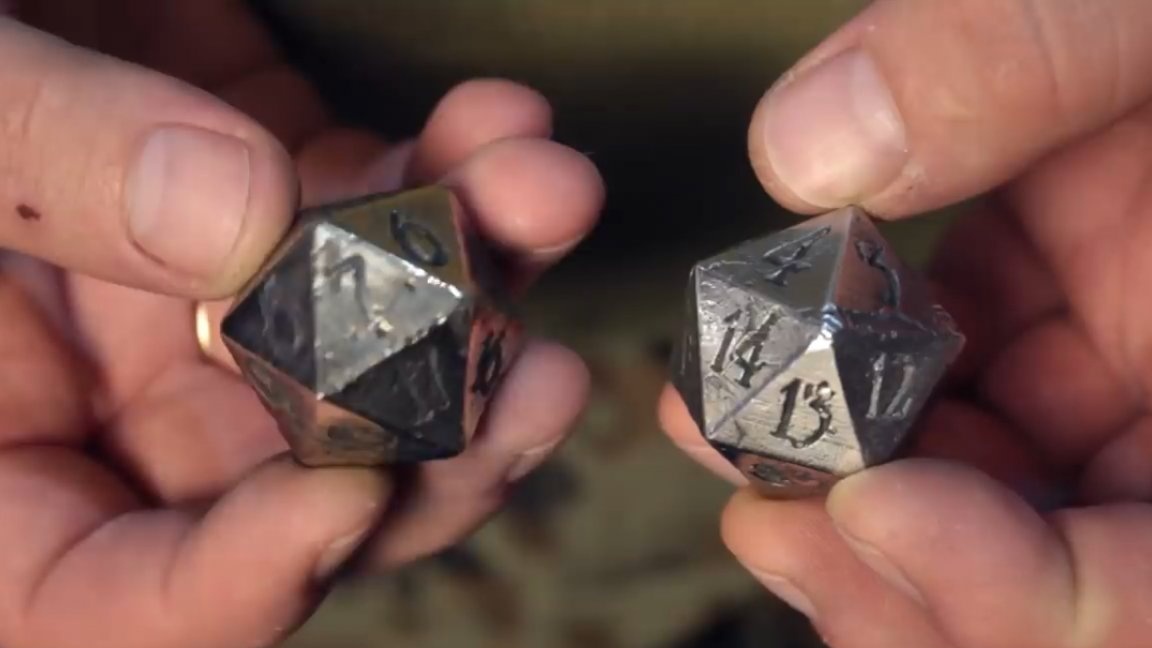
Well, such castings turned out. Of course, you need to work a little more on the technology and everything will turn out much better. Using this technology, you can pour anything from bronze to 3D models printed on a printer. That's all. Thank you for attention. See you soon!
Author's video: