

As a rule, at the present time, all our photos are stored on computers and phones. But still, it is much more pleasant to hold real paper photos in your hands, which will not disappear if the phone breaks, or the disk is covered. In this MK, I suggest you make an interesting shelf on which you can hang your favorite pictures, put a few small objects, and even use it as an impromptu night lamp.
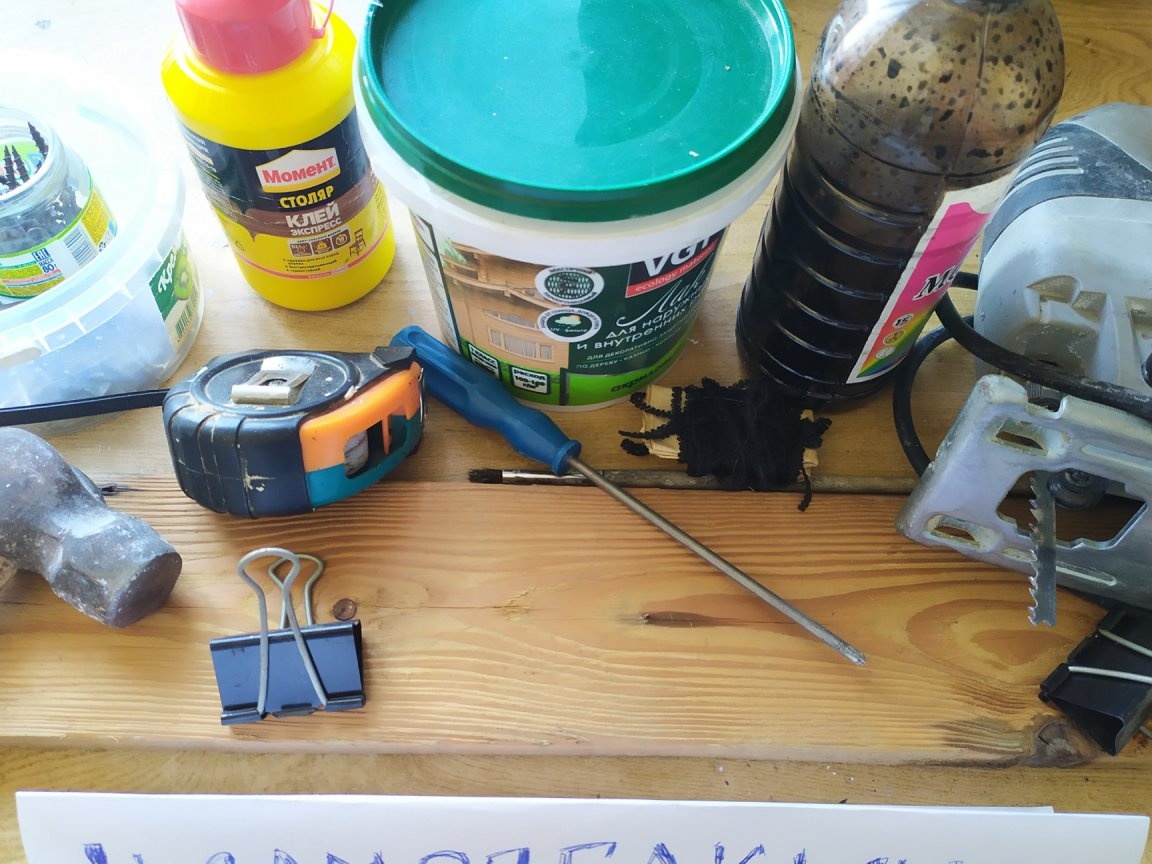
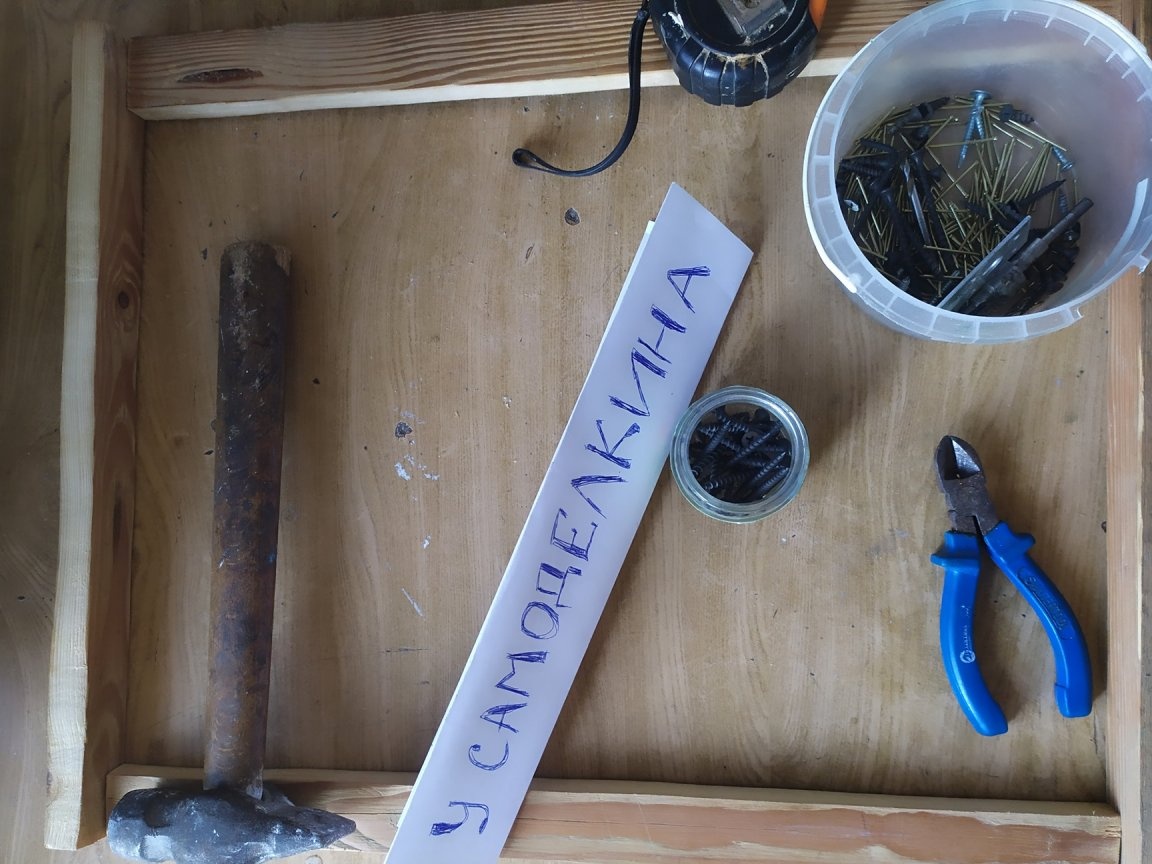
Tools and materials:
- Board
- Electric jigsaw
- Craft paper
- Stain of any color
- Nails or screws
- Acrylic varnish
- Strong thread or fishing line
- Paper clips, paper clips, or clothespins
- brush
- Plate or jar for stain
- A pen
- Roulette, ruler
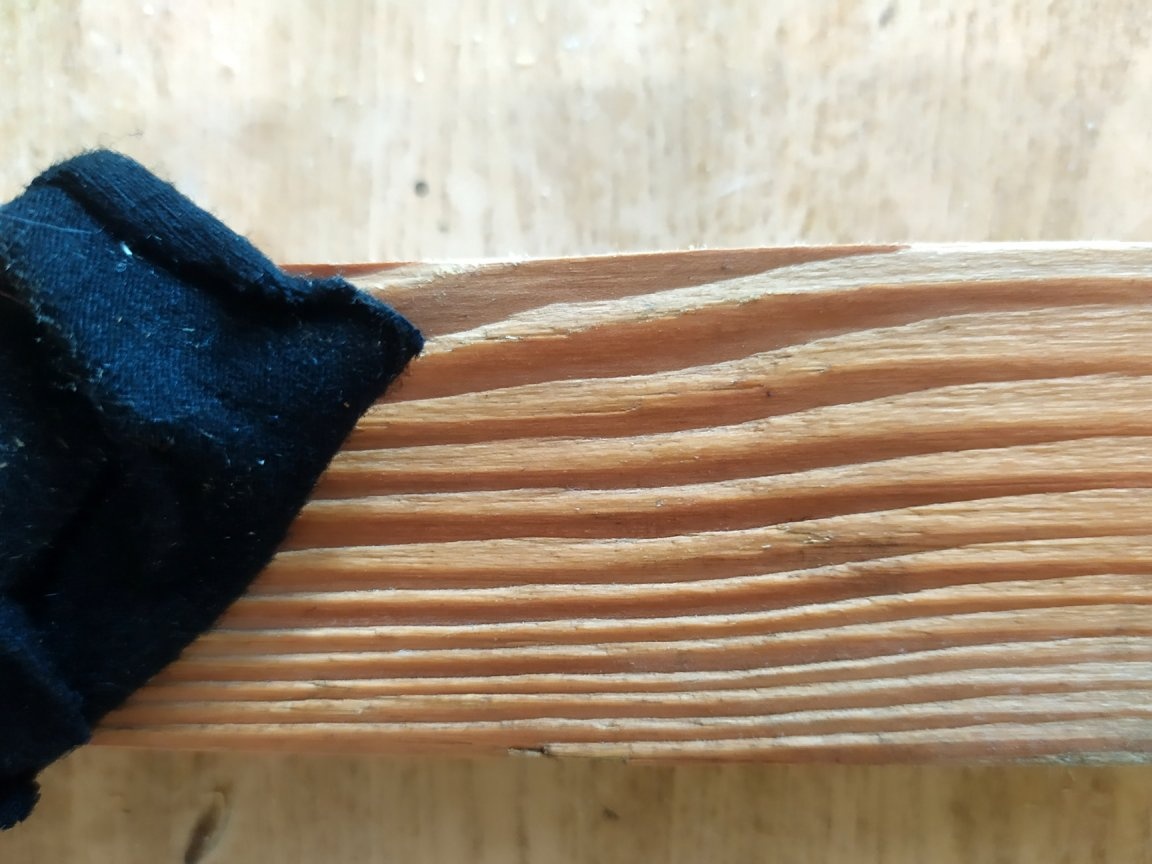
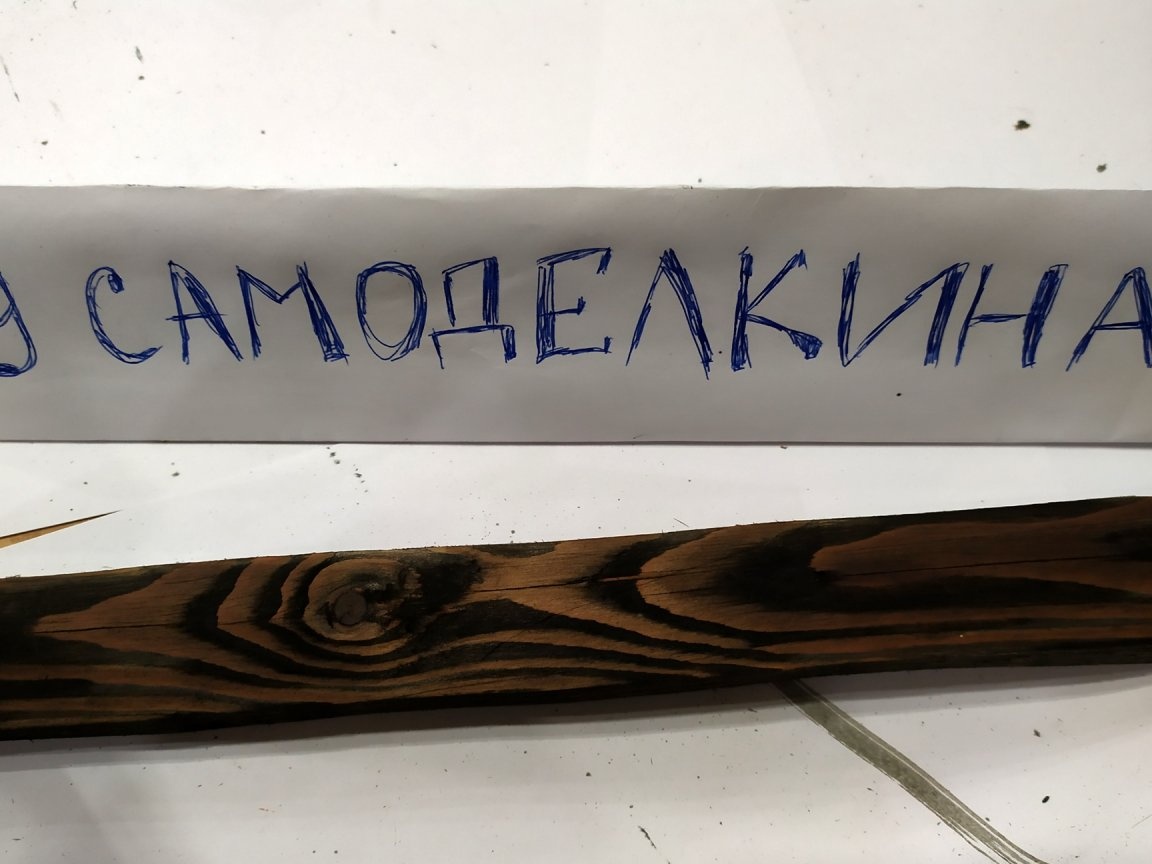
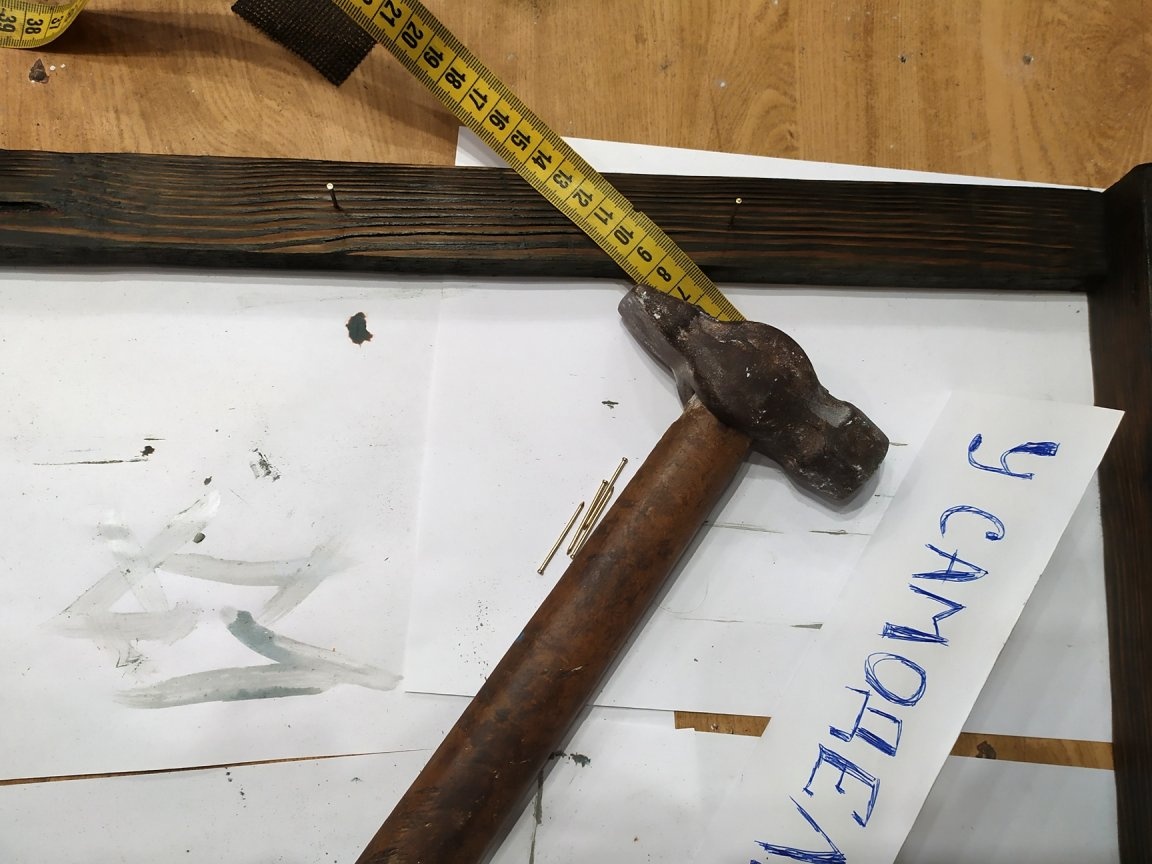
I found a very old board on the balcony. I really liked the drawing of the tree, so I decided to use it. Since it looked very dirty, in my case, the first step would be to thoroughly wash and dry the wood. After that, we get to work.
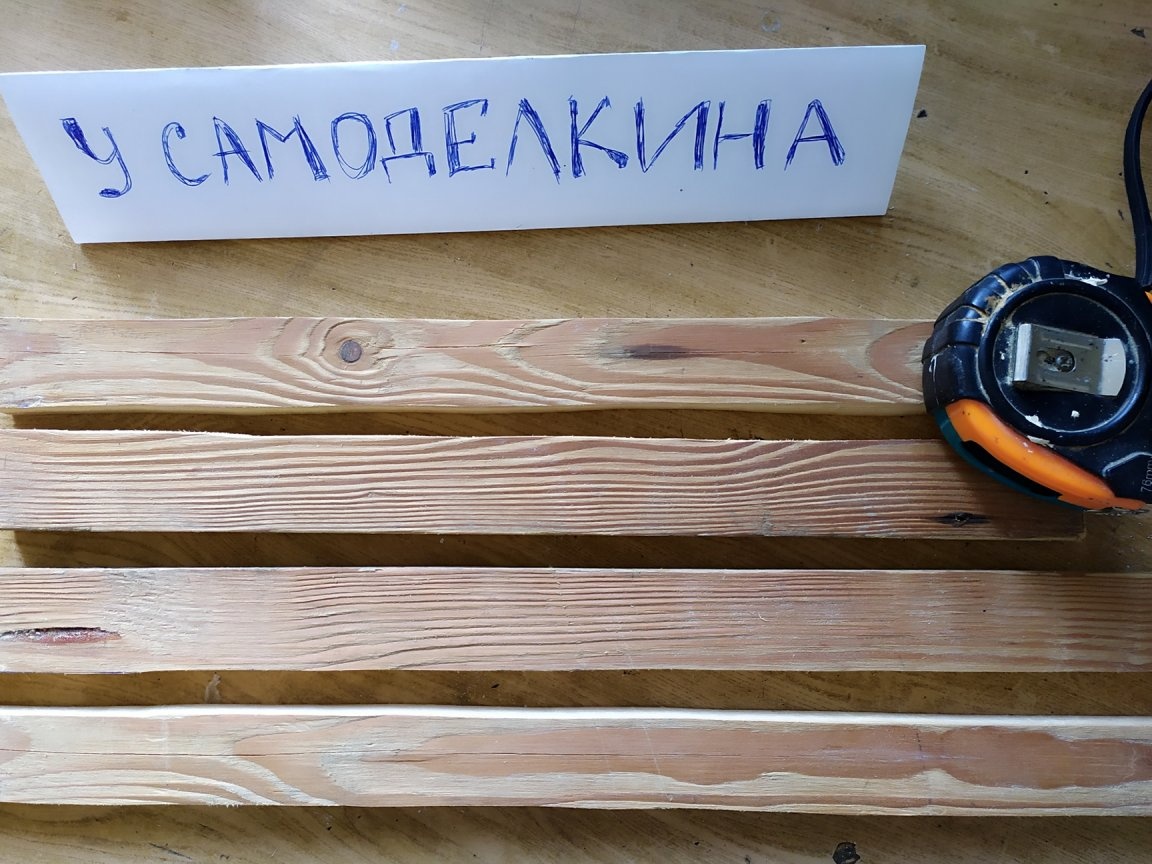
Board dimensions: 70mm to 800mm. Since the sides will not be very thick, this size is quite enough for the whole product. To do this, you just need to saw it into 4 parts, and make 4 walls.
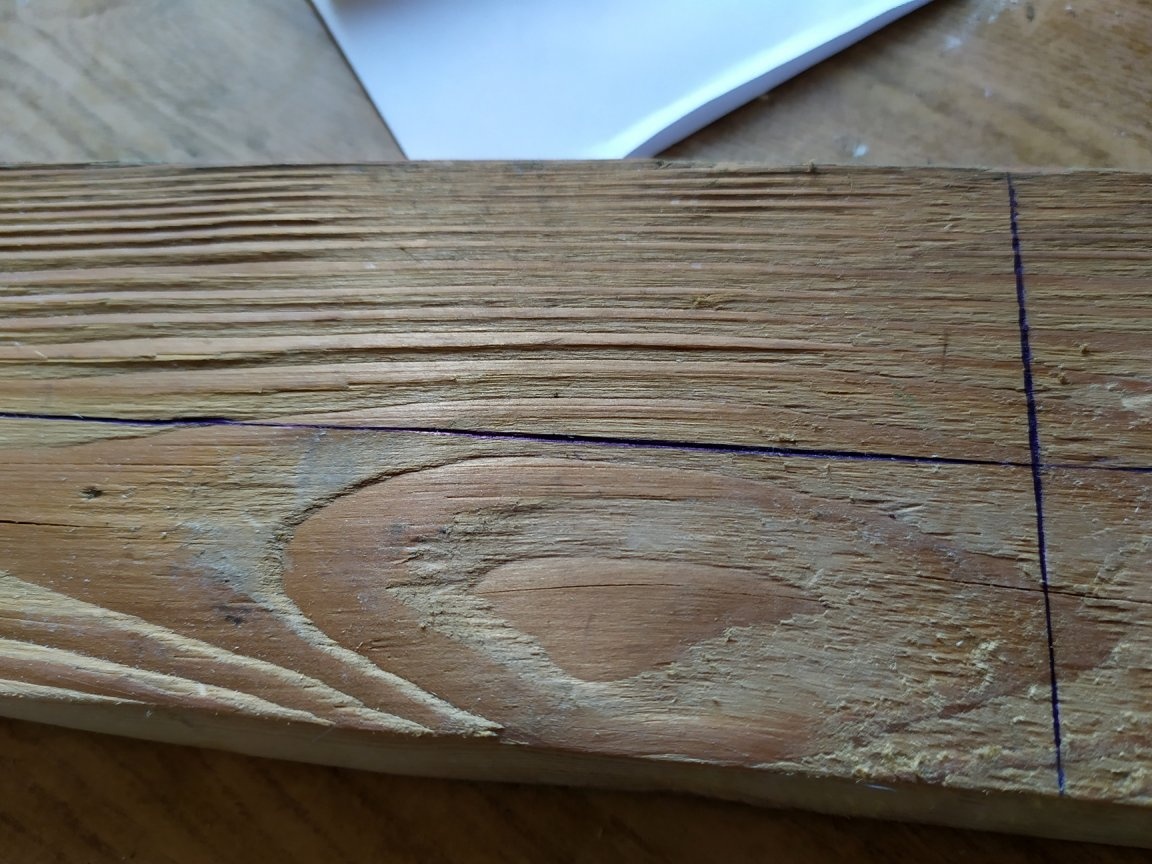
I figured about how long the pairs of walls would be. For the top and bottom, I noted 380mm. from the whole board. For sidewalls there is 440mm. Also, the width of my board is 70mm., And just divide it in half. That is, the total width of each wall will be 35mm.
We transfer all this to the board.
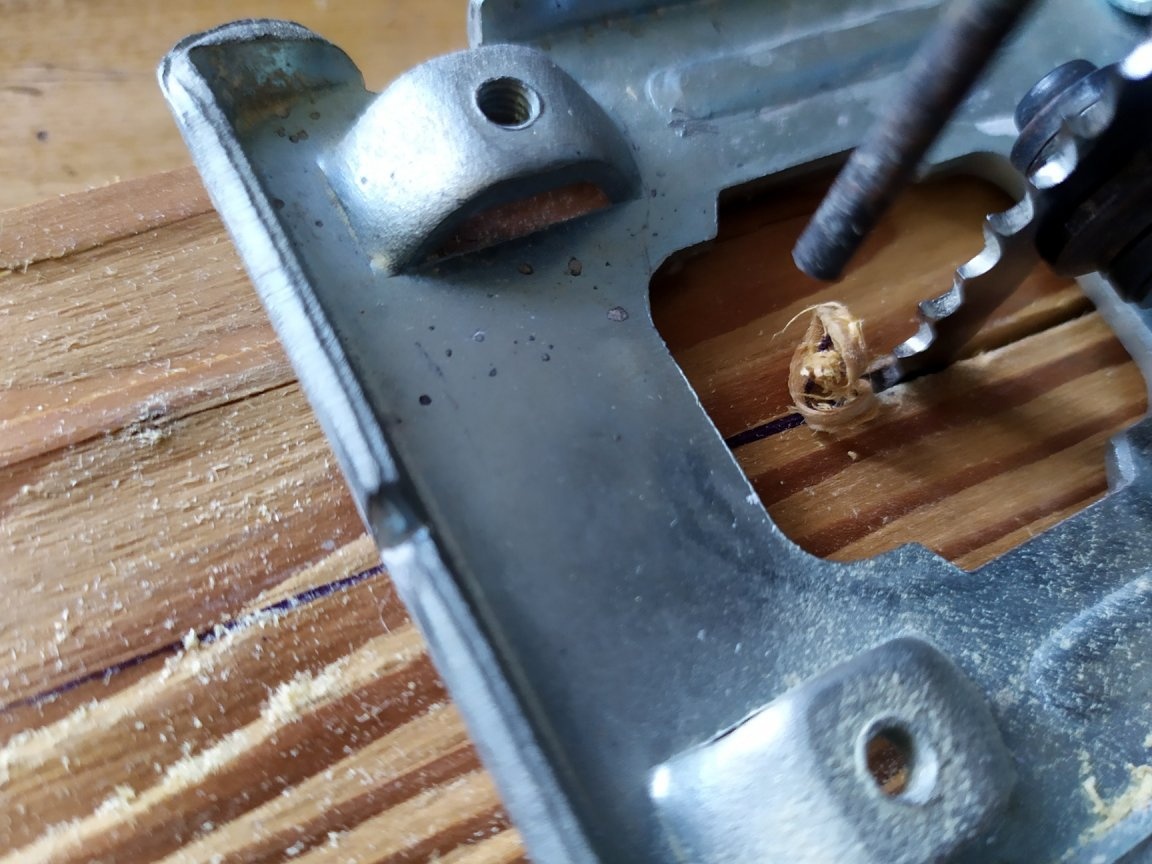
After I drew all the lines for a jigsaw, we begin to cut. I want to emphasize that the file is needed for the tree, so that it takes the thickness of the board that you have. I have a thickness of 13mm. And the jigsaw is very hard, from time to time I give the instrument and hands a rest. Also, do not forget about safety, eyes should be protected with glasses.
When we finish cutting, you can admire your work. If in some places it turned out a little crooked, then it's okay, this will emphasize the fact that this is manual work, and this is now very much appreciated. Yes, and of course, cut off in home Even edges will most likely fail.
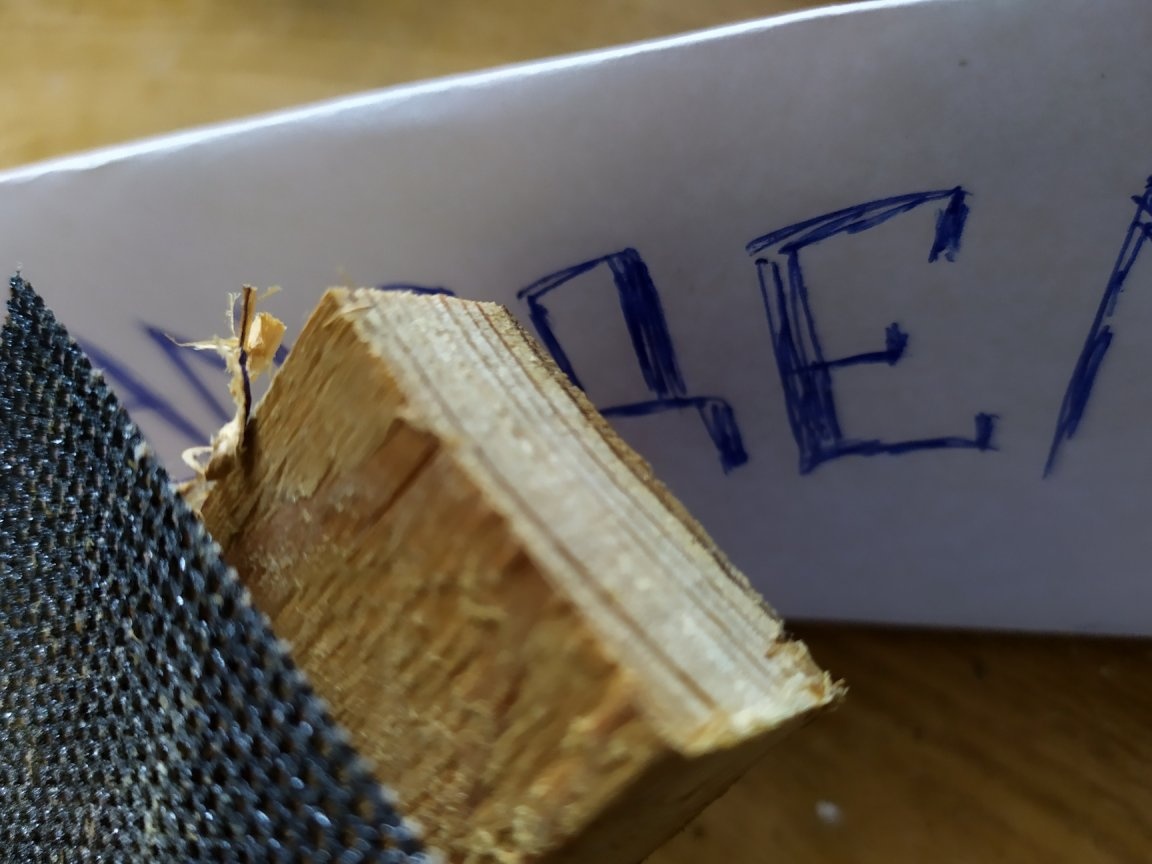
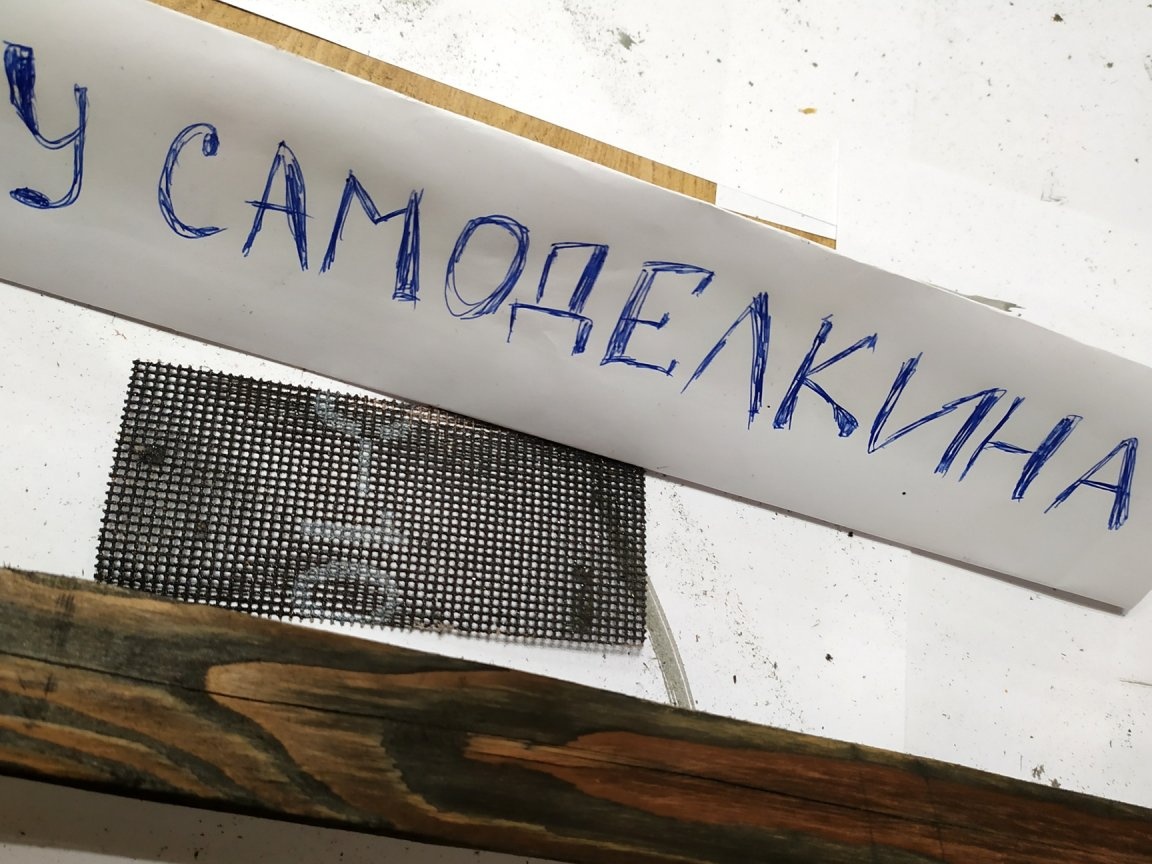
We cut the tree, and now it needs to be well sanded. It is better to do this with a grinding machine, but if it is not there, then it does not matter, you can do it with your hands. The main thing is to do everything very carefully, a very big chance to drive a splinter.
You need to skin from all sides, the more the better.
When finished, you need to wipe everything with a damp cloth, remove all dust.
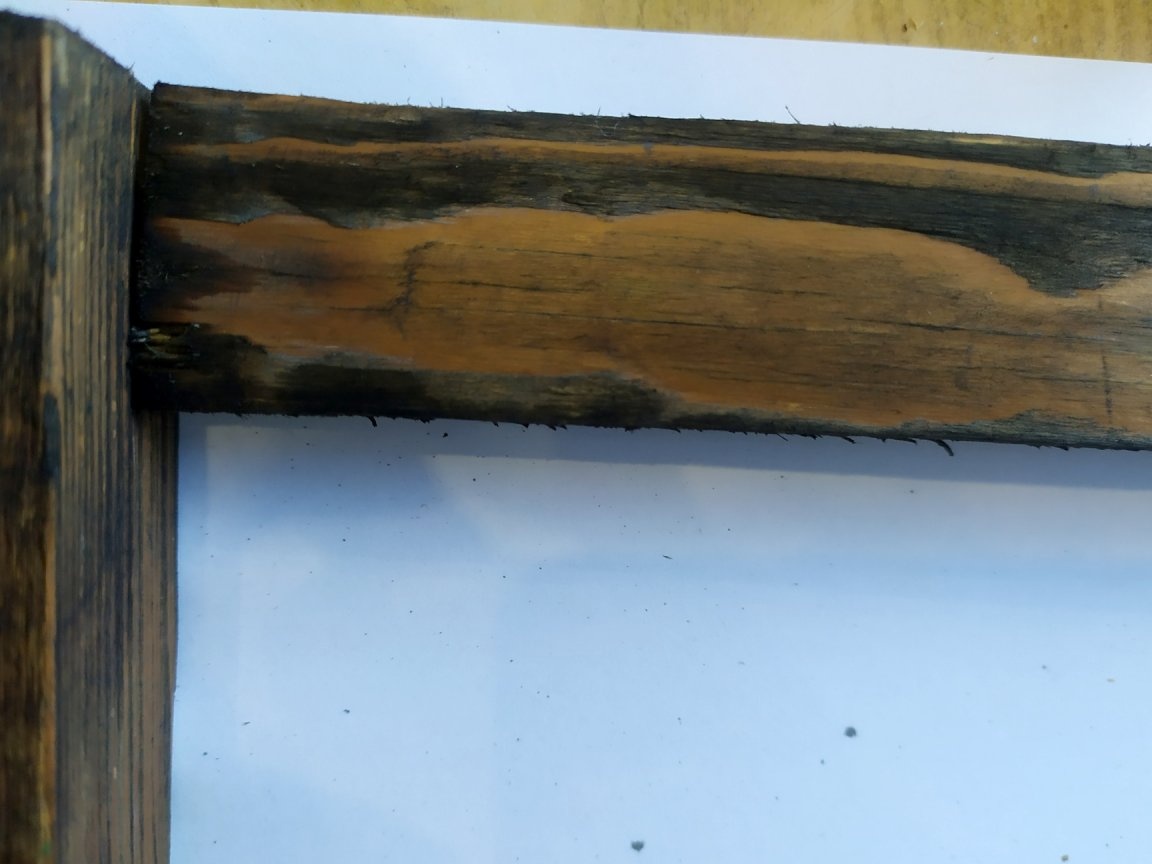
Now let's put together what we have and see what will happen in the end.
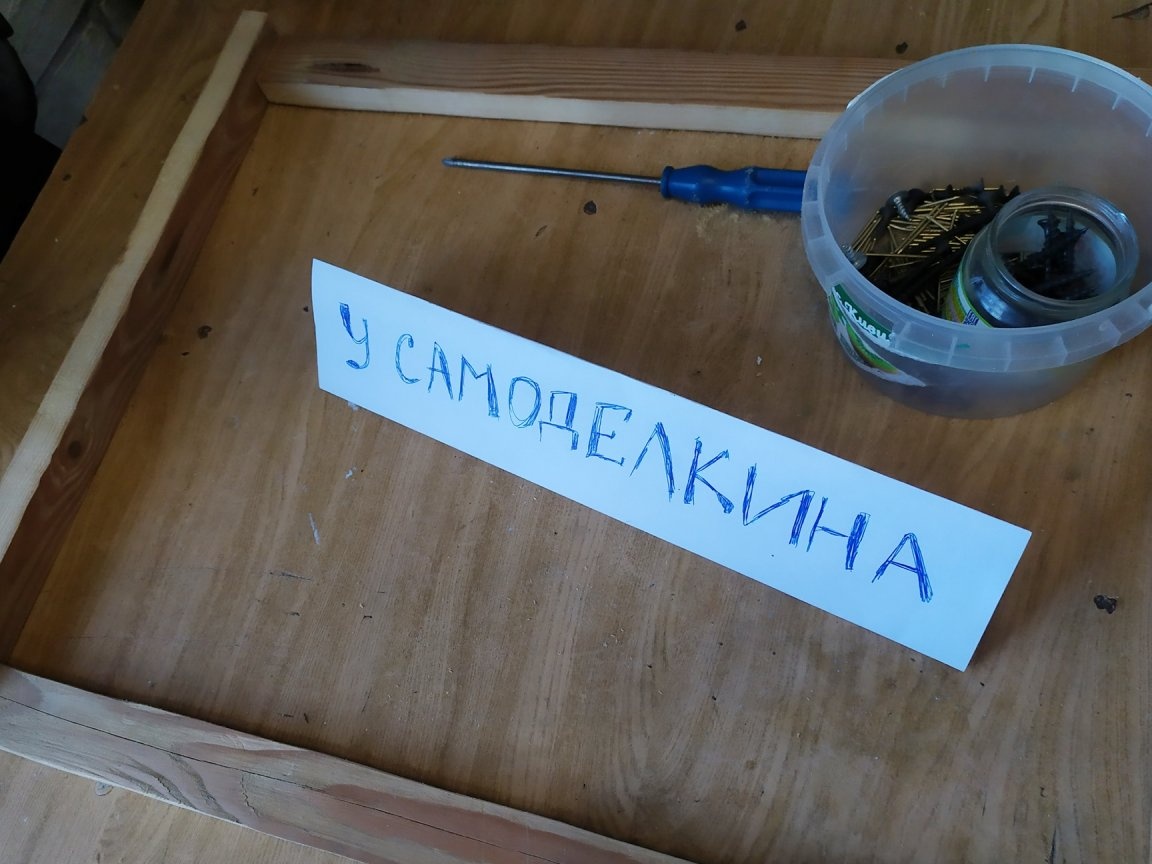
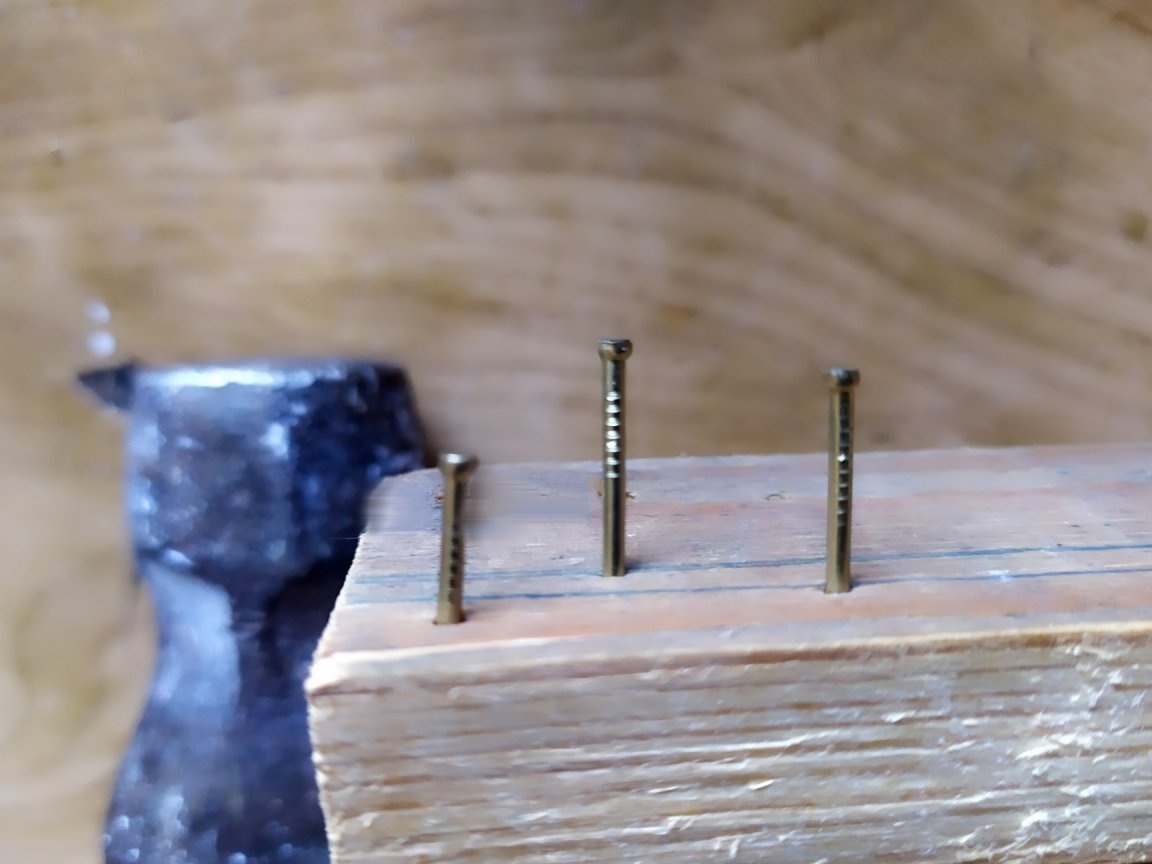
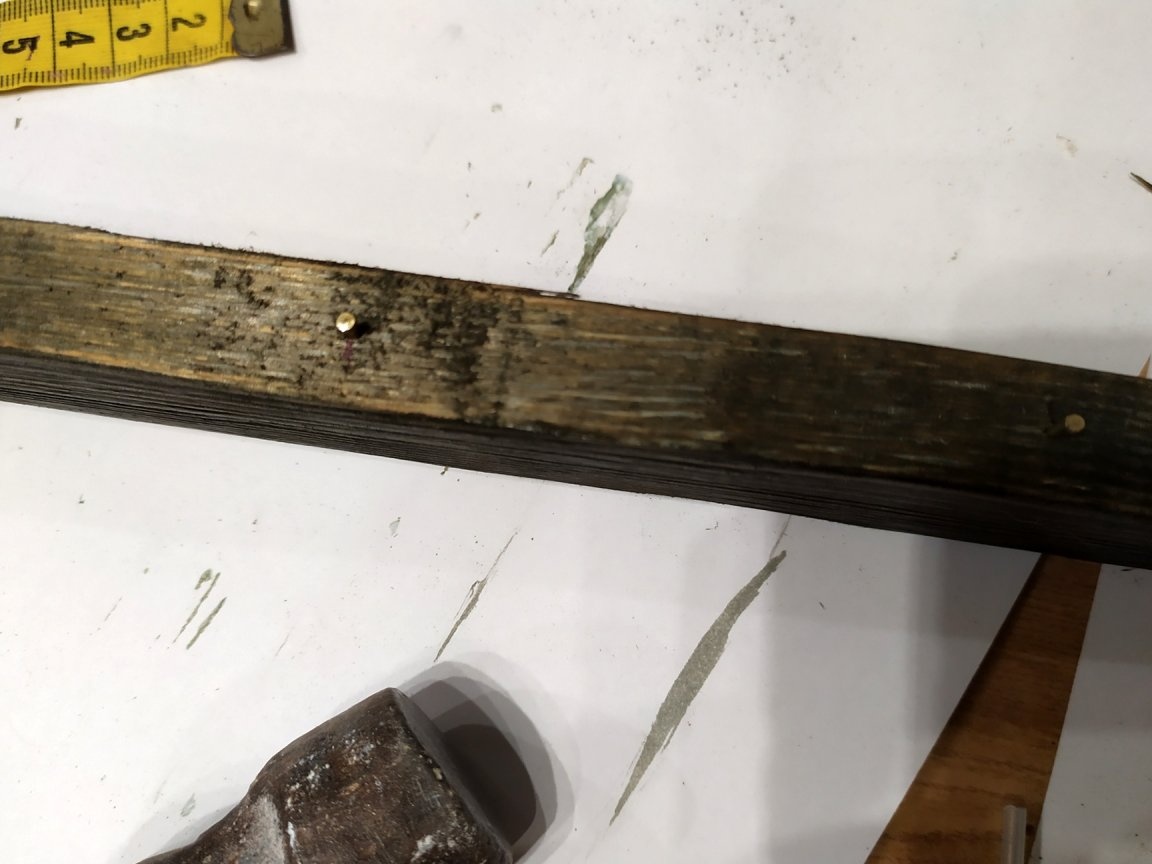
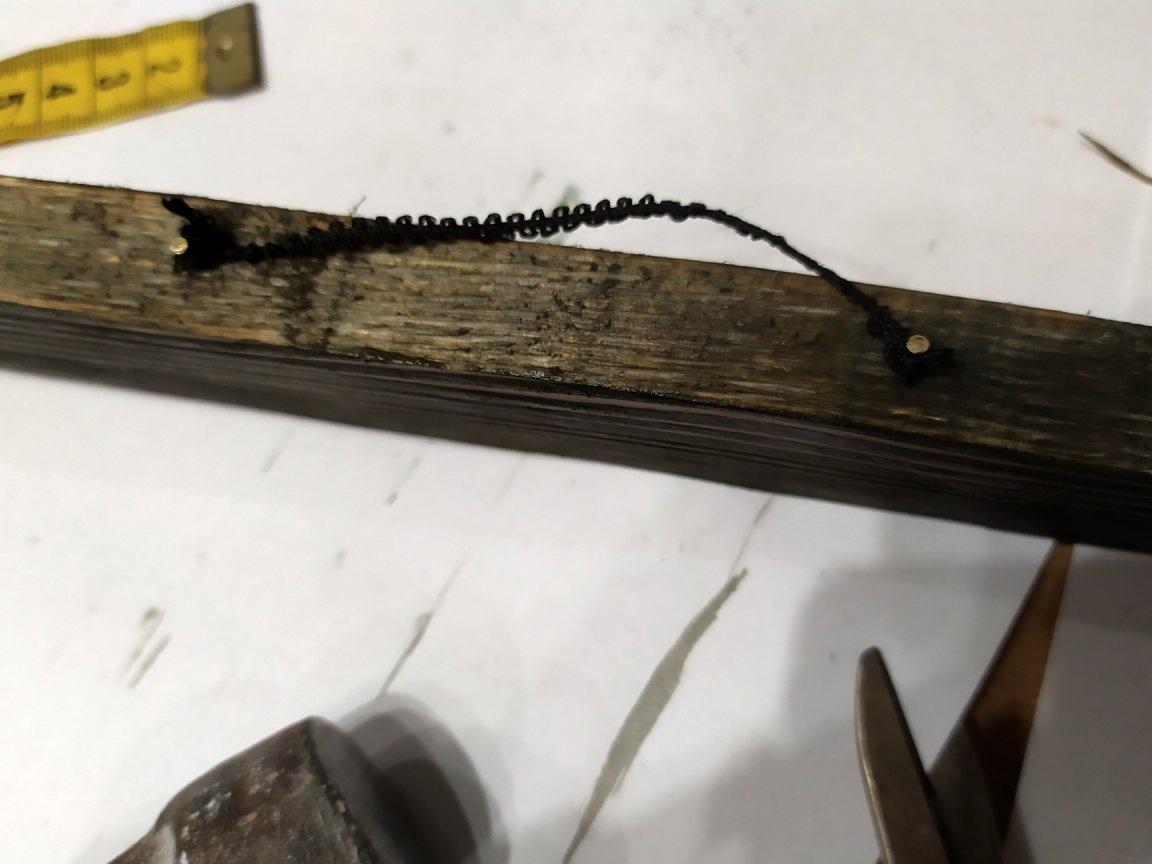
In order to fasten the walls, I decided to use nails and glue. Since my shelf is small, the nails will stand everything perfectly. But if you like more screws, then you will have to tinker a bit. It will be necessary to make potai so that the caps do not protrude and do not spoil the view. Also, from screwing a self-tapping screw, the board may crack, so that this does not happen, you should drill holes with a thin drill. And in the end, of course, putty putty on wood, but it is not known how the stain behaves, putty sweats, most likely, will be seen. Therefore, I decided to use nails, it’s quick, and you can not putty small hats, they are almost invisible.
If you have a second hand to help, then this will greatly facilitate the process. It is necessary to keep the sides absolutely even, you can attach metal corners to make sure that the angle is not broken. I use 30mm nails. First I take the upper bar, and mark with a pen where the nails will be. Three nails on each side. Then, I start to score. When the nails almost overcame the thickness of the board, 13mm., Substitute the side part, and continue to beat. I do the same with the other parties.
The result is such a frame.
Since the board is old, I polish it again. It’s impossible to finish grinding with absolute grace by hand, but such an option will suit me.
Now with a damp cloth you need to sweep away all the dust.
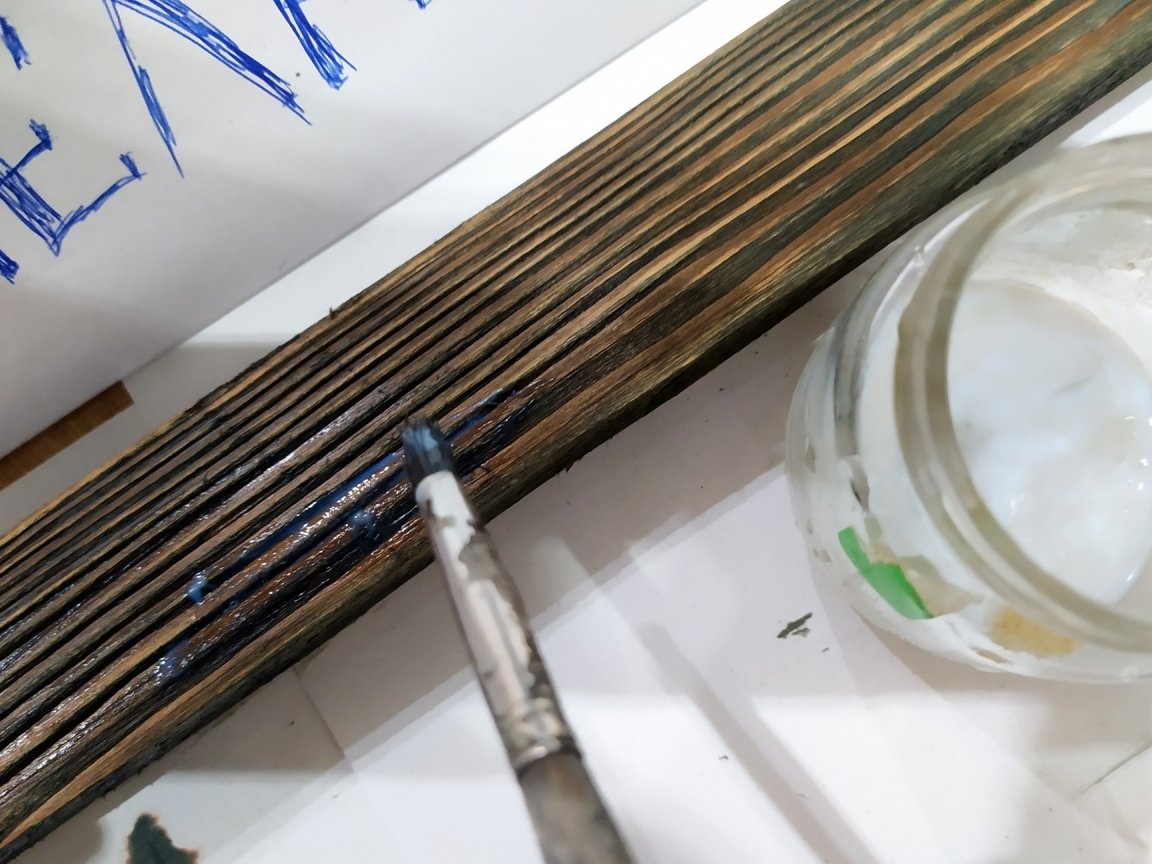
The next step, we will paint. We cover the table with paper. I have at hand only a black stain, but even with it, the relief of the tree will be clearly visible.
Pour stain into a small container, and begin to paint with a thin brush.
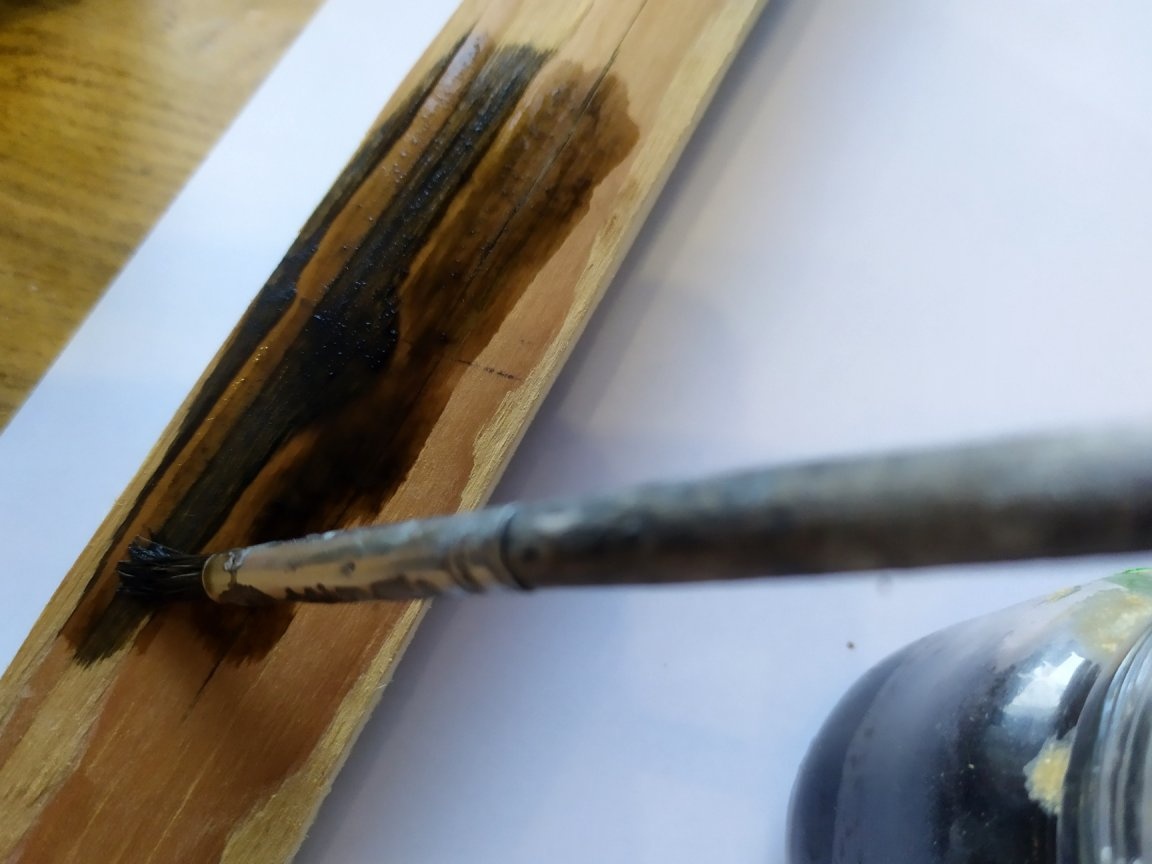
Since it is quickly absorbed, we immediately paint all sides. If you are afraid to get your hands dirty, it is better to use gloves.
After carefully staining everything, let the stain dry. It took me about an hour. After the first layer, all the raised villi became clearly visible. All this needs to be well sanded again.

When we finish, again, all the resulting dust must be removed with a damp cloth.
Even in this form, I already like the result. But for greater expressiveness, I will add another layer. Take a stain and apply a second coat.
When the stain dries well, I want to emphasize the texture a little, for this you can just walk a little with the skin, the most protruding parts will lighten a little.
Sweep away the dust.
Now, the final step is to fix the effect with varnish. I use acrylic matte varnish. In order for the brush not to stain the varnish, it is better to pour a little into the jar. Now we’ll miss everything well. After the first layer has dried (this is about an hour), you can apply another layer. This will protect the tree and increase its service life.
That's what I did:
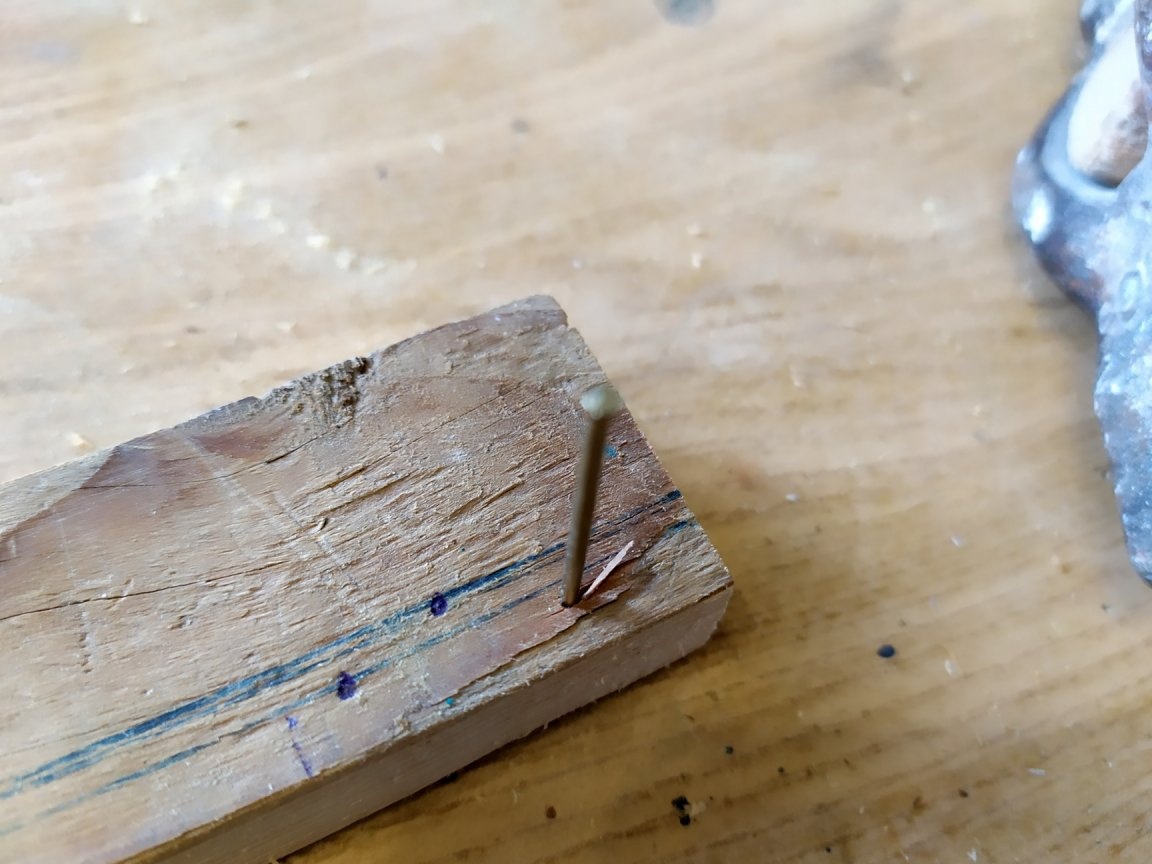
Now it remains to complete the little things. My shelf height allows me to pull two ropes for photos. Therefore, on the sides, at the same distance, I drive 4 cloves. It is not necessary to completely hammer, the tip should remain in order to tie the rope.
In order to be able to hang it on the wall, on the back, on the upper part, I also drive in two nails and tie a rope on them, cut off the ends. This is a very simple way to not buy special mounts.
In front, between the nails, we stretch the threads or ropes. I decided not to cut the ends.
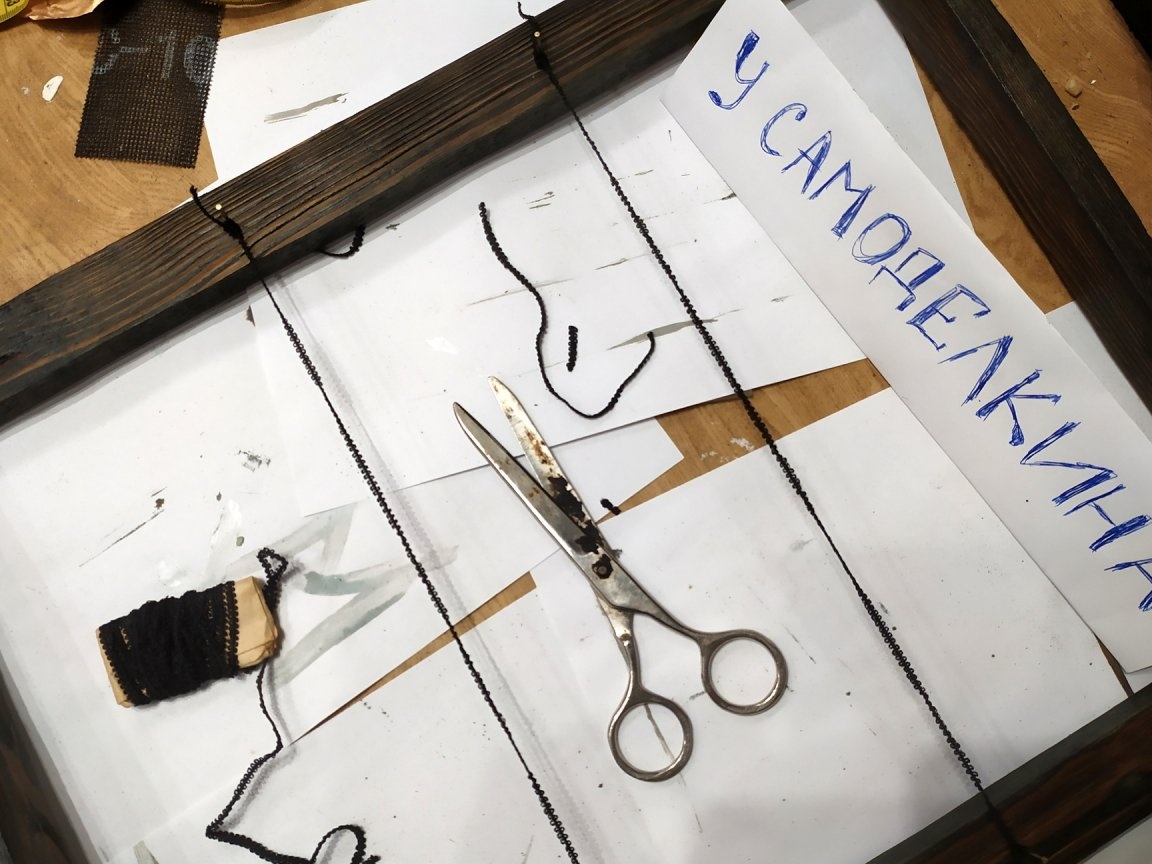
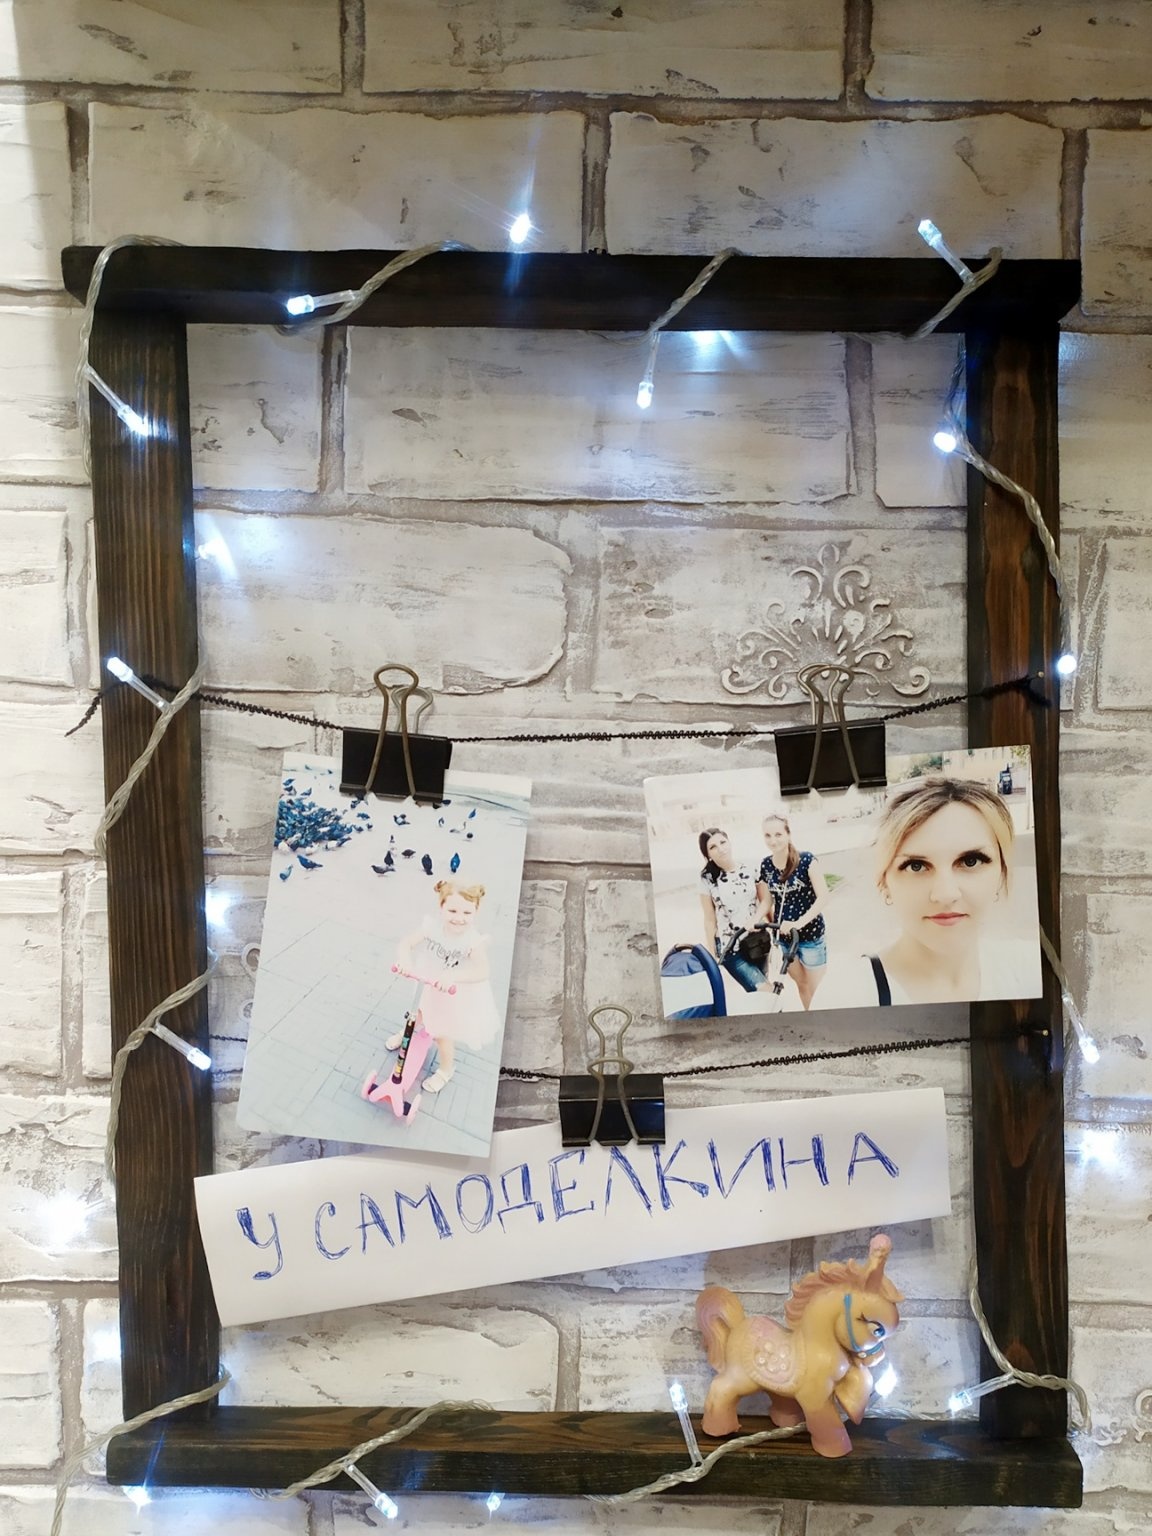
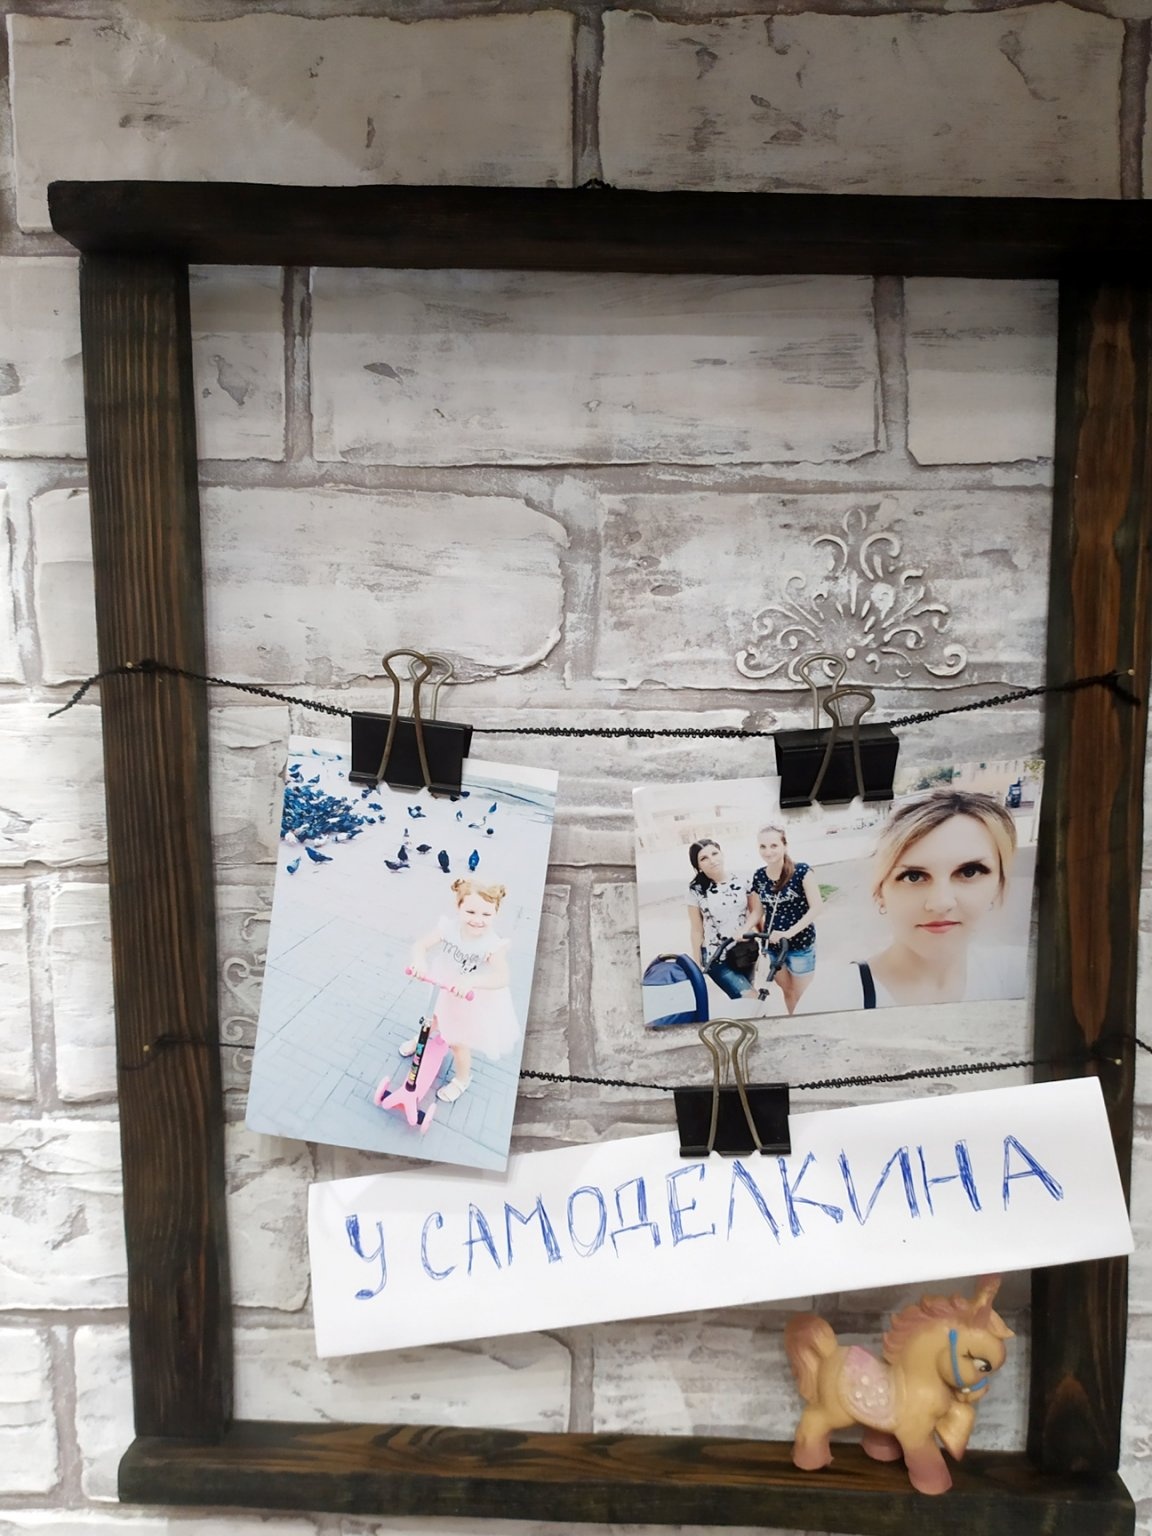
Now, hang our frame on the wall. We attach paper clips or clothespins to the threads, I used paper clips. We hang pictures. On the top and bottom you can put small items.
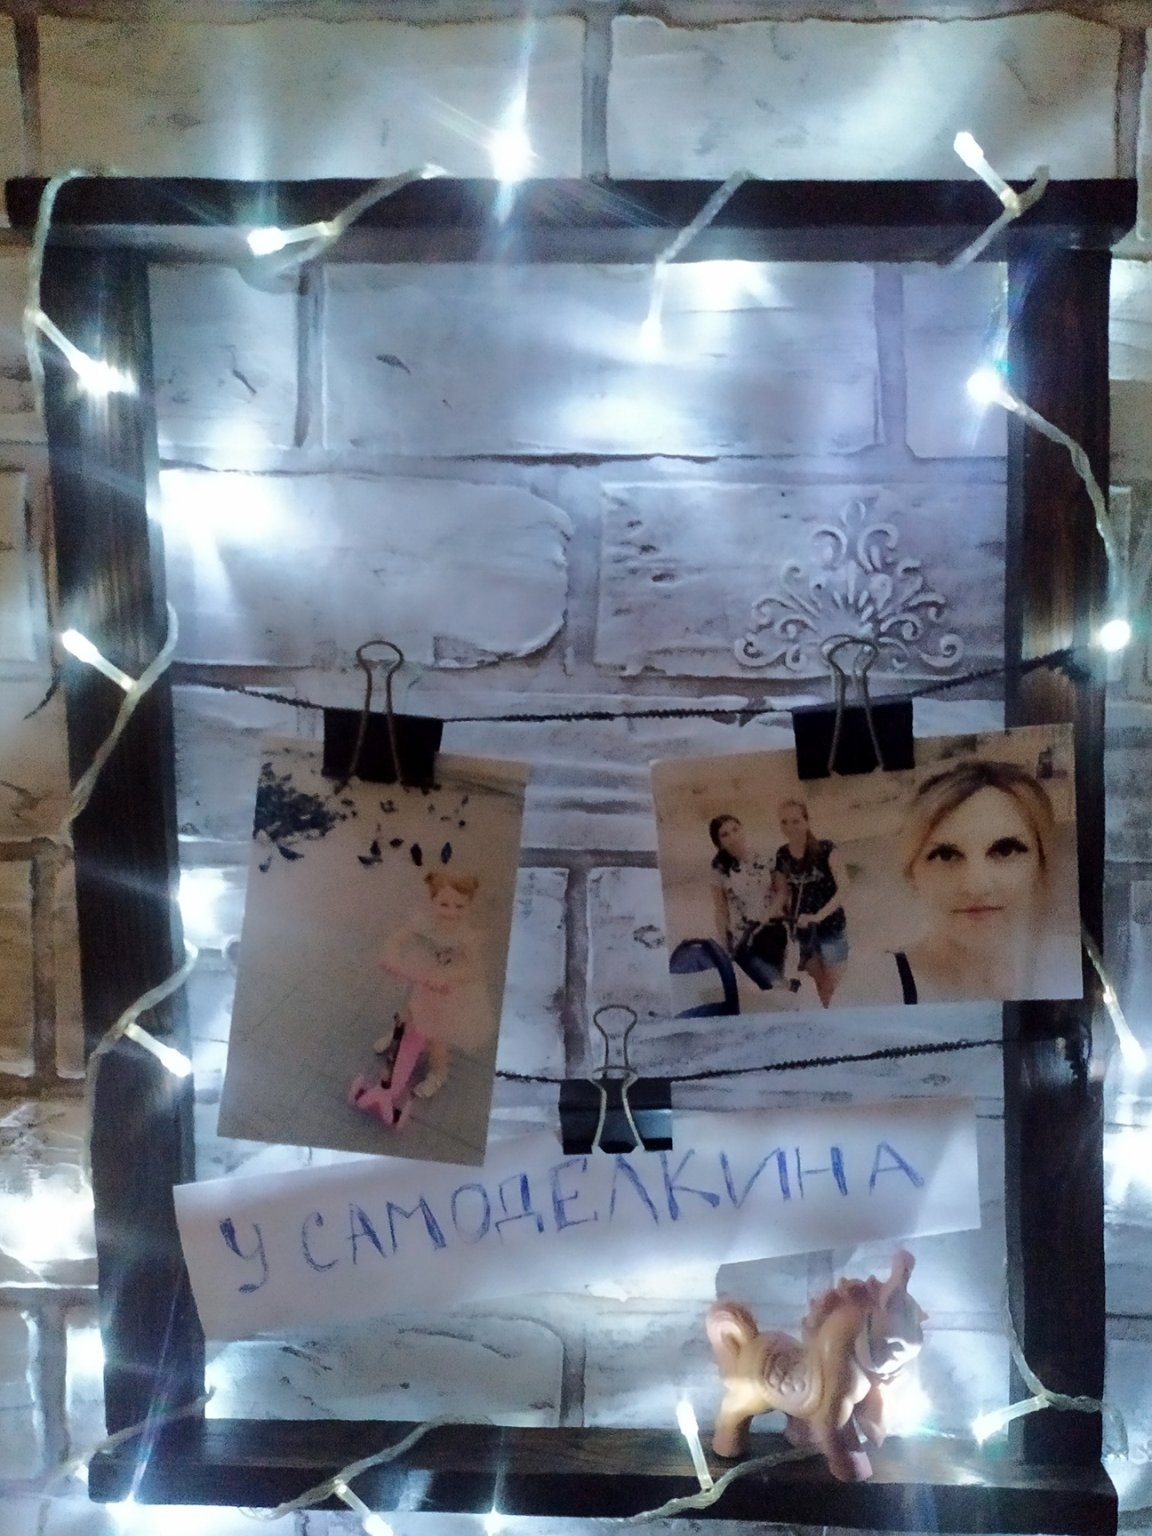
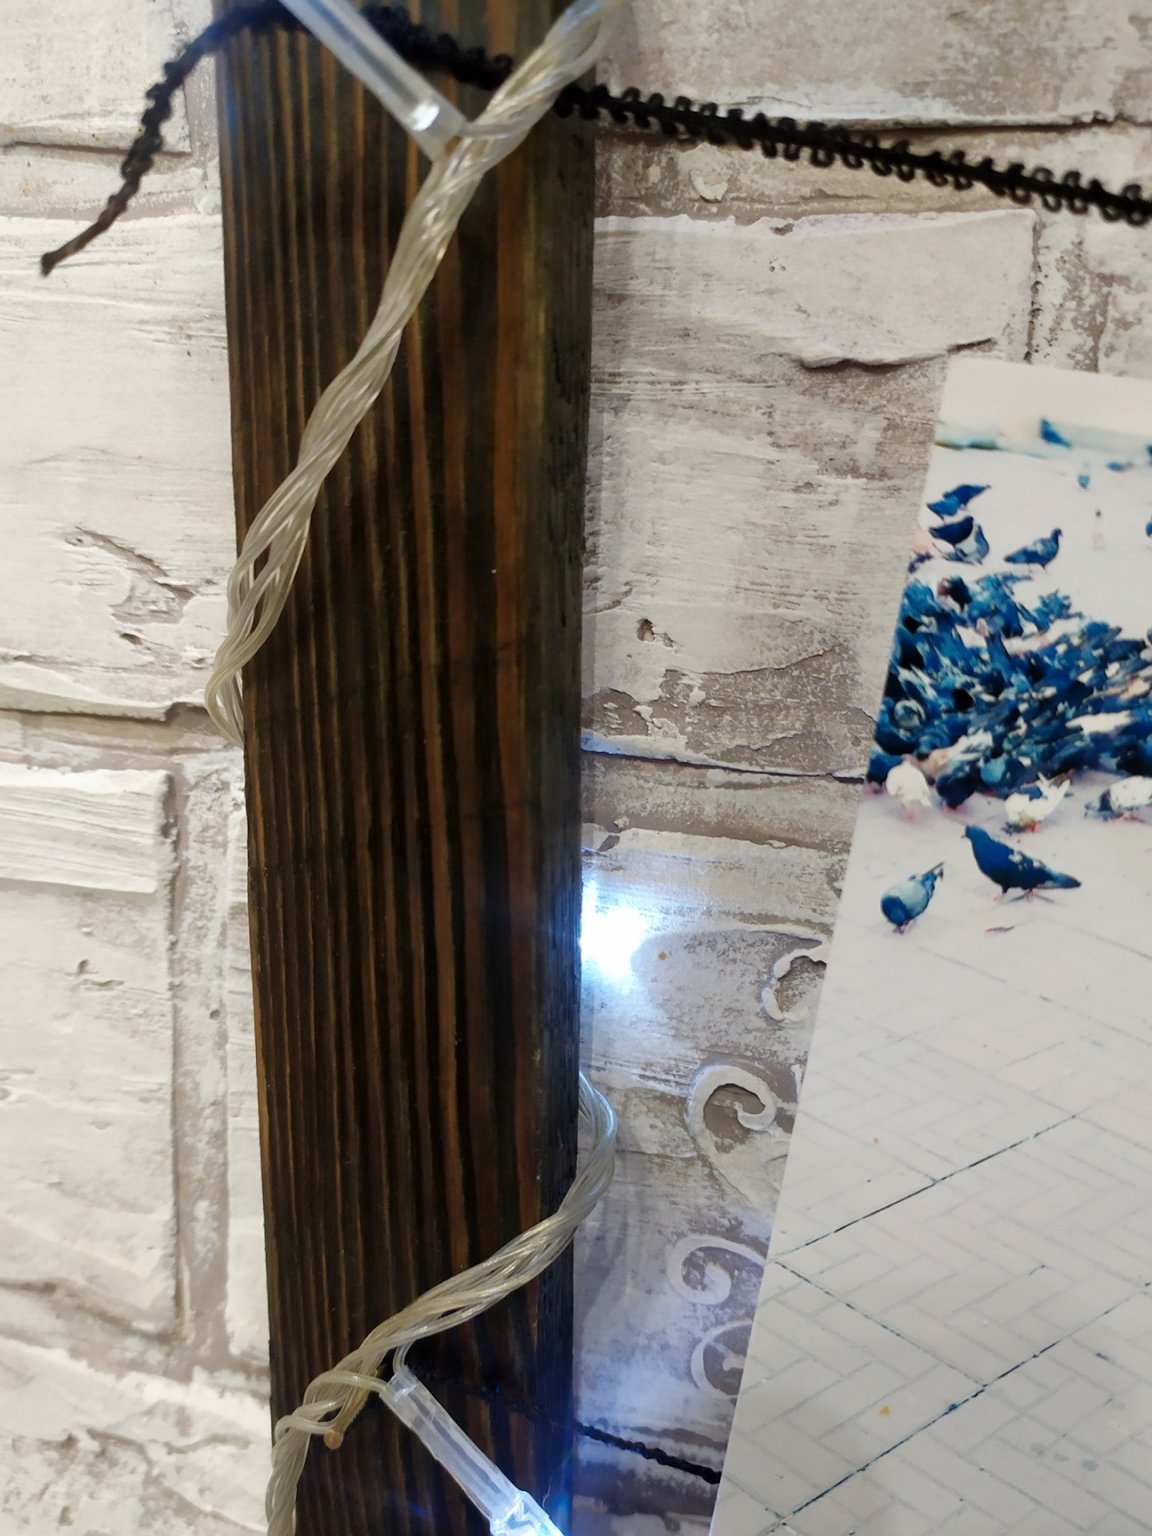
If you do not have enough holiday, then you can additionally decorate with a garland, with small bulbs. Can be turned on at night, and used as a night light.
By the way, the texture of the tree is excellent, I really liked the result.
Thanks for attention.