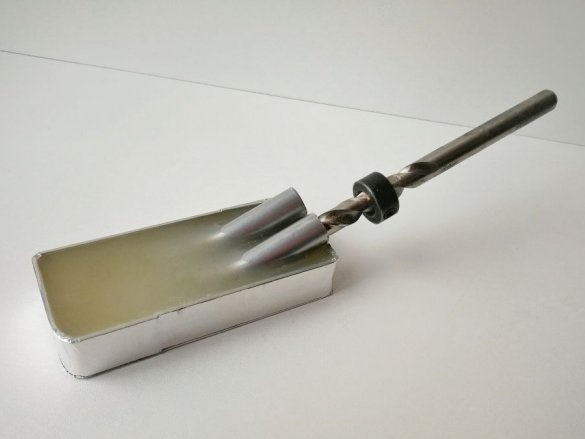
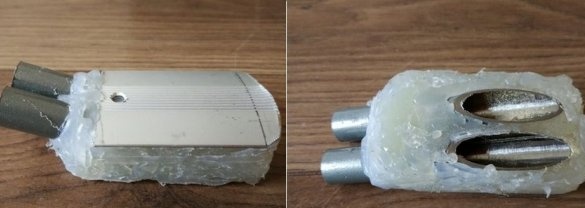
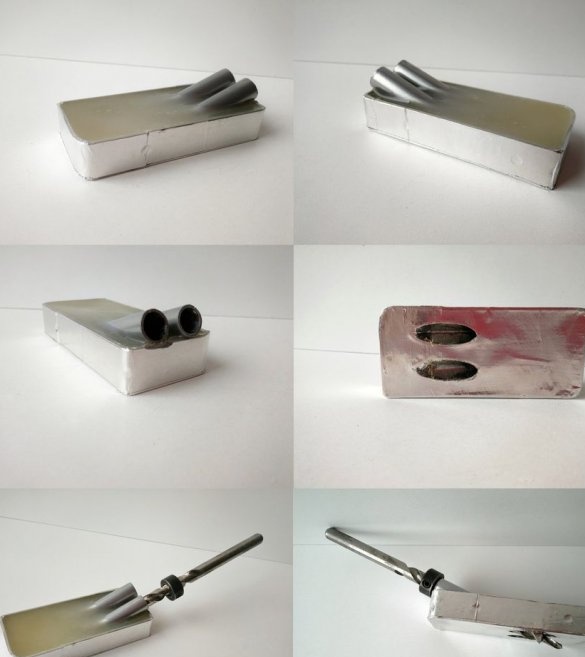
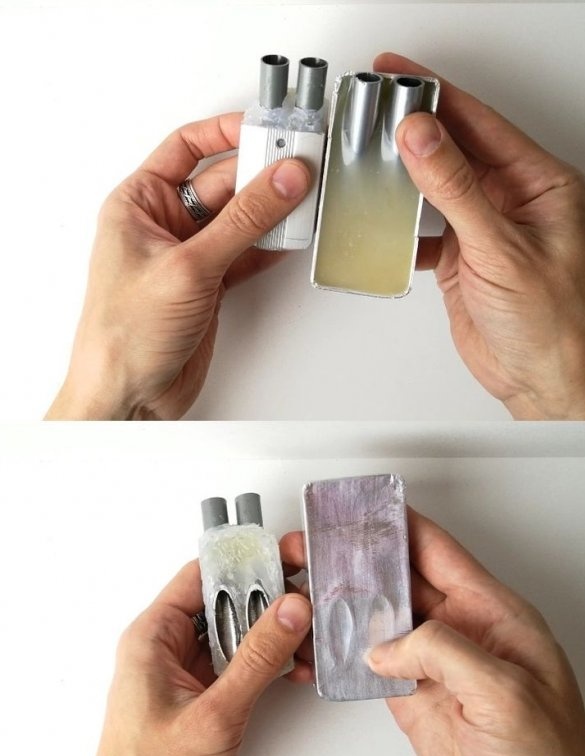
Such a conductor can be made literally in 10-15 minutes, and in terms of functionality it is in no way inferior to the purchased one. At the same time, the cost of such an instrument is cheap. A few years ago, the master, already made a similar conductor.
The new version is the same in functionality, but it wins in aesthetics.
Tools and materials:
-Steel tube;
- Rods for glue gun;
-Aluminum corners;
- Aluminum tape;
- Hacksaw for metal;
-Scissors for metal;
-Sandpaper;
-Pan;
-Electro or gas stove;
Step One: Guides
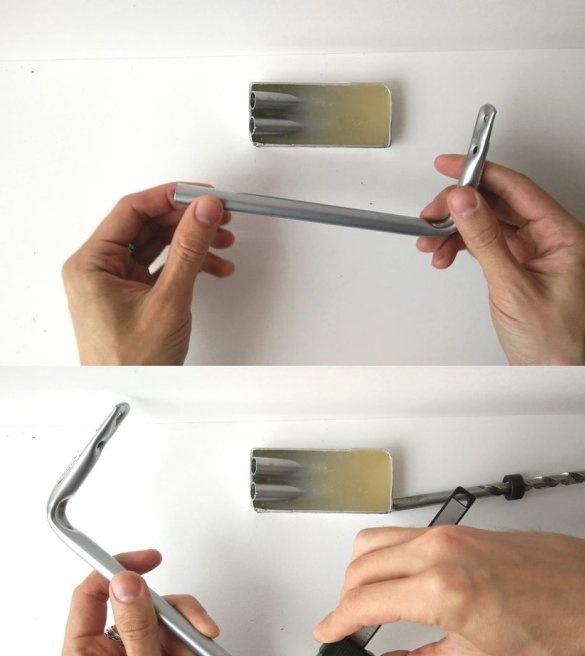
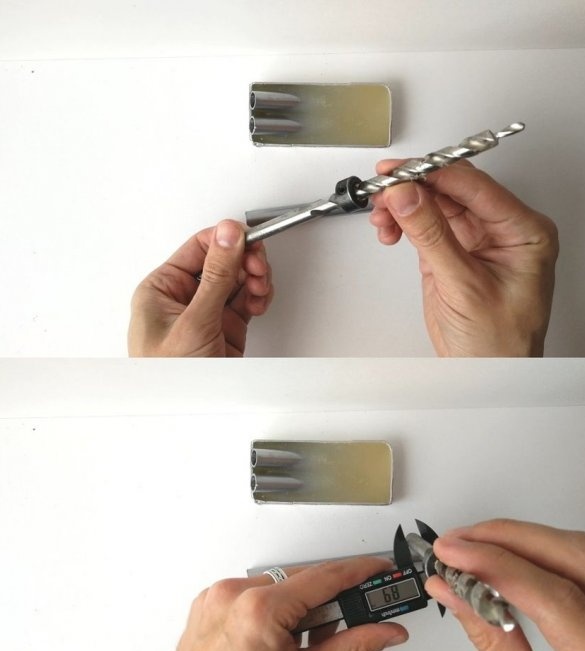
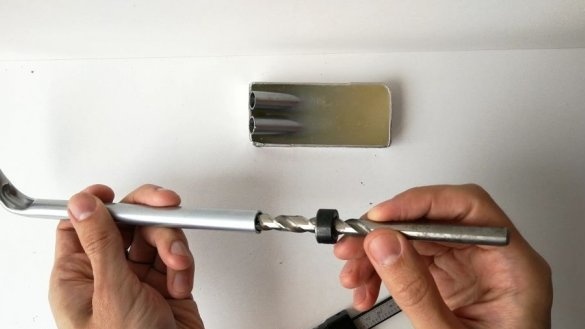
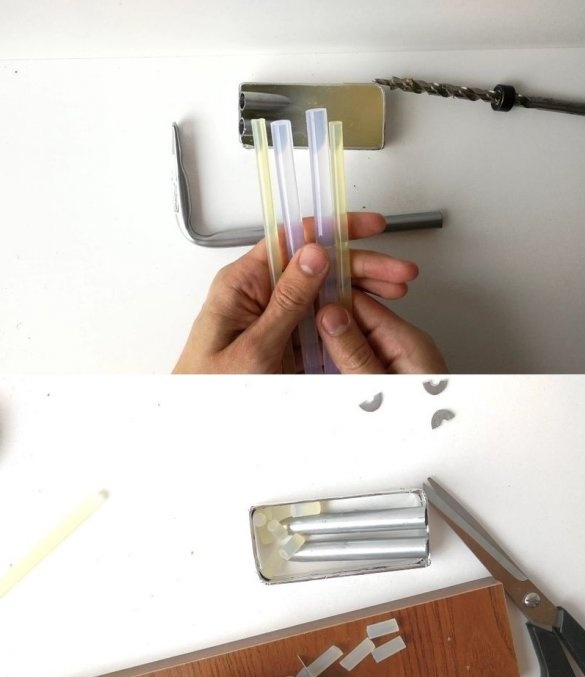
Since the master makes the conductor 8.9 mm for the drill, the master uses a tube with an internal diameter of 9.1 mm for the guides.
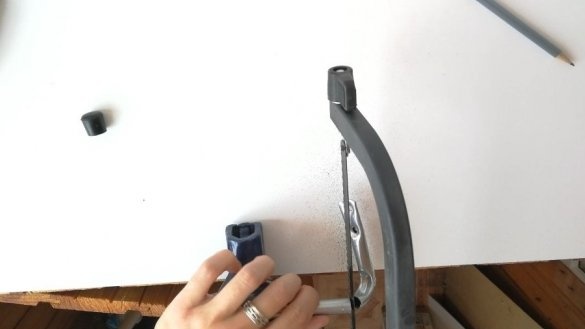
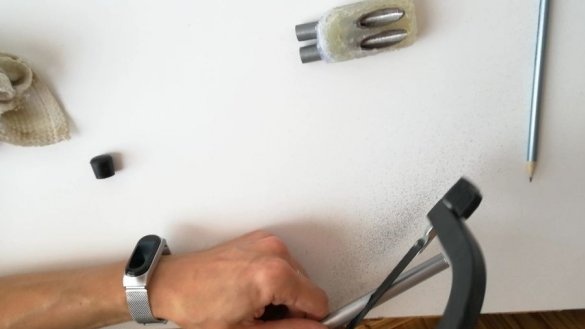
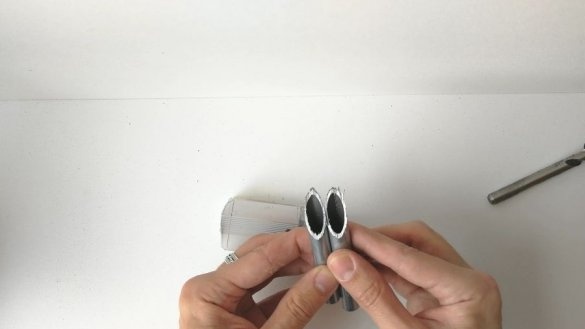
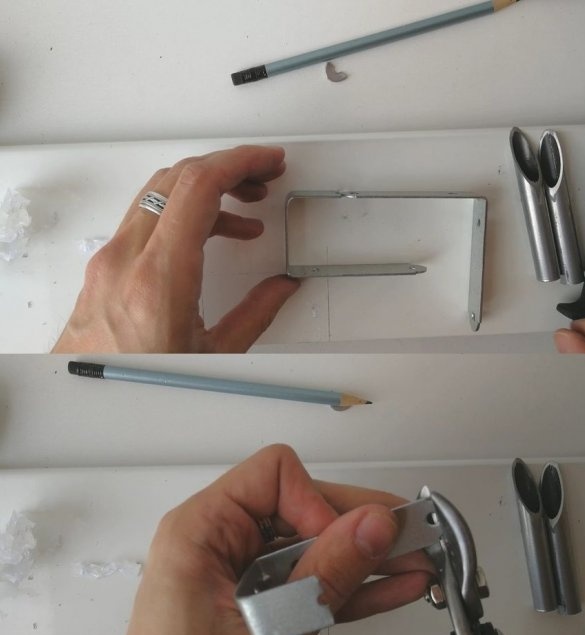
Used pipe. The master cuts off the edge of the tube and cuts it into two equal parts at an angle of 75 degrees.
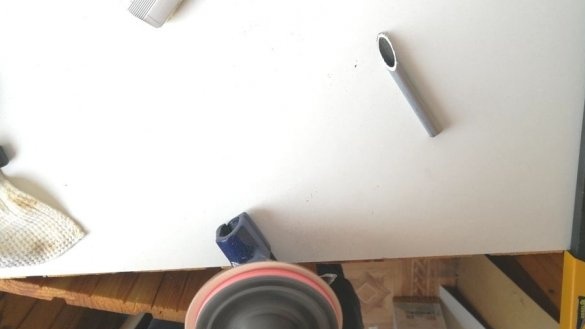
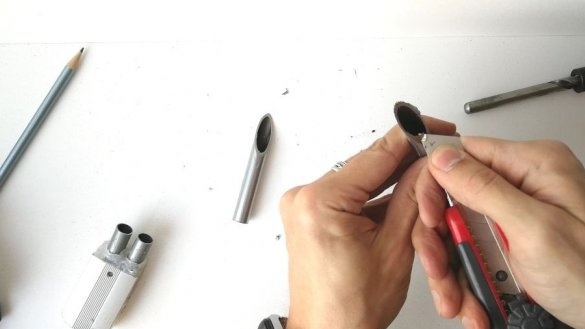
Grinds the cut.
Step Two: Form
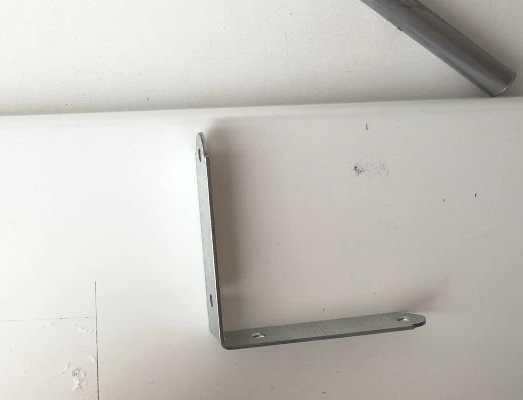
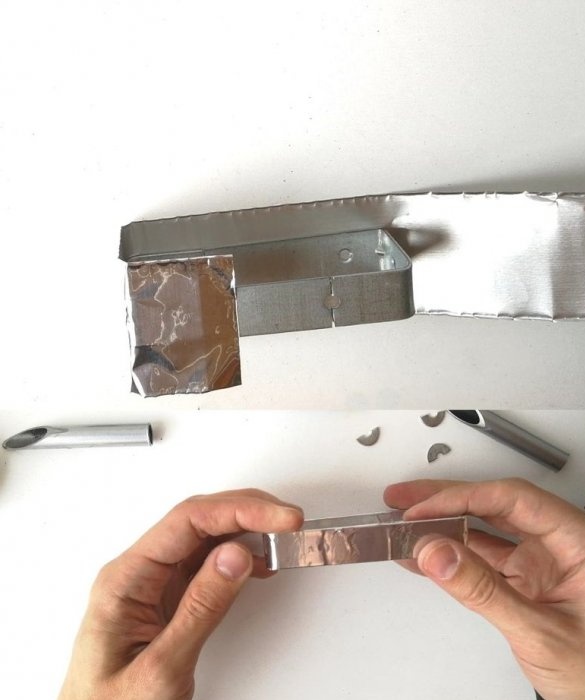
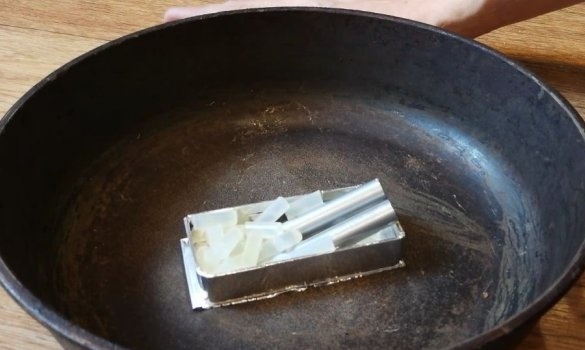
From the corner makes a frame.
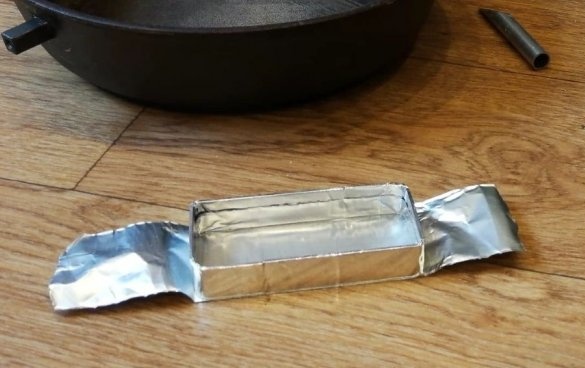
Glues the frame, on the sides and bottom, with metallic tape.
Step Three: Fill
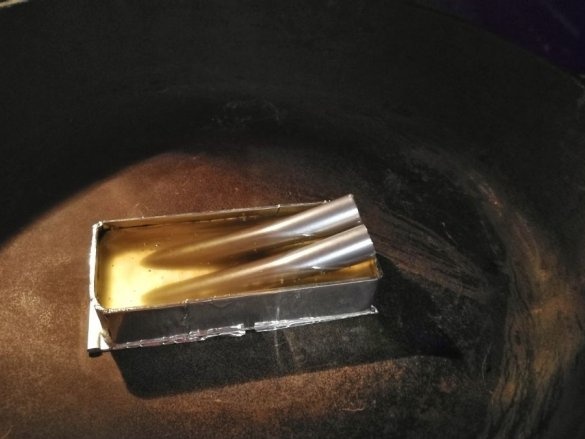
Puts in the form of a tube with a cut to the bottom. Cuts glue sticks and puts them into shape.
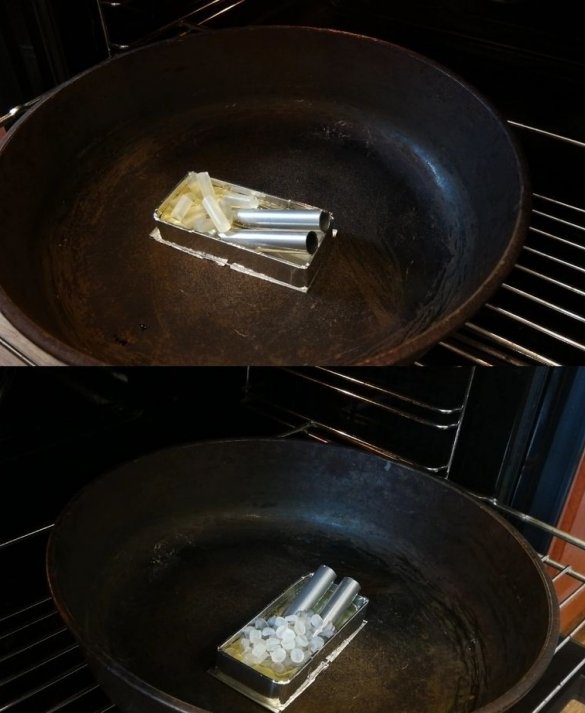
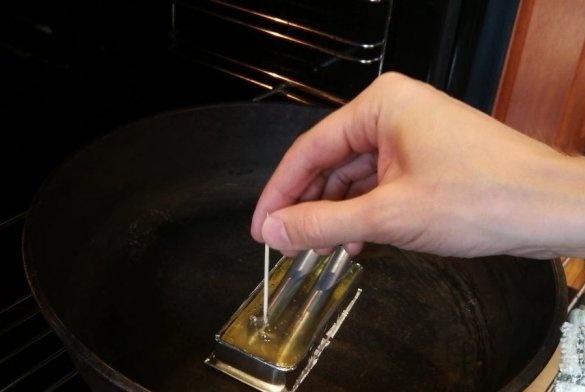
Puts the form on the pan. He puts the pan on the tile. Toothpick removes air bubbles. After melting the rods, the tile turns off.
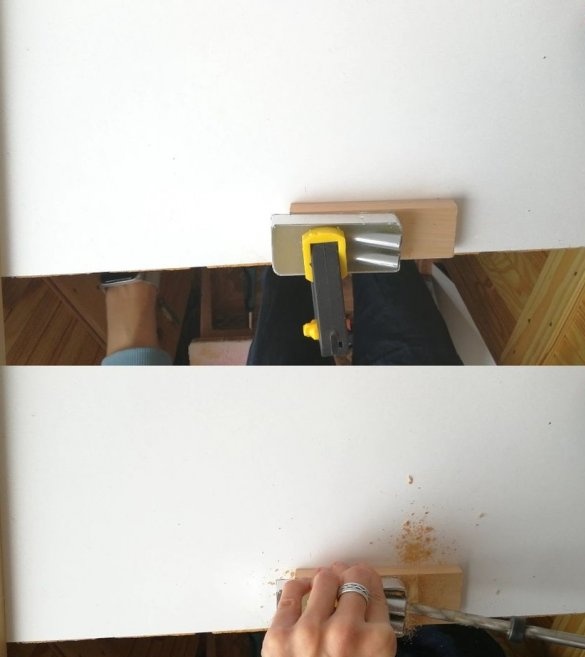
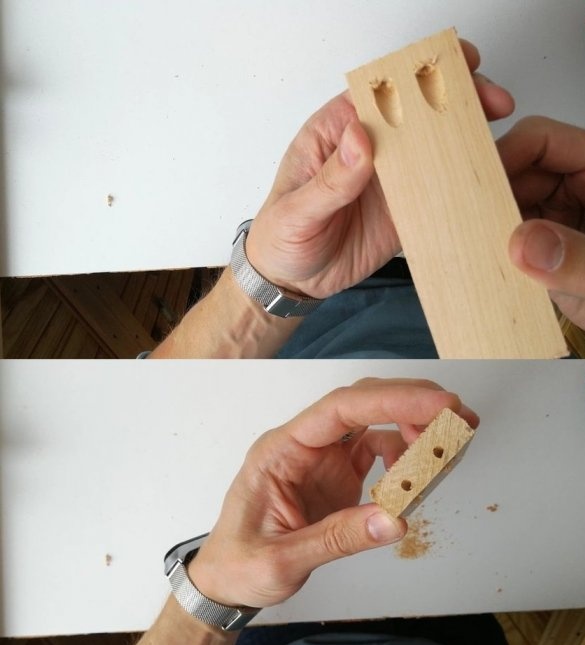
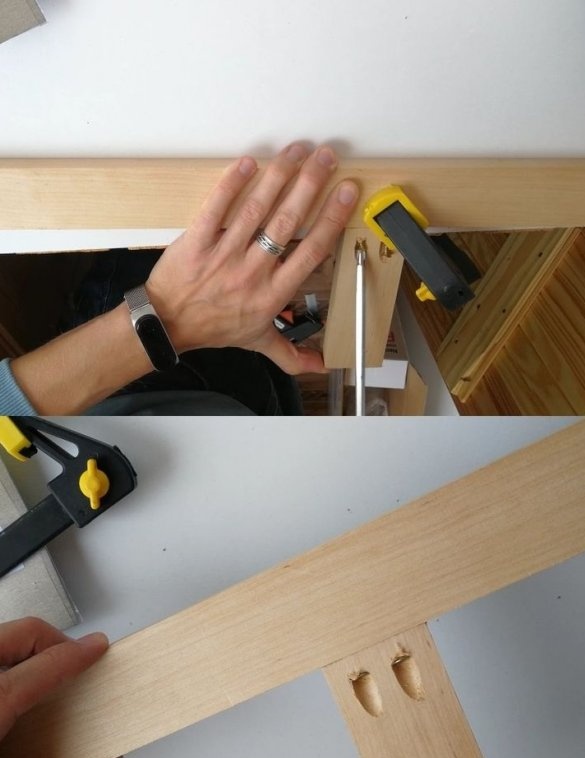
After cooling, the master checks its operation.
The whole process of manufacturing such a conductor can be seen in the video.

