

With the development of technology, alternative energy is increasingly becoming part of the life of modern society. Solar energy, wind generators, hydro generators and even geothermal heating are no longer a curiosity for a modern person. Many of these craftsmen collect from improvised materials.
So the Master decided to assemble his own wind generator. If possible, the master will use the materials for the windmill.
Tools and materials:
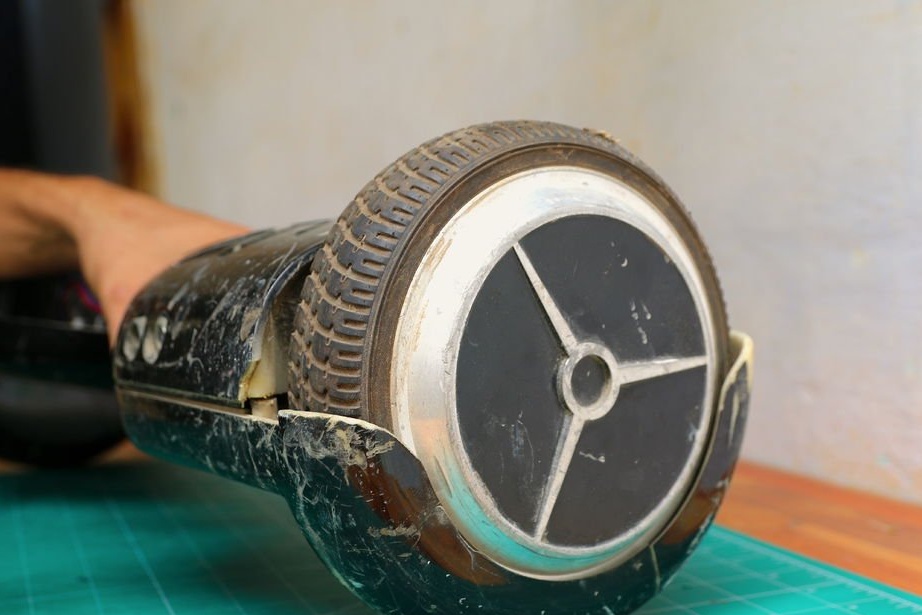
-Old gyro scooter;
- PVC pipe;
-Round metal plates;
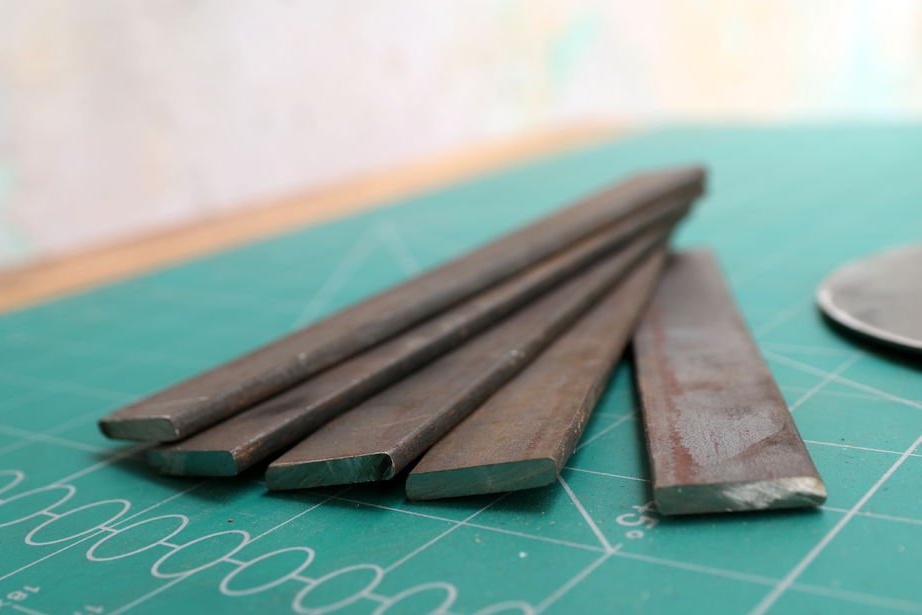
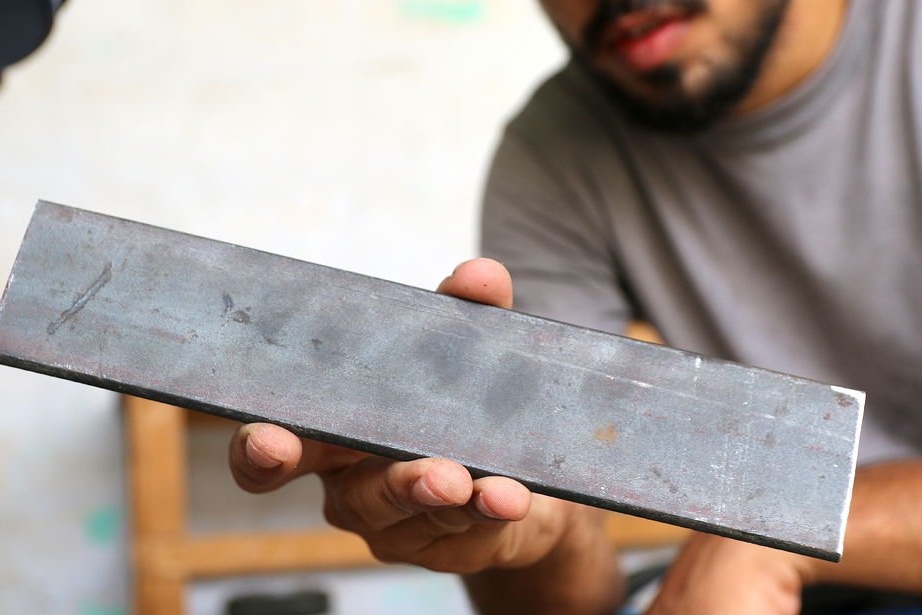
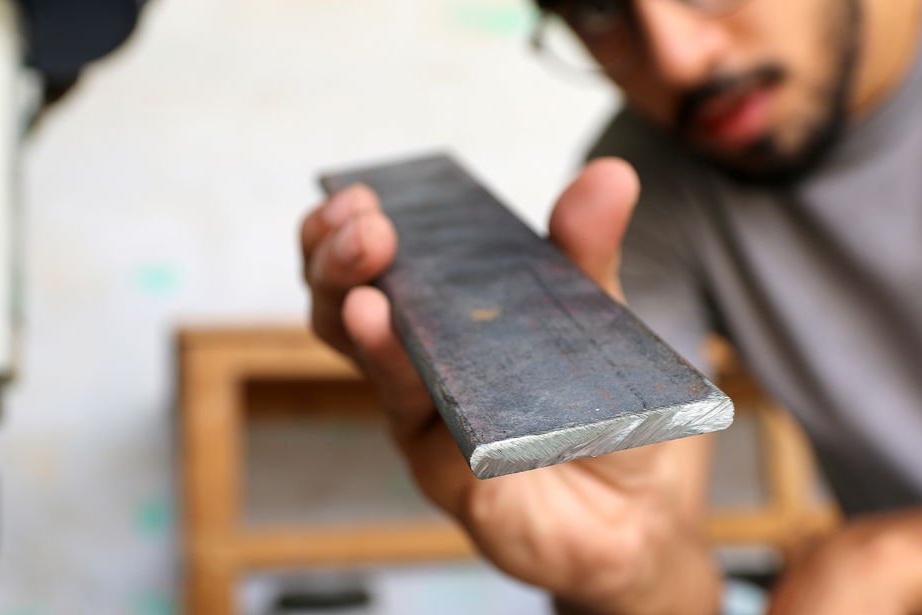
-Metal strip;
- Galvanized 5 mm pipe;
-Board;
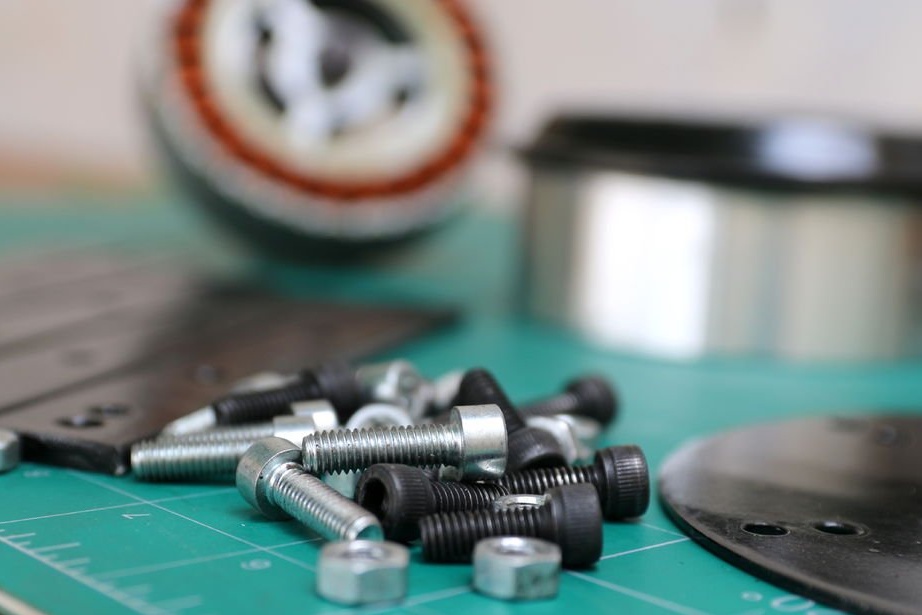
-Fasteners;
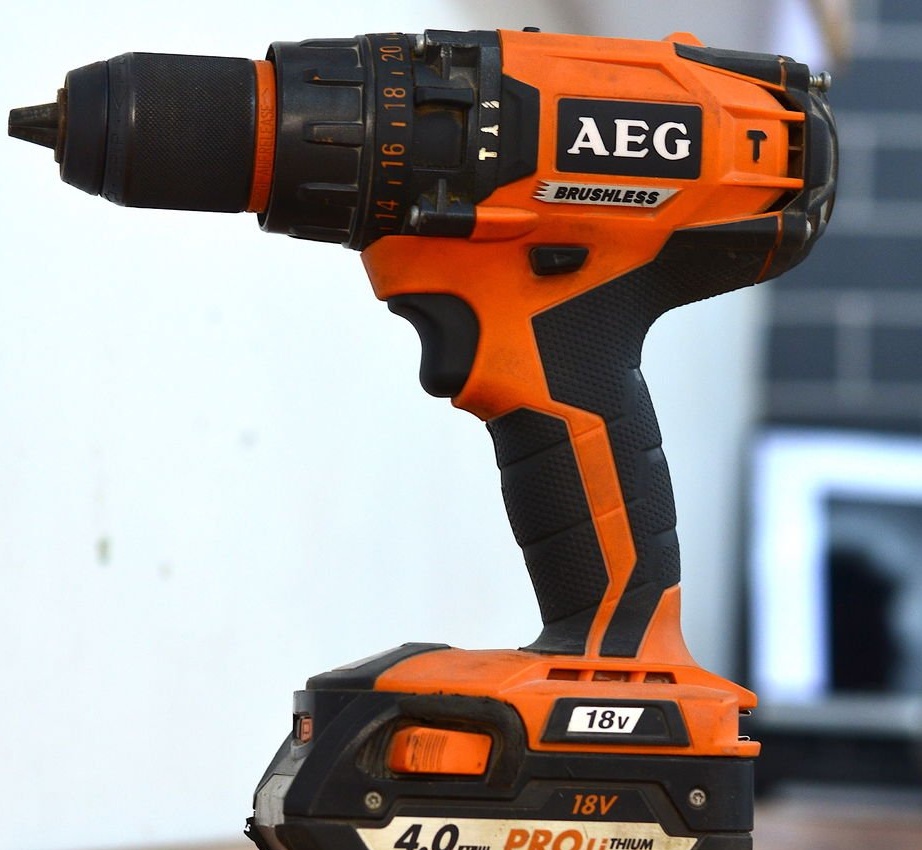
-Drill;
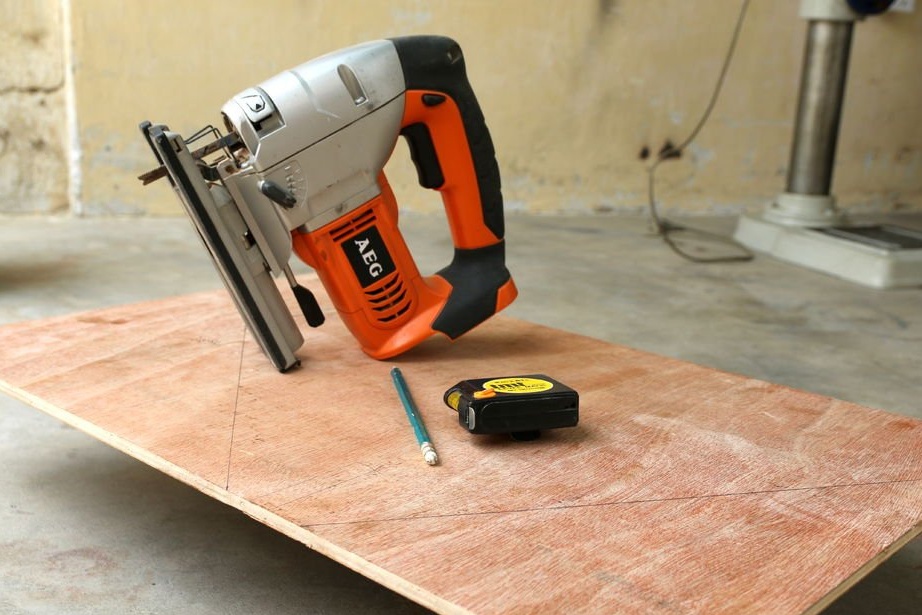
- Electric jigsaw;
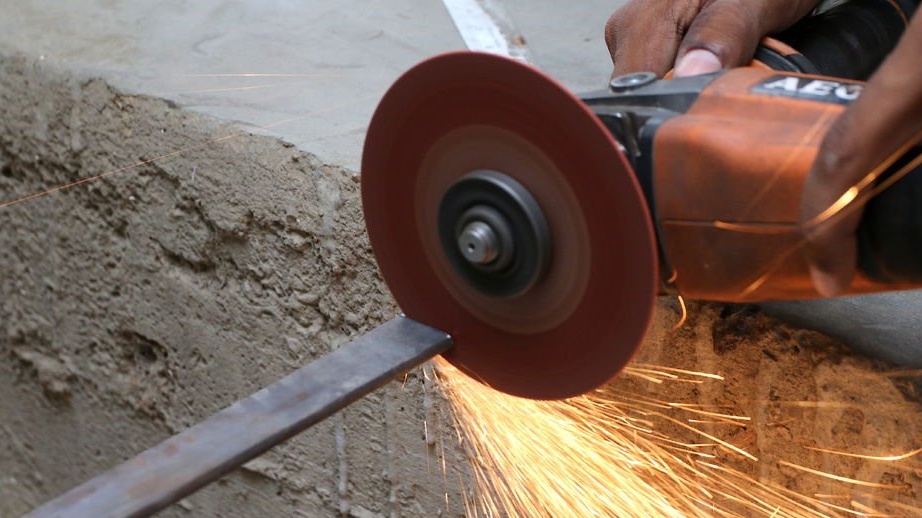
-Angle grinder;
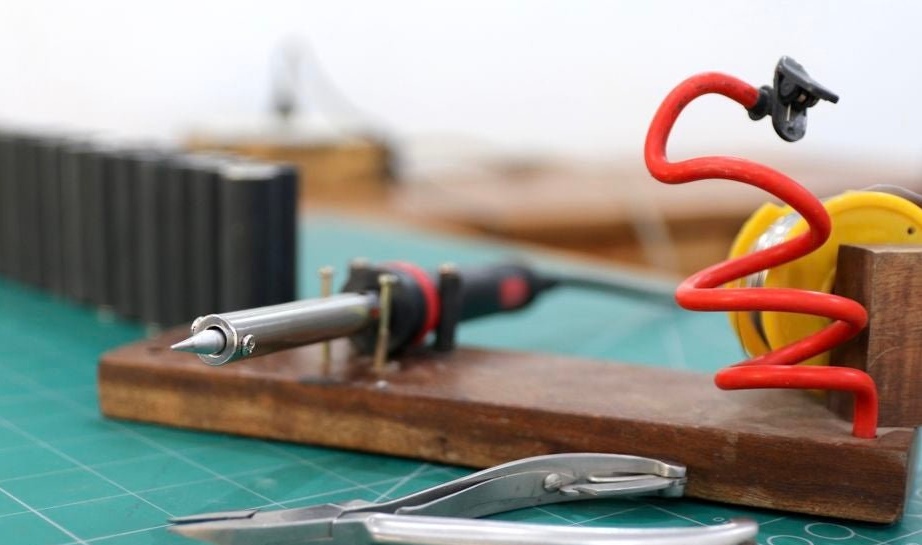
-Soldering accessories;
-Pliers;
-Pencil;
-Roulette;
-Plywood;
-Welding machine;
- Aerosol can with paint;
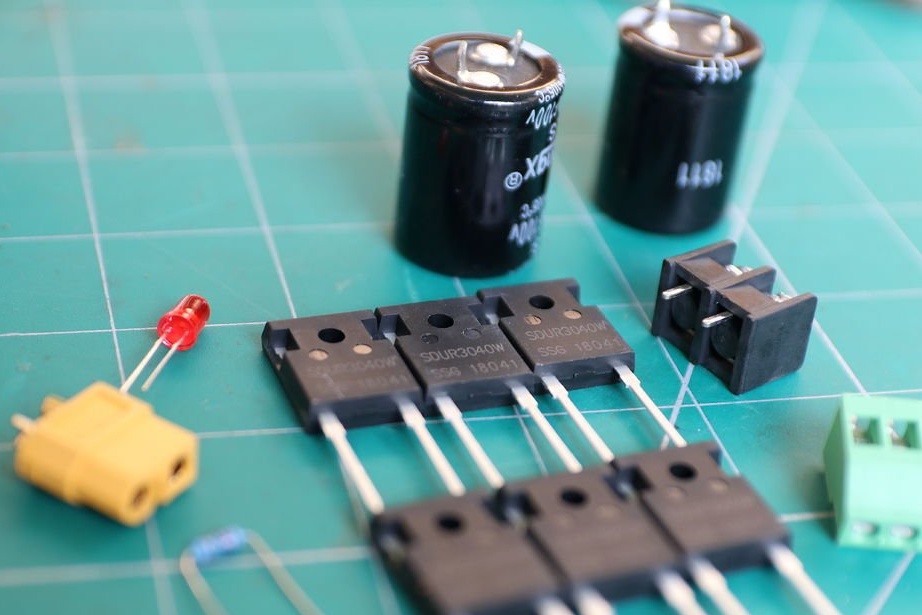
PCB and parts for the rectifier;

Step One: Generator
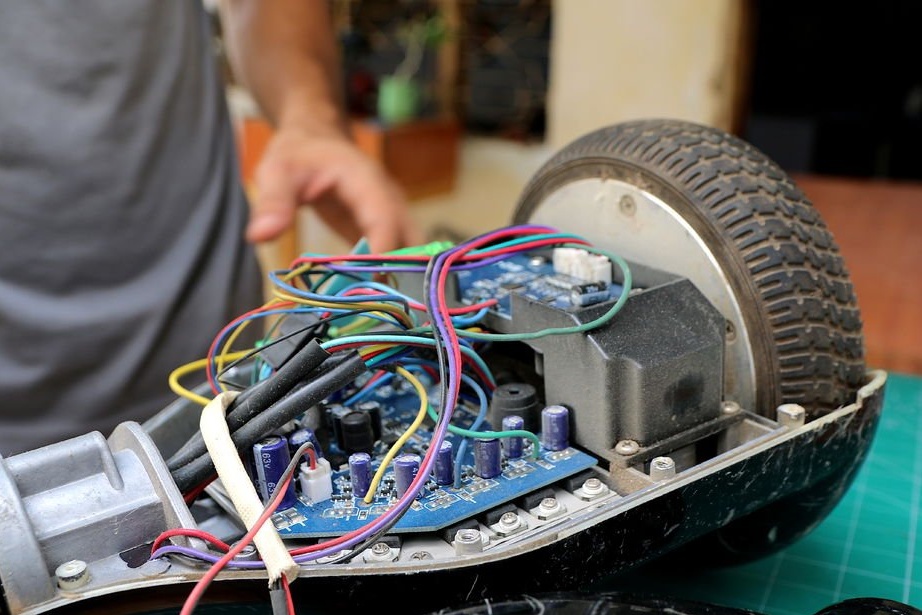
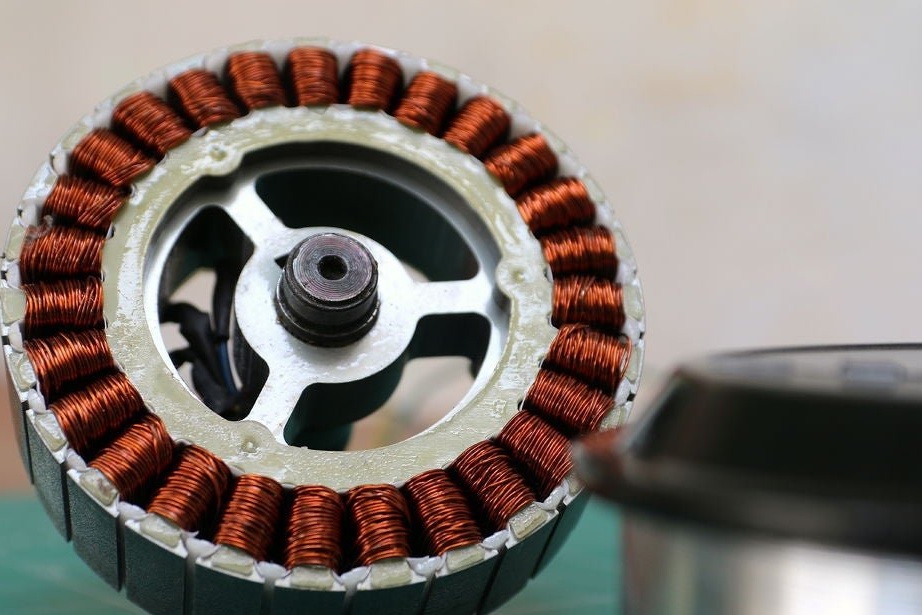
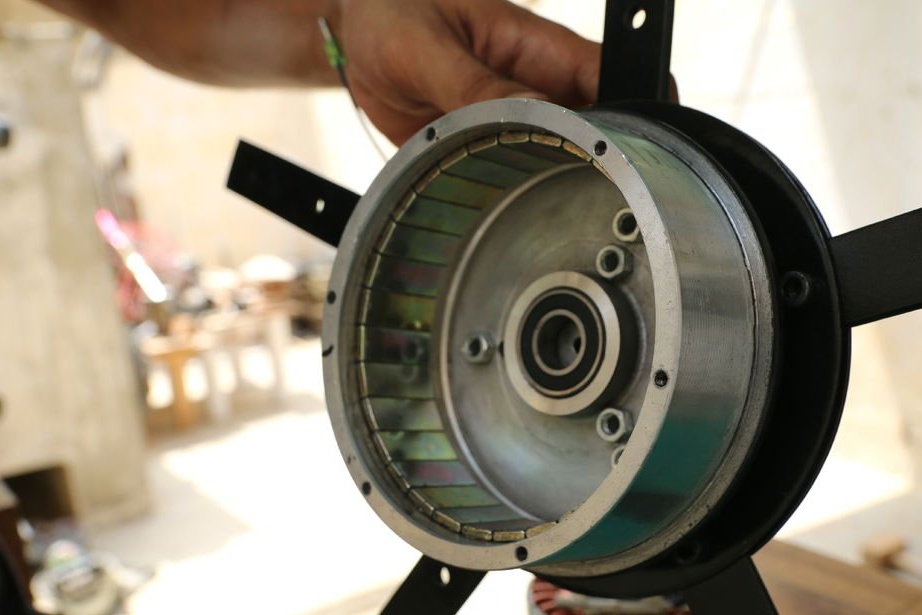
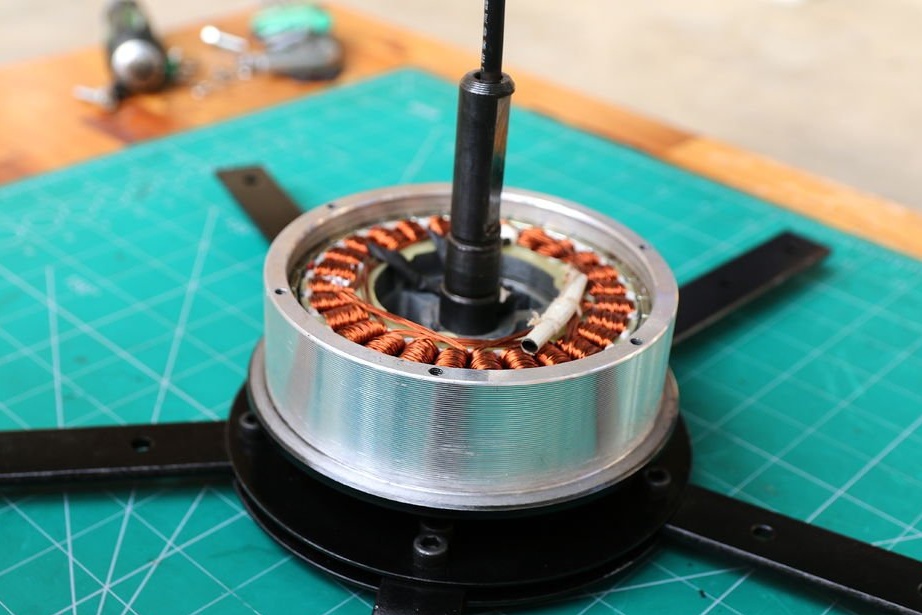
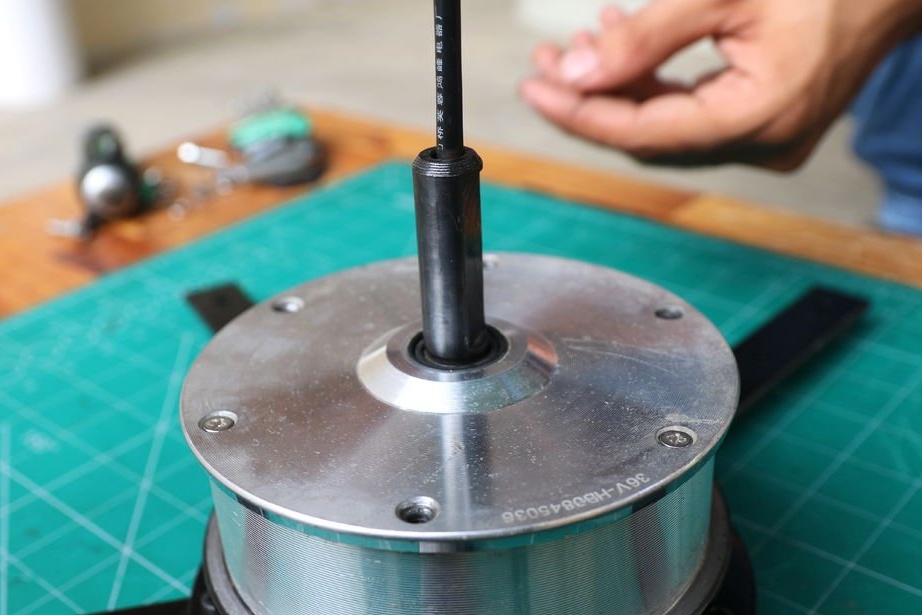
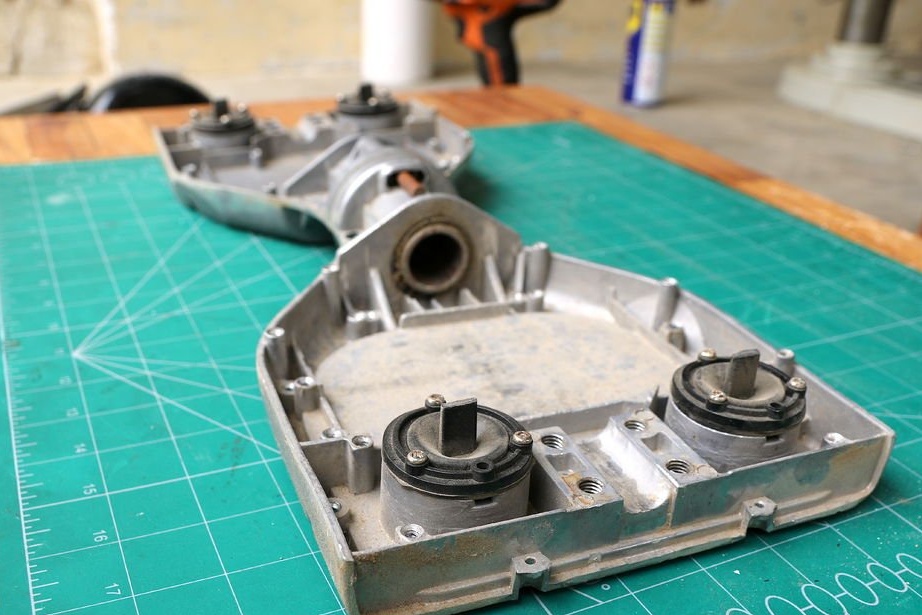
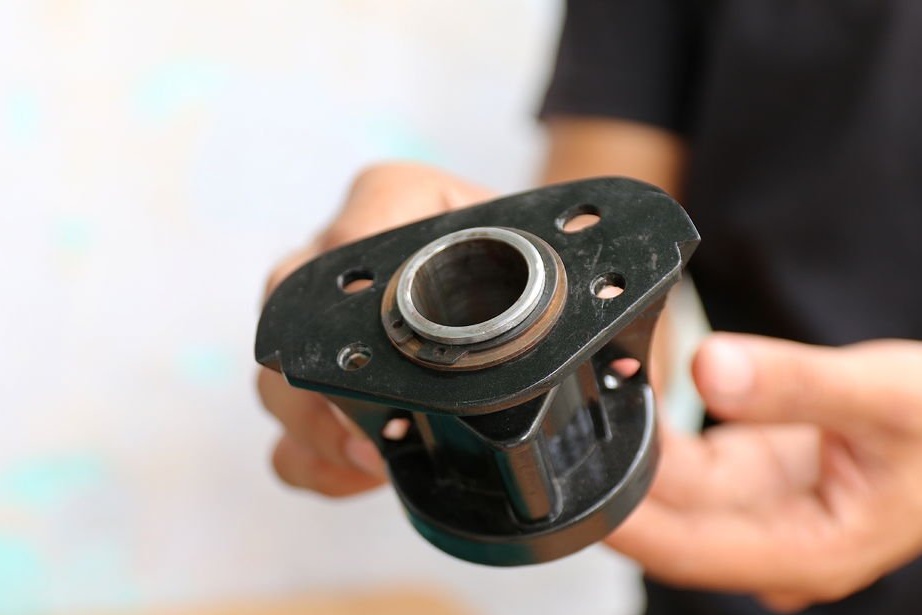
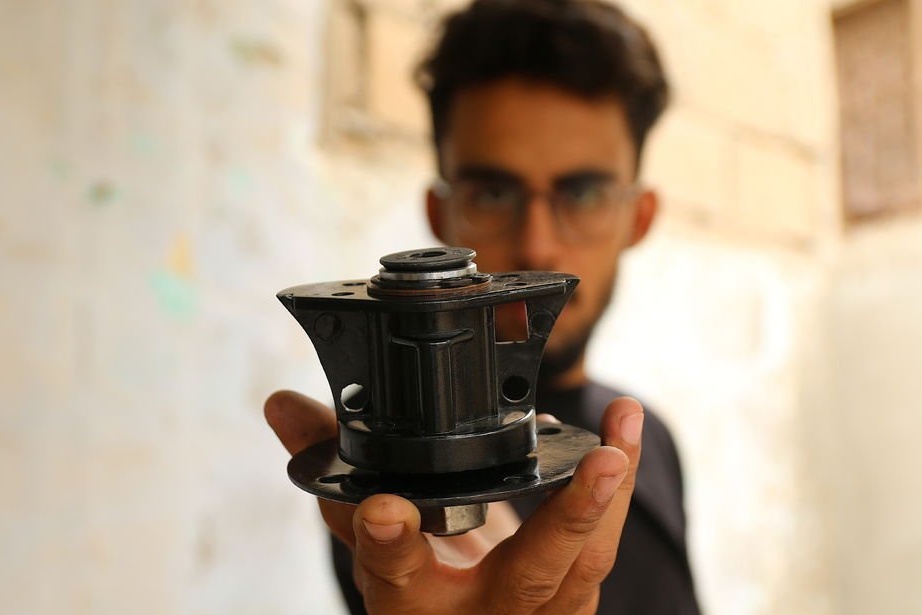
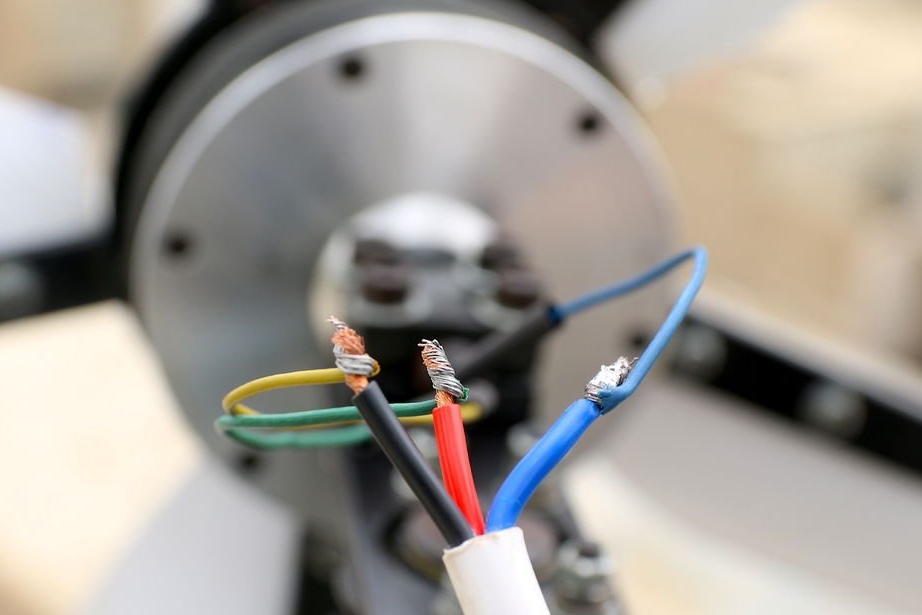
As a generator, the master decided to use a brushless motor from a gyro scooter. Such an engine has several advantages, compared with a similar, in size, commutator engine. Lack of brushes, and hence their wear. Power generation even at low rotational speeds. All this speaks in favor of a brushless motor.
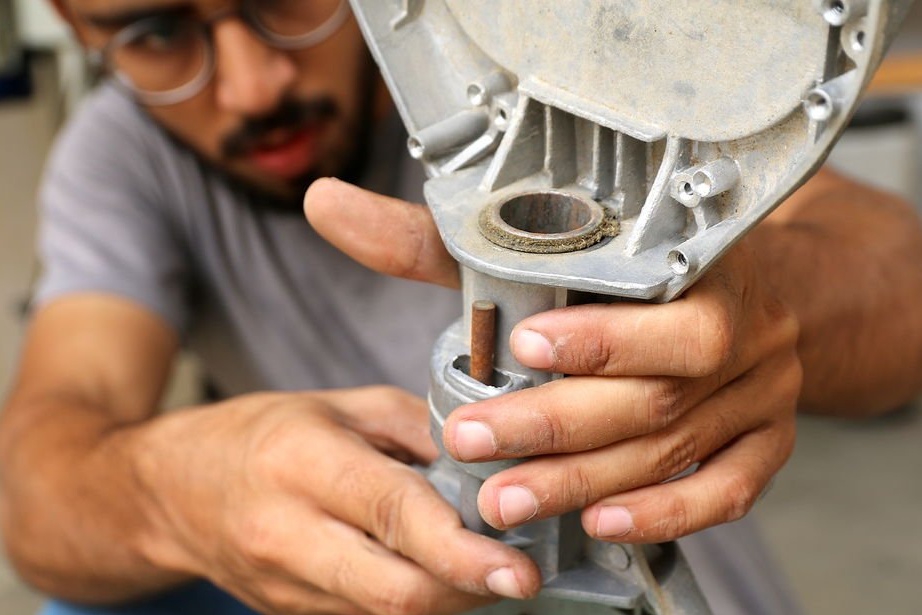
In most cases, these used engines are in good condition, but it is better to check.
Connect a 12 volt light bulb to any two of the three wires. Unscrew the motor shaft by hand. The light should light up. Repeat the operation by changing one of the wires.
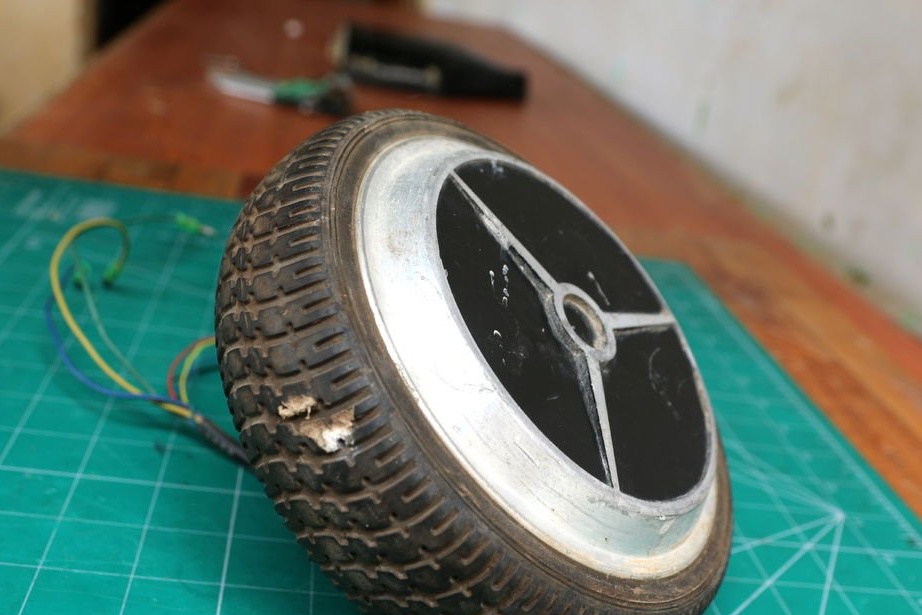
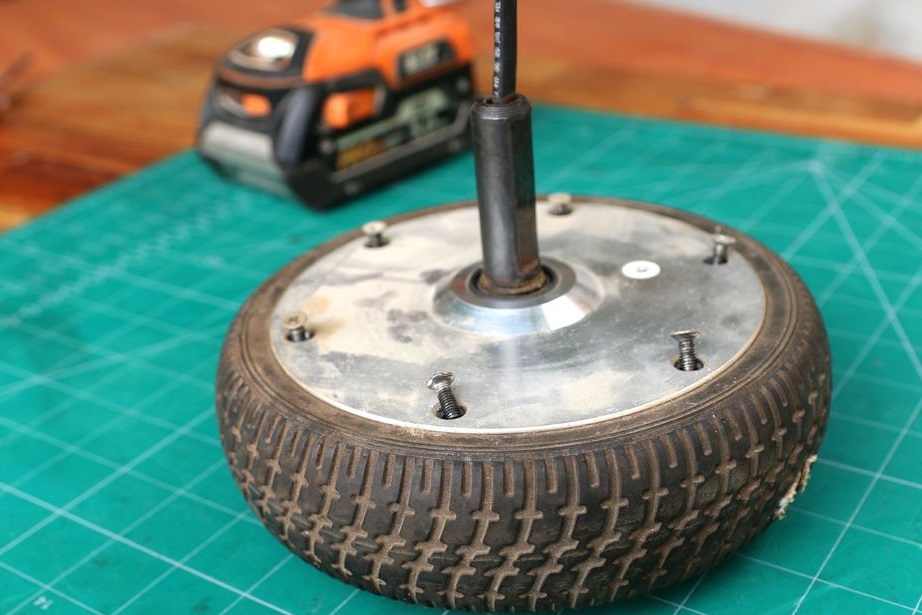
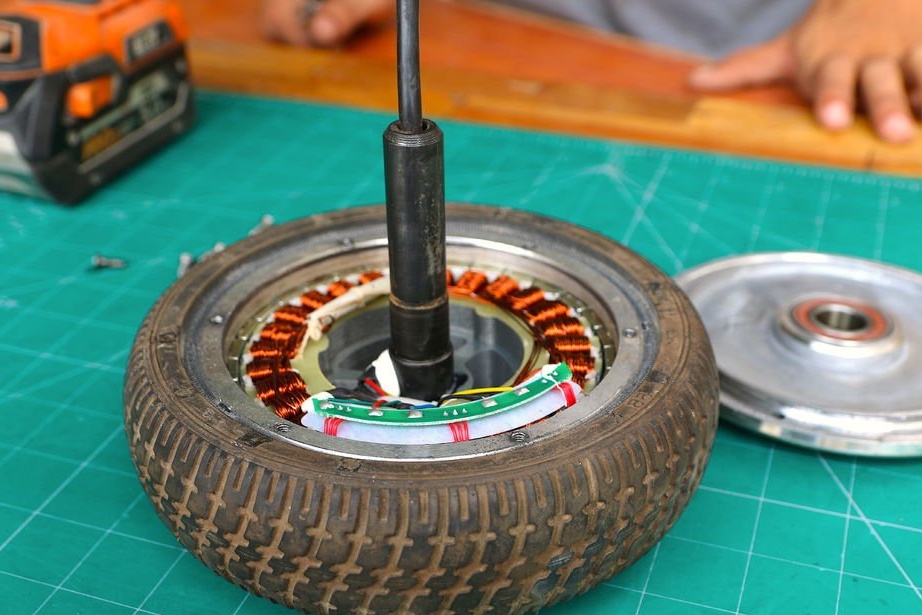
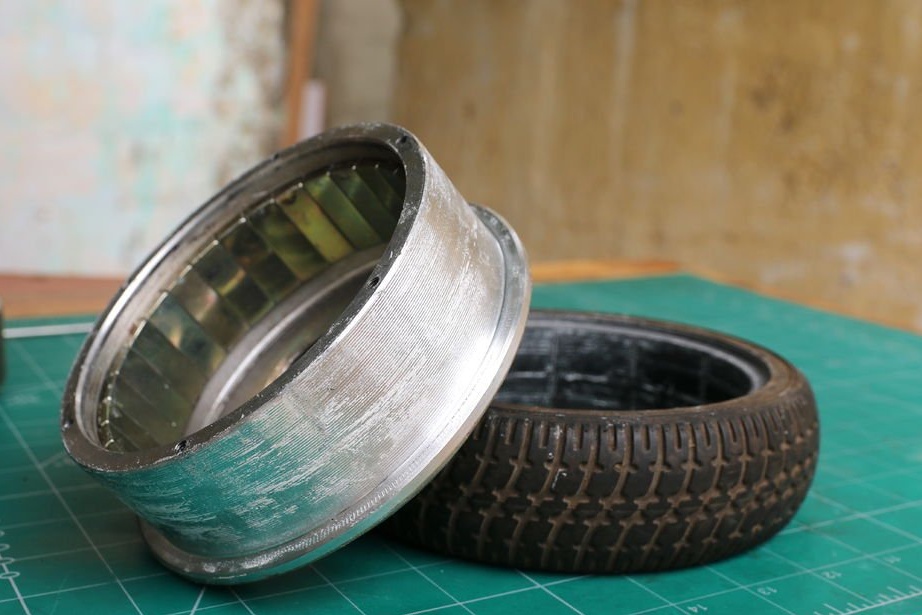
Then the master disassembles the engine.
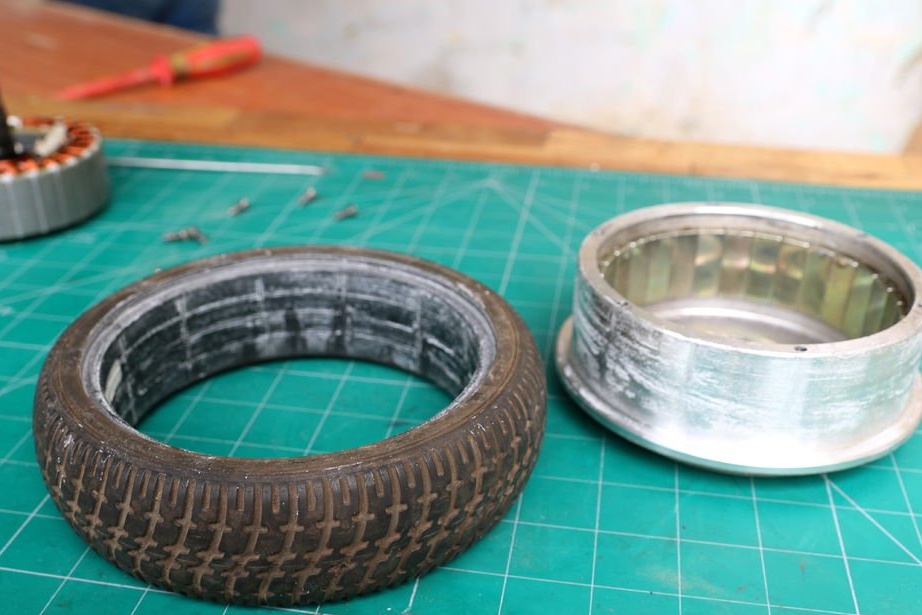
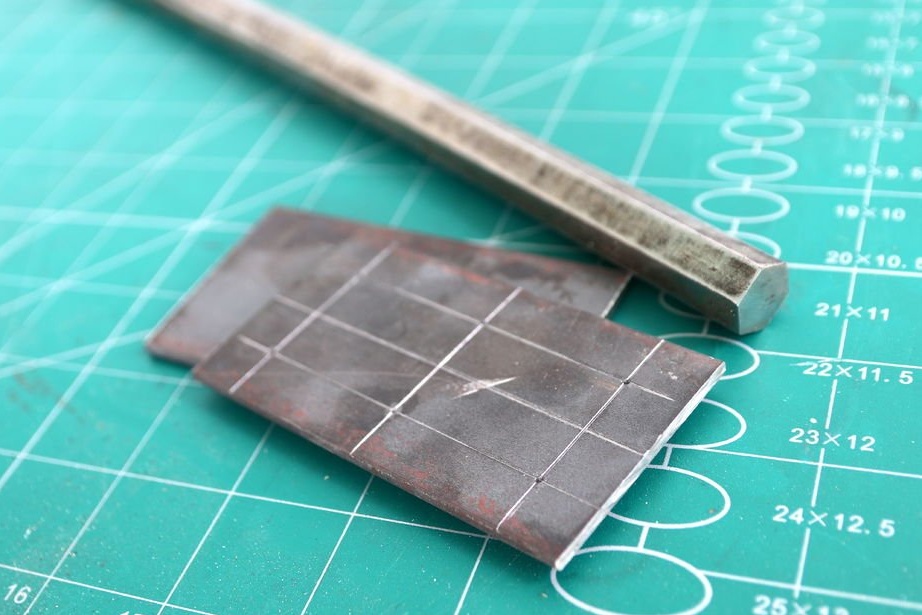
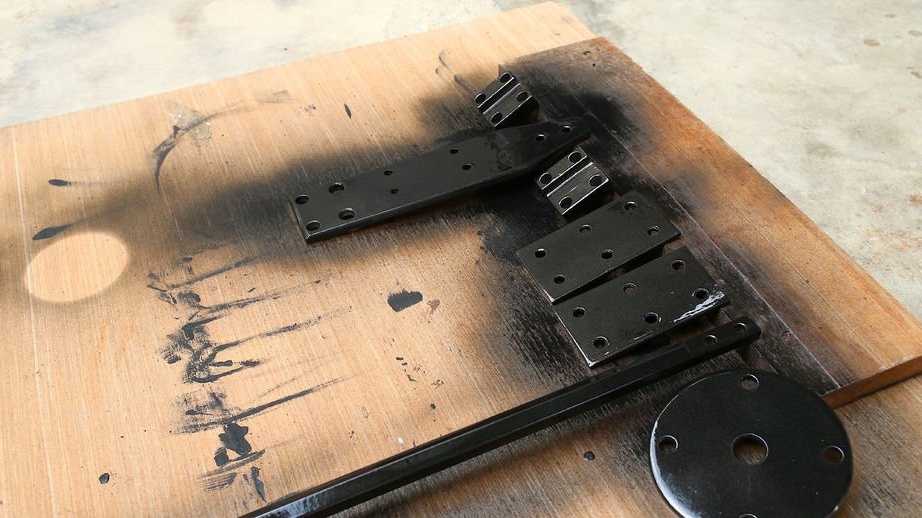
Step Two: Adapter
For the engine to rotate, you need to convert wind energy into mechanical energy. That is, to rotate the engine you need to install the blades.
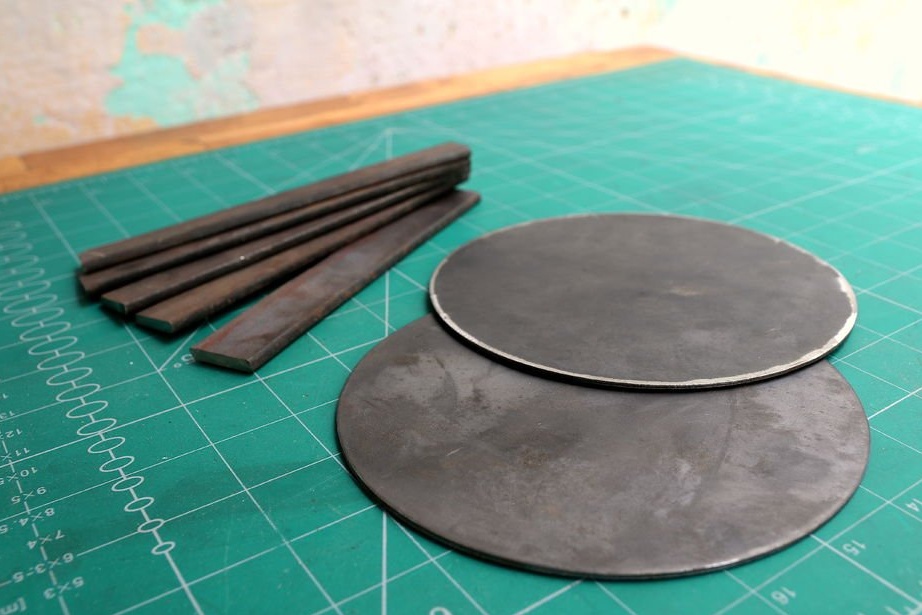
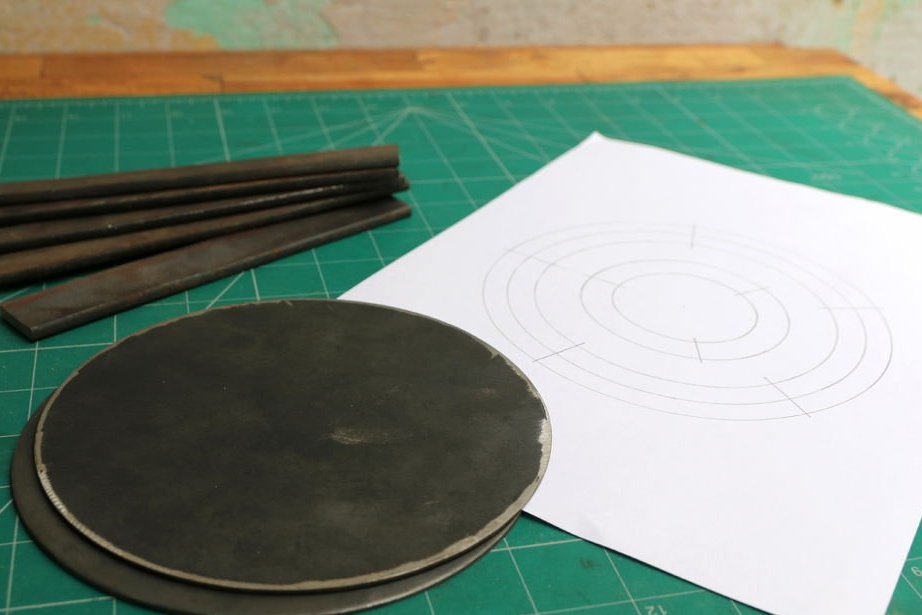
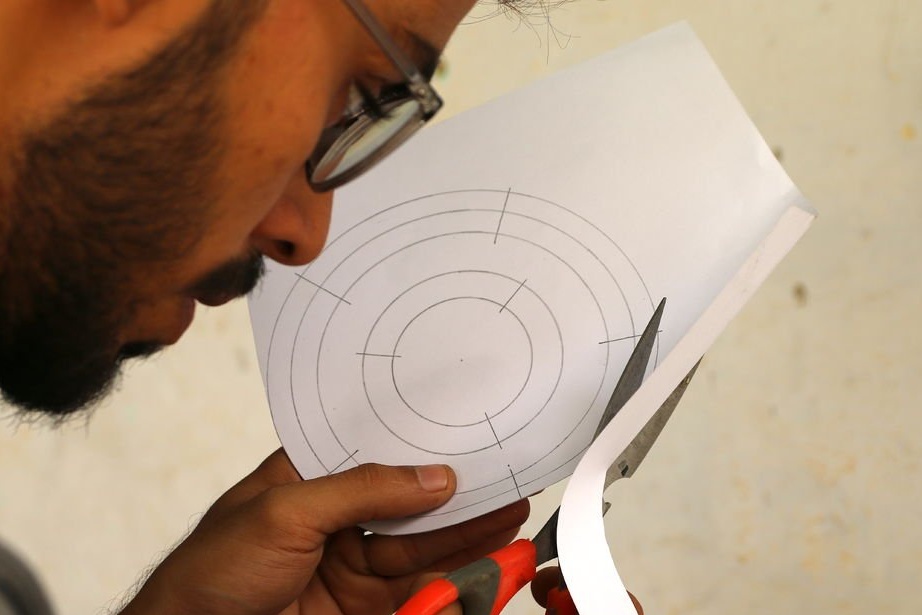
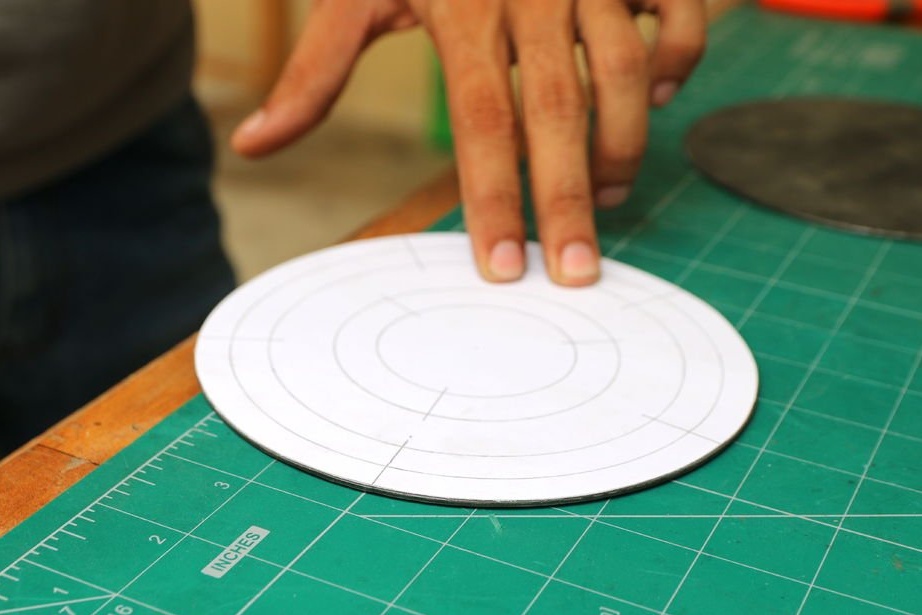
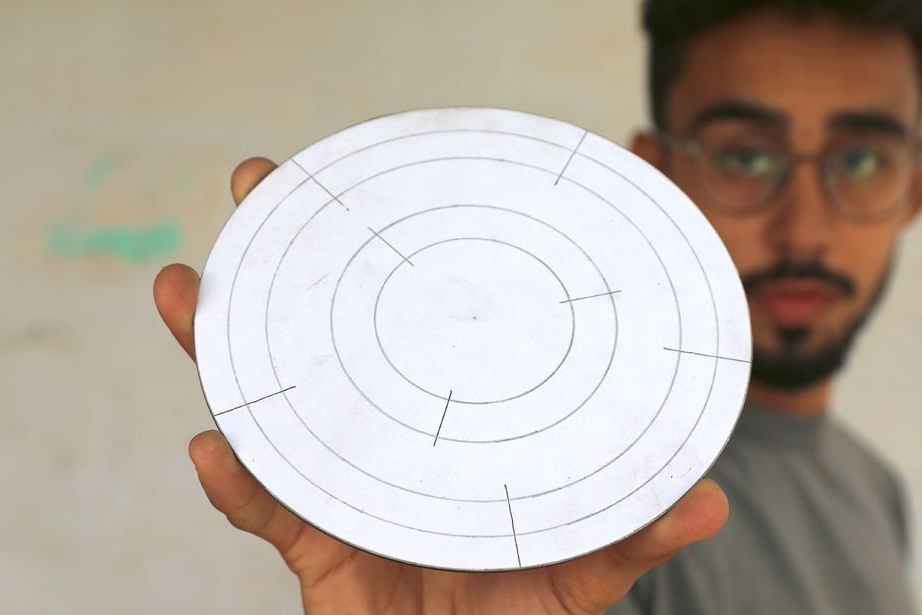
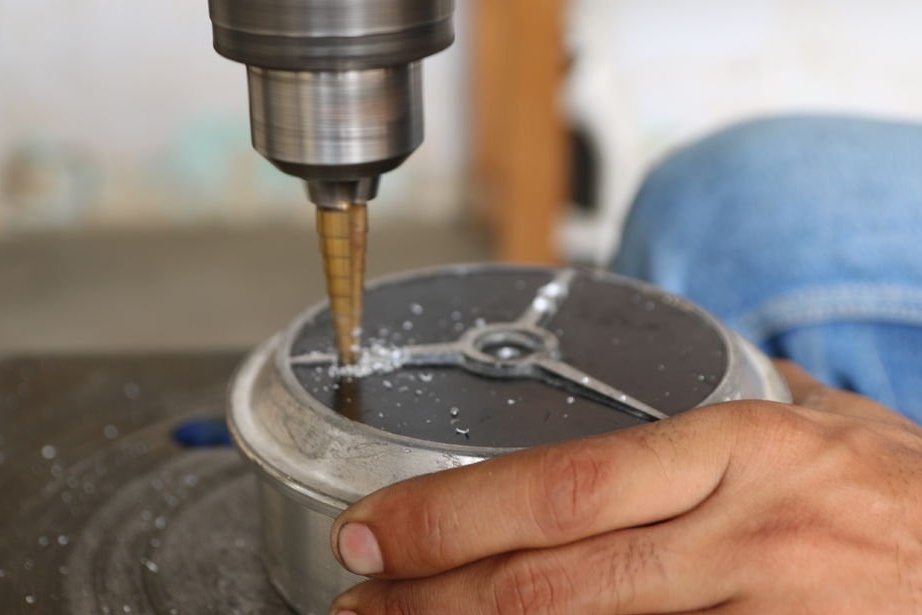
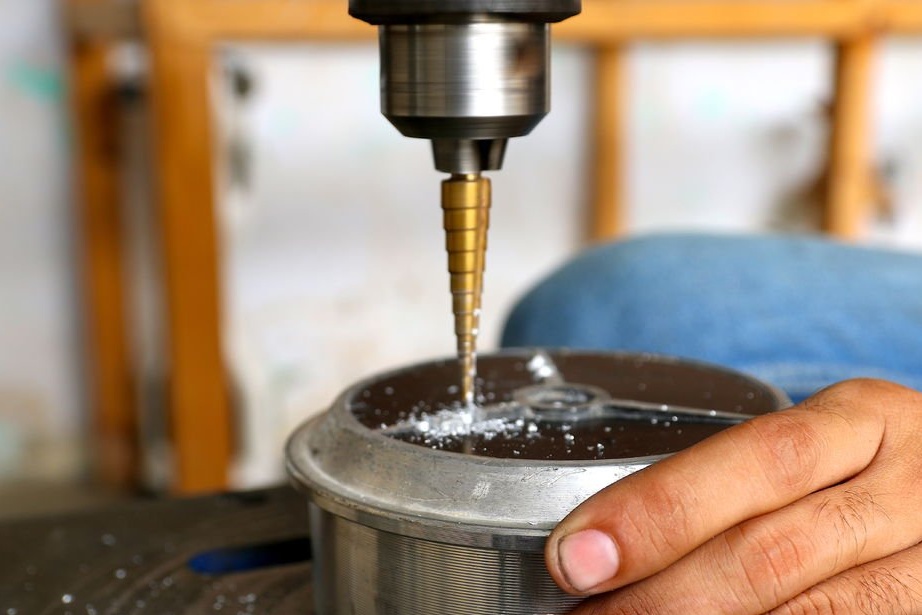
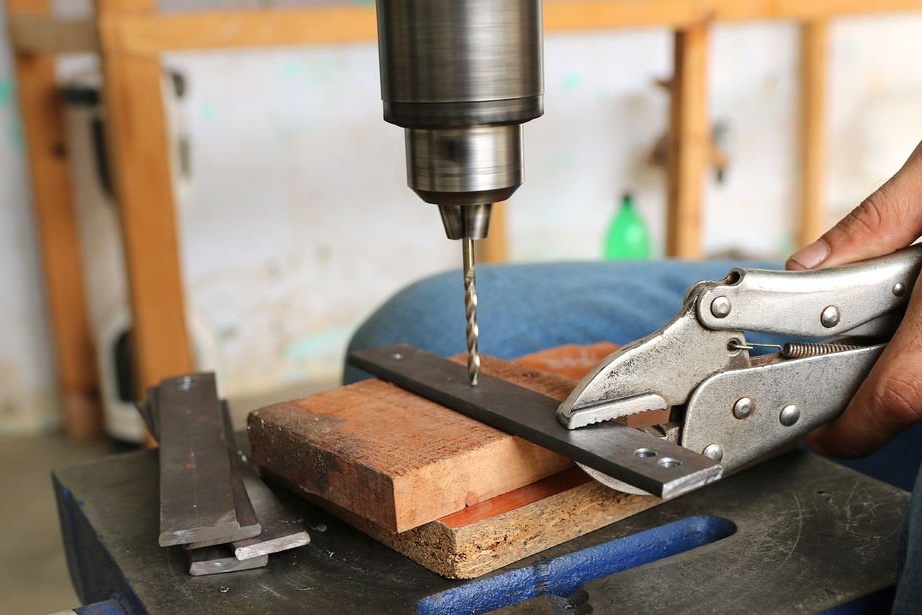
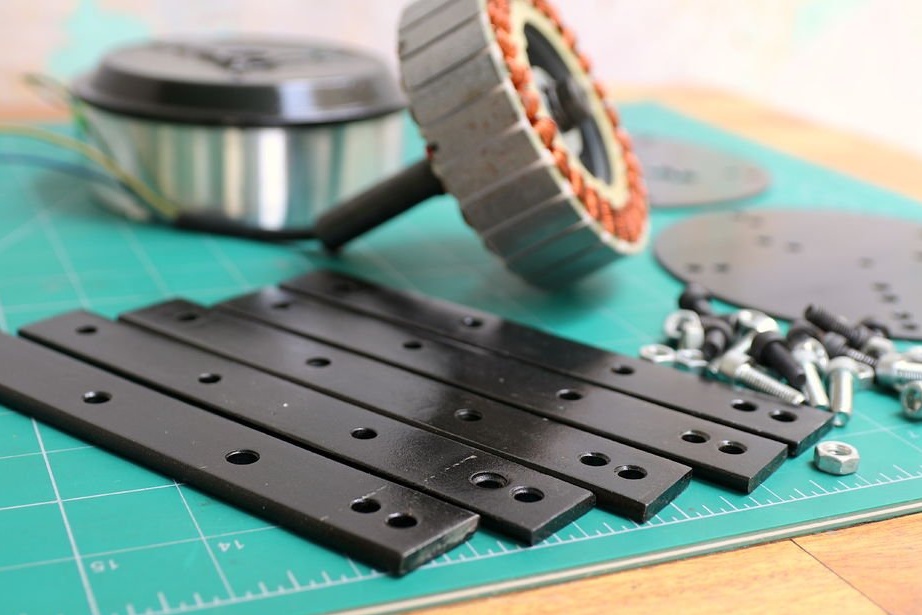
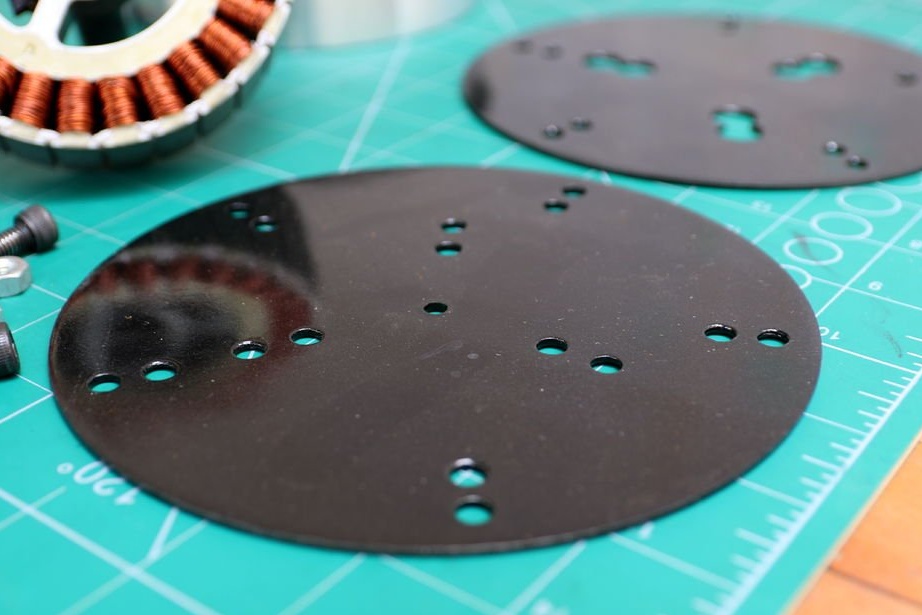
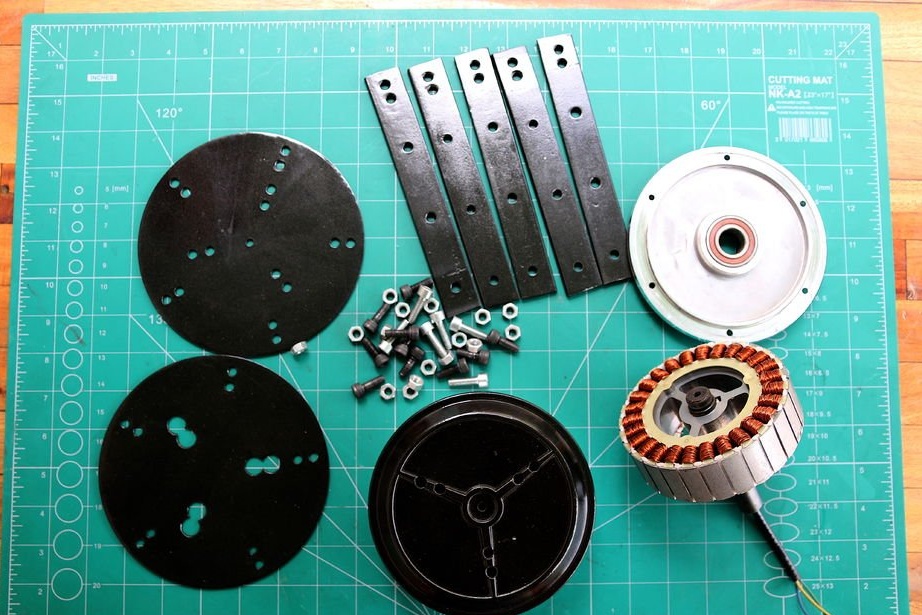
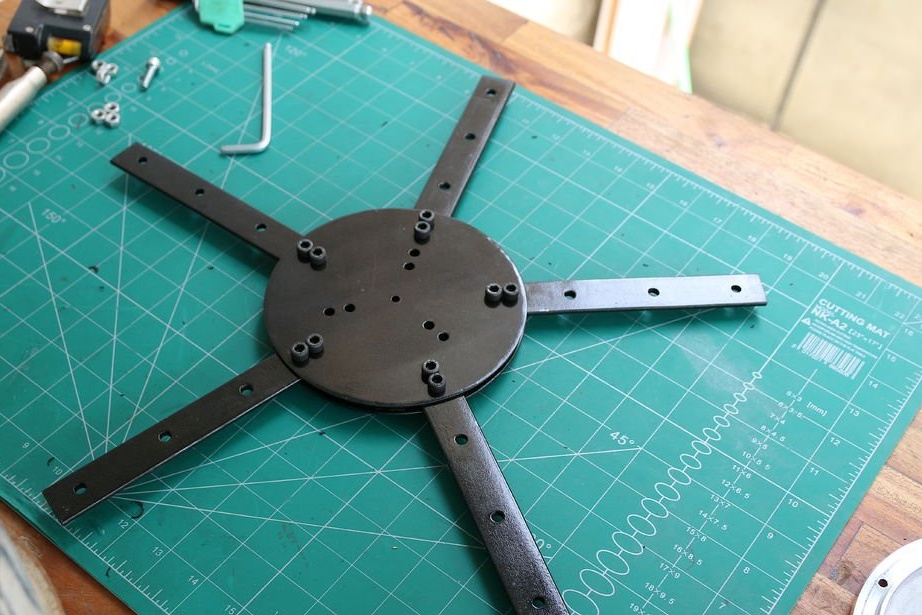
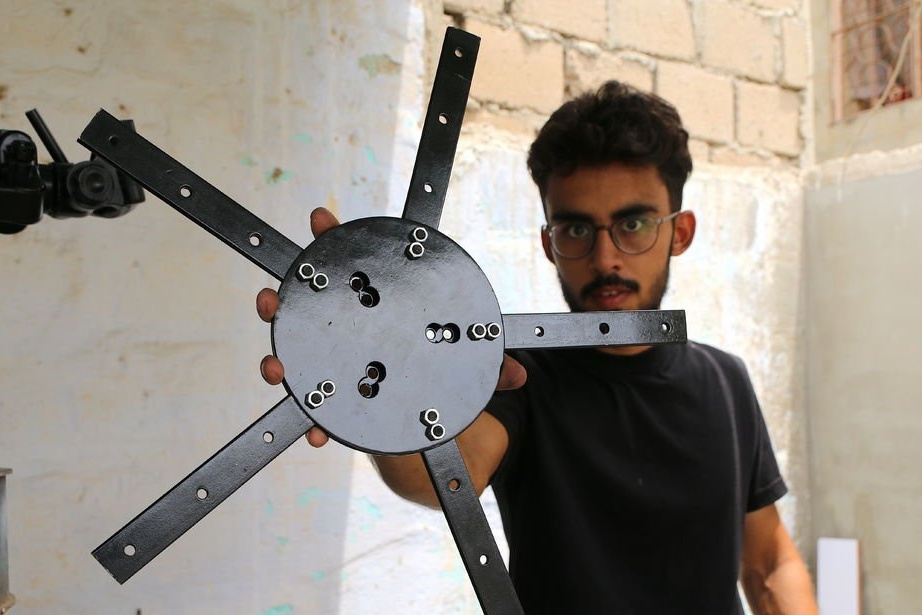
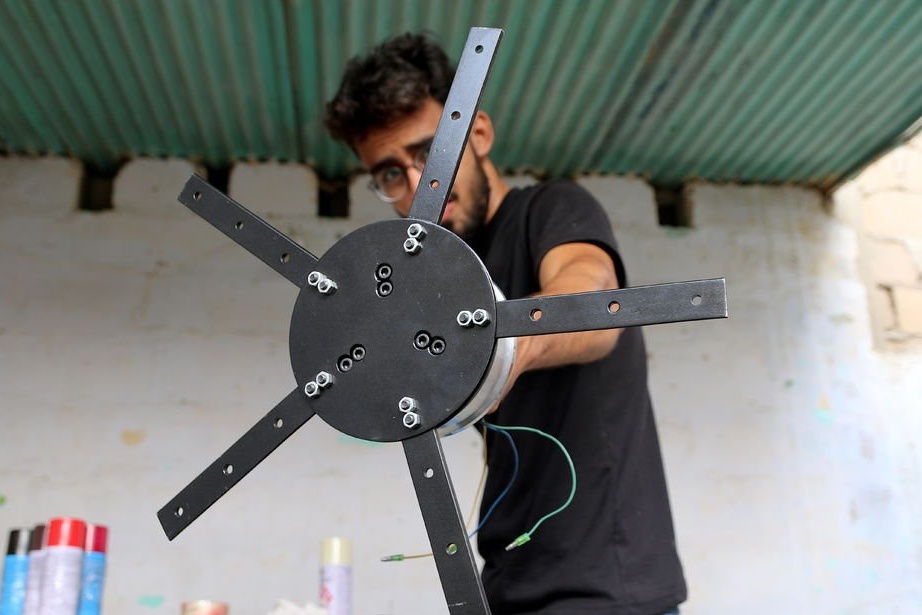
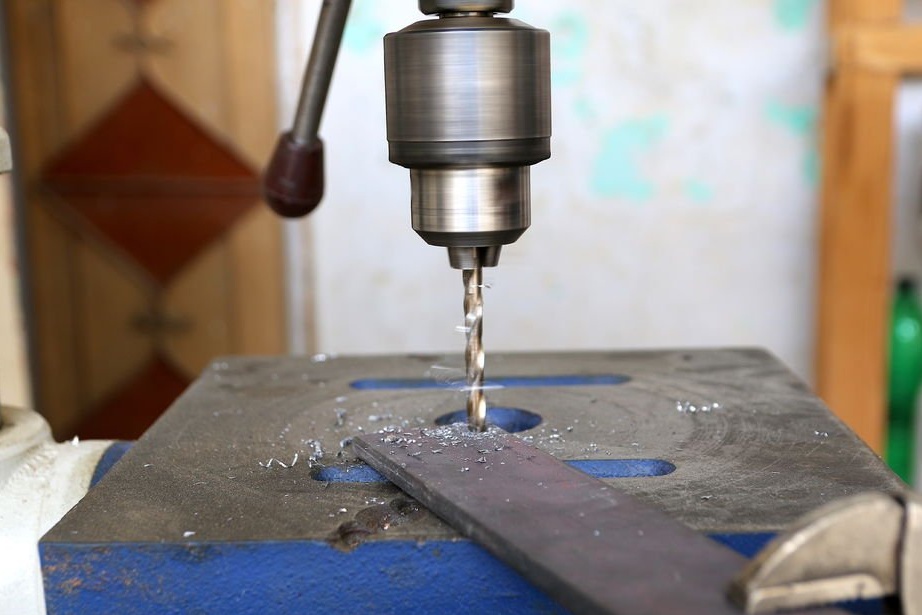
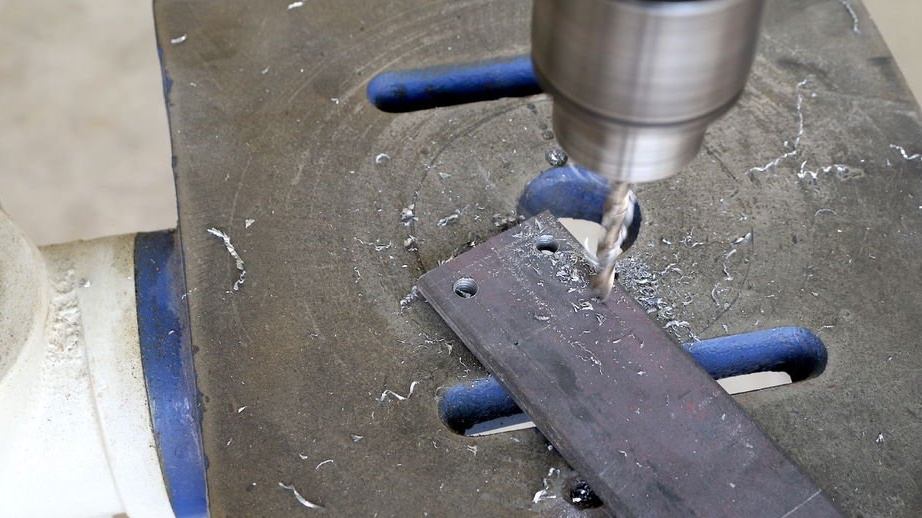
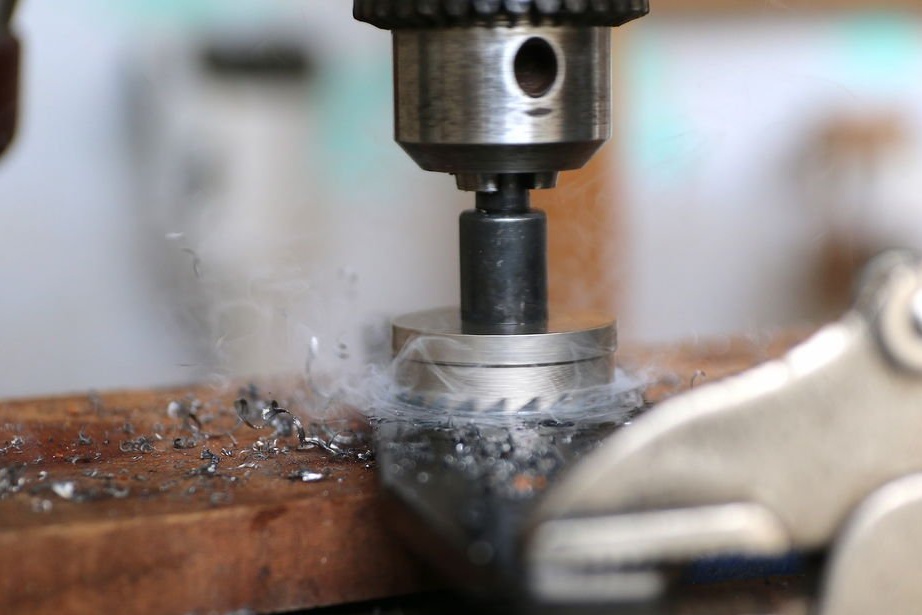
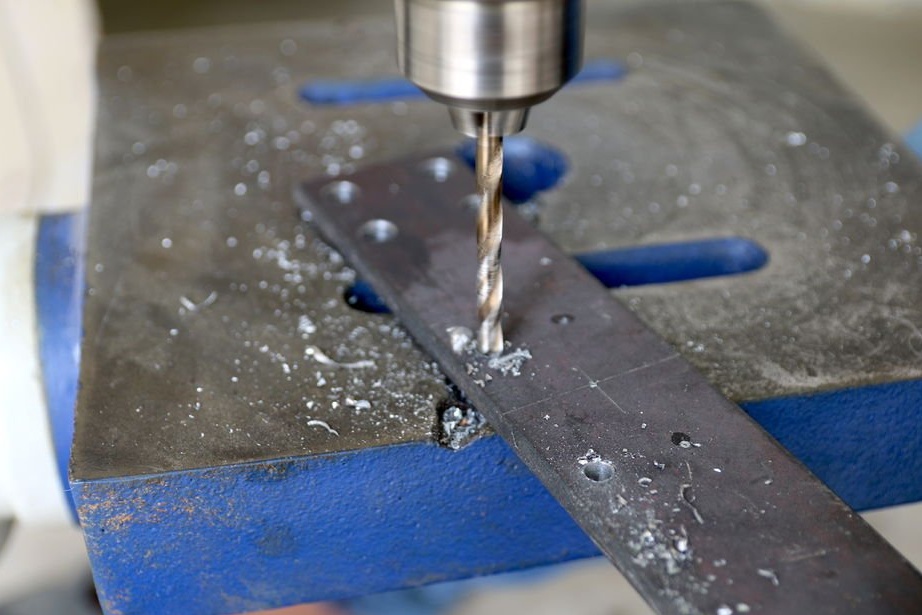
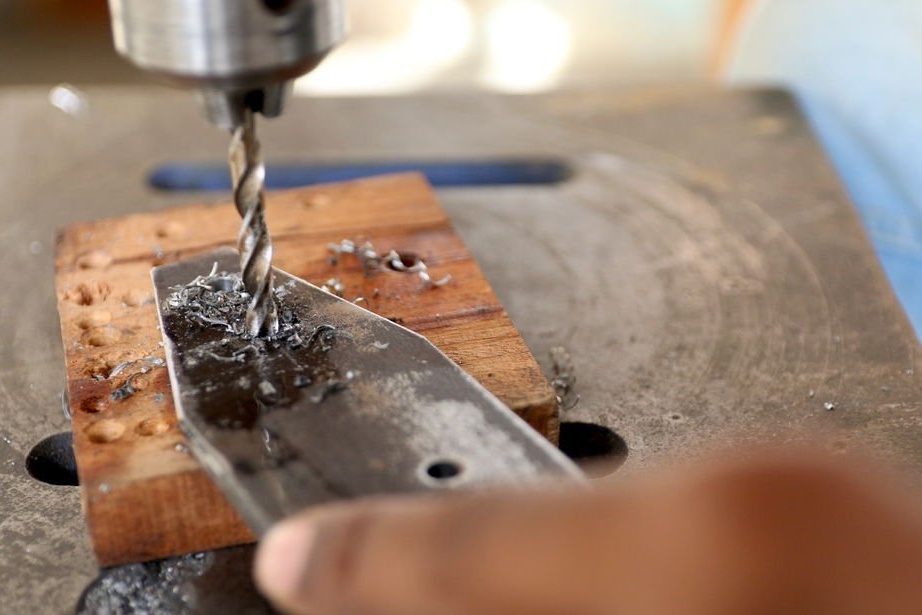
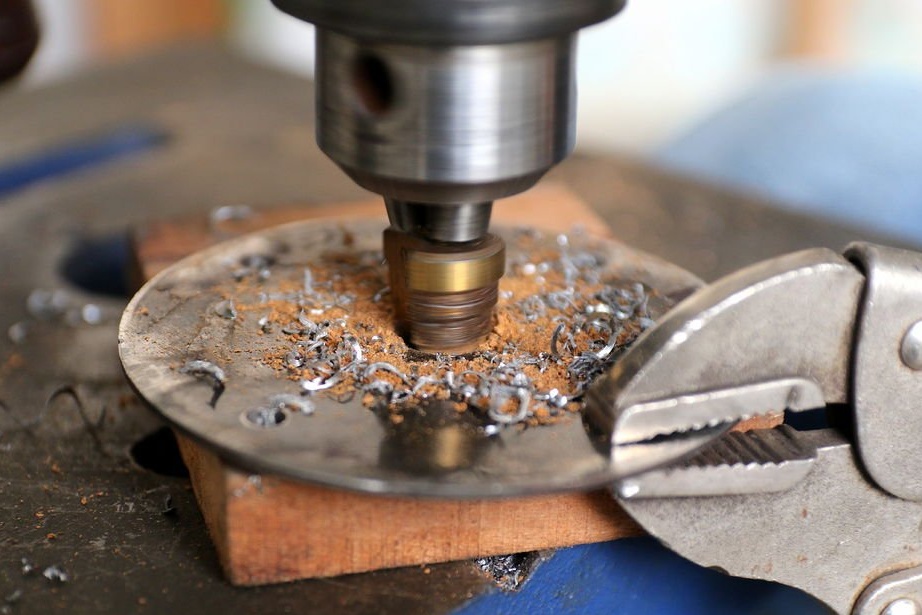
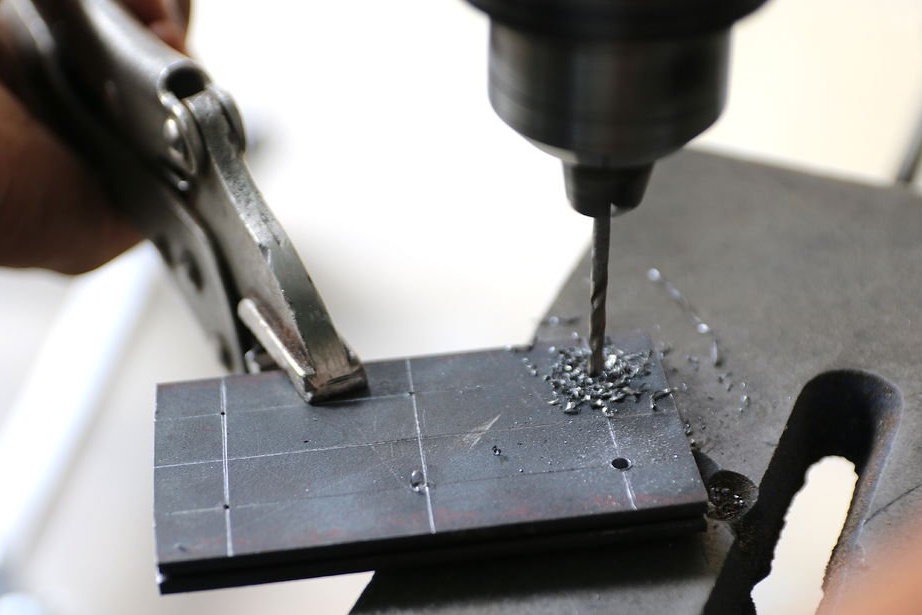
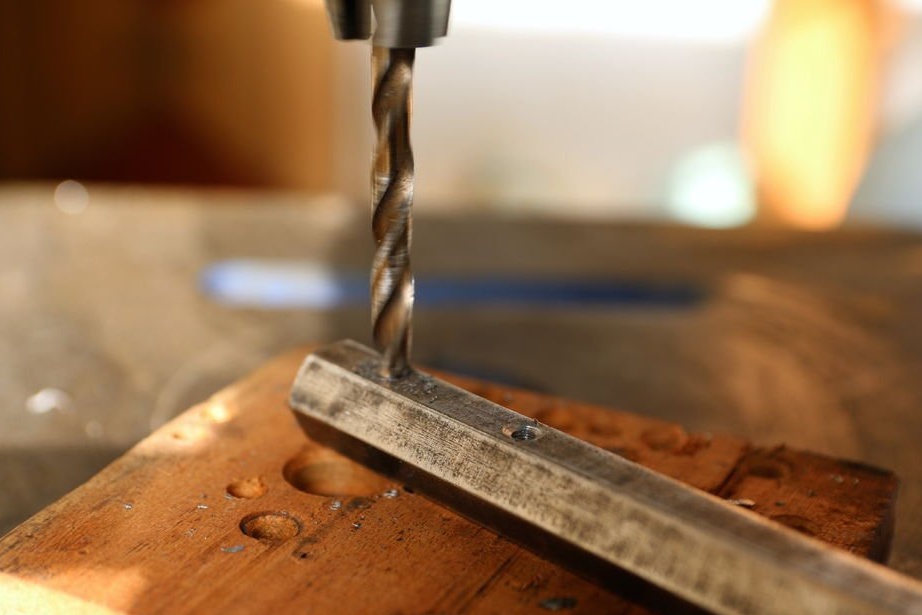
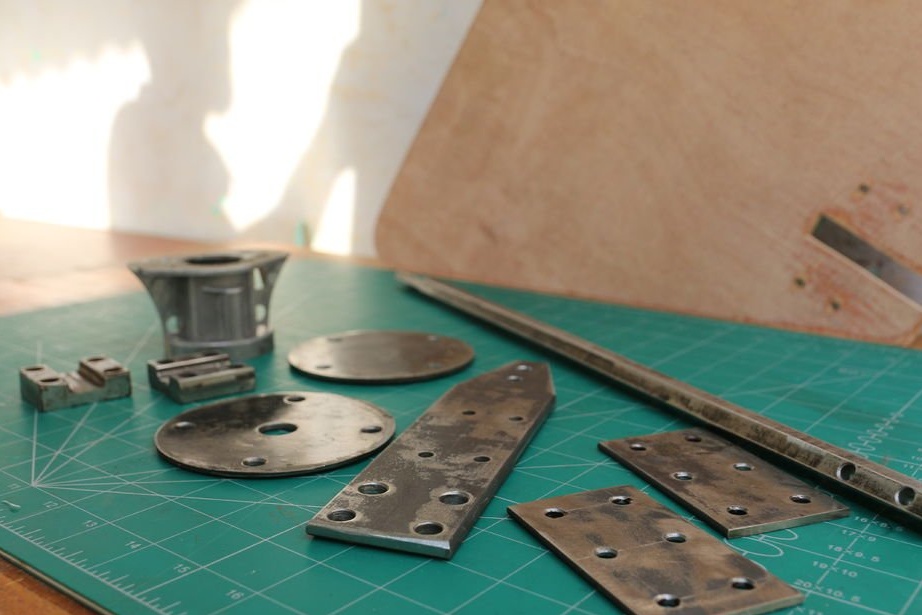
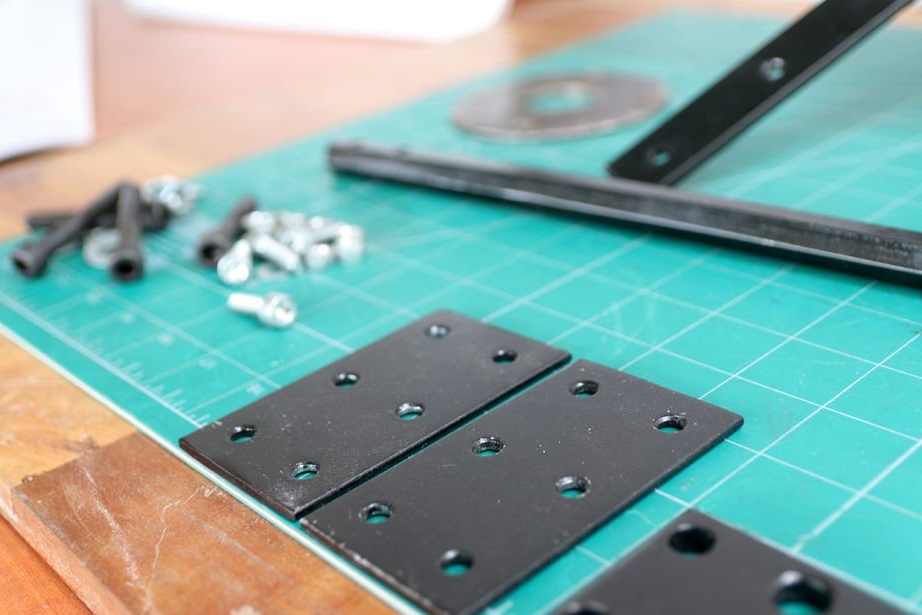
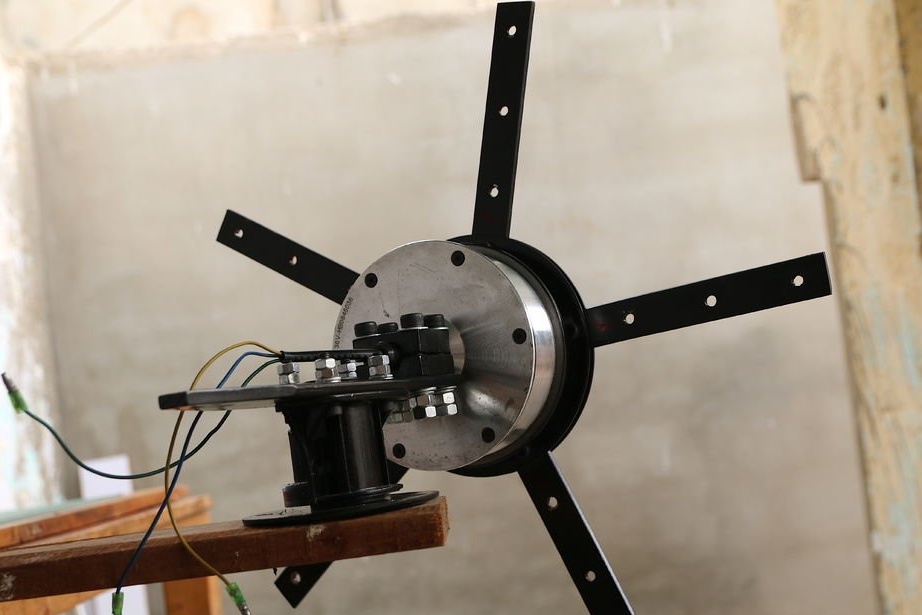
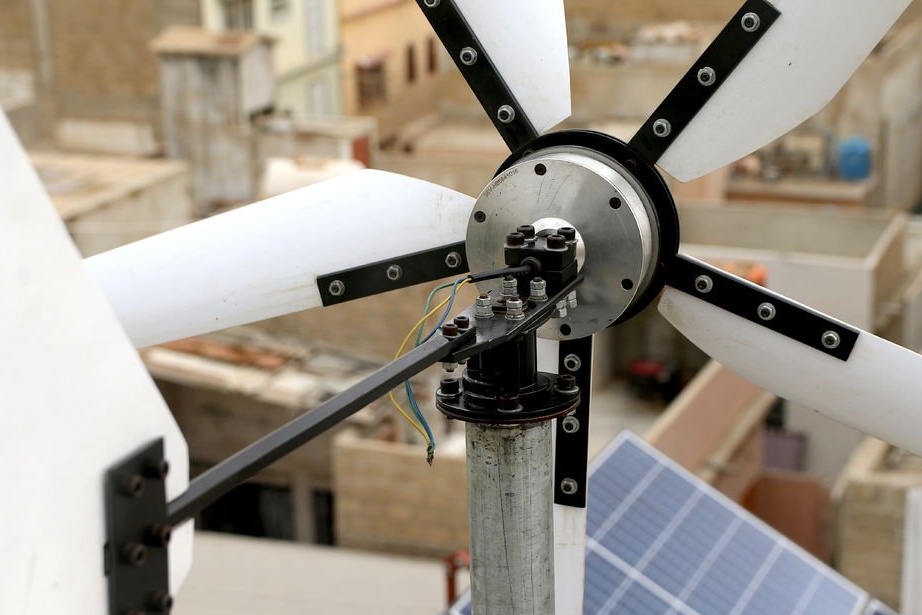
To fix the blades, the master cuts out two round metal platinum and five rectangular plates. The master drills the holes in the plates according to the pattern. These holes are adapted for standard engine mounts. After drilling holes, the plates are painted.

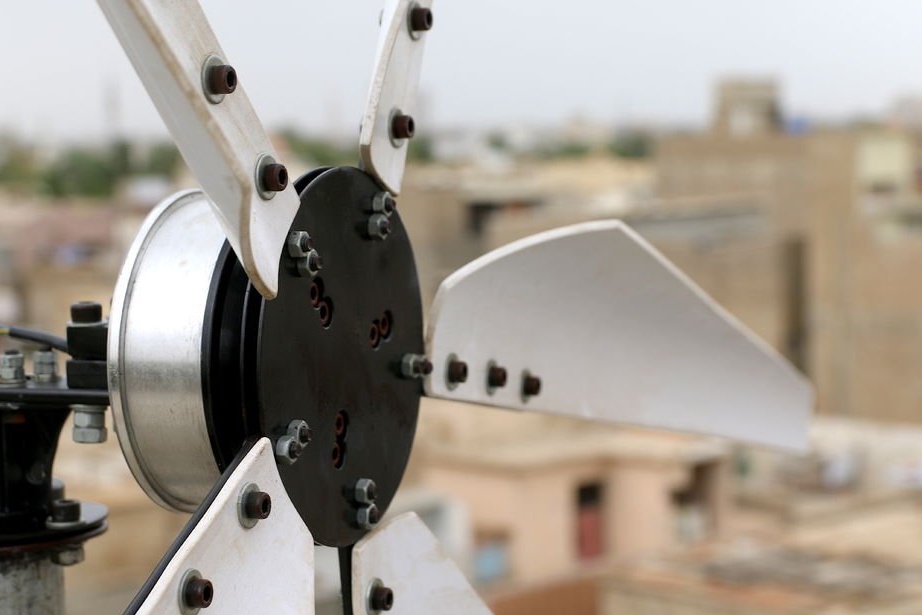
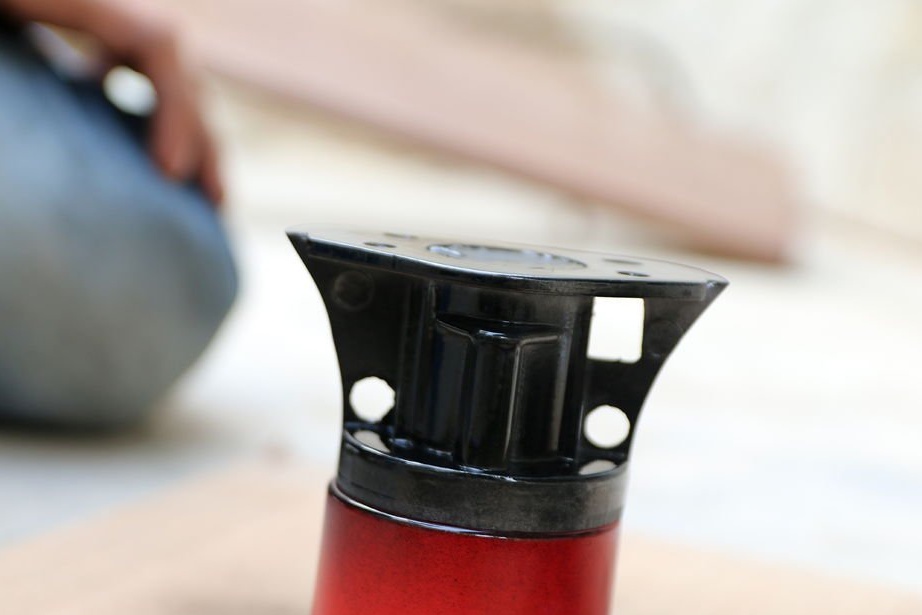
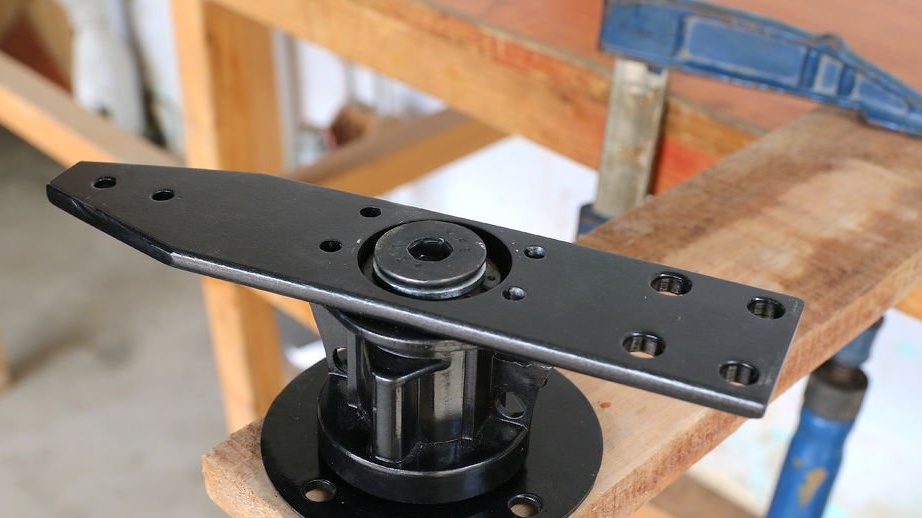
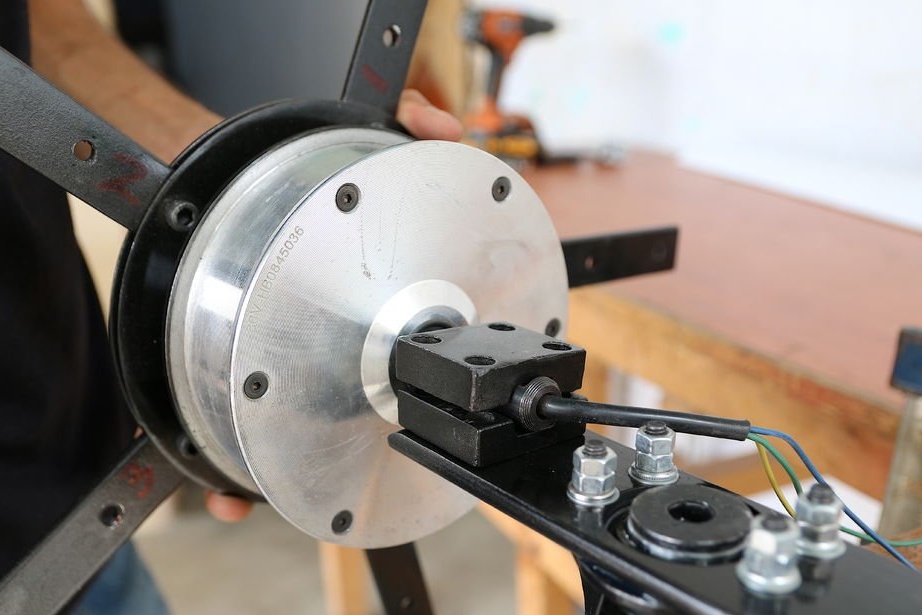
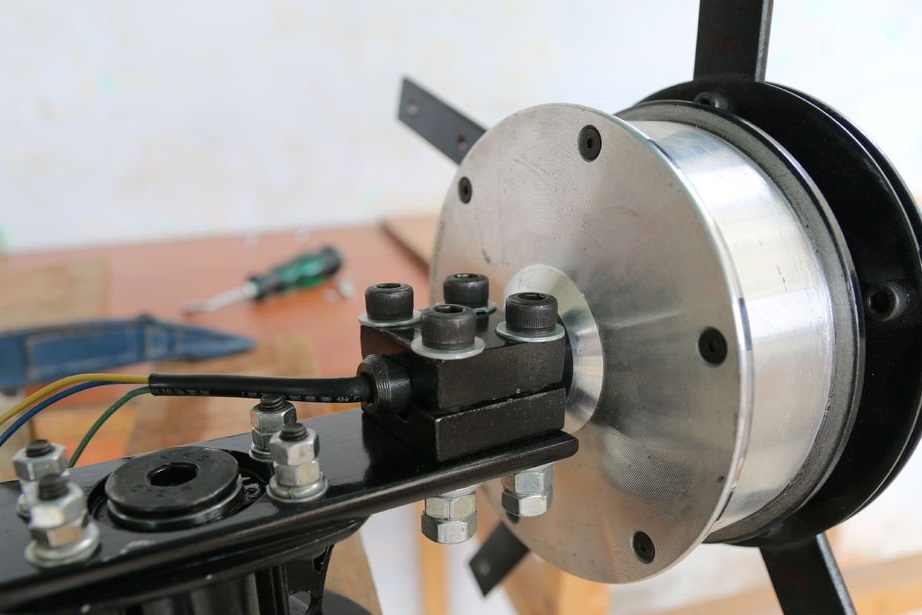
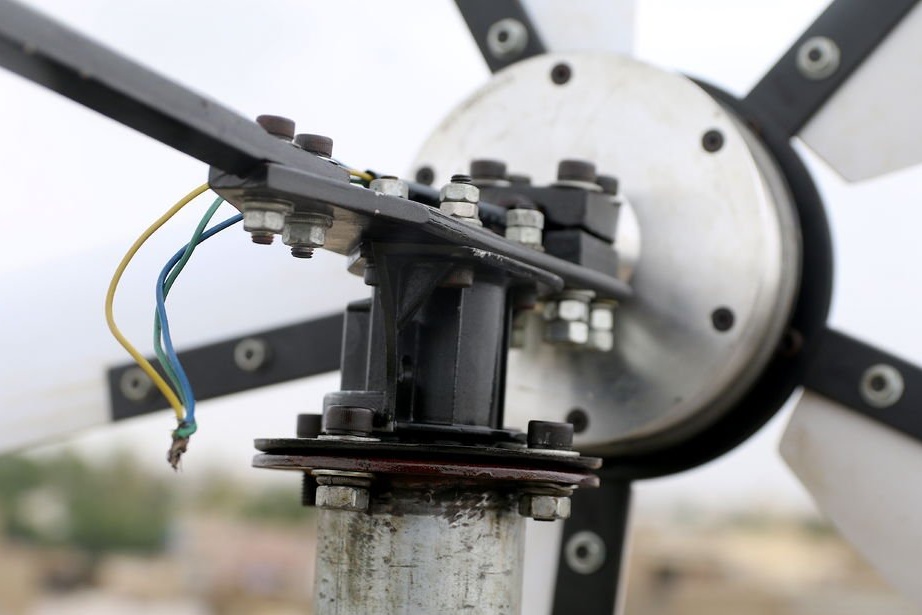
Step Three: Install the Adapter
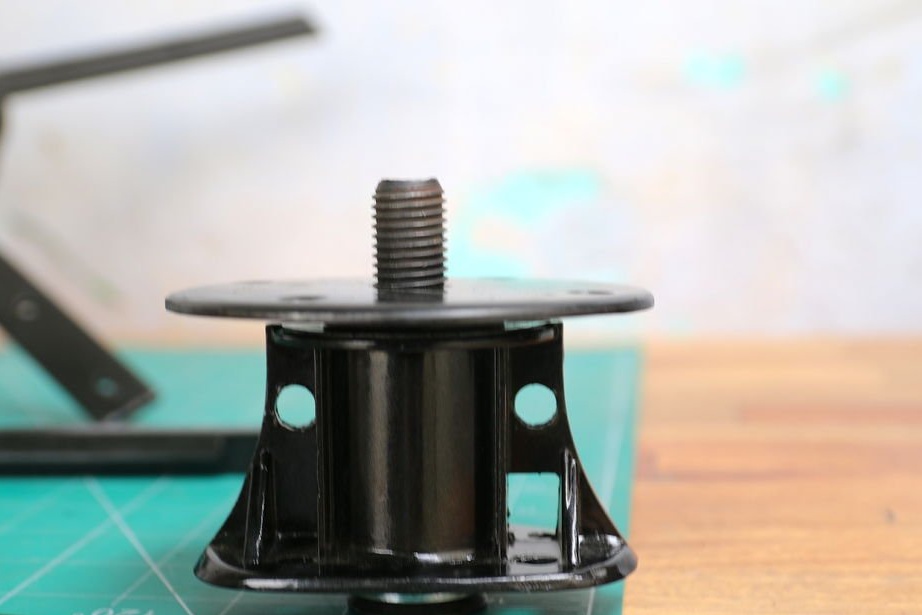
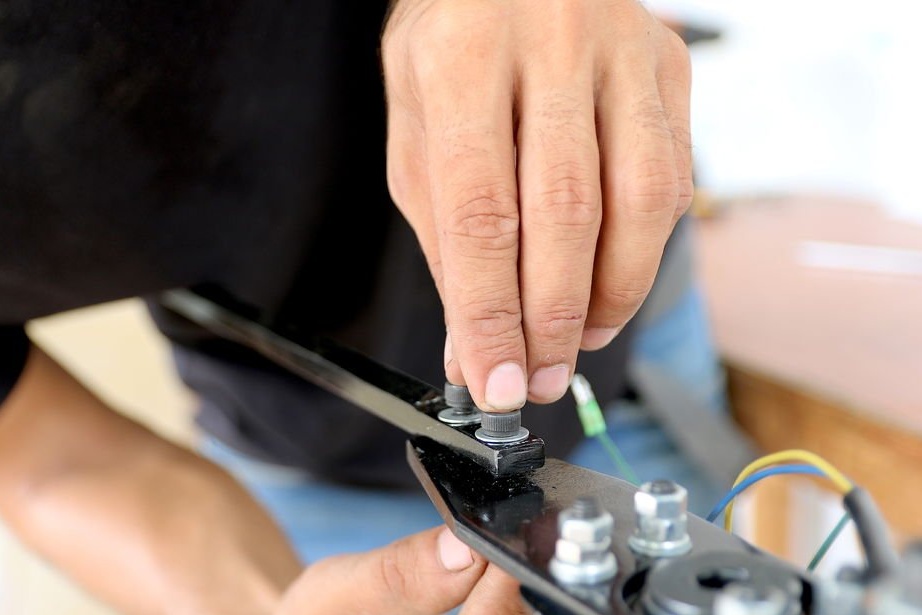
Then the wizard collects the adapter.When assembling, you need to try, balance it as much as possible.
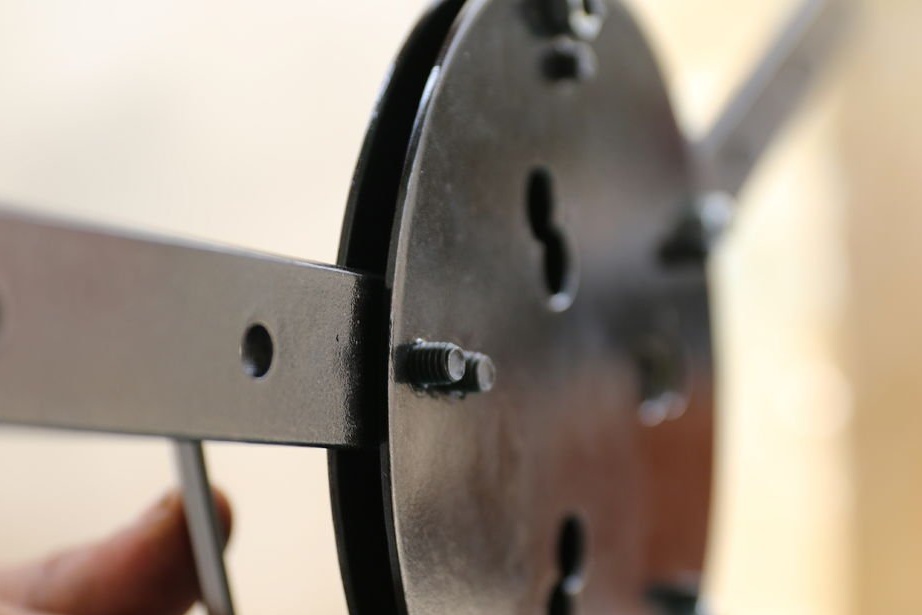
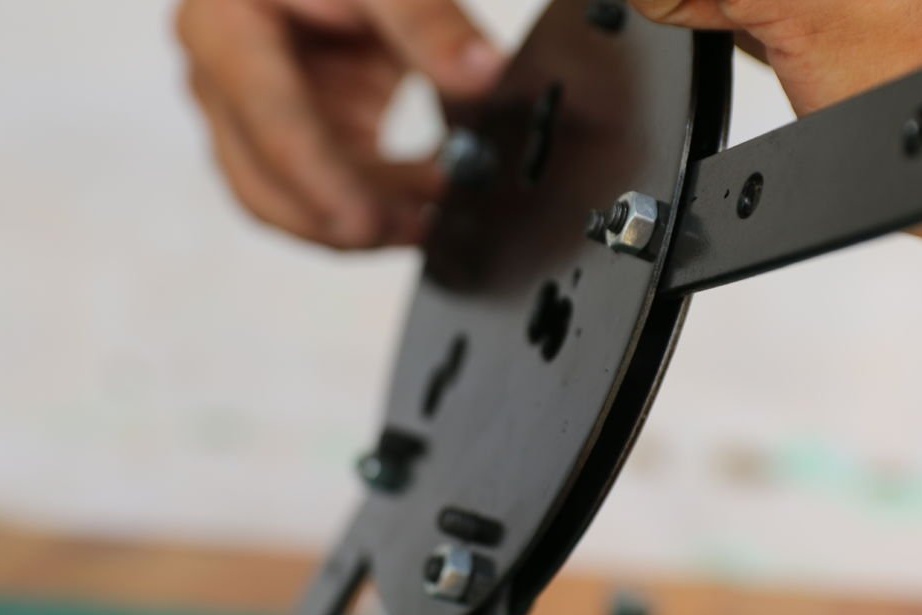
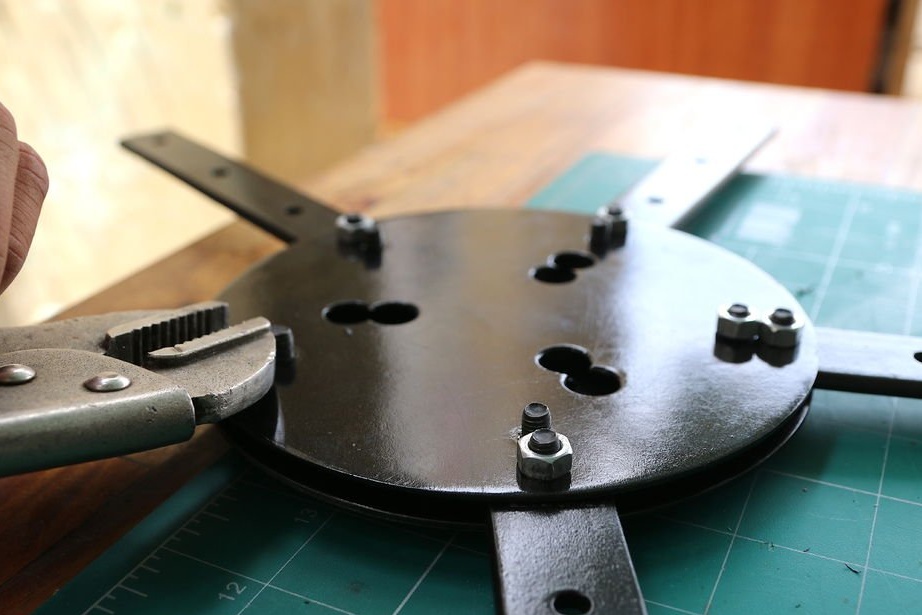
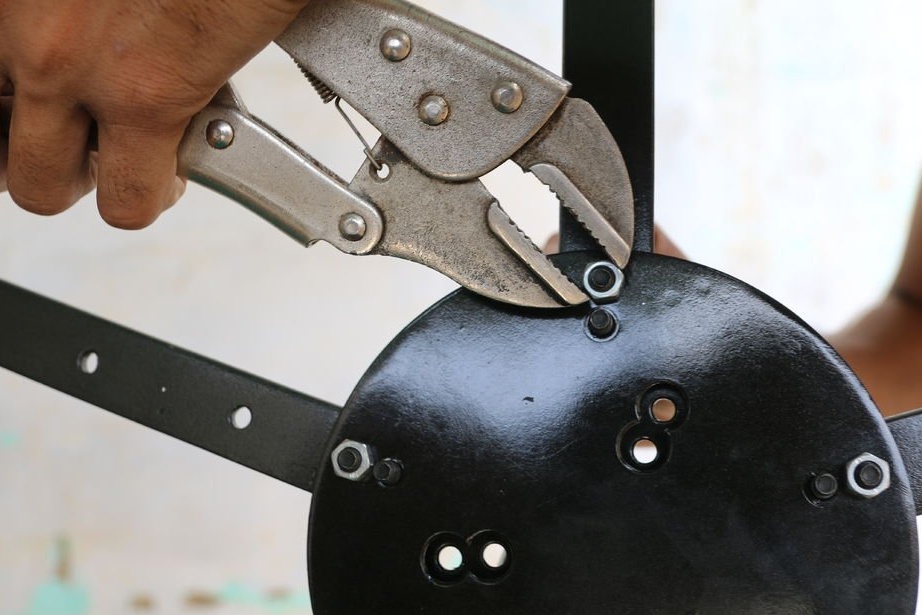
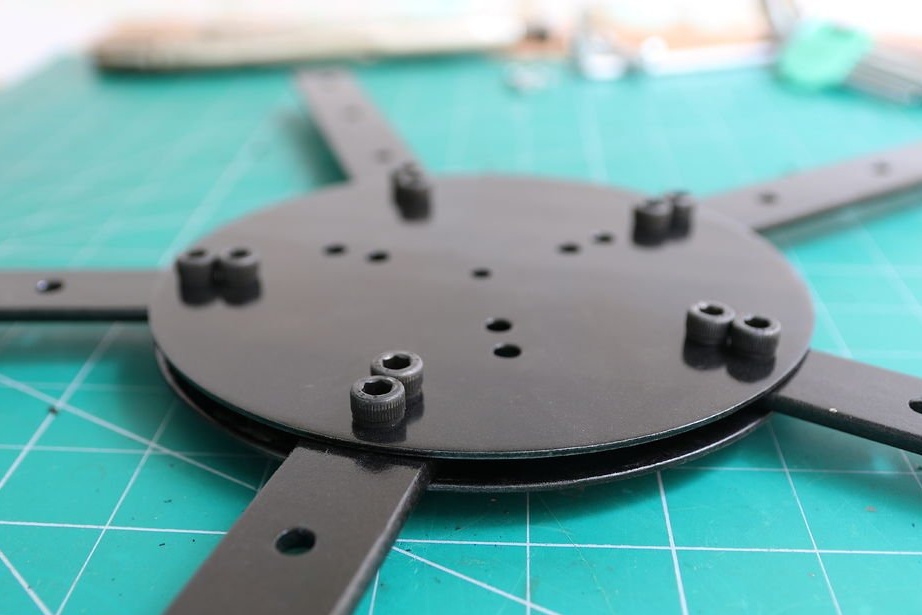
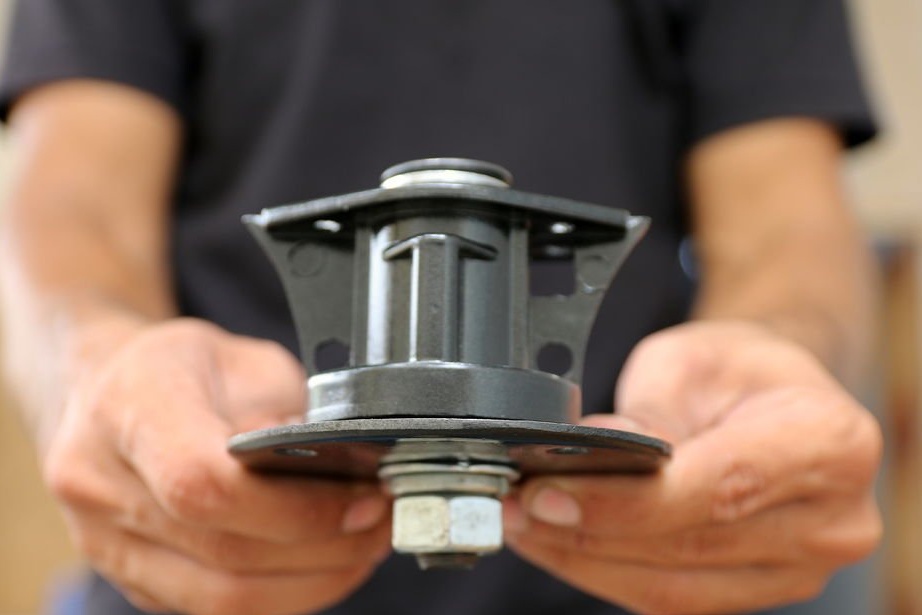
Screws the adapter to the motor rotor housing.
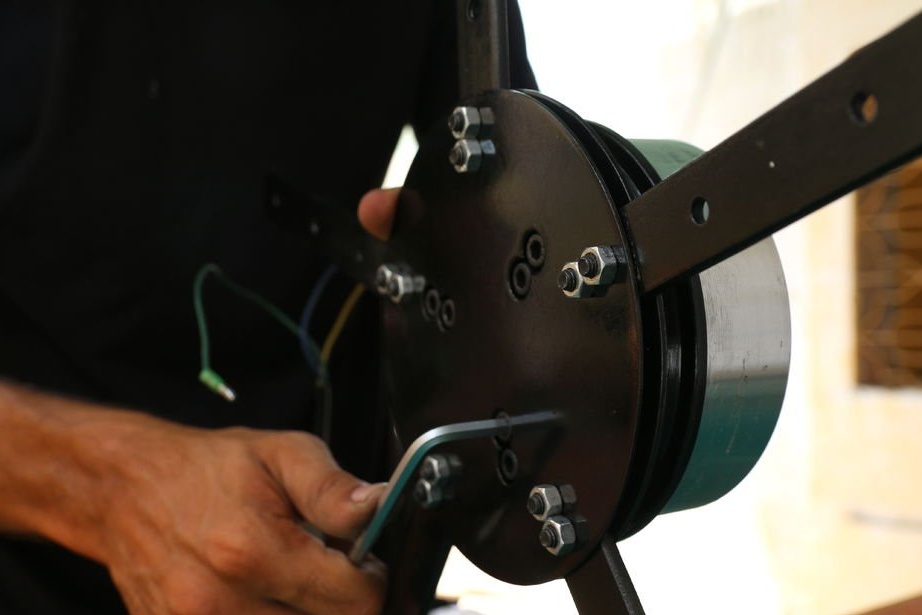
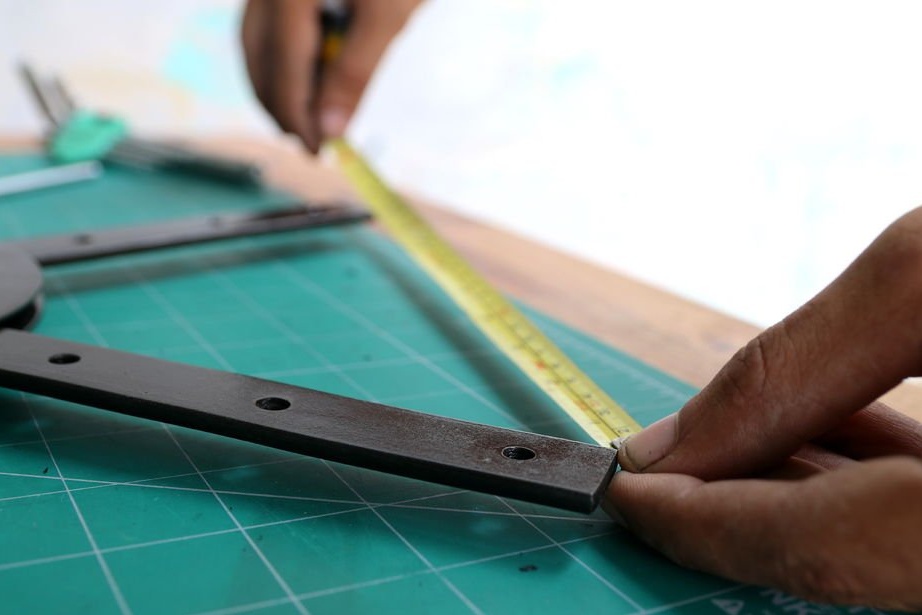
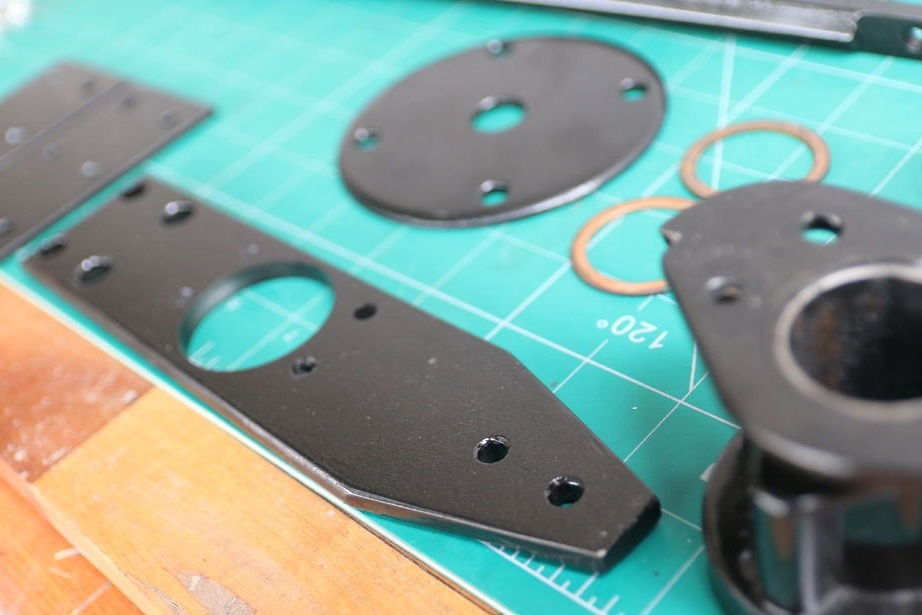
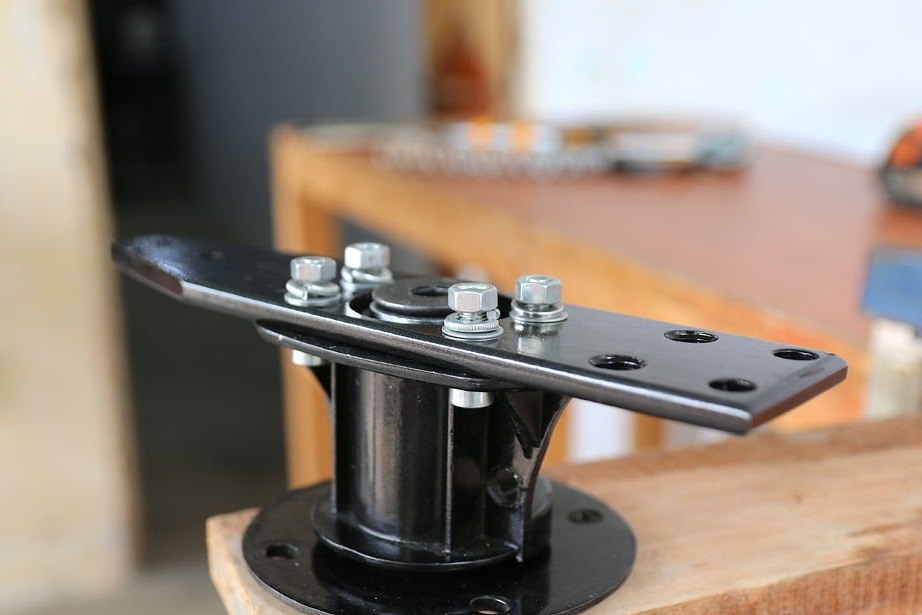
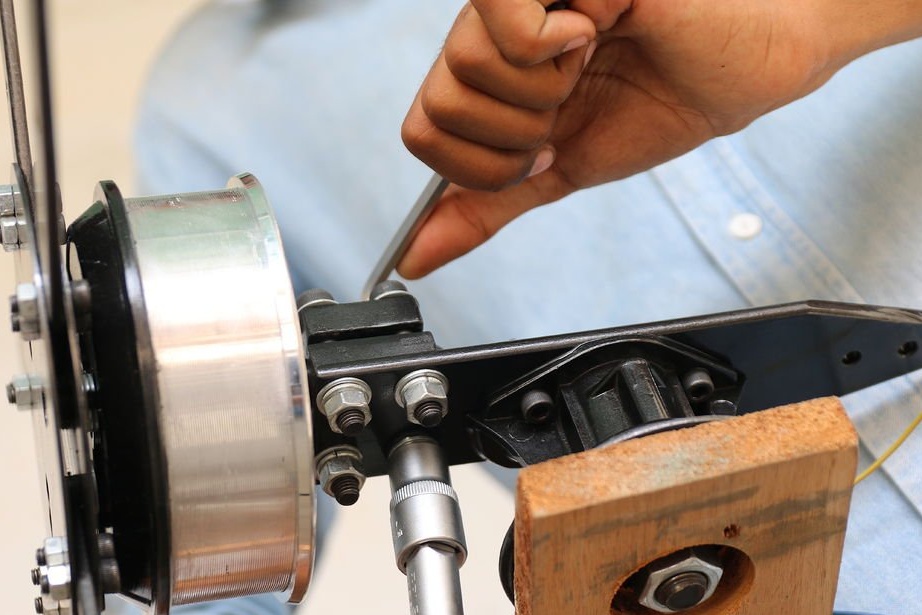
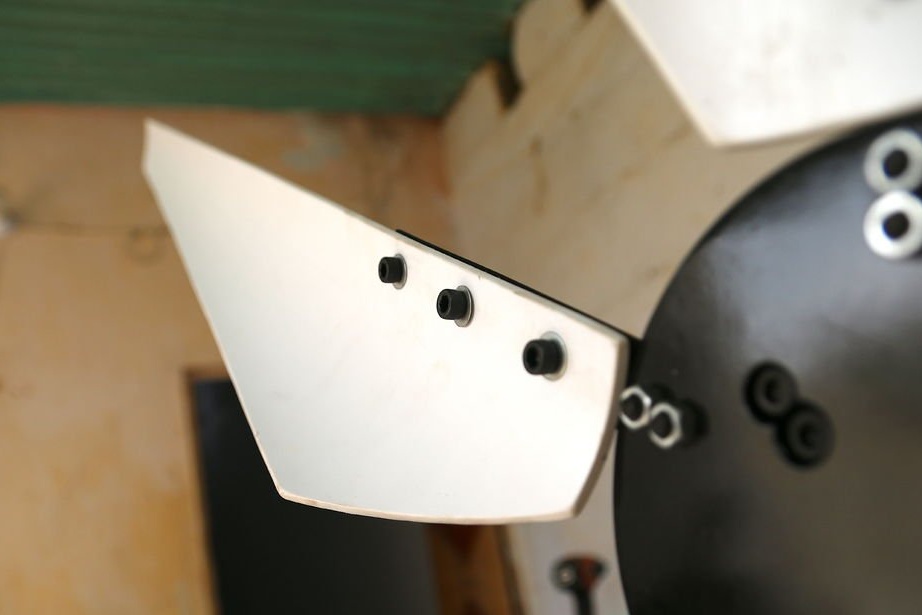
Step Four: Bracket
This bracket will be fixed, on the one hand, to the engine, and on the other hand to the rotary mechanism. The master cuts it out of a metal strip. Drill mounting holes.
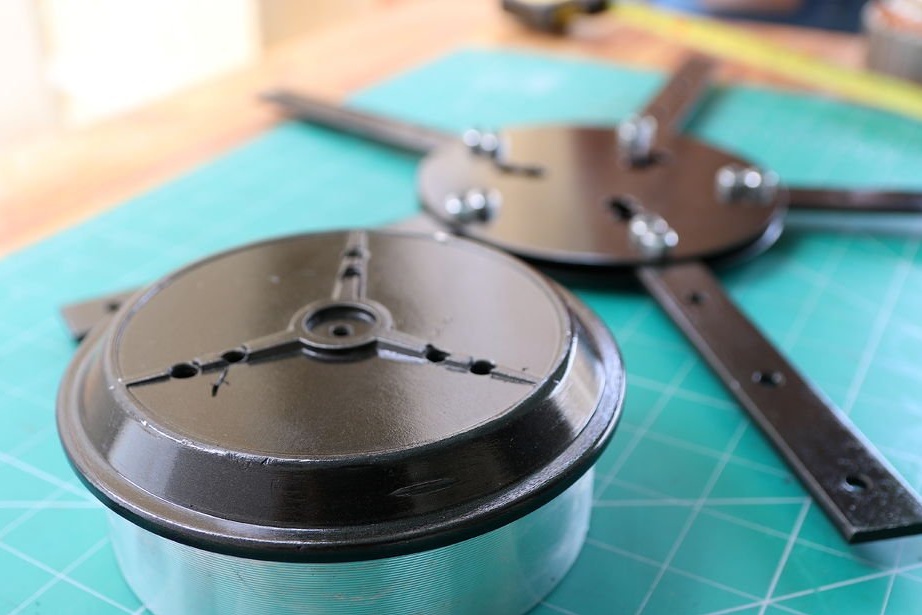
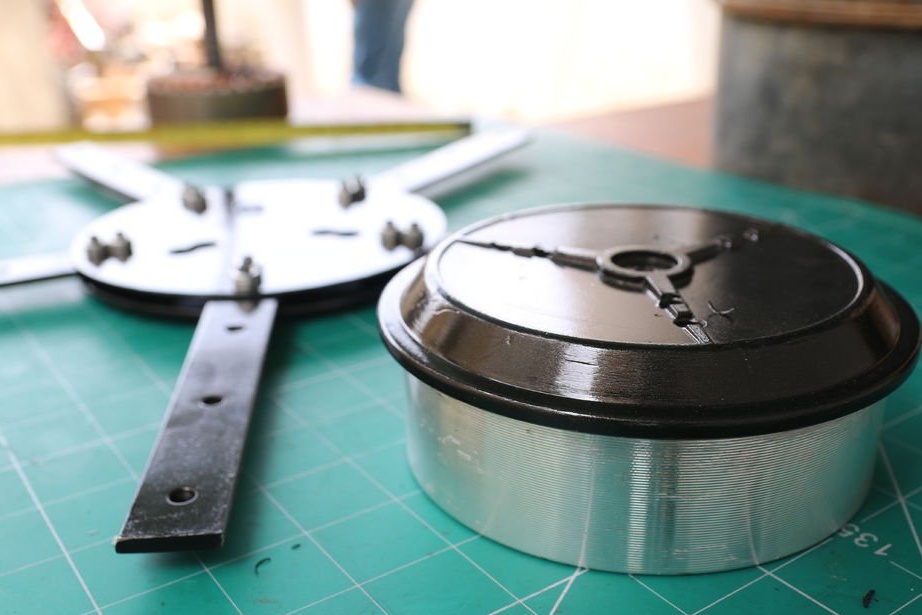
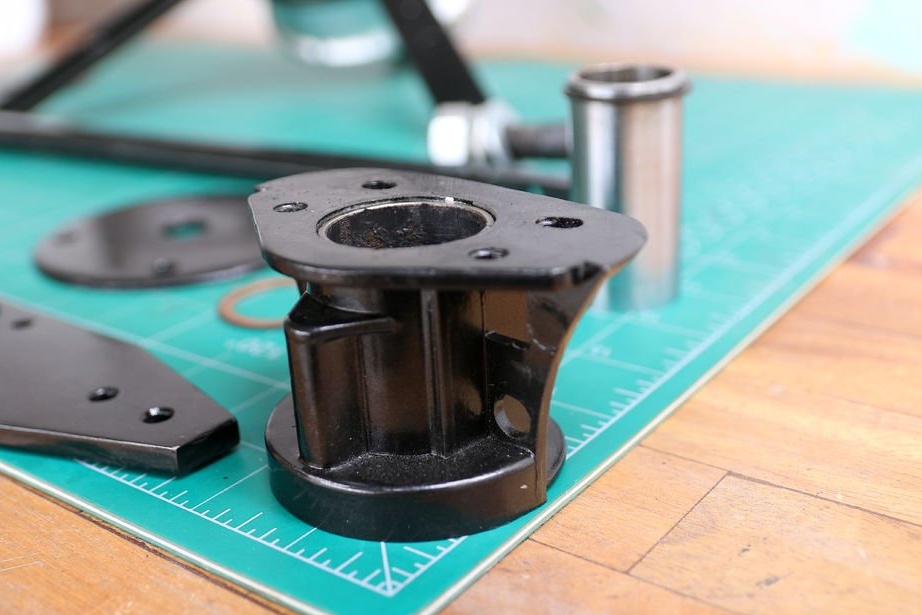
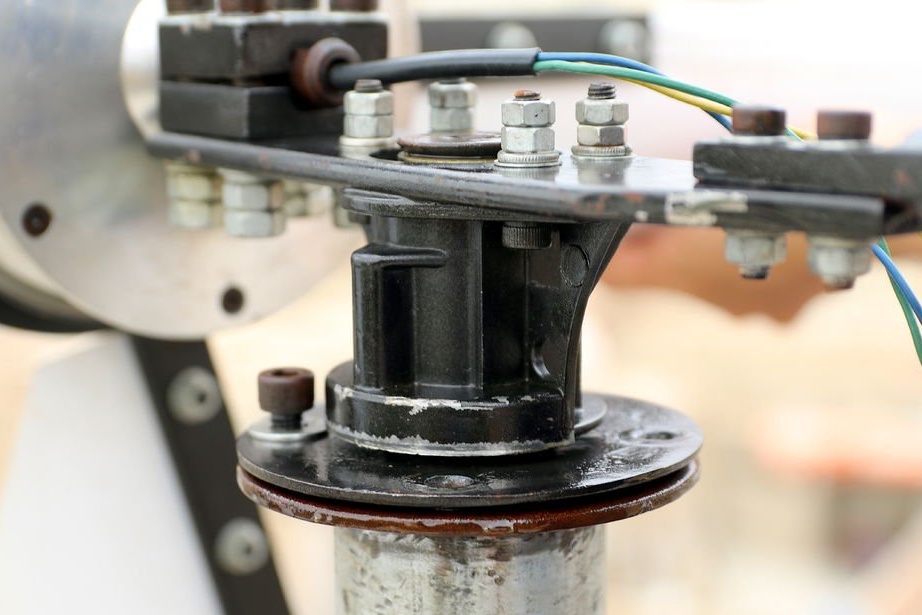
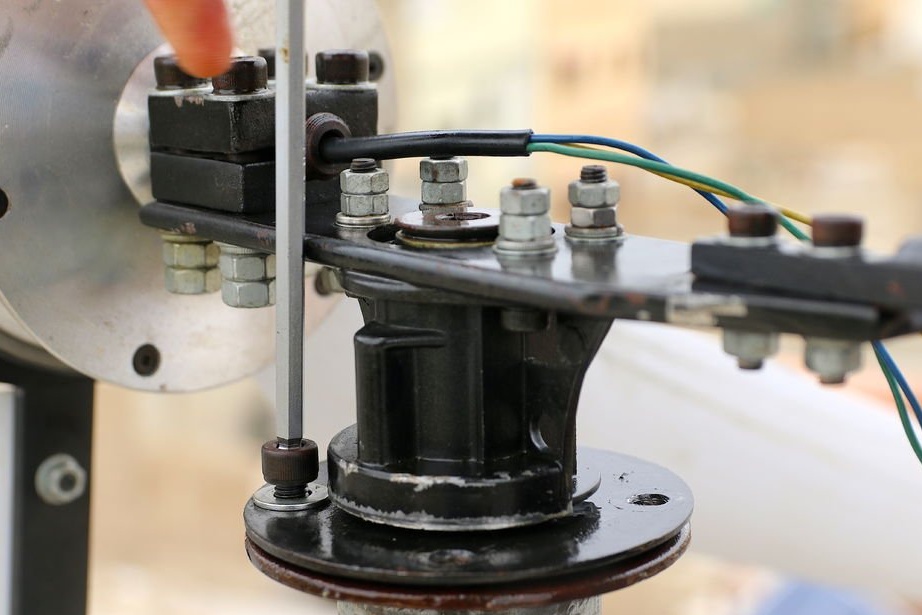
Step Five: Swivel
To hold the blades in the wind, a rotary mechanism is needed. To save time, money and a lot of machining, the master adapted the hinged mechanism of the hoverboard, which allows you to tilt the board in any direction to rotate.
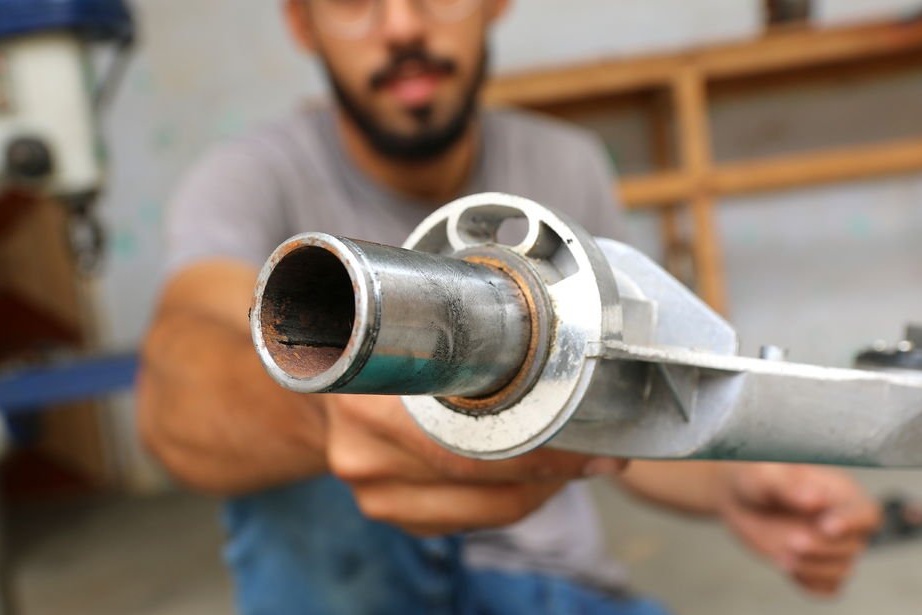
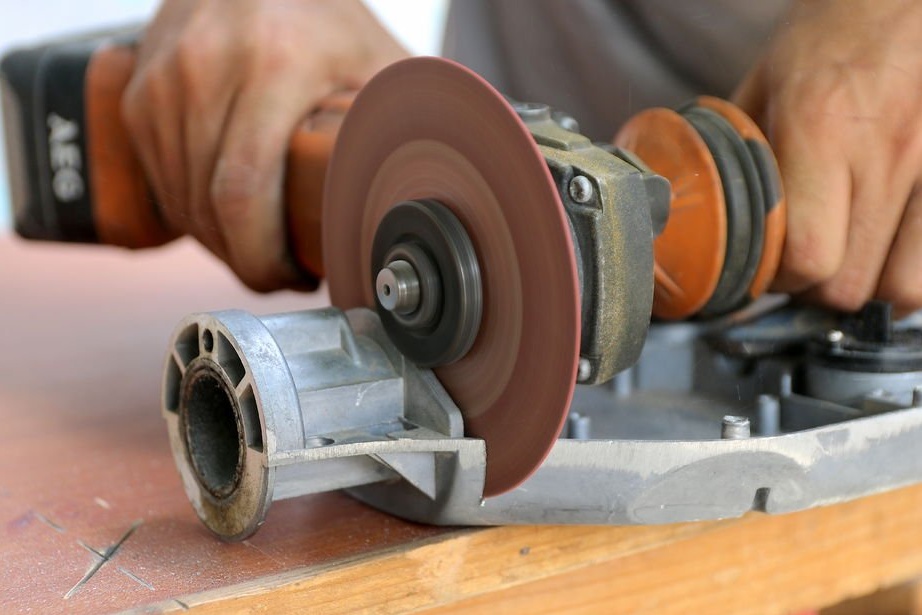
Need to disassemble the platform of the hoverboard. It is made of metal and is connected by a sleeve and bolts. Then it cuts off from the platform the part where the sleeve is installed. Part of the sleeve is cut off.
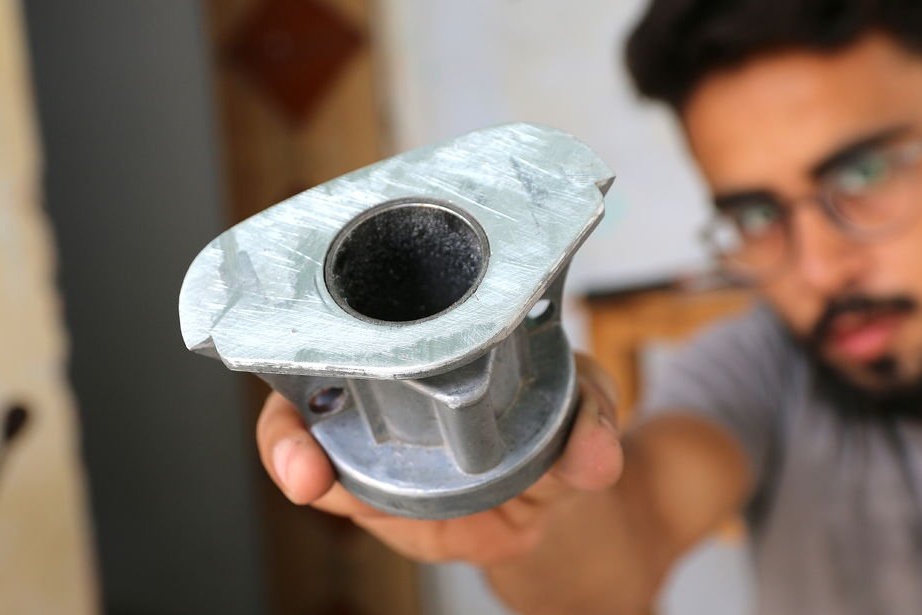
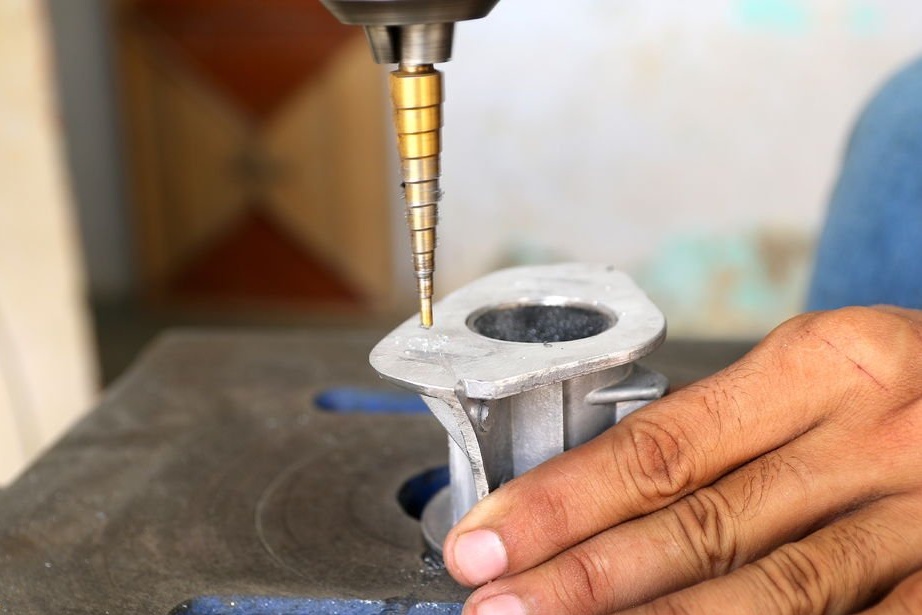
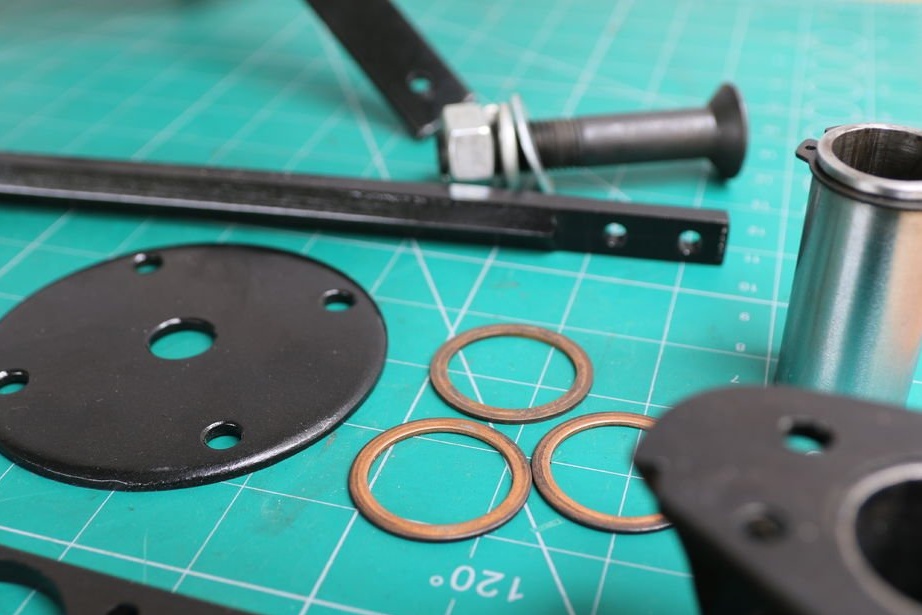
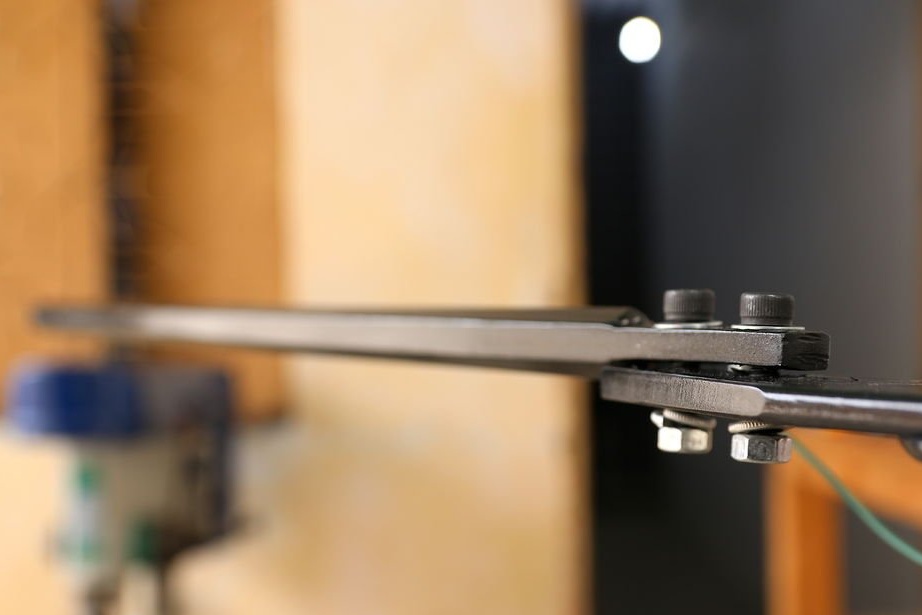
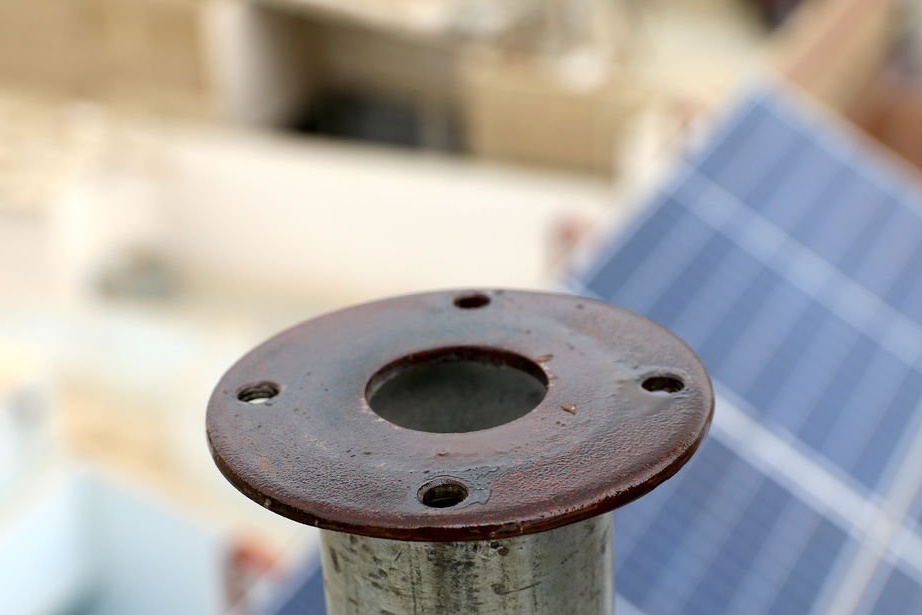
To mount the rotary mechanism to the rack, the master makes a mount. Mount, these are two round metal plates. One plate will be attached to the rotary mechanism, the second is welded to the rack. Mounting holes are drilled in the plates.
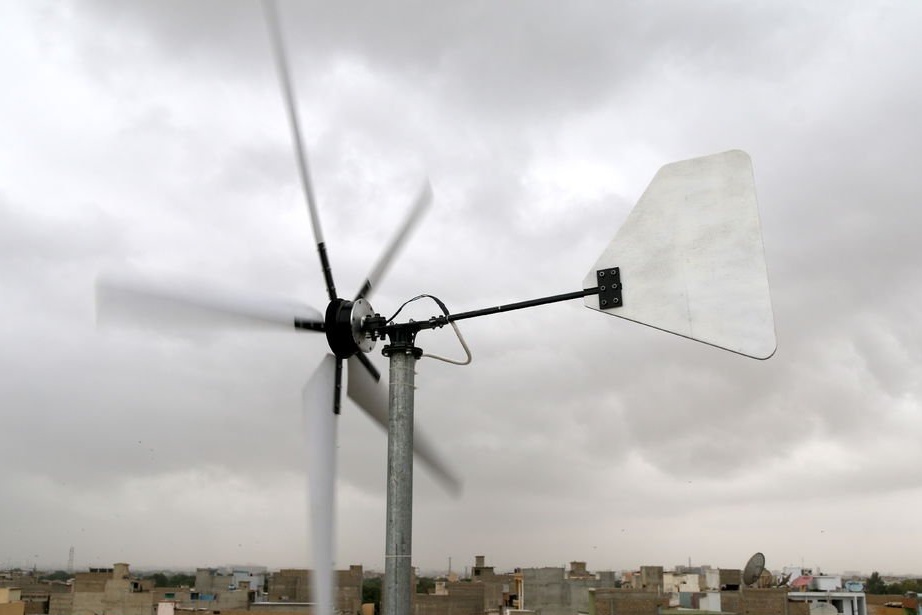
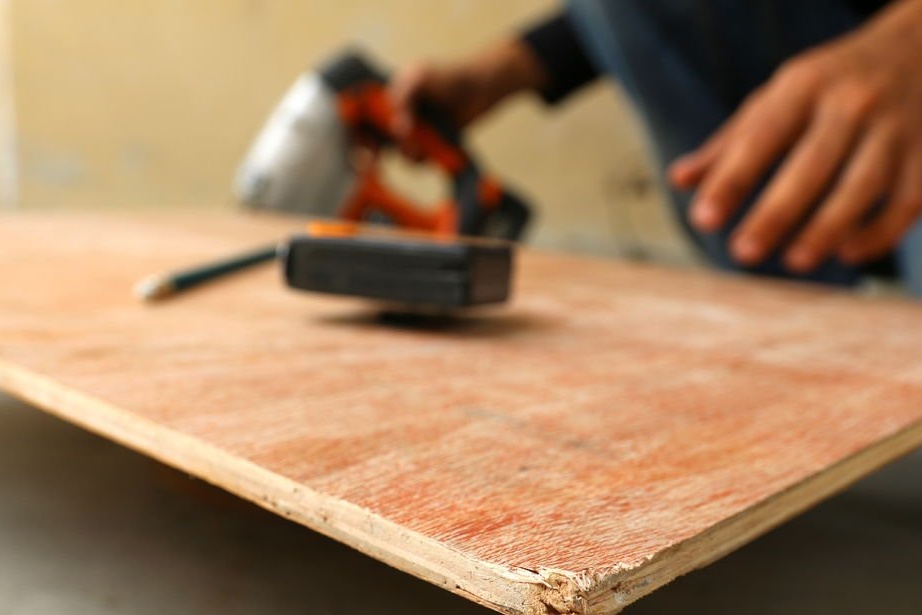
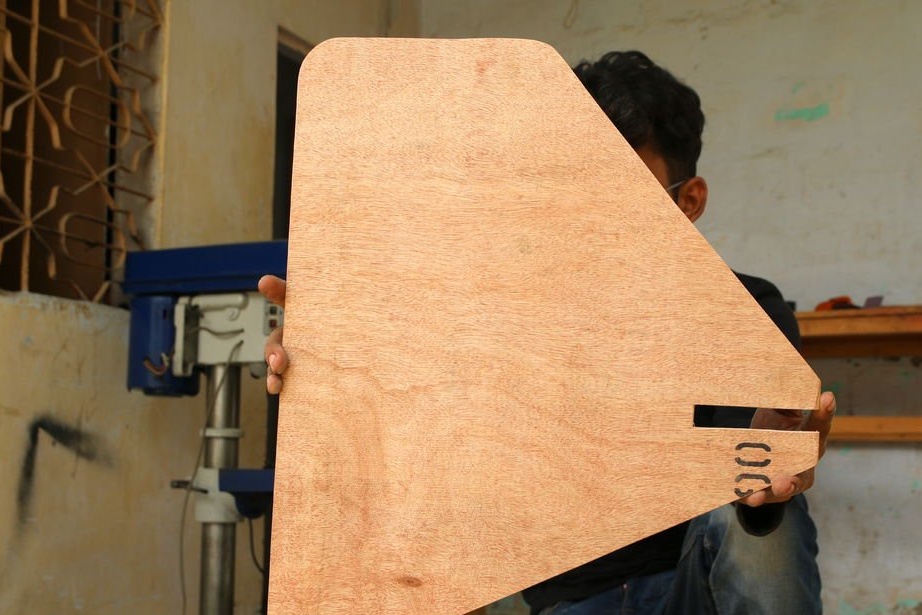
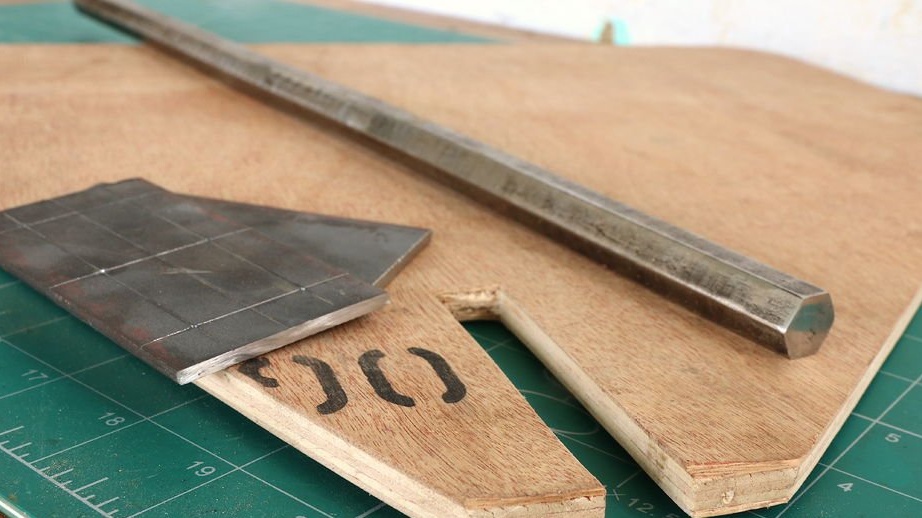
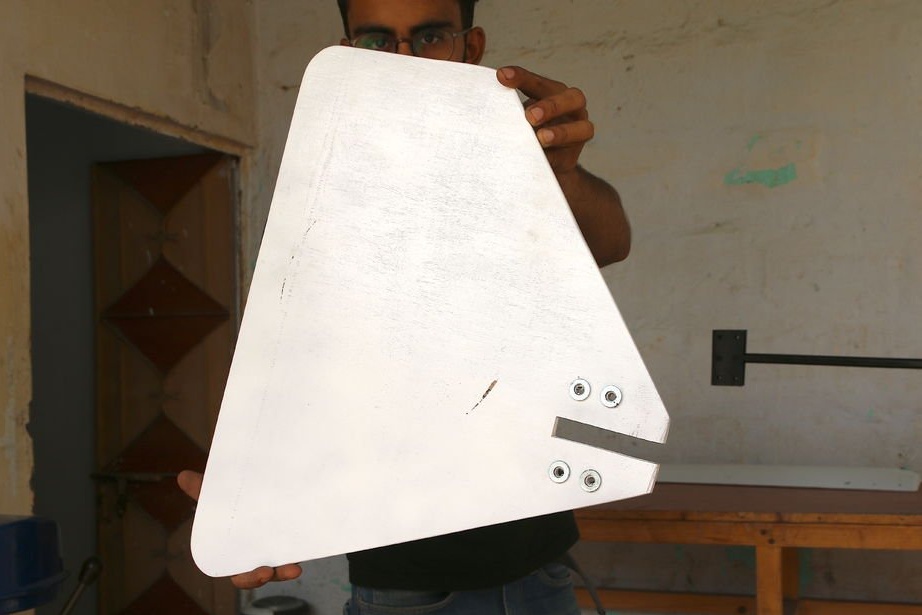
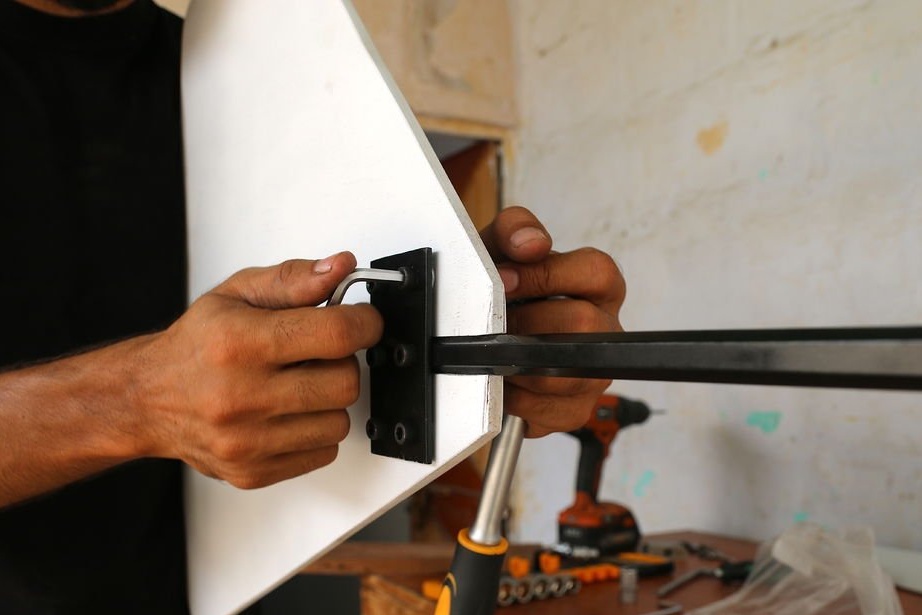
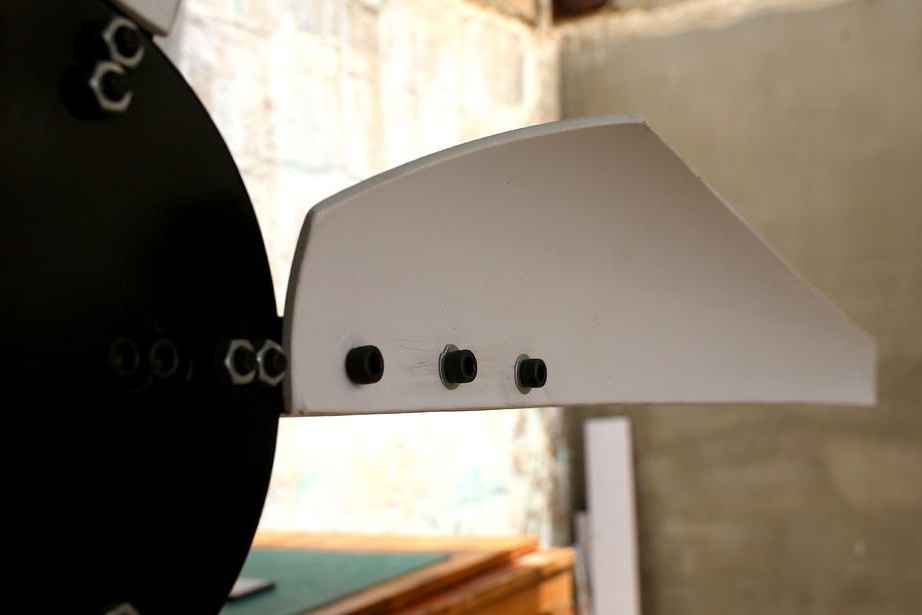
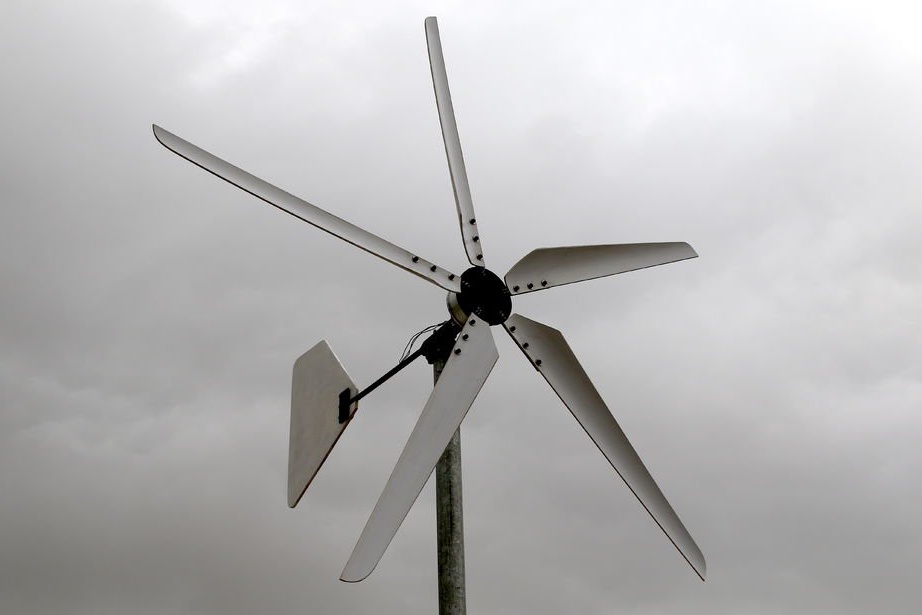
Step Six: Tail
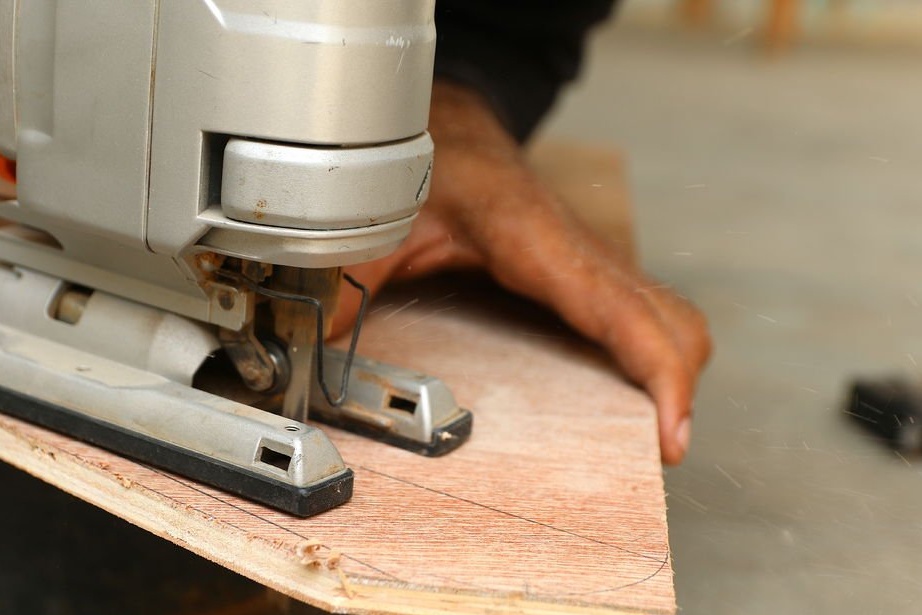
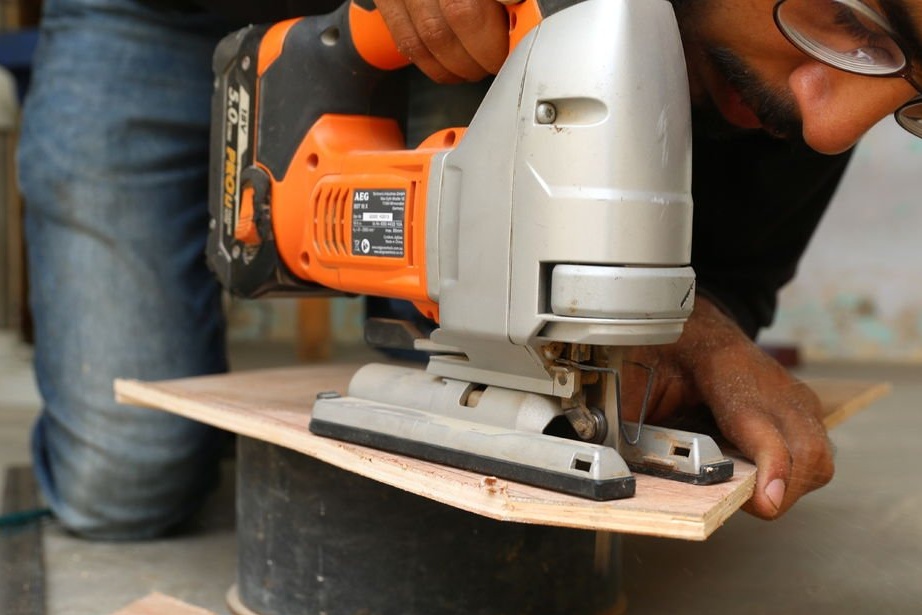
The tail master cut 10 mm from plywood. The tail is attached using two metal plates and a hexagonal rod.
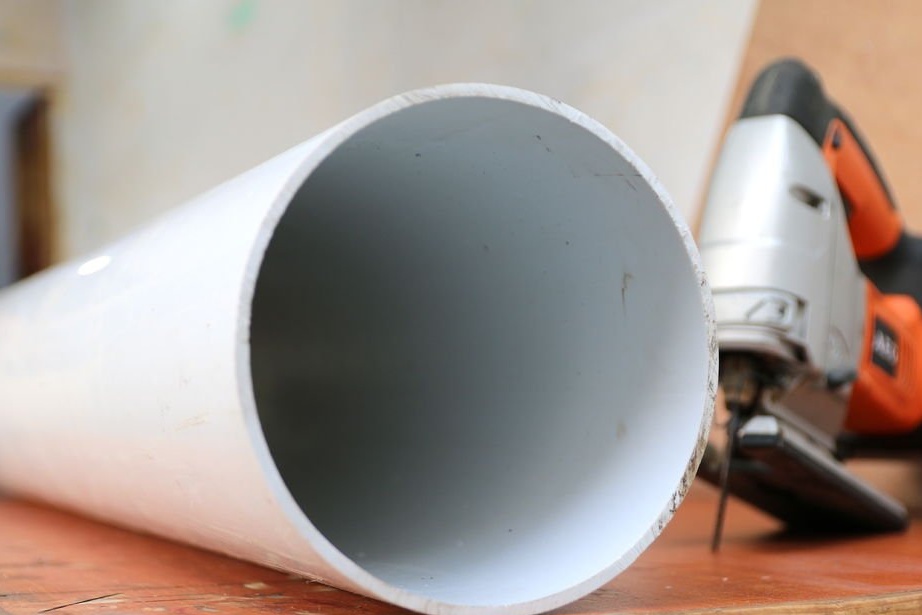
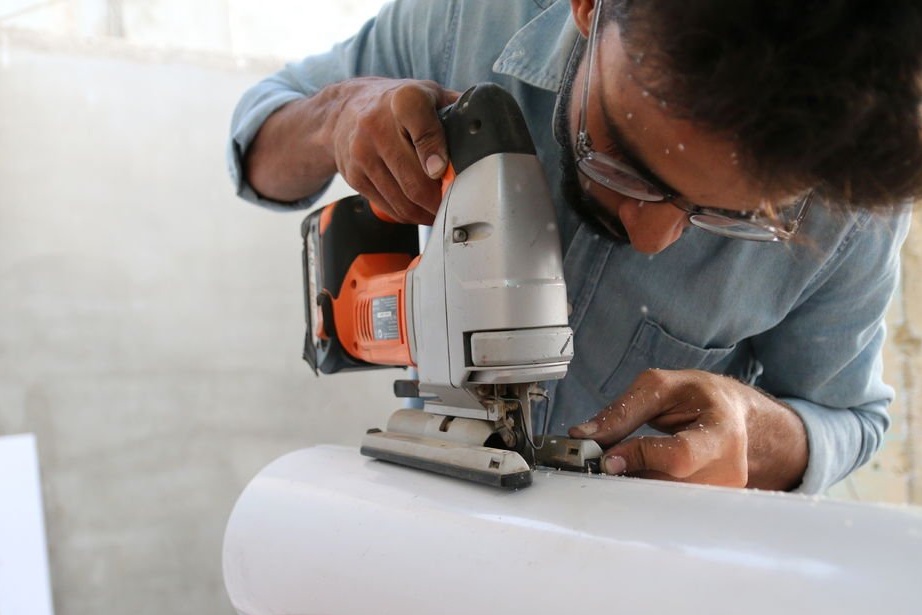
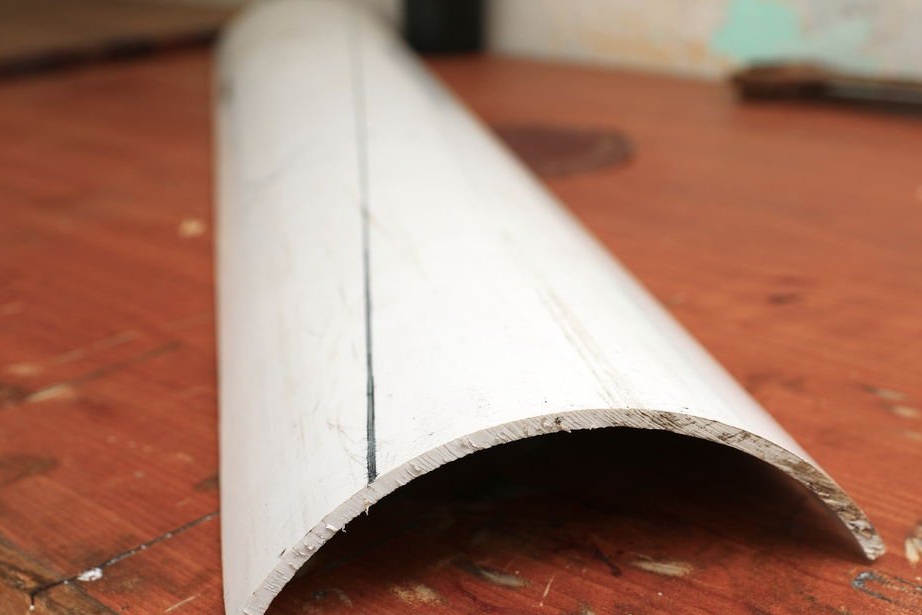
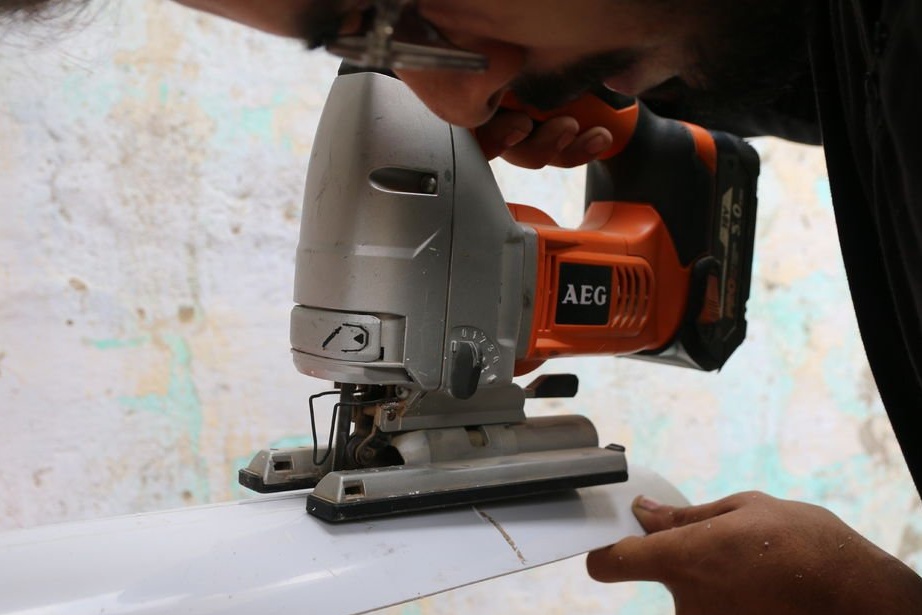
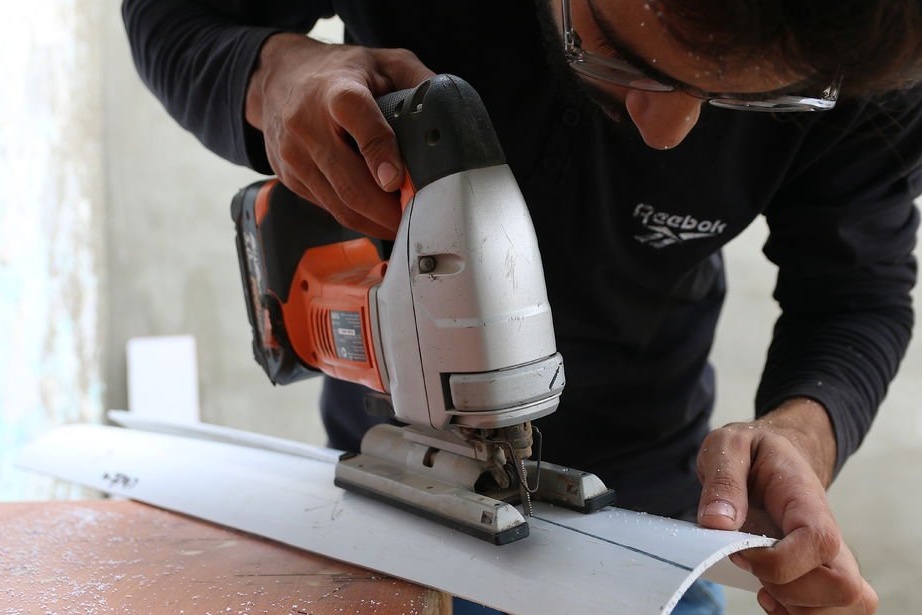
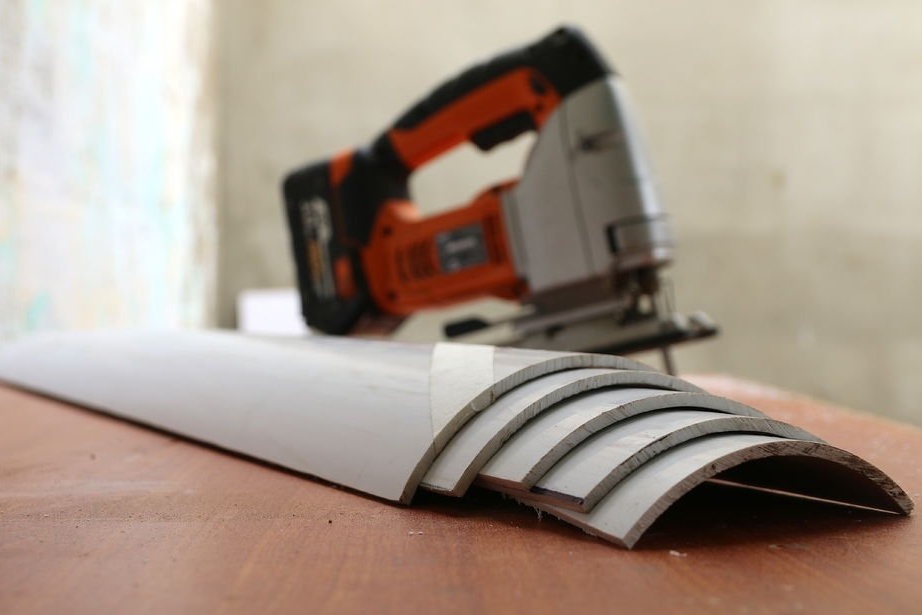
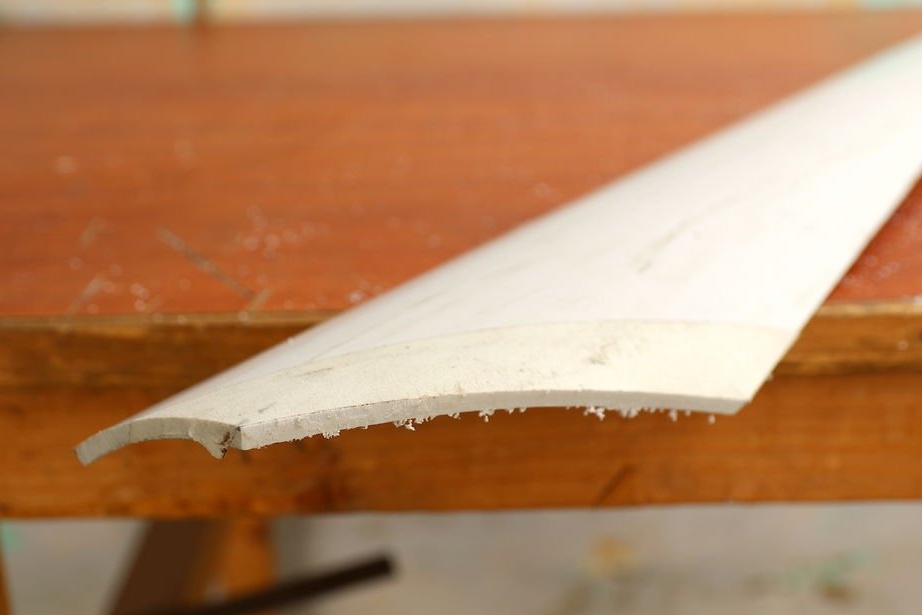
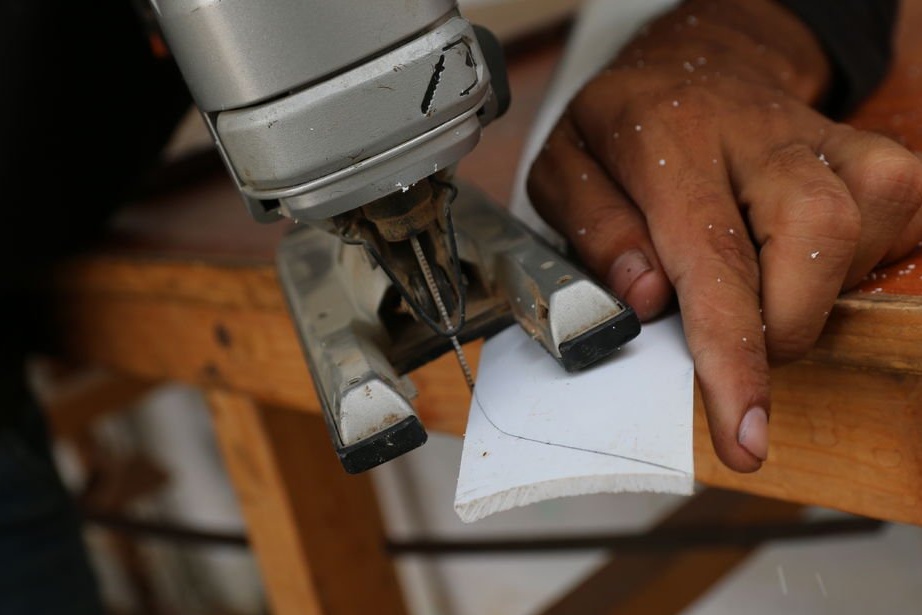
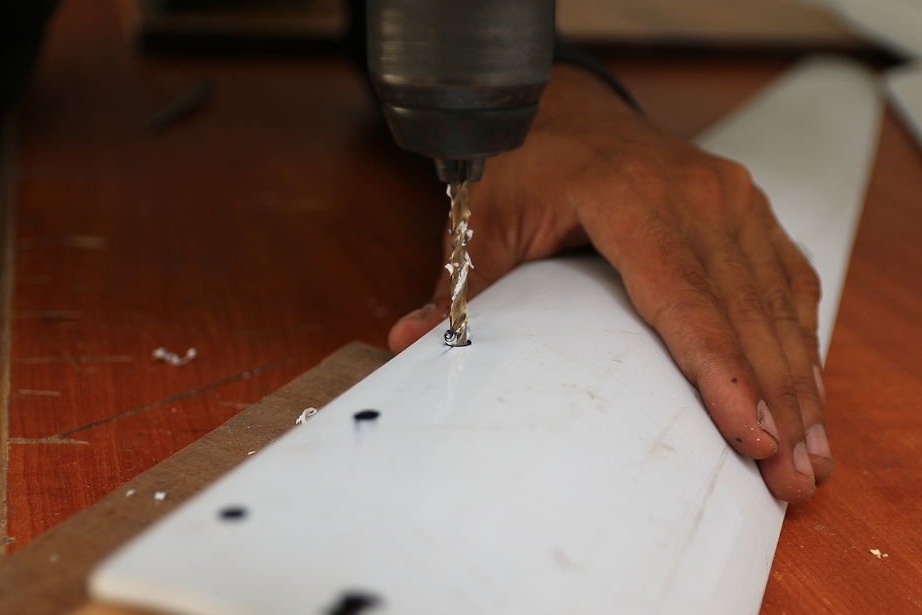
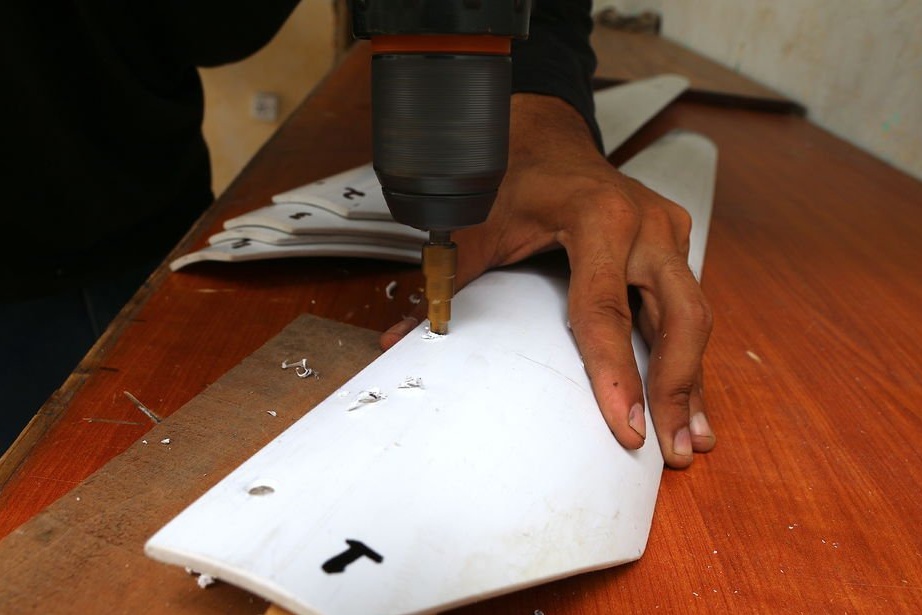
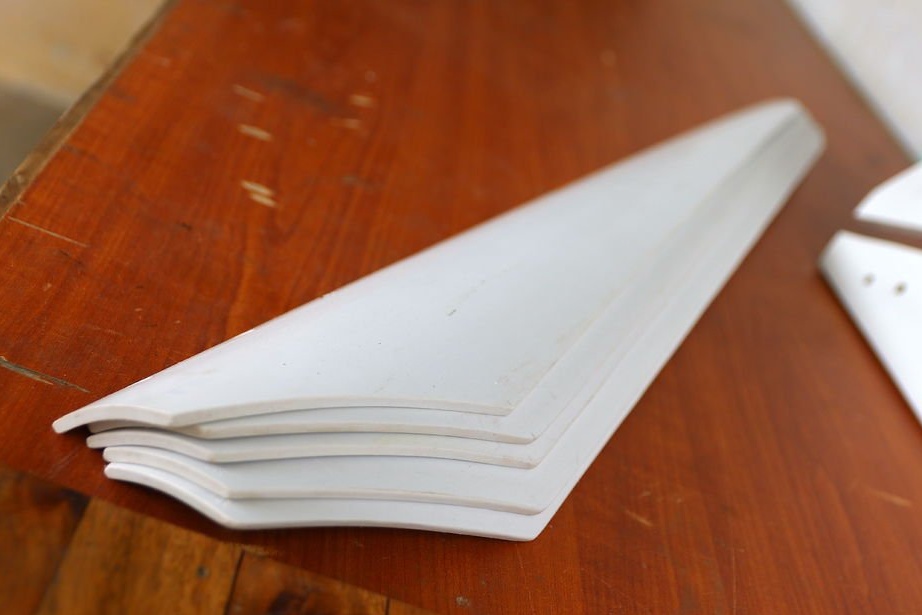
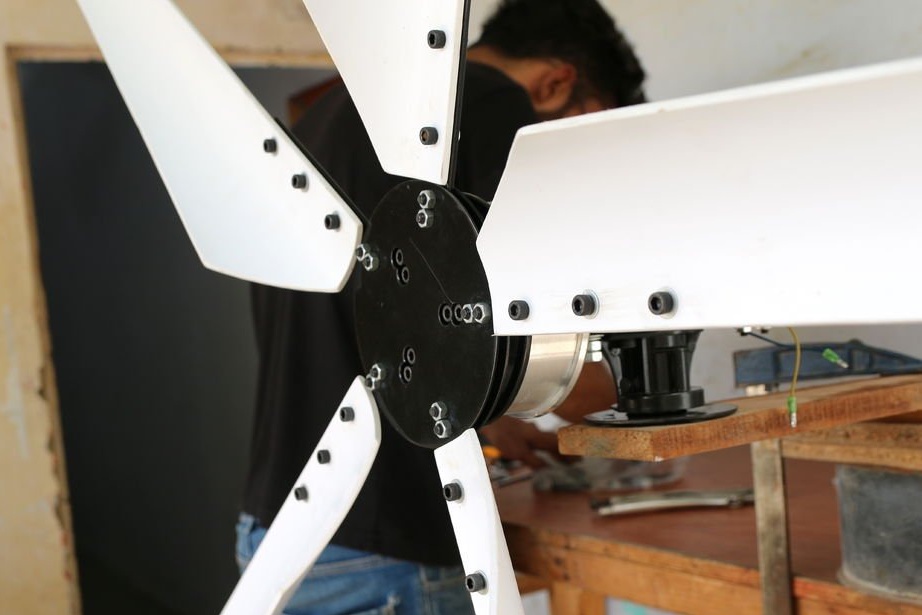
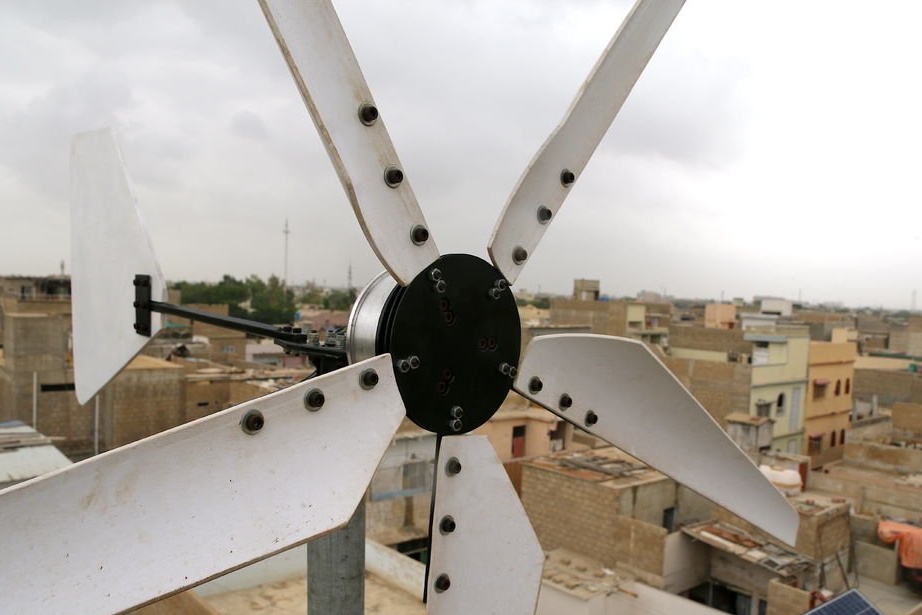
Seventh step: the blades
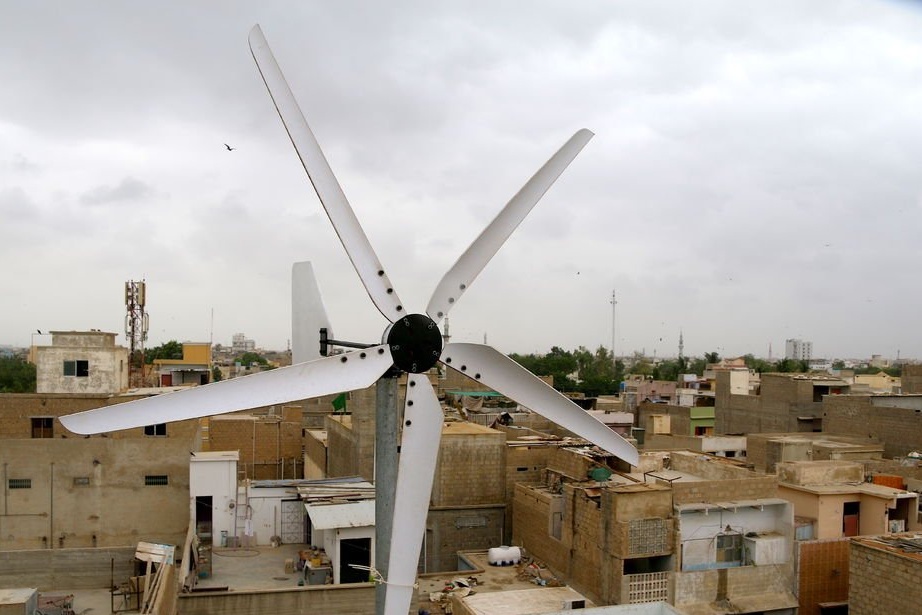
The master cut the blades from a plastic pipe. First, he carved one blade, and then used it as a template for making four more. The blades, with a total length of 101 cm, have a width of 13 cm in the wide, and 5 cm in the narrow part.


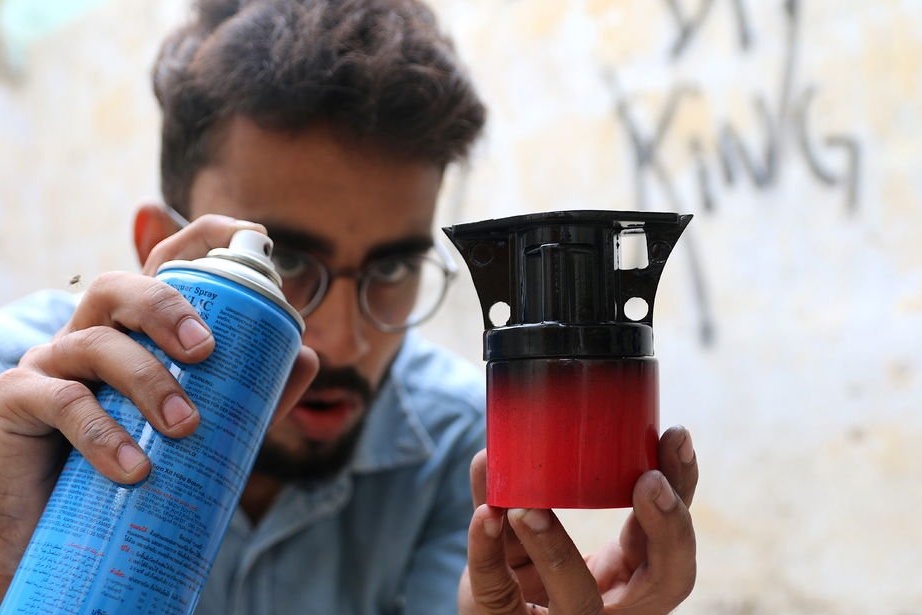
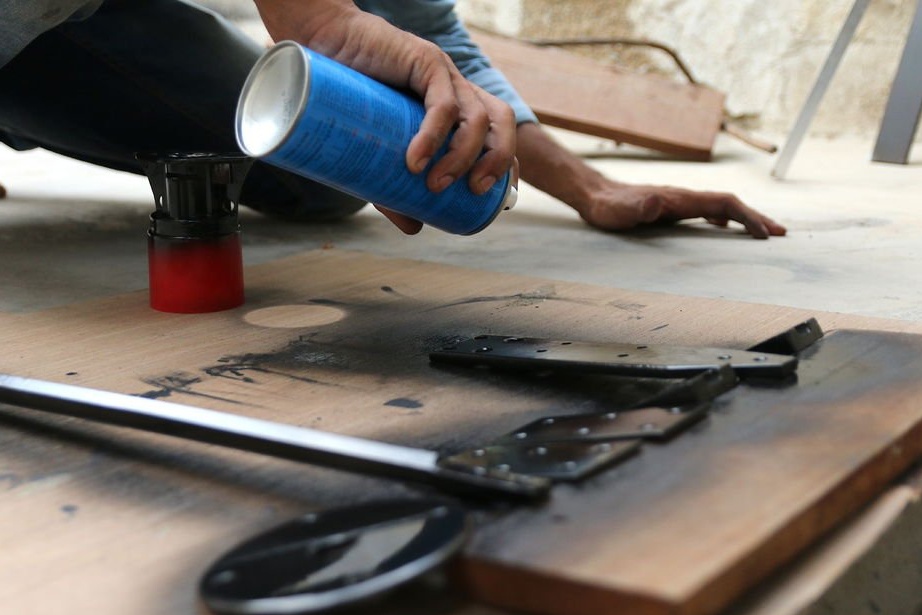
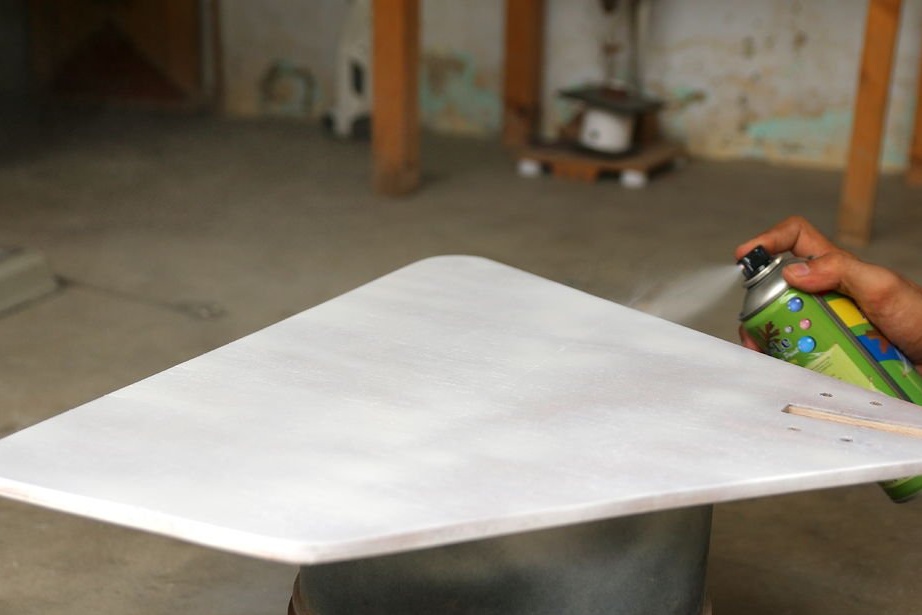
Step Eight: Painting
To protect parts from rust, coat them with paint.

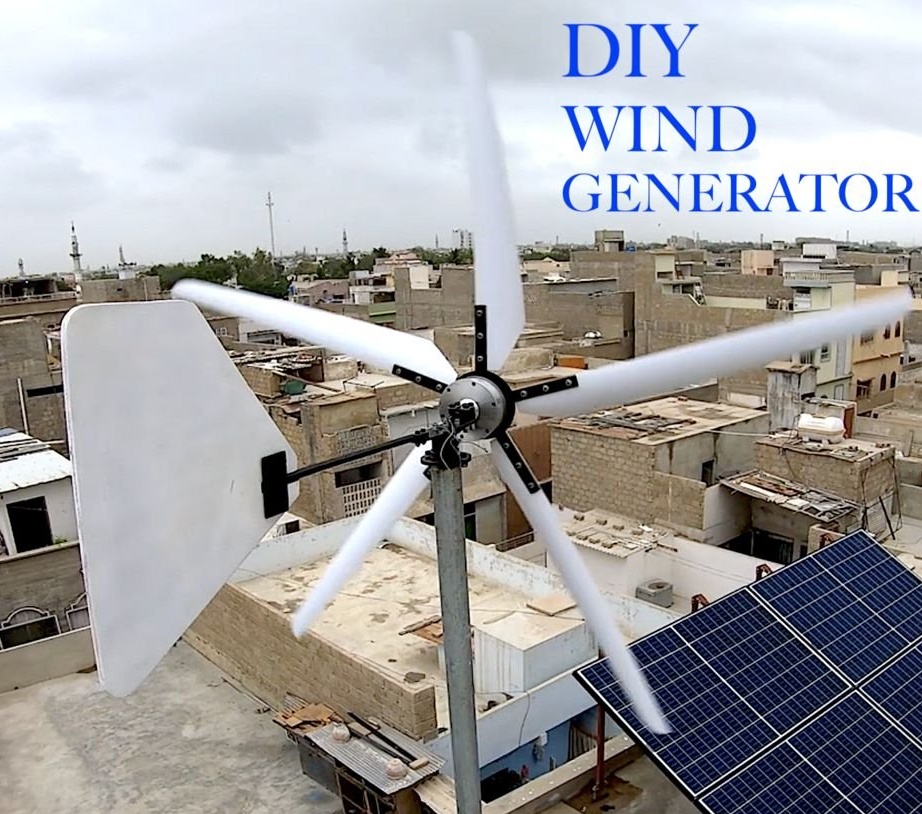
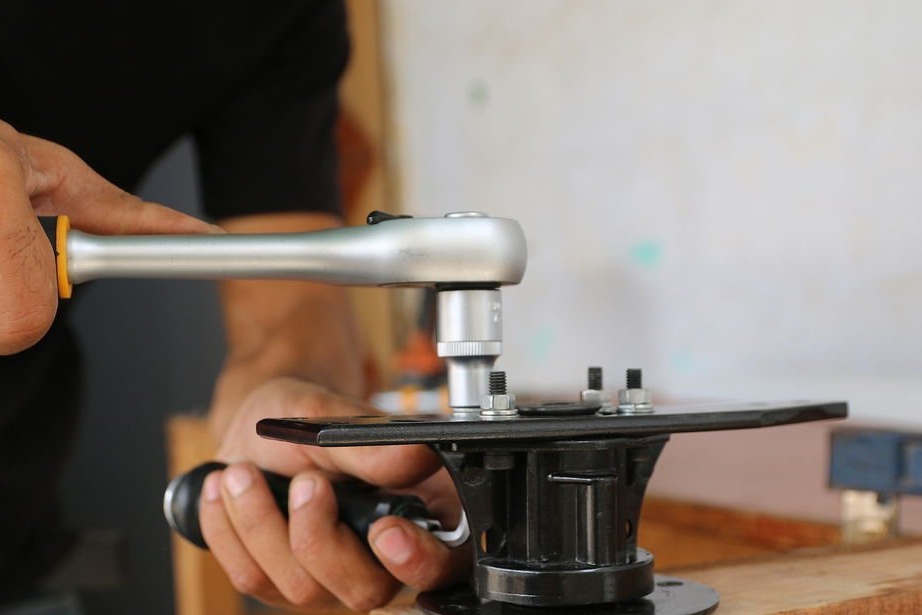
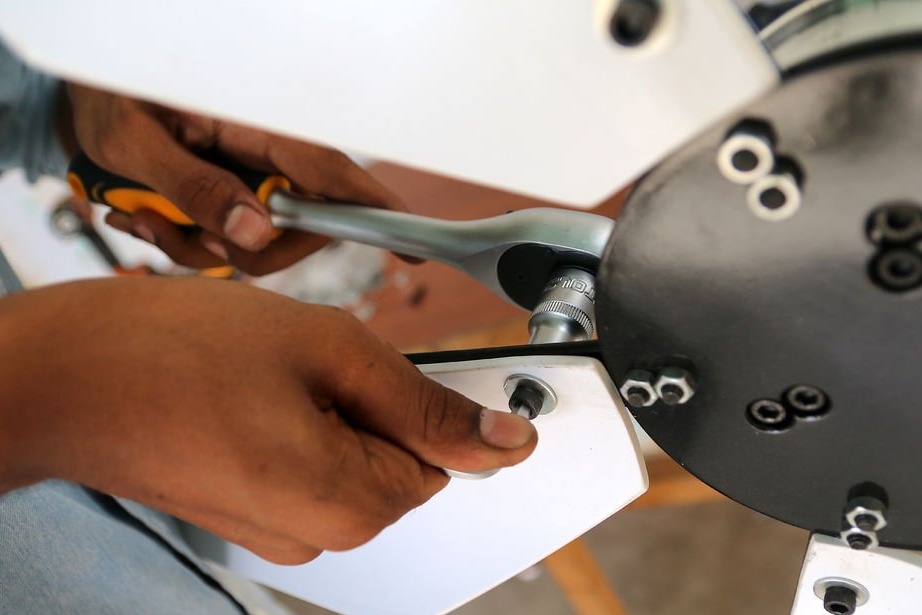
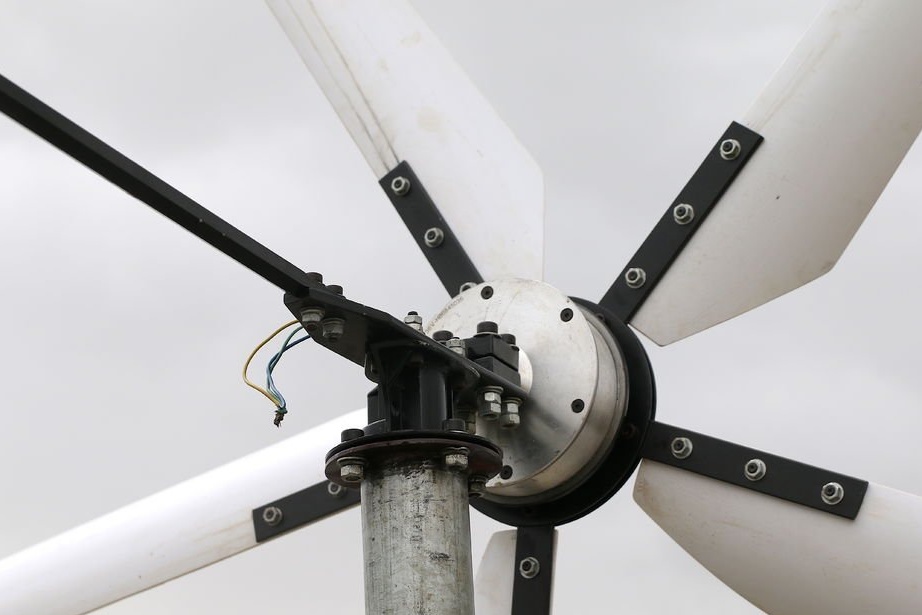
Step Nine: Build
When the parts dried, the master began to assemble.
Assembles a swivel mechanism.
Fastens the bracket.
The motor is attached to the bracket, and screwed onto the board (temporarily).
Fastens the tail.
Installs the blades.
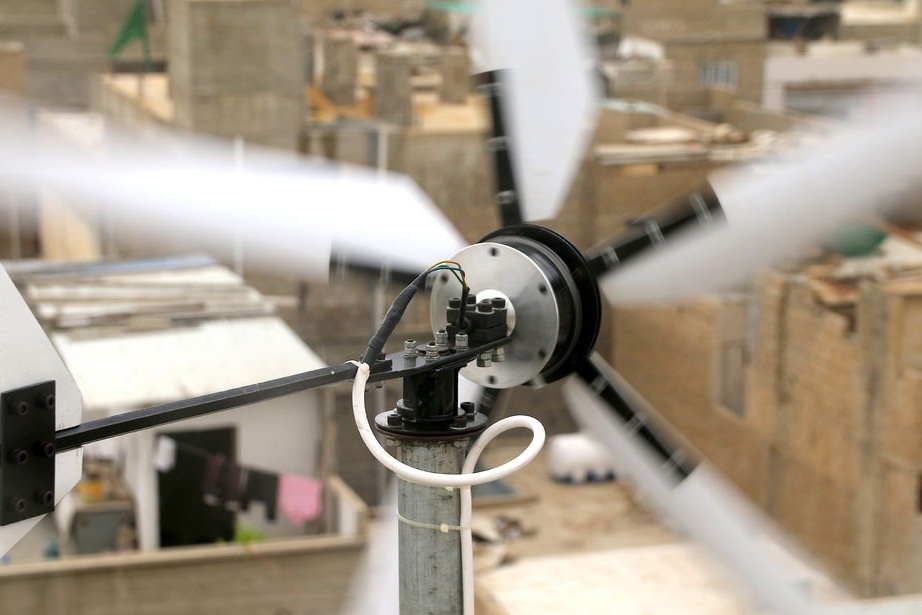
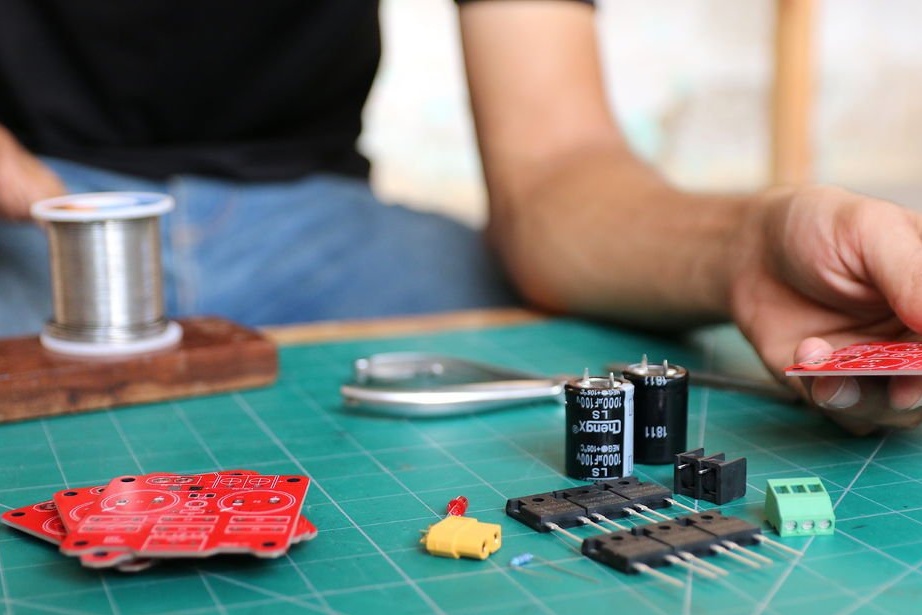
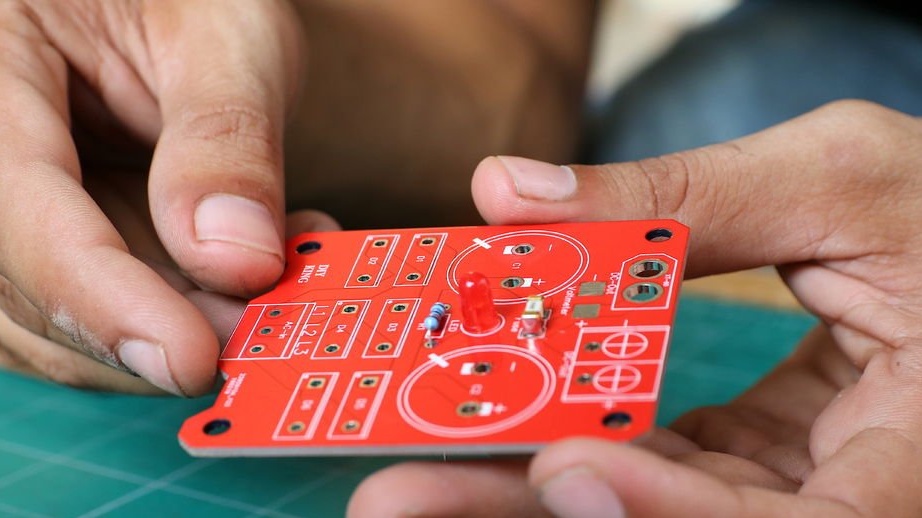
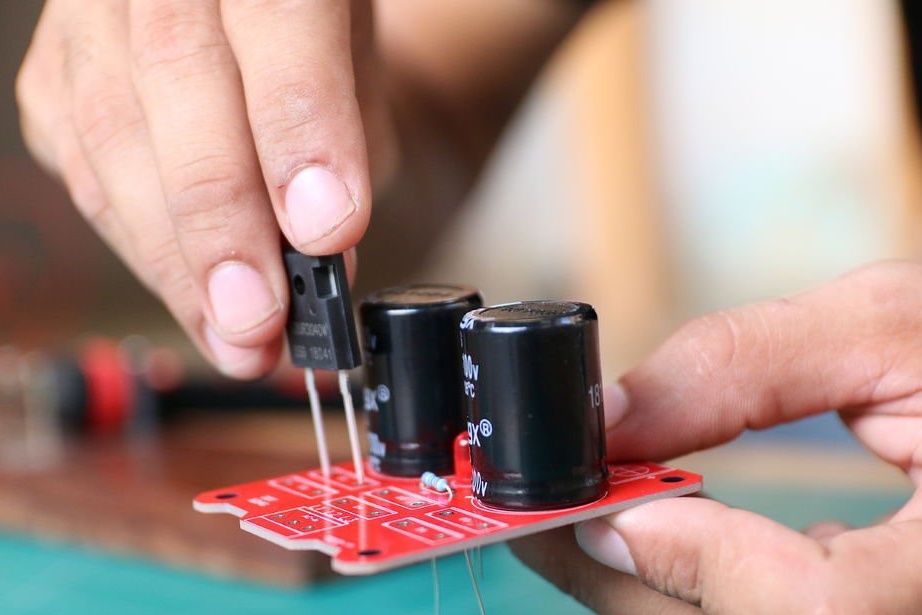
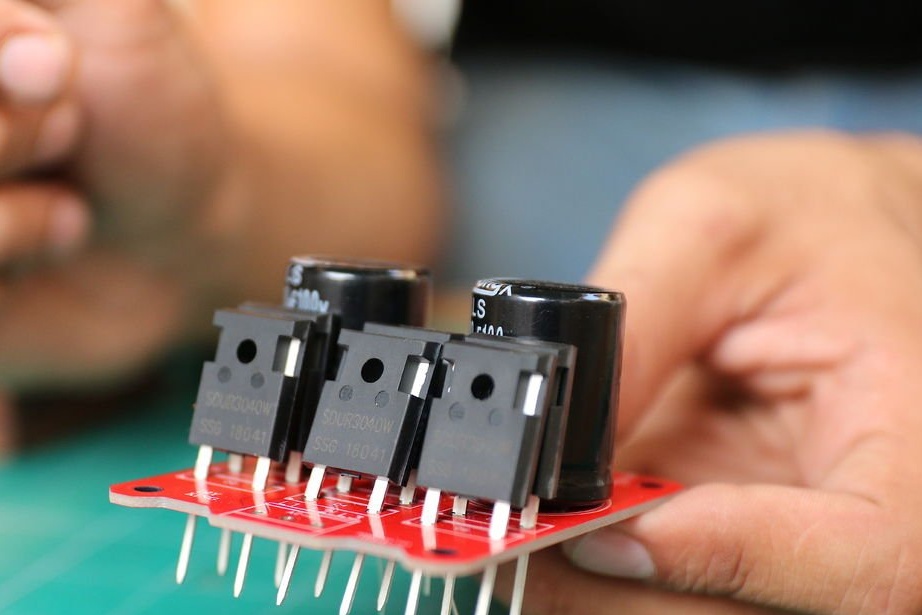
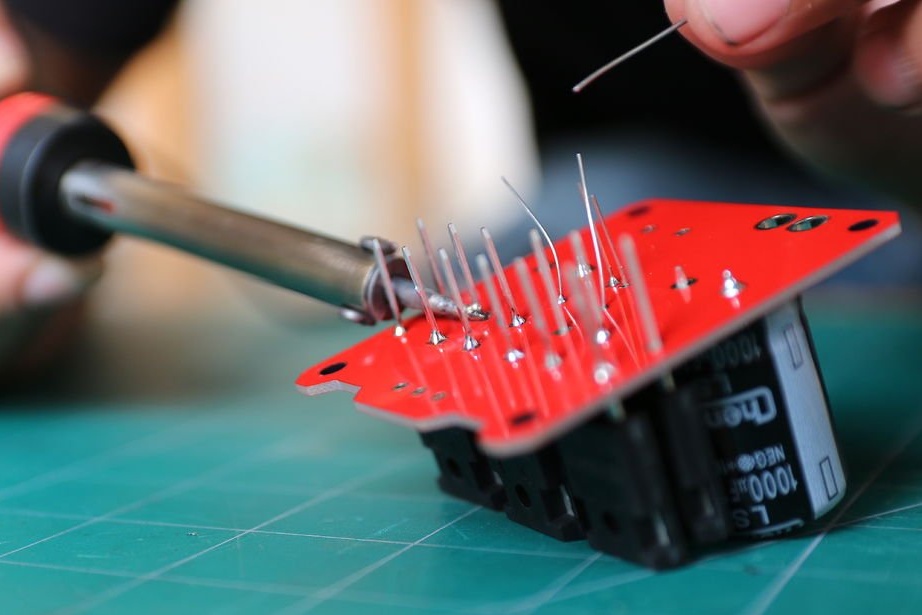
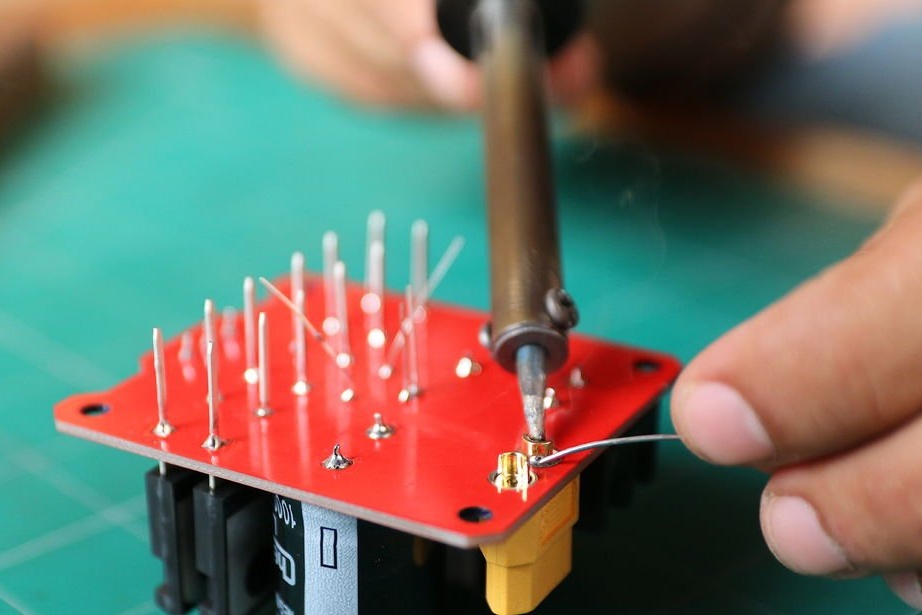
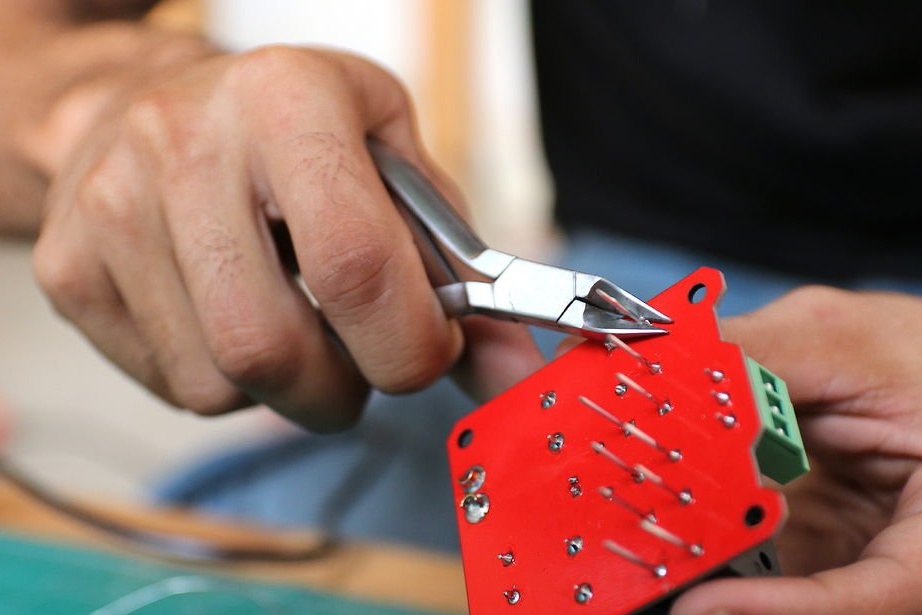
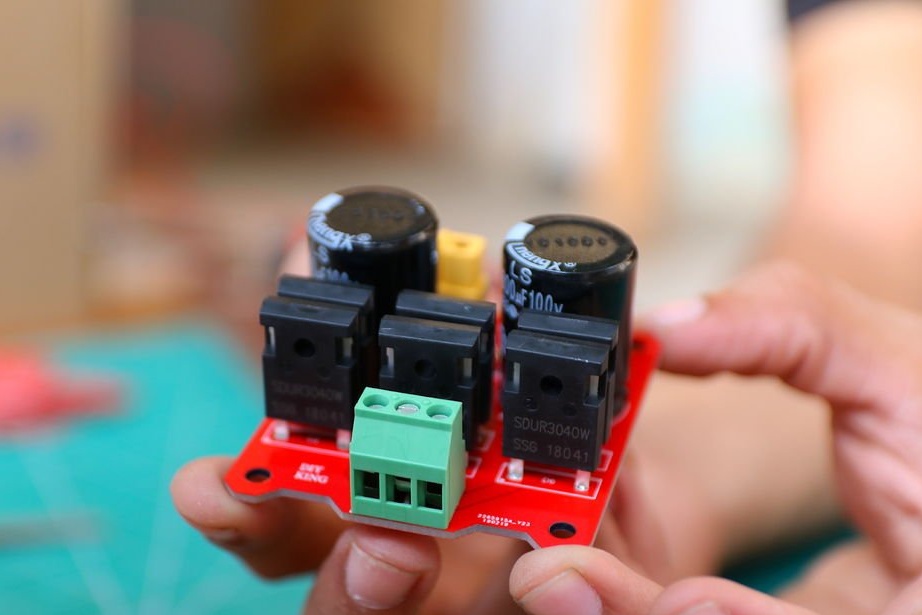
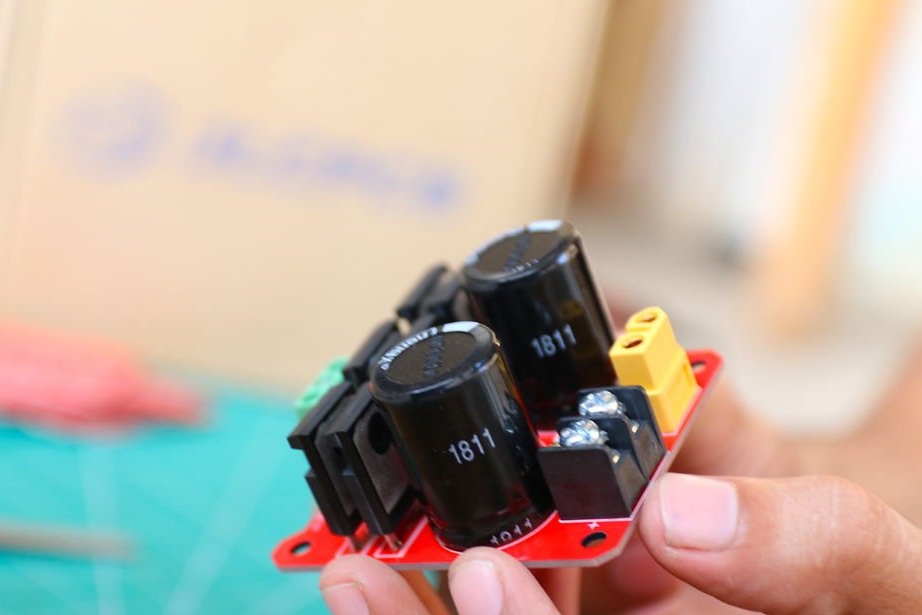
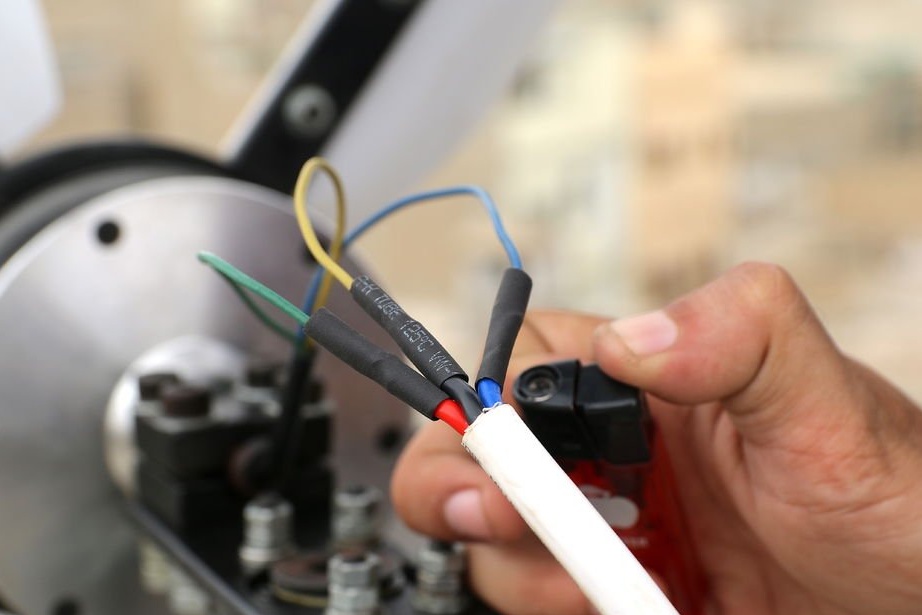
Step Ten: Rectifier
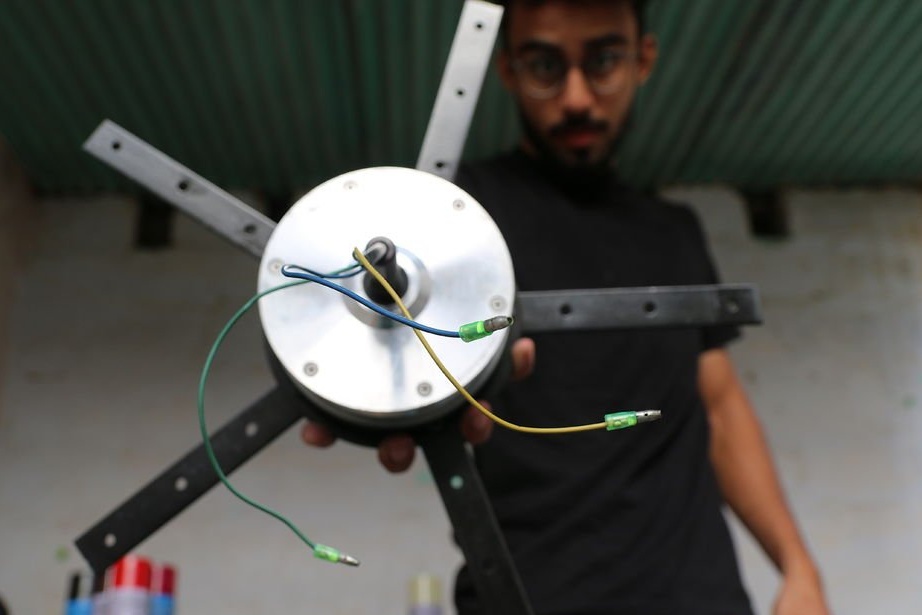
This motor, when the stator rotates, will generate a three-phase alternating current. To transform it into a permanent master, he designed and manufactured a rectifier.
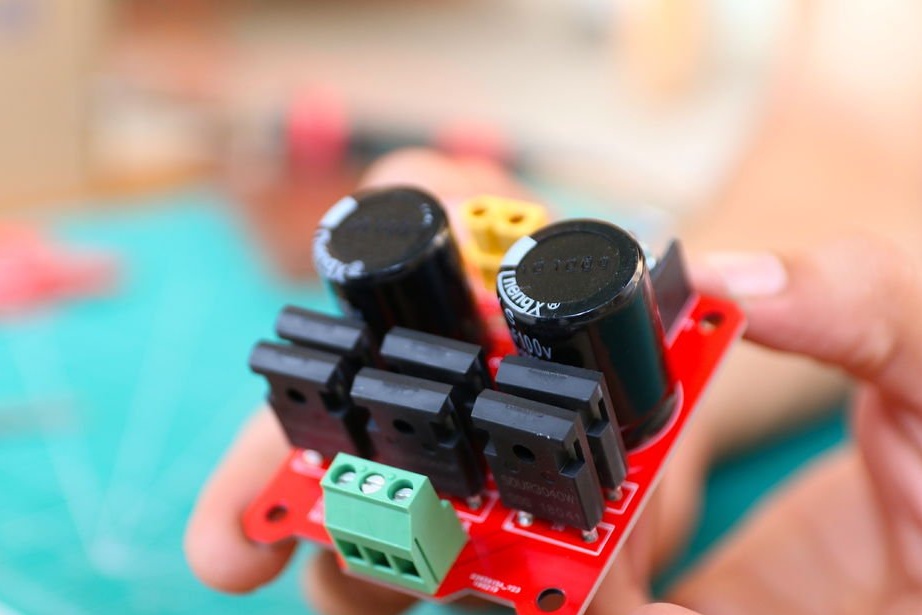

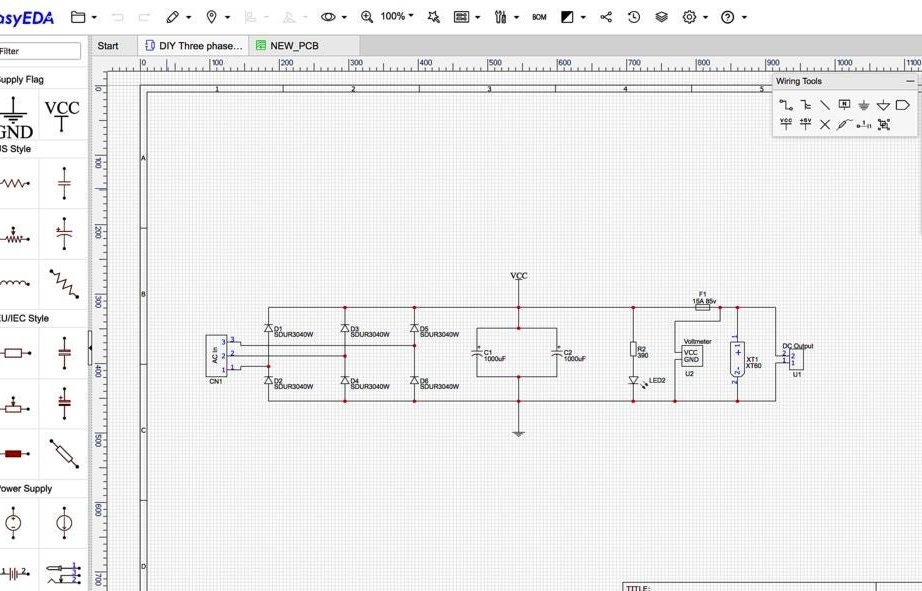
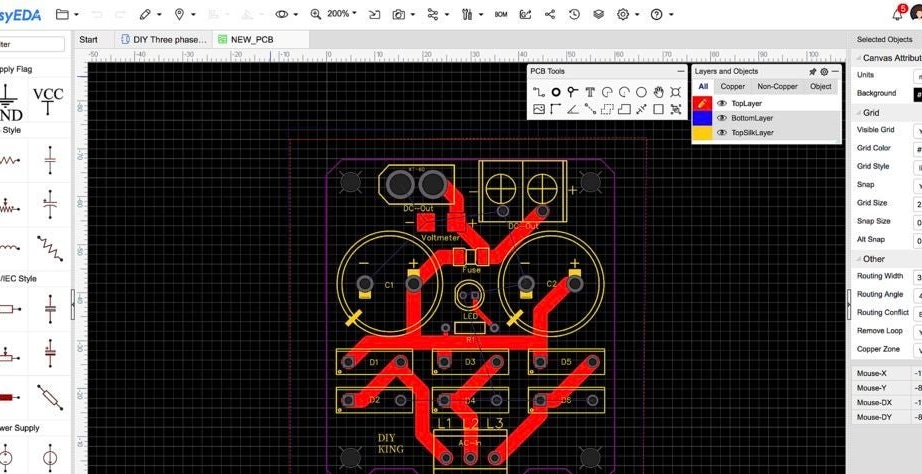
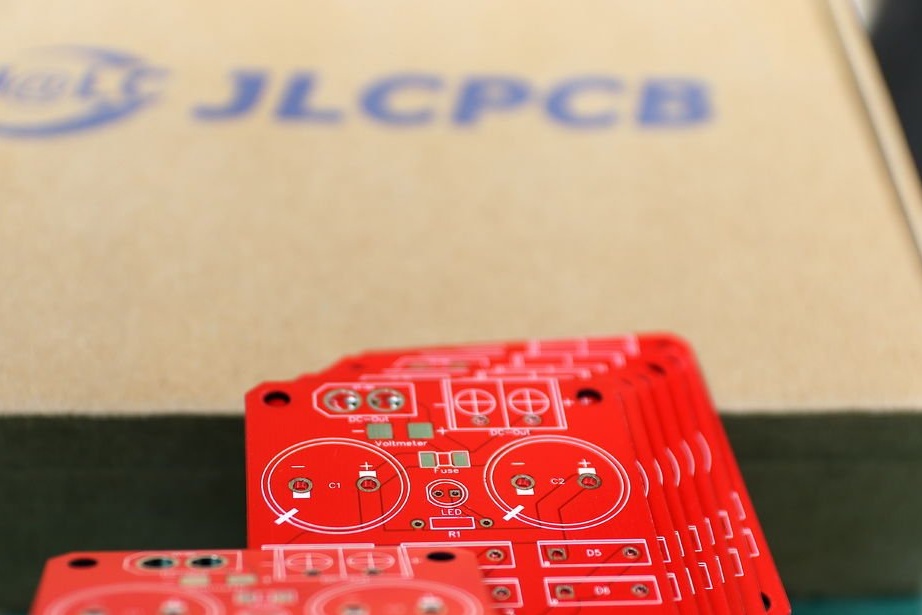
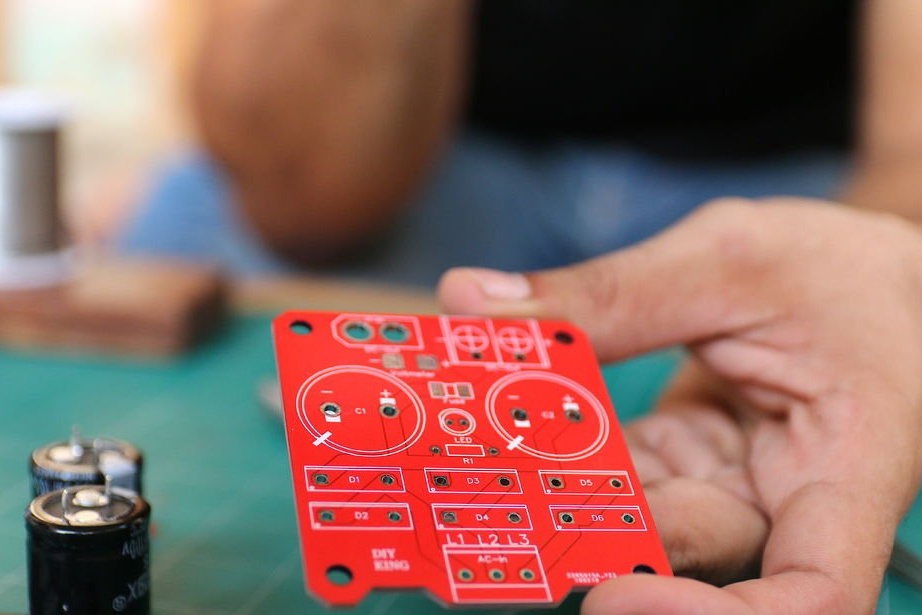
Printed circuit boards were not ordered by a specialized company. You can download a board sketch here.
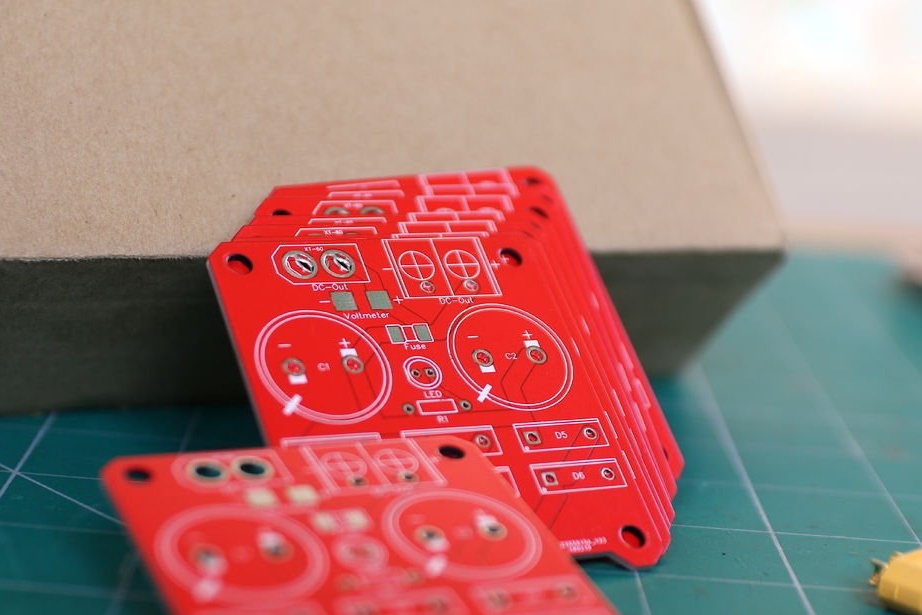
The master installs the rectifier.
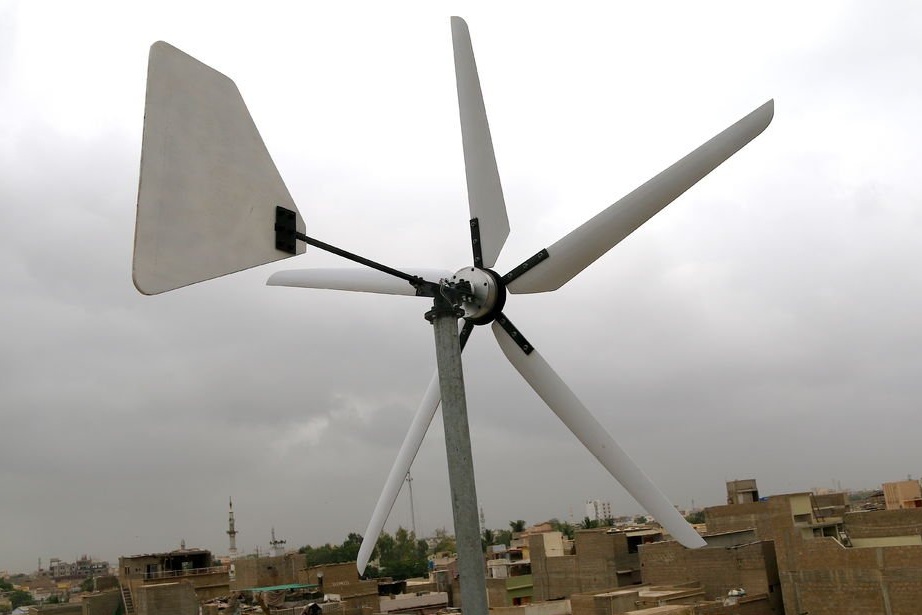
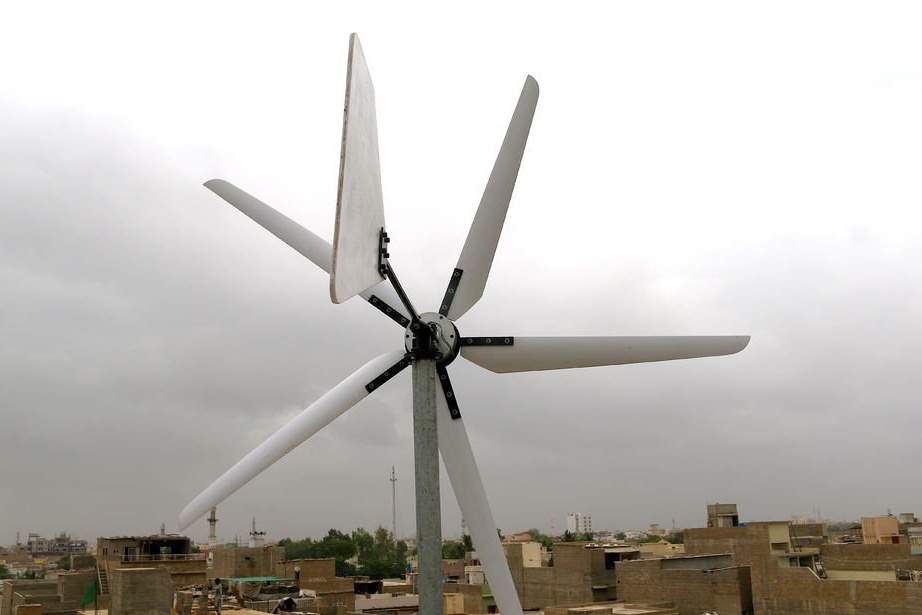
Step Eleven: Stand
The stand is made of galvanized pipe. The lower end is attached to the roof with a metal bracket. To the upper master welded a previously made mount.
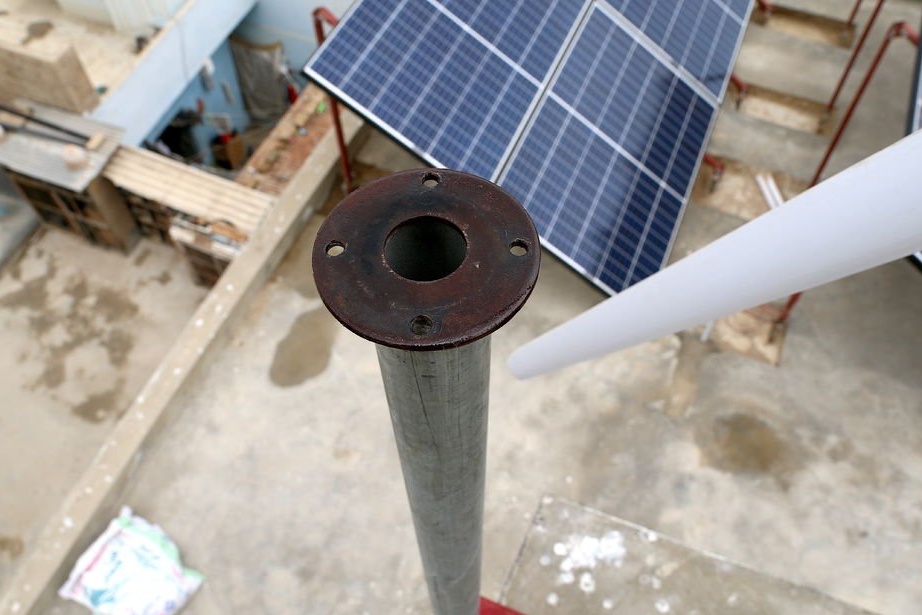
Screws the generator to the base.

Connects the generator to the rectifier.
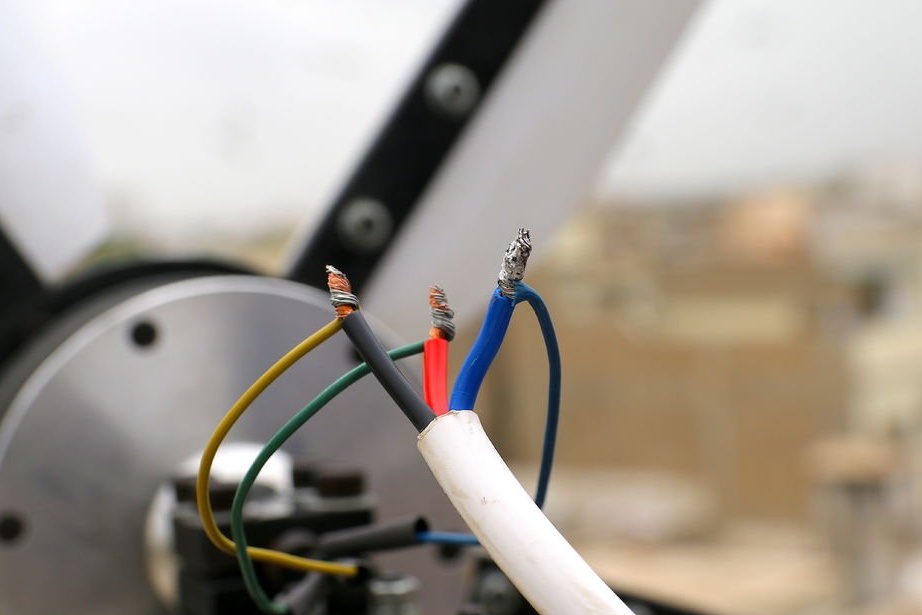
.With a rectifier unit attached to the generator, the generator is mounted on the top of the roof. Its height is almost 120 cm.

Further, the master connects, for the load, to the rectifier, a 12 V lead-acid battery, together with a step-down / step-up converter.
Tests of the generator showed that at a wind speed of 5 to 7 m / s, the generator has the following characteristics:
Voltage 12-15 V
Current 10-14 A
Power is about 150 watts.


The whole process of assembling a wind generator can be seen in the video.