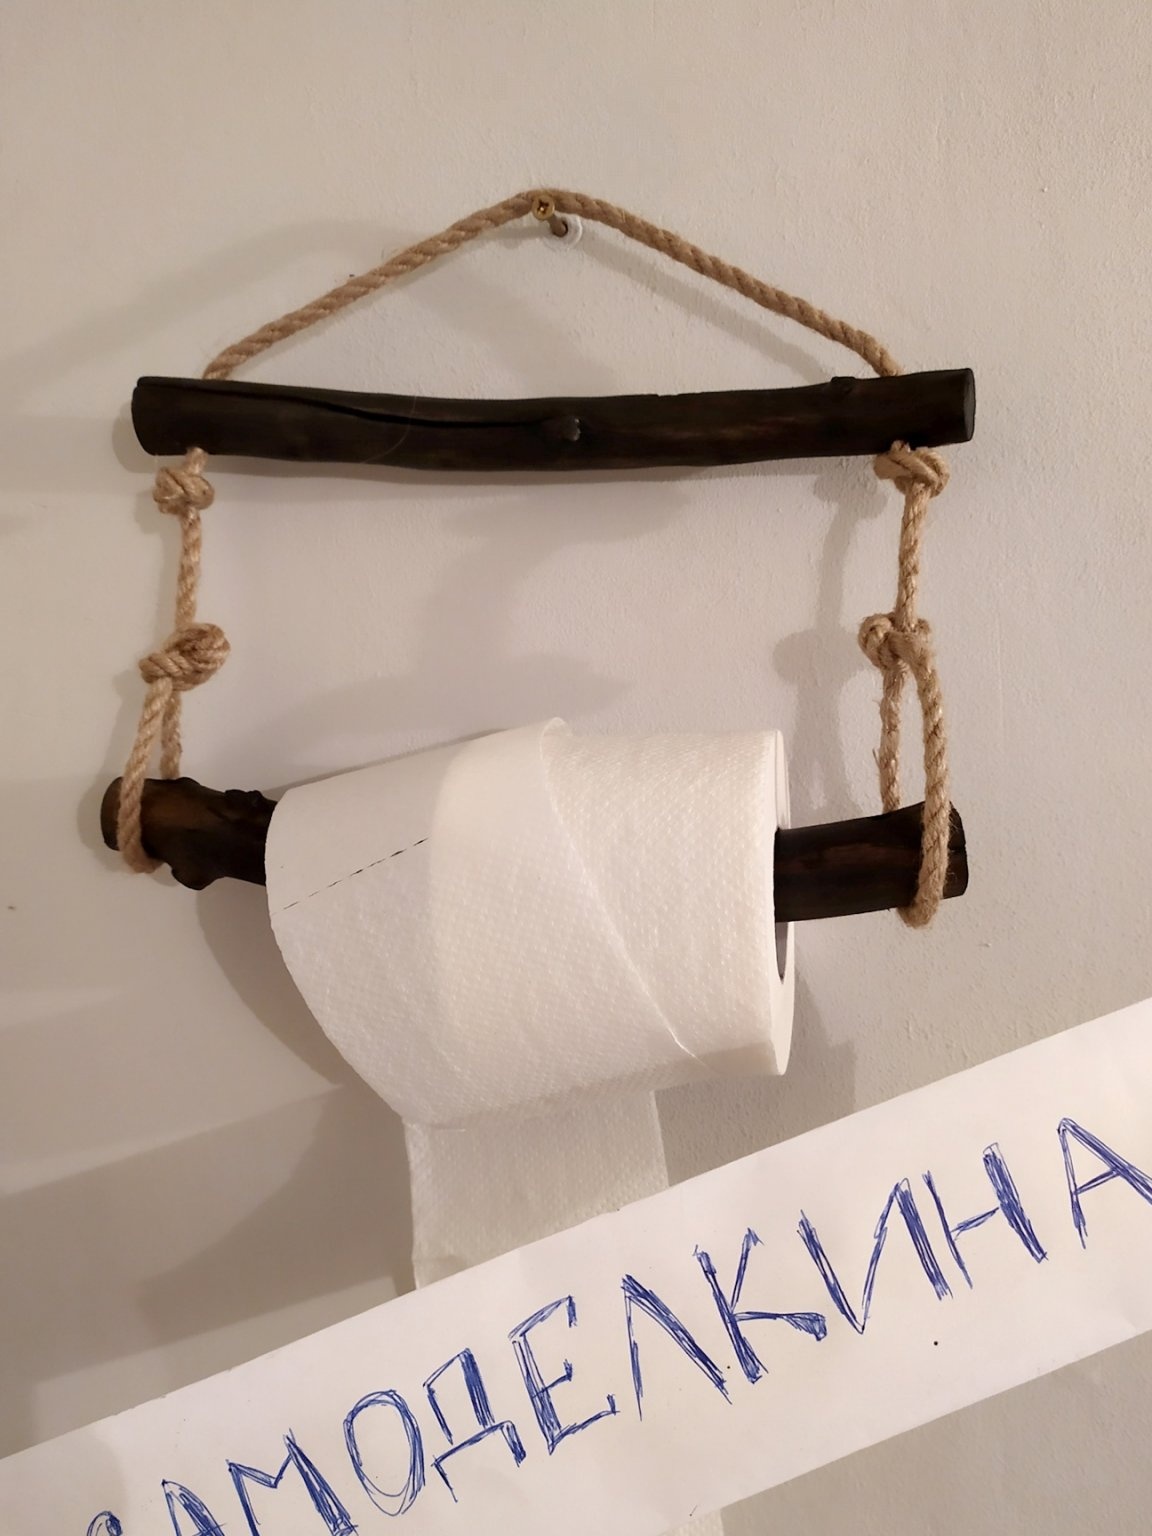
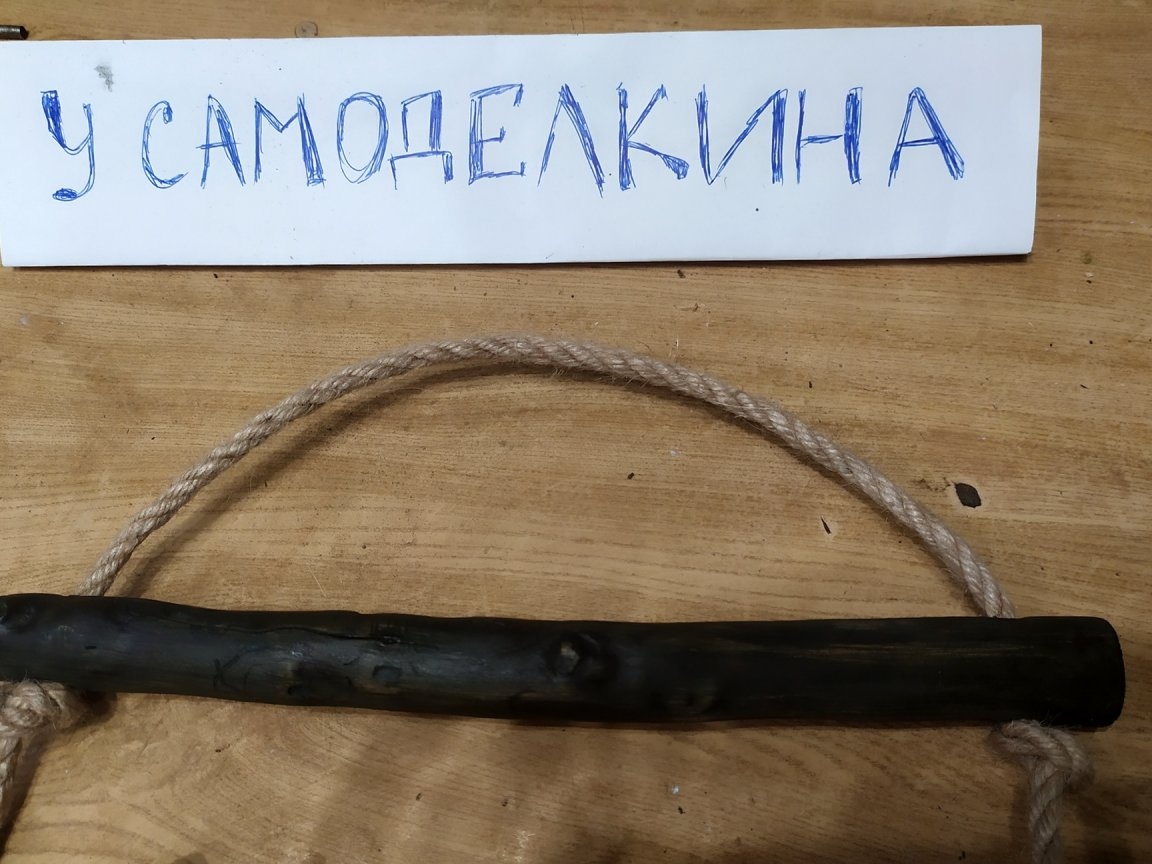
Nowadays, crafts from dry branches and snags are very popular. Who would have thought, but even with such interesting materials, you can decorate the interior. And if you have some free time and a desire to create, then you can also save a lot. I bring to your attention a holder for toilet paper from branches.
Tools and materials:
- Dry old branches
- Stain of any color
- Electric jigsaw
- drill
- Drills of different widths
- brush
- Jar for stain
- A jute rope, or another pretty rope
- Craft paper
- scissors
- A pen
- Acrylic lacquer
- A knife for a tree, or another sharp knife
- Roulette
- glue
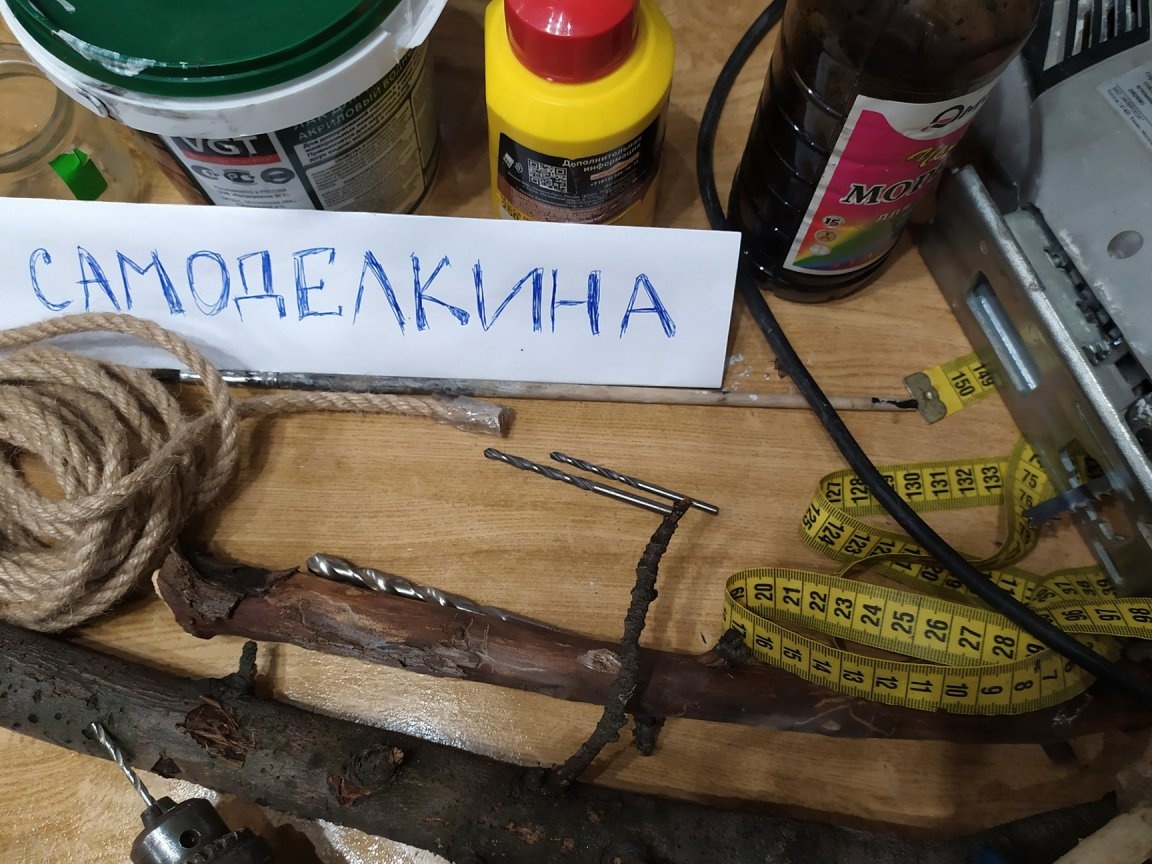
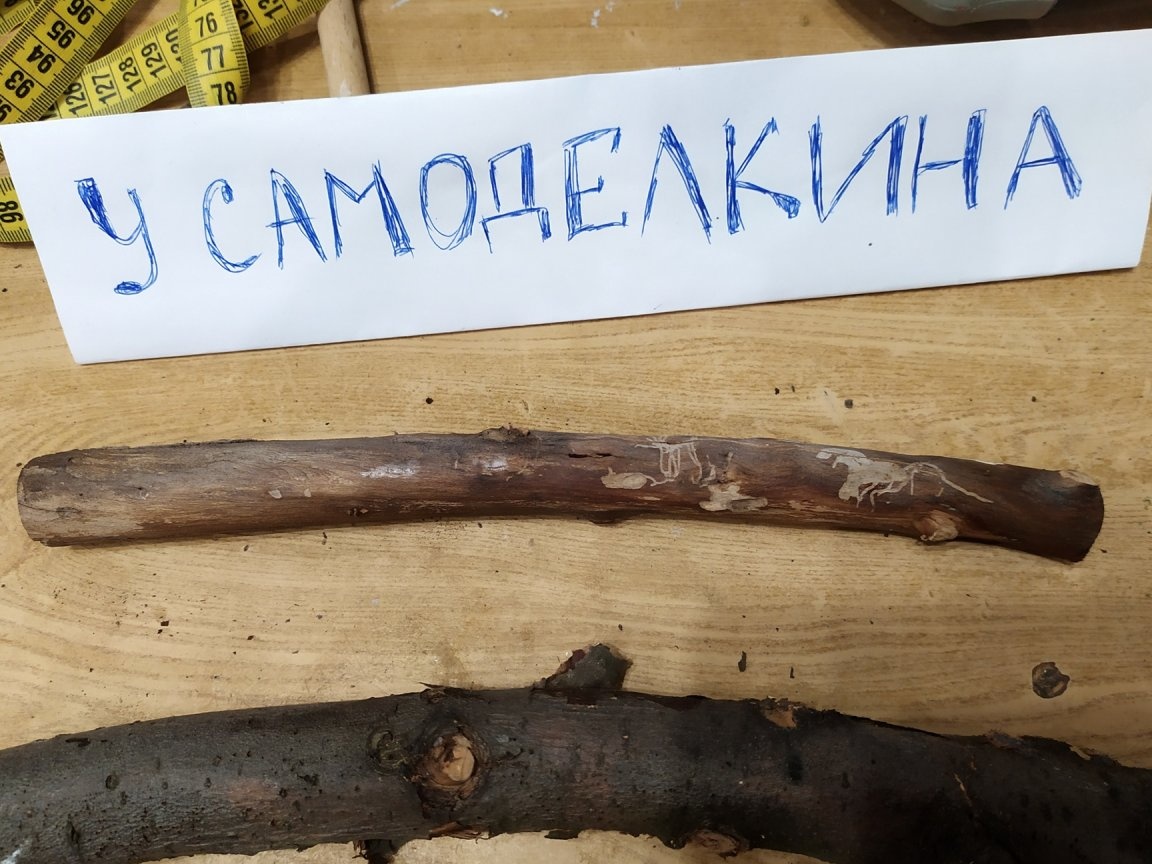
So, first of all, we will find the right sticks. I think it’s not a problem at all to find dry branches on the street. Especially if you have a forest or planting nearby. I used sprigs of dry walnut, which was recently cut in our yard.
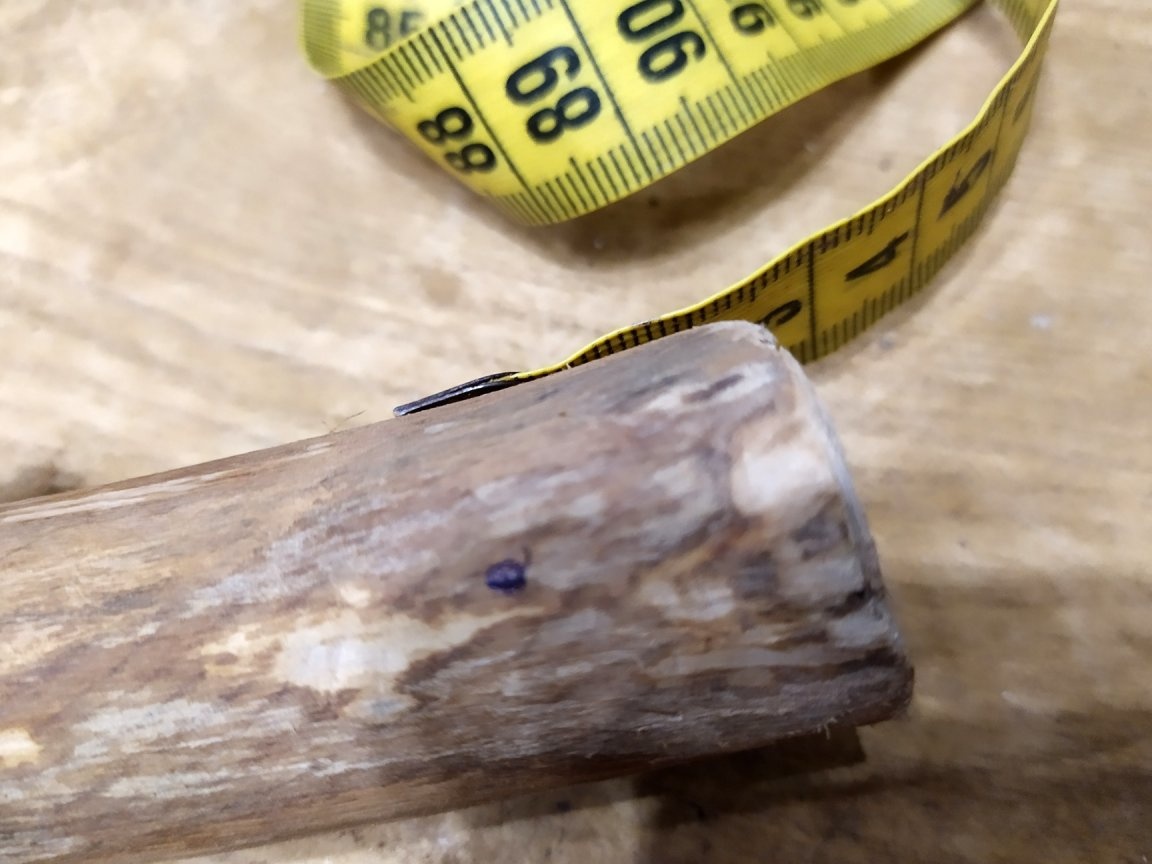
The diameter of the branches should be such that a rope can be passed through them. I have it about 20-30mm.
First of all, we decide what size we need. I decided to do it wider, since toilet paper is different so that there are no problems in the future. We select the most even sections on our branch. We will have two crossbars, therefore we need to choose two sections. I decided to do 24cm long. I mark the desired distance.

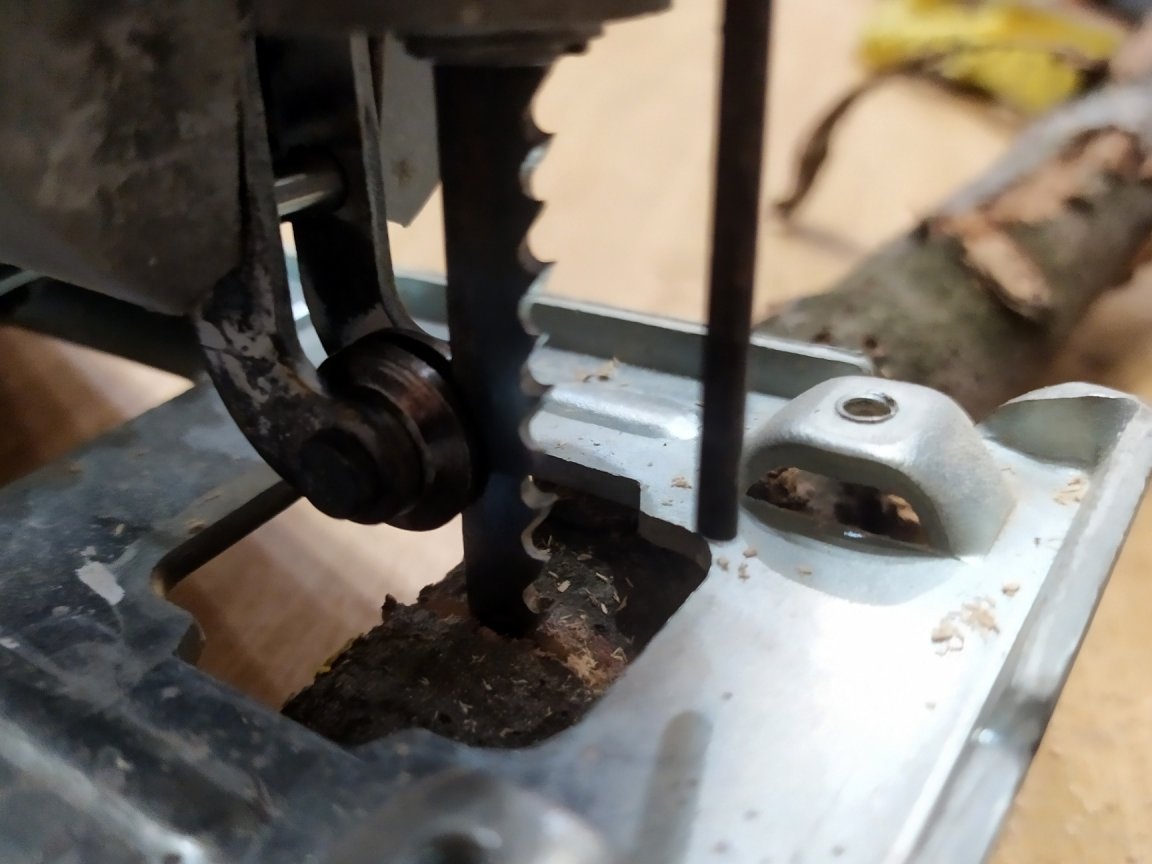
Now we start to cut. I use an electric jigsaw with a wood file, it cuts such a thing well enough.
To get started, you need to trim all the bulging parts, all the knots and small twigs. Right under the root, you don’t need to, just shorten it so that they do not interfere. Get rid of them completely does not work, therefore, let them become a decoration.
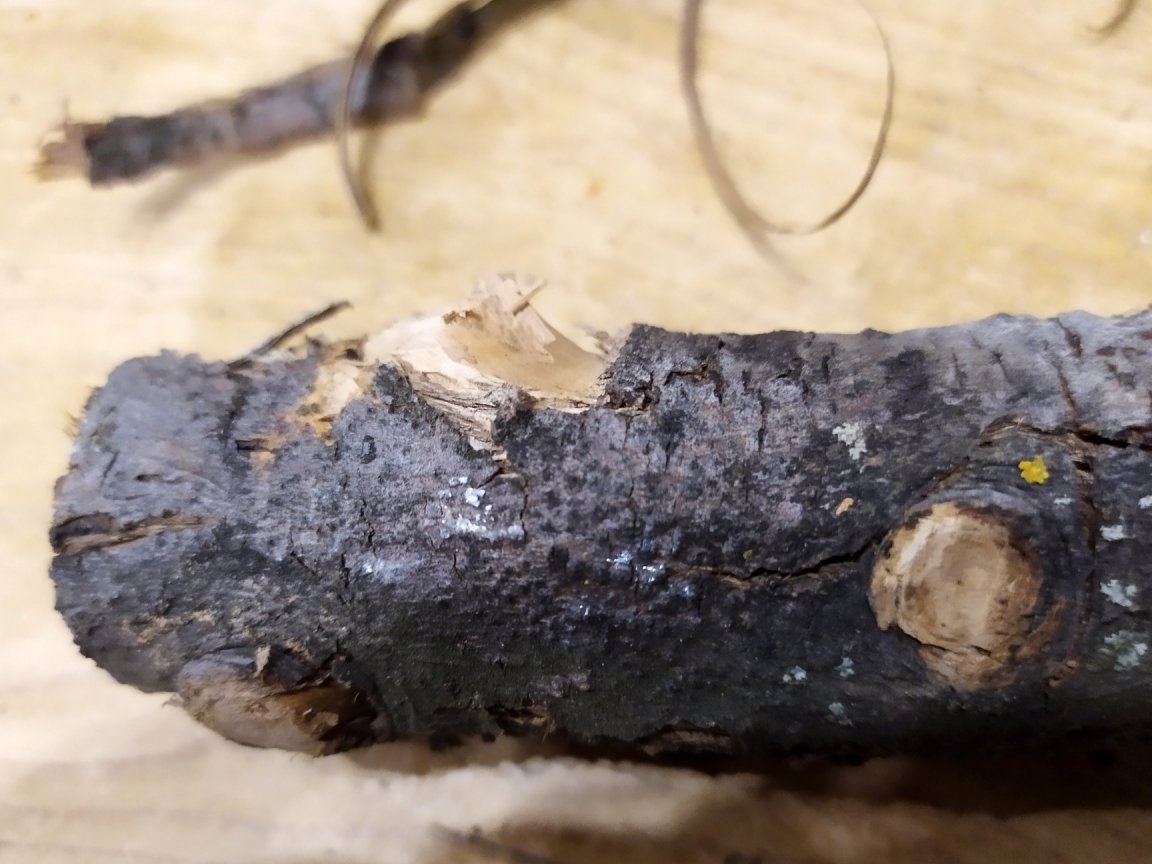
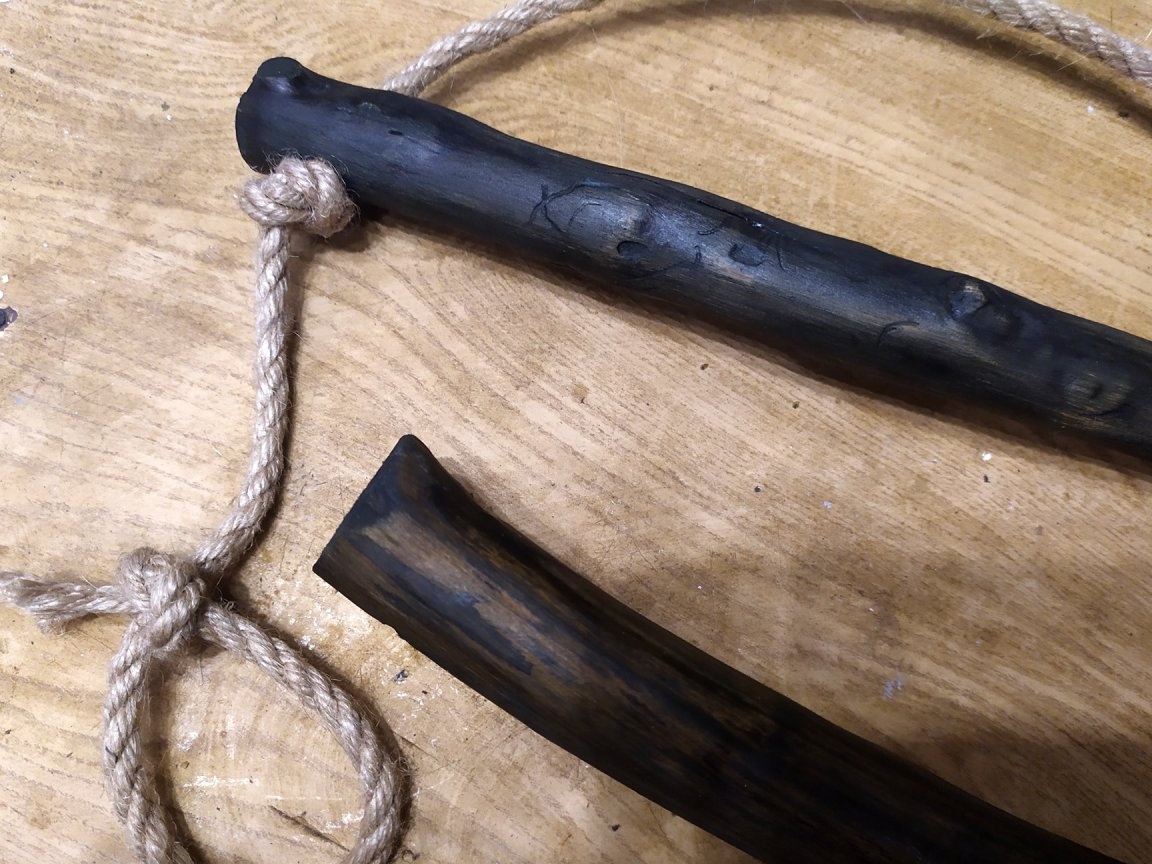
After we cut off the first crossbar, repeat again, and cut off the second. It so happened that one is a little "thinner", and it’s even good, it will look better.
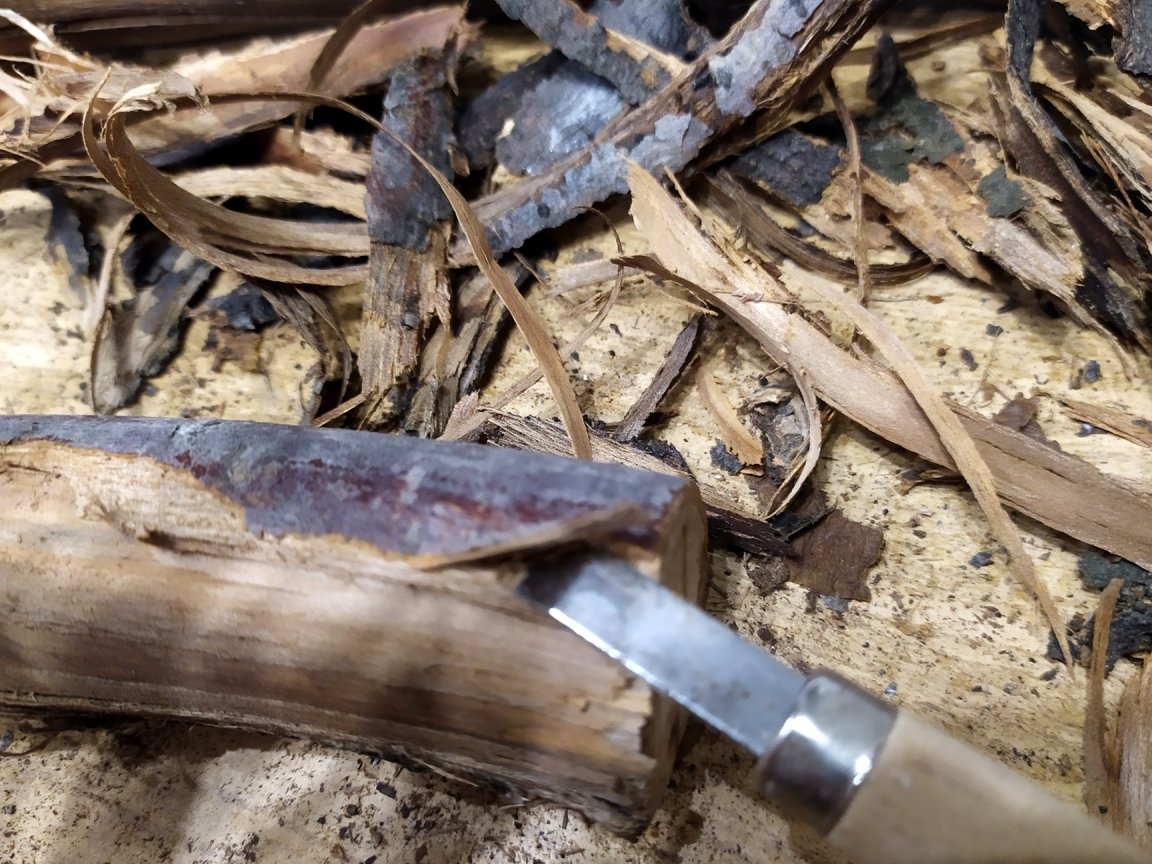
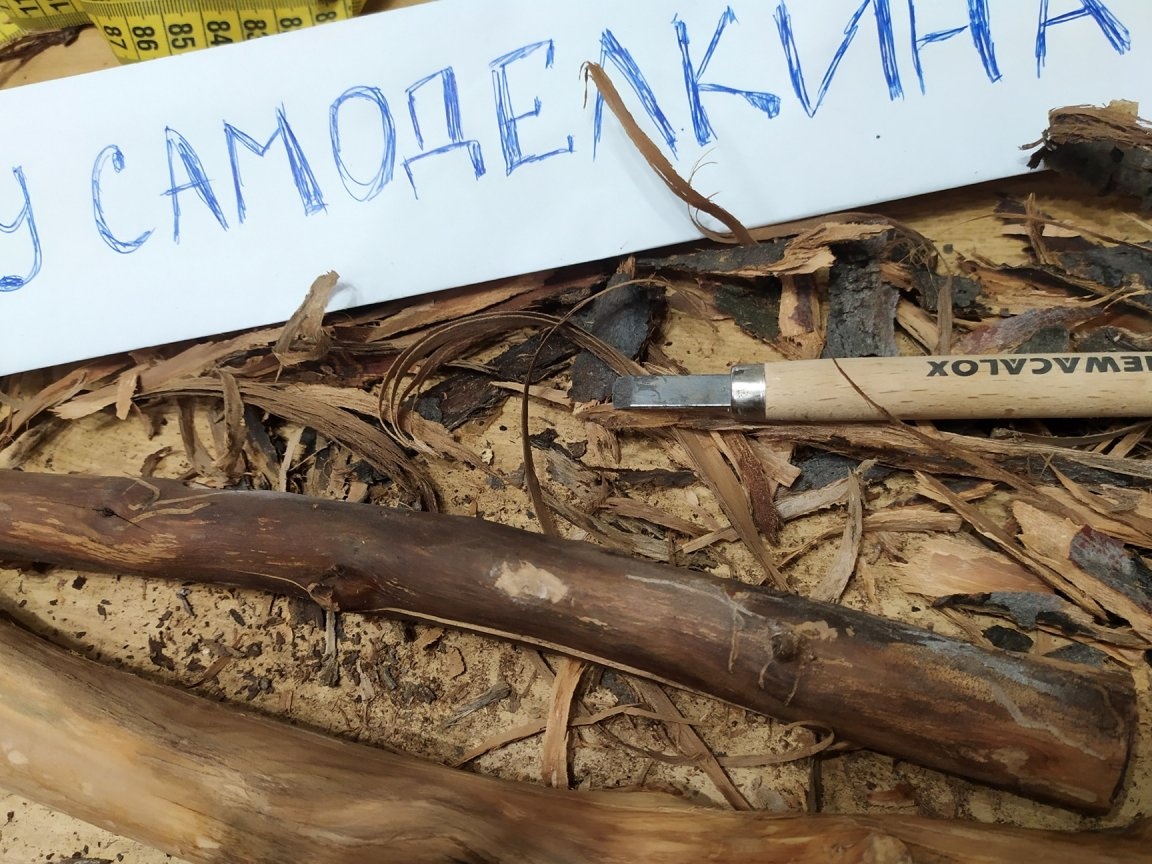
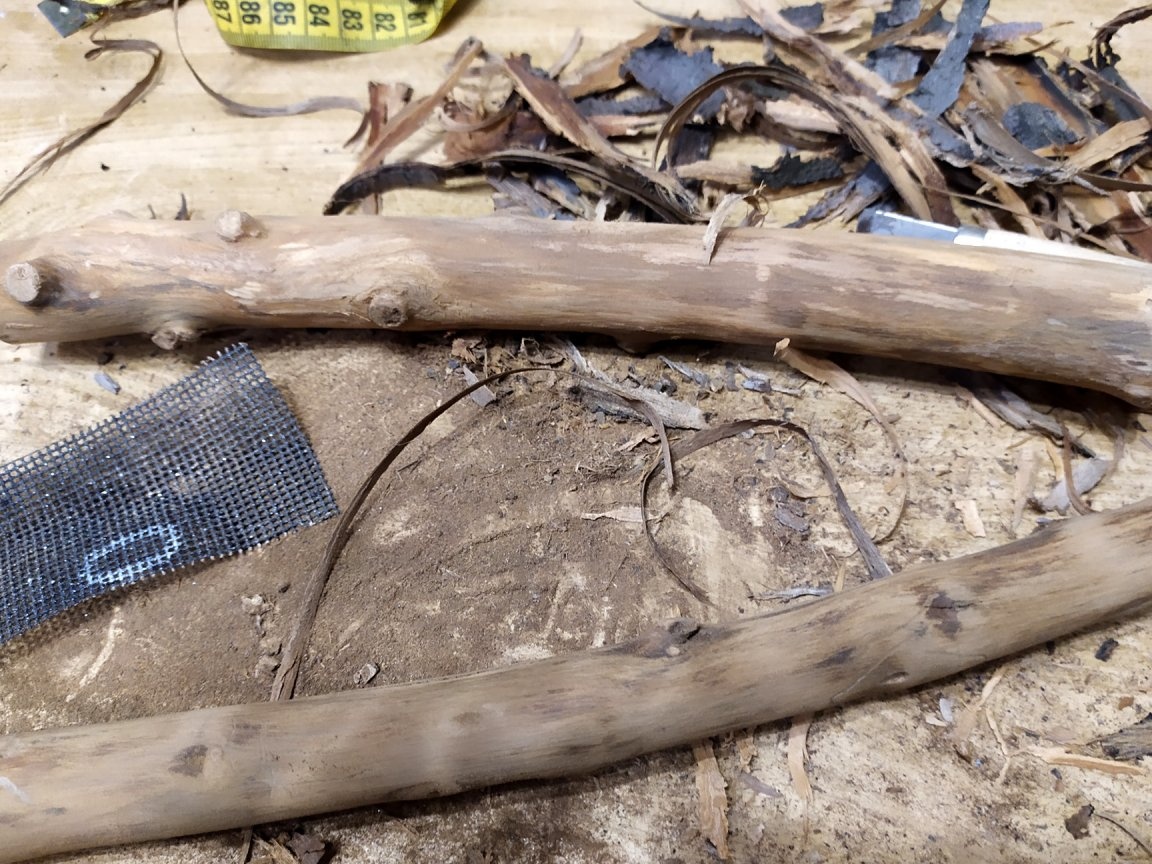
When we cut out the dimensions we need, we proceed to cleaning. Need to take off all the bark. One crossbar I already have a “naked” look, so I start to rip off the second.
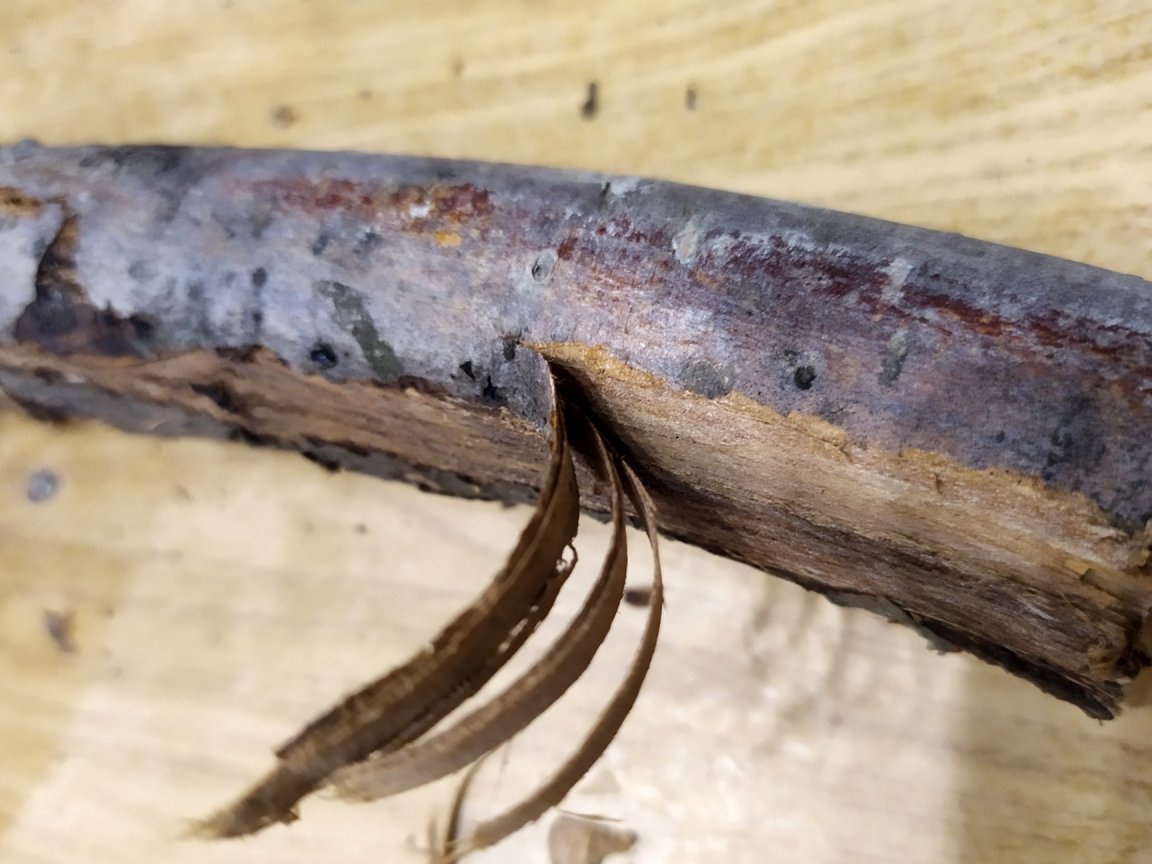
Since the tree is already dry, this is done quite easily. Where there are minor difficulties with peeling, I help with a wood knife. But one could do without it, just use any well-sharpened knife.
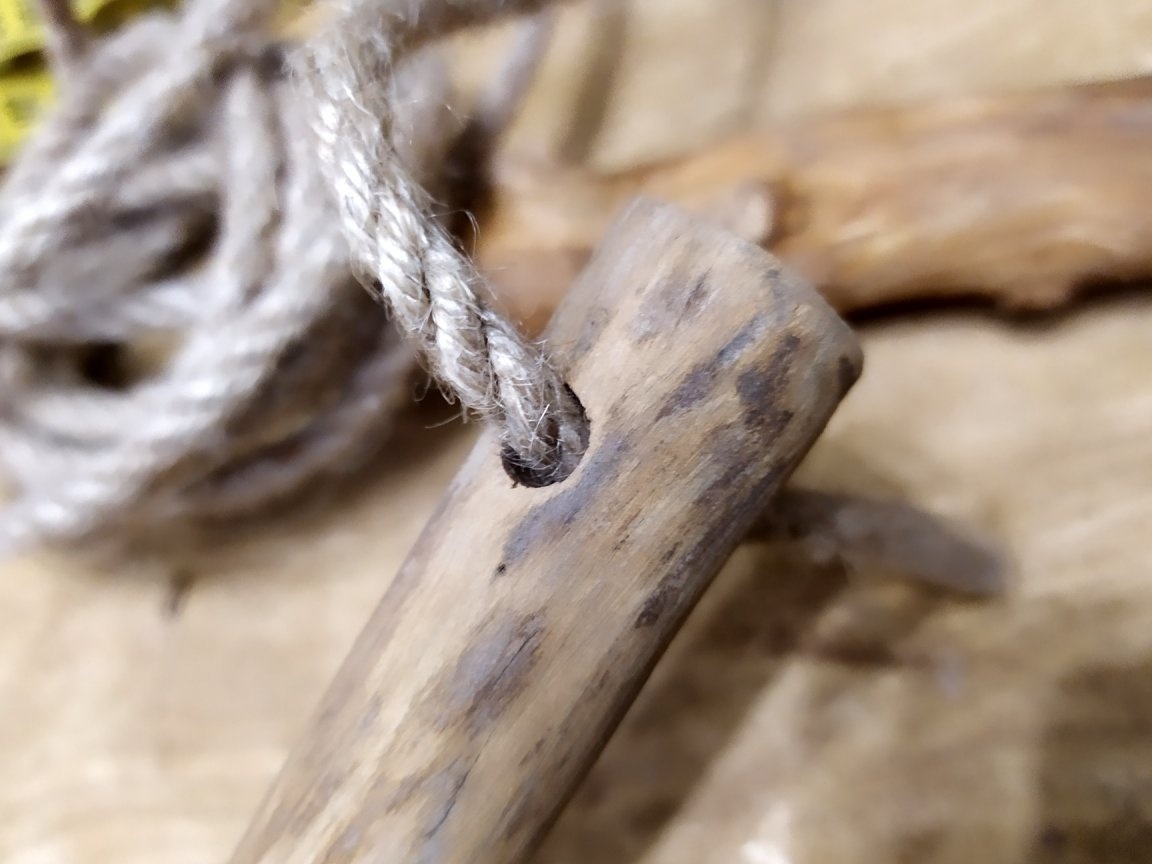
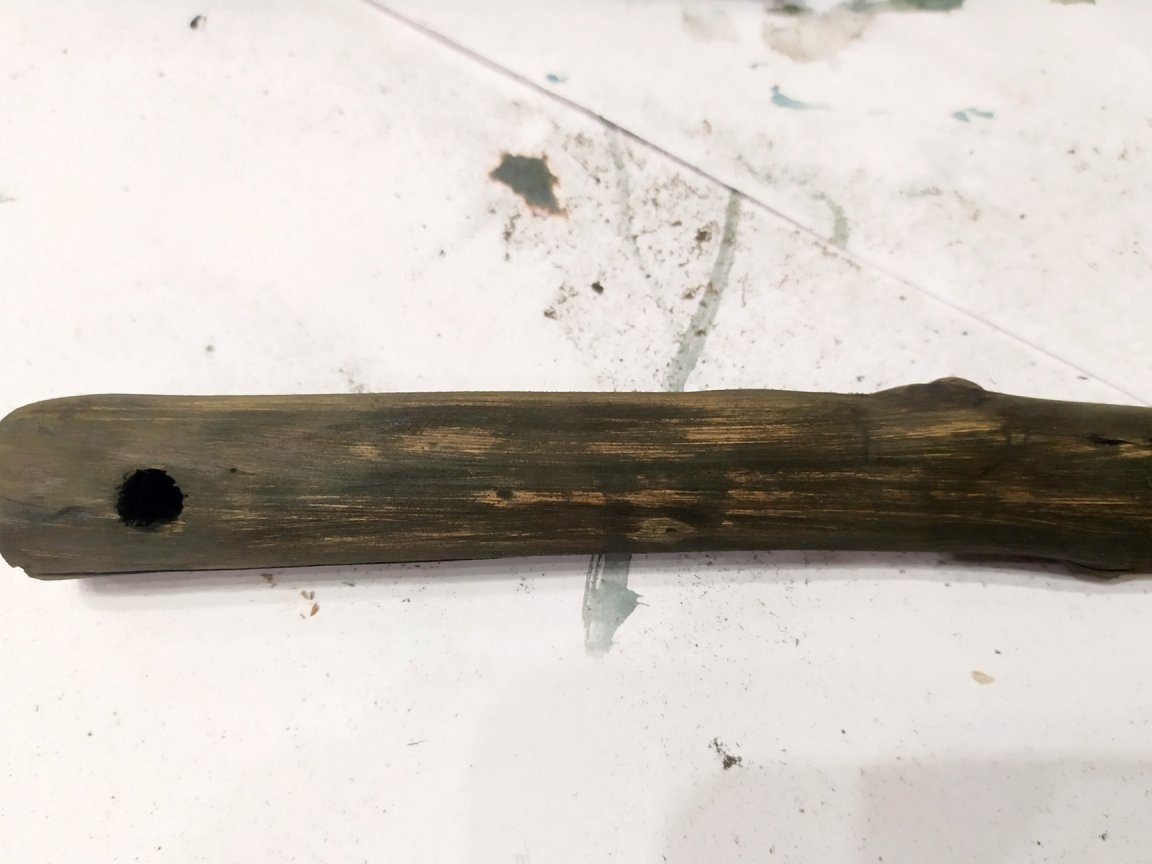
When they stripped everything they could, they would need to take a drill. Take a branch that is thinner, and about 20 mm from the edge, on both sides we make marks.
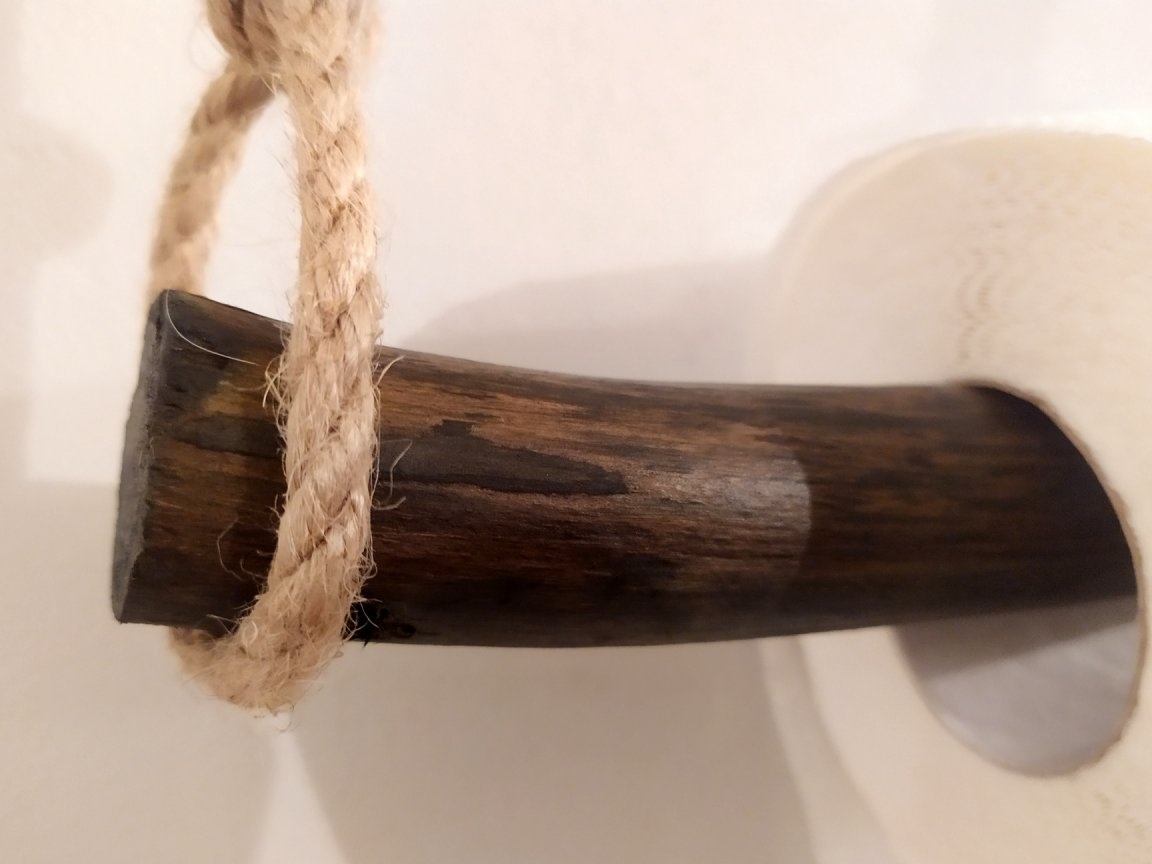
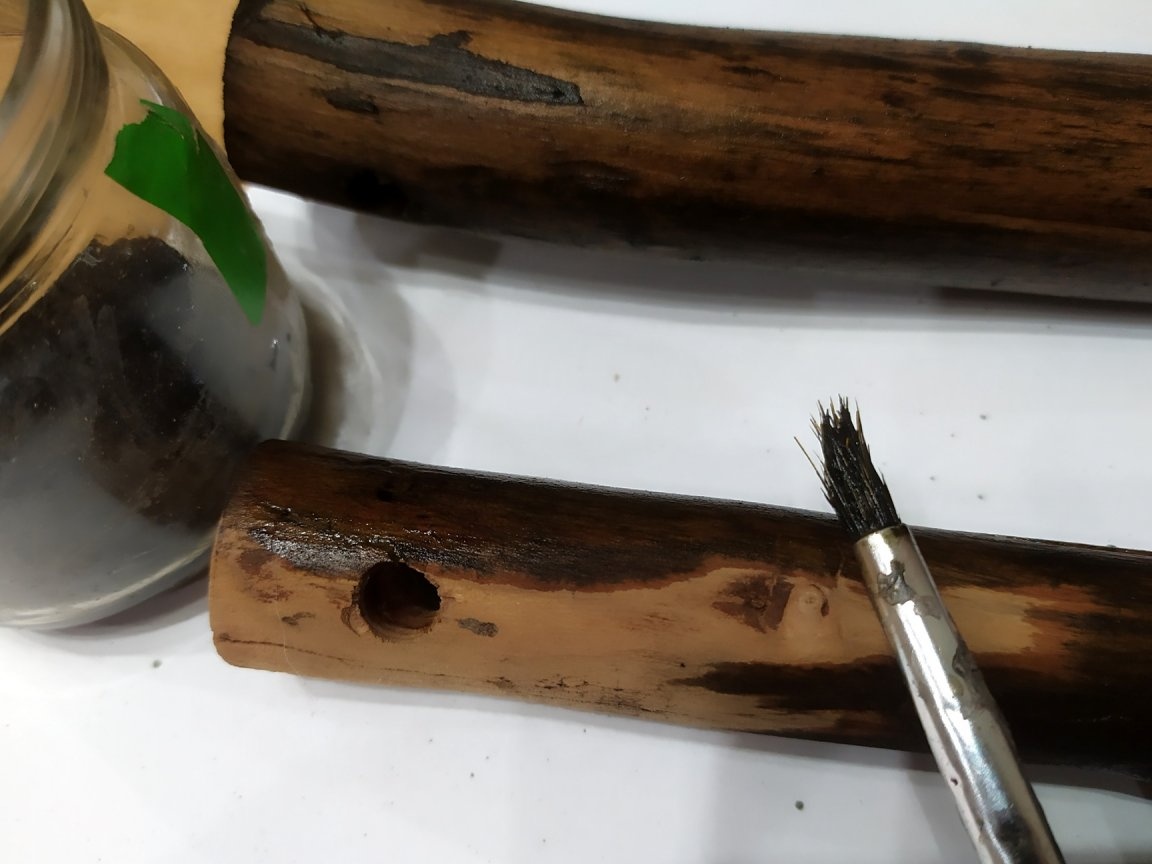
Here we need to drill a hole for the rope. The diameter of the hole should be such that the rope normally fits into it. First, take a thin drill and make a hole for it.
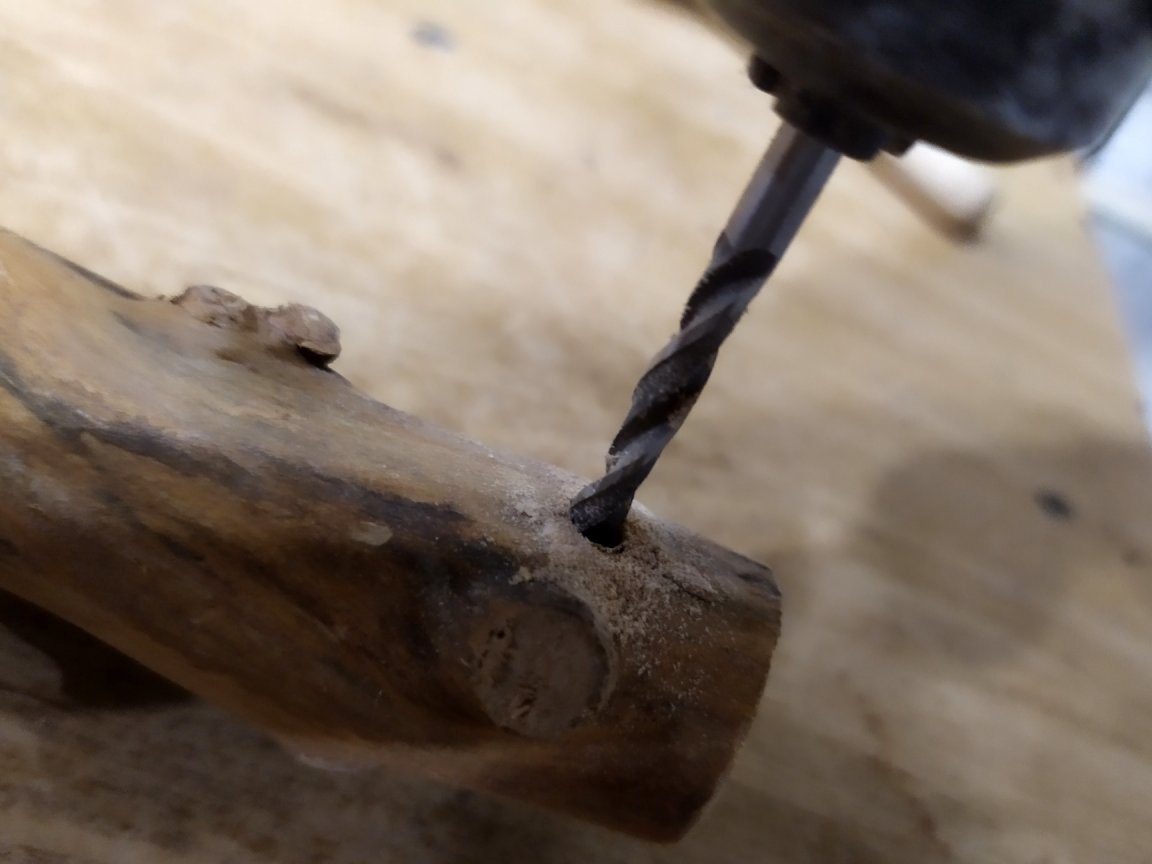
After that, expand to larger ones.
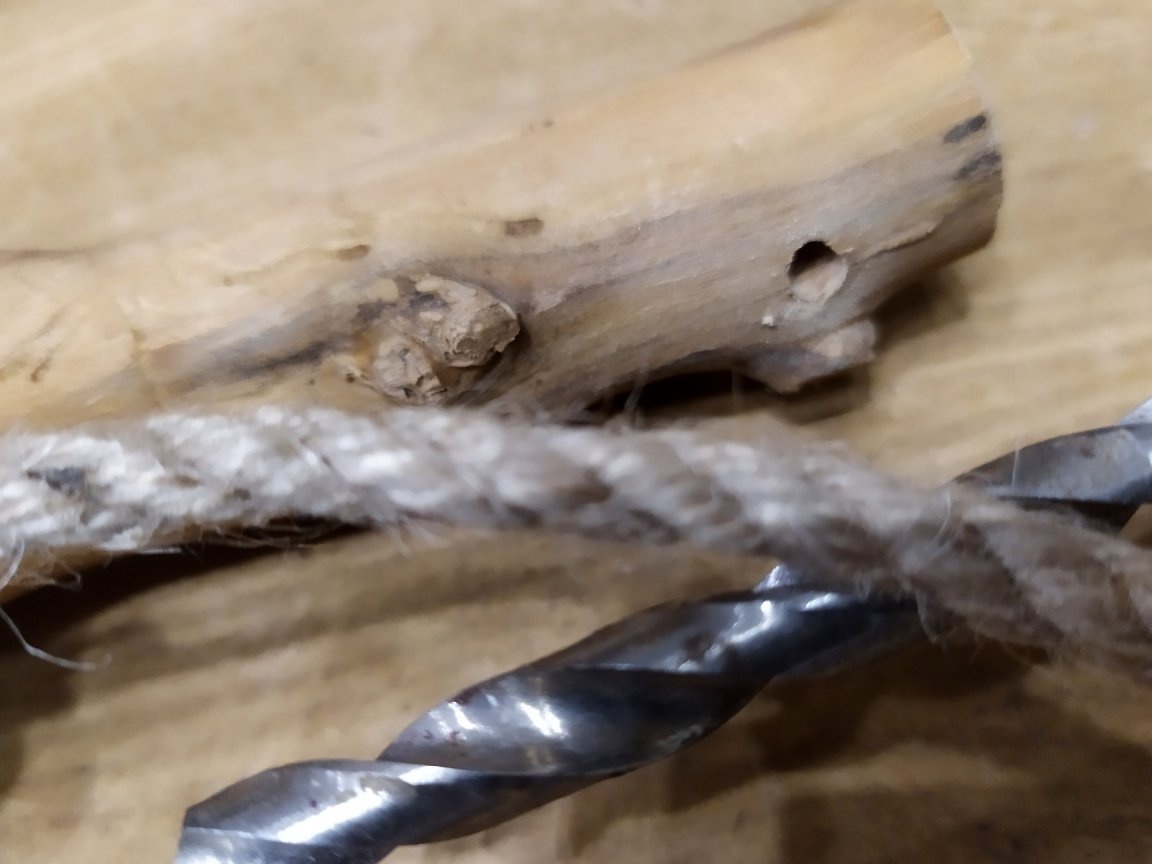
Be sure to take and try to pull the rope, suddenly it will be necessary to expand.
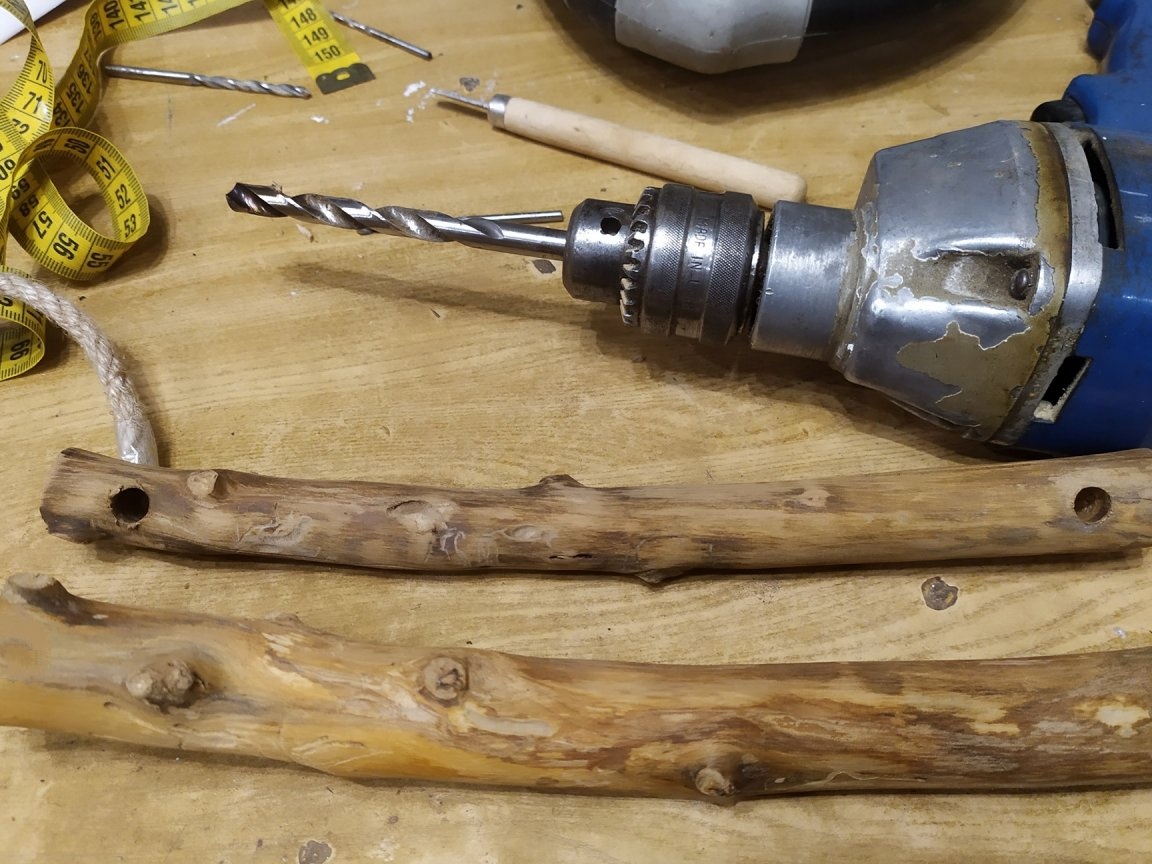
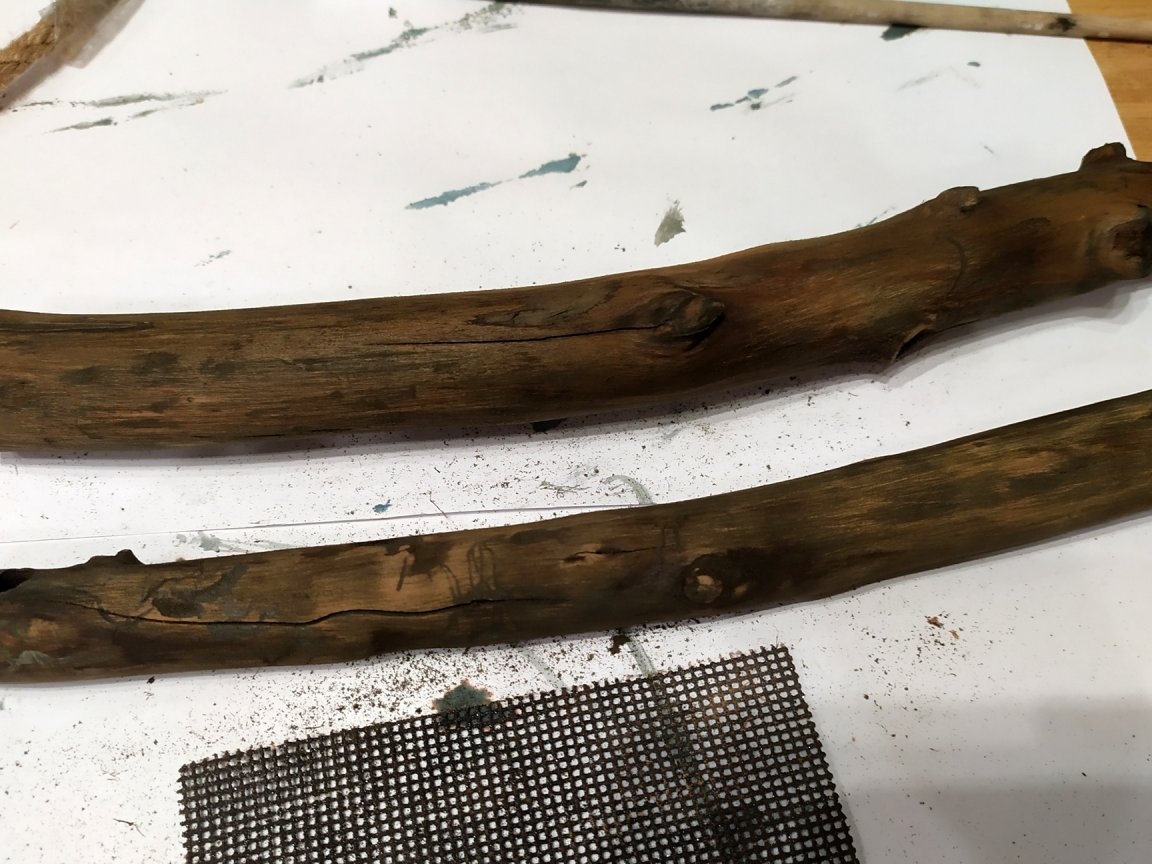
When the two holes are ready, we begin to sand. I tried to get my skin in all the cracks, especially uncomfortable on the knots.
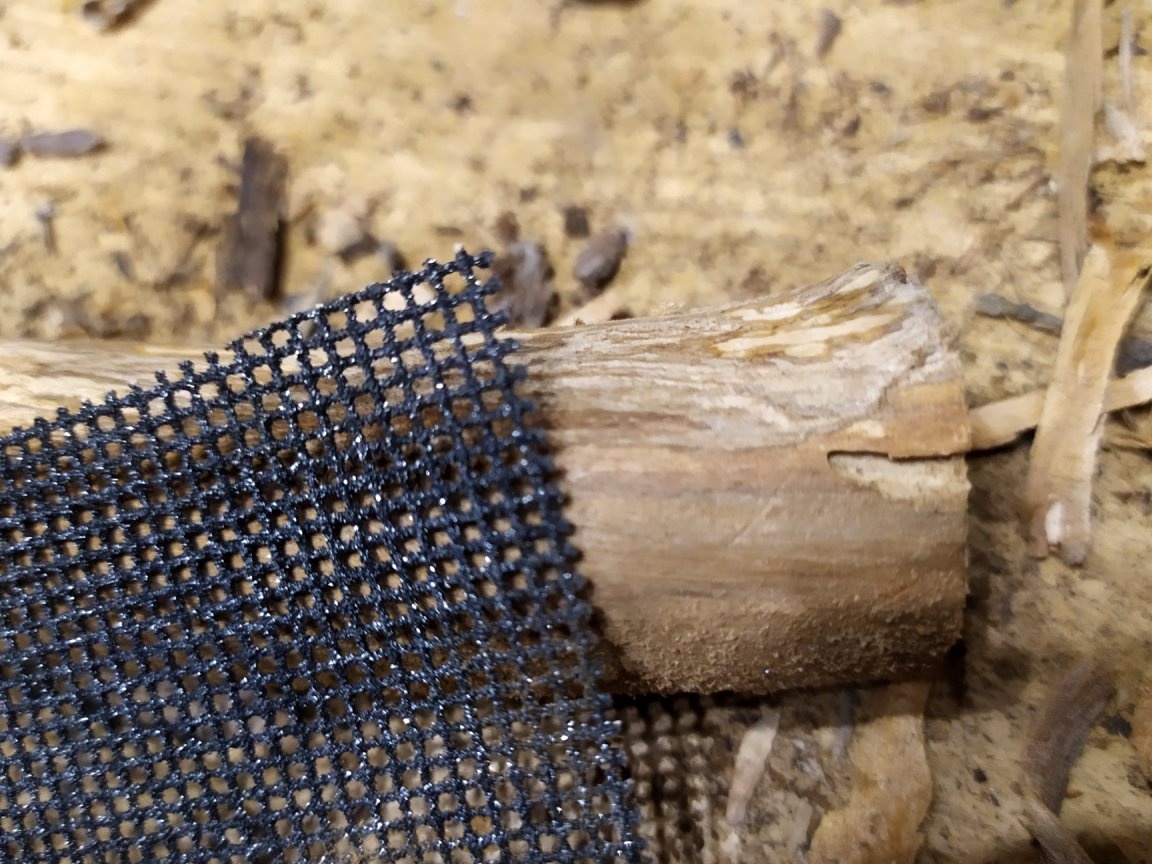
After you have finished with the skin, you need to wipe everything with a damp cloth, and remove all the dust.
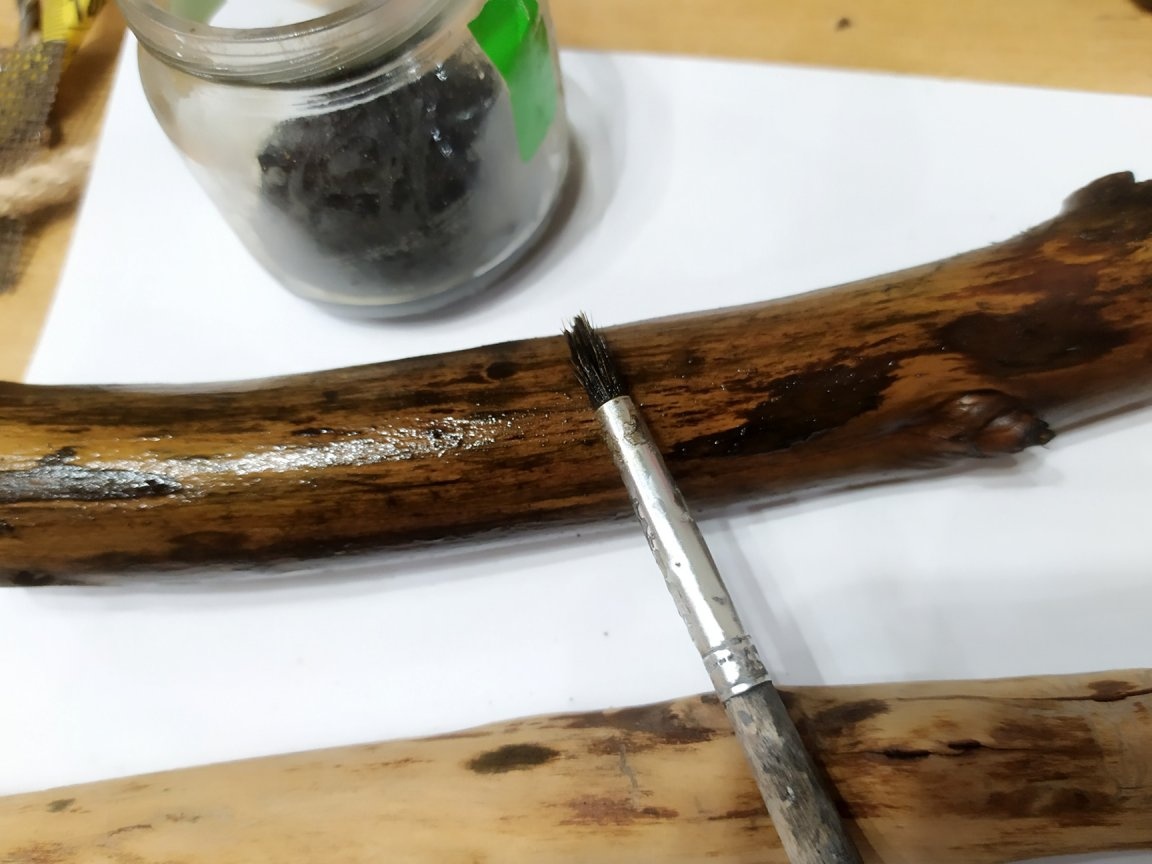
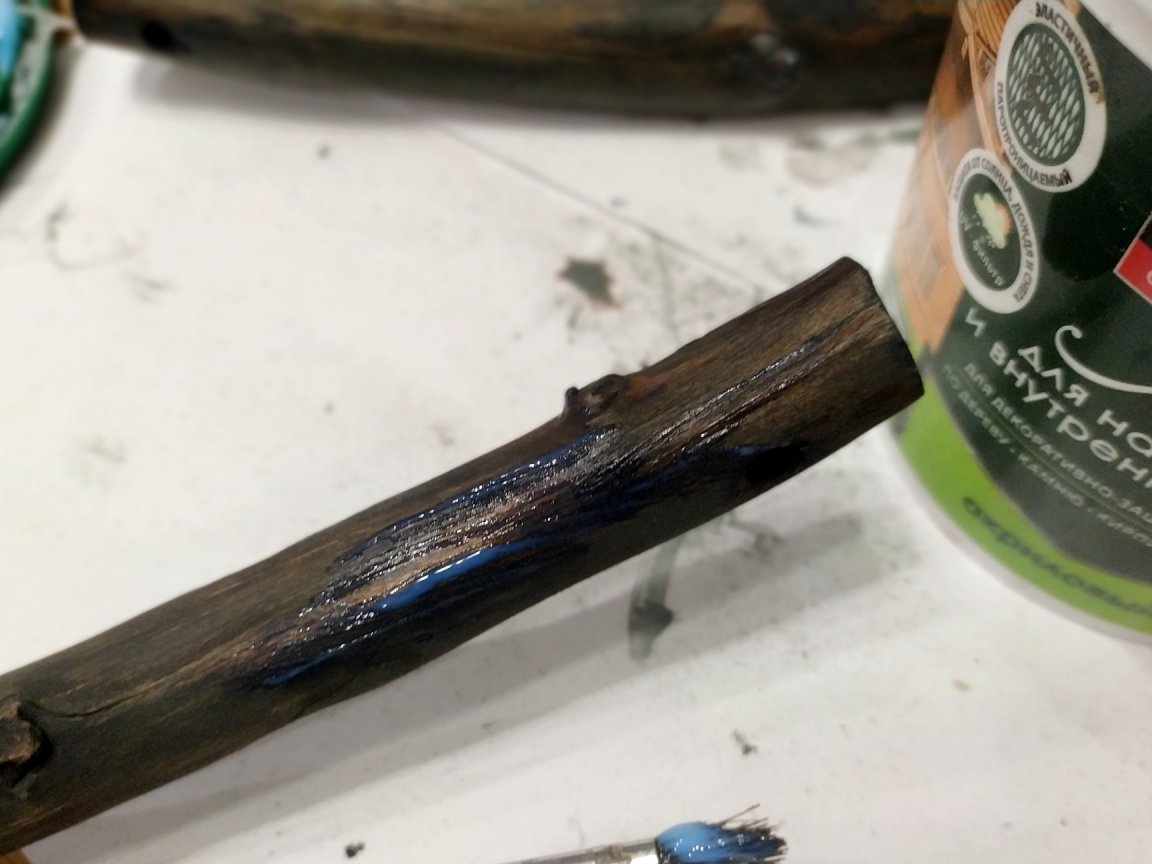
If the result satisfies you, then you can start painting. Stain can be any color. Pour into a jar, and carefully paint over everything.
After drying, you will still need to go with a scissors paper. Then wipe off dust.
To make the color more saturated, we will cover it again with a stain.
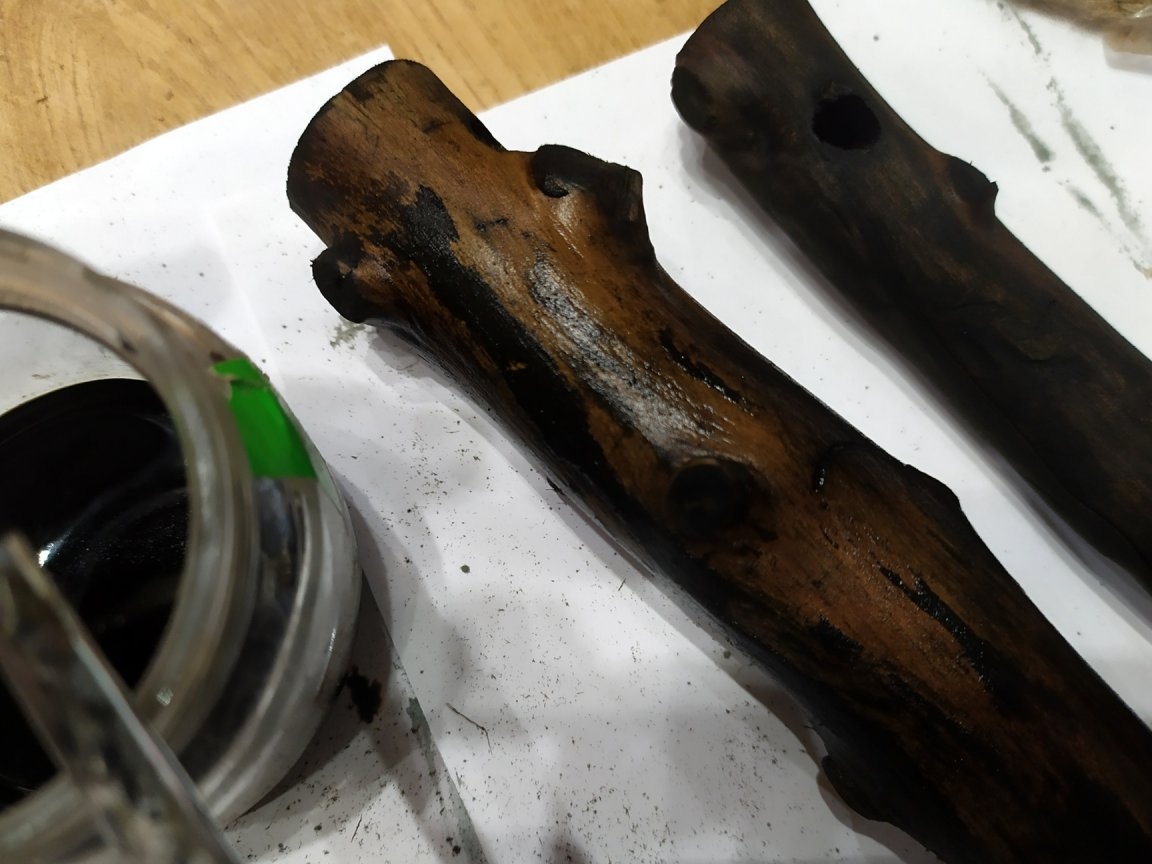
When some time passed, and I was convinced that the stain was dry, I decided to sand again, to add some light areas.
When the color satisfies us, you can begin to varnish. Acrylic varnish is perfect.
After the first layer has dried (after about an hour), it is advisable to coat it with a second. This will increase wear resistance.
When the varnish dries well, you can pick up the rope.
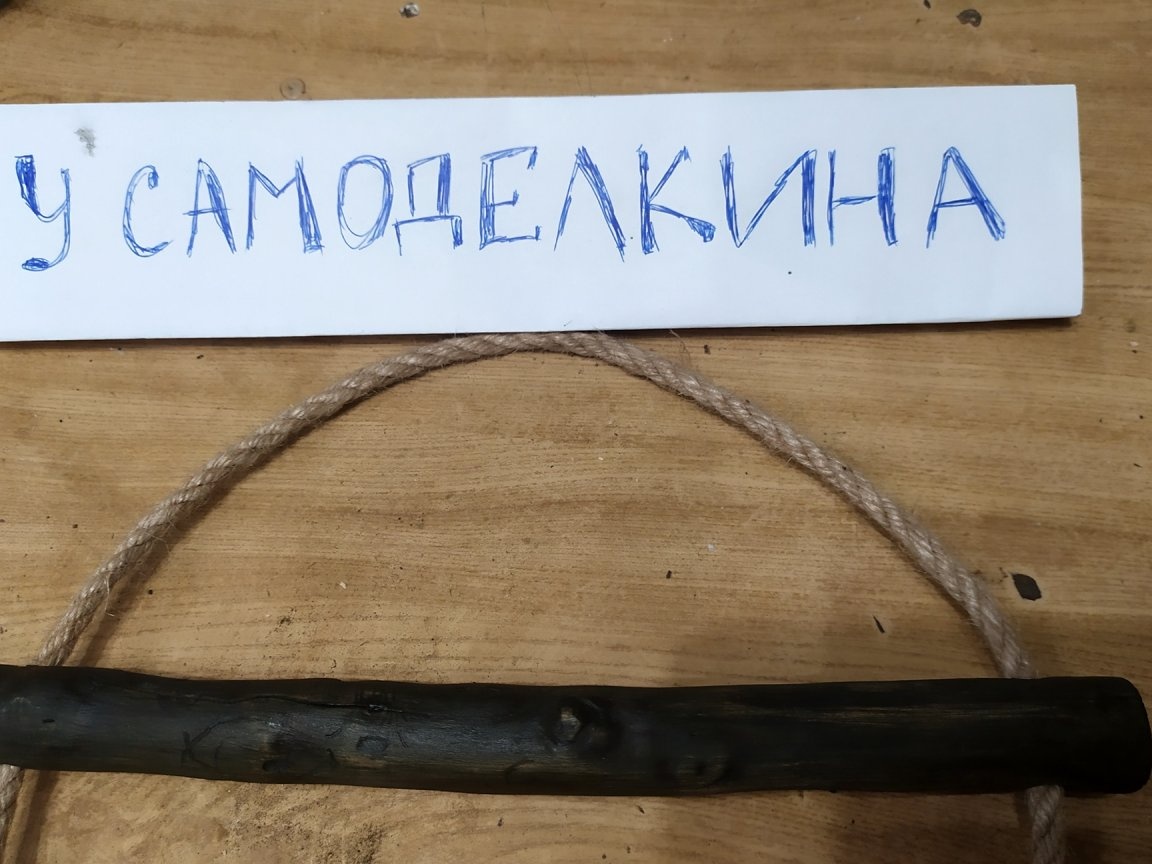
First, let's figure out how much we need. I got 110cm.
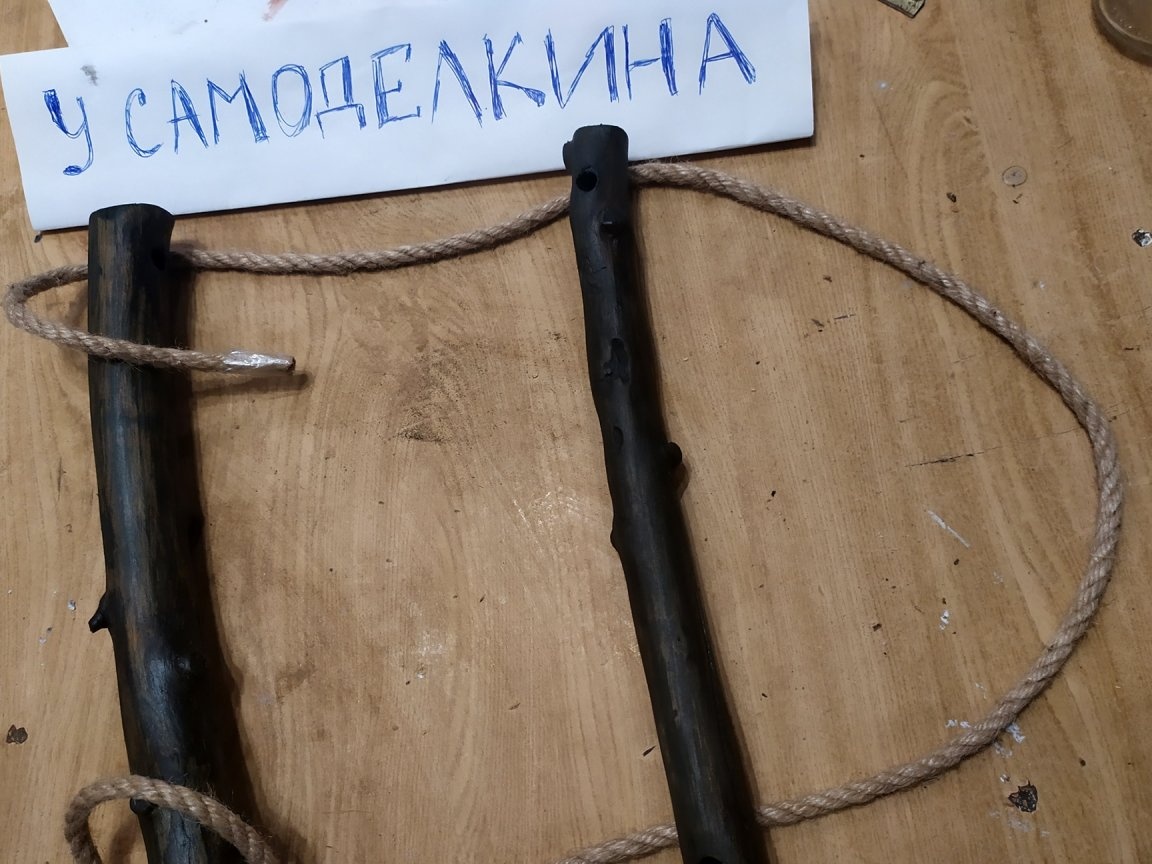
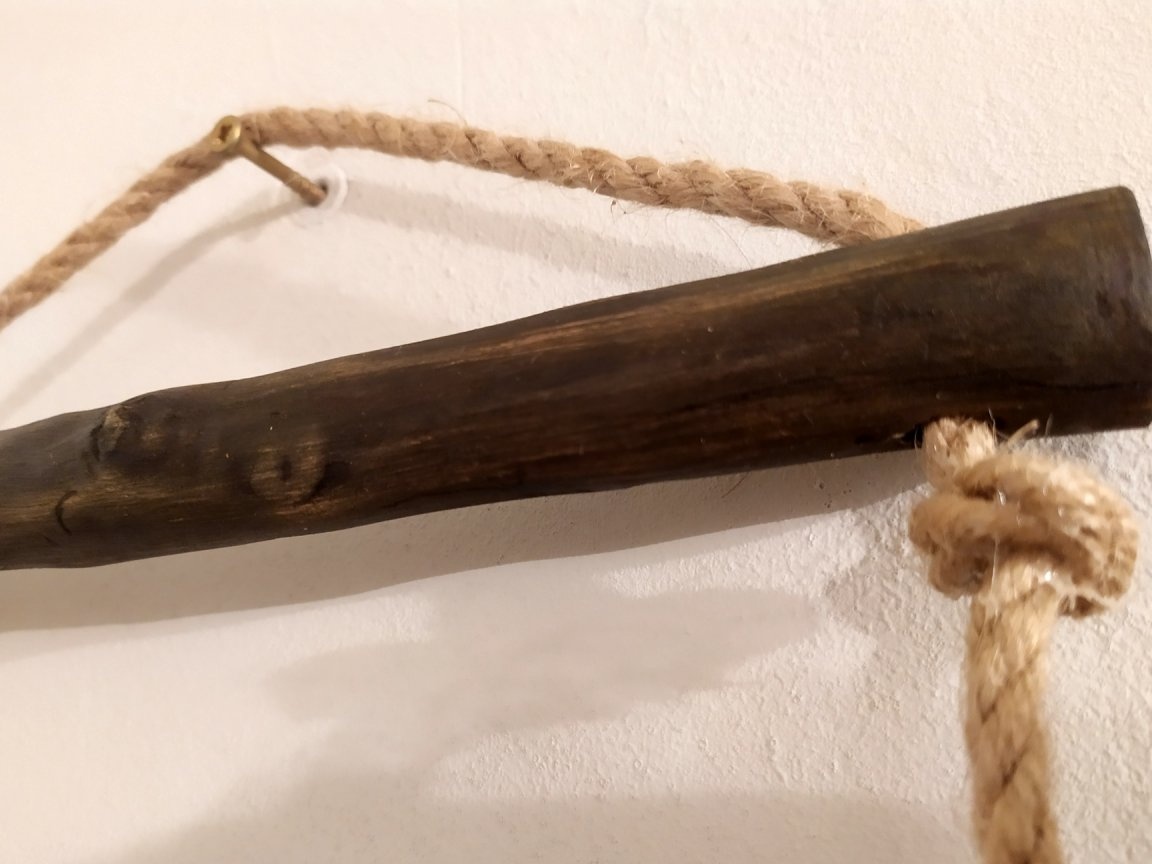
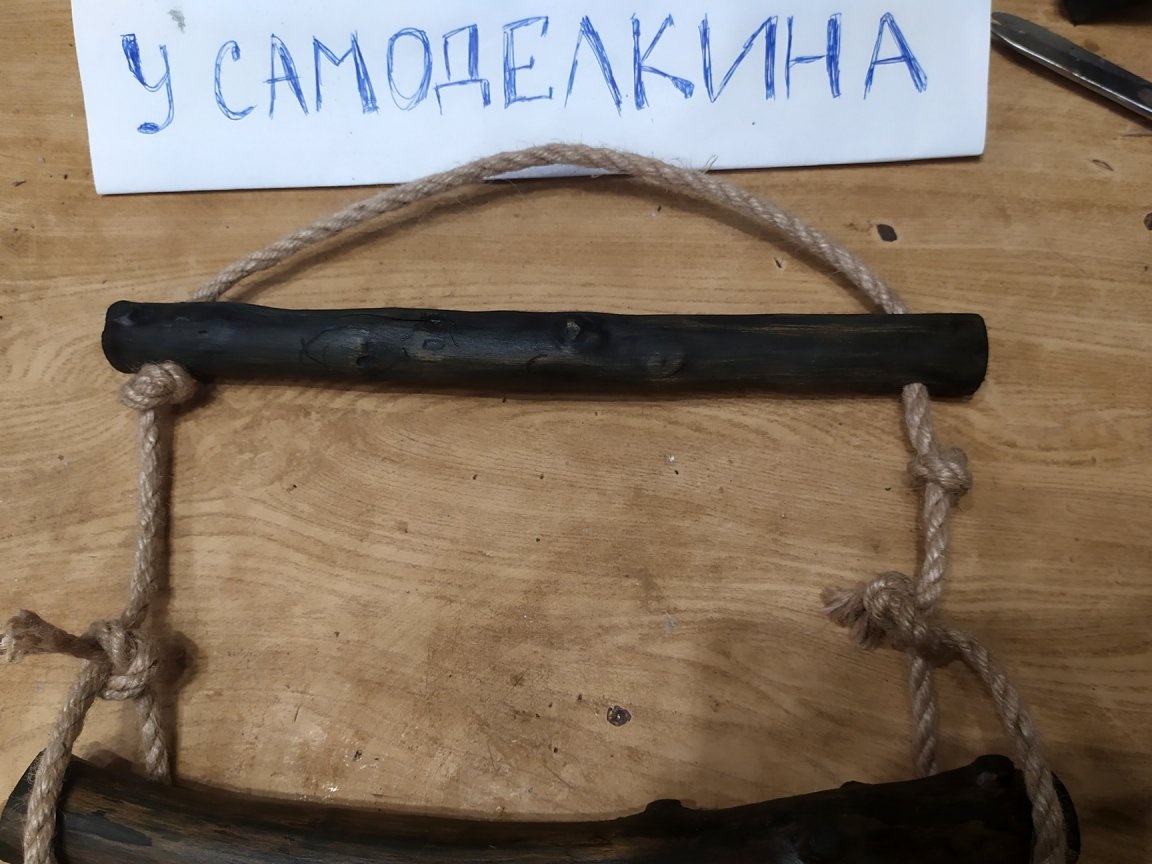
We cut off the desired length from the total amount, and hang it in the upper bar. To make it easier to pinch, you can wrap tape on the tip. Alignment so that both sides of the rope hang straight.
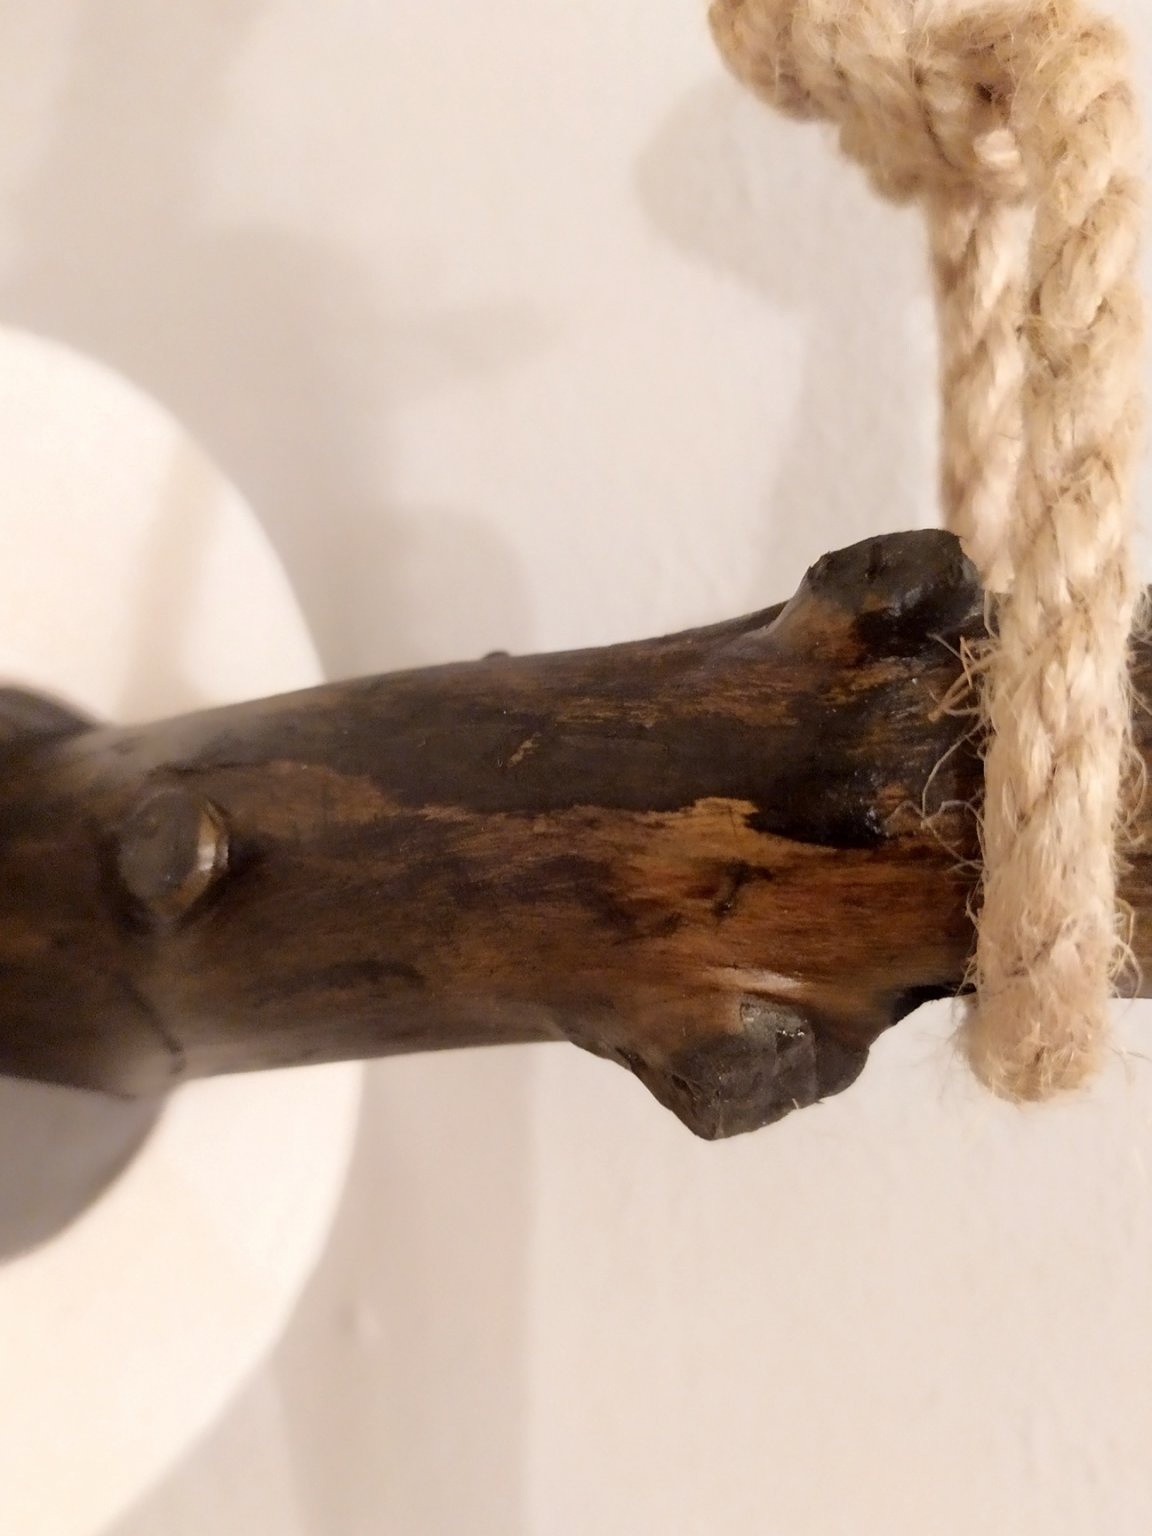
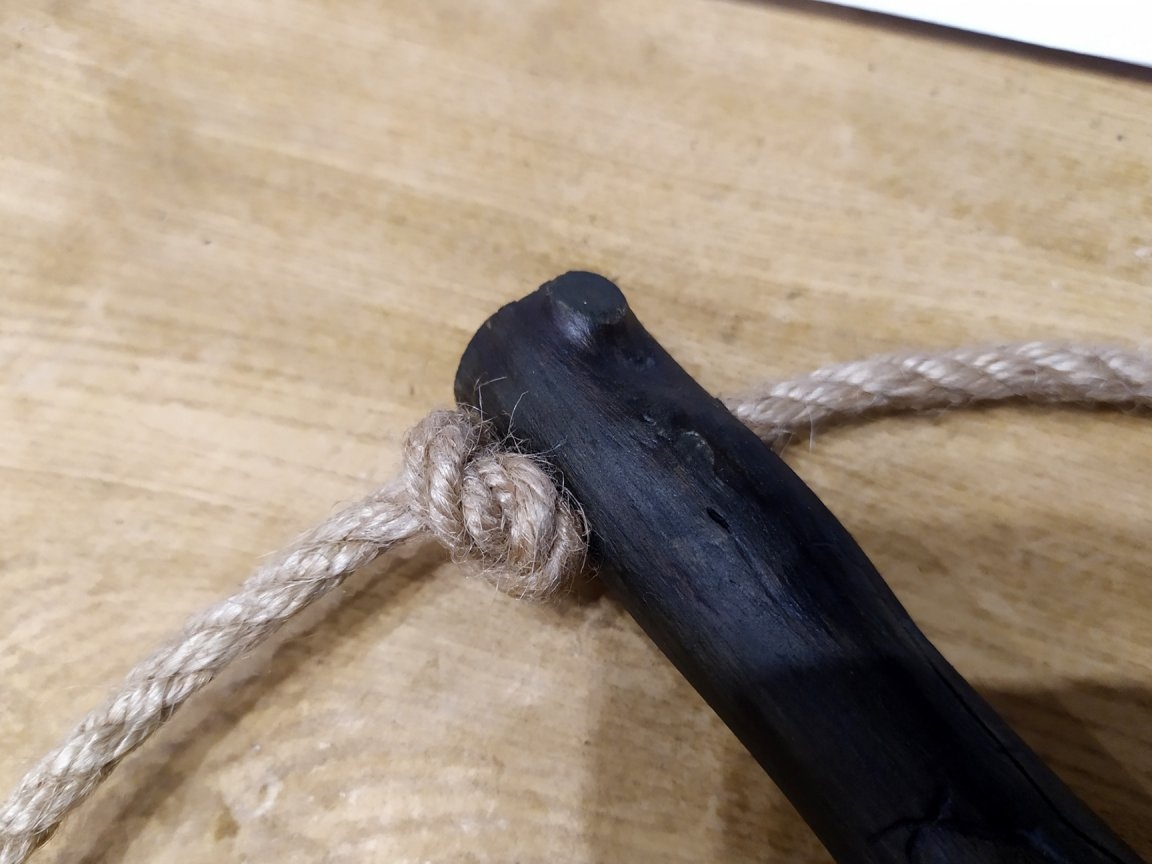
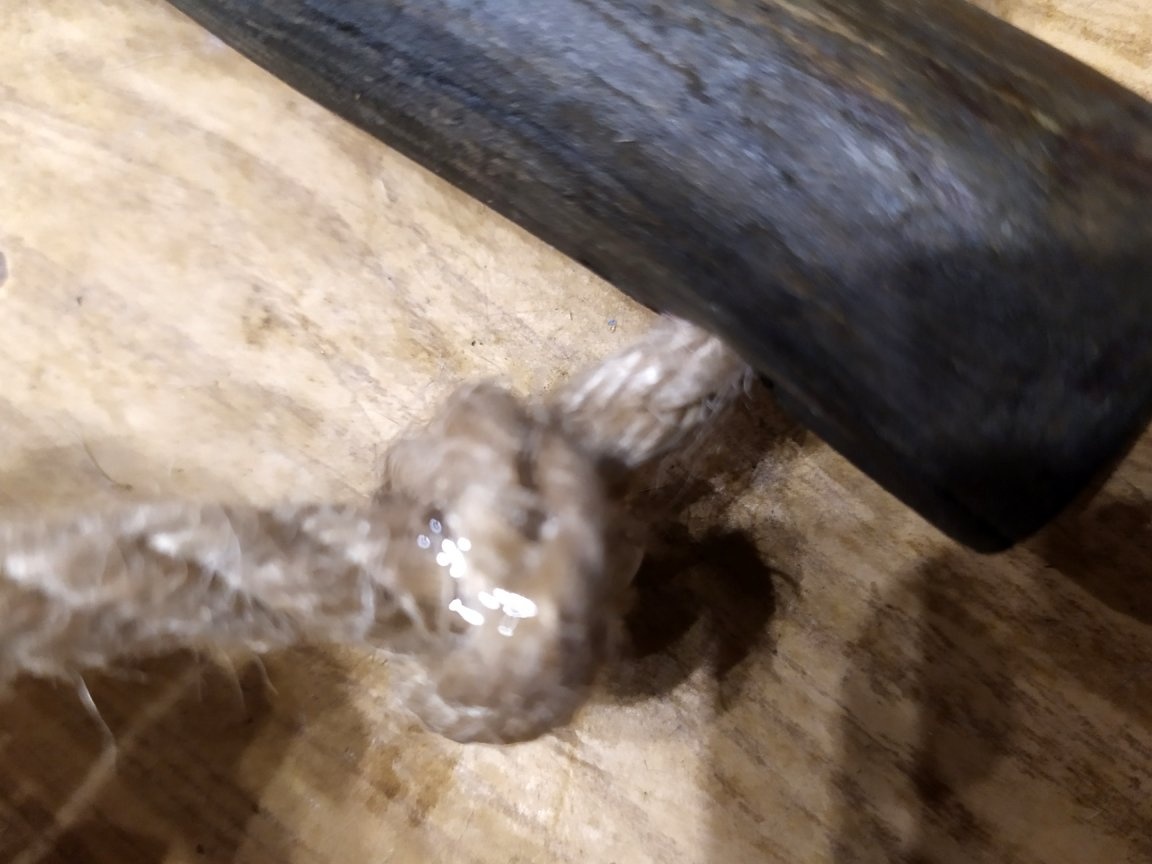
Now, under the hole, tie a knot. Under the second too.
The two ends of the rope, on both sides should be approximately equal.
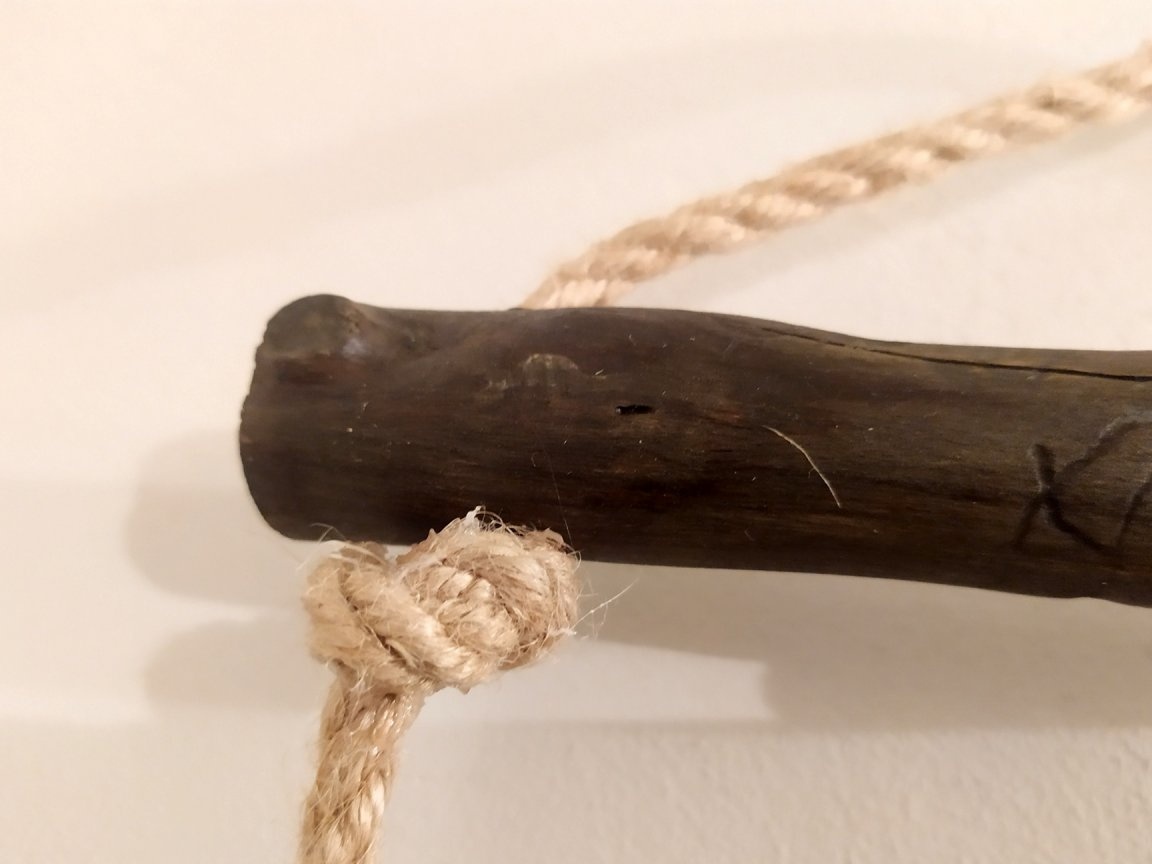
Now, we take one end, and we knit something like a loop. We’ll get a wand here.
On the other hand, we are doing the same.
Now let's see if everything is smooth, then you can finish.
All nodules should be carefully smeared with glue so that they do not "run away."
On the bottom stick, we stick the paper, then we stick the stick in the loops. That's all, the toilet paper holder is ready. Thanks for attention.