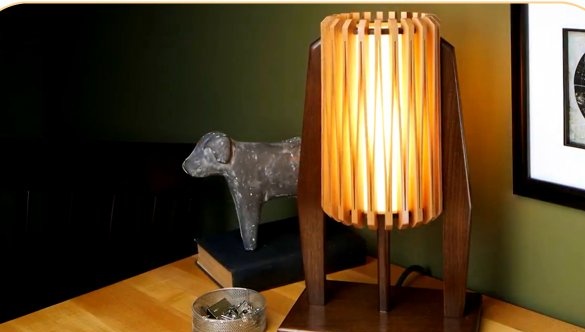
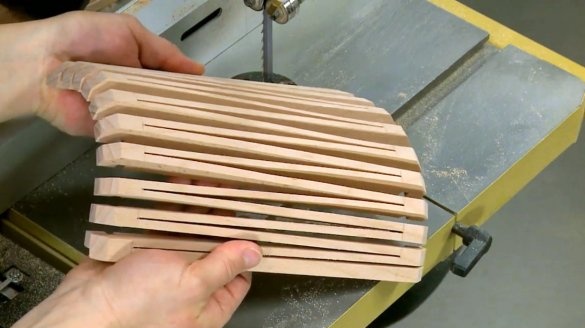
In this article, the author of the Woodsmith YouTube channel will tell you about the manufacture of such an unusual table lamp, the whole exotic of which is contained in its amazing lampshade.
It is about the technique of turning the board into a flexible product that will be discussed below.
Materials
- A board made of cherries.
Instruments, used by the author.
—
- A circular saw
—
—
—
Manufacturing process.
The whole project is carried out on a band saw, and a pair of wooden blanks will serve as the material for it.
In order for these boards to transform into a semblance of a lampshade, the author is going to make several neat cuts in them. A band saw allows you to make them very thin, unlike a circular saw.
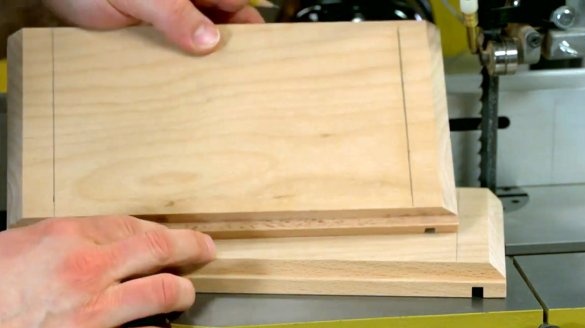
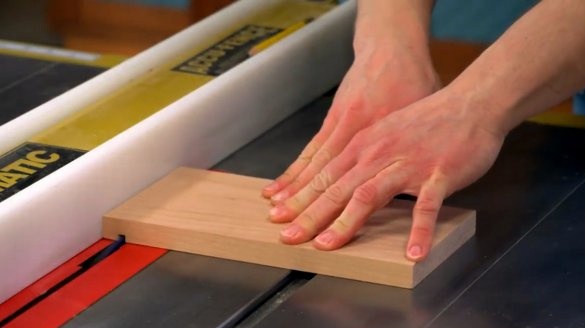
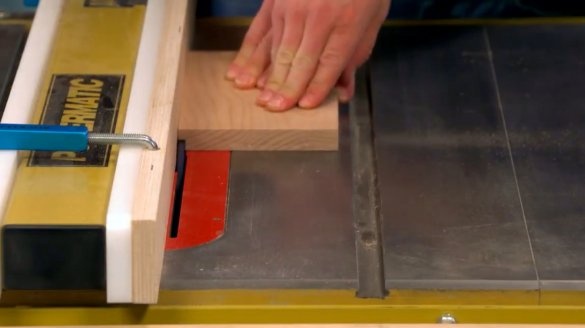
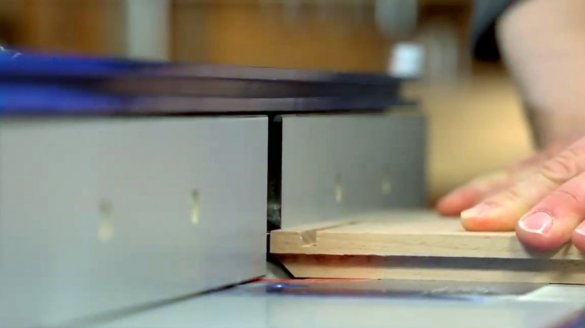
True, before this stage we have to do a little preparatory work. In particular, after the author cuts the boards of the required size, he goes to the circular table and cuts deep grooves along each edge of the board, using the DADO saw blade. Later, a wooden ring will enter these grooves, which will give the product the shape of a lampshade.
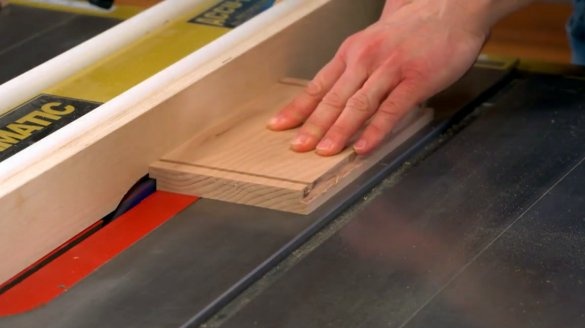
Then, with the same disk, he cuts a groove along the long edge of the board, and after exactly the same groove, it is sawn from the back of the board.
Now the author goes to the milling machine, on it he cuts the bevels at each edge of the workpiece.
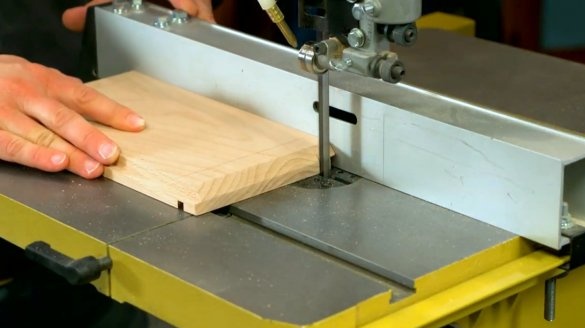
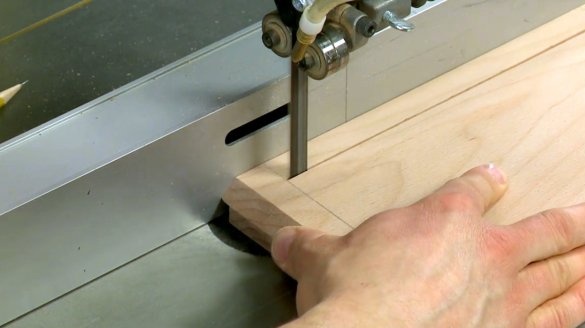
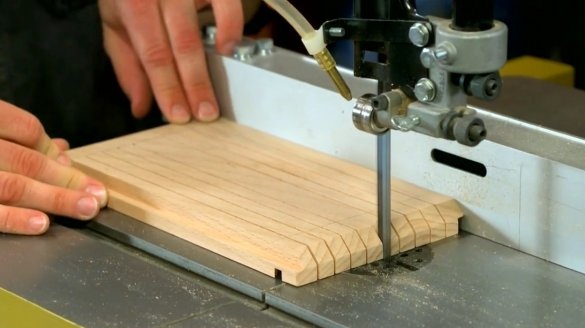
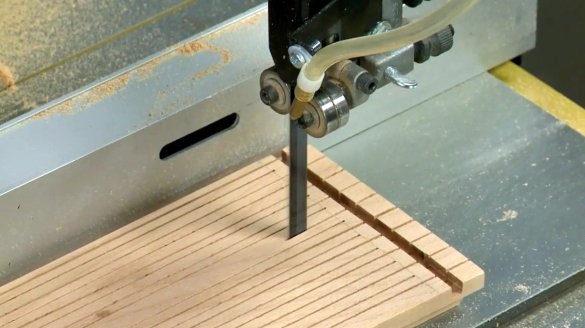
To give the future lampshade a zigzag shape, you will have to make a series of cuts on the blanks that do not reach the edge from each end of the board. These cuts will be symmetrical, and alternate on each side. Therefore, the emphasis is set once at the desired distance.
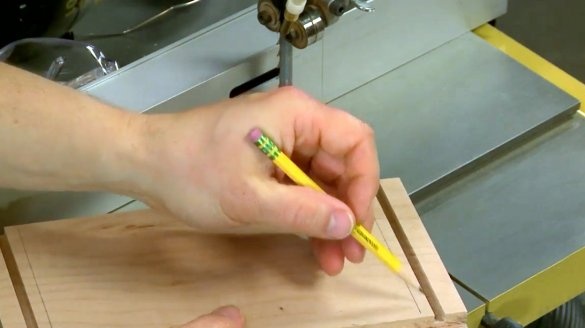
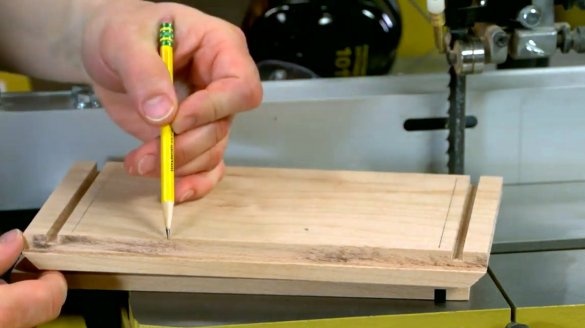
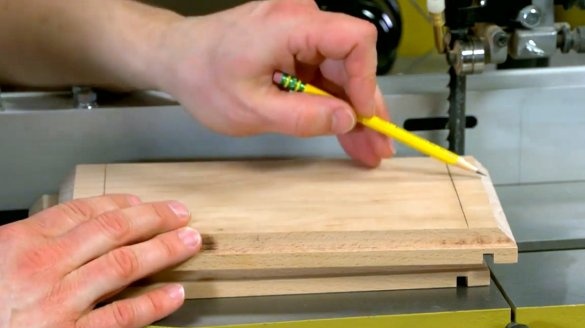
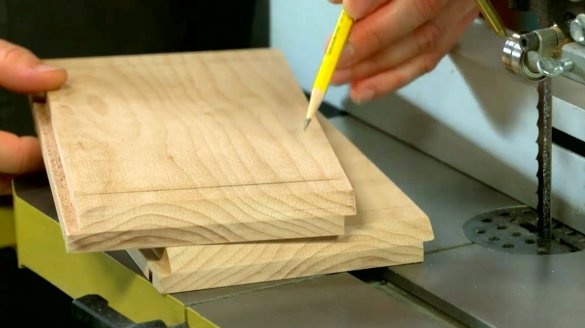
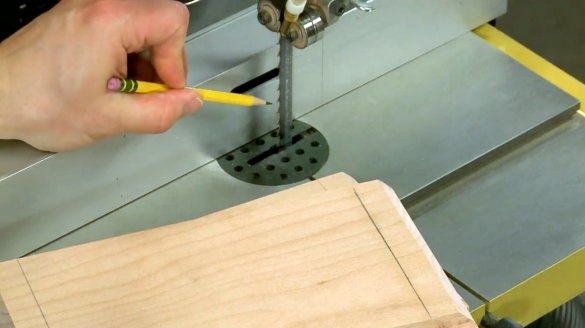
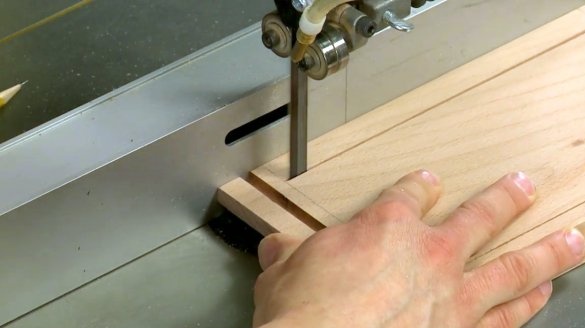
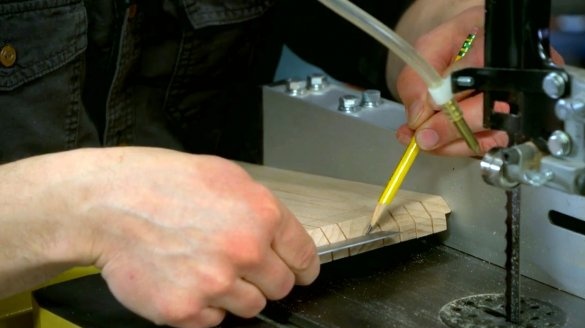
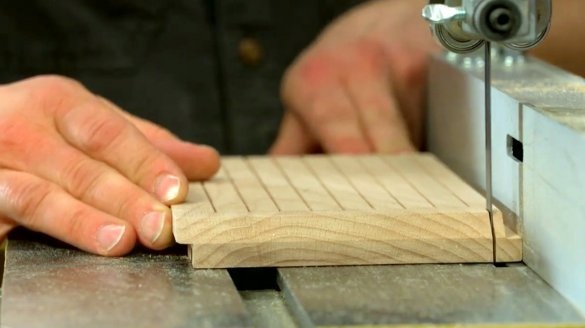
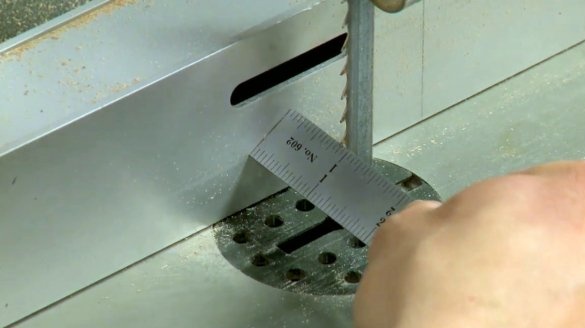
After the first cut is made, the board simply flips over and a second cut is made, symmetrical to the first, but from the reverse side. Near each edge of the board, the author drew restrictive lines, reaching to which the blade should stop. The same lines and at the same distance from the edge are outlined on the back of the workpiece.
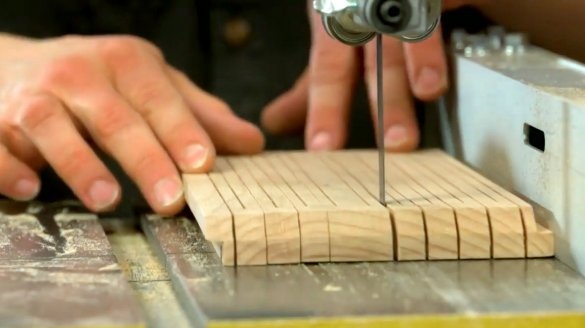
When making a cut, it is important to smoothly and evenly push the board through the band saw blade, trying to draw the line as accurately as possible. Also, you can not sharply return the workpiece back.
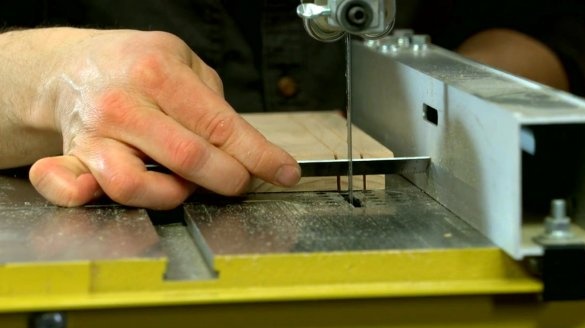
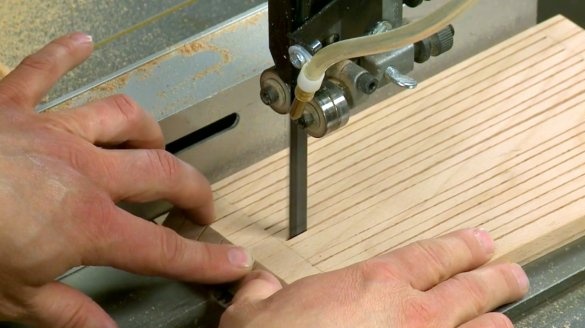
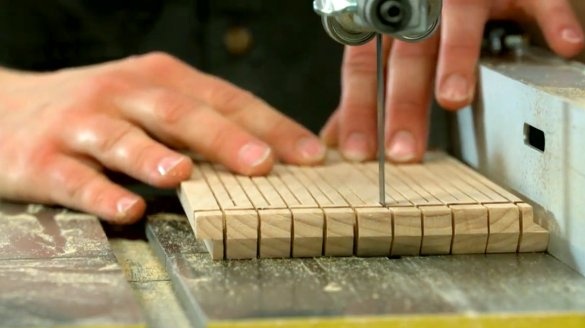
All subsequent cuts are a repetition of the same action. The master moves the emphasis a bit. Makes a cut from one side to the boundary line, then flips the board, and makes the same cut from the opposite side, again to the outlined line.
The last cut should be exactly in the middle of the board.
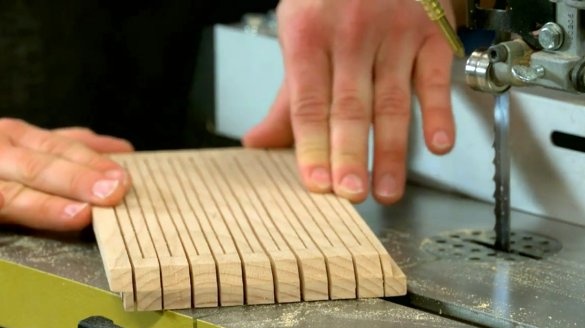
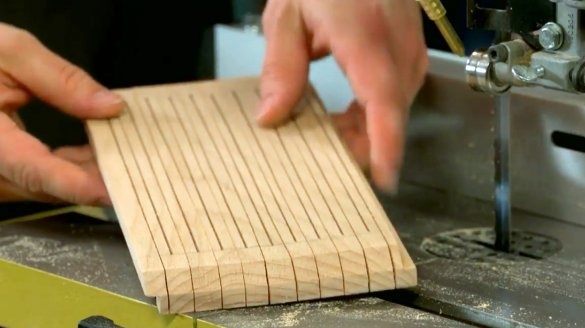
Next is the next series of cuts, but from the opposite end of the product. These second cuts must lie exactly between the first. Thus, the author will get 5 pairs of slots.
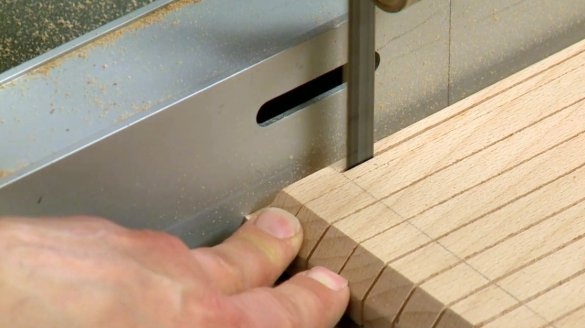
The edge of the workpiece must move exactly along the stop - this is the key to success. However, you should not apply excessive pressure to the material, otherwise the board may bend and the cut will be uneven.
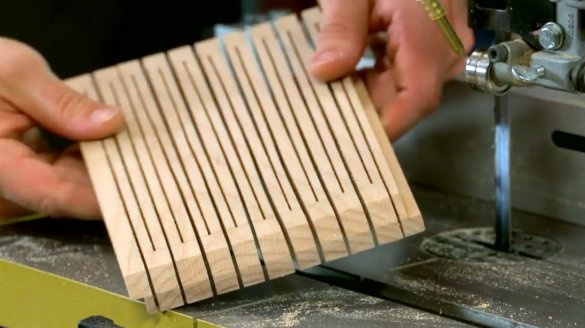
The product has acquired a springy character. Now the author makes a small corrective moment - he cuts another cut in the middle of the board, centering it relative to the two side cuts. And then the same on the back of the board.
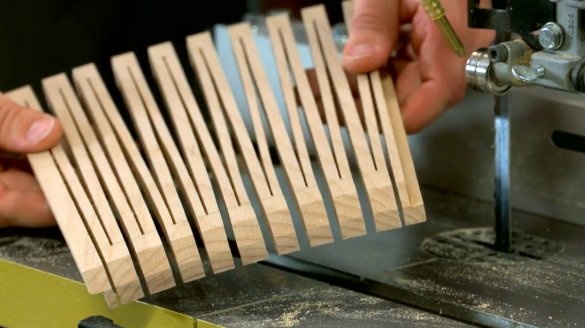
And here is the result - the previously rigid wooden board has now turned into a flexible and pliable. It can be bent and stretched. All slots can now be processed manually with a strip of sandpaper. In this form, it does not cost anything to make a lampshade out of it for a lamp. Moreover, the thicker and wider the original board itself, the more flexible the product will be, and the more interesting the lamp shade will be. It is not necessary to make too many slots on one board, it is better to do this on several workpieces, and glue them together.
I thank the author for a simple but very useful wood processing technique!
All good mood, good luck, and interesting ideas!
Author video can be found here.

