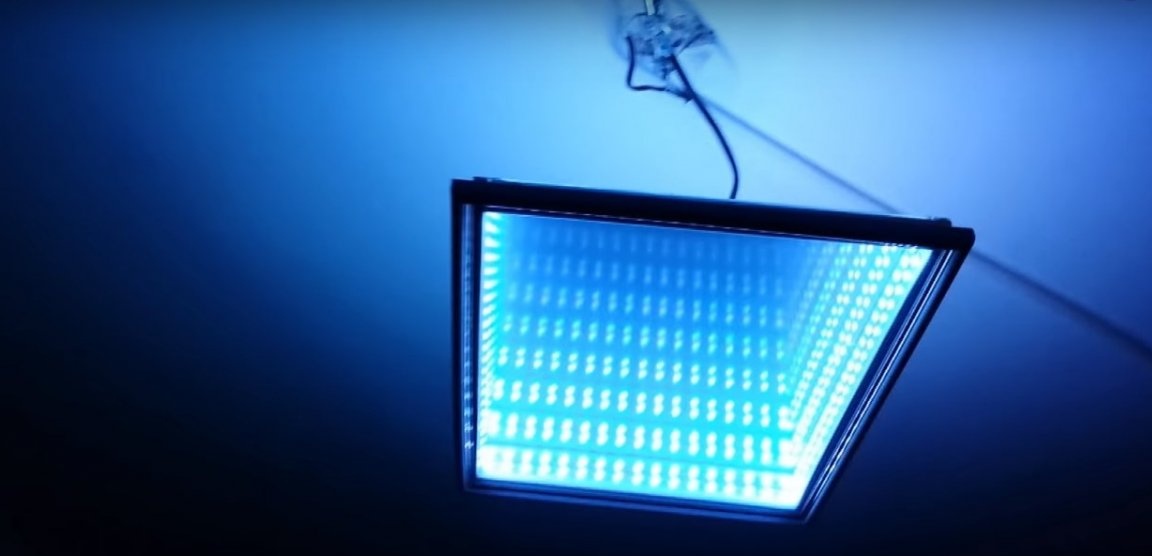
Recently, Aliexpress has established a fashion for 3D fixtures. Such a light source looks spectacular and unusual, and its cost is affordable for any average buyer. If you make a 3D lamp do it yourself, come out and completely inexpensive.
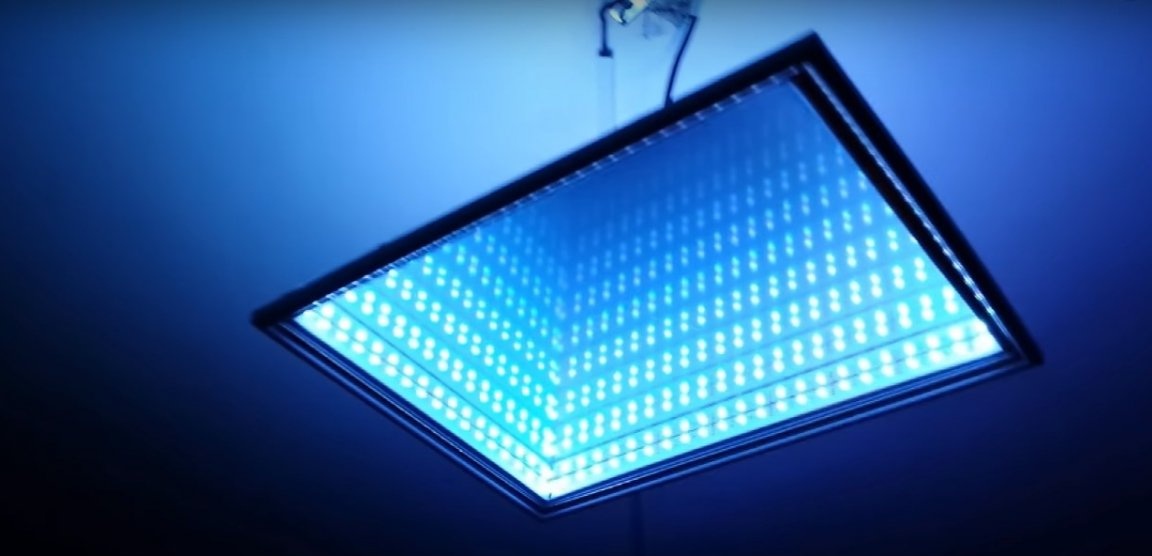
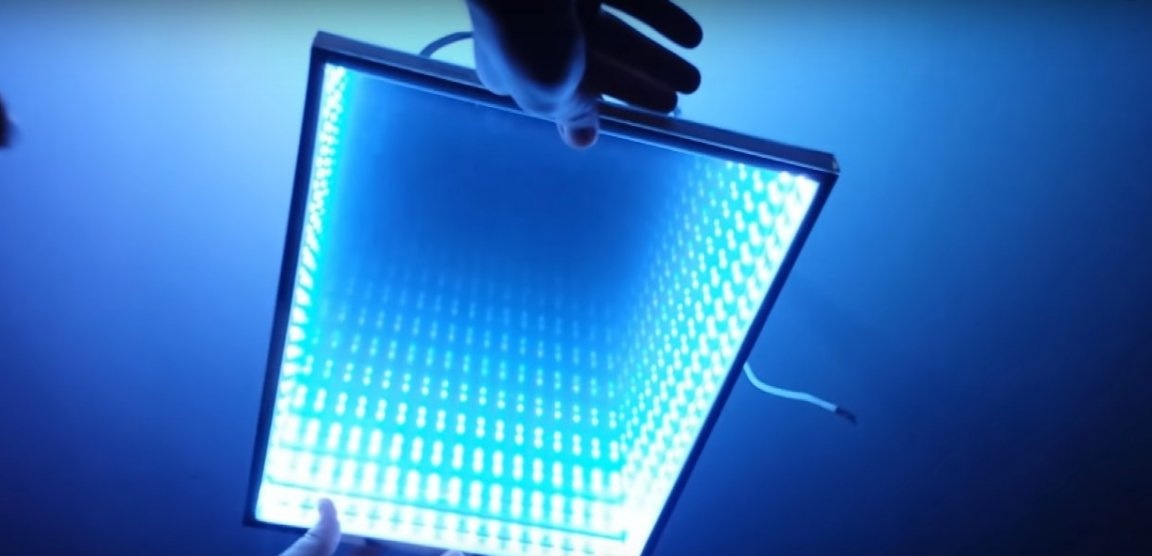
In its basic version, the 3D lamp consists of two layers of a transparent mirror located at a short distance opposite each other, and inside the perimeter there is an LED strip. Light sources are reflected from the mirror surface, are refracted, and the effect of infinity is formed that appeals to lovers of everything unusual.
The author proposes to make a 3D lamp in the most economical option, using simple and affordable materials. This instruction can be taken as a basis, and to supplement it with copyright solutions is not difficult.
In order to make a 3D lamp with your own hands you will need:
Materials:
- two glasses in size;
- car mirror film;
- a plastic profile or wooden rail with a length equal to the perimeter of the product;
- art baguette of the simplest form;
- double sided tape;
- glue;
- LED strip with control unit and remote control;
- step-down voltage converter;
- glass detergent or dishwashing detergent solution;
- soap for gluing a mirror film.
Instruments:
- glass cutter and tongs for cutting glass;
- a hacksaw (circular, miter saw);
- scissors;
- screwdriver;
- nippers;
- plastic bank card for gluing a mirror film;
- square, ruler;
- marker.
Manufacturing process
Step one: glass preparation
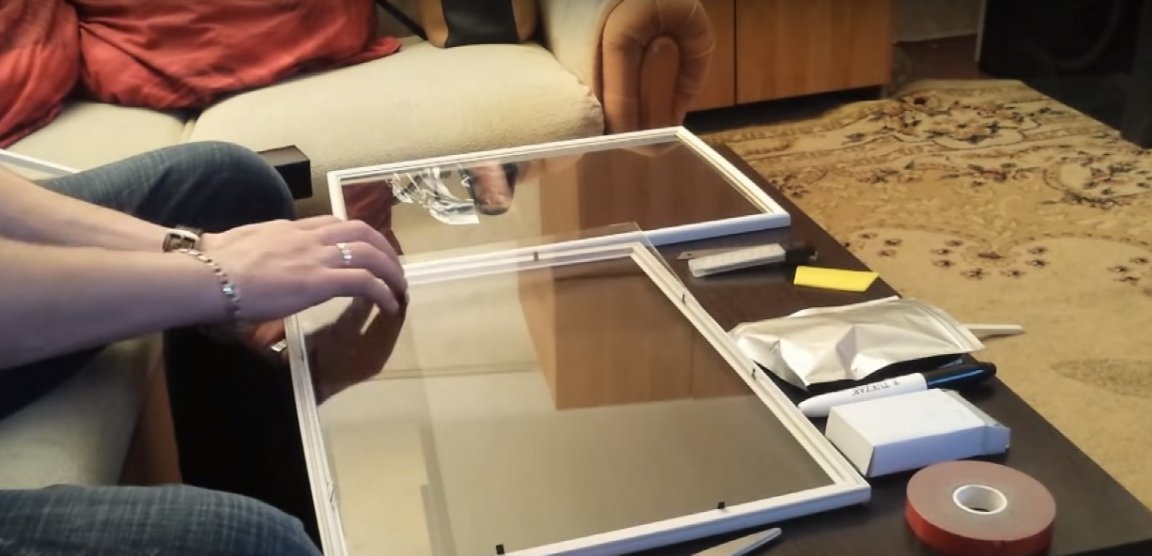
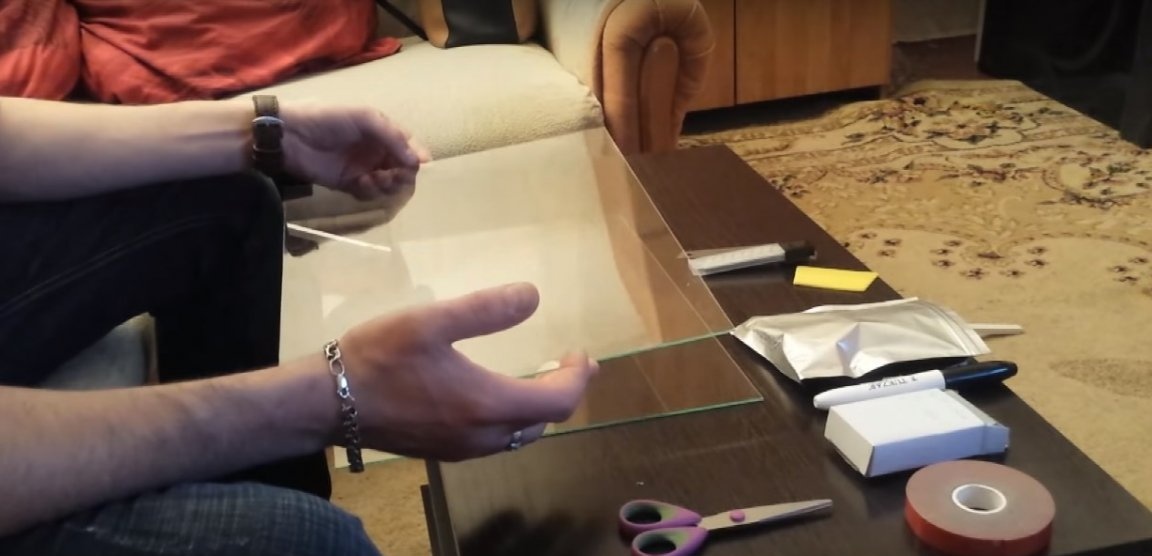
To make the case you will need two glasses. It can be either ordinary glass or acrylic - unbreakable. The second option is preferable due to its security.
You can cut them yourself using a glass cutter. Lay the glass on a flat surface and mark with a marker. To check the angles, use a square. Take a glass cutter along the intended line. Remember that re-cutting is not recommended. Lay the glass on the table so that the cut line is exactly along the line of the edge of the table and push on the protruding part. If the cut is made qualitatively, the glass will break off in a straight line. Use 3 mm thick glass and be sure to wear tight gloves, as cuts cannot be avoided.
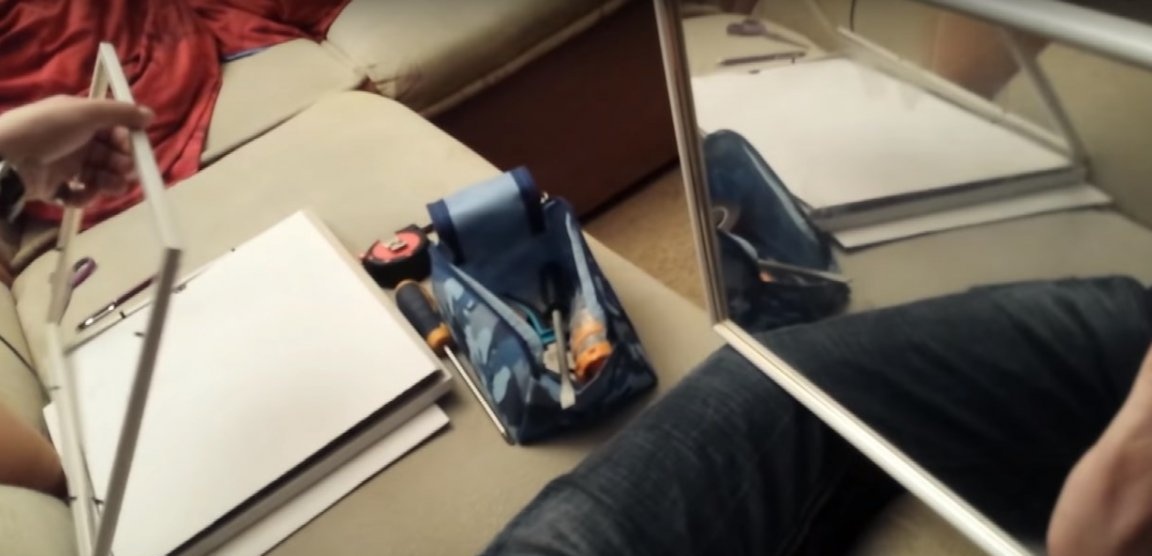
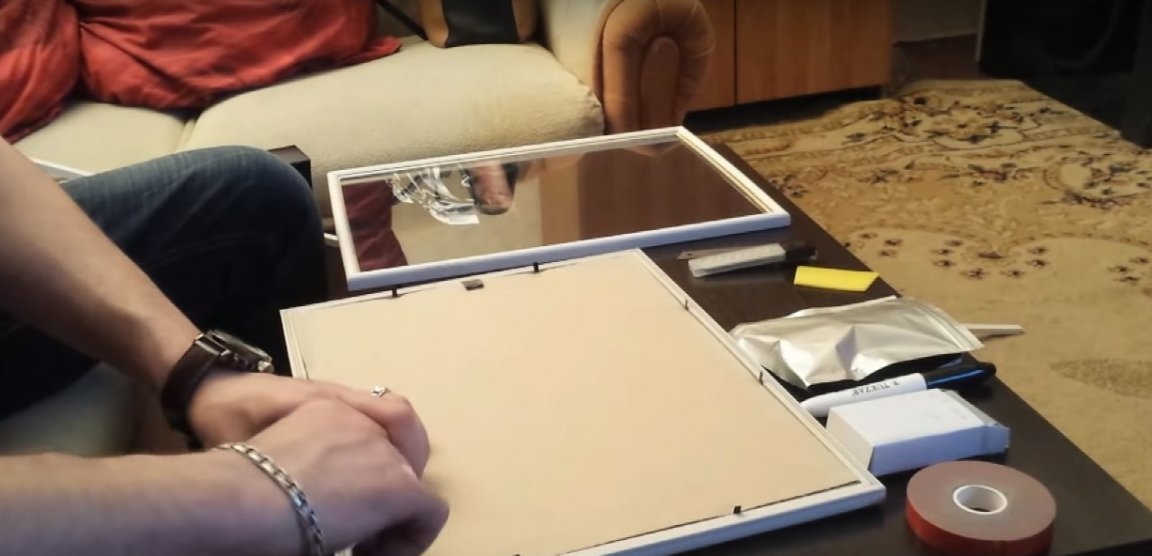
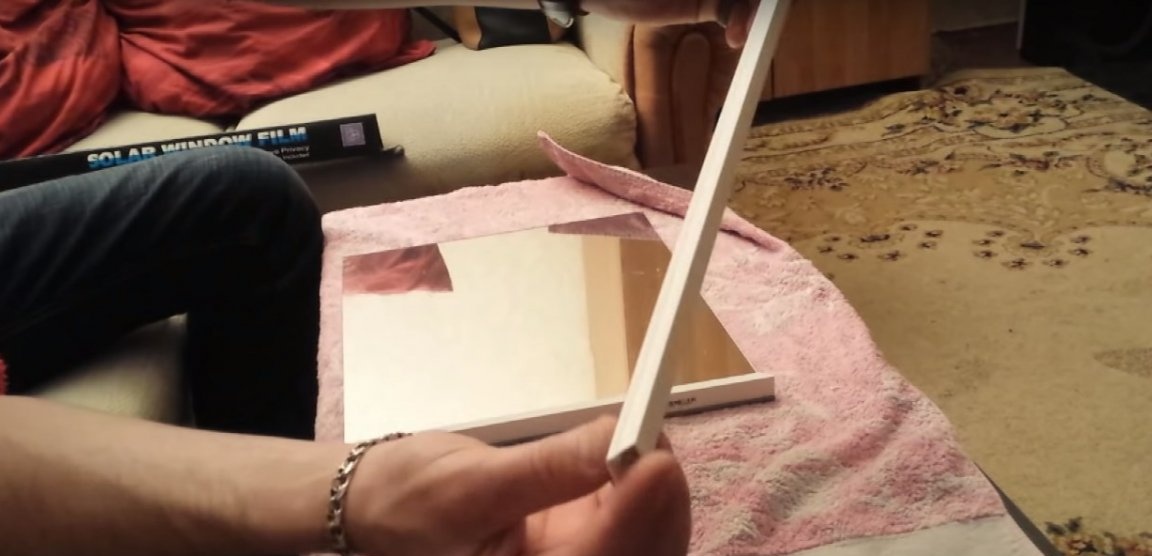
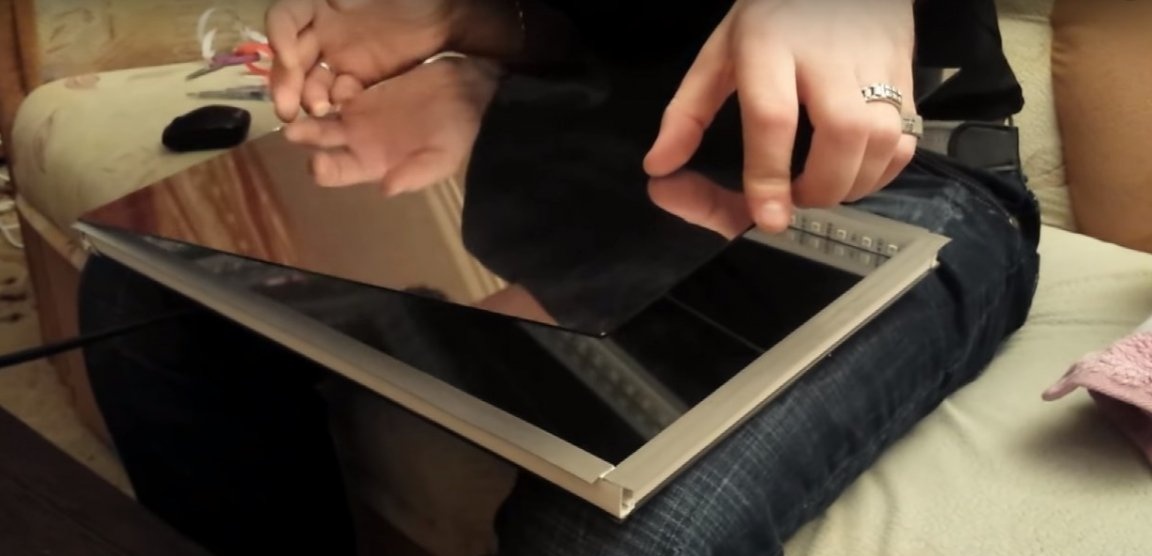
The author uses two frames with printed paintings and, accordingly, finished glass. You will also need a framework.
Step Two: Adhesive Mirror Film
Typically, in the manufacture of mirrors, black enamel is applied to the surface of the glass, and already on it is a reflective layer. This leads to the fact that the mirror does not transmit light through itself. That is why the classic mirror is not suitable for creating a lamp, although it can be used to make its back.
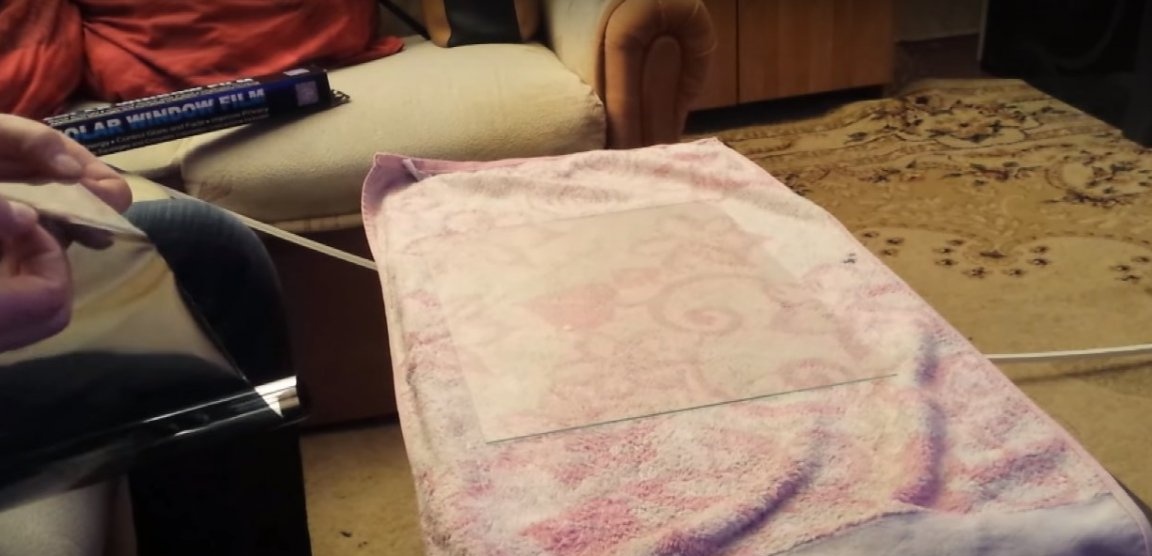
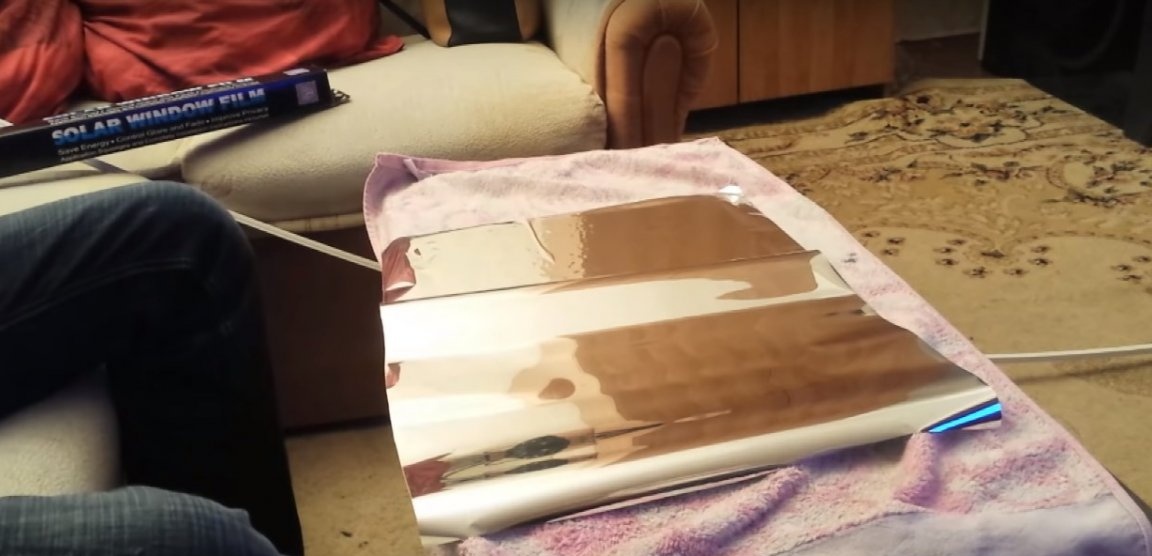
You will need a transparent mirror. And since it’s extremely difficult to buy, it’s easier to do it yourself. For this, the author uses a car mirror film.
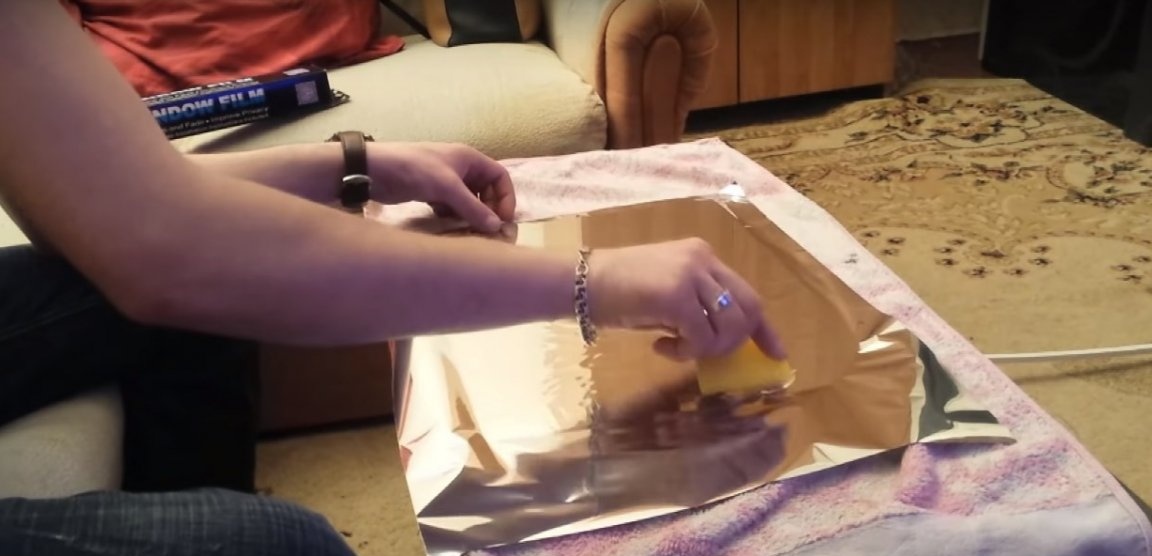
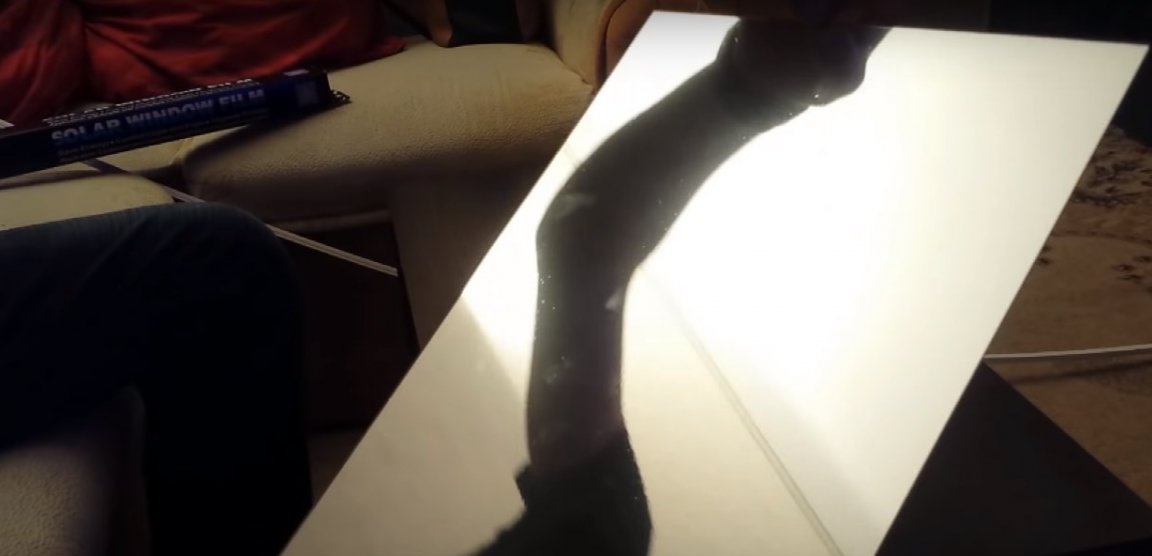
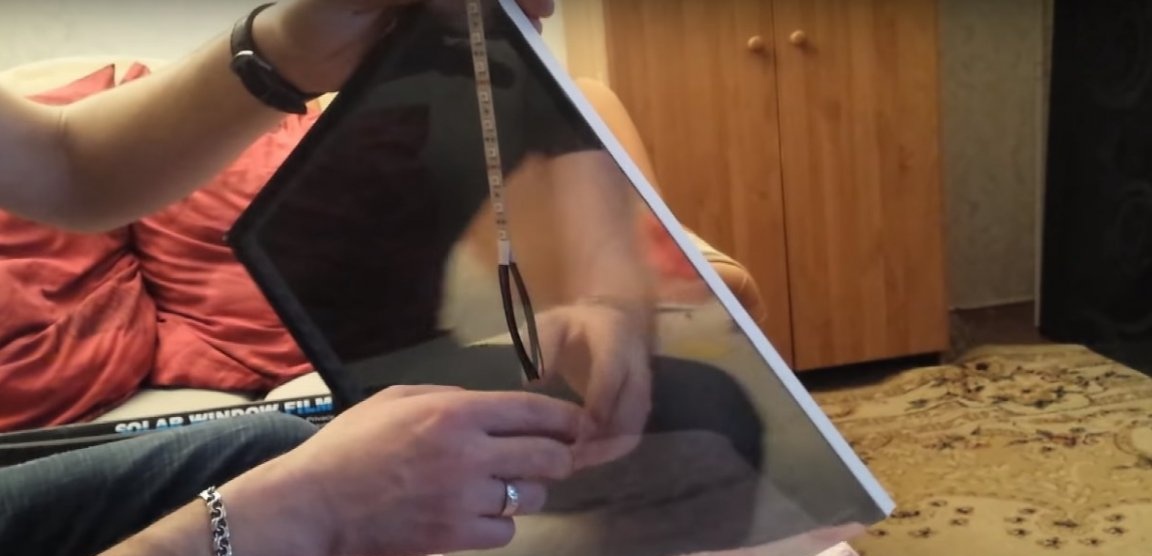
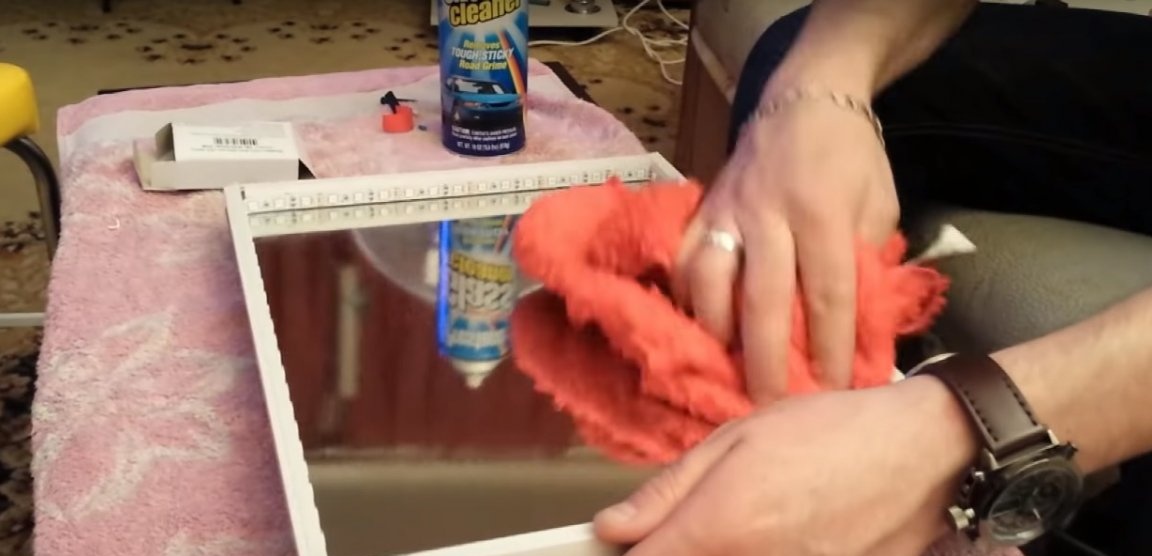
Prepare the surface of the glass by thoroughly washing and degreasing it with any solvent (such as white spirit) or medical alcohol. Wet the glass with soapy water. Put the mirror film, evenly distribute it on the plane and carefully go through the plastic bank card in different directions, expelling the air bubbles outside. Cut off excess film with scissors. So prepare two glasses.
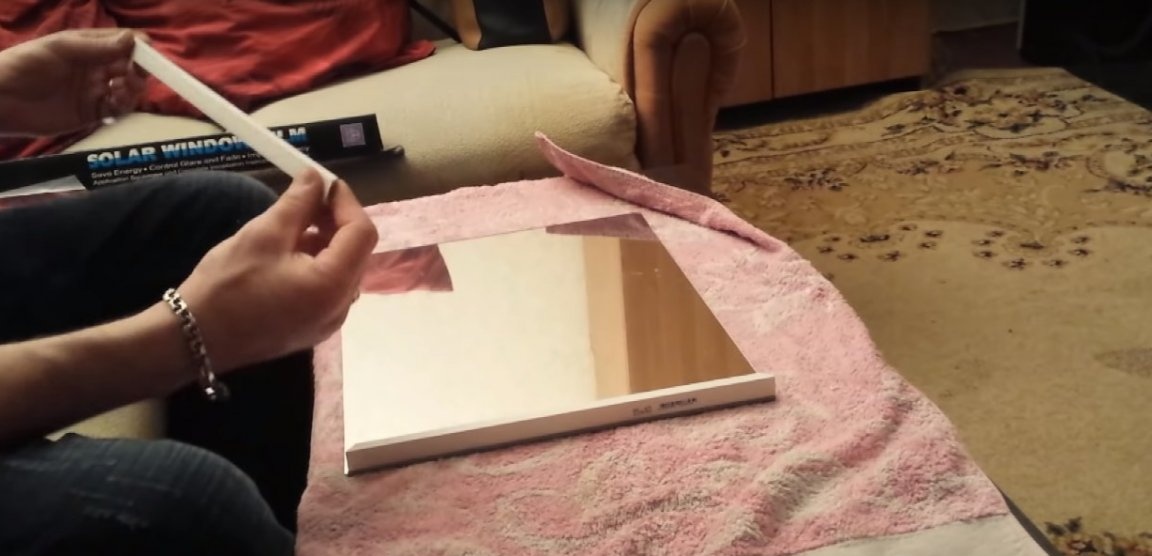
Step three: the manufacture of gasket parts between the glasses
Two glasses are separated by free space. To ensure it you will need a frame from any material at hand. The author used a plastic profile. In the same way, you can use a wooden lath or plywood.
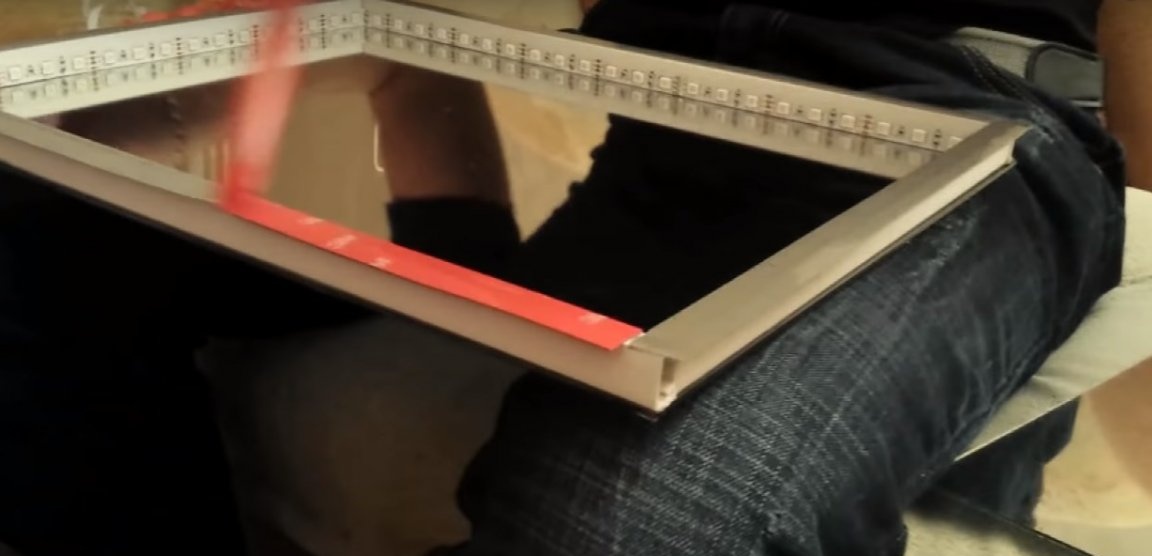
Saw off sections of the profile of the desired length at an angle of 45 degrees. Stick the details of the frame on the glass on double-sided tape. If your frame is made of plywood or wood, use epoxy glue or liquid nails.
The width of your frame should allow you to place the LED strip inside.
Step Four: Install LED Strip
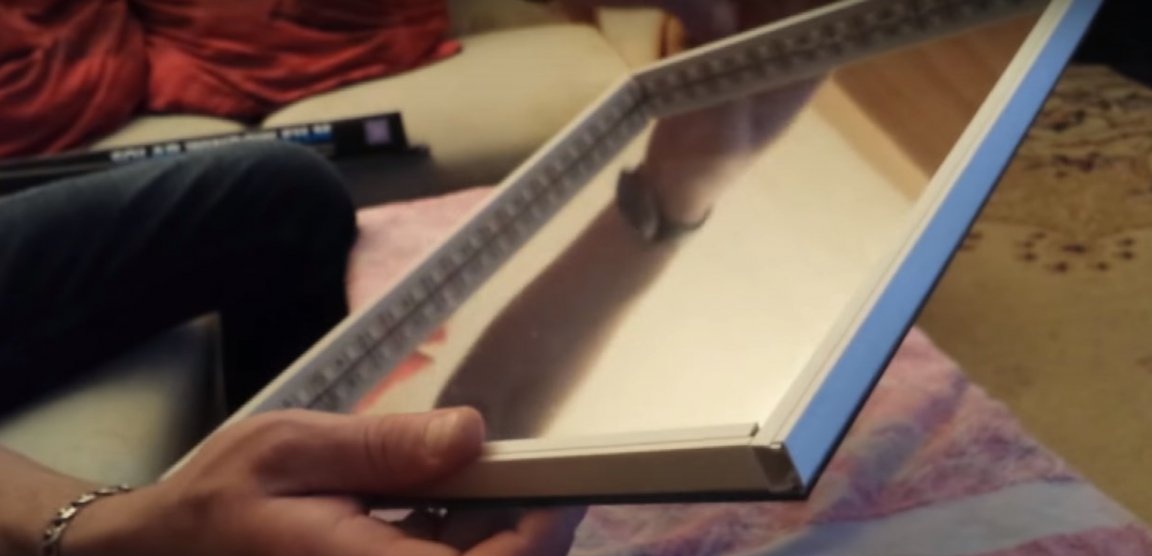
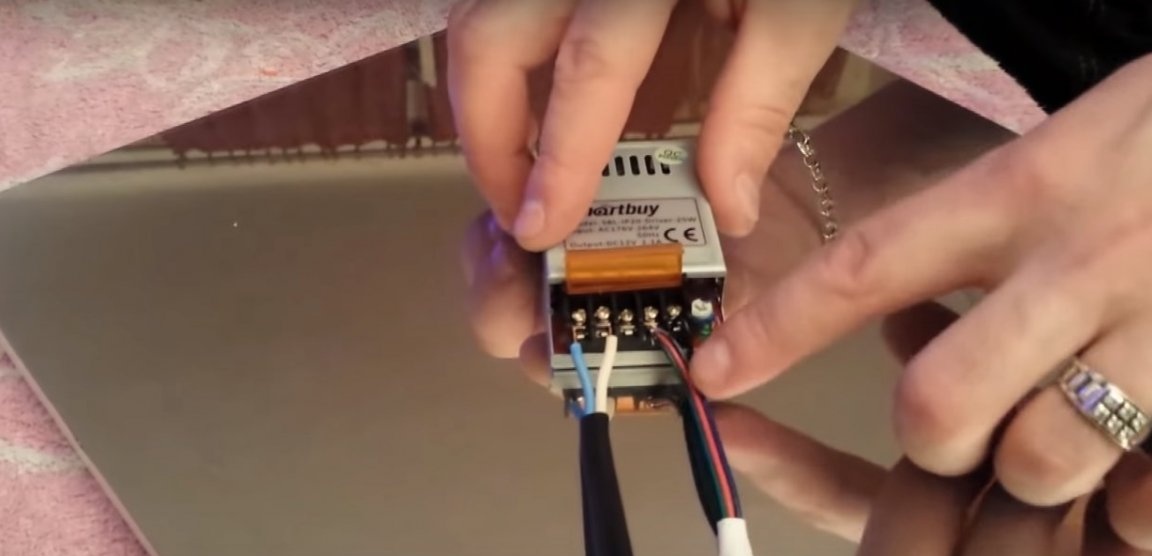
Measure the inner perimeter of the lamp housing and cut off the strip of LED strip with a margin for mounting on the back of it. Fix it with double-sided tape or hot glue. Connect a step-down voltage converter and a tape control unit that will allow you to change the color of the glow, the nature of the flicker, etc.
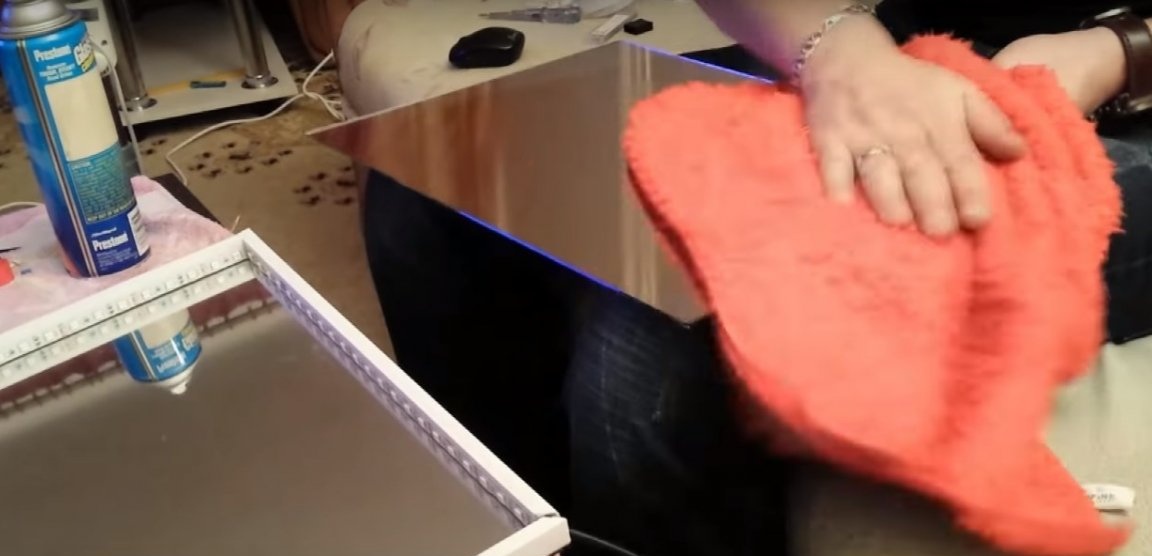
Remove dust from the glass and stick the second glass on top. In this case, both glasses should be facing with a mirror surface with a glued film inside the case.

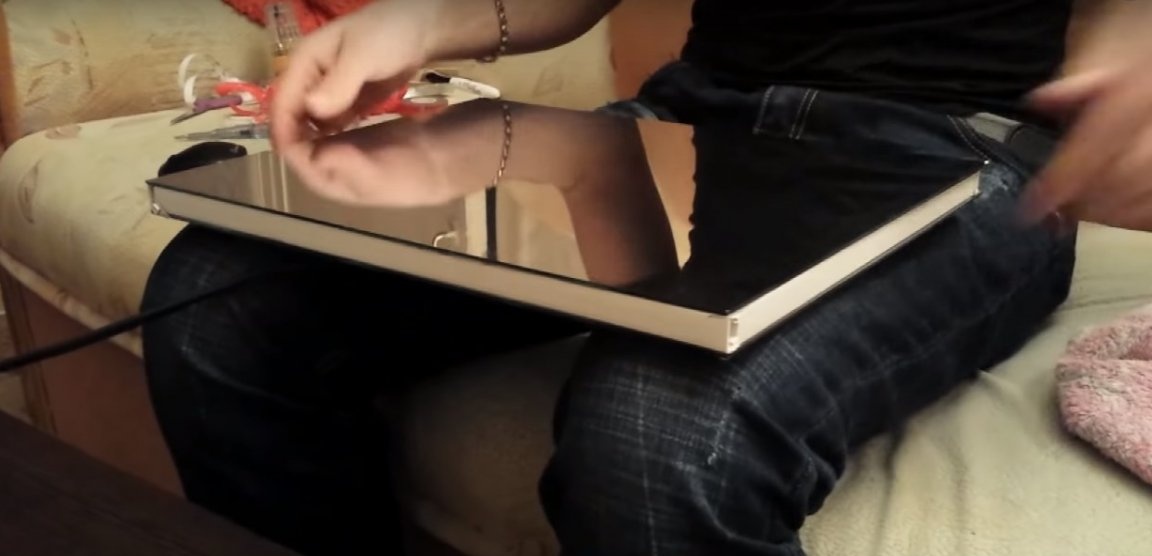
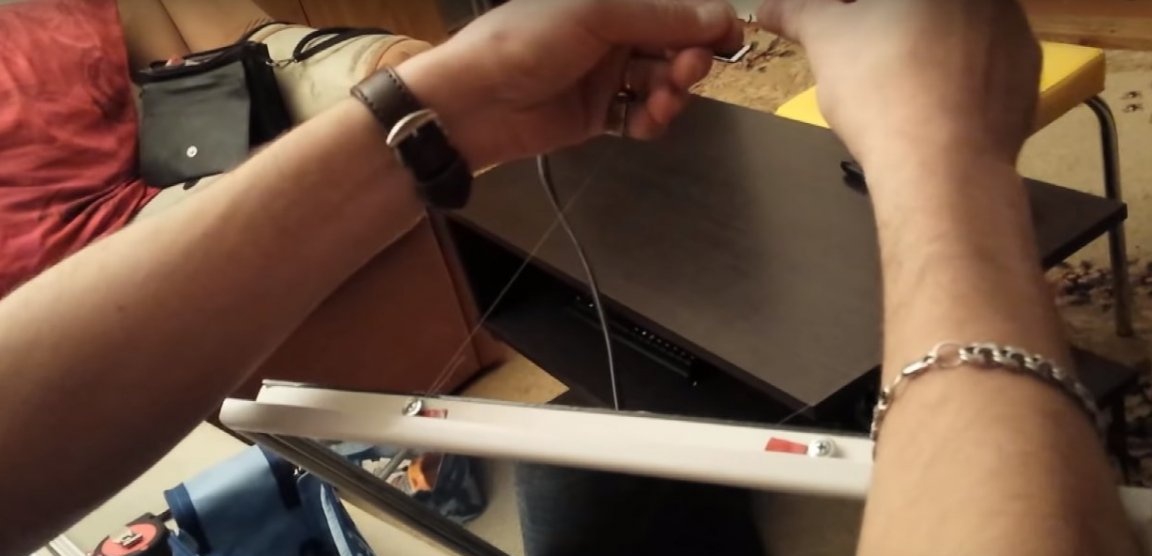
Step Five: Making a Lamp Frame
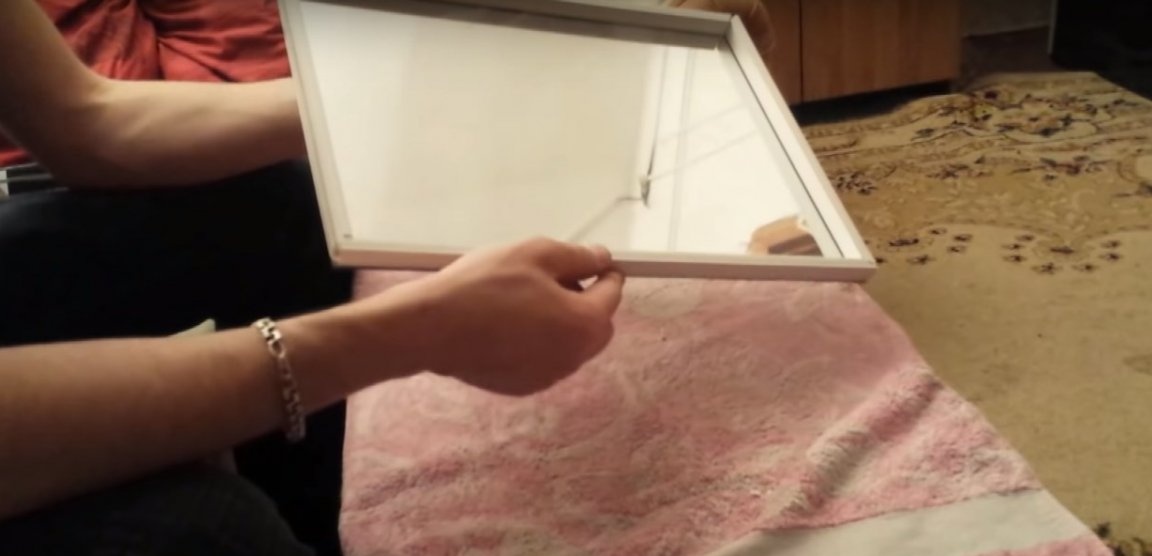
In principle, the base building is ready. Check the operation of the LED strip is even before gluing. However, everything seems, to put it mildly, incomplete. To fix the situation, make a frame for the lamp. This may be the most ordinary polished wooden frame from the rail, in which the case is fixed with glazing beads.
The author used the very frame that remained of the picture. She used to fix paper and glass with metal strips, but now she needs to fix it herself with epoxy glue or all the same liquid nails.
The author did not particularly think about the manufacture of the suspension, so he temporarily hung the lamp on a thick fishing line.