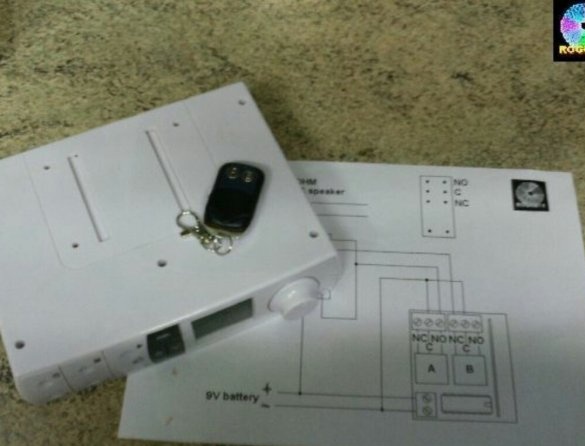
The author of Instructables, under the nickname rog8811, offers a revision of the radio alarm clock, which allows you to turn off the sound of the radio alarm clock from the remote control from anywhere in the room (for example, the office) before a telephone conversation and turn it on after it.
If it was not a radio alarm clock, but a regular radio receiver, the task would be simplified. Switching could be power. On the other hand, the clock will be lost due to this, and after the power returns, an intermittent signal starts to sound on some models. Therefore, the master decides to disconnect the built-in dynamic head from the amplifier of the radio alarm clock and connect the load equivalent instead, and then return everything as it was. In fact, such a low-power amplifier does not need a load equivalent, it will not deteriorate even without a load. But the master decides to play it safe. As such an equivalent, he takes a resistor with the same resistance as that of the winding of a dynamic head (8 Ohms), and of obviously greater power. For example, if the output power of an amplifier of a radio alarm clock is 0.5 W, then a two-watt resistor will provide a good margin.
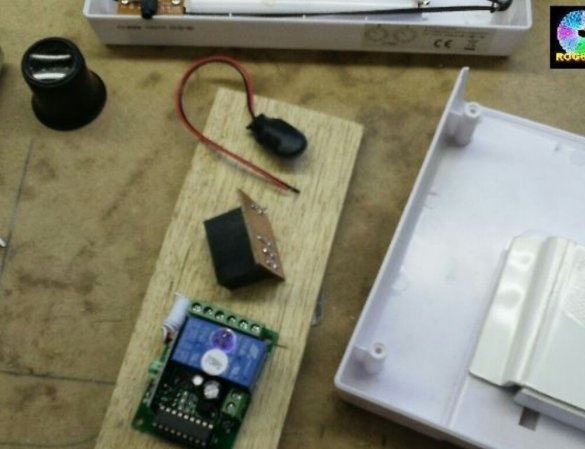
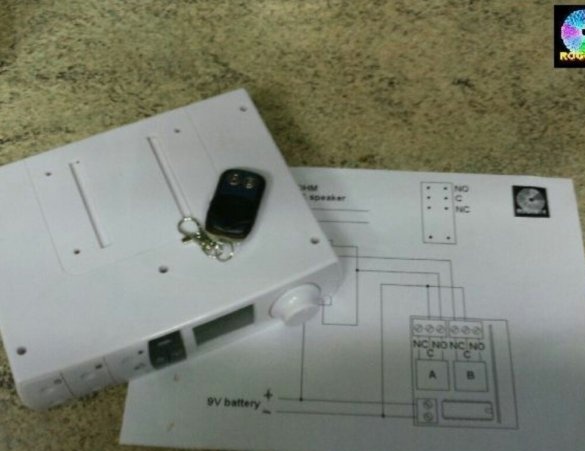
For switching, the master applies a two-channel kit to add the radio control function to the garage door control unit:
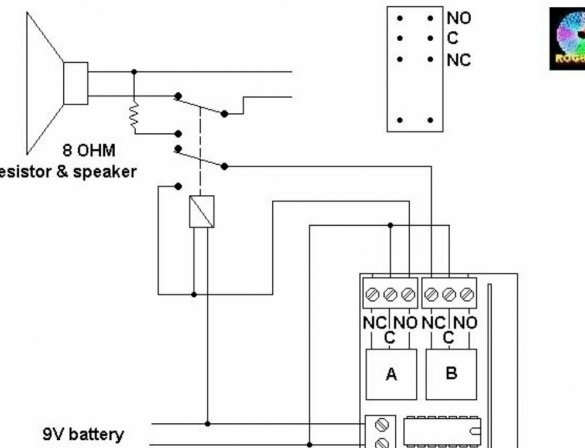
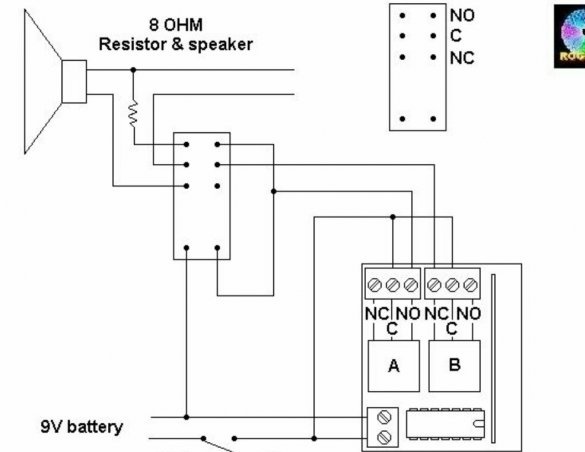
The receiver of the kit with the help of two relays imitates the pressing of the buttons for raising and lowering the gate, and on the remote control there are two buttons designated as A and B. Both relays are not self-locking, so the wizard adds a third one as shown in the diagram:
Here, the classic self-locking circuit is implemented, in which the first relay in the receiver of the kit replaces the start button, and the second - the stop button. The presence of voltage on the winding of the third relay corresponds to a disconnected loudspeaker, so it will only consume current during relatively short telephone conversations. In parallel with this winding, it is desirable to connect the diode in the opposite direction, which will reduce the wear of the contact groups of the first and second relays. Though electronics and all three relays are designed for 12 V, they work from 9 V.
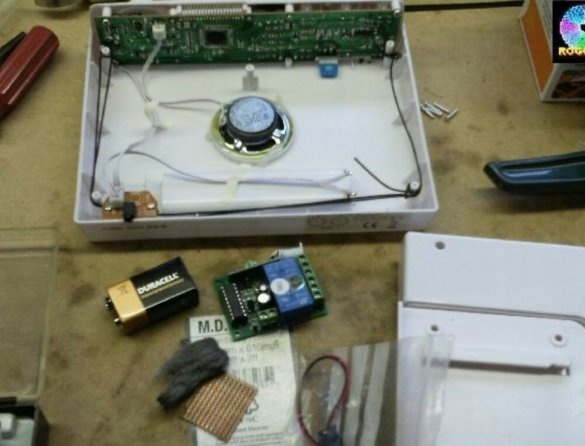
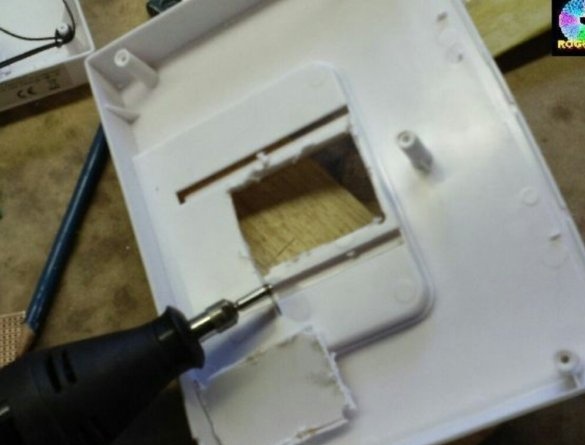
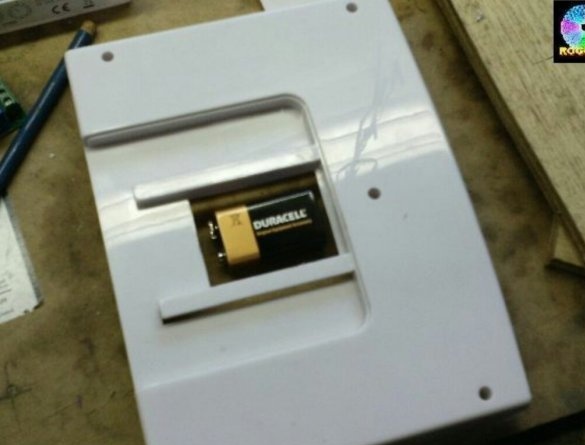
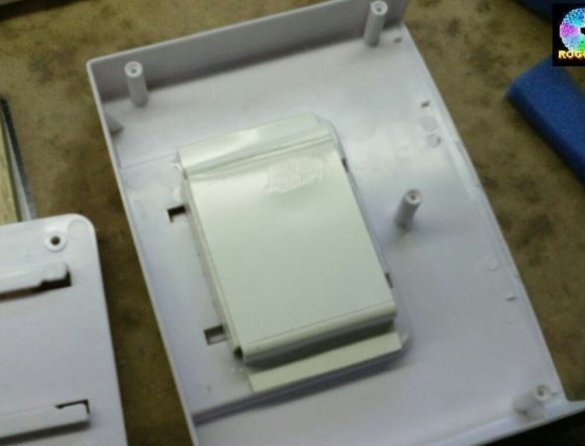
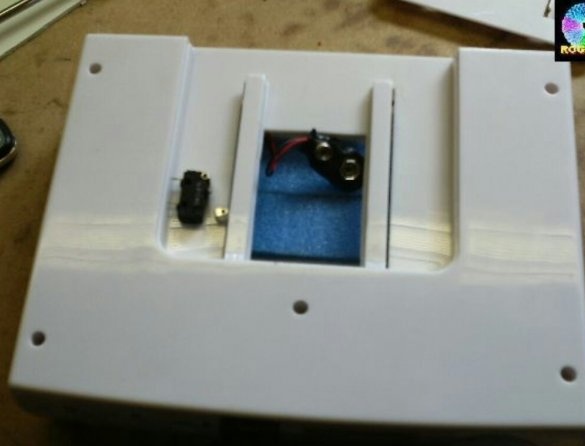
The radio alarm clock used by the master initially required the entire case to be opened to access the battery compartment. This is inconvenient, therefore, along with the proposed revision, the master decided to add a battery compartment with external access to the device.Well, there was a lot of free space in the case, so there were no problems with placing additional boards and relays. The smaller the developers make the element base, the more often when we buy various equipment we pay "for the air" inside. Although this process did not begin today, even in a tube radio there is often a lot of “air”.
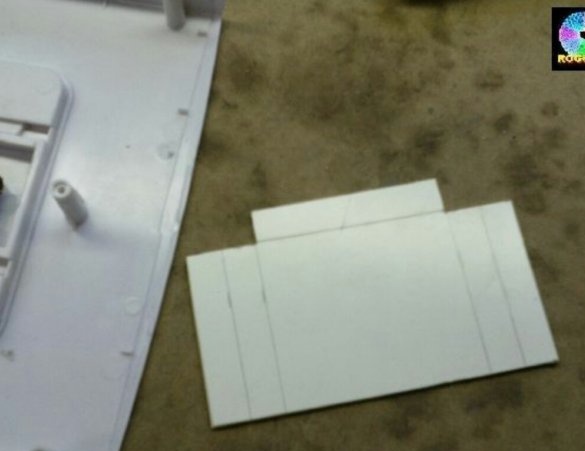
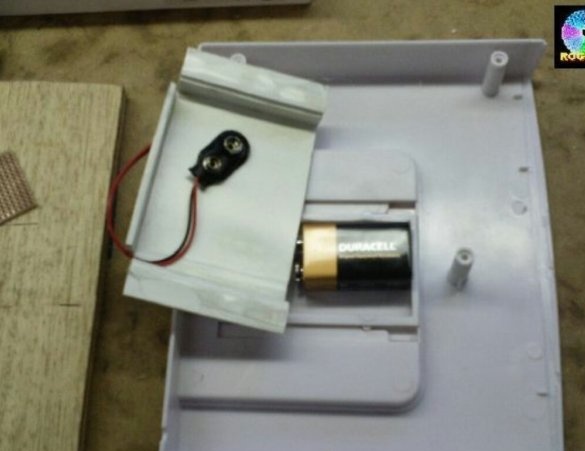
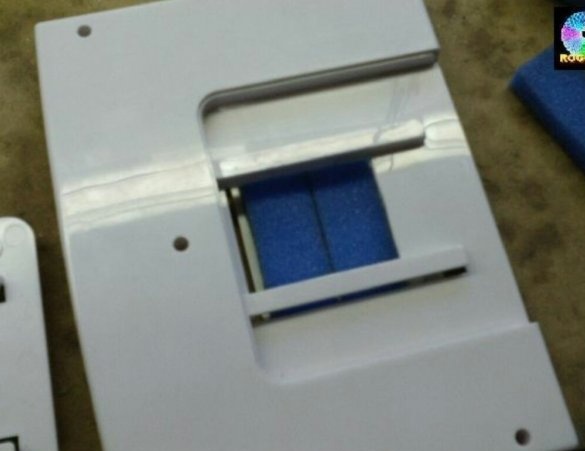
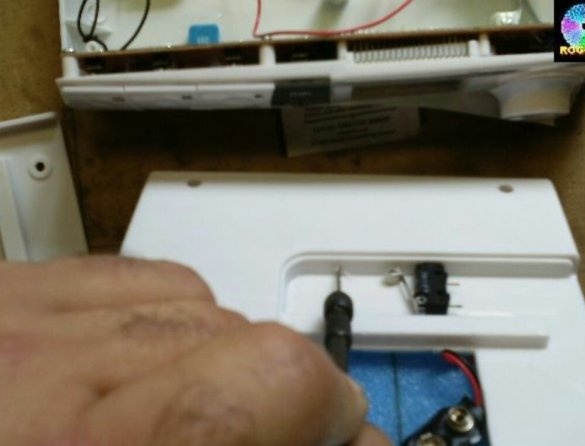
But simply cutting a rectangular hole in the case with a dremel is not enough. A good battery compartment has a battery holder to which foam is glued to hold it in place. The master cuts the holder blank and bends it in a vise, softening it with a construction hairdryer. When the plastic hardens, sticks the foam and installs the holder on the body. And the lid is already there, it is attached to the bottom of the shelf and allows you to quickly remove and install a radio alarm there.
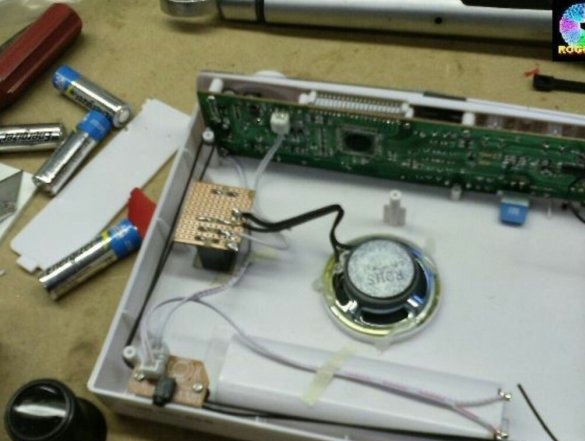
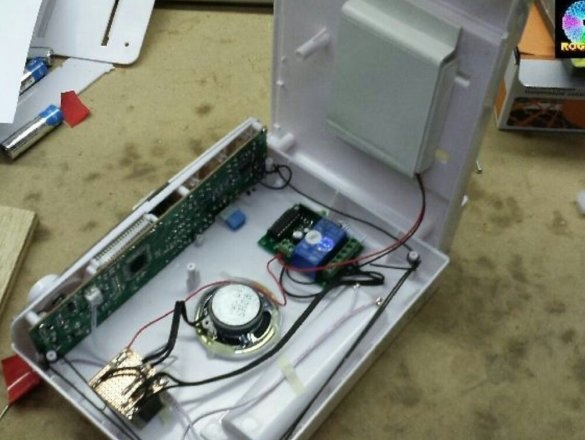
Then the master installs an additional relay and a load equivalent resistor on a piece of the breadboard, makes all the connections and connects the receiver of the system for the garage door:
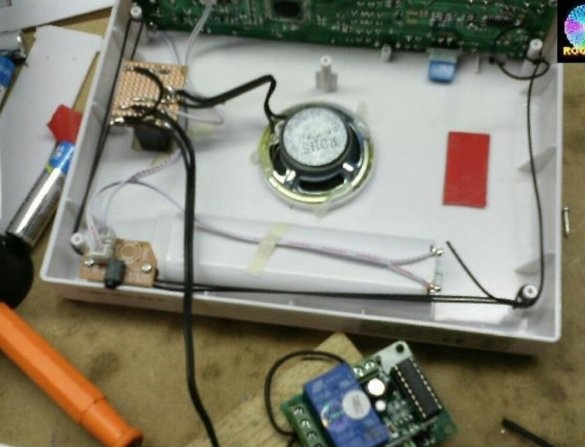
Everything neatly fixes:
Closes the case and checks:
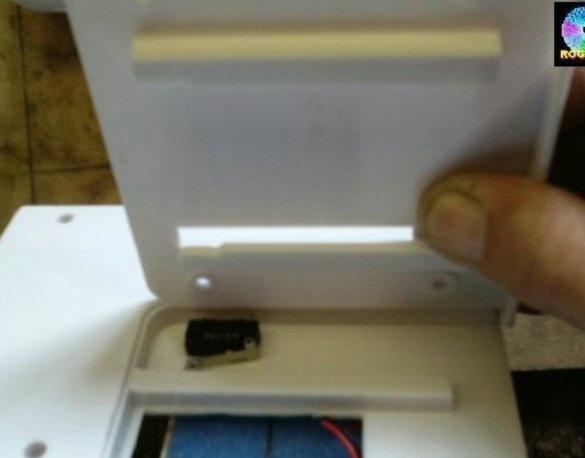
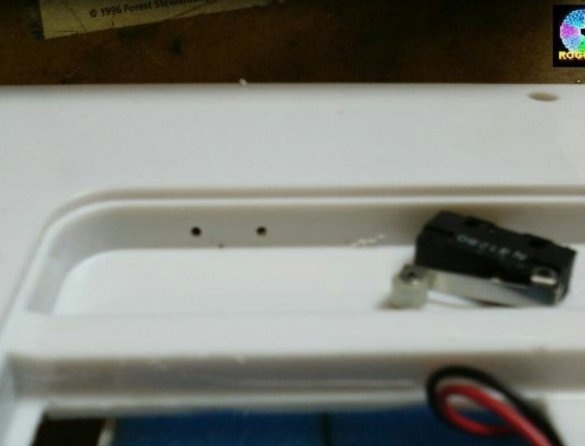
Everything works. When button A is pressed on the remote control, the relay is activated and self-locking, the radio alarm clock amplifier switches from the dynamic head to the load equivalent. When button B is pressed, the voltage from the relay winding is removed, and the amplifier switches back to the dynamic head. But one problem is discovered. If the battery is discharged and its internal resistance increases, its load capacity is enough to operate the winding of only one relay. When the third relay is on, it is not possible to turn on the second at the same time and thereby force the third to unlock. Turning the sound off, but turning it back on, no. Master slightly redoing homemadeadding micro switch to it:
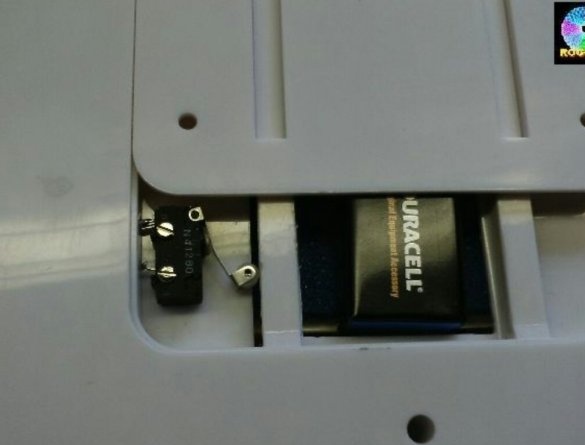
Placed in the battery compartment as shown in the following photos:
Now, having removed the battery cover, you can press the micro switch, thereby briefly turning off the power to the circuit and returning the third relay to its original state. You can still turn off the sound before starting a telephone conversation, from anywhere in the room, but in order to turn it back on after the conversation, you need to go to the radio alarm clock, remove it from the shelf, press the button and install it back. This will quickly get bored, and you will soon replace the battery or charge the battery of the same size used instead, so that you can use both buttons of the remote control again. Here is the master’s comfortable device, allowing you to turn off the music during telephone calls.

