

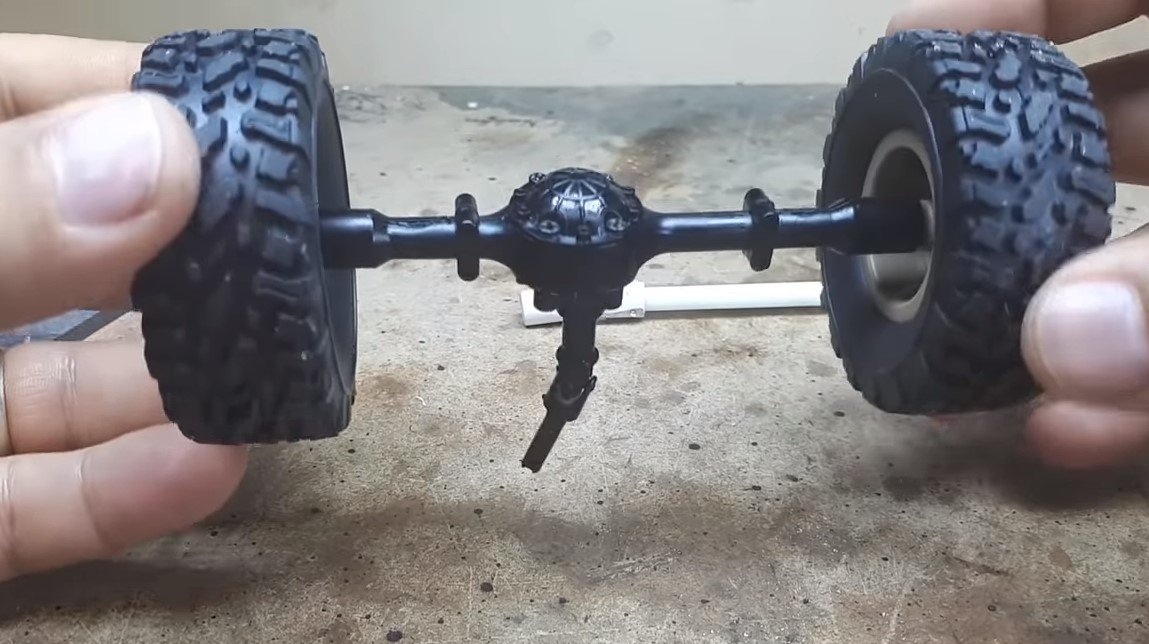
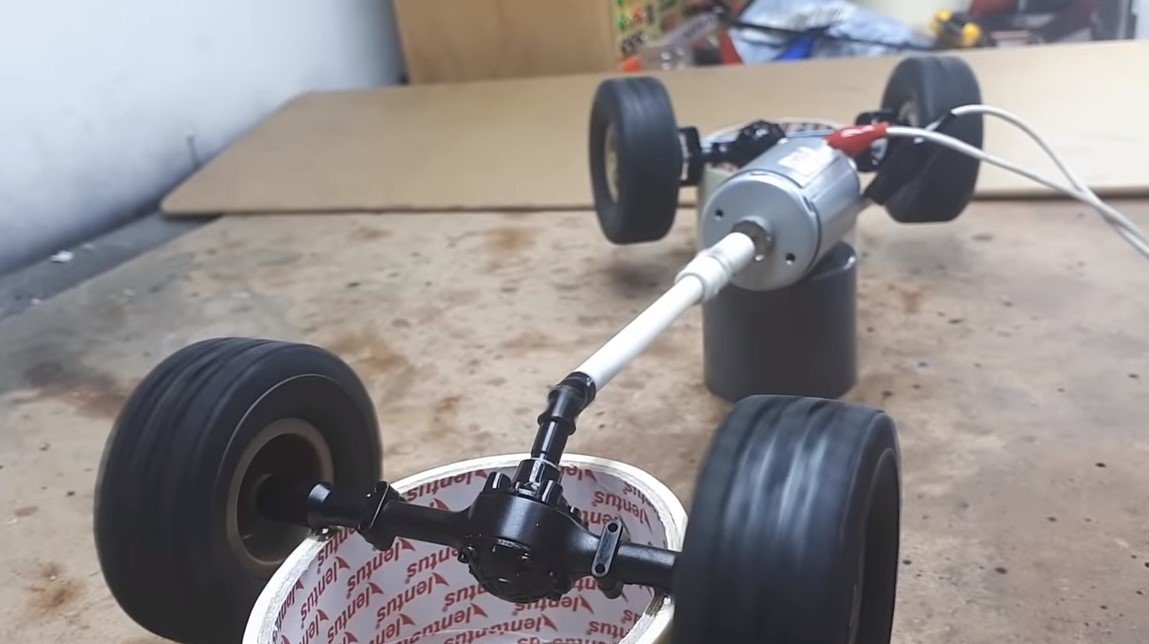
I welcome all fans to craft, I propose to consider a powerful machine on the control panel. The author made an all-wheel drive machine and it is quite possible that bridges with differentials were used for the model. The machine is driven by two engines of the brand 9093 at once, which allows to obtain, together with a reduction gear, a huge torque and good speed, which is so necessary for an SUV. The machine turned out pretty nimble, and no one should have doubts about its cross-country ability. Bridges for homemade the author used ready-made, and the cardan shafts, like many other nodes, the author did from scratch do it yourself. If the home-made you are interested in, I propose to study the project in more detail!
Materials and tools used by the author:
Material List:
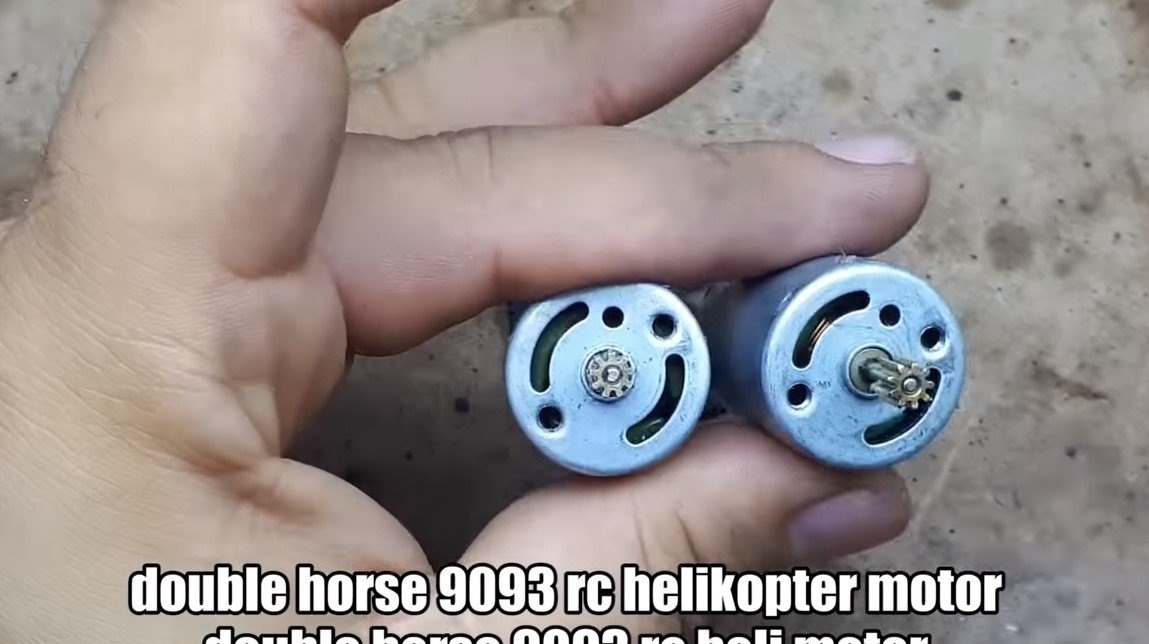
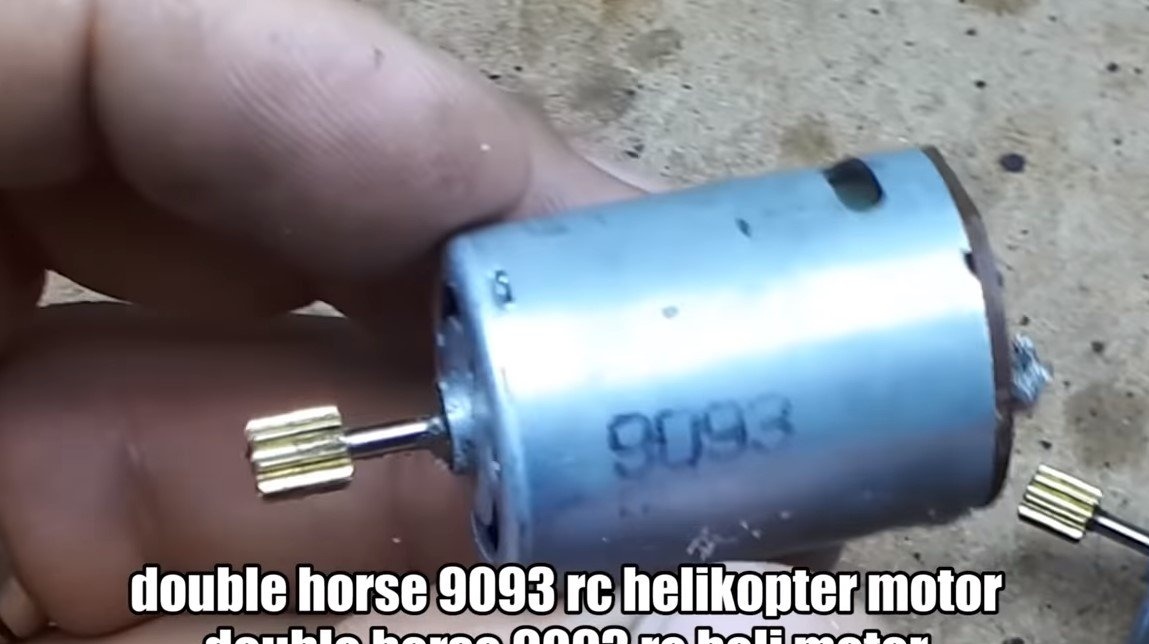
- two motors of model 9093 (aviation) or similar;
- gears for downshifts;
- ;
- tubes, beads, wire (for driveshafts);
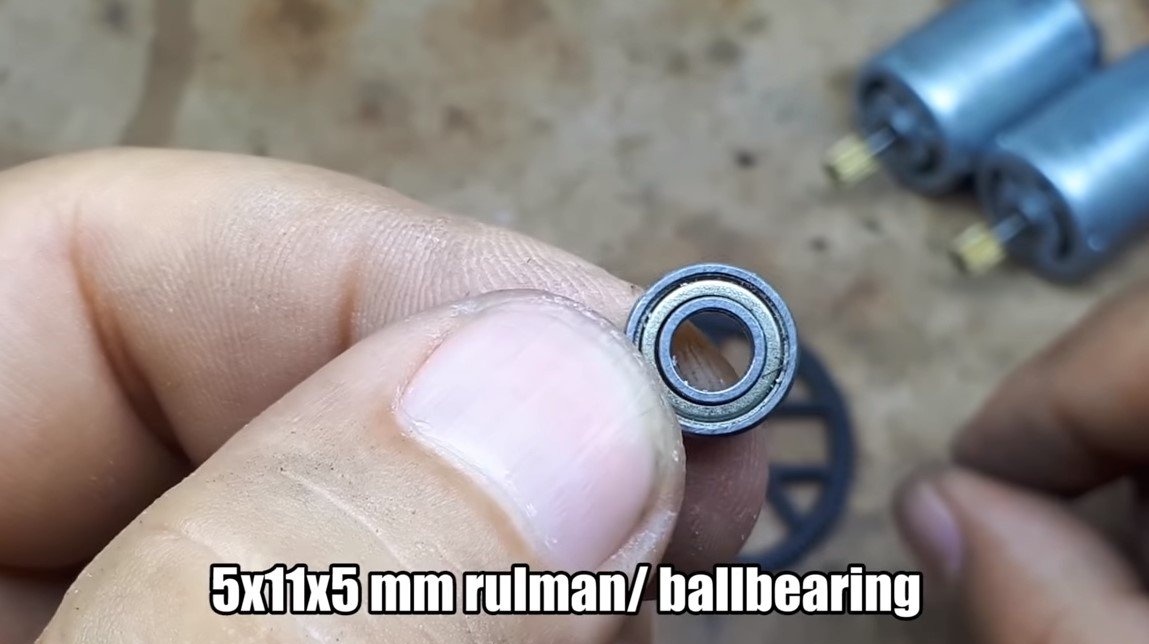
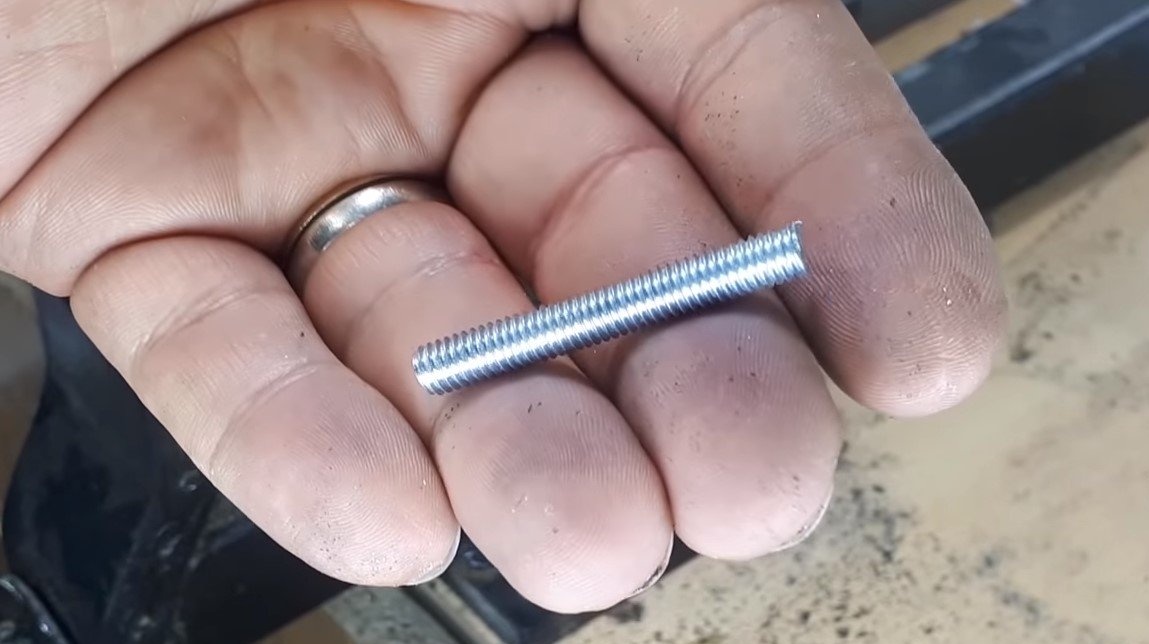
- bearings and threaded rod for the axis;
- veneer or similar material;
- screws, nuts, washers;
- aluminum furniture rails (or other material for the frame);
- ;
- ;
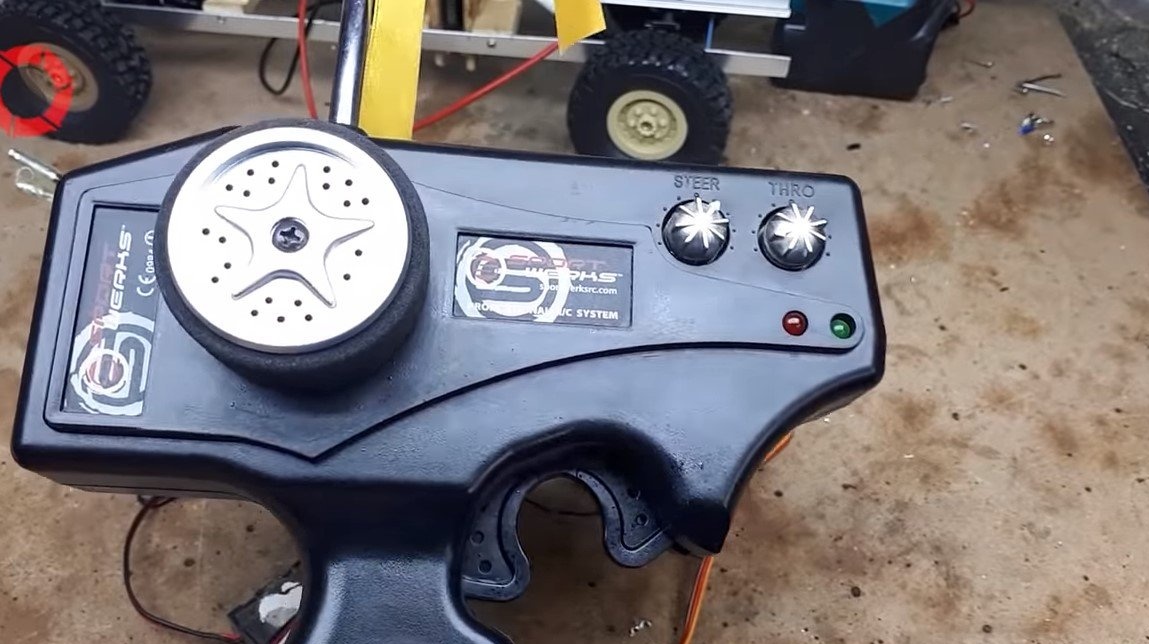
- electronics for radio control;
- thick quick-drying glue;
- steel wire (for steering draft).
Tool List:
- drill or drilling machine;
- stationery knife;
- a hacksaw;
- file;
- ruler;
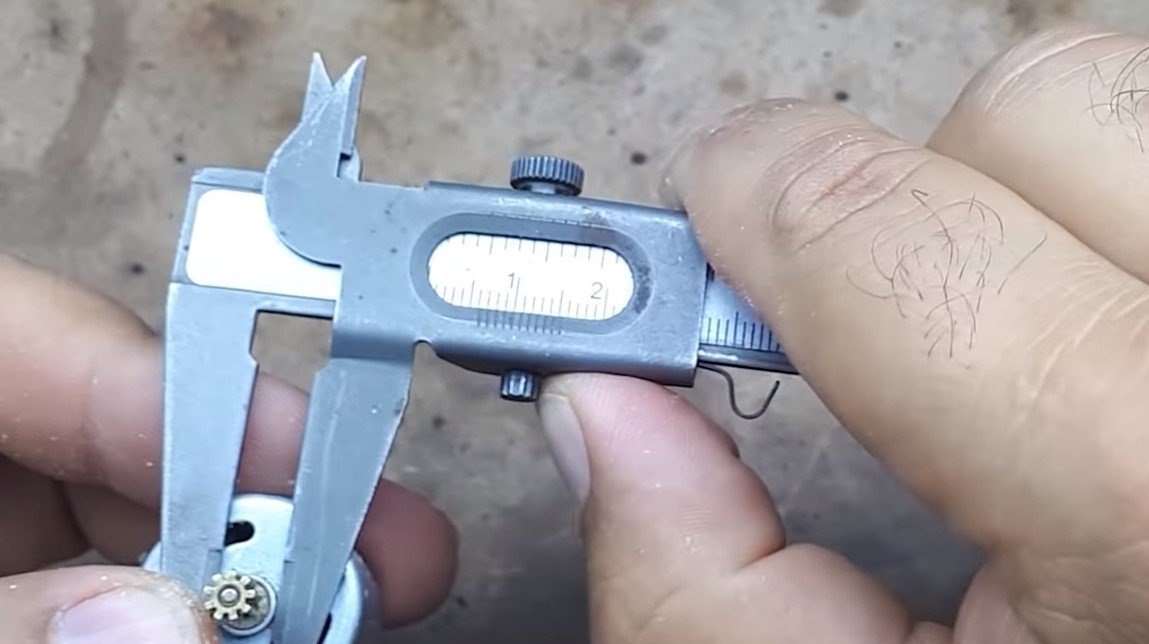
- vernier caliper;
- marker.
Homemade manufacturing process:
Step one. Production of driveshafts
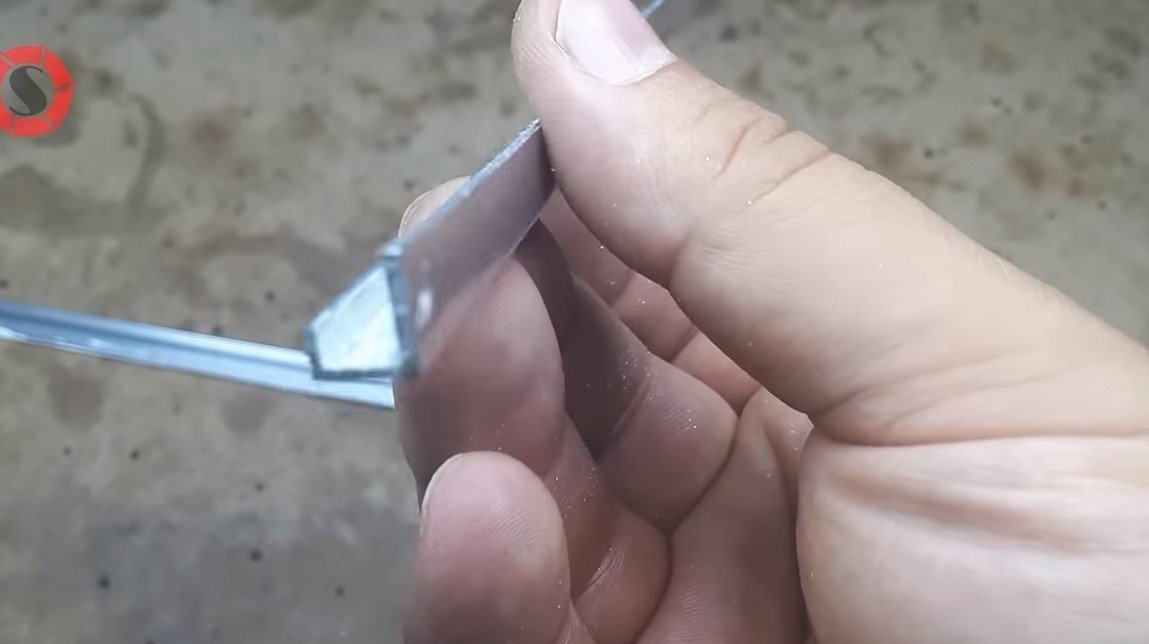
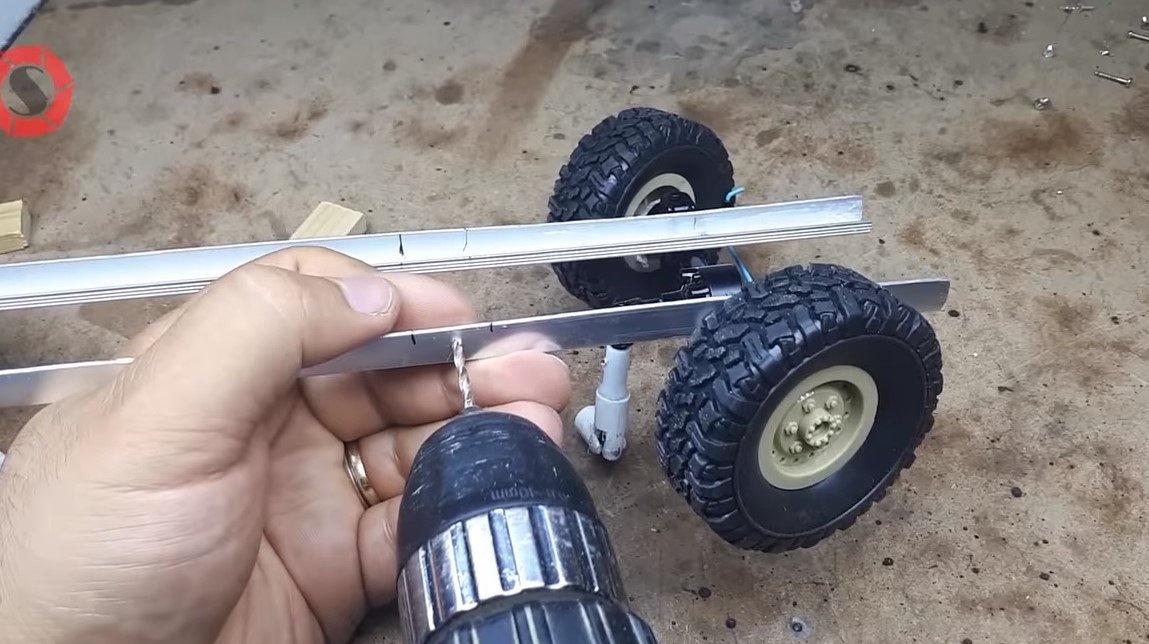
For the machine, you need to make two driveshafts, so that you can conveniently position the motors and get a good clearance. The author assembled the driveshafts under his own project. You will need plastic tubes of different diameters, one tube should fit tightly into the other.
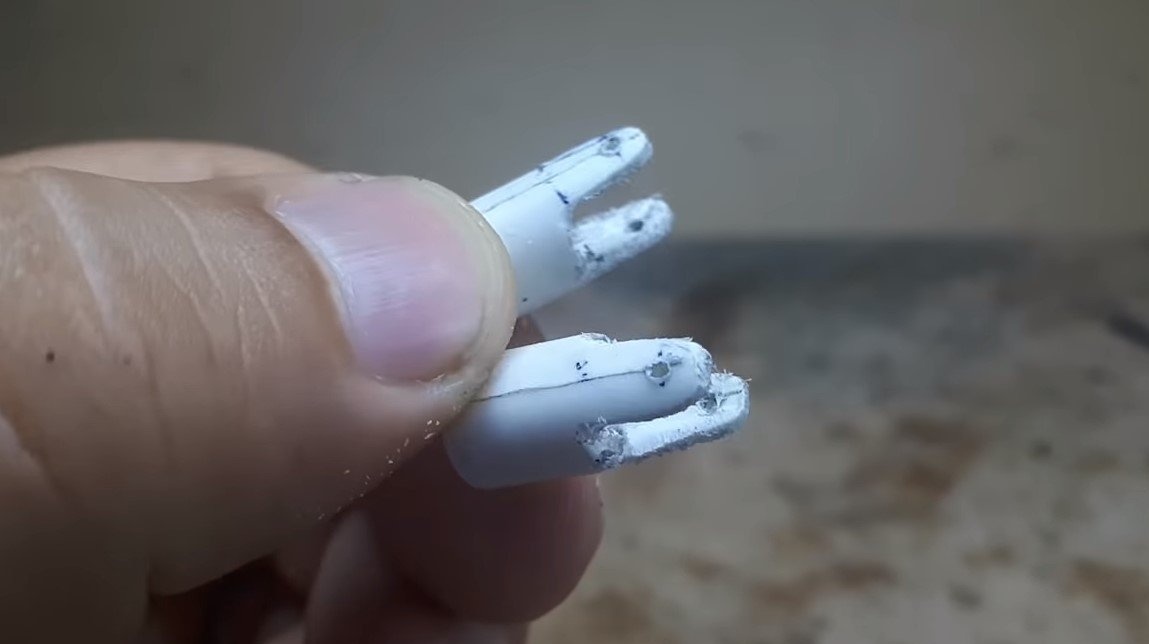
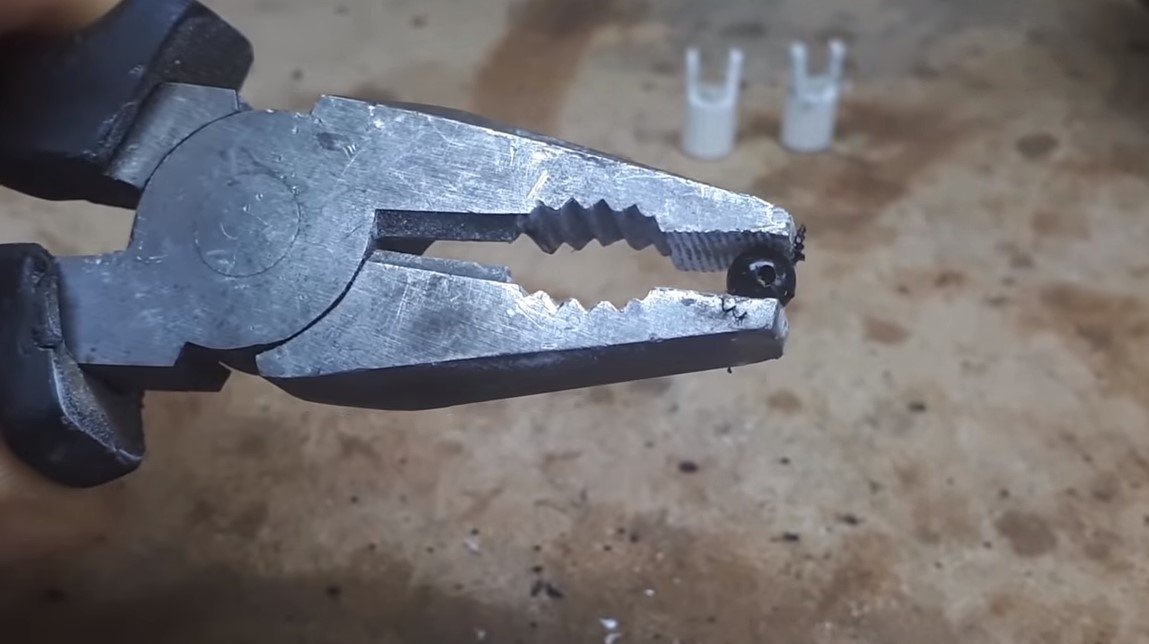
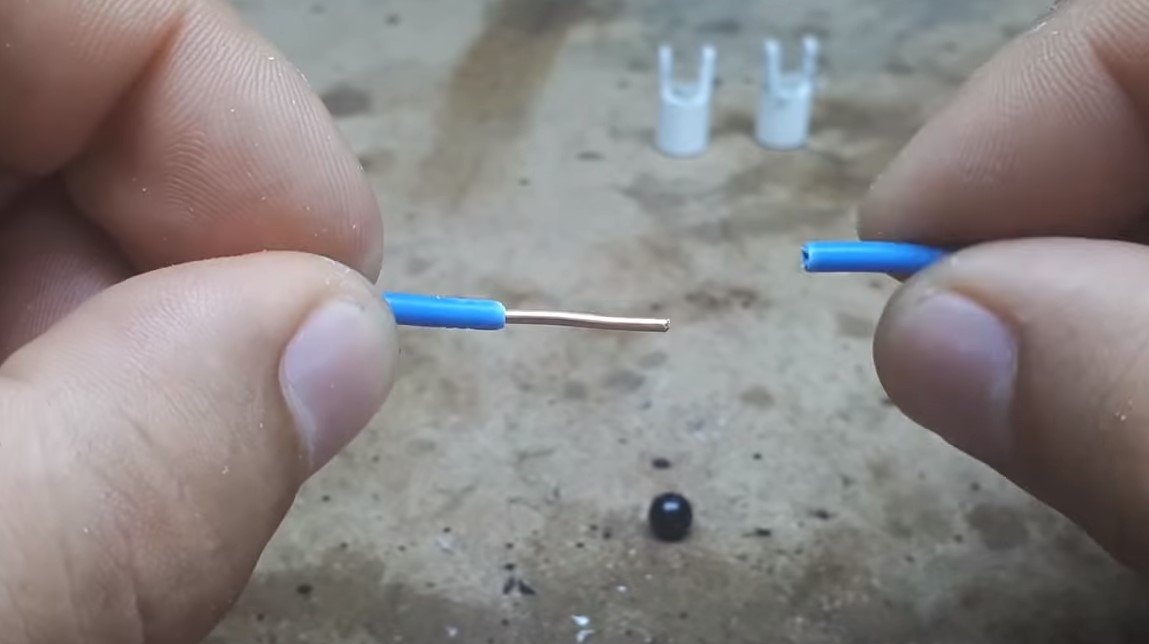
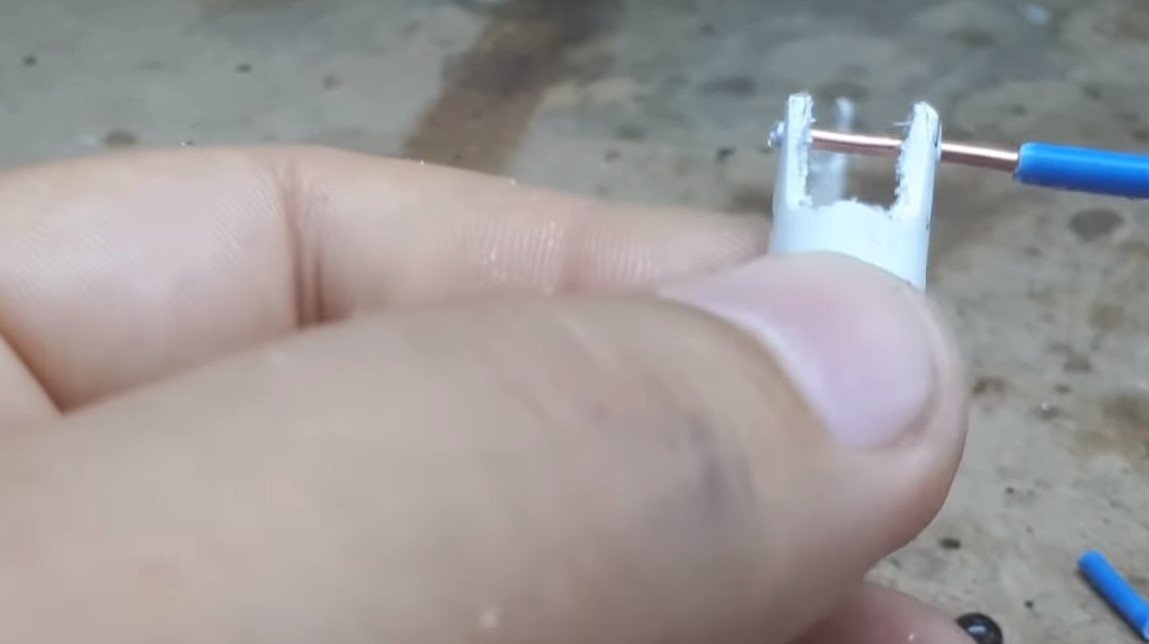
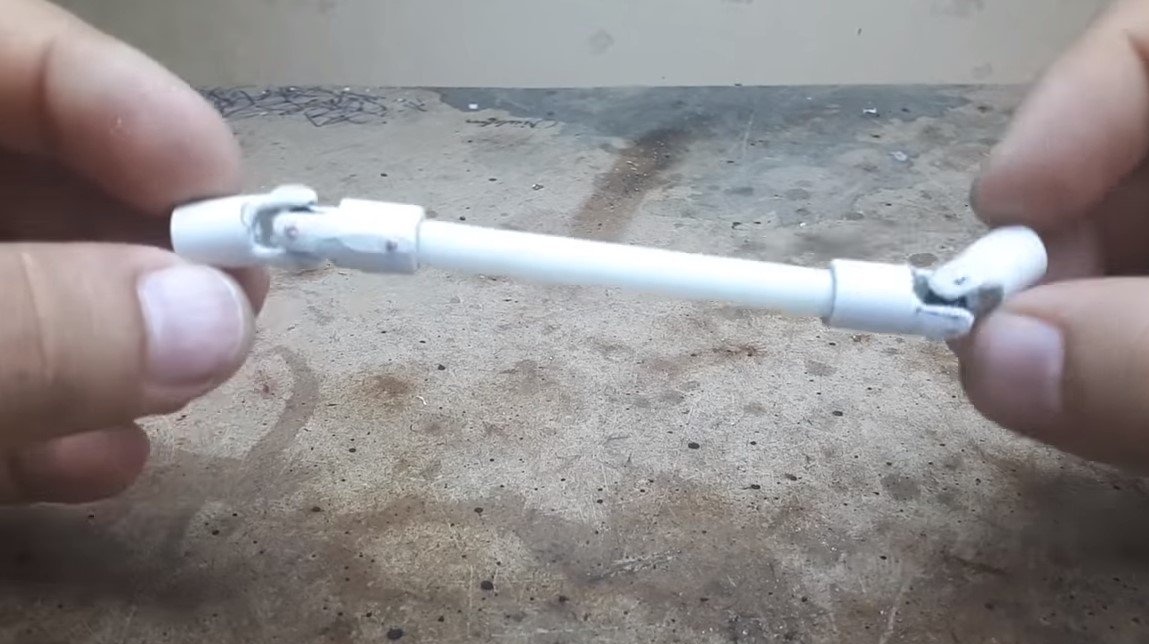
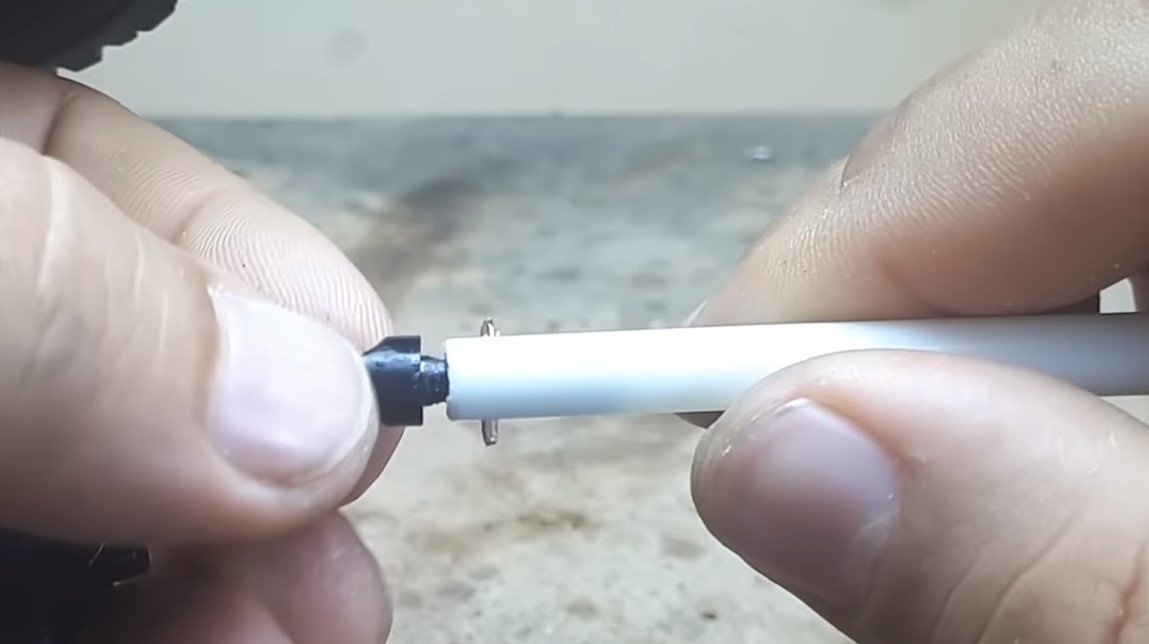
We take pieces of tubes of a larger diameter and make plugs for the driveshaft from them. The author cut out these details with a clerical knife, finishing with files. The forks should be connected through a hinge, in which the author used beads. We drill holes for the axles in the bead and then the universal joints of the cardan can be assembled. The author used copper wires as axes. To prevent the axles from falling out, glue them with thick quick-drying glue. Well, then we collect the driveshafts, cut the tubes in length and glue everything. The author checked how the cardans work at different angles, the design showed excellent results.
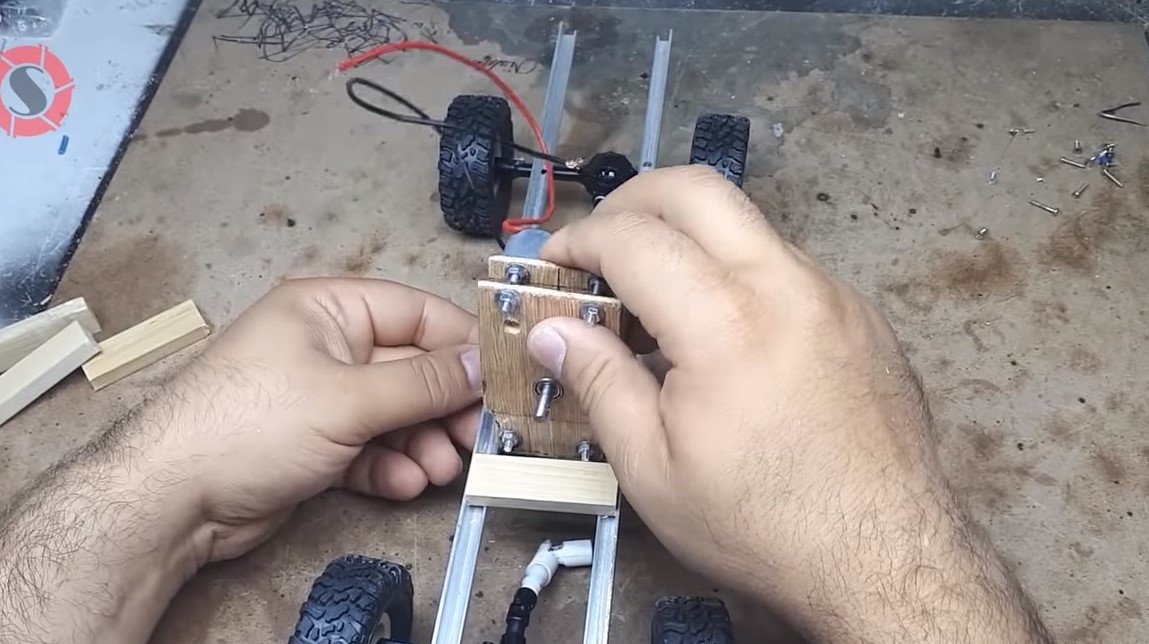
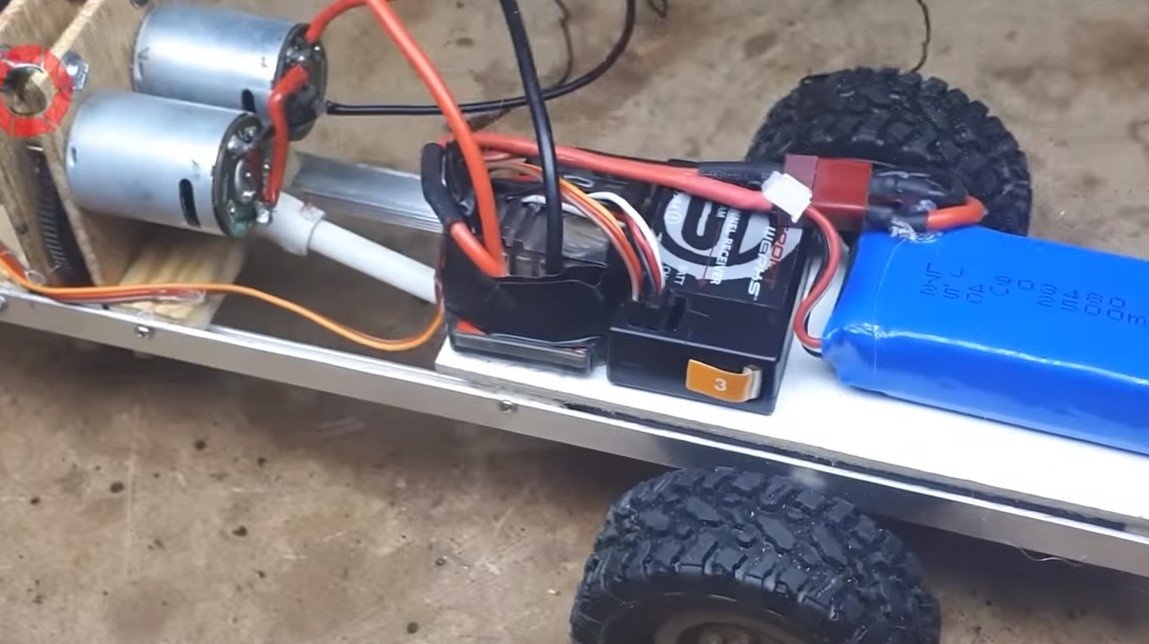
Step Two Motor block
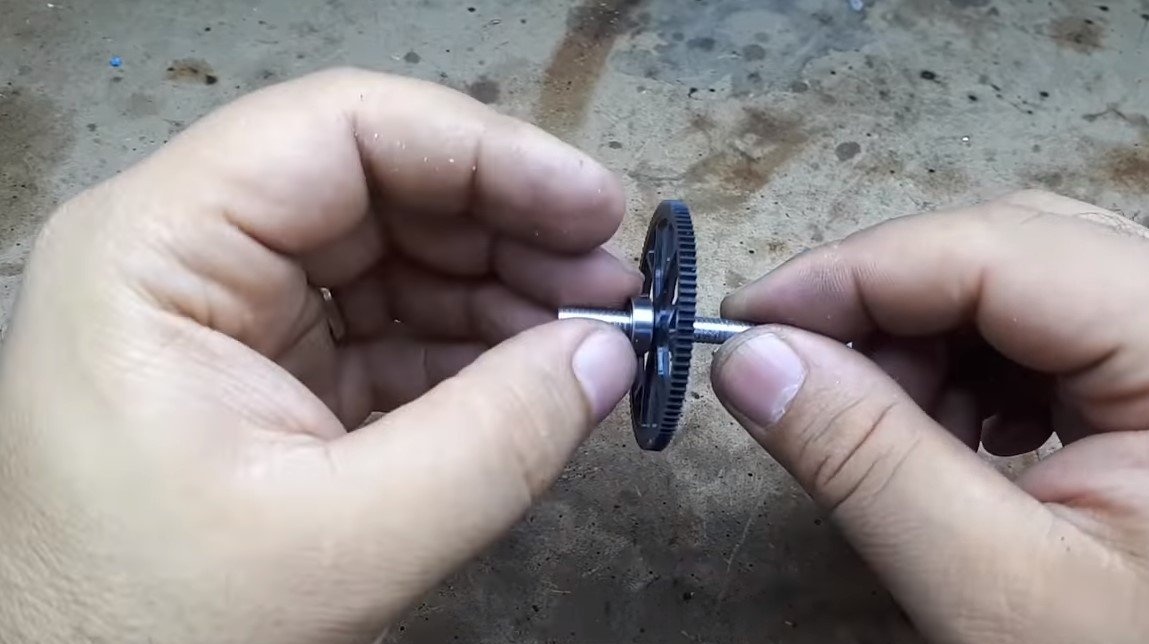
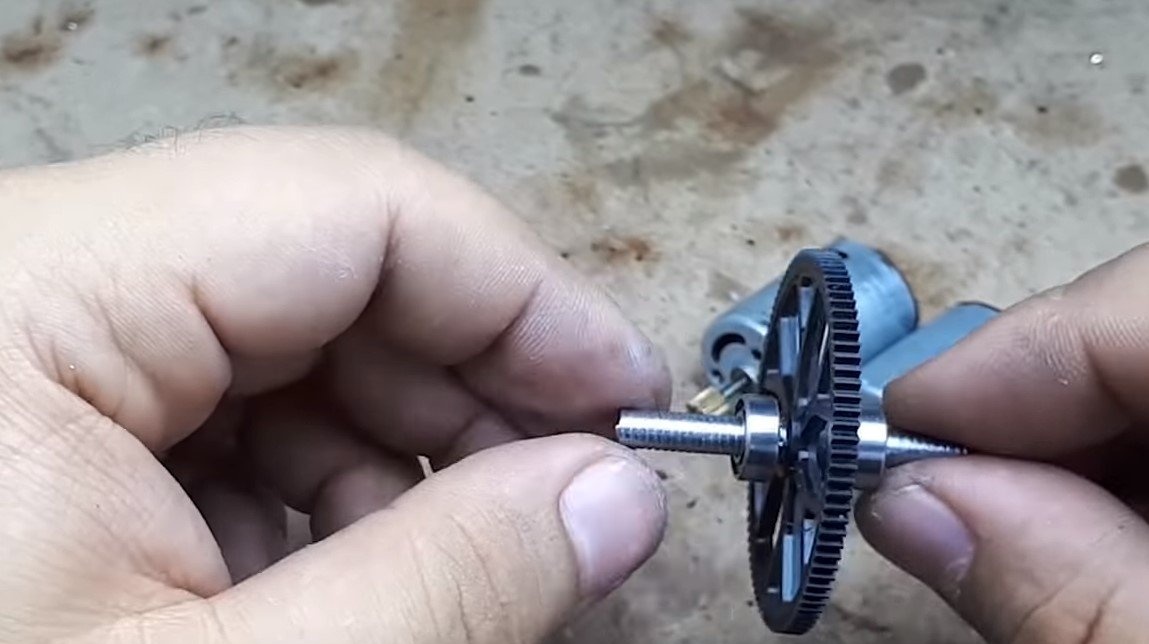
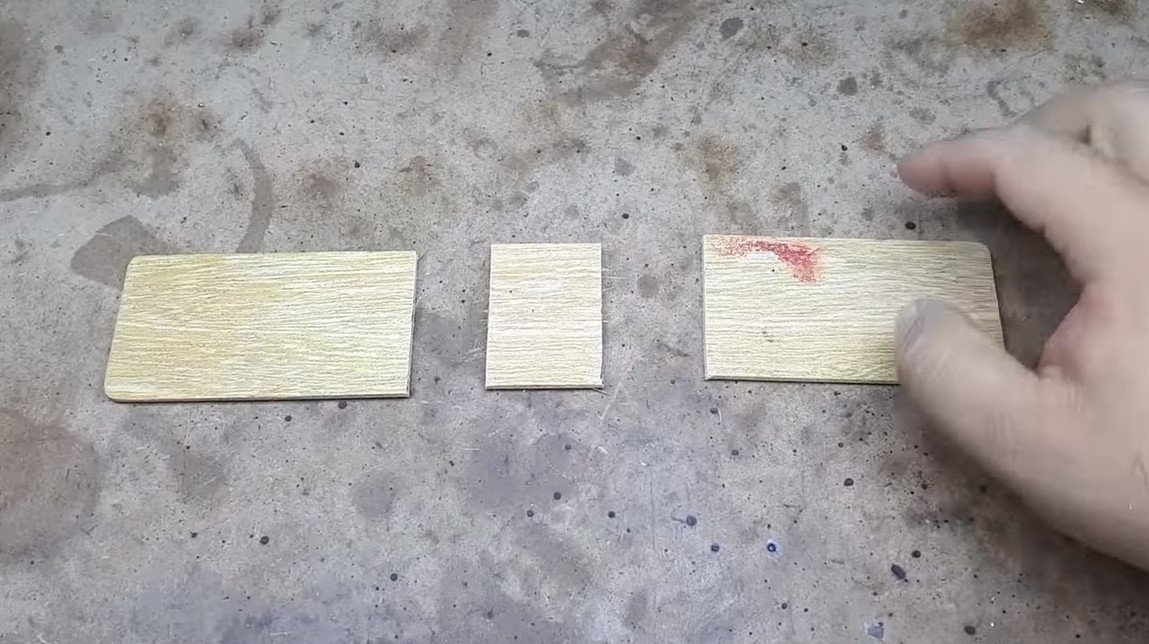
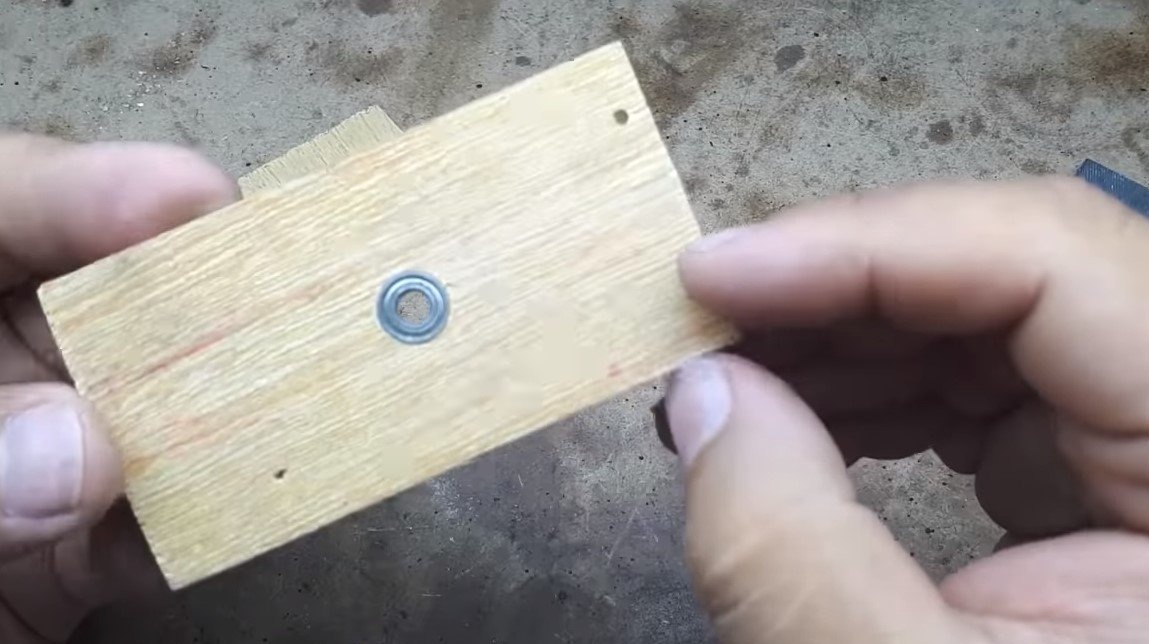
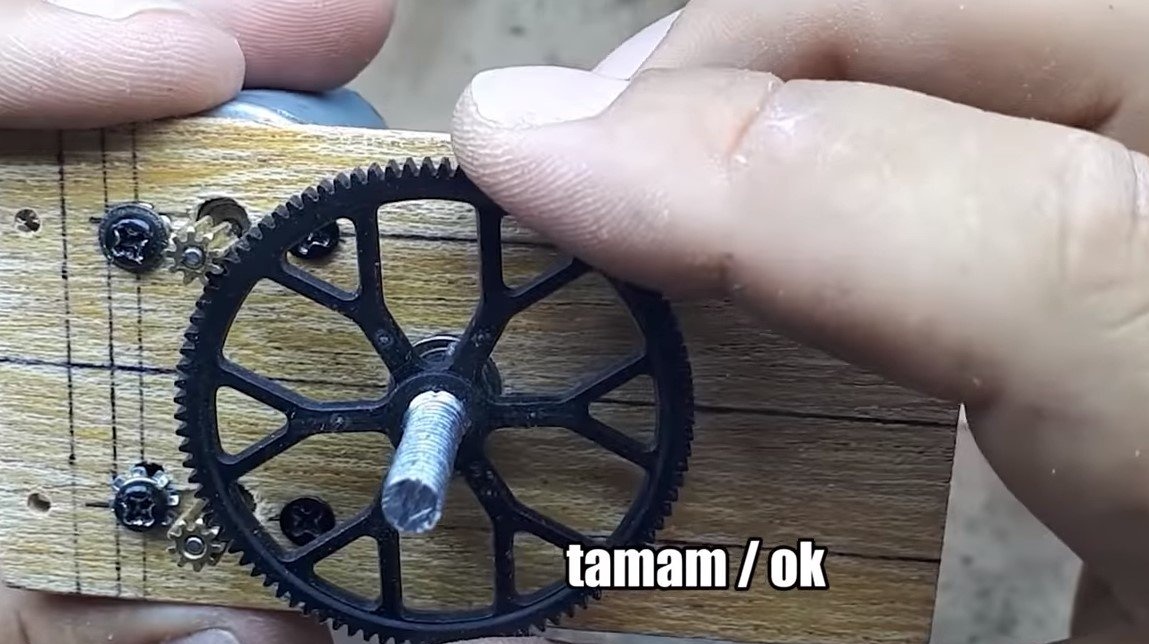
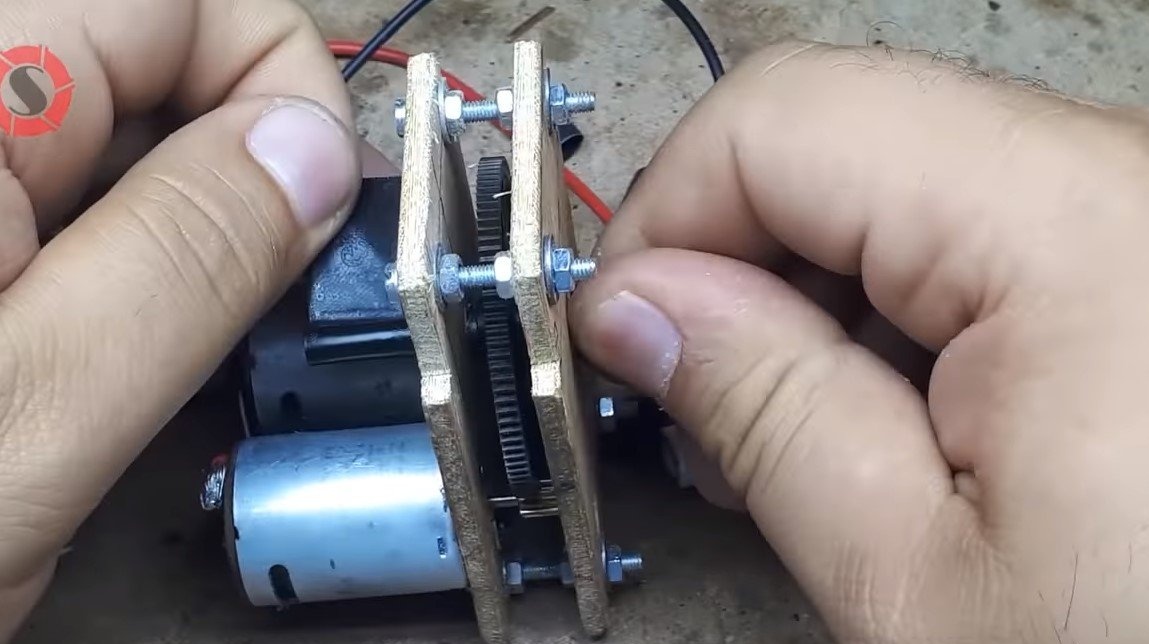
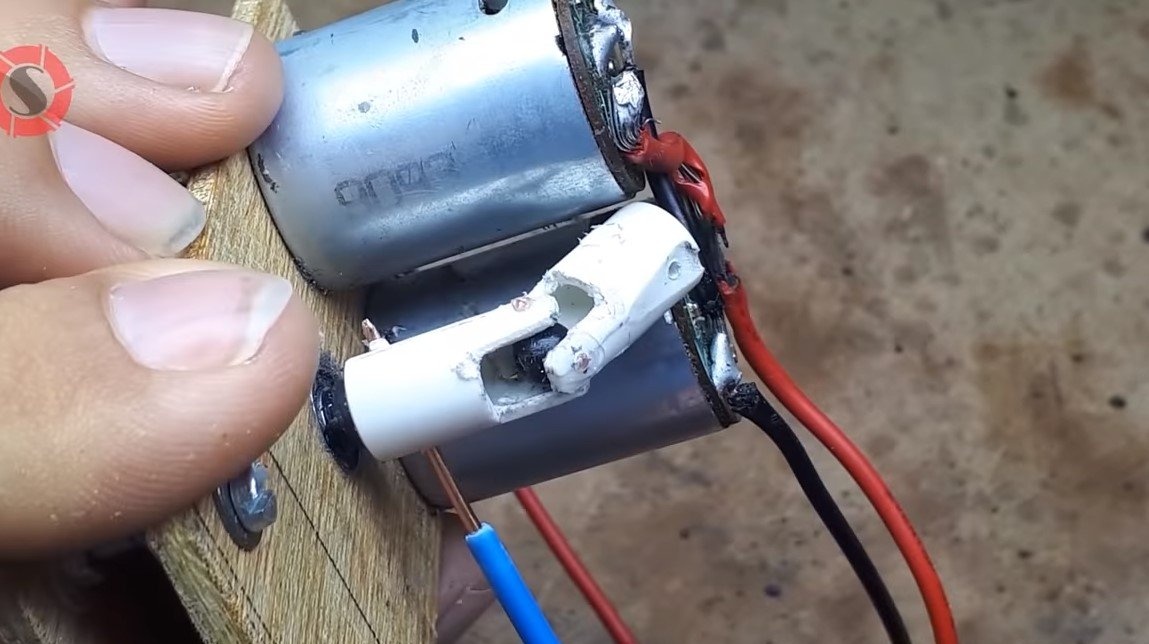
We make a motor block, the machine uses two engines at once, which we need to make work synchronously. To obtain a large torque, the author used a large-diameter gear, which synchronizes the engines with each other. The author used veneer as a frame for the motor block.
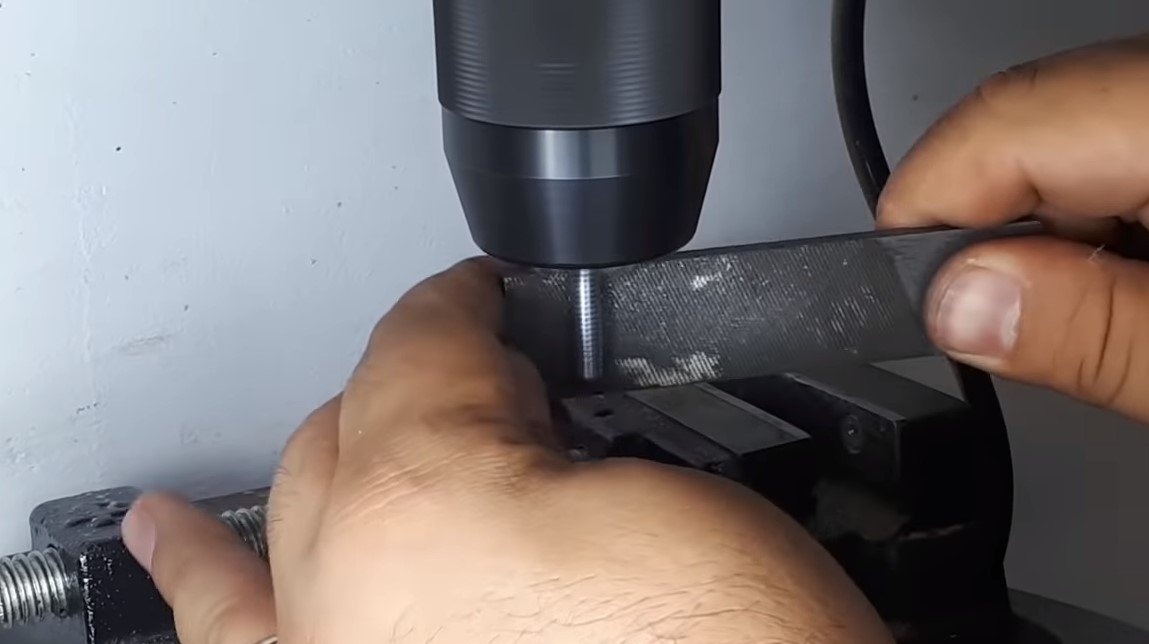
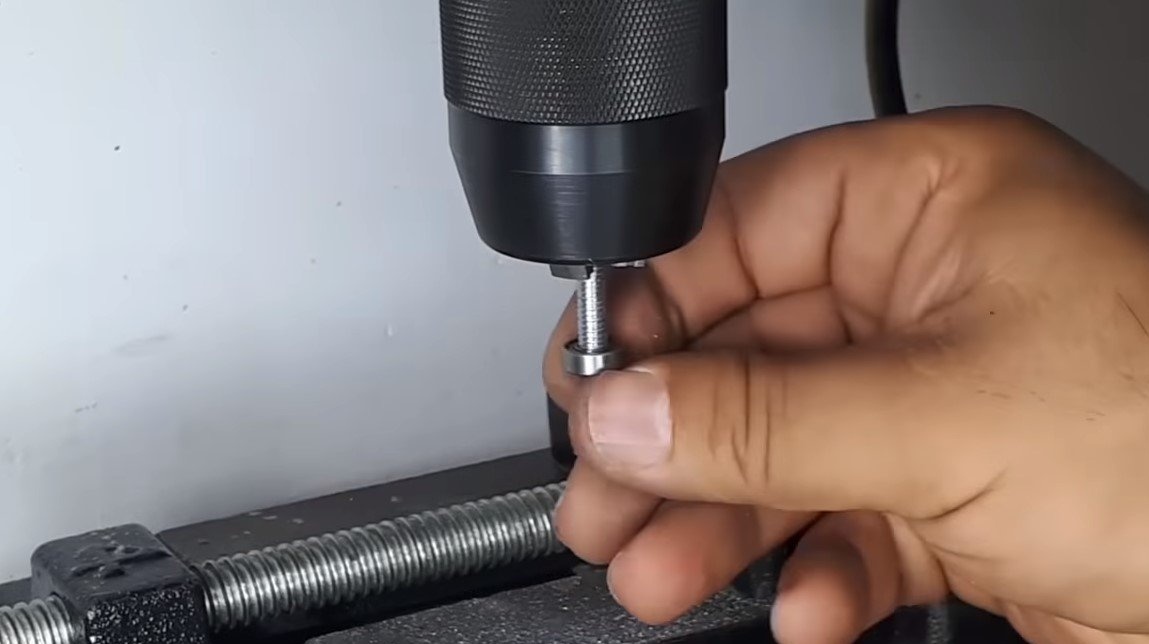
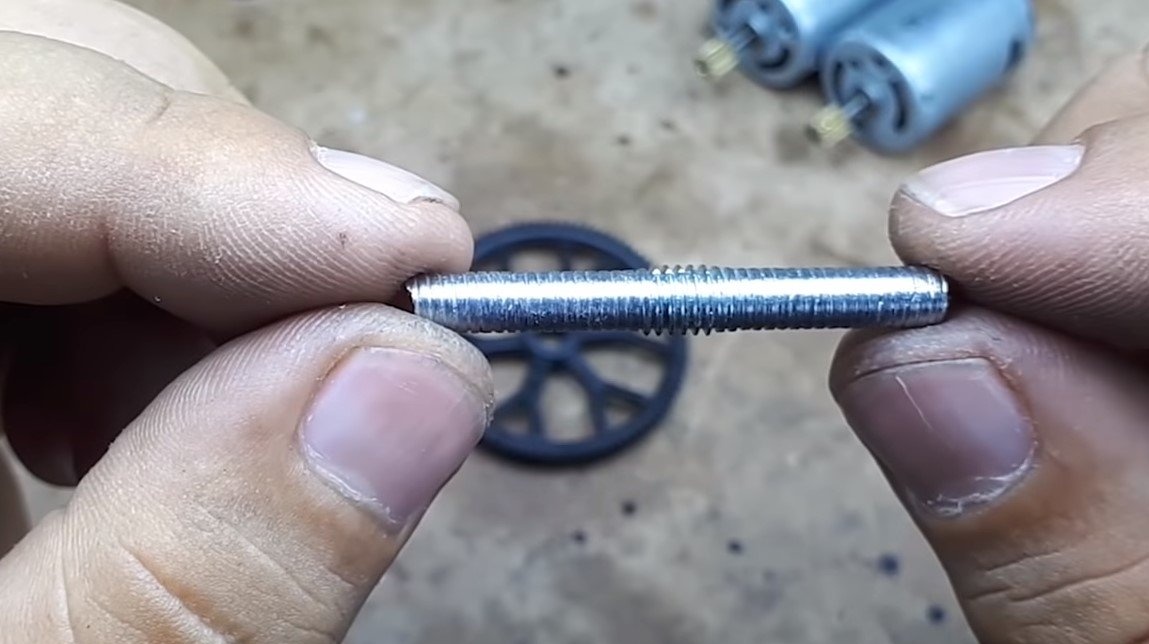
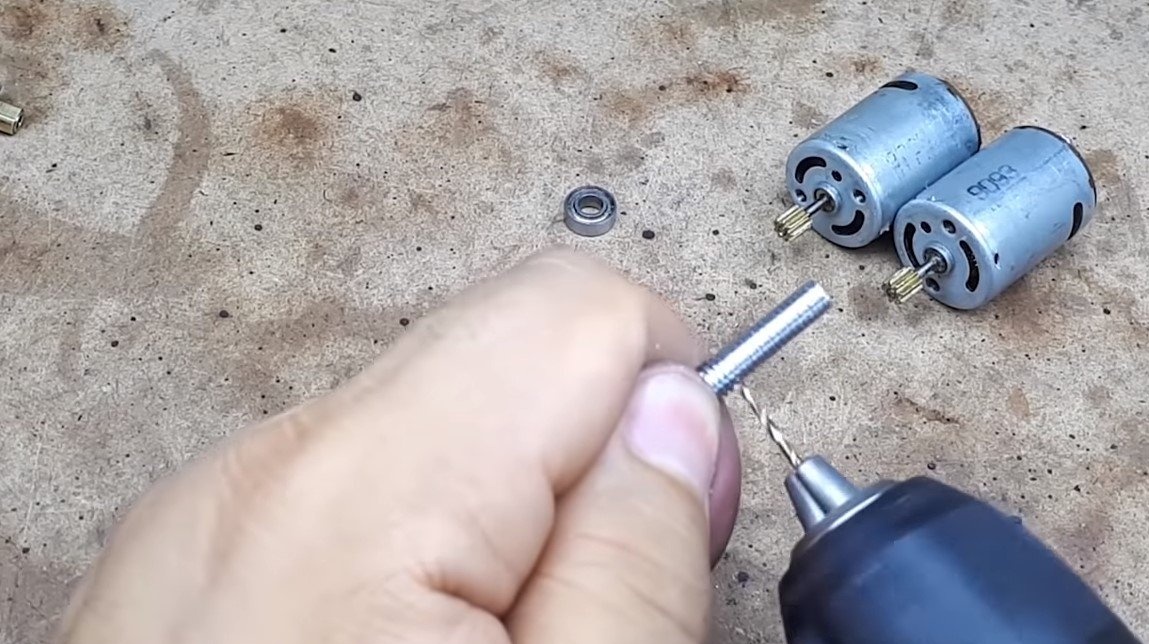
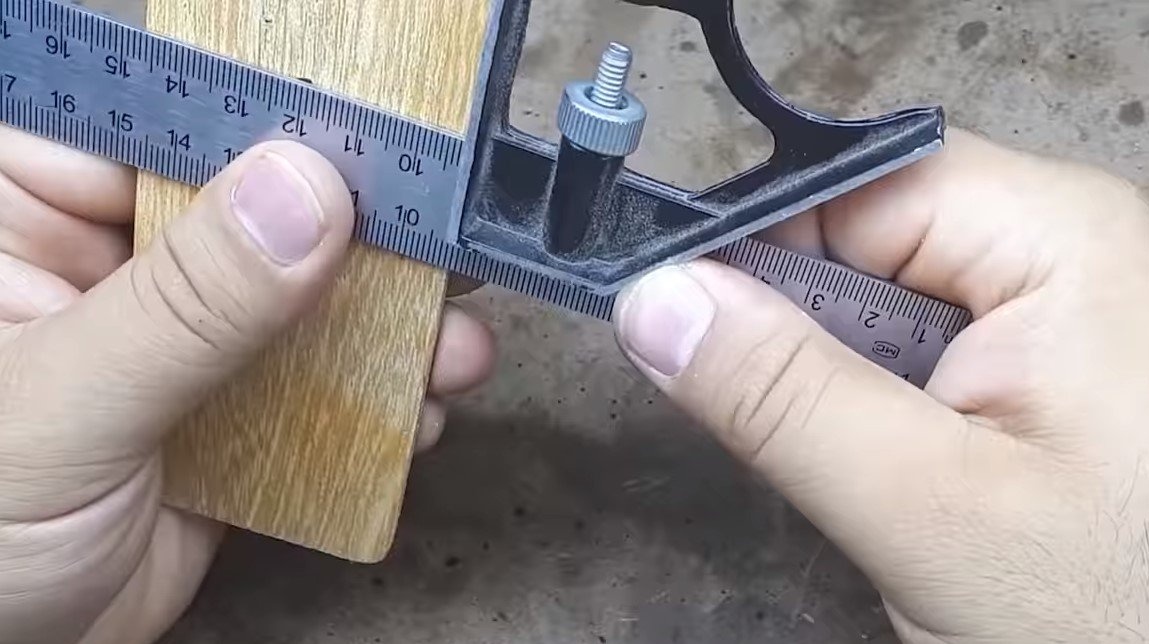
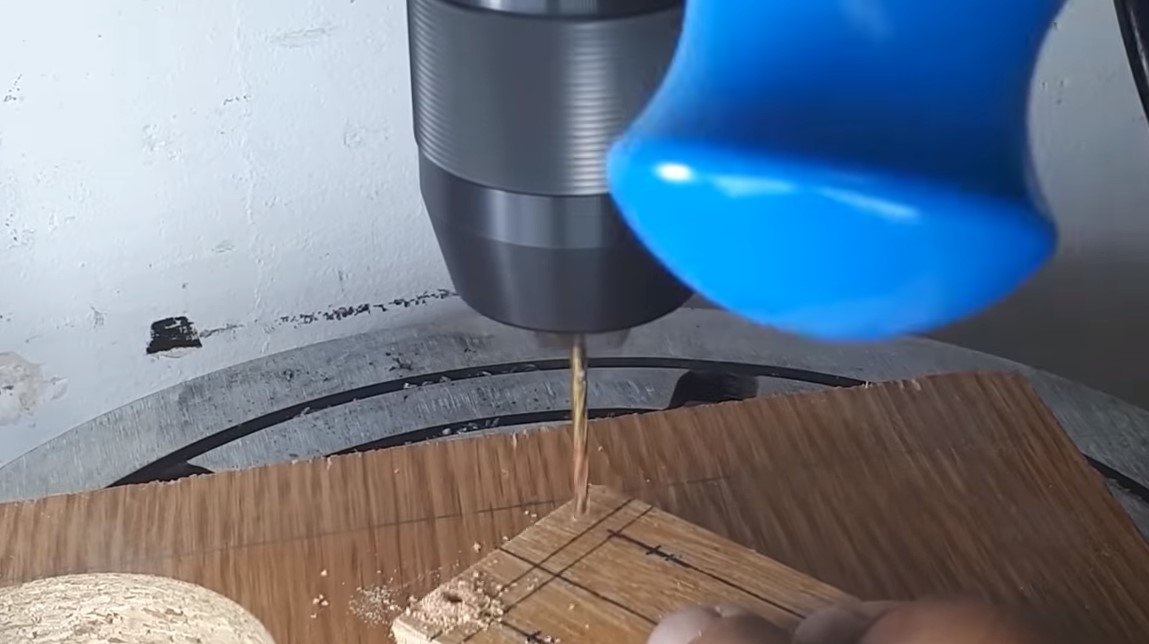
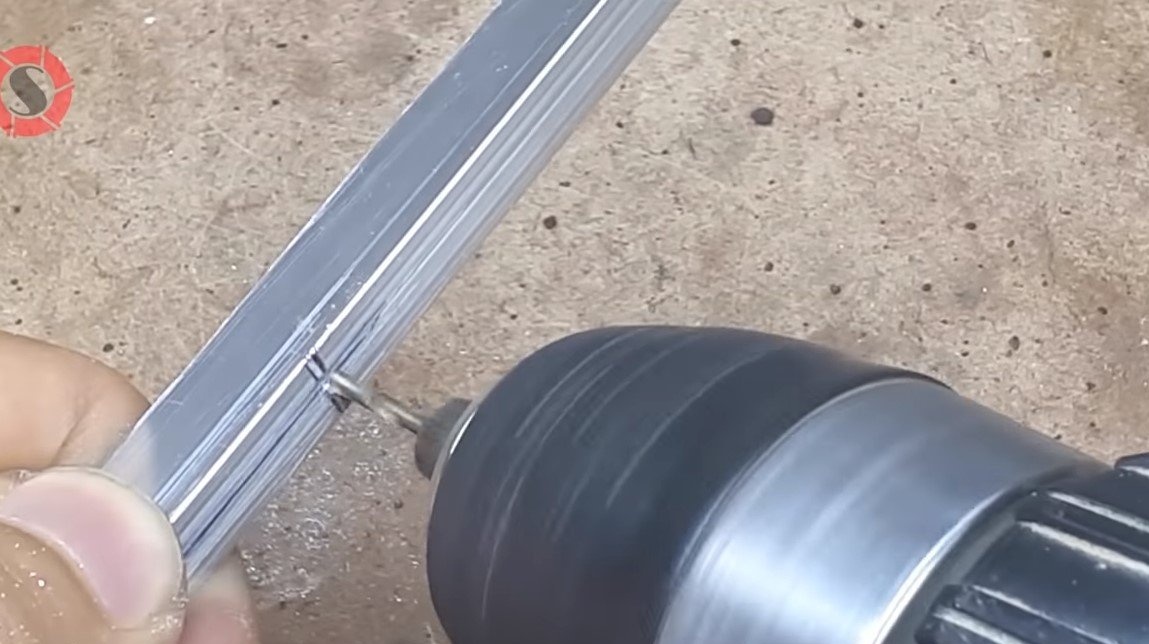
The most difficult task of this unit will be to make the axis for the driven gear, the author rotates on bearings. The author turned the axis from a piece of a threaded rod, the excess metal was grinded using a file and a drilling machine.
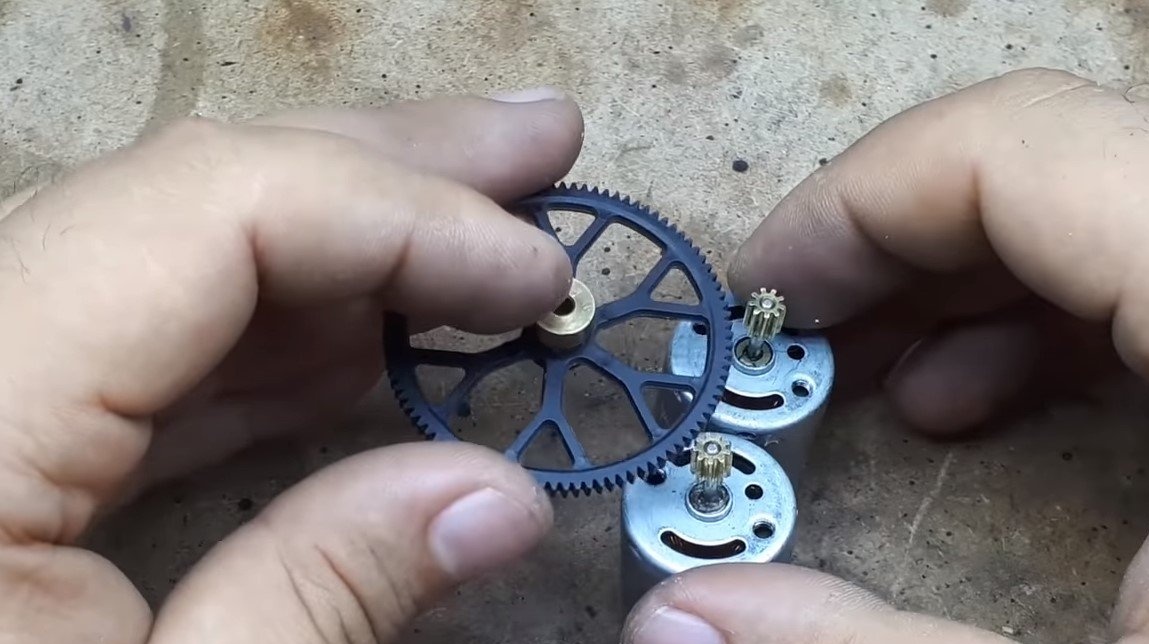

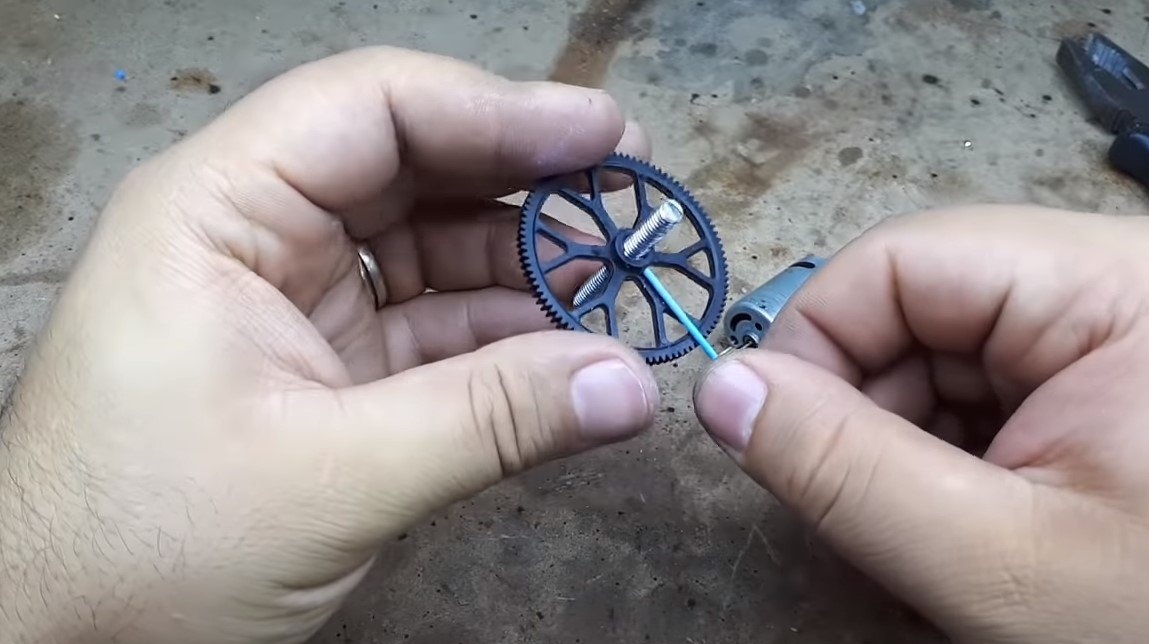
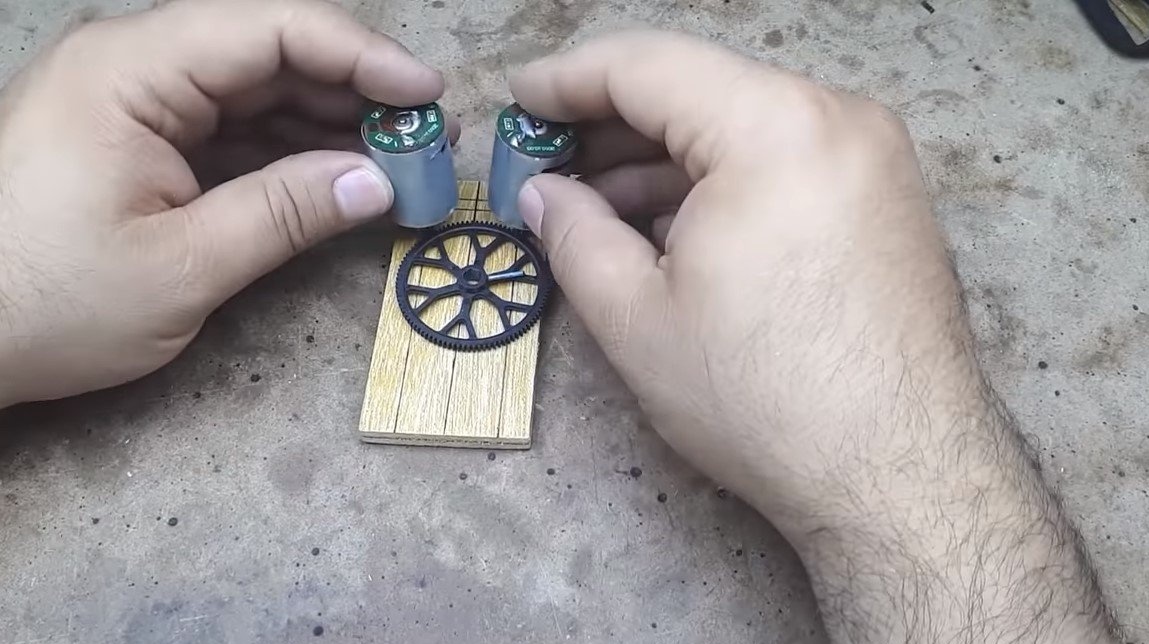
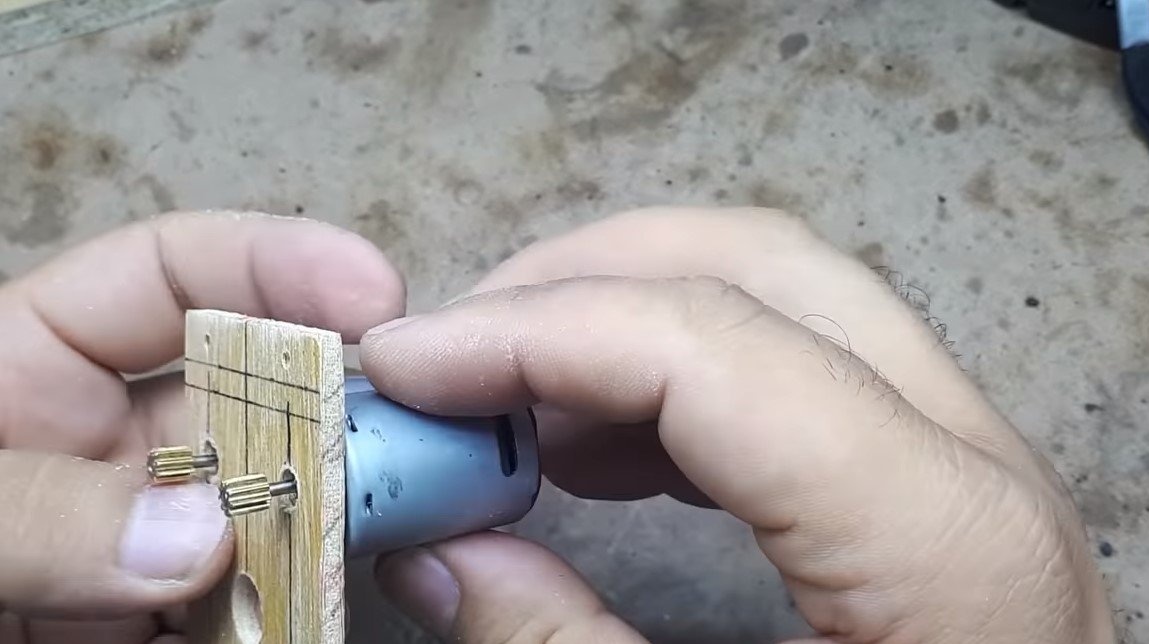
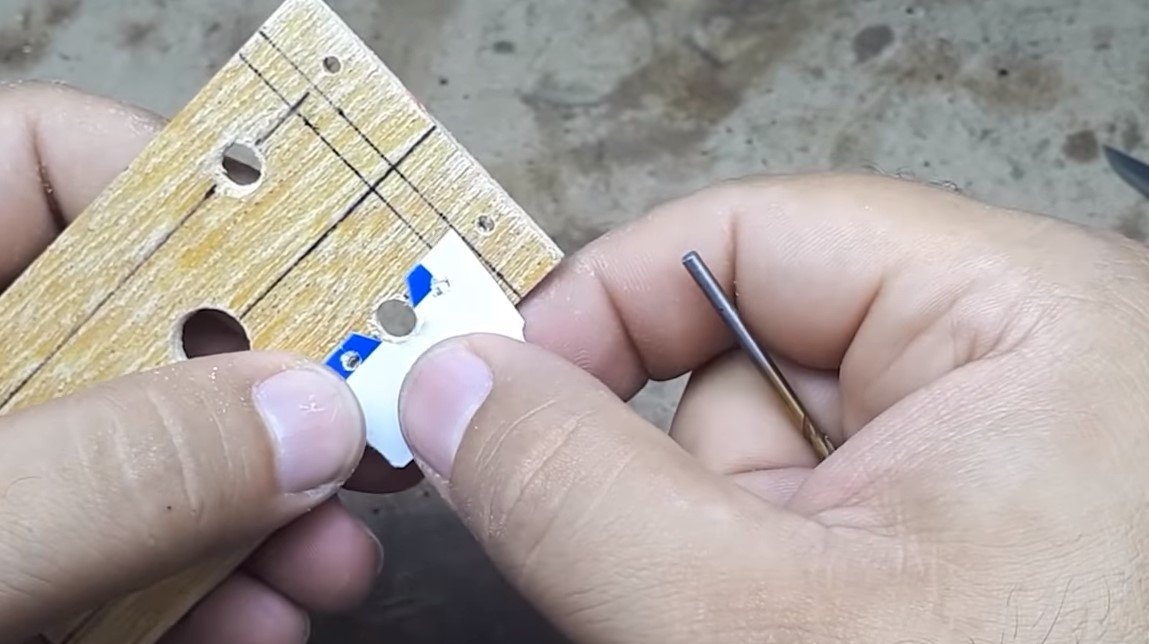
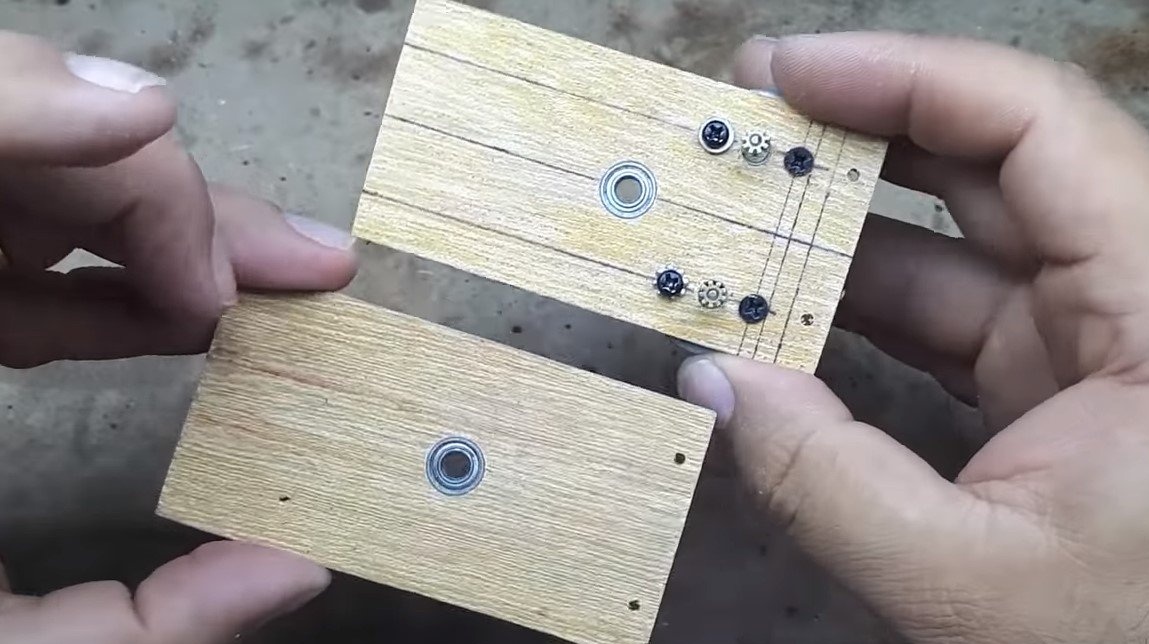
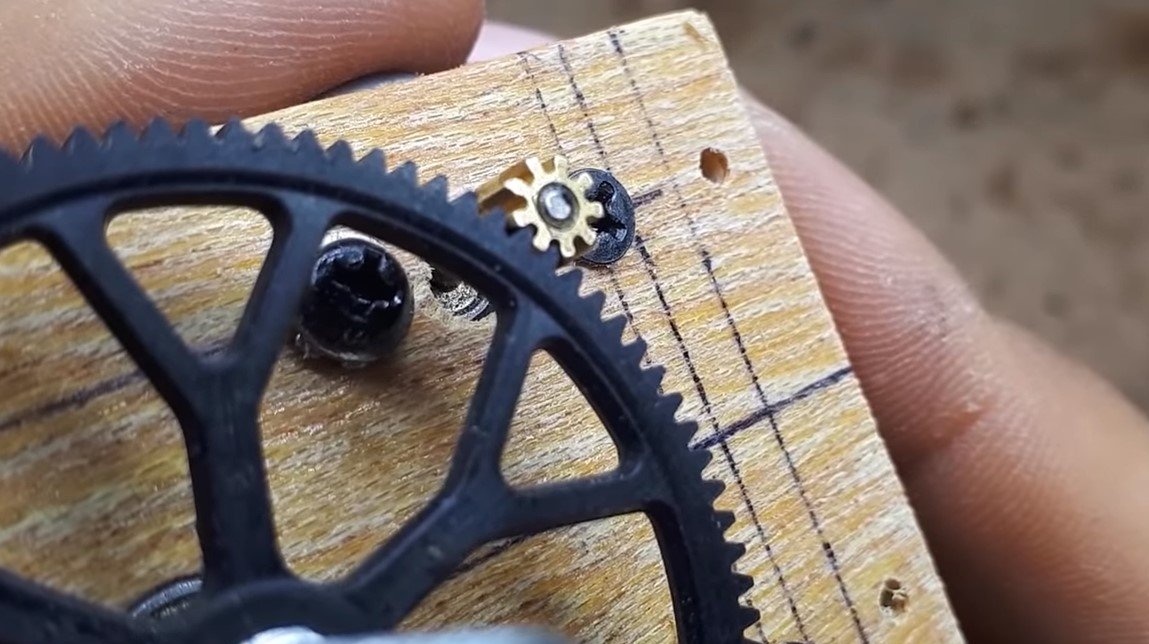
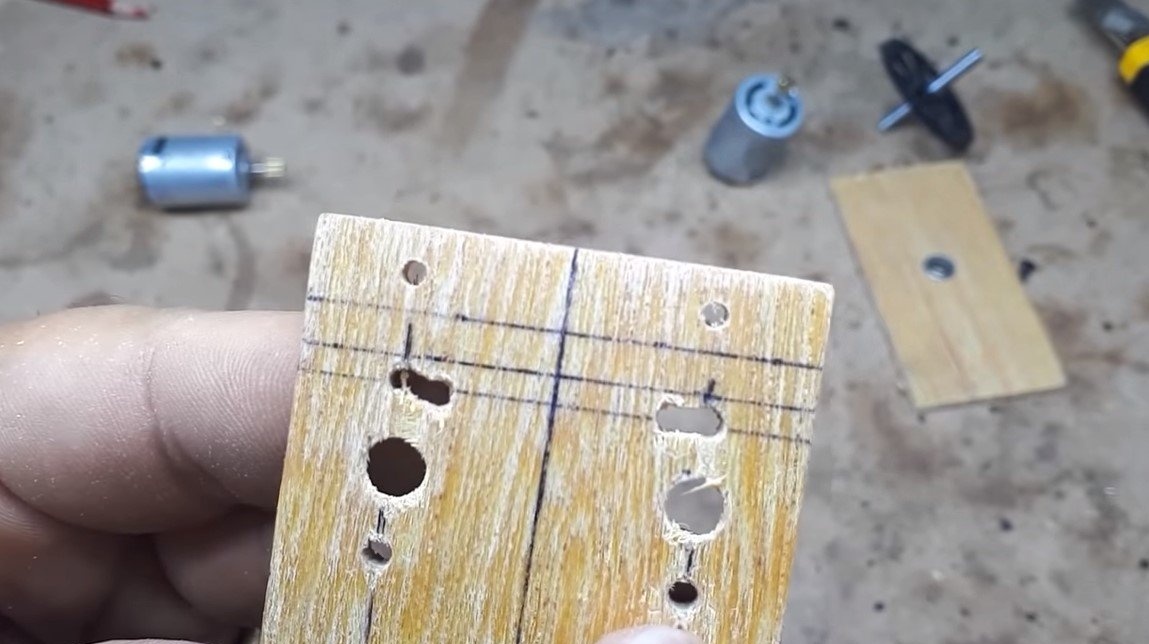
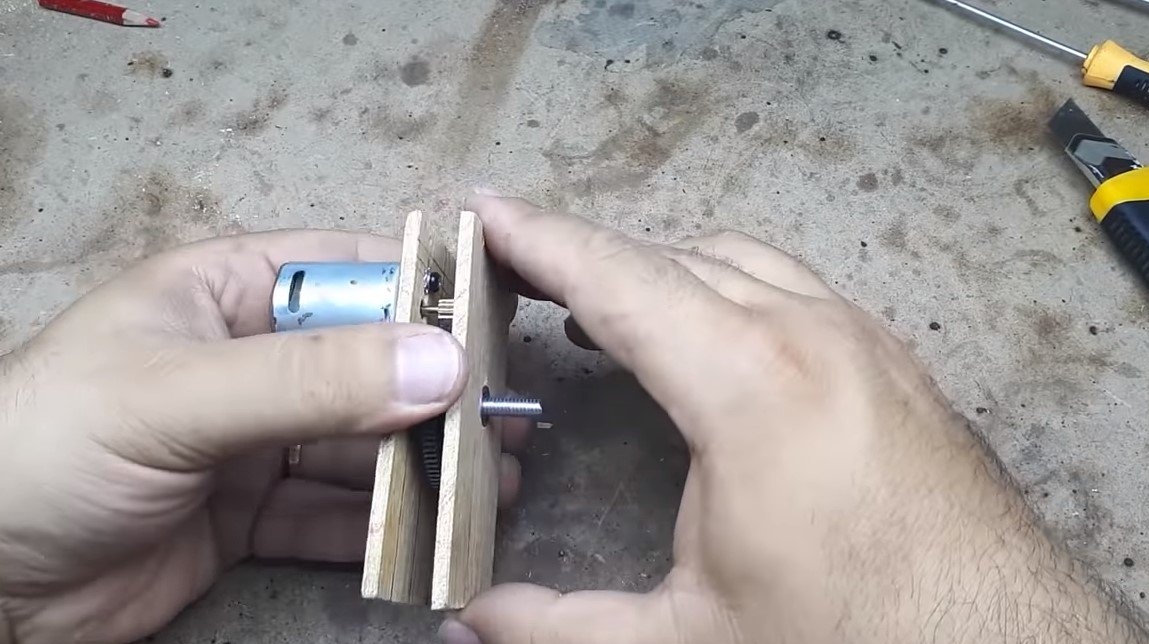
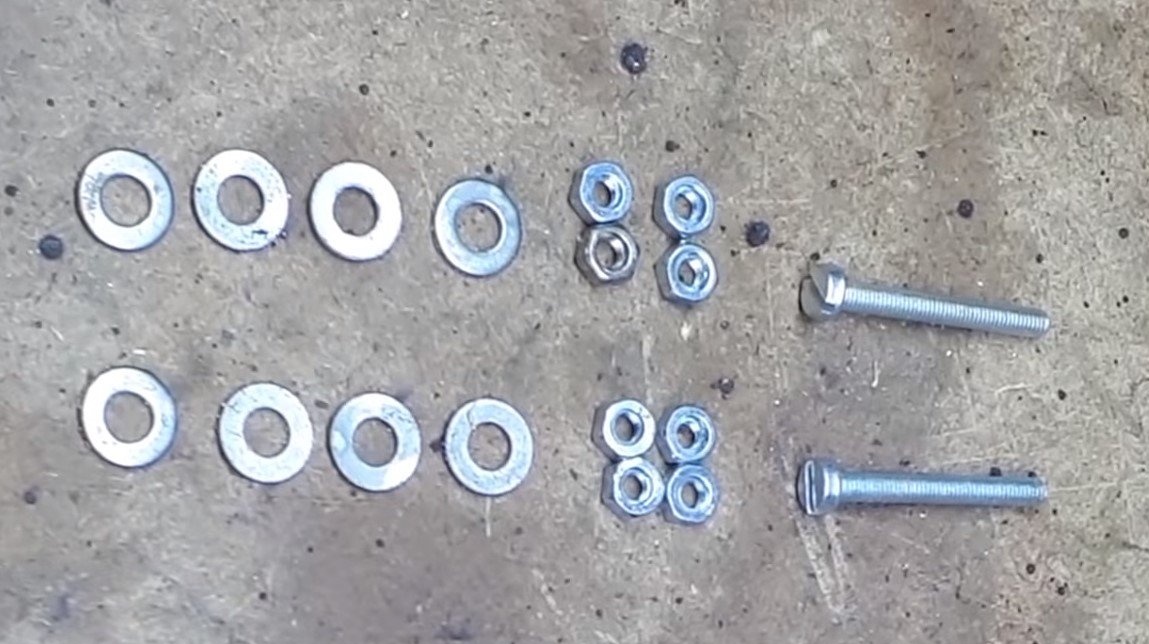
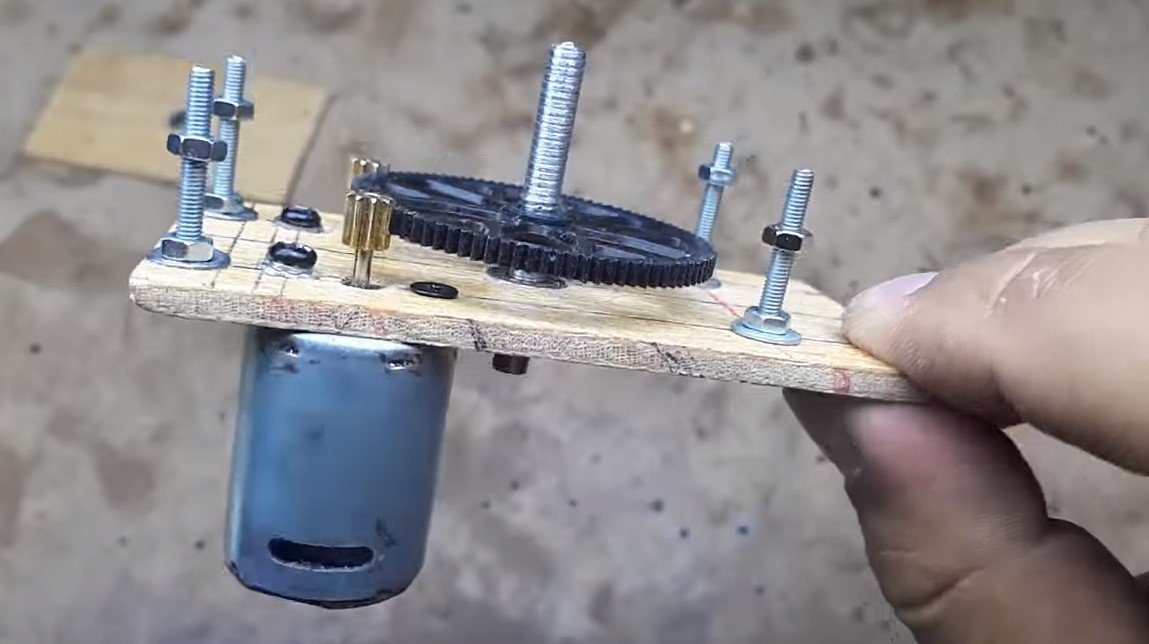
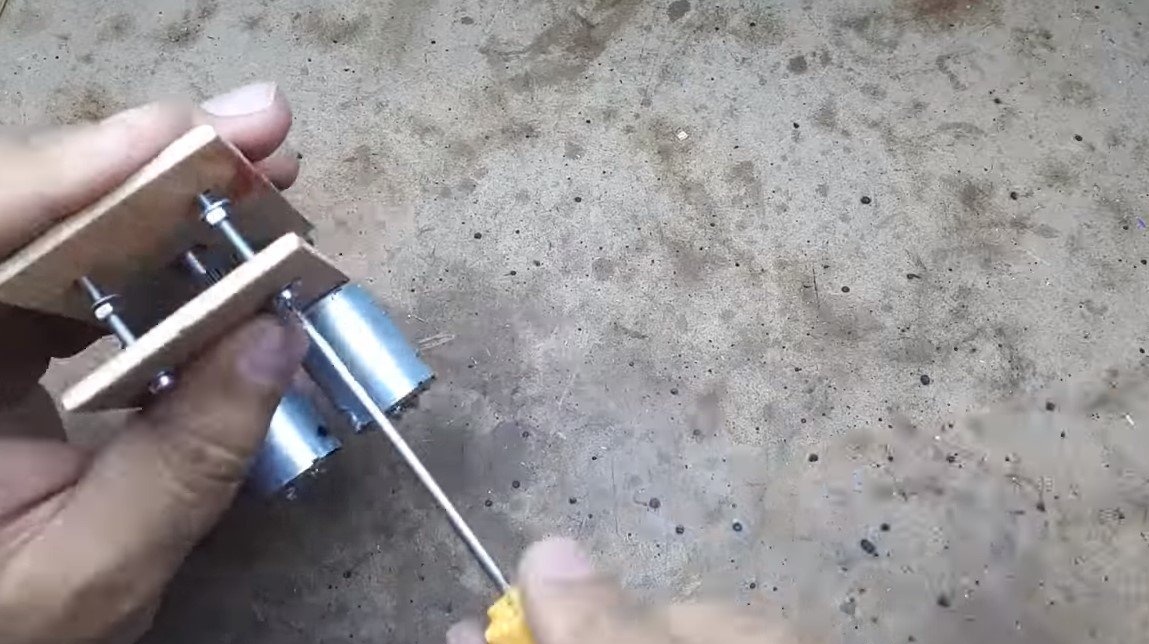
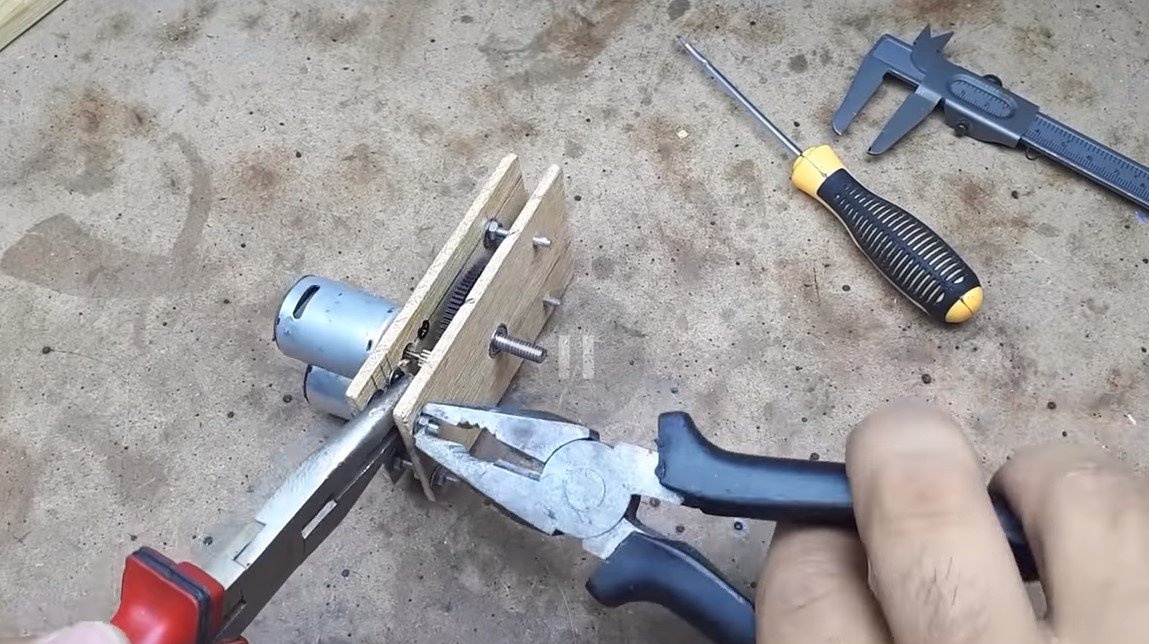
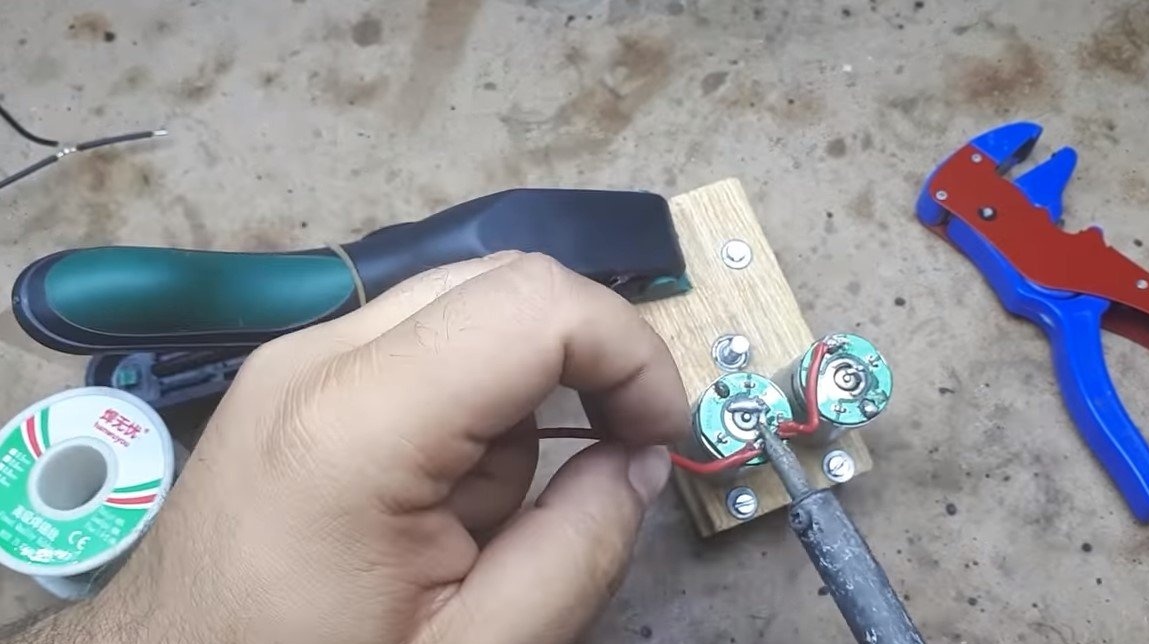
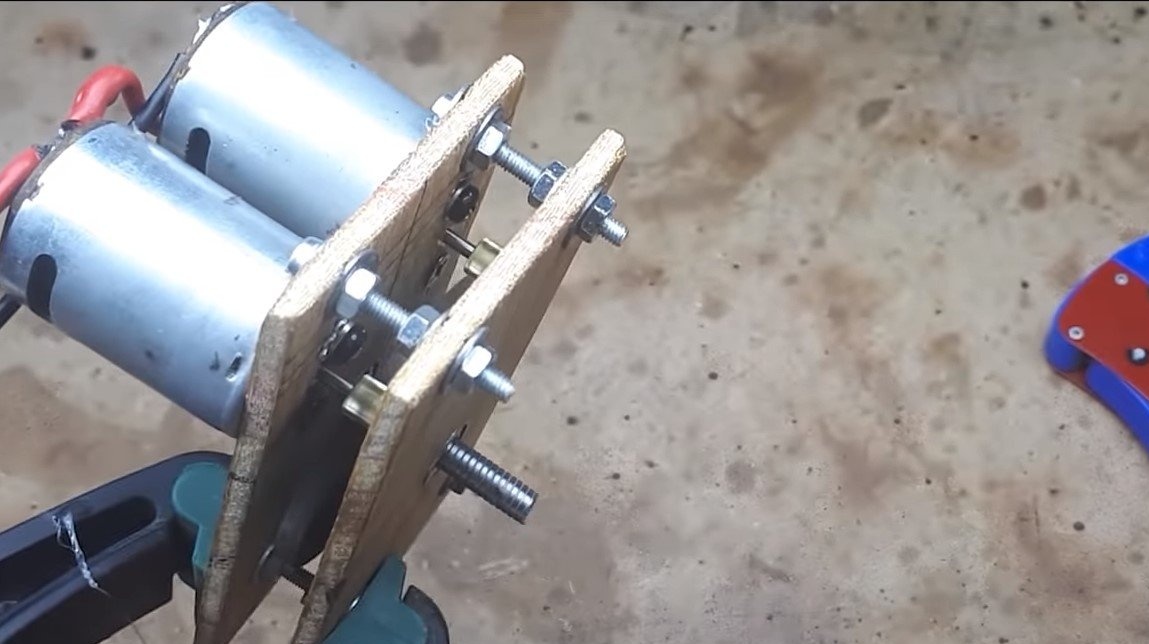
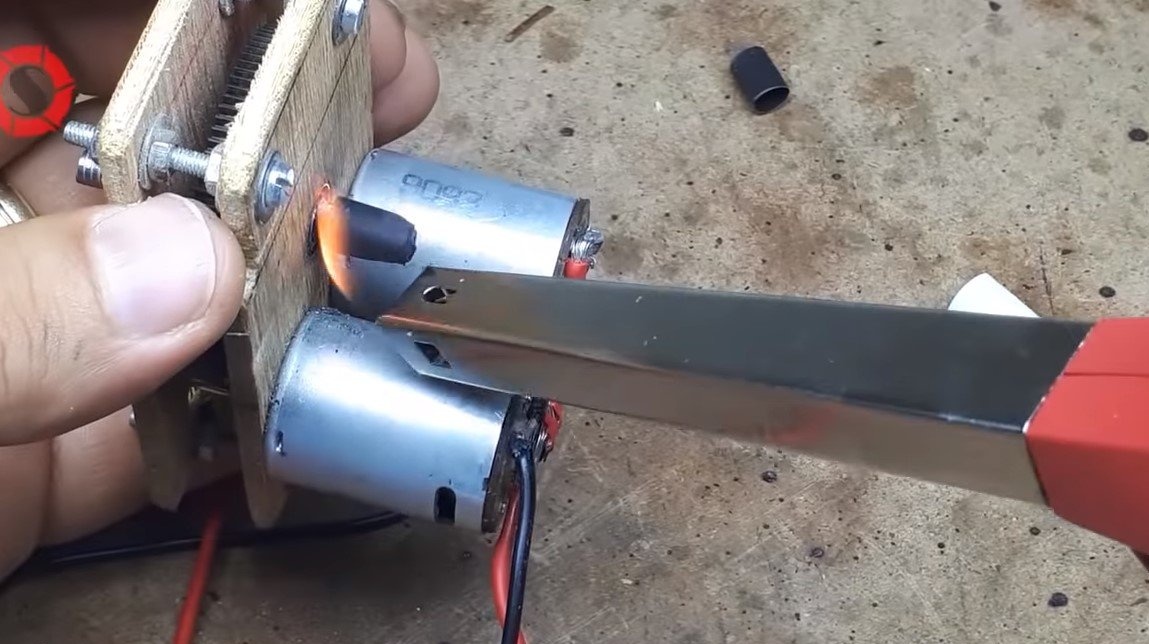
When all the parts are ready, the motor block can be assembled, parts of the frame are fastened together with screws, nuts and washers. The motors themselves need to be adjusted so that the drive gears are pressed against the large driven one. We solder the wires to the motor contacts, not forgetting to check the polarity, the motors should work synchronously, rotating the gear in one direction.
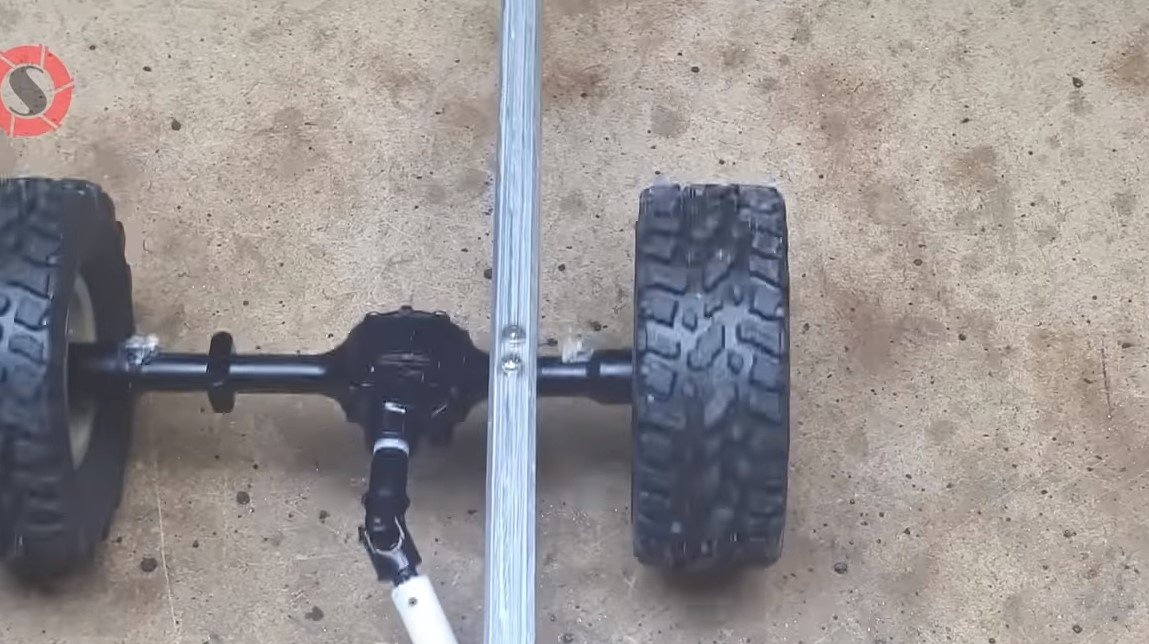
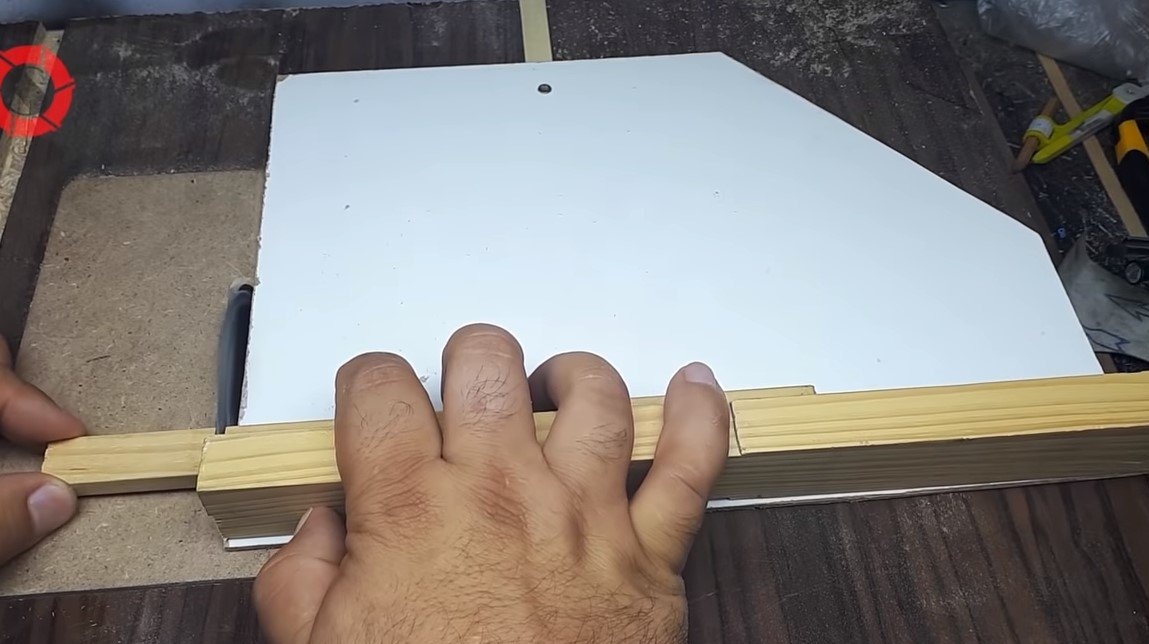
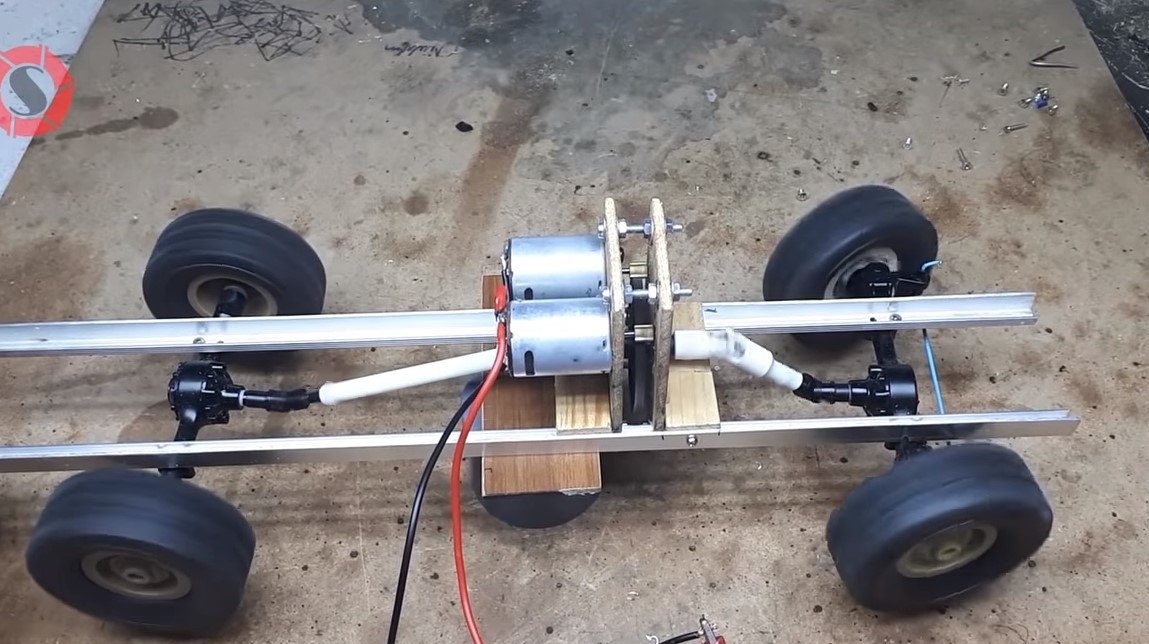
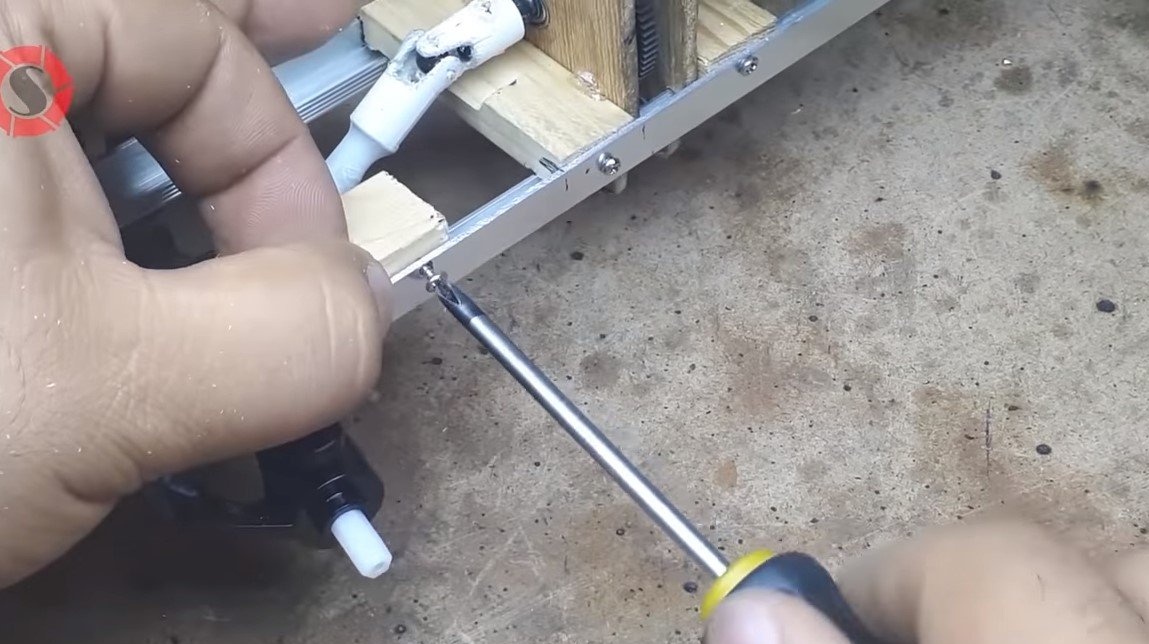
Step Three Frame manufacturing
We make a frame for a typewriter, here you will need an aluminum corner, a channel or other details that can be found in a hardware store. We cut the blanks in length, drill holes and fasten the screws to the bridges. After that, we fasten the wooden lintels to the frame.
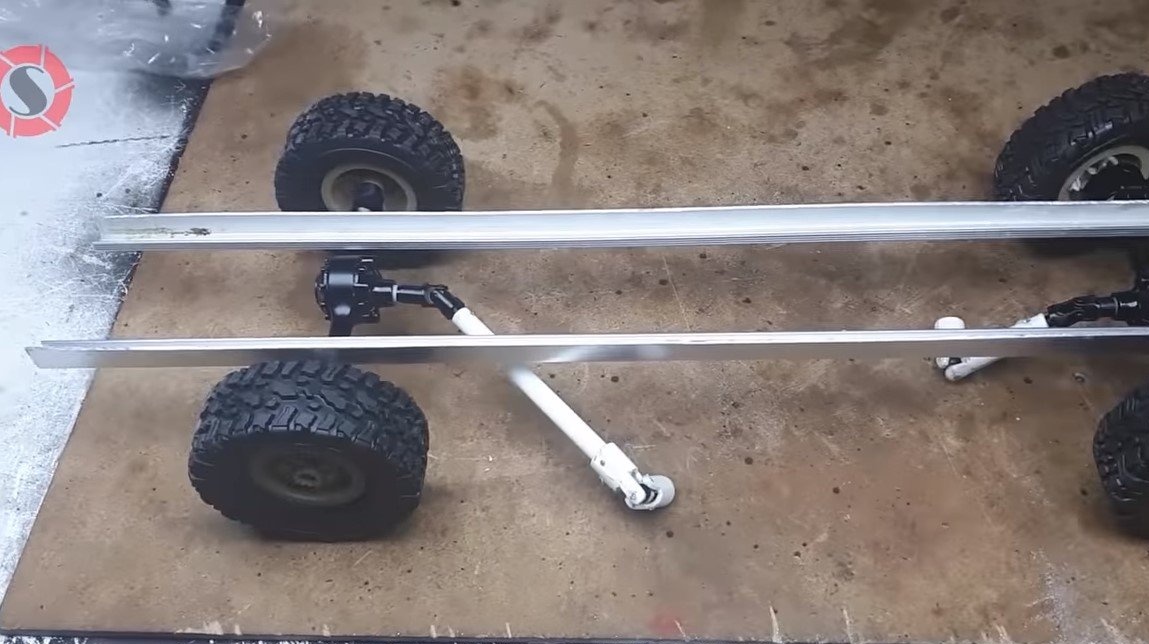

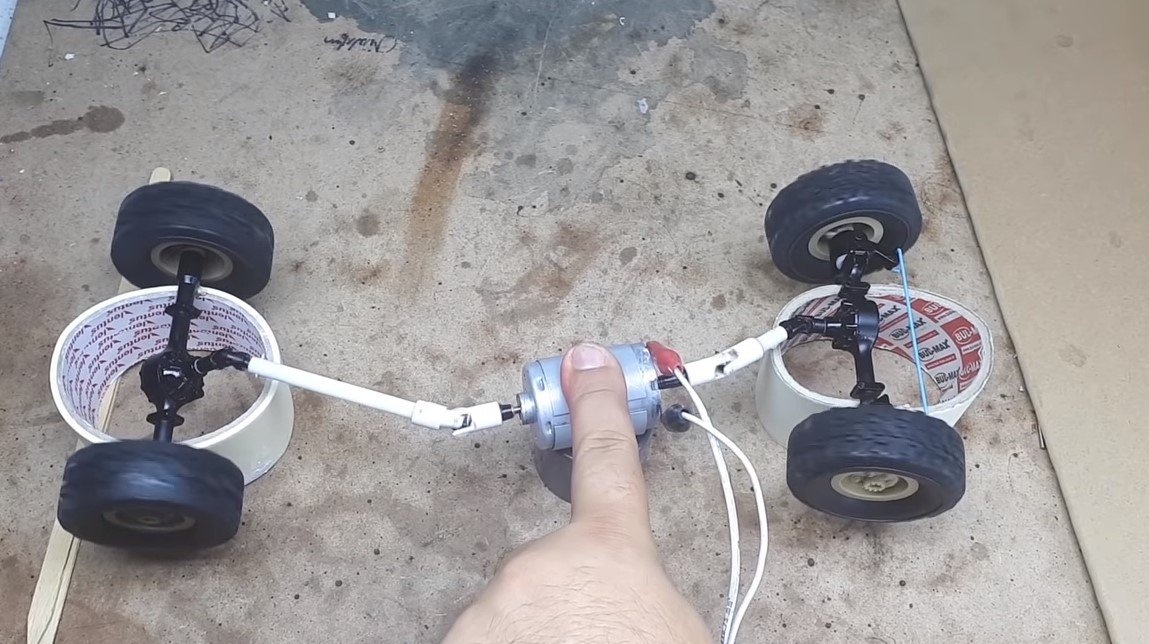
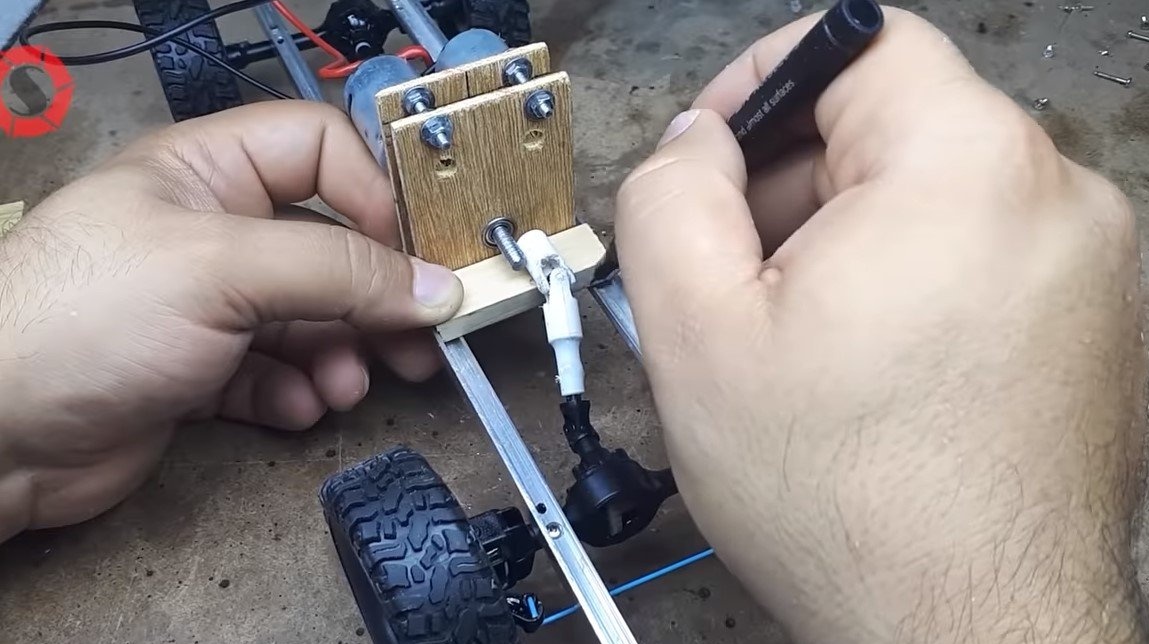
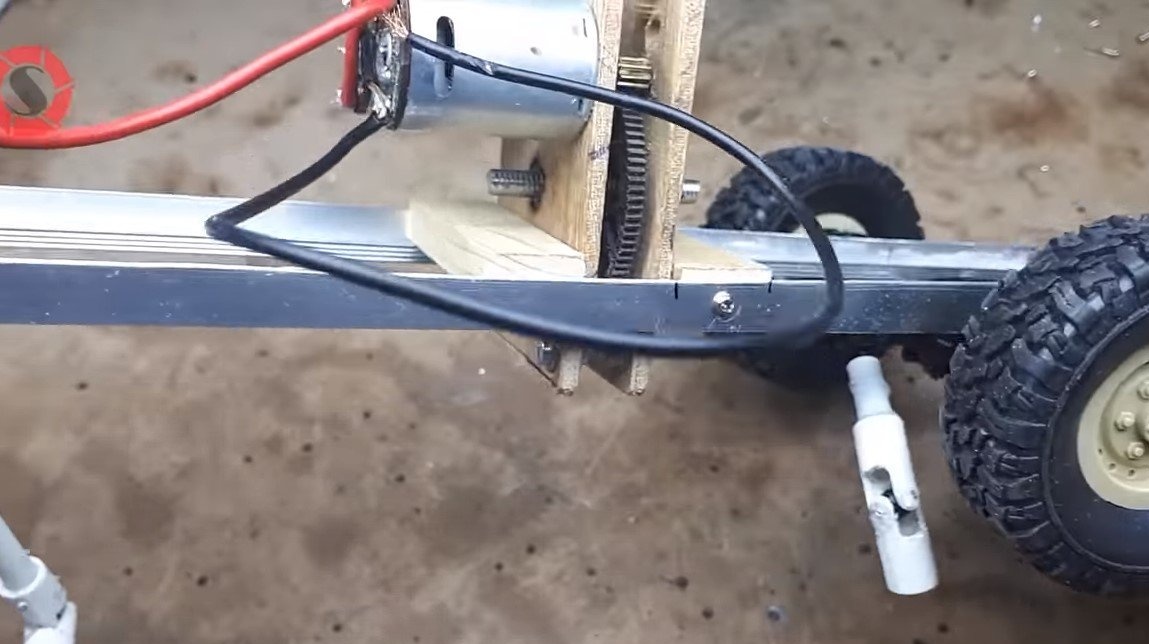
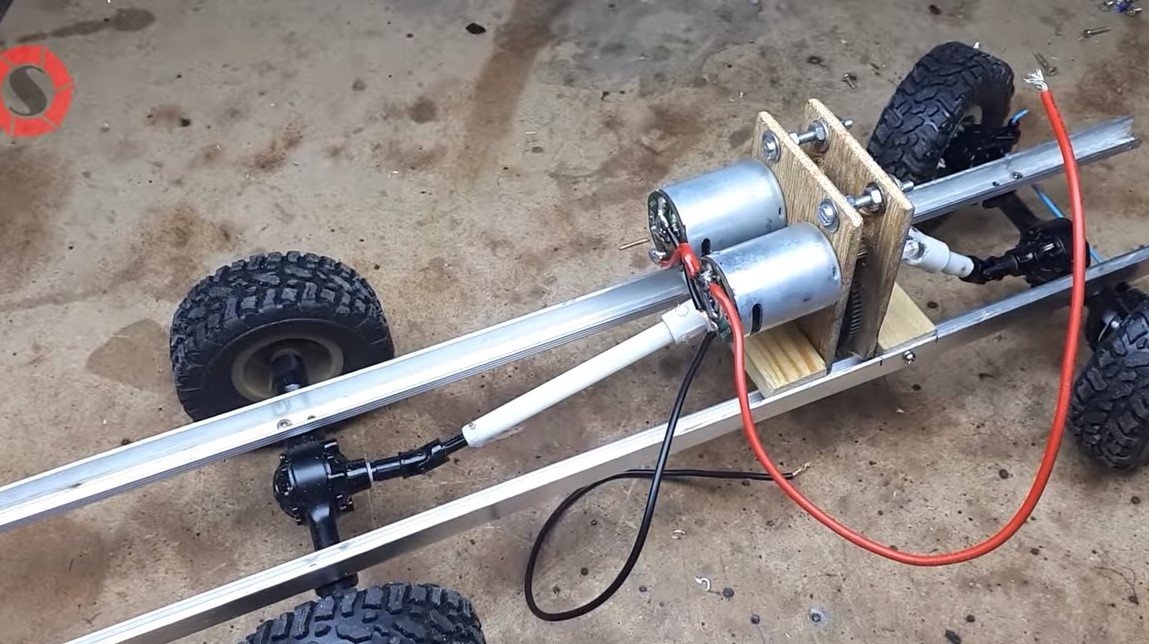
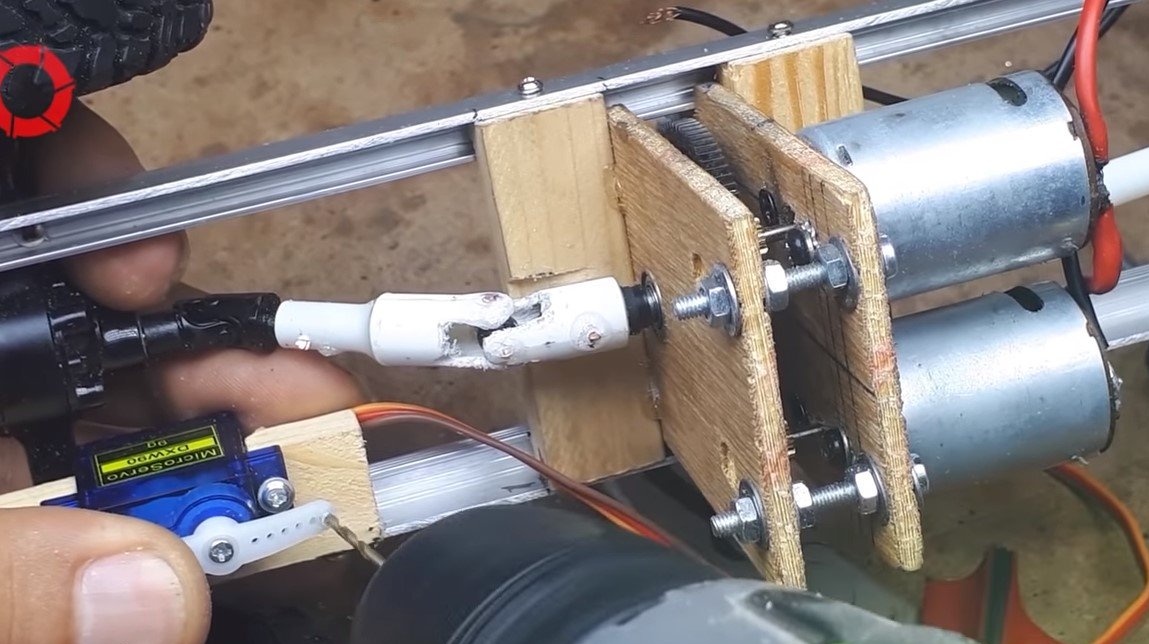
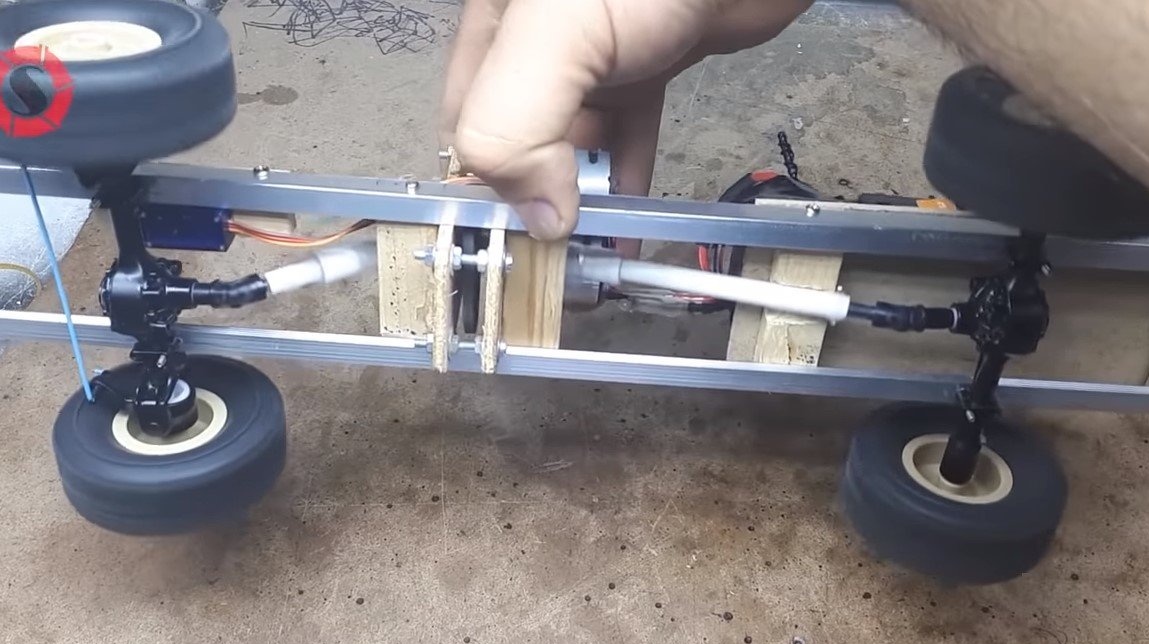
Step Four Installation of the motor block and cardan
We install the motor block in the right place, fasten it to the frame with screws or self-tapping screws. Additionally, we strengthen this knot with planks or pieces of veneer, as large loads will come here.
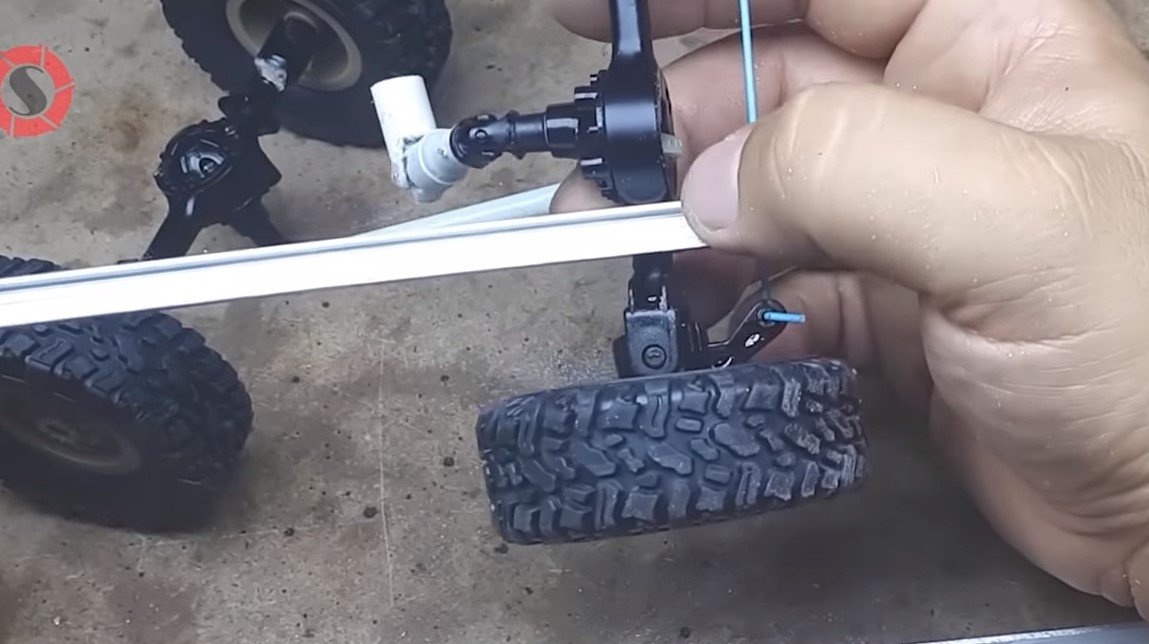
Now you can also connect cardans to the axis of the motor block. The author connected everything on the pins, which were used as a copper wire. Additionally, we fix the pins with glue so that they do not fall out.

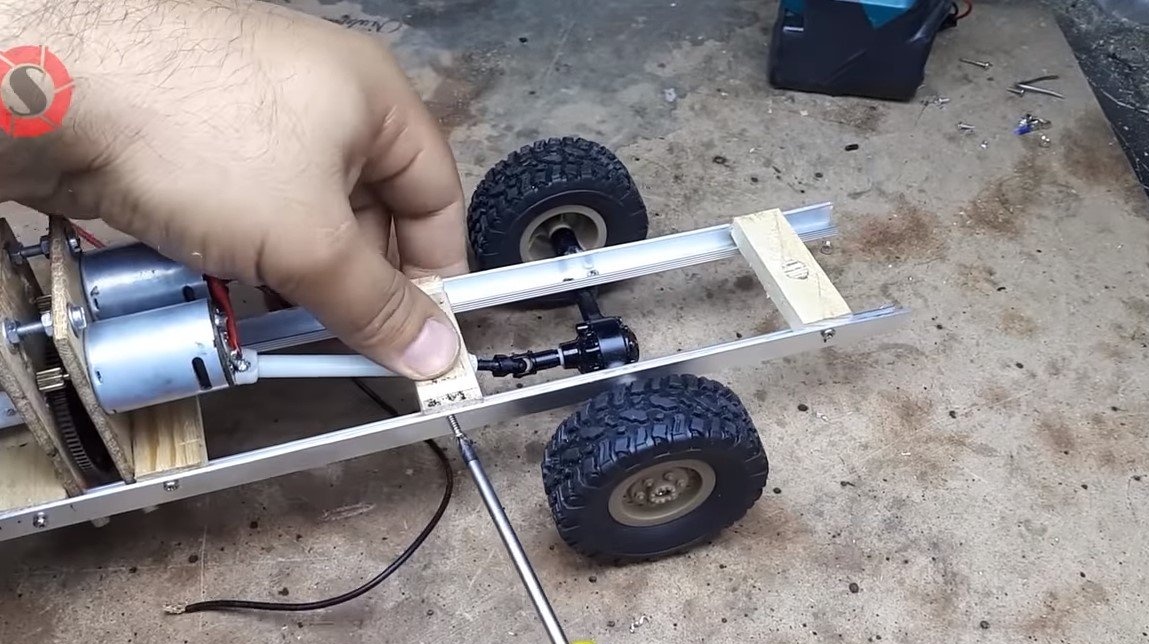
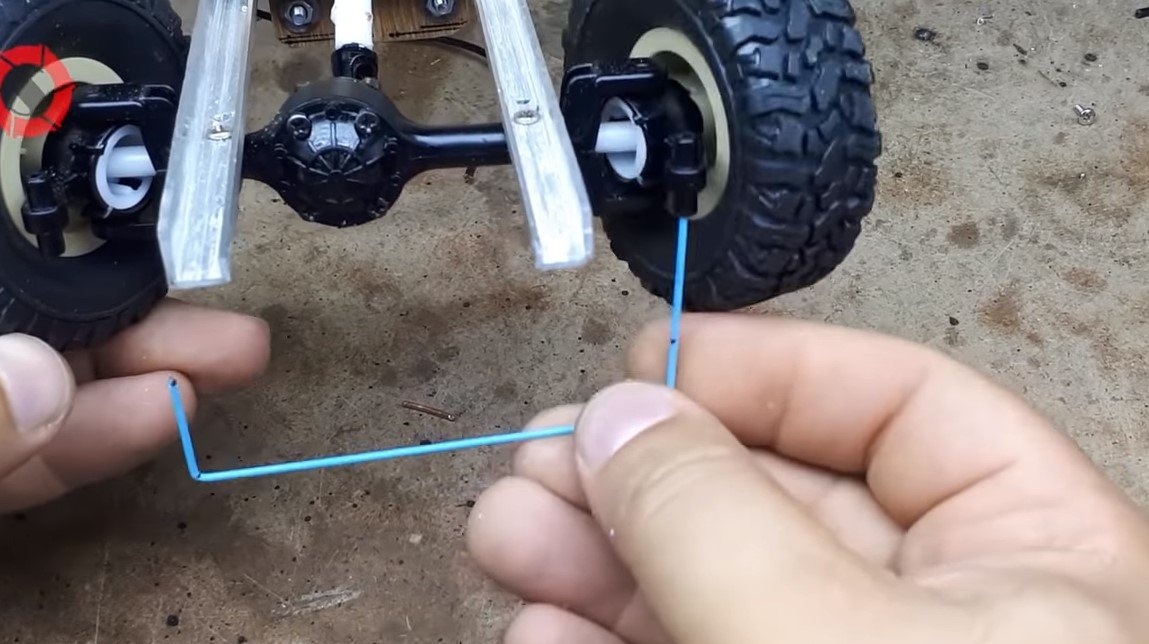
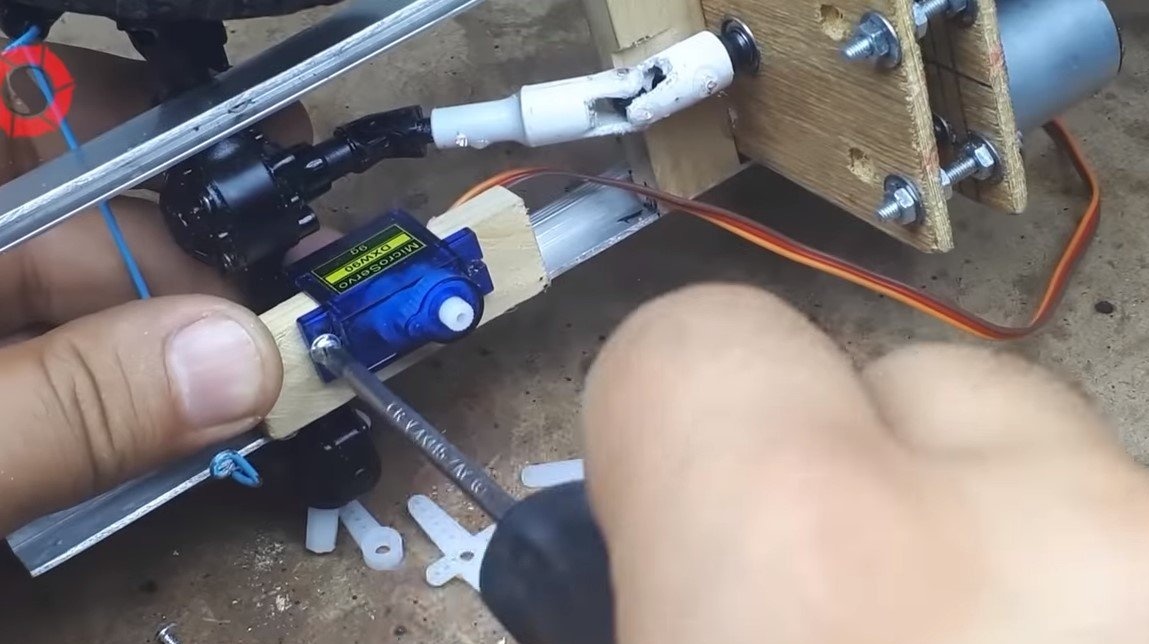
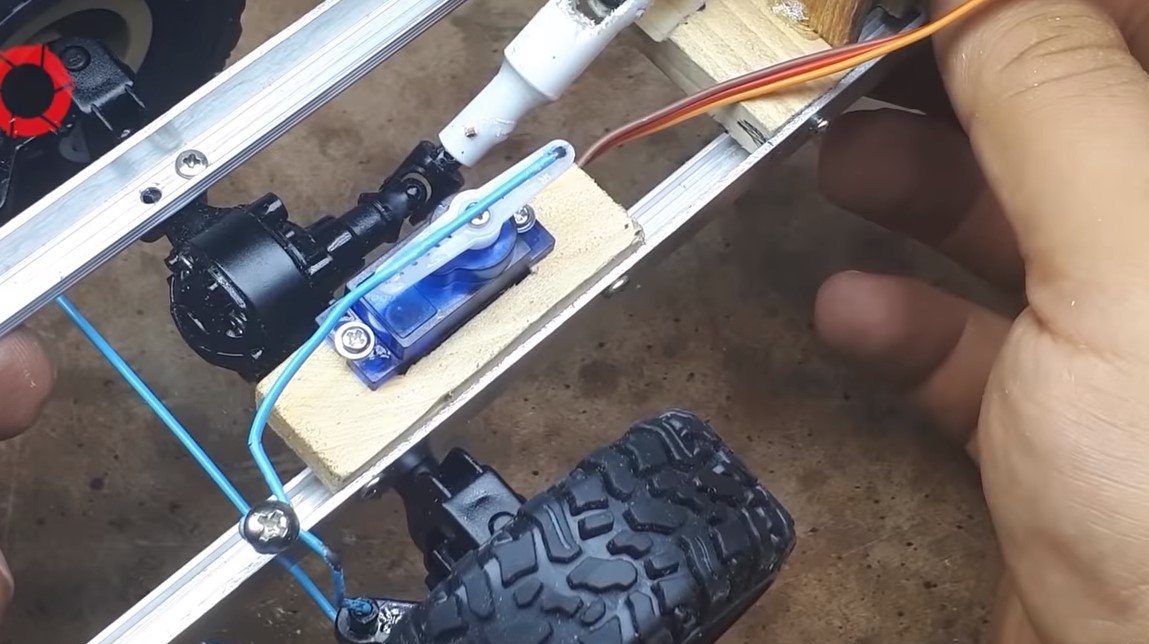
Step Five Steering
For steering we make traction from steel wire. The wheels will be driven by a small servomotor of 9 grams, you can take more powerful. We make fasteners for a servomotor from a piece of board.
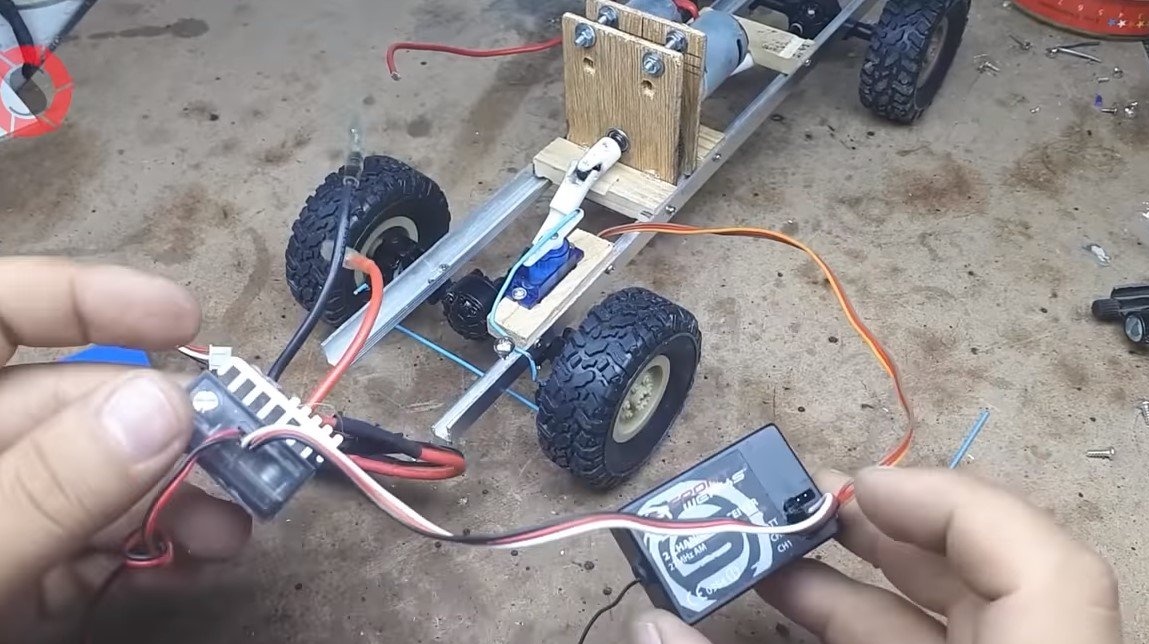
Step Six Electronics Installation and Testing
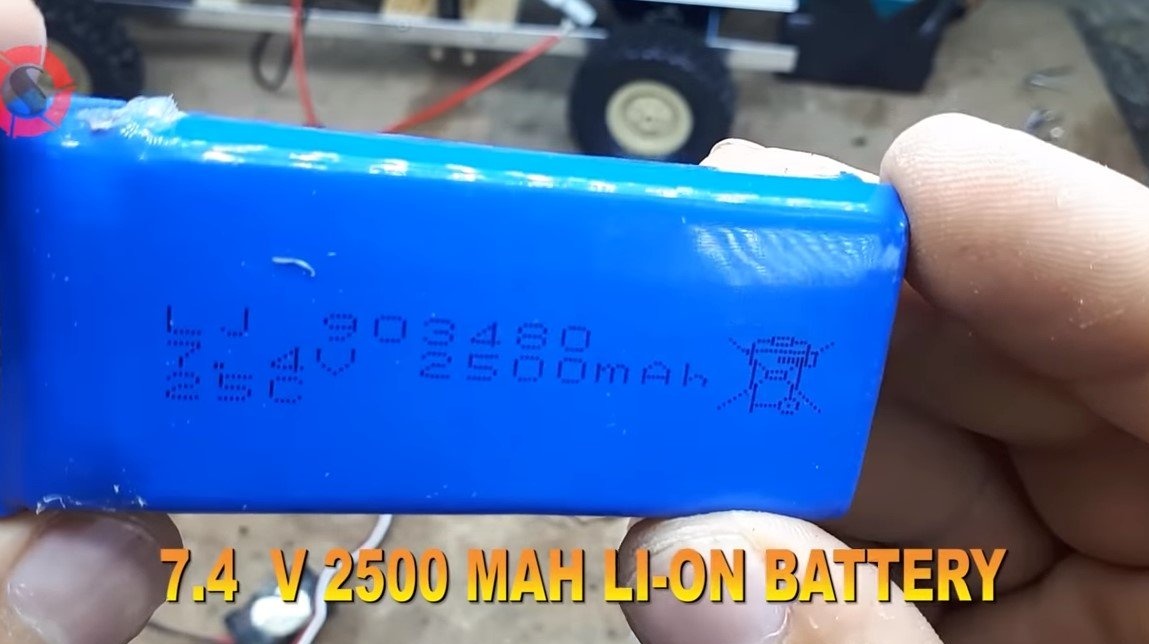
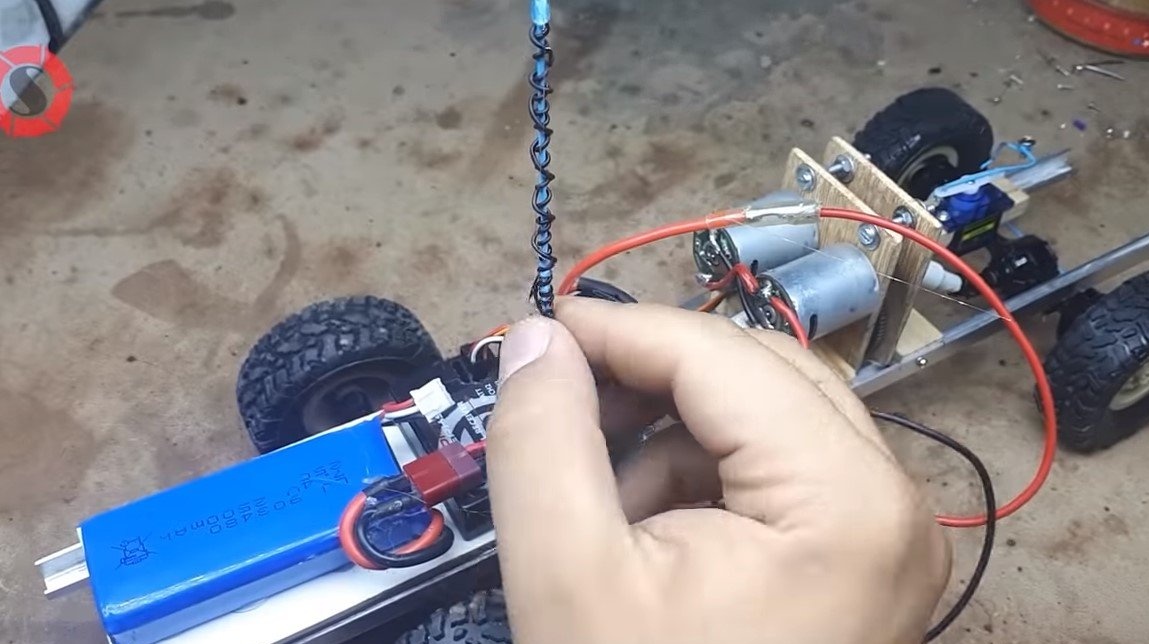
We install on the frame electronics to control the machine, as well as a 2500 mAh battery. Everything needs to be fixed securely, since our machine is “evil” and all equipment can fly off over bumps. We also make the base for the antenna from steel wire and wrap the antenna itself on it.

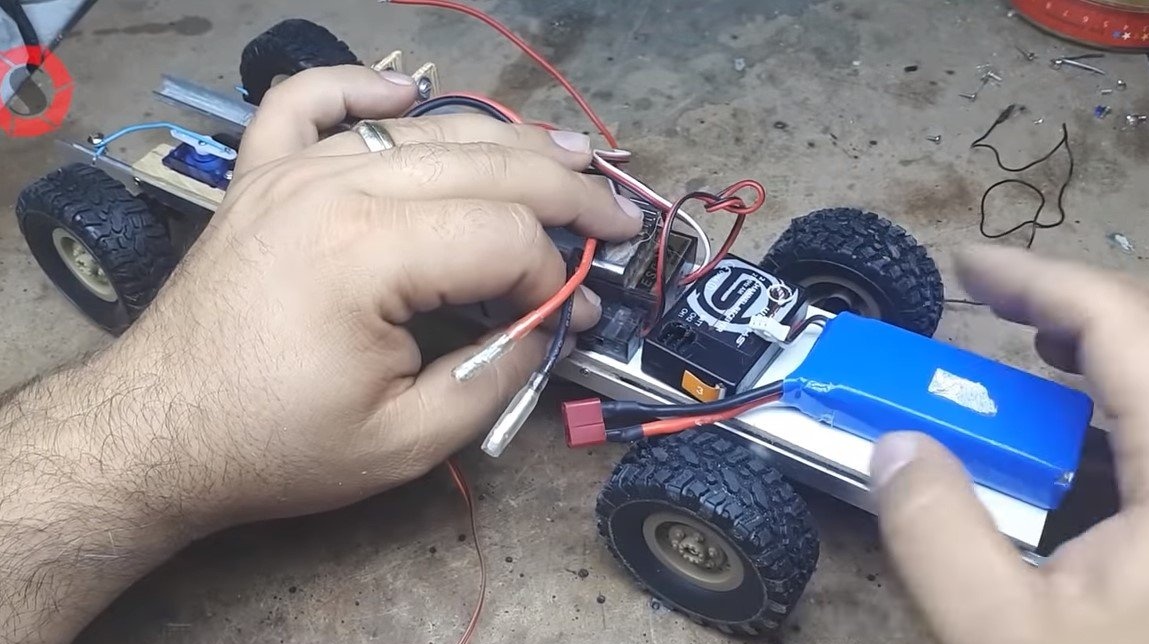
Now the machine is ready, you can test. From the place of homemade vomits quite briskly, the adhesion to the surface is excellent. Due to the considerable weight and four-wheel drive, homemade should overcome quite serious dirt, sand and other obstacles. Of course, the rather narrow frame confuses the design, which can make the machine unstable. This is the end of the project, I hope you liked the homemade work, and you found useful thoughts for yourself. Good luck and creative inspiration, if you decide to repeat this. Do not forget to share your ideas and homemade things with us!