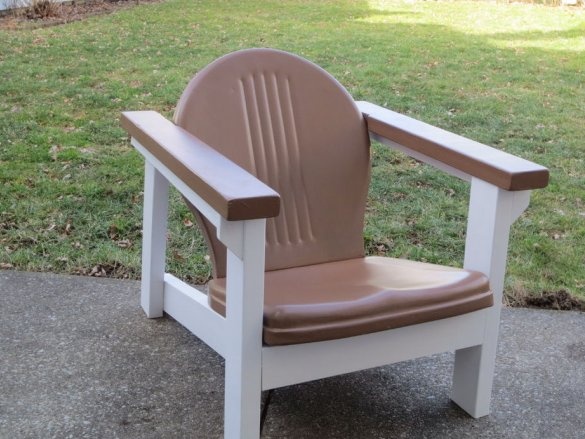
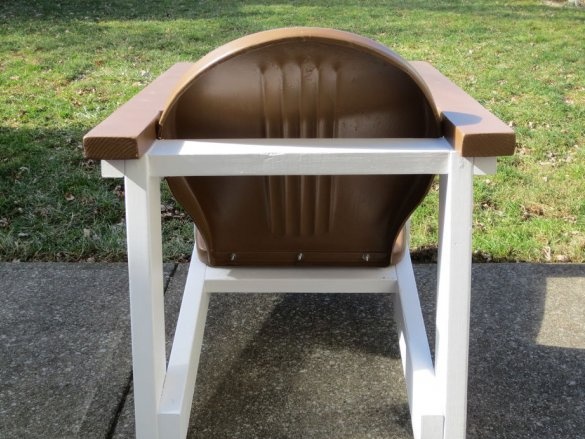
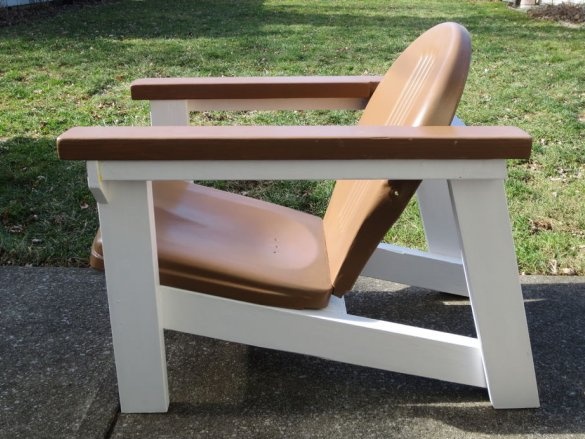
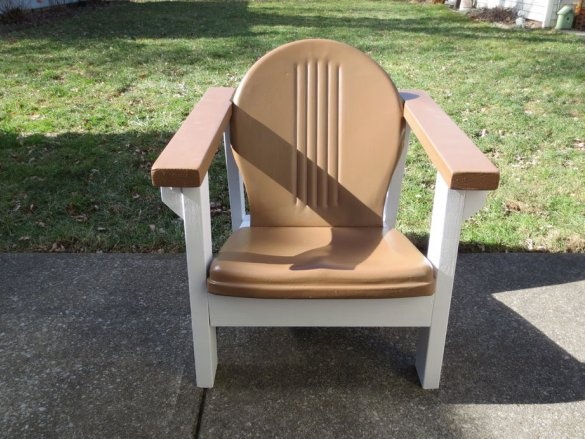
Greetings to all readers and the inhabitants of our sites. Surely many of you have heard of this version of a garden chair called Adirondack. Convenient wooden structure was enjoyed by many owners of private houses and summer cottages. It turns out that such a chair can be made even more convenient, while spending a minimum of effort and time. This is what will be discussed in this article.
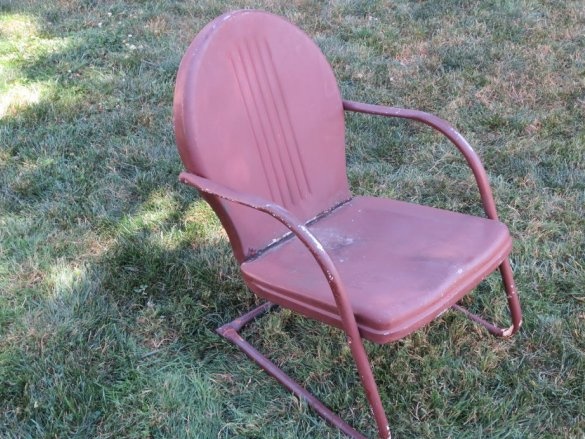
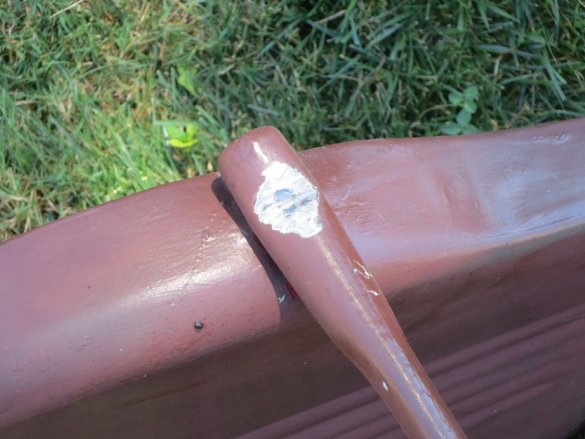
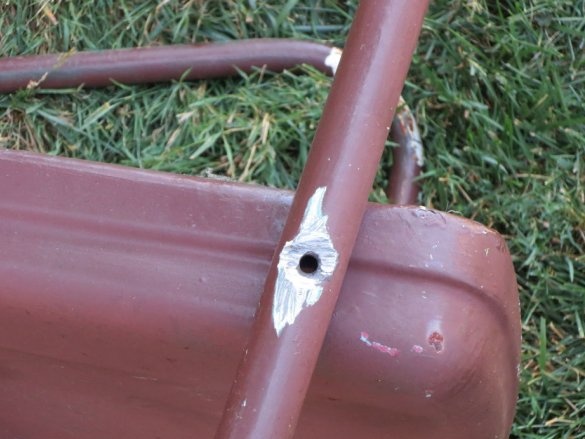
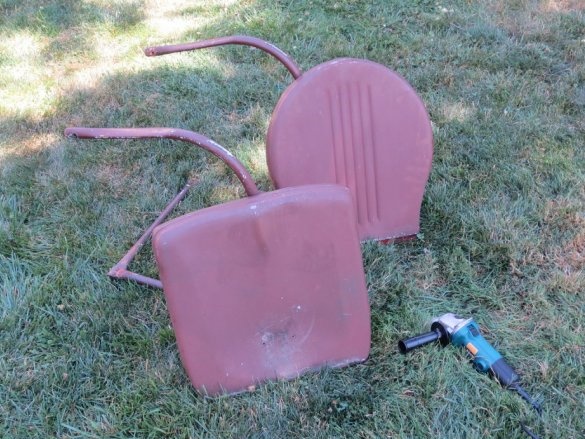
It all started with the fact that the author of this homemade product decided to give a second life to his old garden chair made of plastic and metal. The metal frame eventually deteriorated, but the seat and backrest survived.
Tools and materials:
• Miter saw
• angle grinder
• Grinder
• Drill
• Self-tapping screws
• Bar, board
• paint
• Primer
• Glue for wood.
Step 1
First, the author carefully using an angle grinder disassembled the old chair. Having cut the rusted bolts, he disconnected the back and the seat from the metal frame.
Step 2
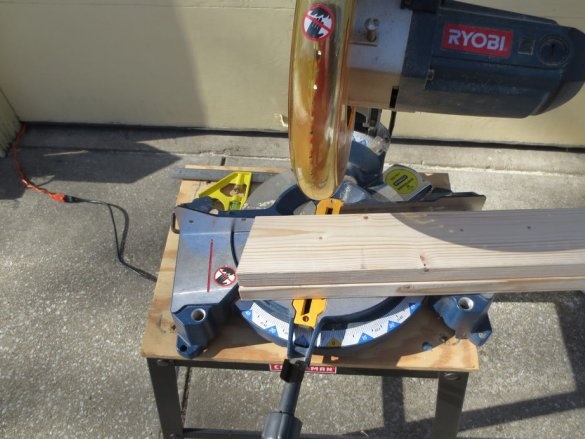
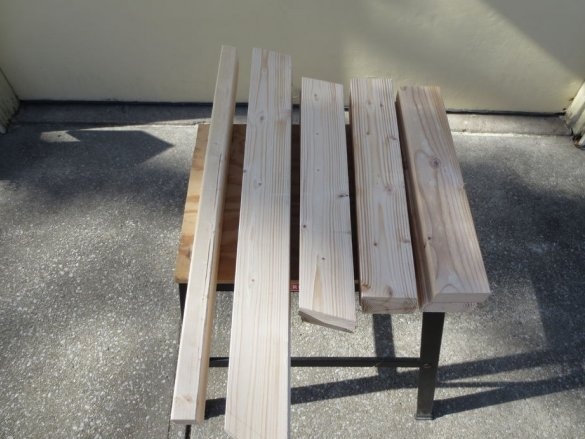
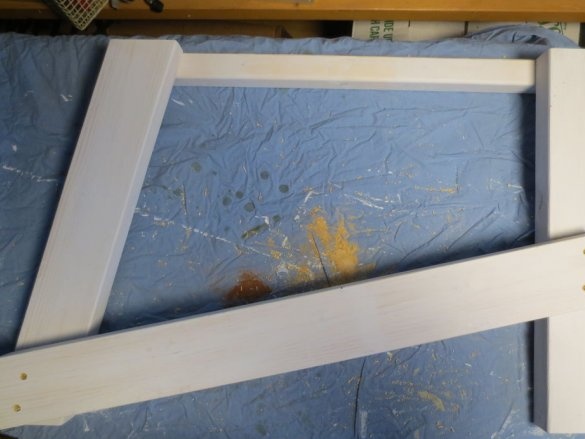
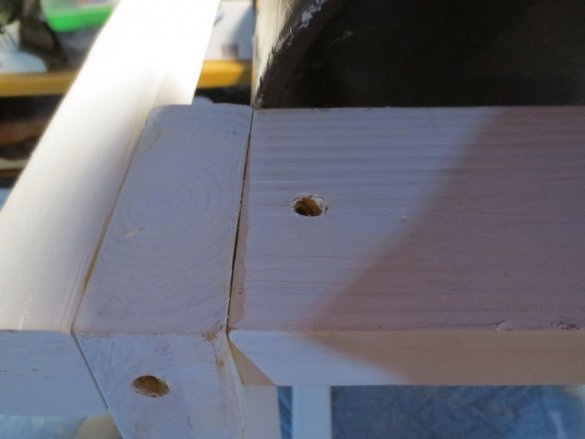
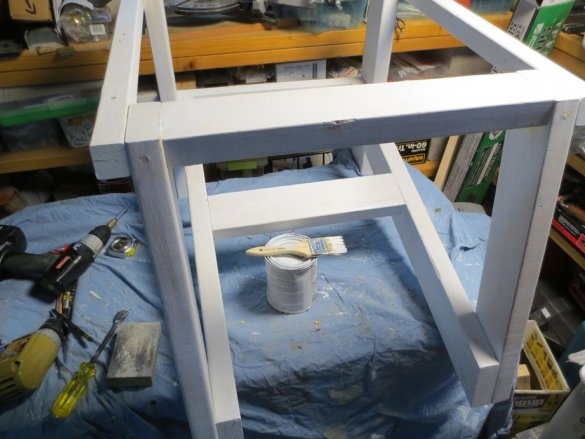
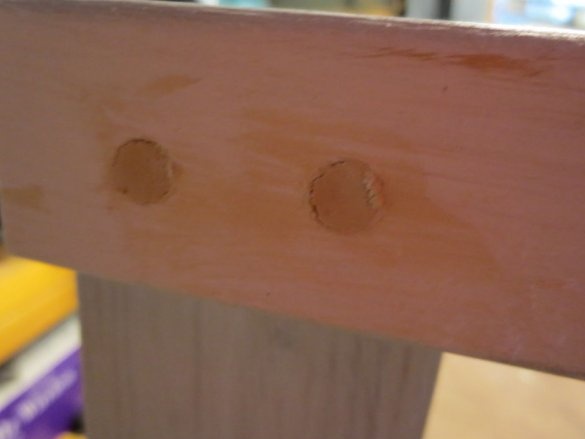
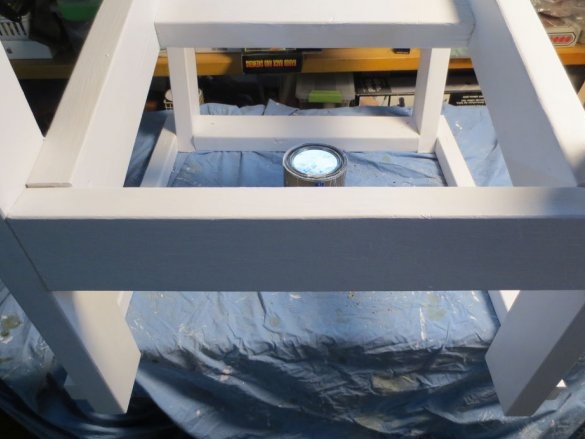
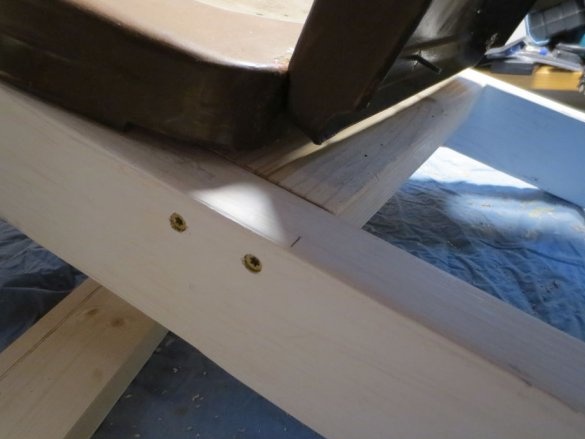
Then the author cut the details for the new frame from the timber and boards and assembled the base for screws and dowels. First he twisted the sidewalls, then connected them together with crossbars with a length equal to the width of the seat and back. The finished structure was painted with paint in two layers.
Step 3
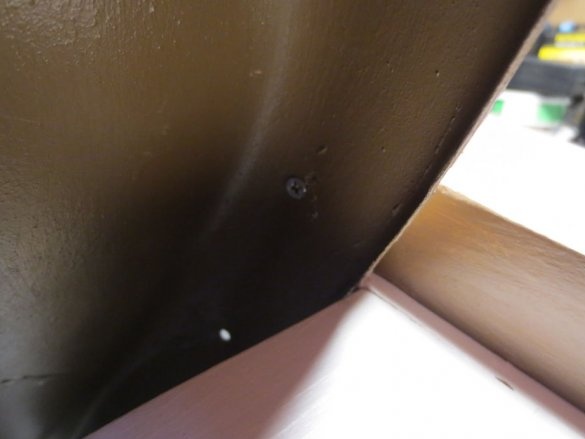
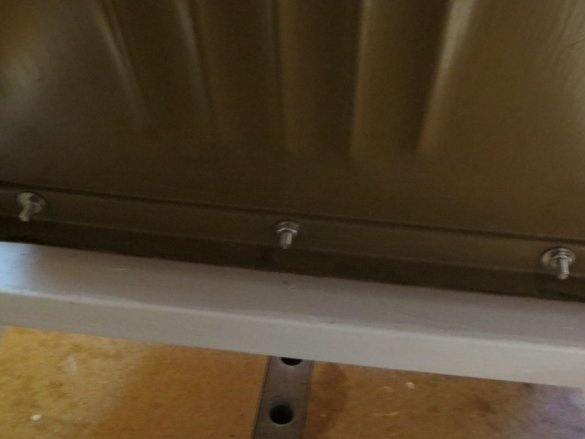
Next, I prepared a plastic seat and back. Primed them and painted them, connected them together with bolts and fixed them on the frame.
Step 4
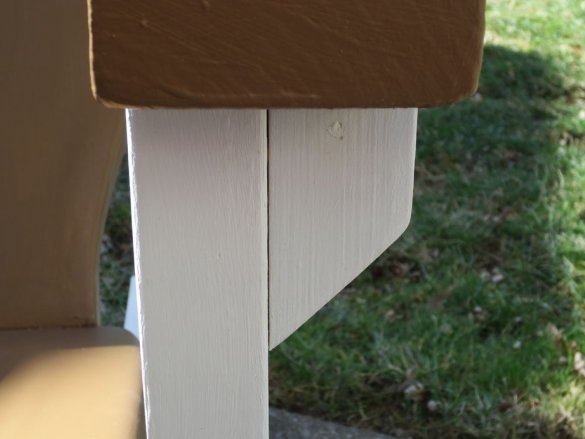
At the final stage, the author supplemented the finished chair with comfortable armrests. I fastened the bars to the front pillars on the sides, and on top of the horizontal rungs I fixed the parts from the board, which I had previously sanded and painted in the tone of the seat and back. All is ready.
I hope this idea is useful to someone or will become an impetus for creating more useful and convenient things.
Thank you all for your attention and see you soon bestdiy.washerhouse.com.

