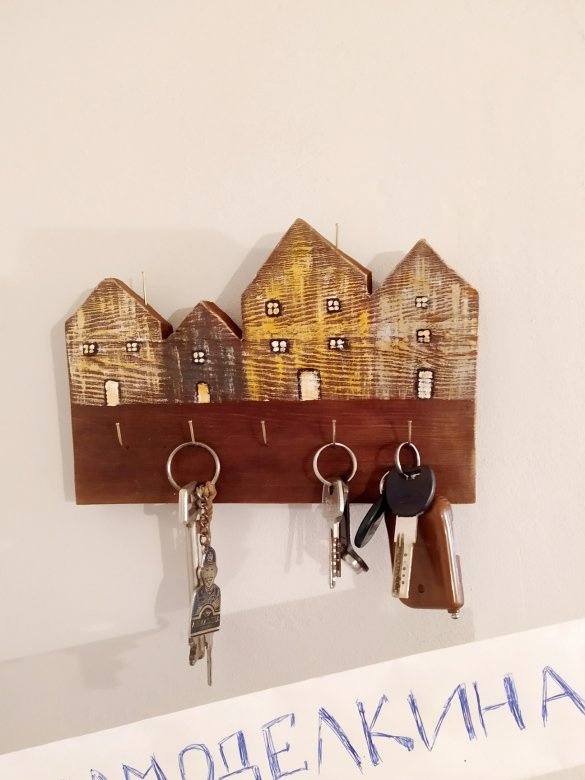
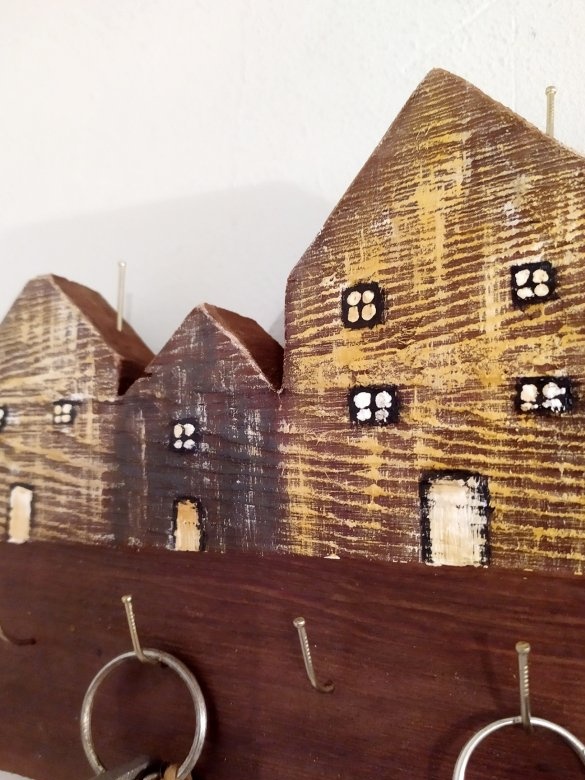
First of all, going to our home, we throw keys anywhere. If this is about you, then this problem has a completely simple solution - to purchase a housekeeper. And if you like to create do it yourself, then you can come up with an interesting idea, or see MK. I made it from what was at hand, and I really like the result.
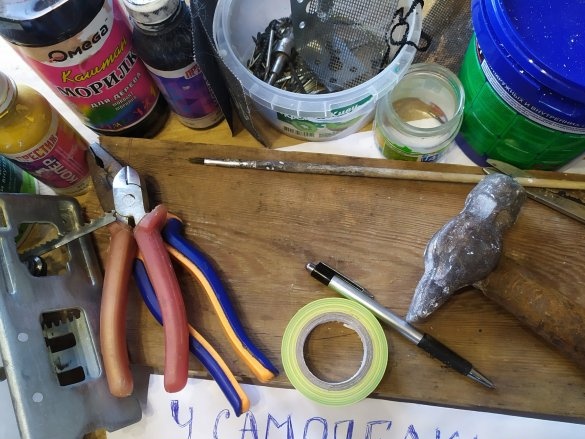
Tools and materials:
- Board
- Electric jigsaw
- Stain of any color
- White paint
- black paint
- Black and yellow color (or other colors)
- brush
- Several containers for paint
- Craft paper
- A4 paper sheet
- A pen
- long nails
- Thick thread
- Hammer
- Pliers, pliers, or another tool
- Masking tape, or another
- Roulette or ruler
I have many boards that have long gone to the trash. But I did not want to throw them away, because even from such old material, you can do something. And it’s always nice when you need minimal investment. Therefore, I will do from the old, scary board.
First of all, it certainly needs to be washed. When washed, then dry thoroughly. To make things go faster, I put it in the oven.
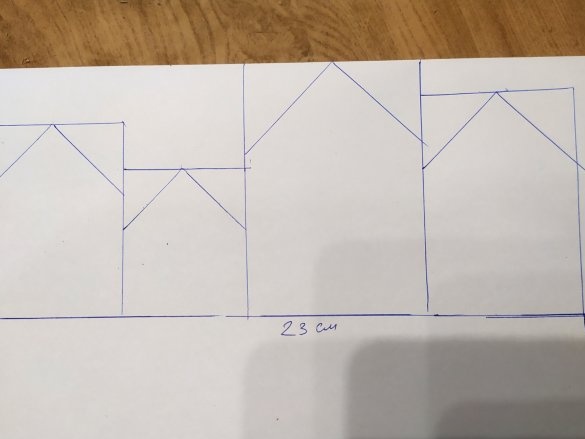
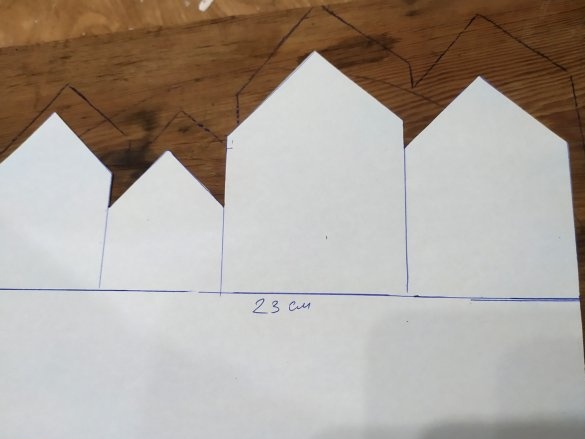
While the board was dry, I began to make a stencil. To do this, you need an A4 sheet and a pen. Maybe a ruler, but I used what was at hand - a pack of cigarettes to make a drawing. You need to think over what you want to see, and transfer it to paper. I decided to do like this.
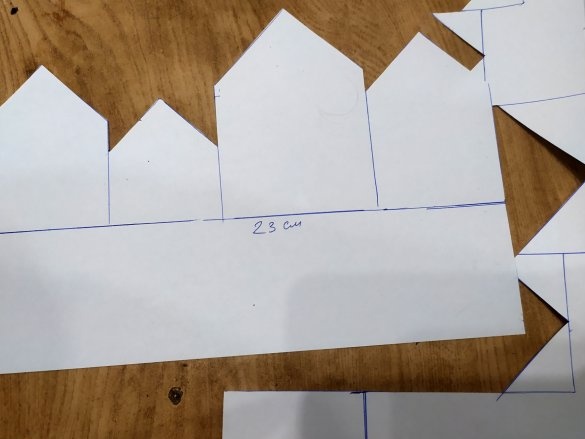
After drawing, take the scissors and carefully cut.
Now the stencil is ready, and it should be transferred to the board. When choosing the size of the stencil, I focused on the width of the board.
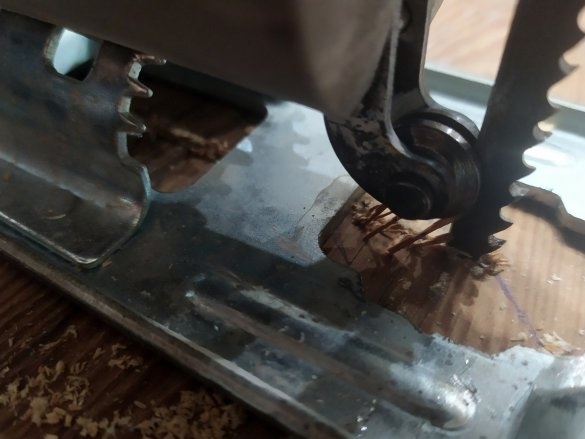
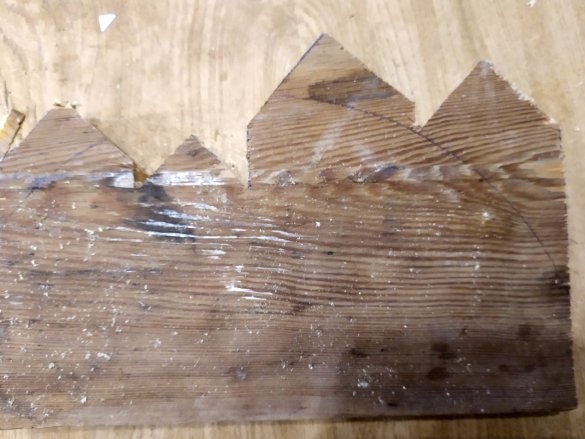
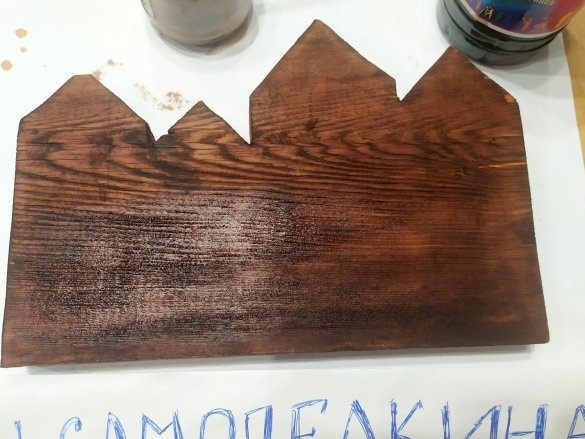
When the drawing appeared on the board, we take an electric jigsaw, and begin to cut. It is desirable to clearly correspond to the drawn lines. We use a wood file that matches the thickness of the board.
Everything was cut out quite easily.
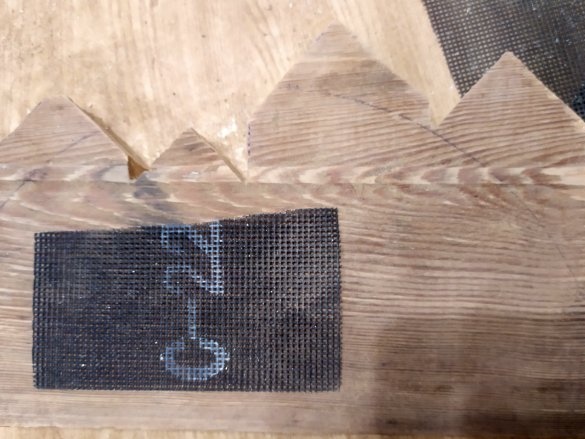
Now you can take knife paper and sand it all well. Care should be taken, splinter always waiting for the right moment.
If you have a grinding machine, then use it for its intended purpose, I have to do everything with my hands, and this does not give an ideal result.
When finished grinding, all dust must be removed with a damp cloth.
If the result satisfied you, then you can start painting.
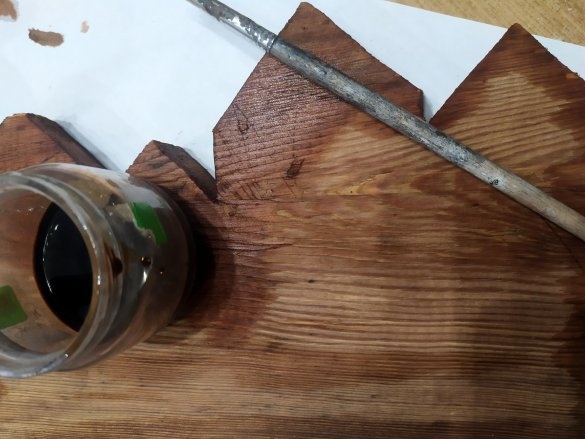
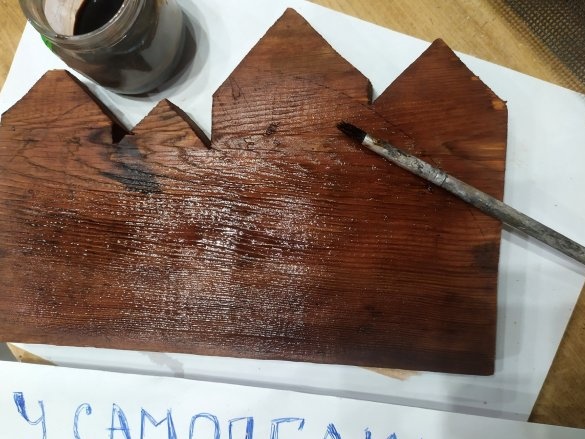
Shake the stain well and pour into the container. We paint with a comfortable brush, first the back and sides, then the front.
When done, leave to dry for a while. Usually, the stain is absorbed almost immediately, but I always prefer to wait an hour.
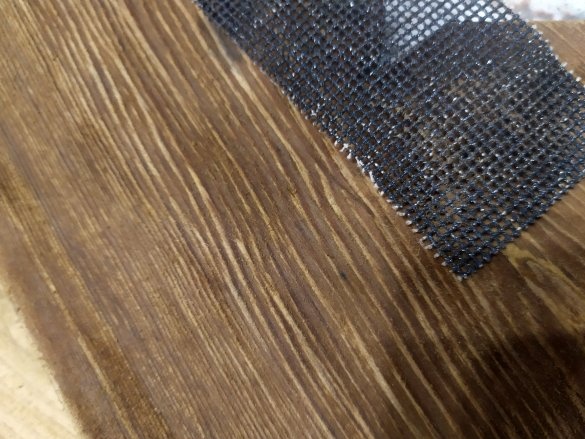
After the board has dried, in some places the risen fibers may become visible. Therefore, you need to go through the scraper paper again.
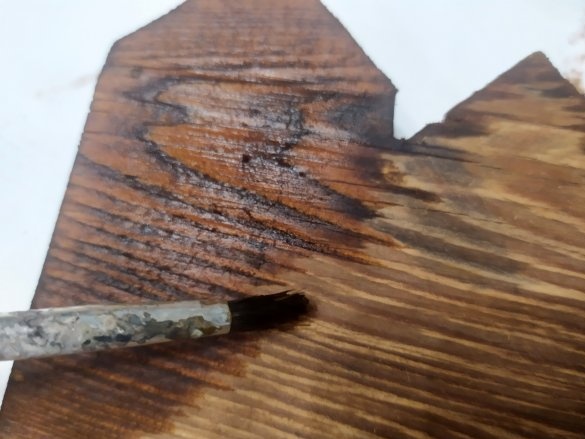
For greater color brightness, coat the stain again. Then we wait for complete drying.
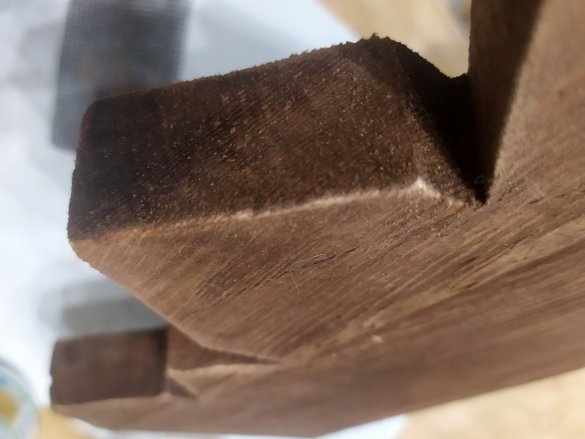
To slightly highlight the edges, after drying, you can sand them a little.
Again, the dust after this must be removed with a damp cloth.
If you like the result, then you can leave it like that. I decided to diversify the tree a bit, and give the houses a color.
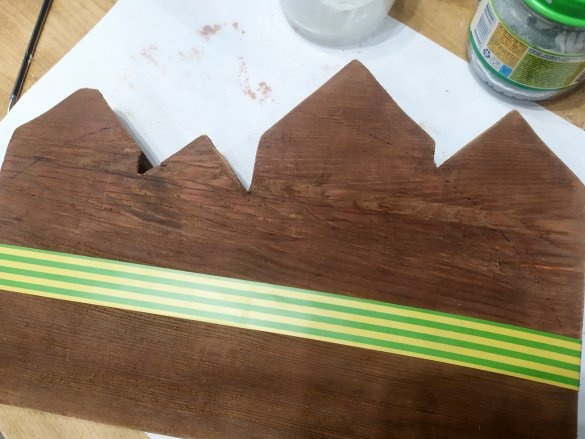
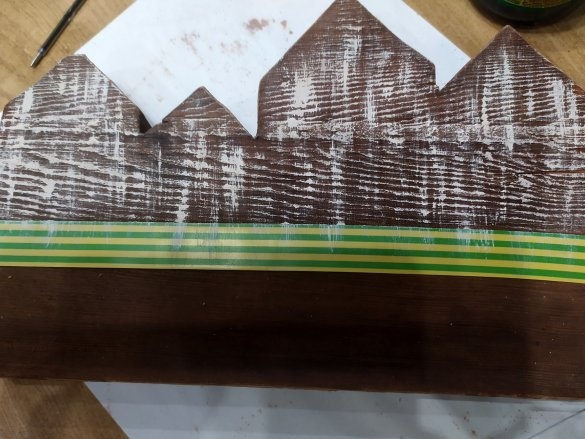
First, you need to separate the bottom. On the edges we make marks, and corresponding to them, glue masking tape, or other tape, I took what I found at home.
Now the moment of paint has come. I used small jars of baby food, very convenient.
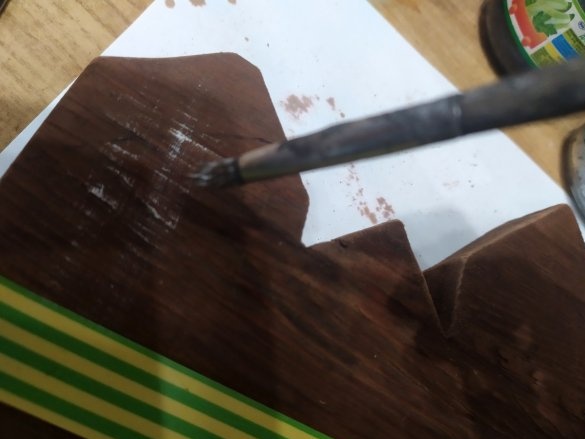
First of all, take the white paint. Dip the brush, and wipe off the excess paint on the edge of the jar. Barely touching the surface, we begin to quietly apply to the houses. The paint goes like this.
We don’t need to completely paint over everything, we just need to lighten it a little. If the tree has a relief, then this method of coloring will even emphasize it.
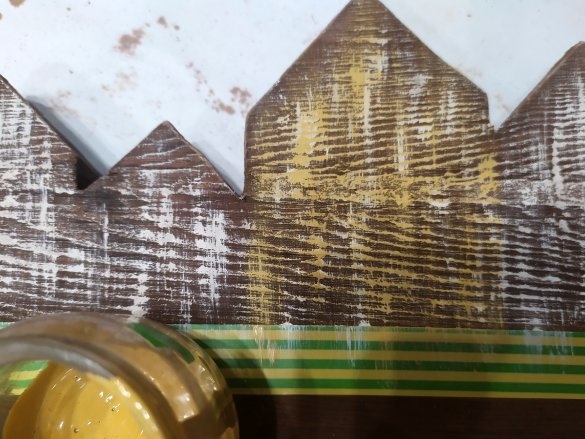
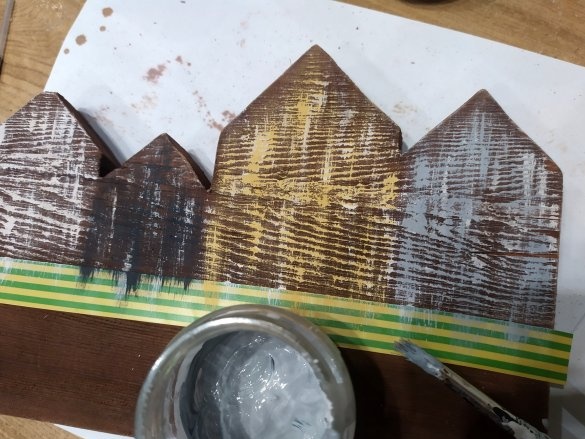
When we have achieved a sufficient amount of white, we begin to make a different color. I decided that my houses would be of four colors, white, yellow, and different shades of gray. For yellow, I mixed yellow color and white paint.
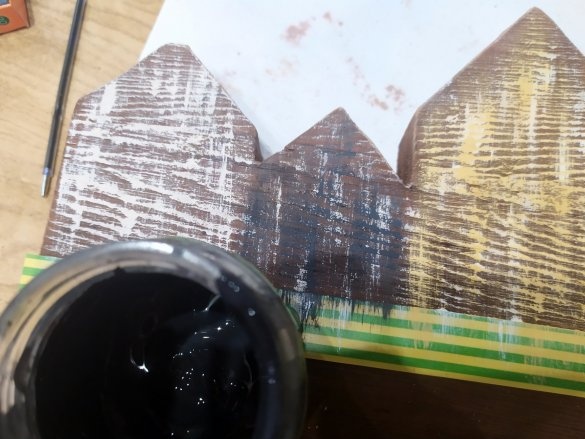
To make gray, we take white paint and black color, mix. We need a bit of everything. I made it dark and light. We color each house. We do everything the same, at least paint on the brush, wipe the excess.
Paint should not completely cover the stain. Otherwise, the tree will be even imperceptible.
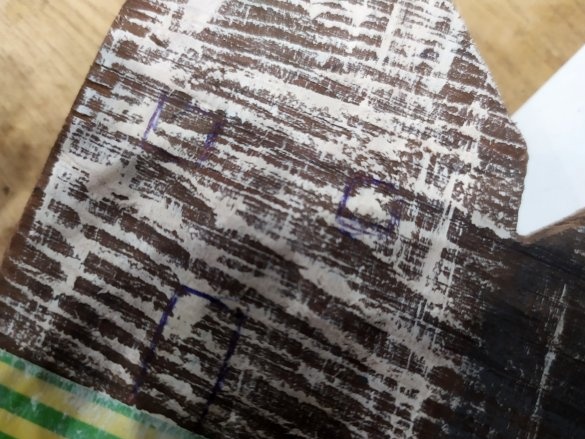
When finished painting the houses, you can add windows and doors. To do this, we first outline them with a pen.
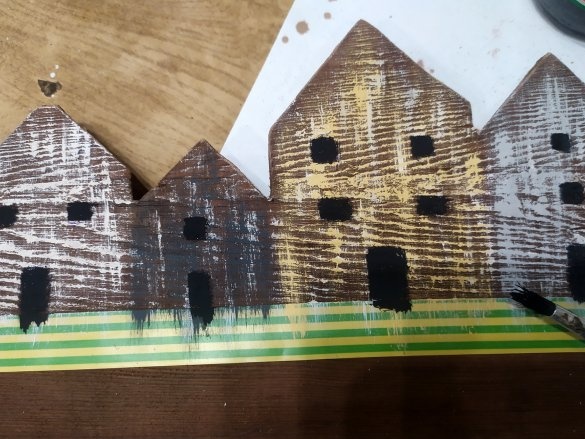
With black paint, we completely paint over all the outlined window and doors.
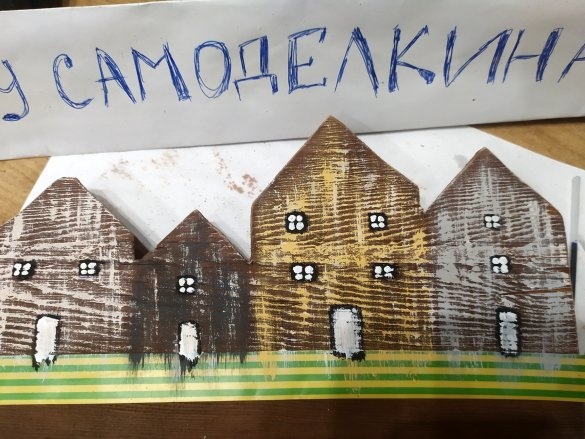
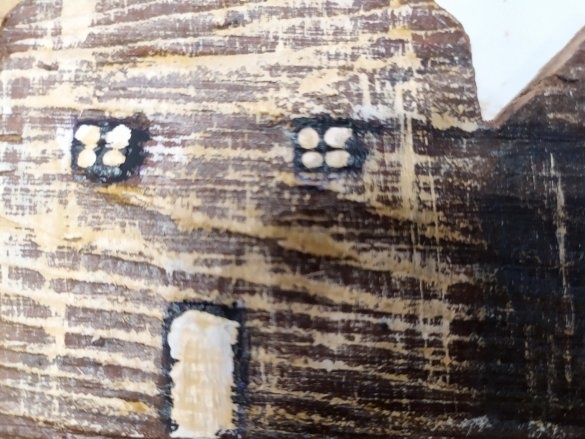
When the black paint dries, take white. For convenience, you can take a cotton swab. In each window we put 4 bold points. Doors are simply painted over with white inside, leaving a black outline.
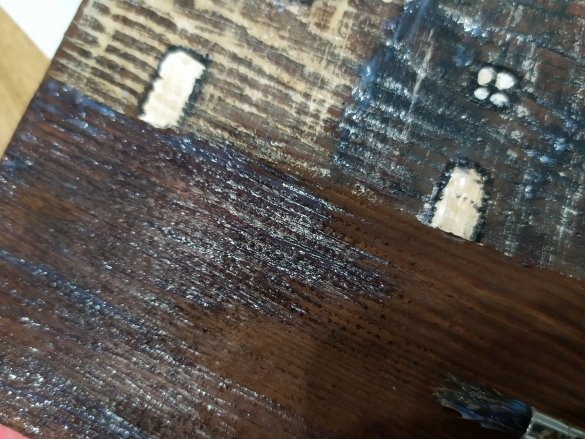
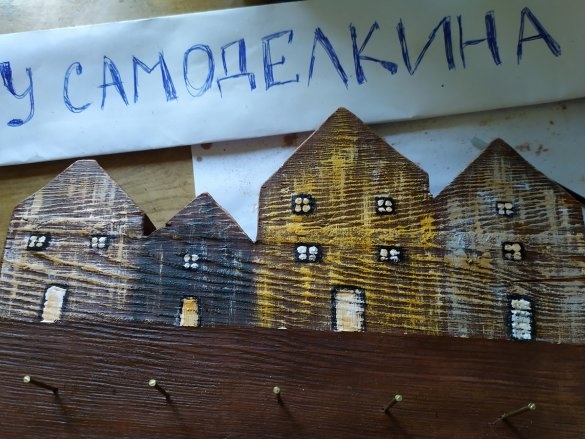
Well, that’s all finished with painting. Now take an acrylic lacquer and cover our key holder. After the first layer has dried, it is better to apply the second.
By the way, after the varnish has dried, the stain has “crawled out” where it was white. But this, it seems to me, does not spoil anything.
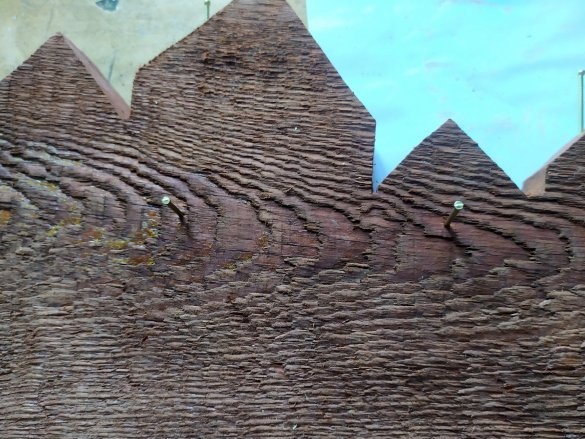
In order to make hooks, I decided to use cloves. My nails are 30mm in size, that’s enough.
We make markings for nails, I will have five pieces.
Drive in all the cloves.
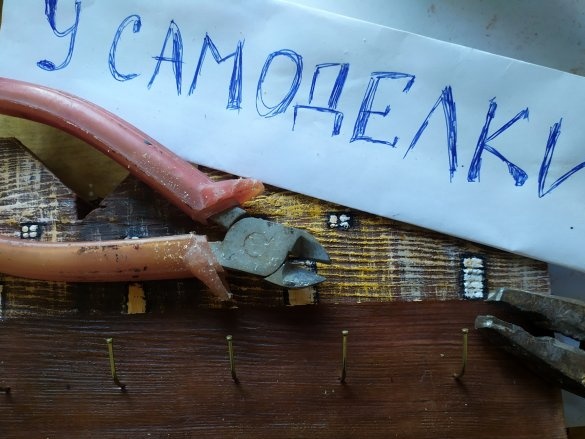
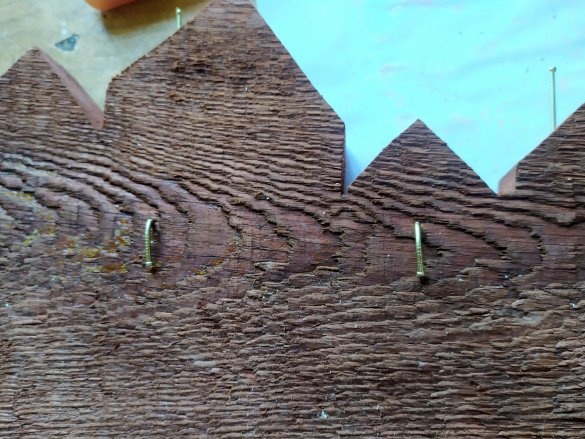
After that, using any improvised tools, bend them, making hooks. This size is enough to hang the keys.
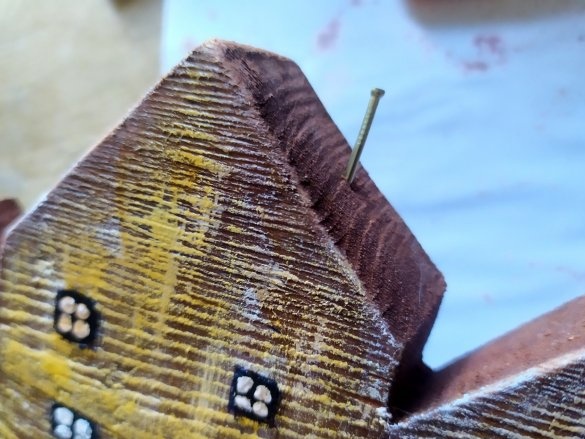
Now let's make some pipes.
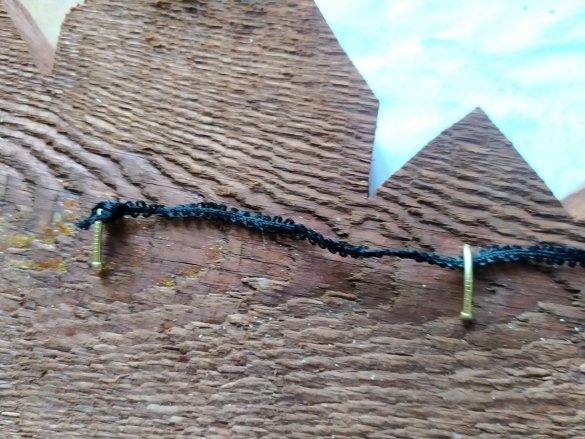
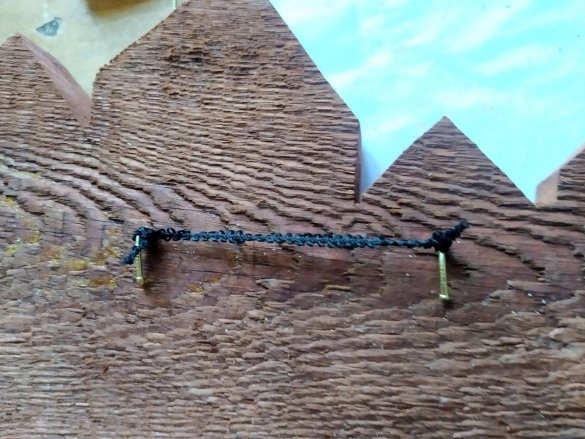
If you didn’t have a fastener at hand, then it doesn’t matter, it can also be easily done. We hammer two nails in the back, and bend them down.
We tie the rope, cut off the excess.
We hang on the wall. That's all, our key keeper is ready. Thanks for attention.


