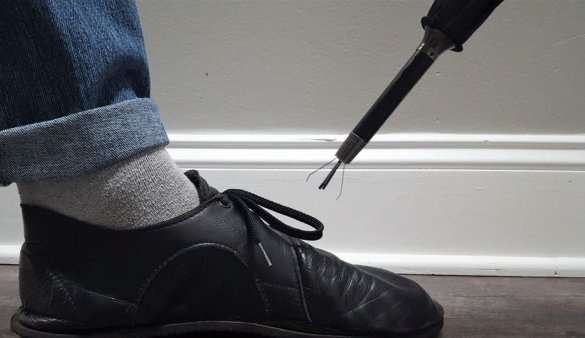
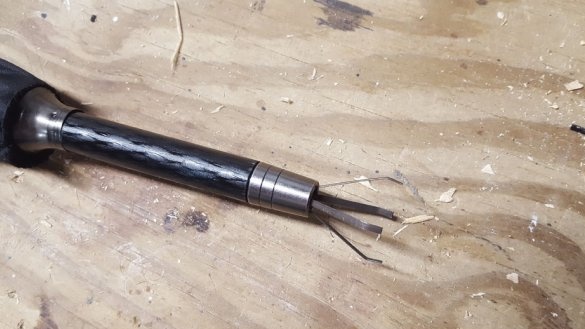
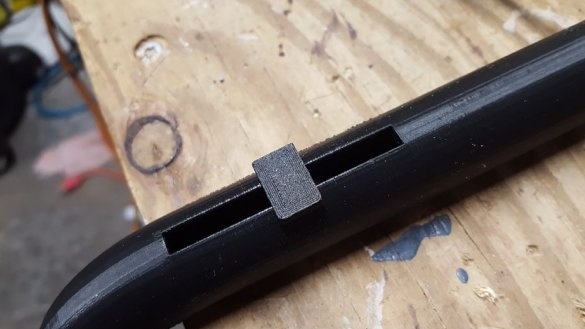
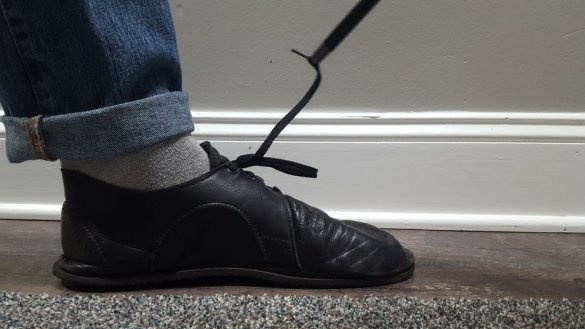
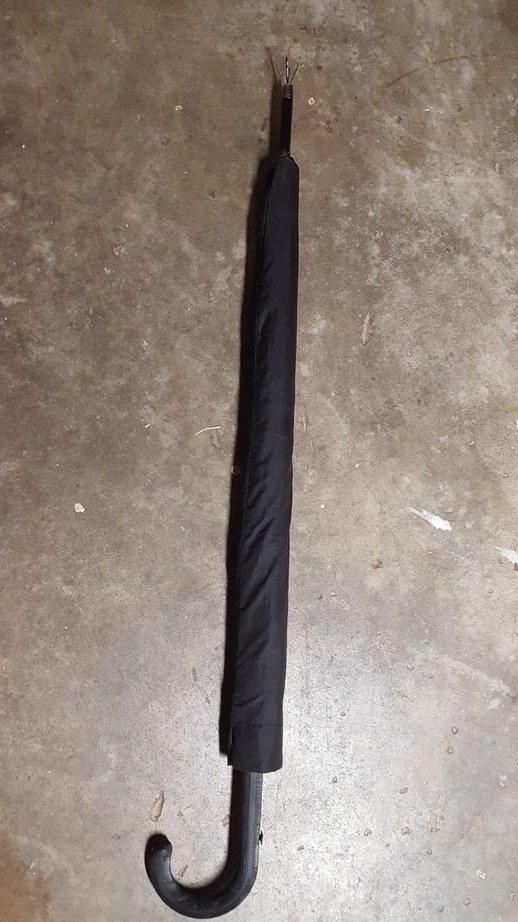
Each person has his own hobbies. The master is ...... untying the shoelaces. Yes, not their own, but with acquaintances, friends or just passers-by. And you need to do this, as inconspicuously as possible. It is clear that just bending over and pulling the cord will fail. All kinds of hooks do not really help either. Then the master decided to build a grip in the umbrella, especially since it often rains in the area where he lives.
Tools and materials:
Epoxy resin;
-Super glue;
-Dremel;
-Knife;
-Vise;
-3D printer;
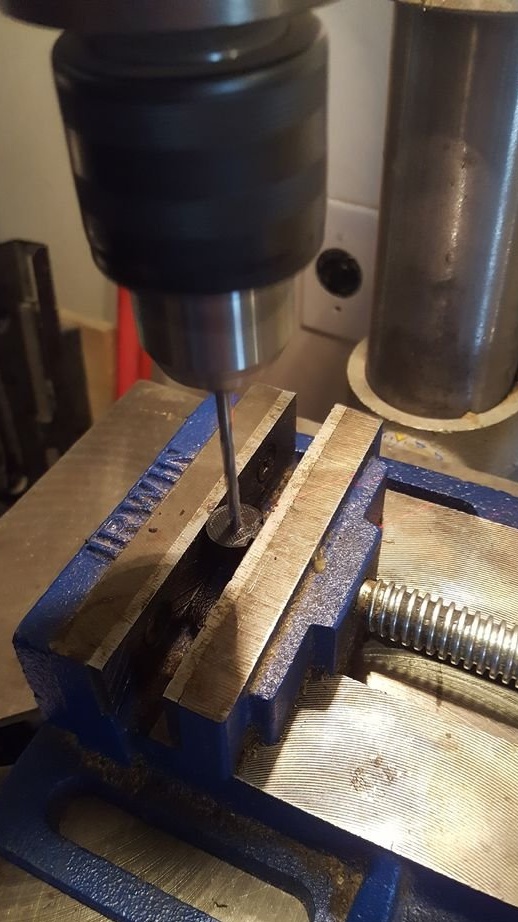
-Drill;
-Hacksaw;
Step one: handle preparation
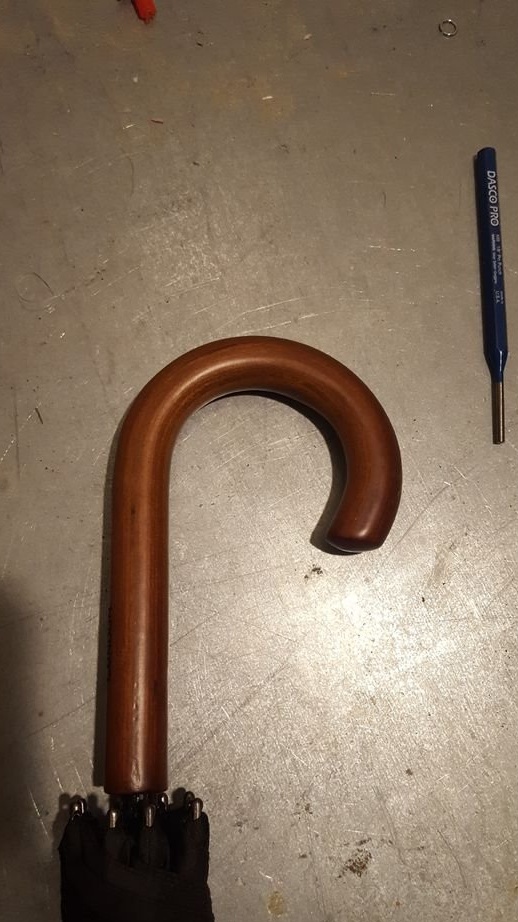
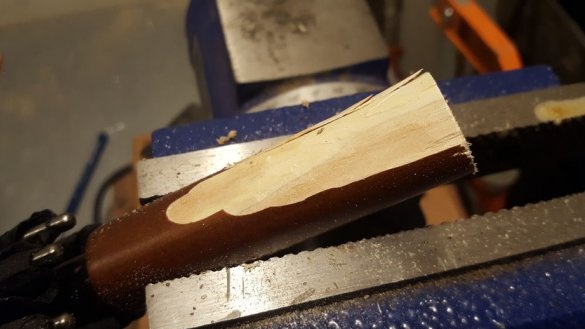
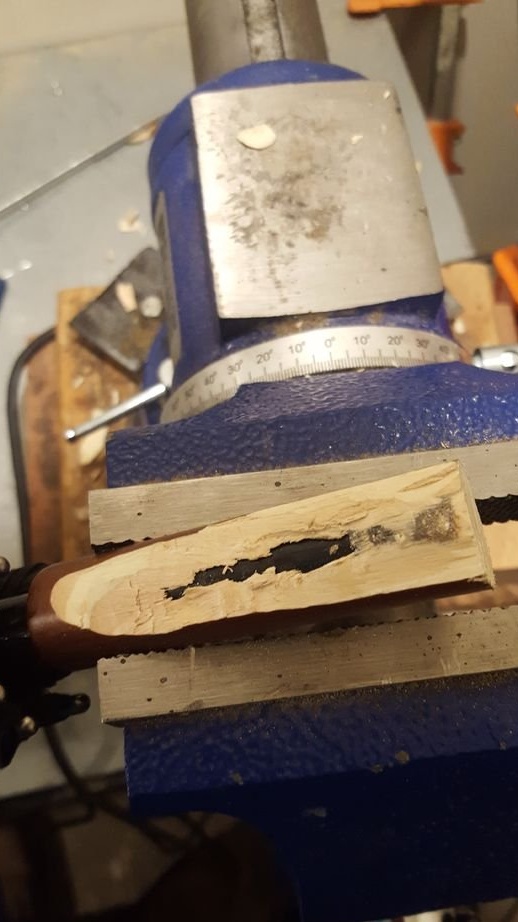
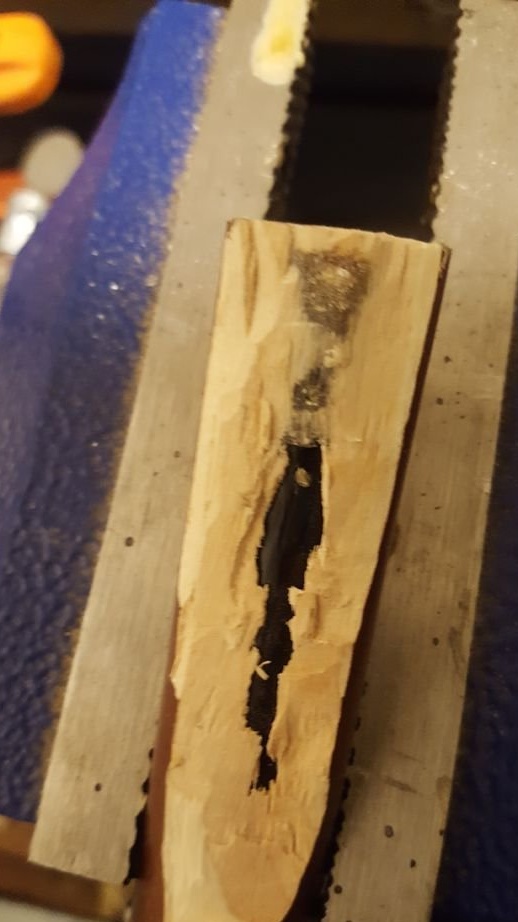
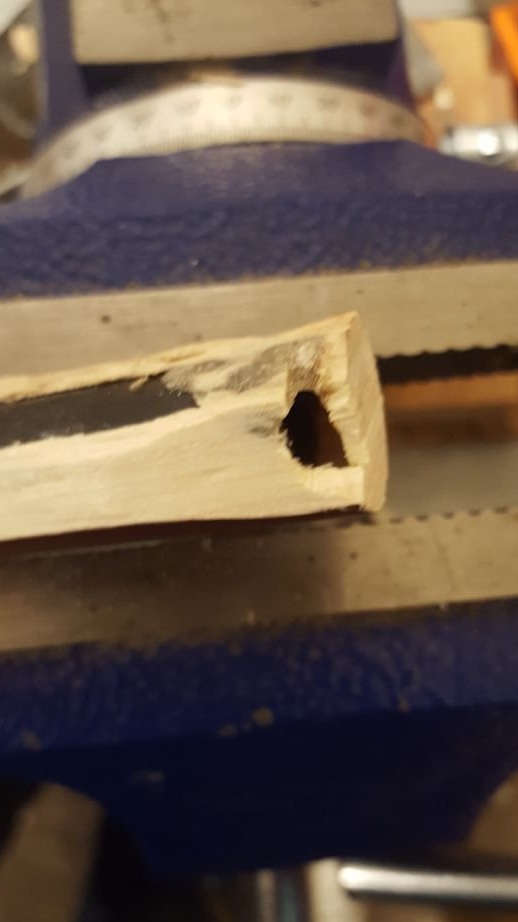
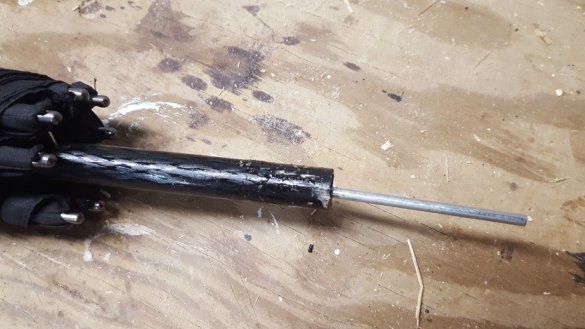
The umbrella has a wooden curved handle. It is necessary to cut off part of the handle. A metal (or plastic) tube is inserted into the handle approximately 5 cm deep. The master cuts the handle 7.5 cm from the edge. Then she cuts the handle at an angle and finds the edge of the tube. Now you can cut the handle in one plane with the end of the tube.
Step Two: Capture
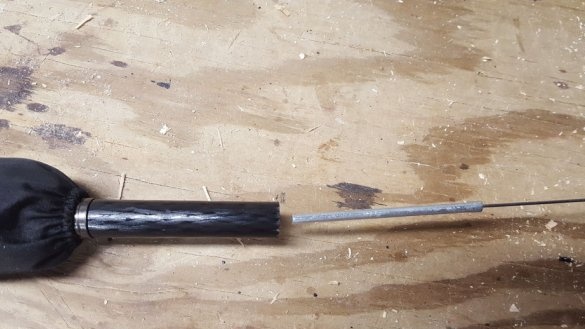
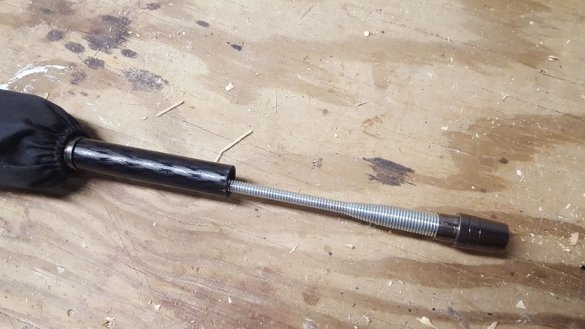
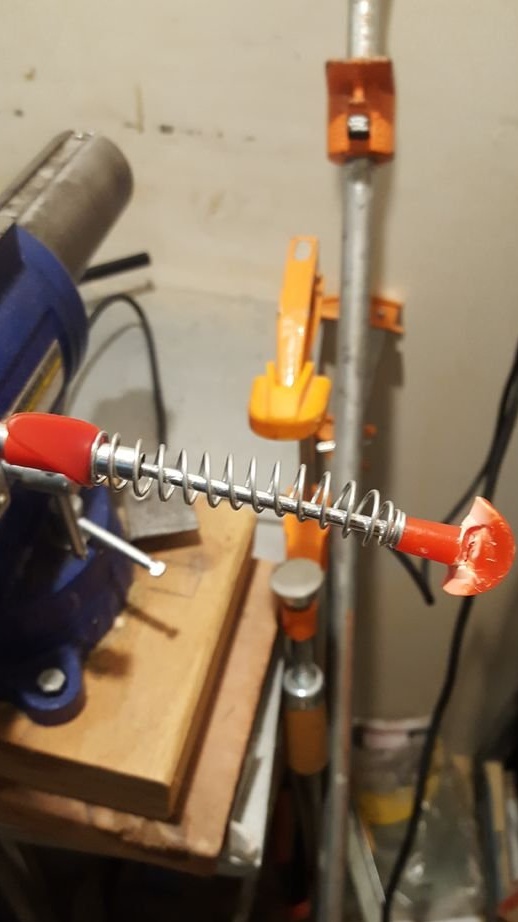
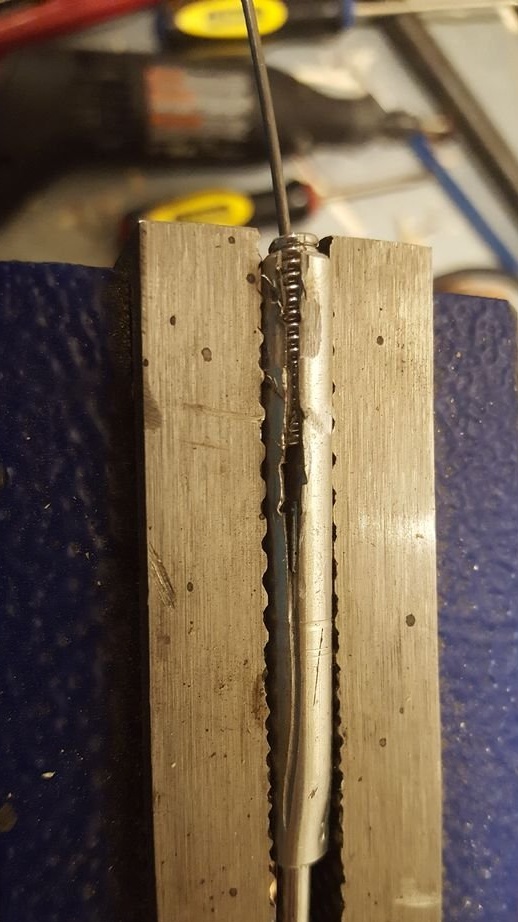
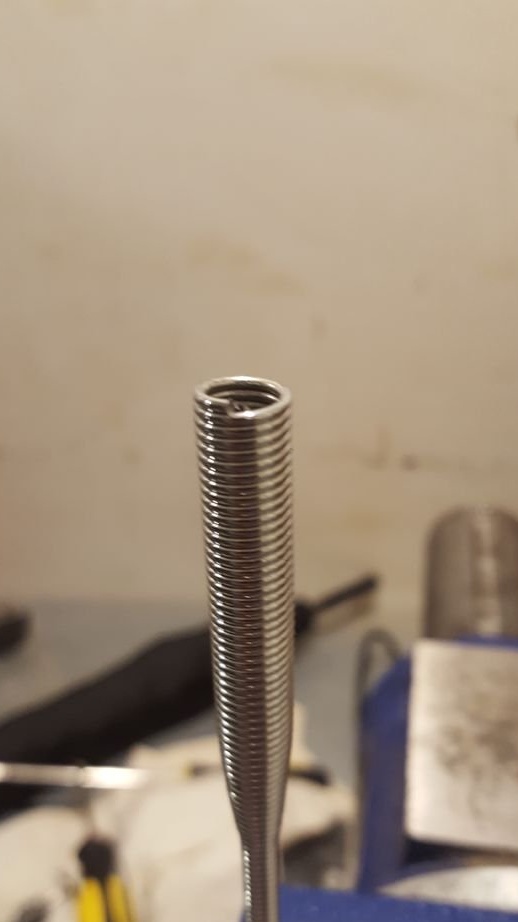
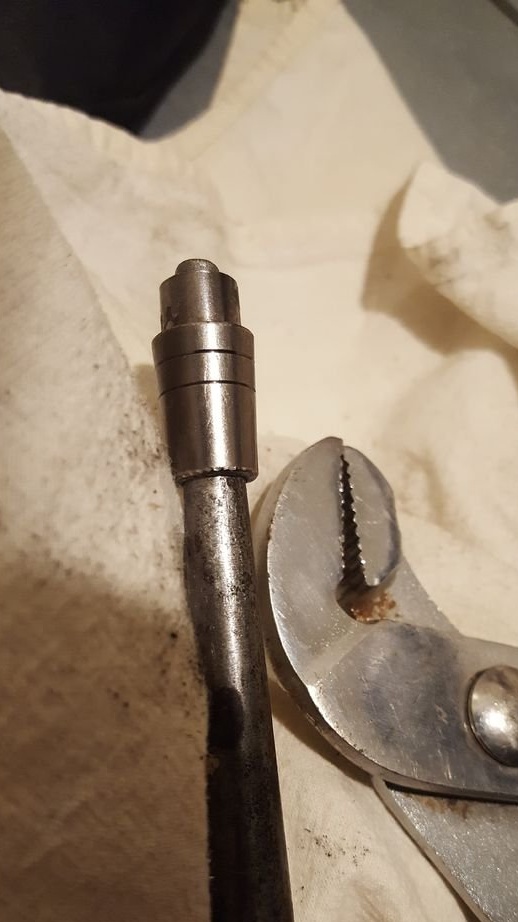
Now you need to redo the capture. The master cuts off the plastic material on a flexible grip and removes the spring. A metal sleeve and, under it, a spring shell are installed at the same end. They also need to be cut. Cut carefully along, taking care not to damage the wire inside. How much to cut depends on the length of the umbrella.
Step Three: Tip
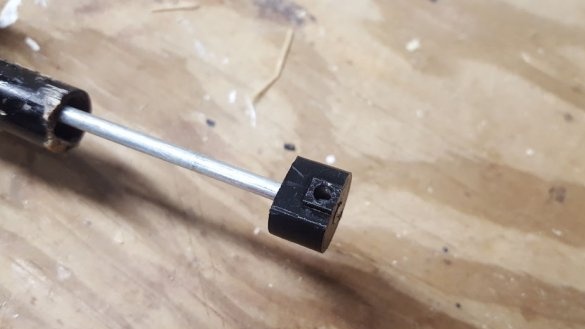
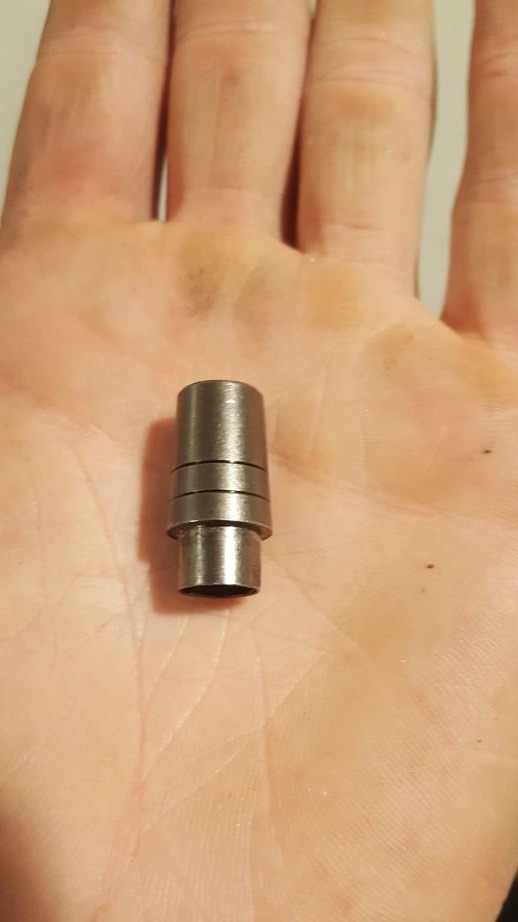
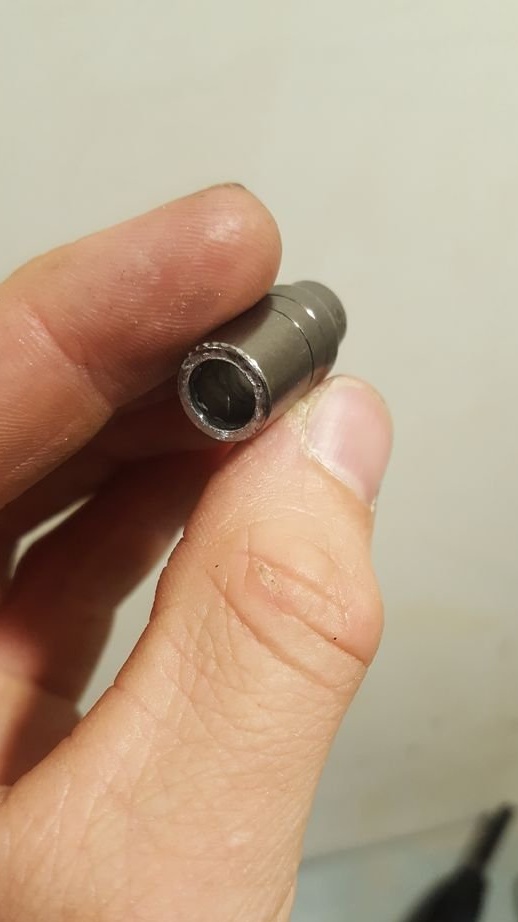
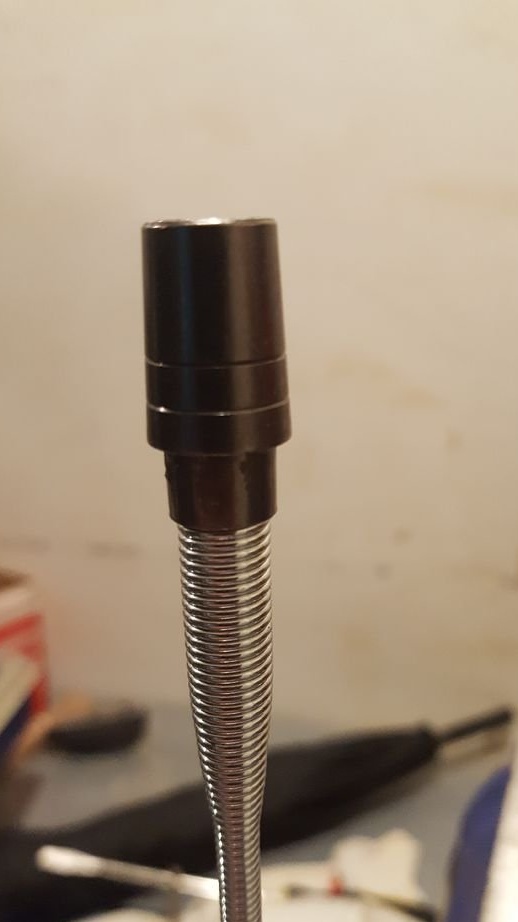
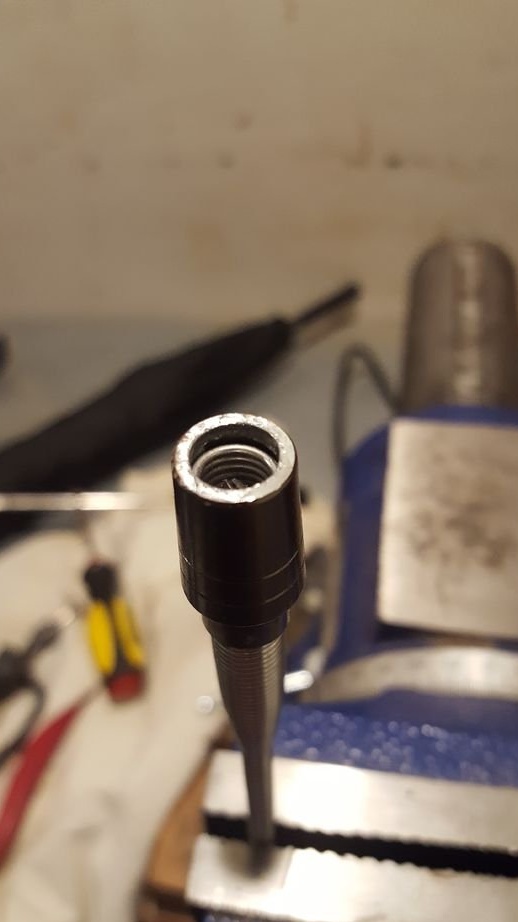
From the end opposite the handle, a tip is mounted on the umbrella in the form of a cap. The master grinds the end part of the tip, and then removes it. Next, the tip must be put on the spring part of the grip shell. It should be tightly worn. If necessary, you can bend or unbend the spring.
Step Four: 3D Parts
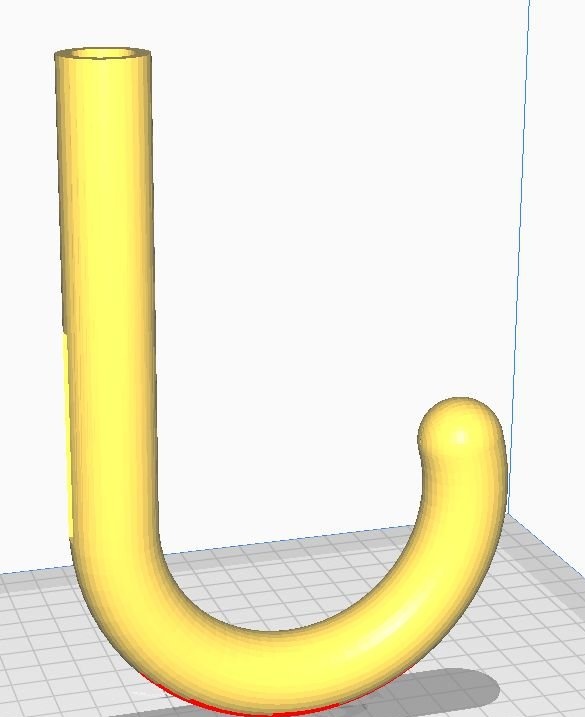
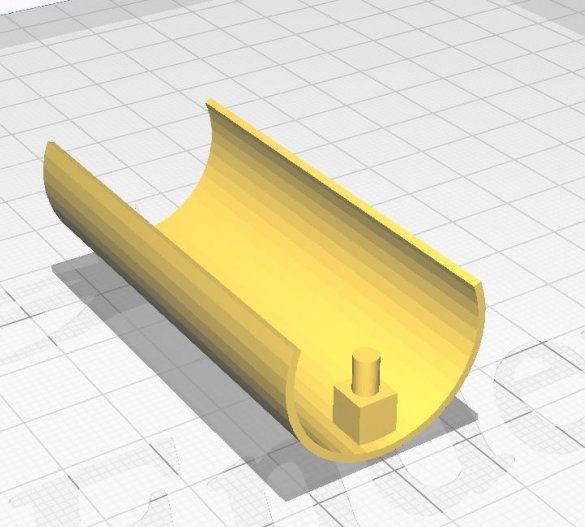
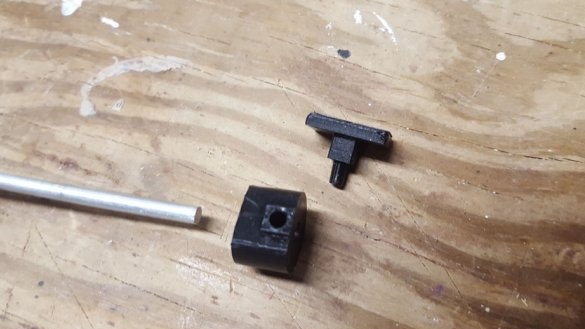
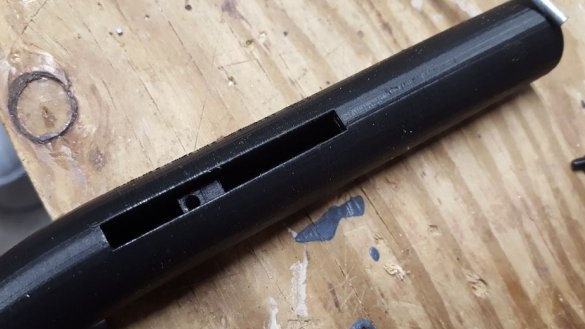
Now you need to print a pen and some other details.
The handle of the umbrella should be printed in the orientation shown with 100% coverage and support over 45 degrees.
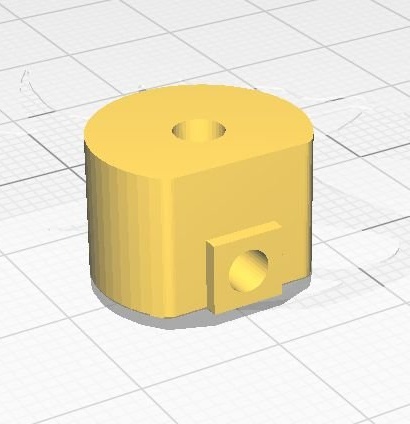
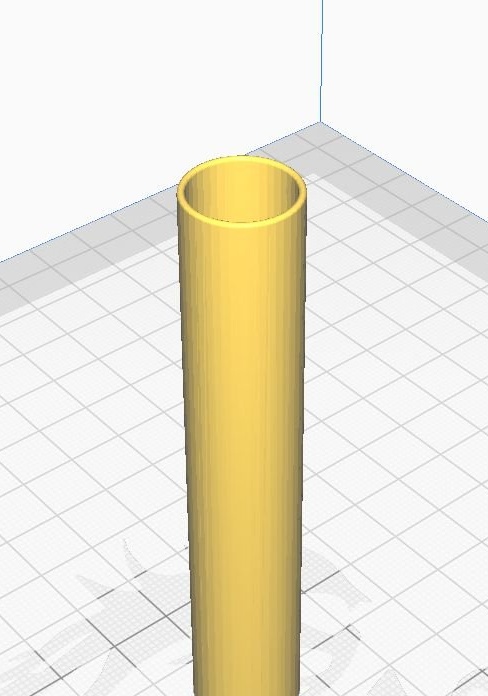
The HHS file should be printed at a slower speed and with support over 45 degrees.
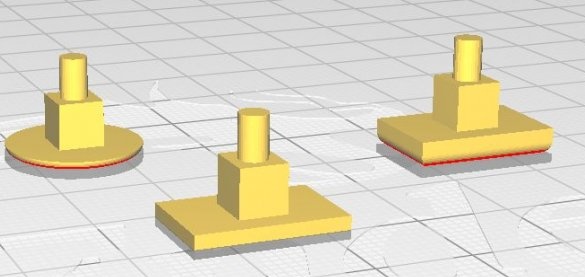
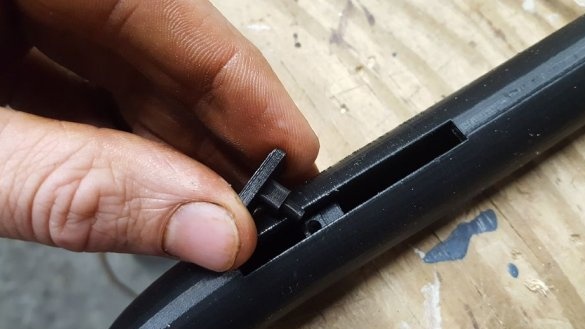
Files for printing can be downloaded below. The thumb-down part is a button; you can select any of the three samples.
Umbrella Handle Best.STL
Umbrella Slider 10.17.19.STL
HHS 10.17.19.STL
Thumb Part - 2.STL
Thumb Part - 3.STL
Thumb Part - 4.STL
2.STL End Cap
Step Five: Build
Now you need to put everything together. The master pushes the wire through the umbrella tube. Glue the tip. Sets the handle. The other end of the wire sticks to the slider. Sets the button.
All is ready.

