What about hangers? Just that it is an indispensable item in the house. If you just urgently needed such an item, then I suggest you look at the MK. Maybe this is exactly what you lacked for happiness.
Tools and materials:
- Board, tree
- Wooden rail 20mm by 10mm
- Electric jigsaw
- Stain of any color
- Sandpaper
- Hammer
- nails
- 16mm screws
- screwdriver
- A pen
- Roulette or ruler
- brush
- Capacity for stain
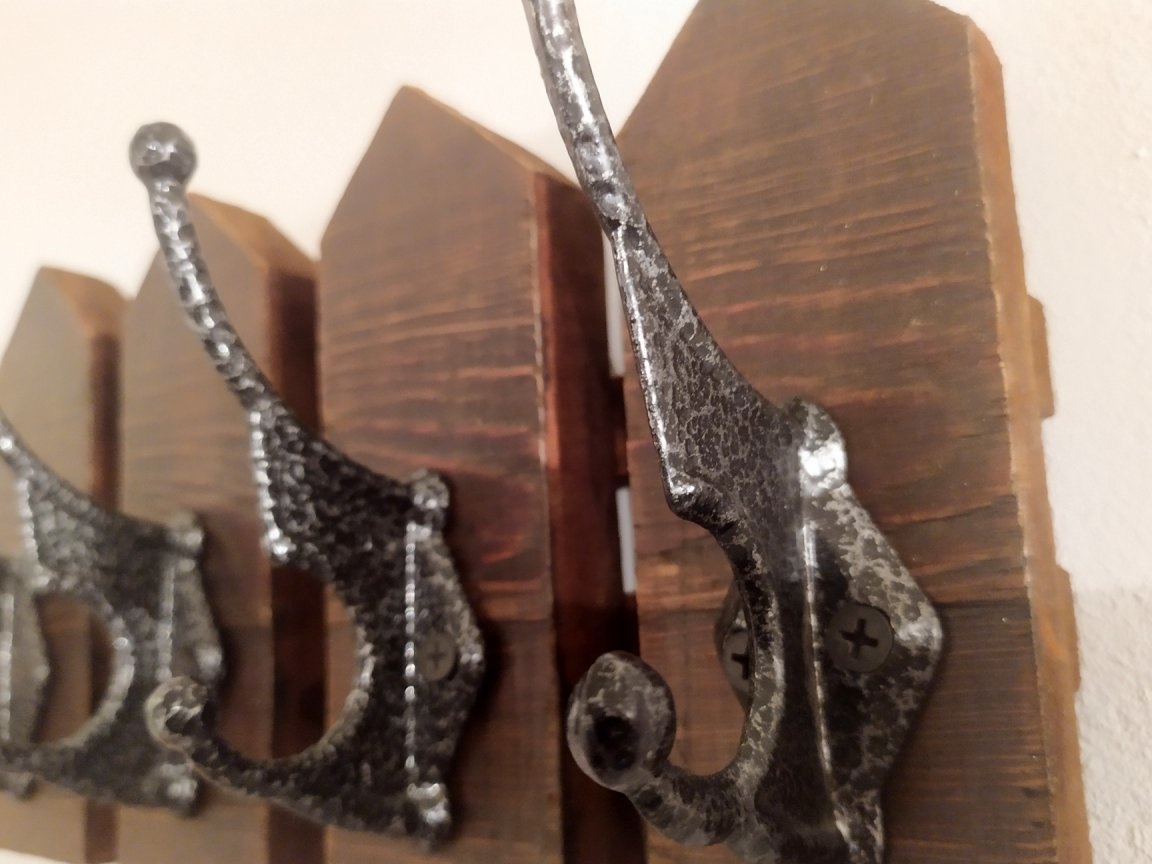
- Hooks
- Paper
- wall mount
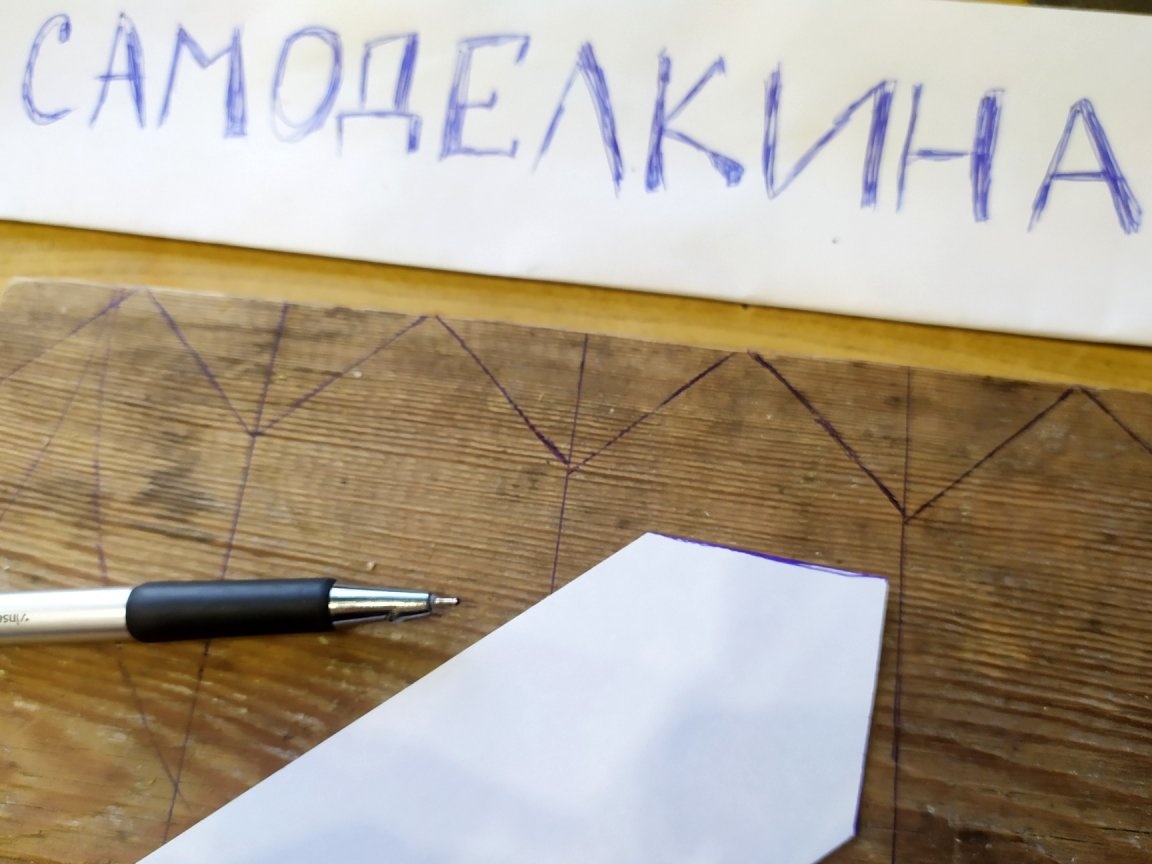
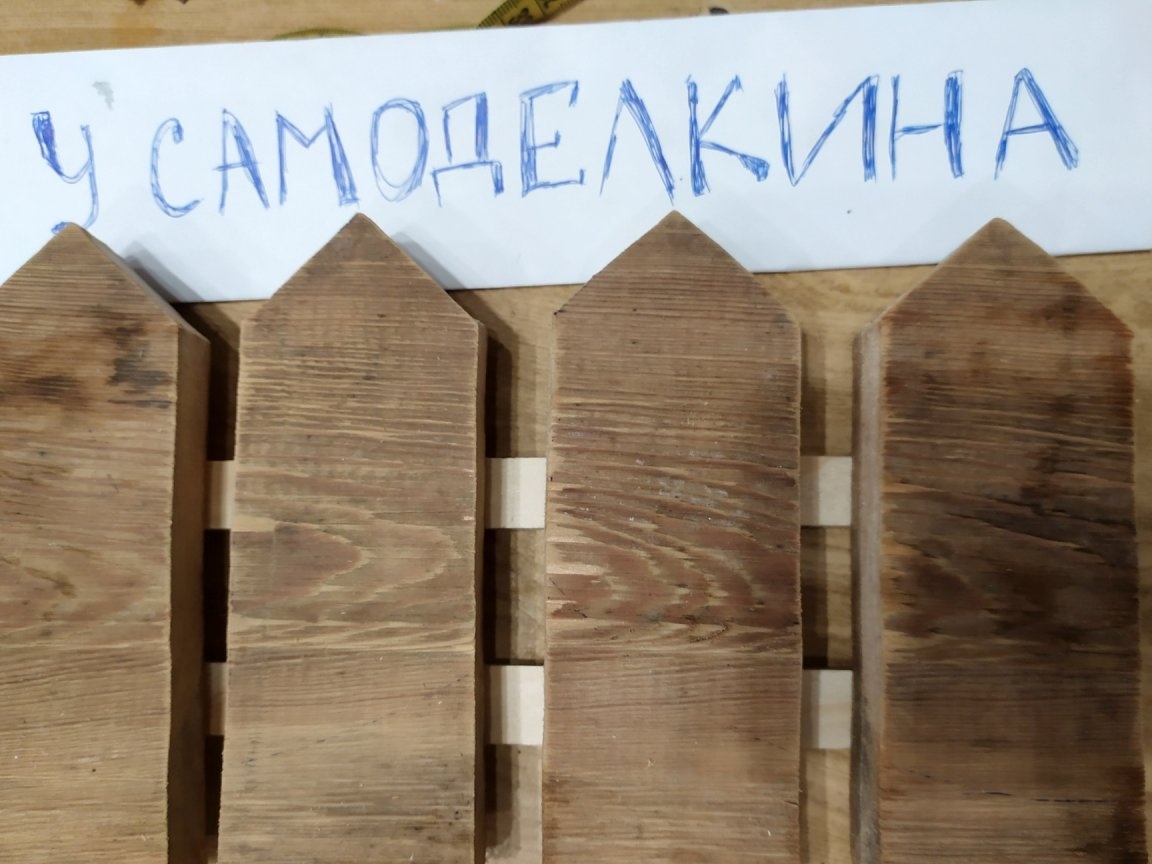
So, you can proceed. As usual, you need to start with a stencil. The hanger will simulate a fence. Therefore, you must first calculate the size. The height of the hanger will be the width of the board. The width of each picket can be done at your own discretion, depending on how you need a hanger for purposes. If this is winter clothing, then, accordingly, you need to do wider. I have plans to hang kitchen towels, so my hanger will be small and compact.
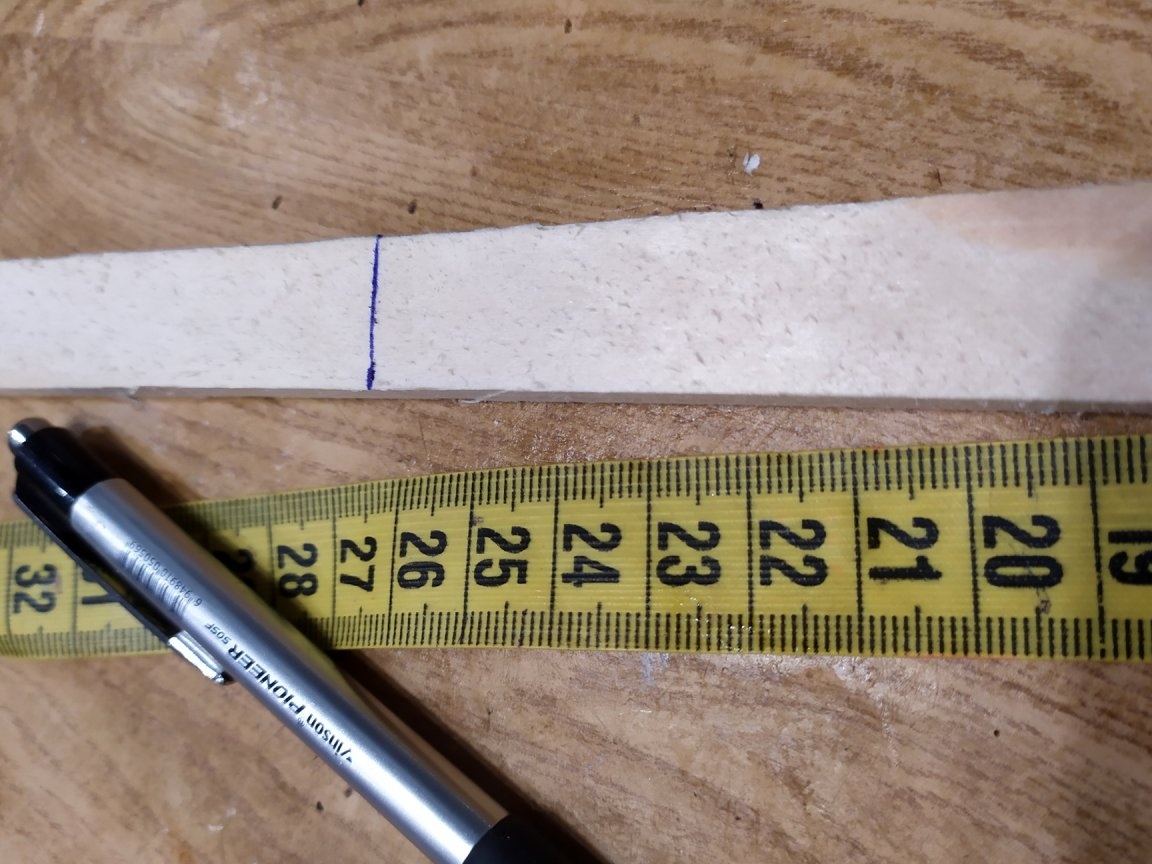
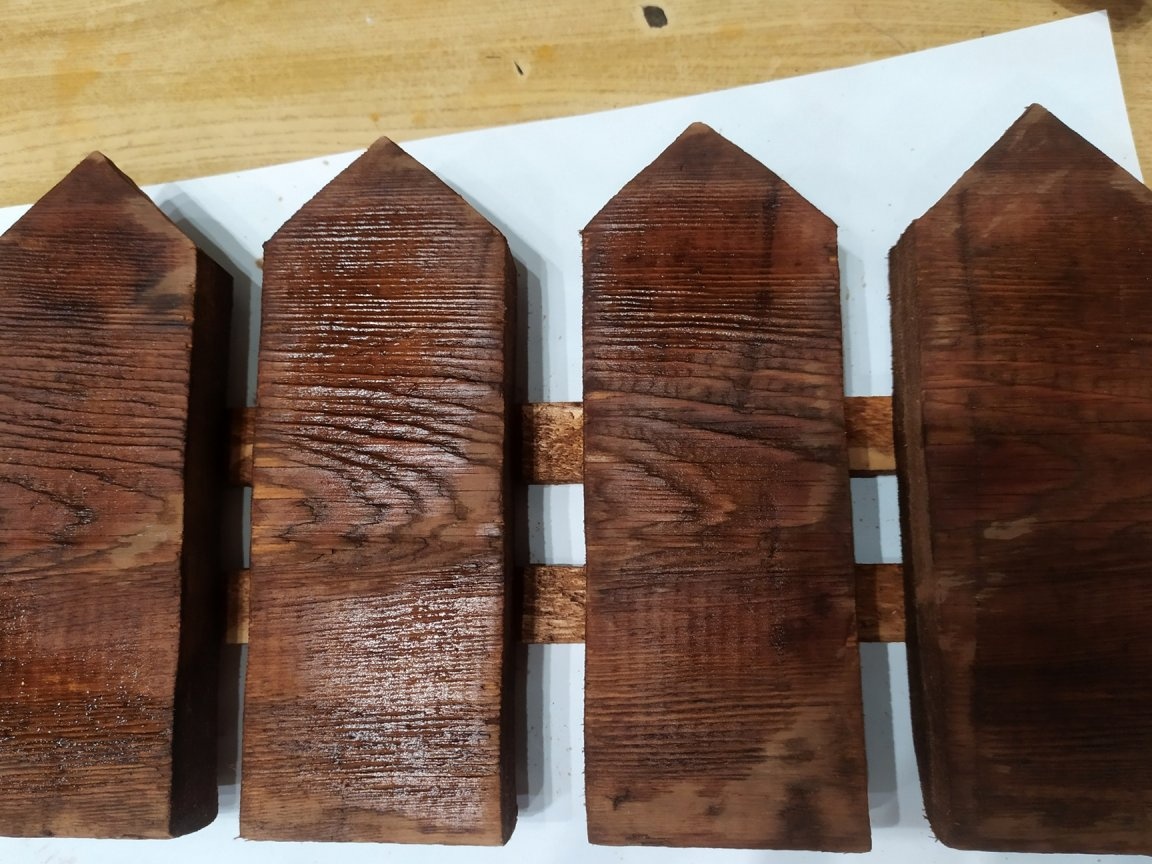
I decided that the width of the pickets would be 55mm, the distance between them was 15mm, and the height was 150mm. On paper we draw one detail.
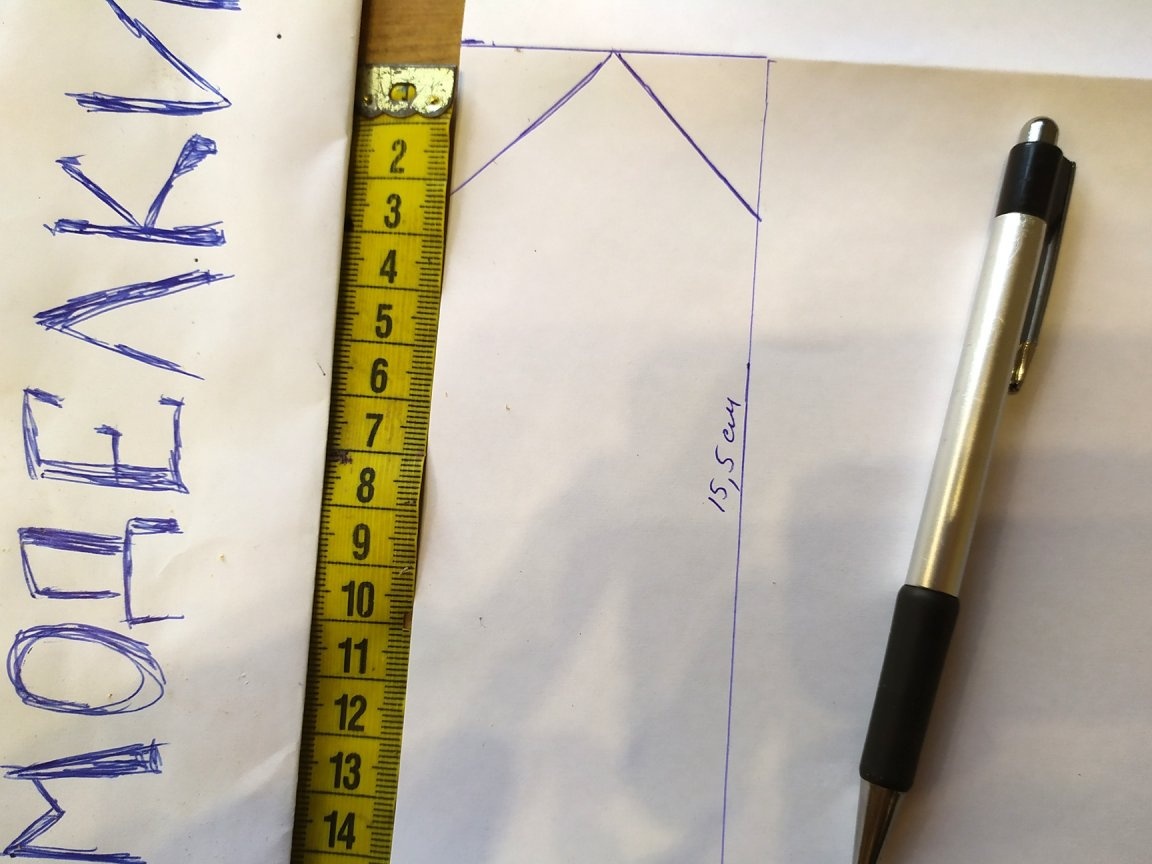
Then cut out.
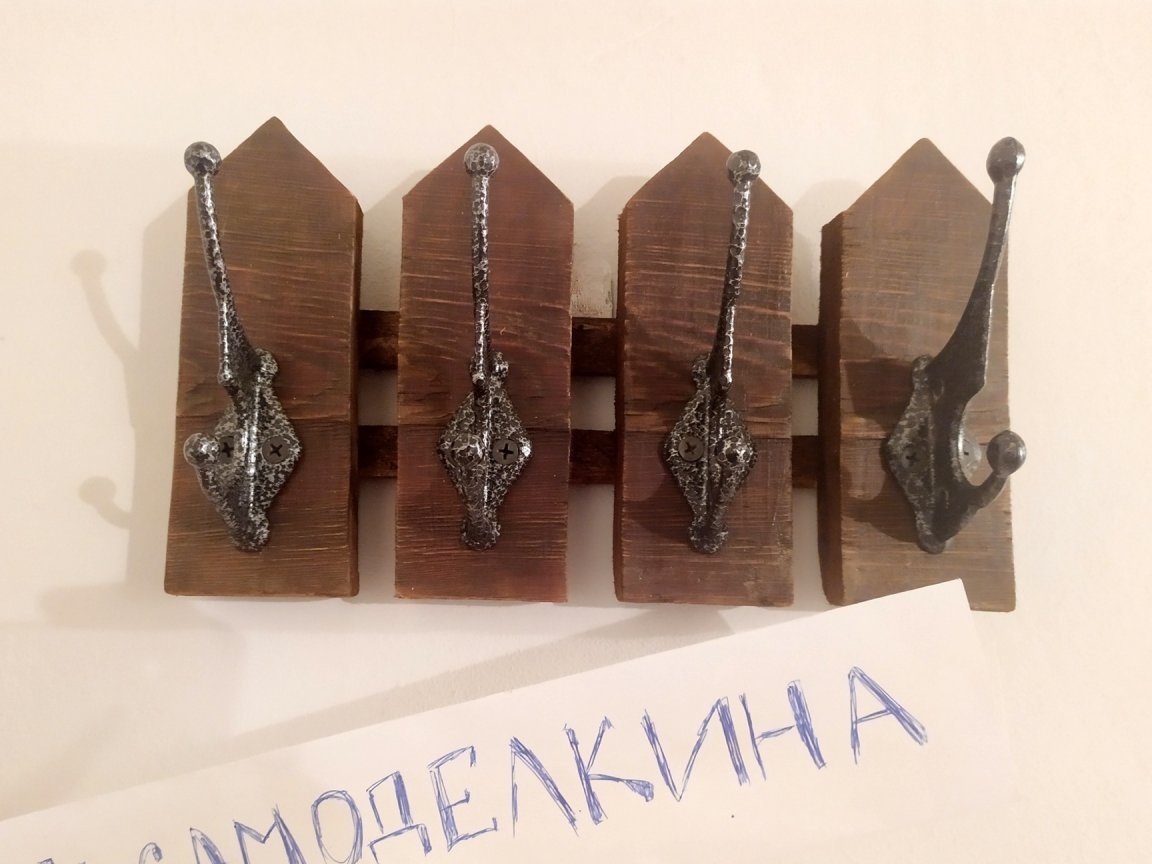
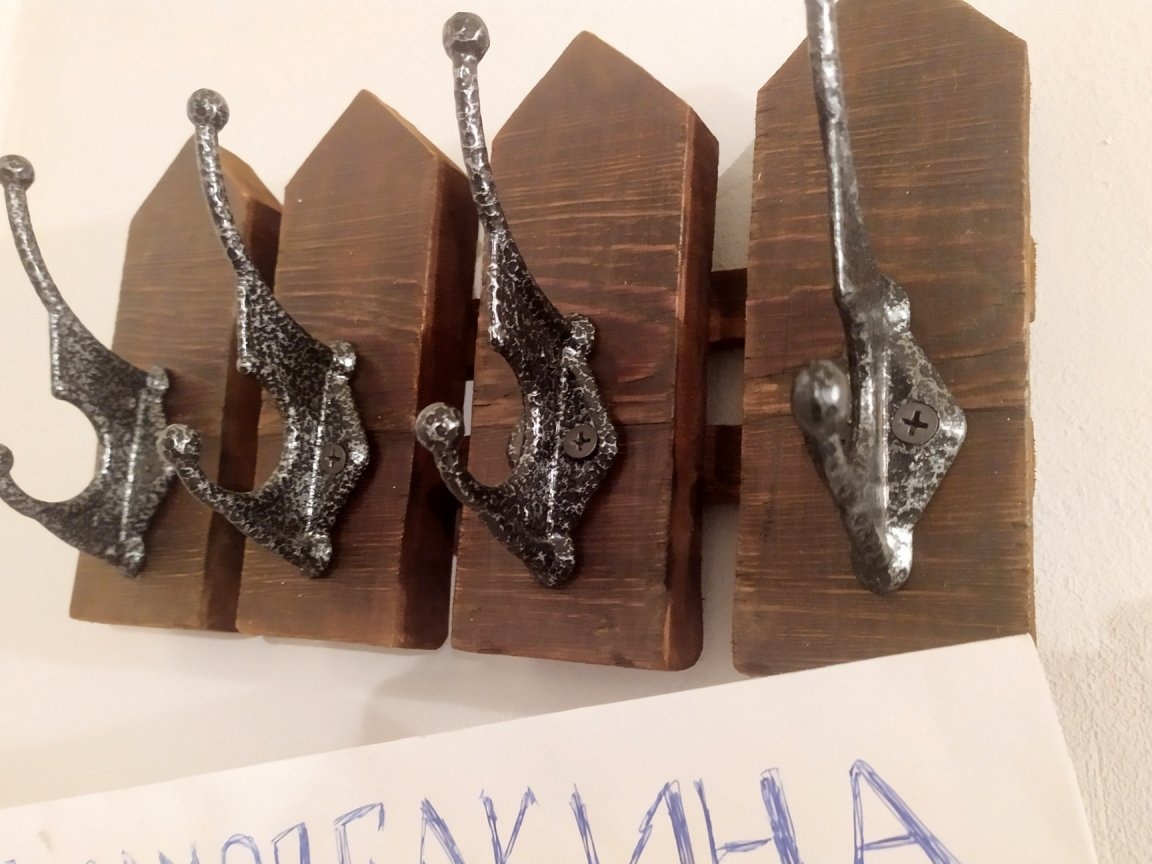
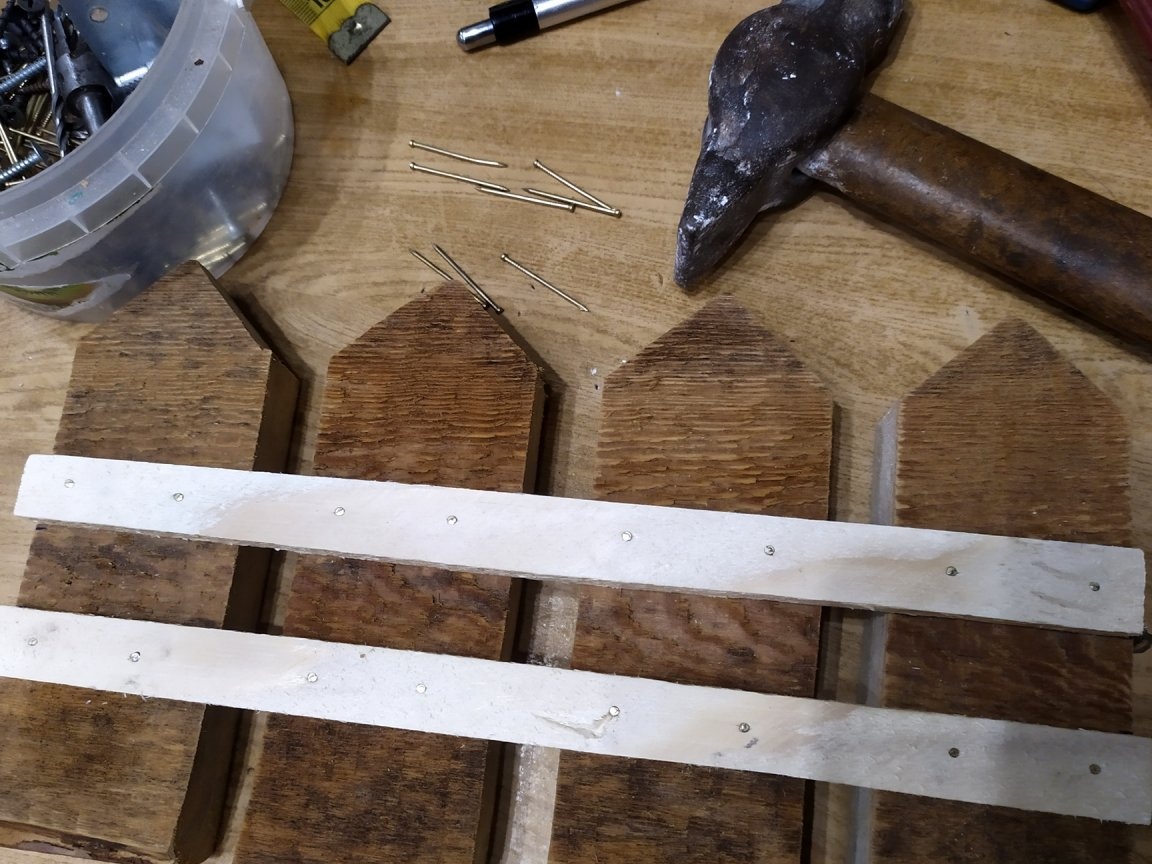
Transfer to the board. The quantity you determine, depending on your needs, four sections are enough for me.
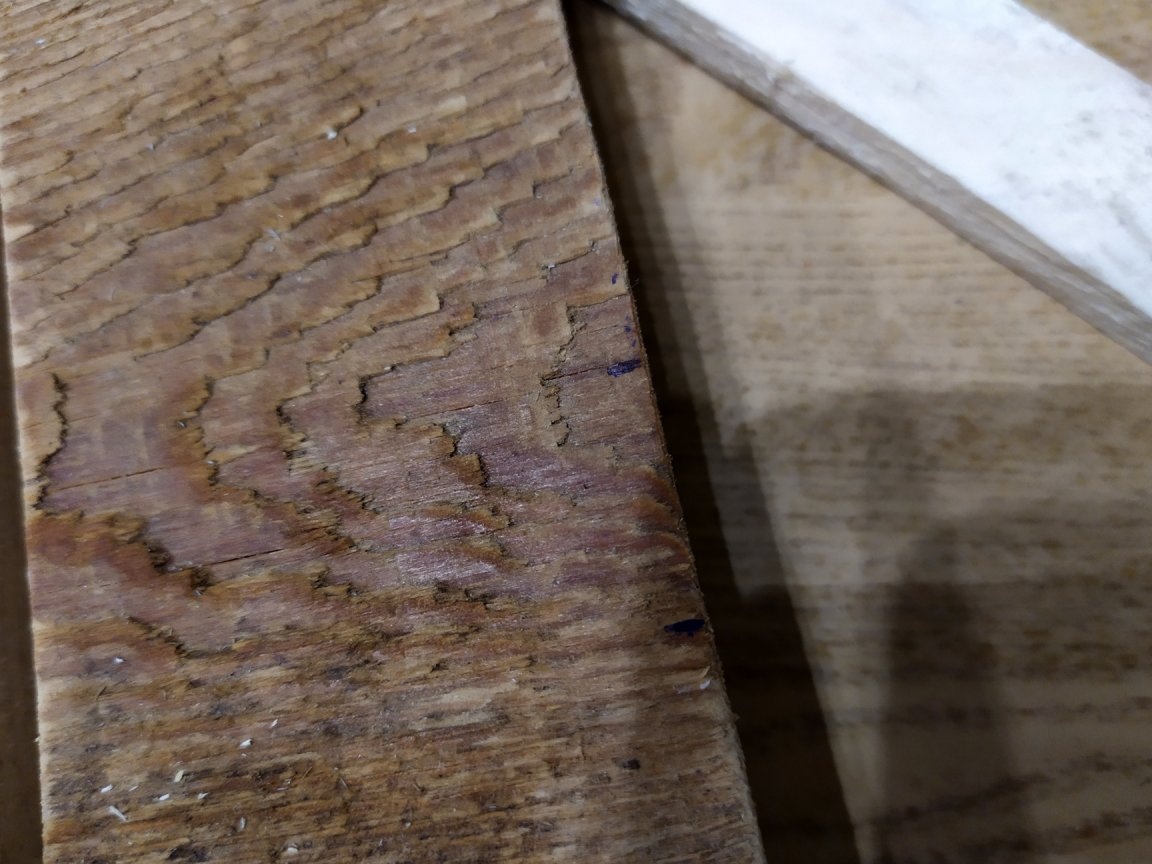
If your board is old and dirty, like mine, then first, you need to wash it from dirt and dry it.
We take an electric jigsaw, with a nail file for a tree, and carefully cut everything out.
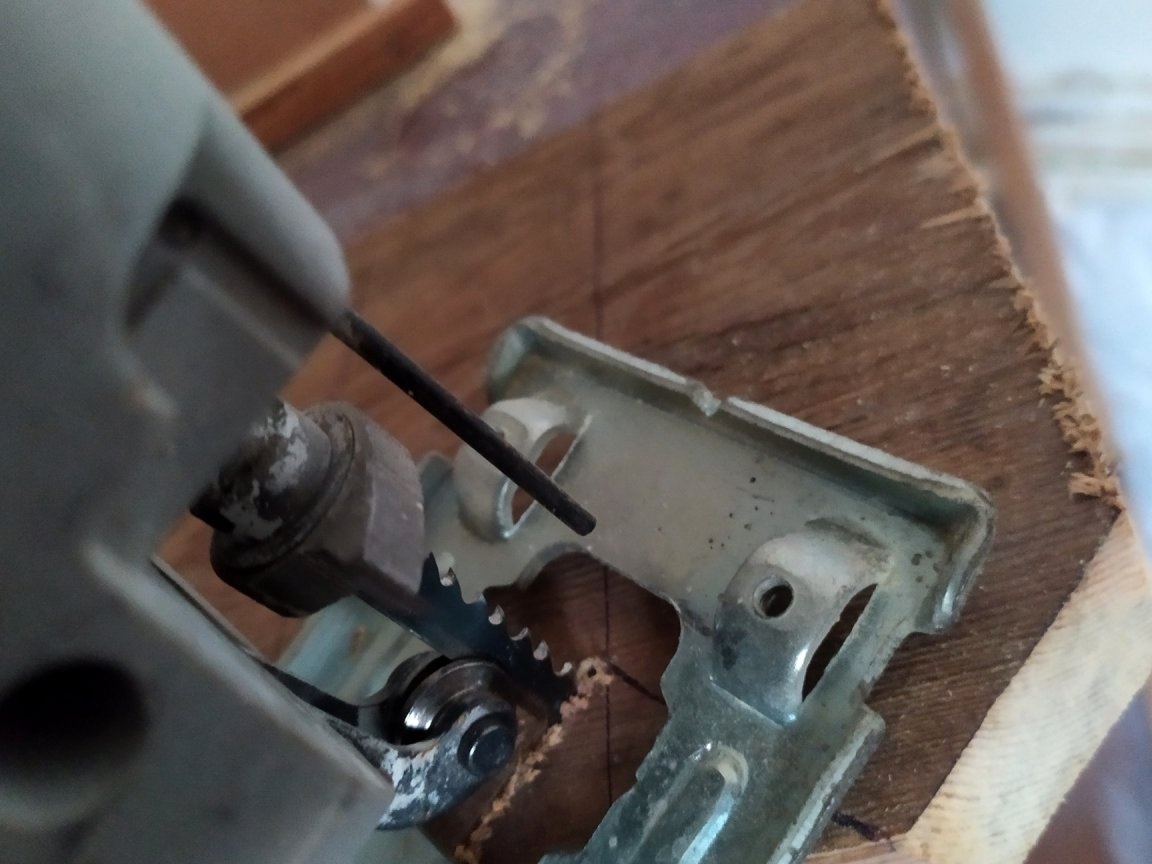
It may not turn out perfectly, but in manual work this is permissible.
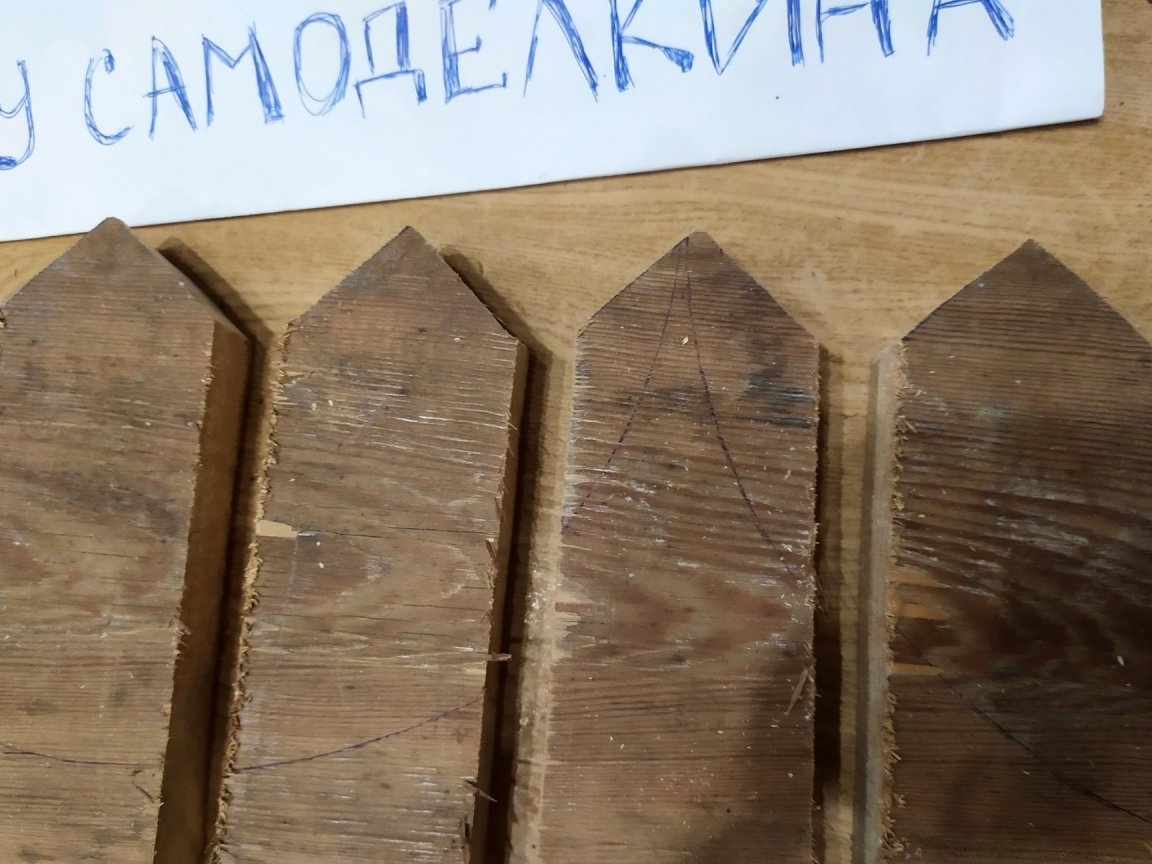
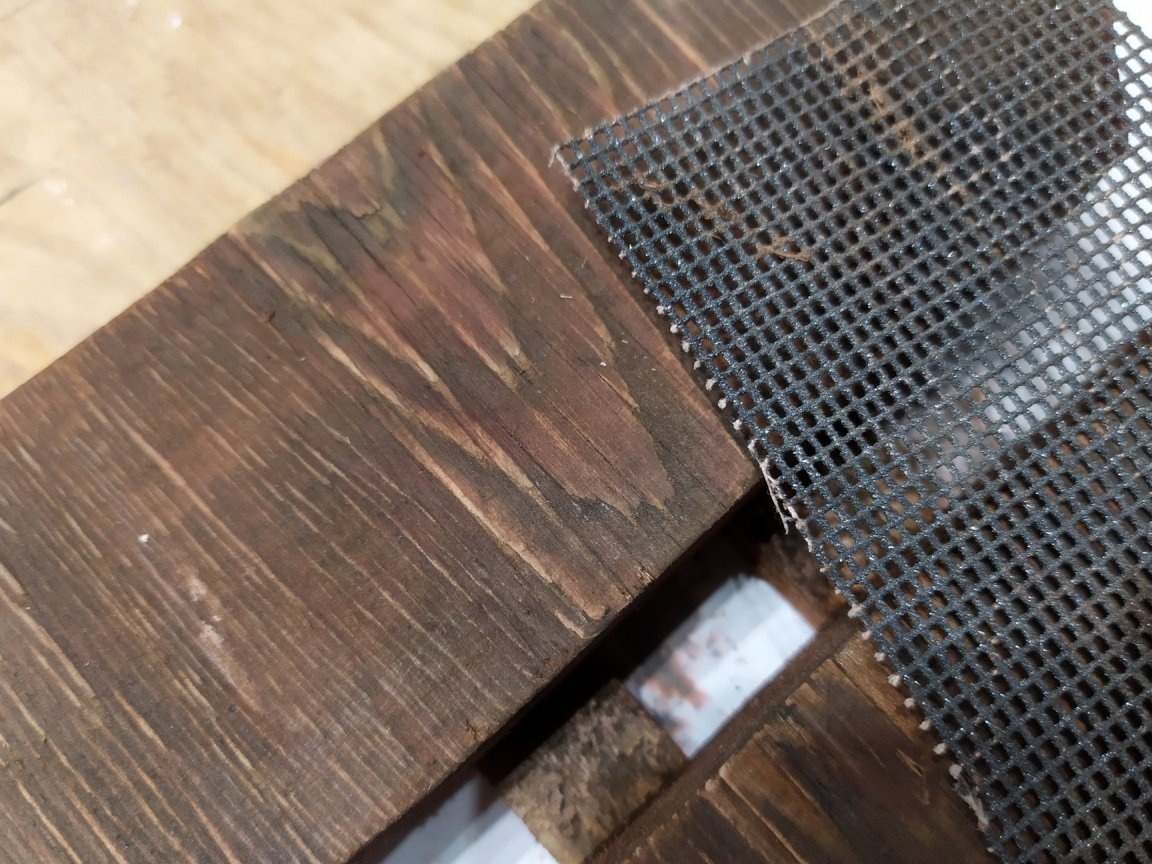
When the parts were cut in the right amount, take sandpaper and grind the entire surface, especially the sides. If you do it by hand, then do not forget about caution.
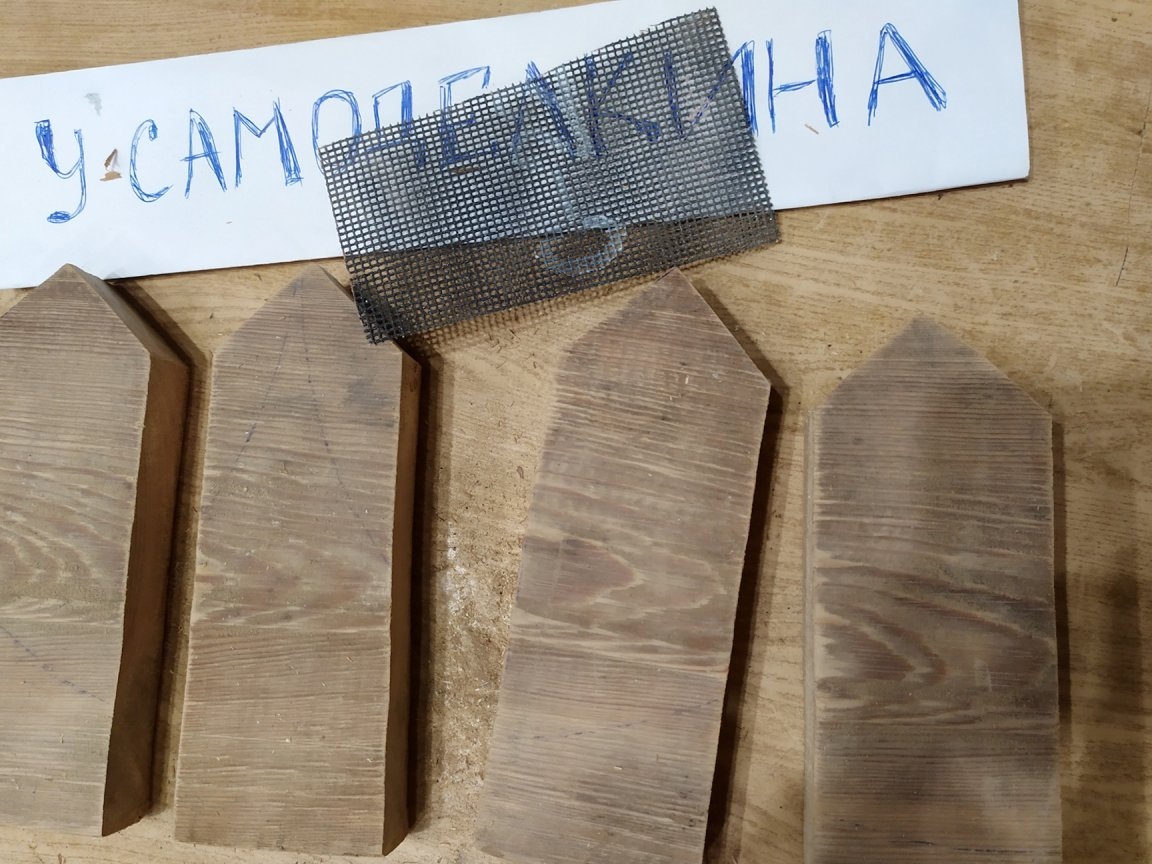
My board is very hard to grind, but it does not matter. All darkened areas that could not be lightened will be stained.
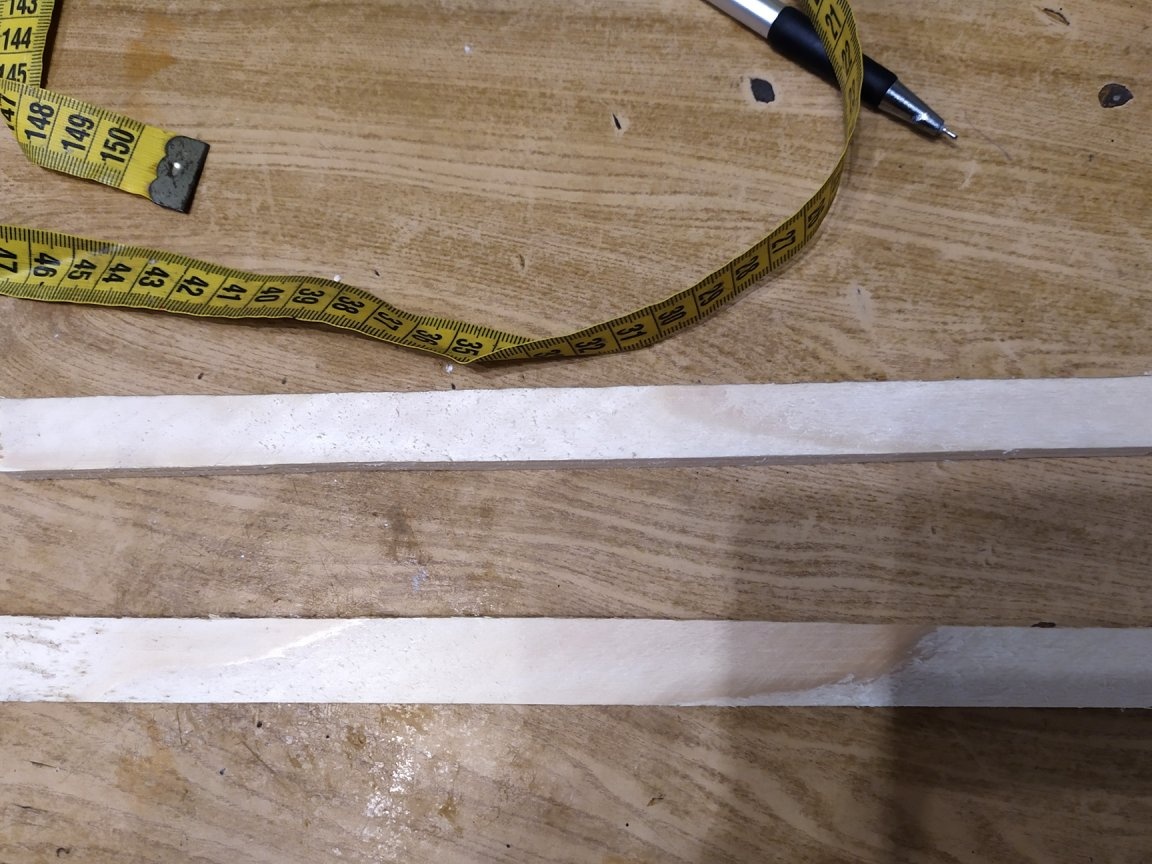
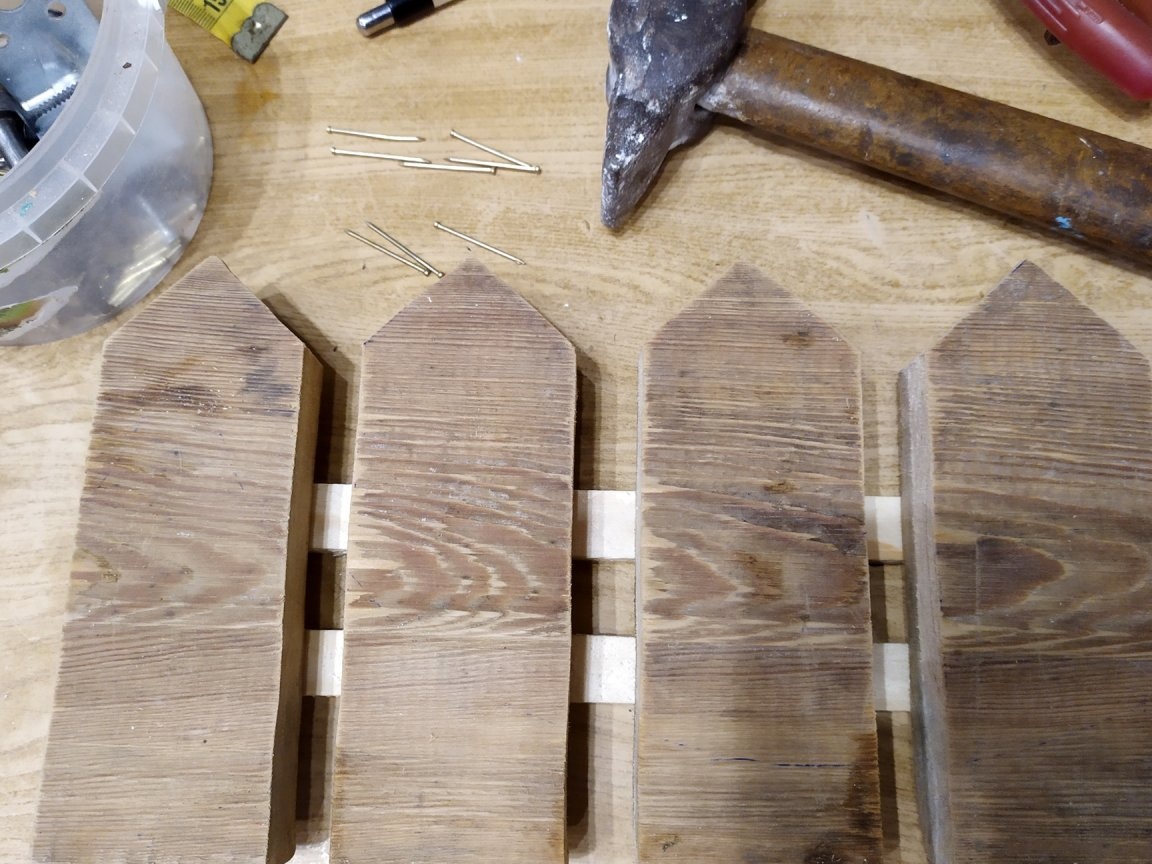
Now let's make the crossbars that connect them. I used a wooden rail, 20mm by 10mm. You need to calculate which day to cut the rail. Everything is quite simple here, we take the number of pickets, multiplies by the width, we add the distance between the pickets, multiplied by their number. In general, I got 260mm.We measure this number from a wooden lath, twice.
Cut off with a jigsaw.
Now let's put it all together and see what happens.
Do not forget to sand them.
Wooden slats must be attached at the rear. I decided to use 30mm nails, which is much faster than using self-tapping screws. We drive in the nails first along the edges, then along the middle pickets.
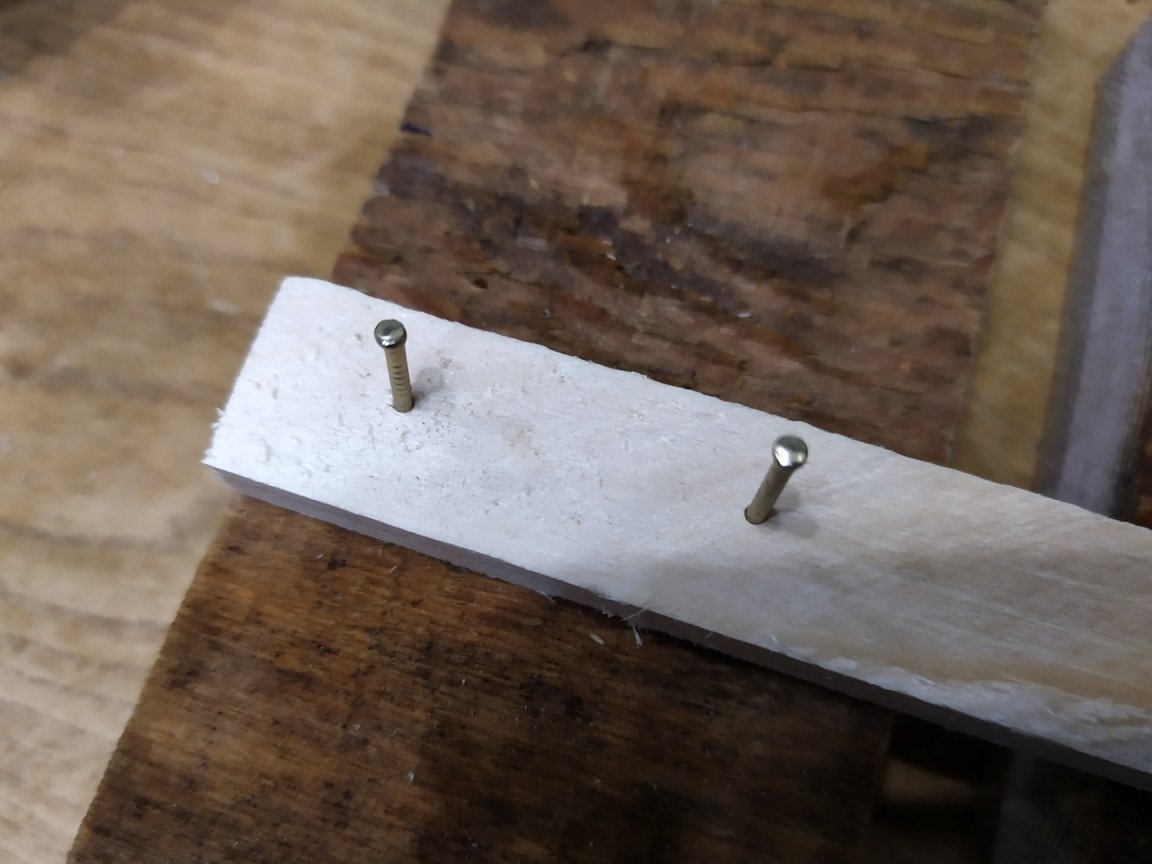
What happened can be seen in the photo.
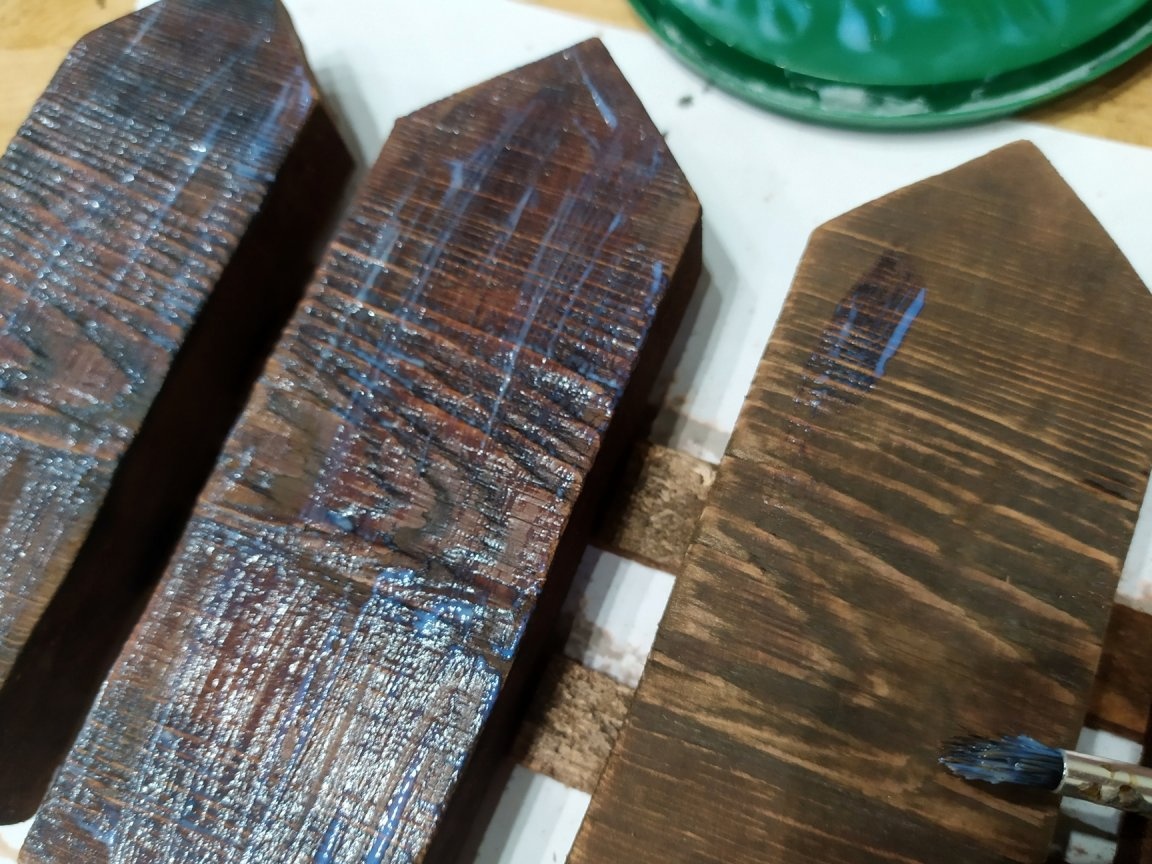
Now, proceed to painting. It is better to use a thin brush, since a large one will not climb everywhere.
Do not forget to paint and back.
When you're done, let the stain dry well.
After that, you should go over with sandpaper again, because in some places fibers can appear.

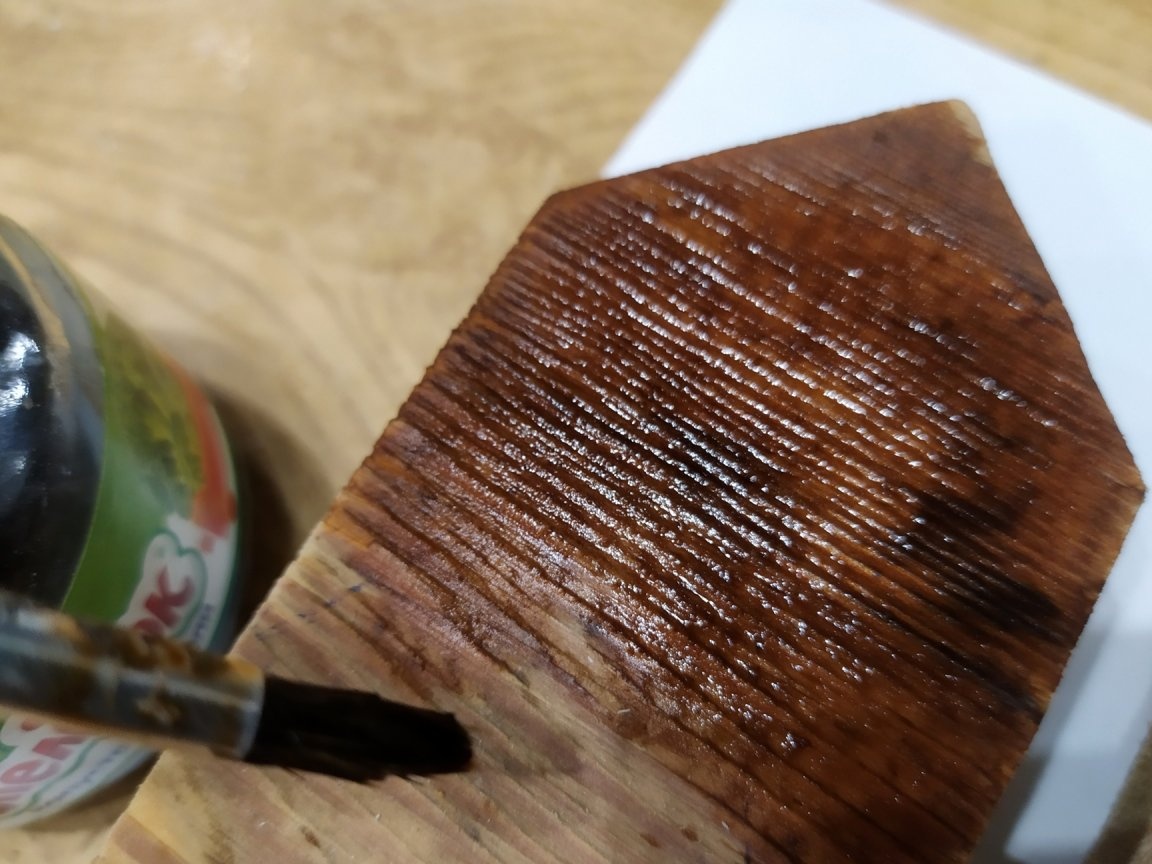
Remove the dust, and start painting a second time. In the end, I applied three layers of stain. For the first two, I used the color "Chestnut". After the second one had dried, I applied a layer of black stain, and immediately wiped it off with a damp cloth. This gave a little darkness to the hollow parts.

And to give a little light relief, after the third layer has dried, I sanded a little more. The convex parts became lighter, thereby emphasizing the beautiful pattern of the tree.
When finished with painting, you will need to apply varnish. It is best to use acrylic varnish, it is great for working with wood. The first layer dries for about an hour, after which you can apply another layer, or two. The main thing is not to flood much.
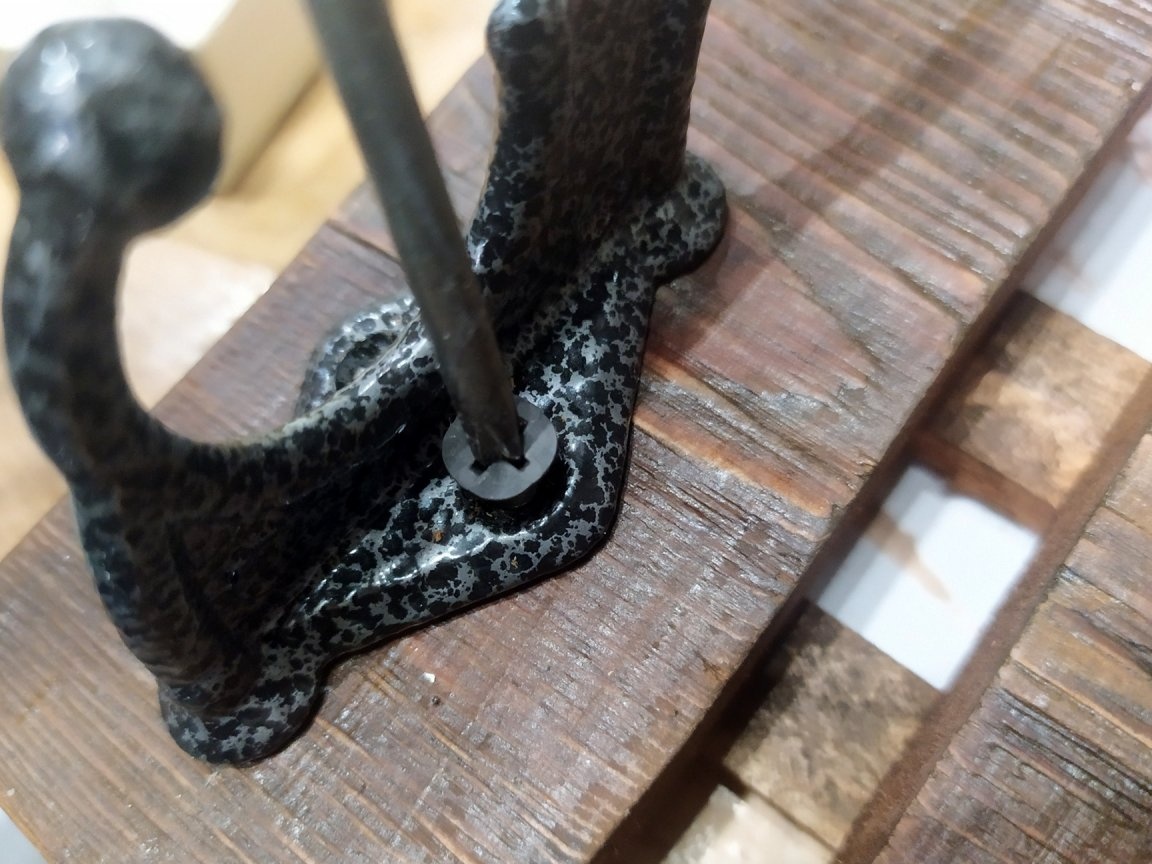
When the varnish dries, we screw the fastener. Previously, I painted them with white enamel, since the color of the walls is light, and such fasteners have a habit of rusting. But this can not be done.

To do this, I used 16 mm screws, they will need 4pcs. Make a mark where they will be, and fasten with a Phillips screwdriver. If you have a drill nearby, then you can do it for her, but I prefer to fasten it quickly with my hands so as not to mess with a heavy drill.
When the fasteners appear in their places, we turn the hanger over and fasten the furniture hooks to the front. If you are not sure what will turn out exactly, then it is better to make marks with a pencil, but then it will be problematic to wash them off.
Well, that’s all, our hanger - the fence is ready. We screw the screws into the wall, and hang a fence on them. I am sure your guests will really like it. Thank you for your attention and good luck in your work.