
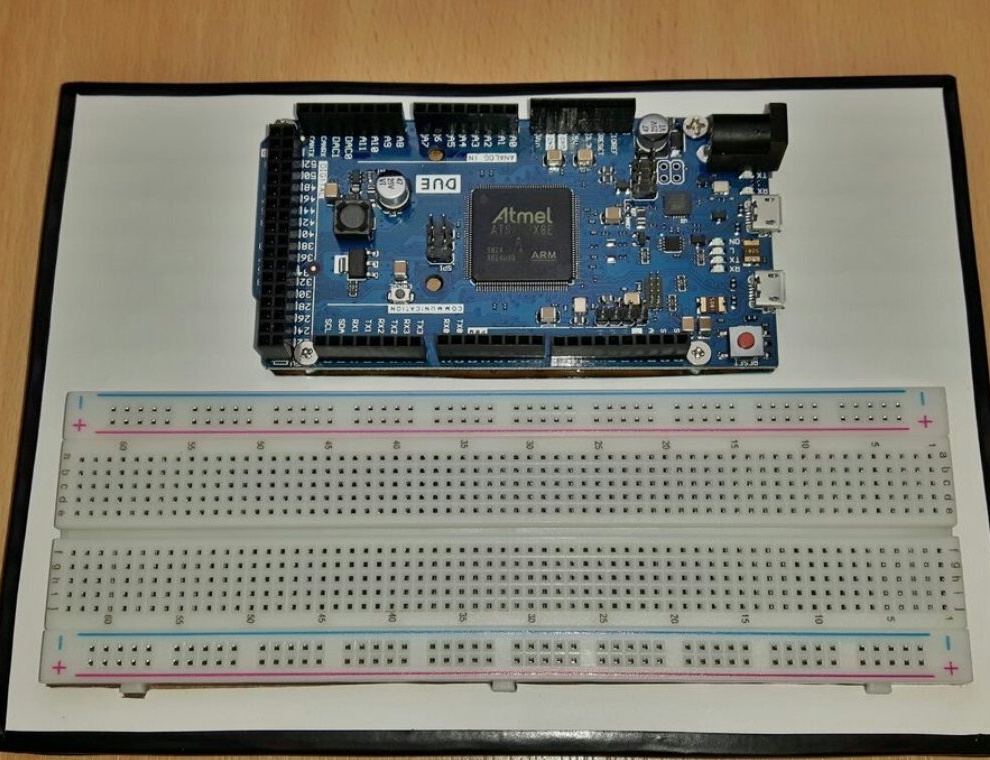
Before assembling any homemade on the Arduino soldering it is desirable to debug on a breadboard type board. So you can repeatedly change the circuit until errors disappear in it. Some wizards choose the option "and then leave it like that", but this is not the best method.
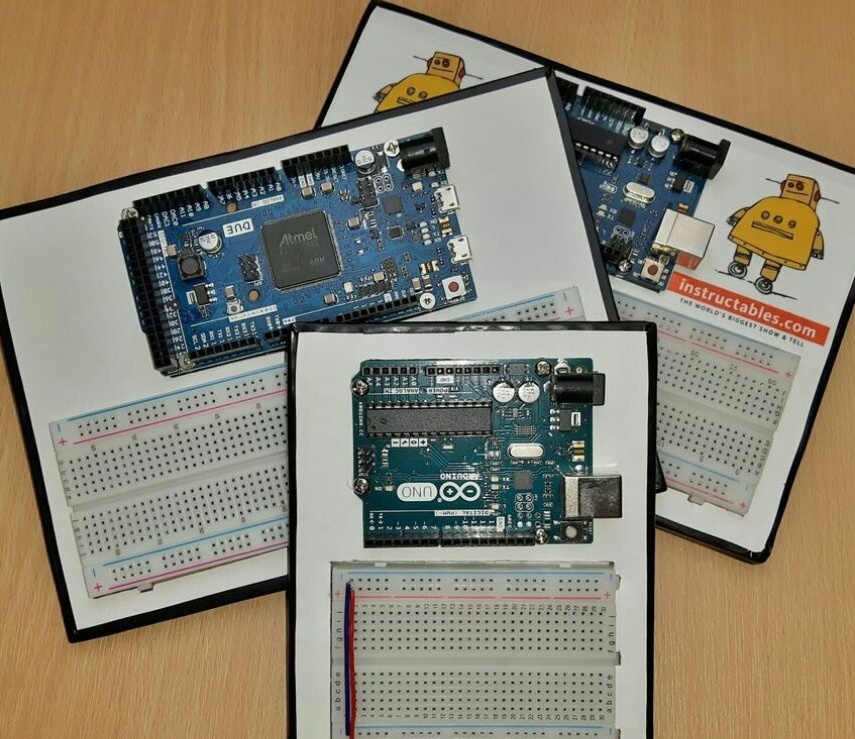
In the meantime, debugging continues, Arduino and the breadboard arbitrarily move around the table, arranging a messy web of wires. It would be both that and another ... somehow fix, or something - thought not Stirlitz, but the author of Instructables under the nickname nerdyKat. And he made the proposed stand-organizer with recesses and even fasteners. And not one, but several, for different Arduino models and breadboards of various sizes. Users who prefer both "landscape" and "portrait" will not be offended.

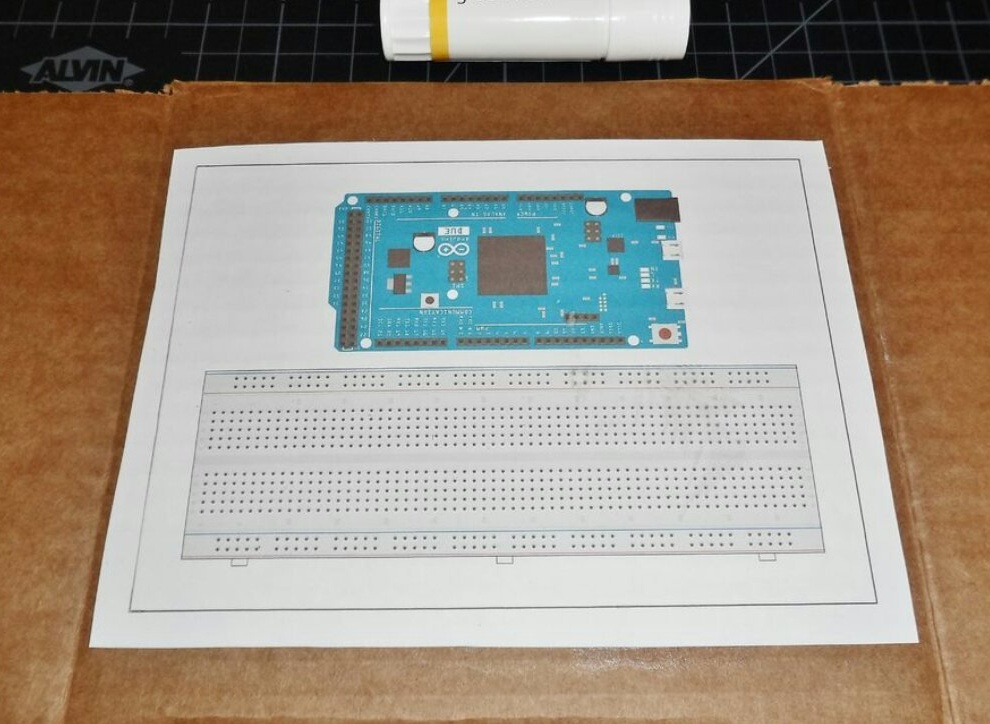
If you want to repeat for the master everything that he will do next - download the one laid out by him Pdf file with templates and print the one that suits your combination of Arduino and layout. Printing must be done on a 1: 1 scale.
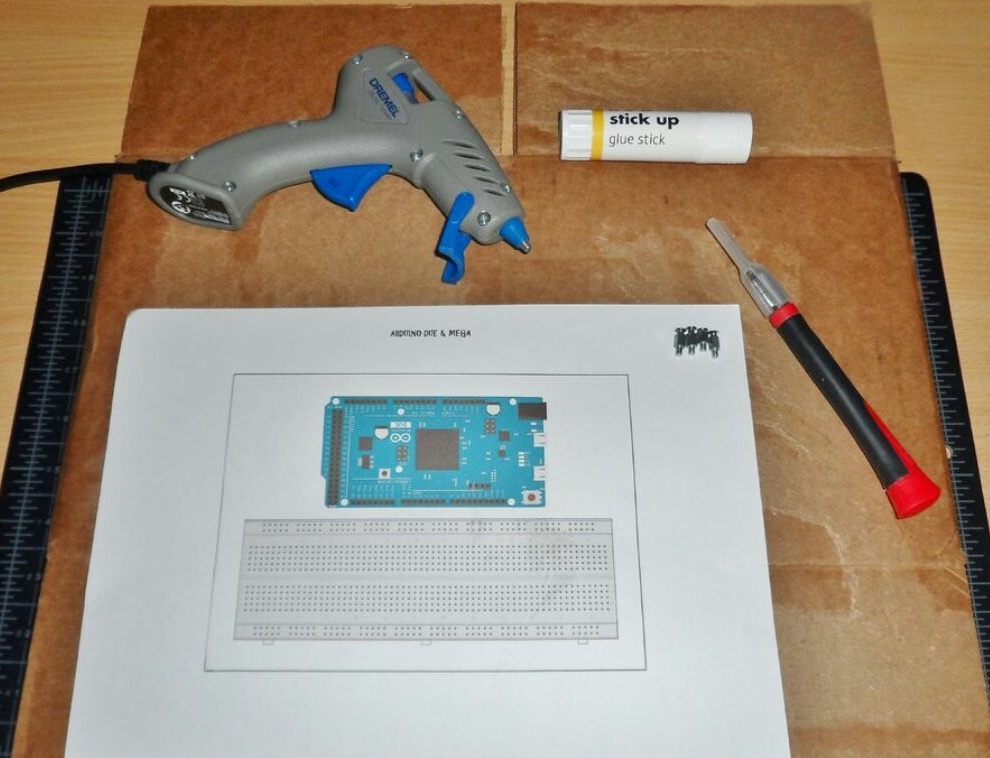
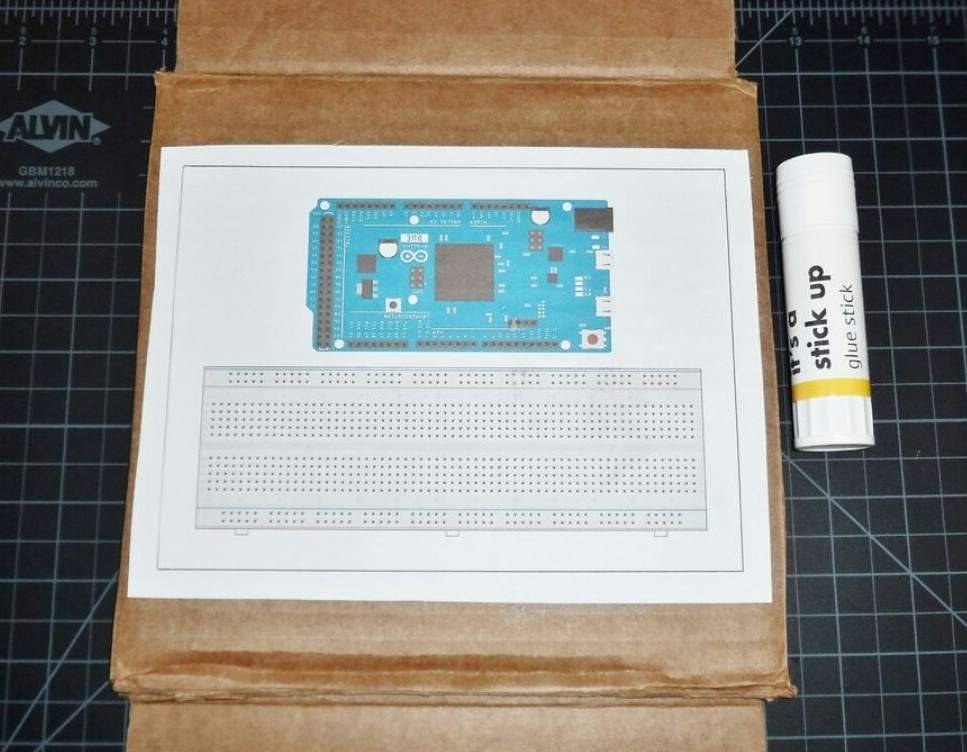
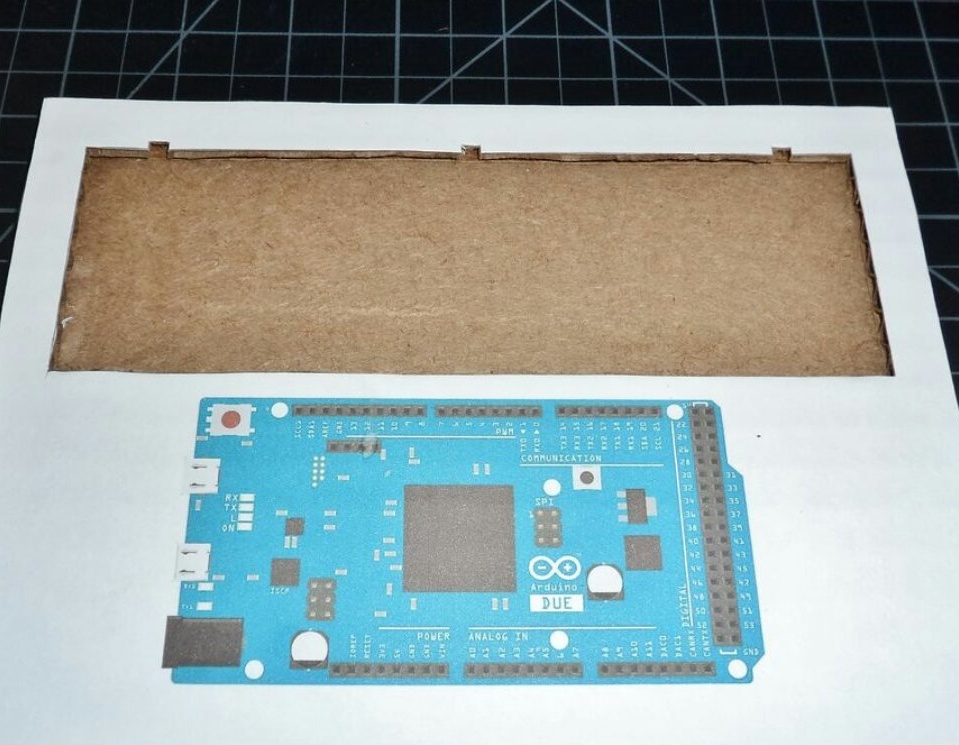
Manufacturing work fixtures the master begins by gluing two layers of corrugated cardboard with hot-melt adhesive so that the corrugations of the layers are perpendicular to each other, and gluing on the top layer of the print with glue-pencil:
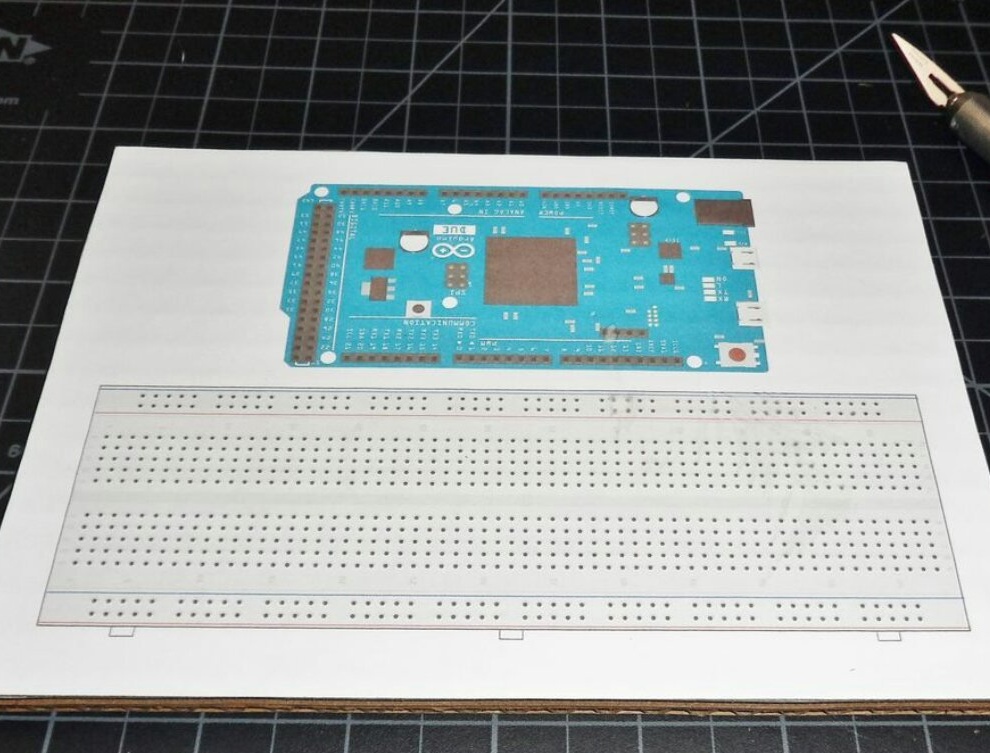
After the adhesive has hardened, the master cuts out the corrugated cardboard with a knife along the perimeter of the printout:
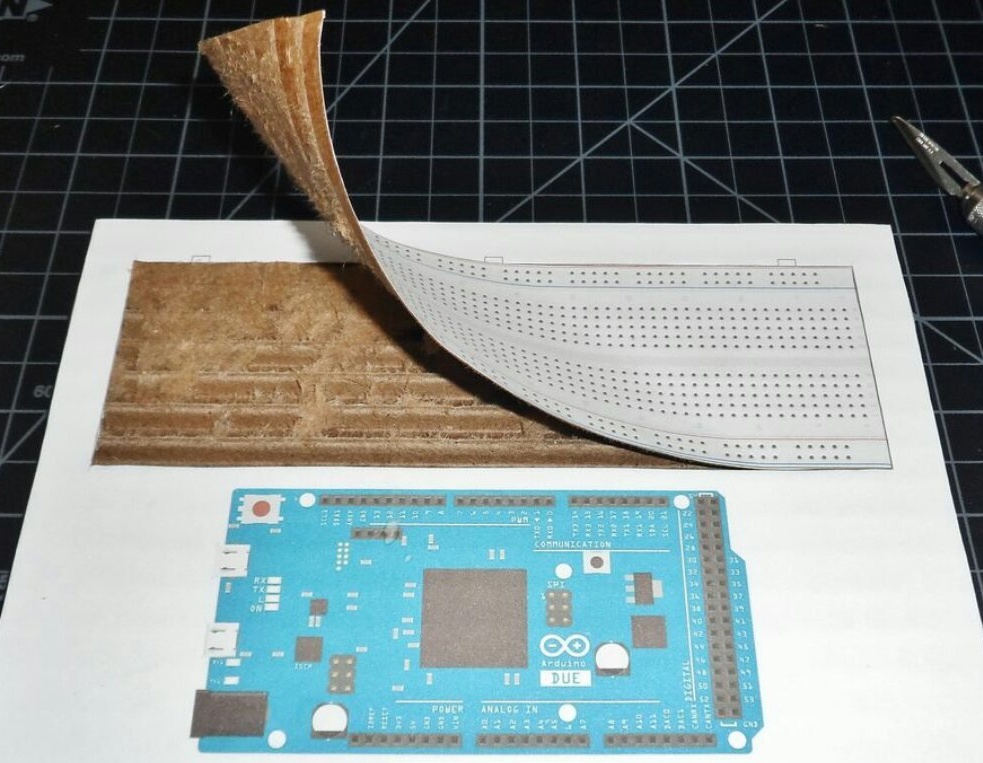
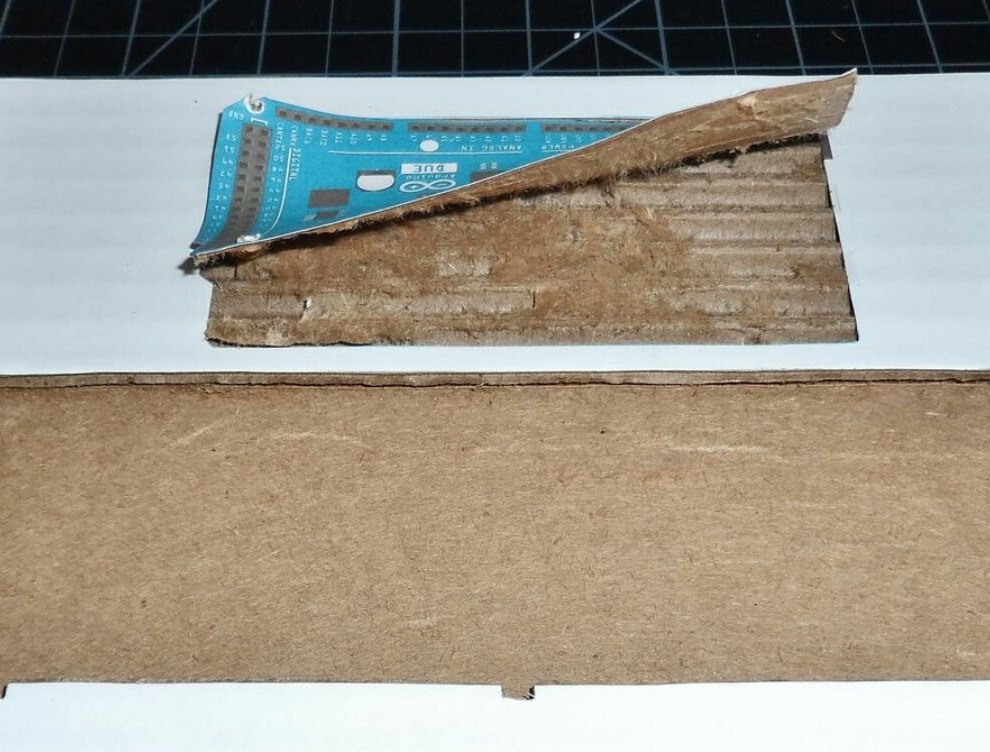
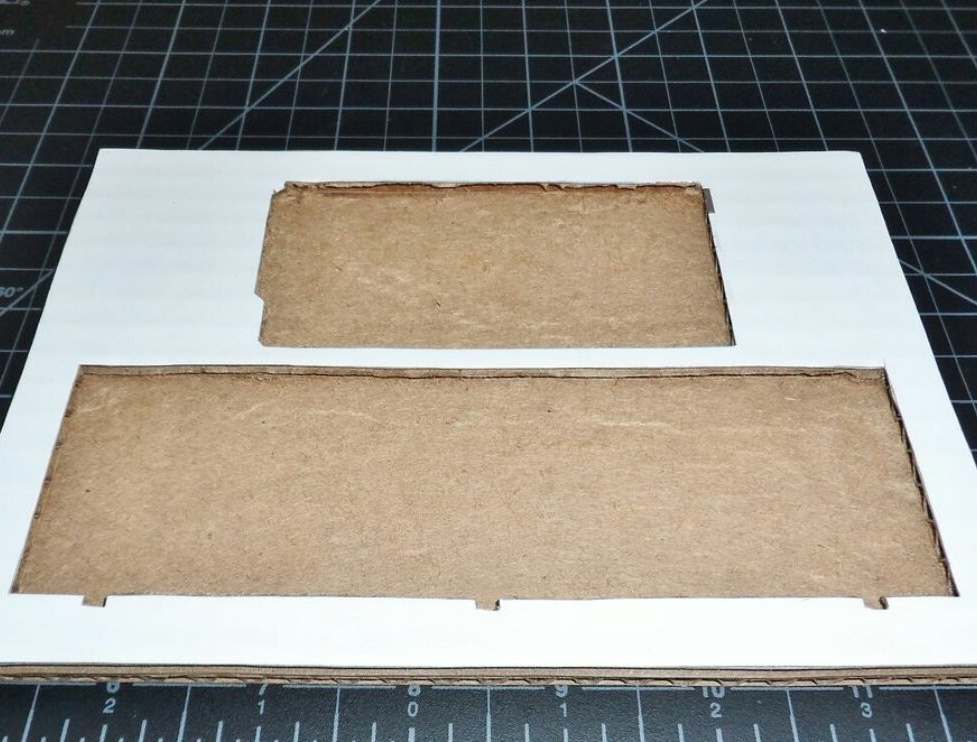
Cuts only the paper along with the top layer of the corrugated cardboard along the contour of the image of the breadboard, making sure not to cut the bottom. Separates the cut, remains a recess.
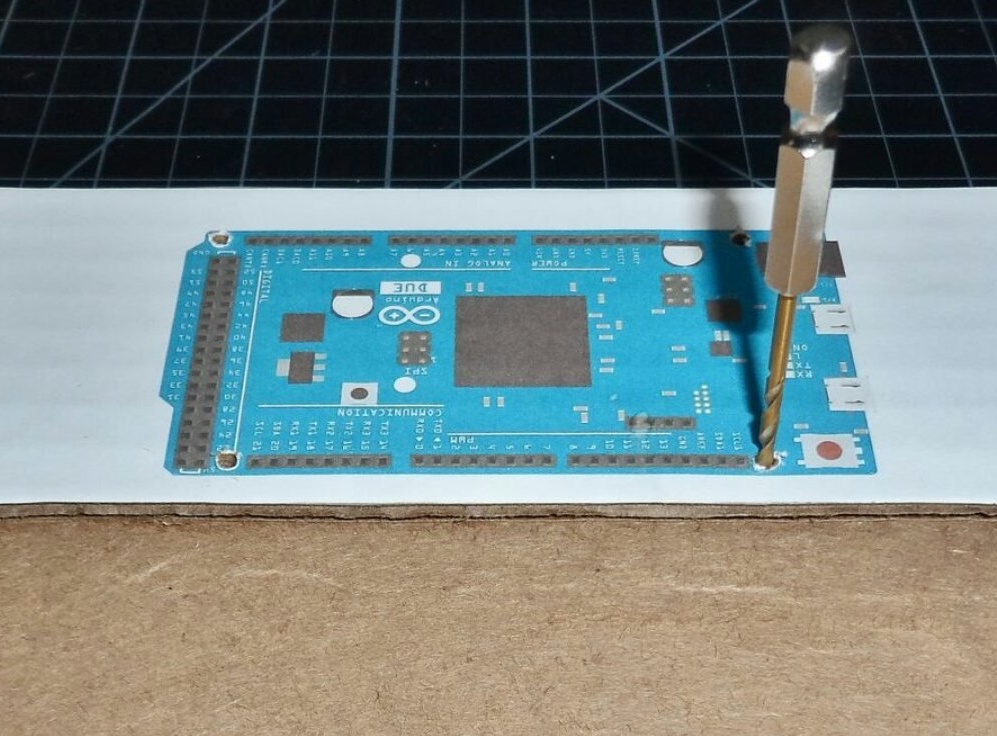
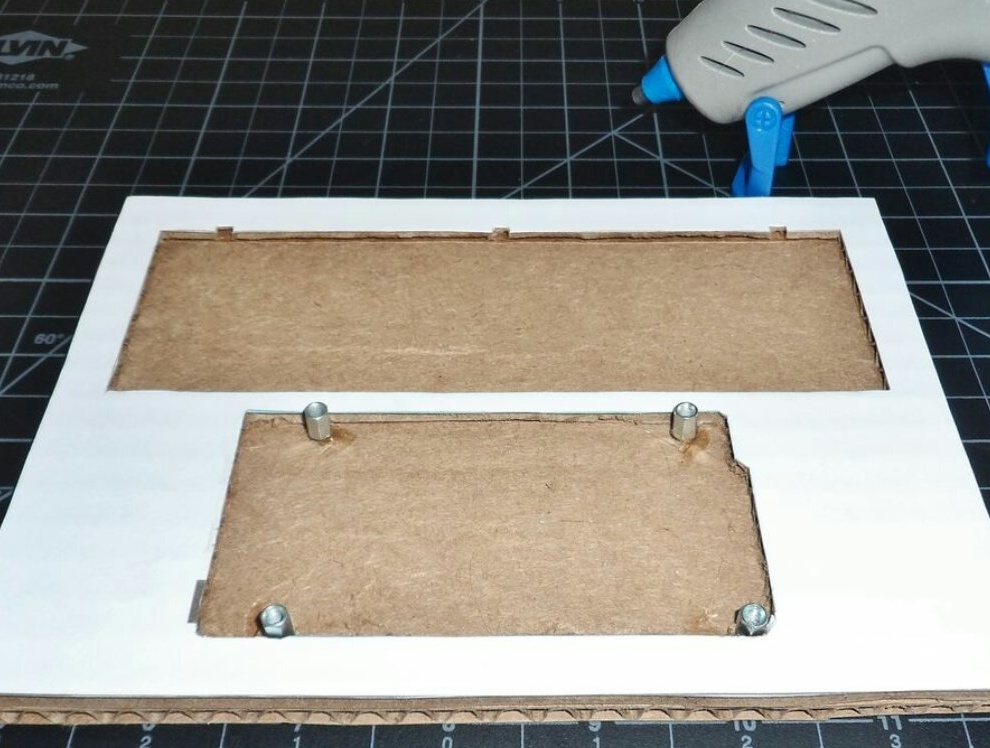
Drills holes in the printouts of the Arduino on the printout for rack placement. He then makes a recess for Arduino in the same way as for the breadboard.
Installs and glues hot-melt adhesive into previously drilled rack holes for Arduino:
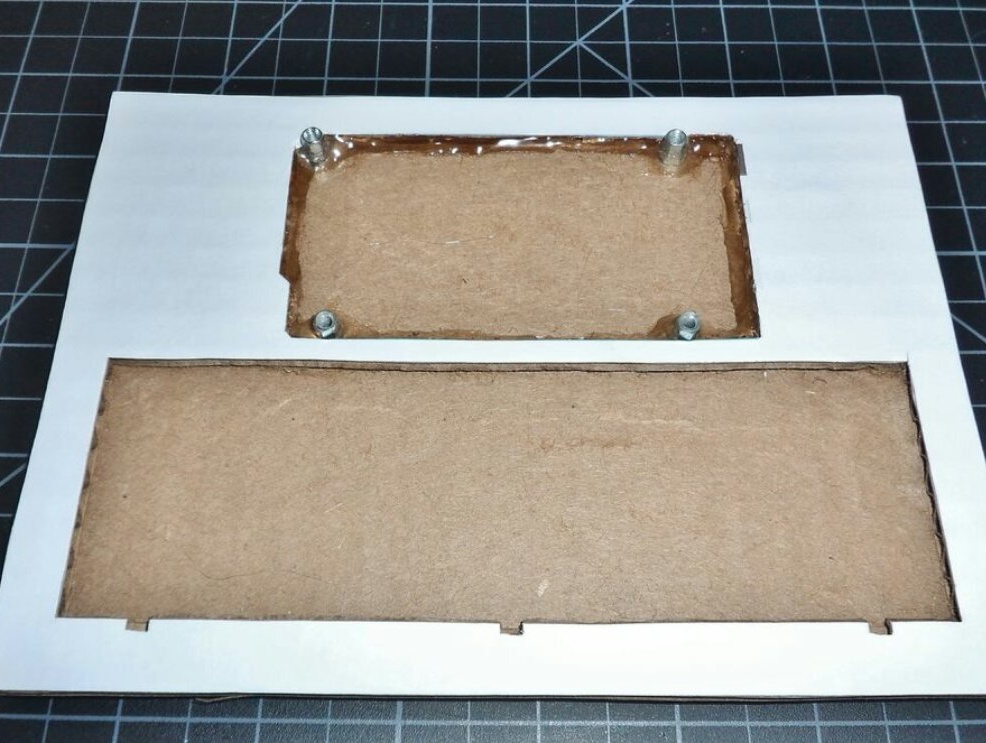
Fills the perimeter of the recess for Arduino with hot glue:
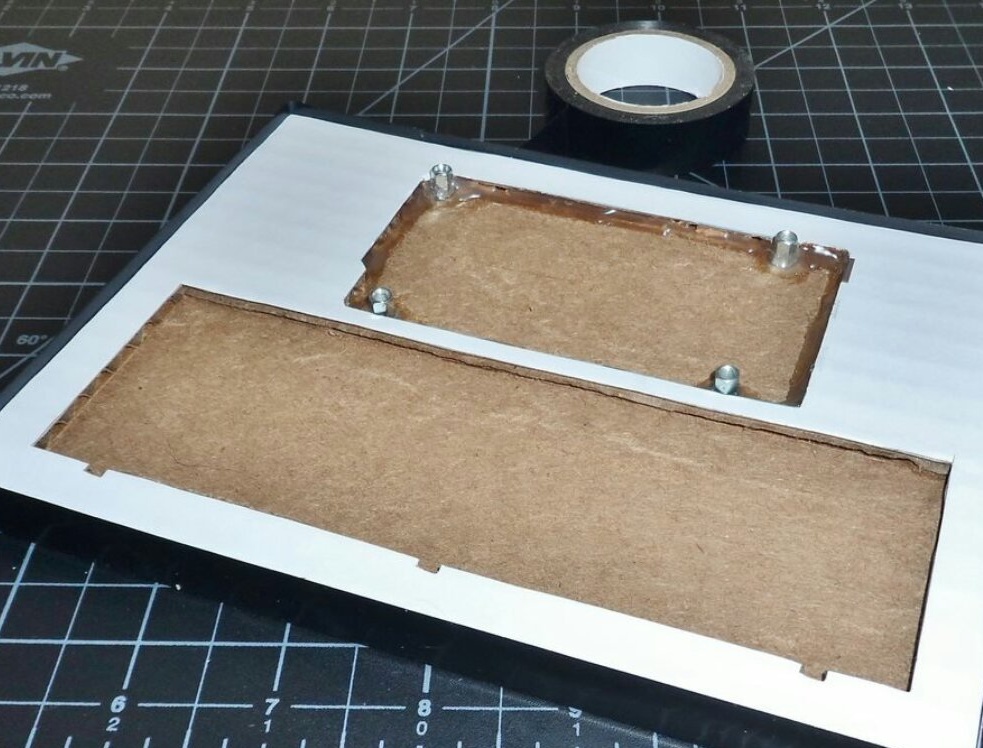
Wraps the ends of the structure with electrical tape around the perimeter:
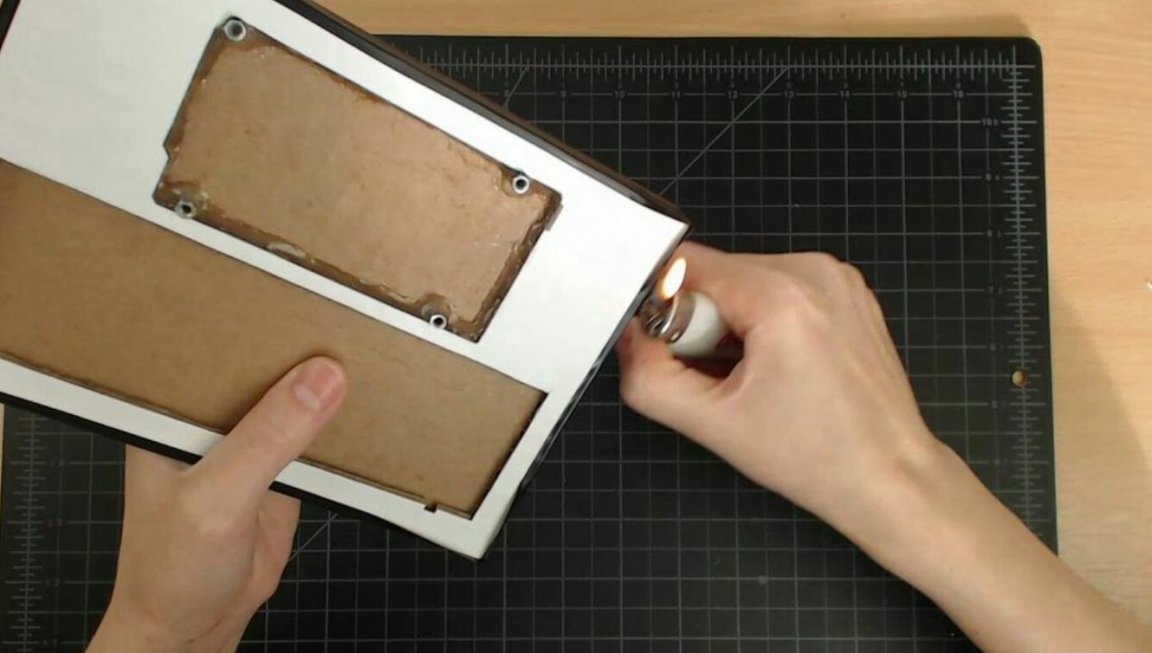
Gently softening the electrical tape with heating, making sure that the corrugated cardboard does not catch fire, presses it to the planes. It is better to use here not a lighter, but a hair dryer, and not a building / soldering iron, but intended for drying hair. To soften the electrical tape without melting it, you do not need such a high temperature.
And finally, screw it onto the Arduino racks - and you're done:
And it becomes more convenient for the master to debug projects on the Arduino. Perhaps you too.