
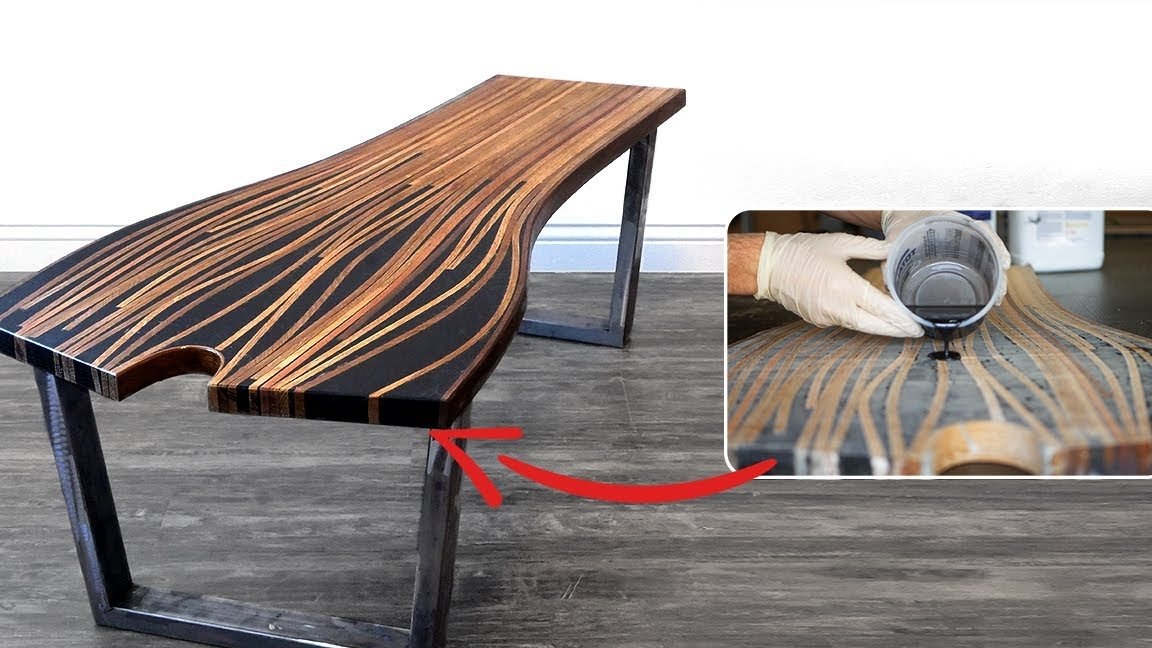
Greetings to fans of stylish things, today we will look at how you can make an interesting coffee table made of veneer and epoxy. In this article, we will explore how you can easily bend wooden boards and veneers using the ancient method of pre-steaming wood. The author used the equipment for making the table quite seriously, but if you have a finished veneer, you don’t need special equipment, everything is done quite easily. The author made the legs for the table from profile pipes, using this methodology you can also make a bench, chair and so on. If the project interests you, I propose to study it in more detail!
Materials and tools used by the author:
Material List:
- finished veneer or boards for its manufacture;
- epoxy resin for pouring;
- dye for epoxy resin (the author has black powder);
- profile pipes;
- epoxy varnish.
Tool List:
- surface gage;
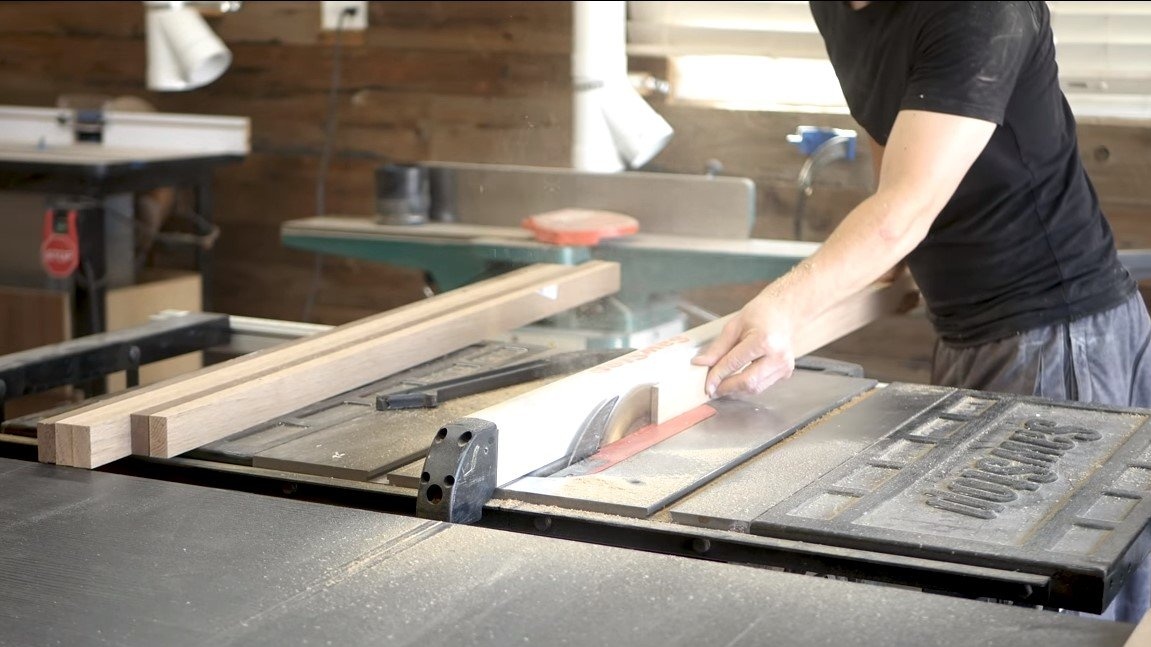
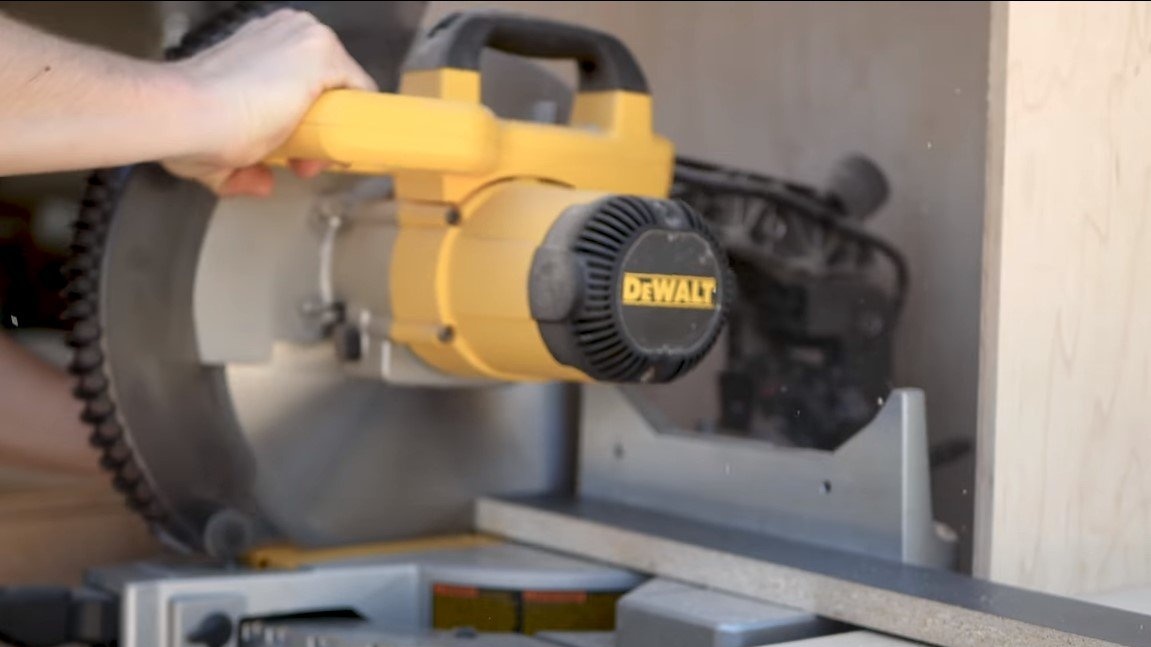
- a circular saw;
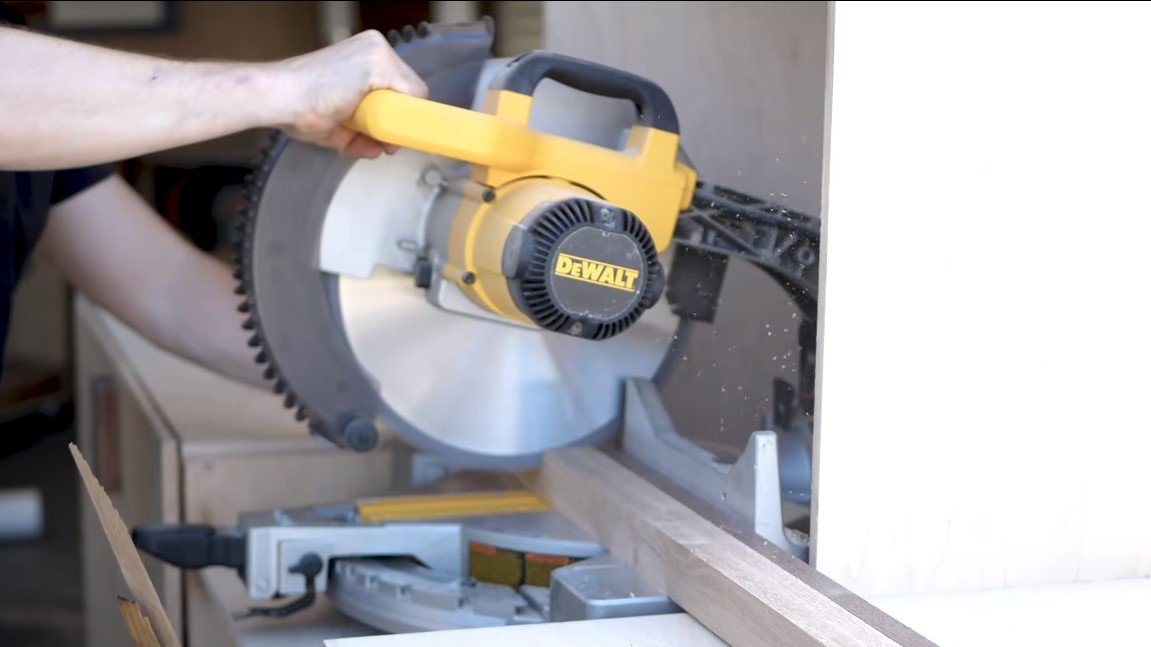
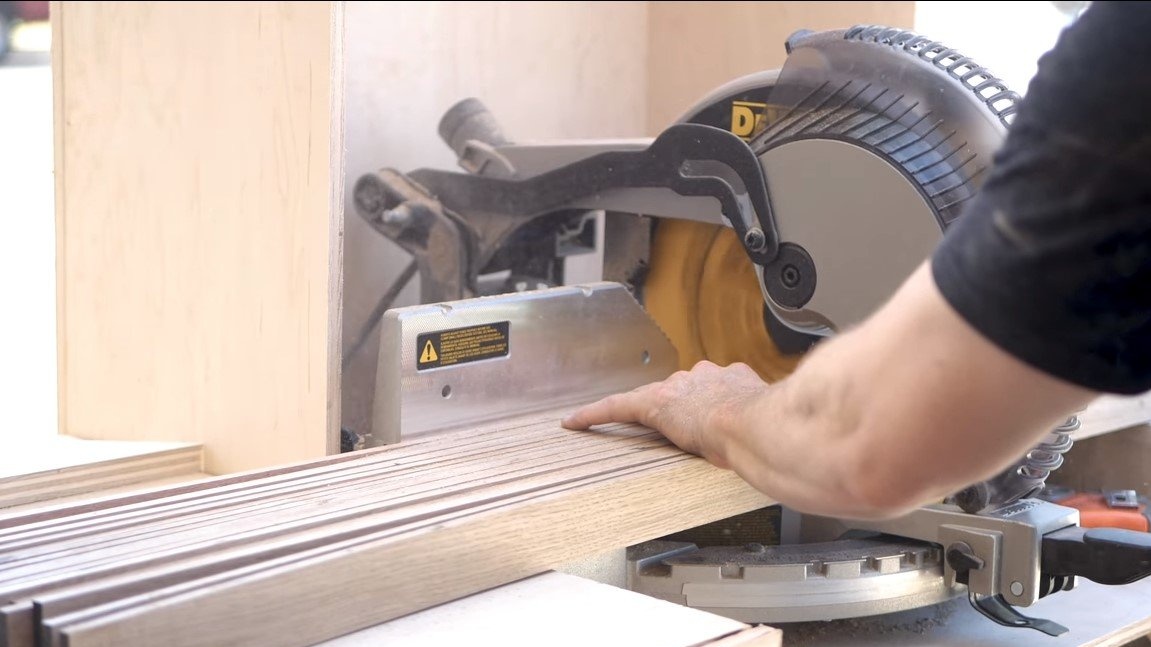
- Miter saw;
- manual circular;
- grinder;
- welding machine;
- Particleboard, self-tapping screws, sealant (for formwork);
- drill;
- plumbing pipe with plugs and a steam generator;
- skate wheels or the like;
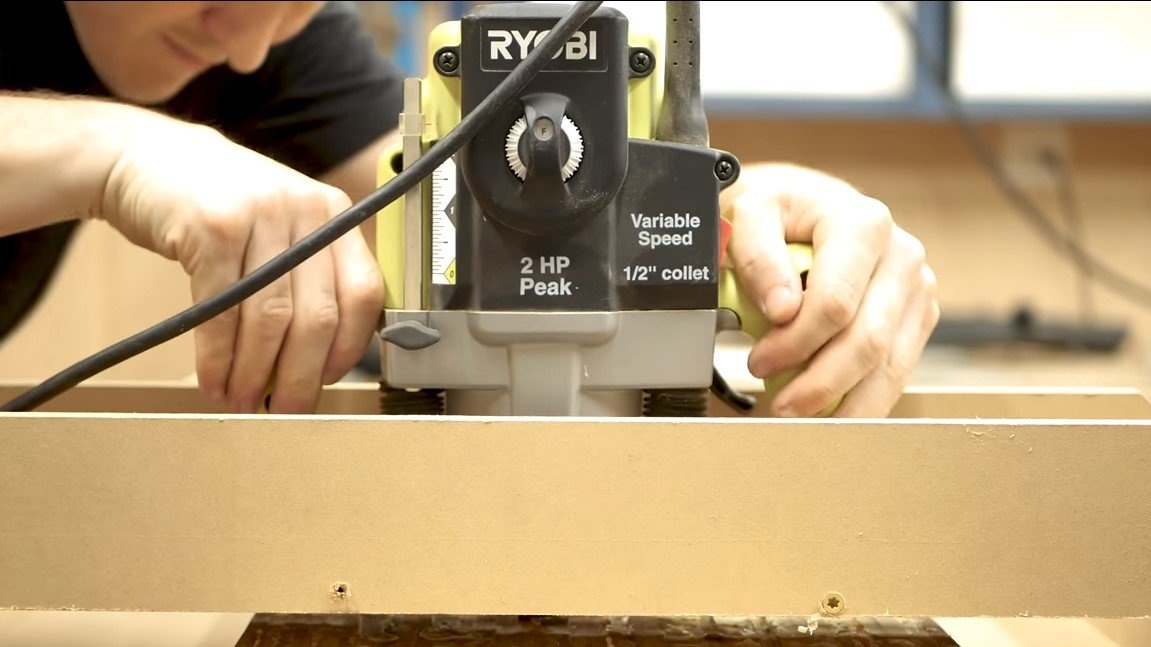
- manual frezer;
- manual belt sander;
- manual orbital sander.
The process of making a table:
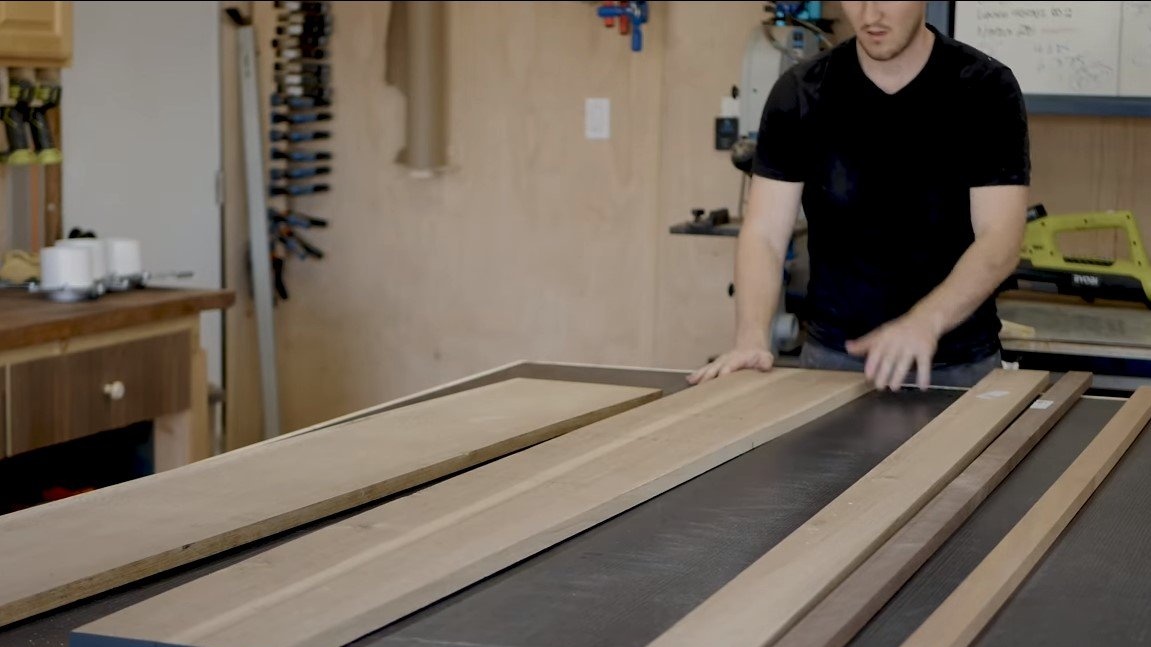
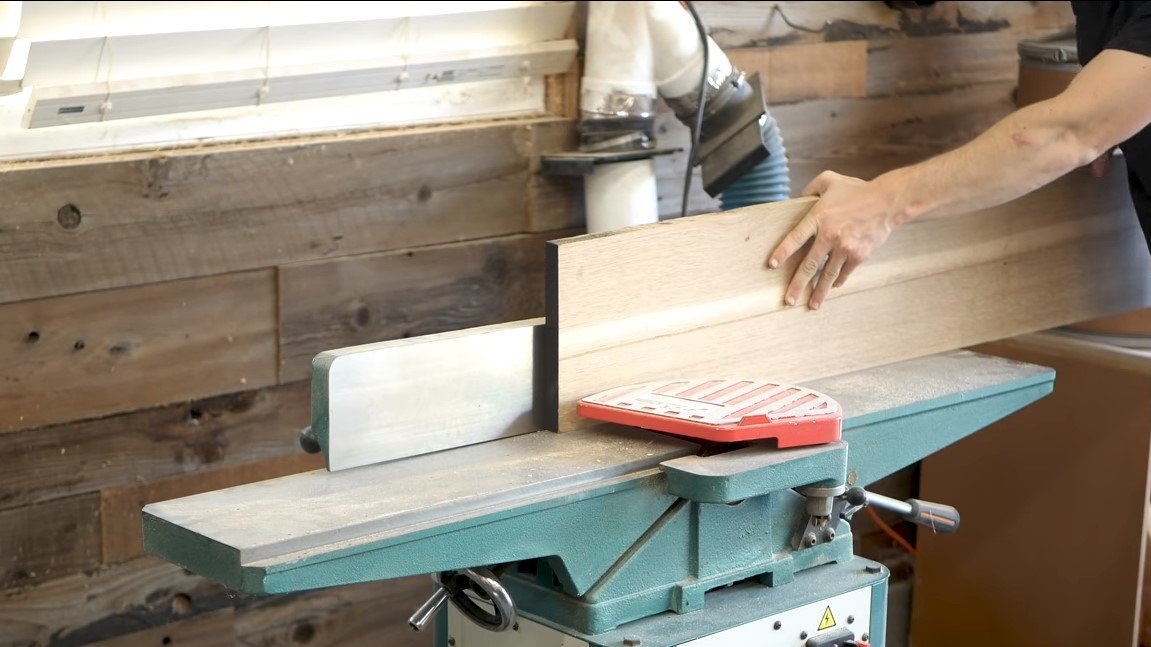
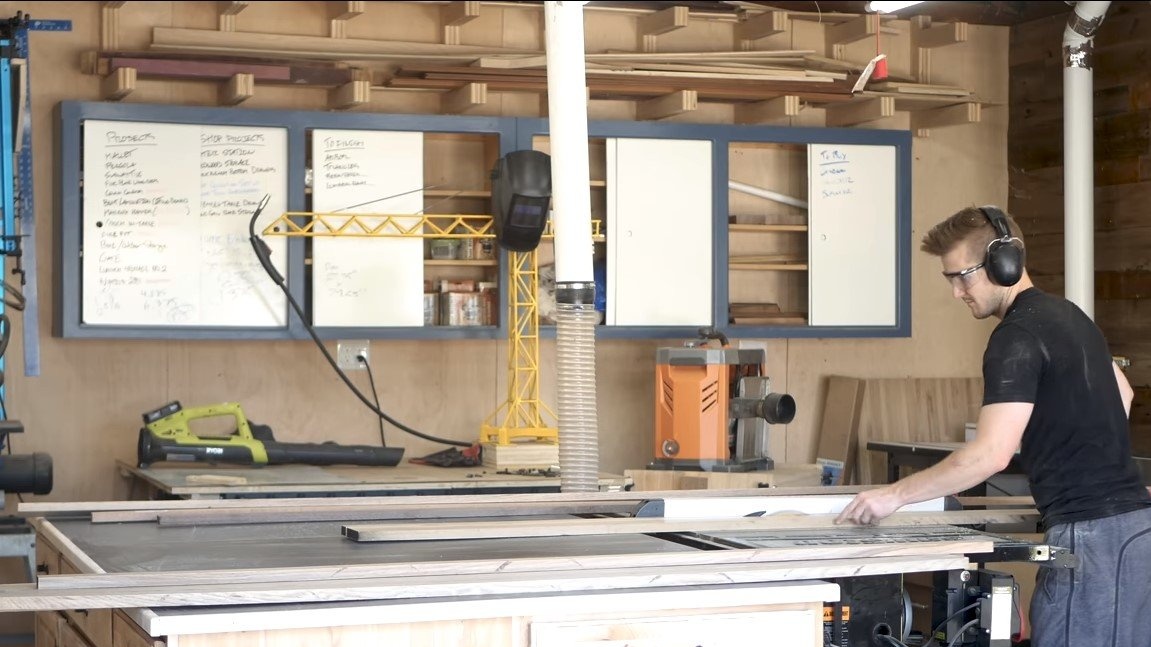
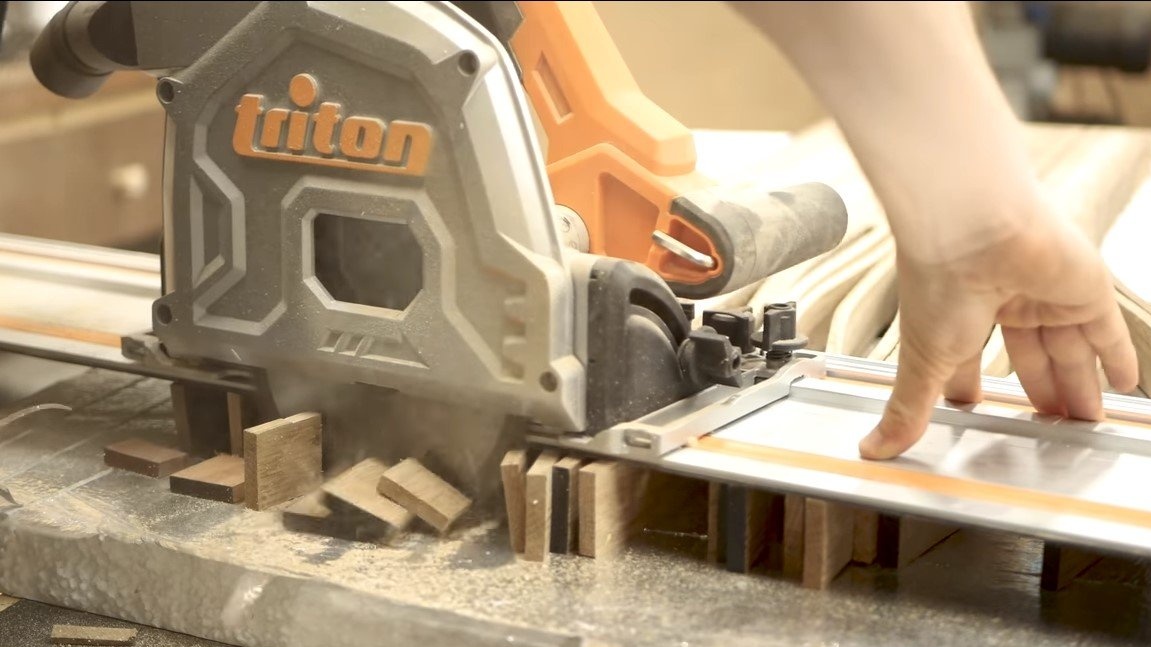
Step one. Veneer manufacturing
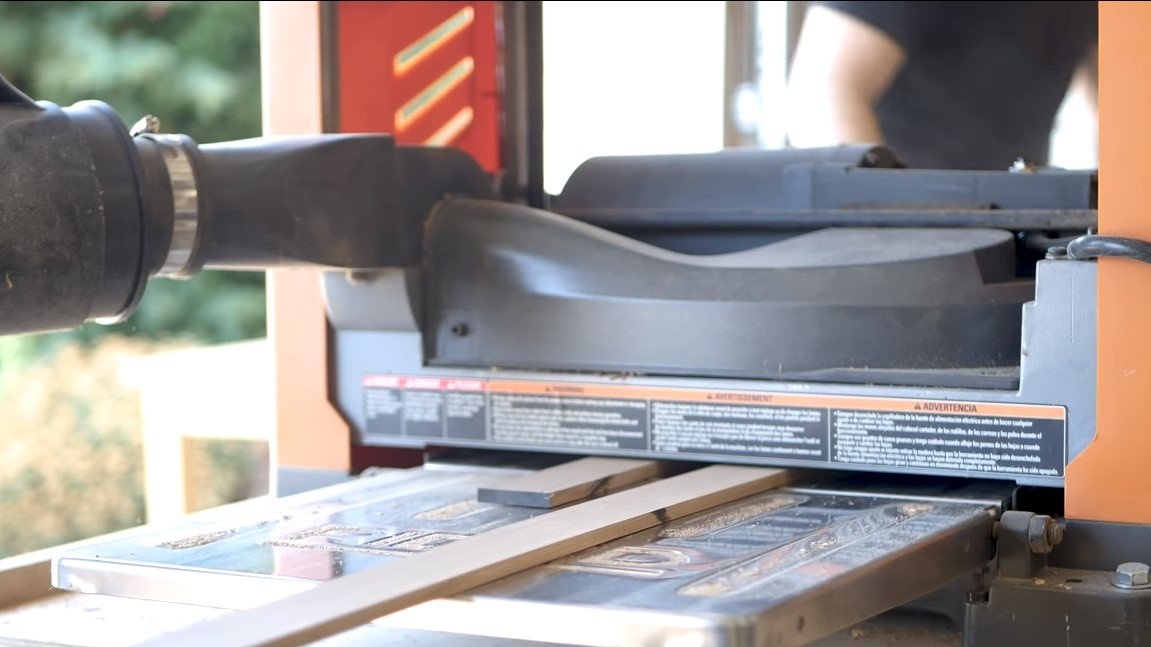
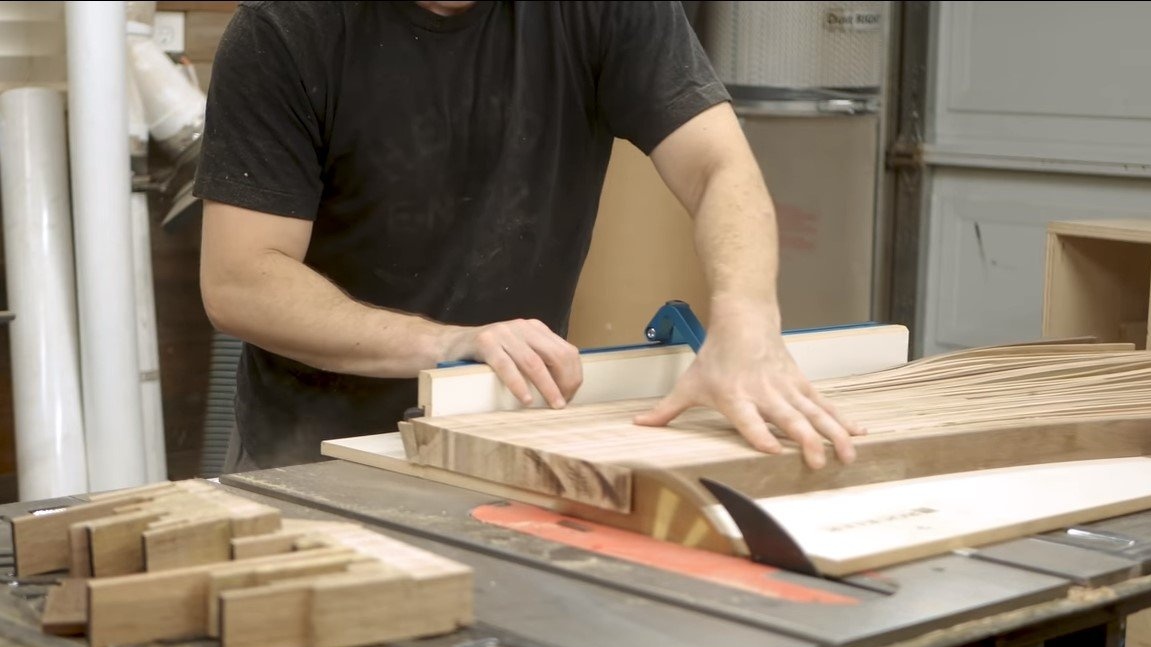
First of all, the author needed to make veneer, or rather, thin boards. The author cut the boards he had on a circular saw, and then drove the material through a surface planer. However, the same thickness of the boards is not so important, they will still be put "on the edge".
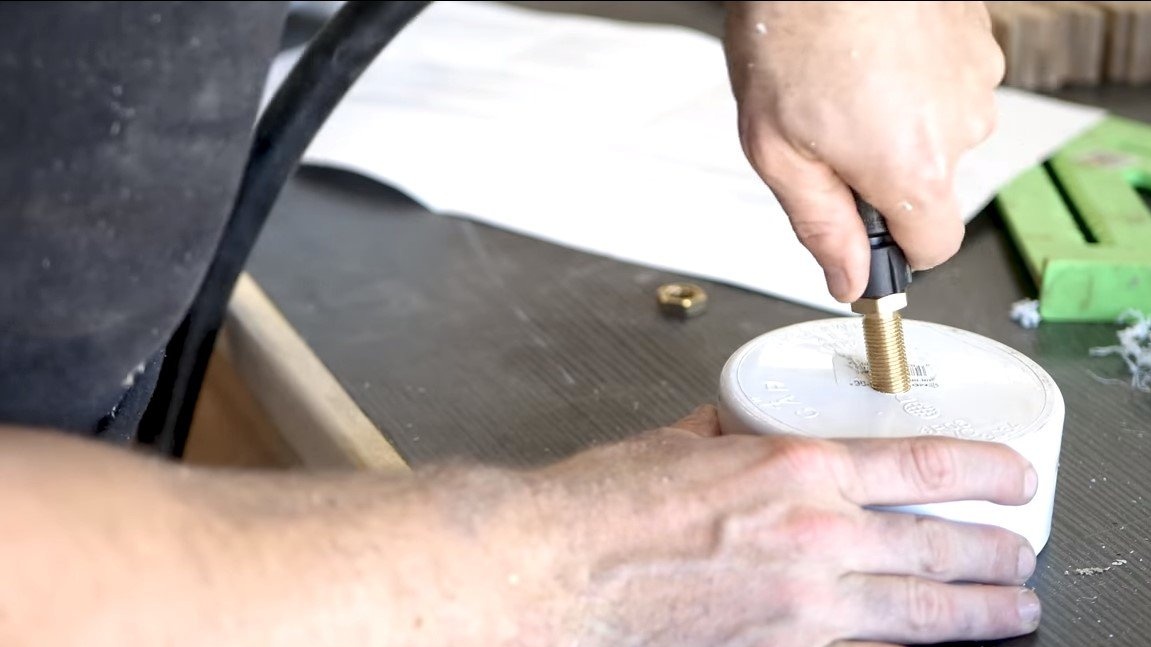
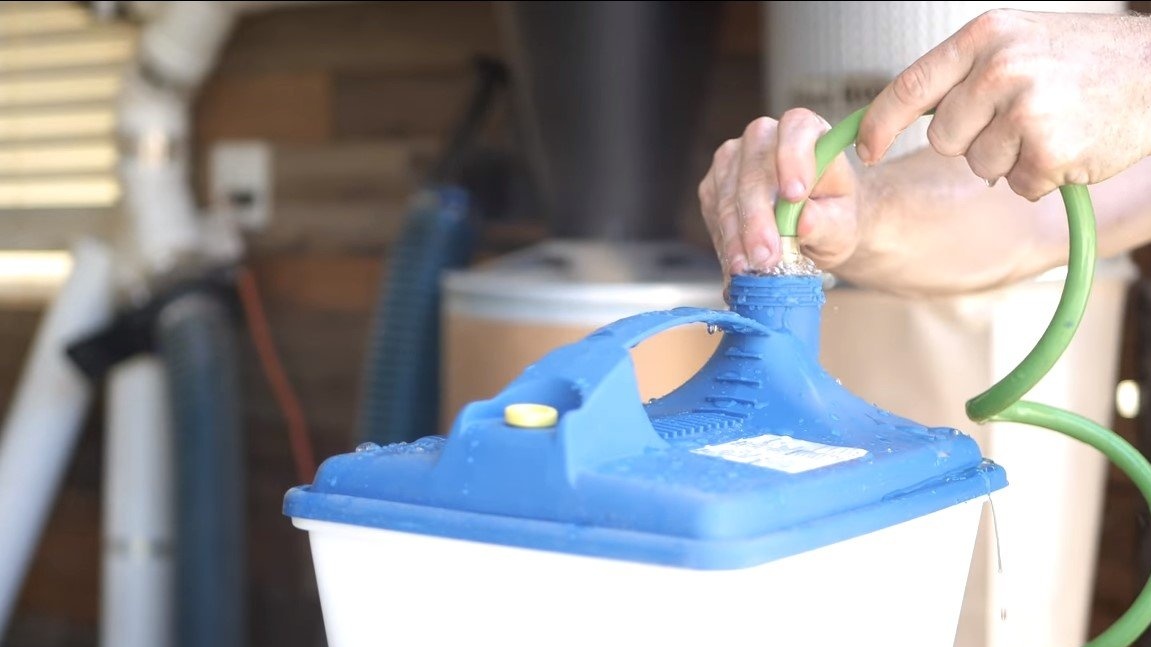
Step Two Wood Steaming Machine
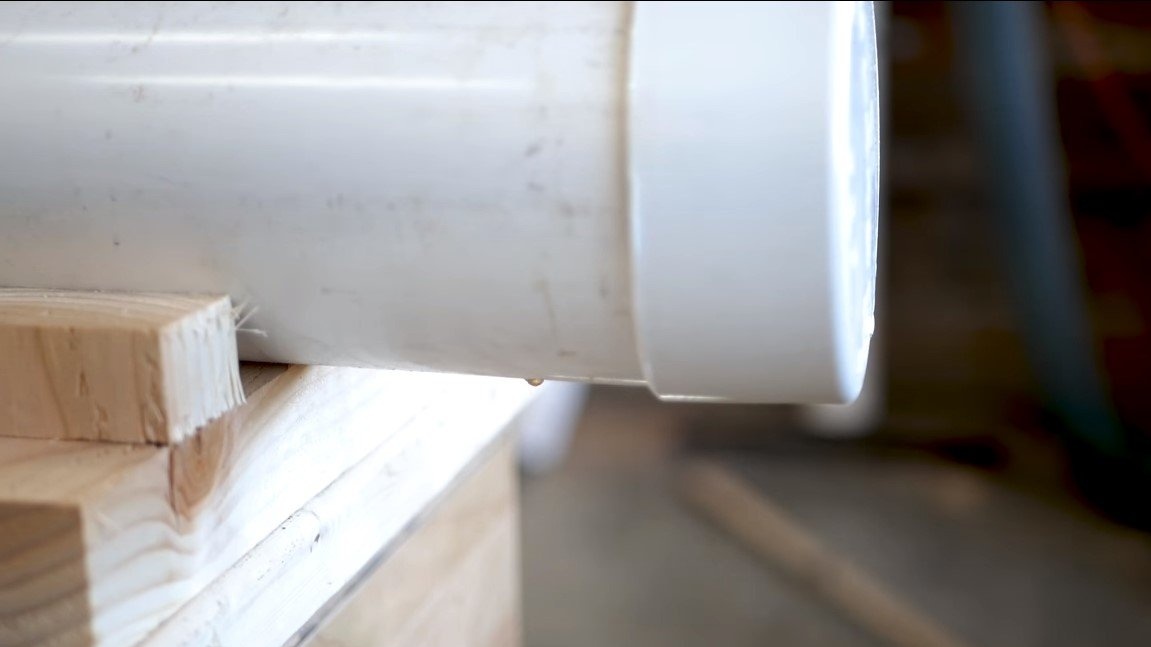
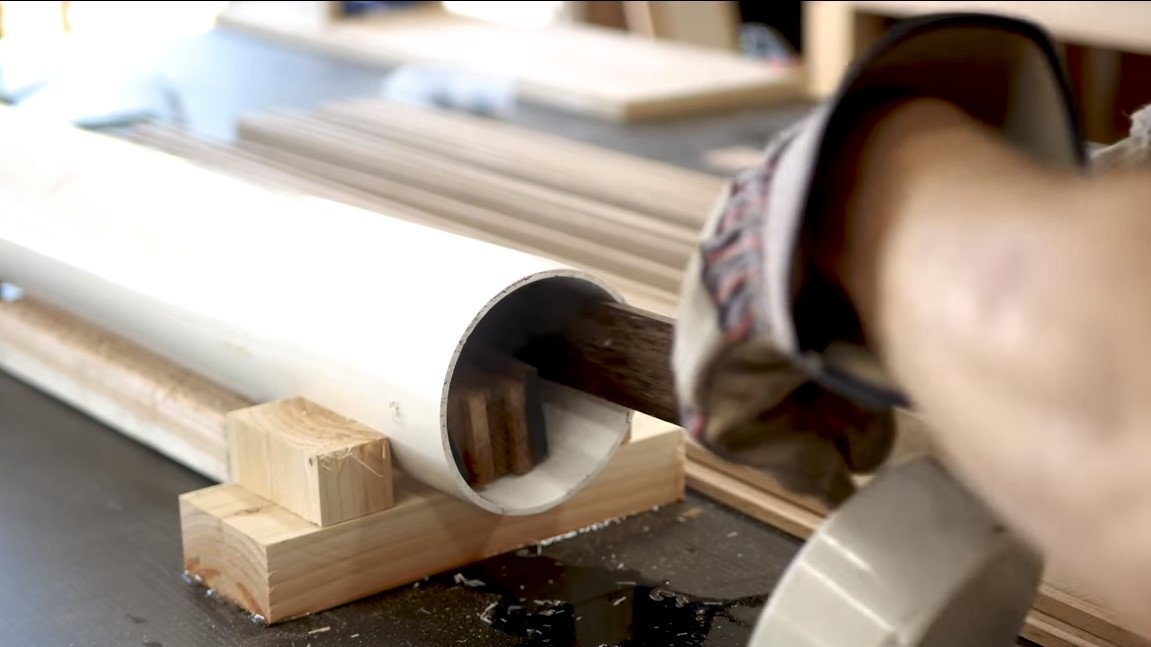
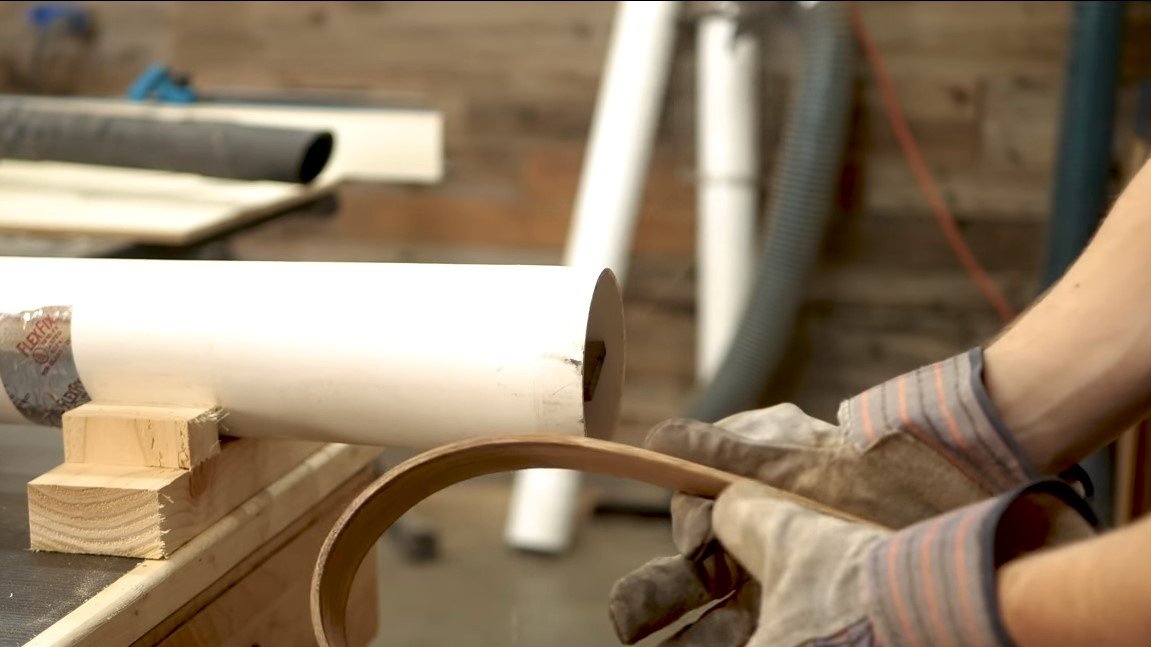
Next, we assemble a machine that will allow steaming the wood, as a result of which the tree will become easy to bend. The author needed a plumbing pipe with plugs; he connected a steam generator to it. As a steam generator, you can try to adapt the kettle. We make a wooden base for the pipe so that it does not roll away, and then load the veneer into the pipe and leave it to be heated with steam.
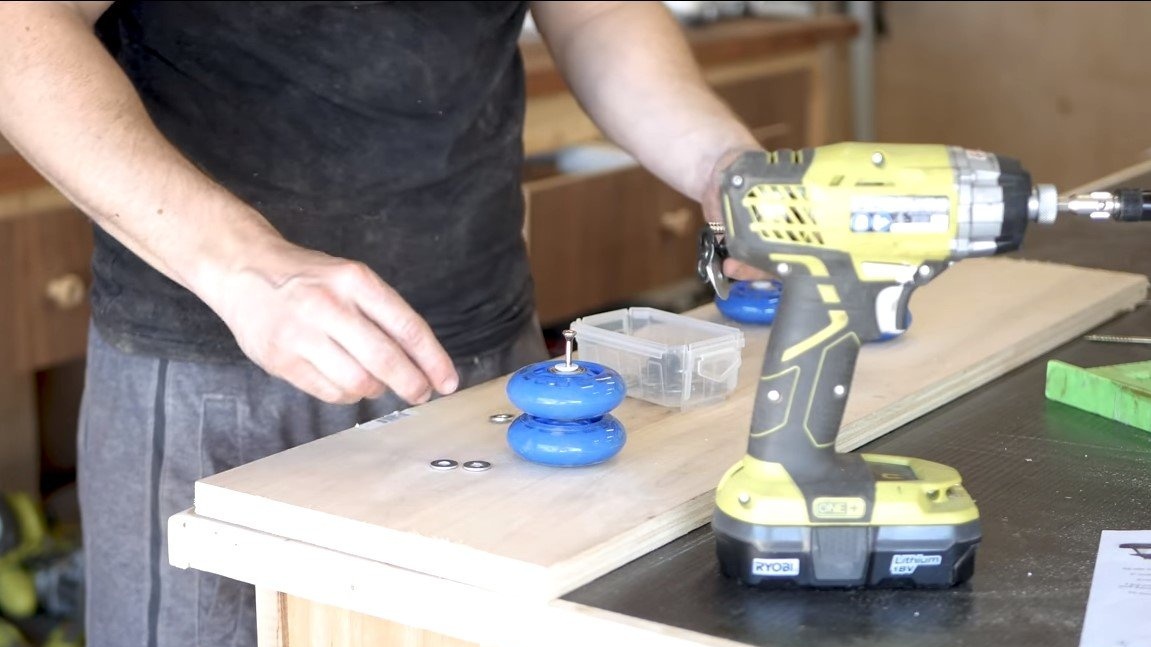
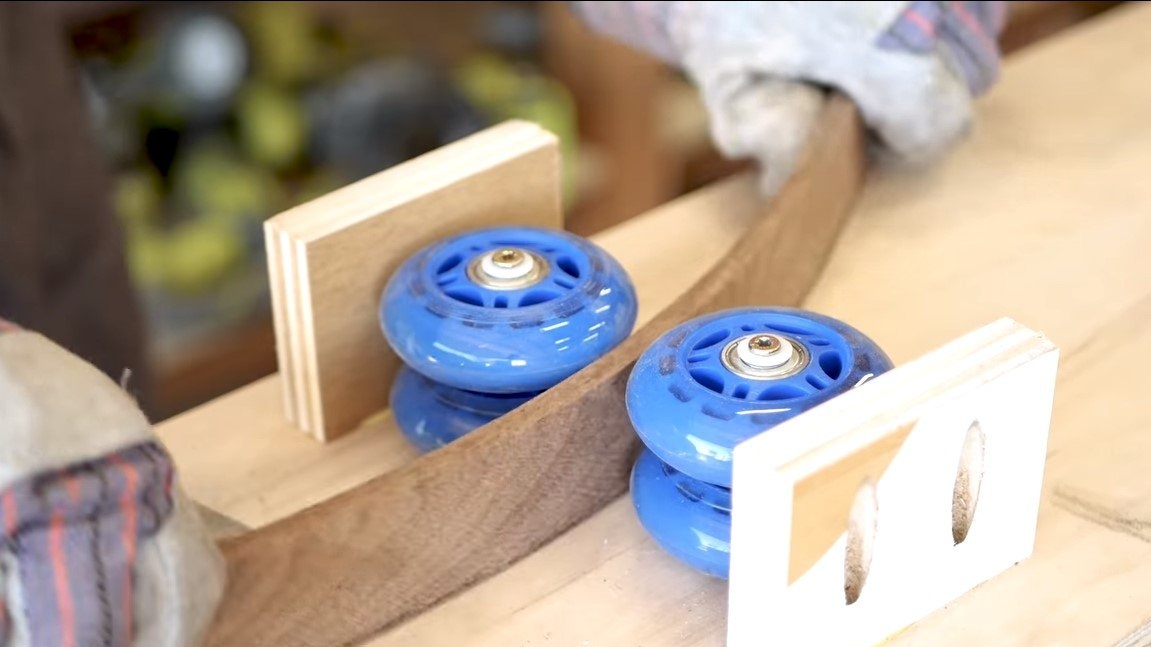
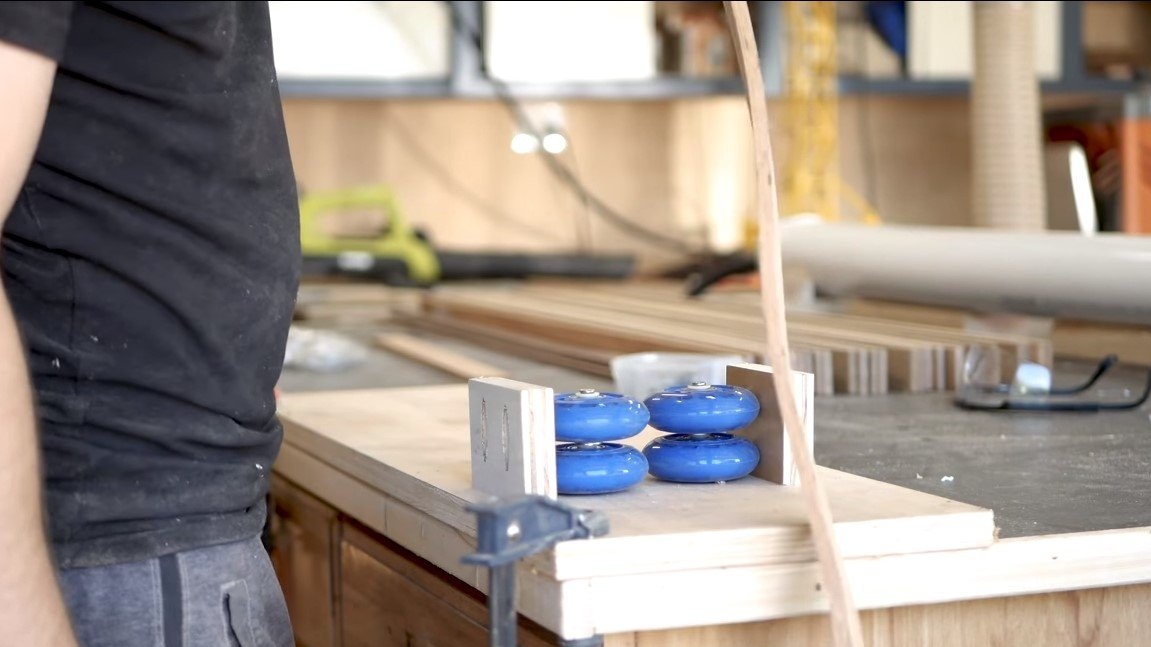
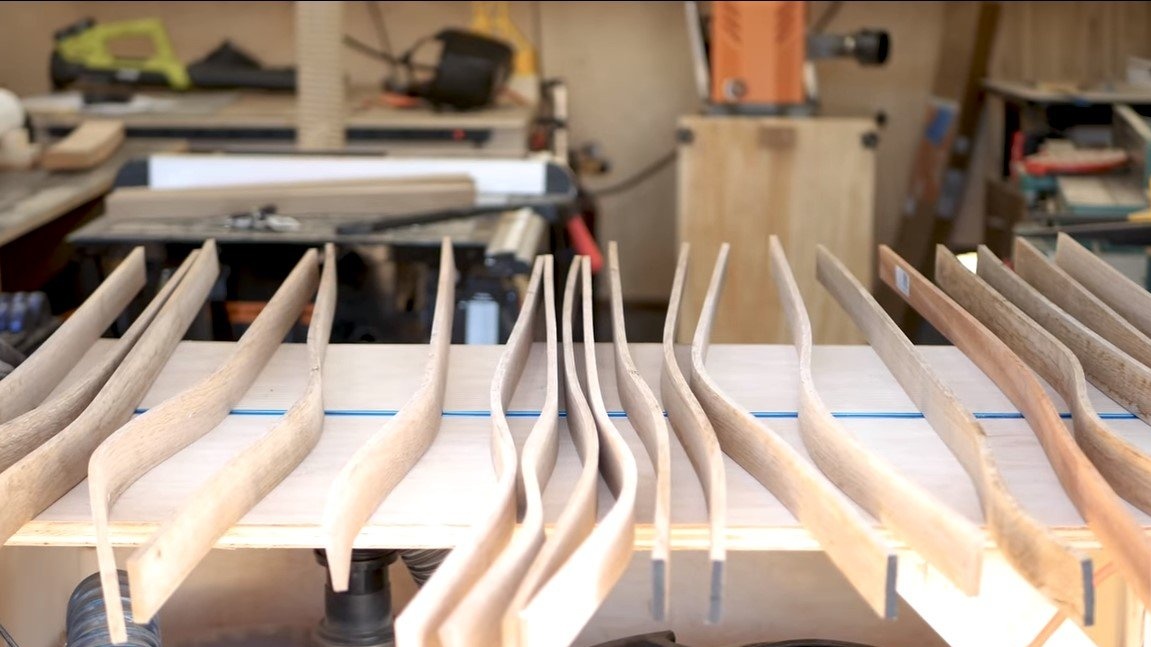
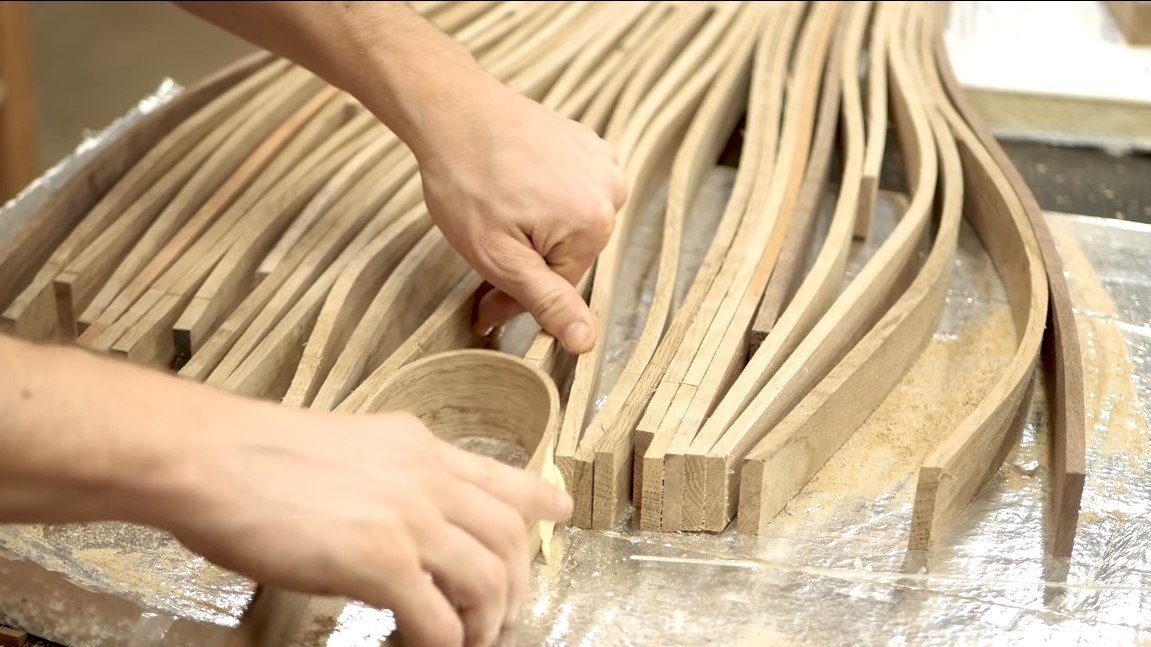
Step Three Bend veneer
While the veneer is warming up, we will produce devicewhich will allow us to bend it. For such purposes, the author screwed the skateboard wheels to the plywood, but we fix the plywood on the table with clamps. We will bend veneer between these two wheels by pulling.
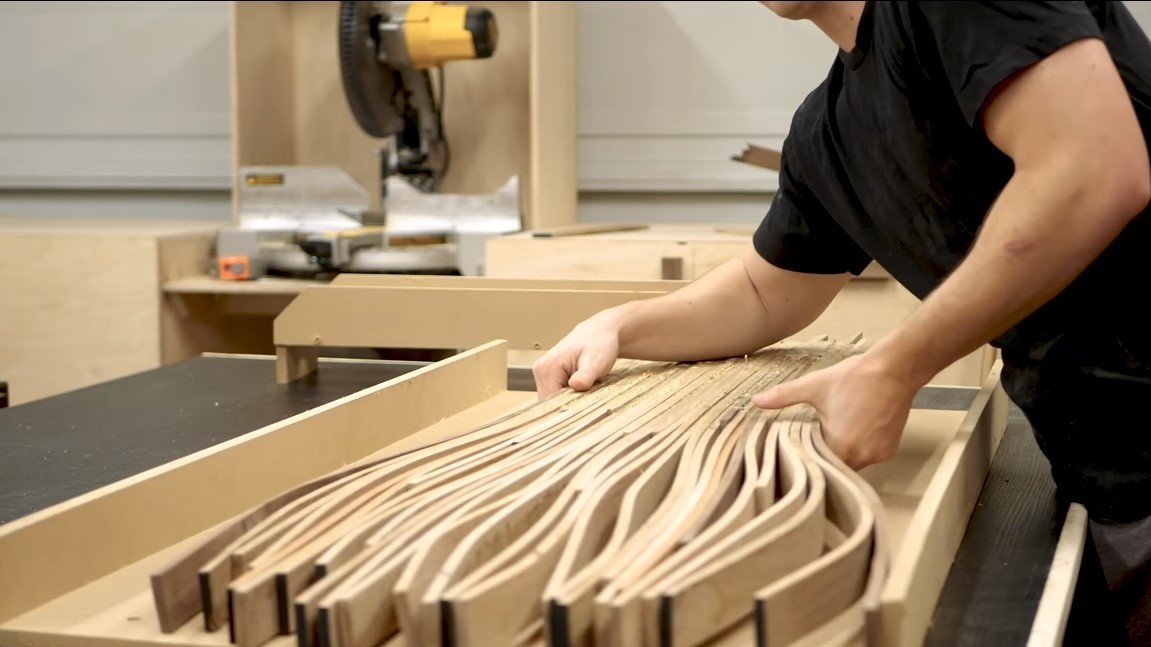
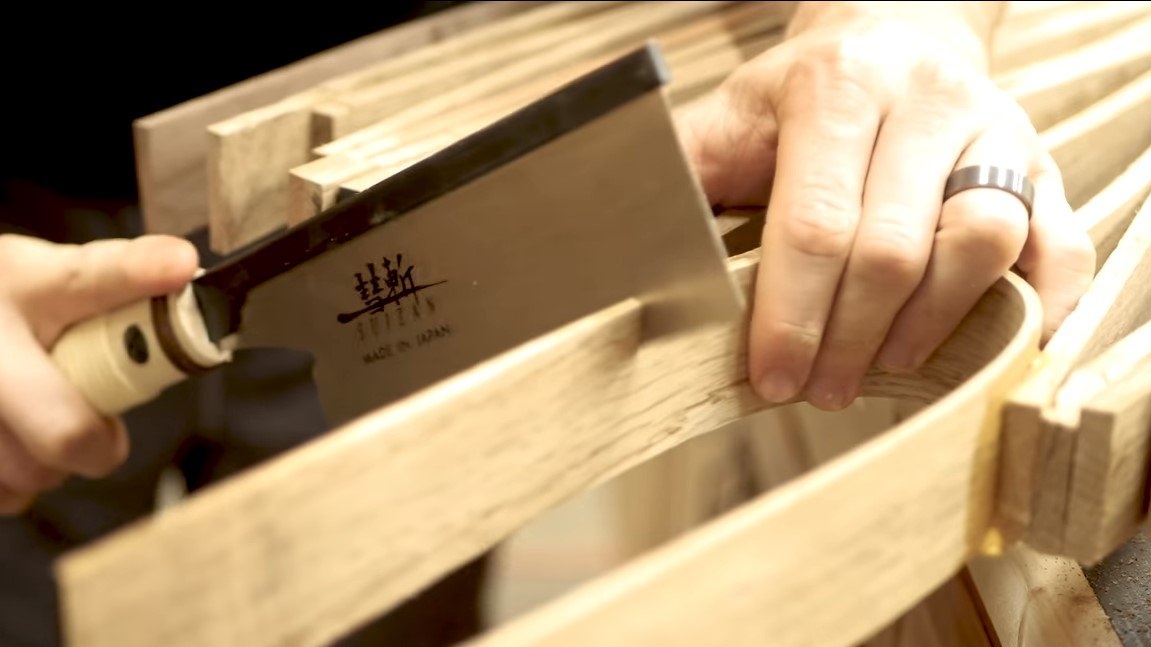
Everything is ready, we take out the veneer and bend it to the desired shape, leave the wood to dry.

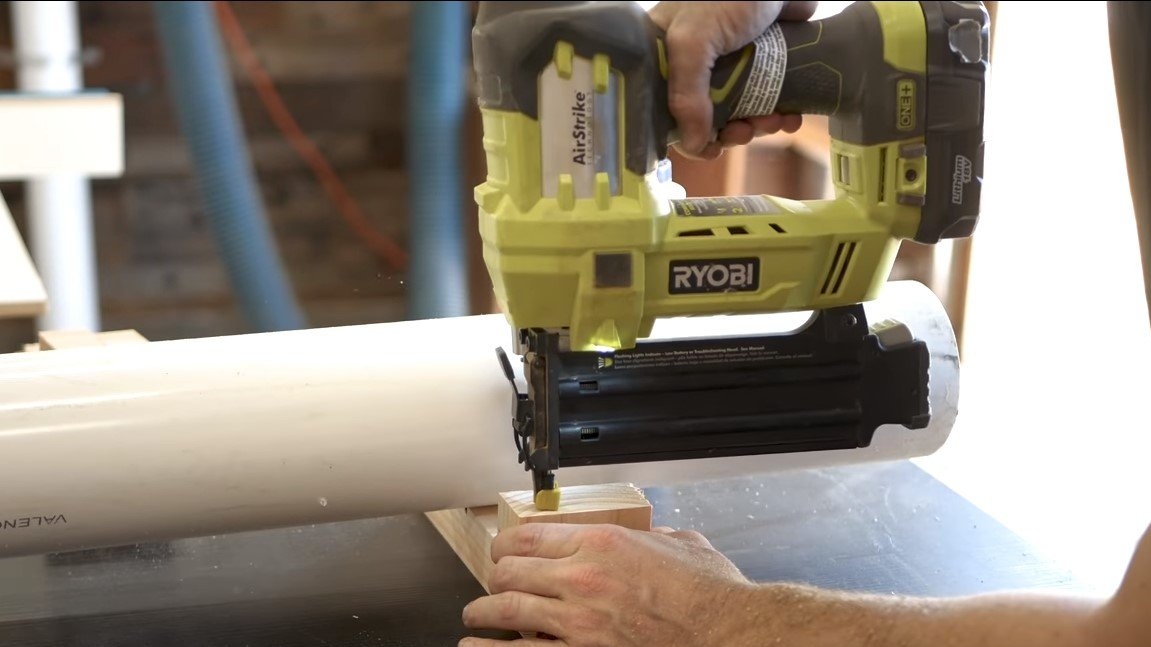
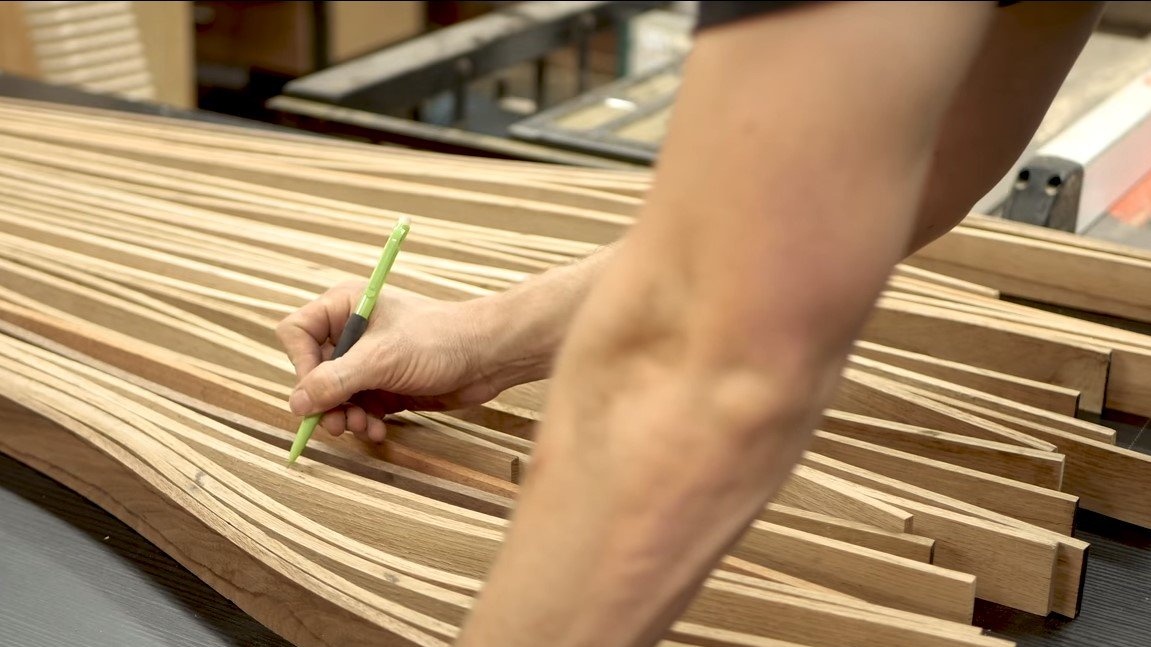
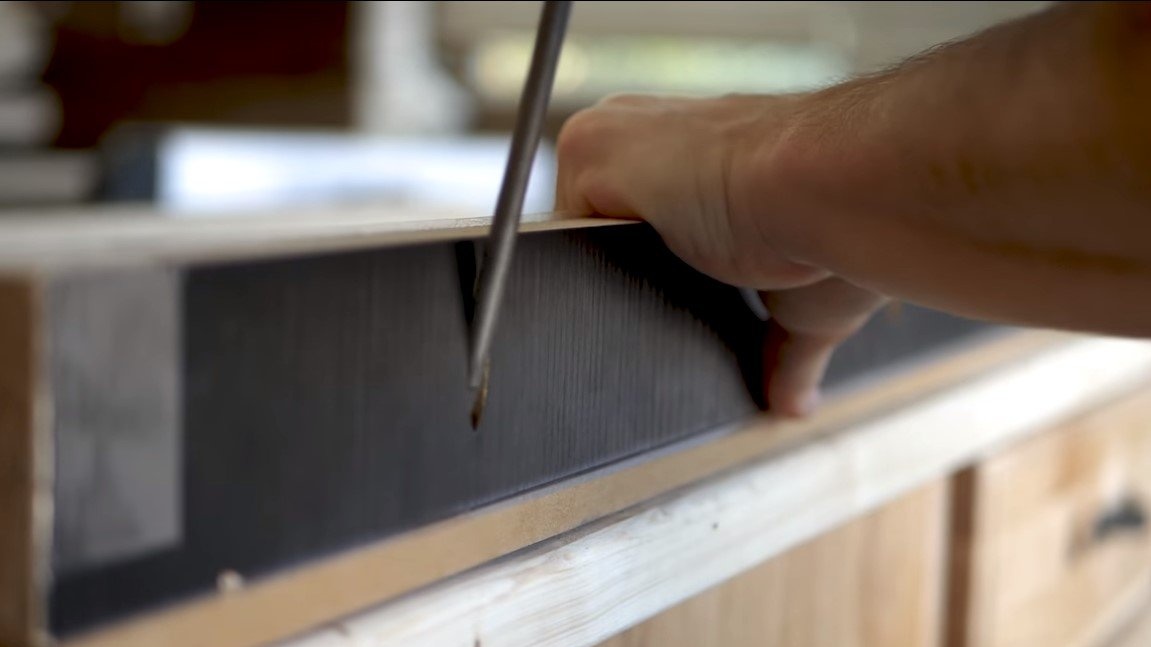
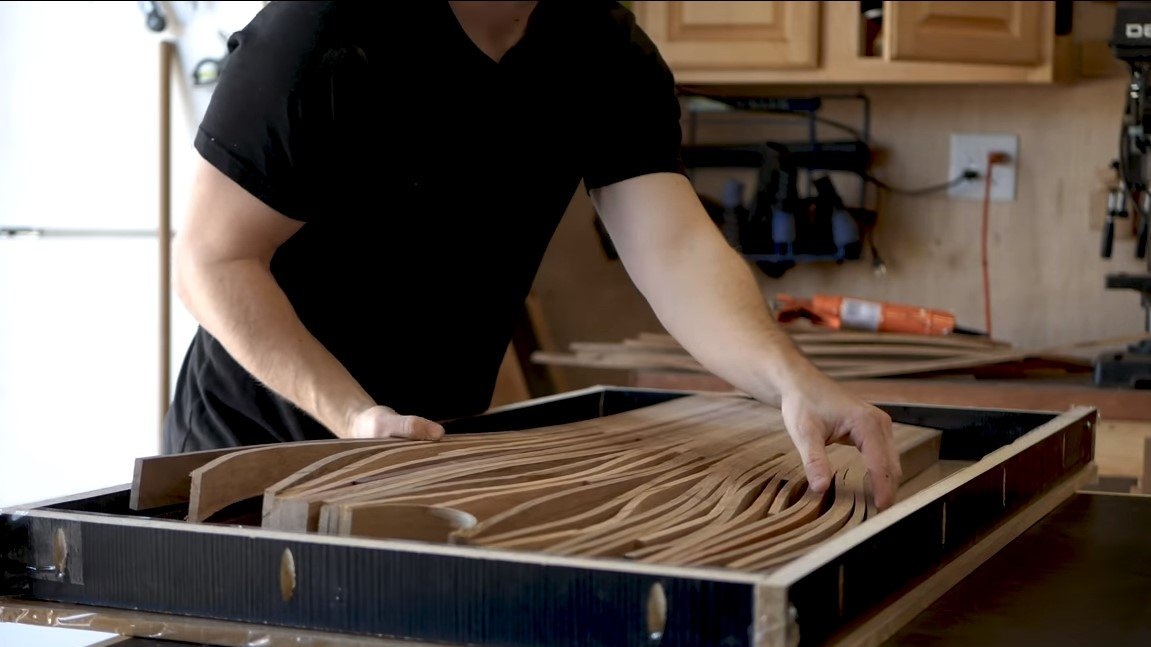
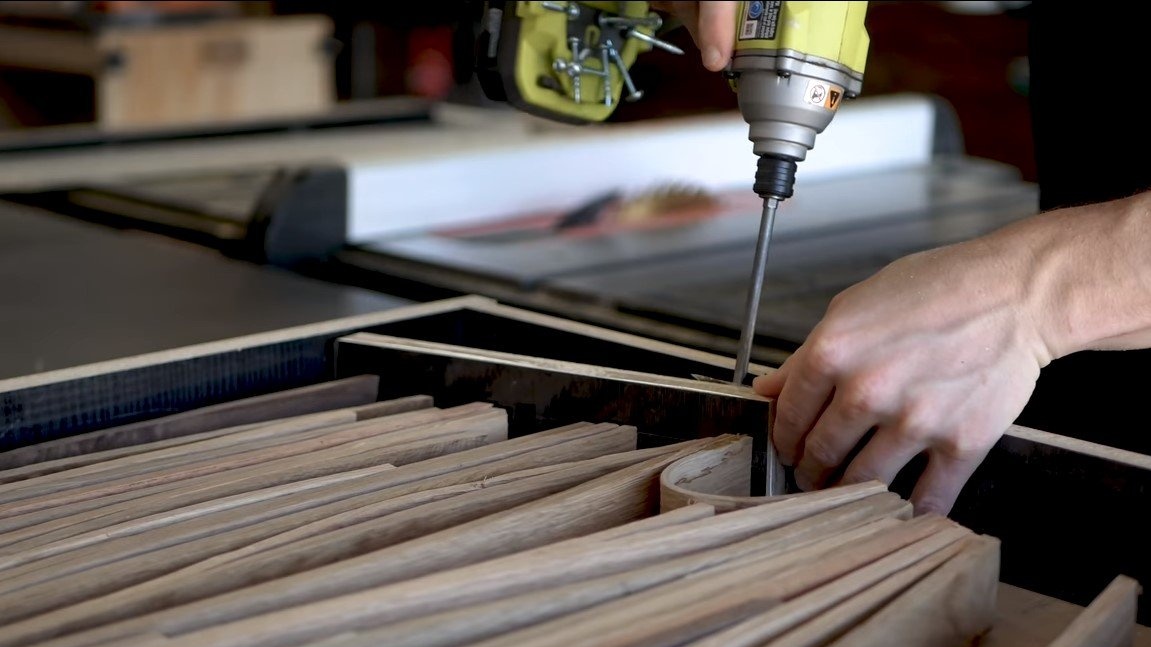
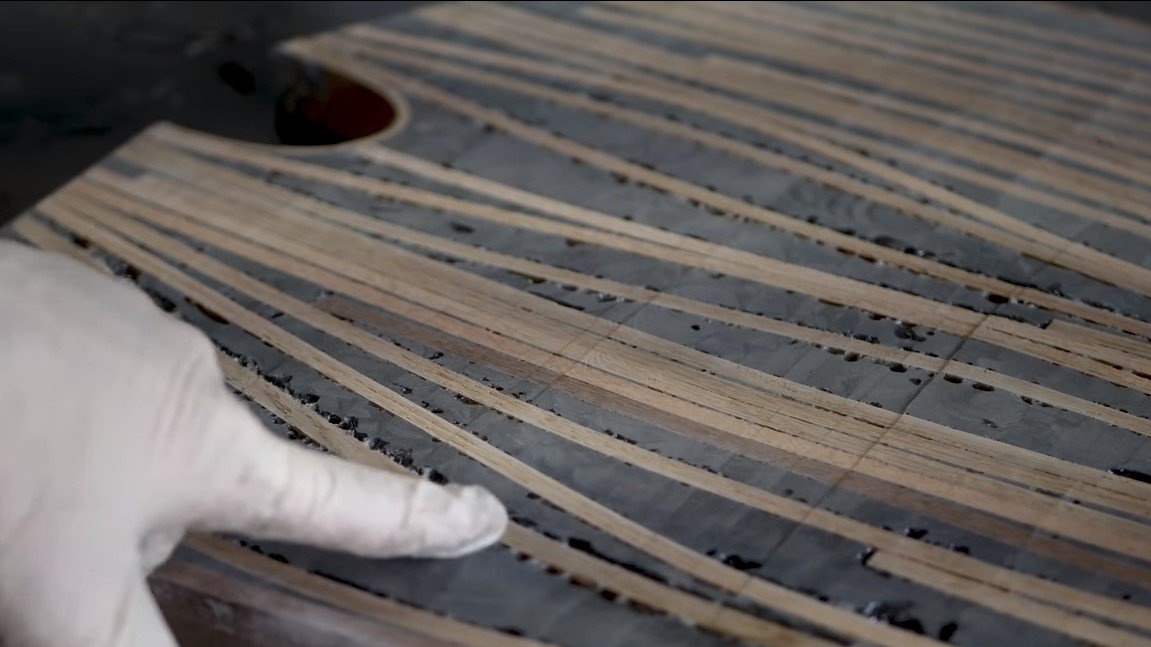
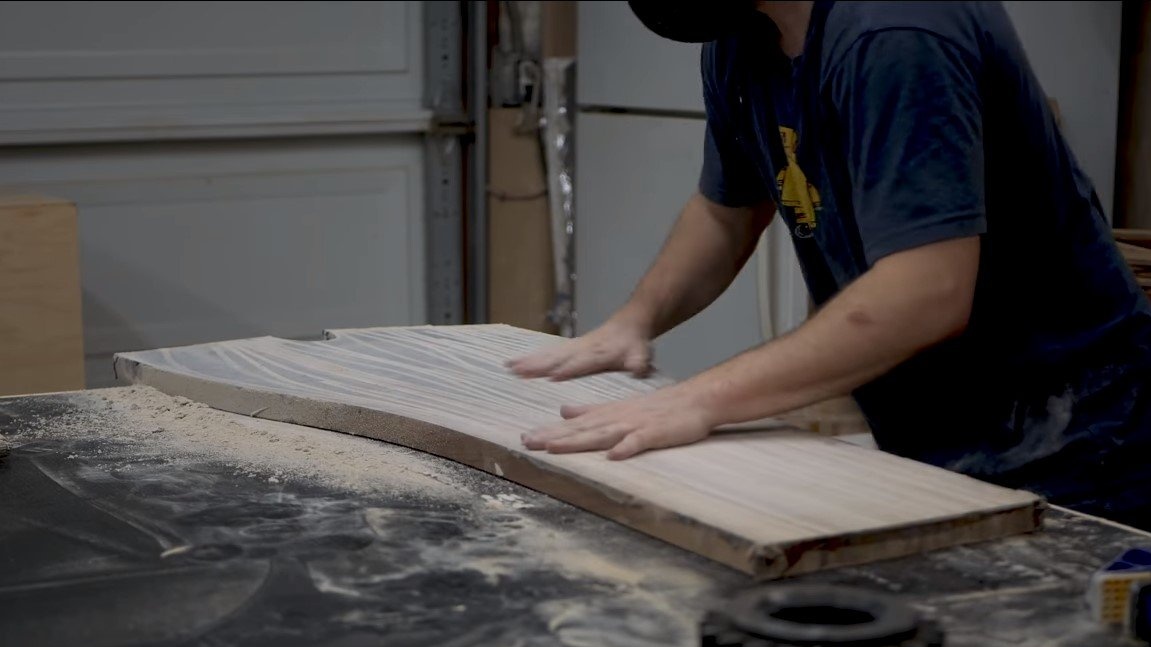
Step Four Assembling a wooden base for countertops
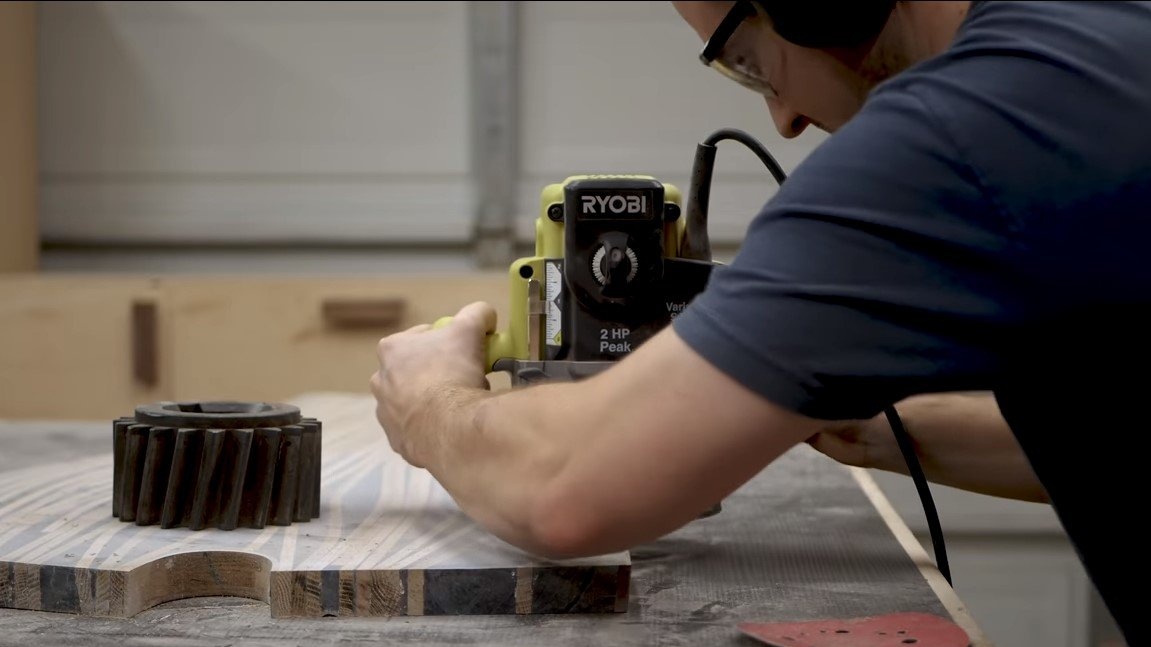
We lay our bent boards on an even plane with an edge and glue them with wood glue from one edge. The opposite edge is then trimmed evenly, if necessary, you can insert jumpers also from bent boards. When the glue dries, the author aligned the entire structure from above with a hand milling cutter and a special guide for it.
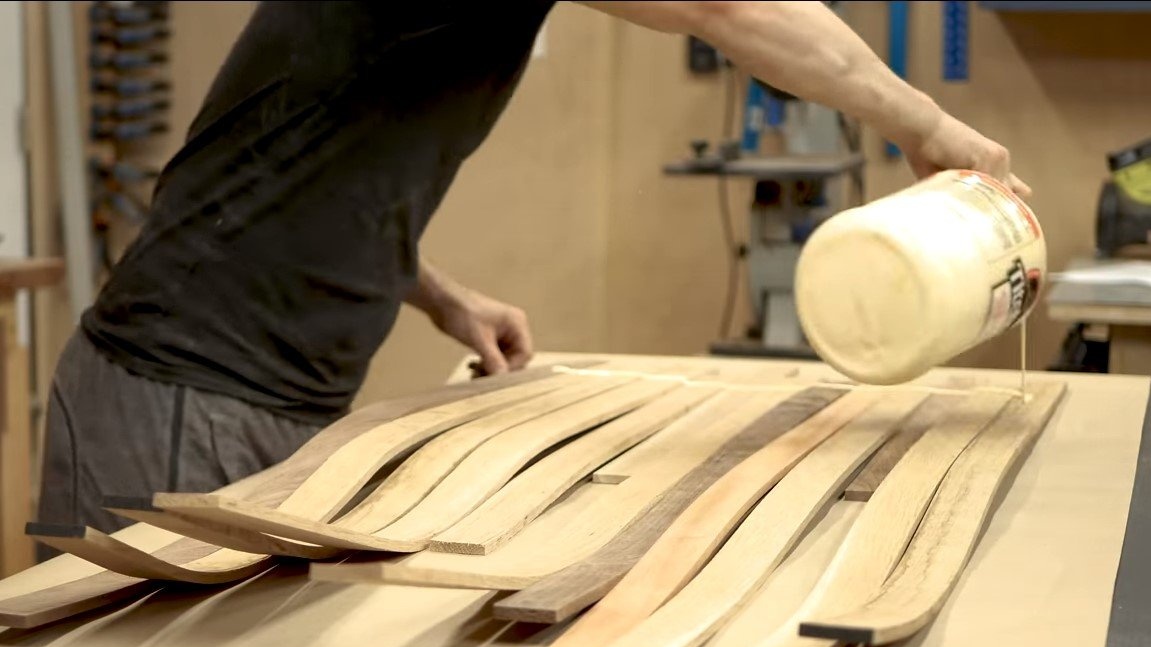
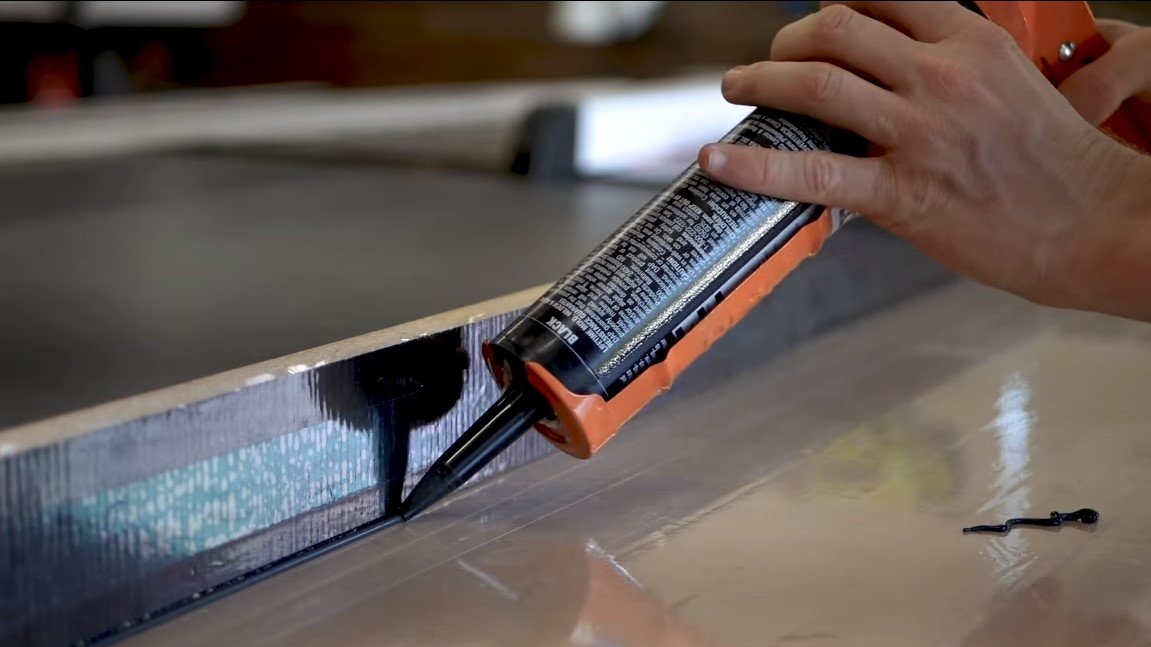
Step Five Formwork assembly and resin casting
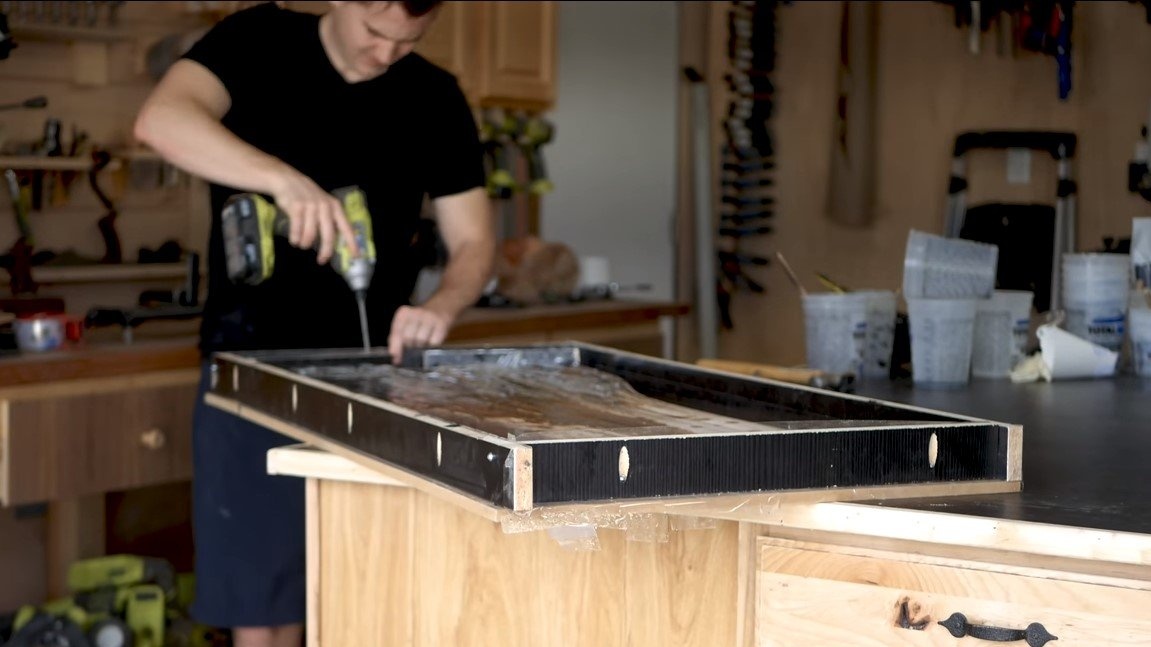
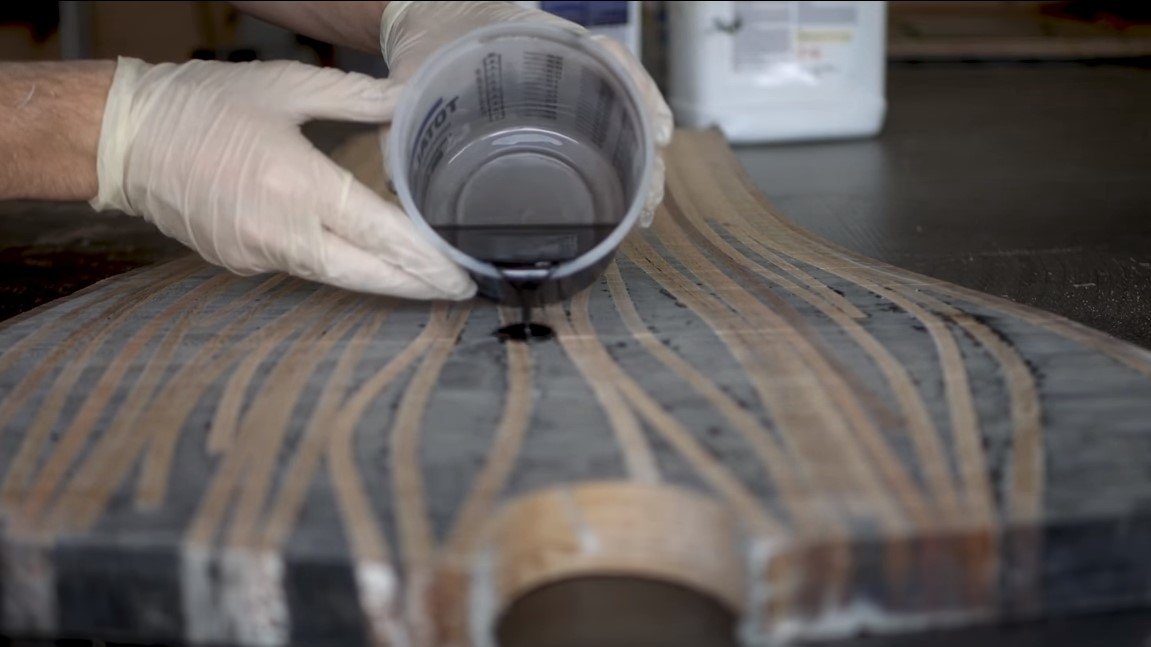
We assemble the formwork, the cheapest material for its manufacture is chipboard. We cut the material and collect the box into which we lay the wooden base for the countertop. We use silicone sealant as a joint sealant. Sealing must be carried out very carefully, since epoxy is a very fluid substance.
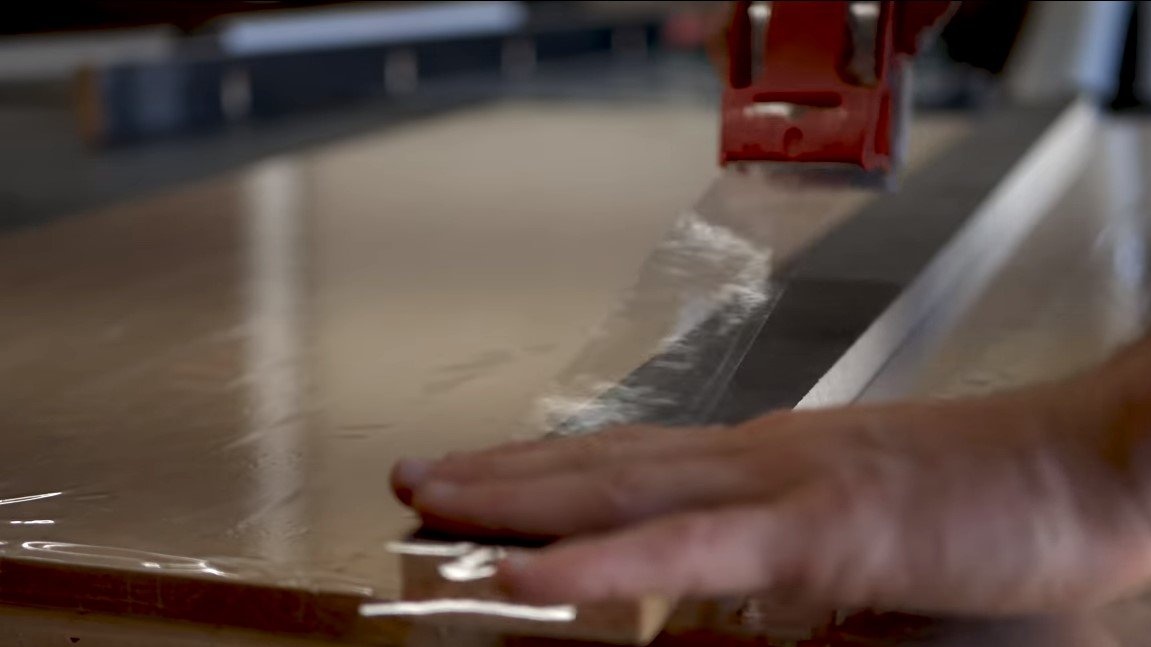
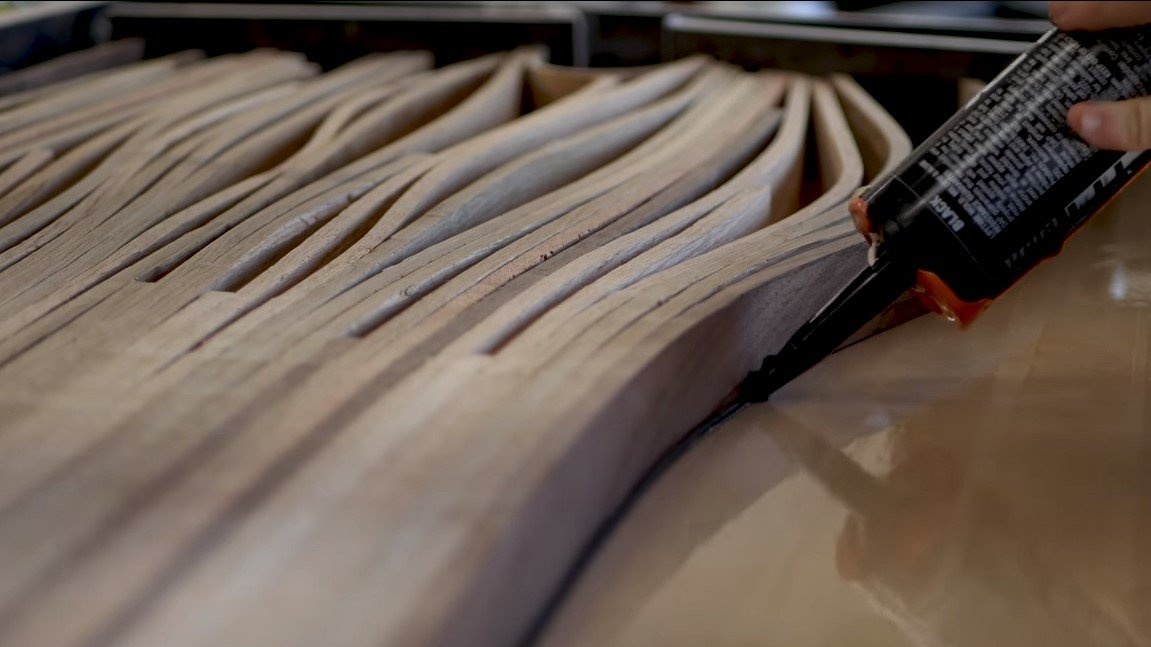

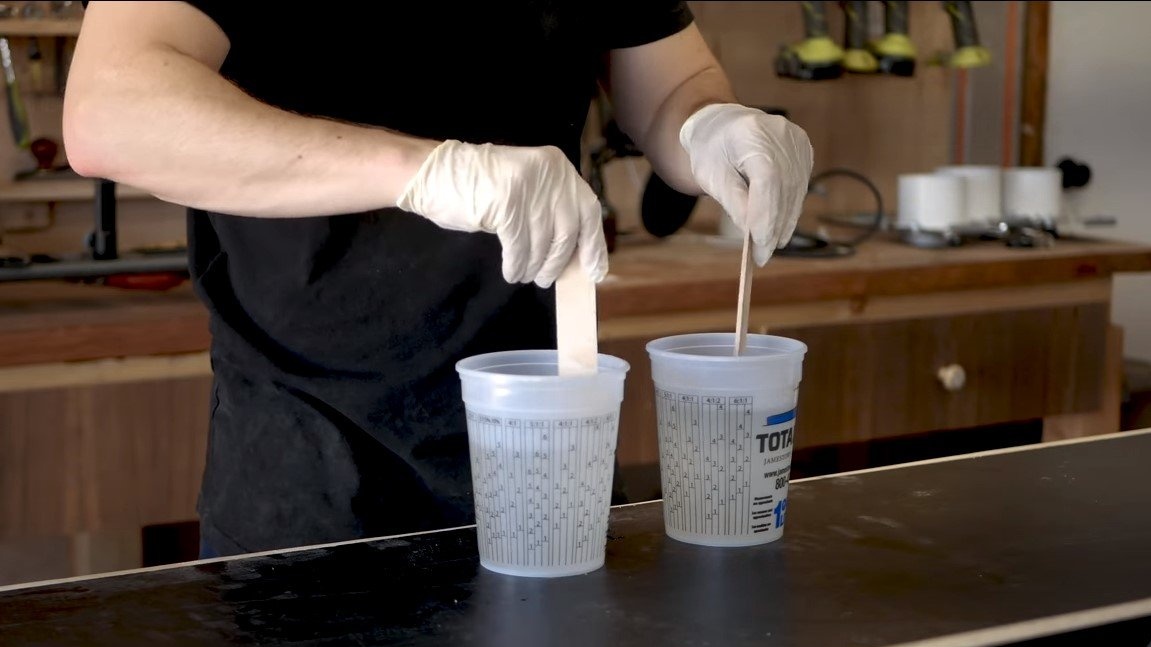
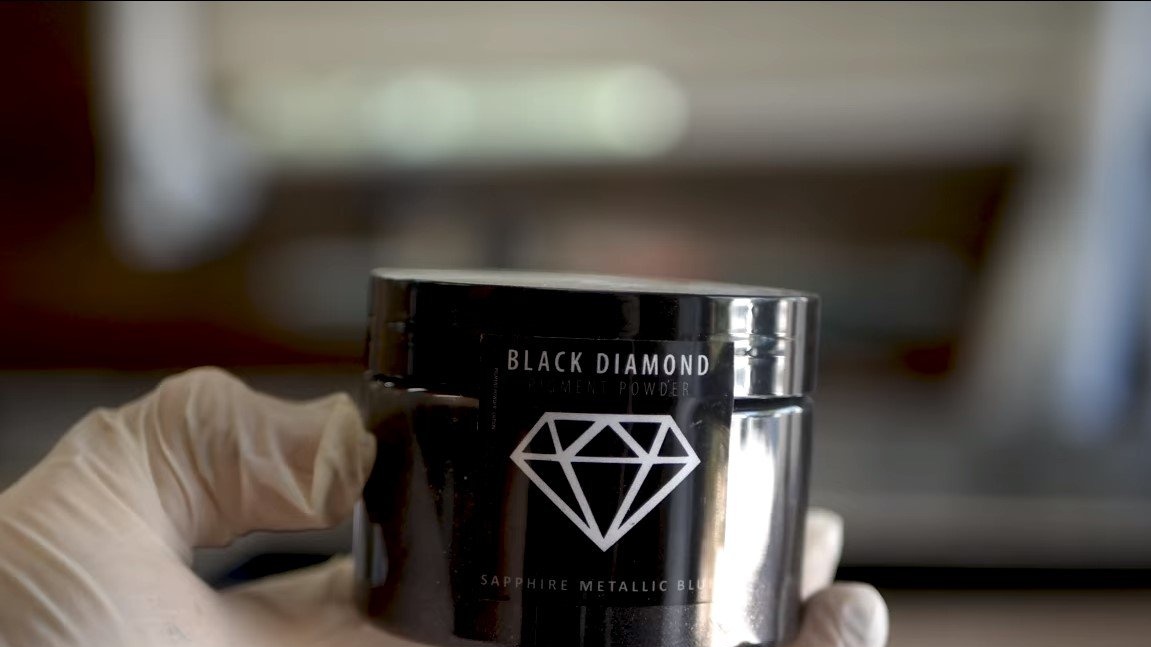
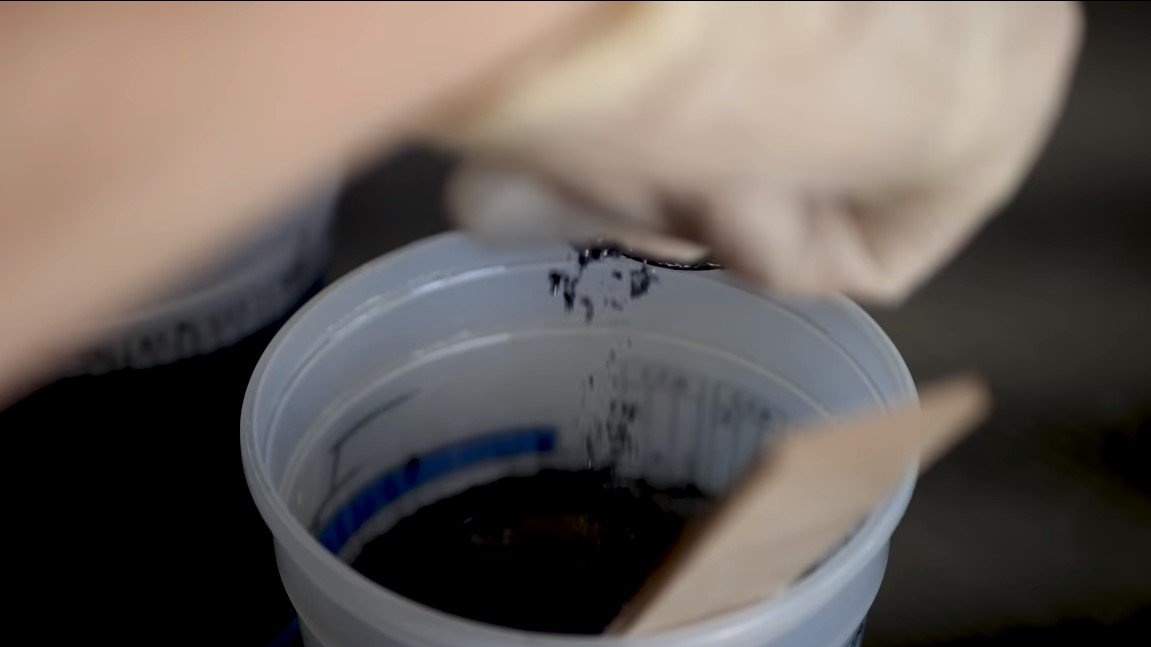
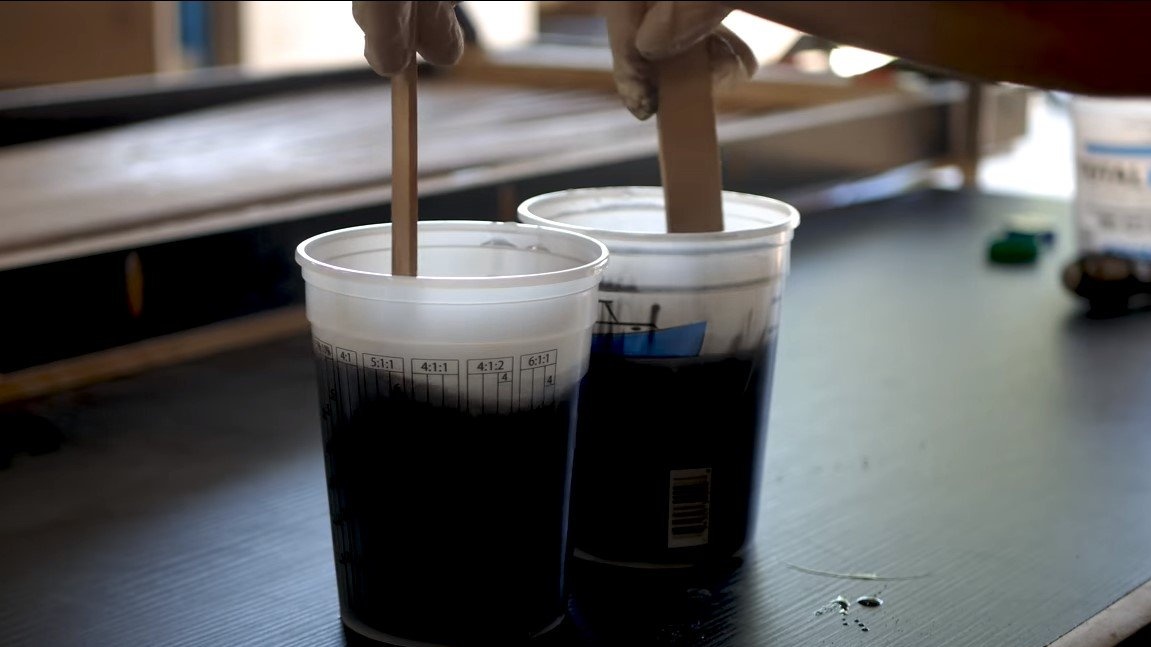
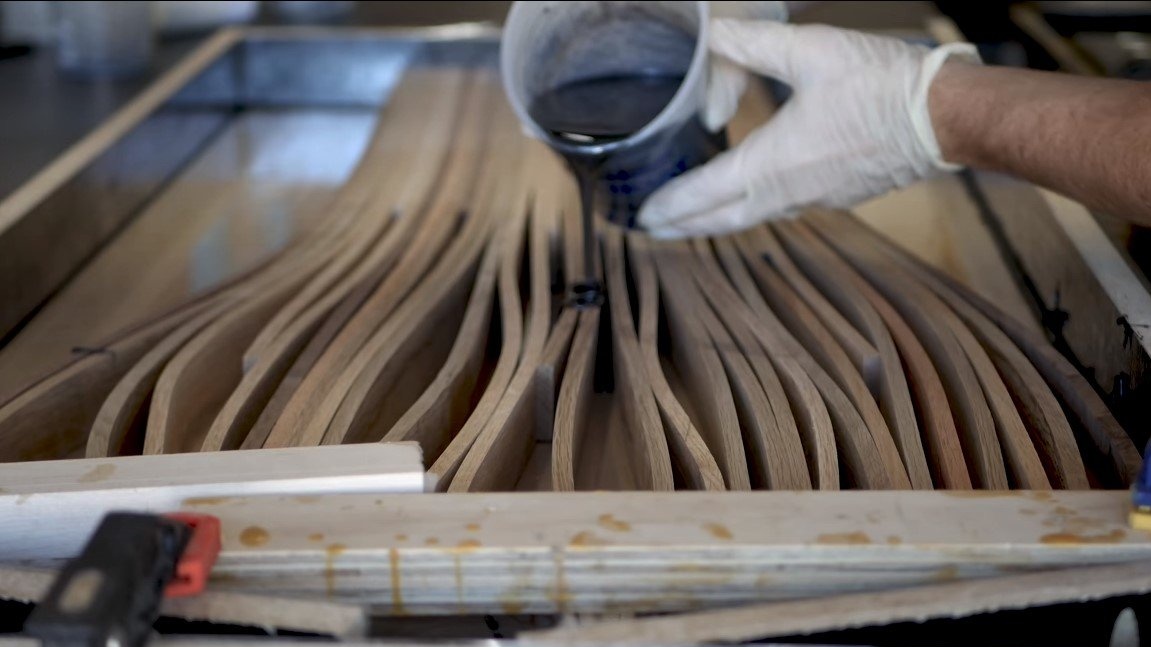
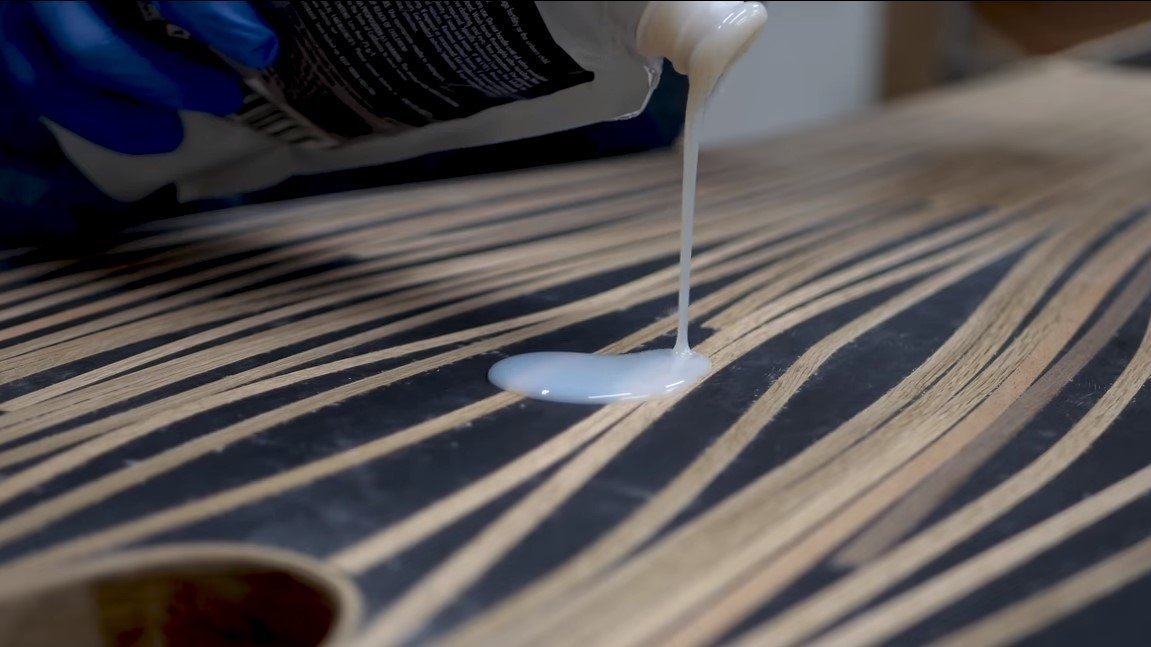
When the formwork is ready, fill the countertop with epoxy. The author decided to add black dye to the resin, but you can choose a dye to your taste. We leave the epoxy to harden, and while we are not doing any work.
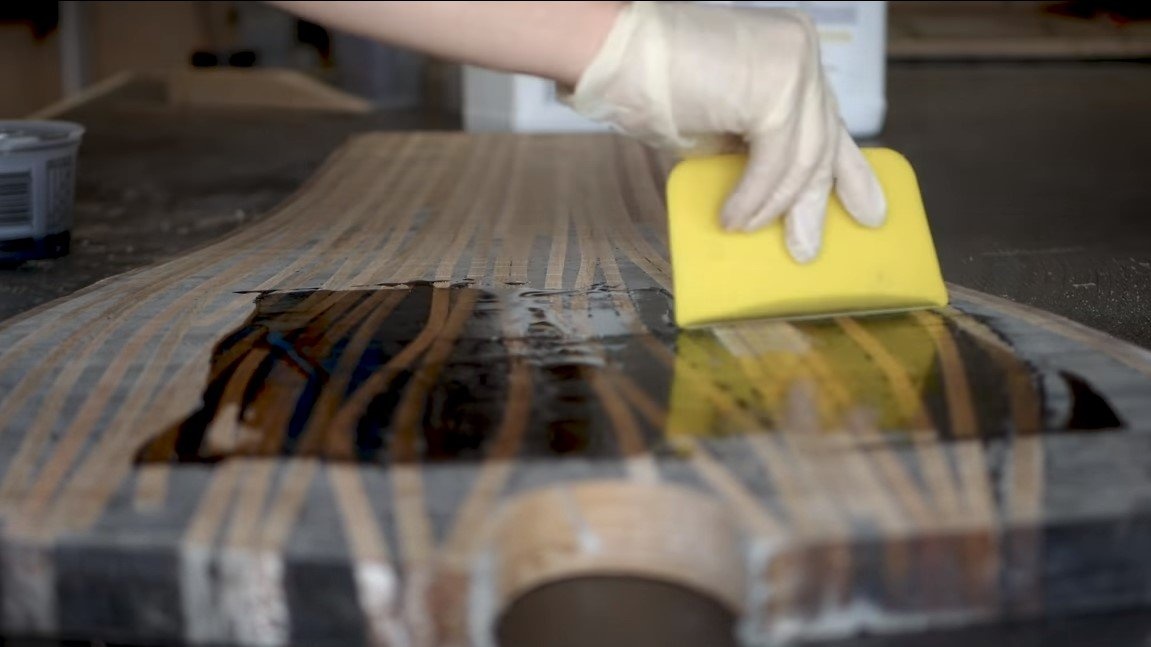
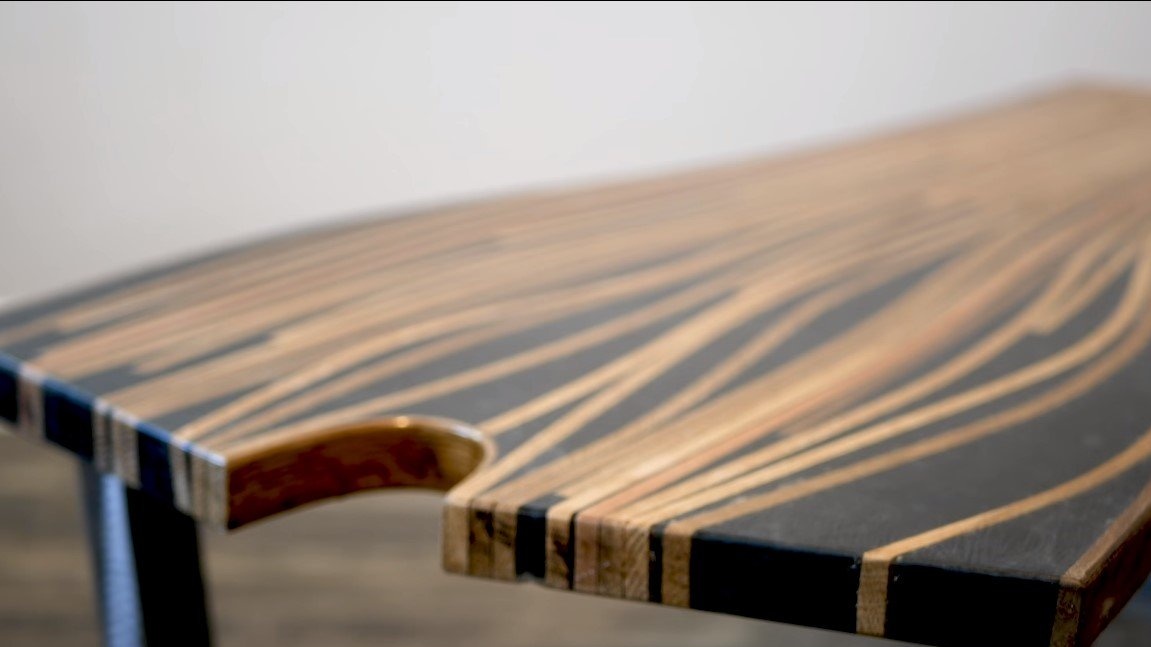
Step Six Worktops and defects
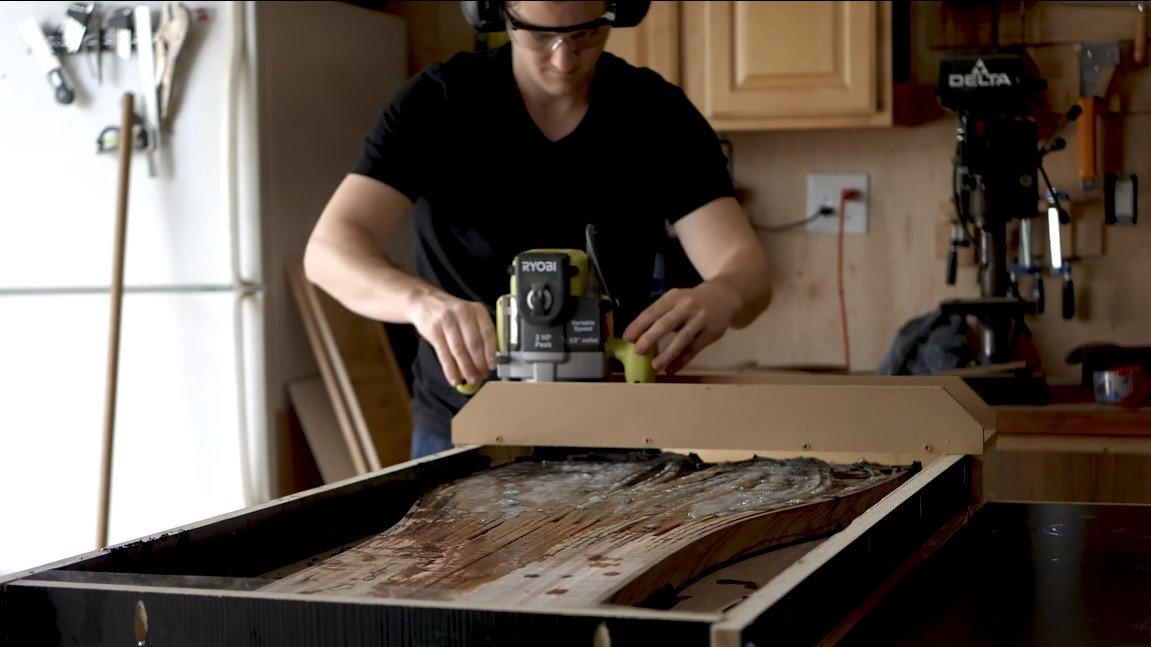
Once the resin has hardened, align the entire plane again with a hand mill. After milling, it turned out that there are many depressions in the resin, which were formed due to the presence of air bubbles in the resin. Again we dilute the resin with the dye and make a light “screed”, thereby filling in the bumps.

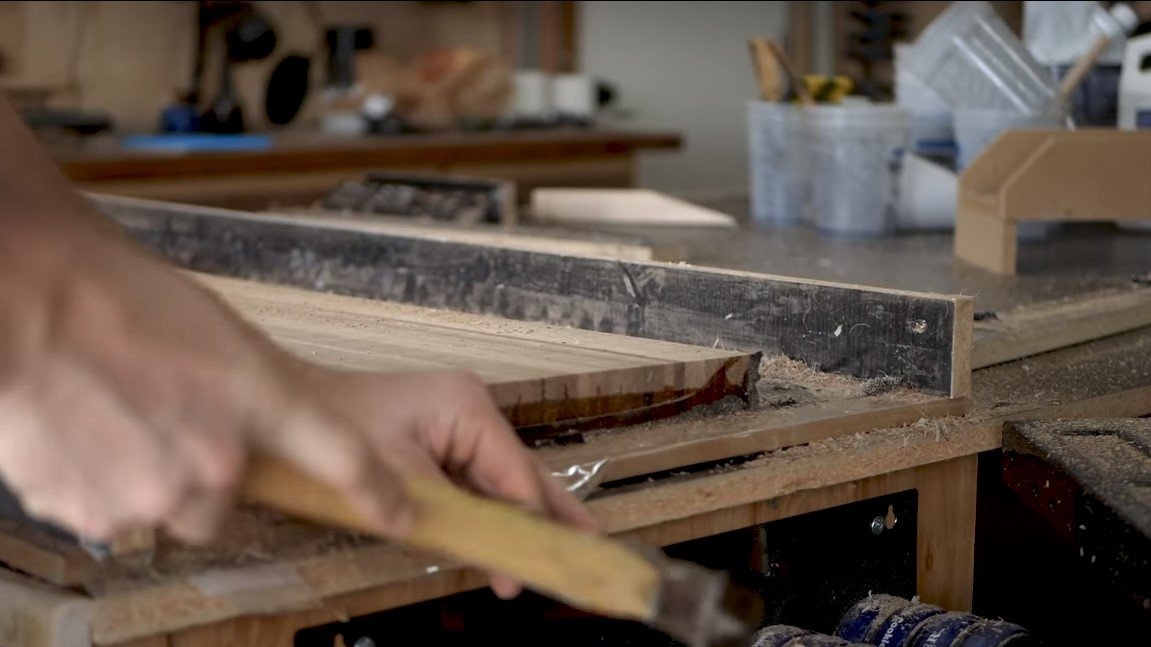
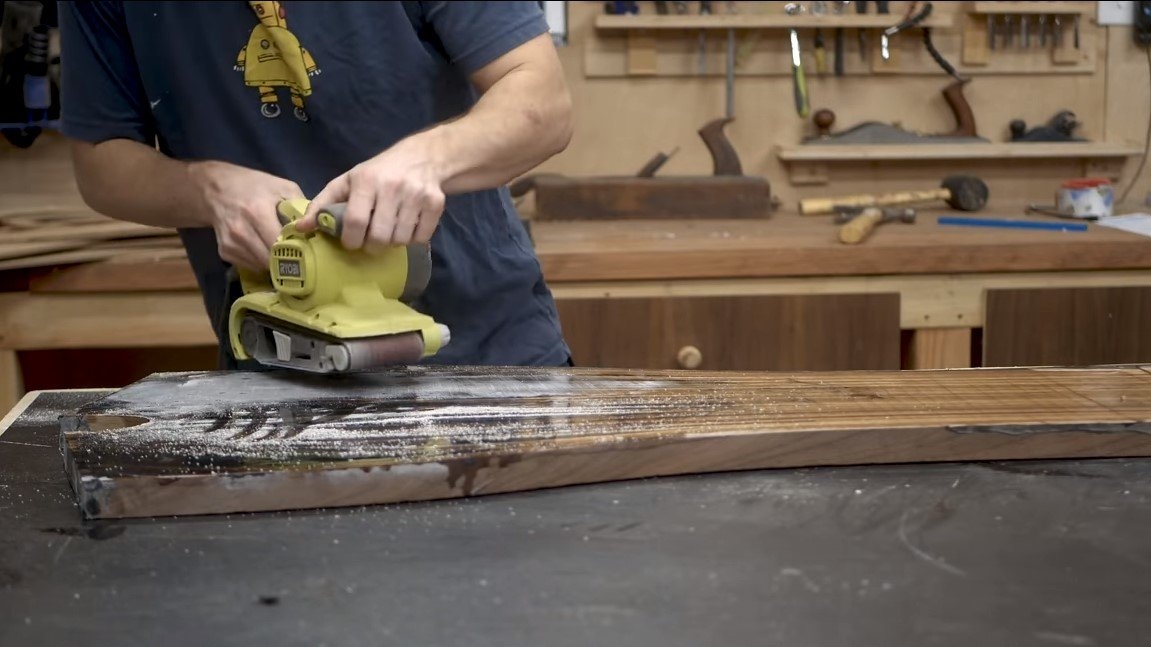
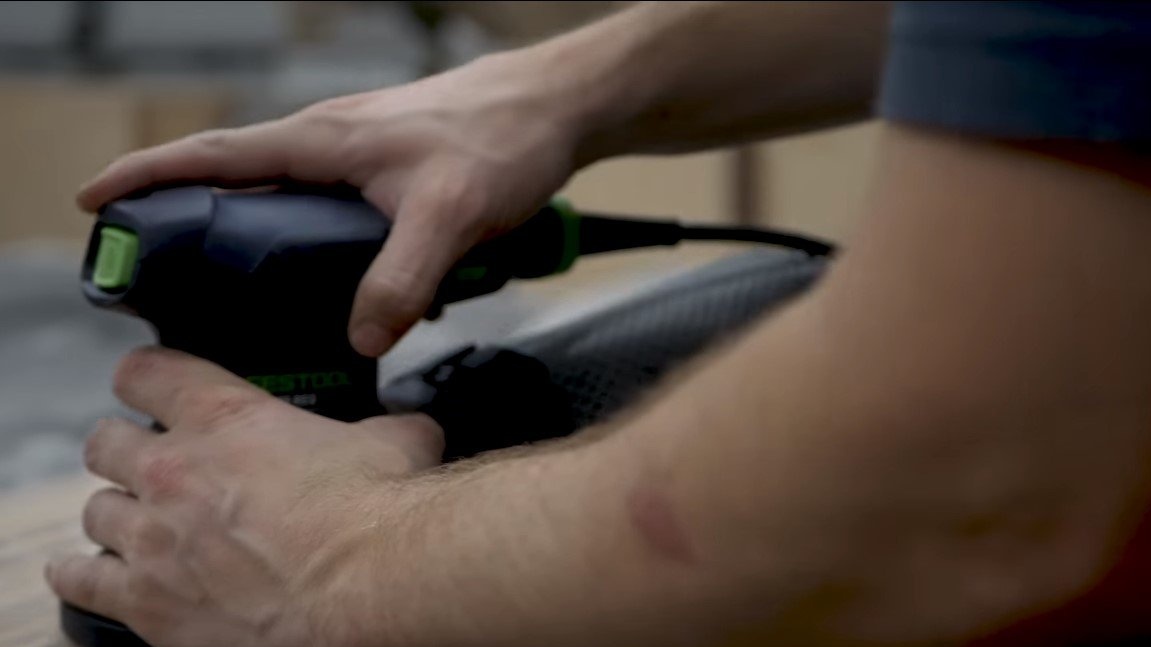
Next, we arm ourselves with a belt sander and rough sandpaper again level the plane. After rough grinding we switch to lighter using an orbital grinder.
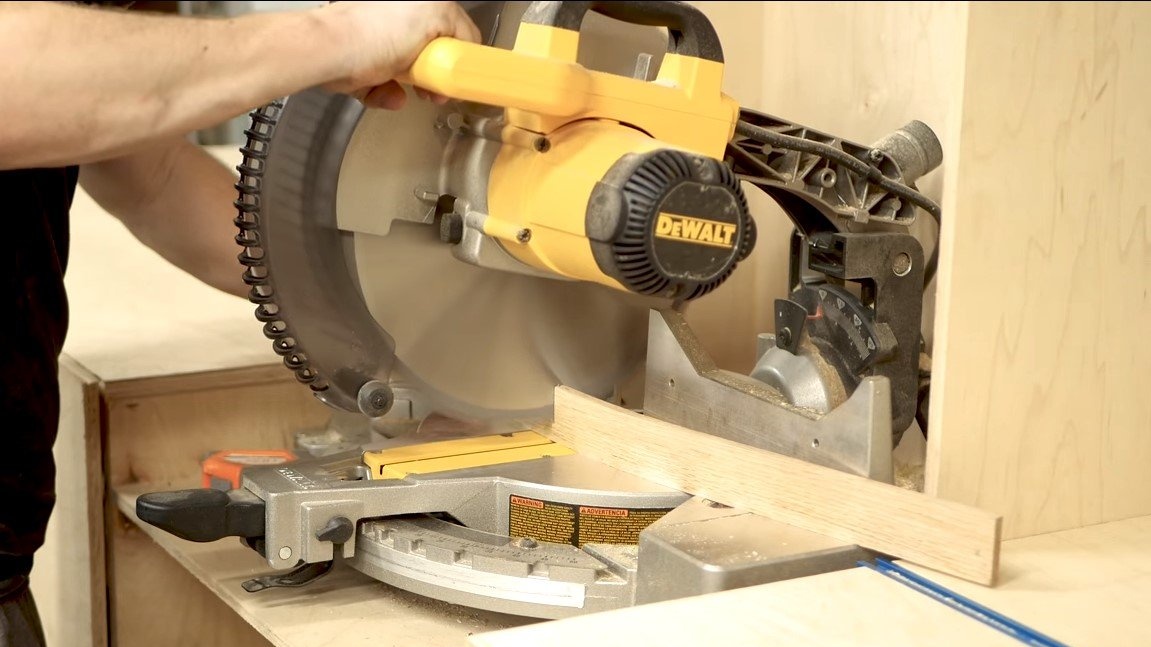
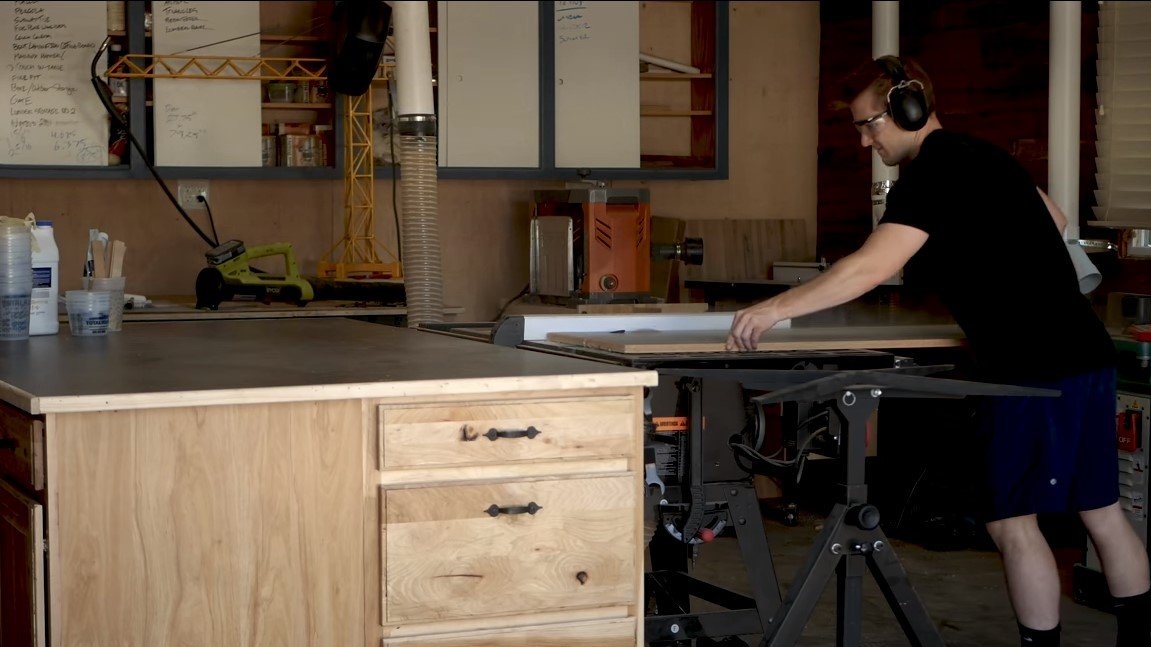
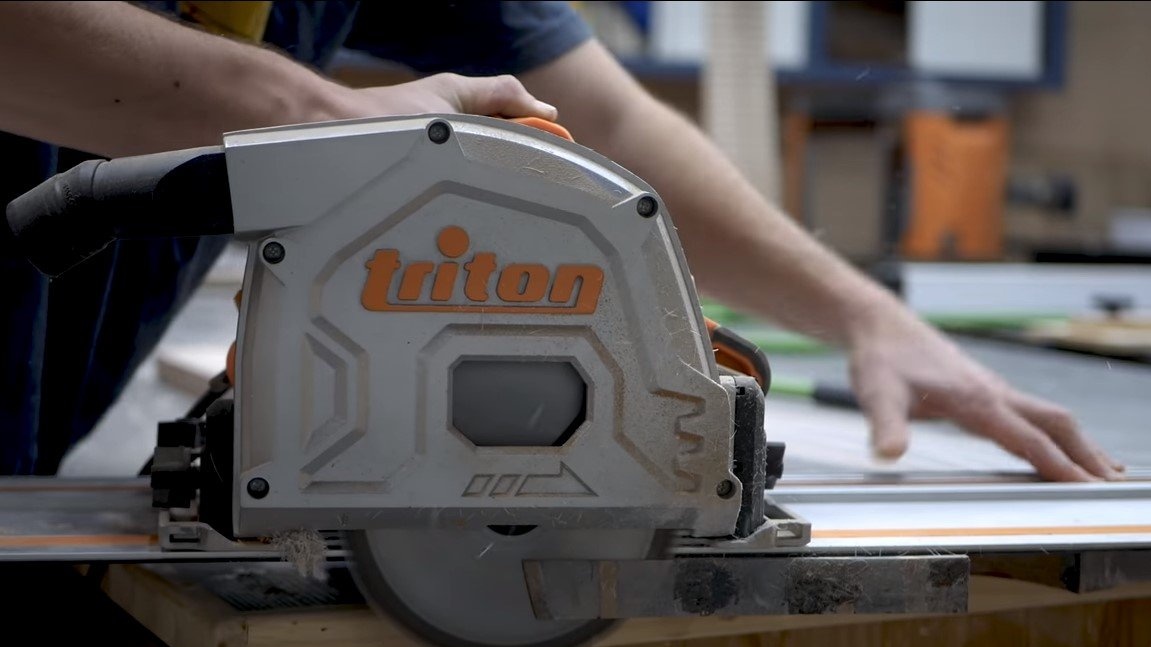
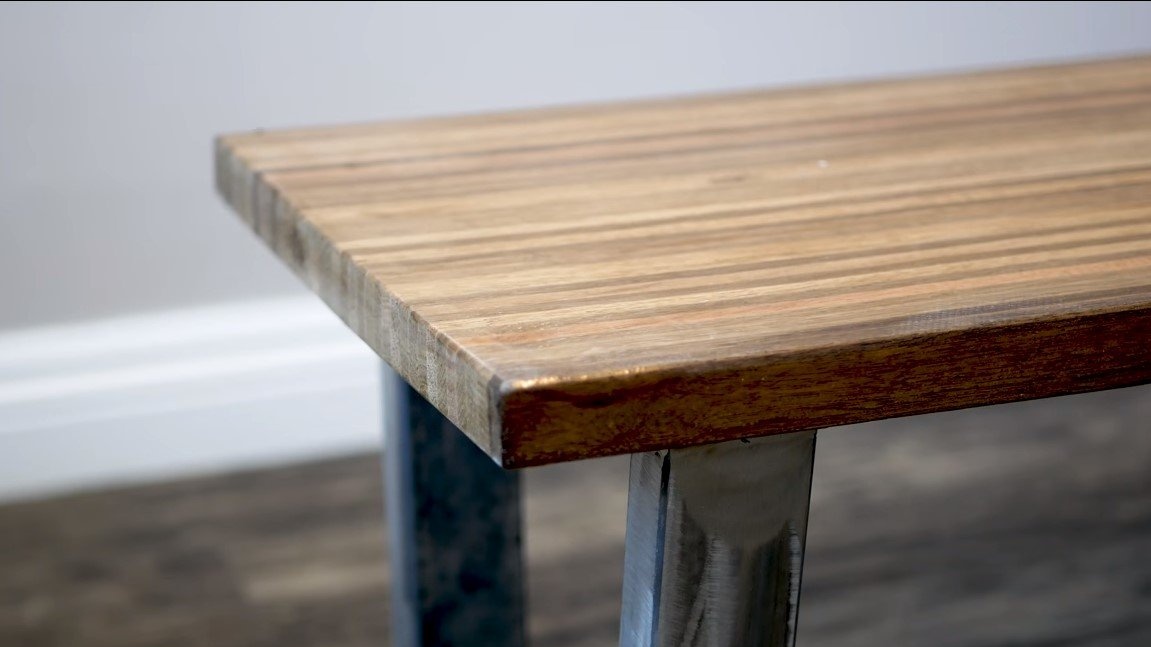
The countertop is almost ready, we cut off the excess with a hand circular saw and go through the corner milling cutter in order to make it blunt. At the end, we apply epoxy varnish, now the countertop looks gorgeous, and the resin is protected from the harmful effects of ultraviolet radiation.
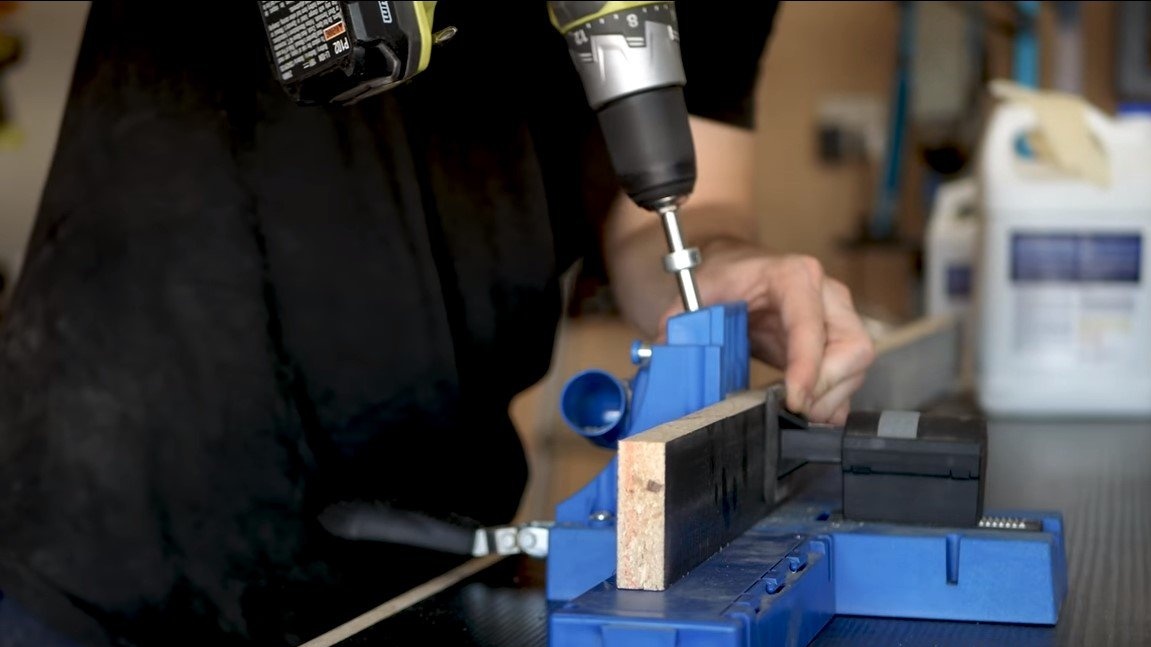
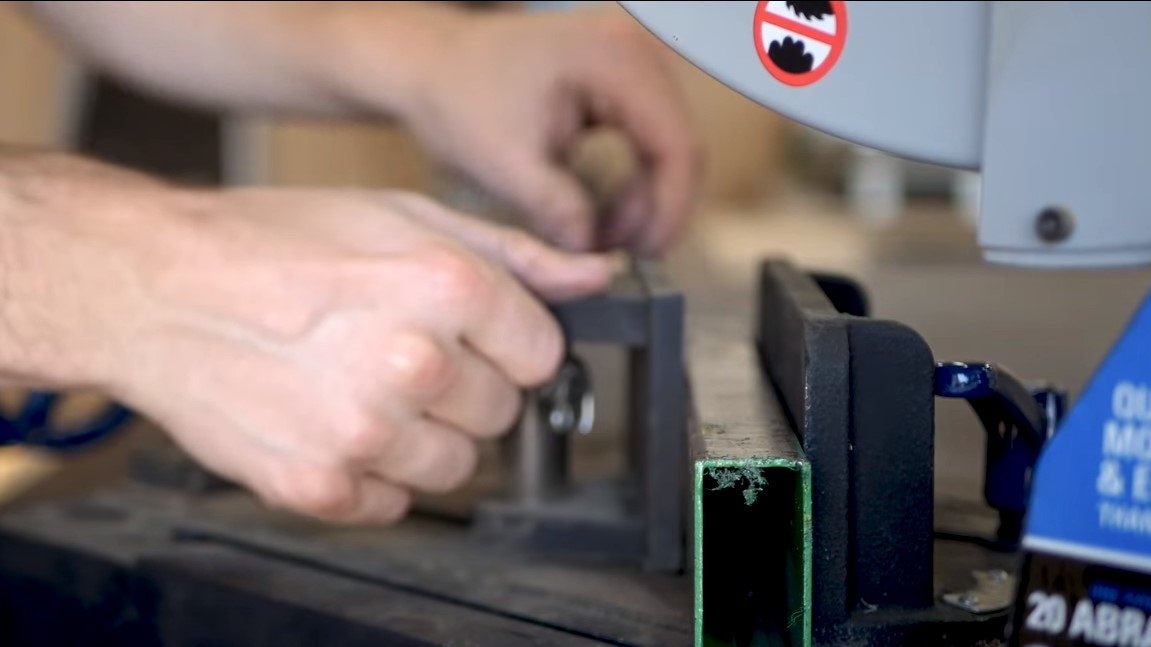
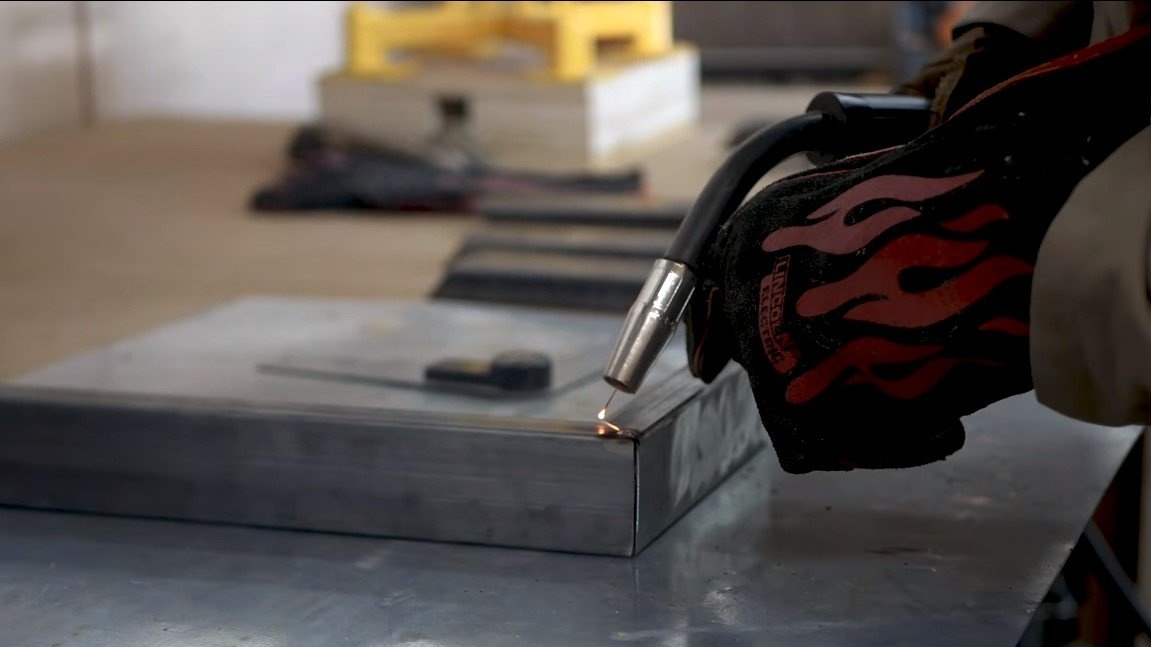
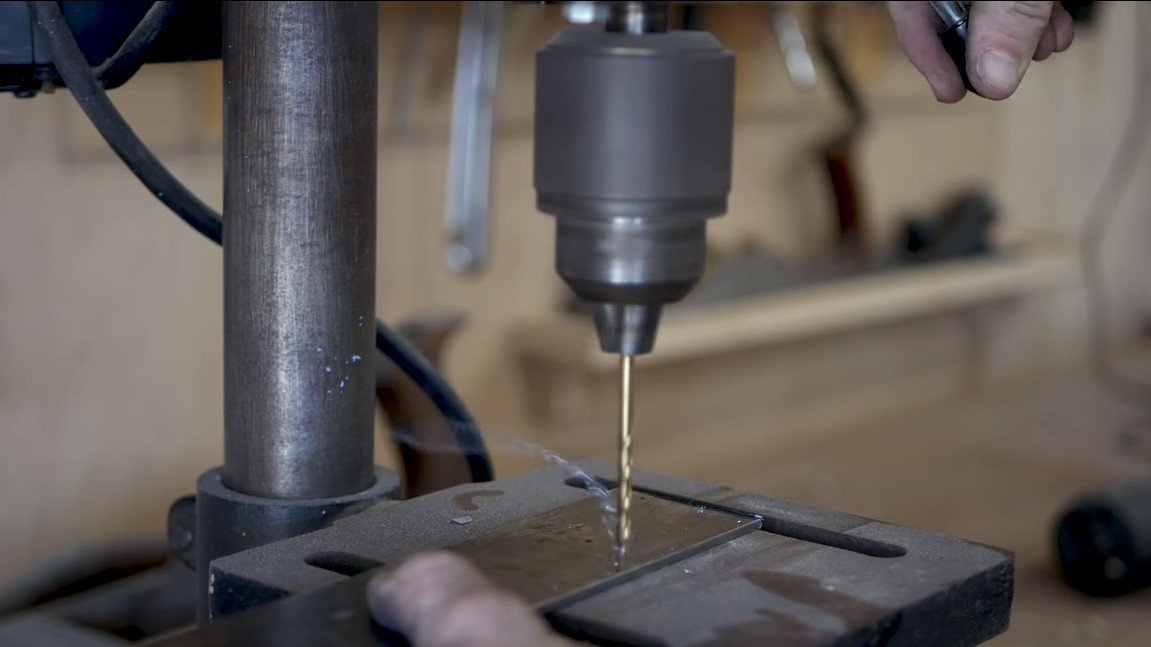
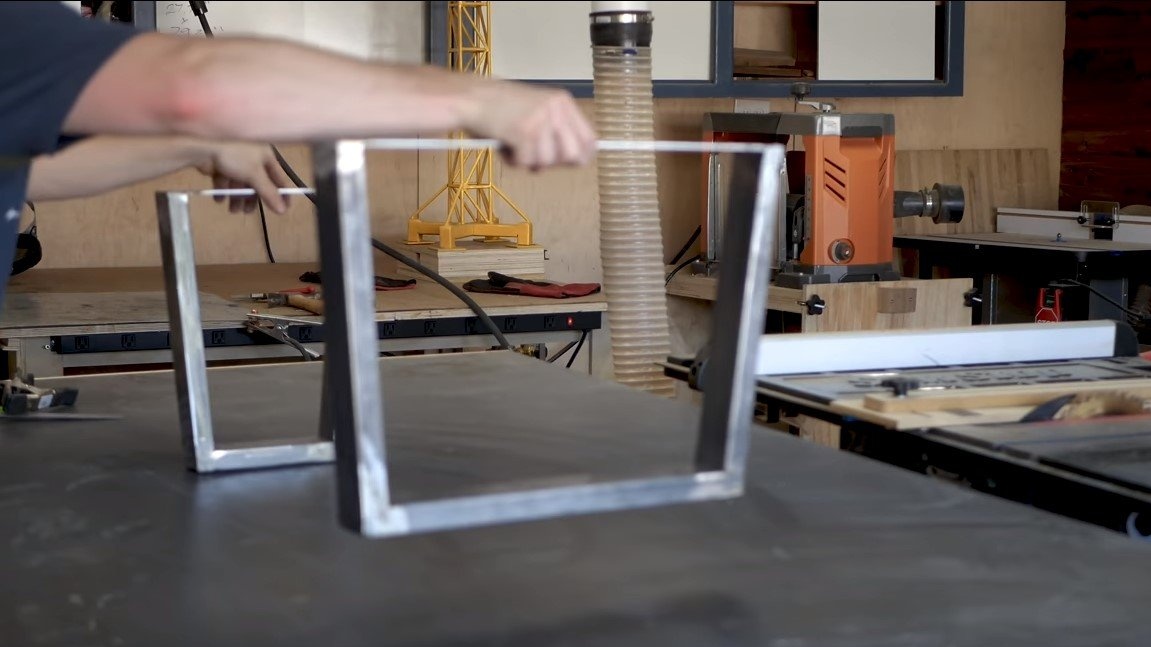
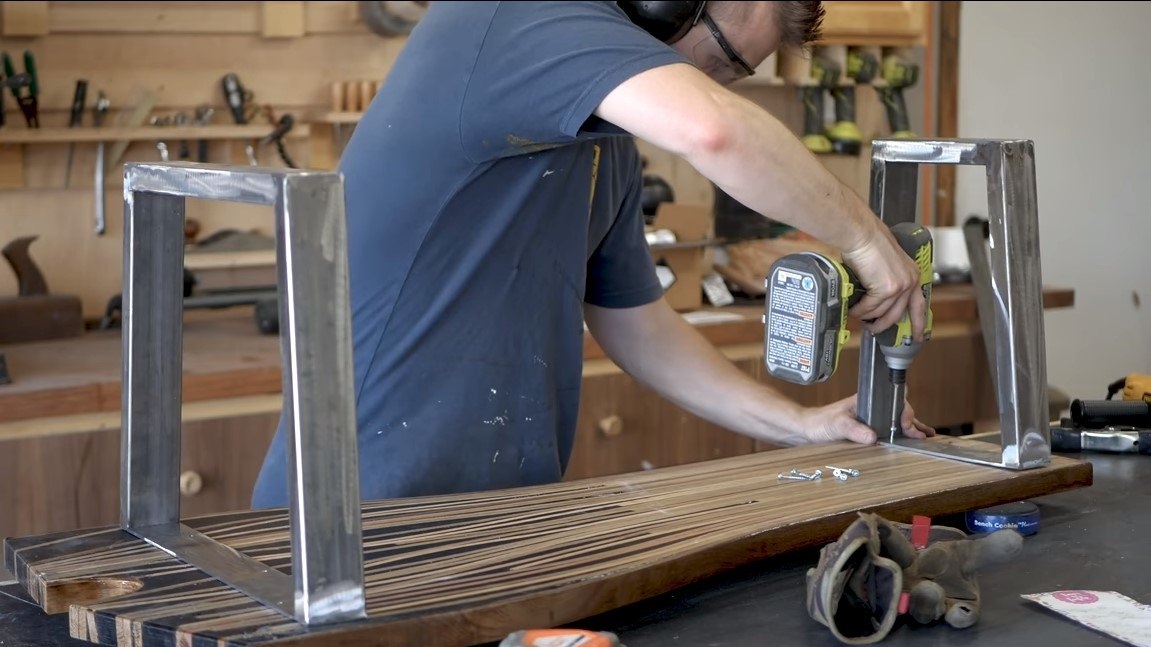
Seventh step. Legs
We make the legs for the table, the author used square shaped pipes. We cut the pipes, weld and weld steel plates with pre-drilled holes to the legs. After painting the steel, the table can be assembled, we fasten the legs with screws on the wood and you're done.
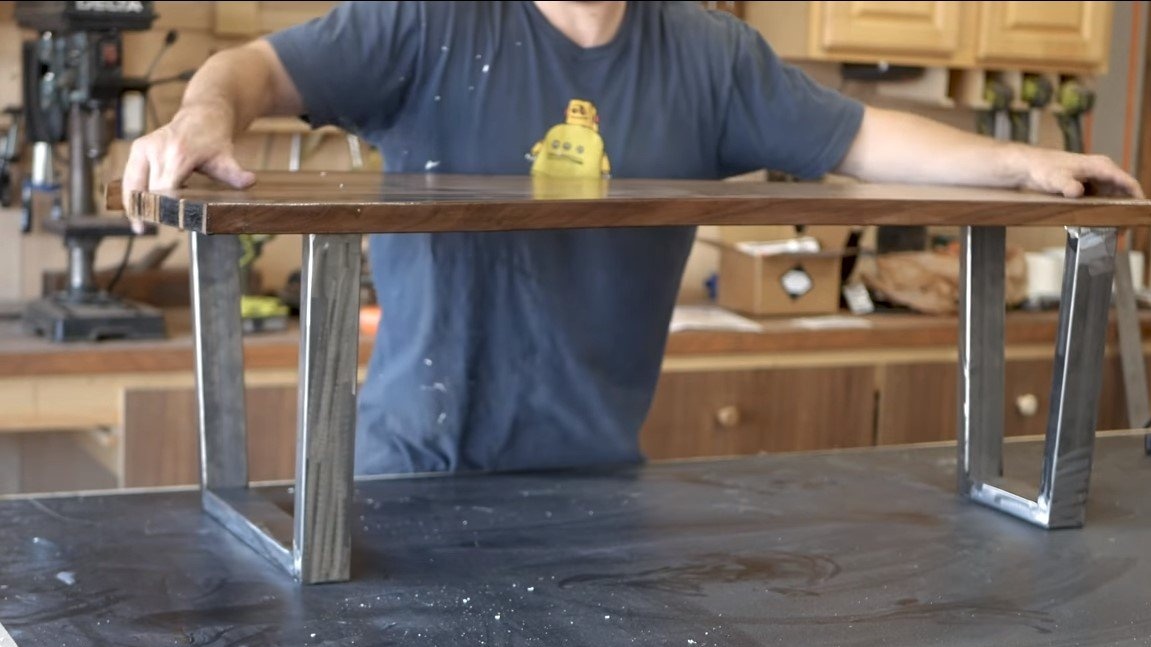
The table looks great, it is not afraid of water, it is strong and durable, you can even sit on such a table. Coffee for such homemade will be much nicer. The project is completed on this, I hope you liked the homemade work, and you found useful thoughts for yourself. Good luck and creative inspiration, if you decide to repeat this, do not forget to share your ideas and homemade things with us!