Wooden watches have always been popular. They will help not only to find out the time, but also to decorate the interior. Wood is such an interesting material that even old boards can turn into interesting watches. Since I had very ugly boards in my stock that I didn’t mind throwing away, I decided to try to find them to use.
Tools and materials:
- Board
- Electric jigsaw
- Stain
- Acrylic varnish
- Clockwork
- nails
- Hammer
- A jute rope, or a rope, or another rope
- Paper
- A pen
- Self-tapping screws
- screwdriver
- Drills for wood
- Scotch tape
- Wooden rail 20mm by 10mm
- Sandpaper
- Nippers, nippers, or other tools
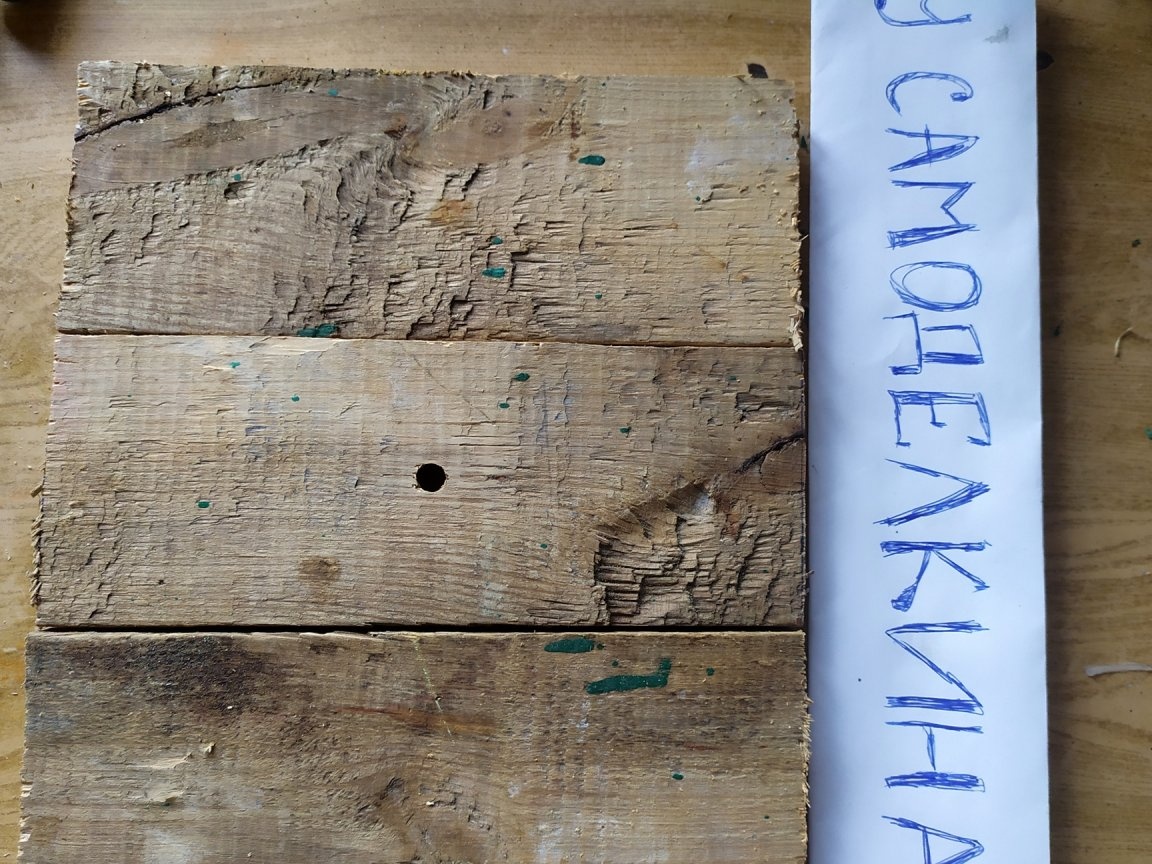
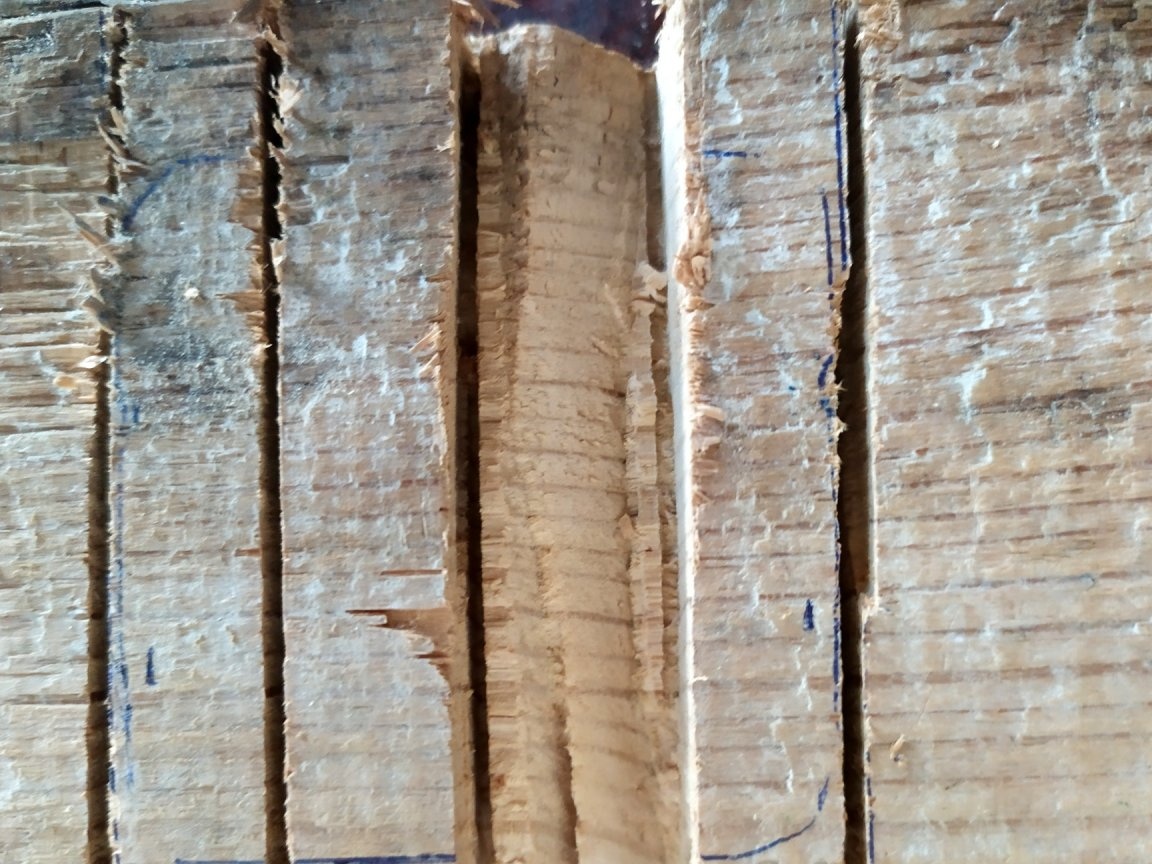
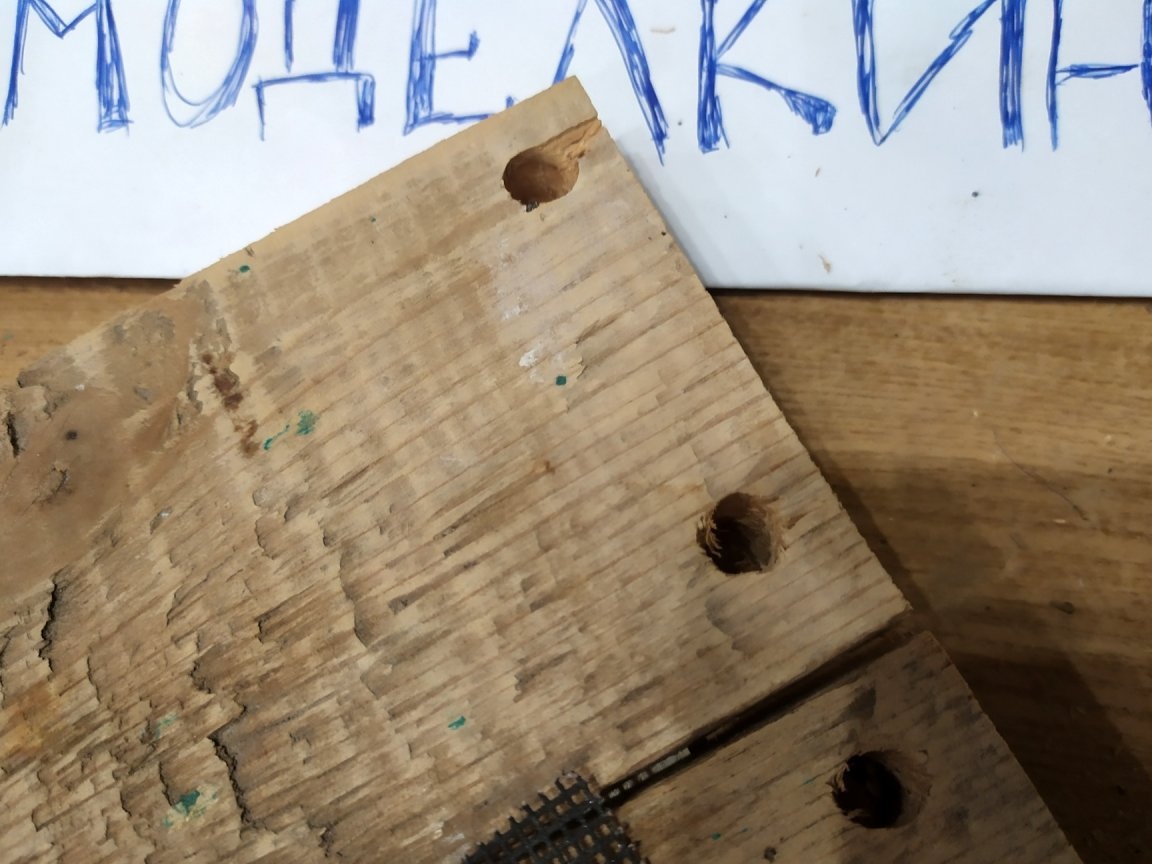
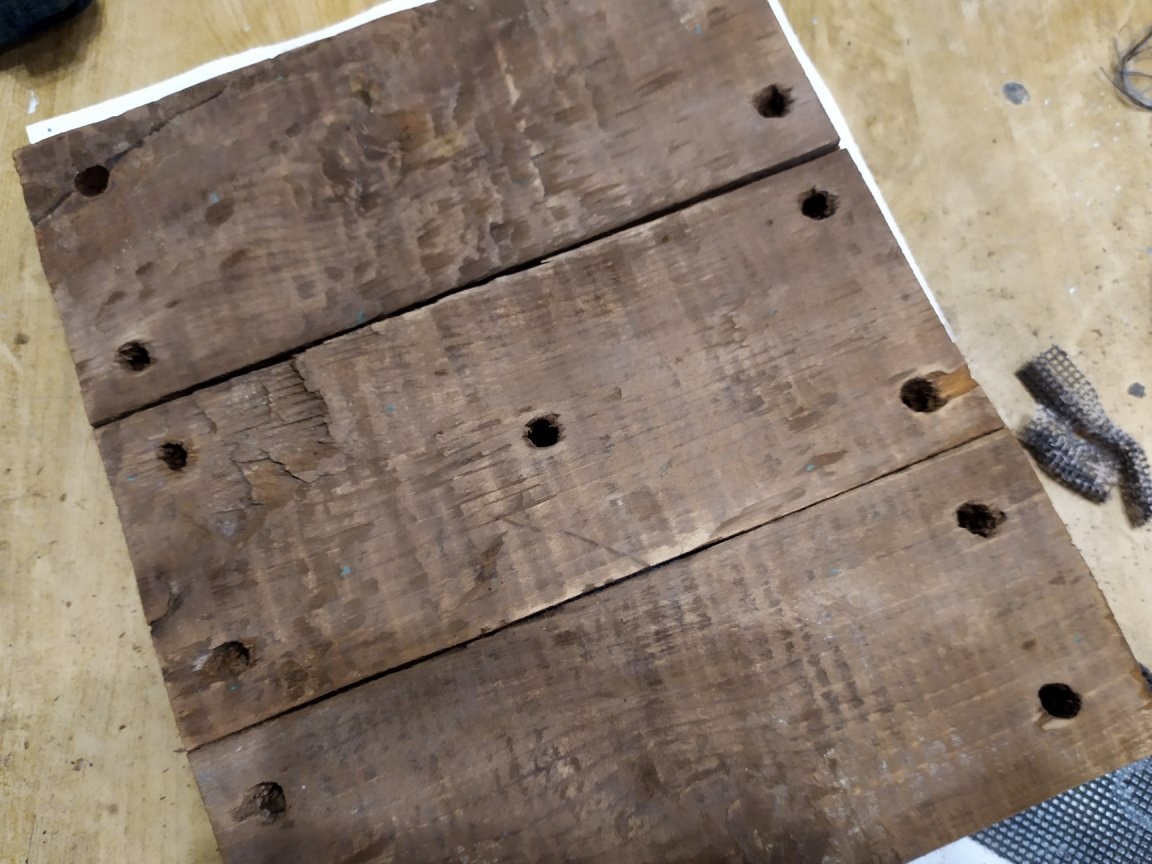
To create a watch, I used an old board.
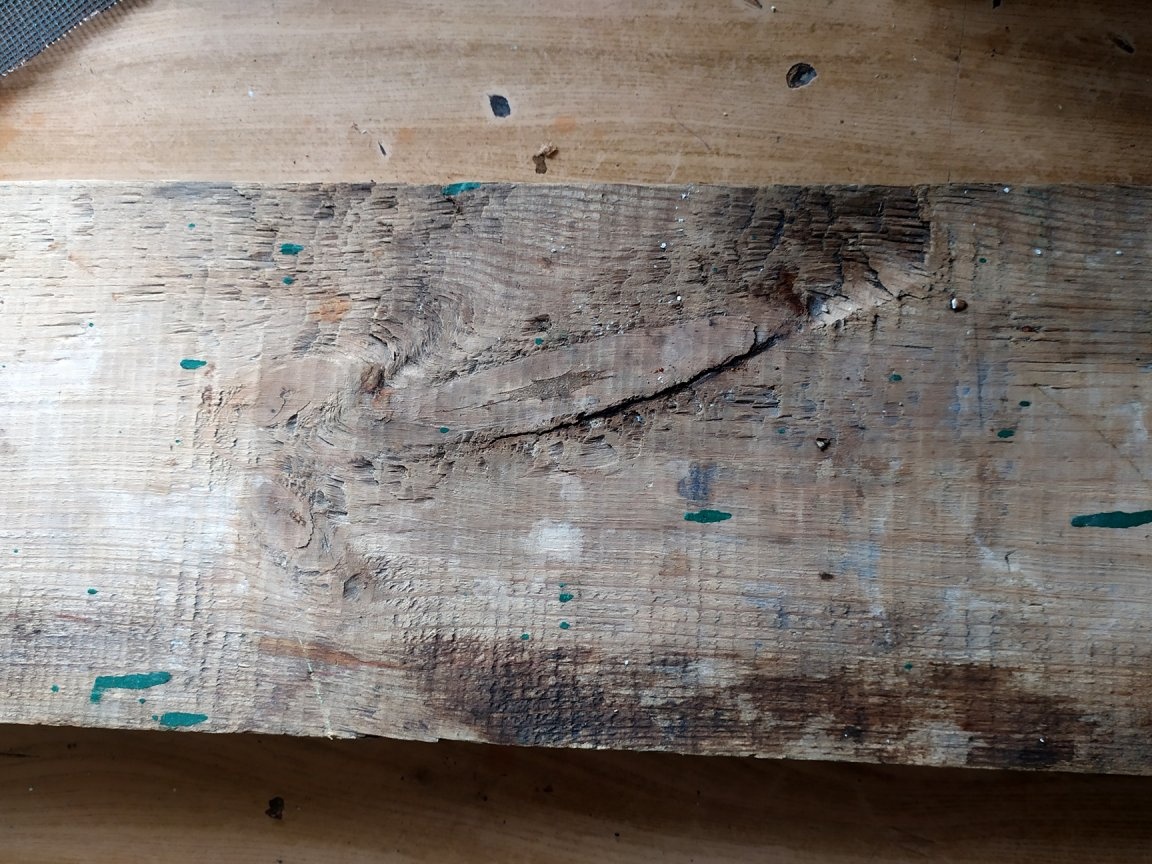
It may not be the most suitable option, but that is, that is. My watch will consist of three crossbars, so for starters, on a wide board, I mark the crossbars. They will be 75mm wide and 200mm long.

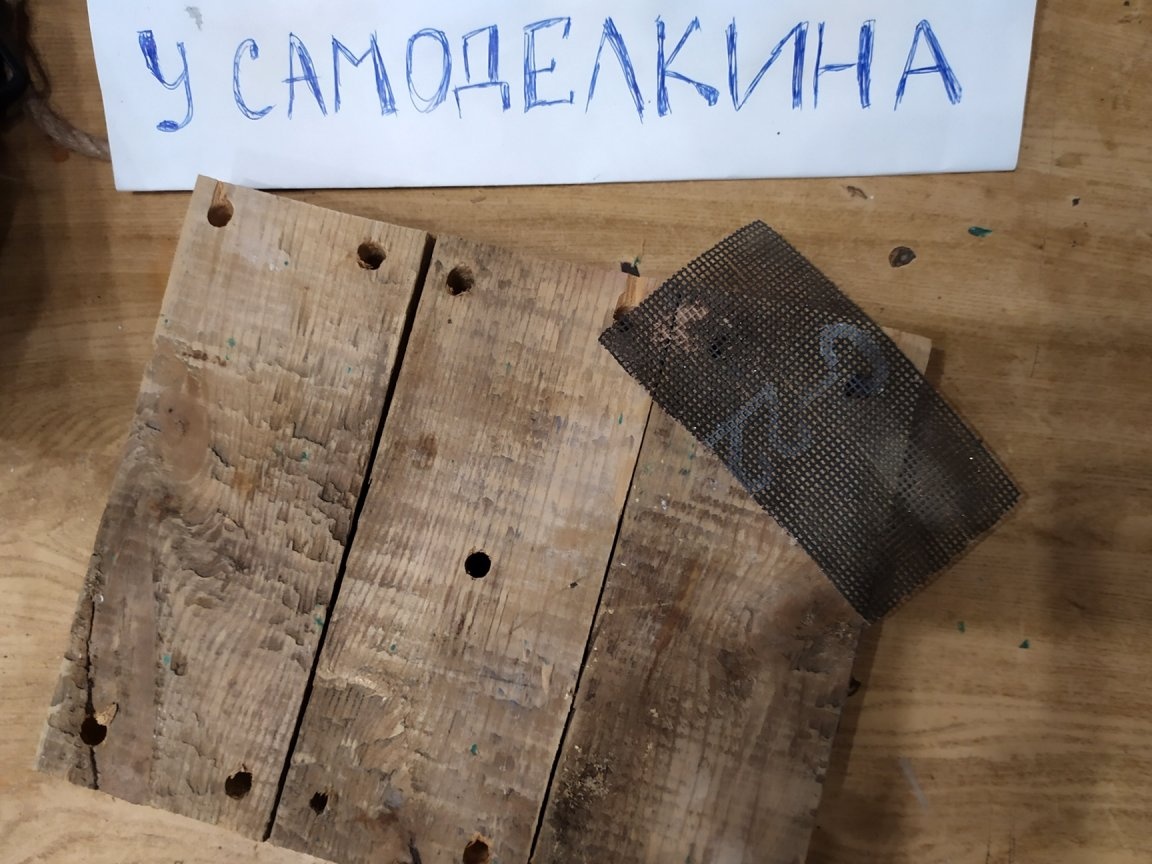
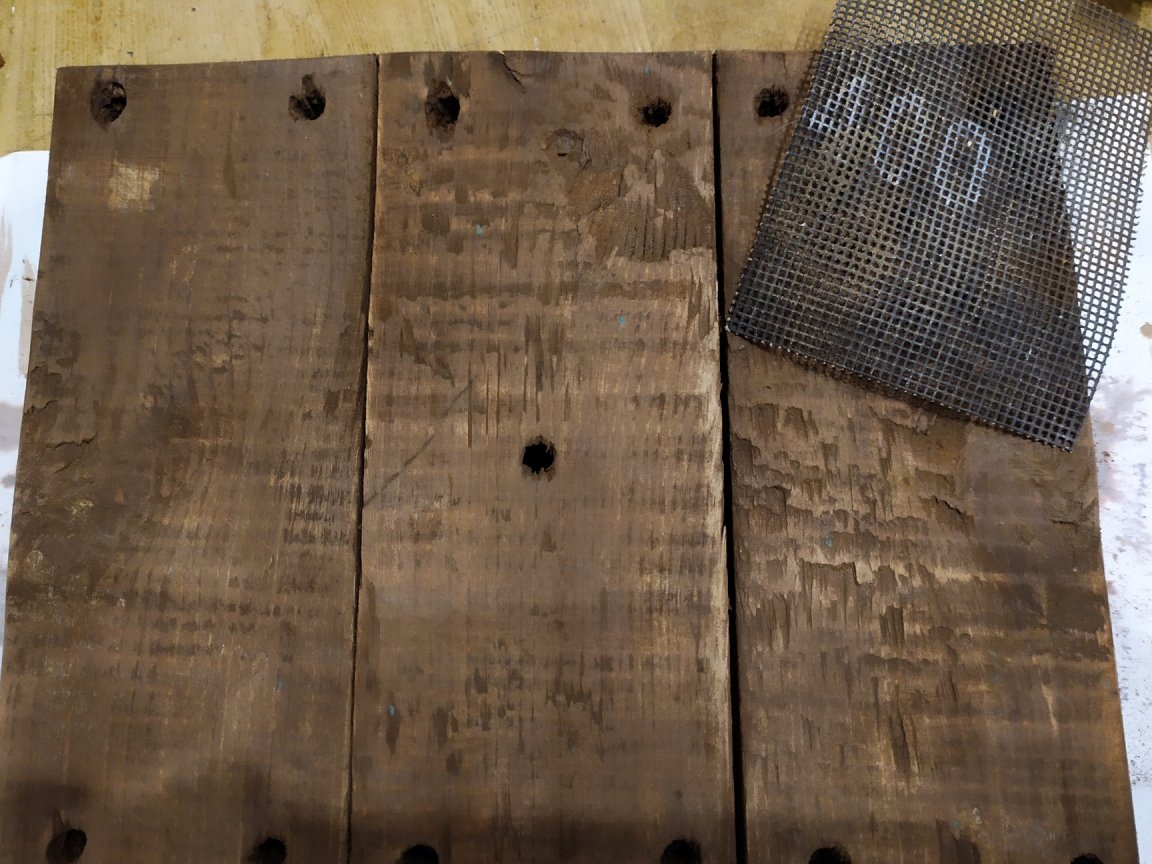
After we have done the marking, we begin to cut out the details with a jigsaw. We use a nail file for a tree.
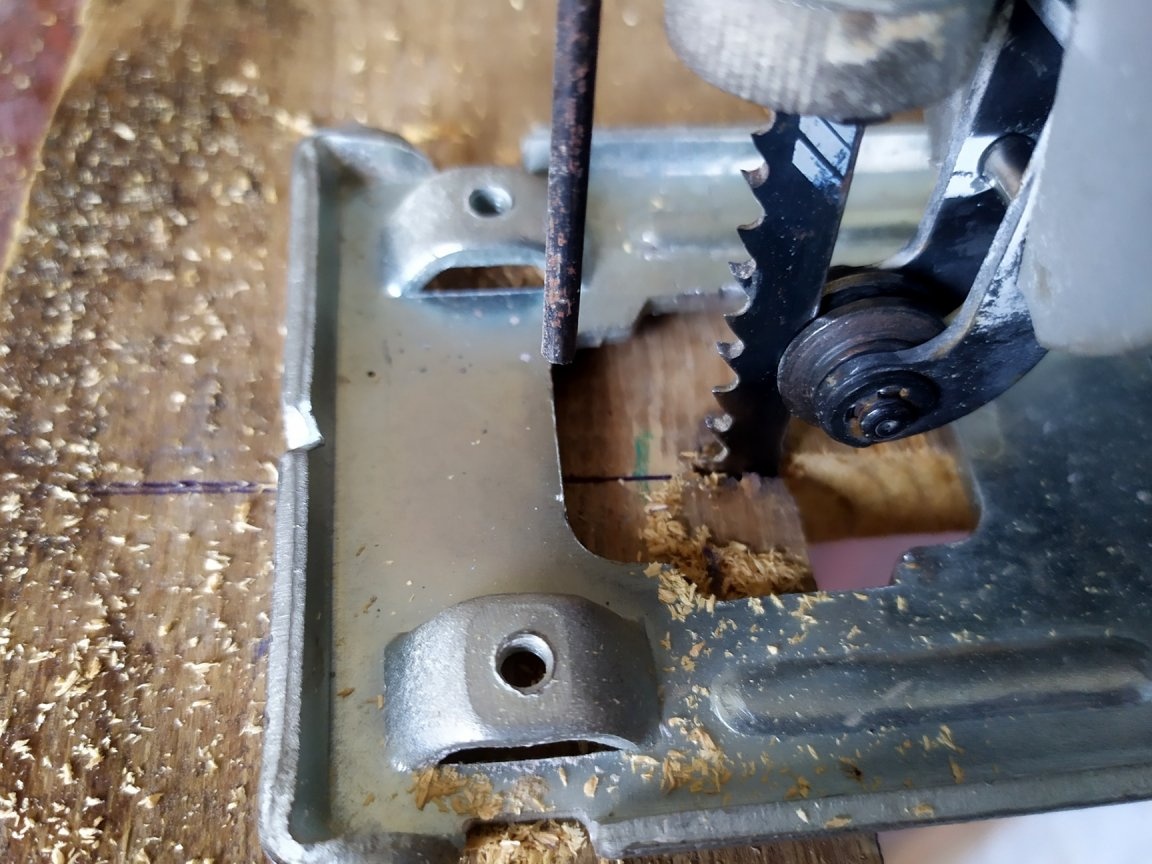
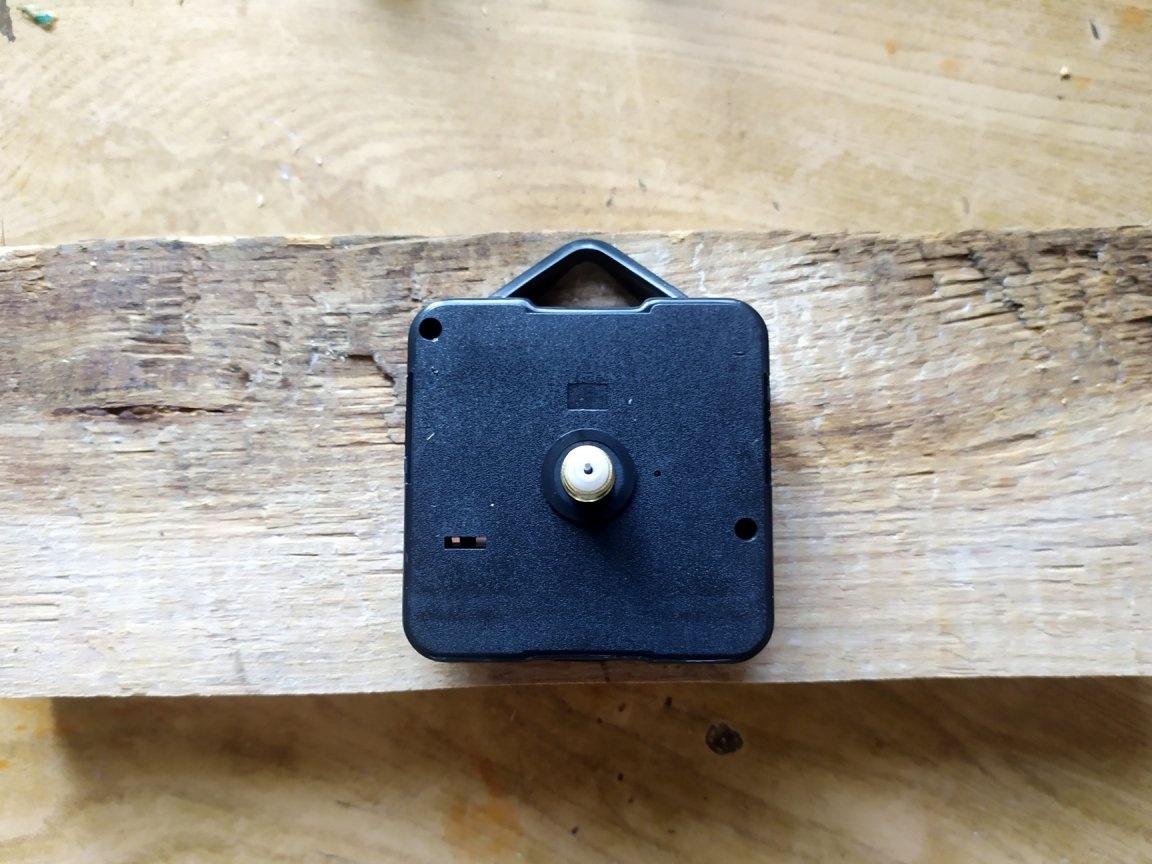
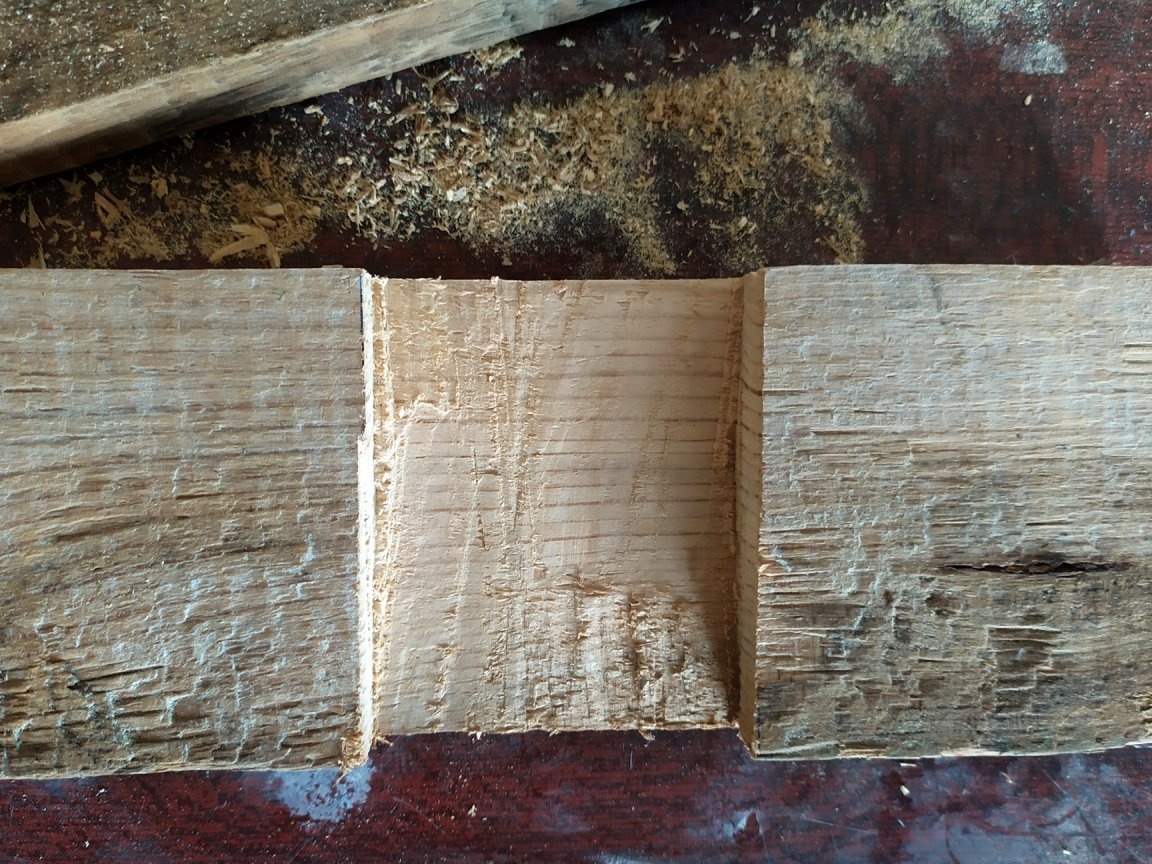
When we cut out the crossbars, it will be necessary to outline where the clockwork will be located. Here you may encounter a problem. Since the thread on the mechanism turned out to be low, it cannot pass through the entire thickness of the tree, and as a result, become fixed. Therefore, you will need to make a hole for her. Since I don’t have special tools, I use a jigsaw.
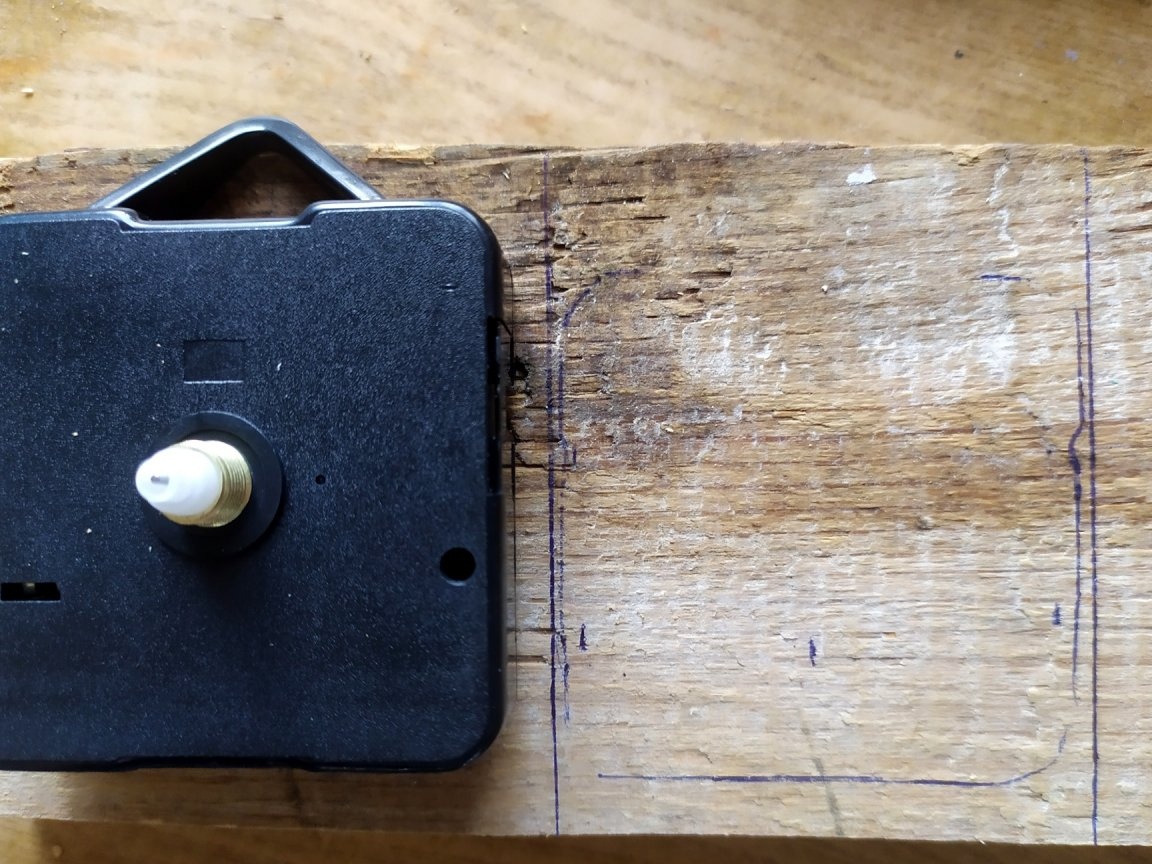
First, I outline where the mechanism will be.
Then, first I cut along the edges.
In the middle, in several places, I begin to make furrows.
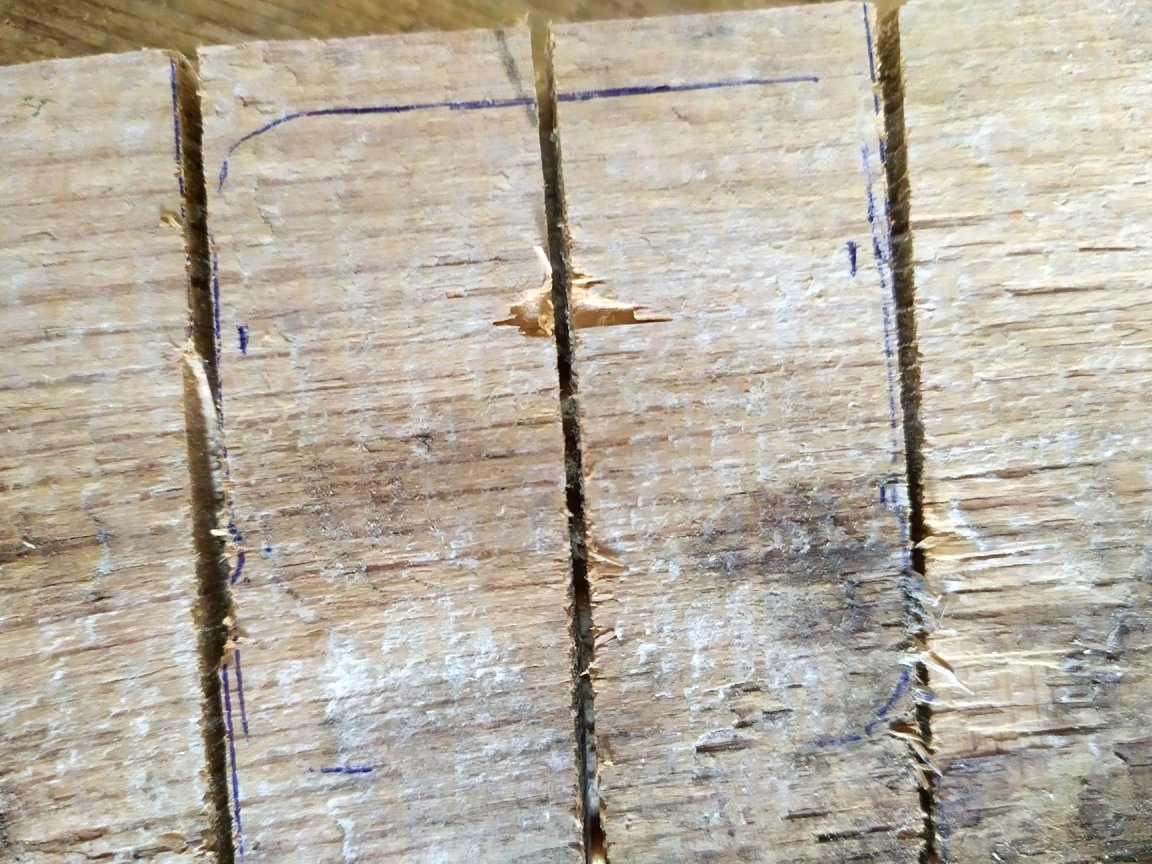
And then, cut diagonally, cut out a small piece of excess. Of course, this is very inconvenient, and you need to get used to it.
The thickness of the tree in this place should be such that the mechanism can be assembled. It is only a few millimeters, depending on your thread. But if possible, it is better to look with a long thread from 10mm, and preferably 20mm. When we cut out the recess, you will need to try on.
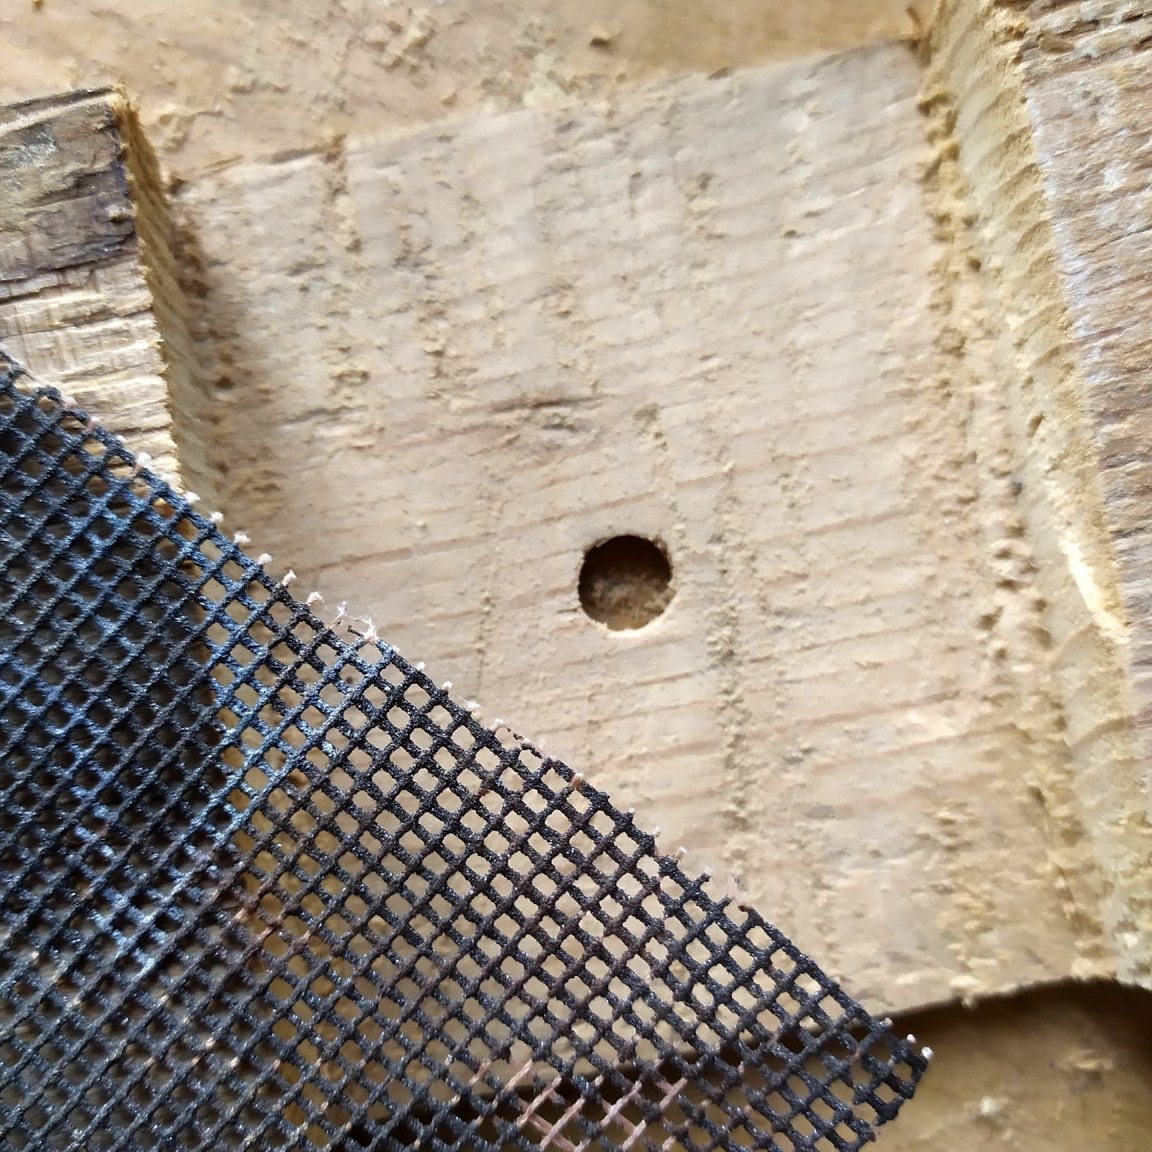
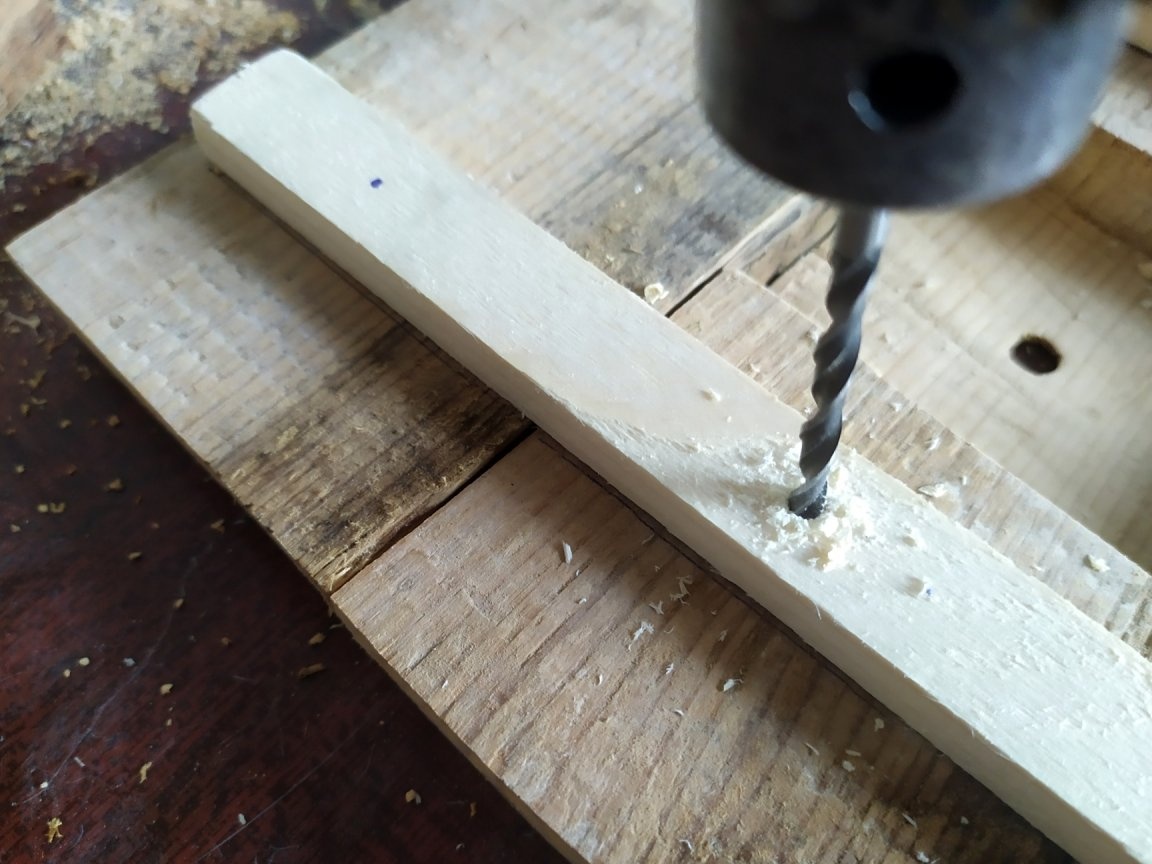
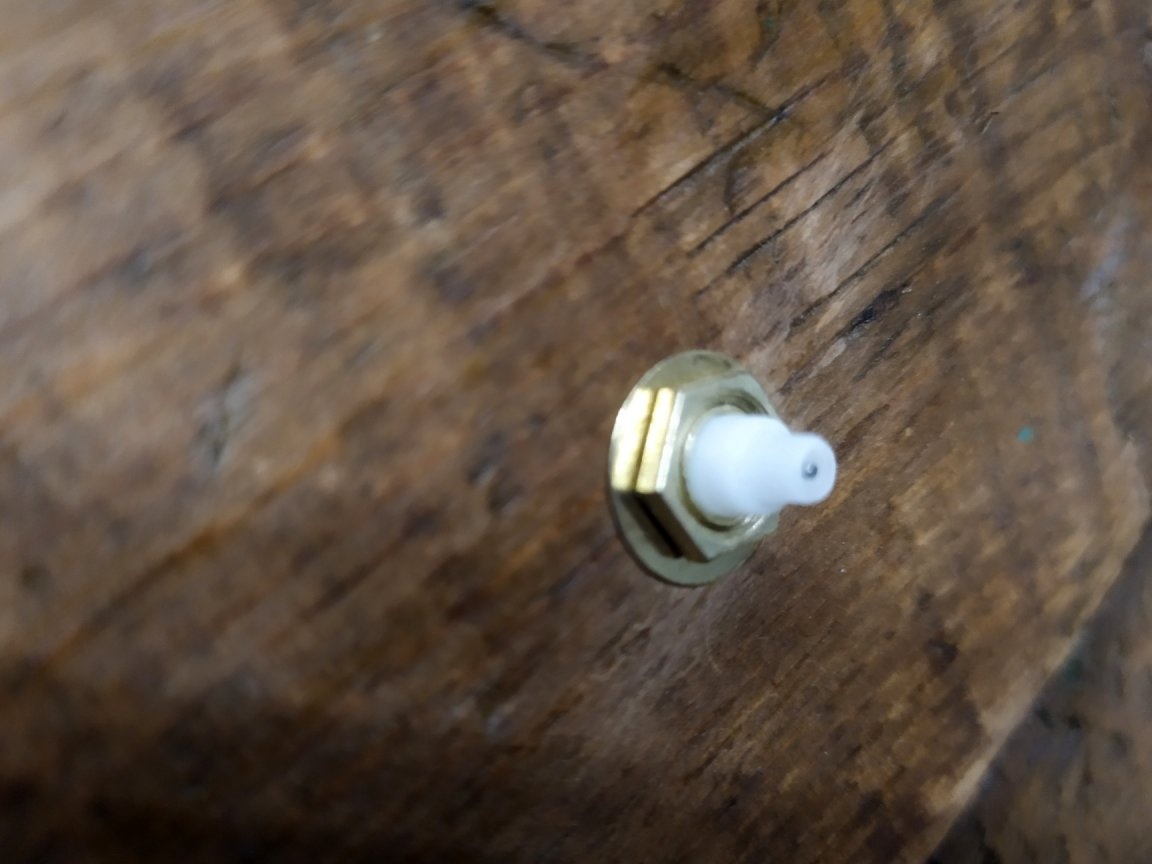
First, you need to make a hole for the thread. Mark with a pen in the middle of the point.
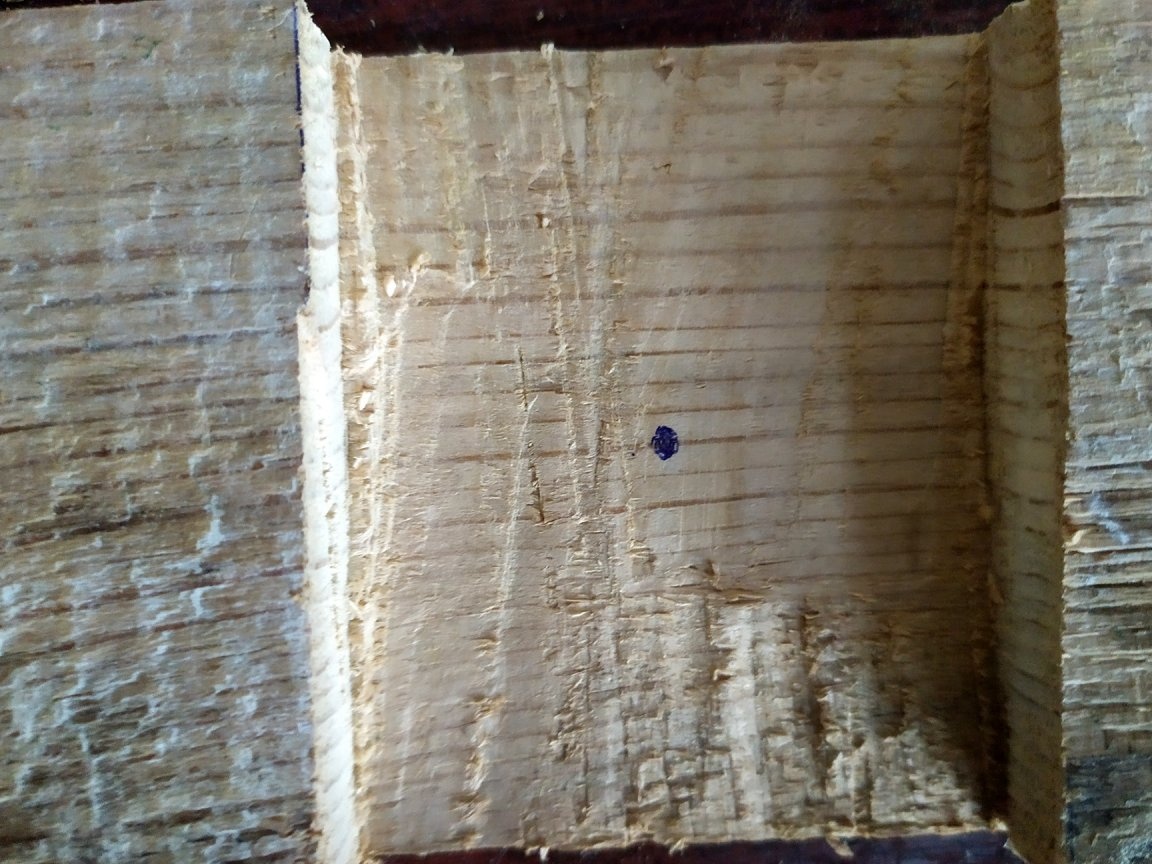
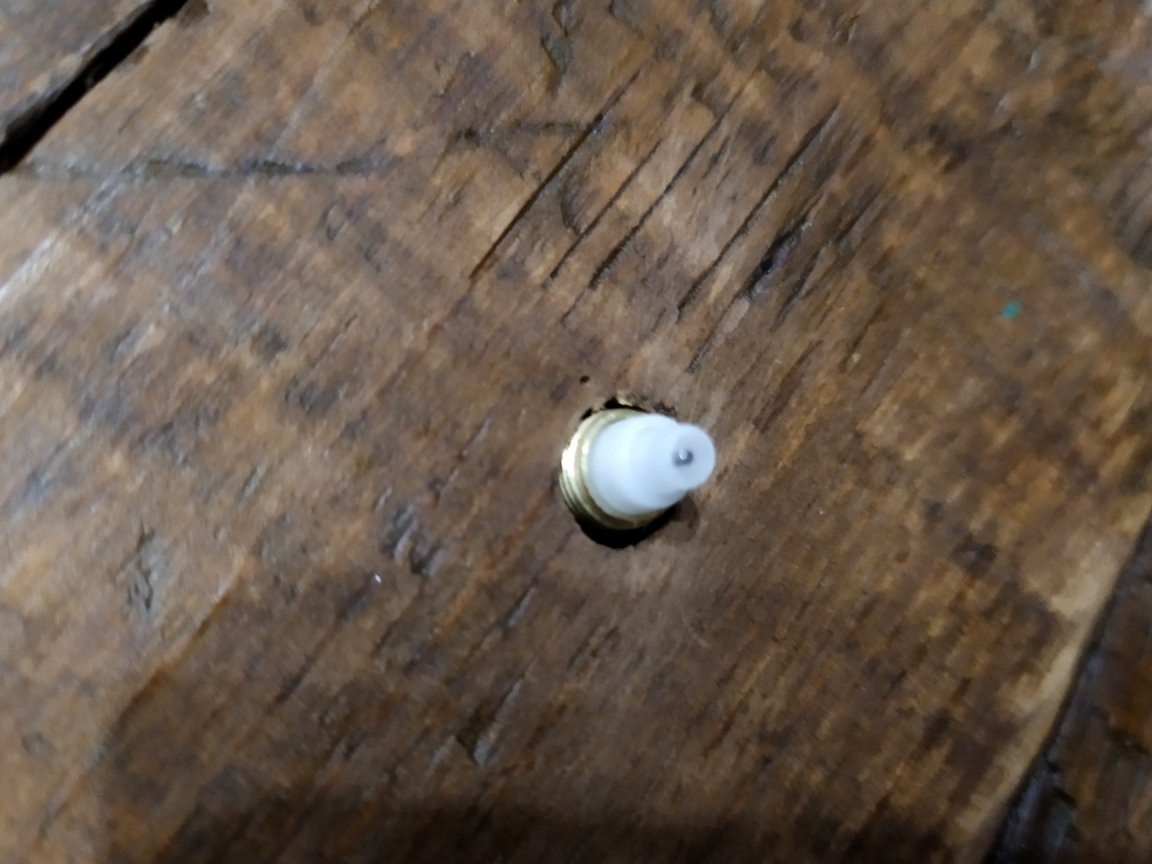
And make a hole. Then expand.
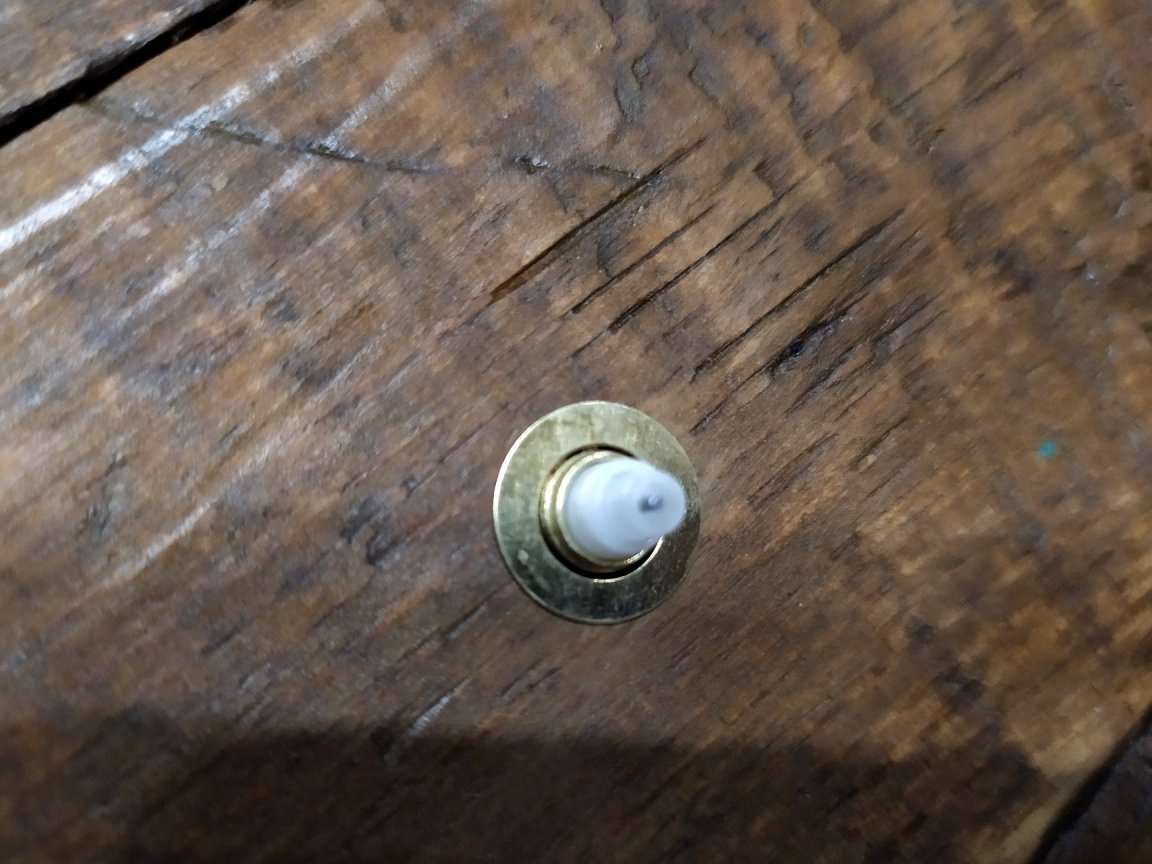
When you have made a hole, insert the mechanism. If the nut is tightened, then everything is in order.
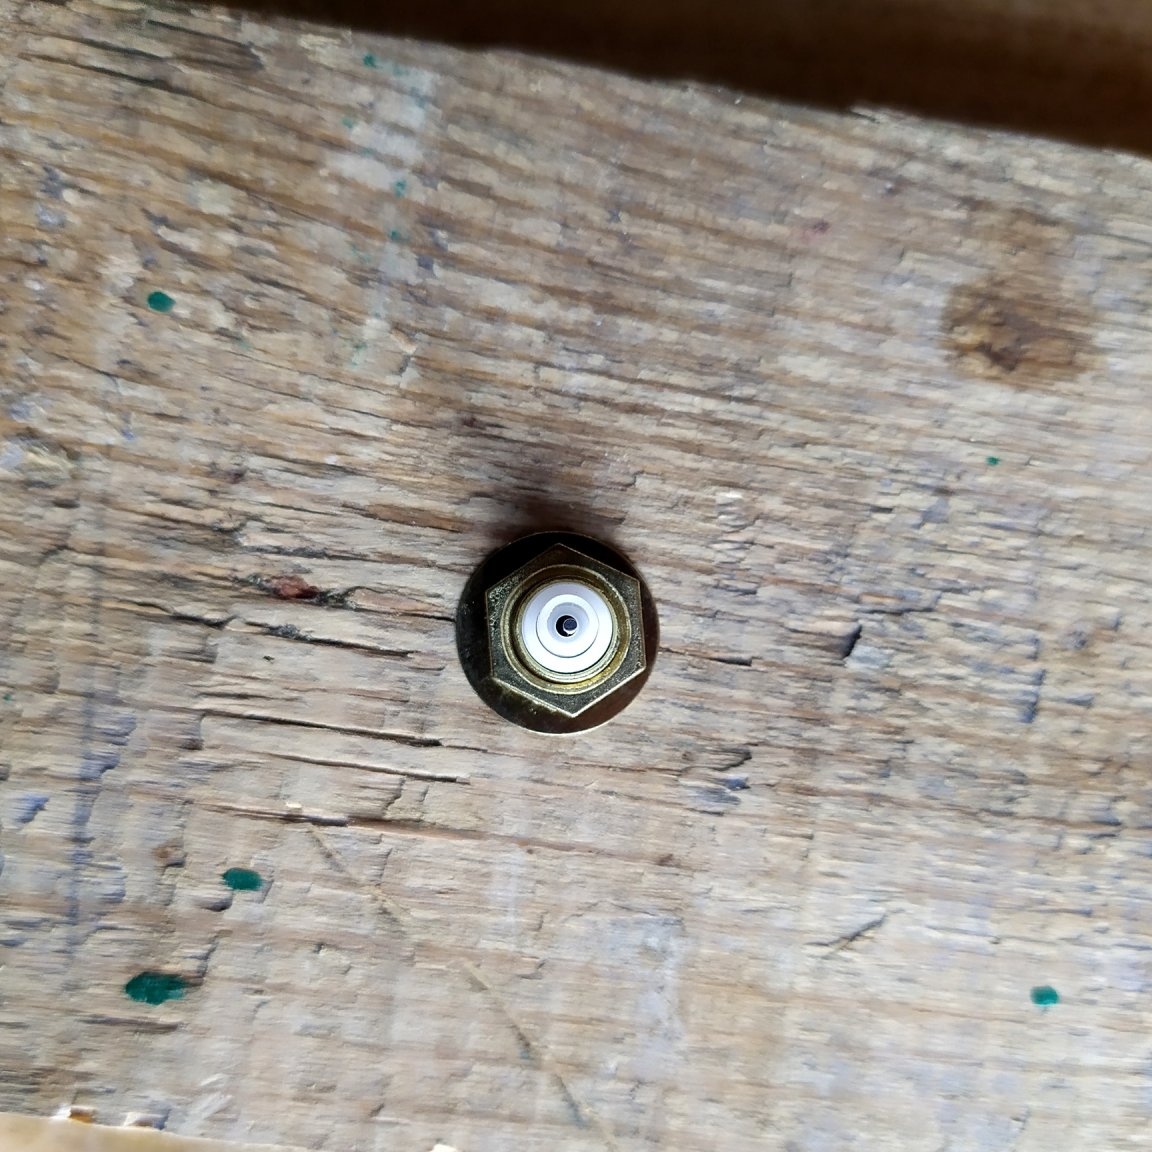
After everyone has changed, the mechanism needs to be removed.
Do not forget to sand this place.
Now, you need to connect all the crossbars. Then you need a rake, I took 20mm. by 10mm. Try on how long you need to cut. I got 220mm.
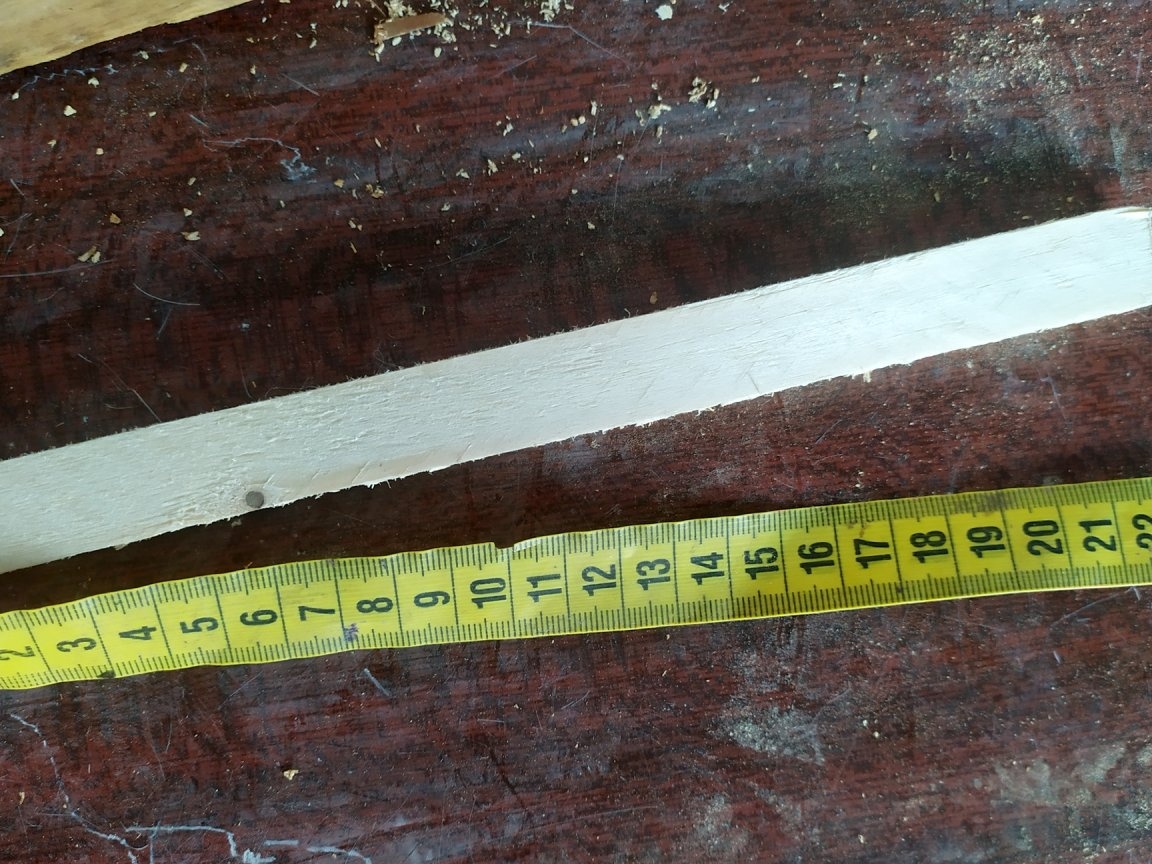
We cut off two pieces with a jigsaw.
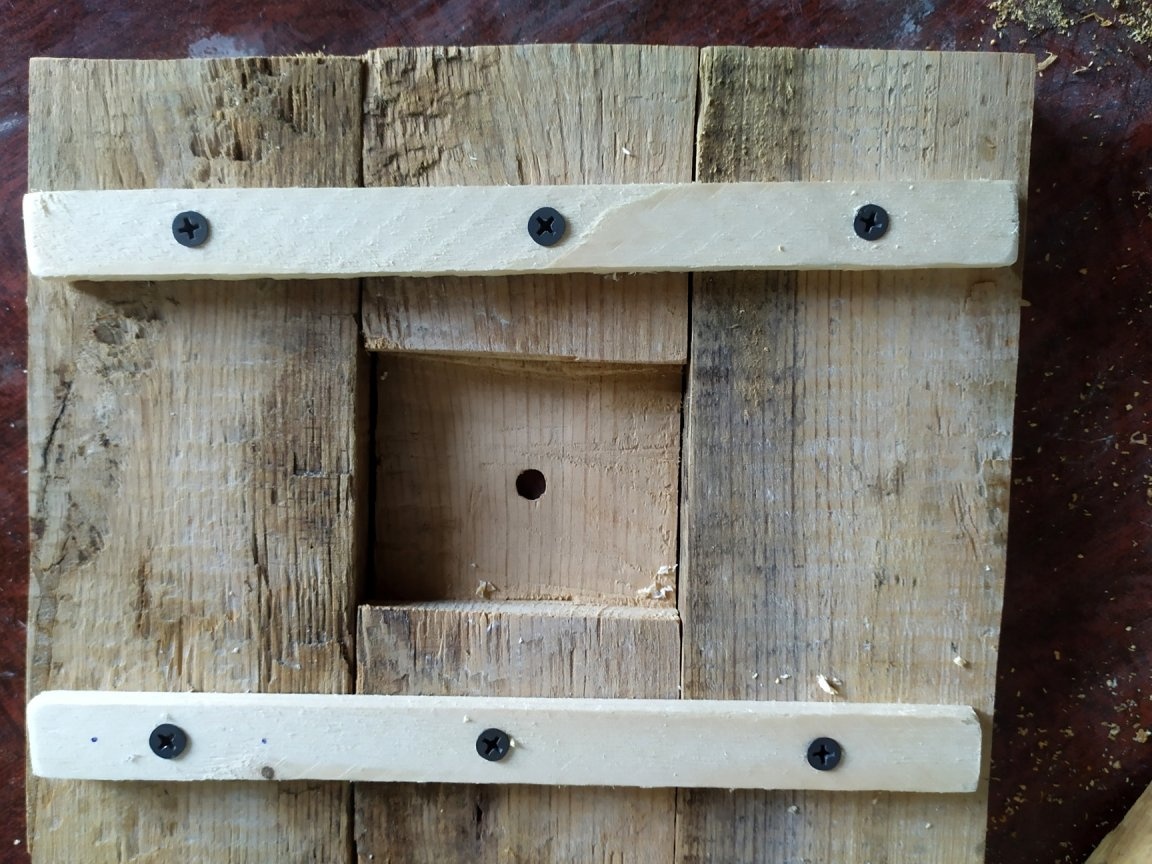
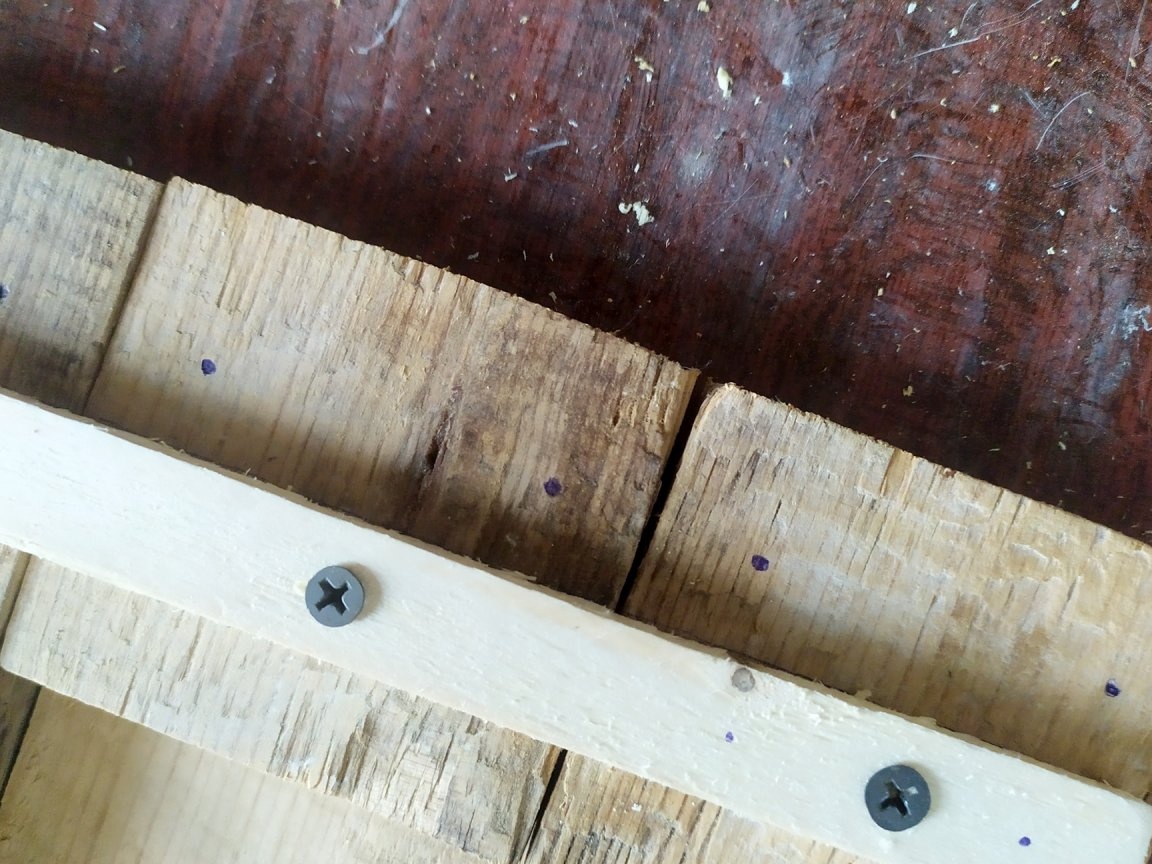
Then, you need to screw them. First we apply everything.
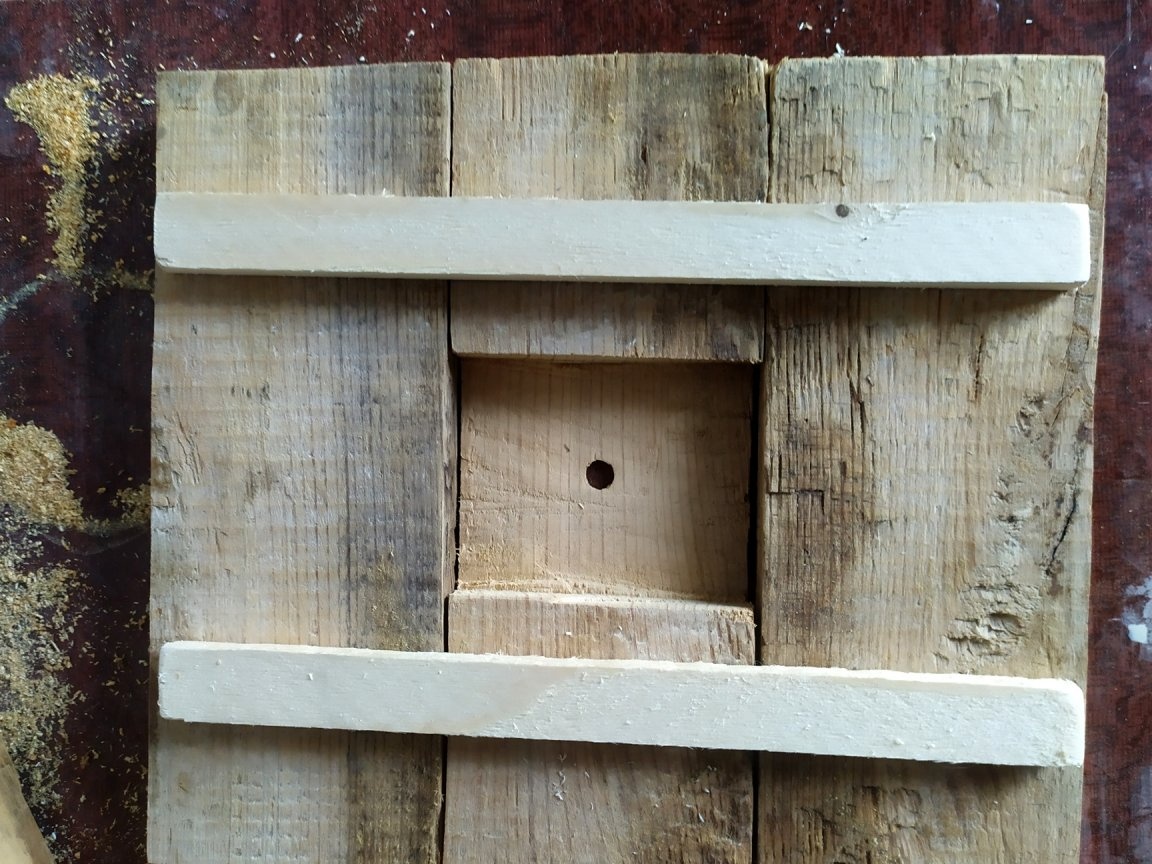
From the edge you need to step back a few cm. Mark with a pen where the slats will be. And on the rail itself, too, it should be noted where the screws will be fastened.
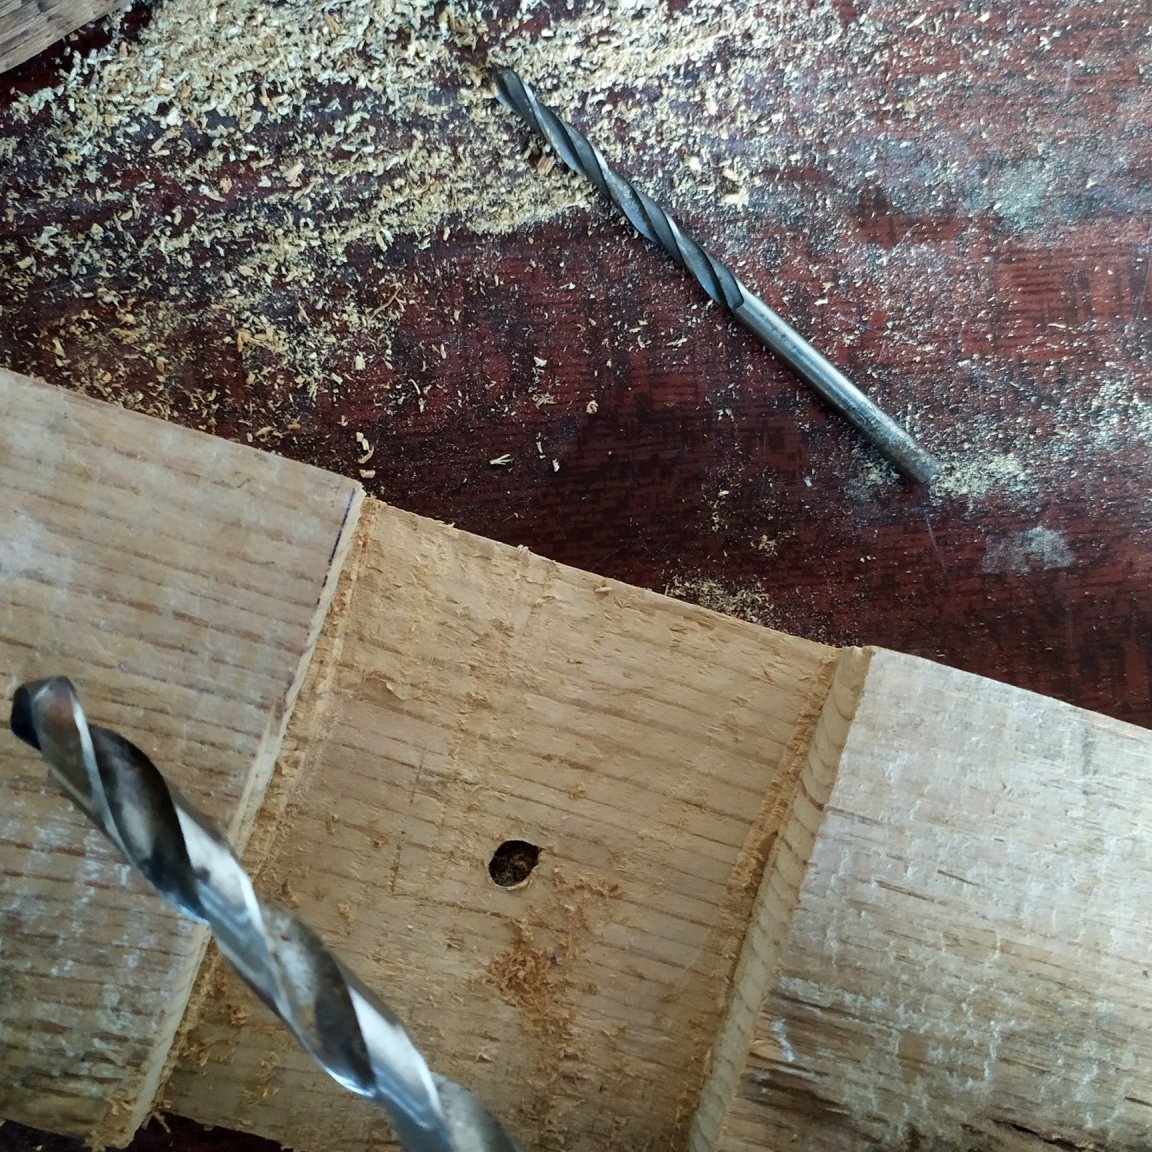
When noted, you need to make holes for screws so that the tree does not crack. We take a thin drill and drill. Then, screw the screws.
If the crossbars are loose, then you can screw more.
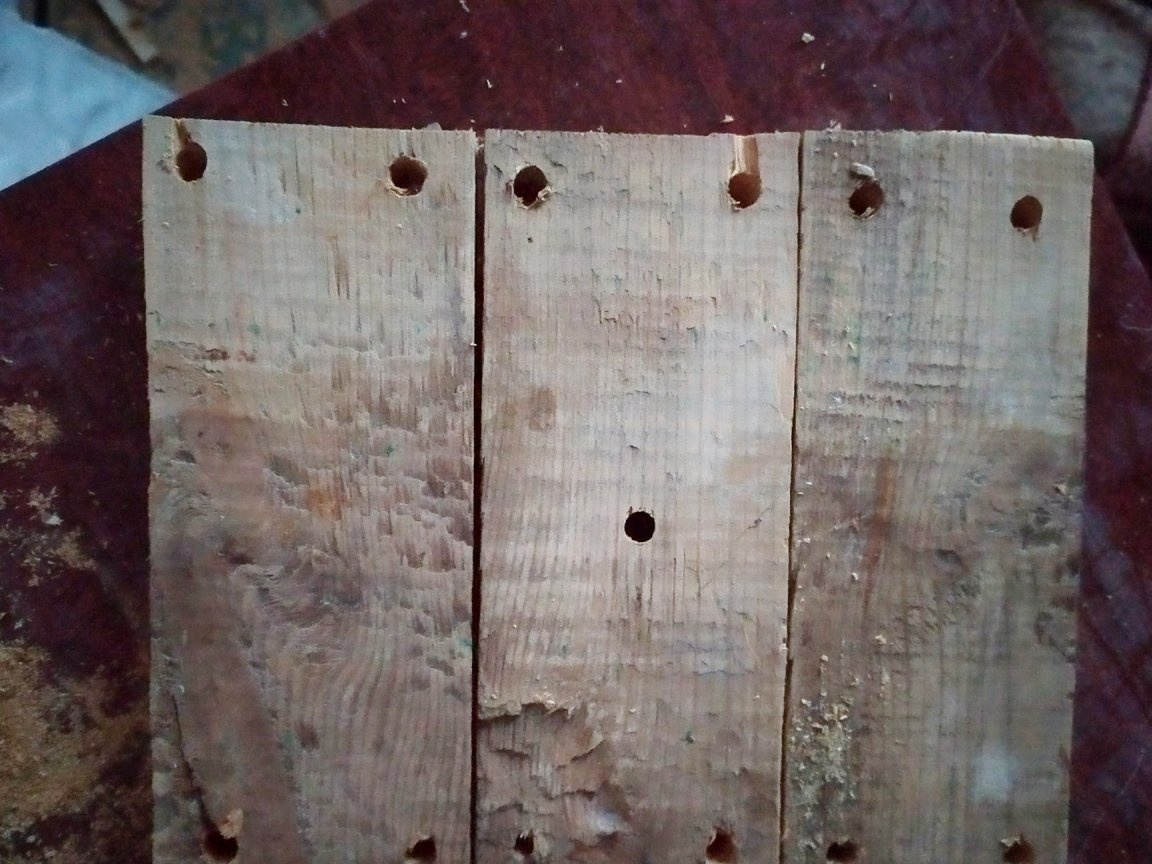
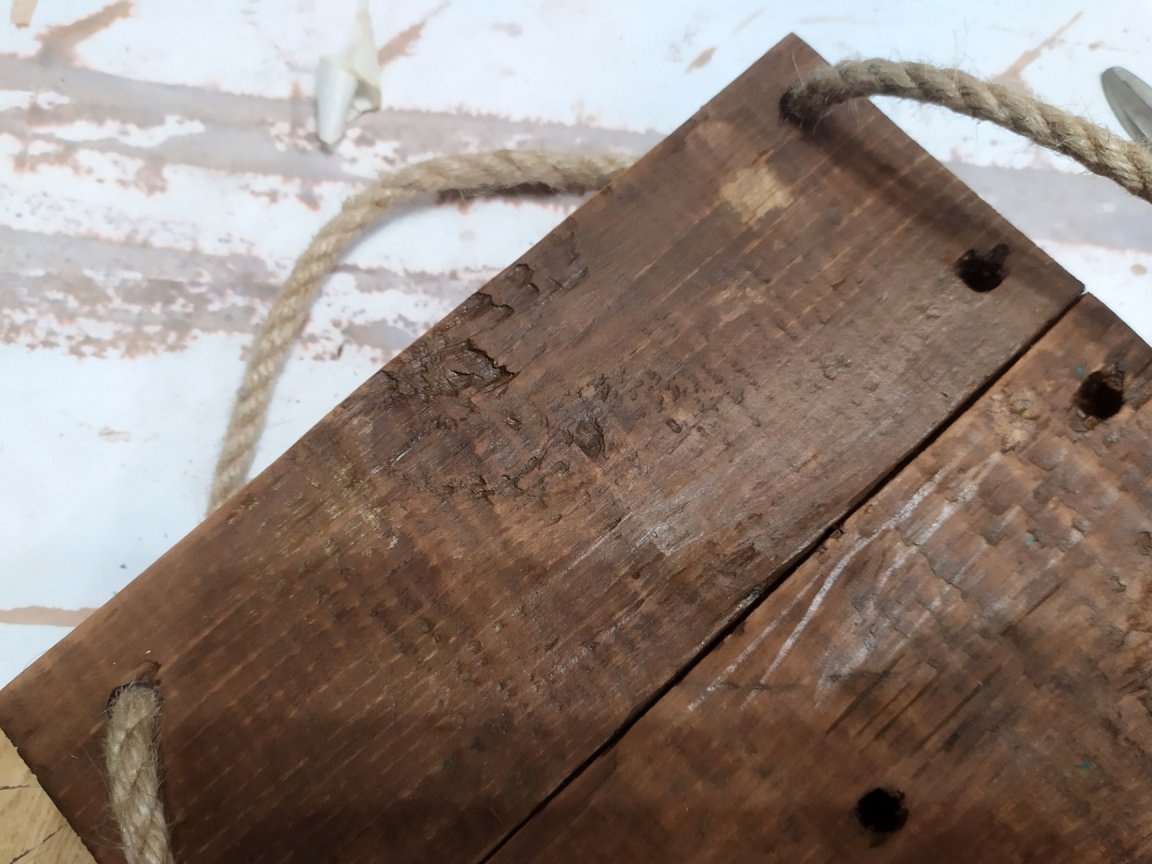
When we have fixed everything, we can proceed to the next stage. I’ll have a rope running around the edge of the watch; holes are needed for it. First I outline with a pen.
Then, you need to drill. I drilled thin at first, then expanded with a thick one. A thick drill should fit the size of the rope, or be slightly wider. Otherwise, you cannot succeed.
Now, all this needs to be polished. I do it with my hands. Of course, you cannot completely grind the top coat with your hands. But at least to lighten a little, and remove the sticking pieces. In holes, this is especially difficult.
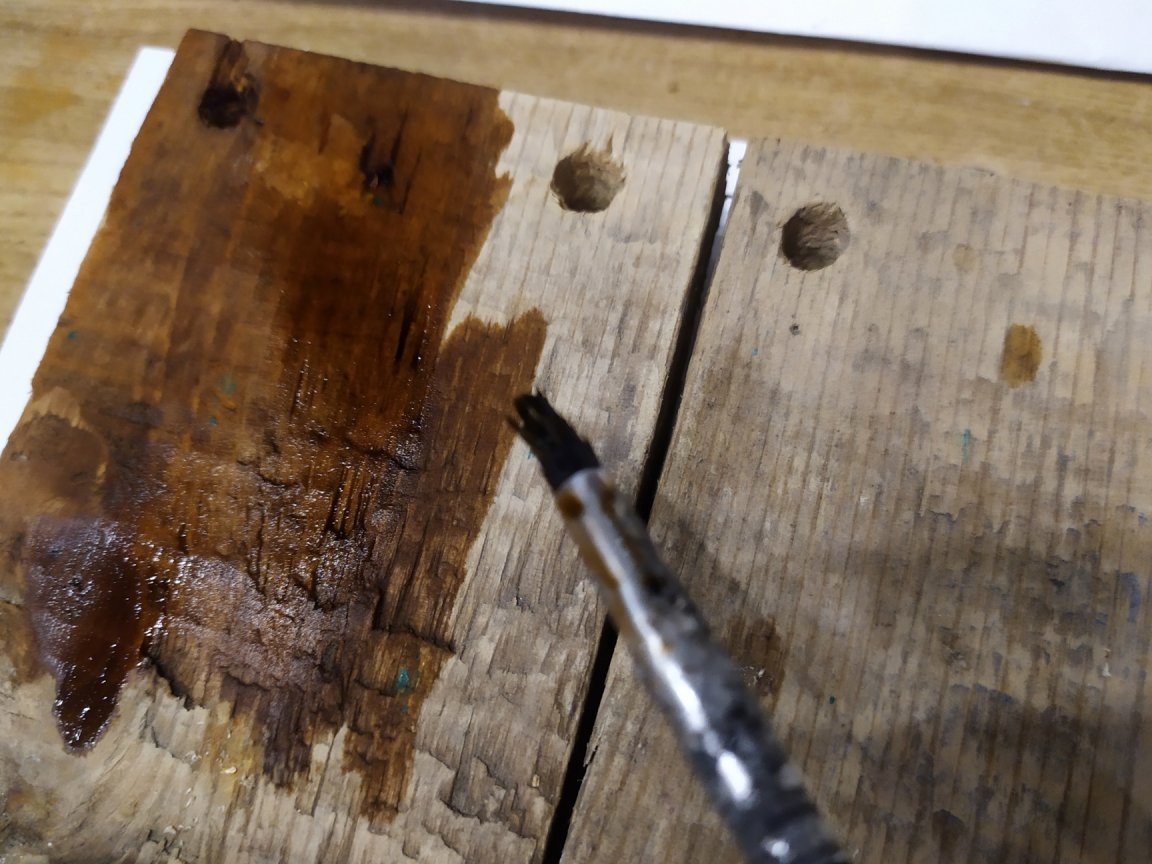
When we finish sanding, you need to remove all the dust with a damp cloth. And you can start painting. I use stain, chestnut color.
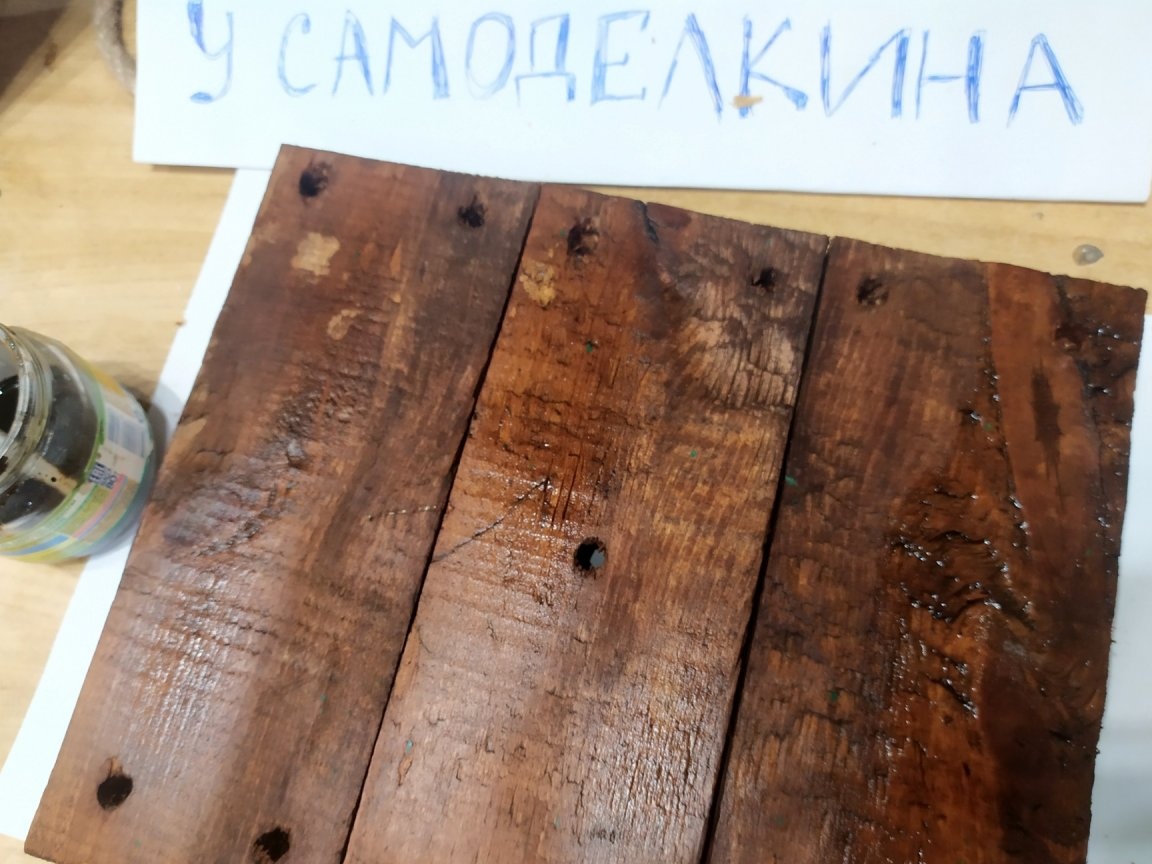
When we paint over from all sides, let the stain dry.
After complete drying out, all under-skinned places become visible. We take knife paper, and still pass from all sides.
After that, again, we wipe off the dust. And you can paint again. Do not forget to paint over the back.
When the second layer is completely dry, I want to lighten the tree a little in places. To do this, you need to sand again, on the protruding sections the surface will brighten.
If the result satisfies you, then you can begin to varnish.
I use matte acrylic varnish, it is great for wood and dries quickly.
Shake the jar well. With a thin brush, we wear varnish on the entire surface.
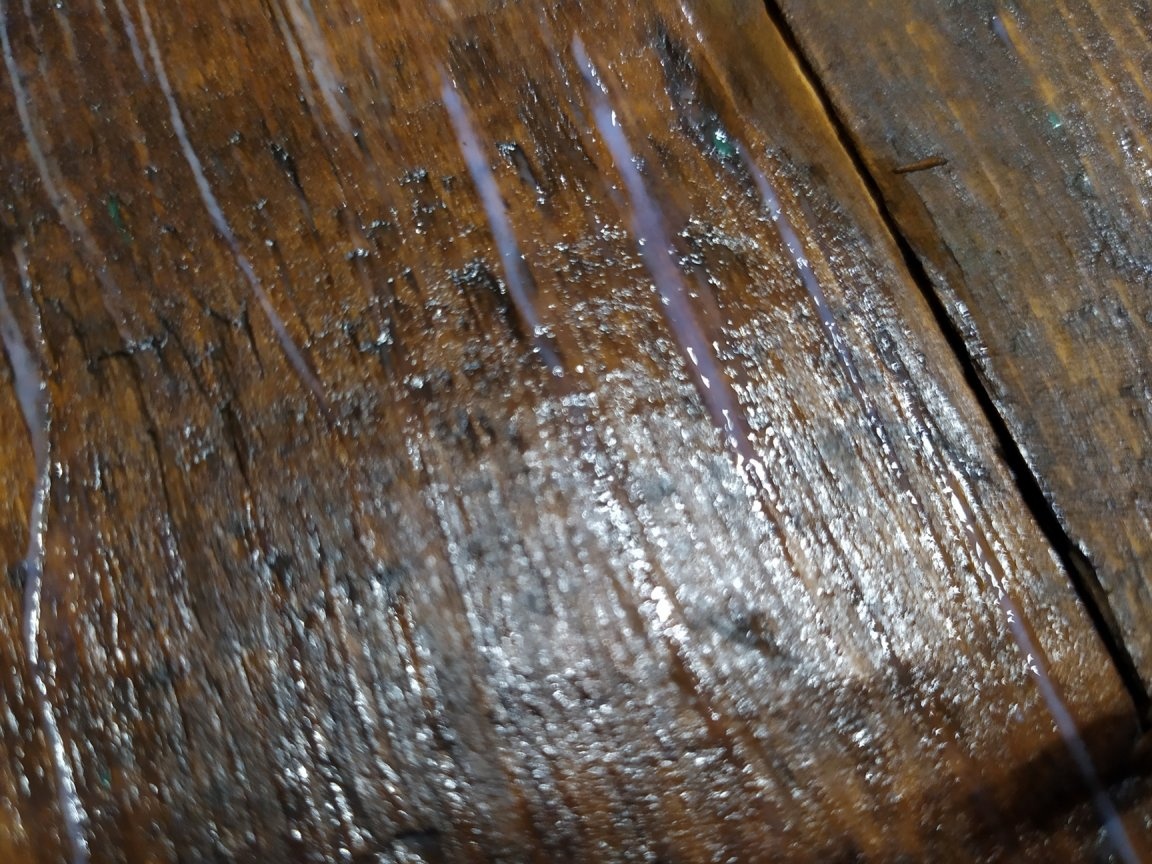
The first layer dries for about an hour. Then, to increase wear resistance, you can repeat, apply another, or two layers.
After all the layers have dried reliably, you can start decorating with a rope.
Also, the rope will serve as a mount for the wall. We apply it to the base, leave it a little above.

We start to screw on one side. To ease your task, you can wrap the tip with tape.
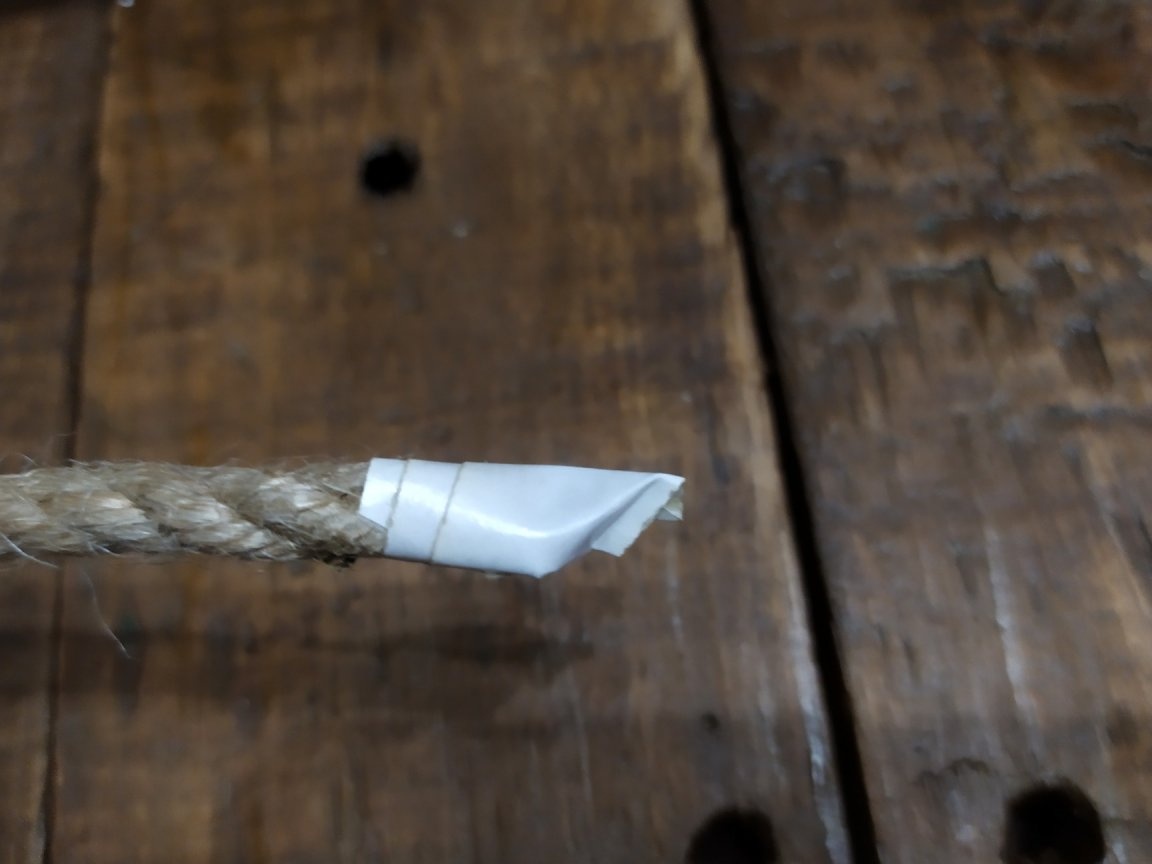
In the very first hole on top we put the rope on the back so that the fastener comes out from the back.
Finish to the end, do the second side. When the holes end, you need to tie the end of the rope to the knot.
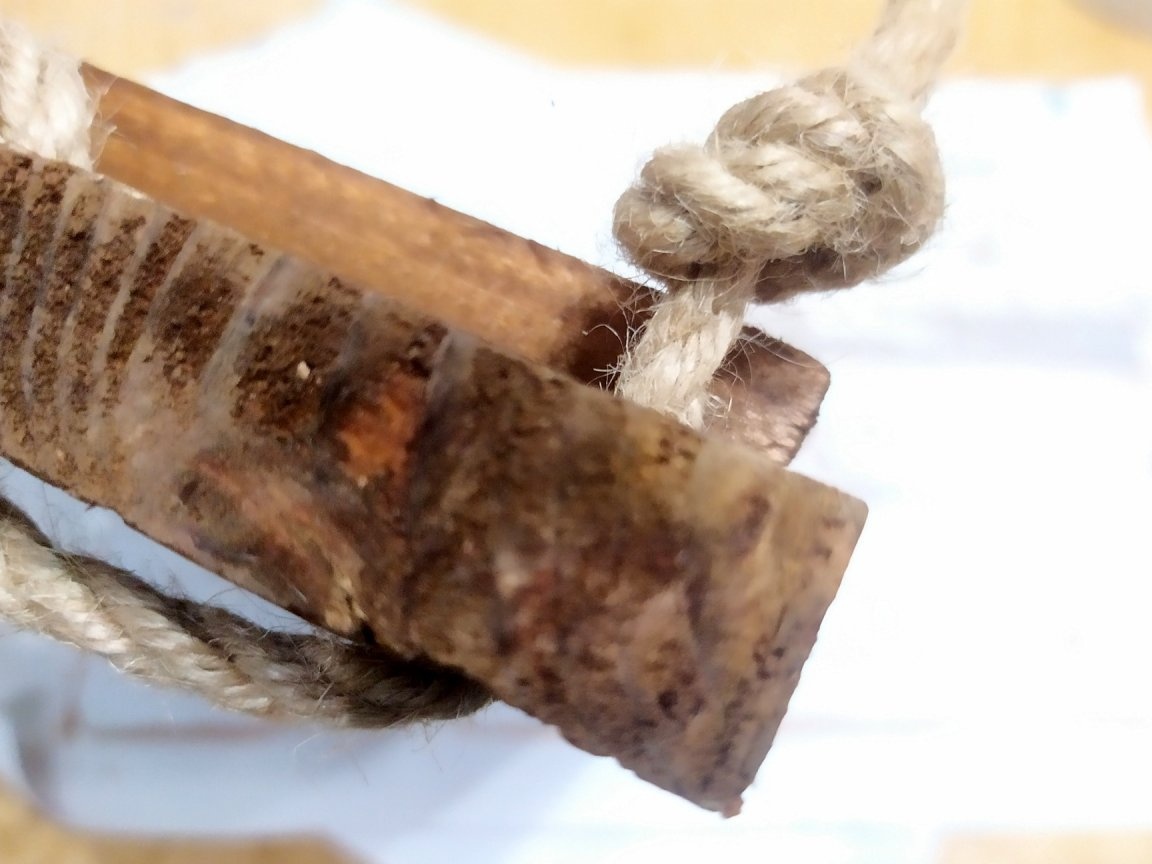
So that the knot does not fall apart, you can coat it with glue, or stick it to a tree, for reliability. We cut the excess.
Once you're done with the rope, you need to do something like a dial. Of course, you can buy special numbers for watches, this is not a shortage now. But I decided to use nails, it looks interesting, and they match the color of the arrows.
To get started, put the clockwork in place, without hands. If you do not know in what order to place everything, then I will show in the photo.

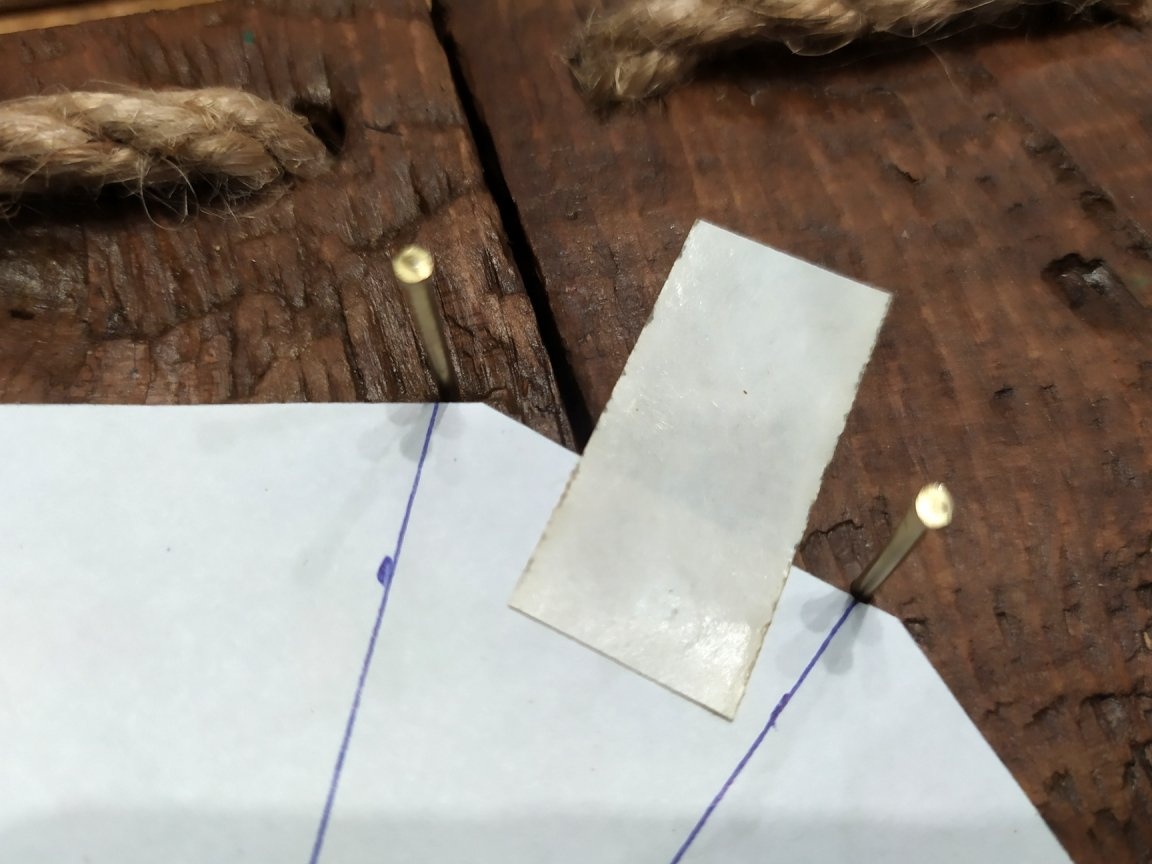
To place the nails in a circle, in the correct parts, you need to make a template. For your convenience, I will post it here, you can download the picture, and print it.
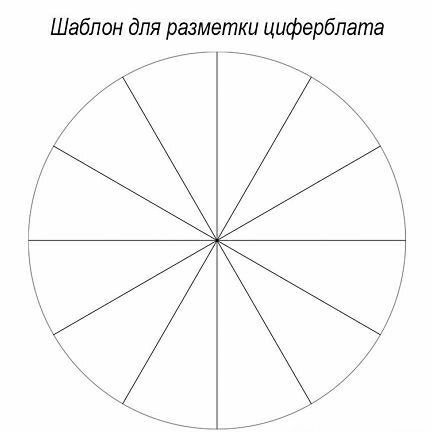
I didn’t have a printer nearby, so I drew myself. It is necessary to make it so large that the cloves (or tsiferki) can then be placed.
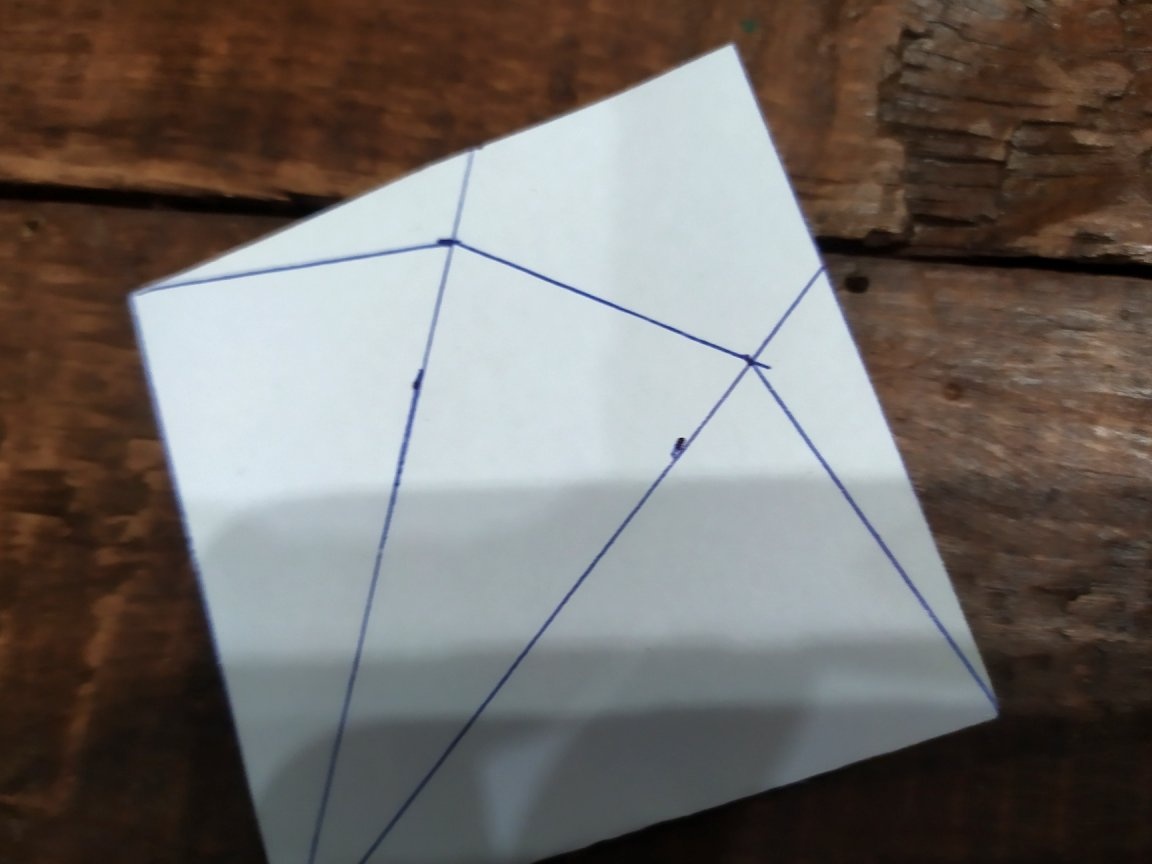
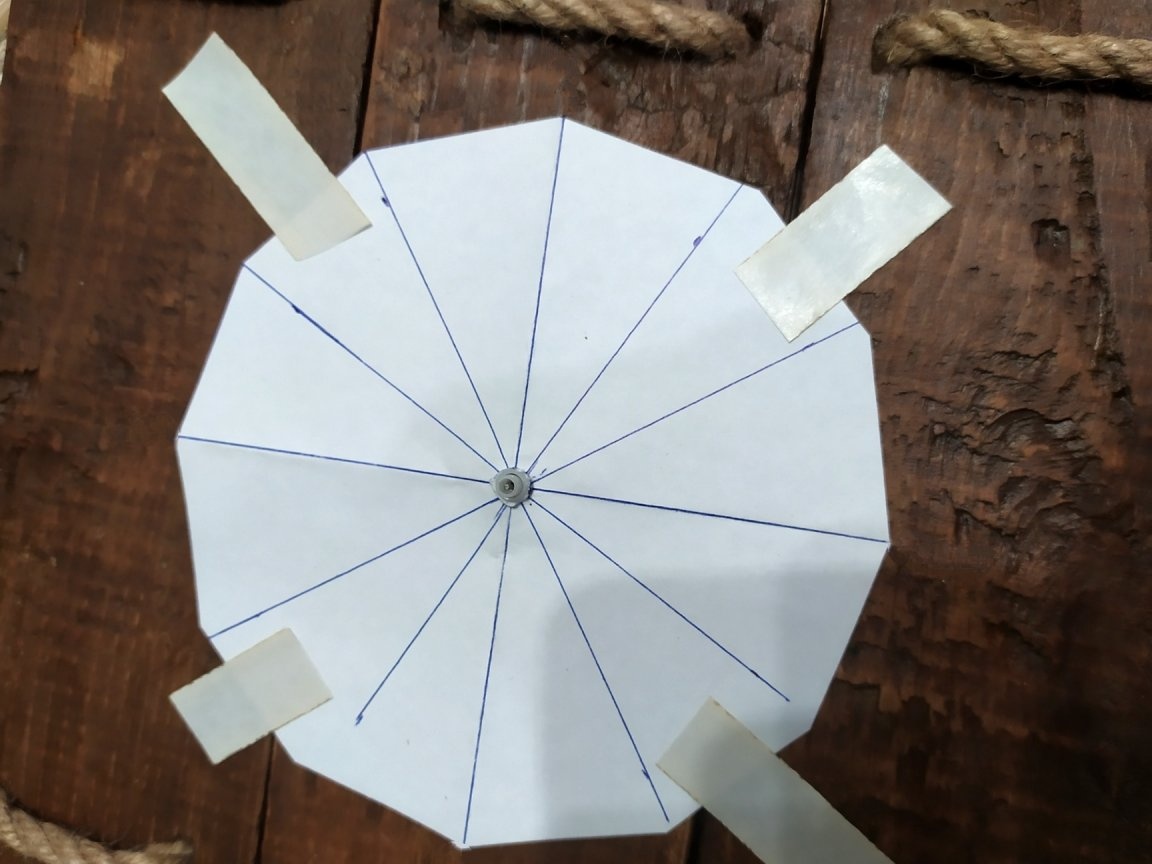
We cut out this template and put it on the mechanism. Align, and attach with tape, or something else, so as not to move out.
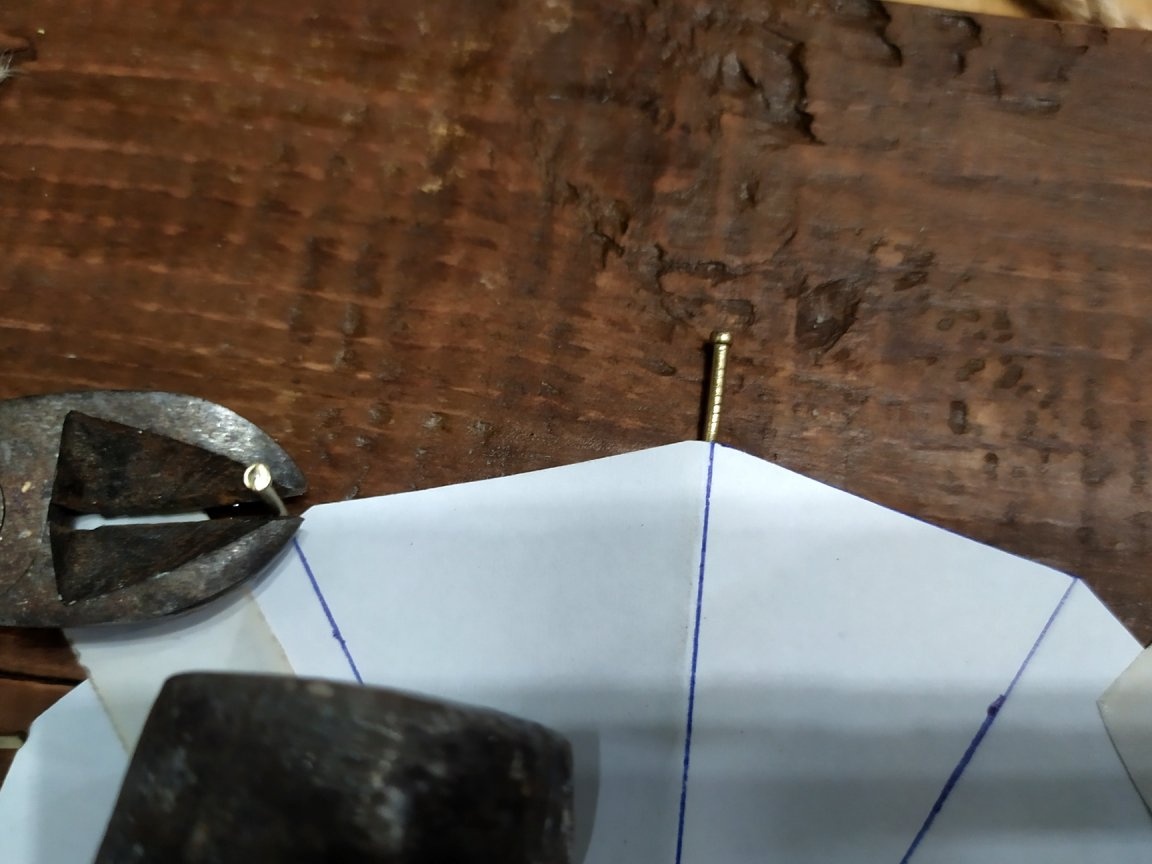
Then, in a circle, hammer in the nails. I scored so that about 15mm stuck out.
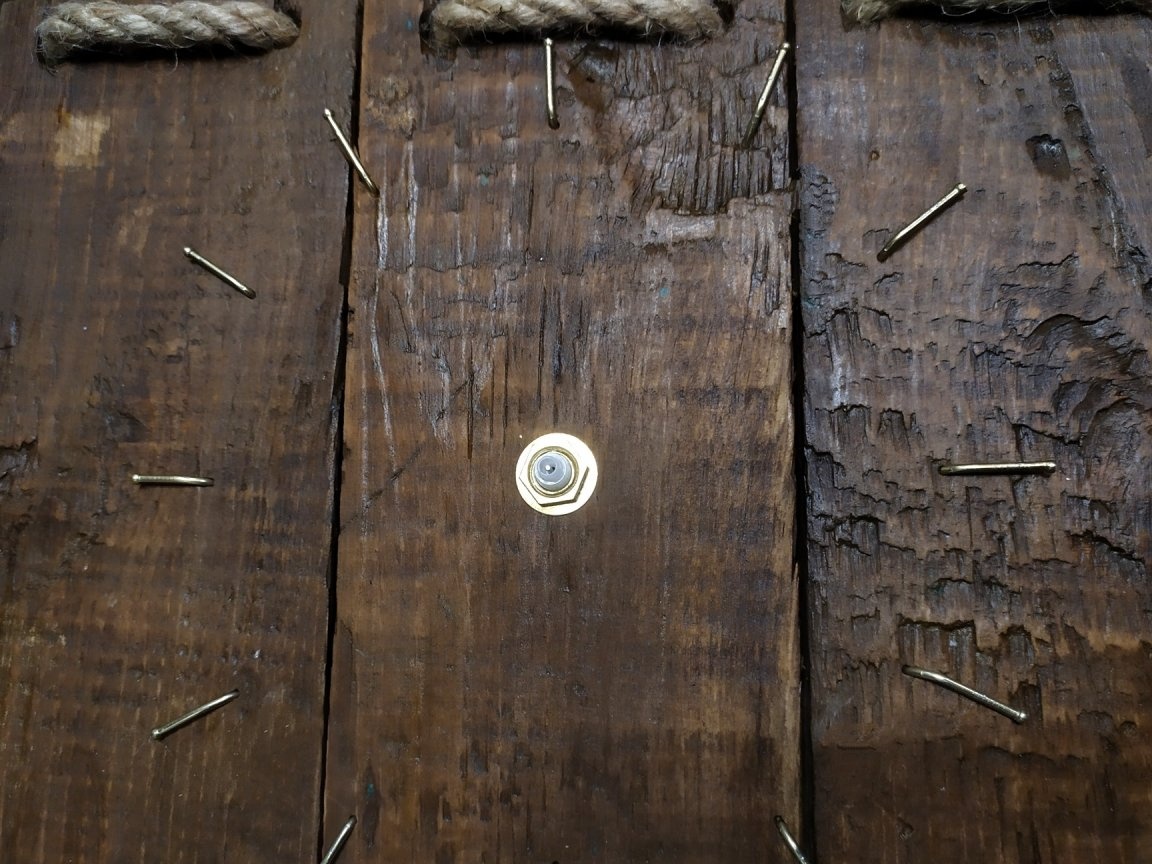
Using pliers, or other improvised tools, bend them, hammer a hammer closer to the tree.
If it sticks out a little, then this can interfere with the arrow, so you need to drive it better.
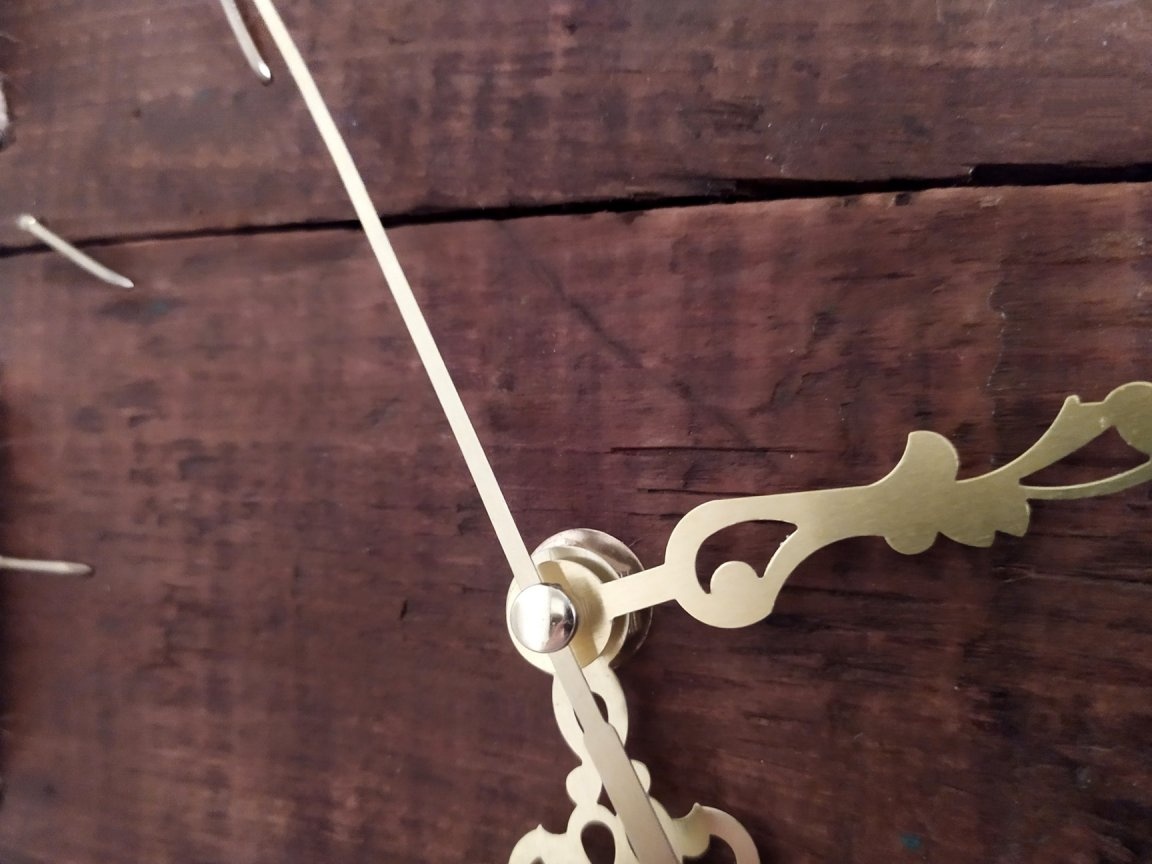
When finished with carnations, you can put arrows. Mine turned out to be a little longer than necessary, and went onto the rope, this would prevent them from walking.Therefore, I cut them with scissors. They are very thin, therefore, it was not difficult. First we set the clock hand.
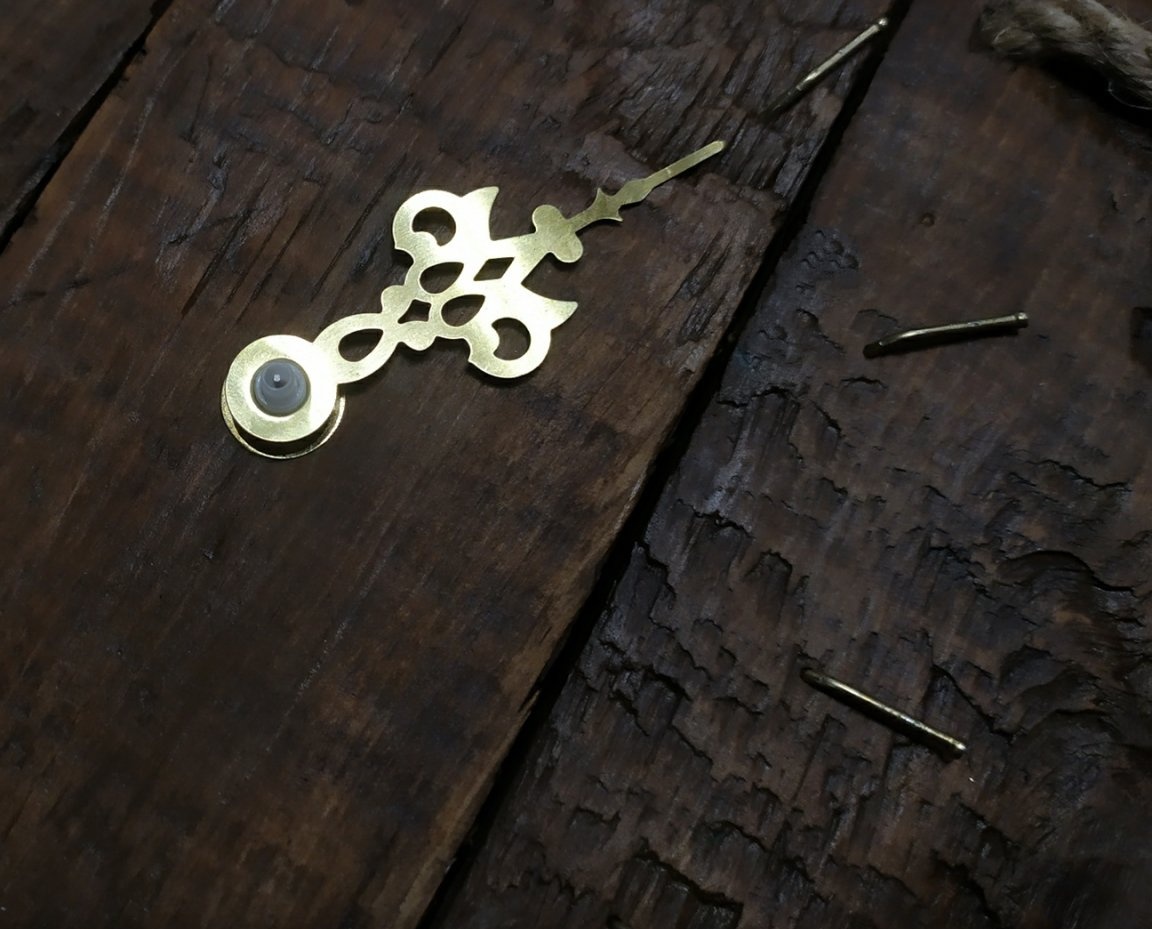
Then a minute.
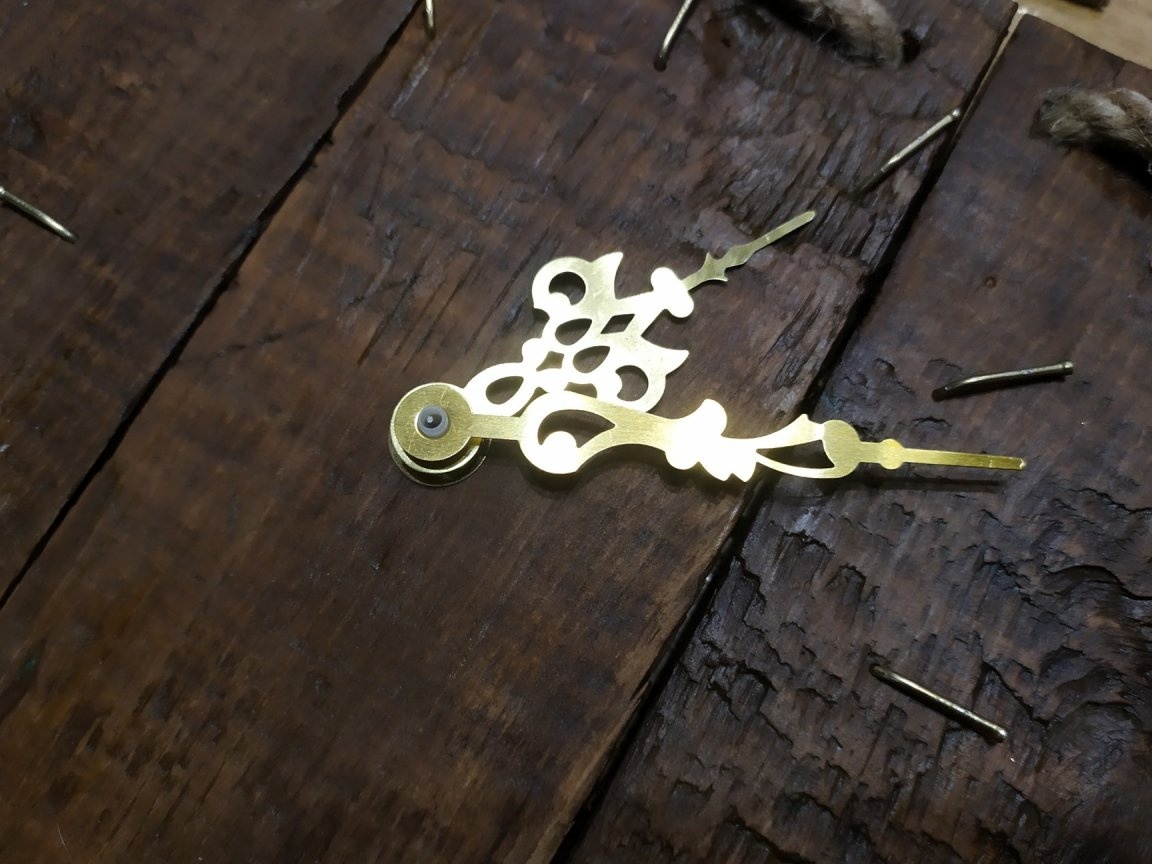
And the last one is second.
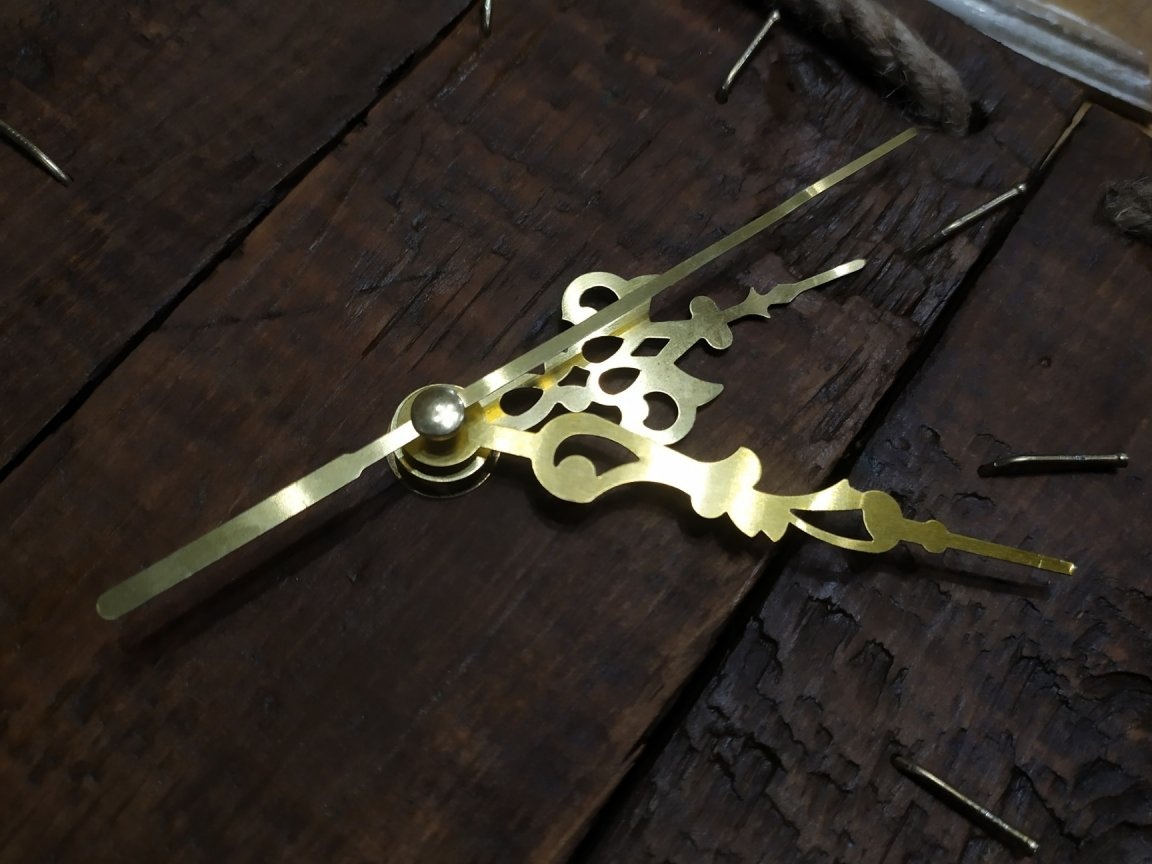
It is necessary to make sure that the arrows do not bend, otherwise, they will interfere with each other.
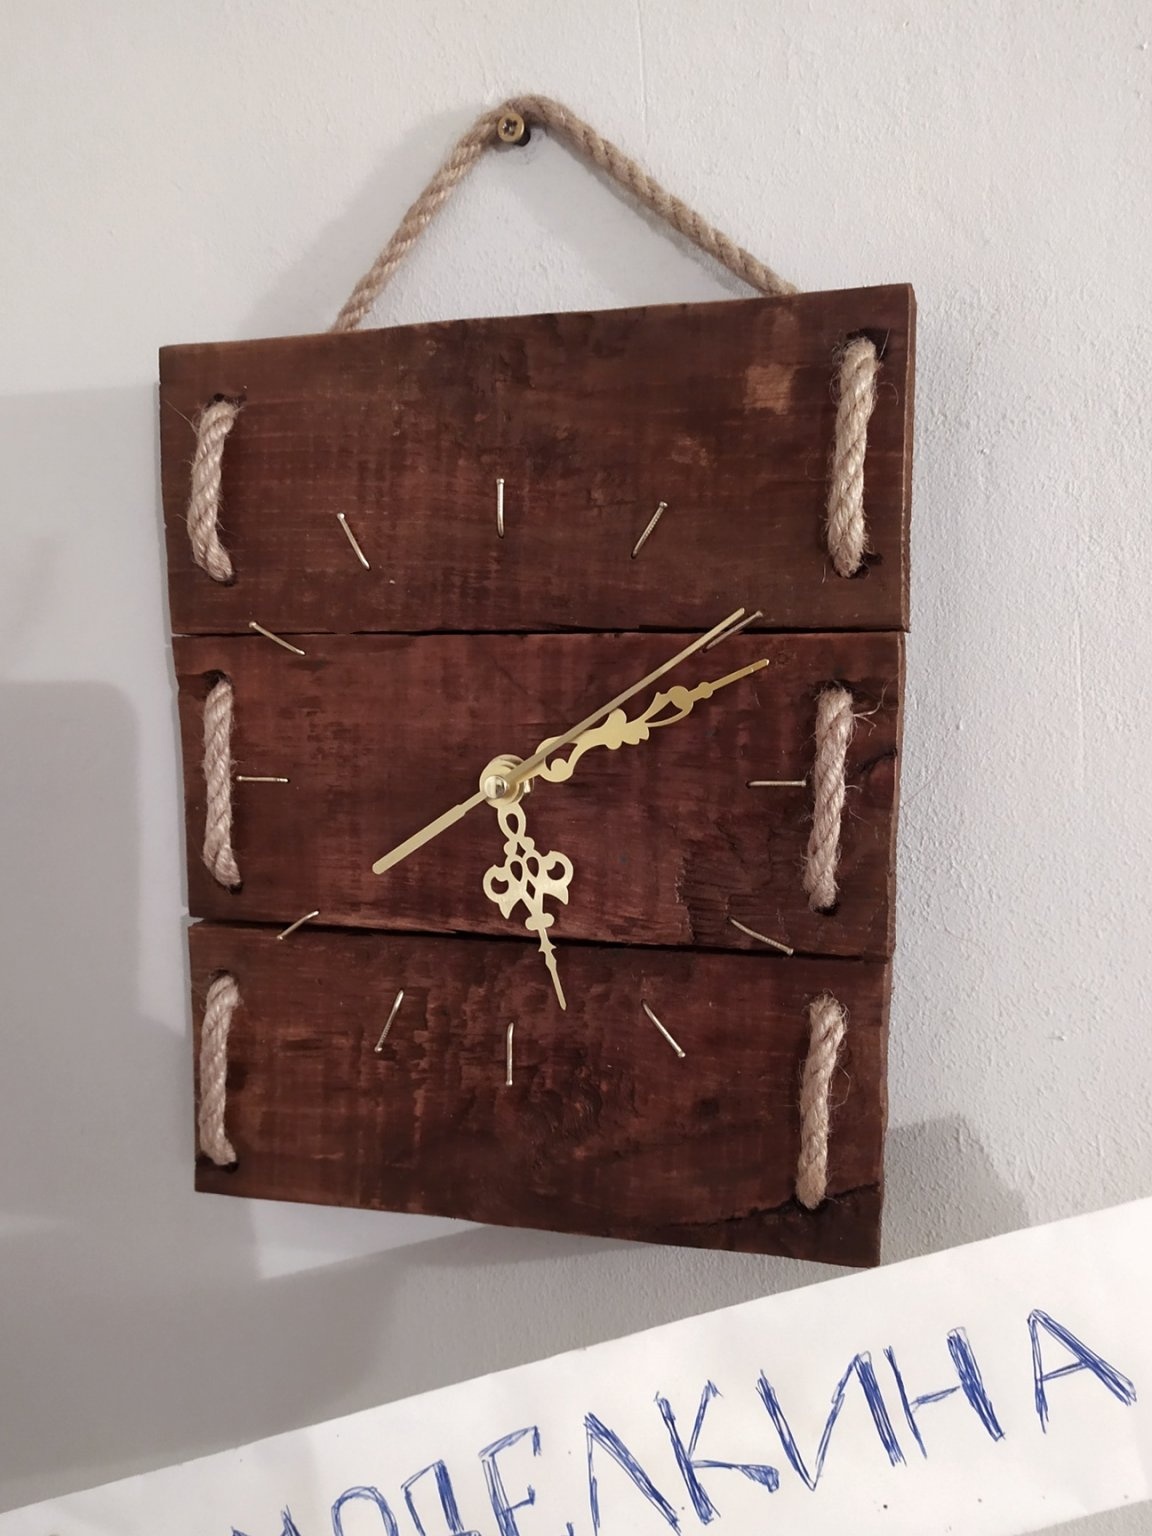
When the hands are in place, the clock can be called complete. It remains to put the battery and hang it on the wall.
Well, that’s all, our watch is ready. I really like the result, even such a scary tree can become an ornament. Thank you for your attention and success in your work.