

Hello again!
So the time came when I wanted to tell you about my new aircraft model.
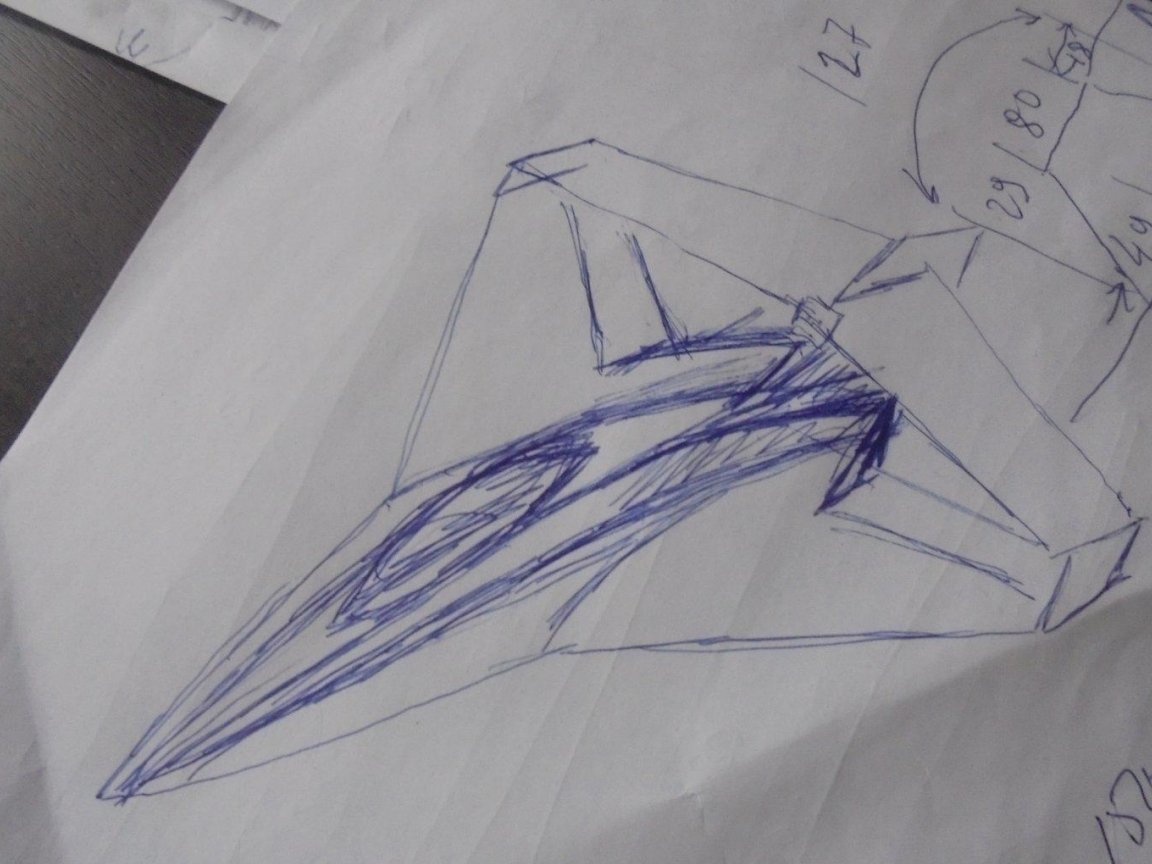
I have long nurtured the idea of creating an aircraft model with a diamond-shaped wing. Already there were, once upon a time attempts to create such model.
I created it, she flew, it’s more correct to say that an empty carcass - a glider flew, but, apparently, at that time I did not have enough experience in creating aircraft models, and the technical support was not up to par and I did not launch it into the sky .
To date, both of them have been added, it is possible to build a similar model with an impeller and with a propeller group.
For my aircraft model, I did not “invent bike"And took advantage of the development of the aircraft model" Archon "by Sergey Alexandrov.
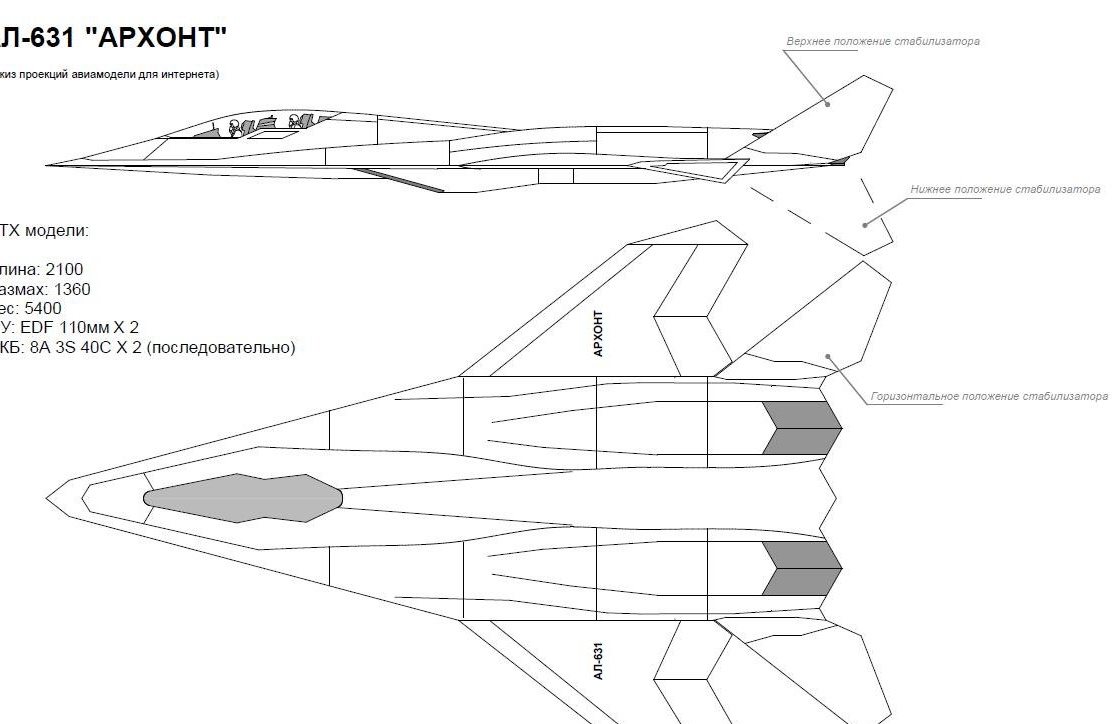
His drawing was taken as a basis, followed by complete improvisation.
I drew a little, imagined, found the right solution, and then - the implementation of the invented.
I must say that many decisions on the design of the model came with the creation of one or another model node.
At the first stage, I decided to build a pusher with a pushing screw.
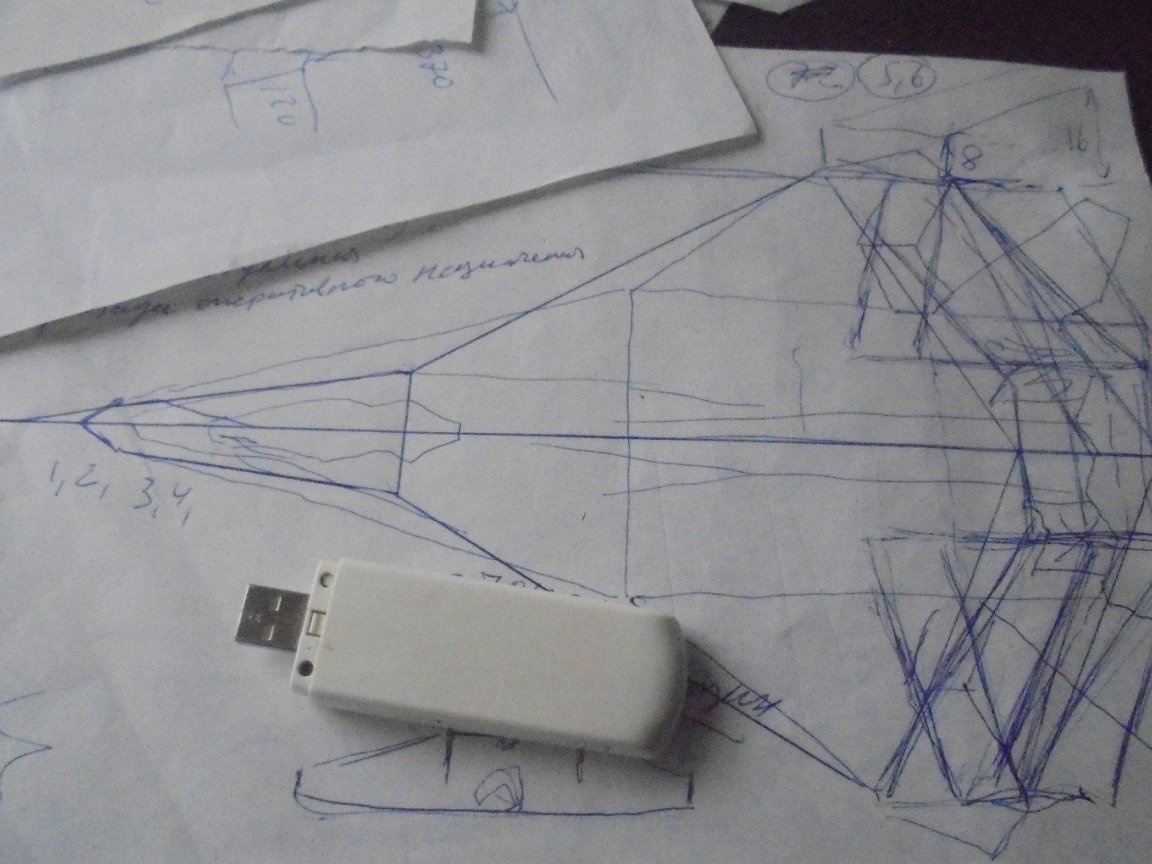
The main dimensions of the model and its filling.
Length - 1400 mm.
Span - 920 mm.
Planned flight weight - 1000 g.
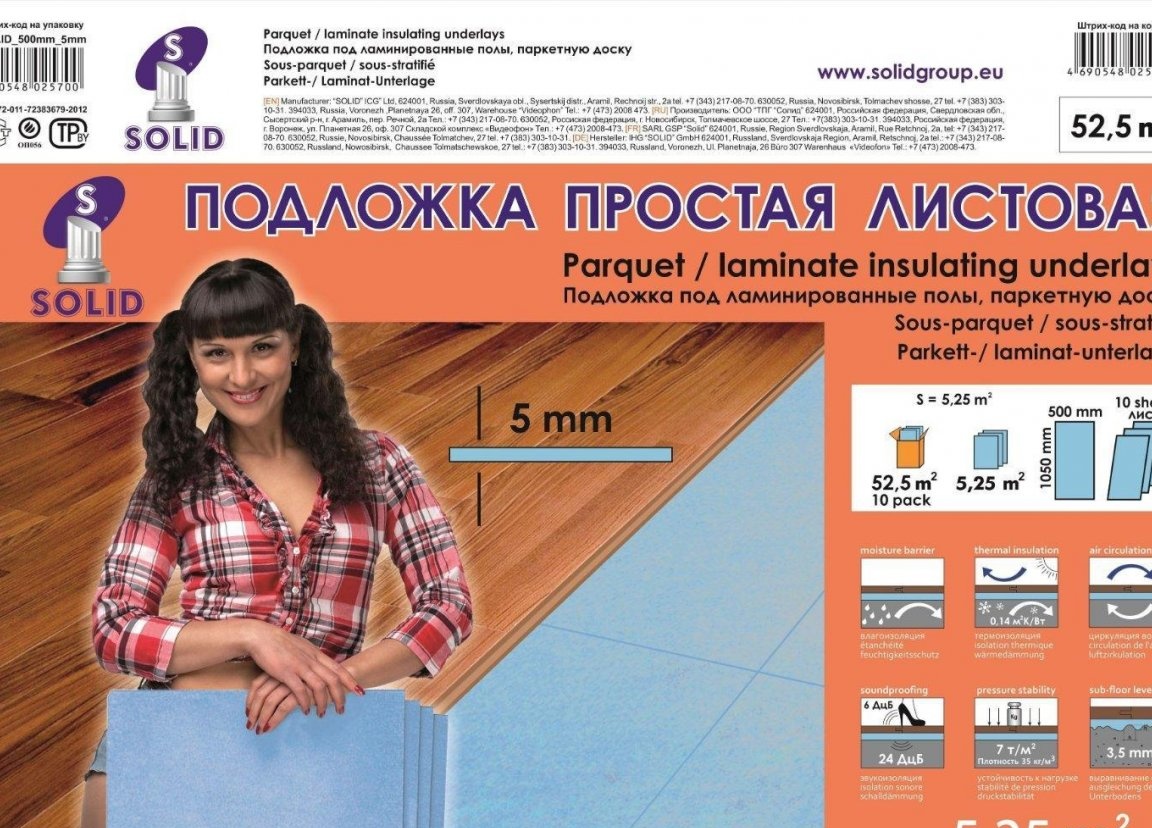
The main material for the construction, as usual, was chosen, my favorite simple, sheet substrate for the laminate, size - 1000 X 500 X 5 mm.
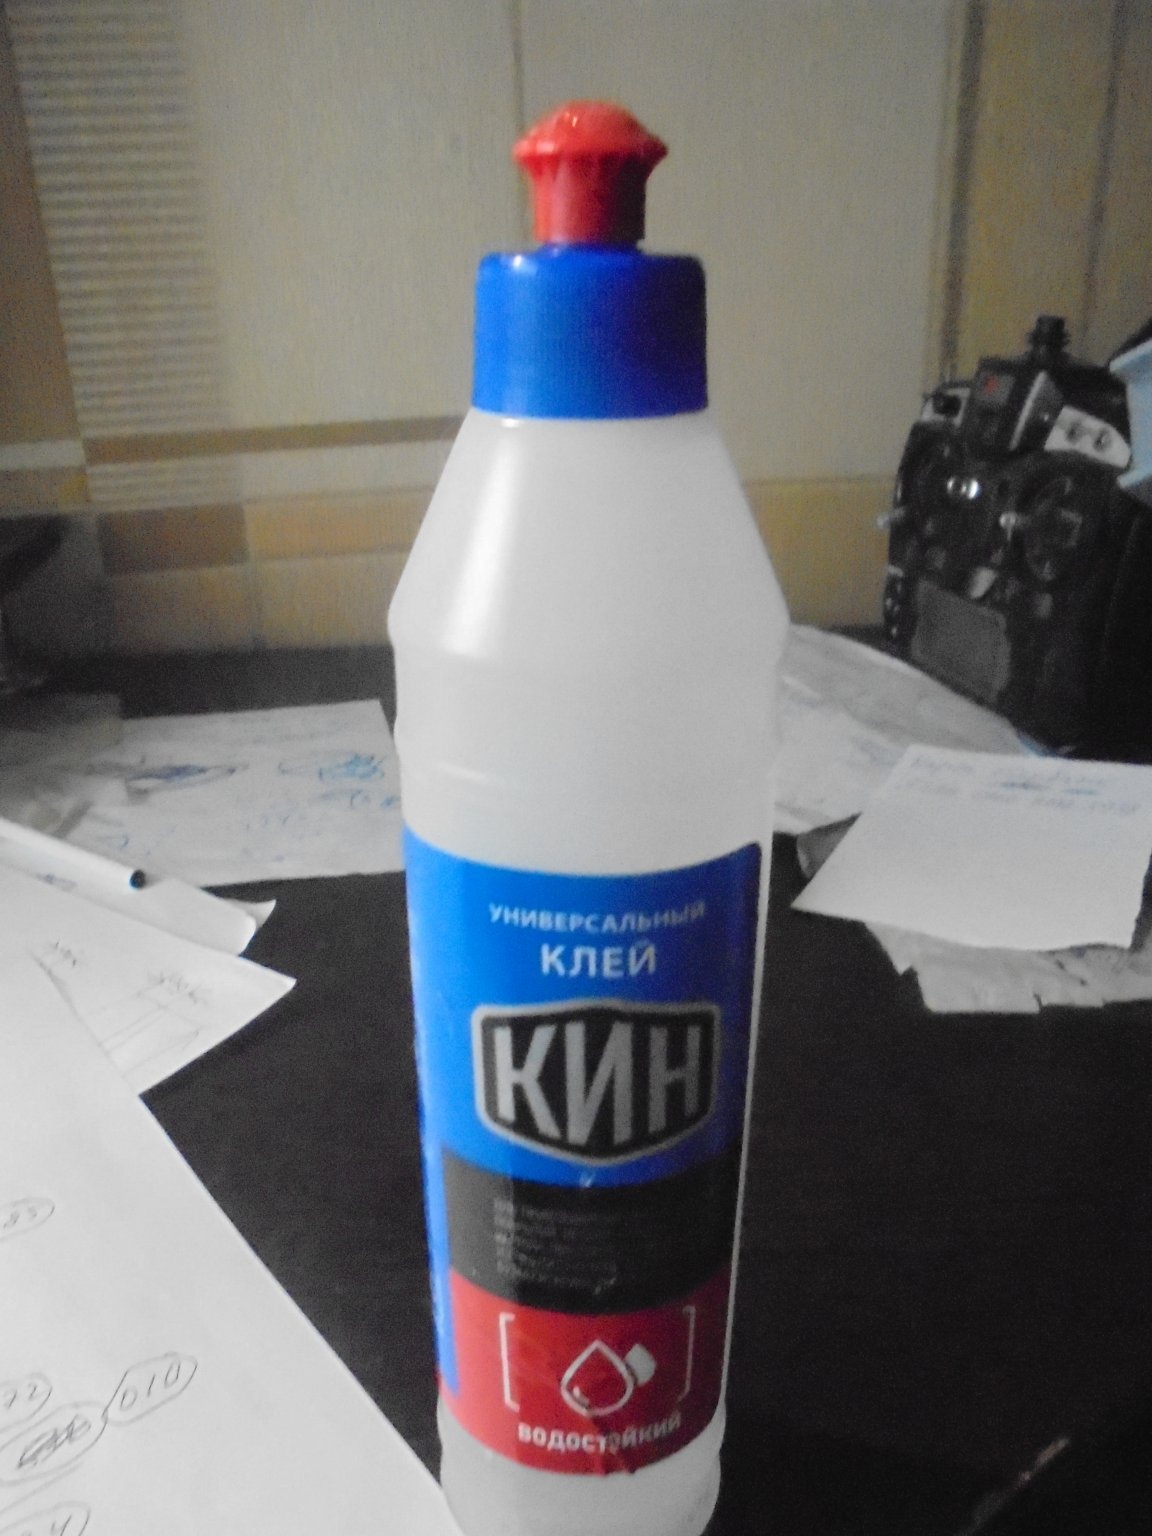
Universal adhesive, waterproof - "CIN".
Colored adhesive tape, aluminum self-adhesive foil.
Motor - -Turnigy D3548 / 4 1100KV.

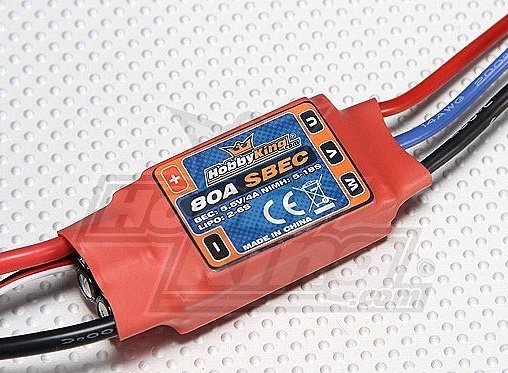
The regulator is 80A.
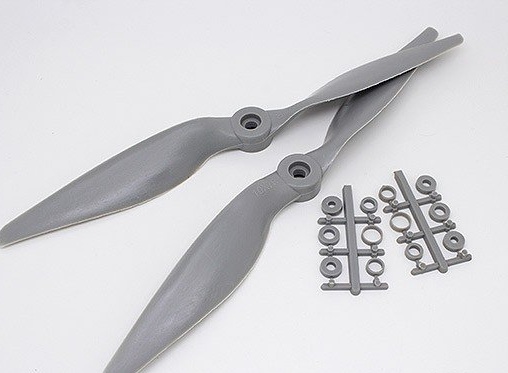
Screw - 11X 7.
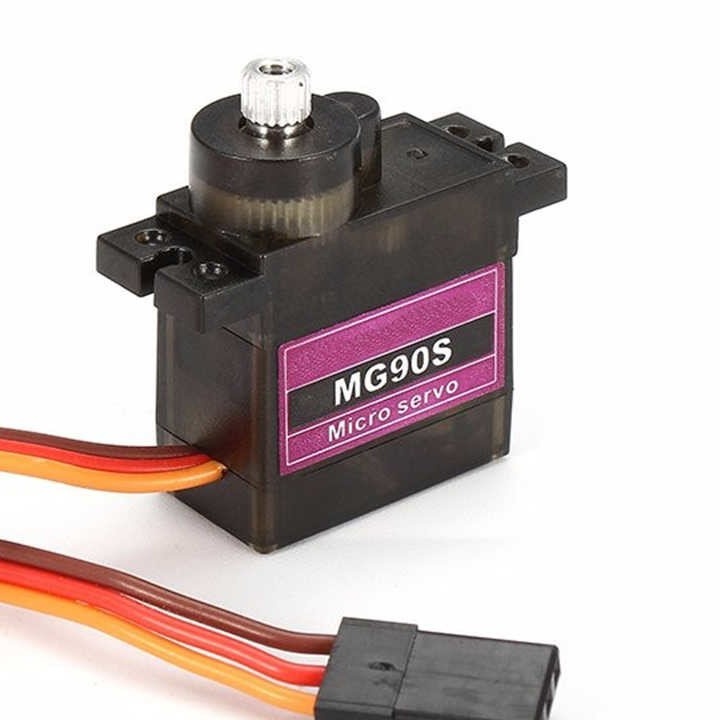
Servos - MG90S.
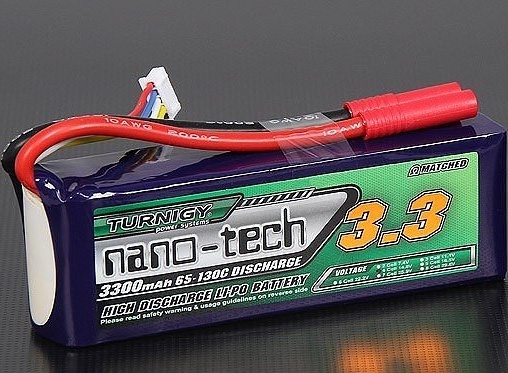
The battery is 3300 4S.
I will try to describe in detail the process of building this model, so that someone can easily repeat this model.
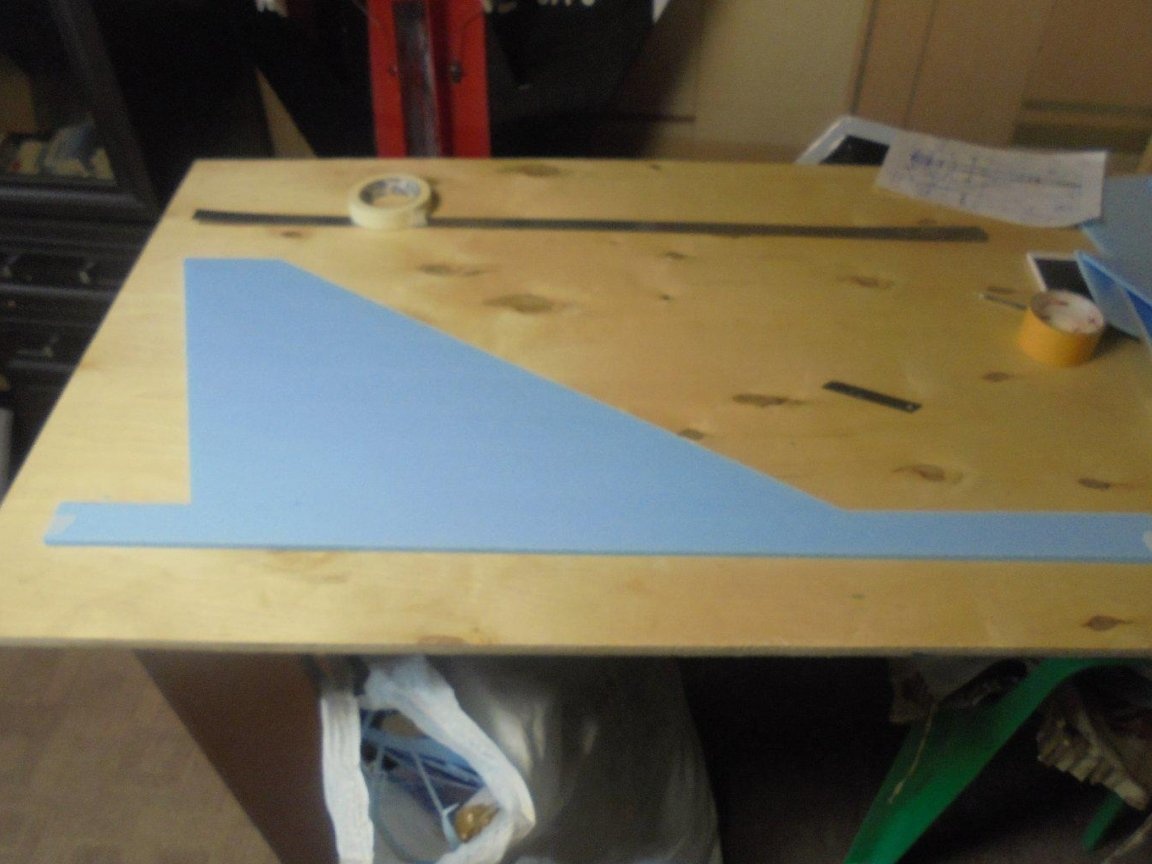
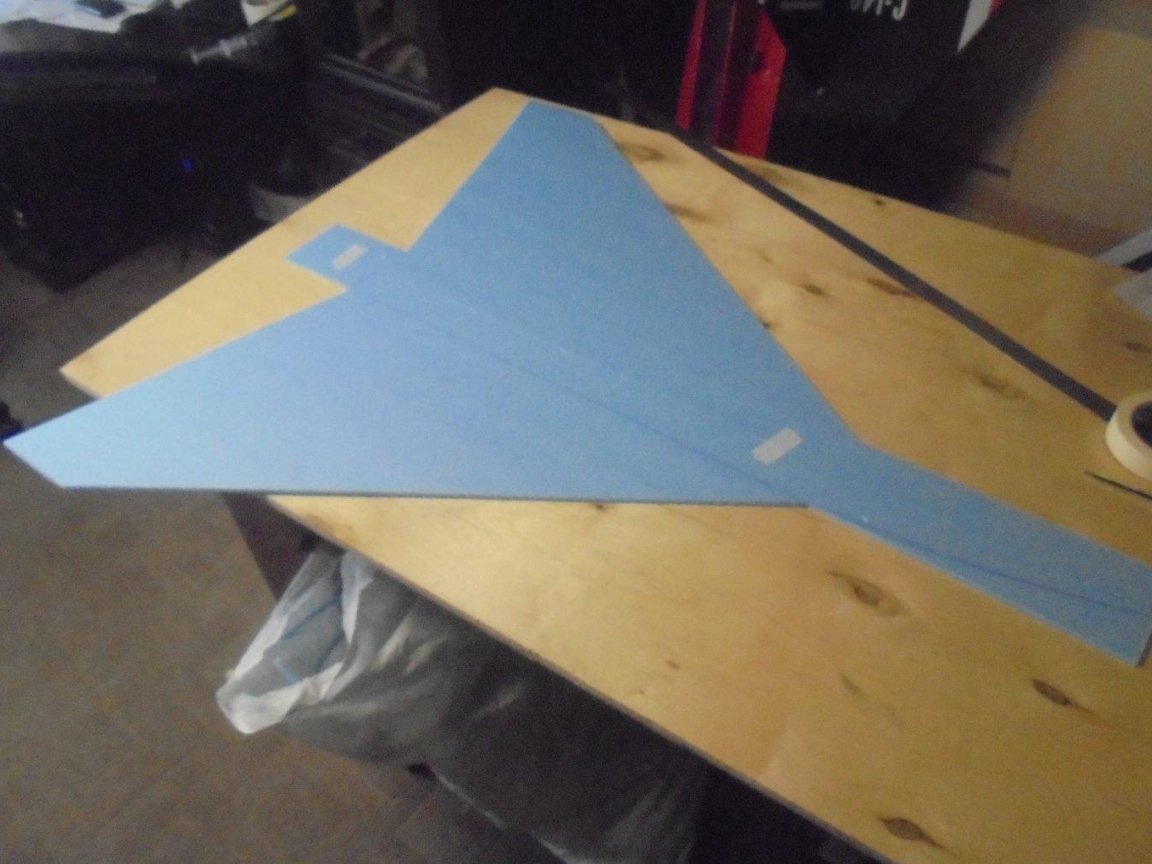
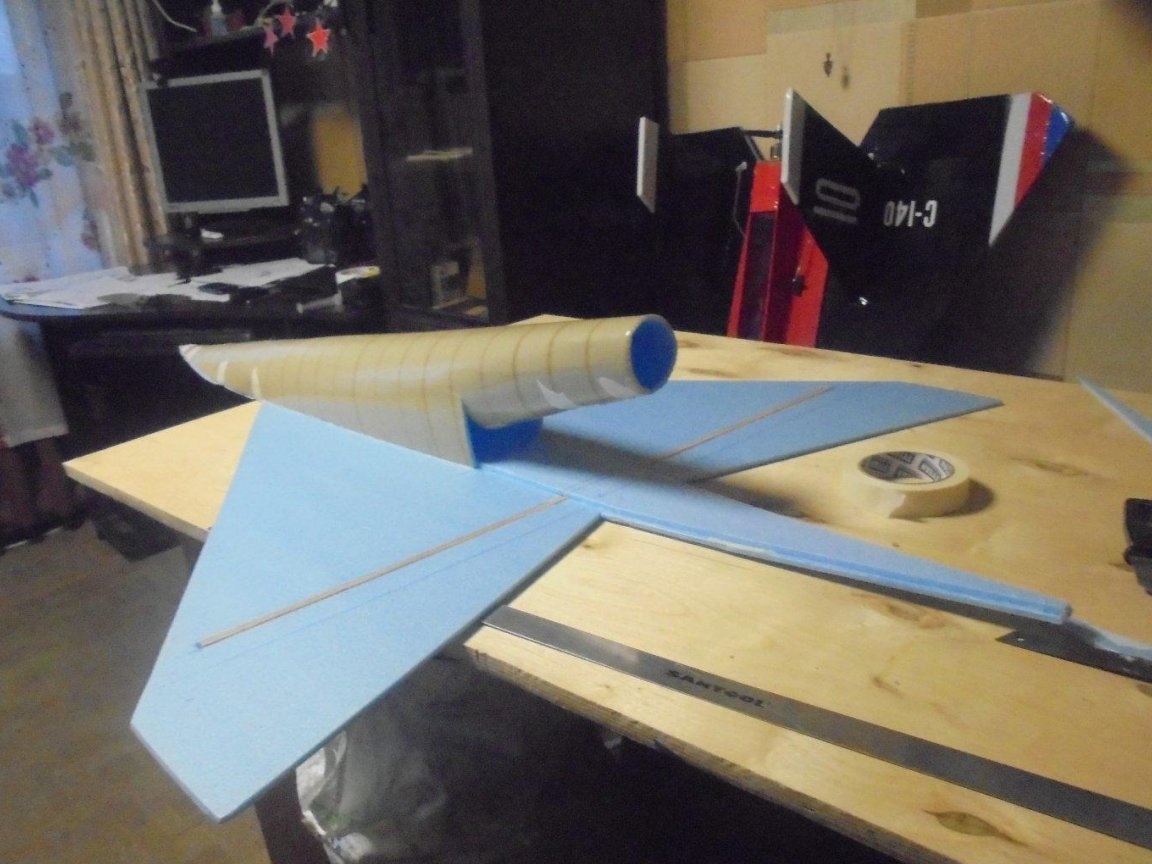
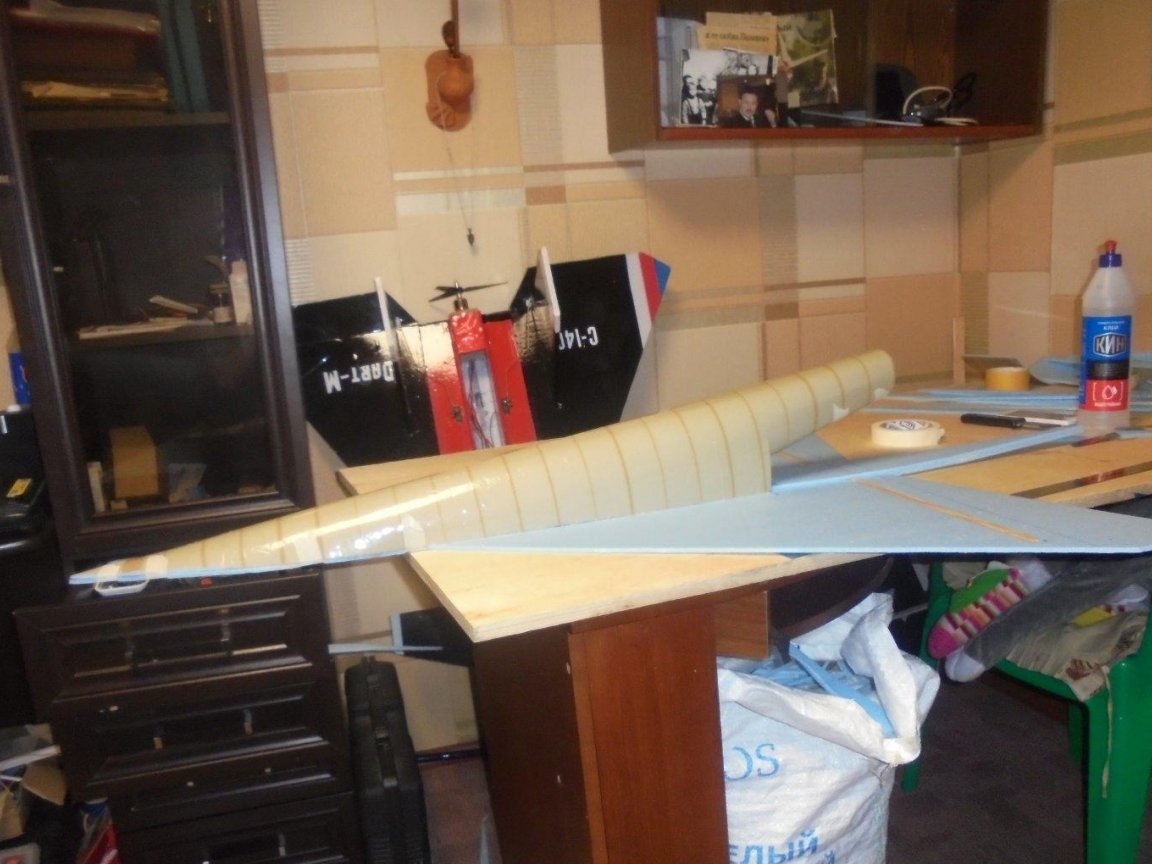
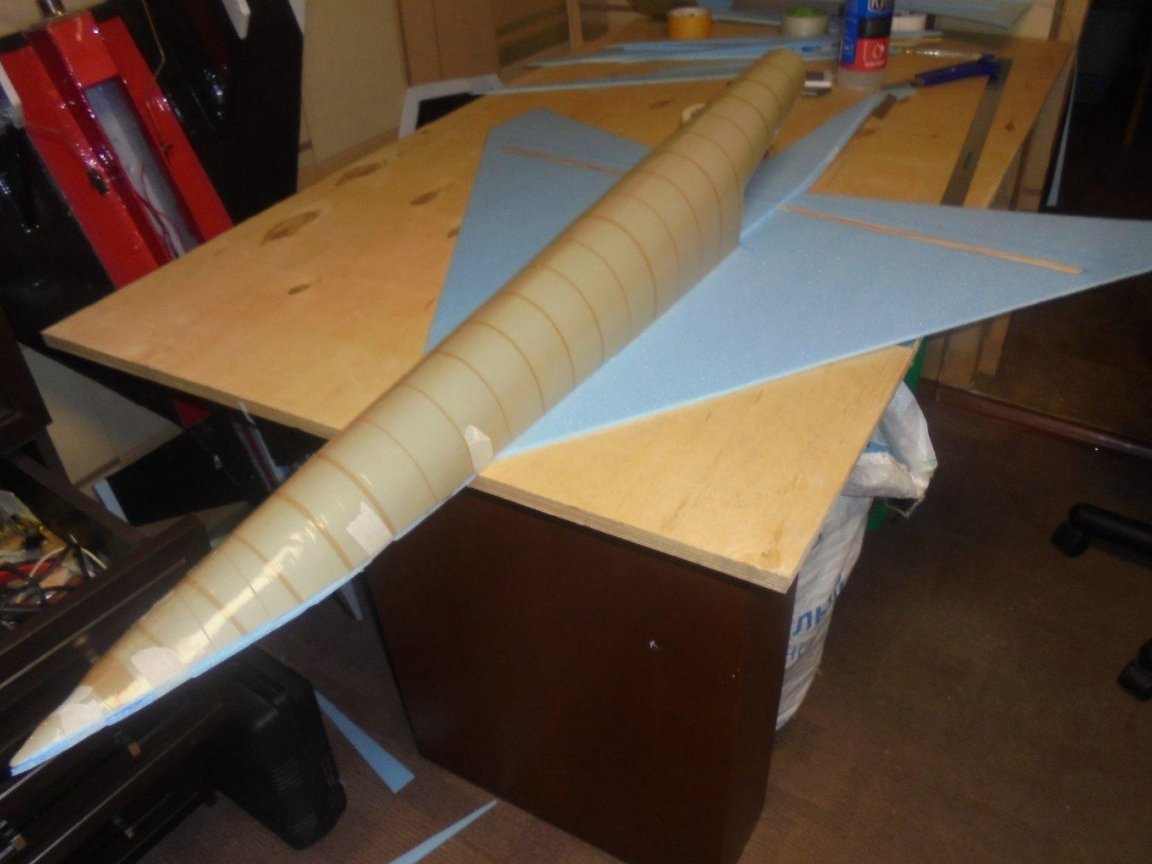
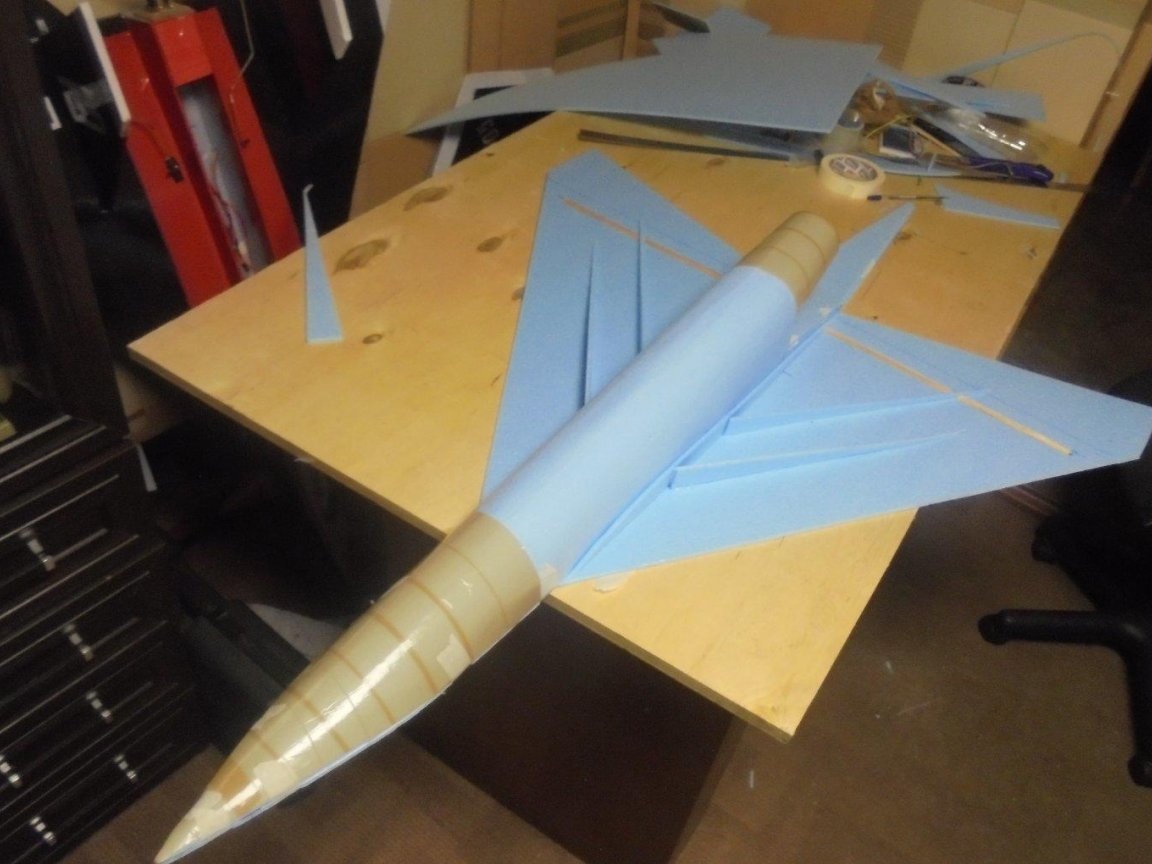
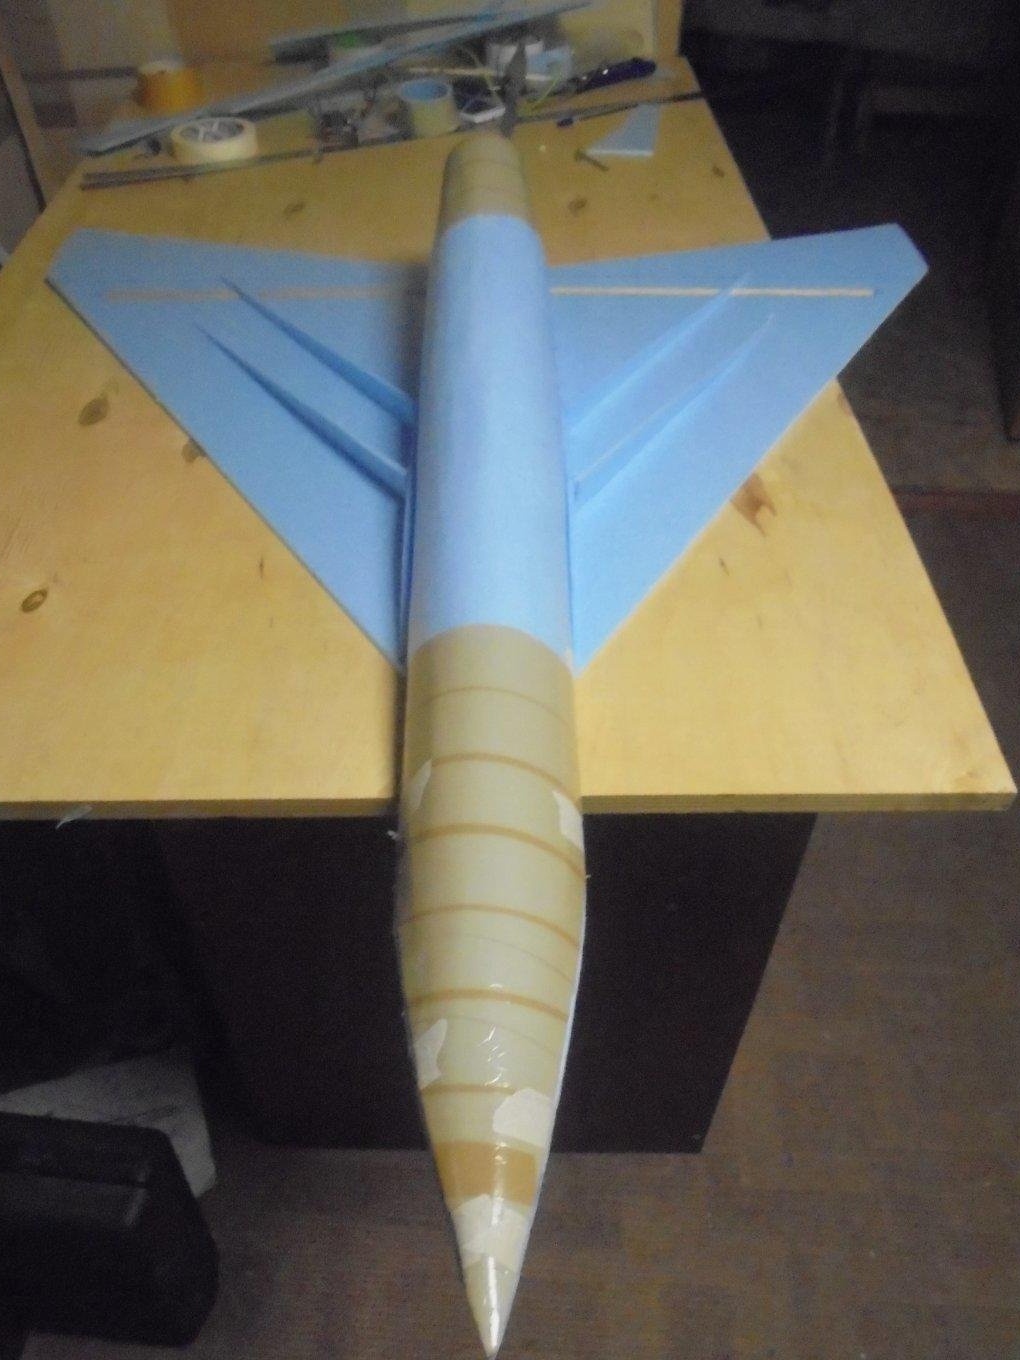
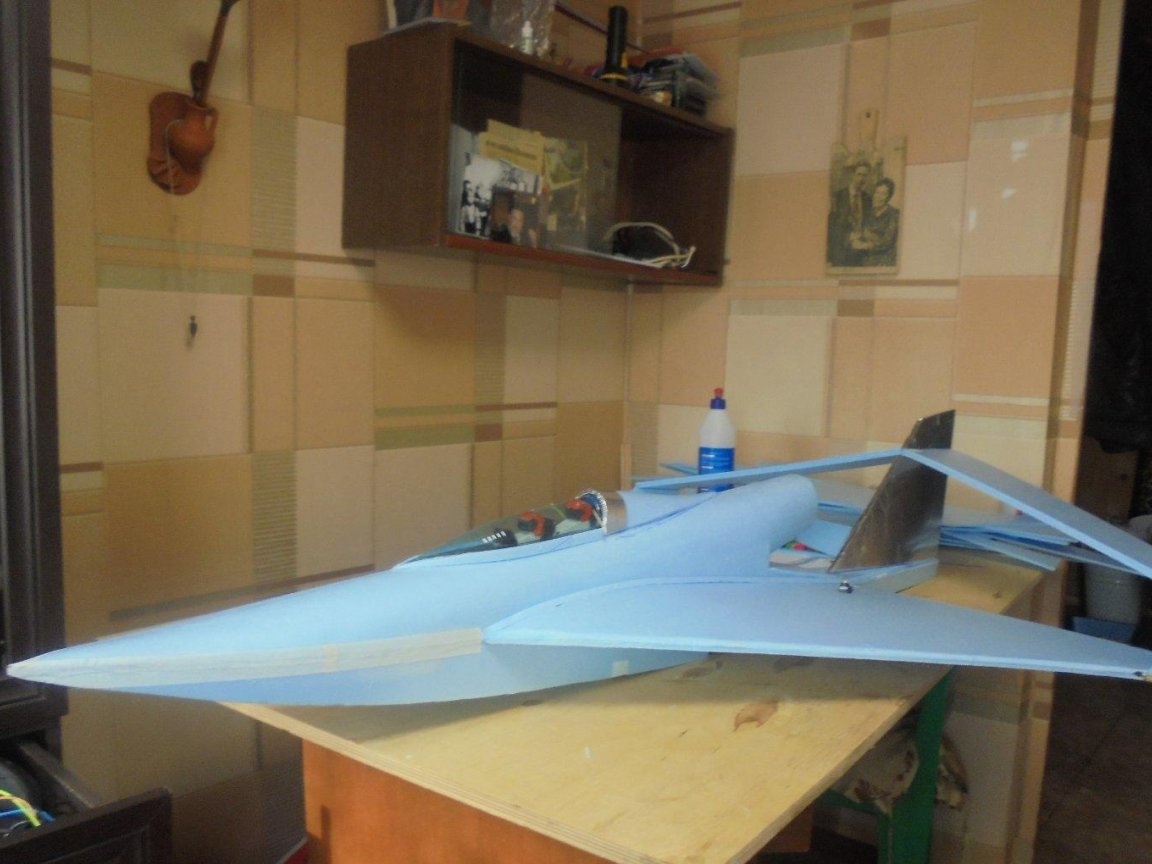
He began, as usual, with the marking and embedding of the main wing platform. I cut one half, then the other and glued them together.
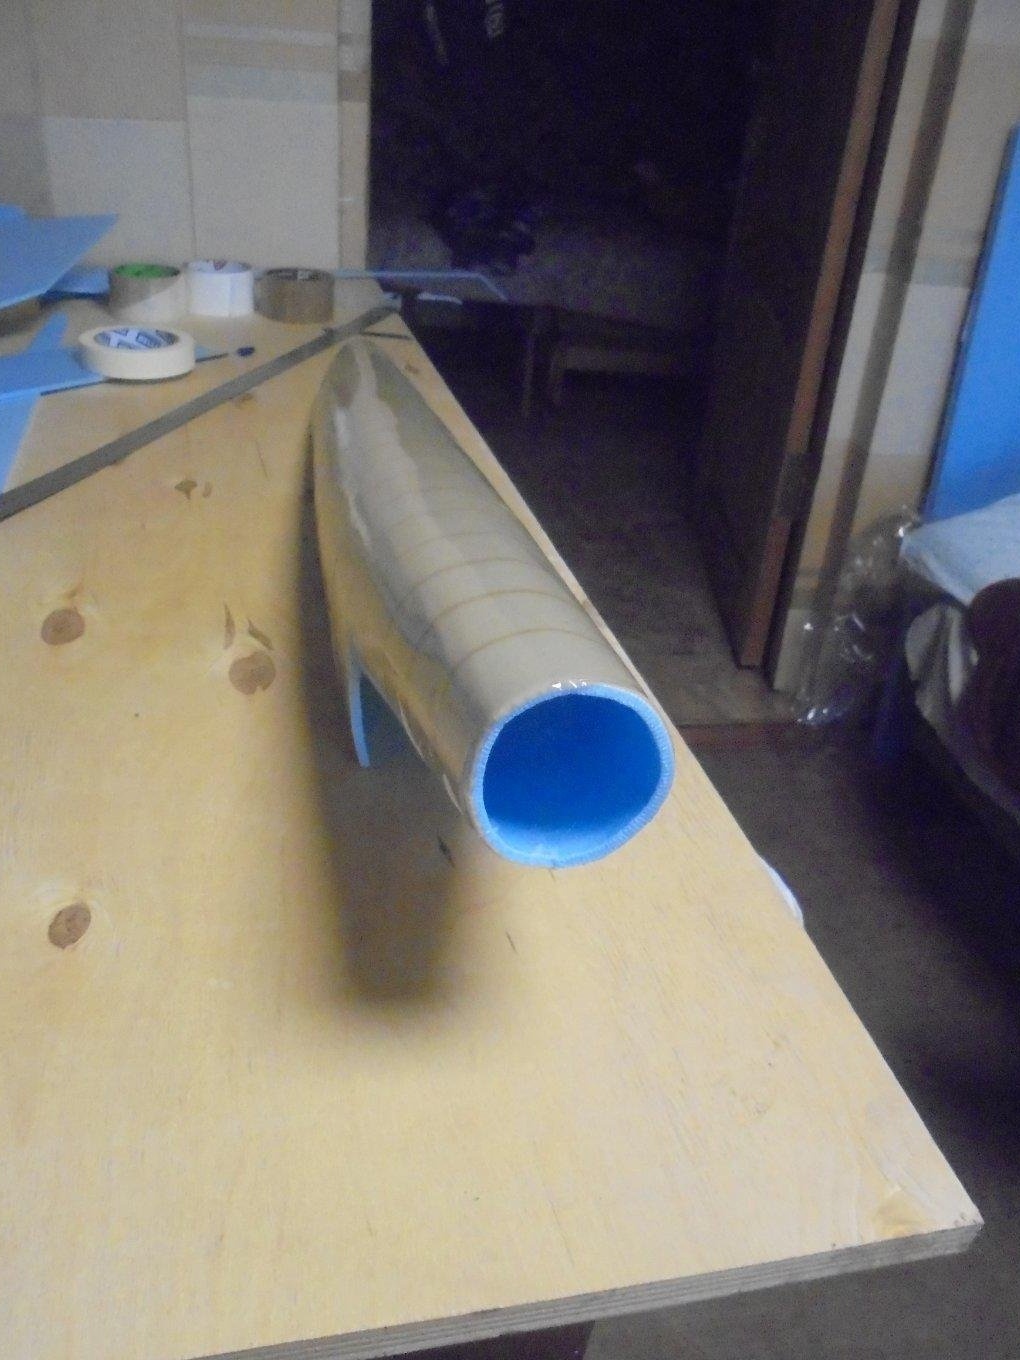
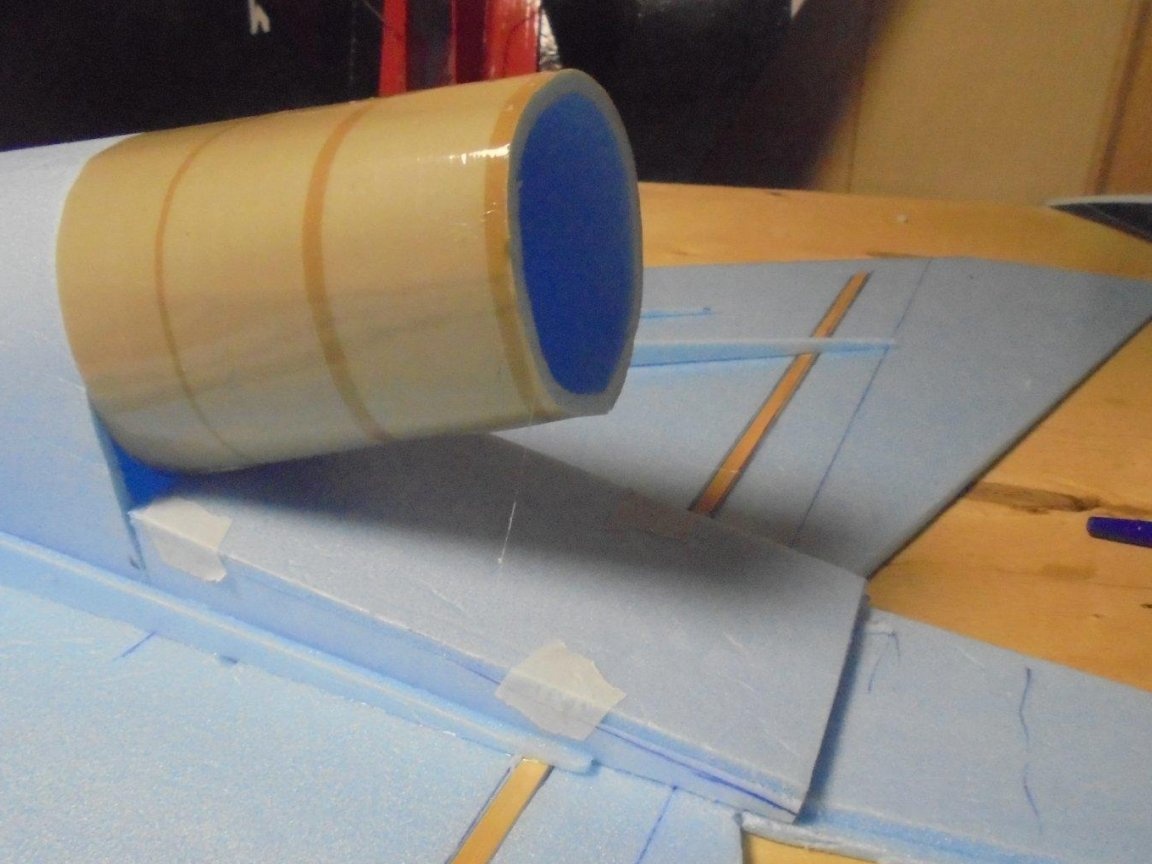
I cut out a blank for the upper nose of the fuselage from the substrate.
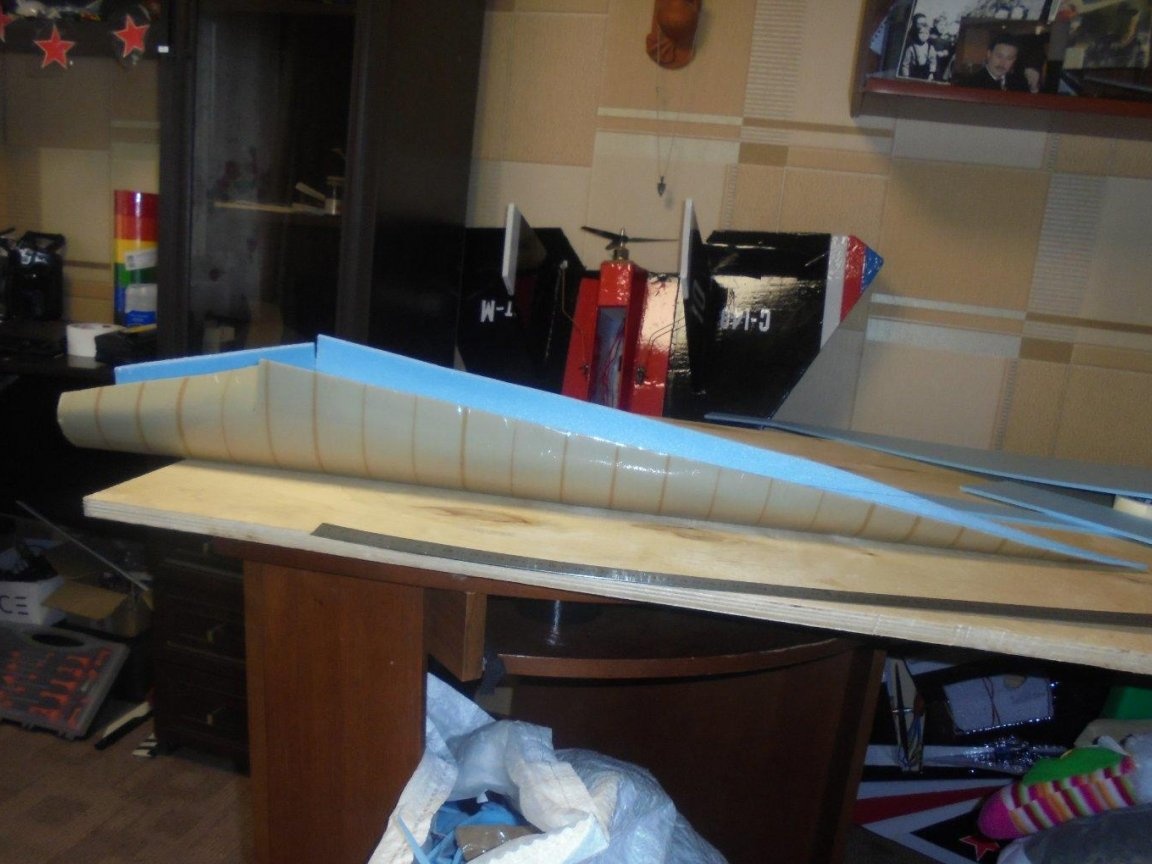
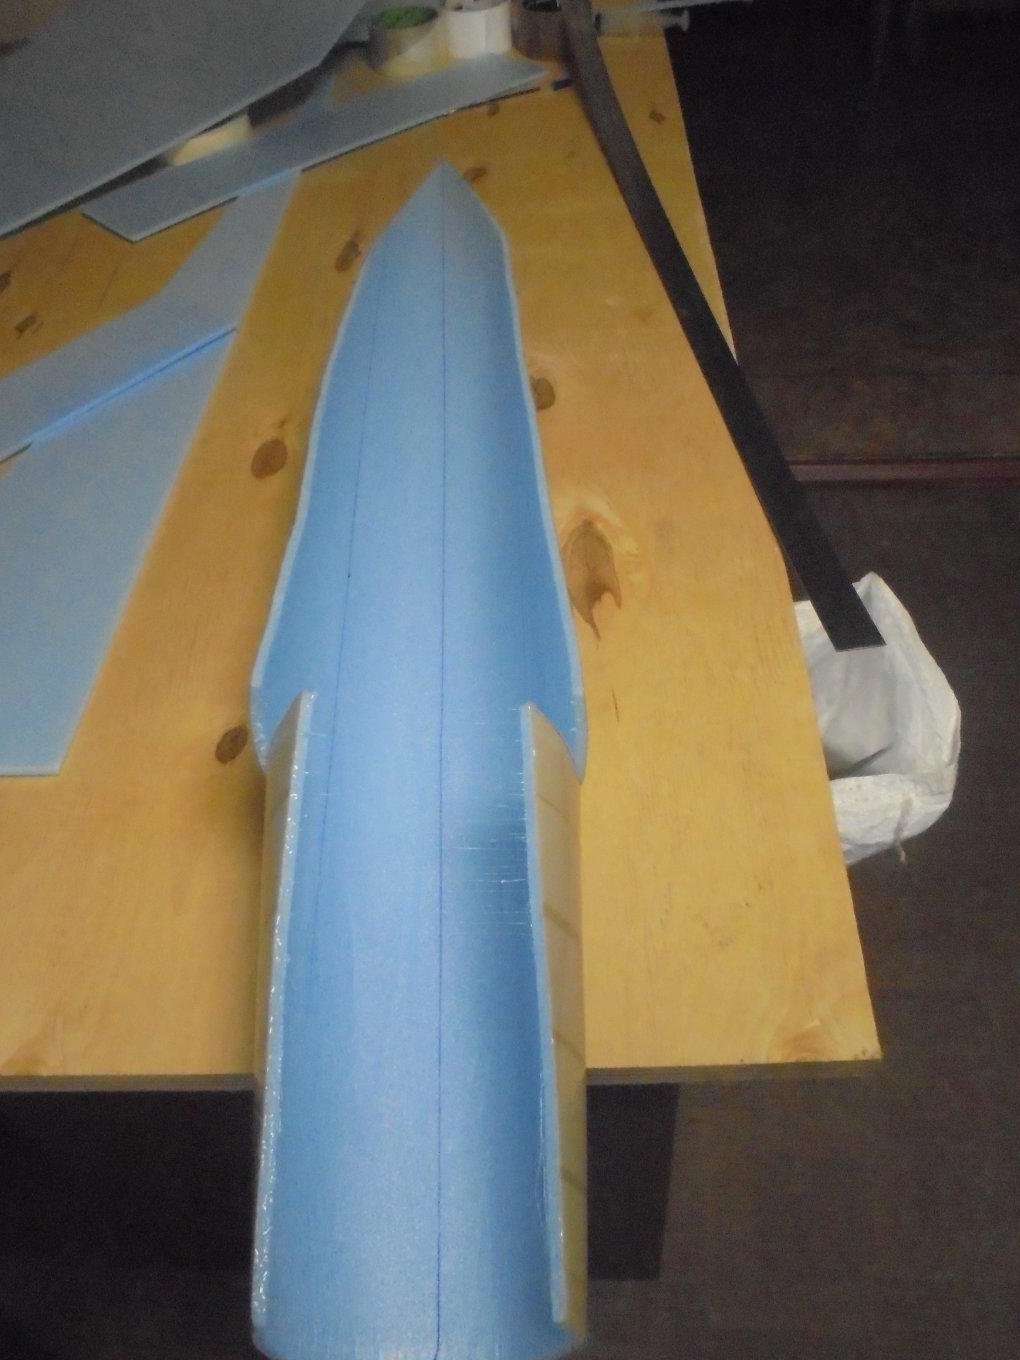
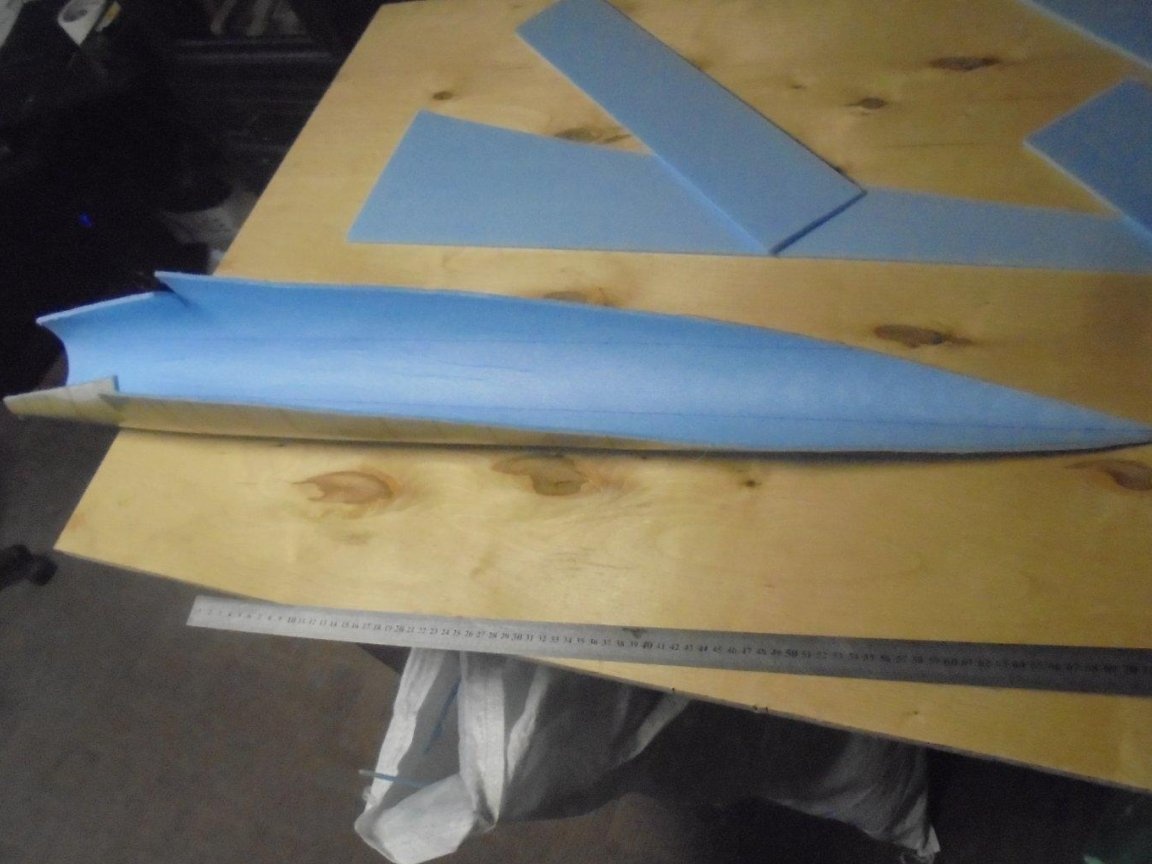
Before shaping the blank, I covered it with tape. That would not crack.
The blank was cut out in such a way that, together with the fuselage, a place was obtained for installing the motor. Later this place was filled with construction foam.
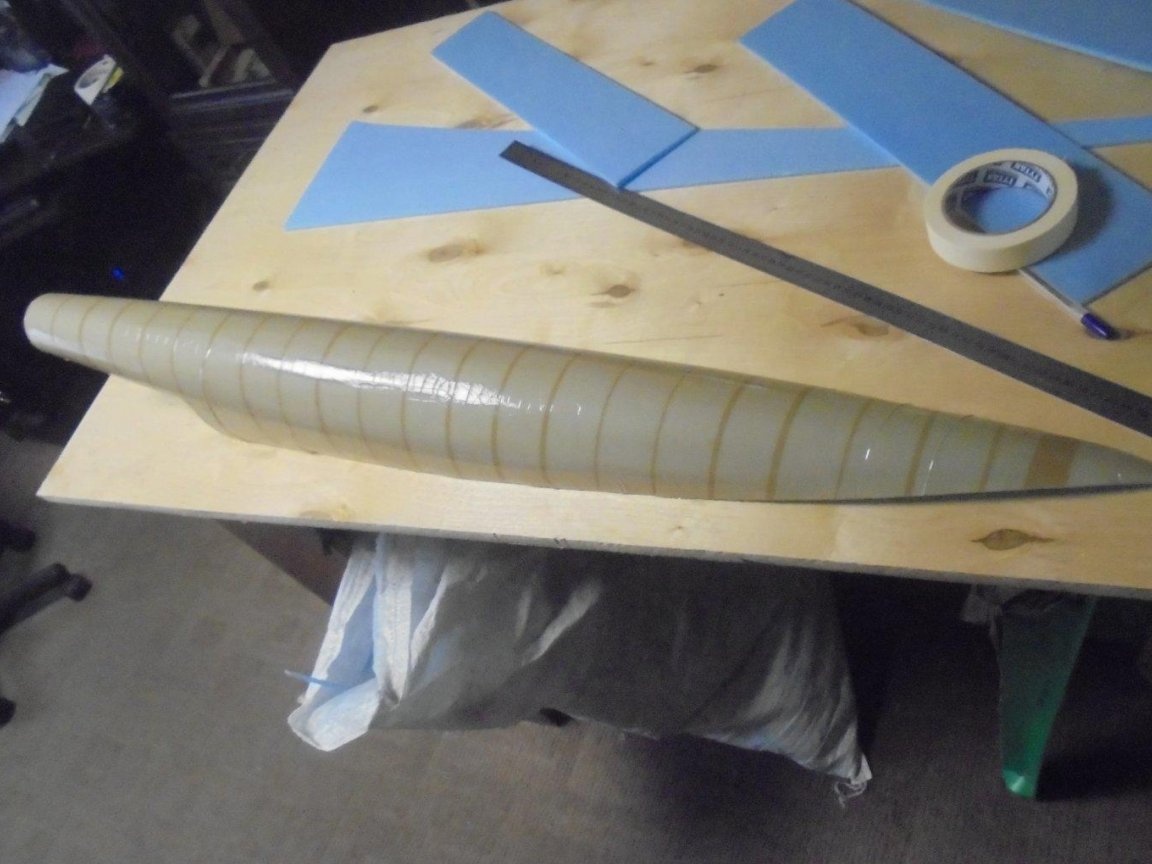
Before filling the space with foam, I inserted plastic fittings inside, for laying wires, previously wrapping the fittings with A4 paper. After hardening the foam, he pulled out the fittings and cut off the excess paper.
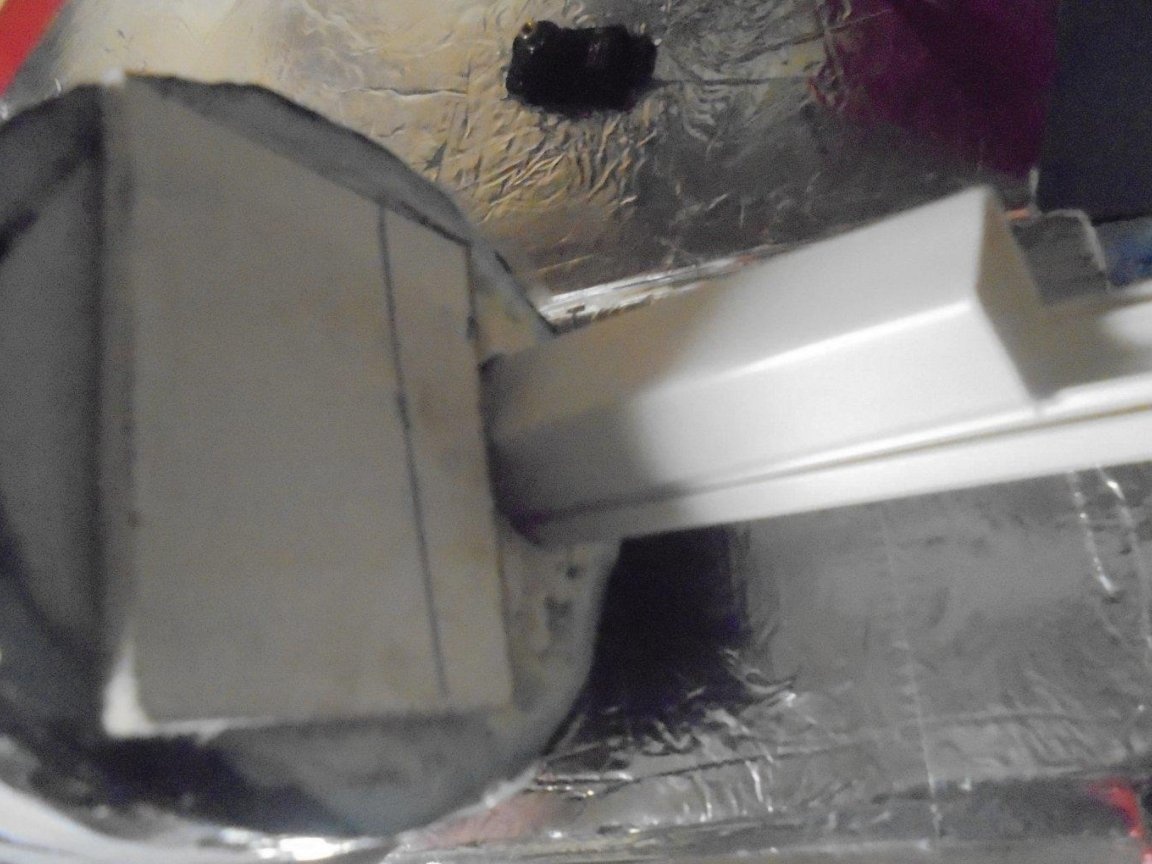
Then I glued a piece of fiberboard (hardboard), on which the motor will be mounted. The wires from the motor will be laid in this hole.
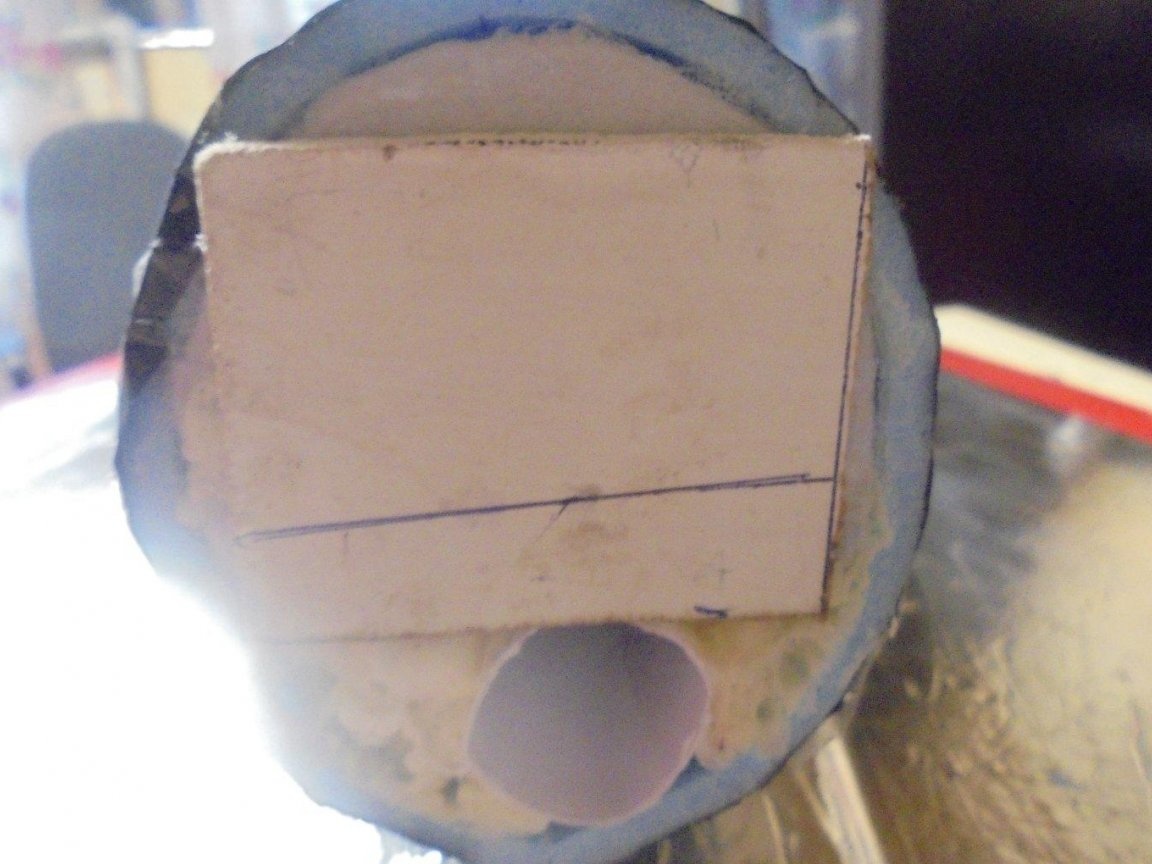
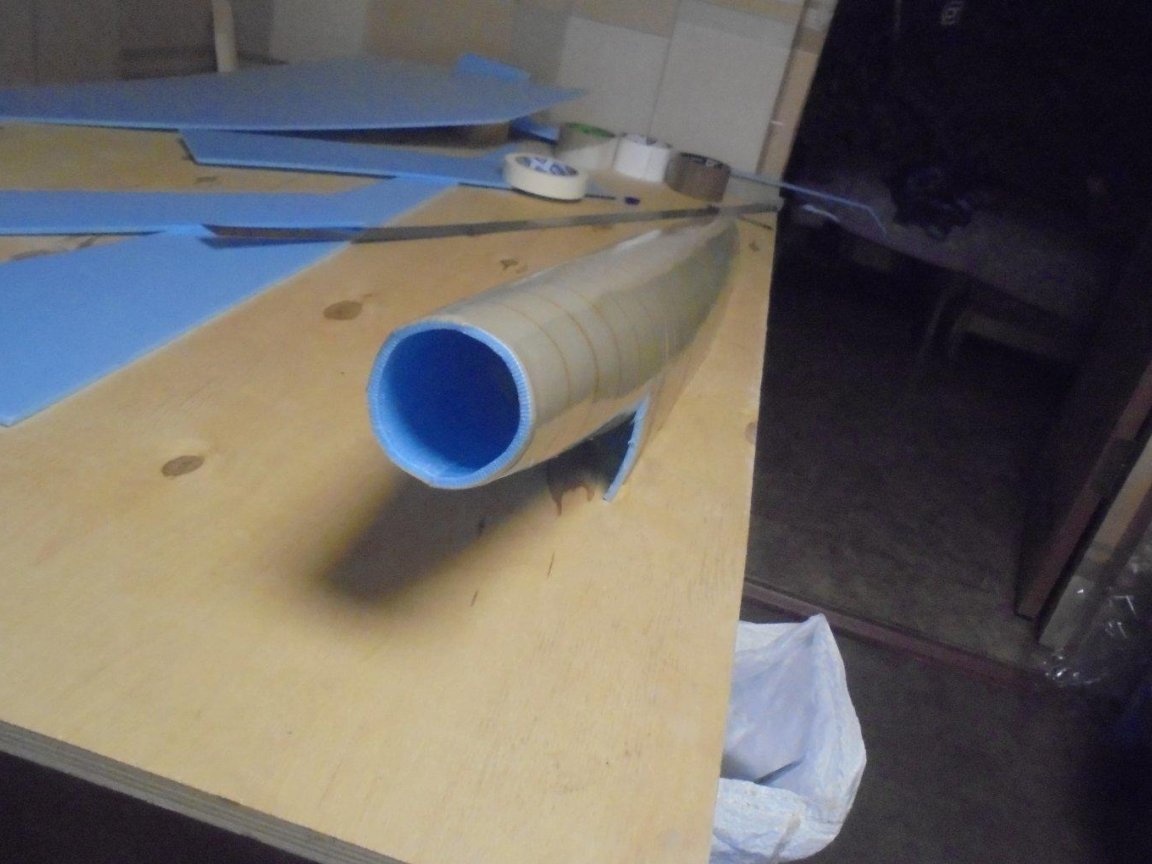
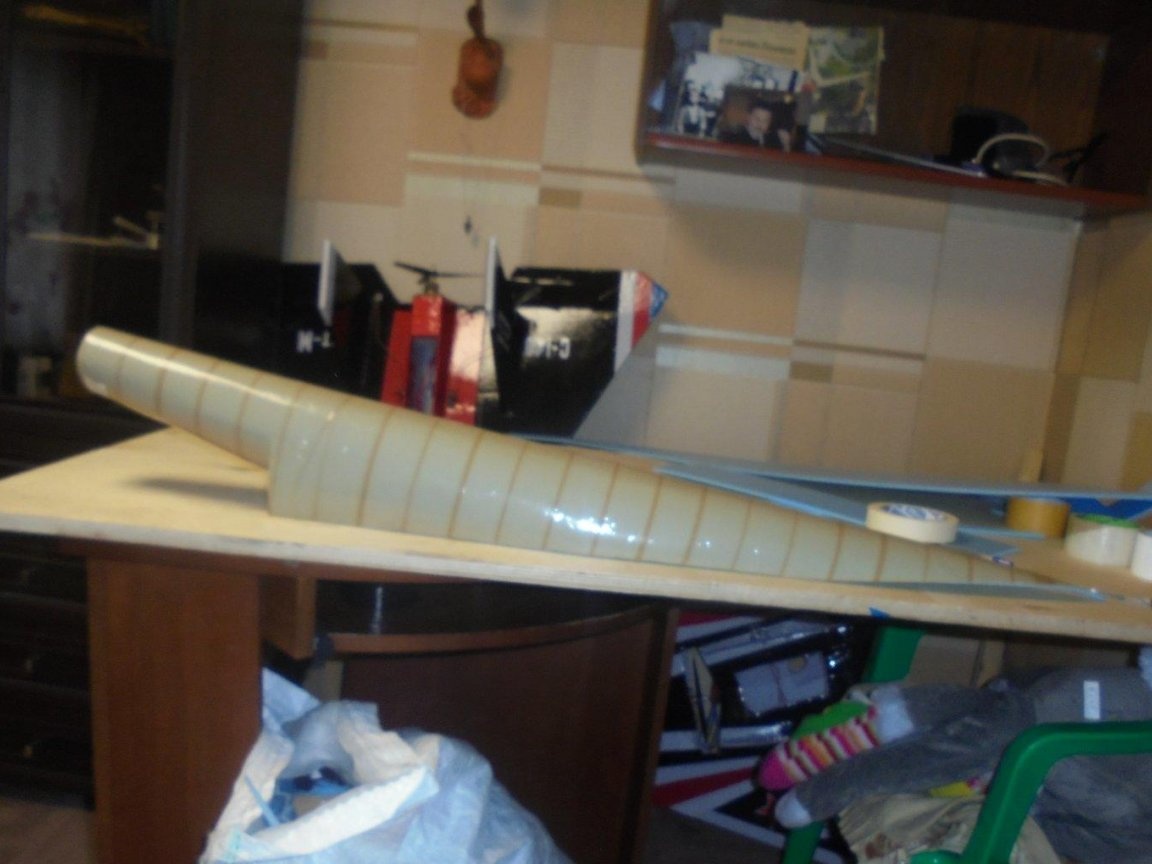
At the place of gluing the nose of the fuselage, I paste the second layer of the substrate.
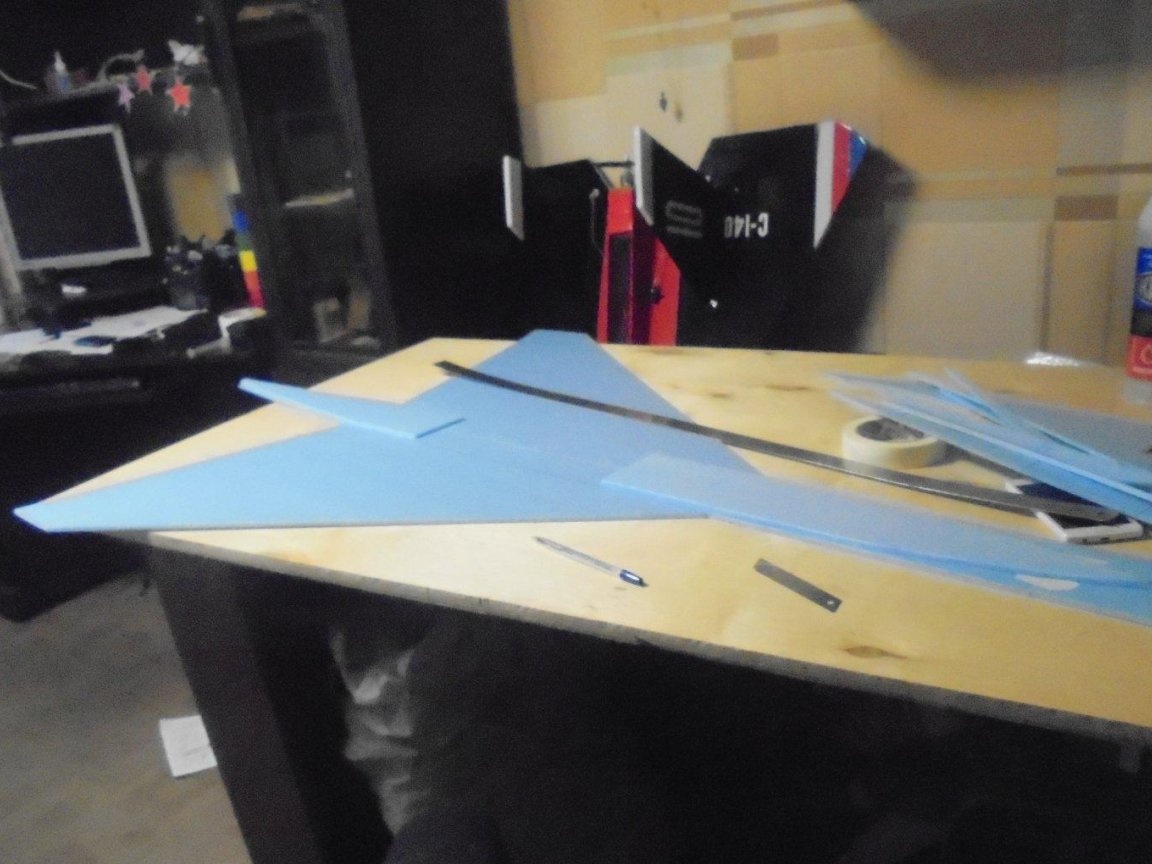
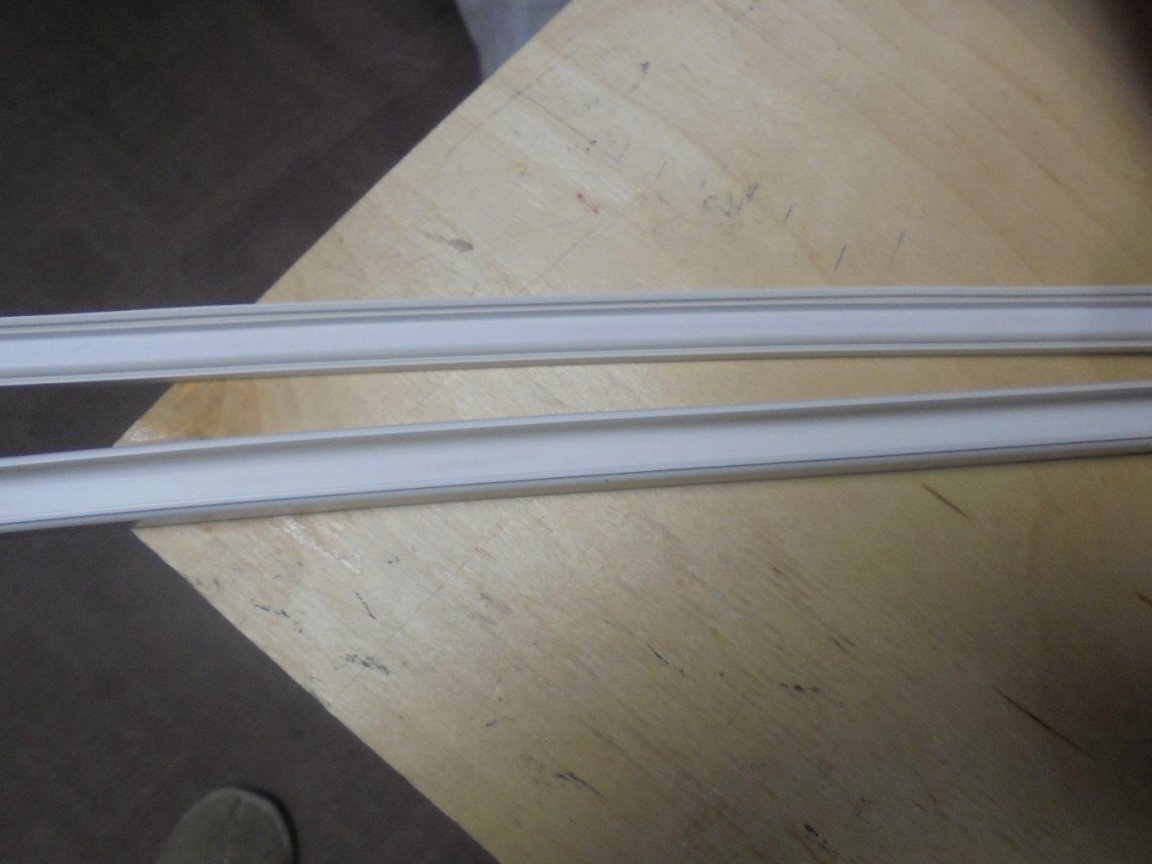
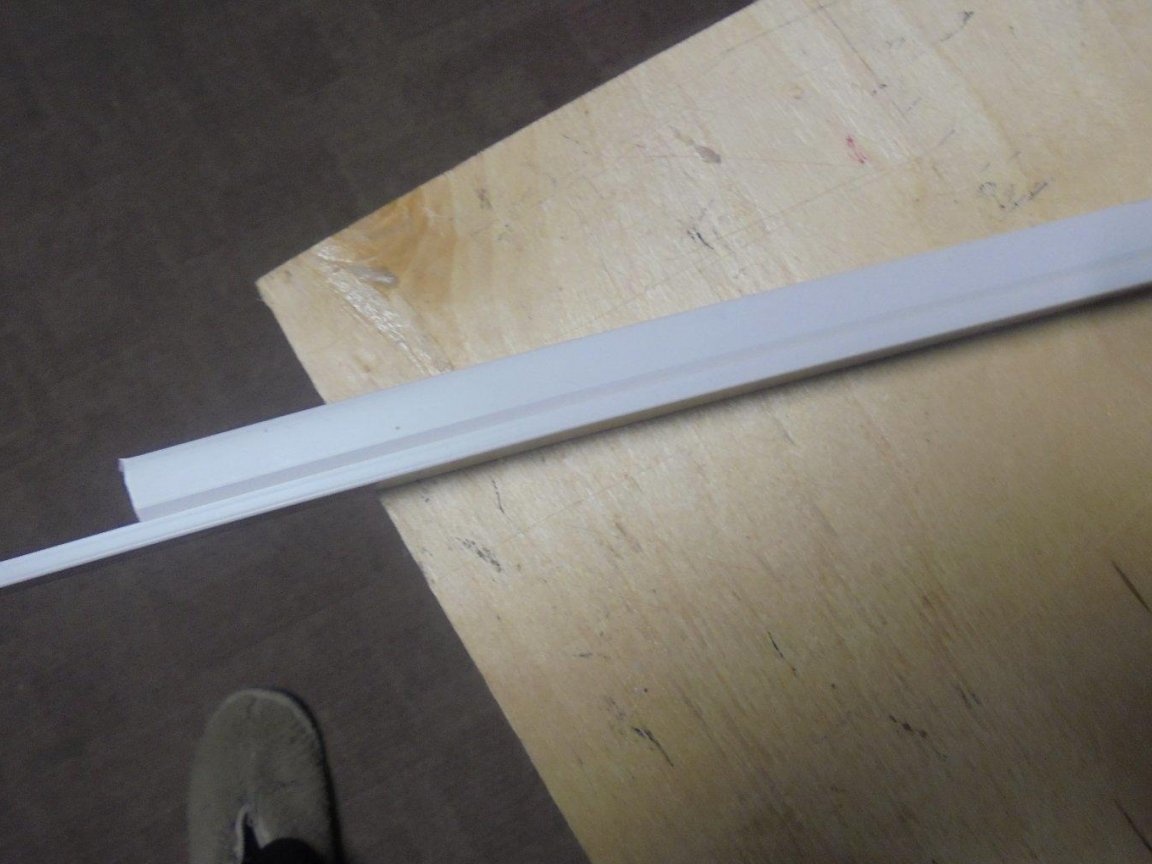
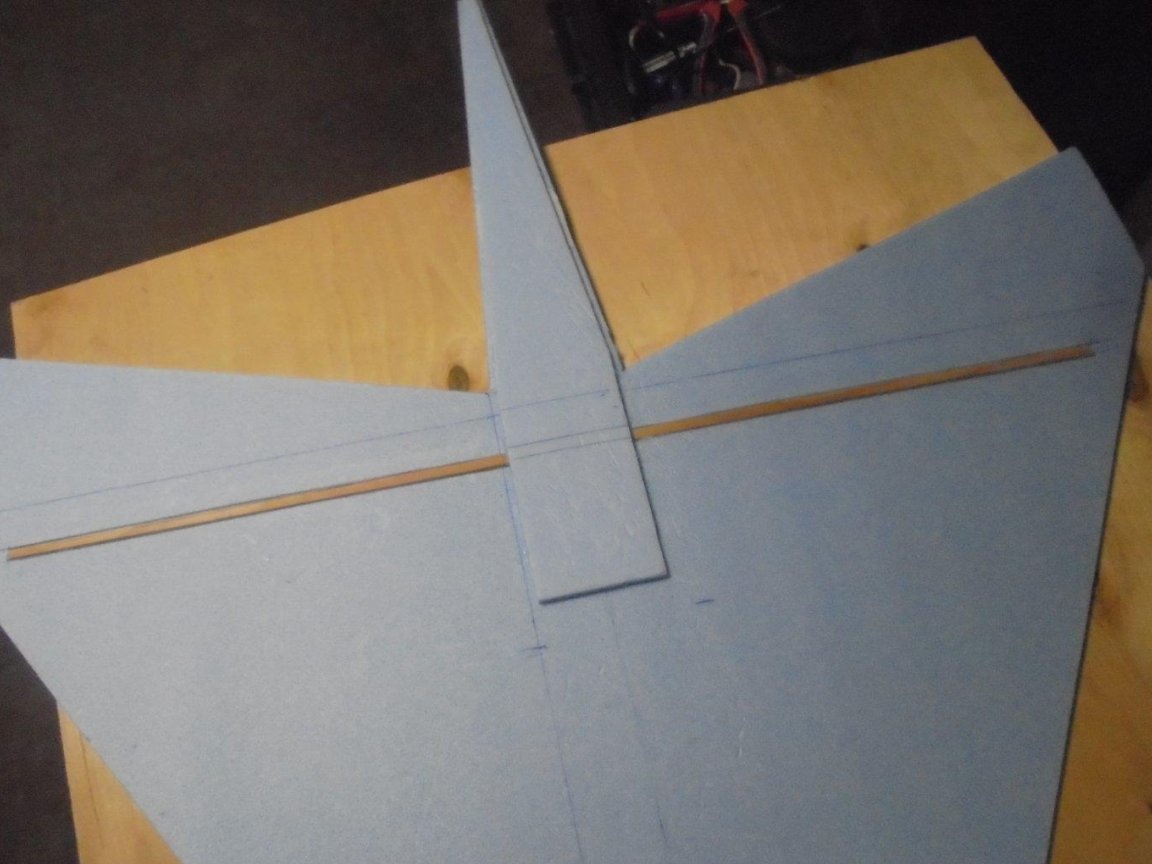
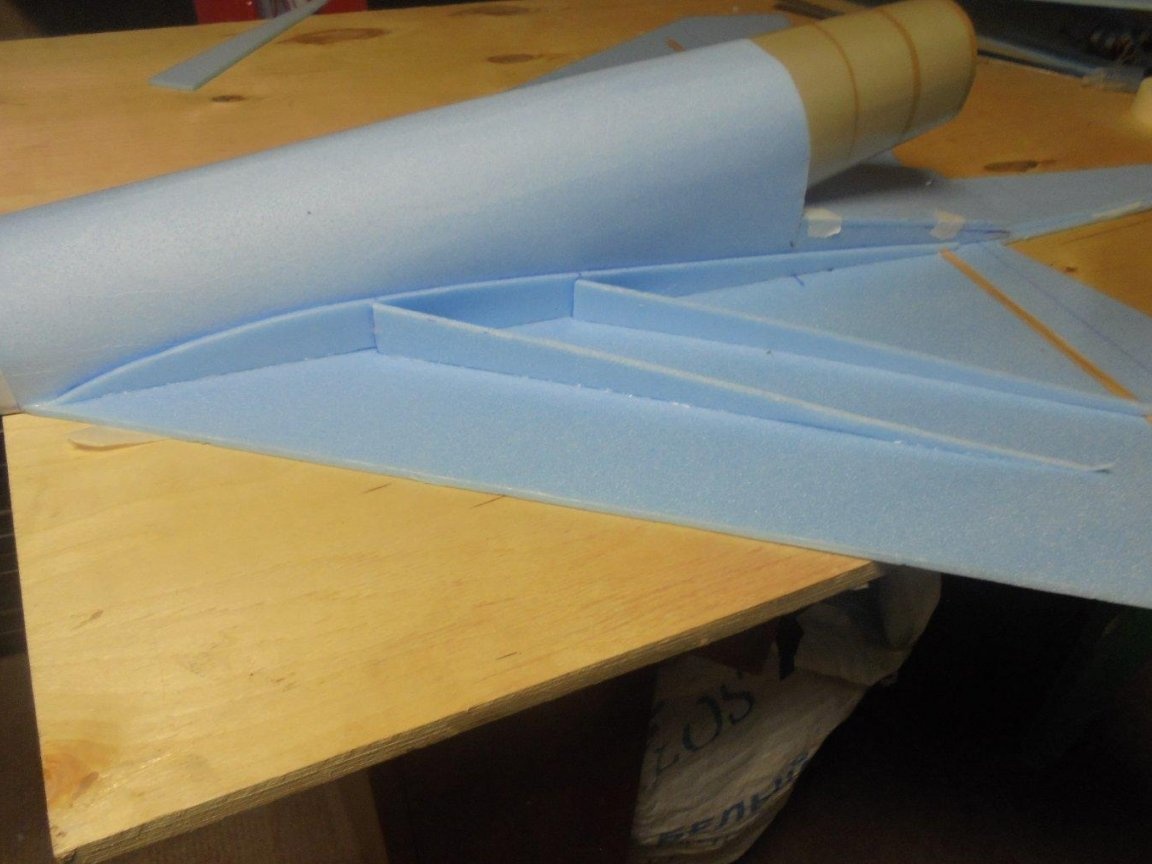
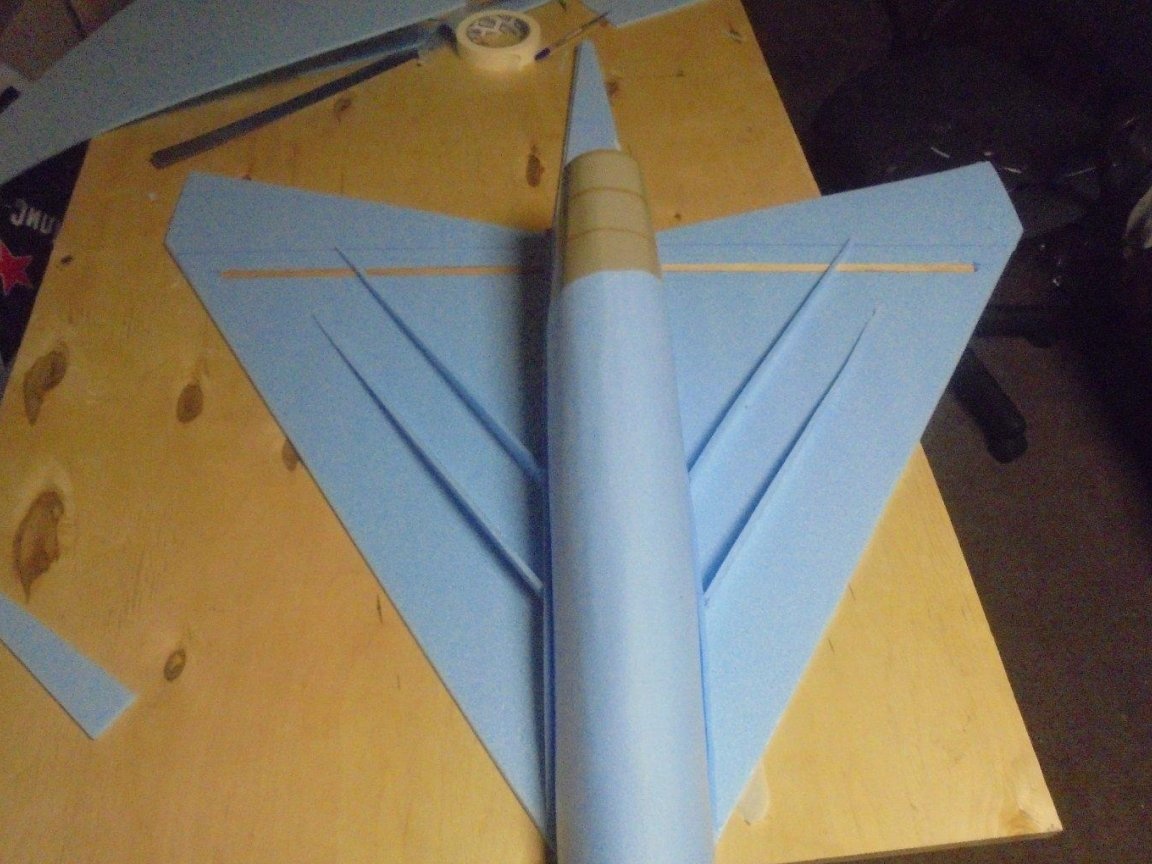
Before that, I cut a groove in the wing blank, where I glued a wooden rail with a cross section of 5 X7 mm. for wing stiffness.
Although stiffness and strength would be enough from the planned wing profile.
I mount the fuselage blank in such a way that the glued second substrate layer goes inside the cylindrical blank.
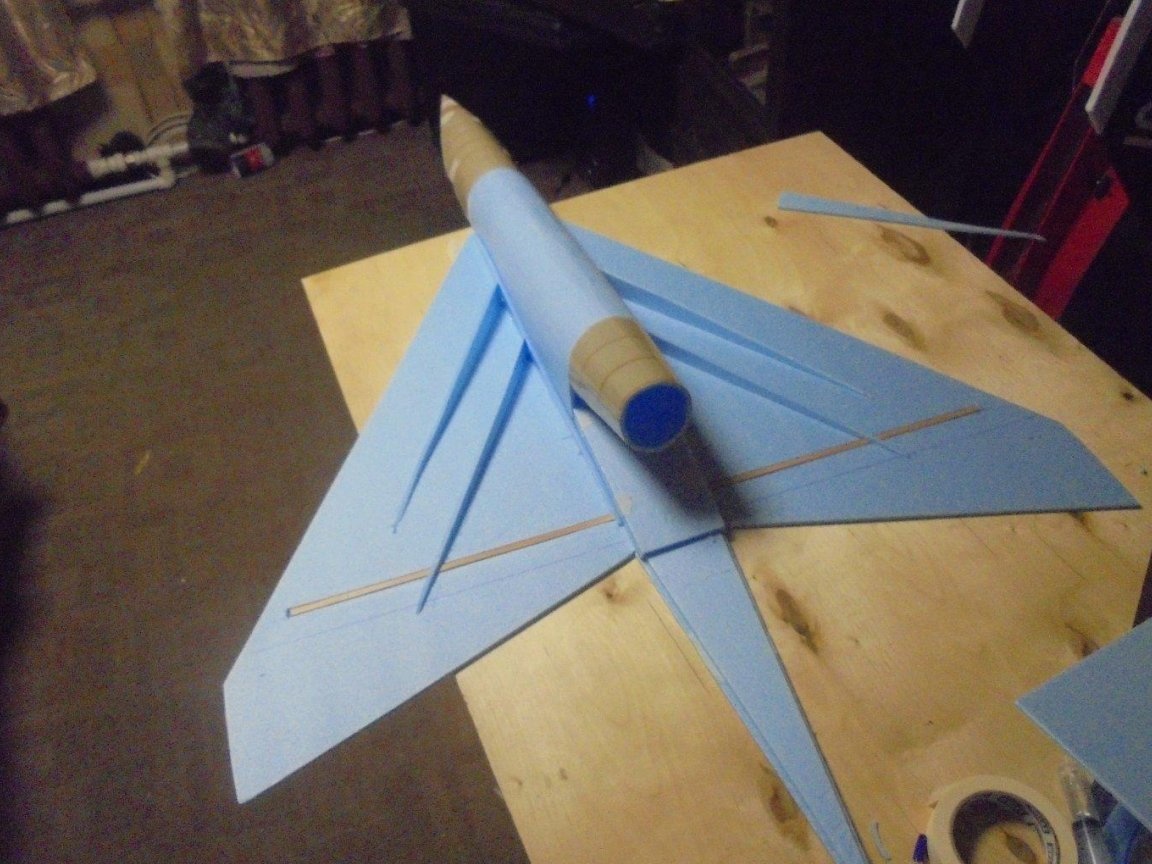
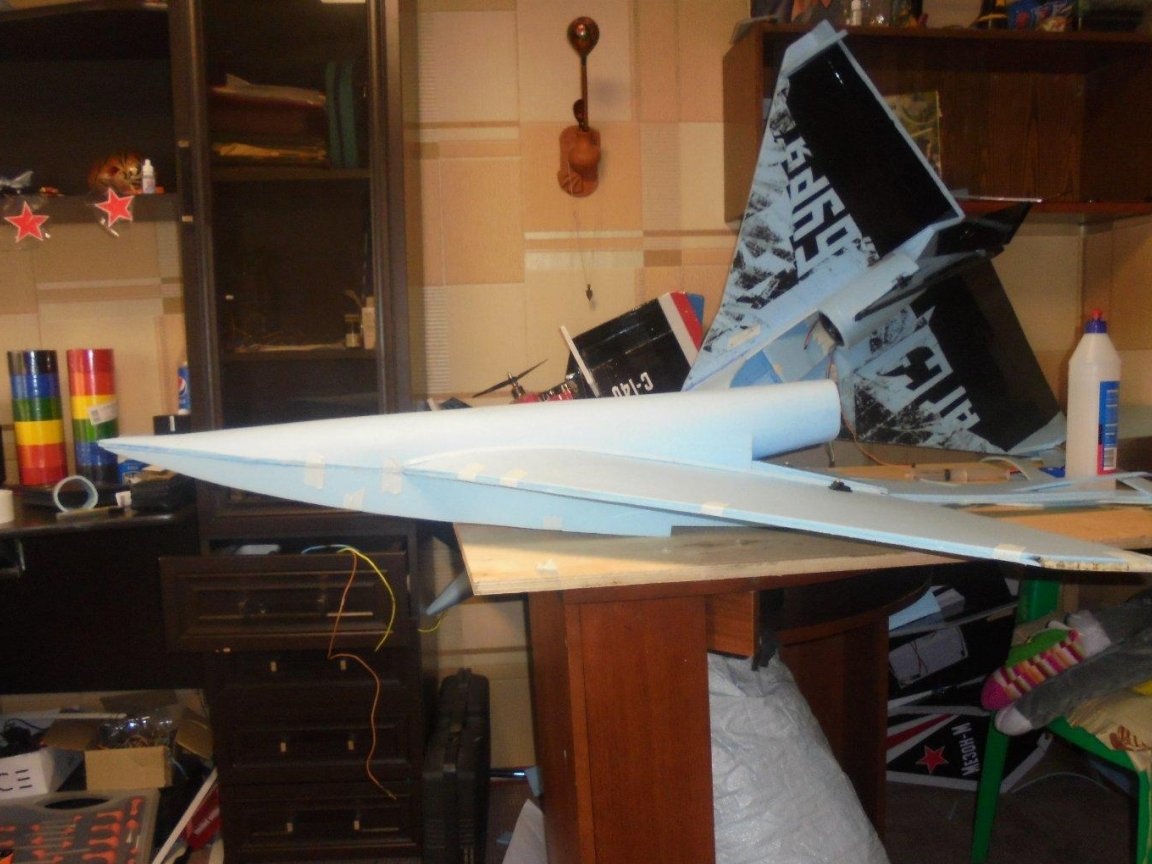
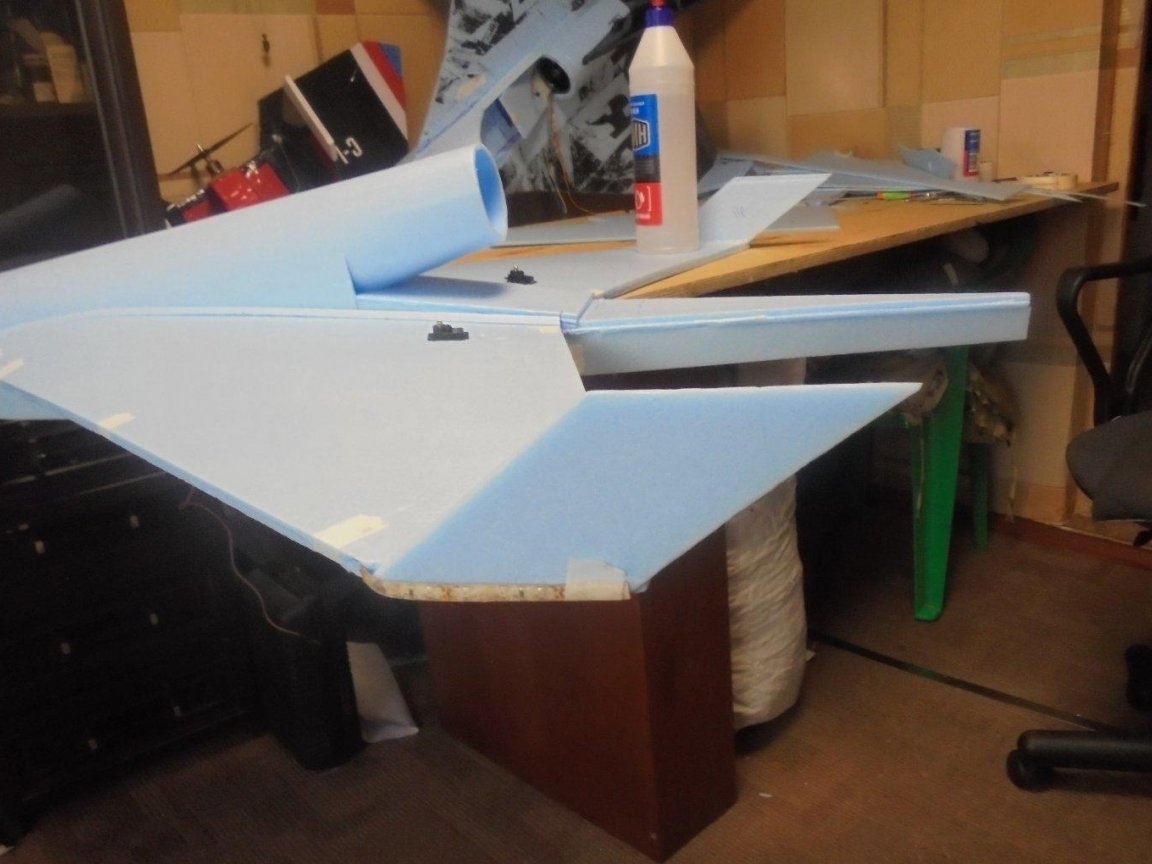
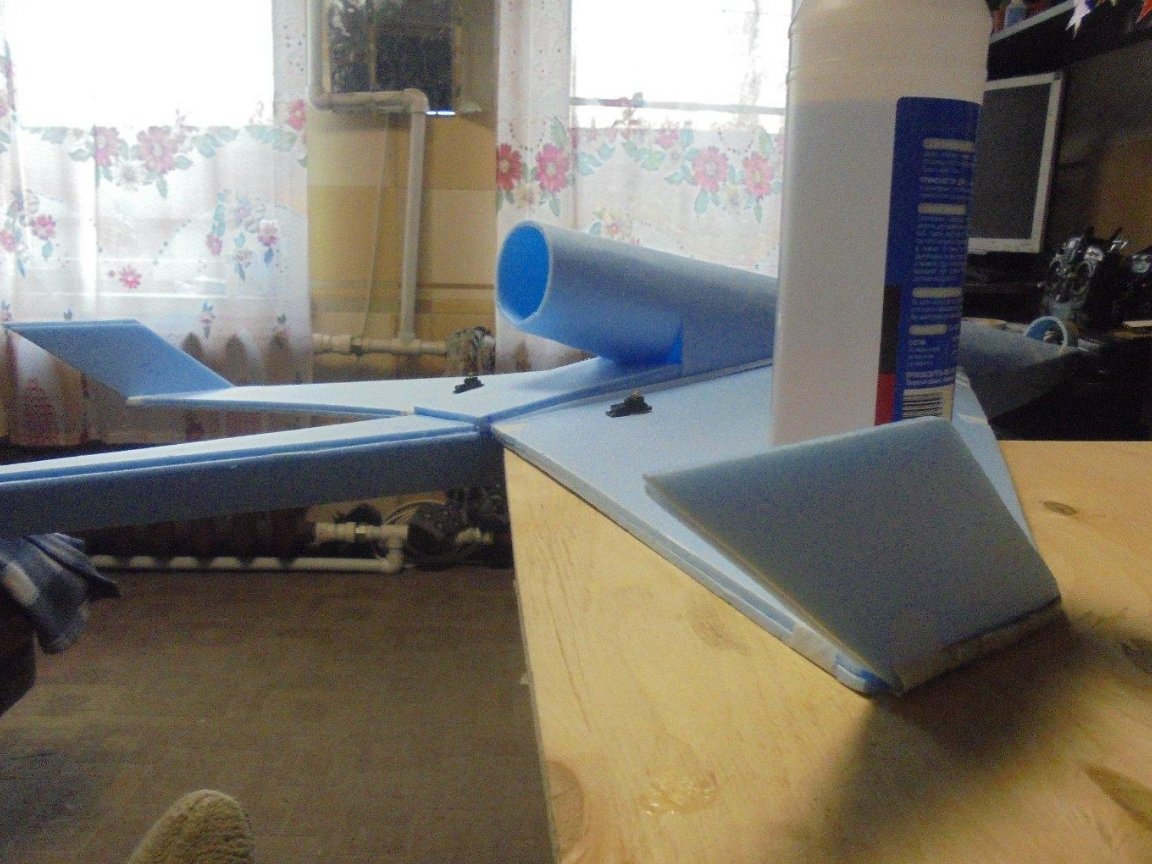
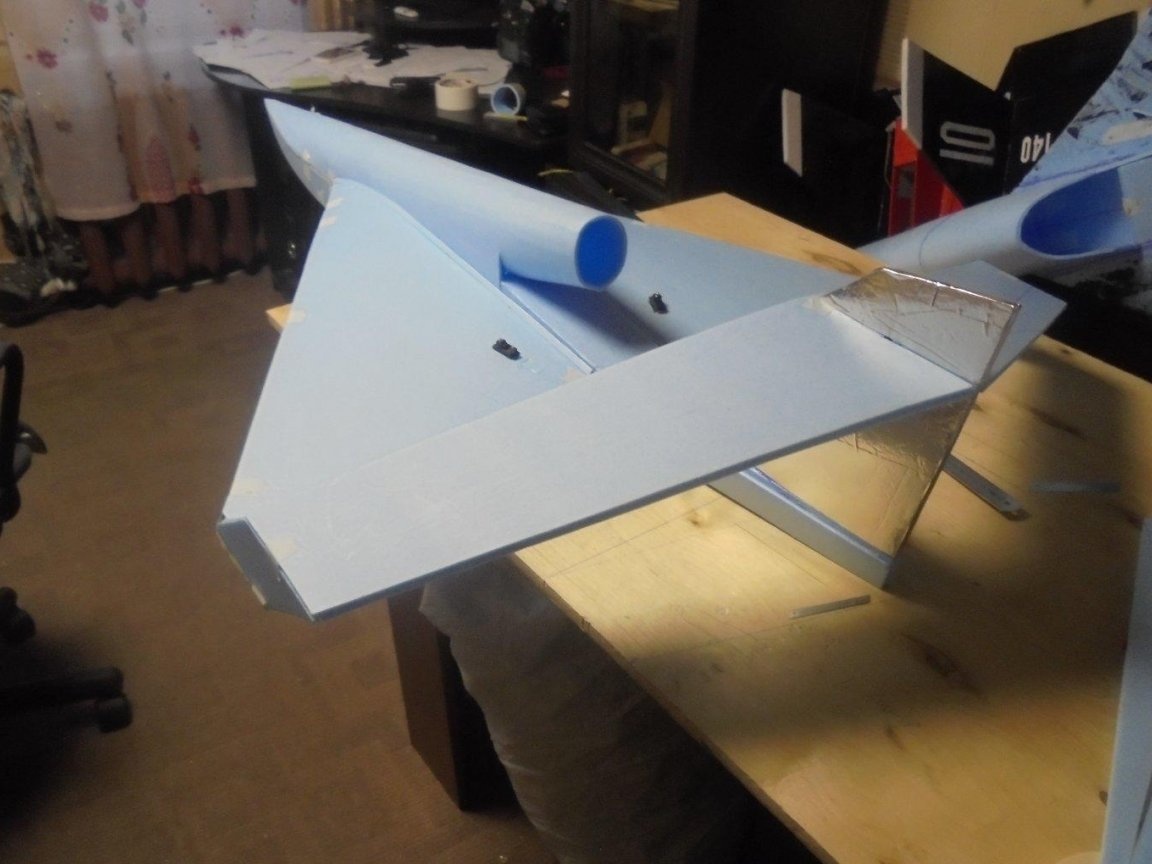
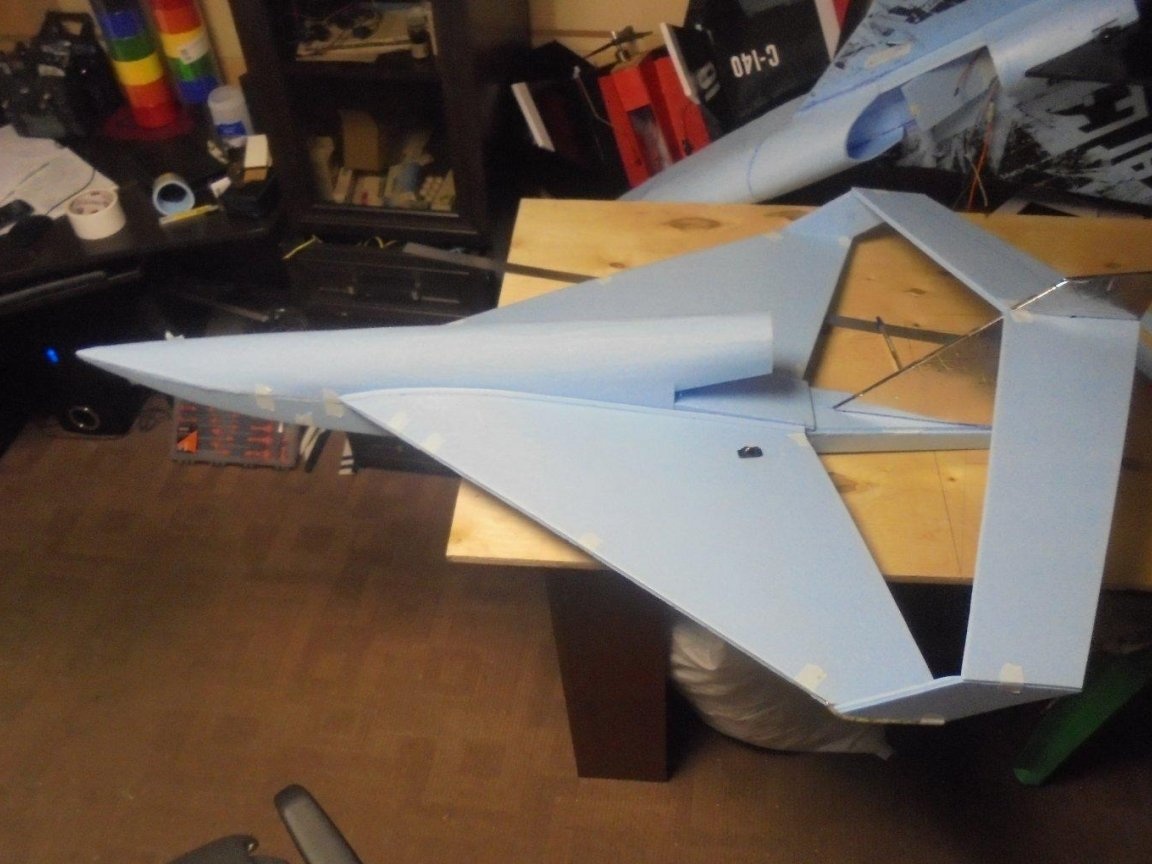
Under the protrusion of the rear of the fuselage, the stiffeners are glued.
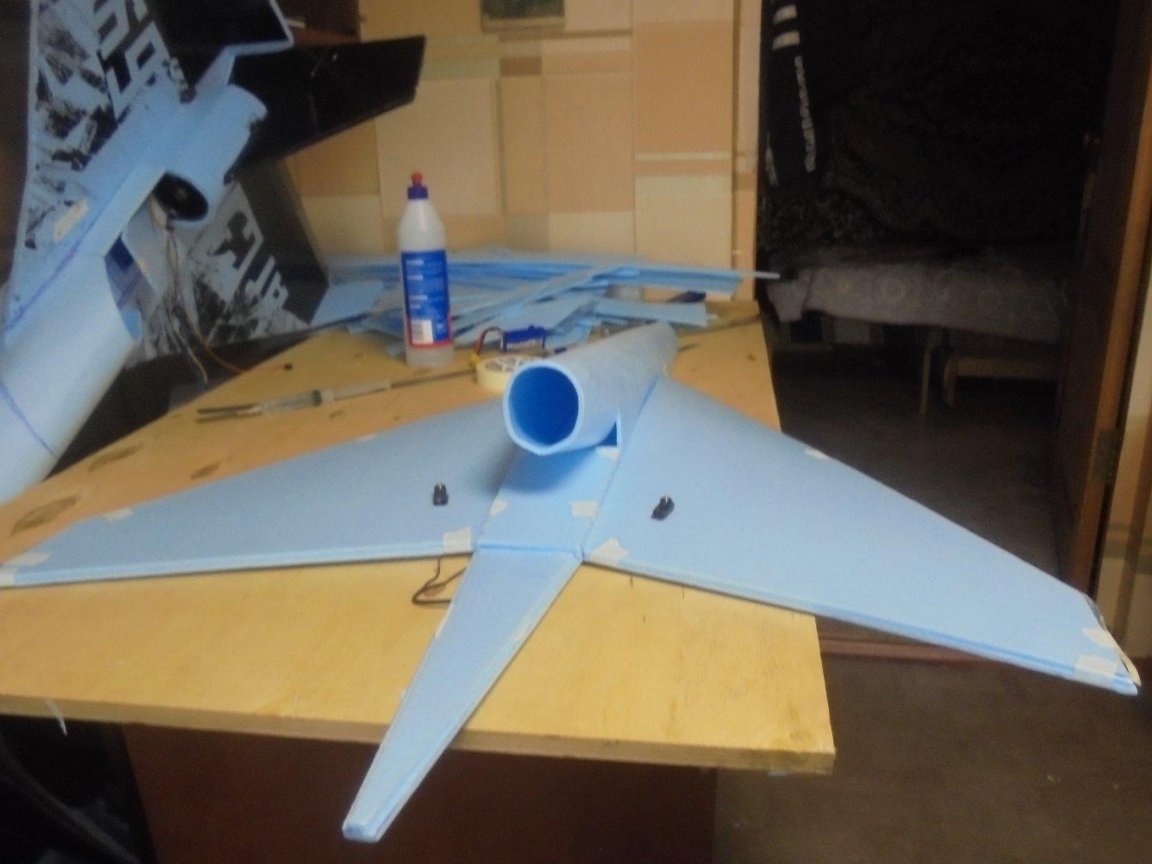
On the right and left halves of the wing, stiffening ribs and the root rib, giving the profile of the wing, are glued.
Before this, the technological covering of the fuselage is removed with adhesive tape.
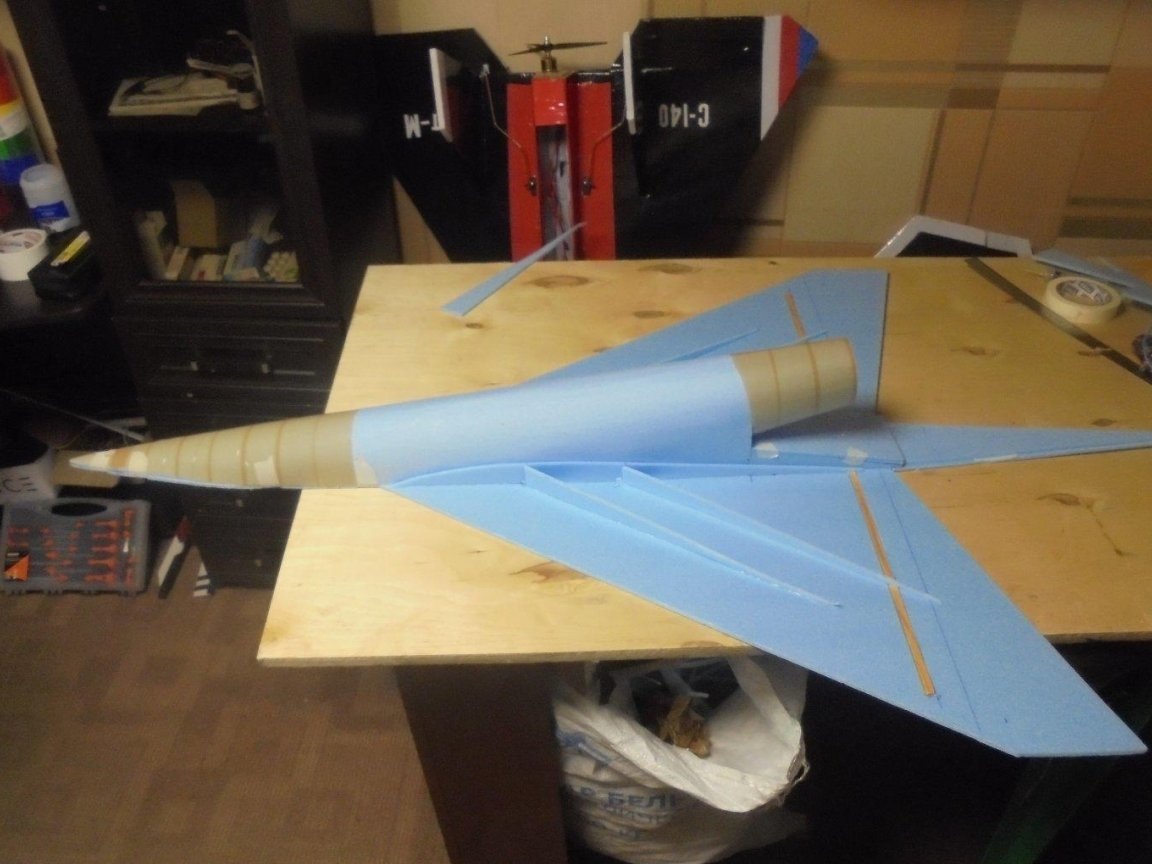
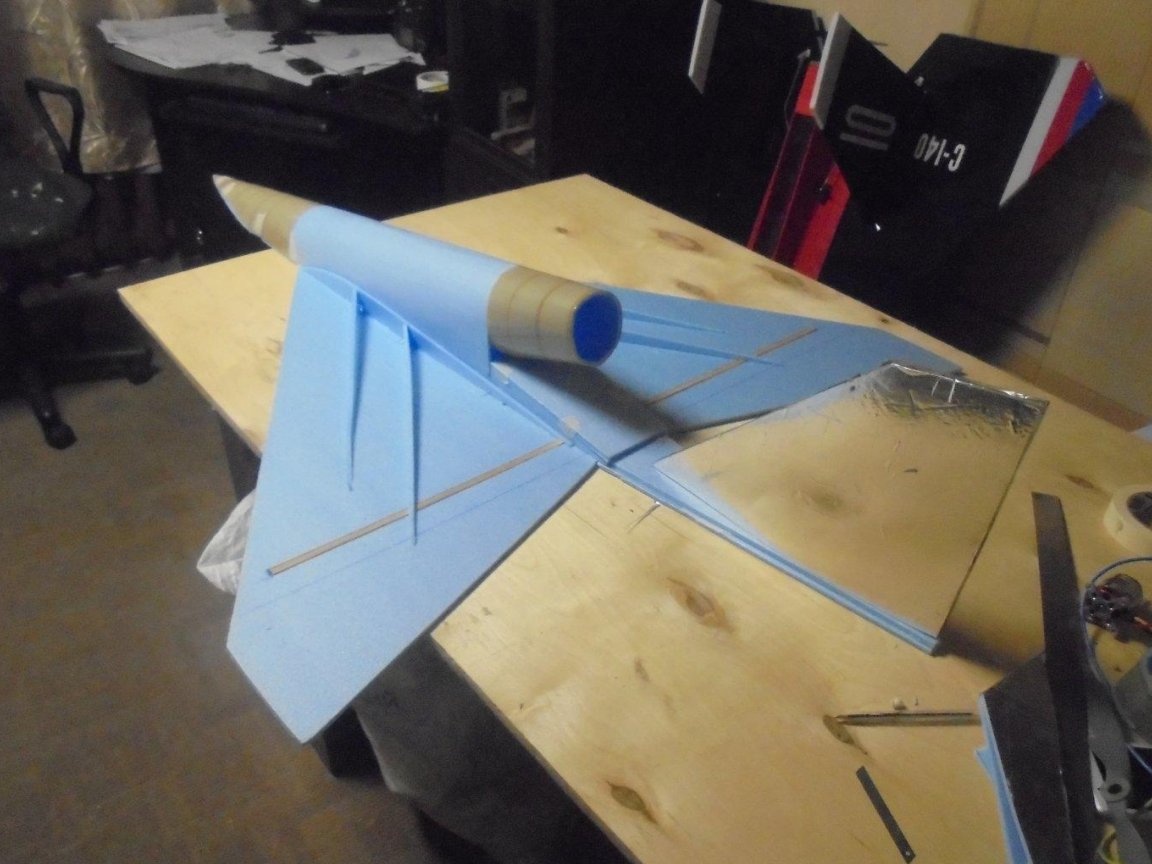
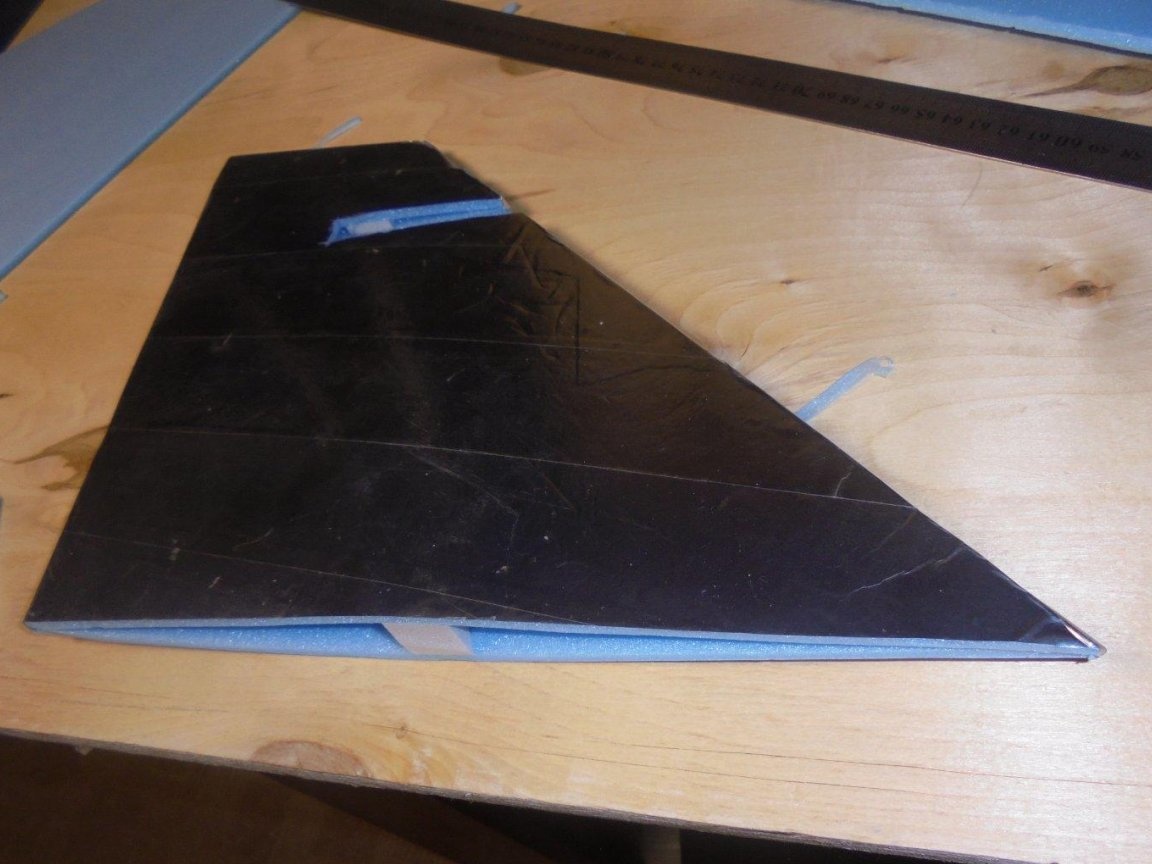
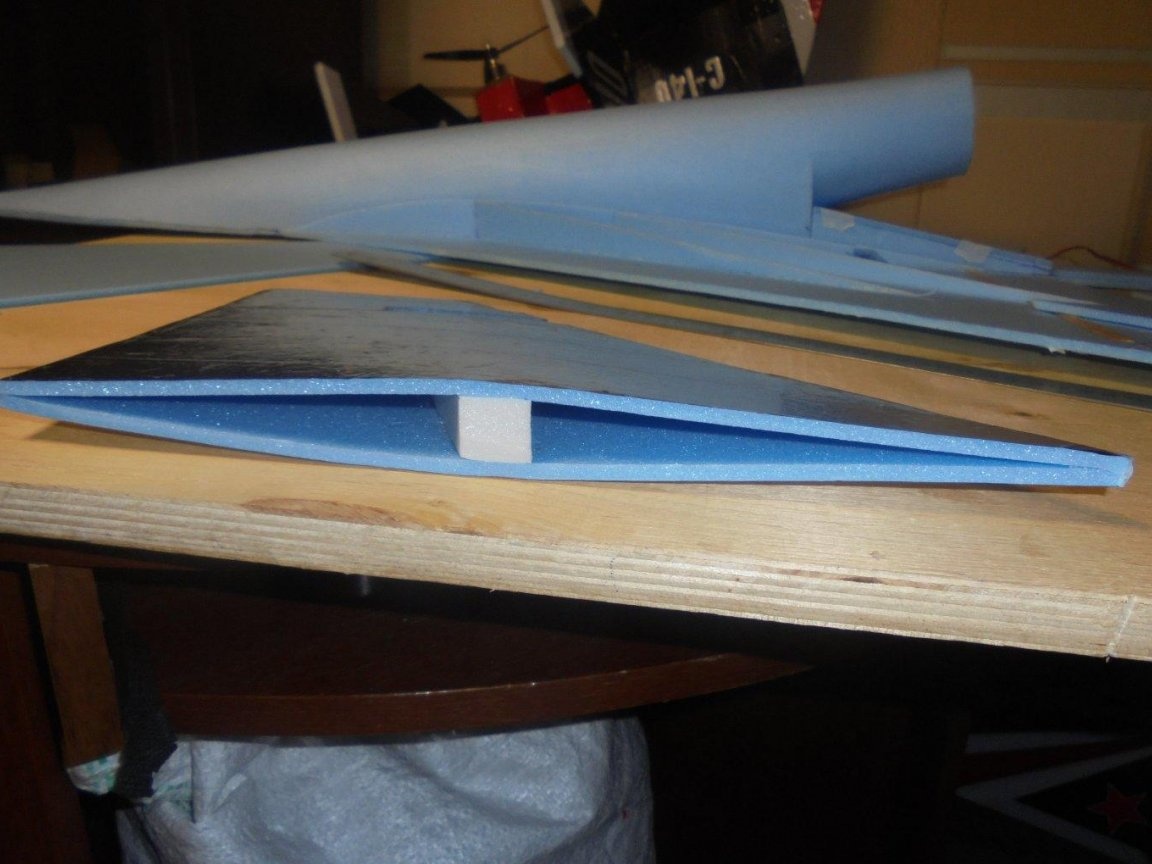
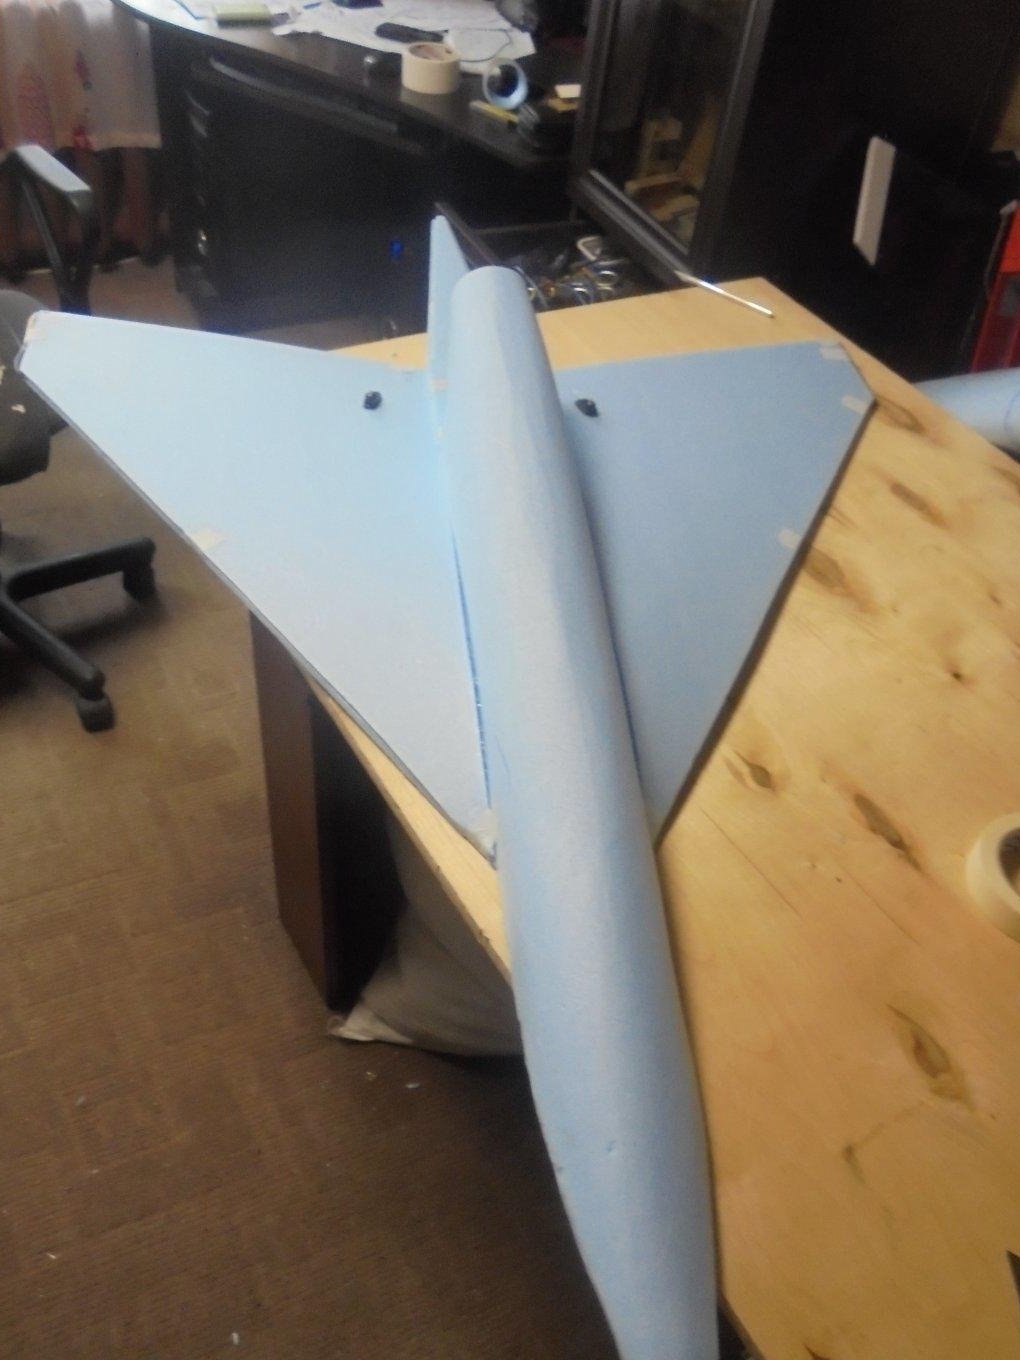
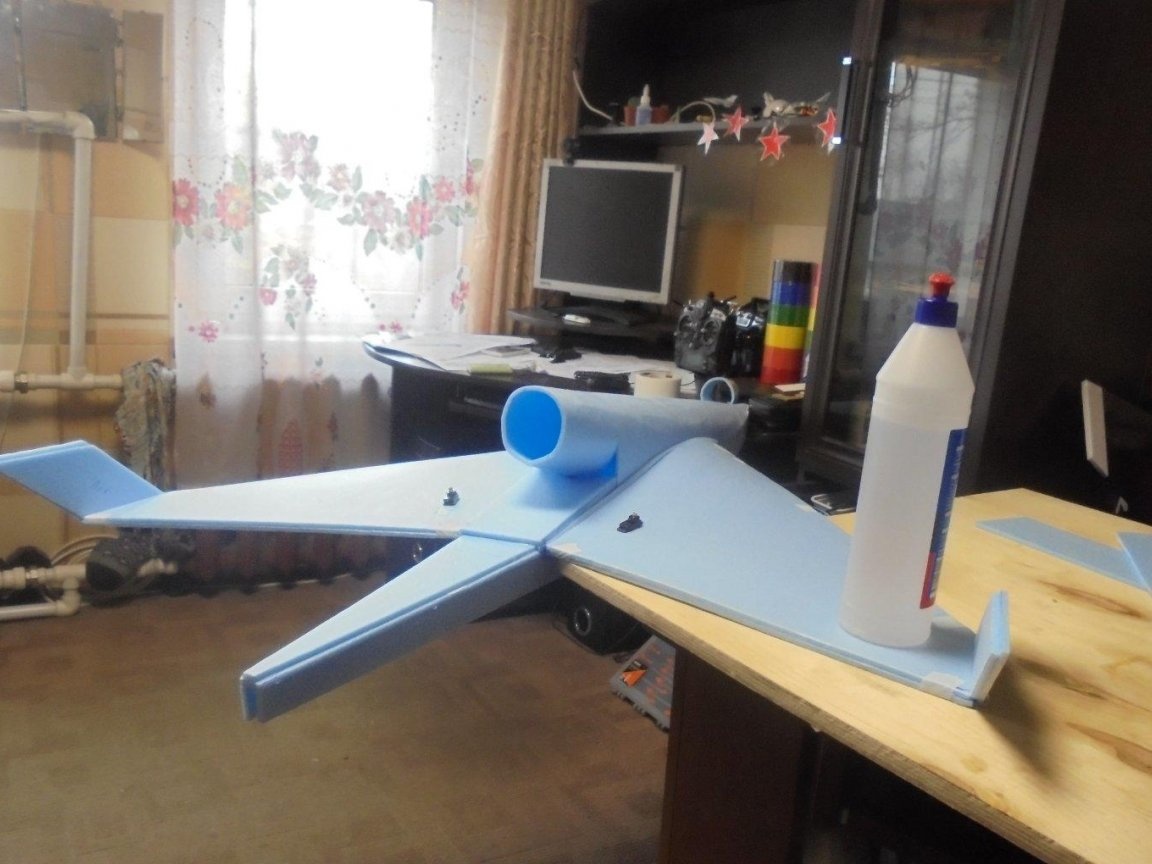
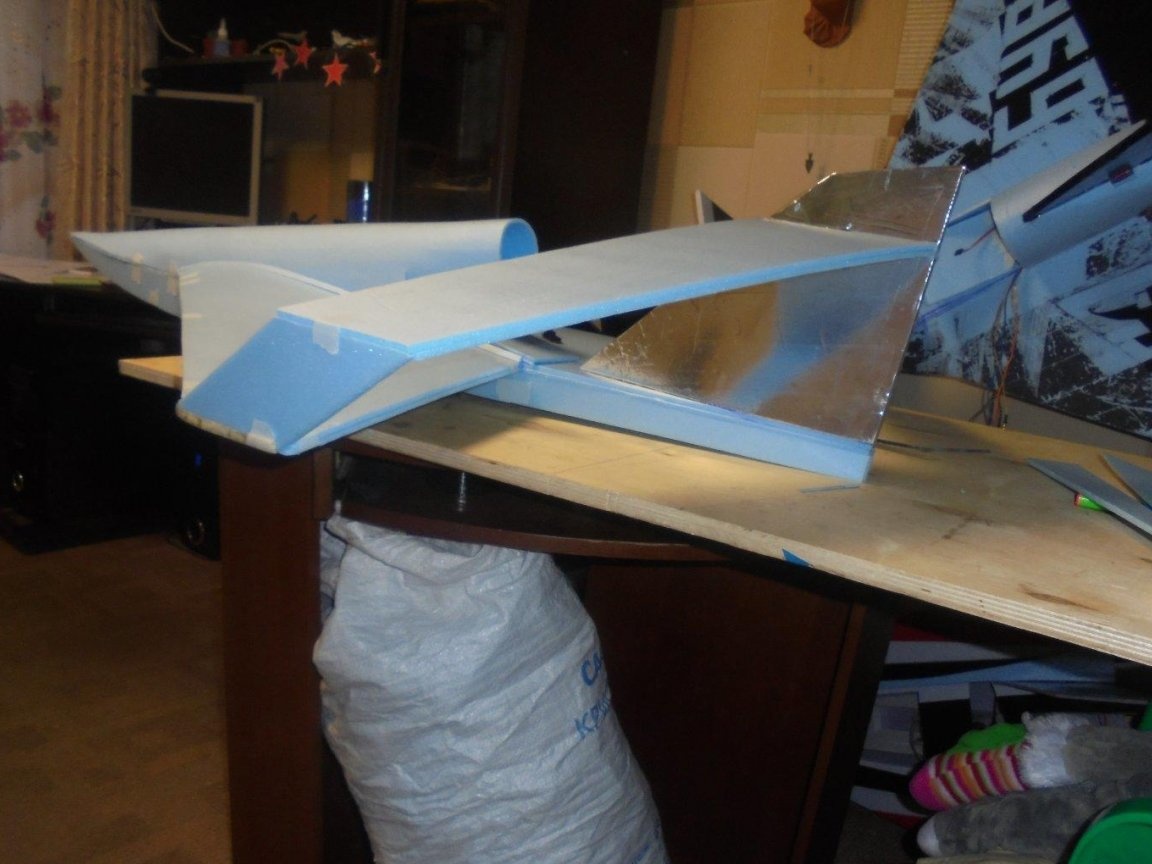
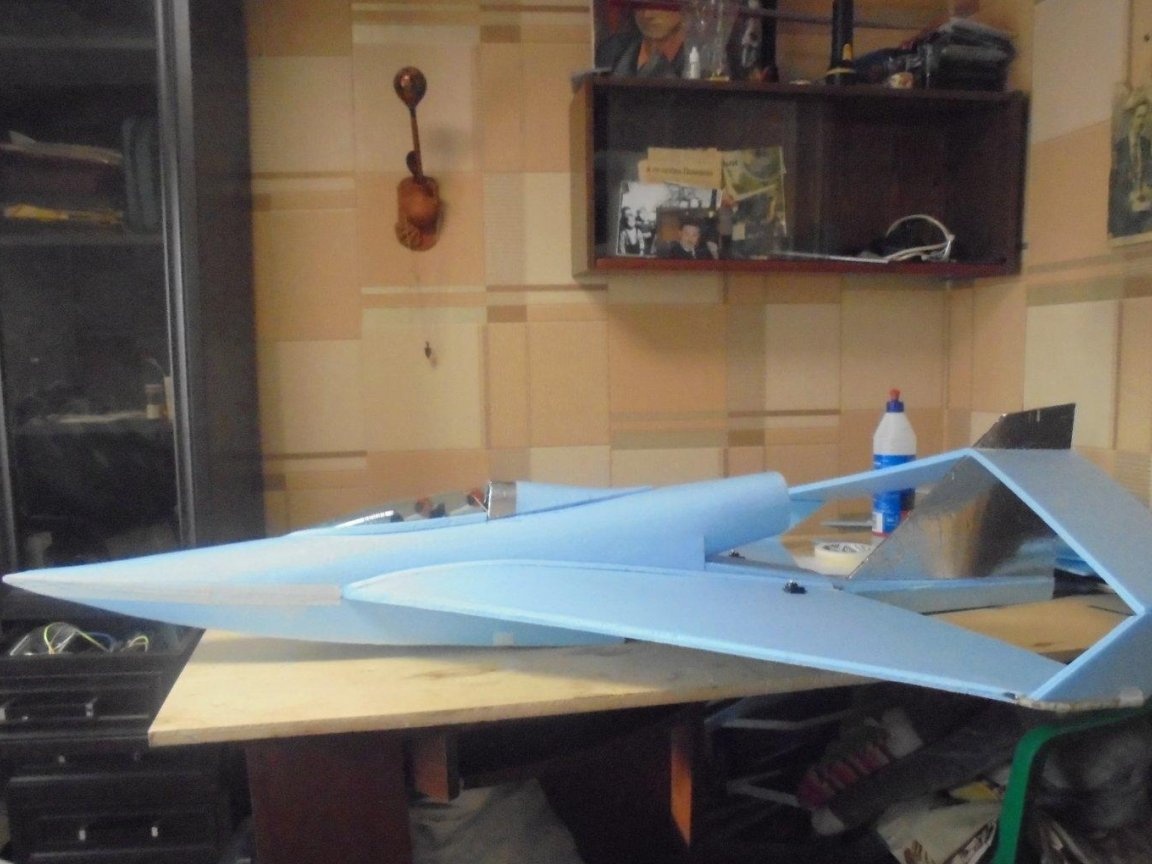
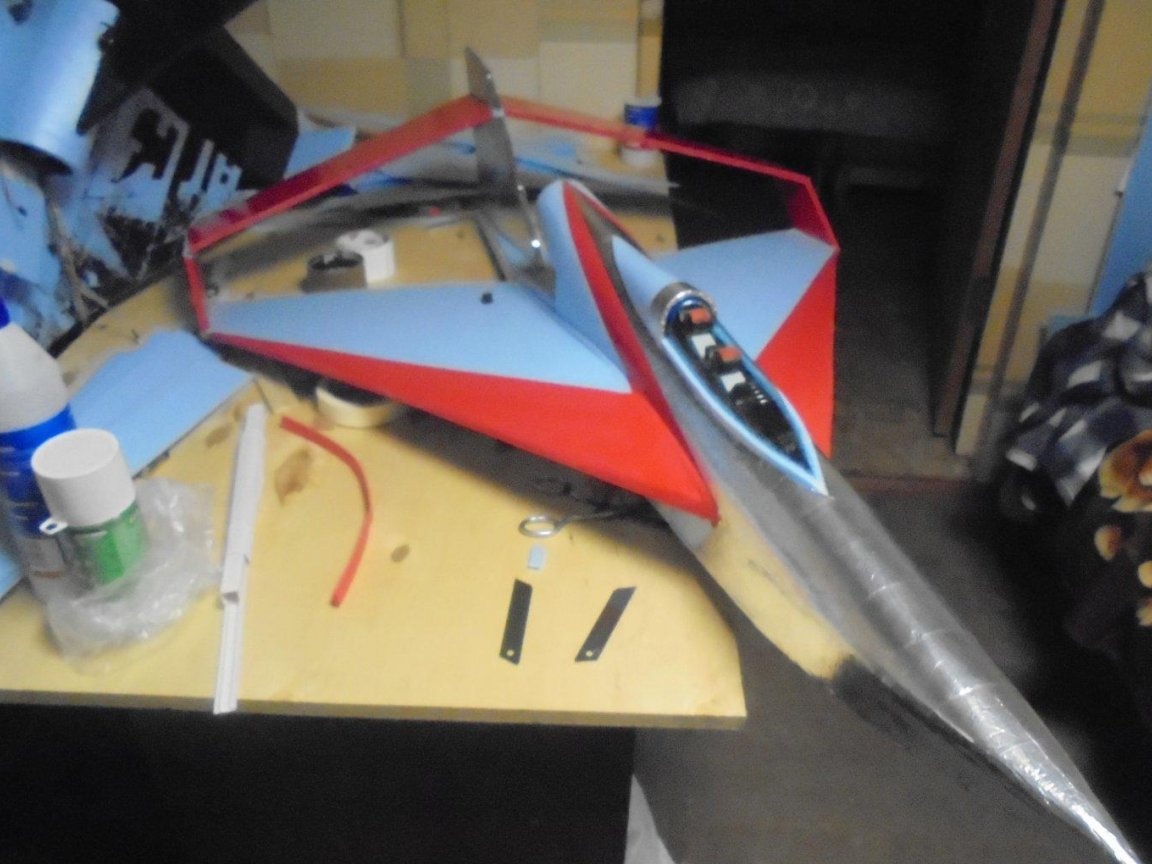
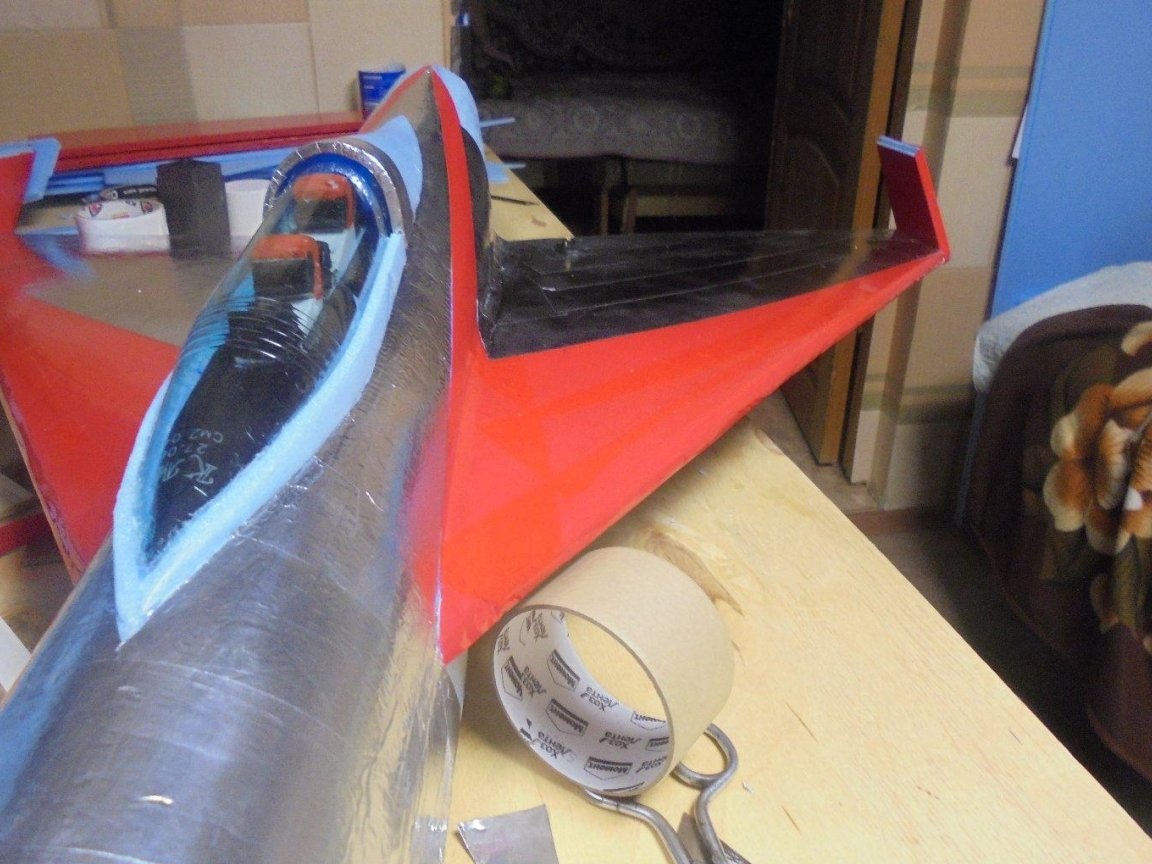
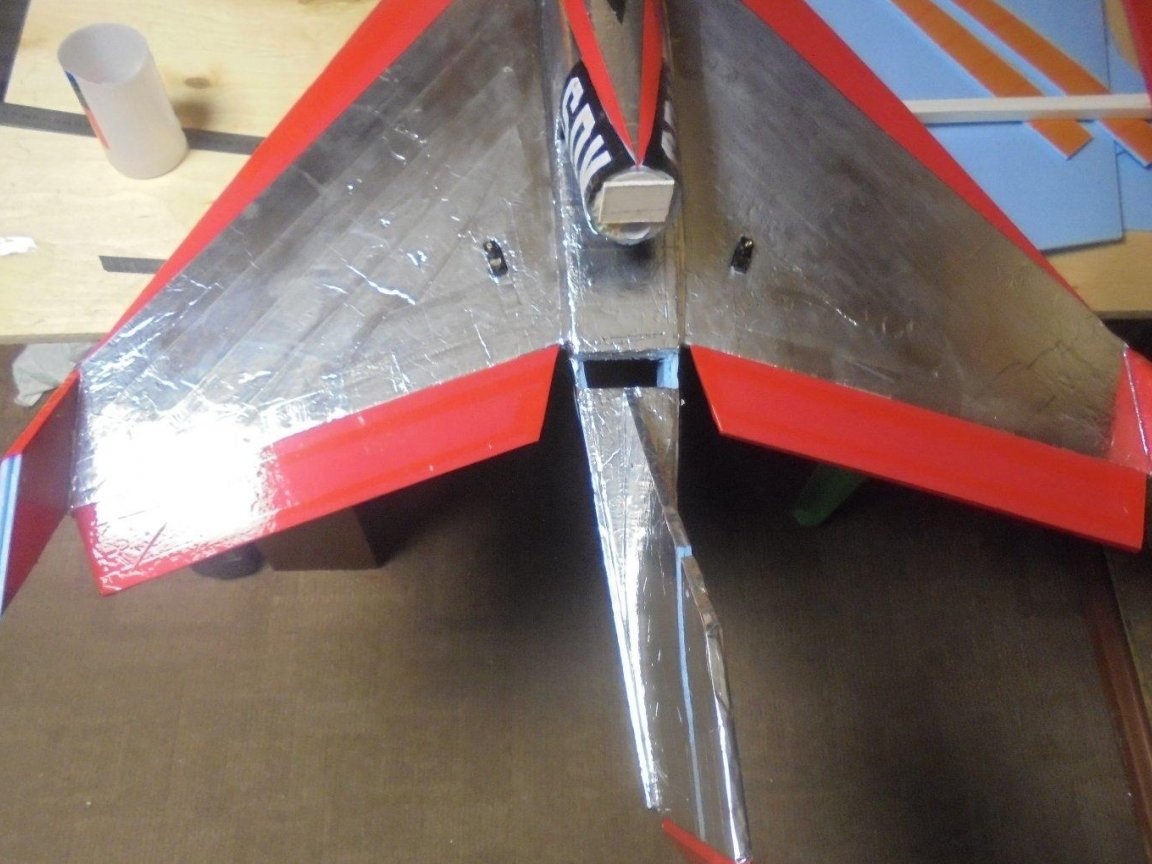
The keel is glued from two layers of the substrate. The keel is also made profile, for this, between the two layers of the substrate, a conical piece from the Penoplex insulation plate is glued.
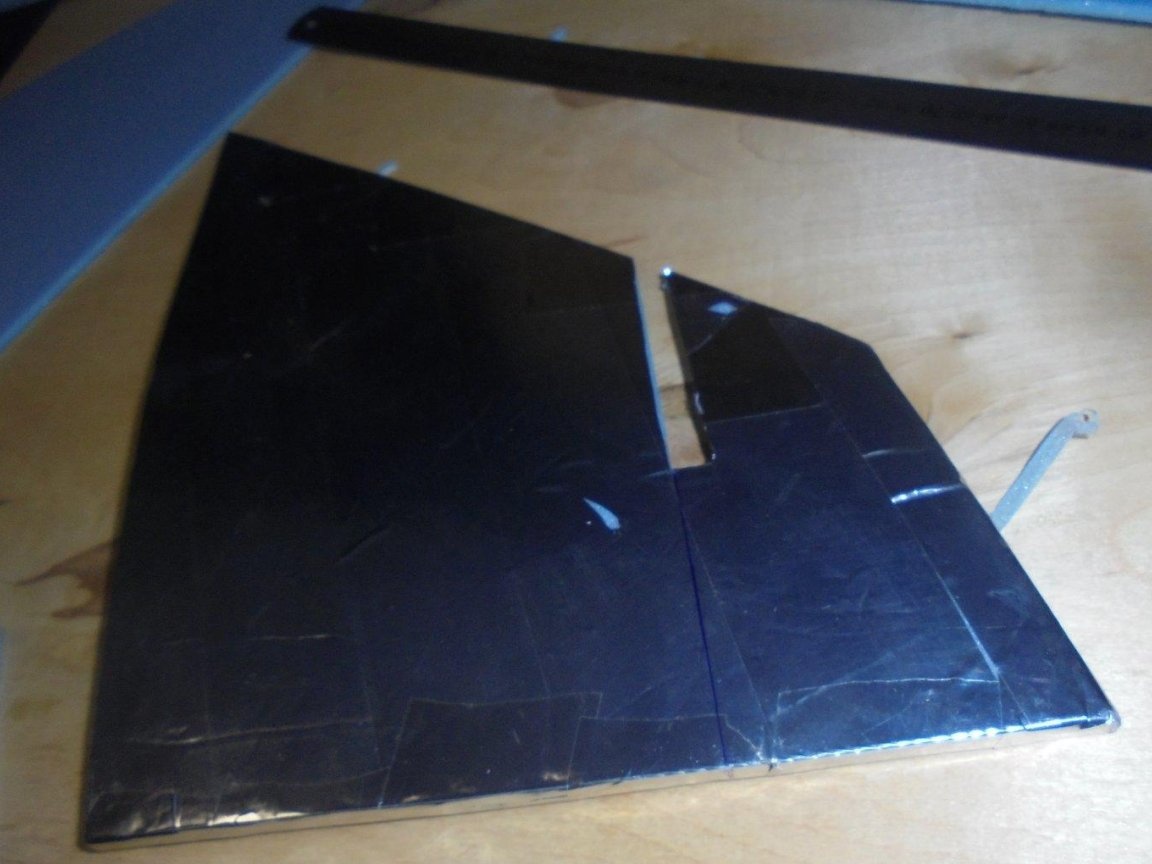
The keel is immediately fitted with a self-adhesive aluminum foil. And trying on its place.
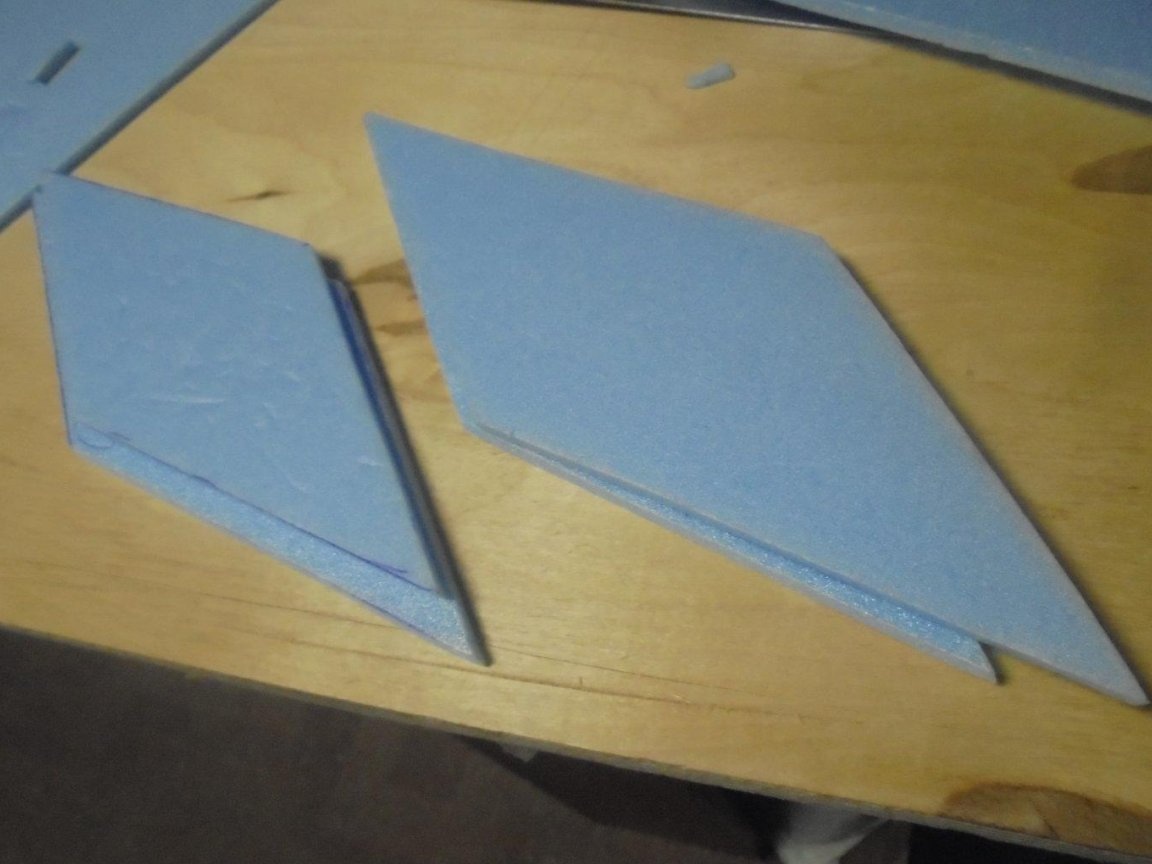
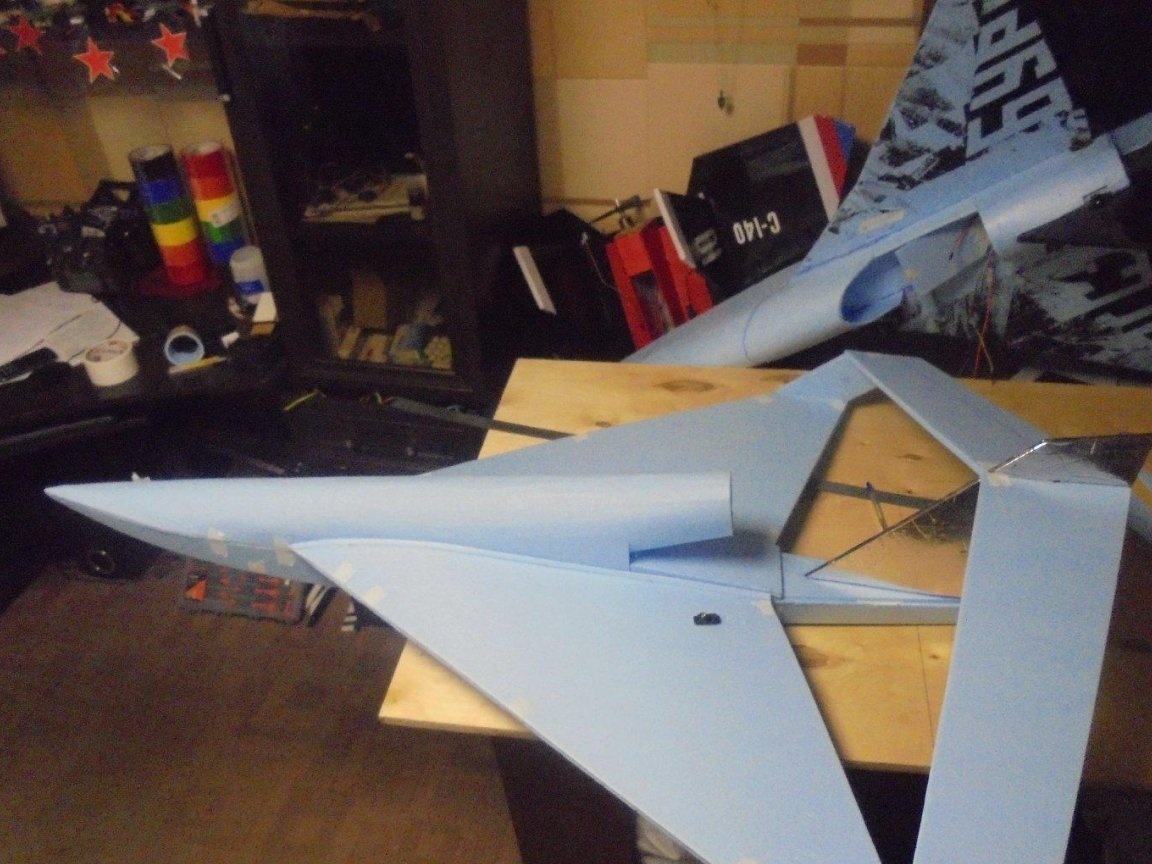
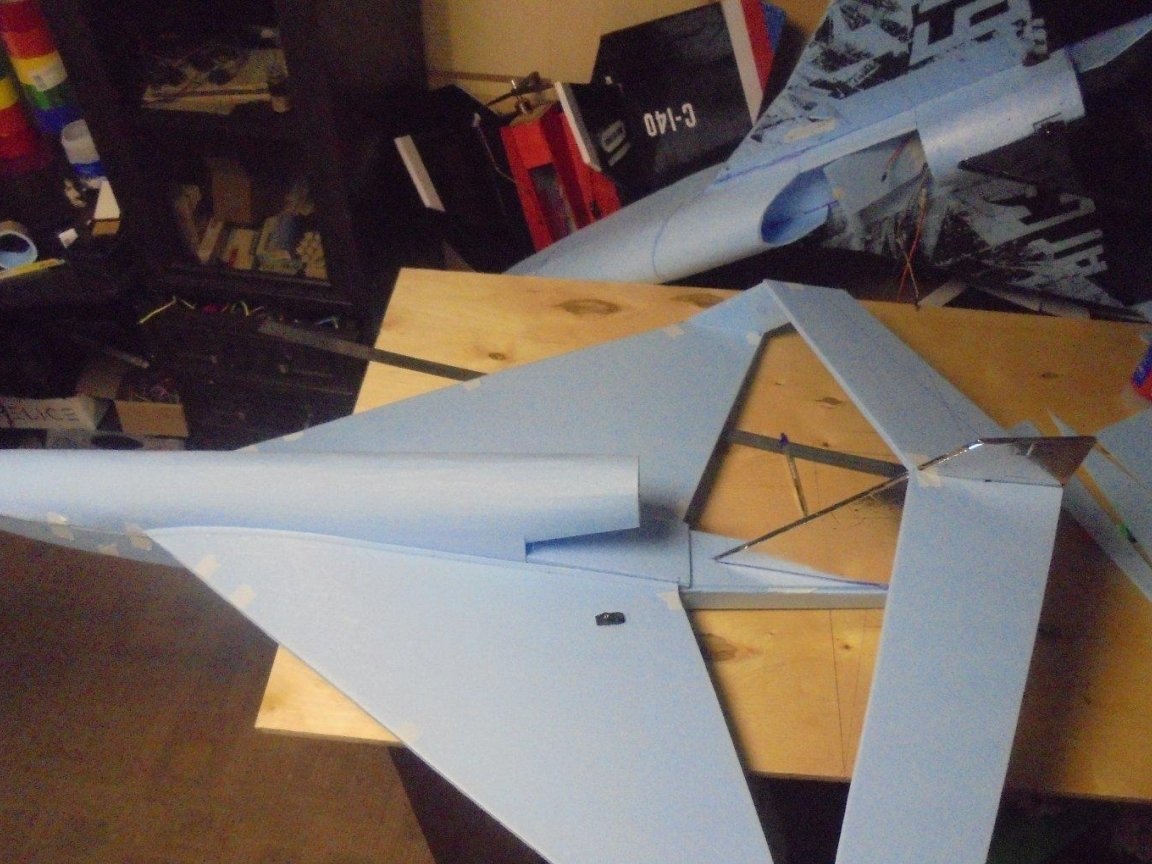
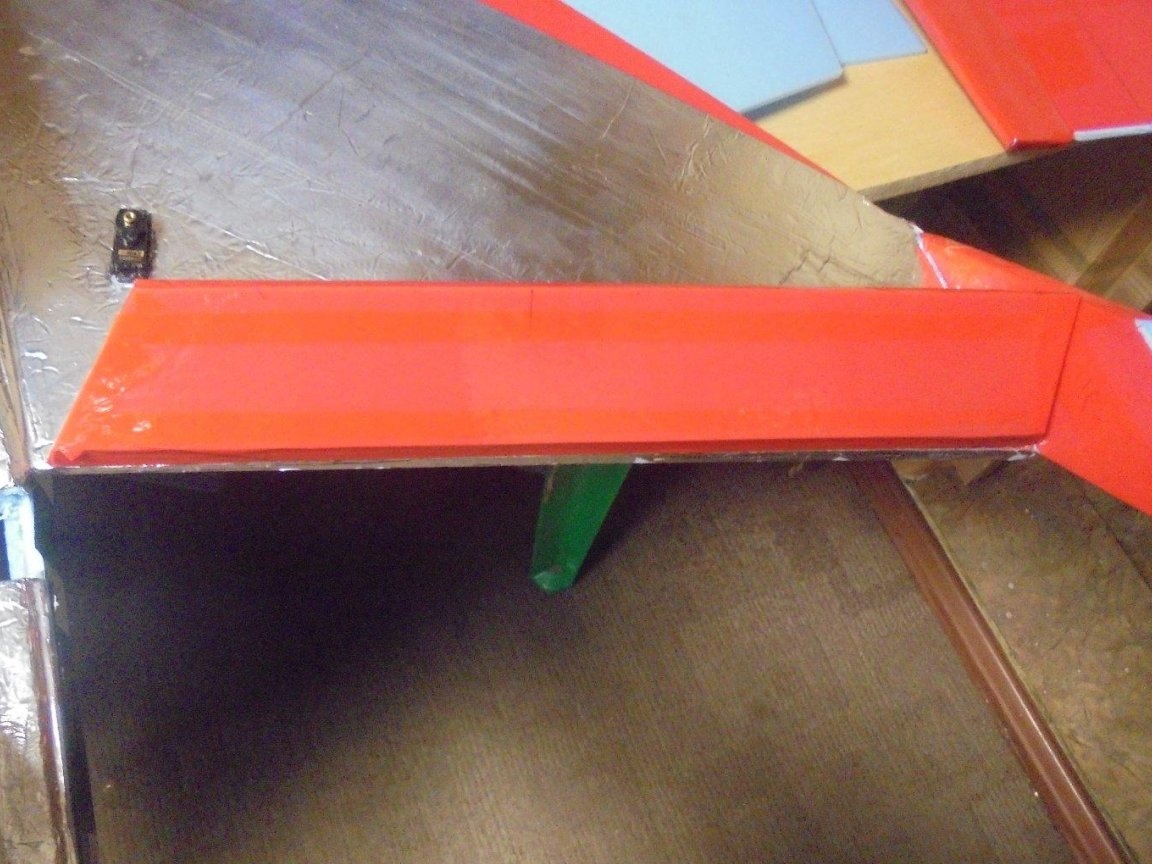
From two layers of the substrate, blanks of jumpers between the wings are cut.
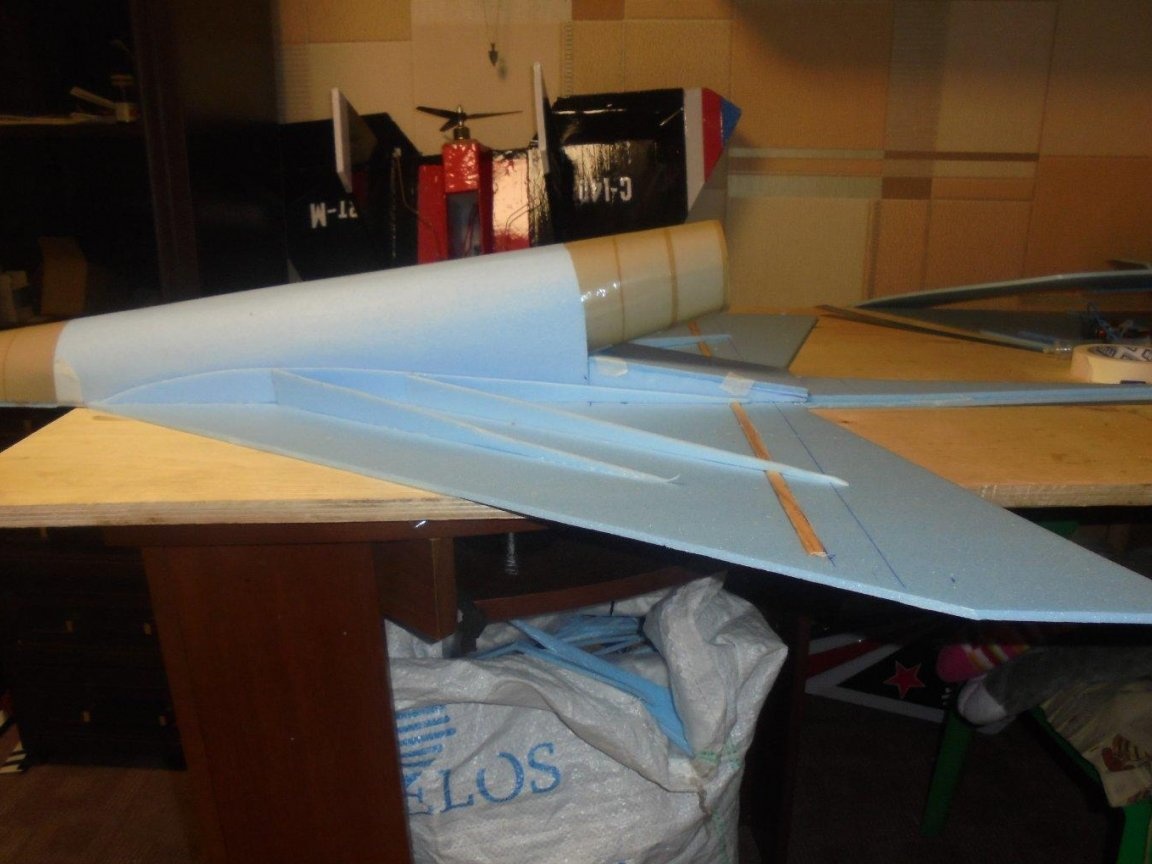
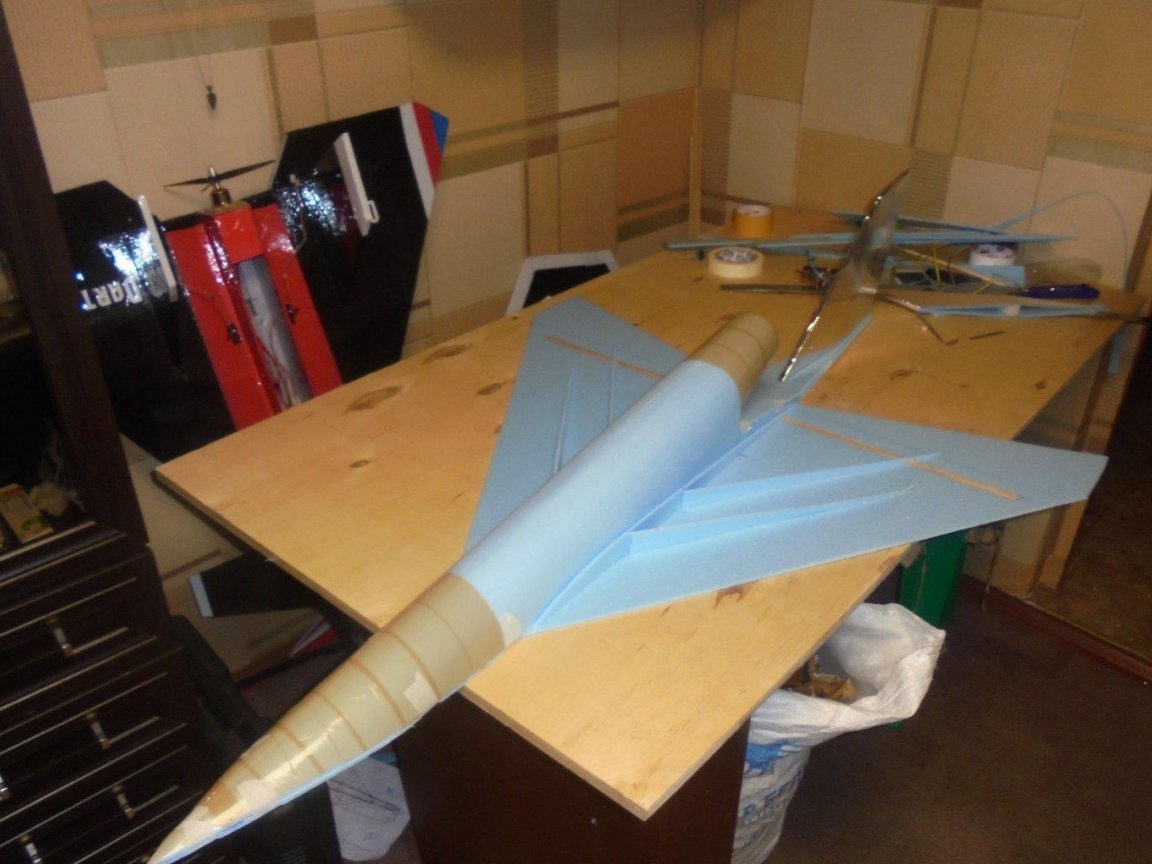
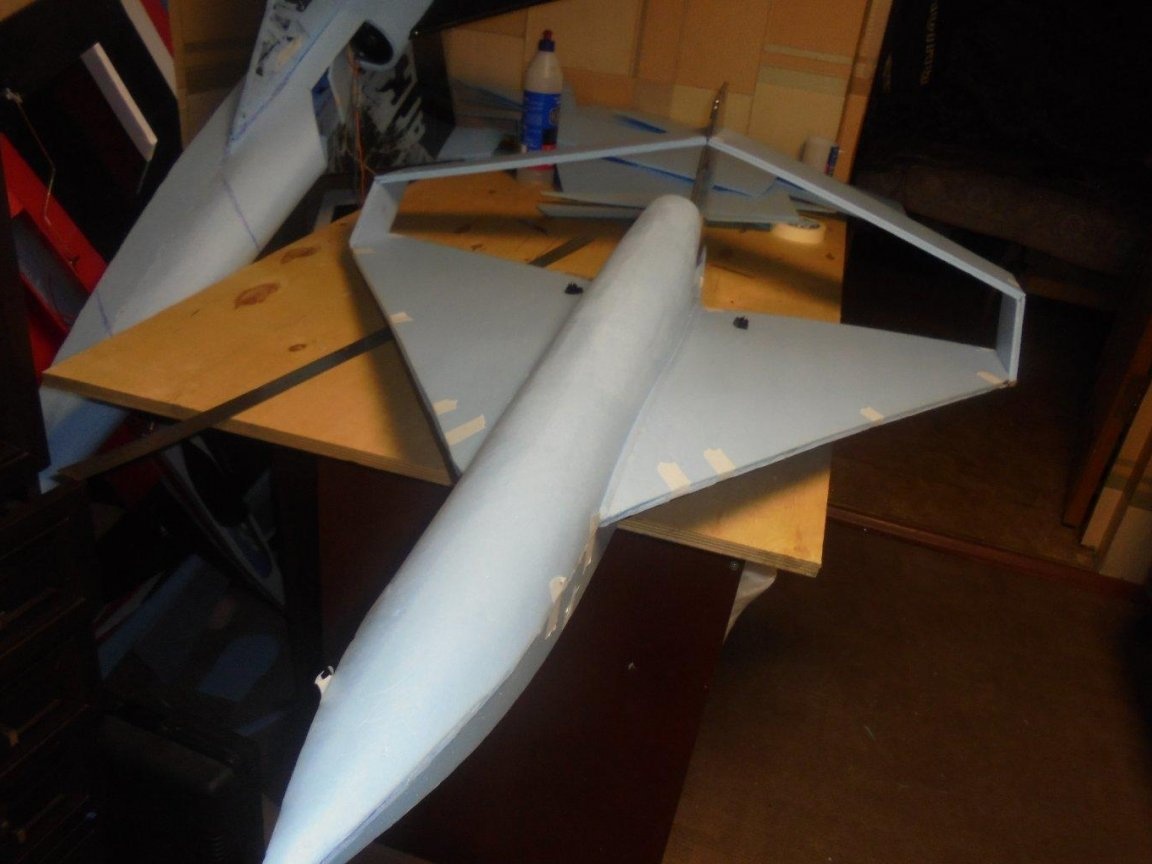
The right and left external wing sheaths are glued to the root rib and stiffeners.
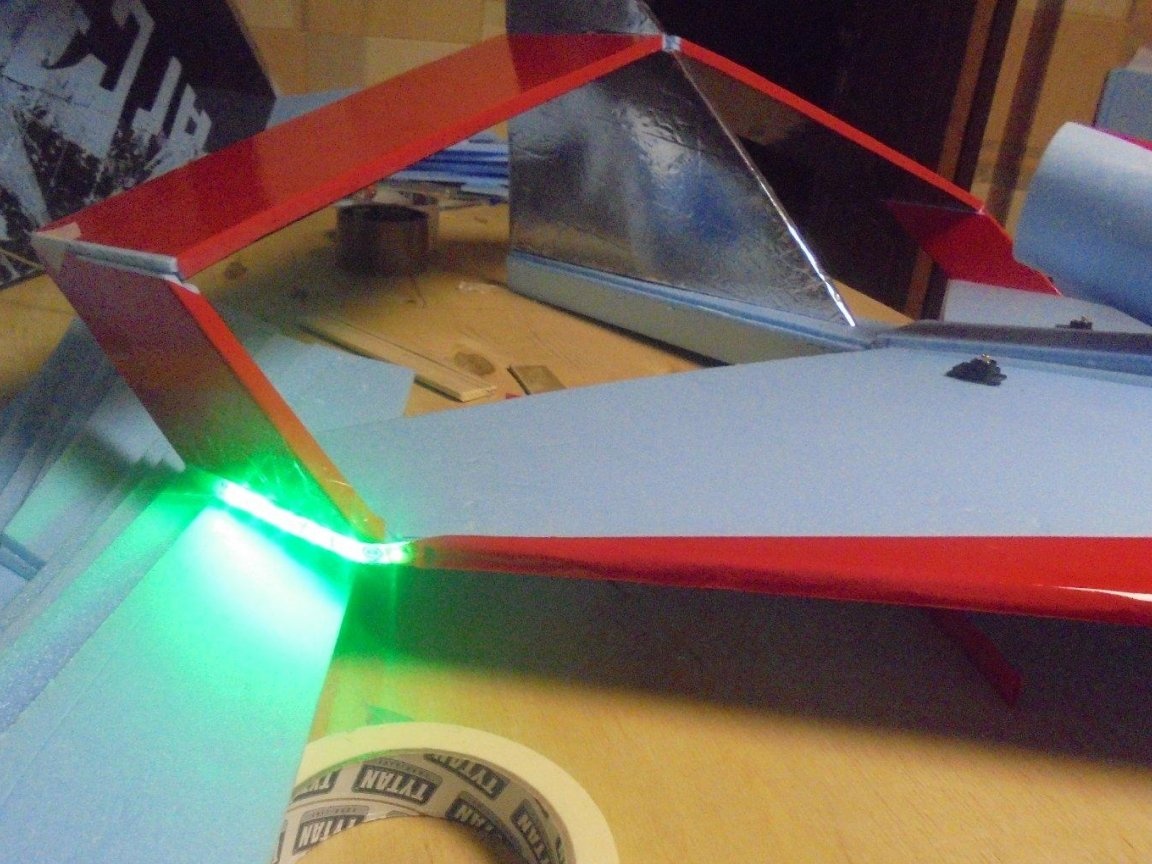
Inside the wing, wires for BANO and servos are laid.
I turn to work on the bottom surface of the model.
I cut the side walls of the lower part of the fuselage, where the redan is located, and paste them in place.
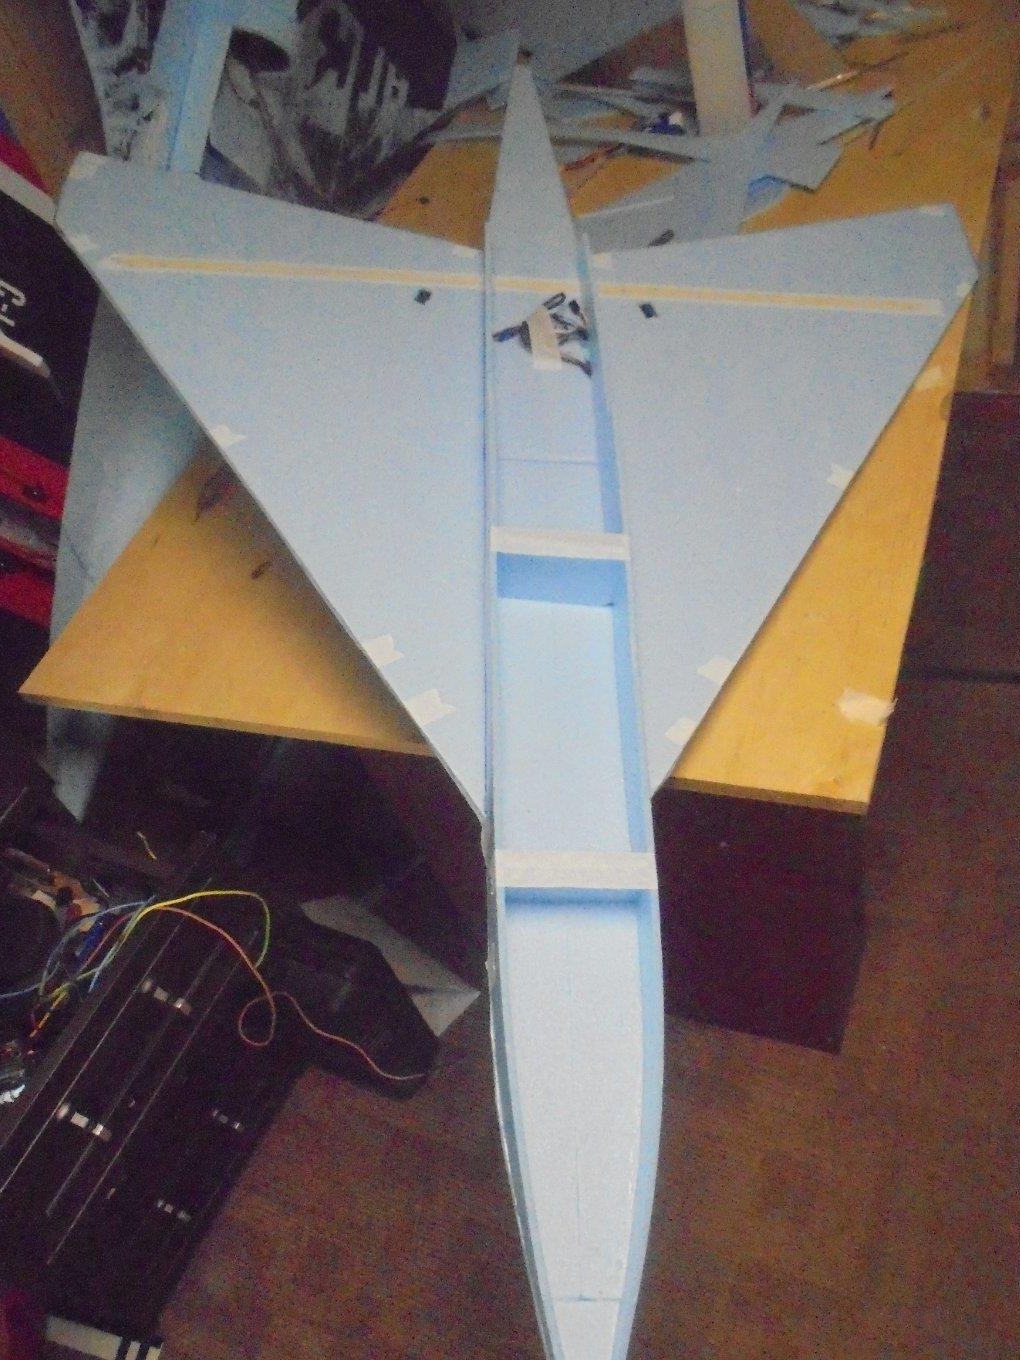
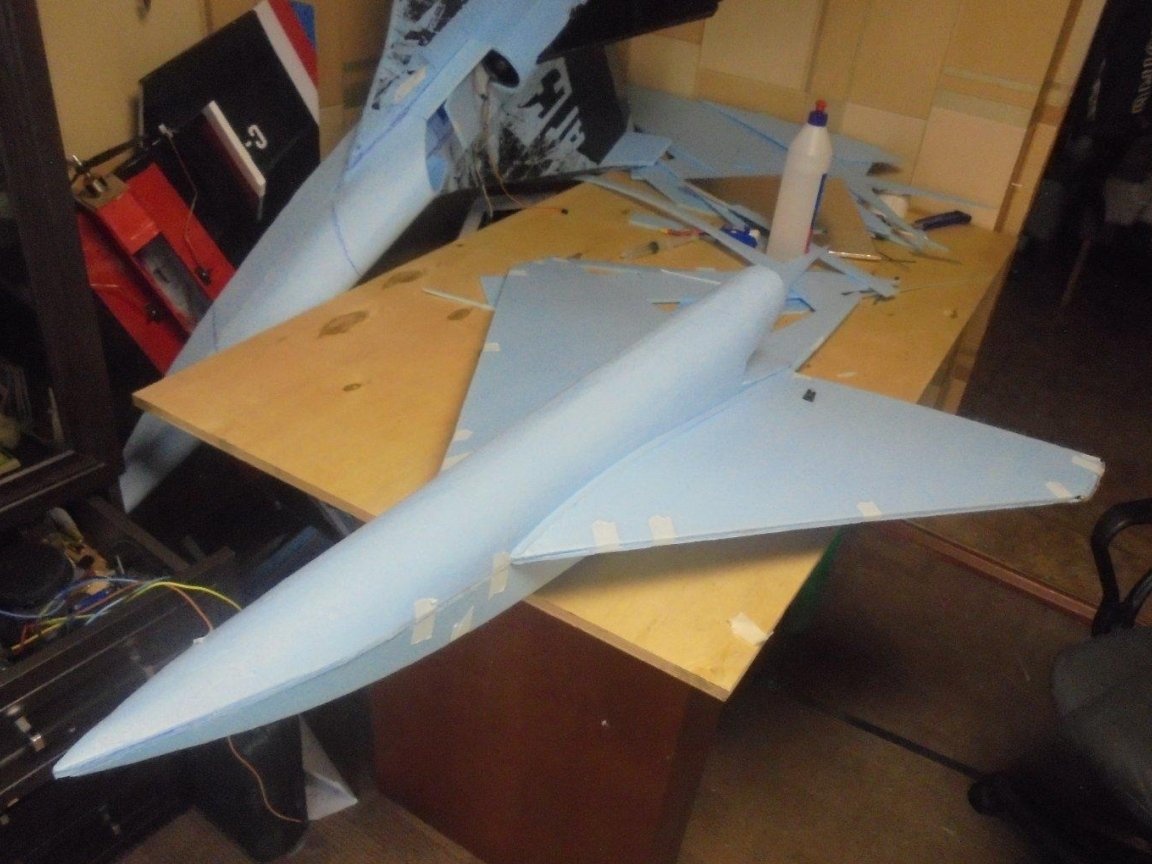
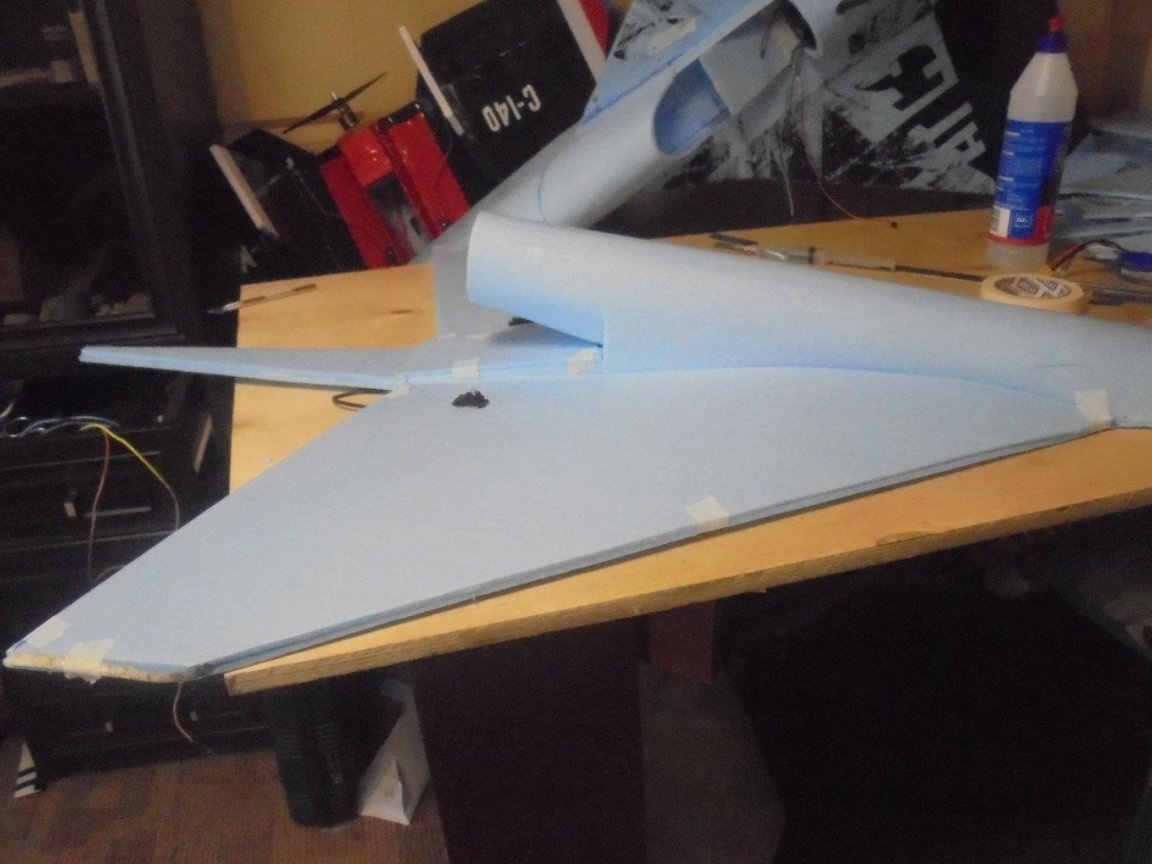
I paste the jumpers between the wings in their places. .Check the verticality of their installation.
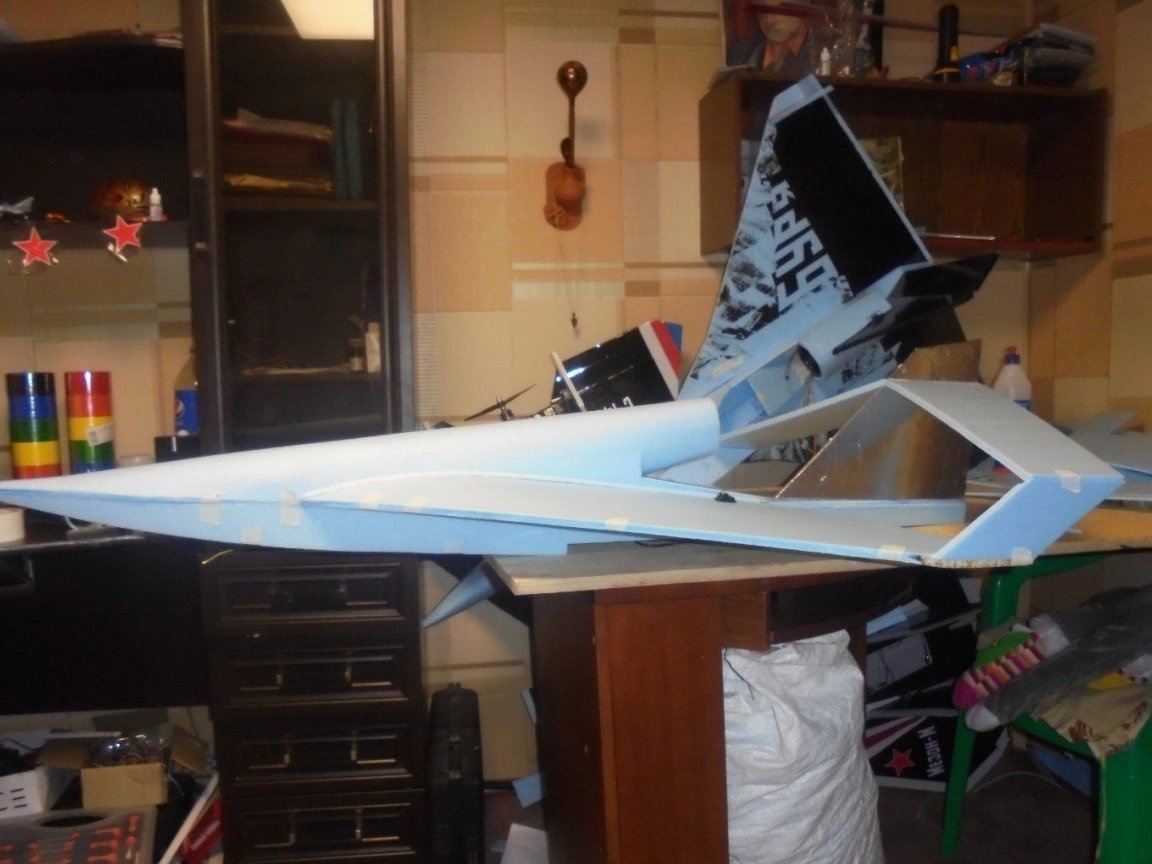
I paste the keel in its place.
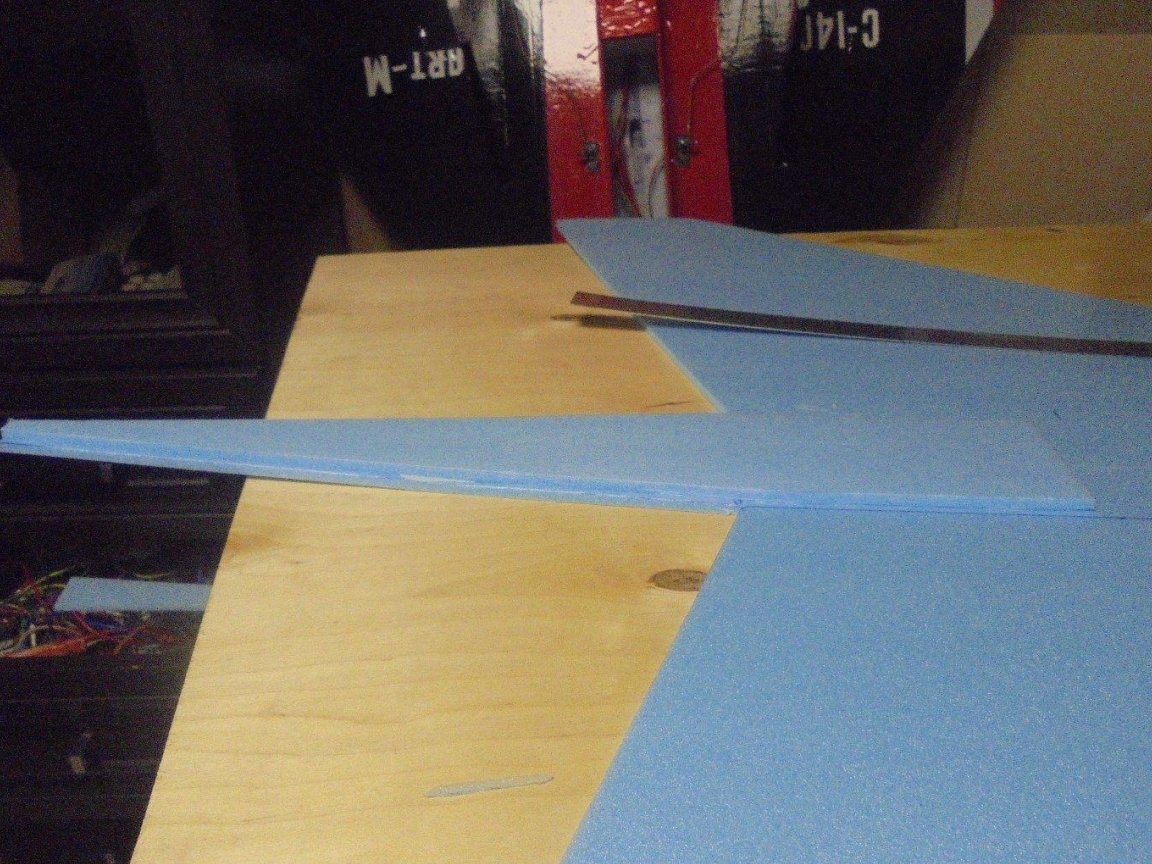
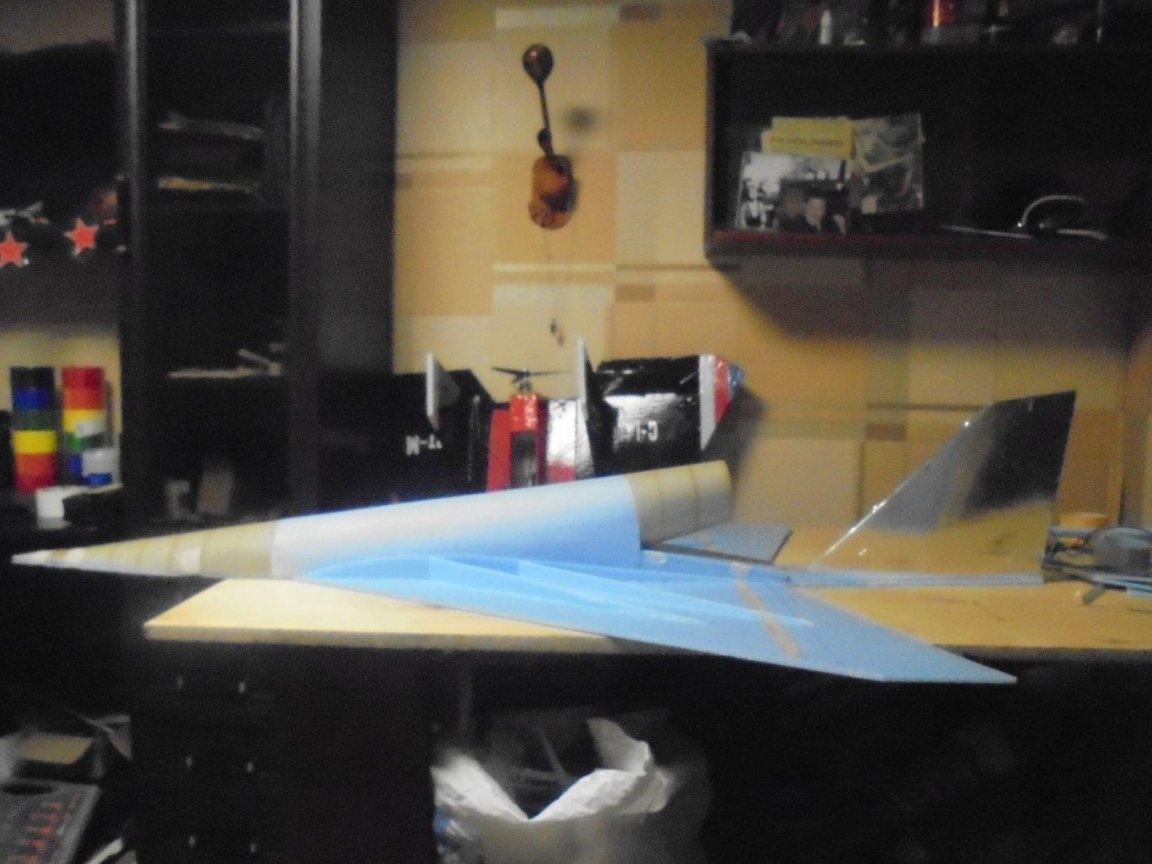
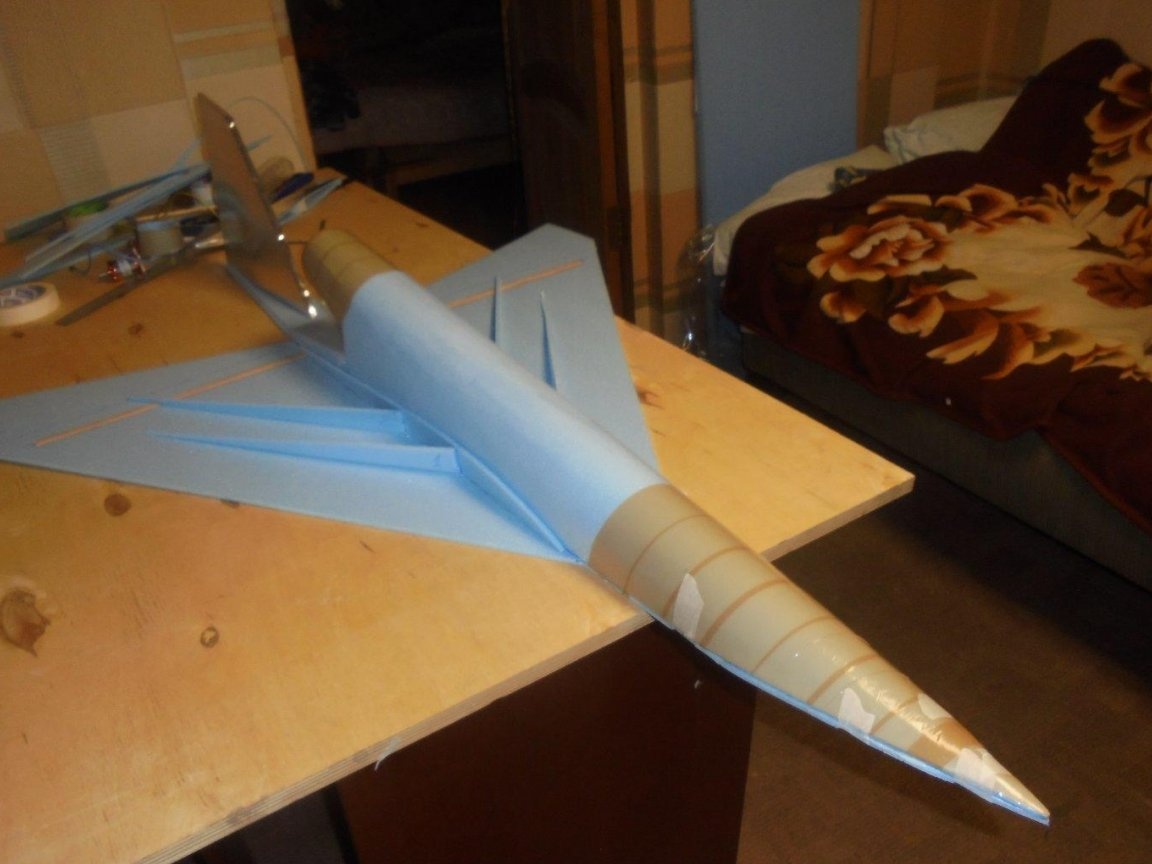
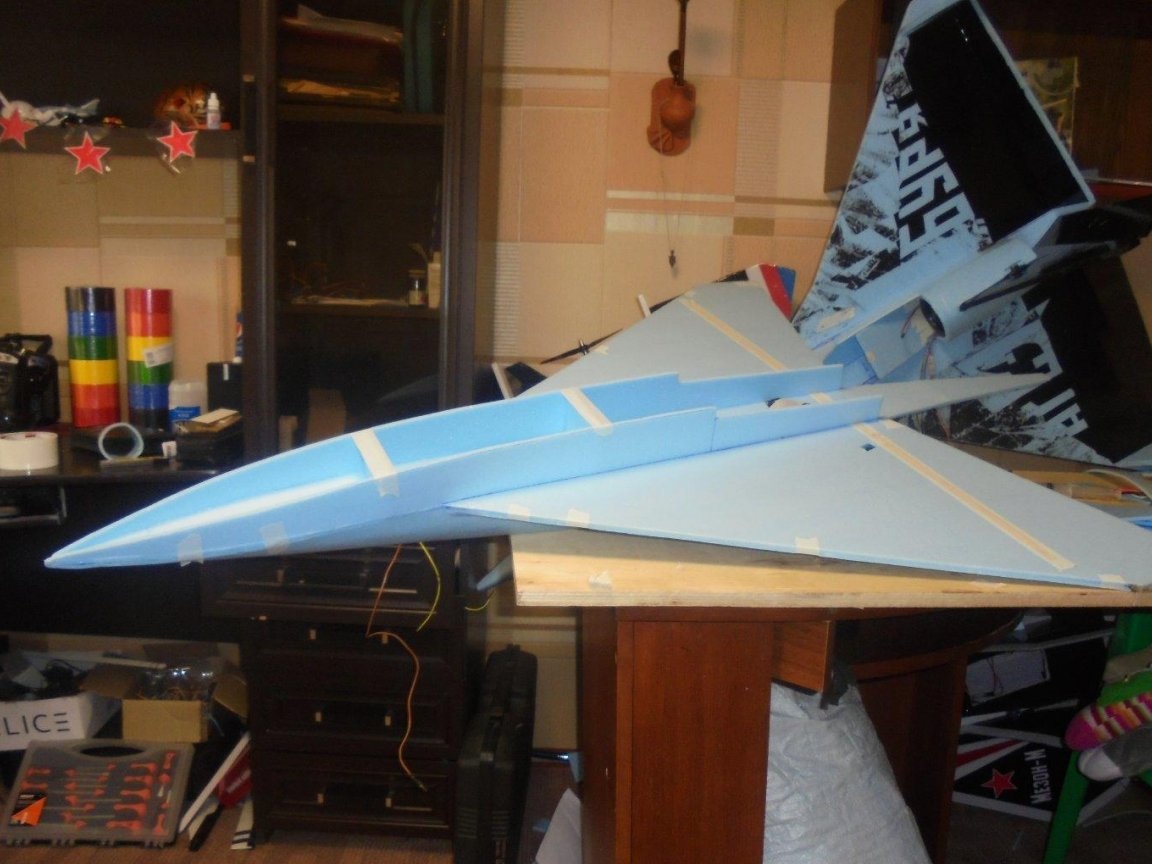
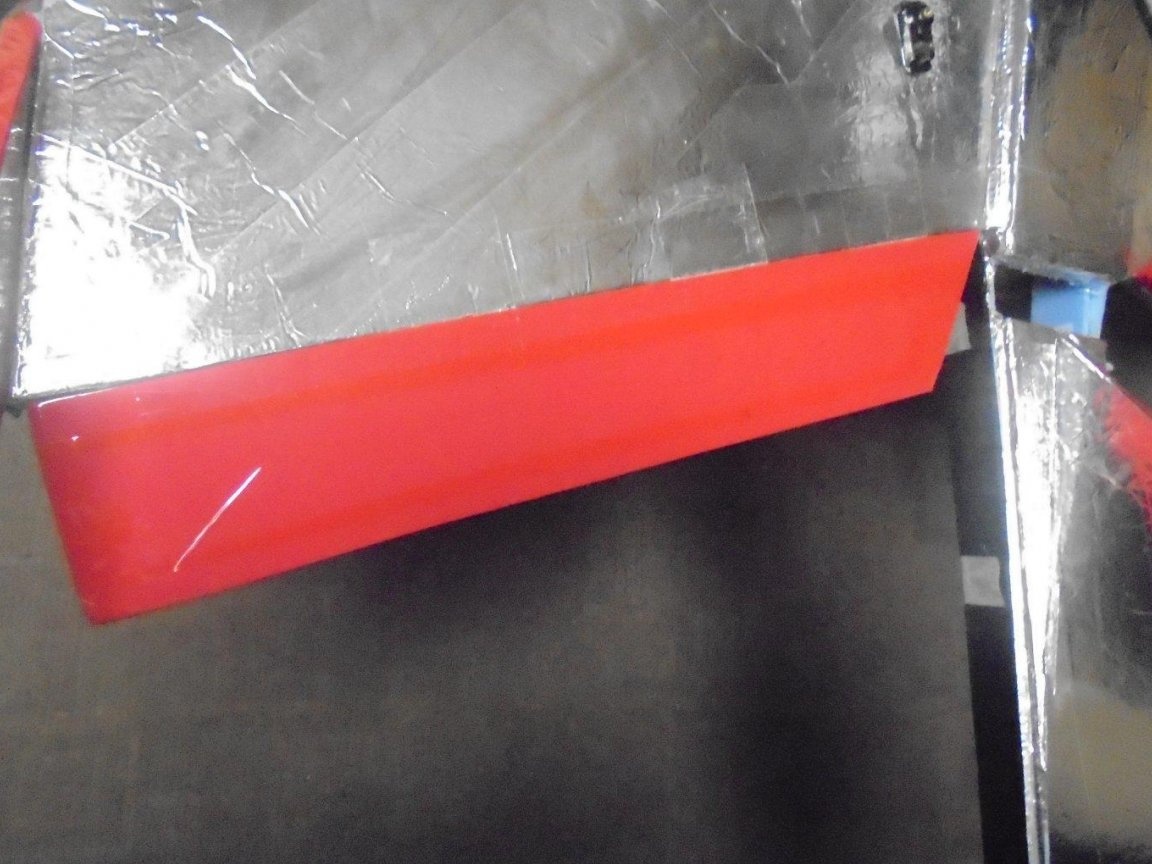
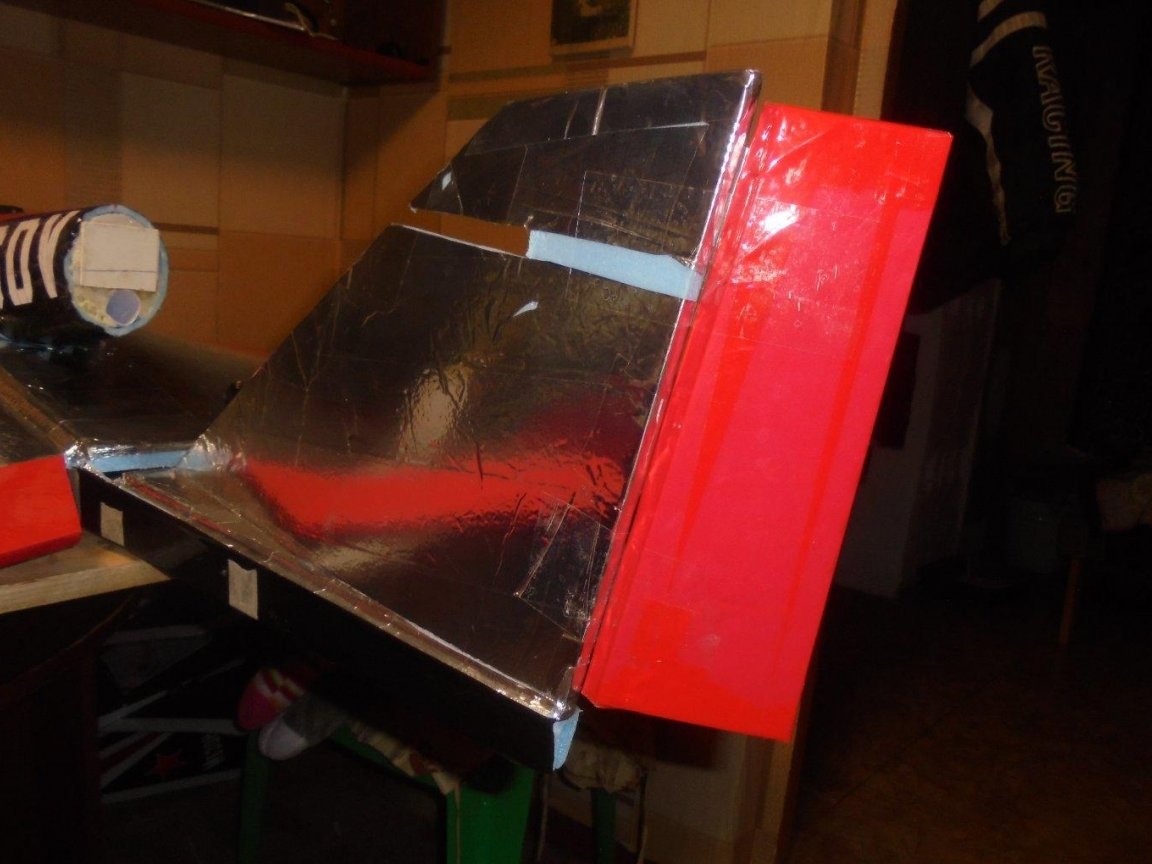
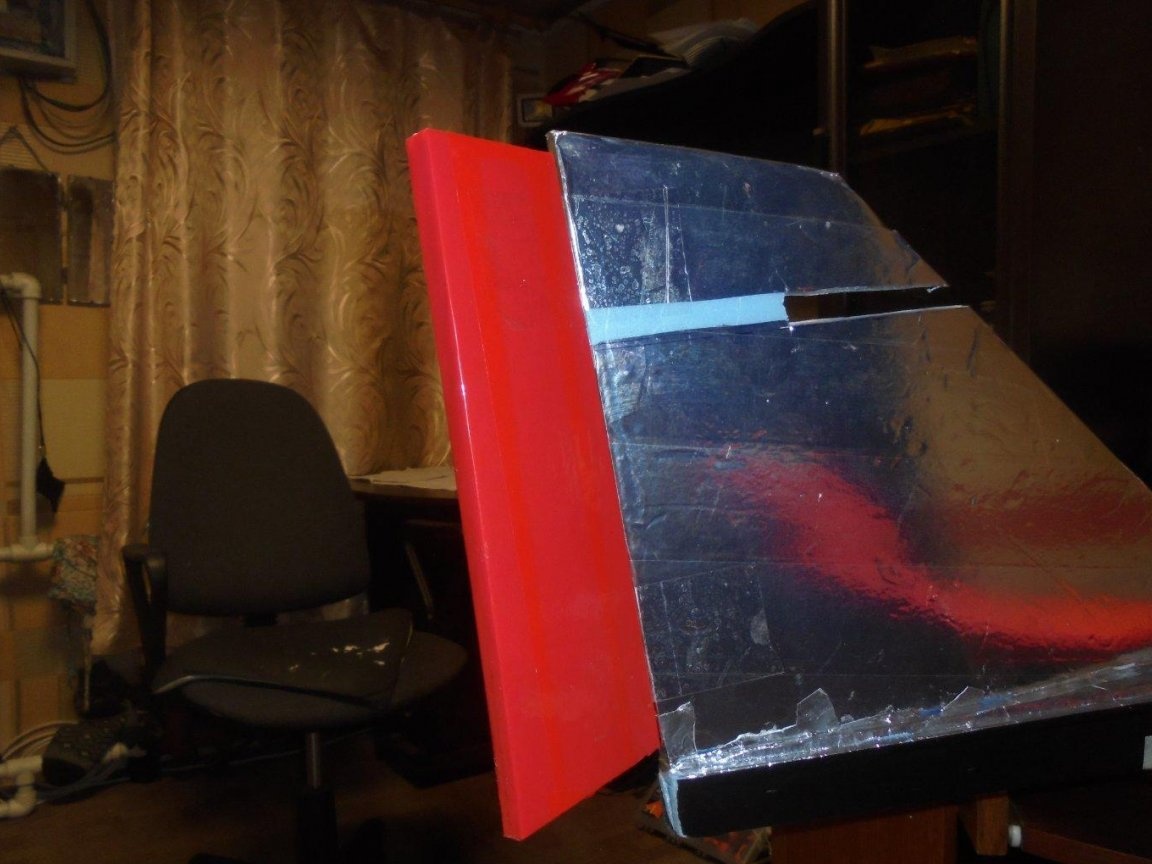
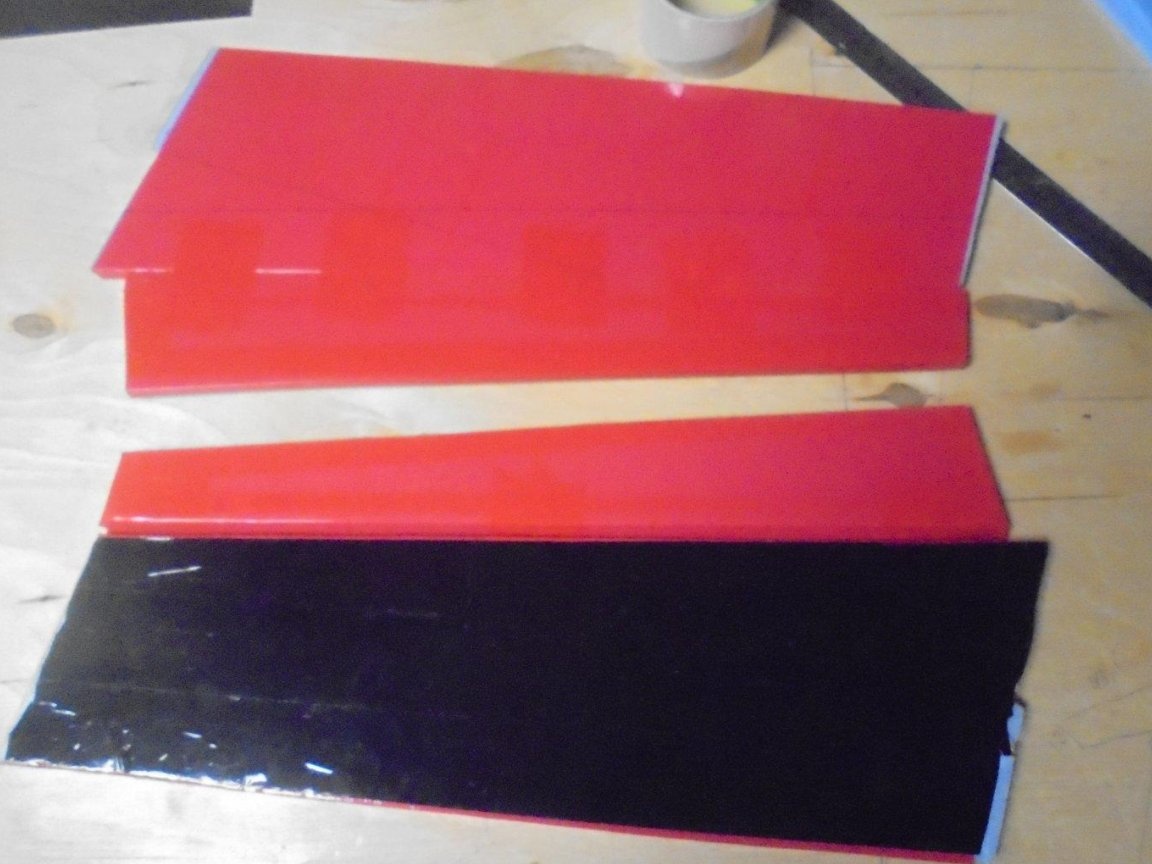
I try on the rear wings (stabilizers). They are also glued from two layers of the substrate.
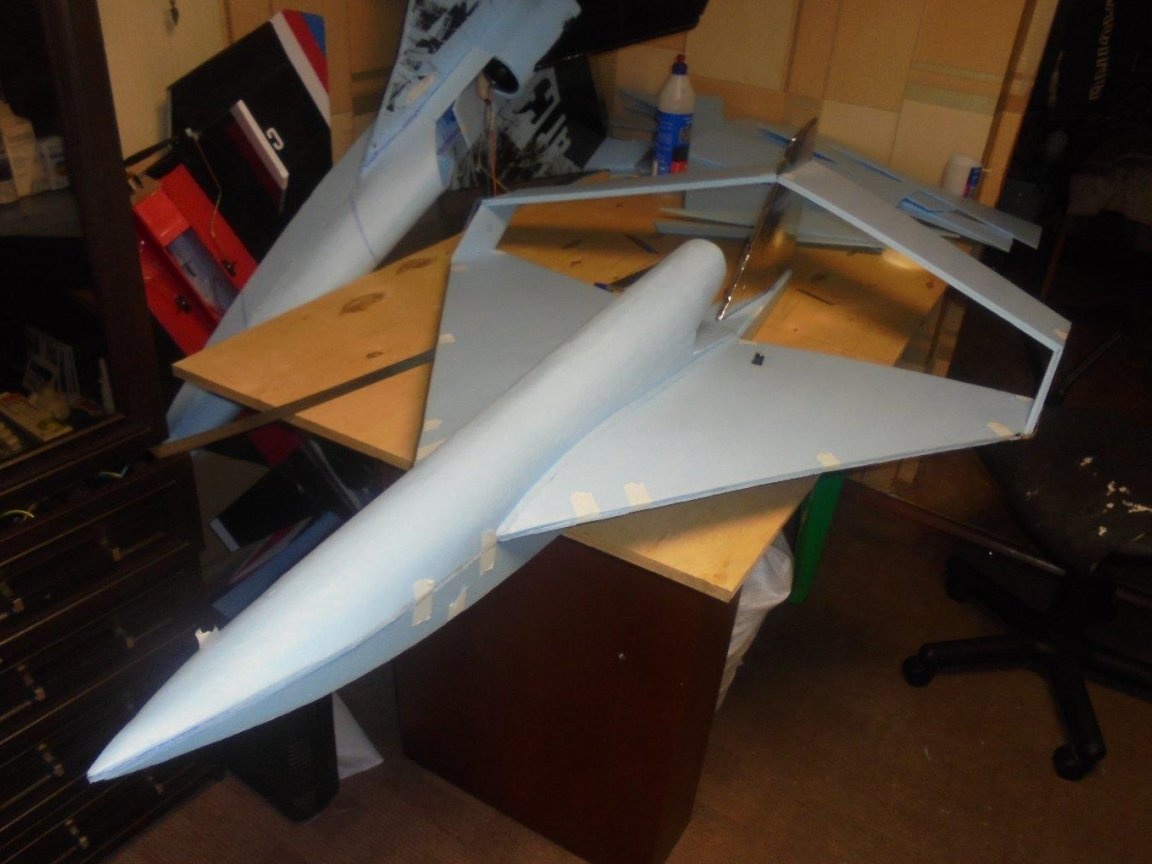
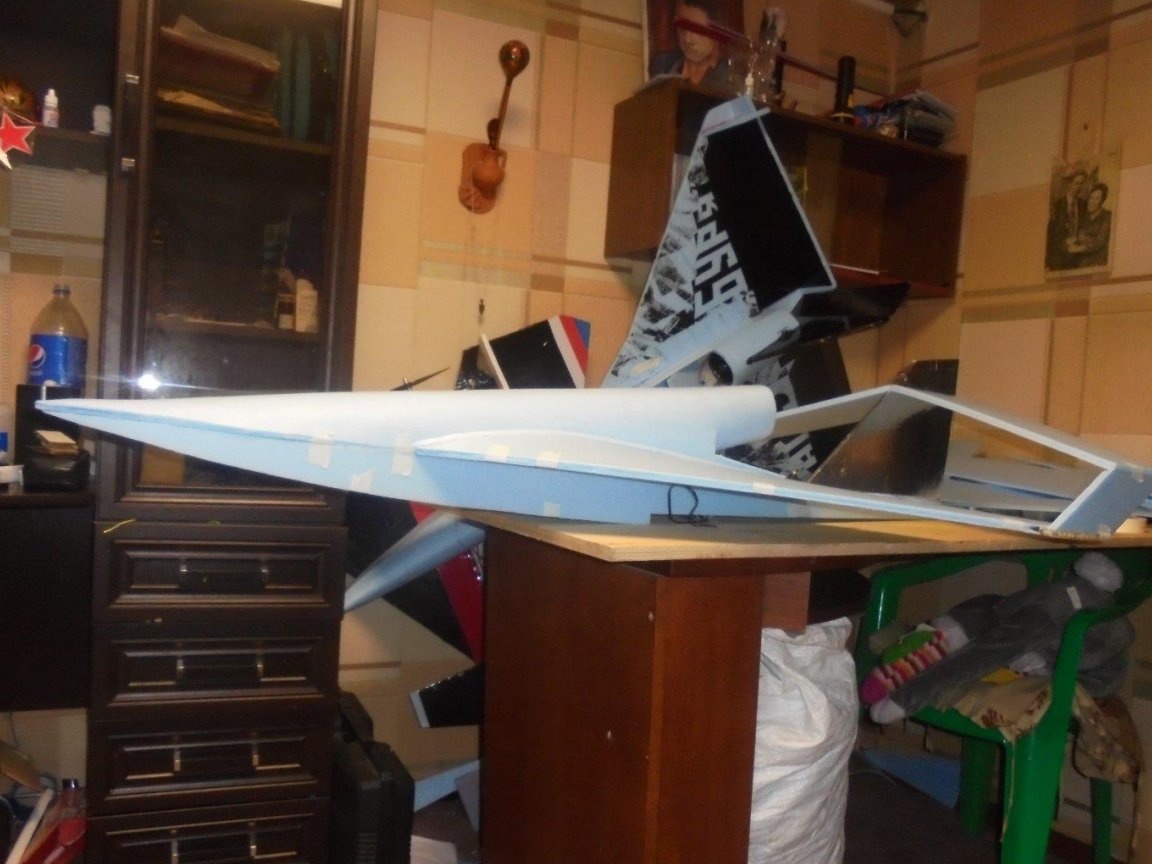
Carefully check the correct size of the tail.
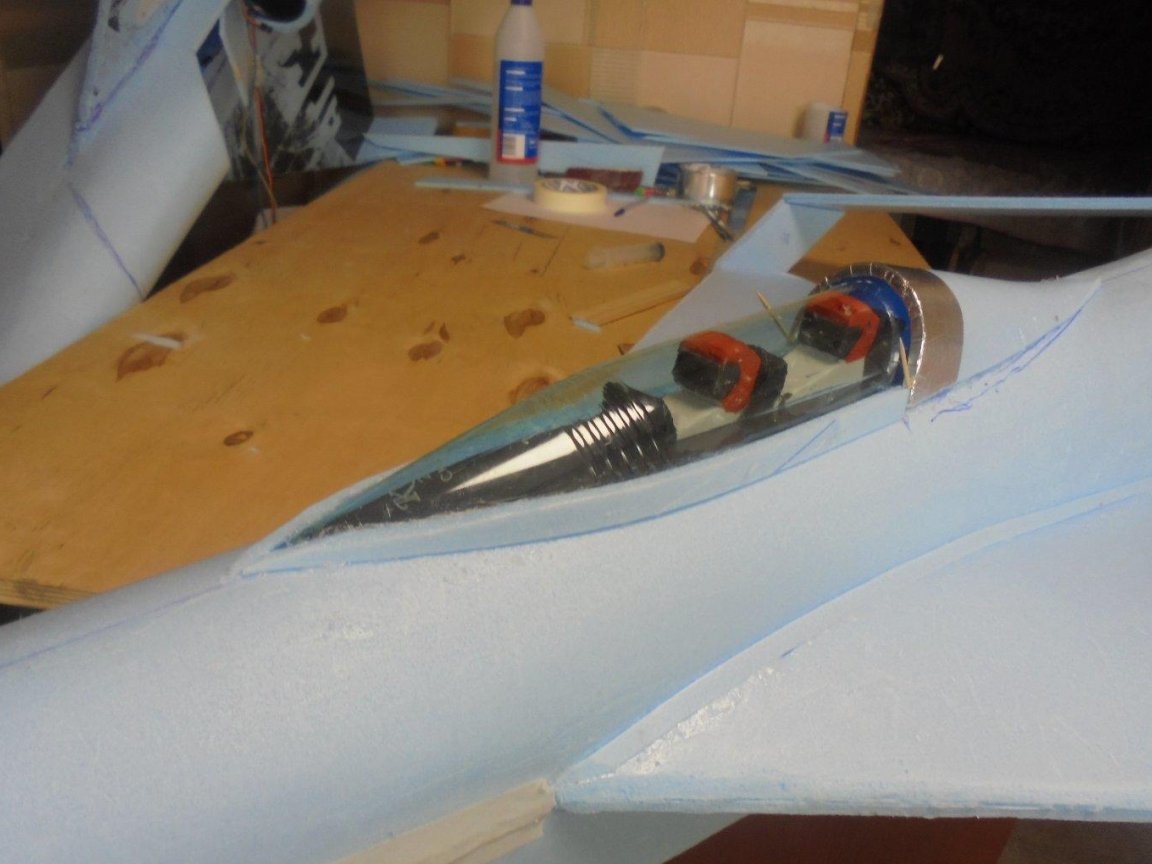
A few words about the cockpit and the pilots themselves. The lantern of the cabin is cut from a plastic bottle from soda. Figures of pilots were cut out of a piece of Penoplex insulation and painted with gouache paint.
All this is mounted in its place.
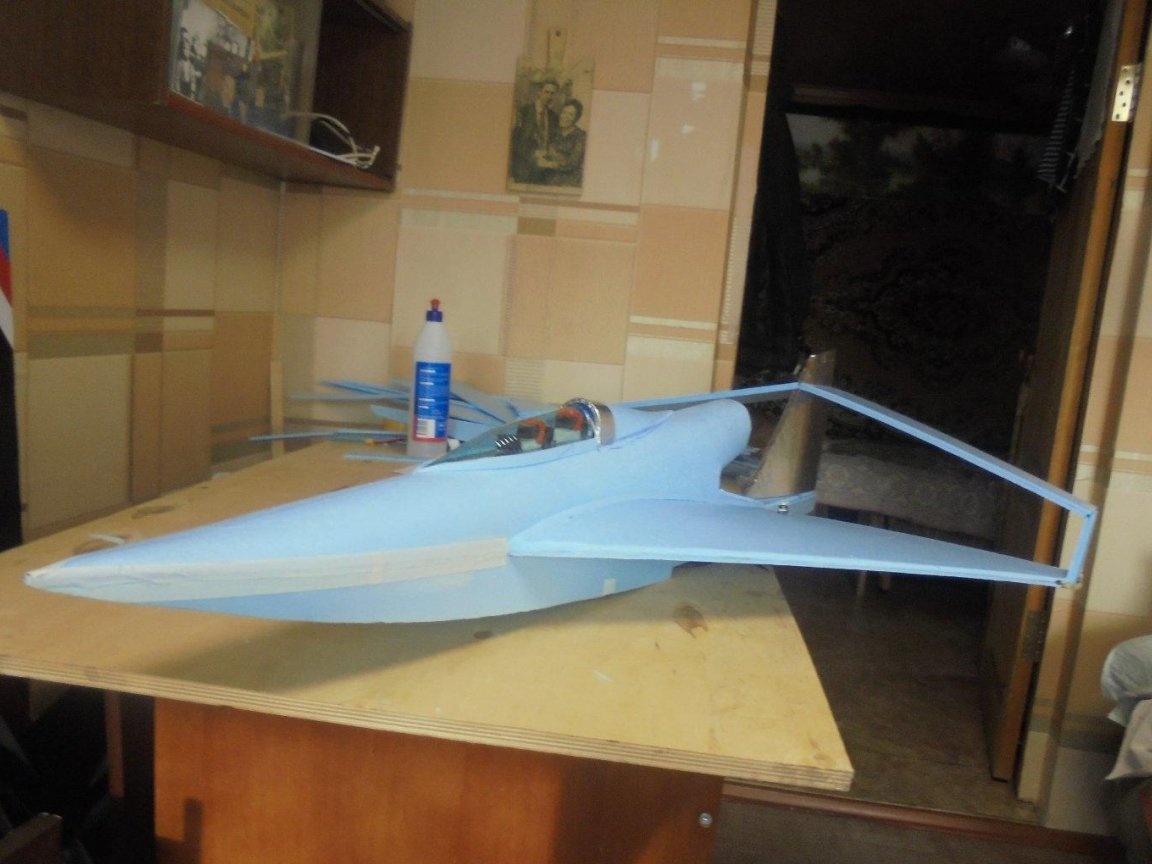
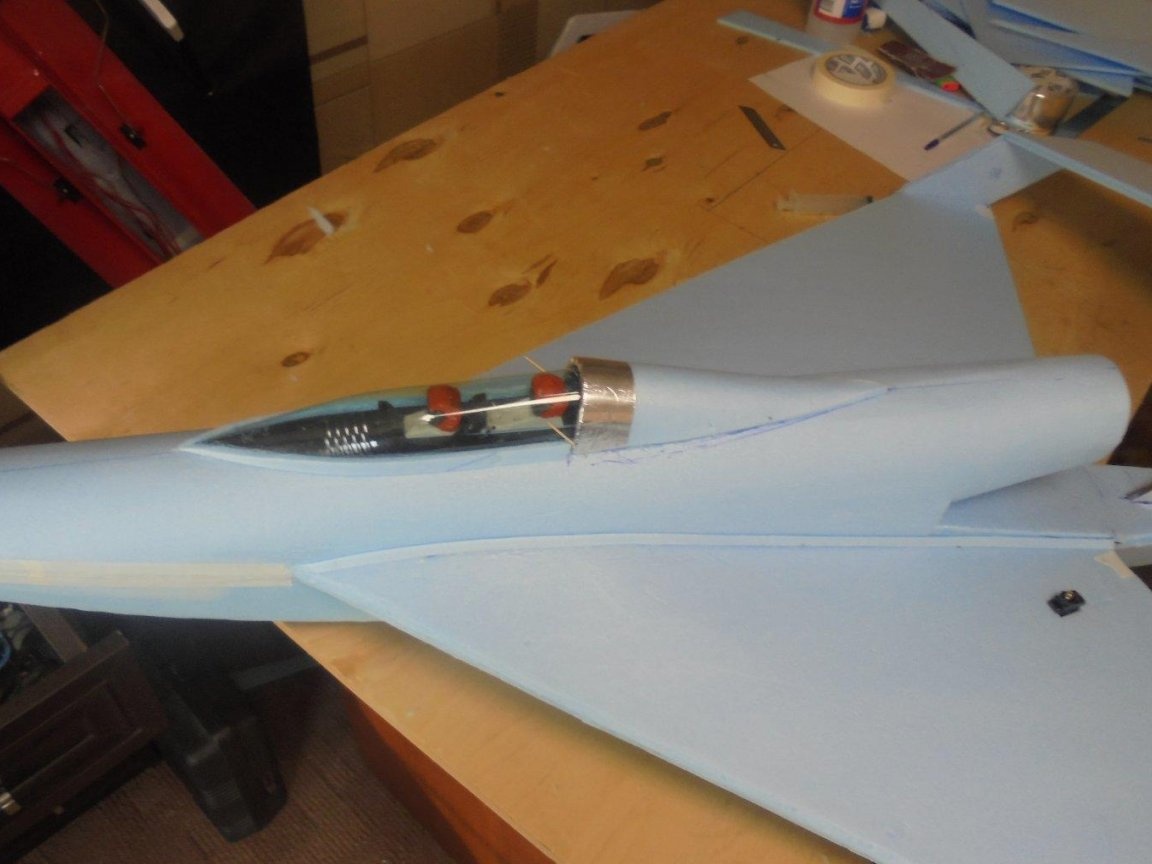
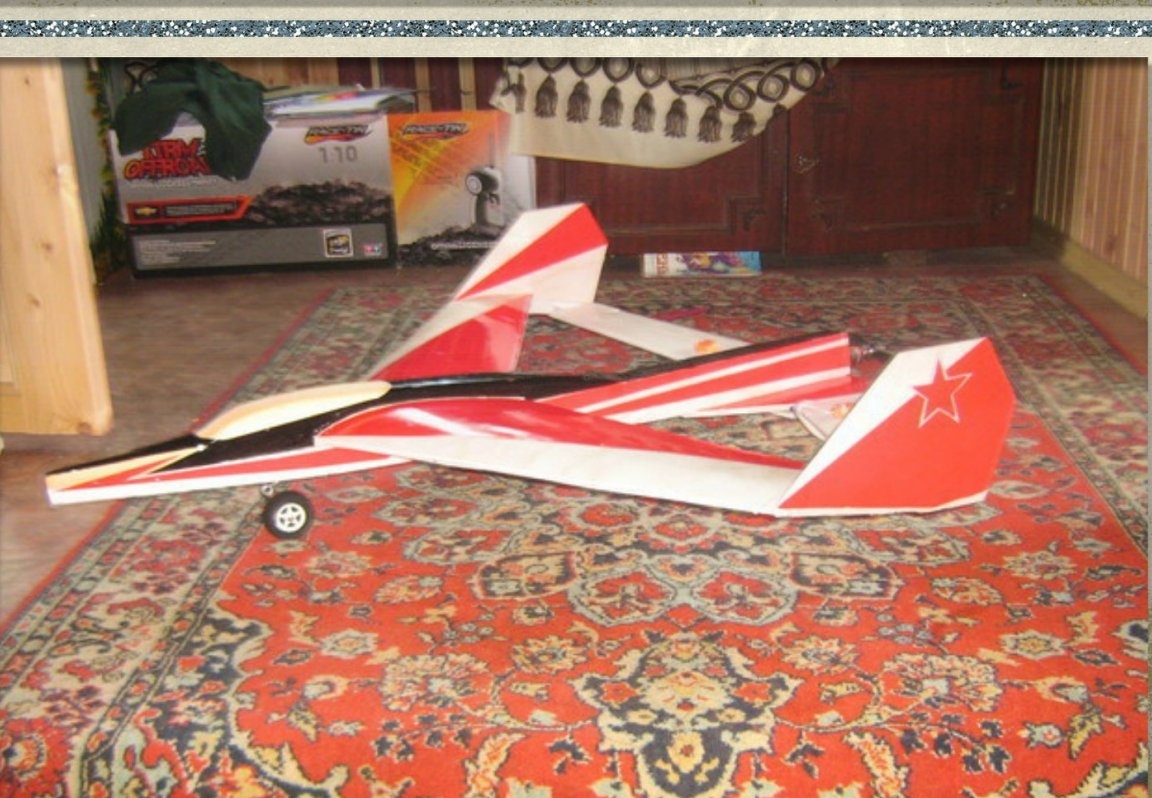
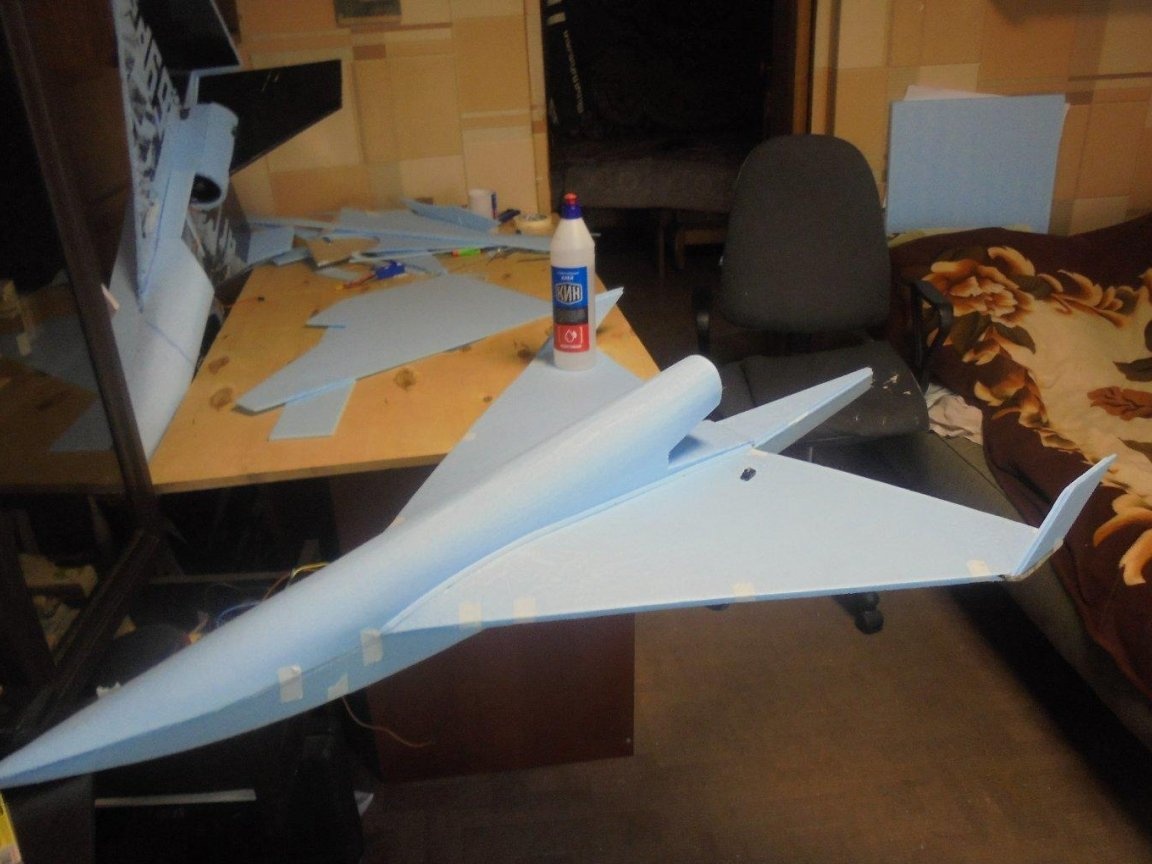
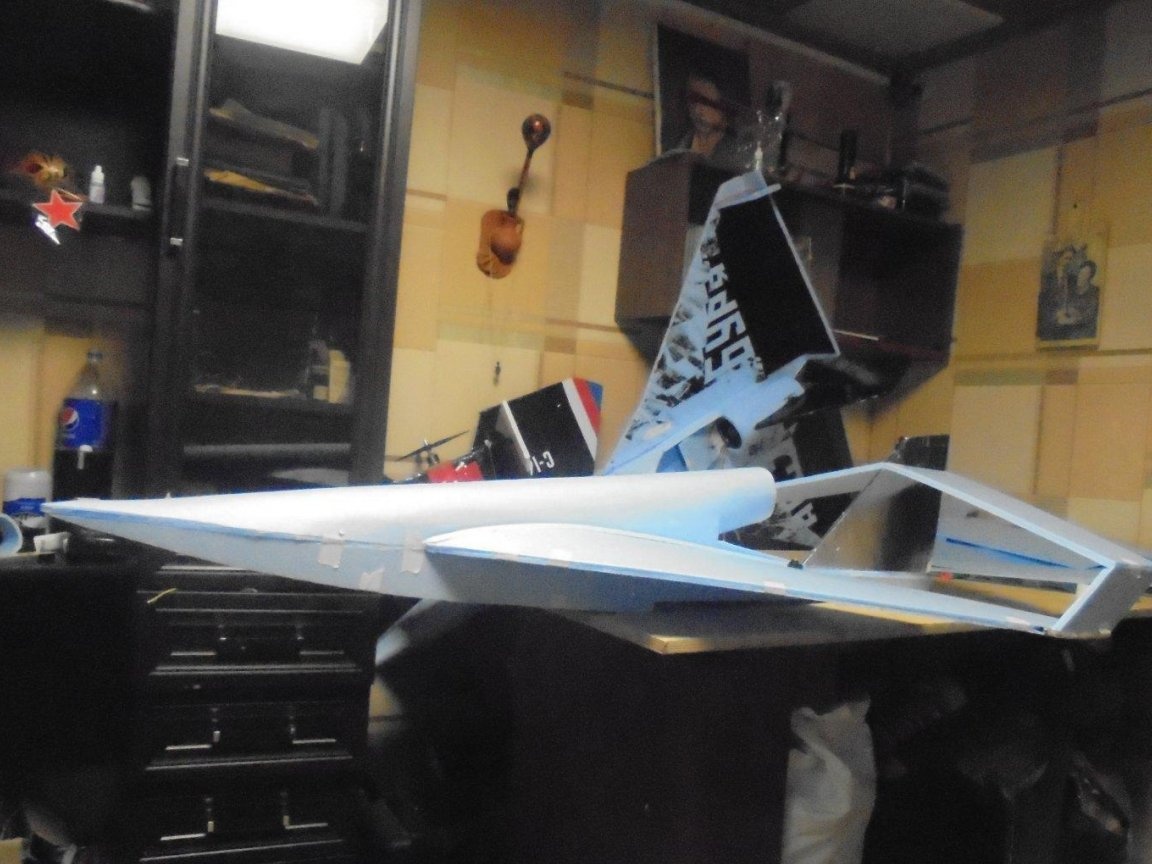
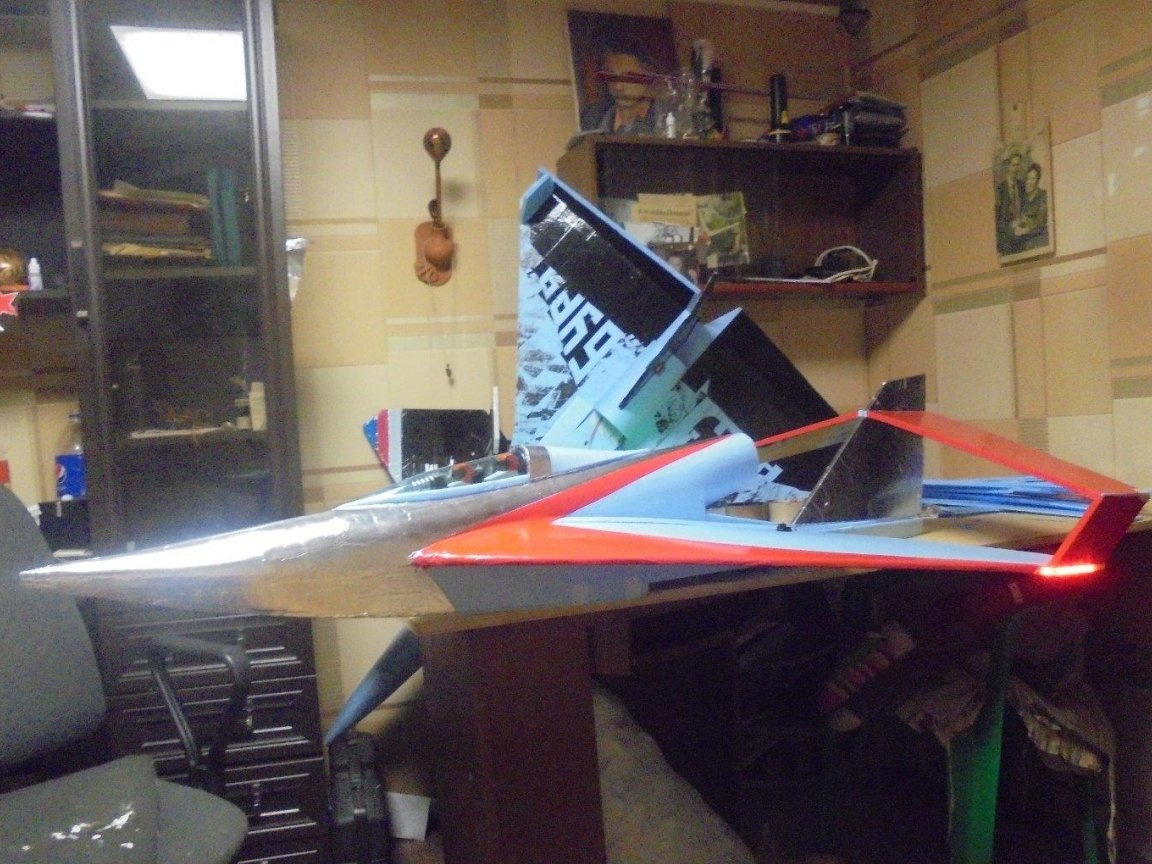
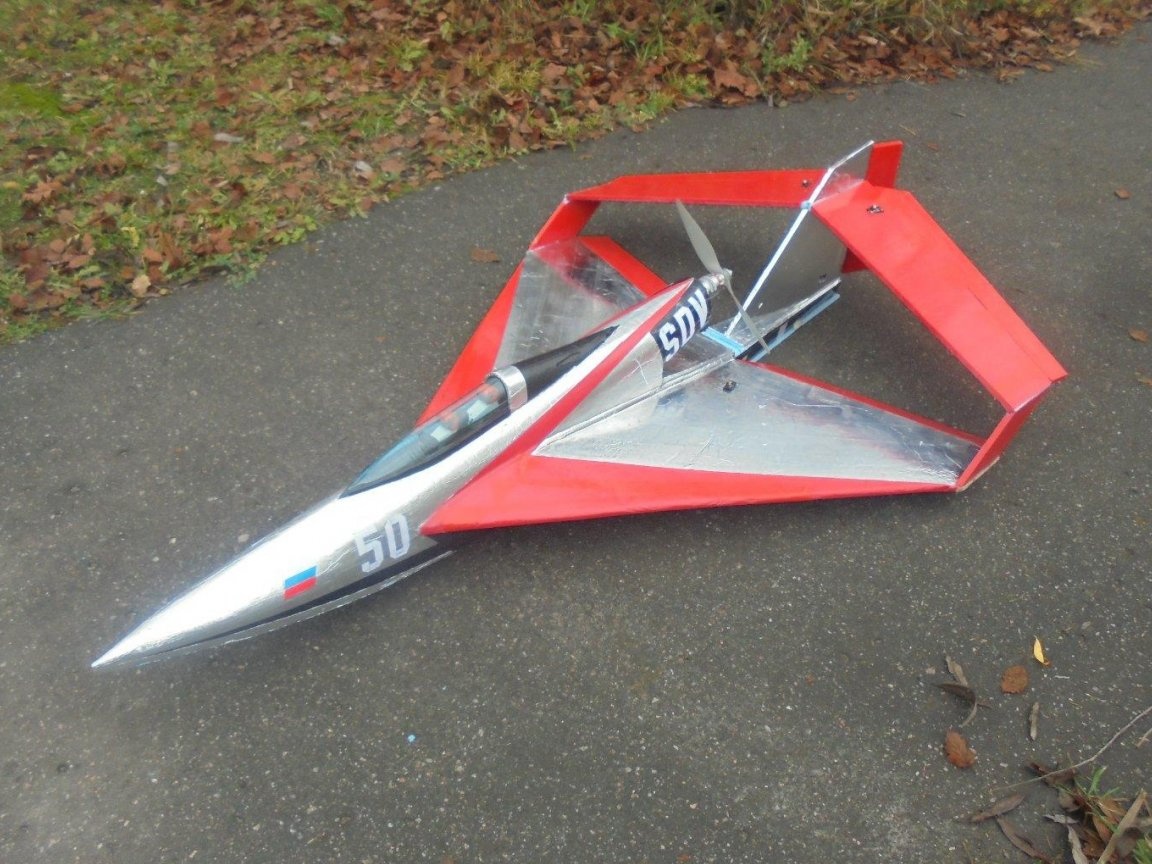
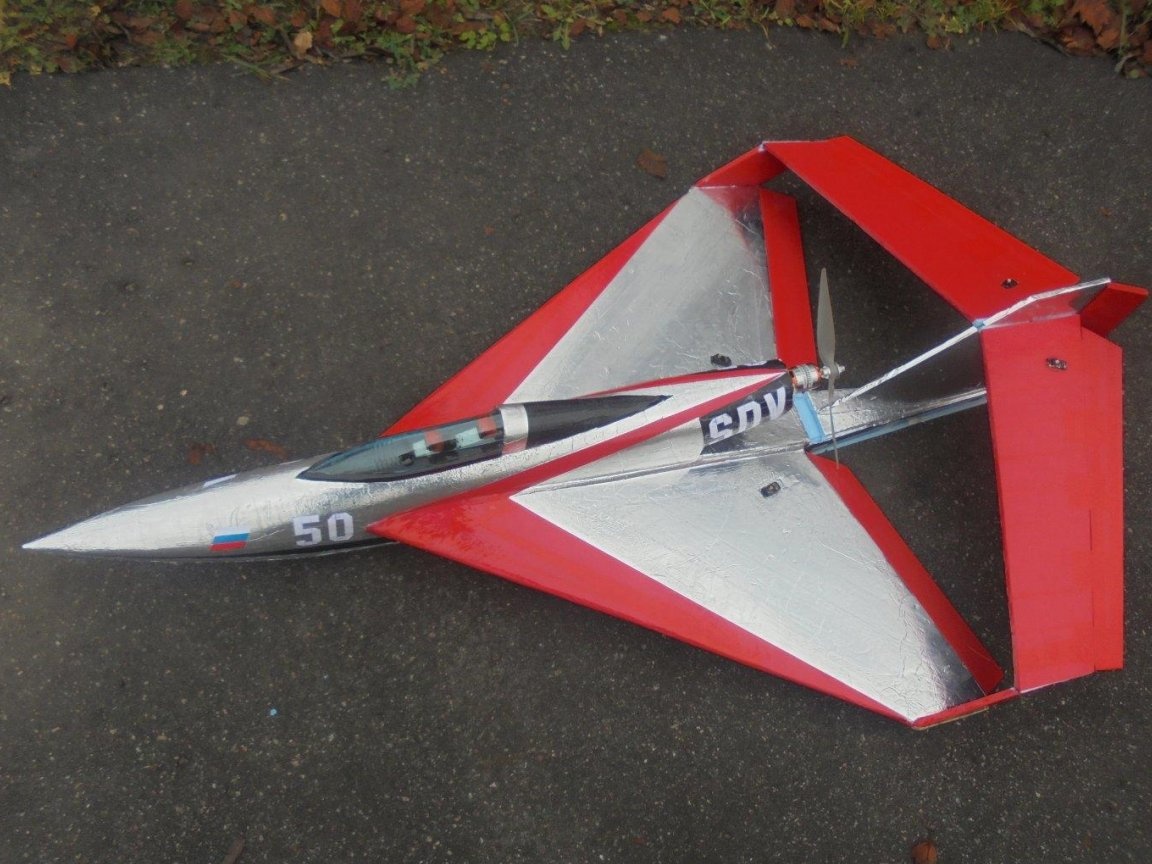
The model gets a finished look.
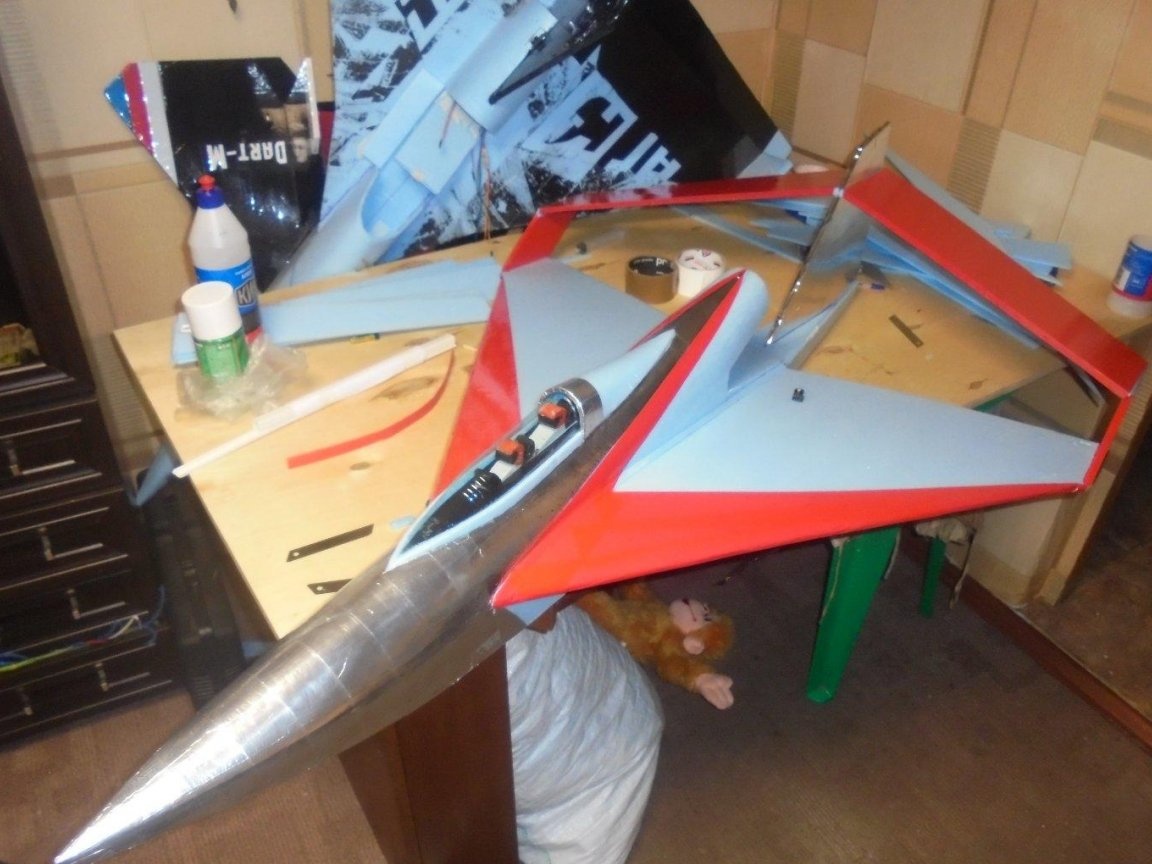
I start the local covering of the model with colored tape and aluminum foil.
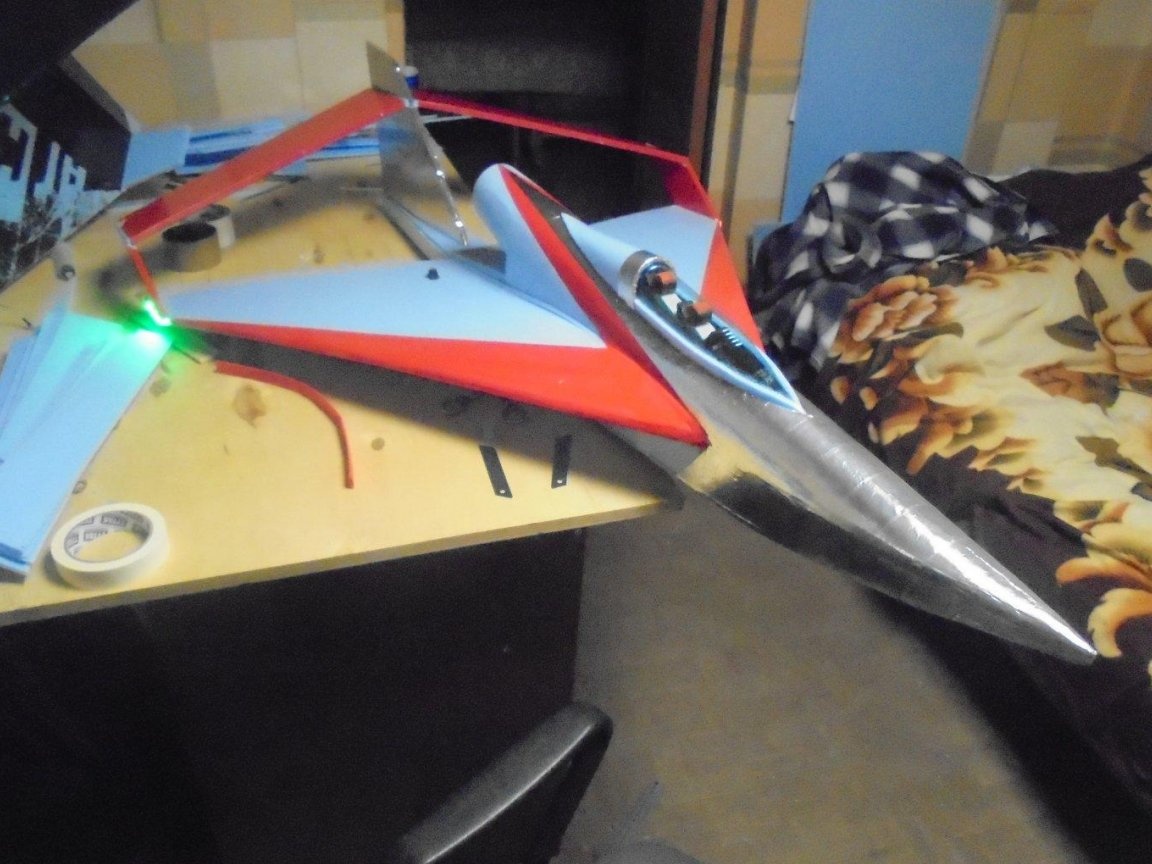
I check the operation of the side lights.

A hinge of ailerons, rudders and elevators I produce on transparent tape.
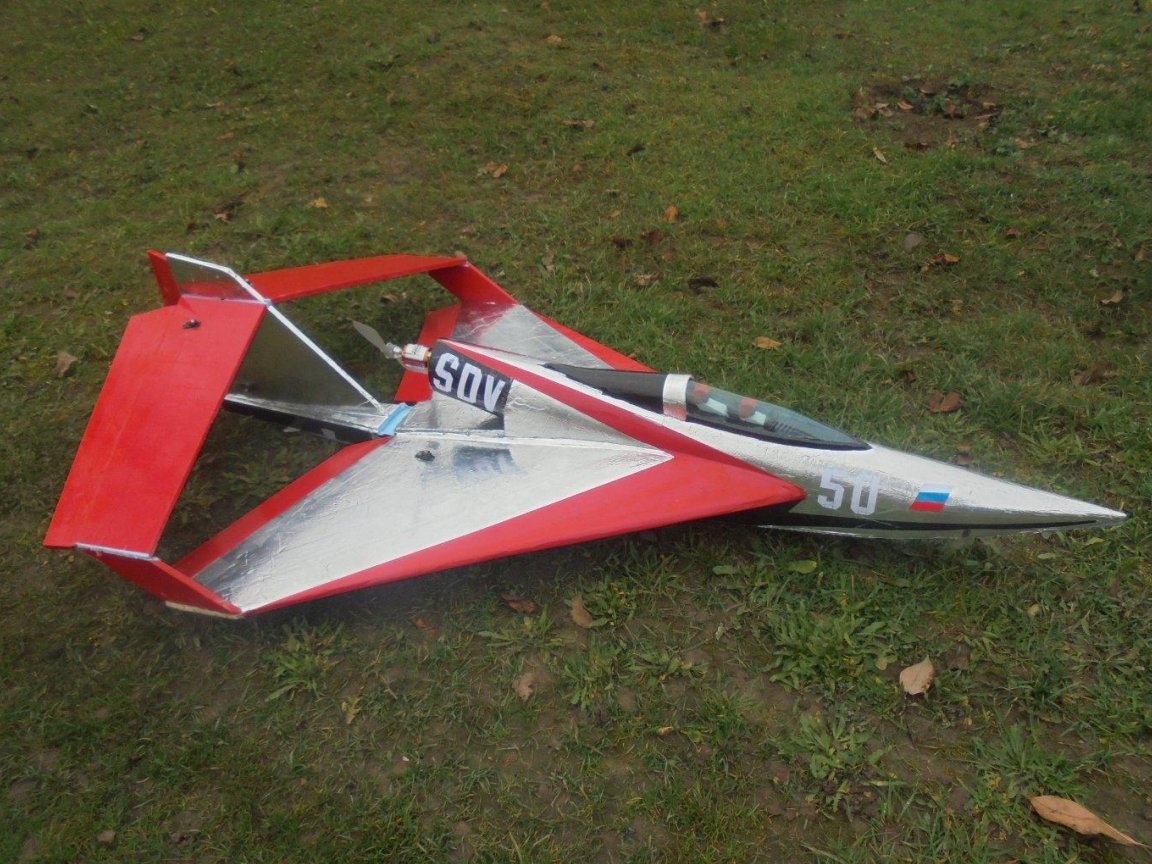
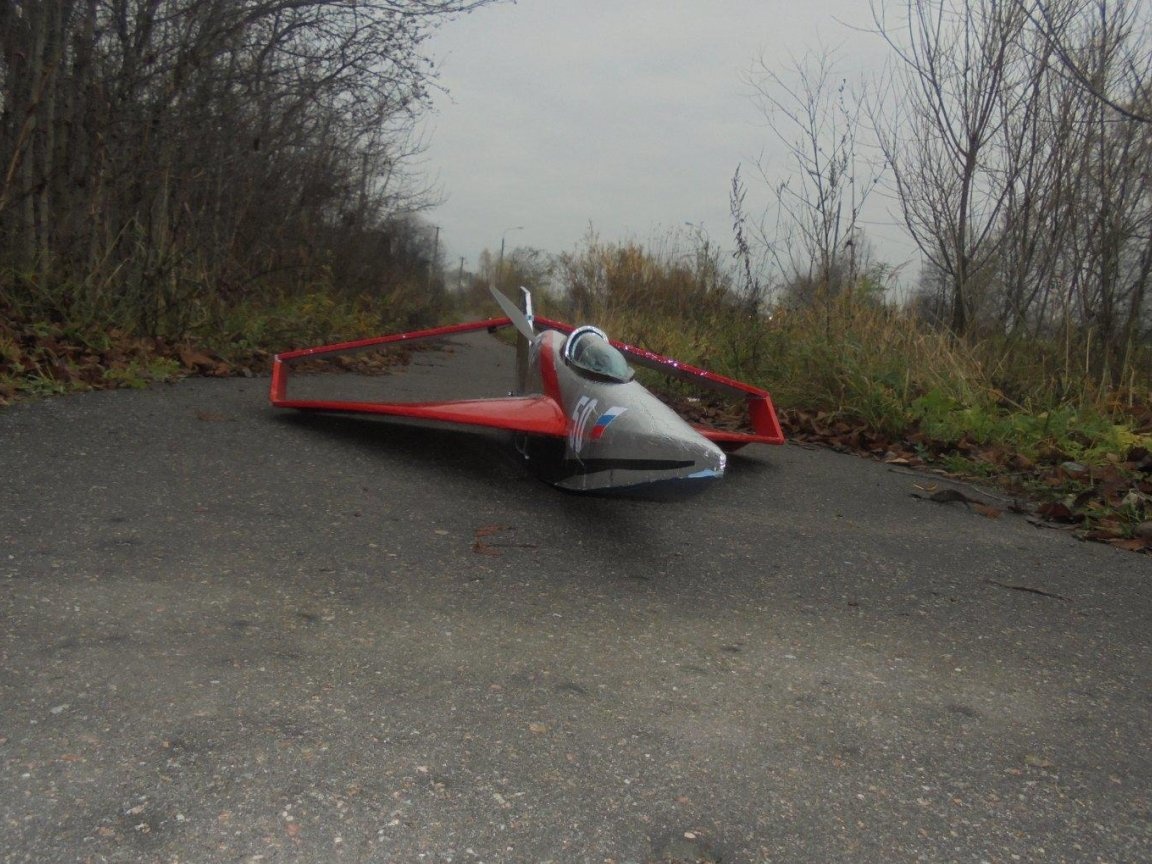
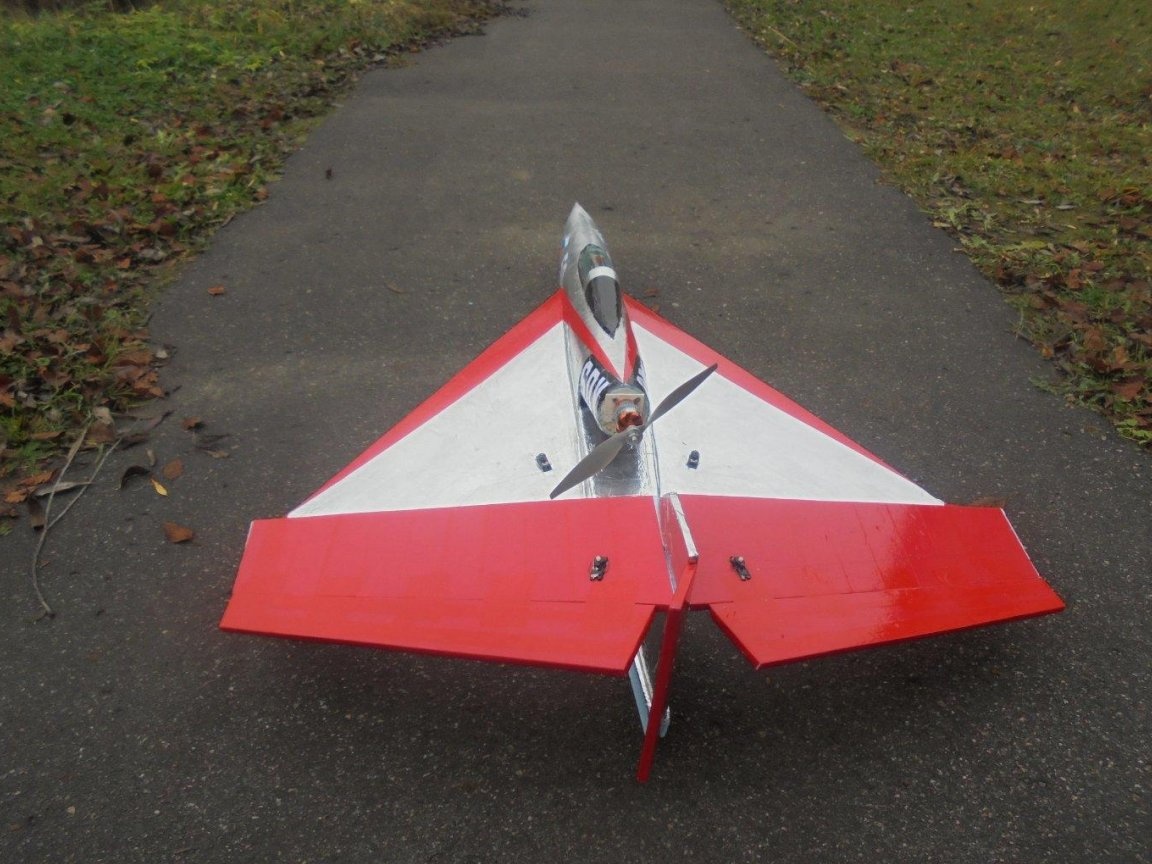
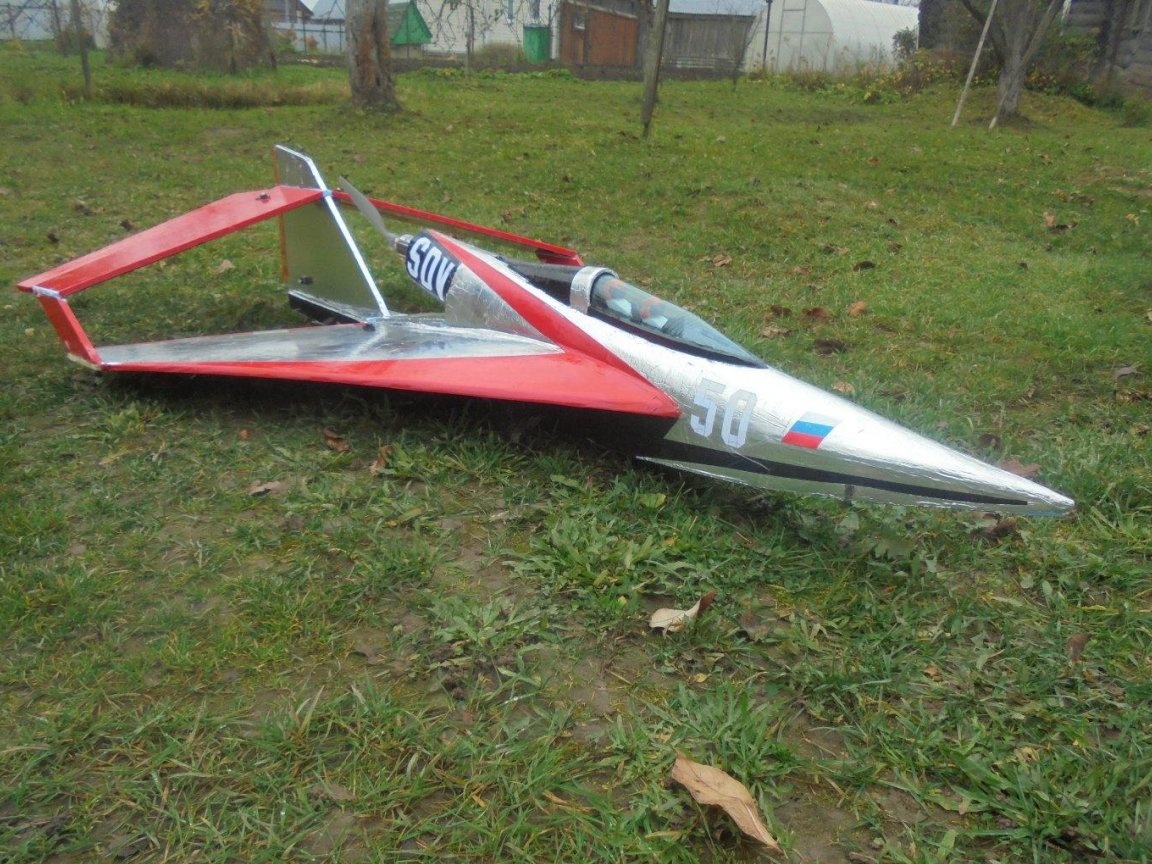
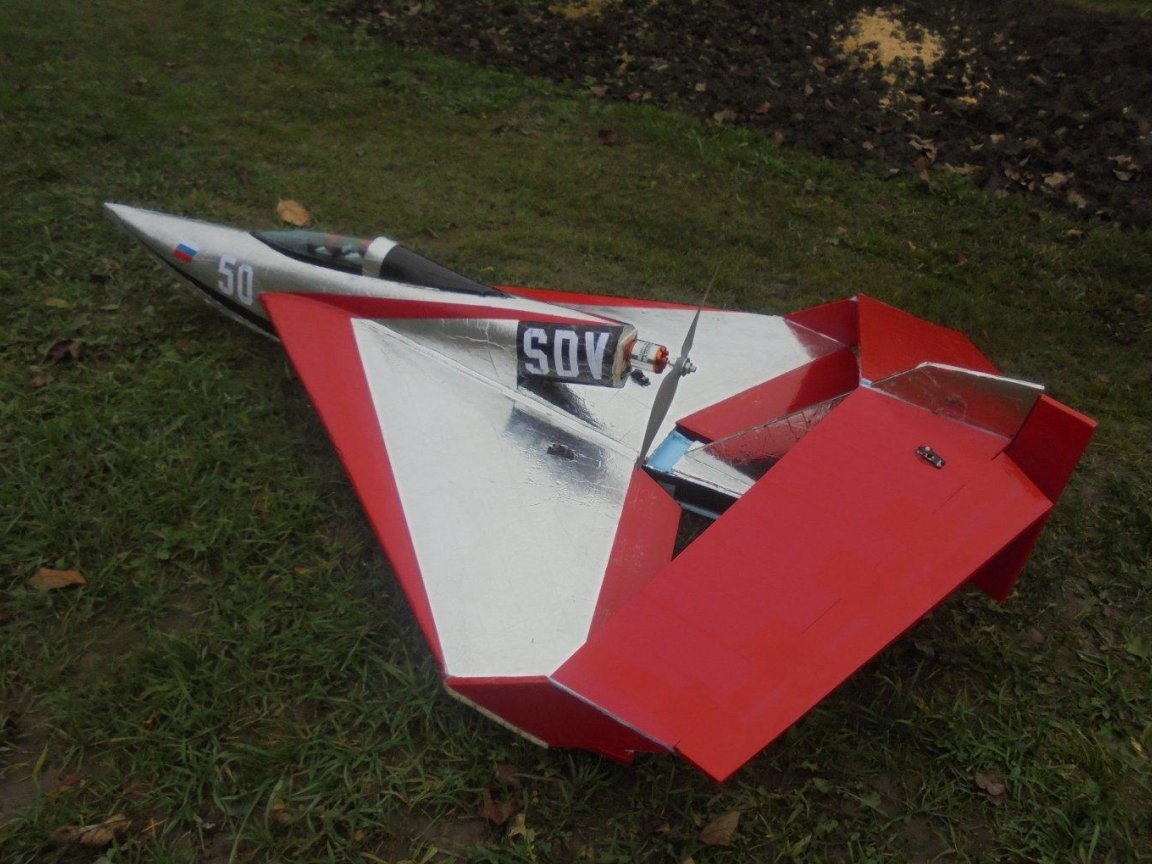
So the model looks on the runway.
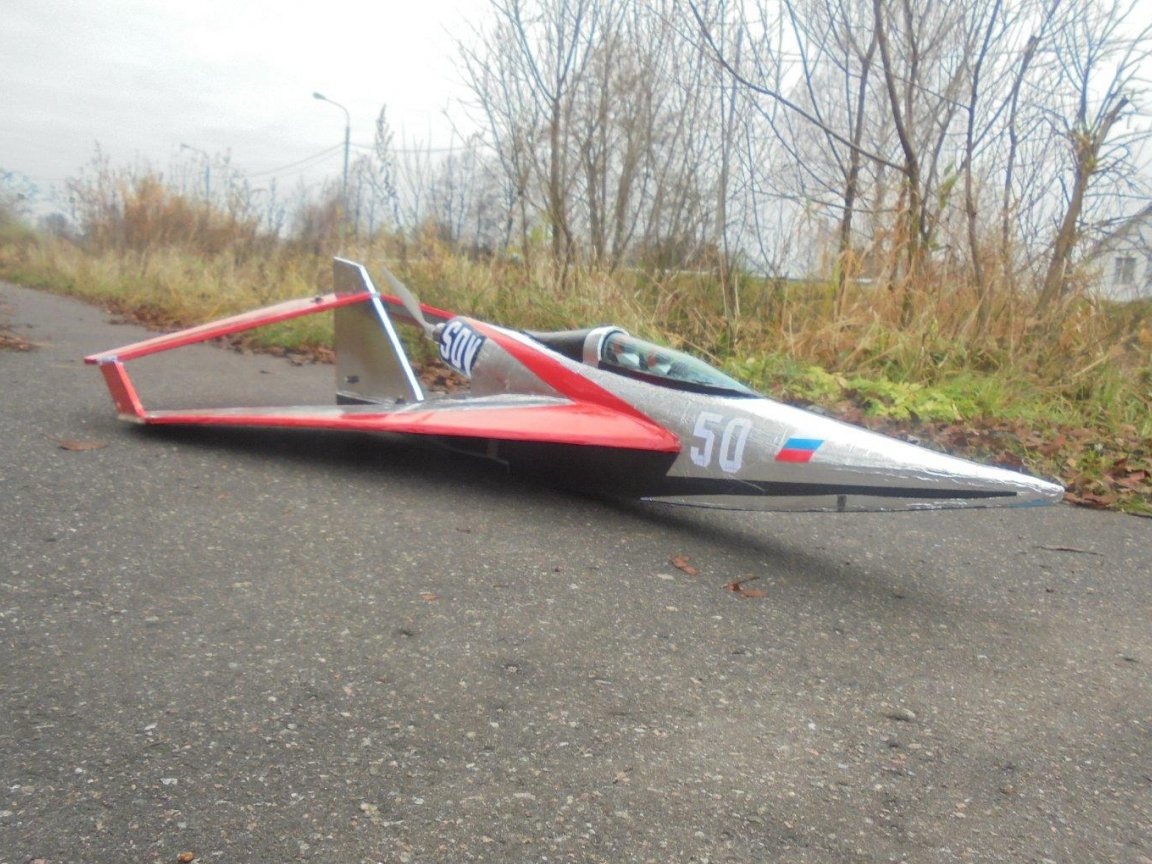
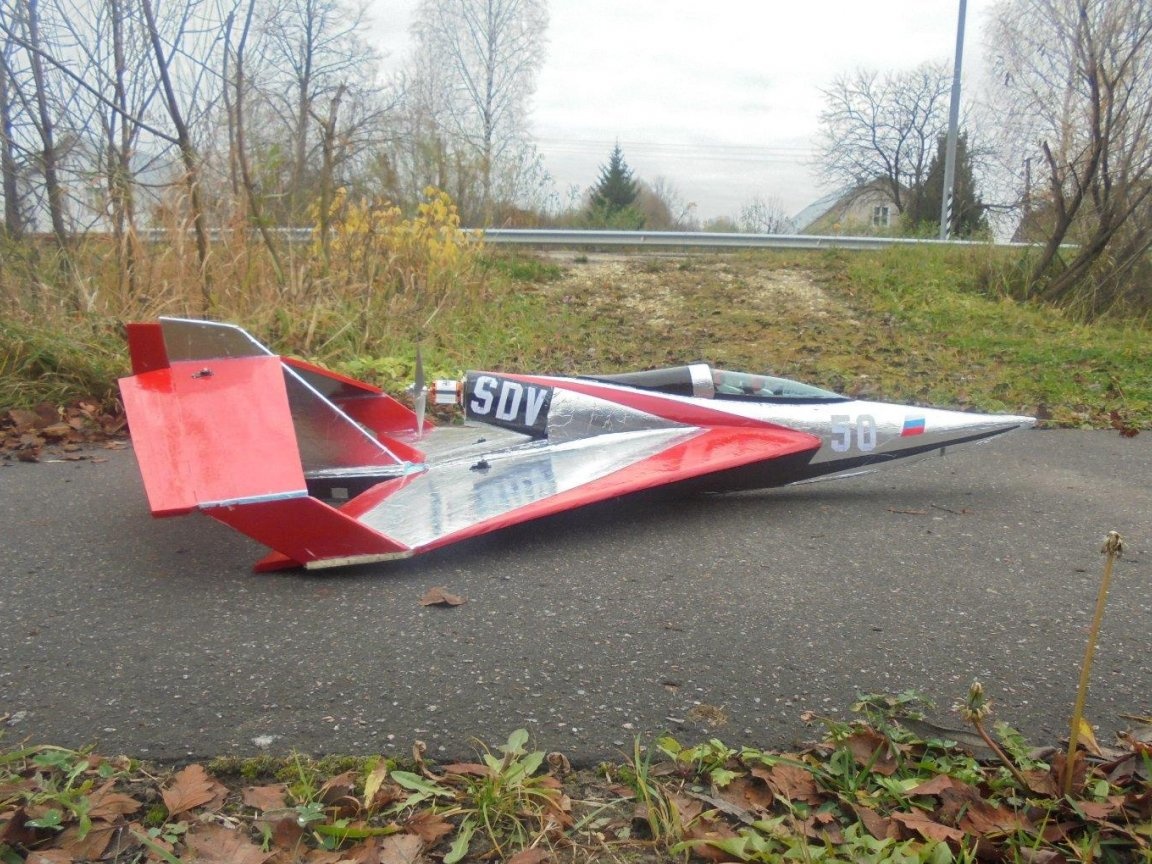

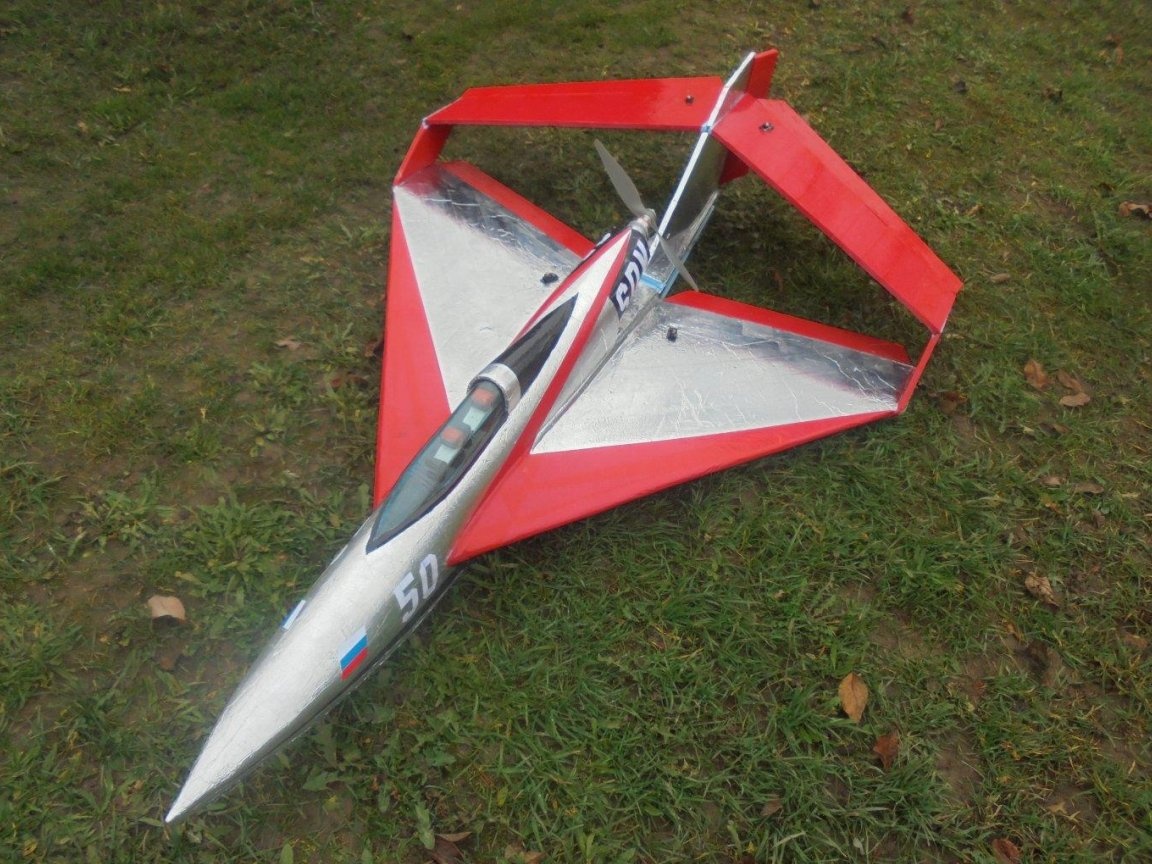
Model on autumn grass before test flights.
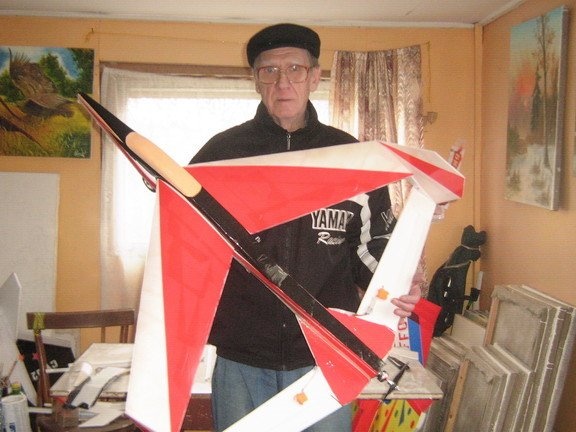
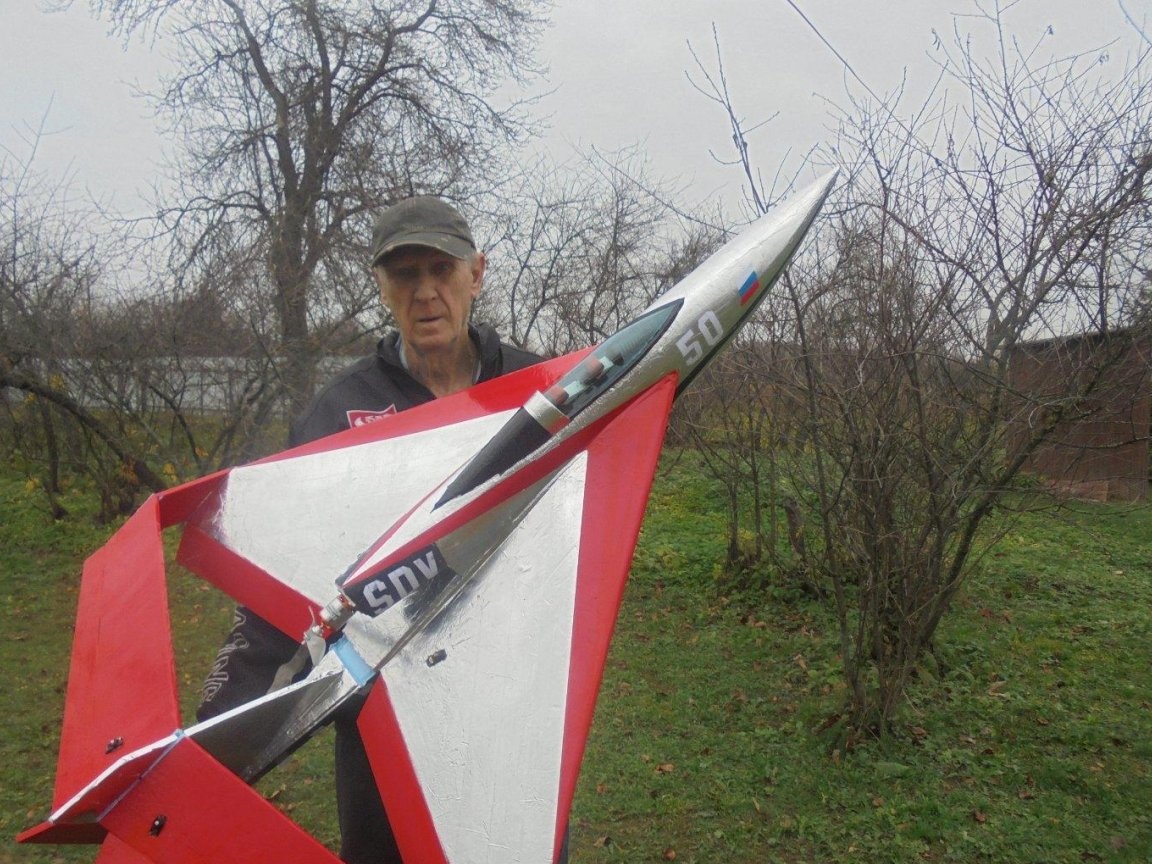
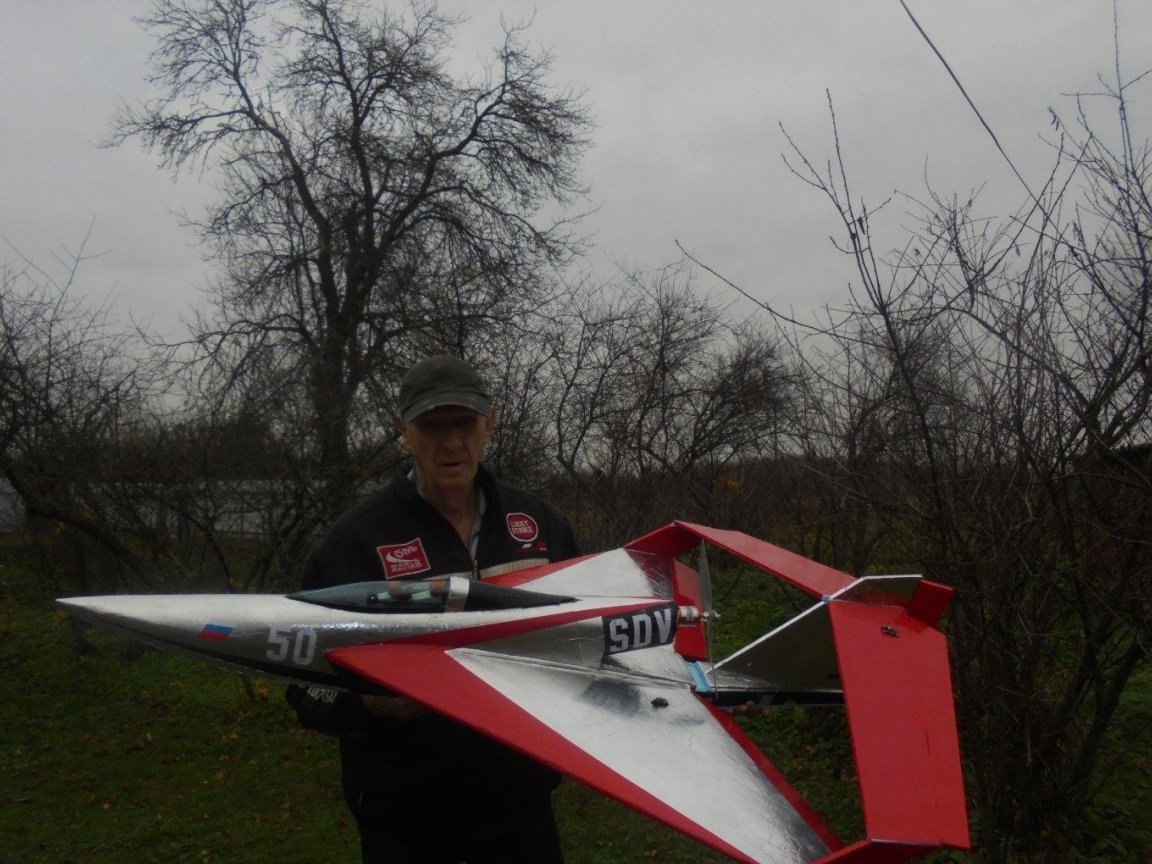
The author of the model with his brainchild.
On this, let me take your leave, see you soon, your Valerian.