
Today we have another homemade product from AlexGyver (YouTube channel "AlexGyver").

it robot bartender. And after reading this article to the end, you will learn how to assemble this device at home literally on the knee do it yourself.
So the nalivator is a device that pours drinks into glasses. This device must necessarily contain a pump, that is, with a special food, preferably. I went through quite a lot of different pumps with Aliexpress, the author settled on such a membrane:
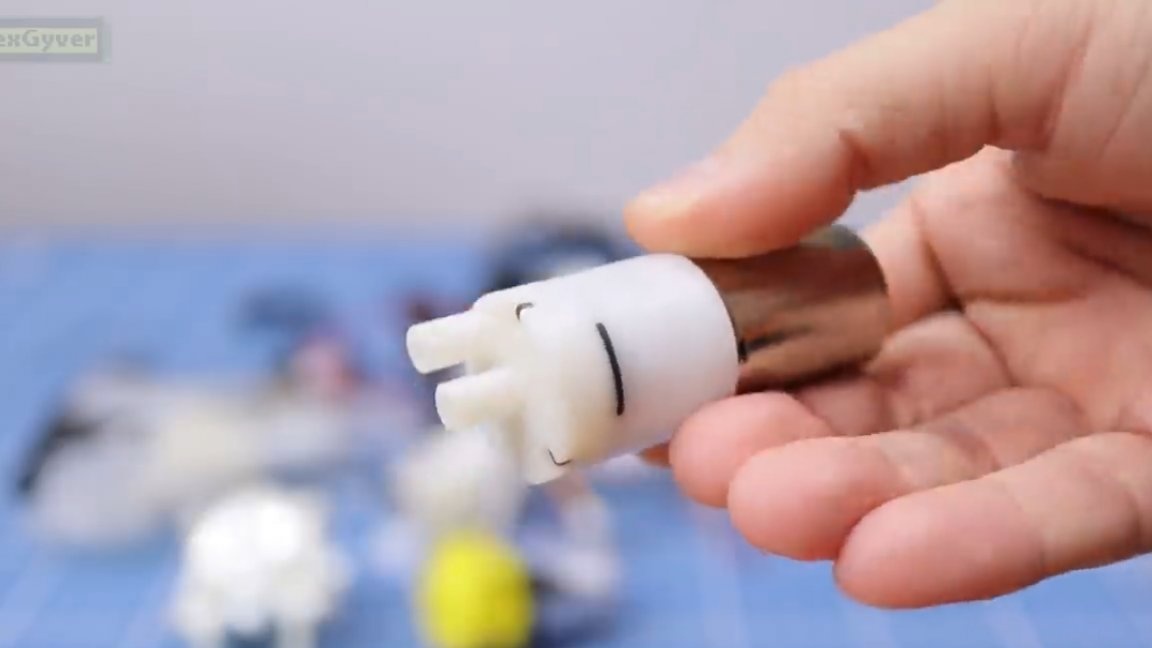
Plus everything written on it: food. The insides are all plastic, the unit works due to the distortion of the head and valves. If anyone wants to think in the direction of peristaltic pumps - I hasten to upset you, they are very noisy, slow, and the stream is so-so.
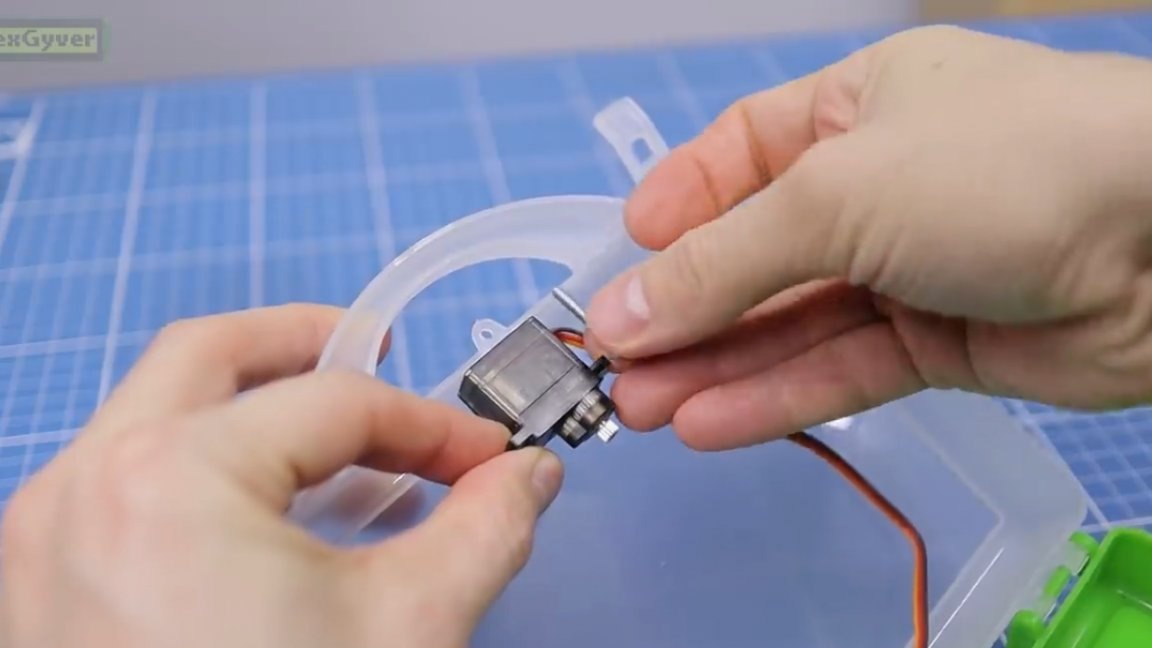
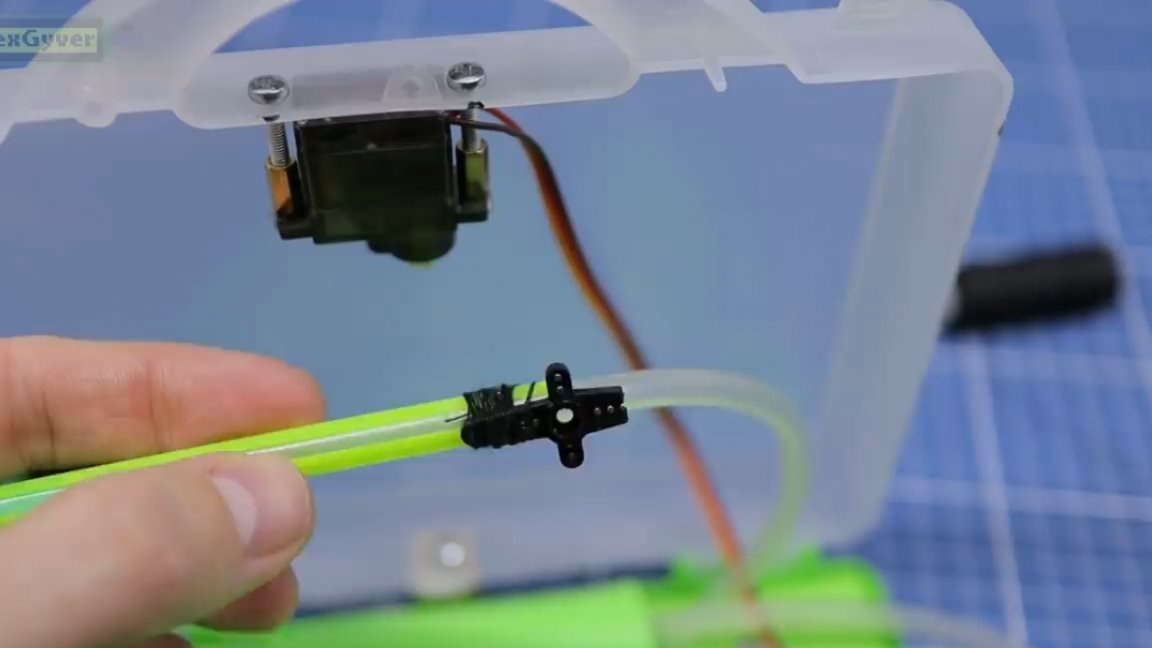
Next, the swivel mechanism.
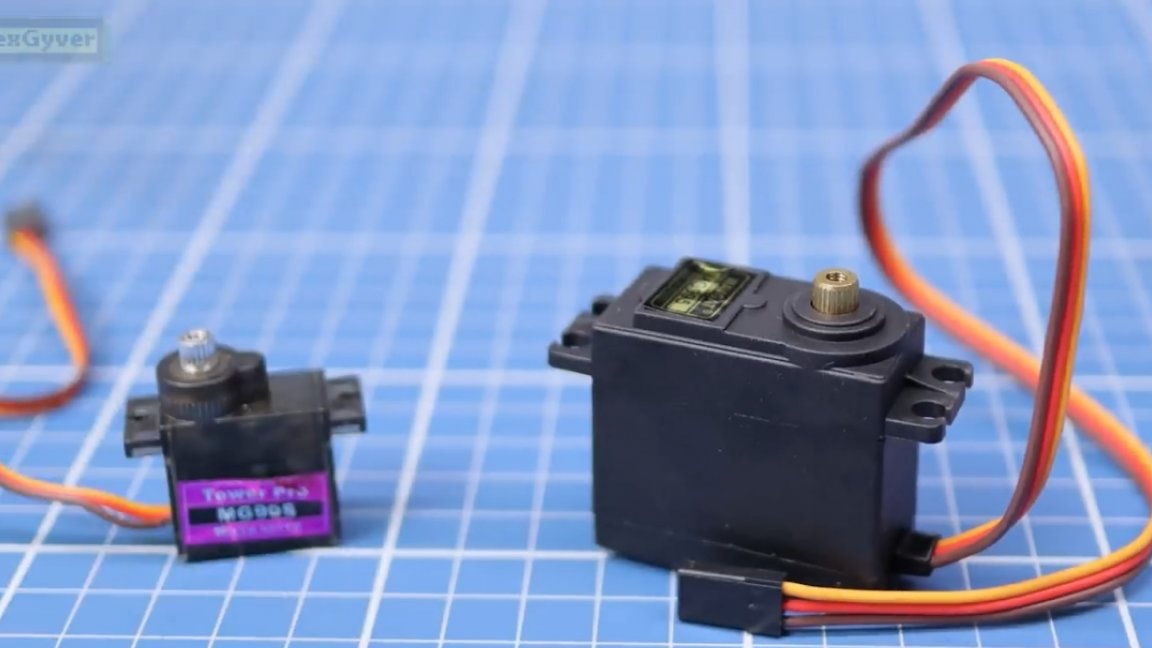
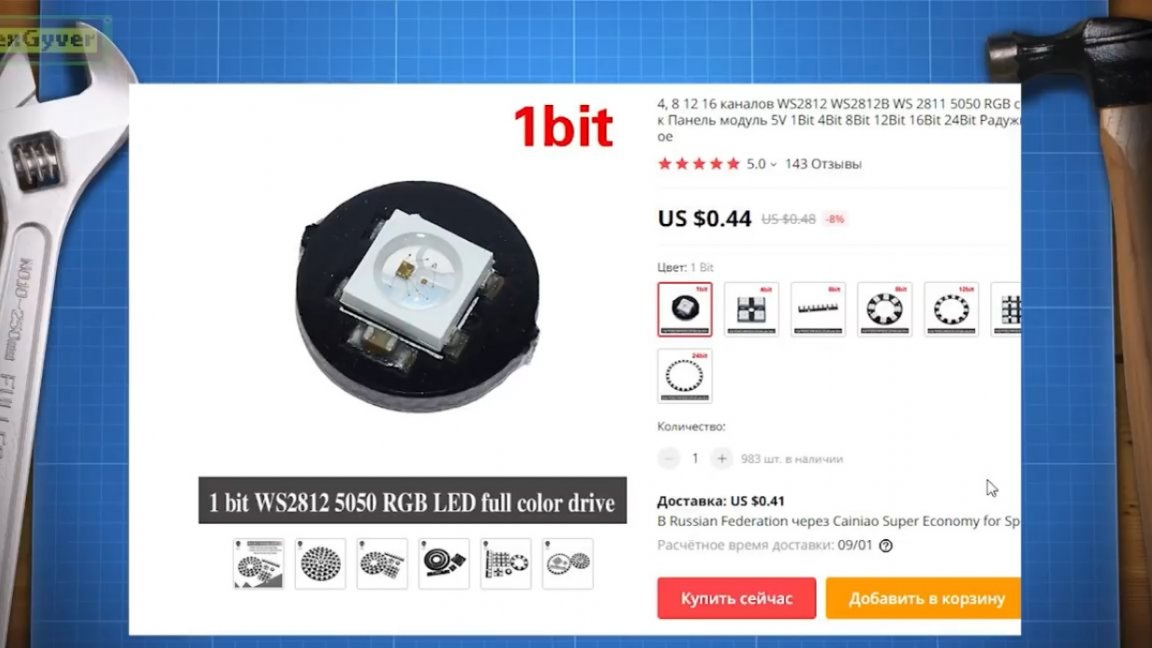
This, everything is clear here. To indicate the condition of the cups we will use.
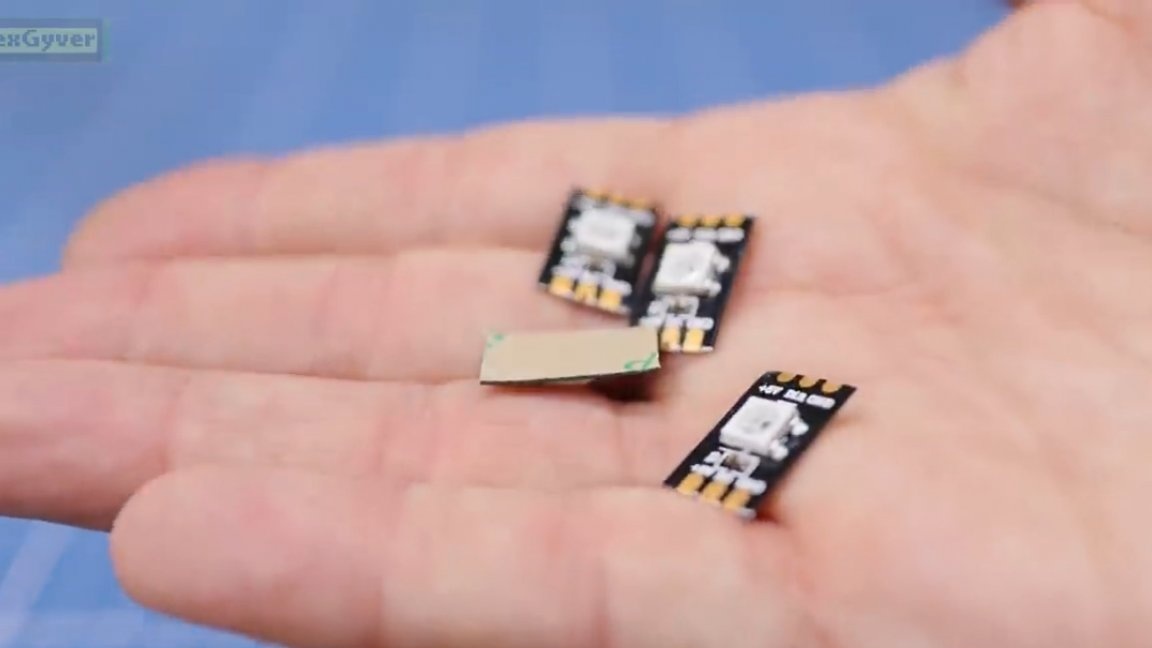
It will still be easier with them than with ordinary tri-color RGB LEDs, especially since they can be practically implemented in this version:
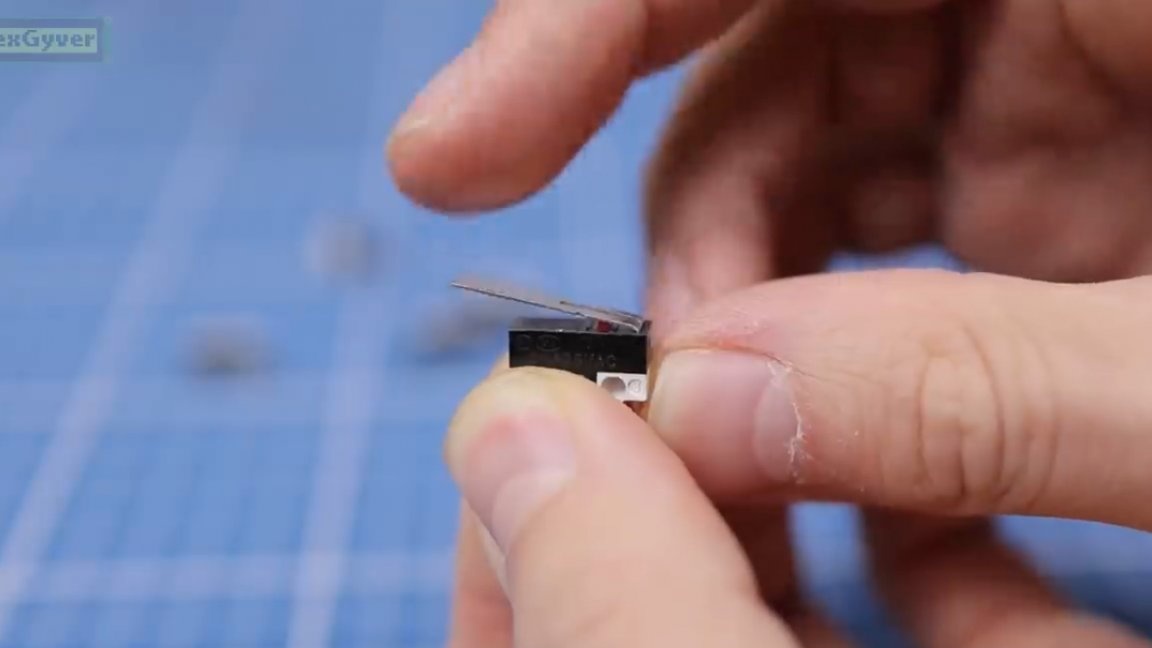
To control (track) the presence of cups, the author decided to take, they are also end buttons.
Also, to control the system, we need and, as well

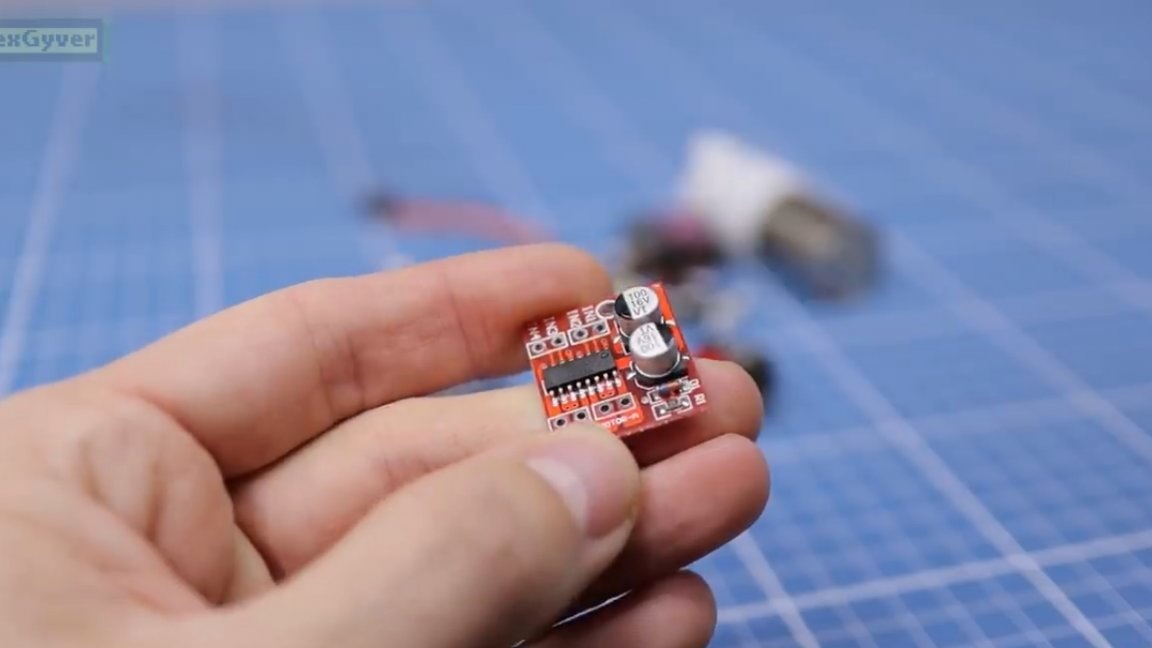
To control the pump and power to the drive, we will use this
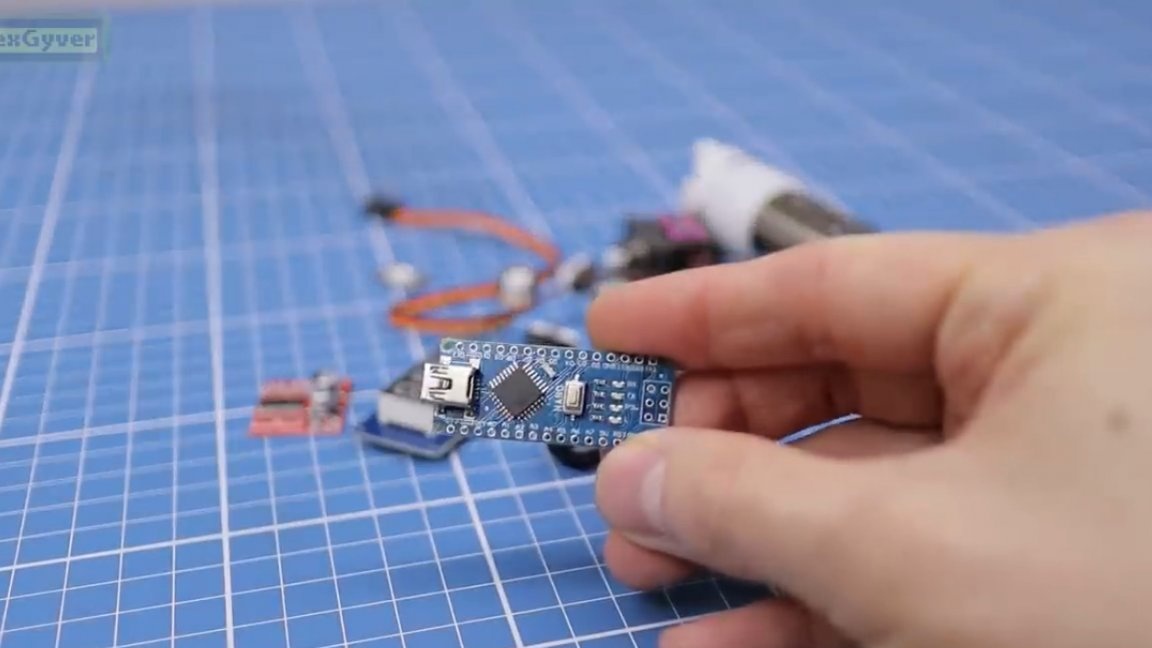
And to manage all this business will be which we will program in a special way.
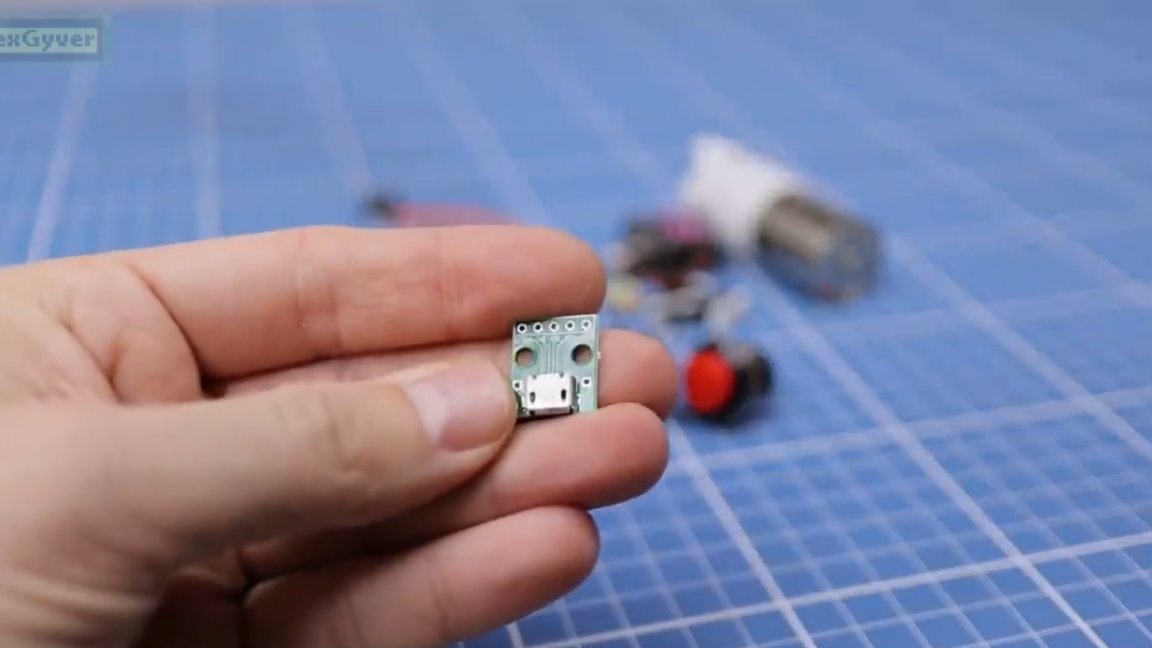
By the way, the device will be powered from, and for this you need this
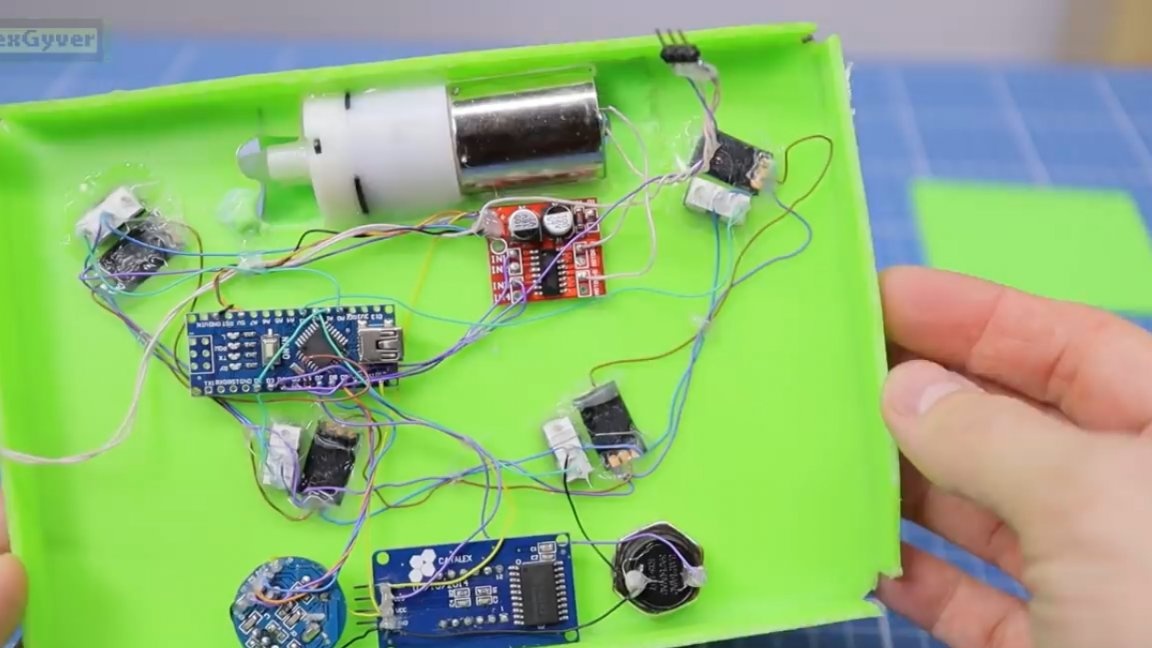
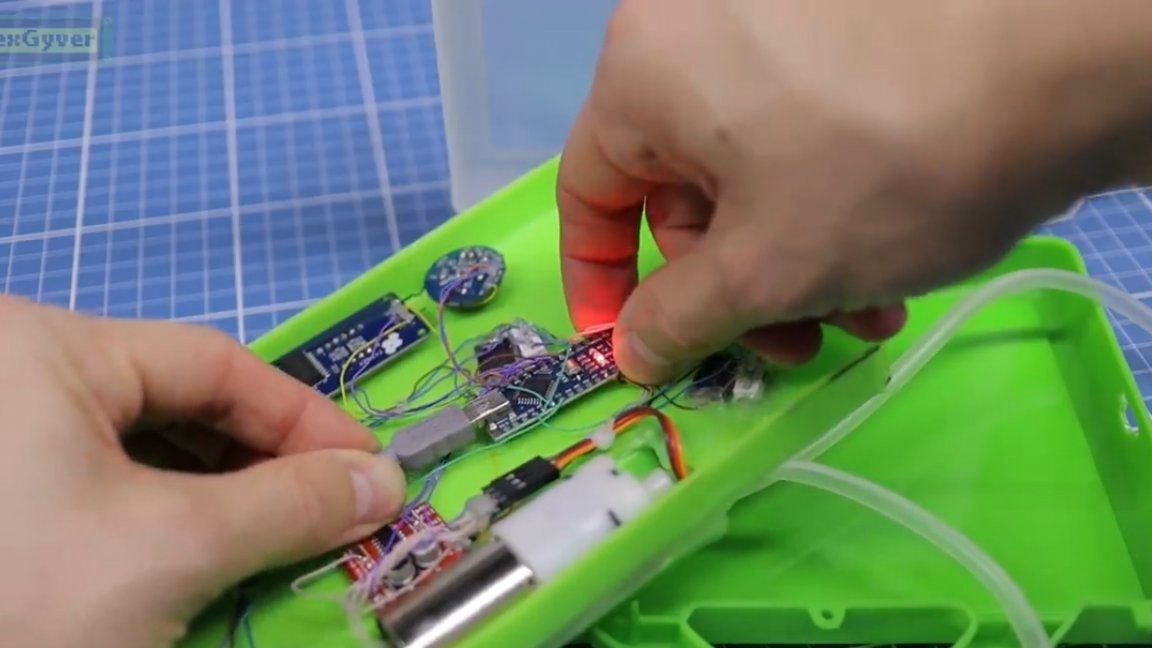
Actually, this is all electronics. Below are all necessary electronic components in order:
1)
2)
3)
4)
5)
6)
7)
8)
9) .
Electronics connects according to the following scheme:
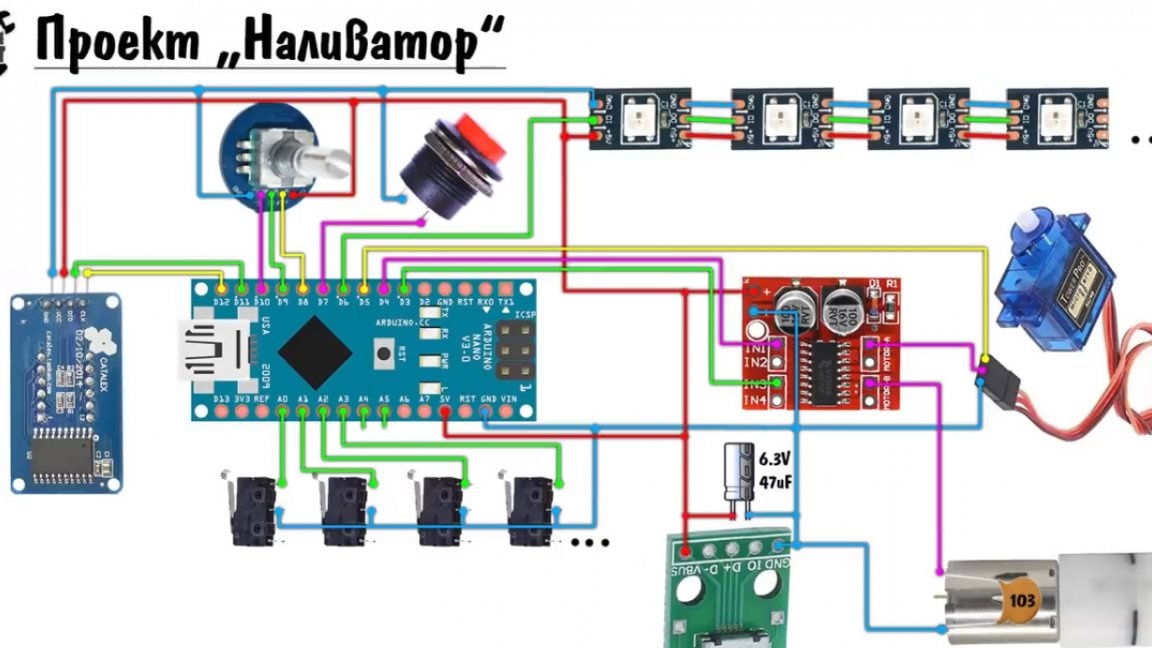
As you can see, there is nothing particularly complicated here. Servo power is isolated through the driver. This is necessary so that you can disconnect the servo from power, thereby reducing power consumption and the sounds it emits. Also, this machine supports working with the number of glasses from 1 to 6 pieces, so you need to solder in order as many LEDs and buttons as you need glasses, and everything else is configured directly in the program itself.
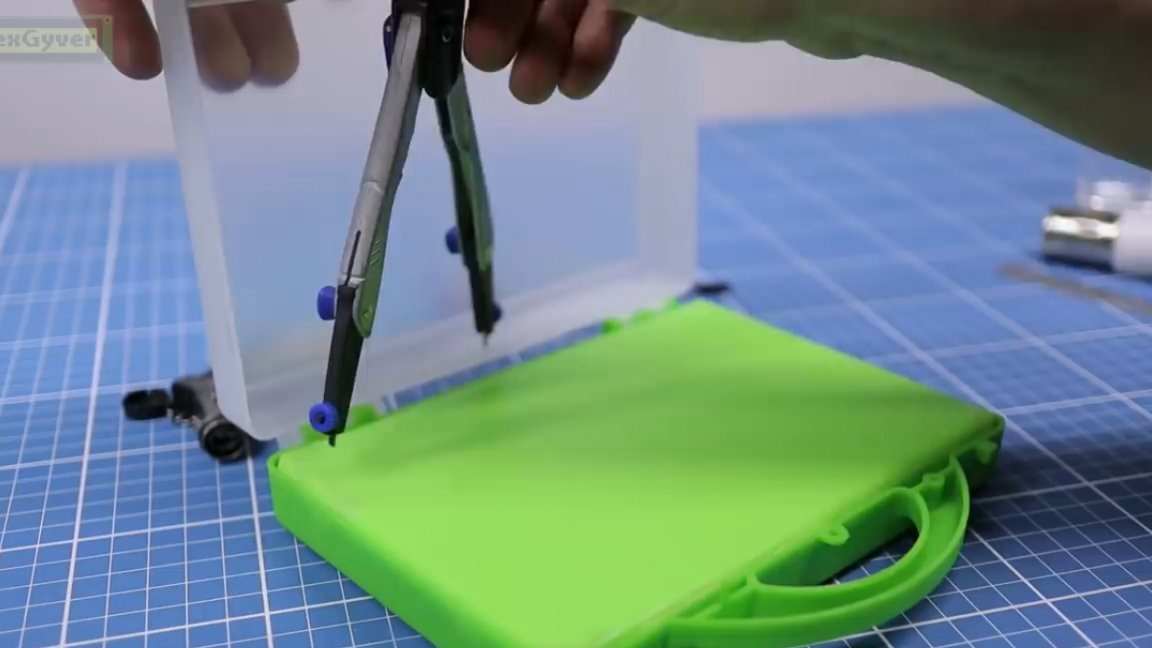
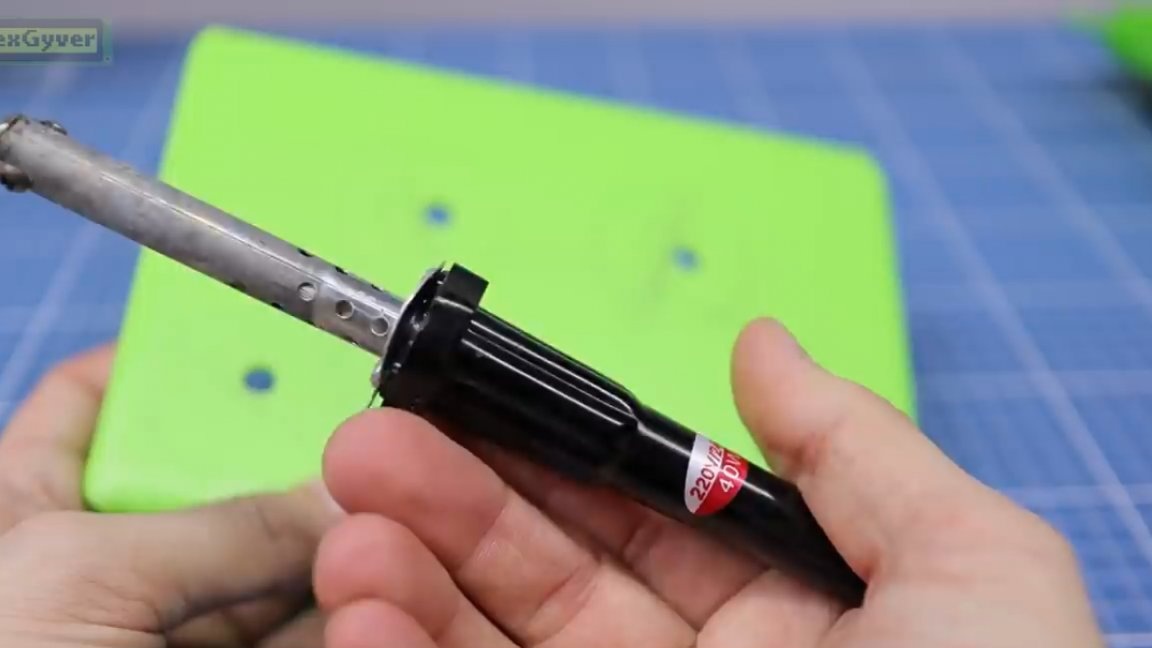
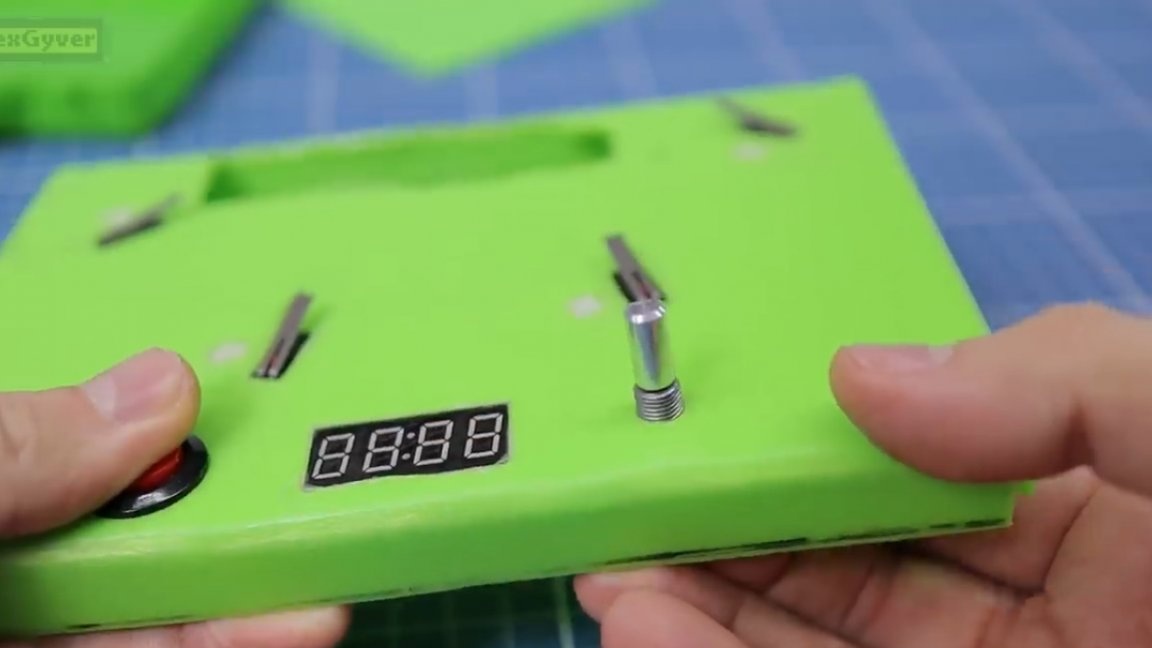
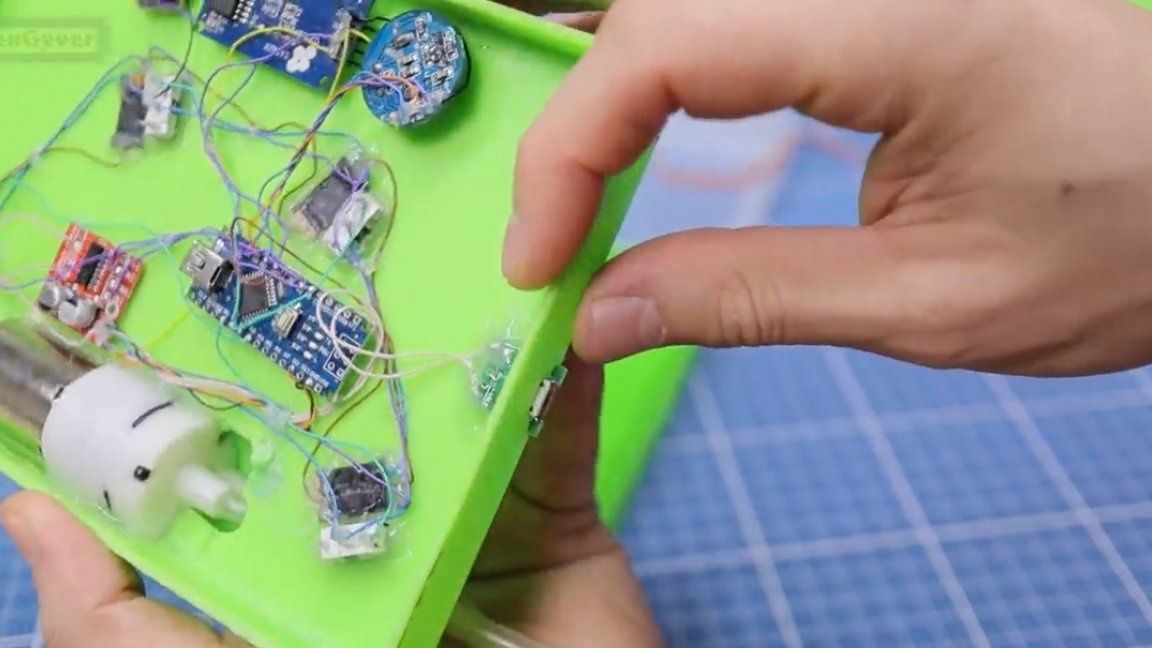
Such a case with a screwdriver from Fix Price will perfectly play the role of the case:
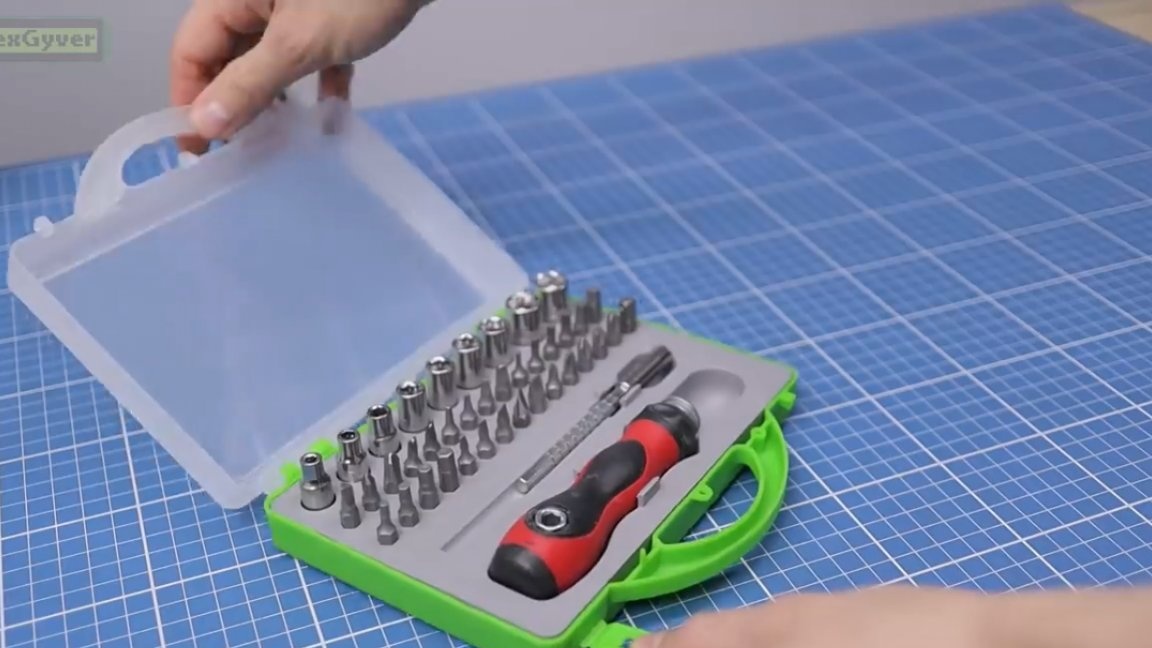
Screwdrivers themselves about nothing, you can throw them away. We also need plastic, for example, such a cutting board.
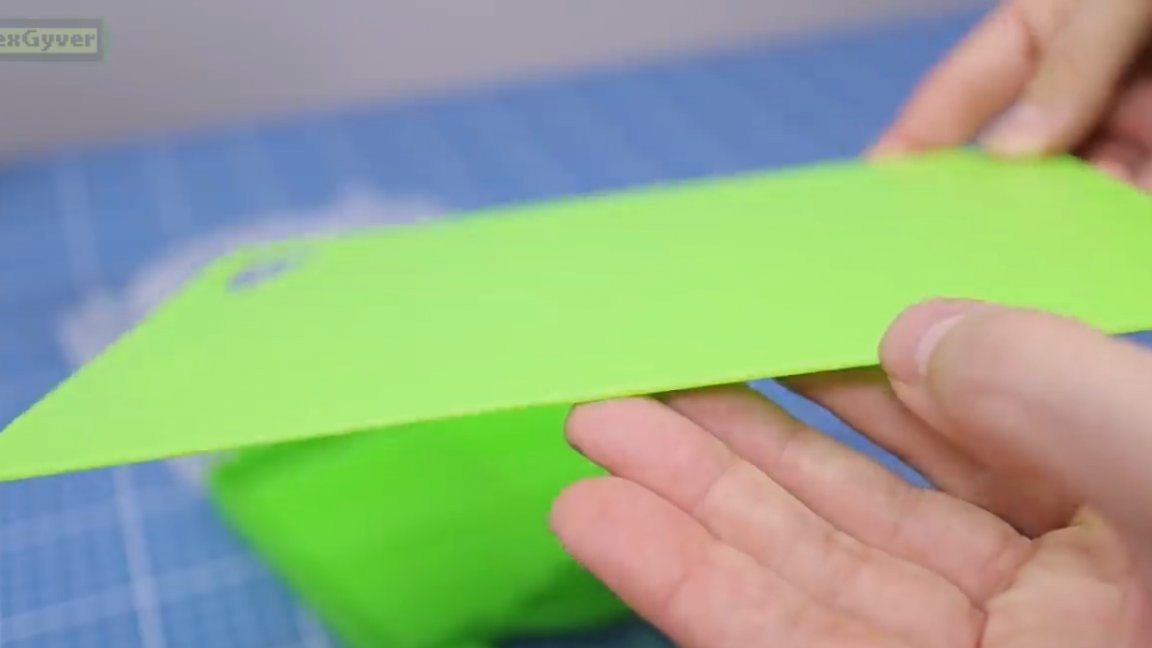
It was purchased at a local hardware store. The thickness of the plastic here is about 2 mm.
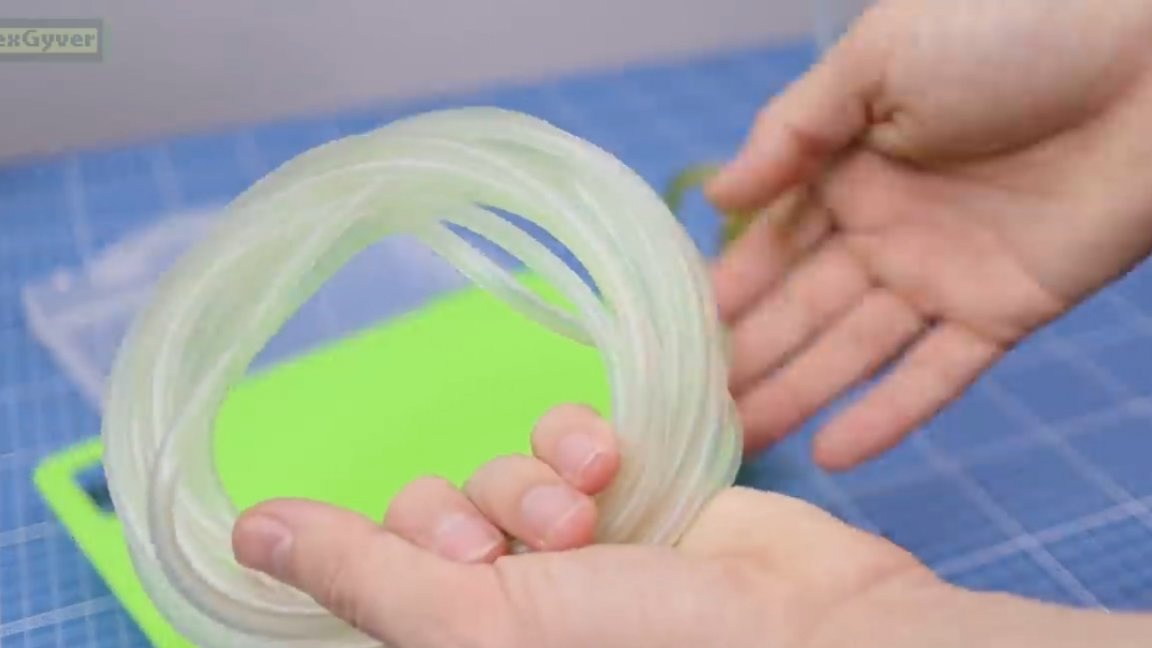
Next is the tube. The author found a suitable again in the fix.You will also need a silicone tube for aquarists:
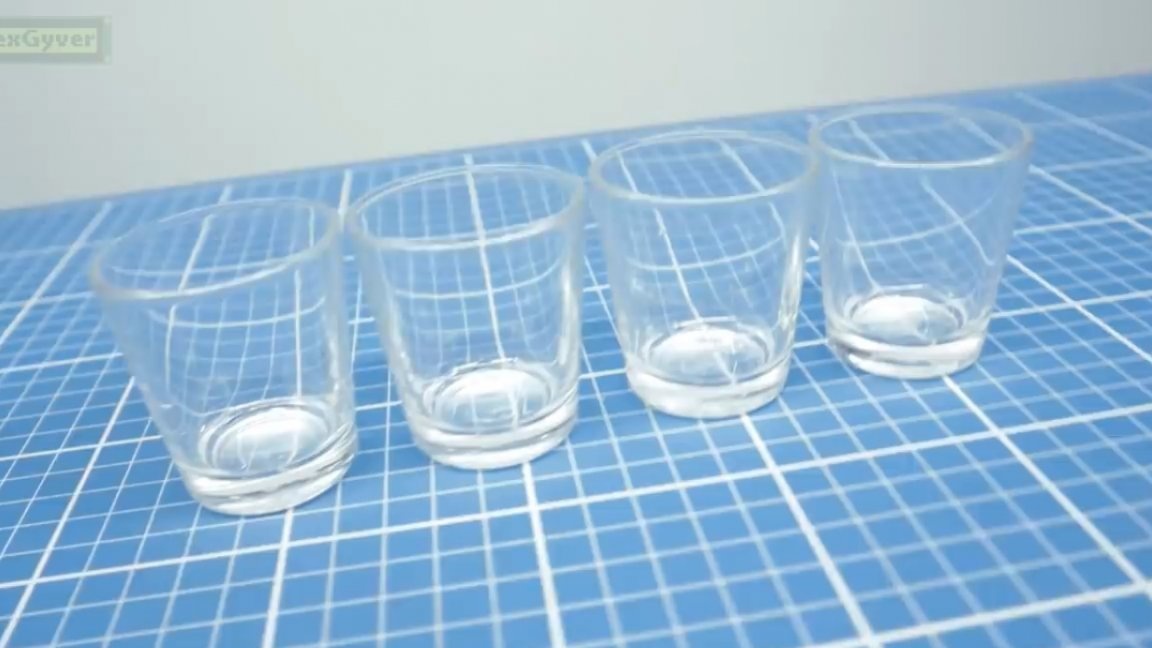
Next cups, for example, like this:
We start by taking measurements and making parts from a piece of plastic that will be inserted into the suitcase and will allow us to place all the electronics under such a secret bottom.

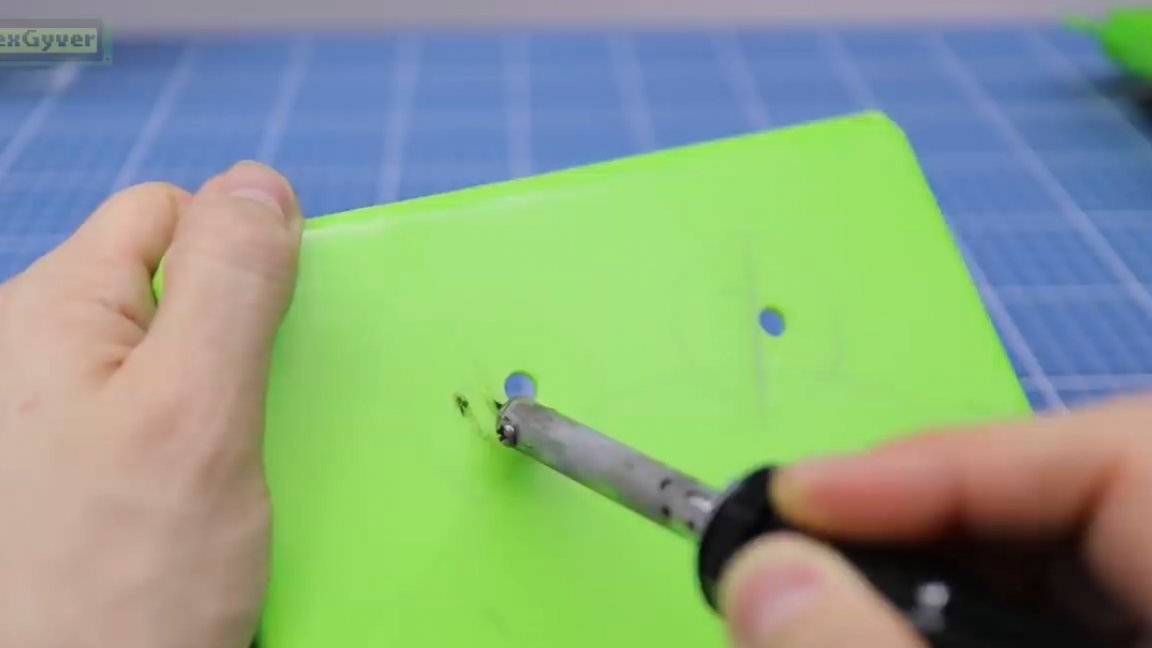
Then we estimate the trajectory of the tube, and try on the cups. The author made such a template on which he marked the window for the button and the hole for the LED.
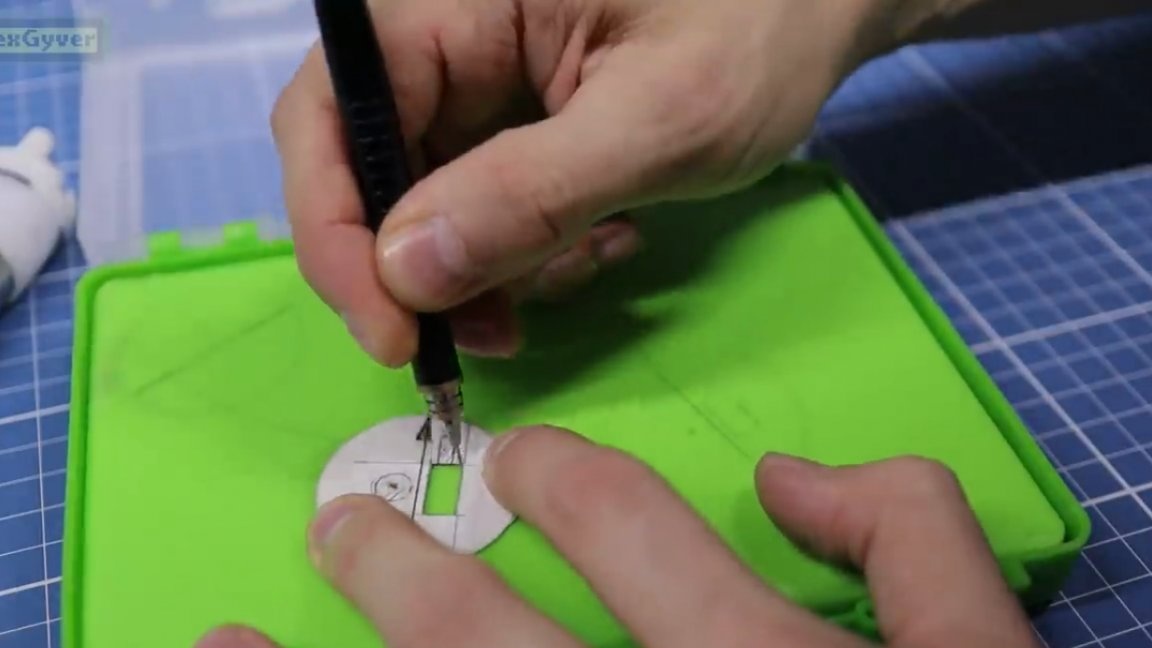
Using a fixspray soldering iron with a stitched tip, you can cut plastic like butter.
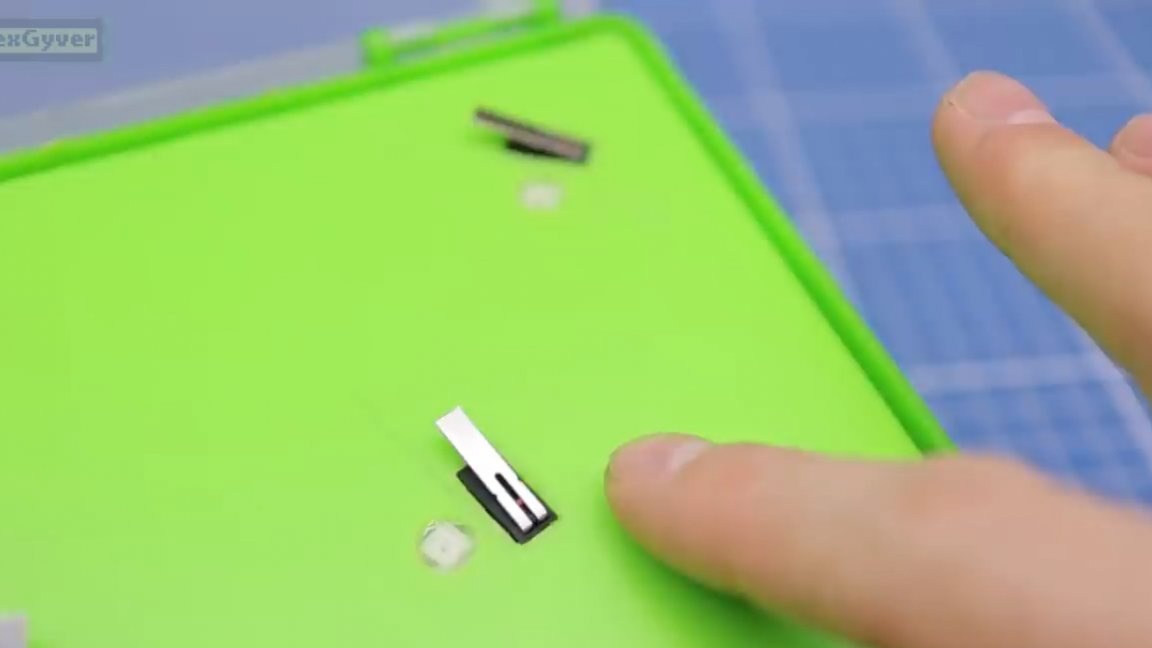
Now we install the buttons and fasten using a hot glue gun.
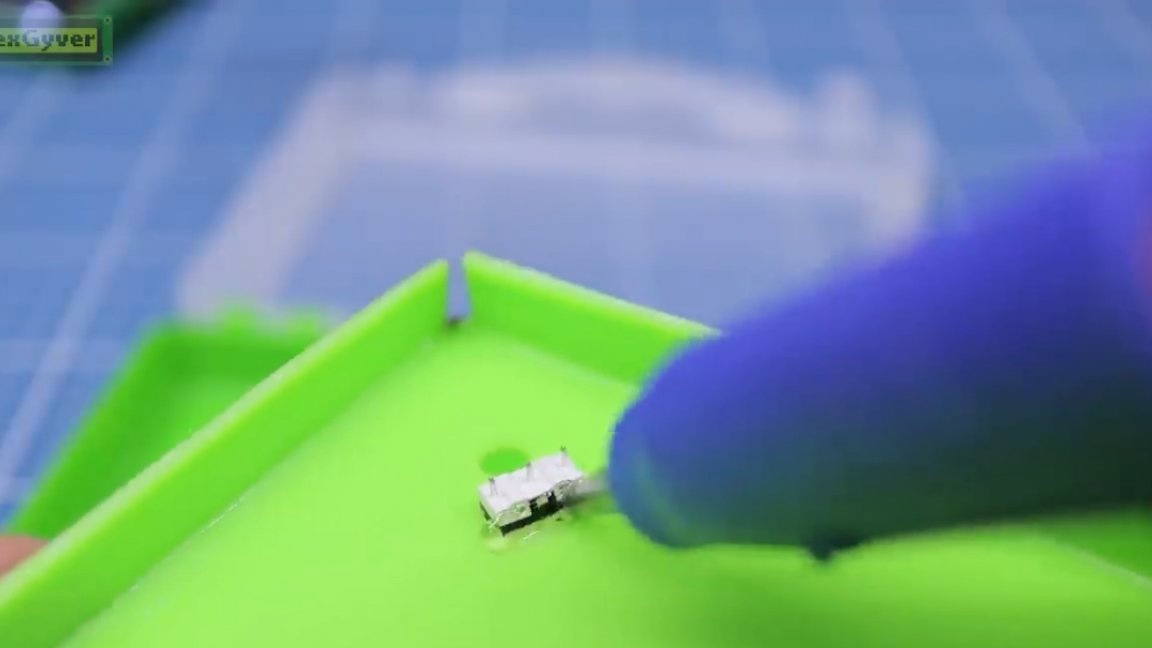
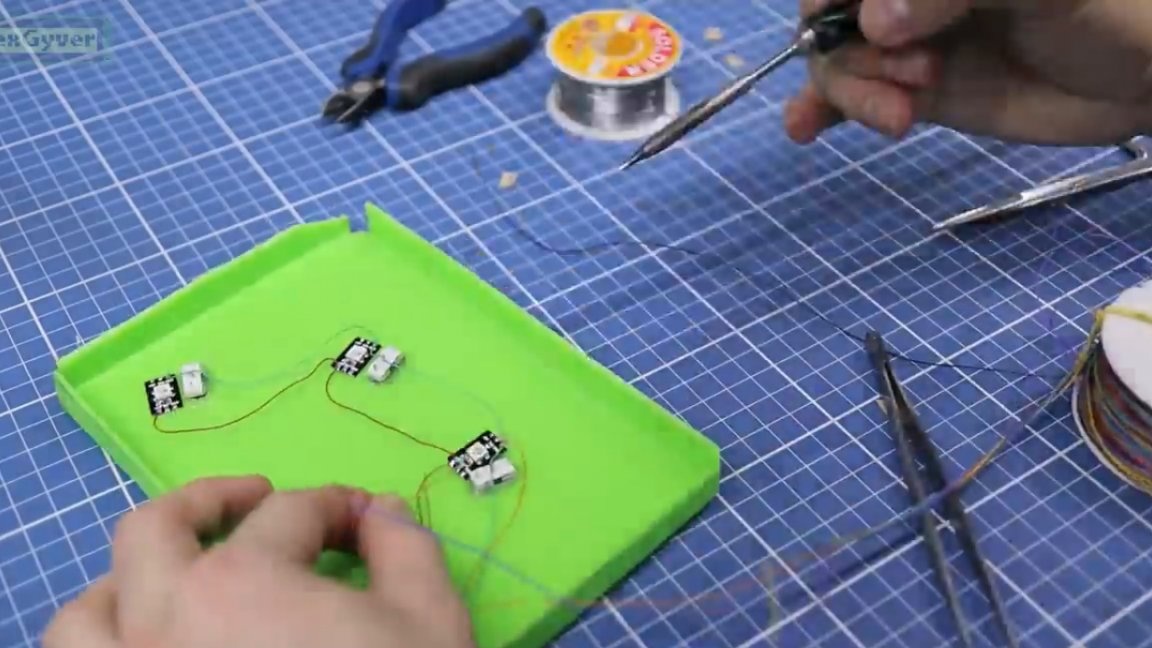
Next, proceed to soldering. You have to solder a lot. We start with LEDs and buttons. LEDs, by the way, must be filled with hot glue and on top, too, to get a kind of diffuser.
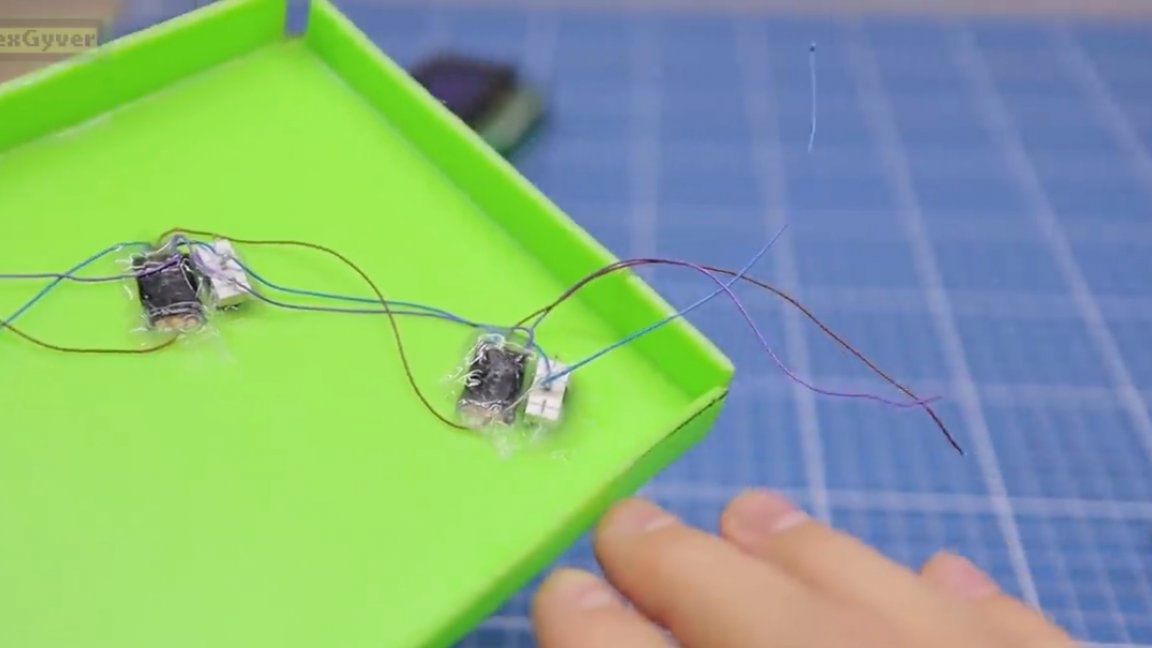
Again the template, drill, burn, and set everything in its place.
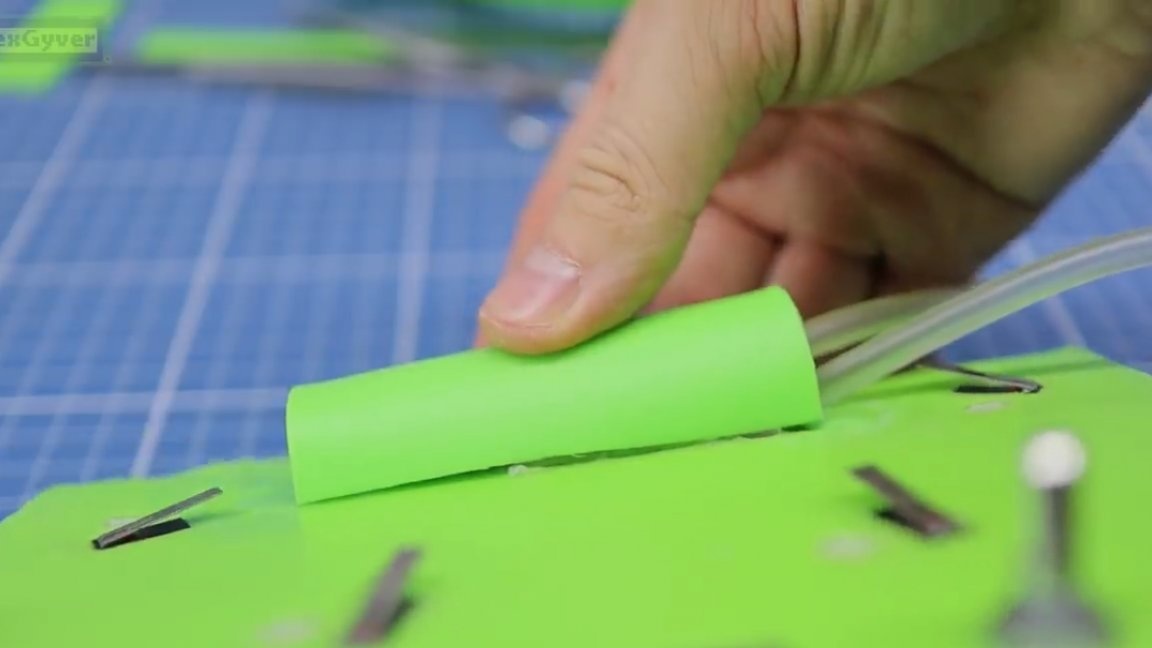
Next, you need to fix the tube on the pump. To do this, you can heat the tube in hot water or use a lighter. Then the pump is glued into a window specially cut for it, and from above it is covered with a semicircular shield made of the same plastic.

Next, we simply solder everything according to the scheme.
The servo will be located at the top of the suitcase cover. The author used racks for printed circuit boards for this, and you can fix it with long M3 screws.
Next, we bring out the USB socket out through the hole made in the plastic.
Now make a faucet:
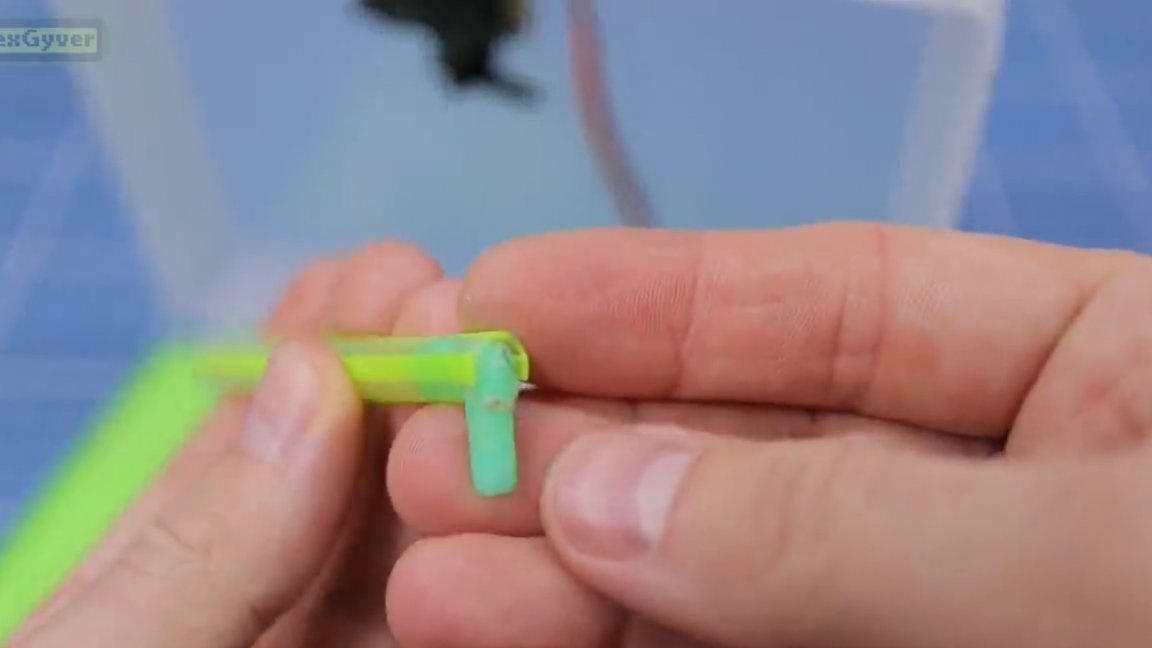
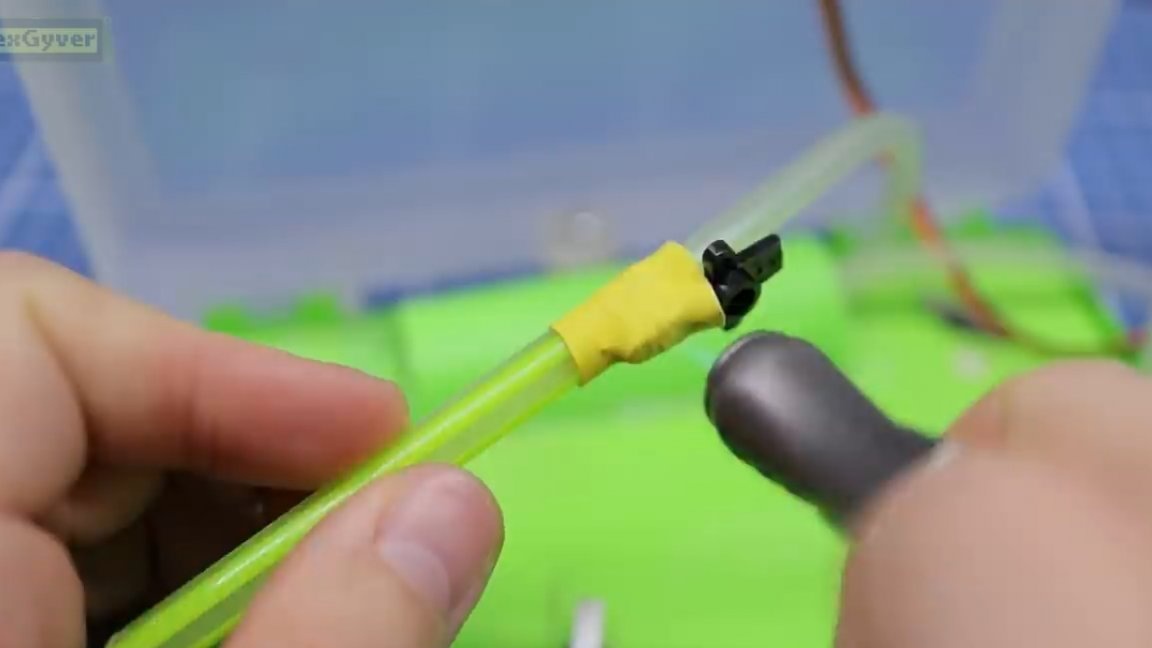
We fasten our tube to the rocker of the servo-drive in the best ways known to mankind: threads and superglue.
In order not to look like a “collective farm”, we will use heat shrinkage.
Well, quite another matter! It remains to make the fixation of the cover with the help of a corner and a magnet glued to superglue. It works flawlessly, looks technically and generally quite convenient.

We figured out the iron, it remains to load the firmware into Arduino.
Download the archive. Also, the archive with the necessary software is available on project page.
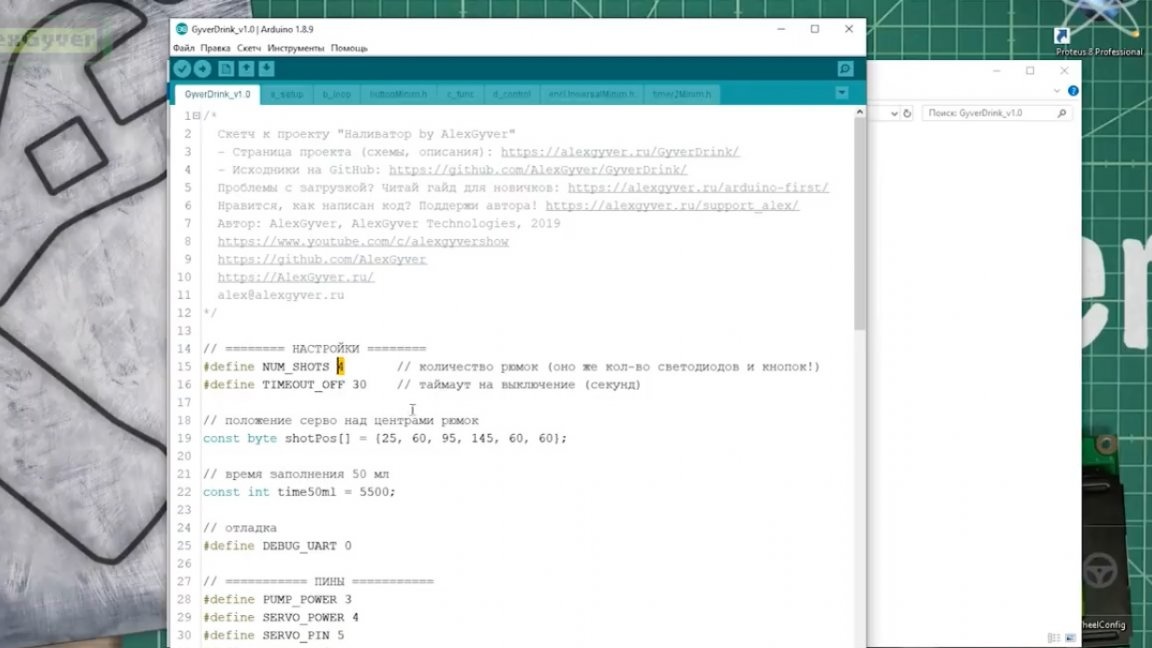
There you will also find detailed instructions for downloading firmware. In fact, everything is simple there. You need to install the program, connect the Arduino nano board to the computer, open the firmware file, indicate your number of glasses (from 1 to 6), and click the download button.
Next, proceed to calibration. To do this, hold the big button and turn on the system. The line “service” will run through the display, which means that the system is in service mode.

The service mode allows you to manually rotate the tap, while the angle of rotation will be displayed.
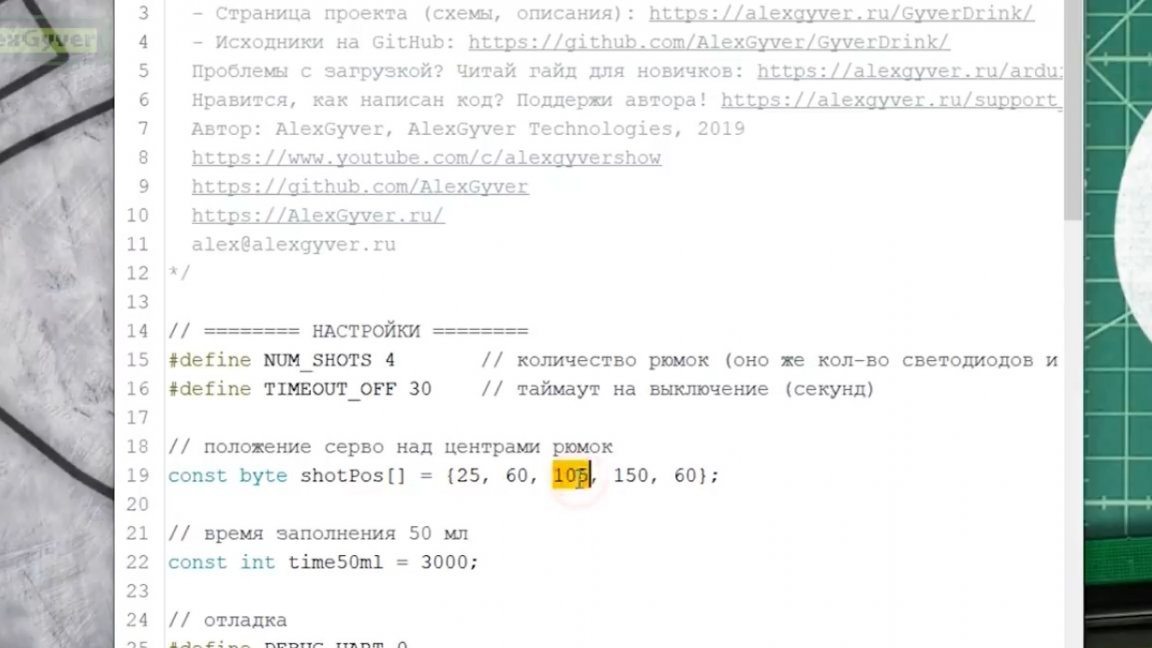
Now you need to drive the faucet through all the glasses and remember the angle for each.
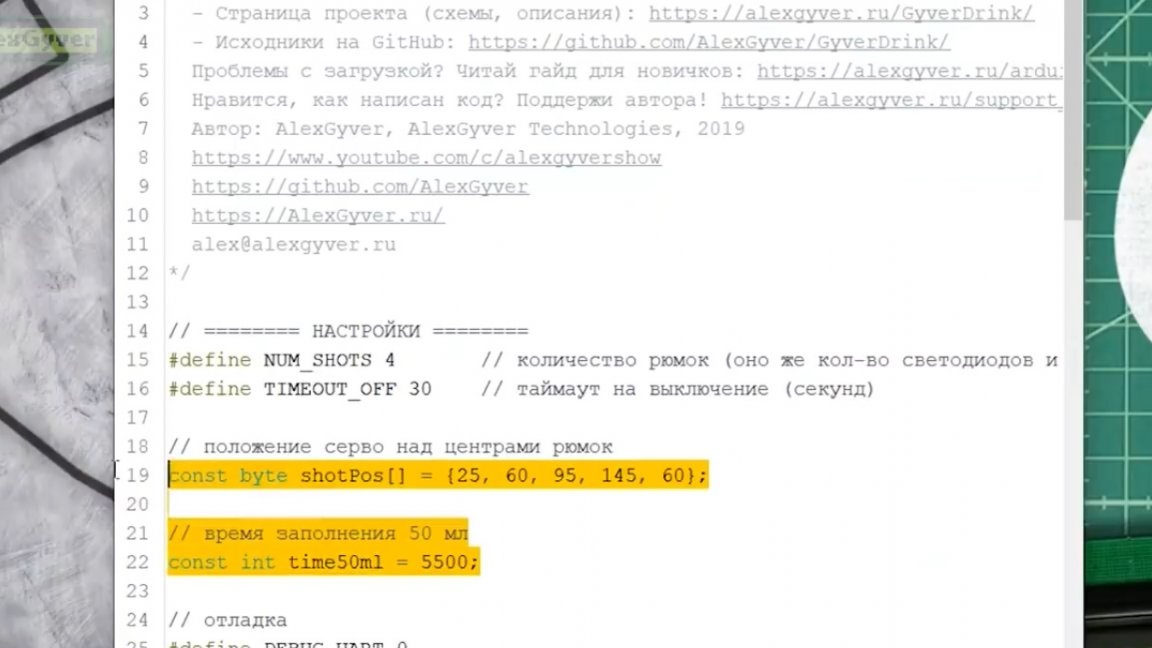
The obtained values of the angles will need to be entered in the firmware right here, in order from zero:
Next, we need to pour exactly 50 ml of liquid and find out the time during which this procedure takes place.
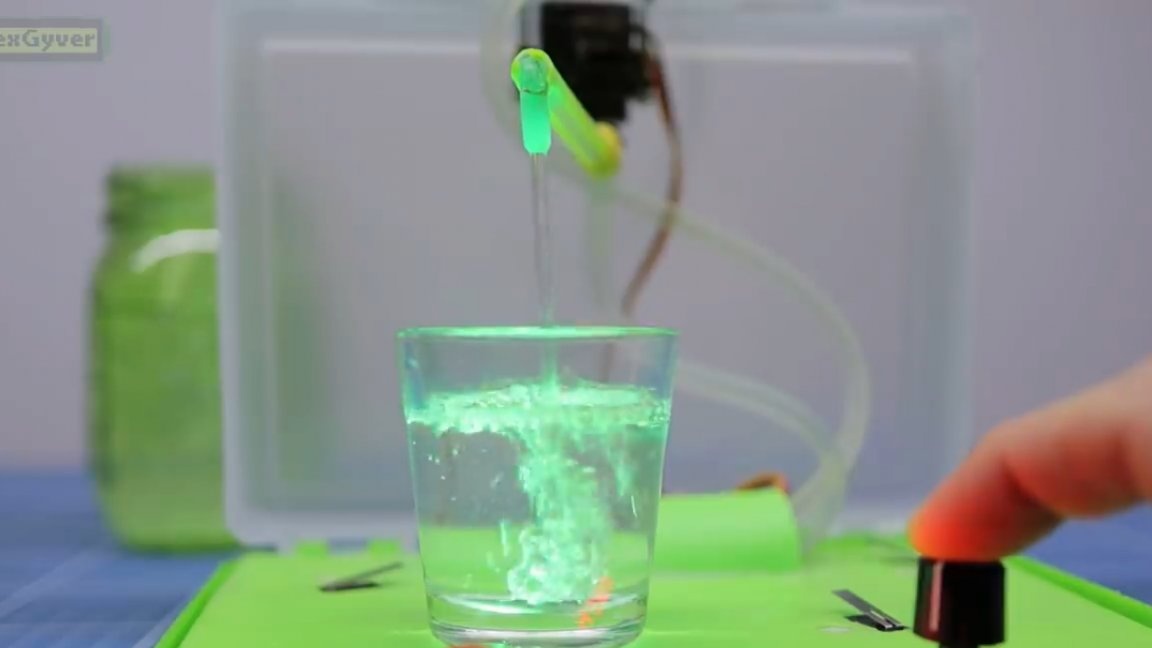
5.5 seconds. The resulting number is entered here, these are milliseconds:
Calibration completed. Download calibrated firmware to the system.
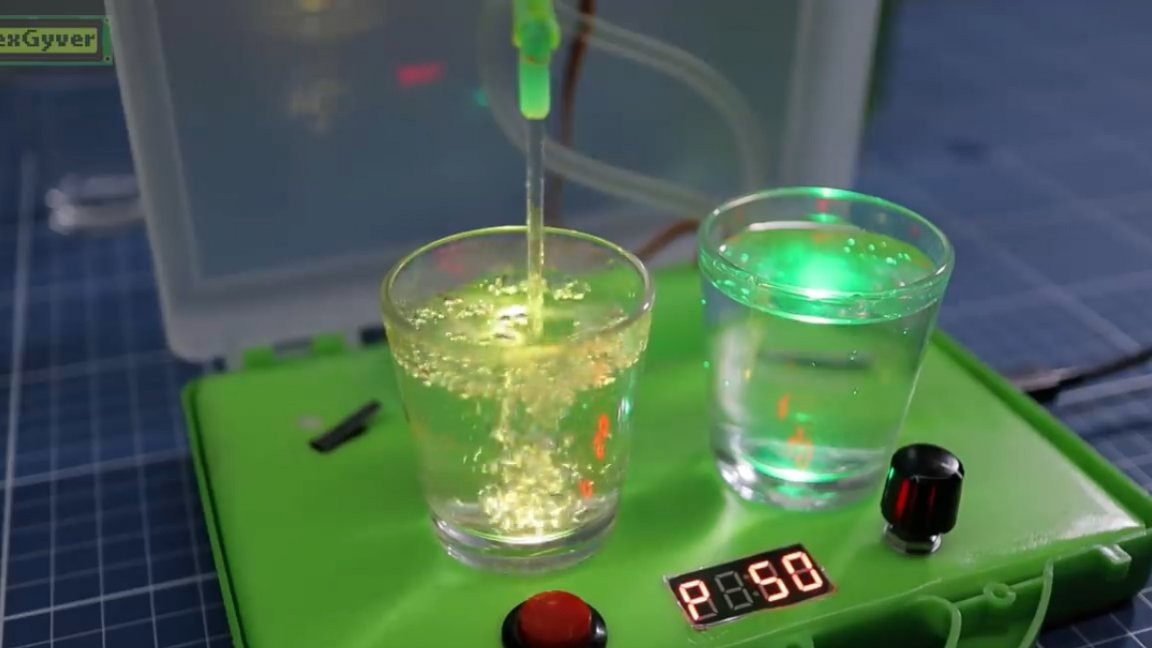
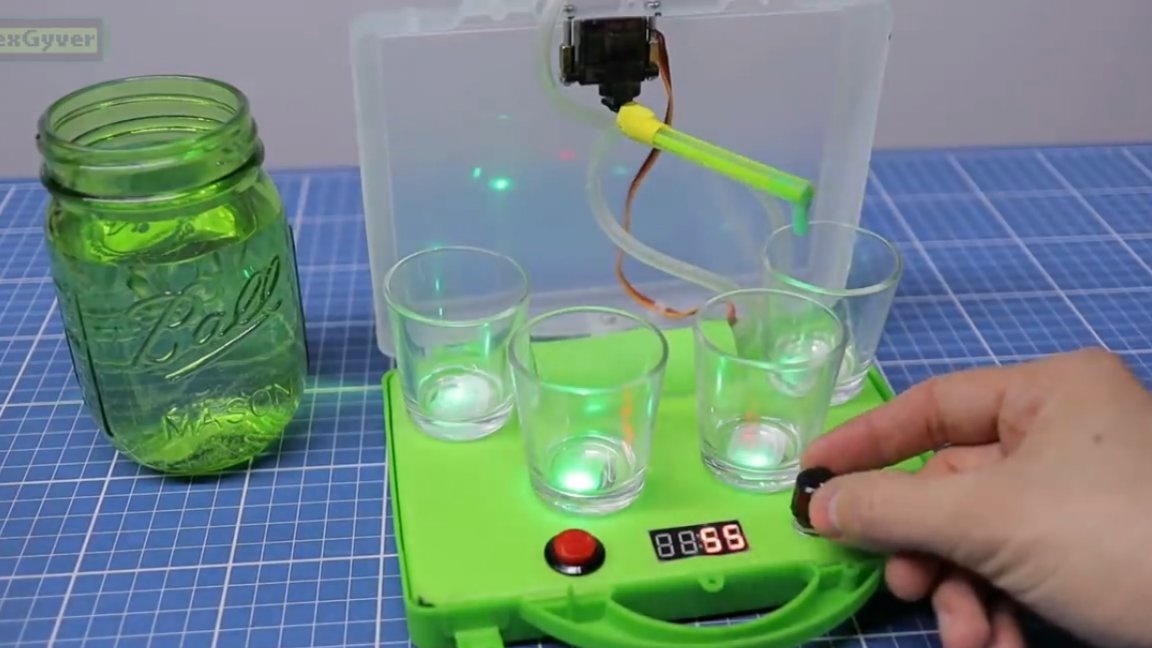
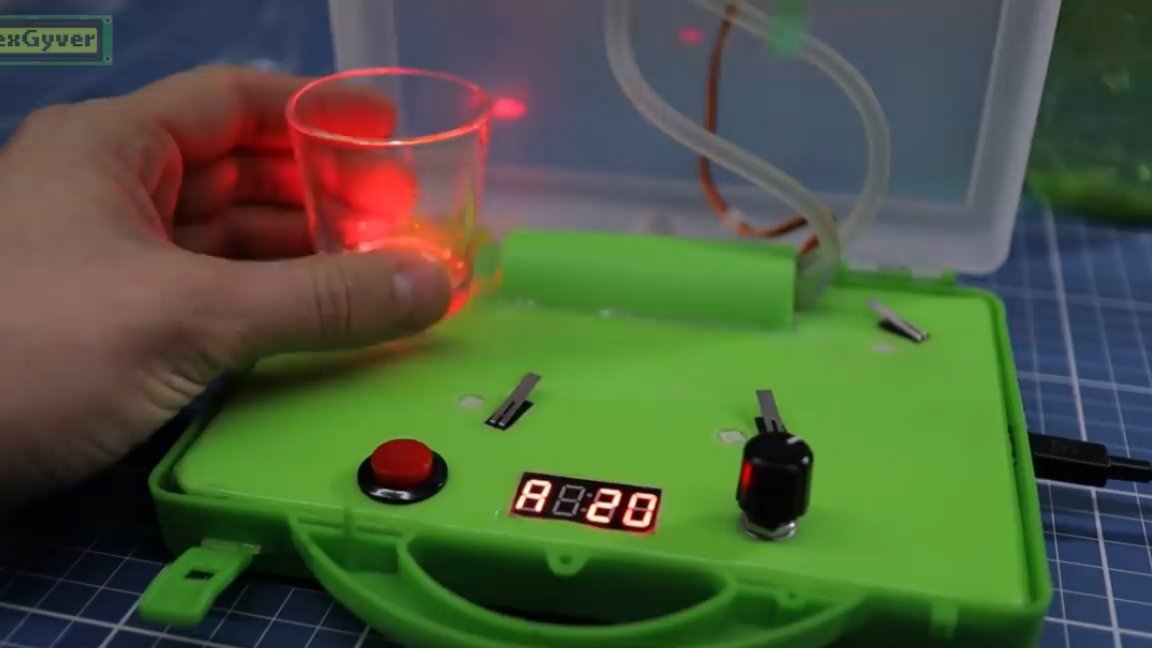
So how to use it. We open, bring water and while holding the encoder button, we drive the water through the tube.
At the moment, our system is in manual mode, the letter R. That is, we put the cups, adjust the volume and press the button. Next, the filler does its job.
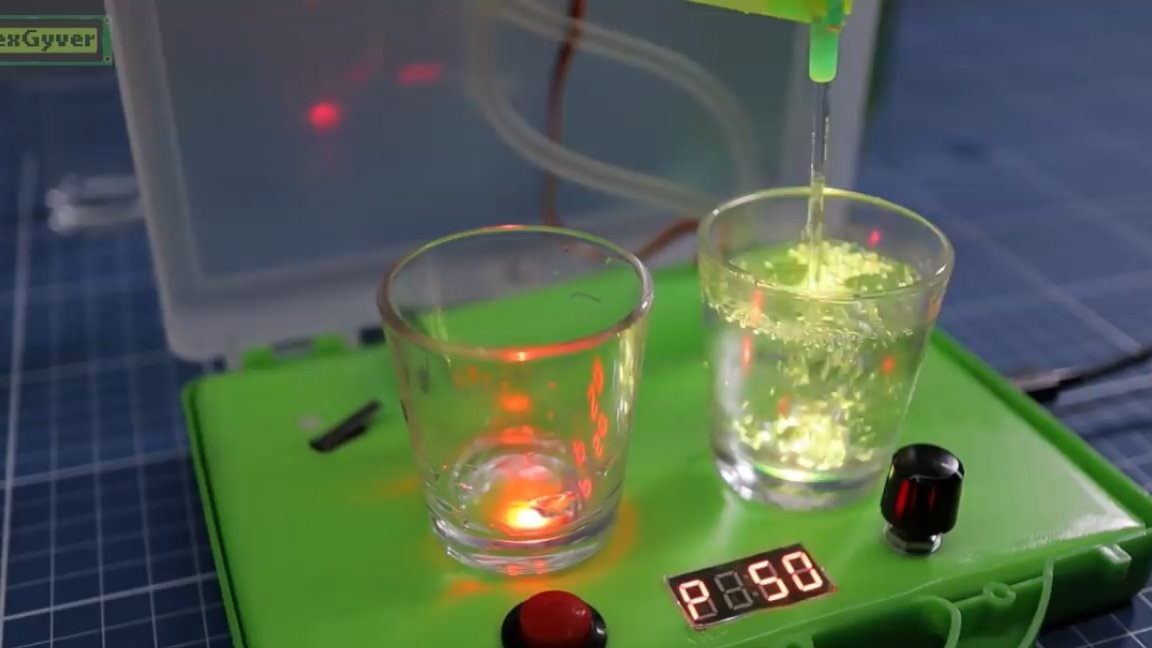
After filling the glass, the apparatus searches for empty glasses, and also fills them, even if they were delivered before the end of the pouring cycle.
There is also a second mode - automatic, to switch you need to hold the big button. In this mode, the system immediately pours liquid into each delivered glass.
That's all. Thank you for attention. See you soon!
Author's video: