
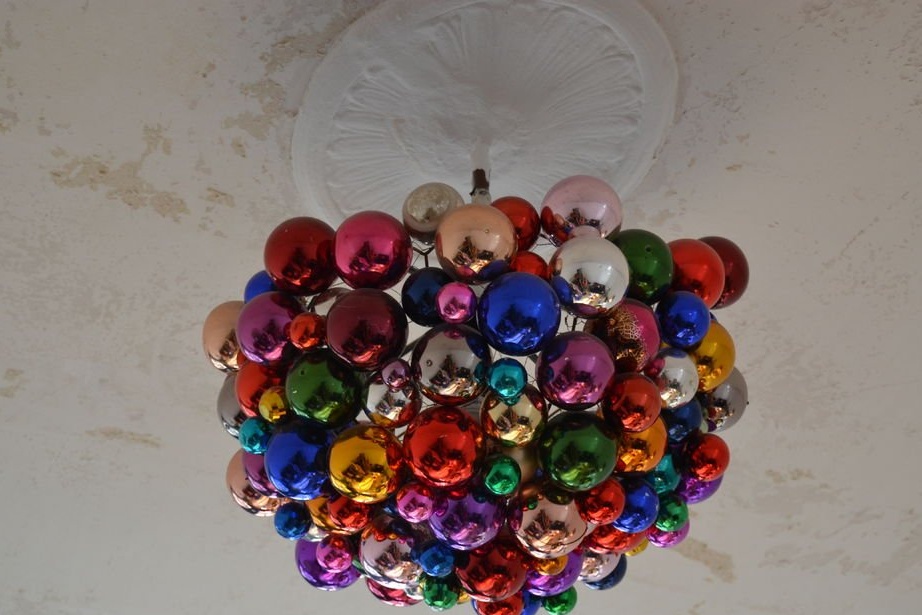

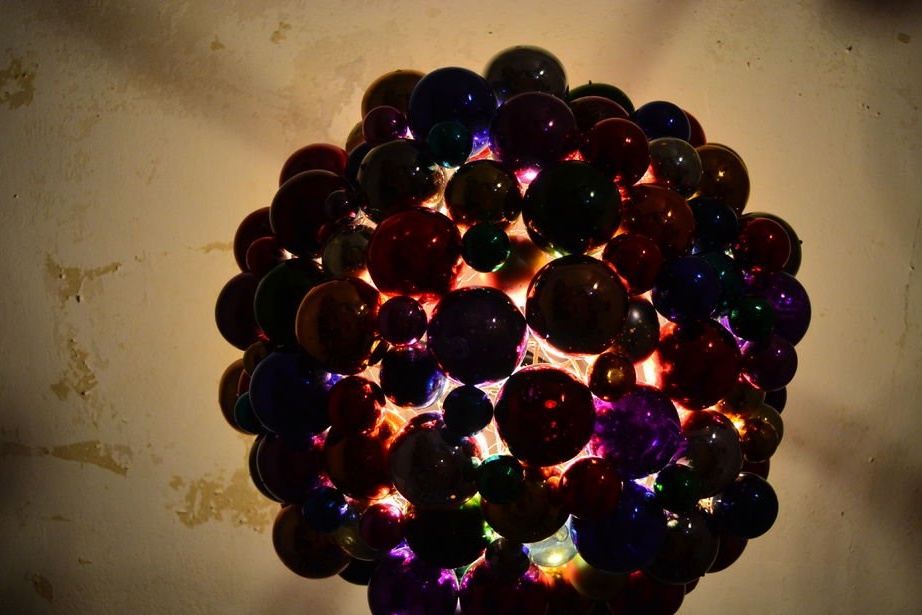
I am a big fan of everything colored and sparkling. Therefore (in spite of the fact that I don’t really like the New Year myself) I just love New Year decorations. Keeping them in the house all year round in their traditional form is rather strange. So I came up with this kind of “chandelier”. This stunning jewelry looks equally good day and night. And so I got the opportunity to delight the eye with the colored, brilliant beauty of New Year's decorations, regardless of the time of year!
Once I made this lamp without photographing the steps, and now I tried to recreate the process so that you better understand.
Step 1: What You Need


Here's what you need to cook:
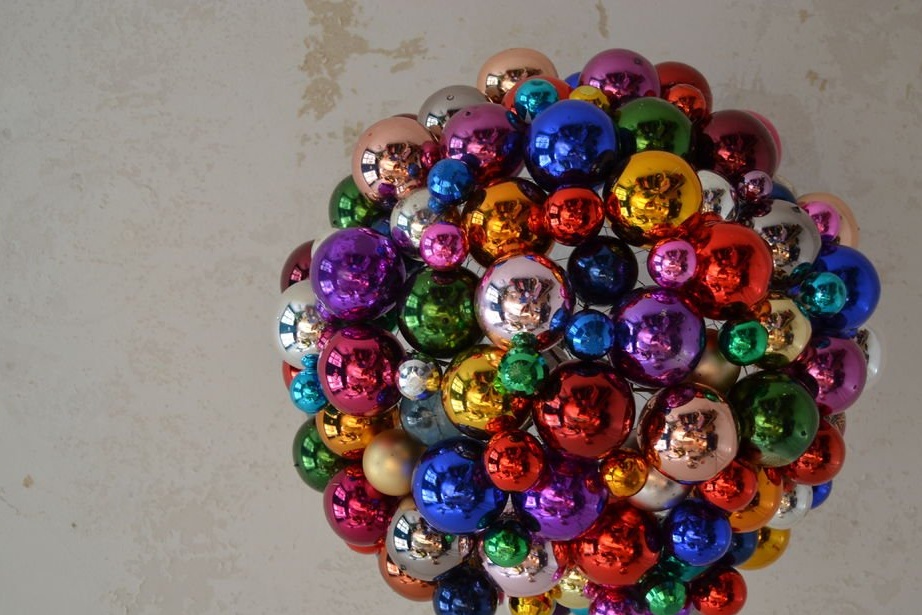
I stocked up on cheap used toys at a flea market, and I inherited a part from my granny. Old toys look prettier, as they are made of glass, not plastic, the colors are brighter and even patina on the tips! You really need a lot of balls. I think it took me at least 150. In order not to miscalculate with the quantity, it is better to take more, and in the case of leftovers, you can always decorate the holiday tree.
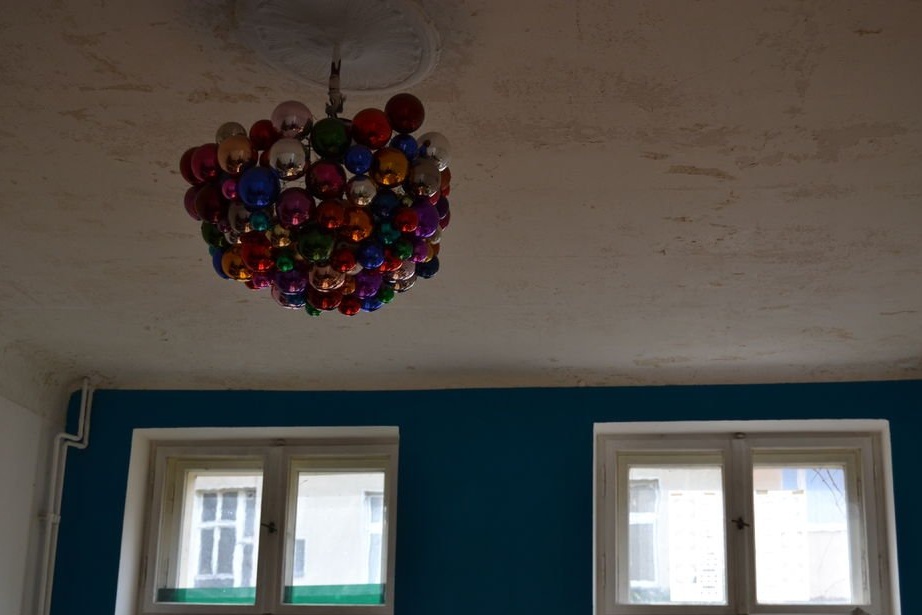
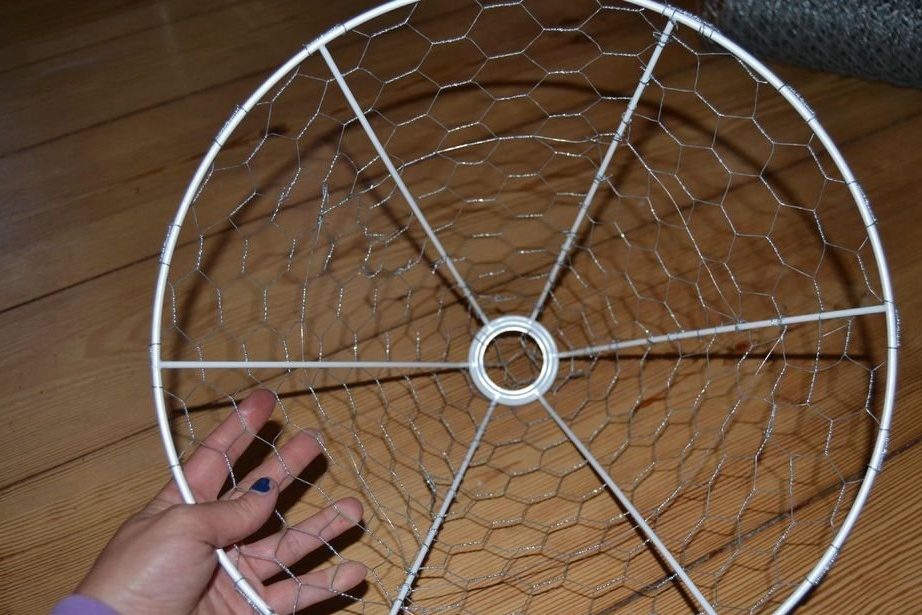
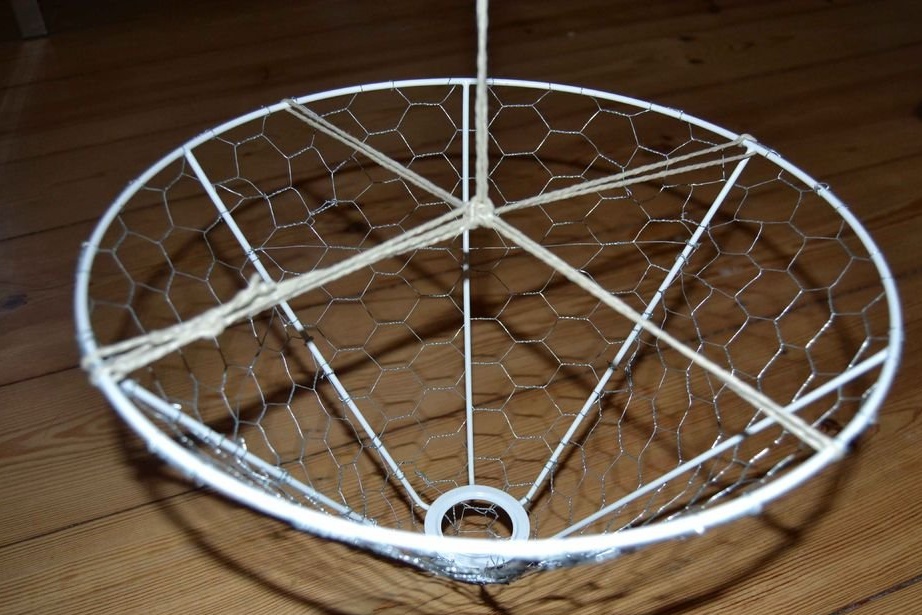
The size of the lampshade should not be small, as our goal is to create a large, bright chandelier. My diameter was 50 cm.
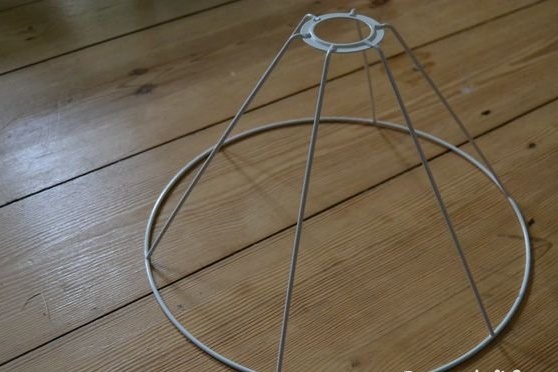
I made my chandelier without photographing the stages of preparation and assembly. Therefore, to recreate the process step by step, I bought a conical frame, which is useful to me for another project. This is NOT the frame this chandelier is made of! I took it just for clarity! For the chandelier, a dome lampshade was taken from me.
Step 2: Preparing the Lampshade, Part 1
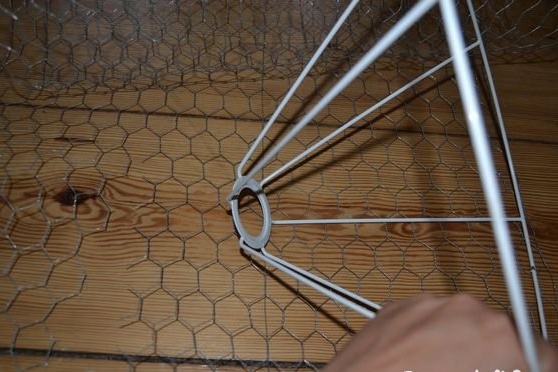
If you did not buy a new lampshade, first remove the fabric from the old one, since we will only use a wire frame.
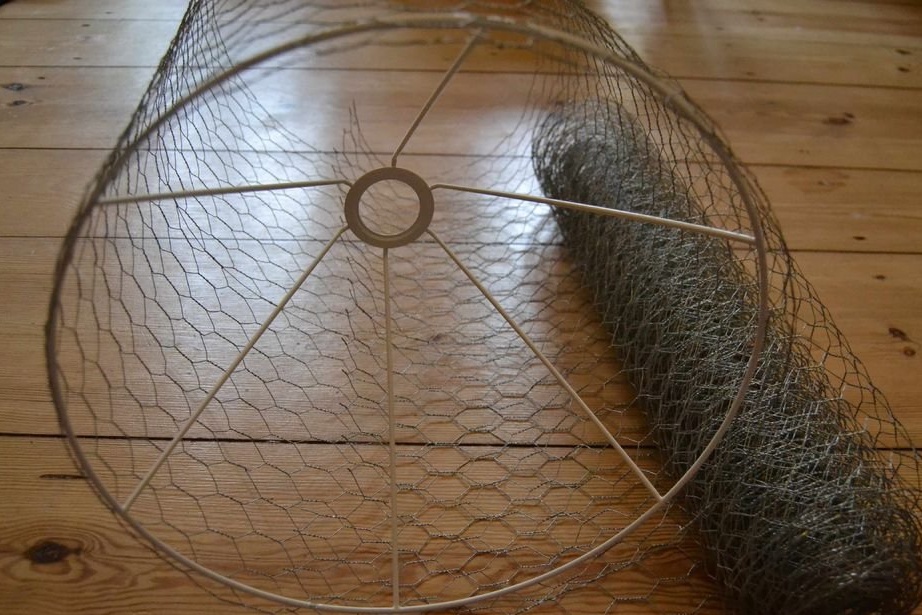
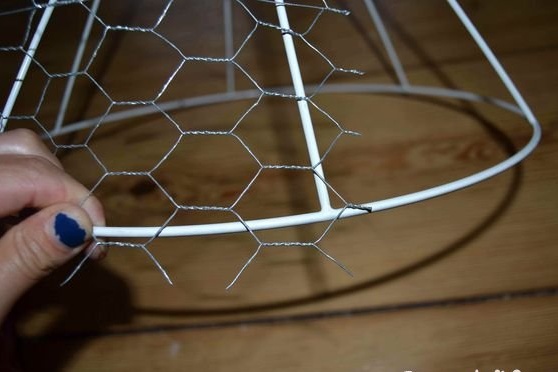
Now you need to wrap the frame with wire mesh, so that in the end you get a half-dome basket without a bottom. The mesh coating will make it possible to freely fix the balls throughout the chandelier.
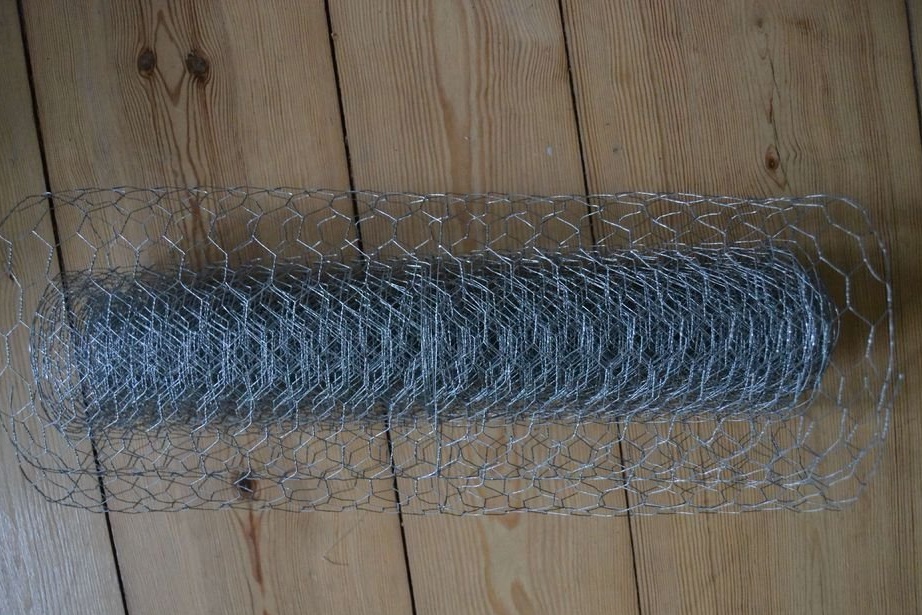
Start by cutting a piece of mesh to the desired length.
If you need a rectangle, then you need to take the length with a margin (10 cm more than the circumference of your frame).
Just wrap the wire mesh frame with a little overlapping and cut, as in the photo.
A margin of 10 cm should also be in the height of the grid relative to the height of the frame. Look, in the photo, the mesh coating protrudes beyond the edge of the frame.
Step 3: Prepare the lampshade, part 2: wrap the frame

First warning: sharp edges of the wire can hurt you, so it’s best to do these manipulations with gloves. True, I did not wear any gloves, because it is more convenient to do such painstaking, petty work without them, and I was not afraid of random injections. So decide for yourself whether to work with them or without them!
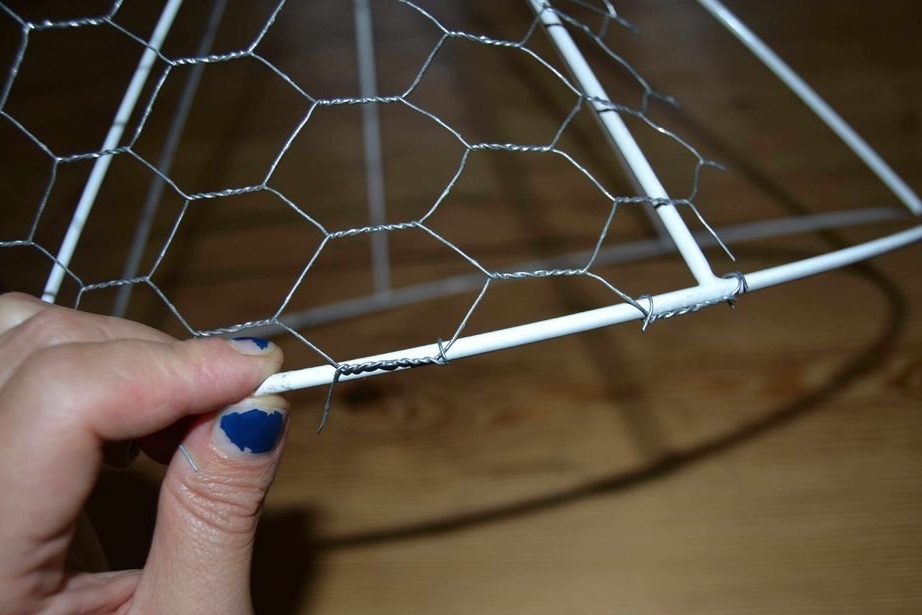
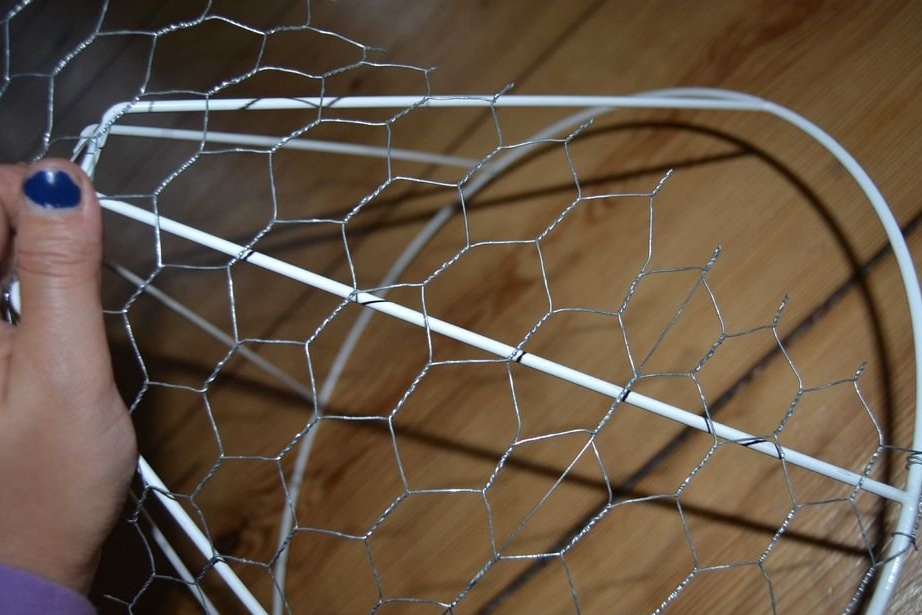
No additional wire is needed to fix the mesh on the frame, as there will be enough wires on the cut edge of the mesh to fix it on the frame (see photo).
Since the shape of our frame is domed, and the mesh segment is rectangular, you have to fit it, cutting off the excess.
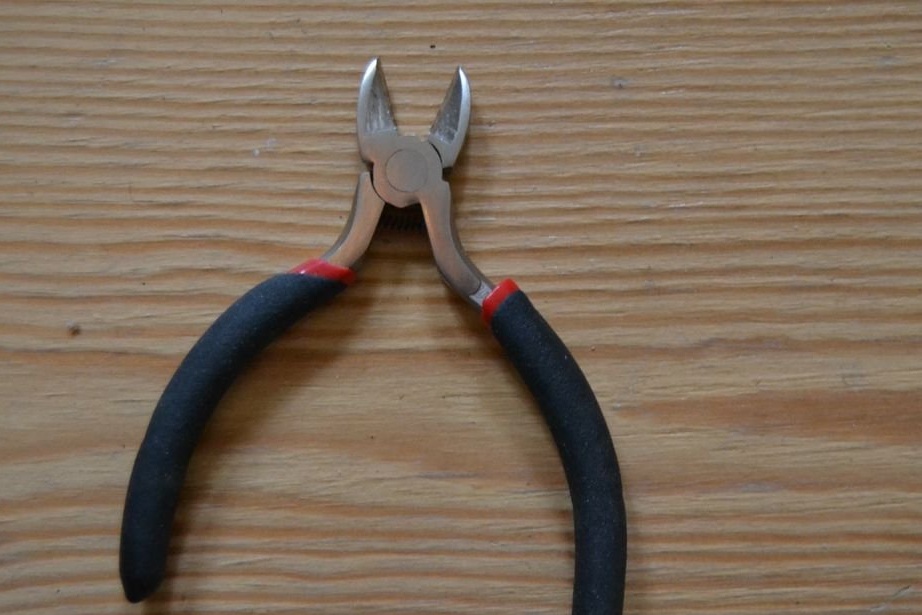
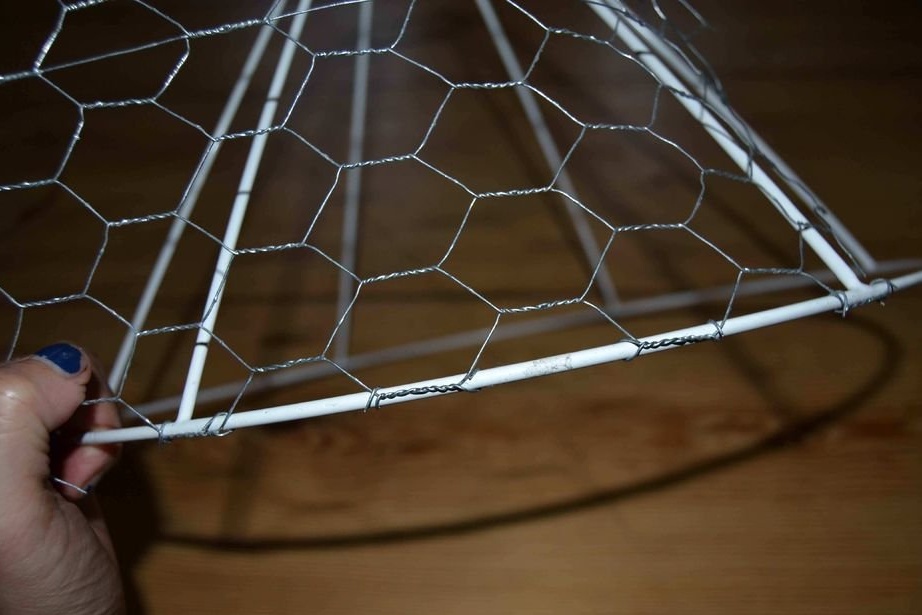
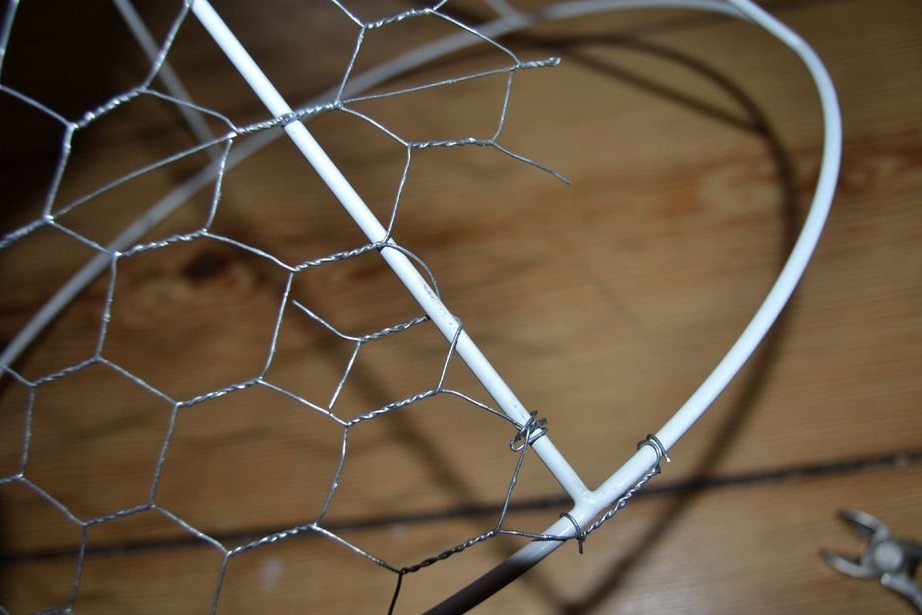
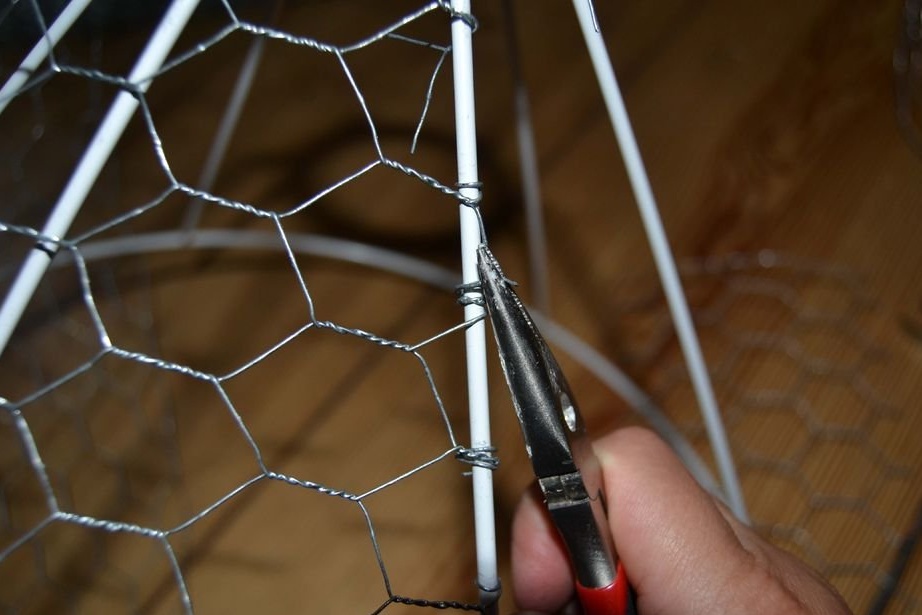
On one of the two long sides of the rectangle there will be free wiring remaining after trimming in shape. Start by attaching this side to the frame ring. Attach one “cell” at a time. Pliers are very helpful in this matter. When the edge of the mesh tightly "sits" on the lower ring of the frame, begin to move towards the middle of the lampshade, securing the side of the mesh along the spoke, and moving on to the upper ring. The excess mesh on top will have to be cut off.
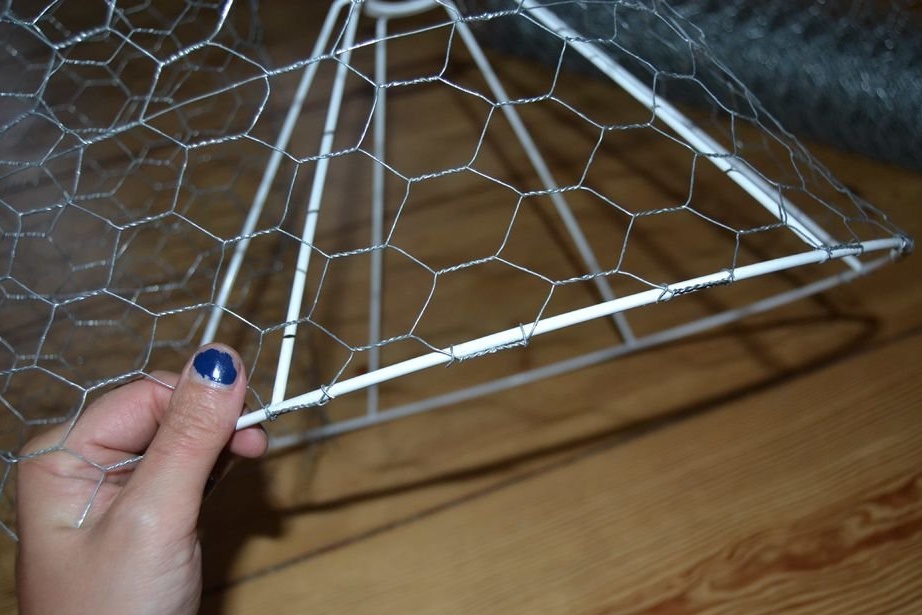
Go from segment to segment of the frame, and always first fasten the grid on a large ring, cut-wrap the edge so that the grid fits snugly to the frame. Special accuracy is not required, since in the finished chandelier you still will not see the wire base.
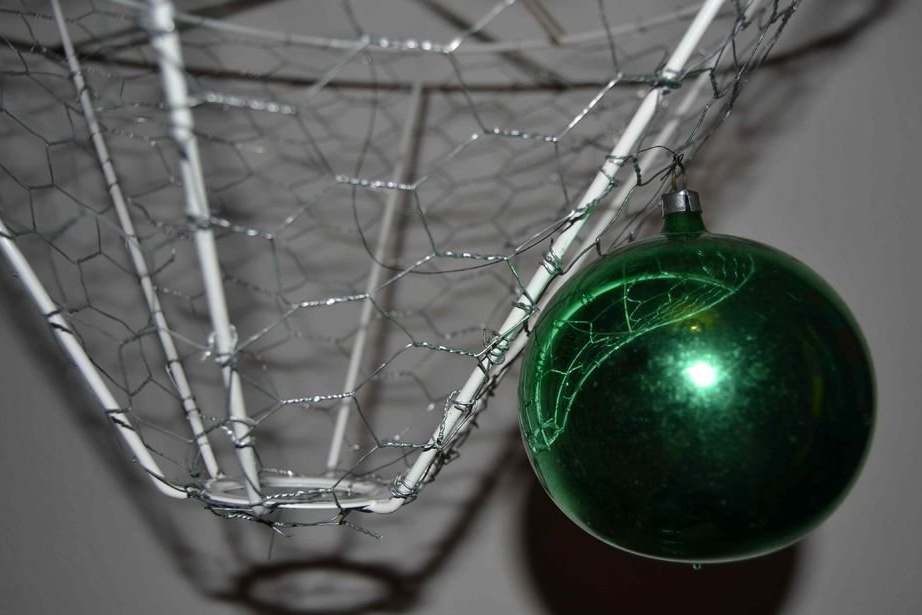
Step 4: Prepare Christmas Balls
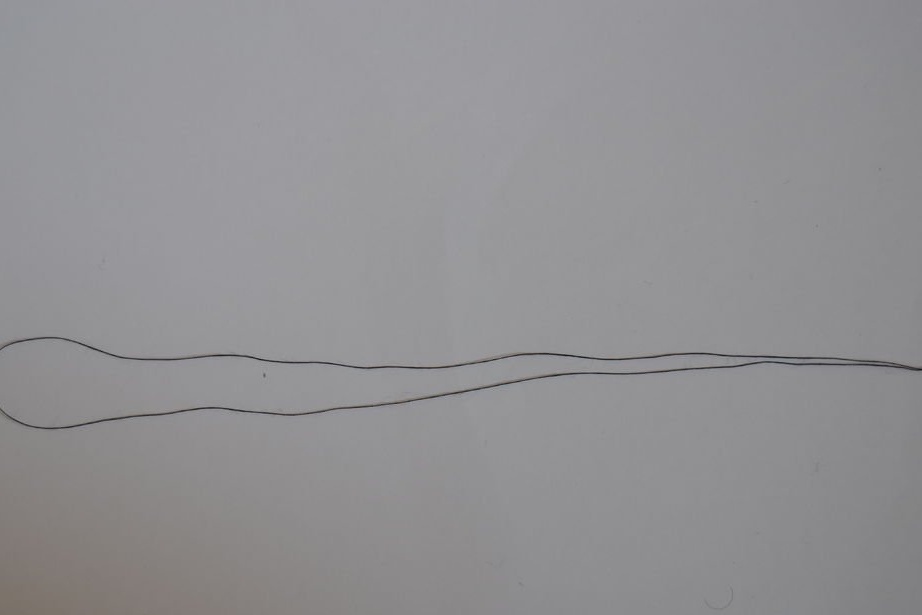

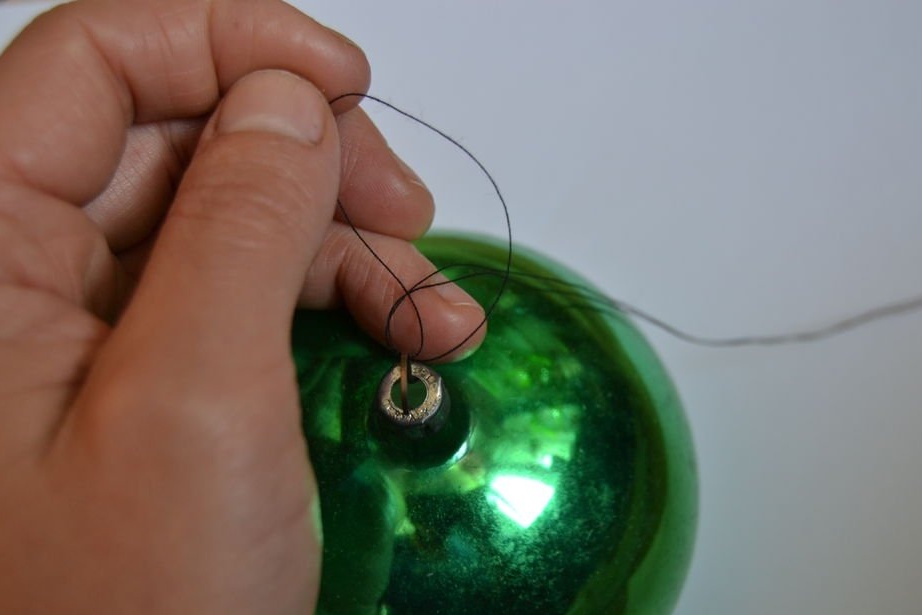
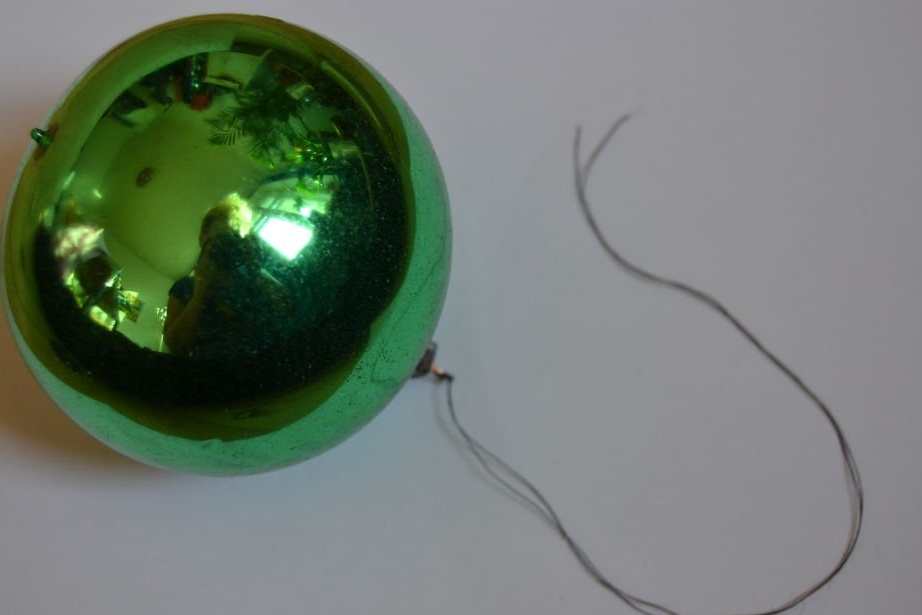
Cut as many pieces of durable thread into 50 cm as you have balls. Fold each such segment in half, stretch the edge into the metal eye of the ball (look at the photos) for about 2 cm. Pull the ends of the thread through the loop. The result was a ball with an extended tie.
Do the same with the other balls. Do not confuse the ties of the balls with each other, this happens much faster than you think.
Step 5: Hanging the Frame
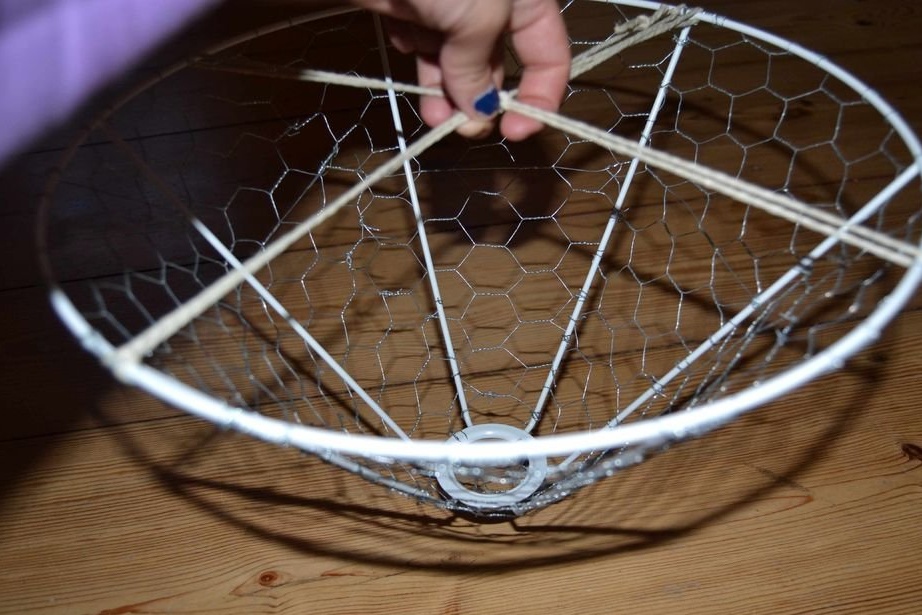
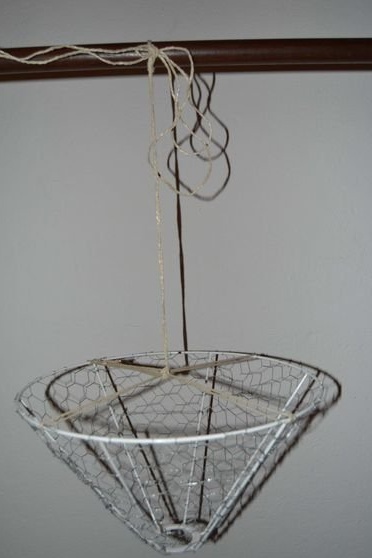
To snap the balls to the frame, you need to have access to all sides of the frame, which must be suspended somewhere. This will be better, because you need to hang the balls to the bottom of the frame, and the balls themselves are VERY fragile.
In the house where I live, chandelier hooks are mounted on the ceiling, and on one of these hooks I hung my frame. If you do not have such a hook, I advise you to mount one in the ceiling. It will be useful to you even when you decide to hang a chandelier.
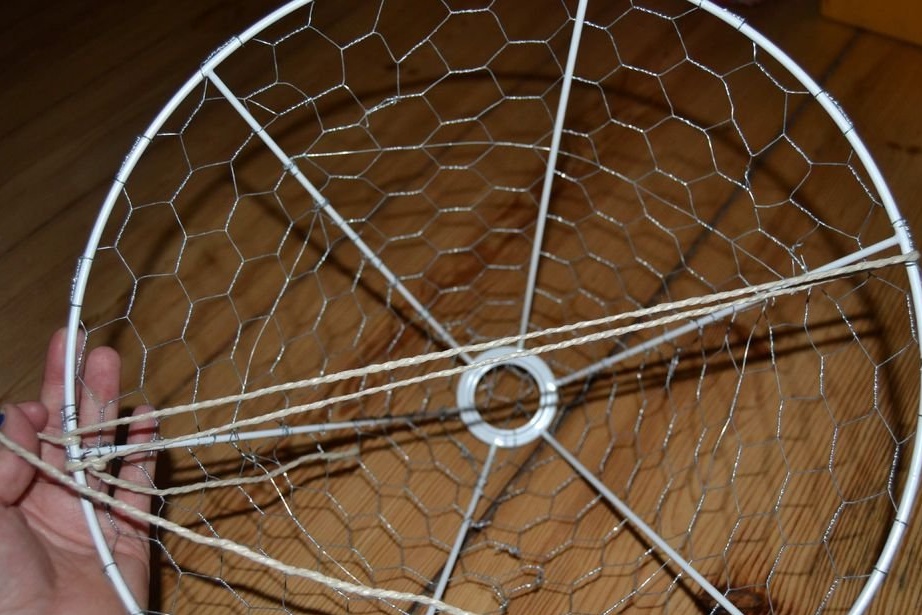
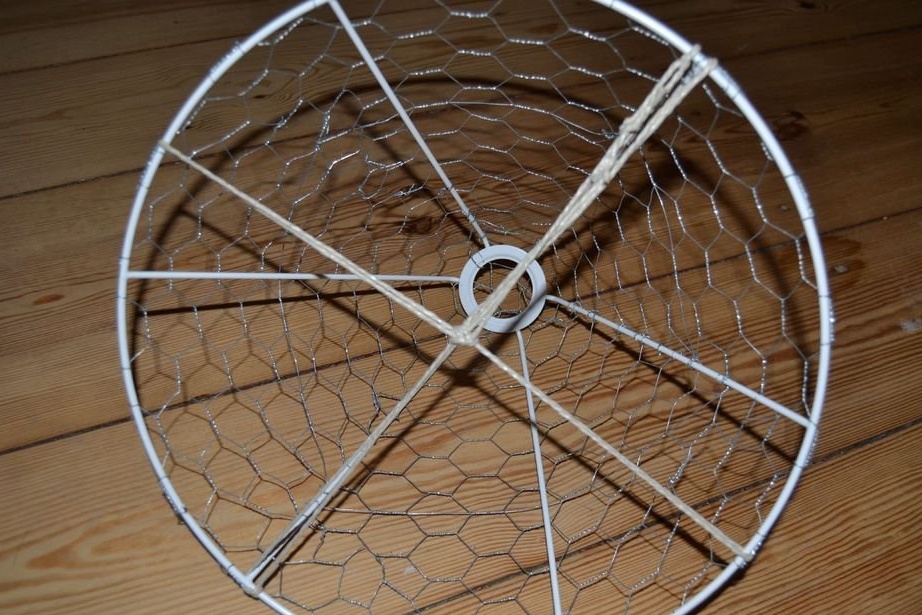
Turn the frame upside down so that it looks like a bowl. Tie a piece of rope across the circle, and the second is the same rope perpendicular to the first. At the place of their intersection, tie a long section of a strong cord. Tie the other end of the cord to a hook on the ceiling. The chandelier should hang at a height that is comfortable for you so that you reach your hands with it and can easily hang the balls. You can provide height for both standing and sitting. Since fixing all the balls is a long enough occupation, I did it while sitting so as not to get so tired. So my frame hung pretty low.
For demonstration, I took my clothesline, you can follow this example.
Step 6: Fasten the Balls
This step takes the most time.
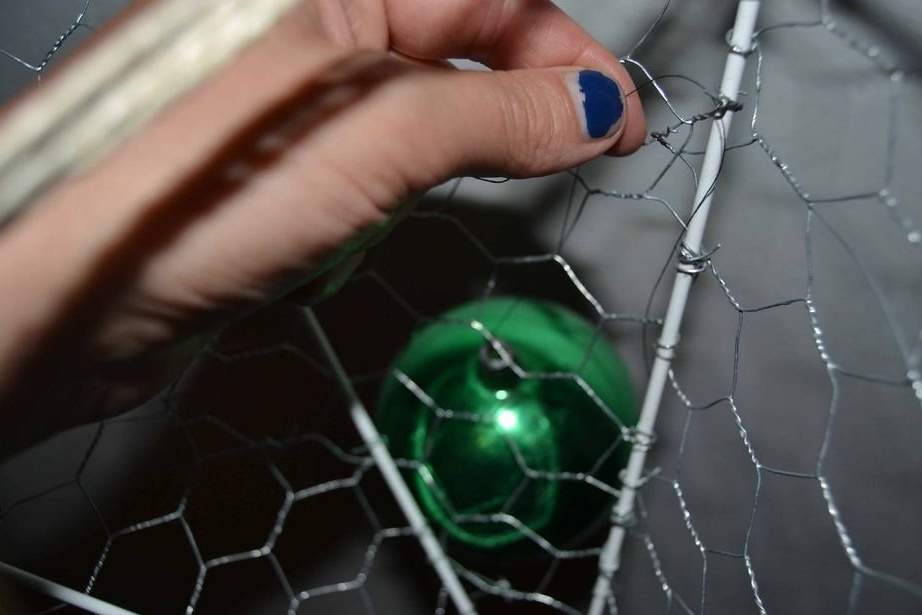
Start with just one ball.
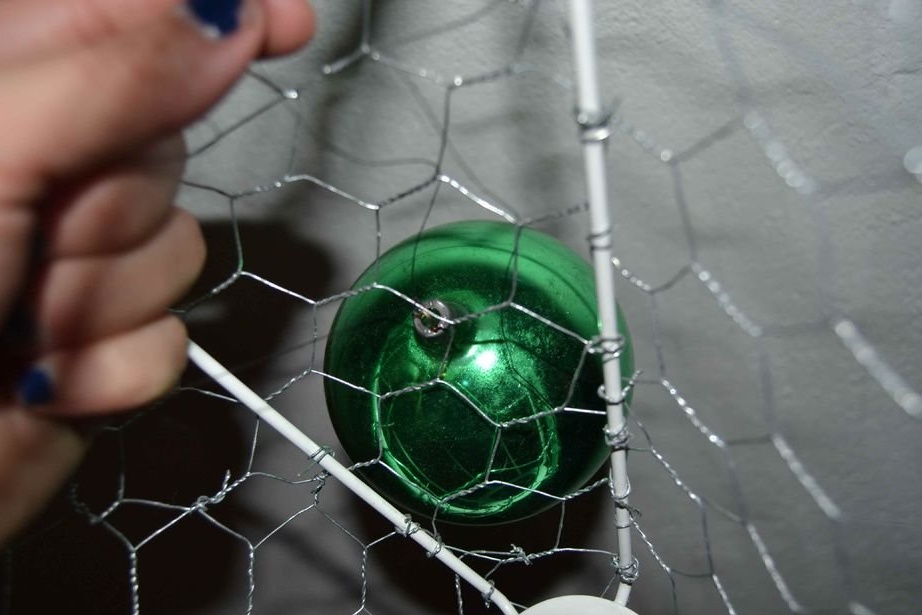
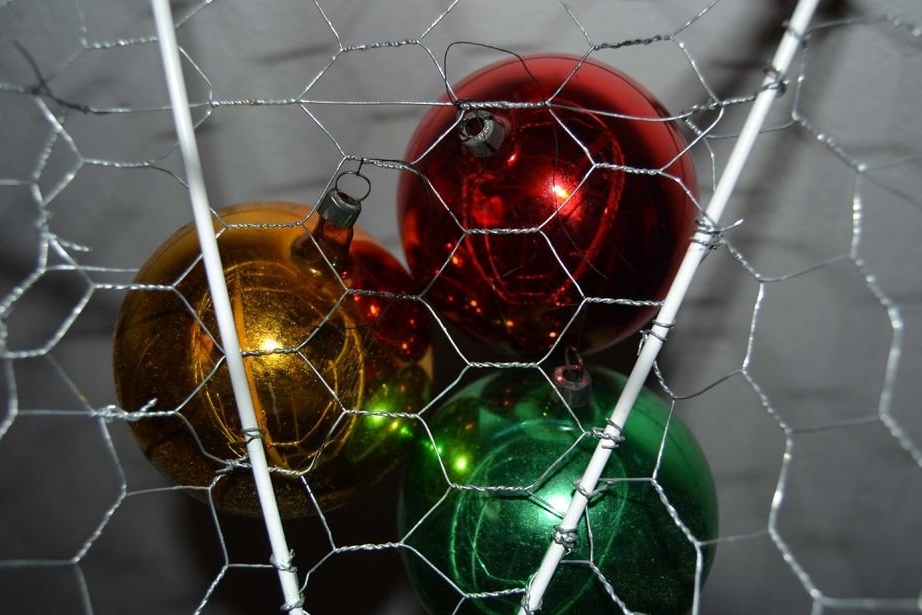
On the outside of the frame, place both ends of the tie on opposite sides of the wire on the grill, and tie them in a knot on the inside of the frame. Make some knots for strength. Cut off the unnecessary edges of the tie and work on the next ball.
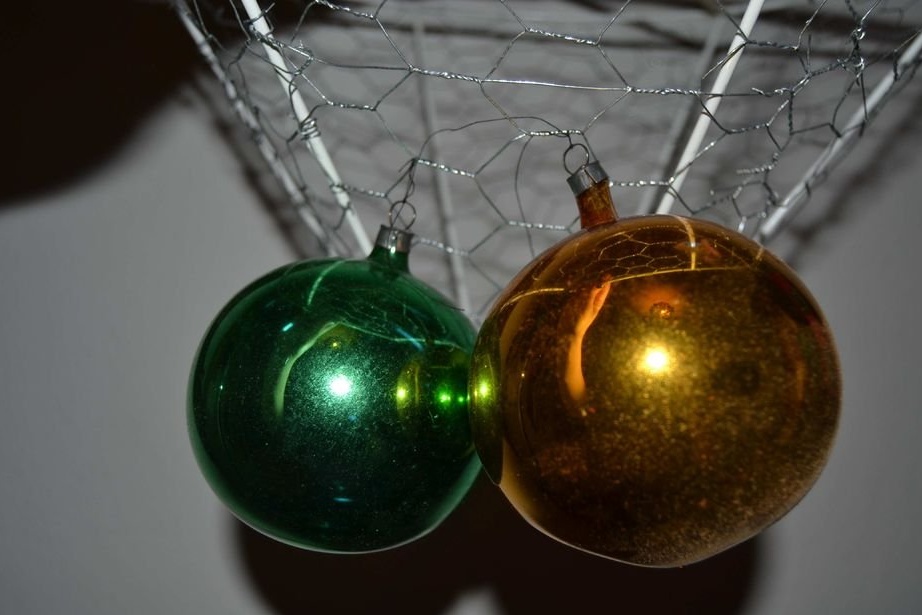
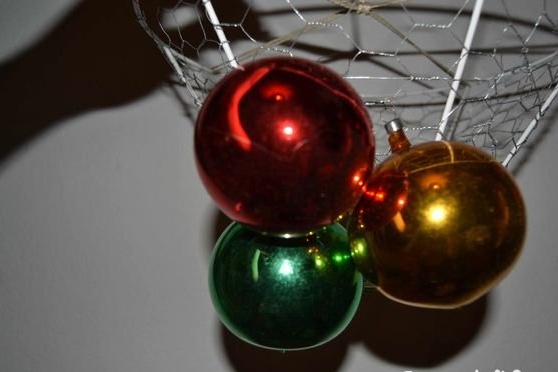
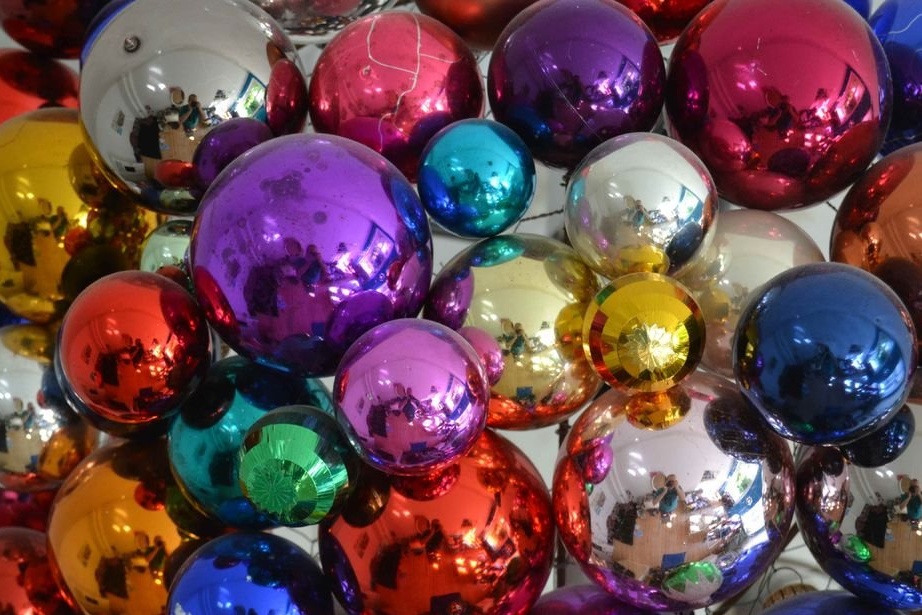
Start with the larger balls, and then fix the smaller ones, filling them with the space between the larger ones. Continue until the entire grid is hidden behind the balls. Alternate colors for a better view of the chandelier.
Step 7: That's it
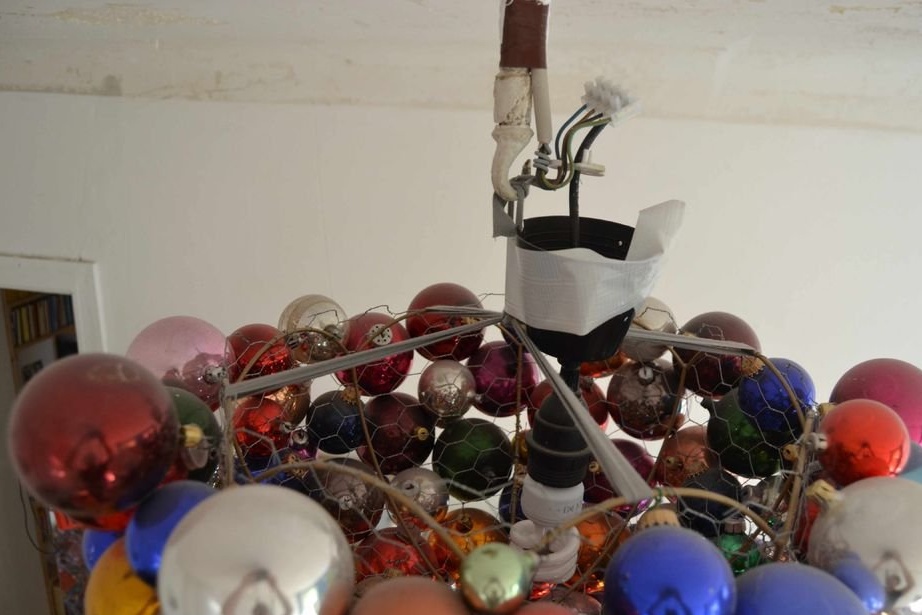

It remains only to shorten the cord on which the chandelier hangs in order to raise it to the ceiling. If you did not assemble the chandelier from the ceiling, just hang it on the ceiling.
Keep in mind that unlike a conventional chandelier that spreads light throughout a room, this chandelier will more likely block the lighting from the lamp inside.
Therefore, I left a gap of about 30 cm between the chandelier and the ceiling so that the light from the lamp refracts from the ceiling and better illuminates the room.
I recommend taking a 60-watt light bulb at least (or an energy-saving light bulb with equivalent power)
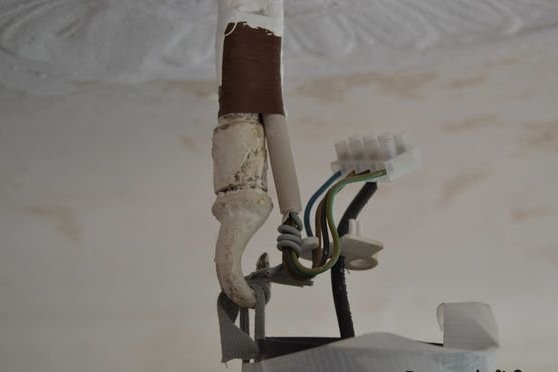
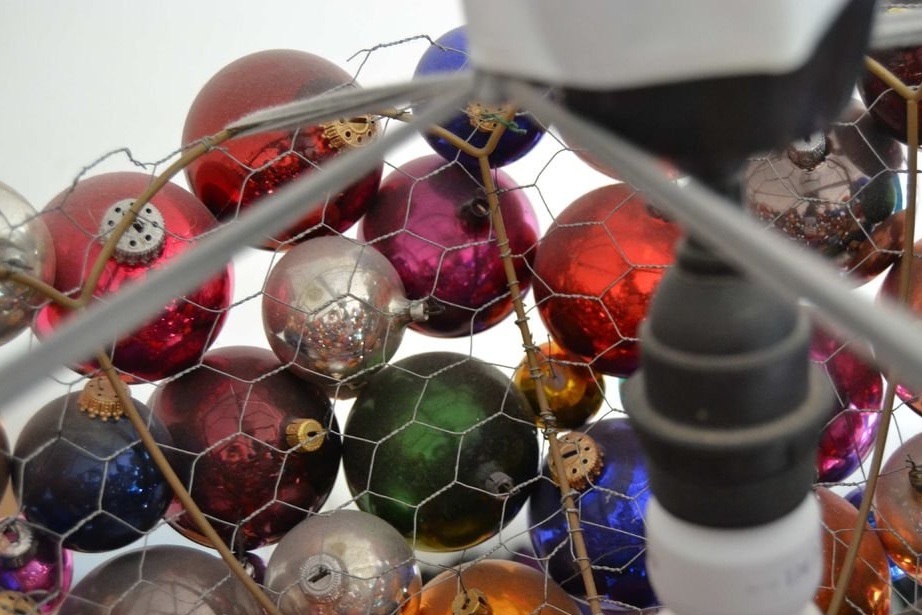
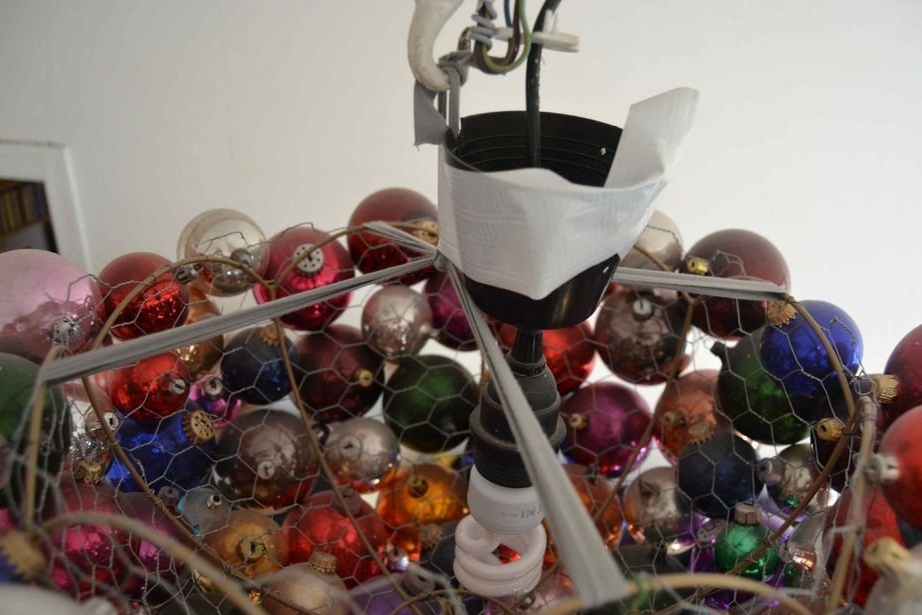
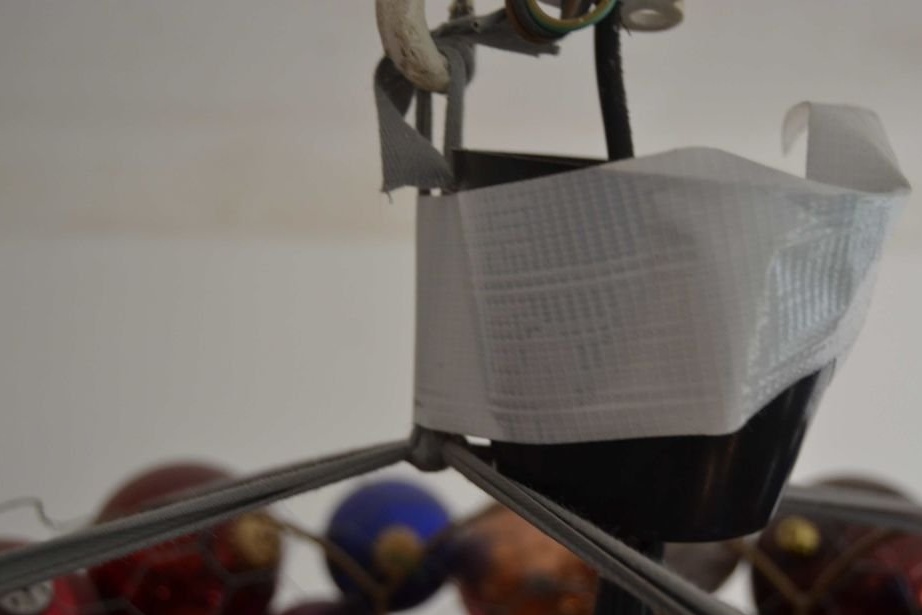
Adjust the length of the cable for the bulb so that the lamp fits freely inside the chandelier (see photo).
I wound the lamp socket with duct tape so that it held tight in place.
I hope your own lamp from New Year's balls will please you no less!