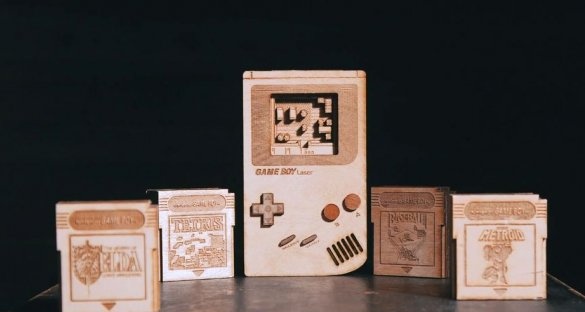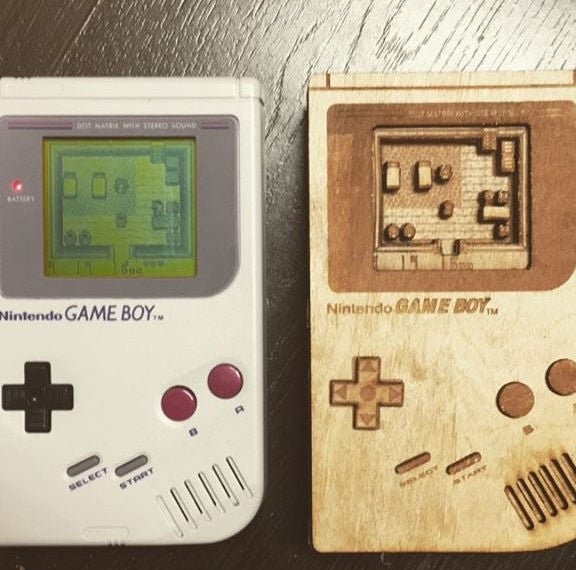
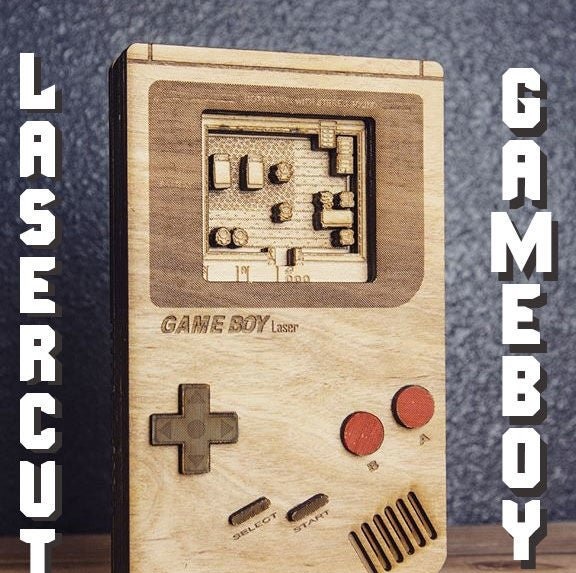
Proposed homemade author of Instructables under the nickname OnceUponaWorkbench makes you immediately remember the cult of cargo, as well as a joke about wooden toys nailed to the floor. But the thing turned out amazing. Although the wizard sells the files necessary for its manufacture through the Patreon website, he tells how to create the same ones yourself. By the way, you can get in the plywood version not only Game Boy, but also any pocket gadget, as they say now, that you used in your childhood, but you didn’t save it. At least a cassette player, if your childhood was in the nineties, or a radio, if in the sixties - eighties. There is no way to use laser cutting - that's okay too. The geometry there is not very complicated, you can deal with one school jigsaw. A text and graphics to transfer to plywood so in a simple way.
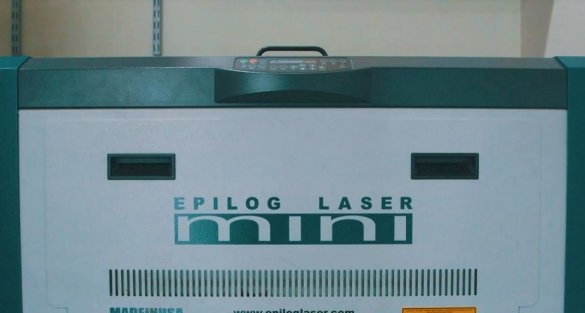
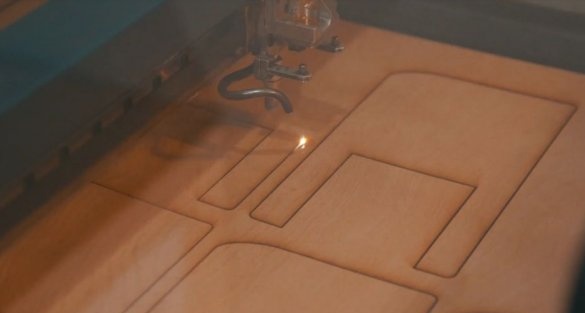
So, the laser cutter:
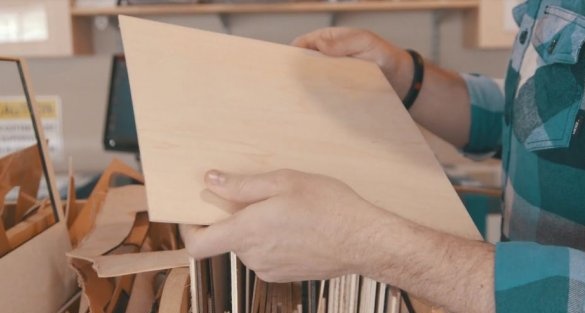
And plywood:
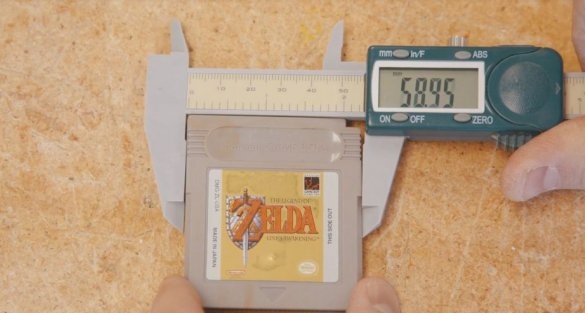
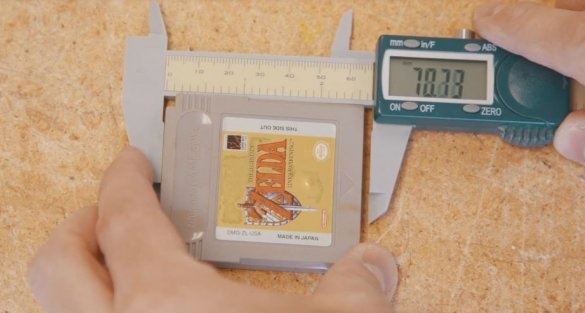
But they will wait. The wizard measures the cartridge for the Game Boy:
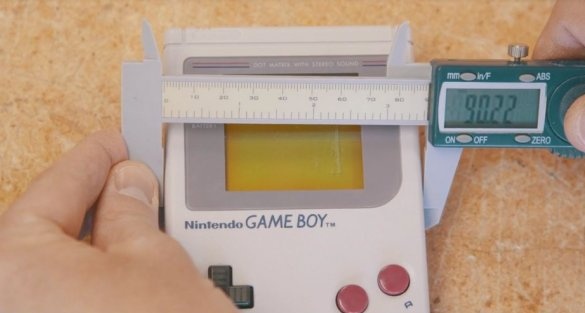
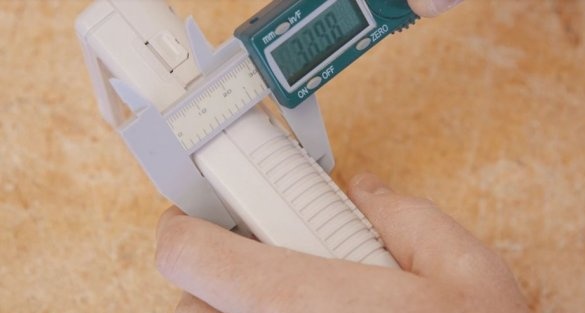
And the console itself:
If the pocket gadget that you are going to recreate in plywood is not preserved, you can turn to the forums on vintage items and ask someone who has it to measure it. Of course, you need to measure carefully so as not to scratch. Vintage after all.
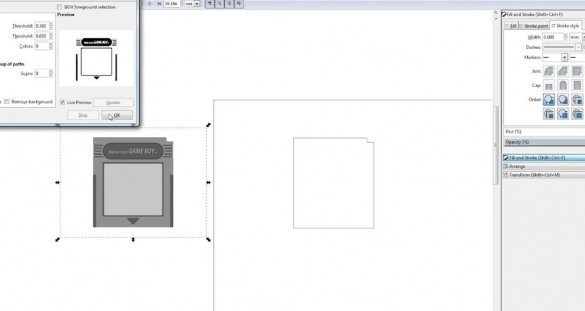
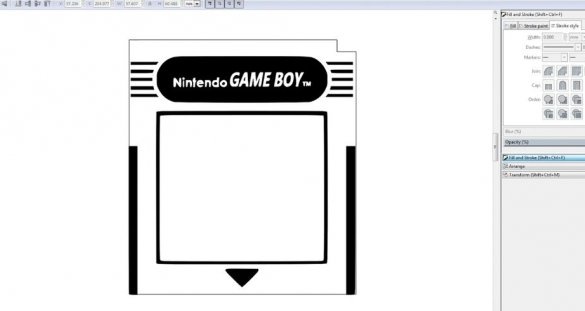
The wizard creates a new image in the Inkscape vector graphics editor with dimensions corresponding to the size of the cartridge. Places the photo of the front side of the cartridge there as a raster object:
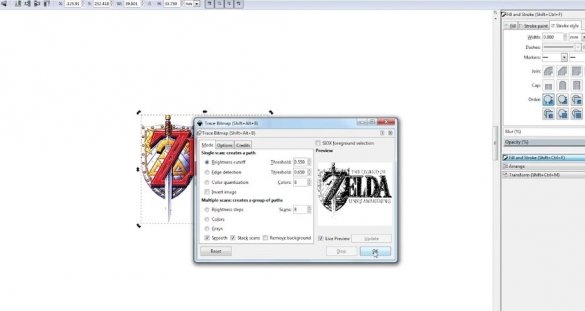
Converts a bitmap to a vector using the Trace Bitmap function:
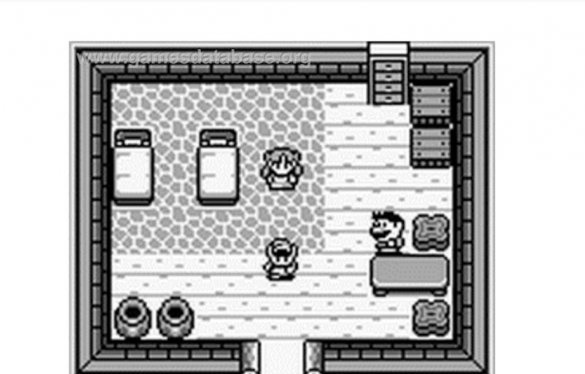
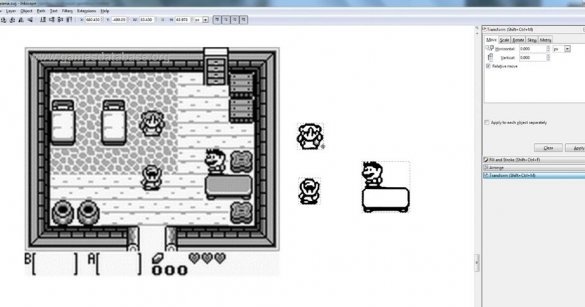
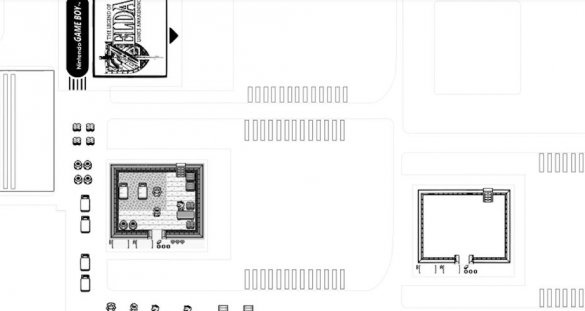
The wizard does the same with the logo of the game, a screenshot from it and sprites:
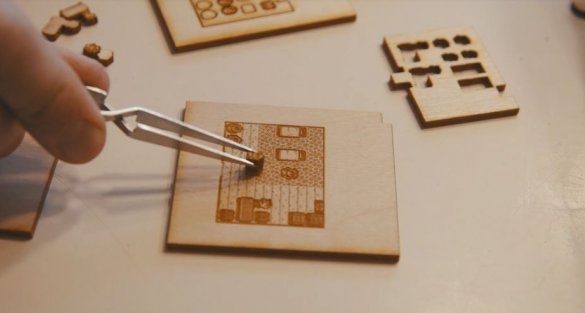
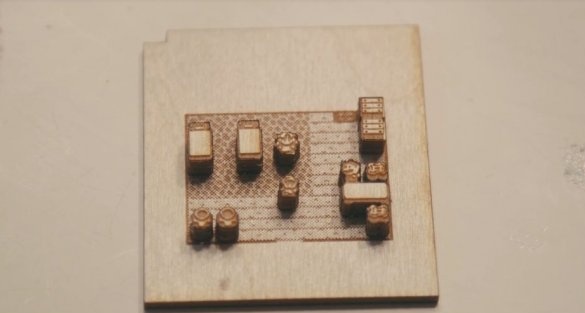
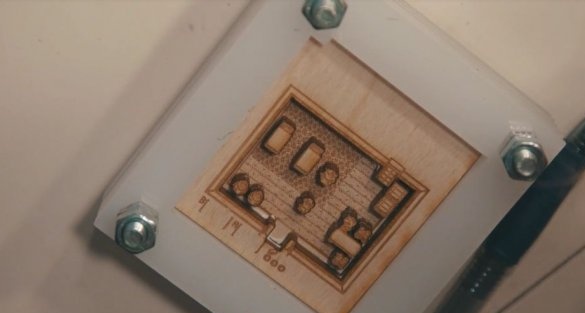
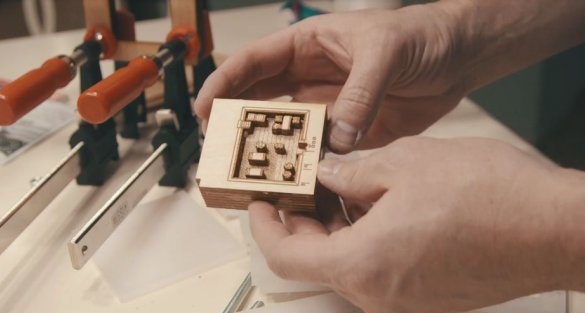
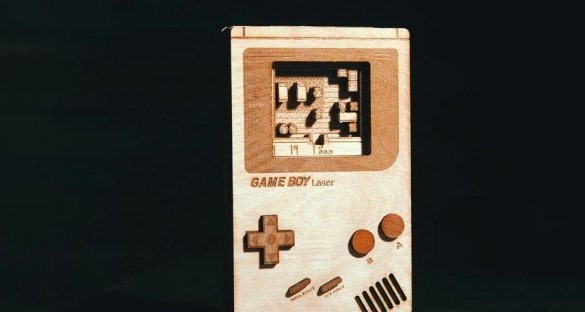
The cartridge will consist of eight layers of plywood. On the first two layers, where the sticker is located on the real cartridge, the plywood will have a rectangular hole. On the third layer is a screenshot. The master will stick three-dimensional sprites and other plot elements to it, but thanks to the first two layers they will not protrude outward. Through a similar hole in place of the display of the plywood copy of the console, the static plot of the game will be visible from the outside. Thus, at the same time as the cartridge is changed, the plot on the “screen” will also change.
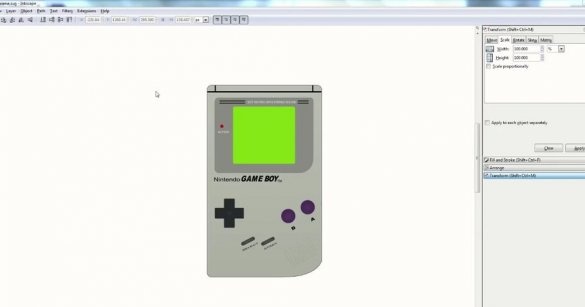
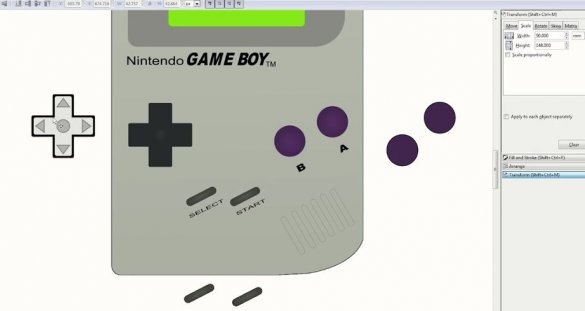
With the dimensions and photograph of the console, the wizard does the same thing as before, with the dimensions and photograph of the cartridge. It also creates separate key images:
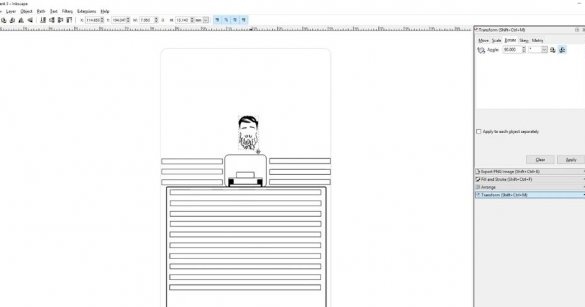
Well, this will be the back wall with a recess for installing the cartridge:
To cut everything with a laser in one step on one sheet of plywood, the master places all the displayed images in an optimal way, rationally and as densely as possible occupying the available area:
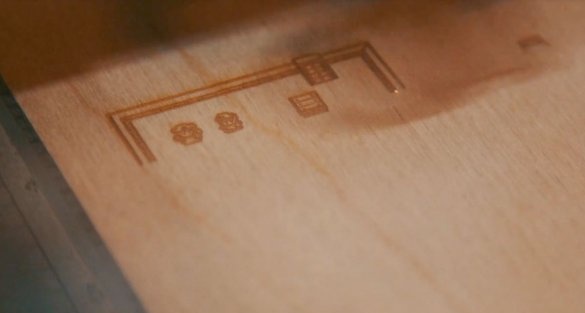
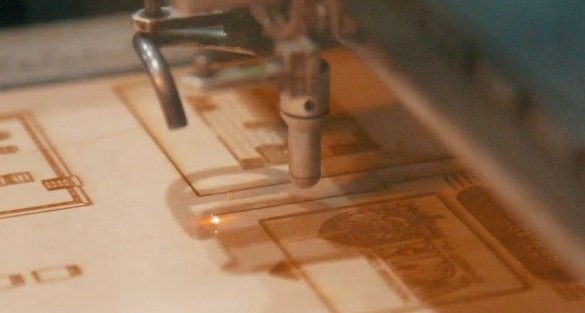
And at the command of the master, the laser cutter joyfully takes on the job:
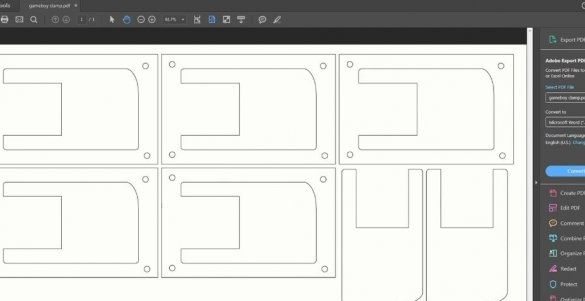
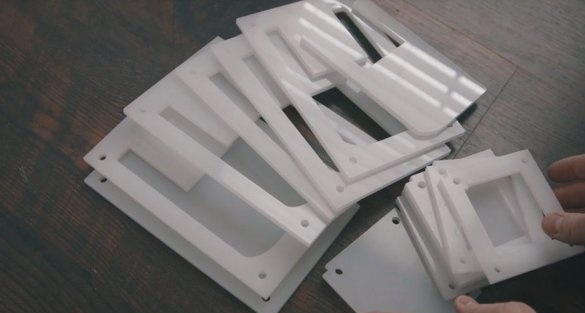
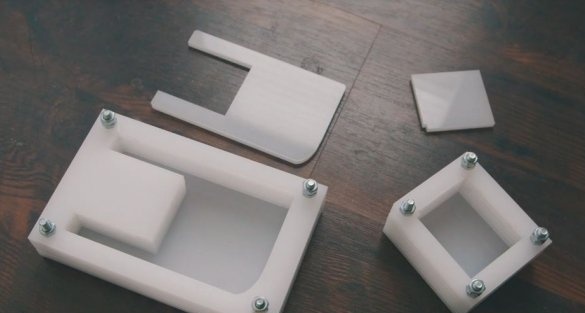
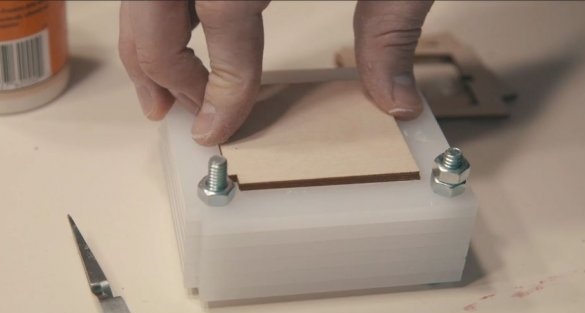
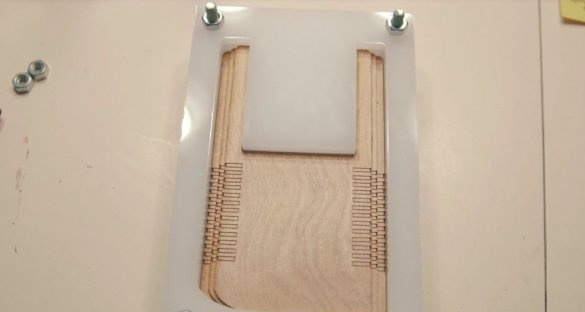
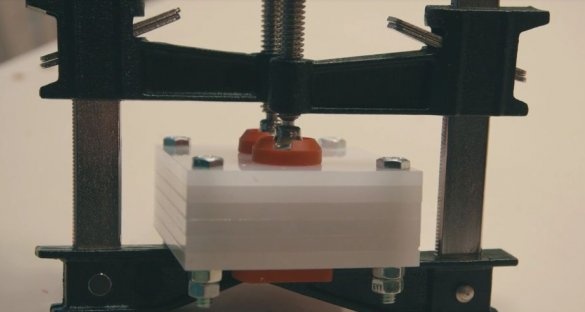
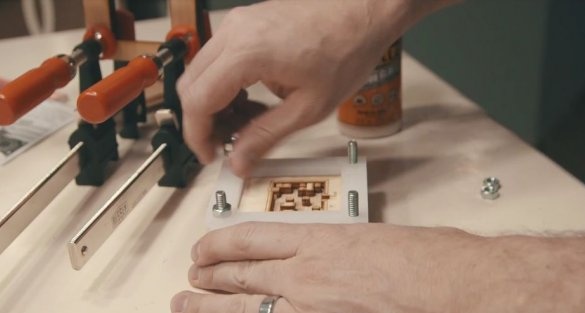
The accuracy of the assembly layout depends on how accurately relative to each other the plywood layers will be located when gluing. Homemade condors come to the aid of the master, also assembled from layers obtained by laser cutting, but from plexiglass. Instead of gluing, the package of plates is designed for assembly by tightening with bolts (or studs) with nuts (the corresponding holes in the plates are provided initially). Better, of course, also with washers, but their master did not apply. When in the conductors the master will glue the plywood layers with PVA glue, after the glue has hardened, it will be easy to separate them from the plexiglass, since the plywood is porous and plexiglass is not. PVA glue can only glue porous surfaces.
Now that the wizard has everything he needs, he proceeds with the assembly:
The glue hardened, you can extract everything from the conductors:
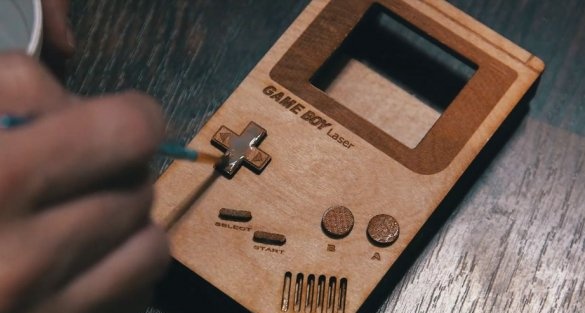
The wizard paints the “keys” (this is an optional step):
And puts the "cartridge" in the "console":
Inspired by an excellent result, the master makes several more "cartridges":
And puts a copy next to the original. It turned out even better, but what can’t be played - the user's psyche only benefits from this.

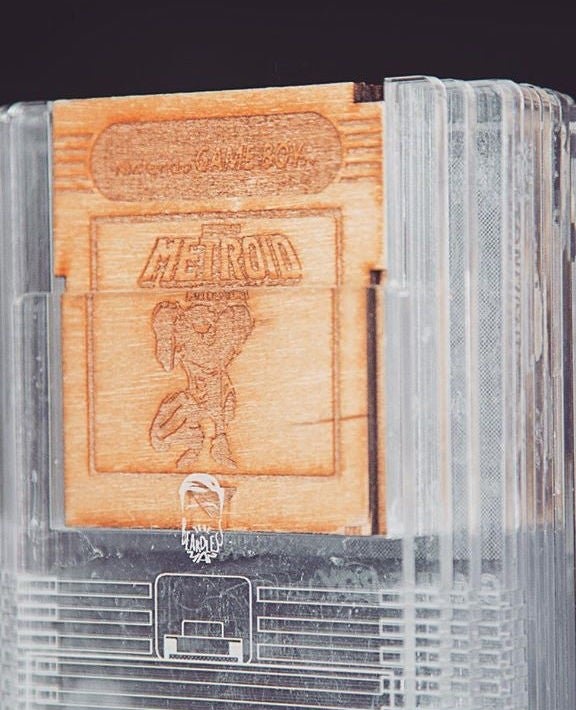
Finally, the master is experimenting with various materials. How about this Plexiglass Game Boy, for example, which comes with the same plywood cartridges? True, it is not clear which glue to apply, so that the model sticks together, but does not stick to the conductor, because there and there - plexiglass. But that means the master came up with something.
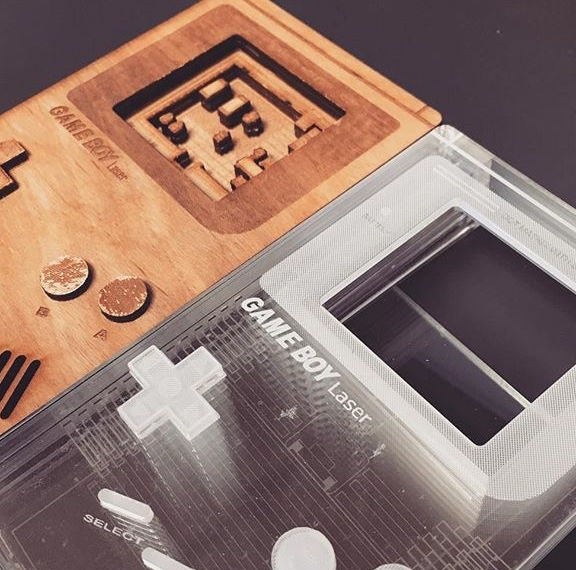
When a “cartridge” is installed in such a “console”, it looks amazing through the back wall:
You can also just try to use plywood from one wood species in the "console", and from another in the "cartridge". What do you think up?

